

An alcove office is the perfect solution if you are struggling to find a space working from home (which a whole load of us at doing at the moment). So with a little bit of time and imagination, you can turn a small space into a practical working area. Yay!
Keep scrolling to find the steps for this simple DIY and if you want more home office ideas head over to our feature.
- Home office design – everything you need to know
You will need:

For the table
- 1 x desk board (19mm medium-density fiberboard)
- 1 x narrow support strip for the back (cut to the same length as the desk board)
- 2 x narrow support strips for the sides (cut slightly smaller than the width of the desk board)
For the shelving:
- 2 shelf boards (19mm medium-density fiberboard)
- 2 x narrow support strips for the back (cut to the same length of the shelf board)
- 4 x strips for the sides (cut slightly smaller than the width of the shelves)
- 23 x screws, 6 x 80 mm
- 23 x screw anchors, 8 mm (depending on the structure of the wall)
- 8 mm drill bit (depending on the structure of the wall)
- 6 mm drill bit (for wood)
Tools:
- Bosch PLR 50 C (Quick calculation of distances, areas and volumes)
- Bosch Uneo Maxx (Powerful ability to hammer, drive screws and drill into any surface)
- Bosch PMD 10 (Easy to use and detects common materials)
Step one: measure your alcove

Step two: check for wires

Before you fit anything in the alcove it is best to check for pipes or cables which may be hidden behind the walls. The best way to do this is by sweeping a detection tool, such as the Bosch PMD 10, across your walls. With its high level of reliability and precision, the PMD 10 will ensure that all common materials are detected and that you understand where is safe to drill.
Once you are sure that the wall is safe to drill through you can mark the height of where you would like the desk top and shelves to sit. Position the support strips at the sides and back of the alcove at the desired heights. Ensure that they are all level by using the incline measurement function on the Bosch PLR 50 C.

Step three: add the brackets

Use a 6 mm drill bit for wood to drill the fixing holes into the strips. We recommend using the Bosch Uneo Maxx cordless rotary hammer, which you can use as an electric hammer, drill and screwdriver.
Drill three fixing holes in each of the long strips (roughly 5 cm from the left-hand edge, in the center, and 5 cm from the right-hand edge) and two holes in each of the short strips (roughly 5 cm from the left-hand edge and 5 cm from the right-hand edge). Then use a pen to mark the position of the fixing holes on the wall.
Now use the 8 mm drill bit and the hammer function on the Bosch Uneo Maxx to make clean, precise holes. Then place a screw anchor in each hole to provide a secure hold.
Now attach the strips to the wall. Switch the tool to the screwdriving function, lay the strips against the wall and screw them firmly in place.
Step five: add the shelves

Once you’ve attached the side strips securely to the wall, all that’s left to do is position the desk board and shelves on top of them. You can also add your personal style by painting the shelves a bright colour.

Tip: If you’ve already got a desk, you could simply turn your alcove into a built-in shelving unit to give you extra storage space for keeping your home office supplies, or kitchenware in order, should your alcove be in your cooking or dining space.
More weekend projects:

-
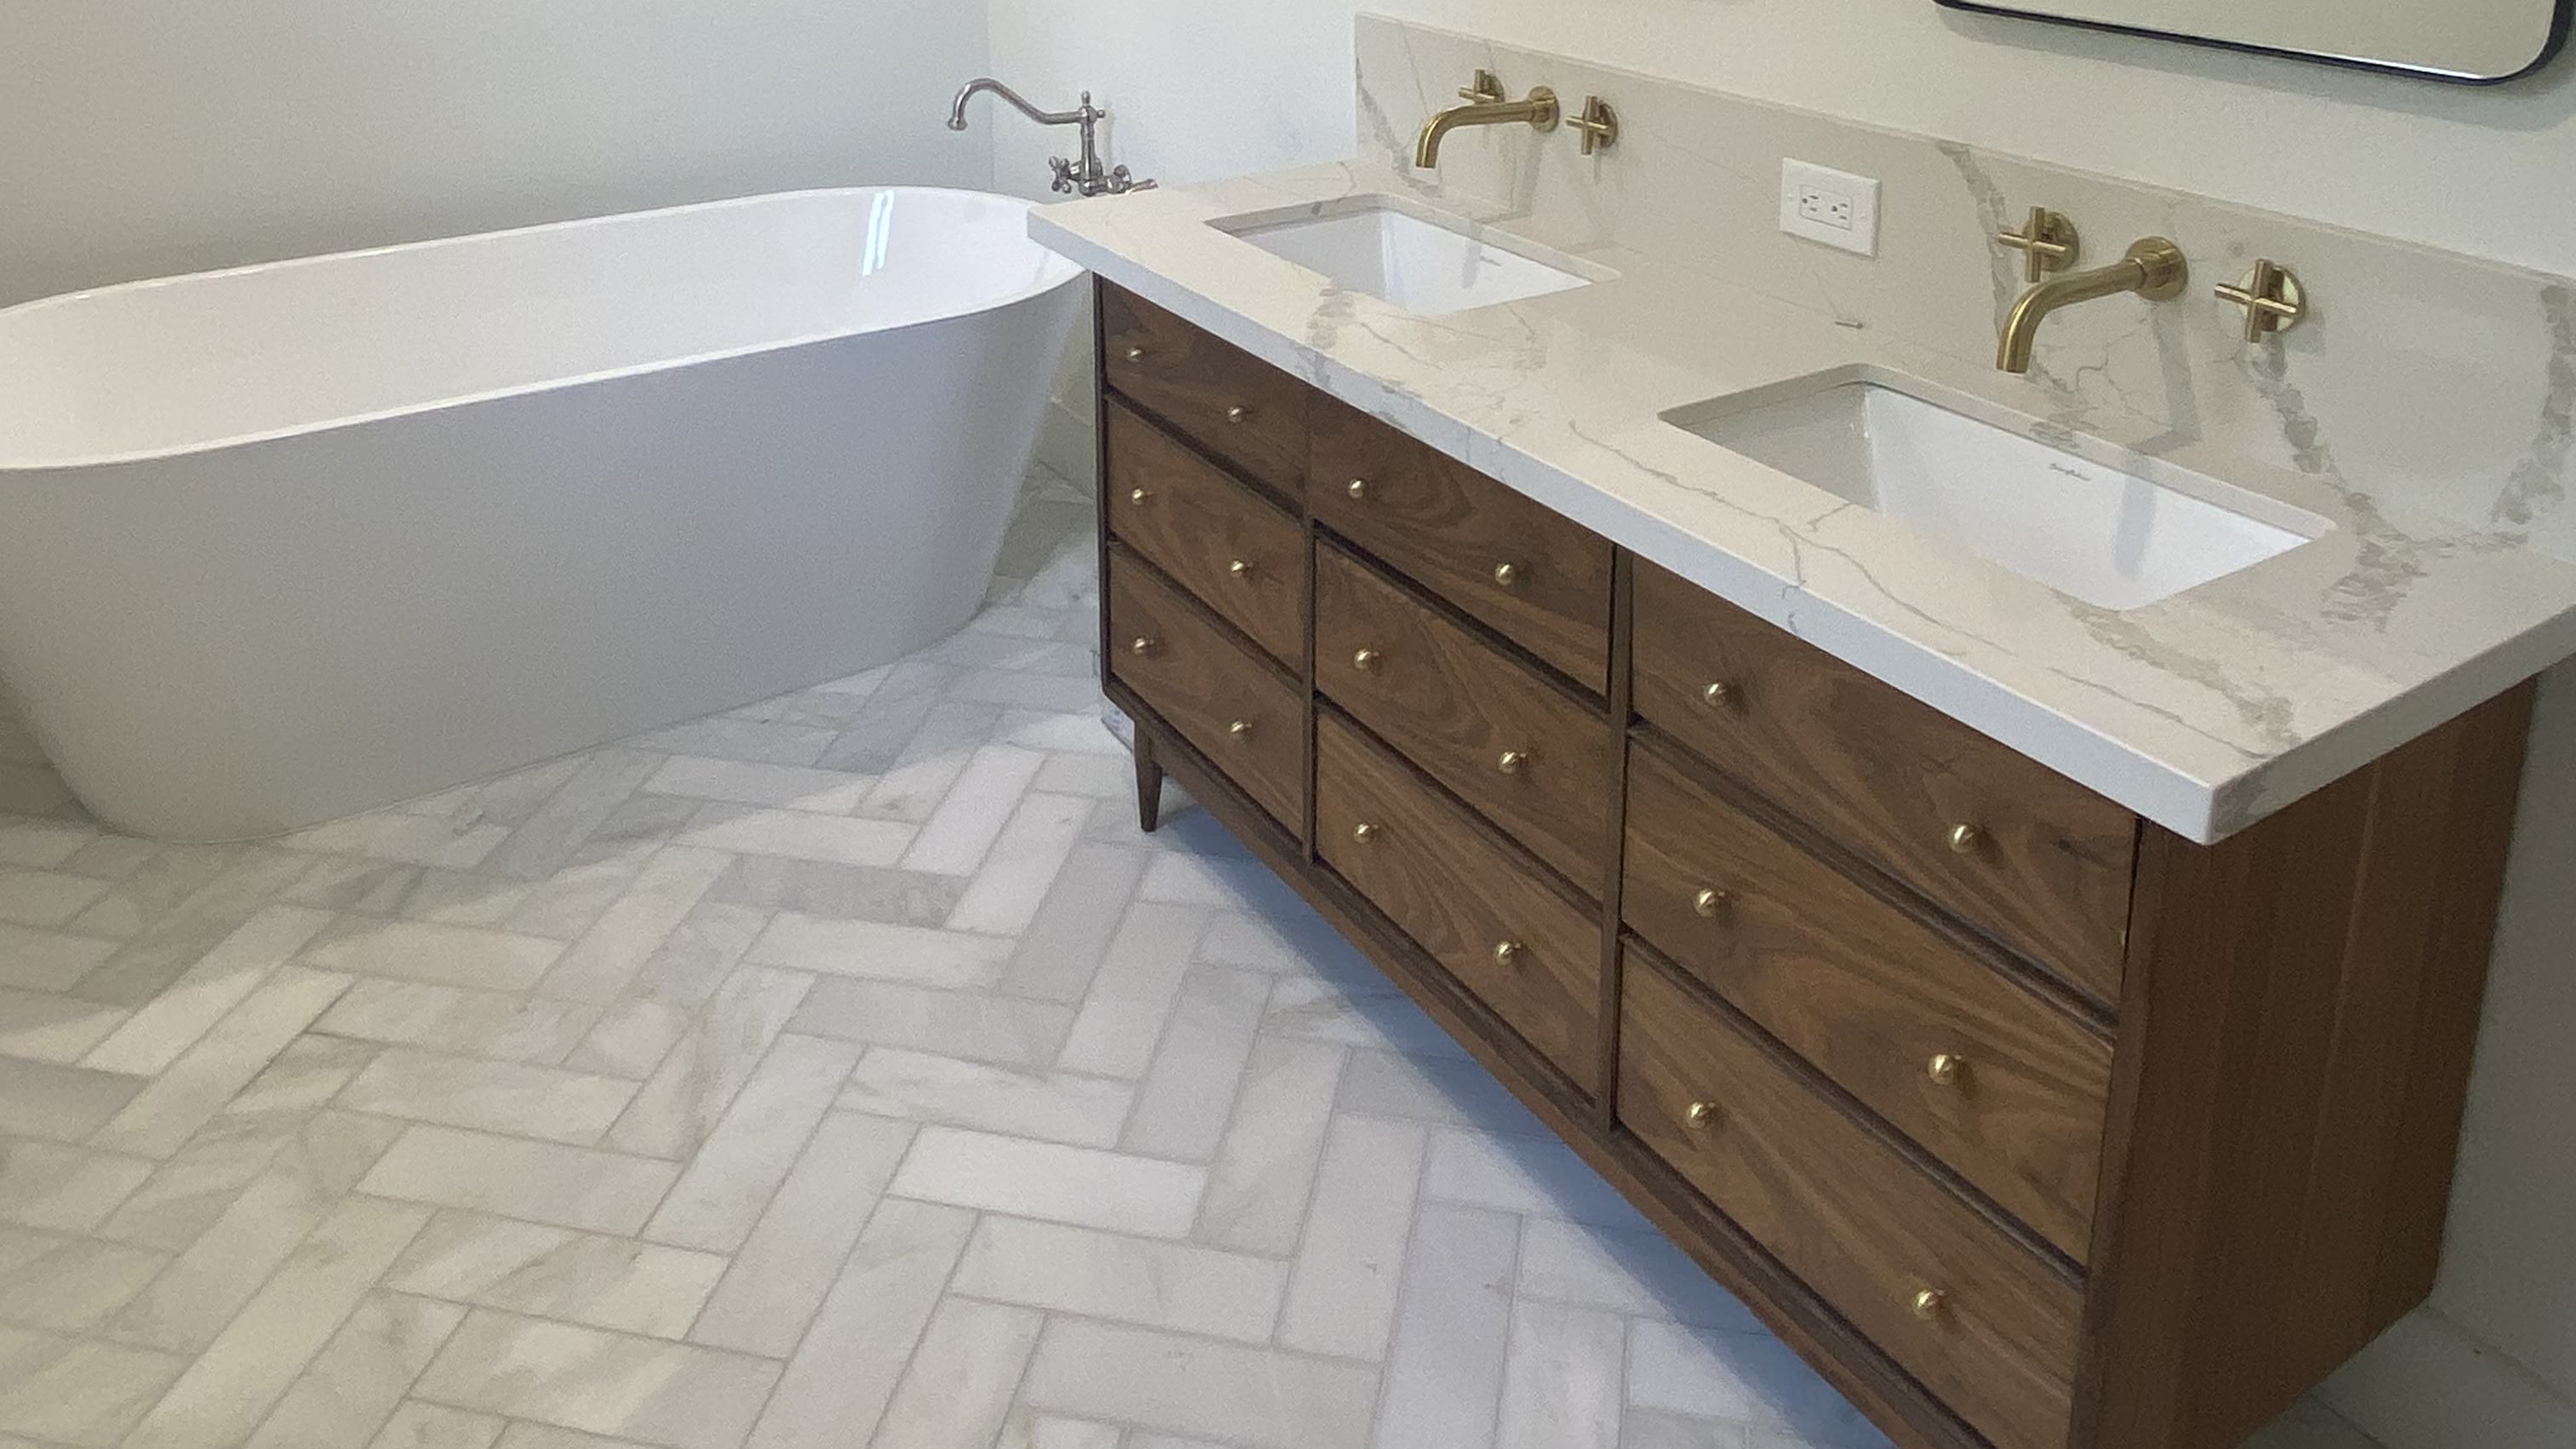 How to turn a vintage dresser into a bathroom vanity
DIY-er found a vintage piece on Facebook Marketplace to turn a dresser into a bathroom vanity and save thousands of dollars in the process
-
 Before and after: installing 'faux' upper cabinets created a lofty laundry room
DIYer Brooke Waite bridged the gap under her laundry room ceiling with a 'faux' cabinet install and crown molding. The result is a loftier laundry room space, all for about $100...
-
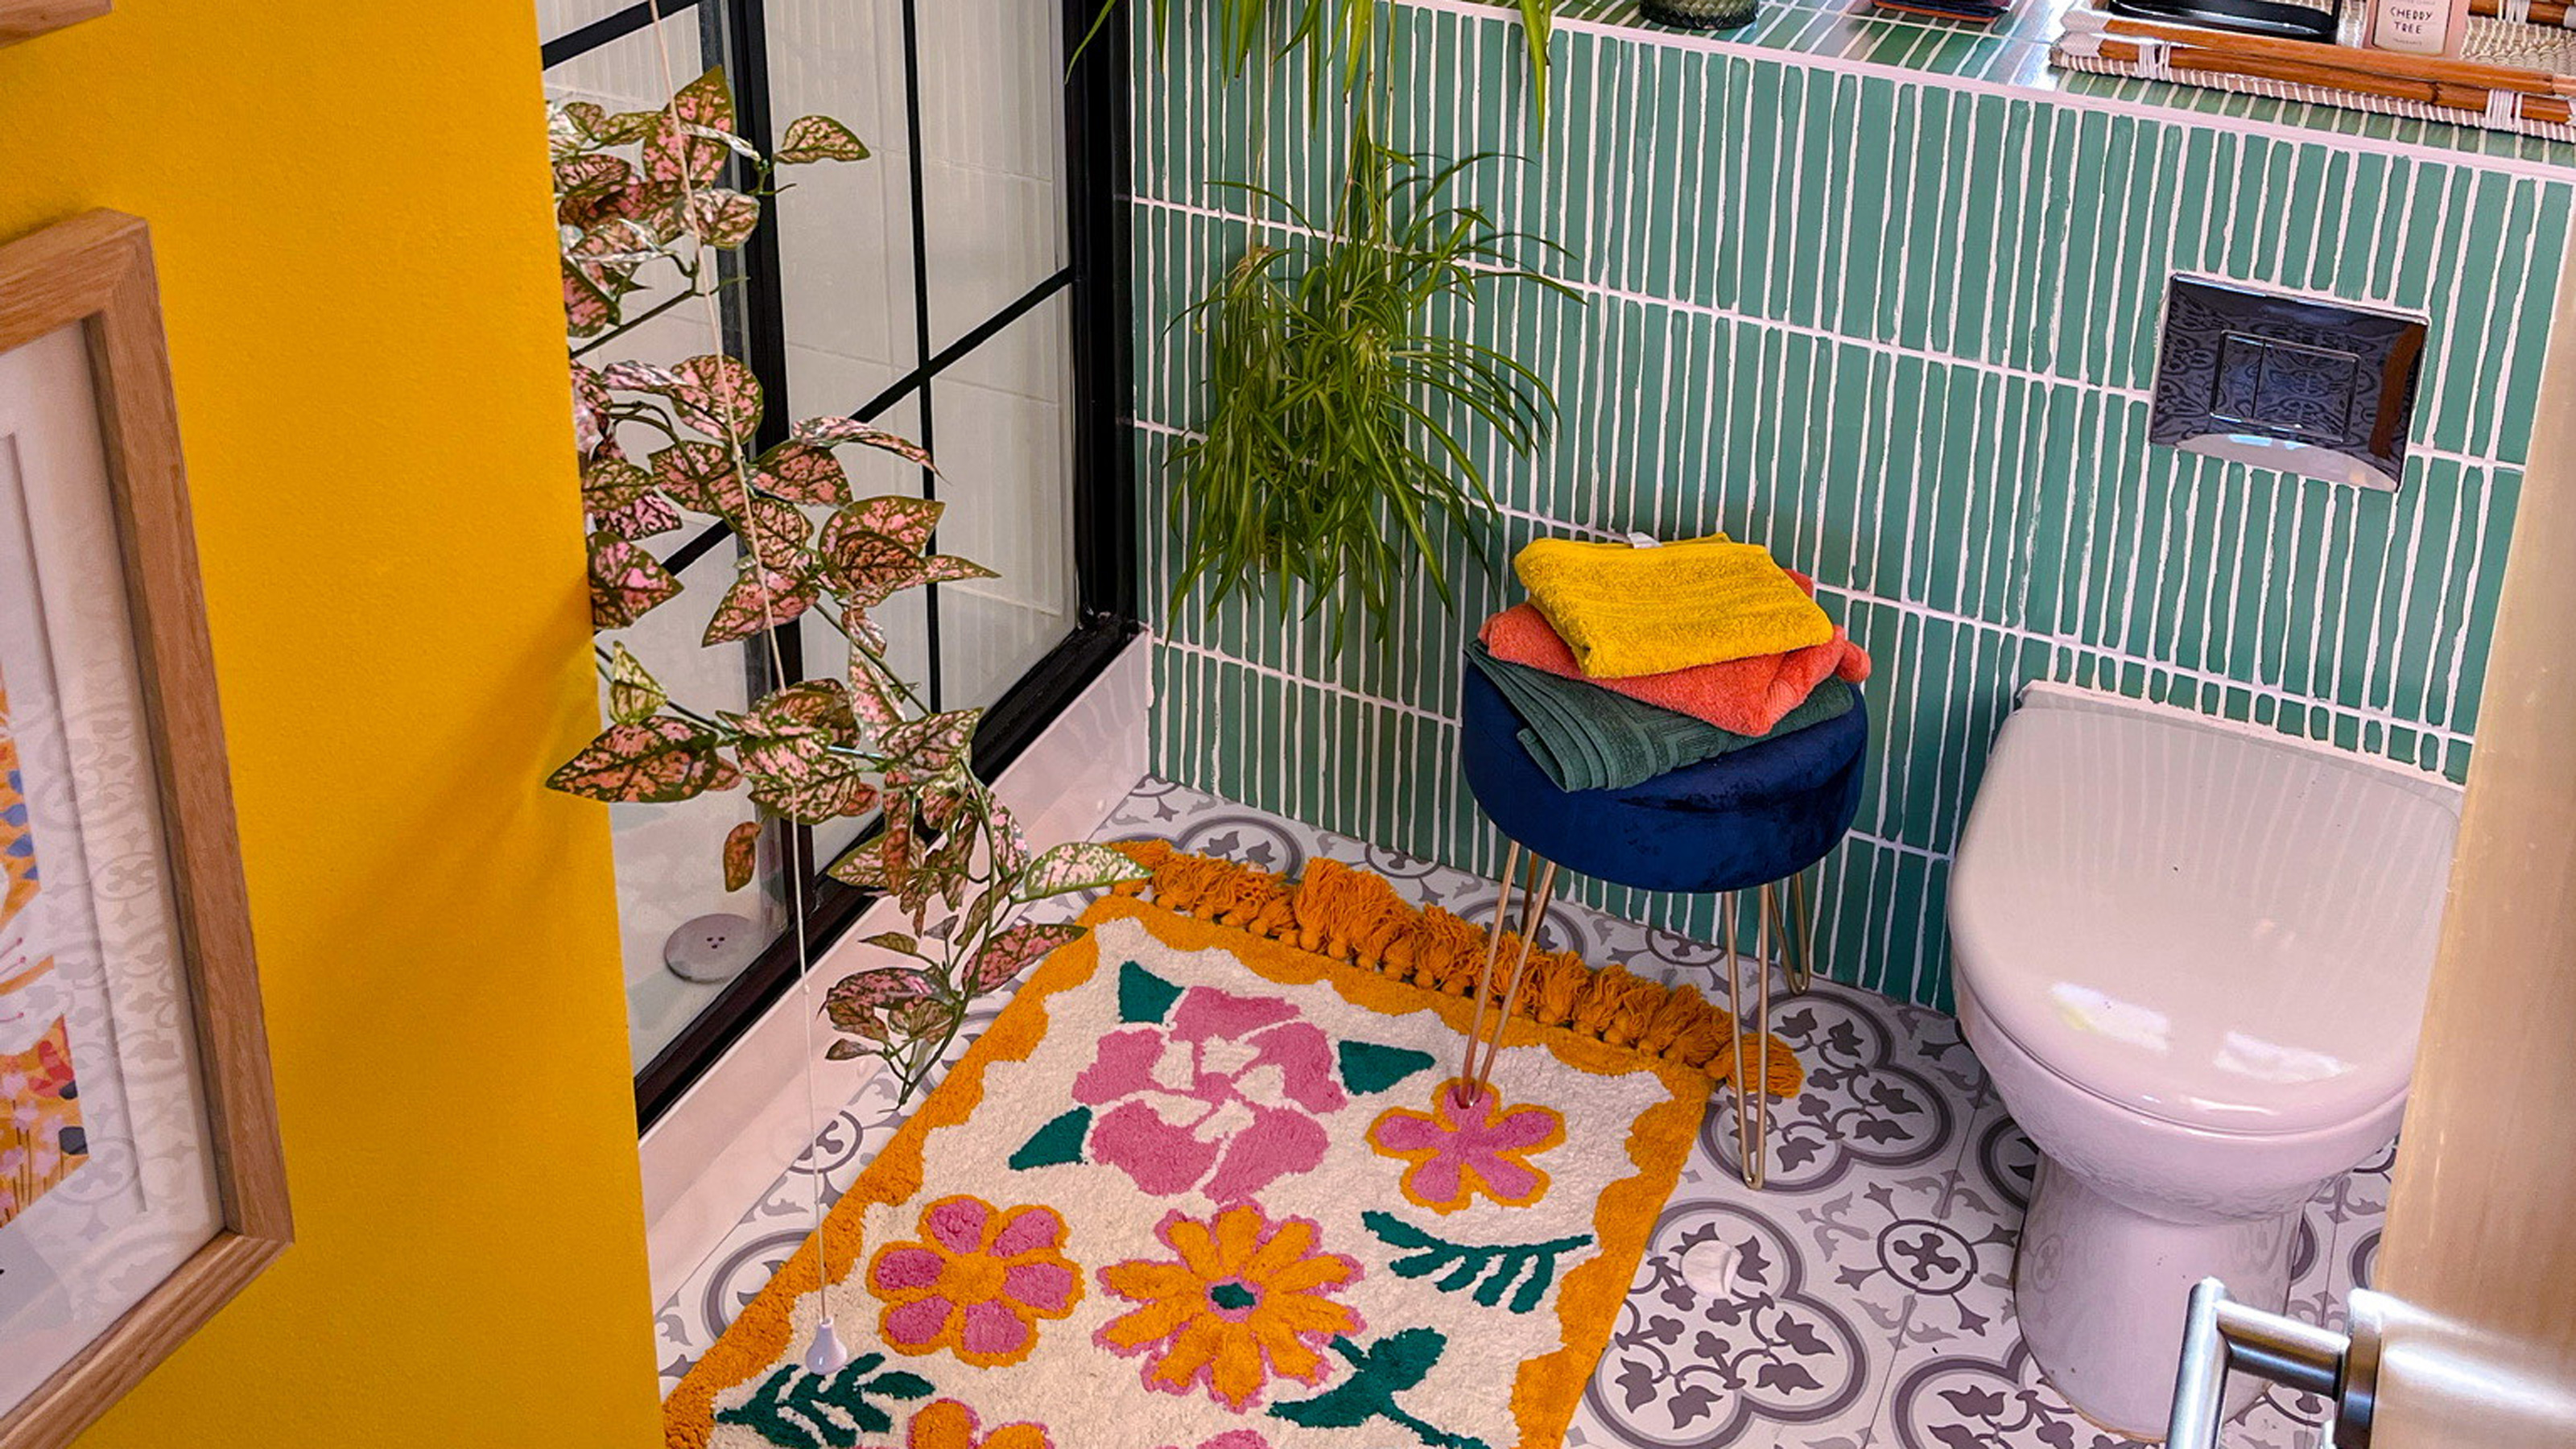 Before and after: Green painted tiles transform this tiny en suite on a budget
DIYer Geri transformed her tiny en suite bathroom on a budget by painting the wall tiles a stunning shade of green
-
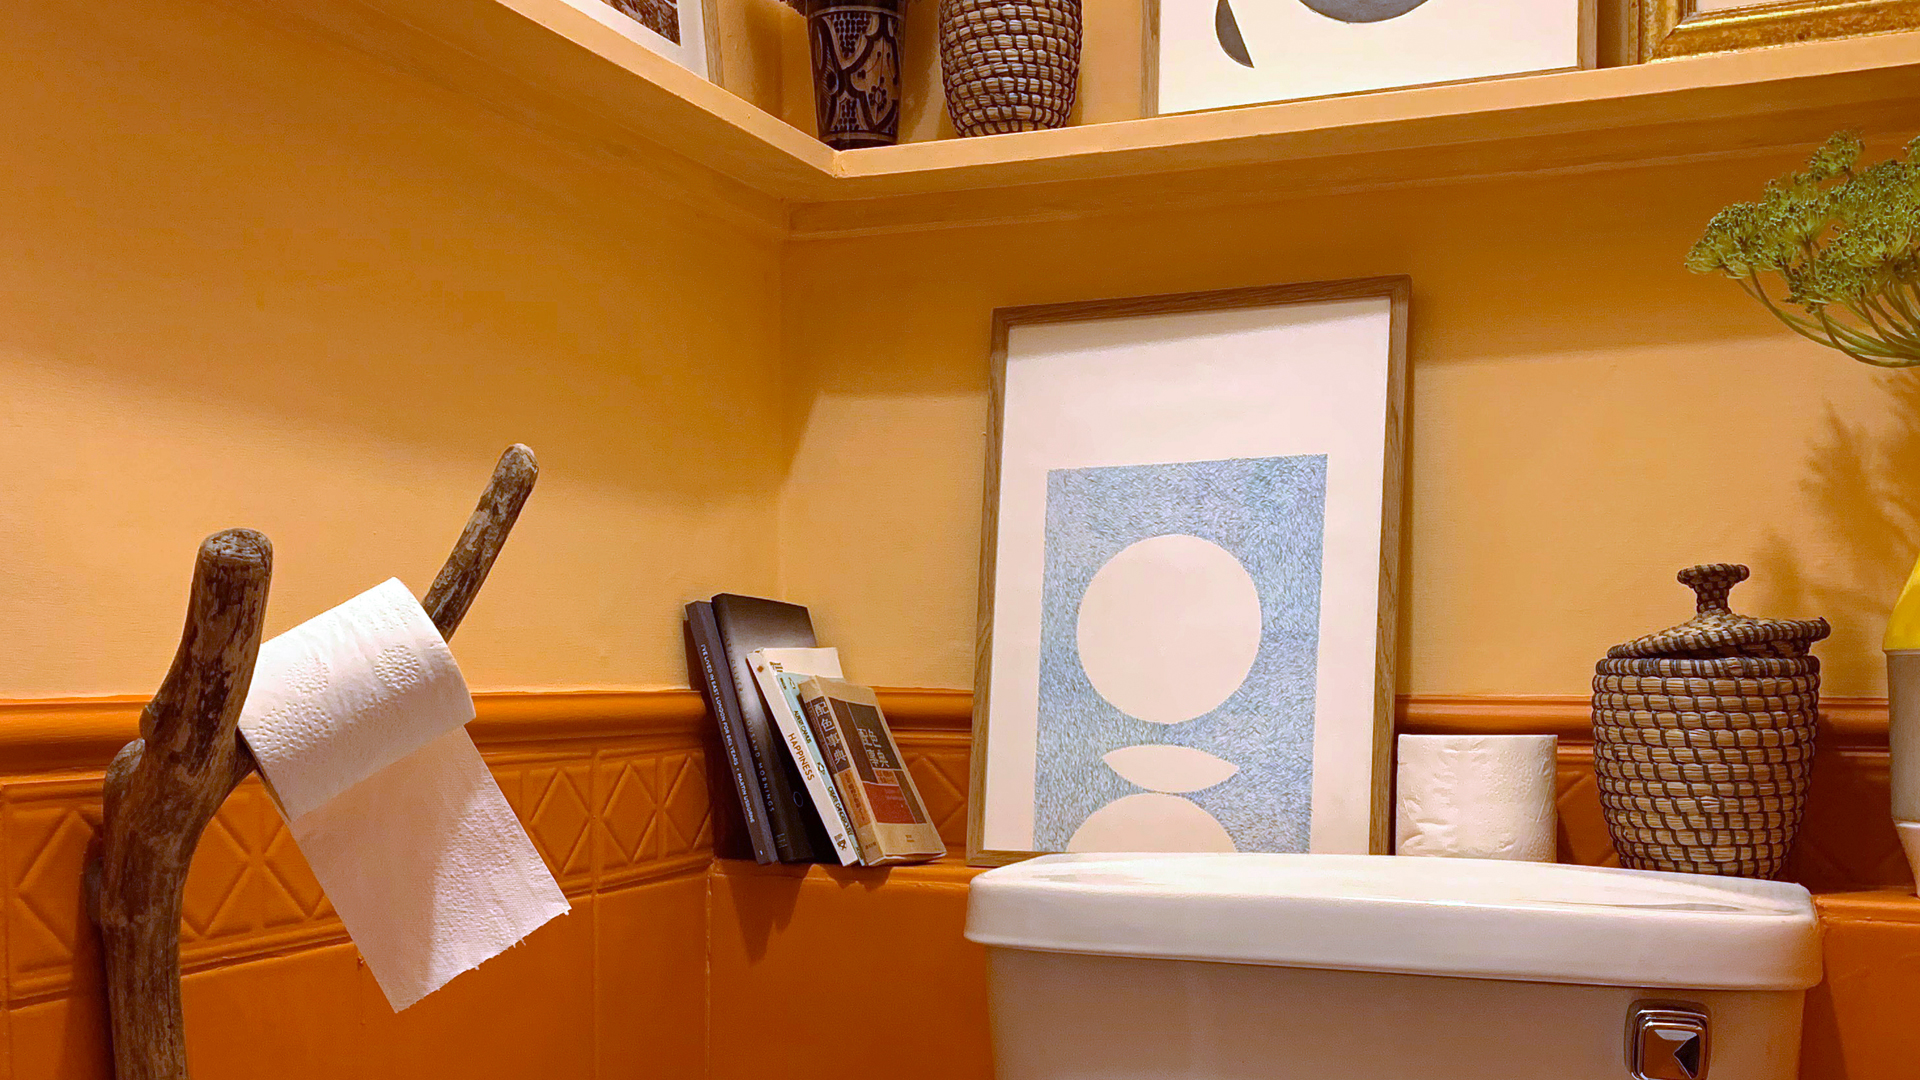 Color crazy DIY-er shares a renter-friendly hack that transformed her downstairs bathroom
An unusual toilet roll holder and a clever DIY tool took this bathroom from dull to totally unique
-
 DIY bedroom decor – 13 ways to personalize your sleep space
Jazz up your room with these DIY bedroom decor ideas using paint, stencils, vinyl and organic textures.
-
 10 DIY coffee bar ideas to brew up a ton of inspiration
These DIY coffee bar ideas will save you money and help you quit your chain store-bought caffeine addiction
-
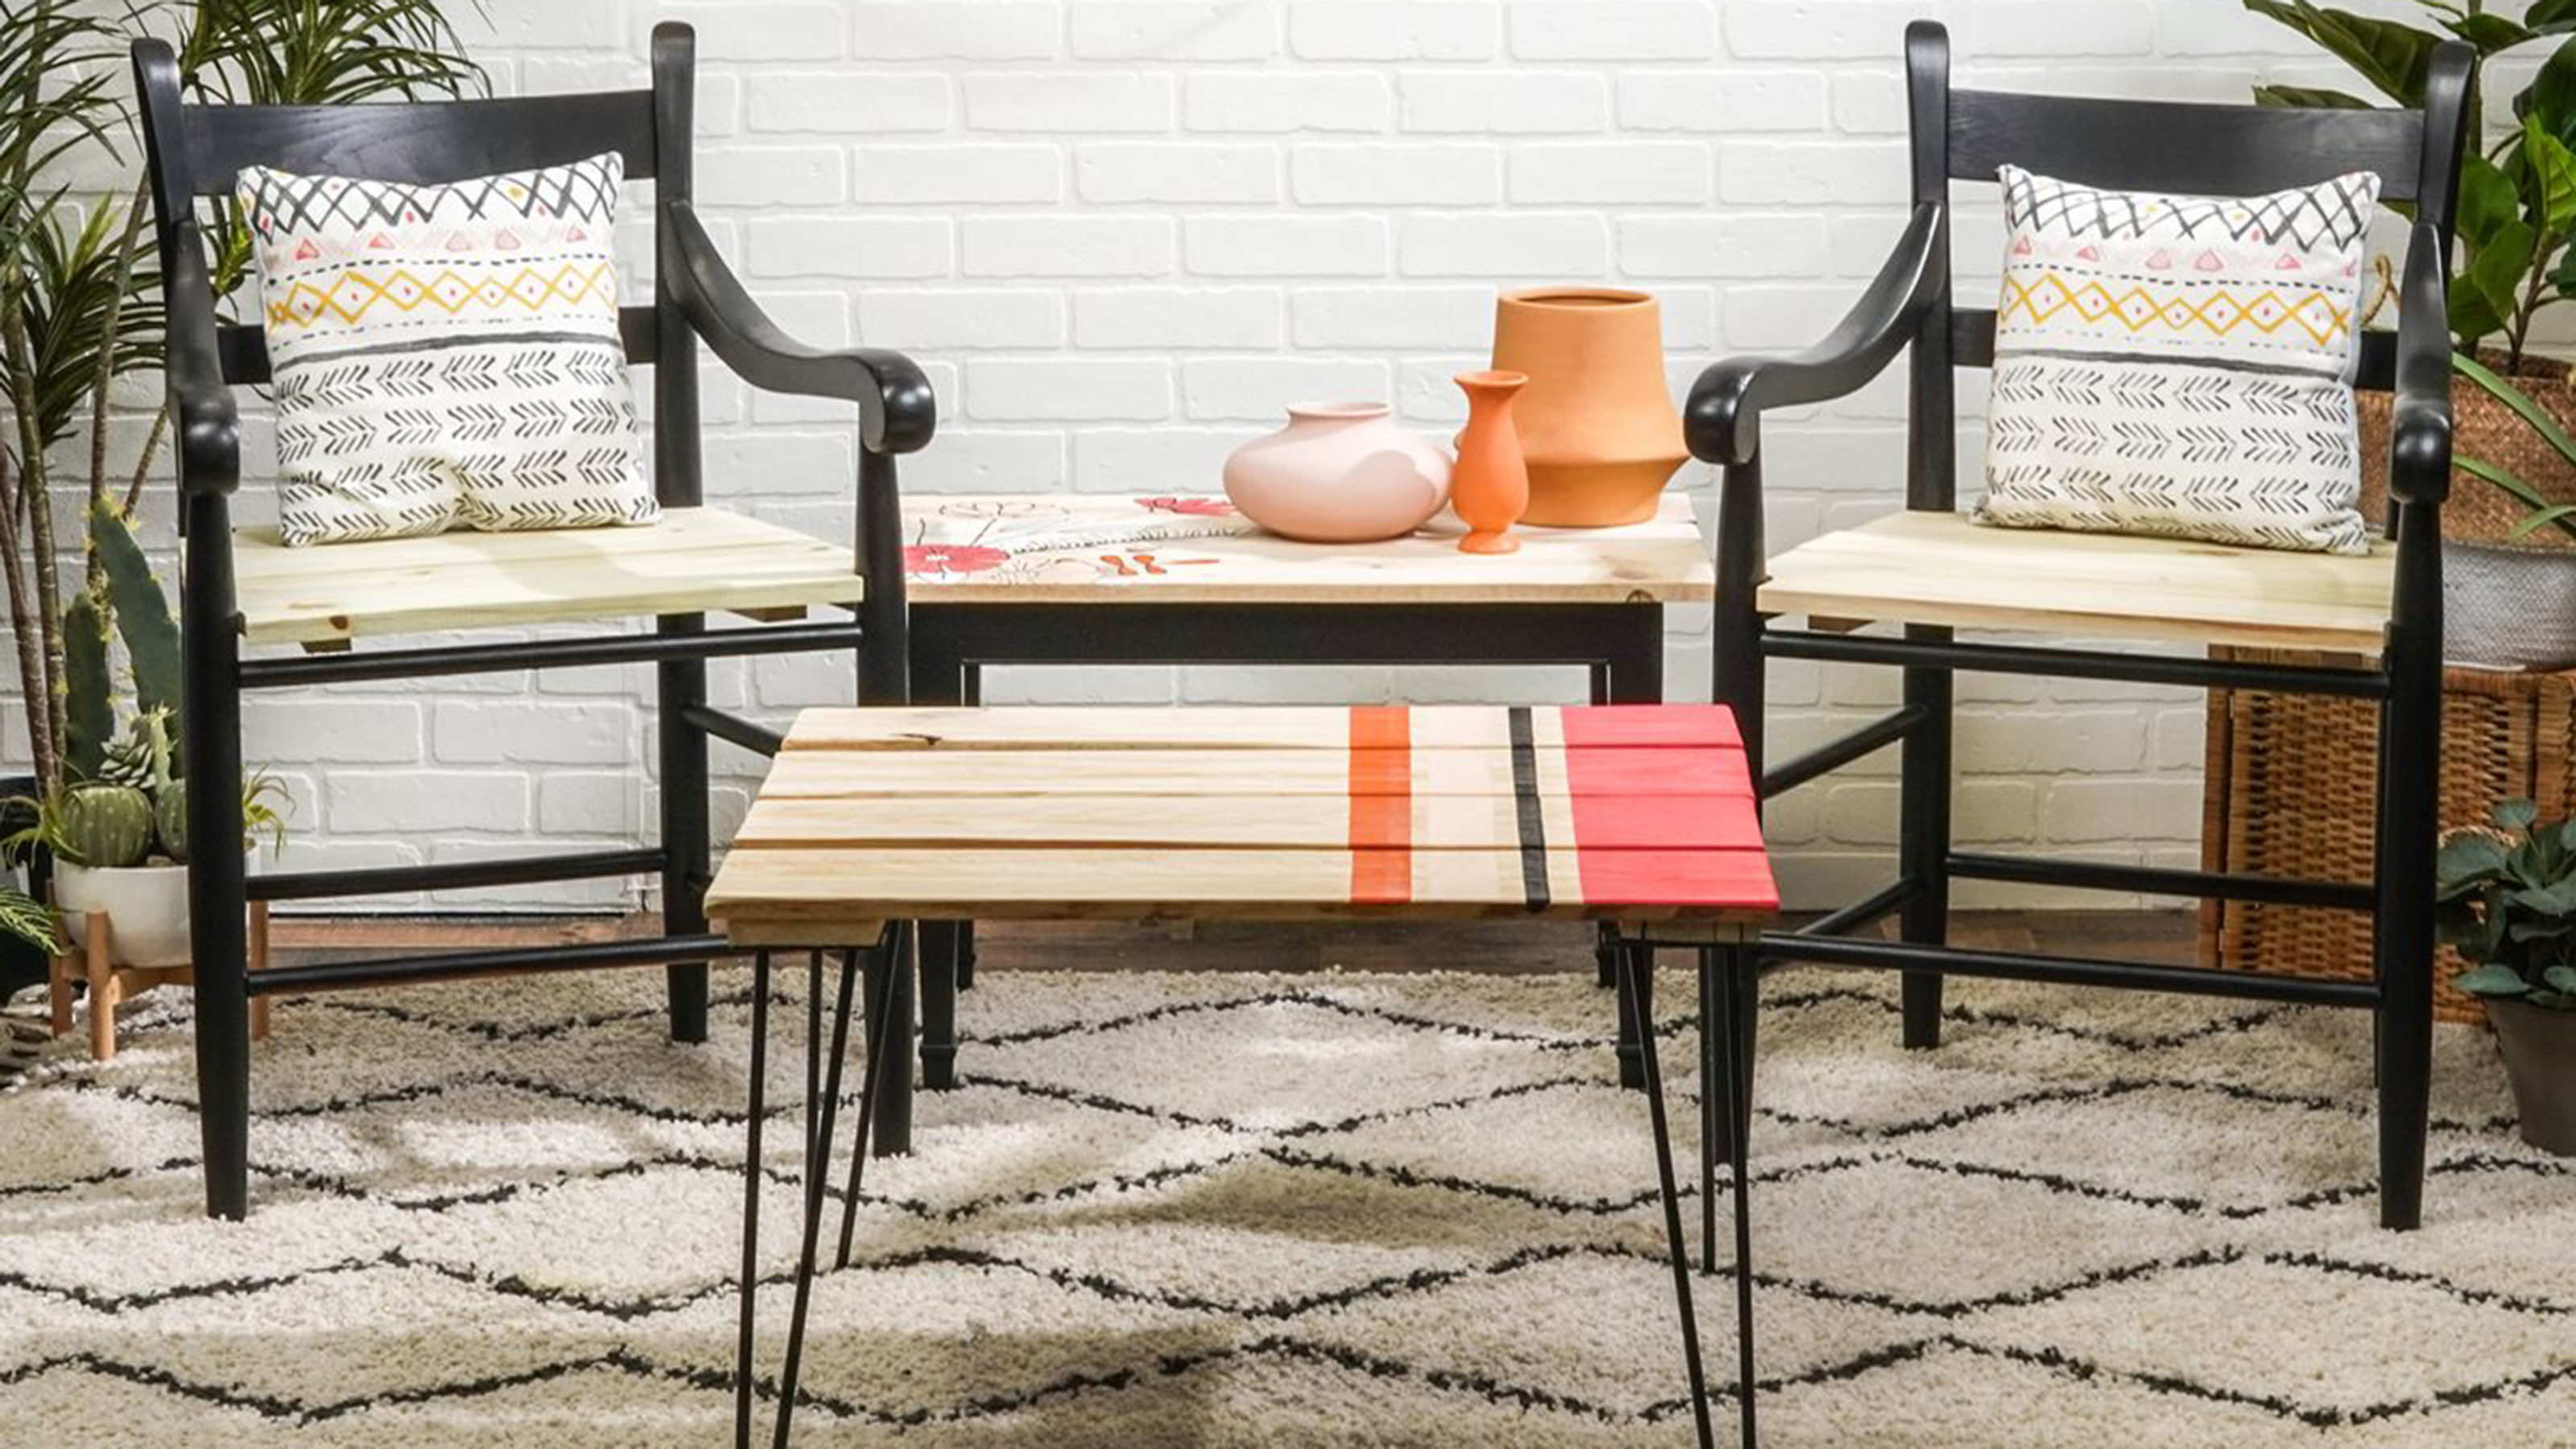 Pallet coffee table ideas – 11 ways to flip wooden crates into furniture
Want to make a pallet coffee table out of shipping pallets? It's easier than you think and looks great both indoors and out
-
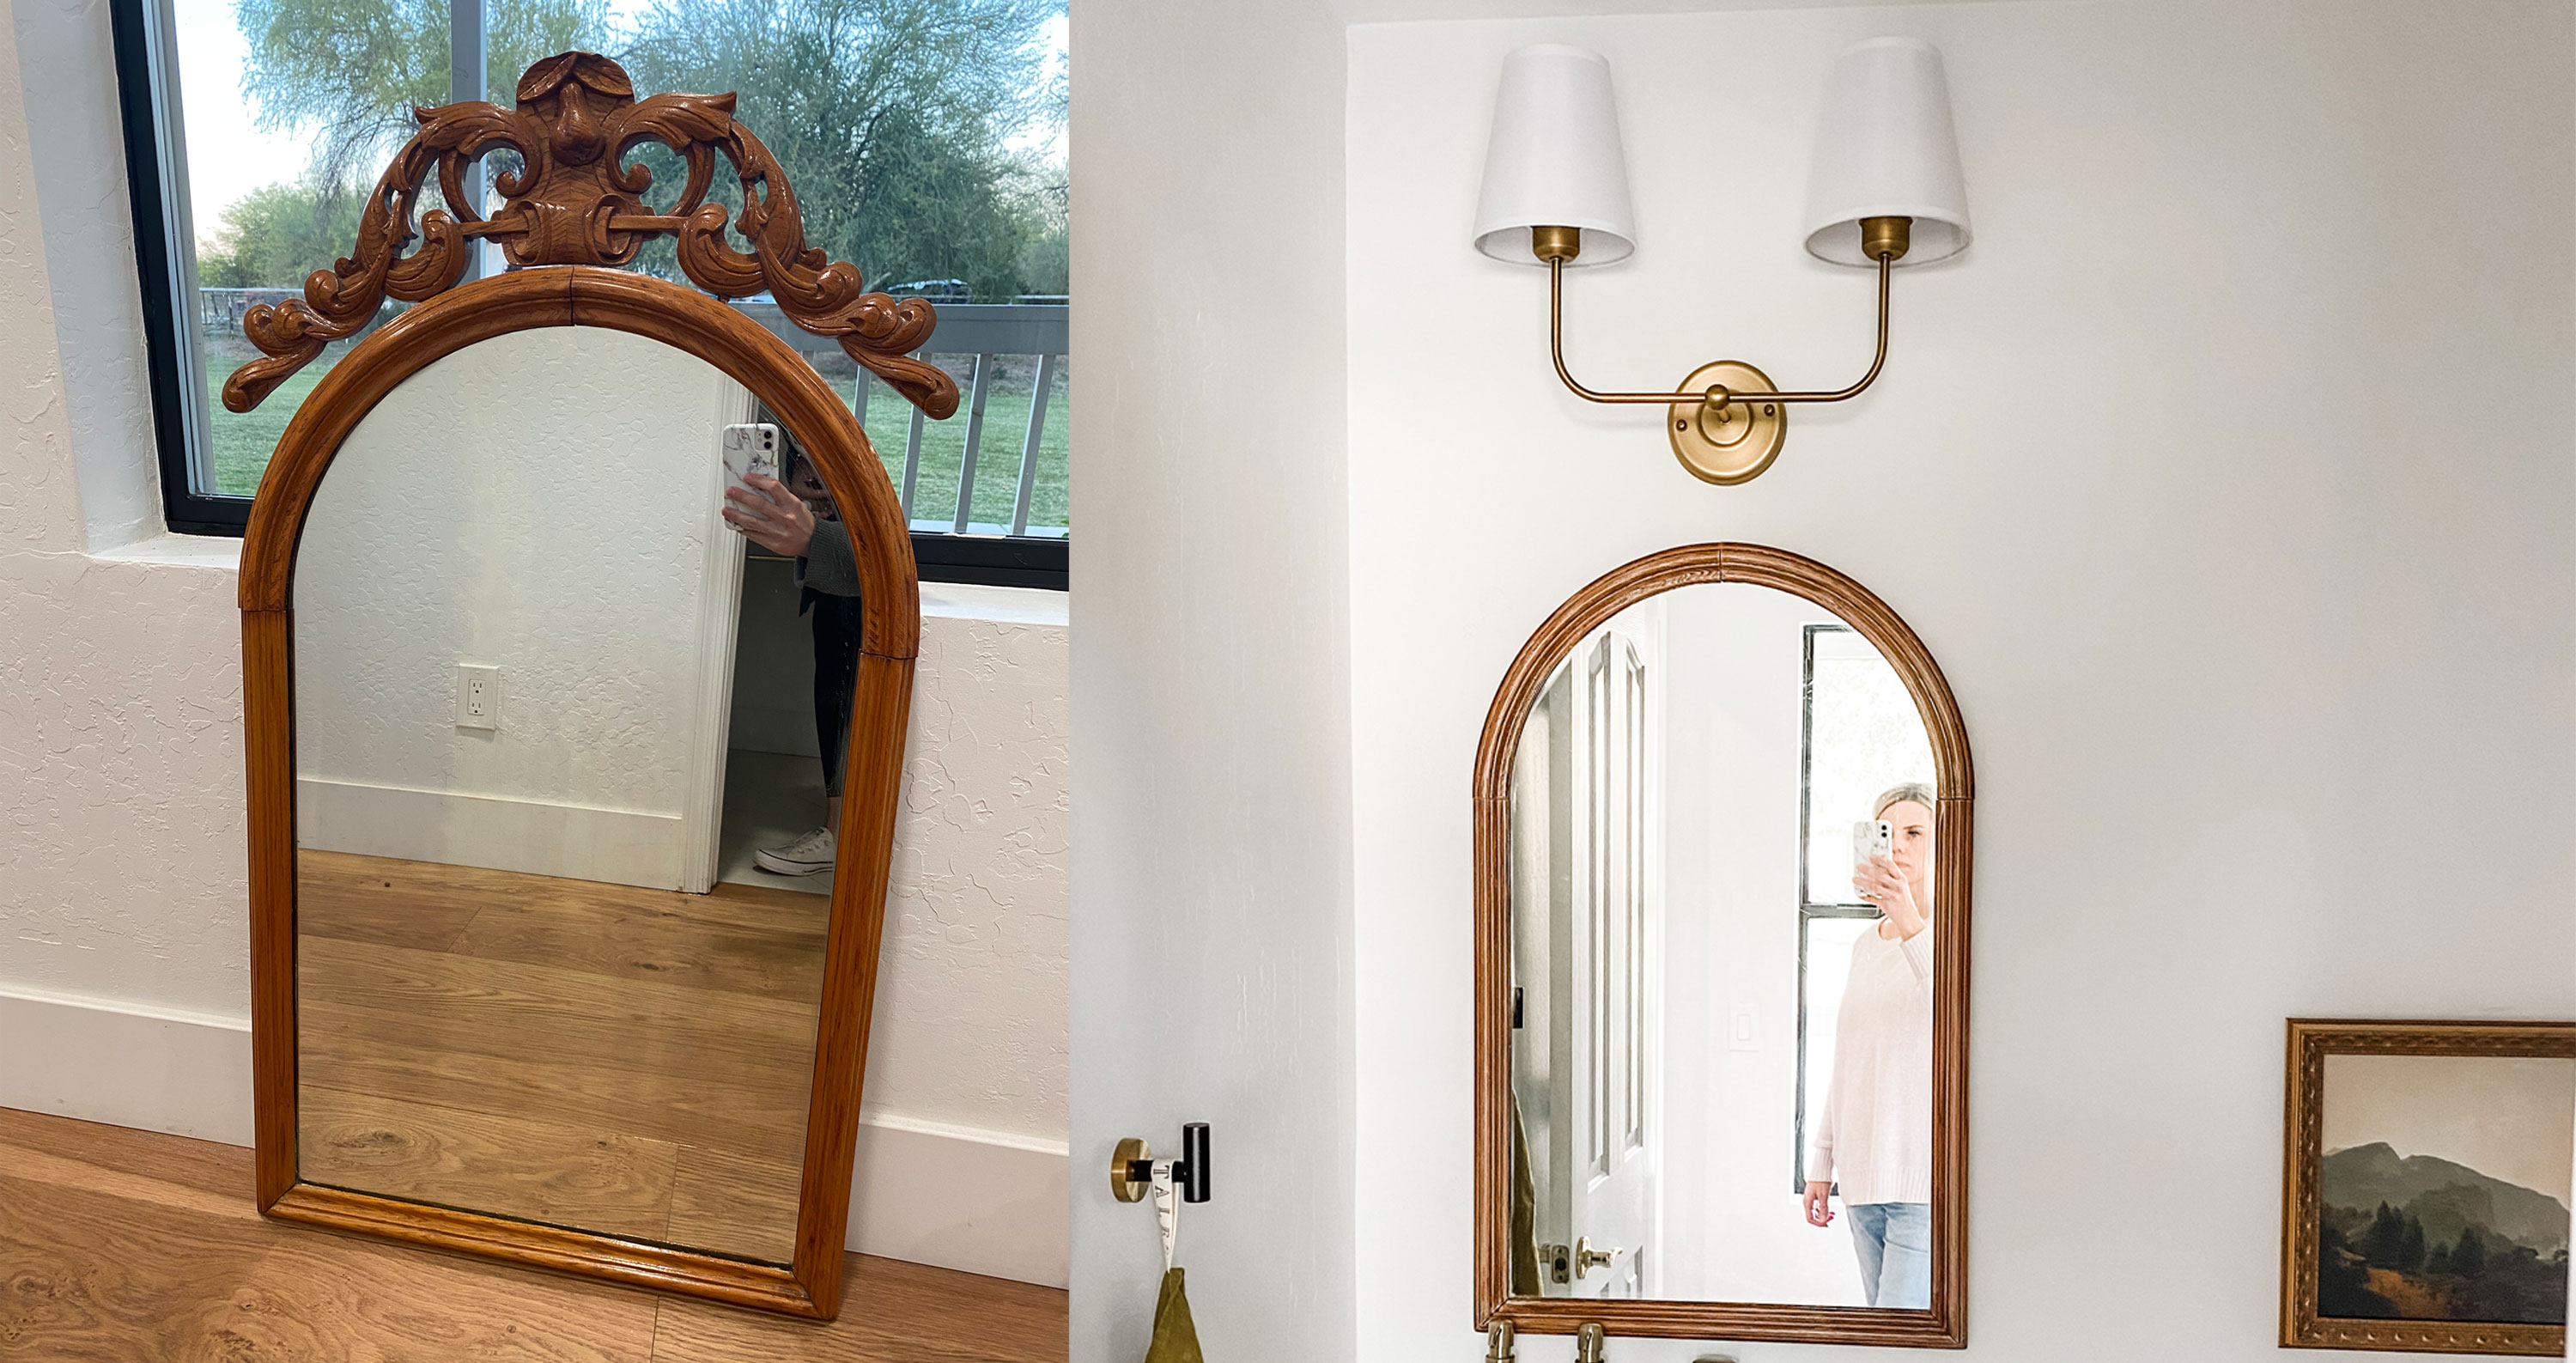 My $50 vintage bathroom mirror upgrade: a 3-step DIY
DIYer Brooke Waite restored and upgraded a $50 thrifted vintage mirror in 3 simple steps. Making it the perfect addition to their modern farmhouse bathroom.


