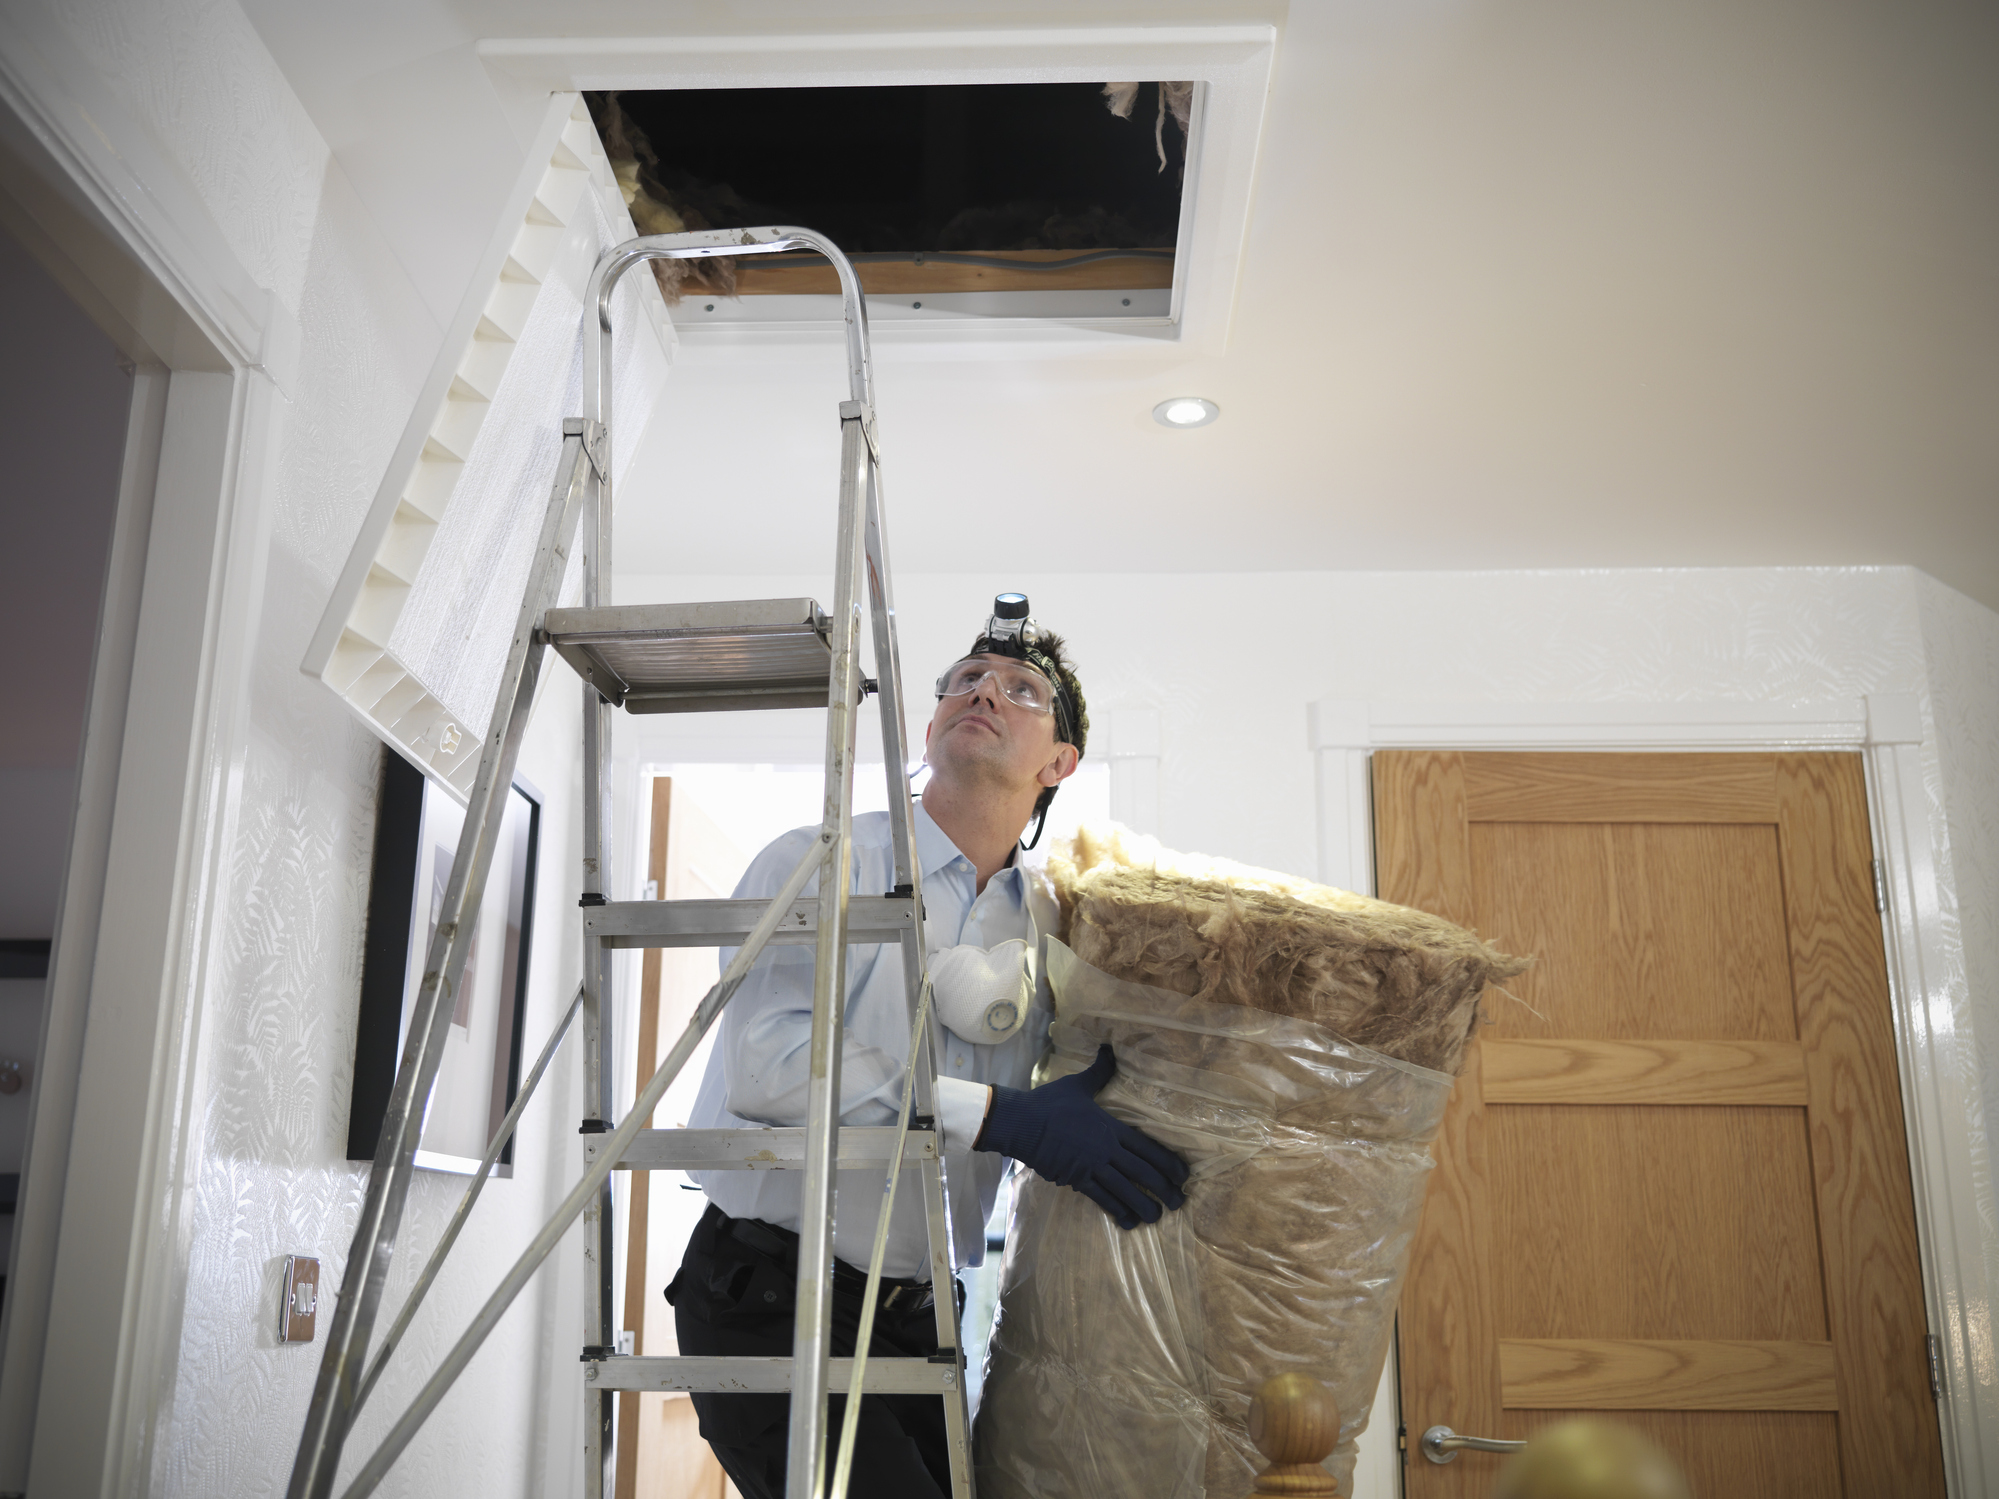

No matter what type of climate you live in, insulating your attic is an important step to keeping your home comfortable. The proper amount of insulation helps to keep your family warm in the winter and cool in the summer. Yet, the United States Department of Energy says that nine out of ten homes in the U.S. are under-insulated. That’s a staggering statistic considering homeowners can save an average of 15 percent off their heating and cooling costs when the home is properly sealed and insulated and that installing insulation is an easy DIY project. Not to mention the sustainability benefits of using less energy.
If you want to add attic insulation to your home this year, this guide will help you determine how much you need to add, the best type, and the projected cost.
- Keep reading: Attic ideas—How to make the most of unused space
How much does attic insulation cost?
According to the online home services company HomeAdvisor, the typical attic costs $1,700-$2,100 to insulate, depending on the material you use, the square footage of your attic, and any contractor’s fees.
For the DIY-er, two types of insulation are common—loose fill and batting. According to HomeAdvisor, they both cost an average of $2-5 per square foot. Other types of insulation—spray foam and structural panels—require the help of a professional and can cost as much as $7 per square foot, plus the cost for labor.
How much attic insulation you need
If you don’t feel confident enough to make the decisions about your attic insulation yourself, you can hire an energy auditor, suggests Keith Gregory, vice president of the residential division of Baker Roofing Company in Raleigh, North Carolina. “Ask a local HVAC contractor, roofing company, or your power company to refer you to one,” he says. “They’ll charge a few hundred dollars to assess your home insulation and energy situation and give a professional opinion.”
Even if you plan to do the labor yourself, Gregory likes getting professional input. “Every home is a little bit different,” he says. “And one home may even have different areas that require different treatment.” Homes with vaulted ceilings are one example, he says.
If you still want to proceed yourself, though, you first need to take a look and determine how much insulation you actually need; then choose the best type for your situation. So, grab a tape measure and a flashlight and climb up there. What do you see?
If your home was built prior to 1990, and you see loose fill insulation that’s lightweight and grainy with shiny flecks in it, you could have asbestos in there. DIY test kits are available from a local hardware store. Or, because asbestos is a hazardous material, you may want to skip any DIY assessment and immediately call in a certified asbestos removal company to inspect and possibly remove the material.
Don’t suspect asbestos? Measure the depth of the insulation in several areas. Compare the average measurement with the following chart to determine your current R-value. R-value measures the insulation efficiency of different materials. R-values range from R-30 to R-60. The higher the number, the greater the effectiveness of the material
Average estimated R-Value per inch for existing insulation
Loose fill cellulose—3.7 per inch
Loose fill fiberglass—2.5 per inch
Loose fill mineral wool—2.8 per inch
Batts fiberglass—3.2 per inch
Batts mineral wool—3.8 per inch
Batts cotton—3.4 per inch
The Department of Energy recommends the following minimum total R-values for attics in various climates.
Hot climate--R-30
Moderate climate--R-38
Cold climate--R-49
To determine the total R-value currently in your attic, multiply the insulation depth in inches by the material's average estimated R-value above. For instance, four inches of loose fill cellulose in your attic has an R-value of 3.7 times 4, or 14.8. If you live in a moderate climate, you should have at least an R-38, so you need to add the equivalent of R-23.2 more (38 minus 14.8). So, divide 23.2 by the value for loose fill cellulose, 3.7, to give you the amount of insulation you need to add. In this case, an additional 6.27 inches of insulation will give you the minimum suggested amount to adequately insulate your home.
- Keep reading: Loft conversions—25 ways to design your attic
Choosing the right insulation for your home
Attic insulation comes in several different types and materials. The best options for the DIY-er include loose fill and batts. Otherwise, a professional can install spray foam or structural panels.
Loose fill insulation comes in bags that you blow in using a rented machine or spread by hand. Renting the machine makes the job easier, cleaner, and faster. Loose fill is the best option for attics with little headroom or a lot of obstructions. Loose fill insulation comes in the following materials:
Cellulose—This recycled paper treated to repel insects and resist fire is the most common blow-in material. With the highest R-value, it’s suitable for the coldest climates. Only use if your attic is properly ventilated to reduce moisture, as it can mold.
Fiberglass—Made from spun glass, this material has the lowest R-value and settles more than other materials. Best suited for warm climates.
Mineral wool—Made from rock or glass this offers natural fire resistance. It’s more costly than other options but its mid-range R-value makes it perfect for temperate climates.
Batt insulation comes in sheets or rolls in widths to fit standard joist spacing. The insulating material may be backed with paper or foil and is the easiest to install. To achieve the optimal R-value, you may need to install several layers. Batt insulation is the best option for attics with enough headroom to move around and few obstructions that would require cutting the batts to fit. It comes in the following materials:
Fiberglass—The most popular batt insulation, fiberglass is the least expensive and the least effective. Also, the fibers can irritate skin and lungs.
Mineral wool—Not as effective as cotton and more expensive.
Cotton—Made from recycled denim fabric, cotton batts are more effective than fiberglass but the most expensive material.
Preparing to insulate the attic
While insulating an attic is a relatively easy DIY project that you can do in an afternoon or weekend, you’ll want to prepare for the event with the below steps.
Clean everything out. Do you store things in your attic? If so, you’ll need to remove attic storage and any flooring material like plywood to expose all the joists. “Be careful not to move the insulation around,” says Gregory. “You don’t want to compress what you do have.”
Inspect for air leaks. Why add insulation when you have air leaking out through gaps around windows, the chimney, or holes drilled for wiring. If you find air leaks, fill them with a foam or caulking suitable for the location.
Measure the existing insulation. As explained above, you’ll want to measure the insulation you currently have and calculate how much you need to add.
Purchase the materials. If you already have insulation in your attic, you don’t need to purchase the same kind, according to the Department of Energy. You can add loose fill over batting. But if you add batting over loose fill, purchase batting without the paper or foil facing. And remember, if you’re adding loose fill, you probably want to rent a blower to install it.
Other pro tips for installing attic insulation
1. Don’t cover the vents in your soffits with insulation as you’ll block the airflow that keeps moisture out of the attic.
2. Start on the perimeter and work your way to the entry so you’re not forced to walk on the insulation you just installed.
3. Keep all insulating material at least 3-inches away from recessed lighting fixtures to prevent fires.
4. Wear personal protective equipment—dust mask, goggles, gloves, long sleeves, and long pants—to protect yourself from the fibers. Shower when done and wash your clothes.
Join our newsletter
Get small space home decor ideas, celeb inspiration, DIY tips and more, straight to your inbox!
Carol J. Alexander writes website copy, blog posts, and feature articles on home remodeling and construction topics from her home in the Shenandoah Valley of Virginia. In addition to Real Homes, notable clients include, This Old House, Family Handyman, and Florida Roofing magazine.
-
 Anthony Carrino reveals $8 product all renters need to help keep their home warm
The designer known for his HGTV show 'Kitchen Cousins' shares his window insulation tip to keep your home warm
By Millie Hurst Published
-
 5 ways to stop drafty doors fast — seal air leaks with help from the experts
Learn how to stop drafty doors if you're feeling a chill. Sealing air leaks is easily done DIY with quick fixes from home experts.
By Anna K. Cottrell Last updated
-
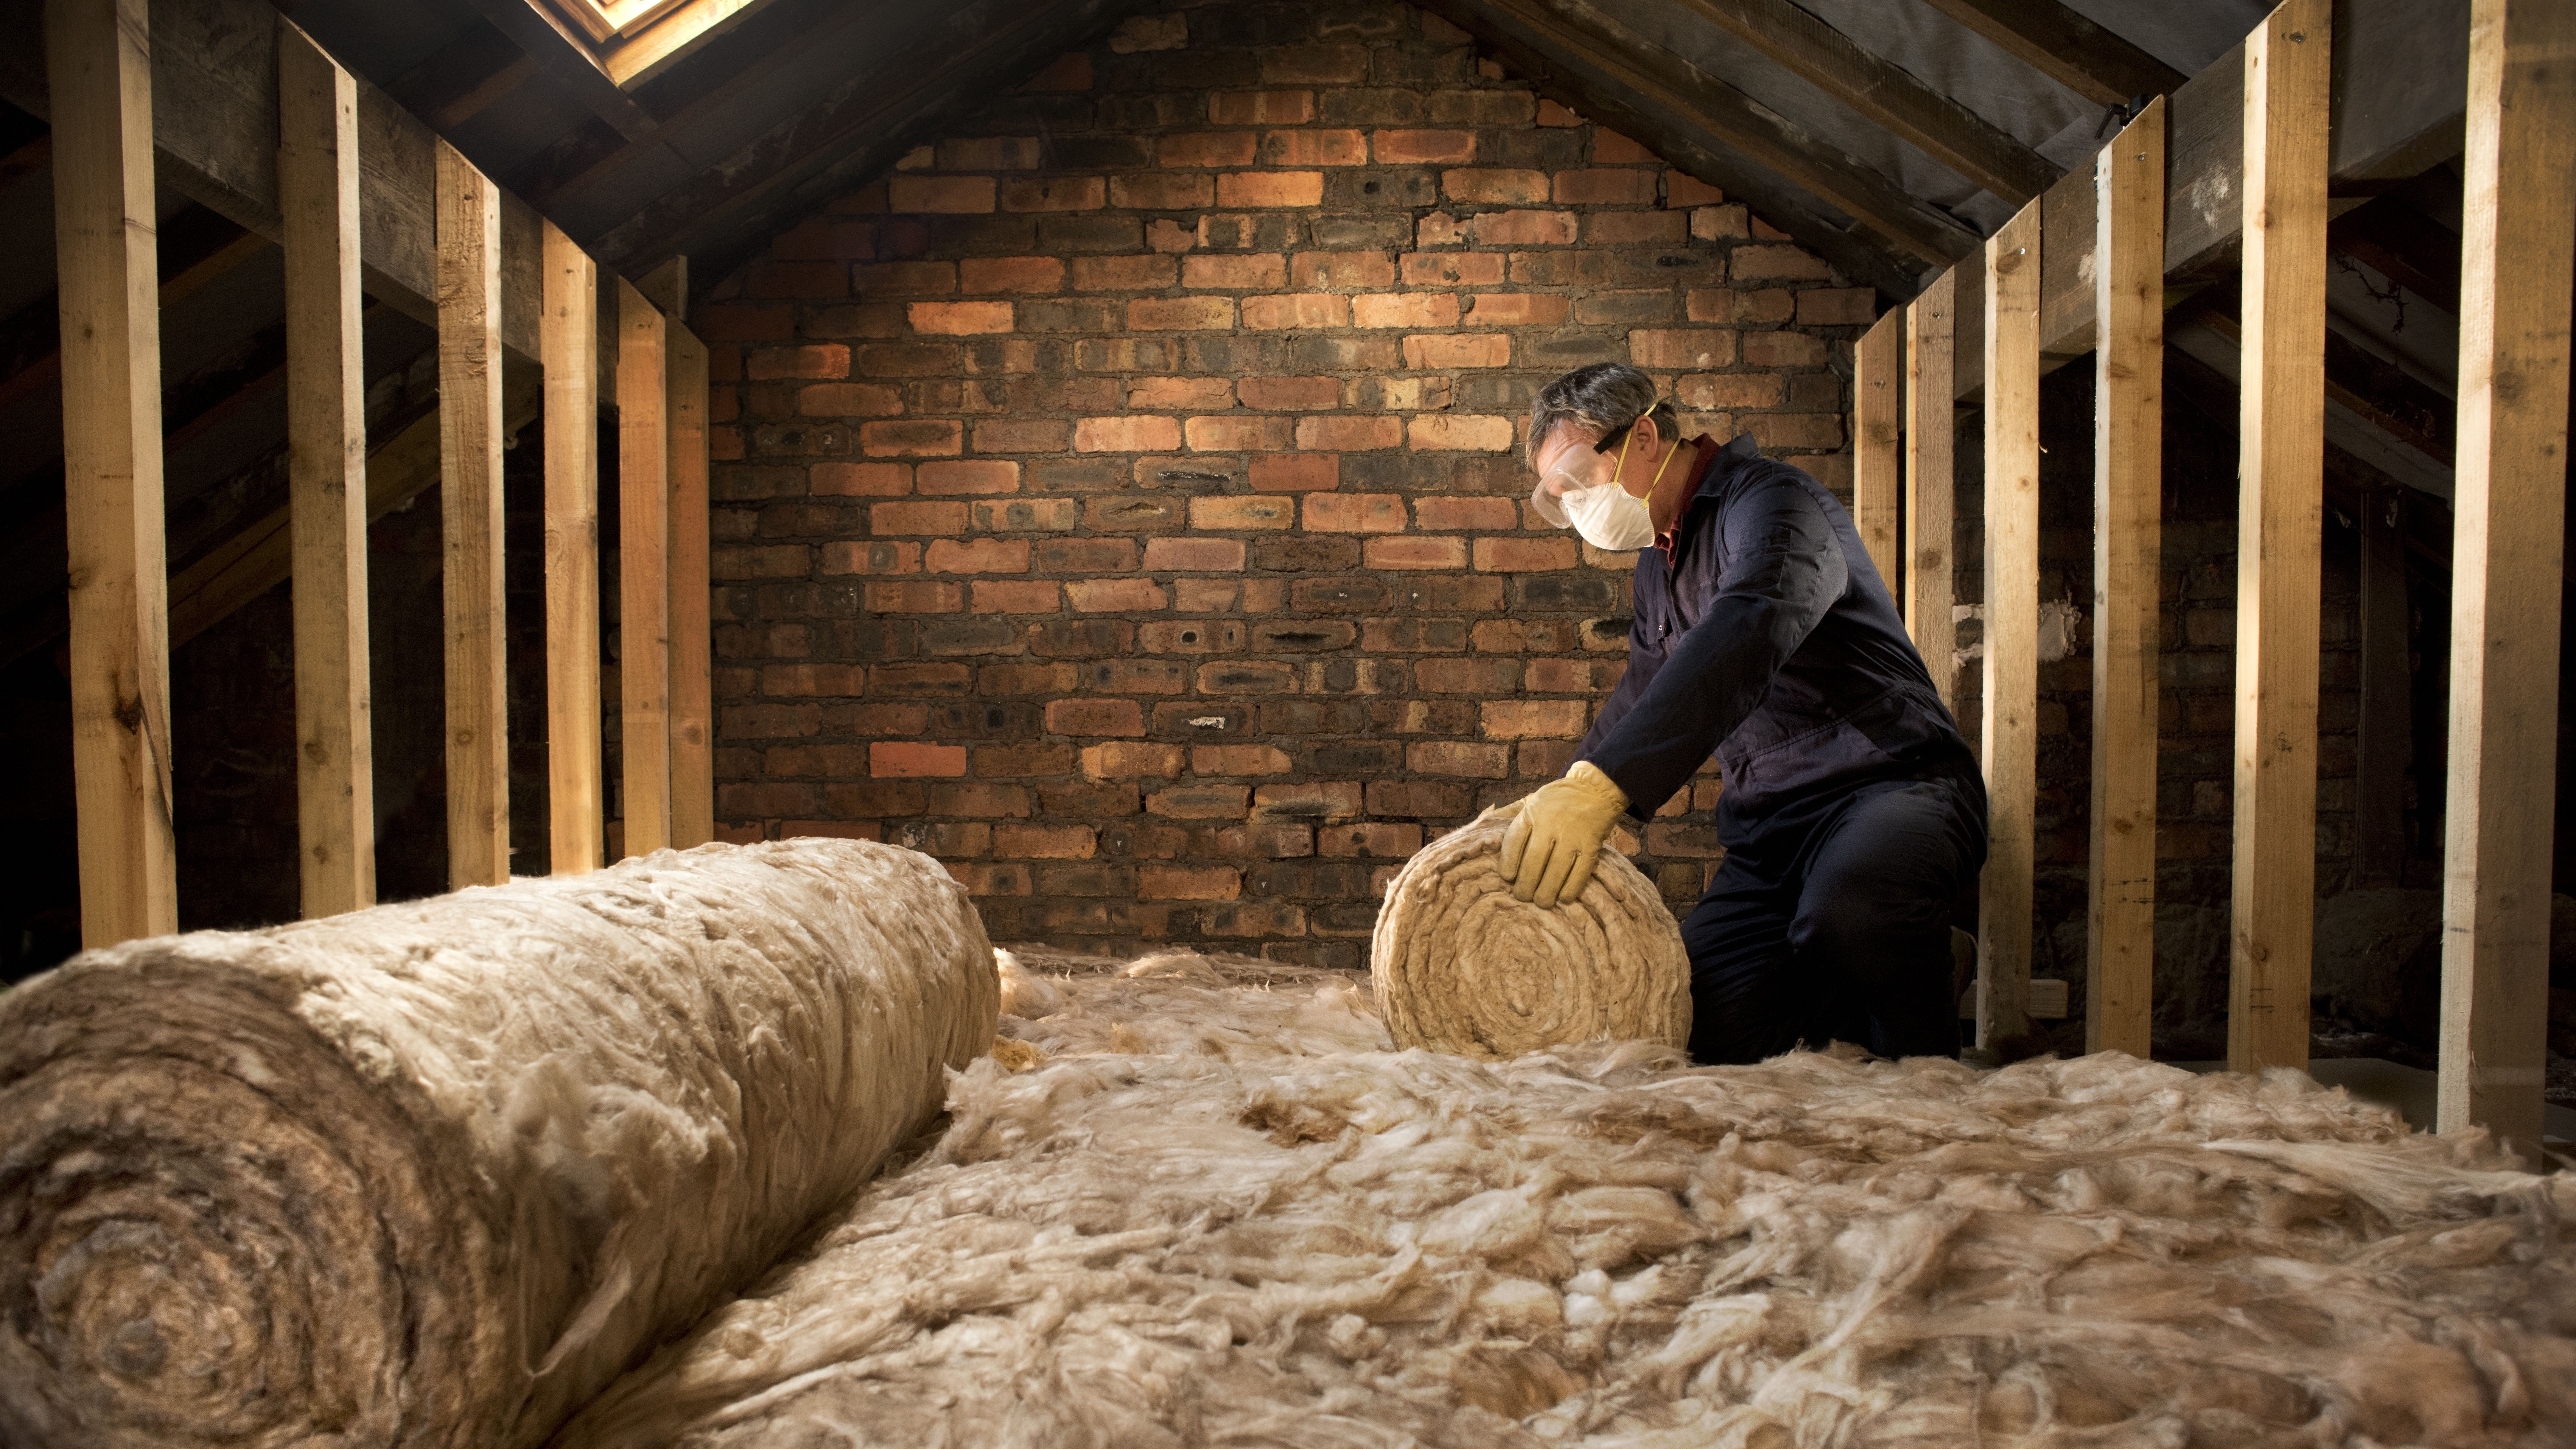 Loft insulation – a guide to lagging a roof or attic room
Good loft insulation is a must to reduce heat loss and reduce energy bills. This is what you need to know about cold and warm roofs.
By Roger Hunt Last updated
-
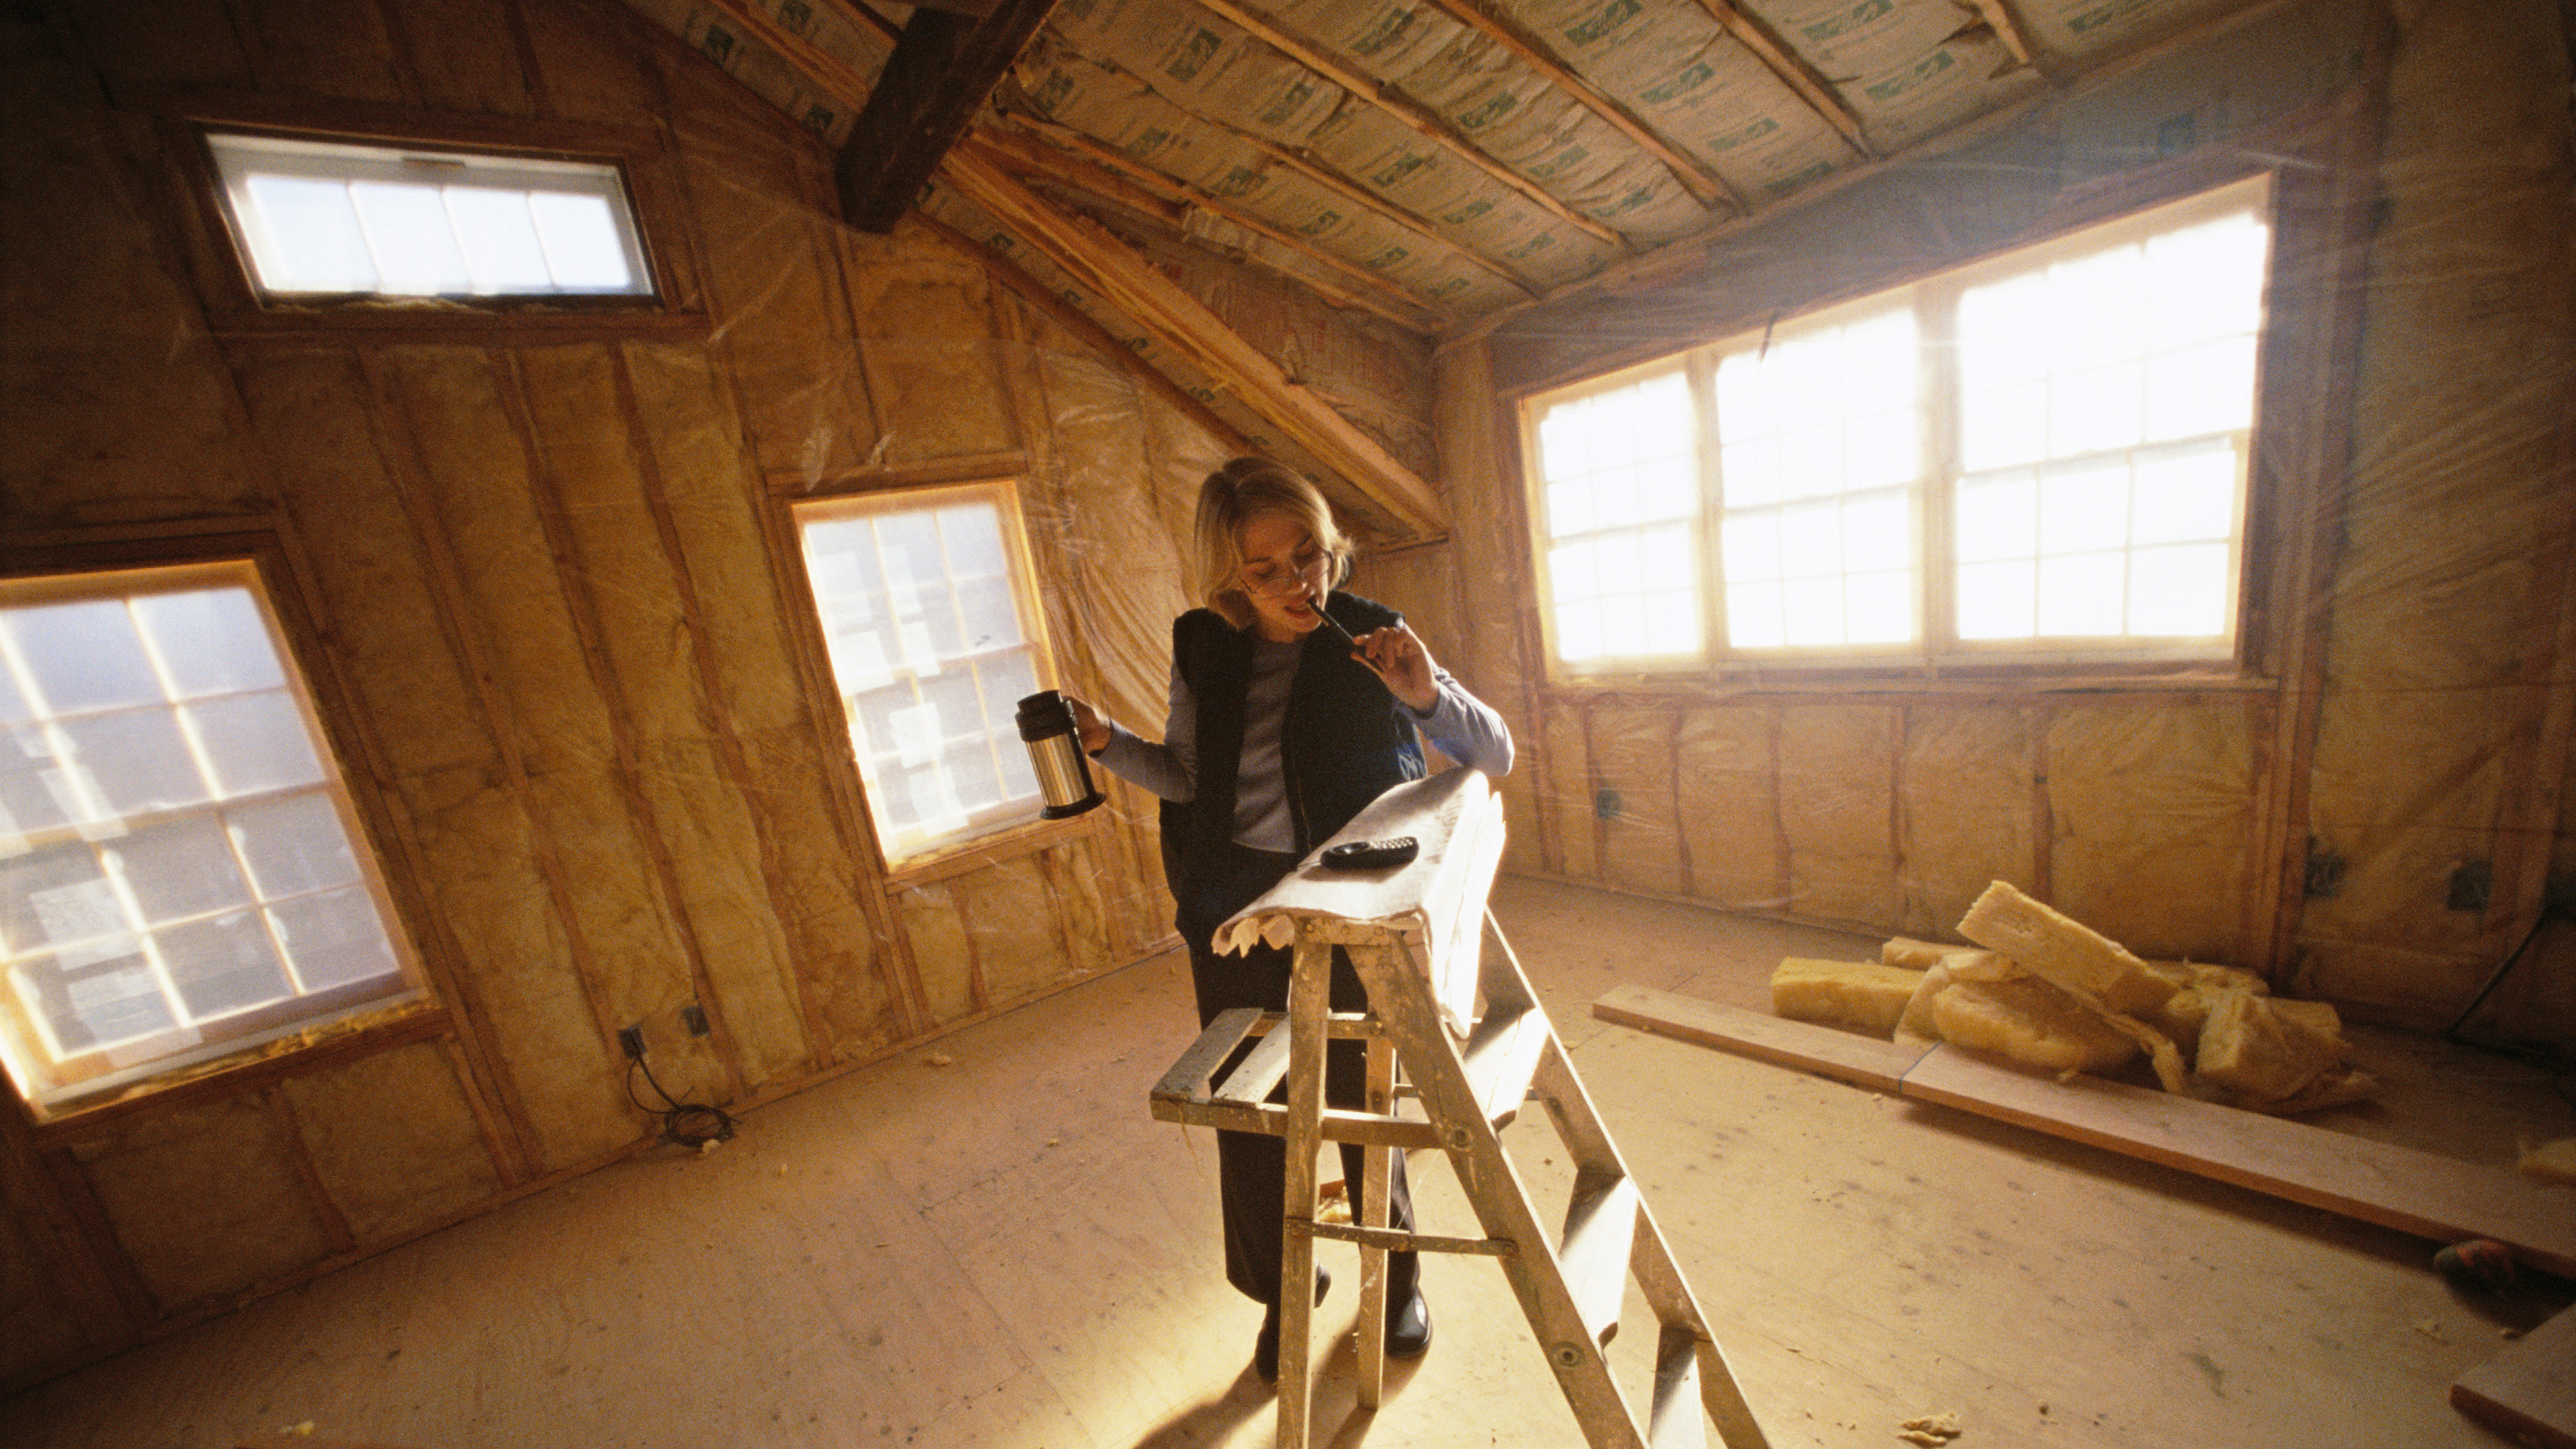 Insulation types: from sheep's wool to rigid board, which is right for your home?
Choosing between different home insulation types can be a minefield, but get it right and your reward will be a warmer home and lower energy bills. Discover which insulation material is best for your project with our essential guide
By Roger Hunt Last updated
-
 Want to buy a wood burning stove that complies with the new air quality laws? This one does
The Morso 06 wood burning stove is being relaunched ahead of the tighter legislation on wood burners coming in 2022
By Anna Cottrell Published
-
 PassivHaus: how to meet eco standards when renovating
With the promise of super low energy bills and improved comfort levels, PassivHaus has many benefits but there are key considerations, too
By Jason Orme Published
-
 Cavity wall insulation: an essential guide
Sustainable architectural and interior designer Oliver Heath shares his knowledge on cavity wall insulation and how it could improve your home’s energy efficiency
By Oliver Heath Published