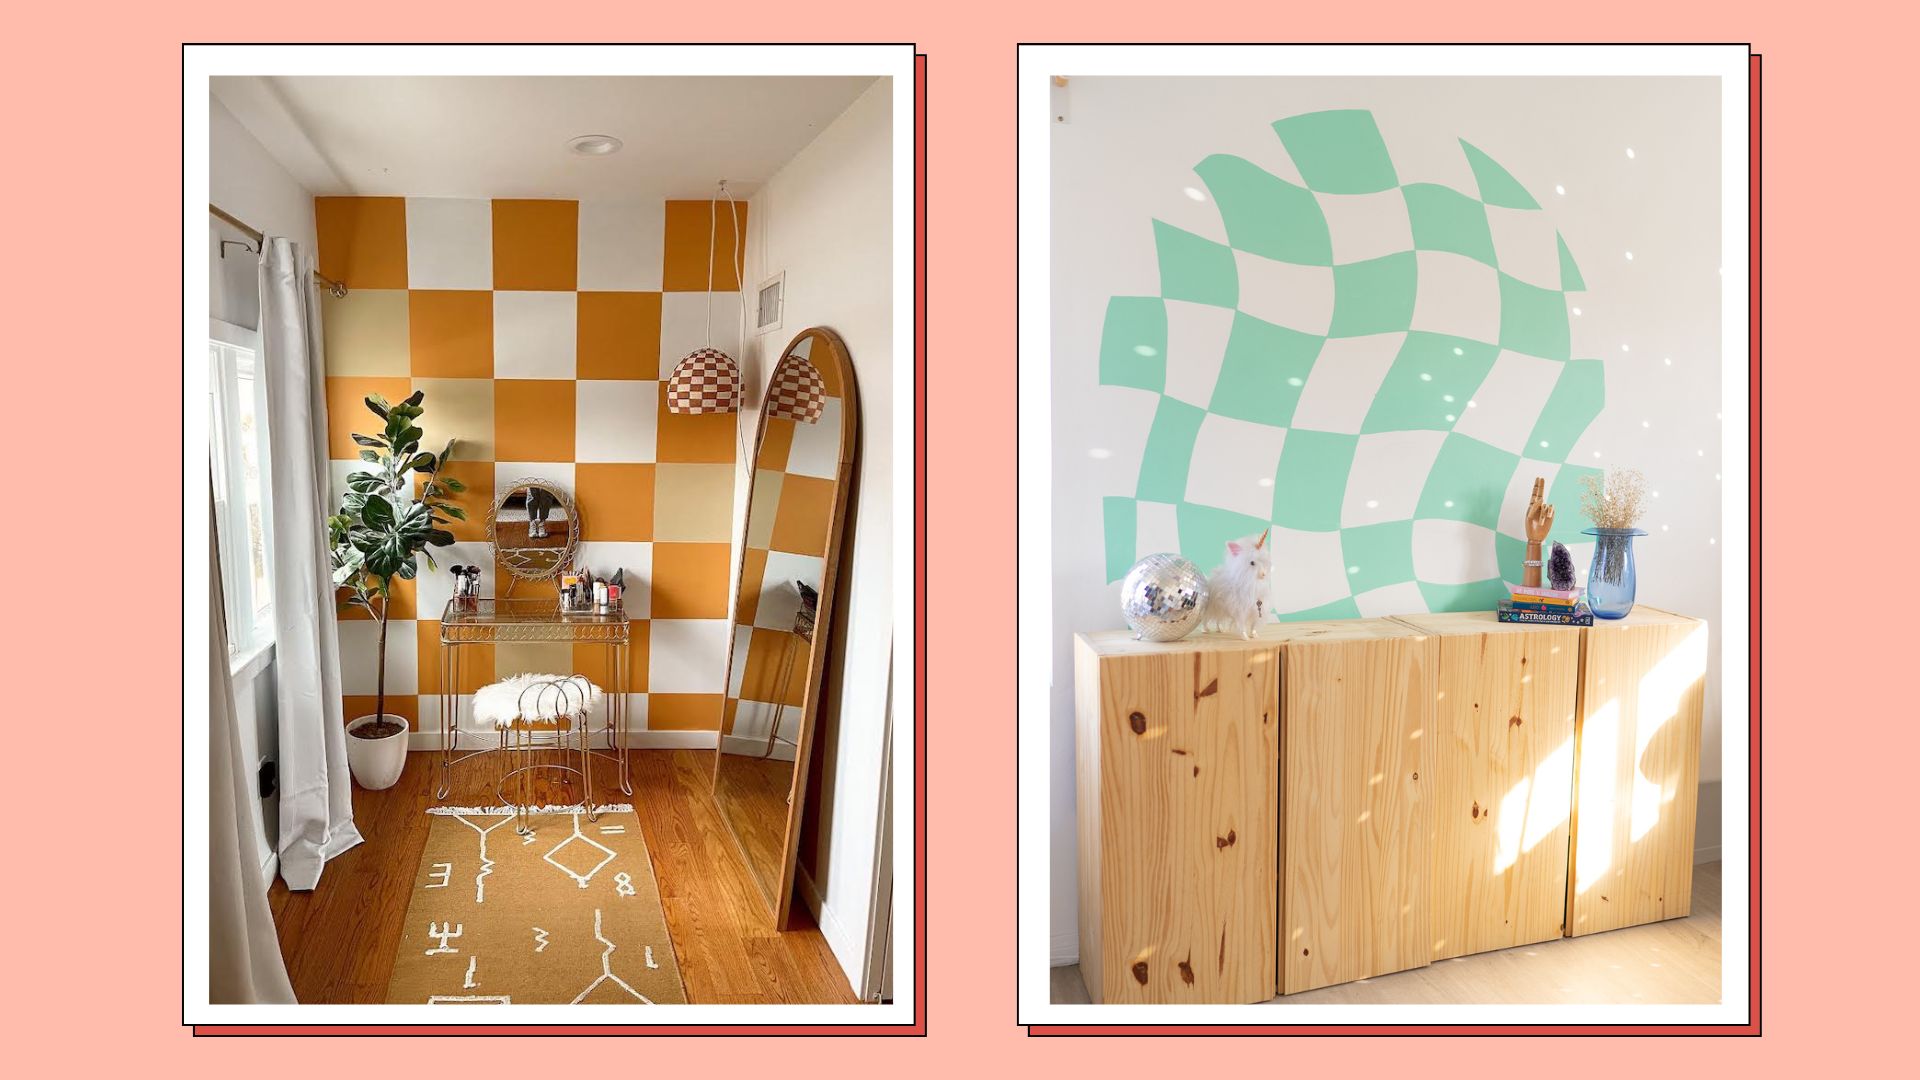

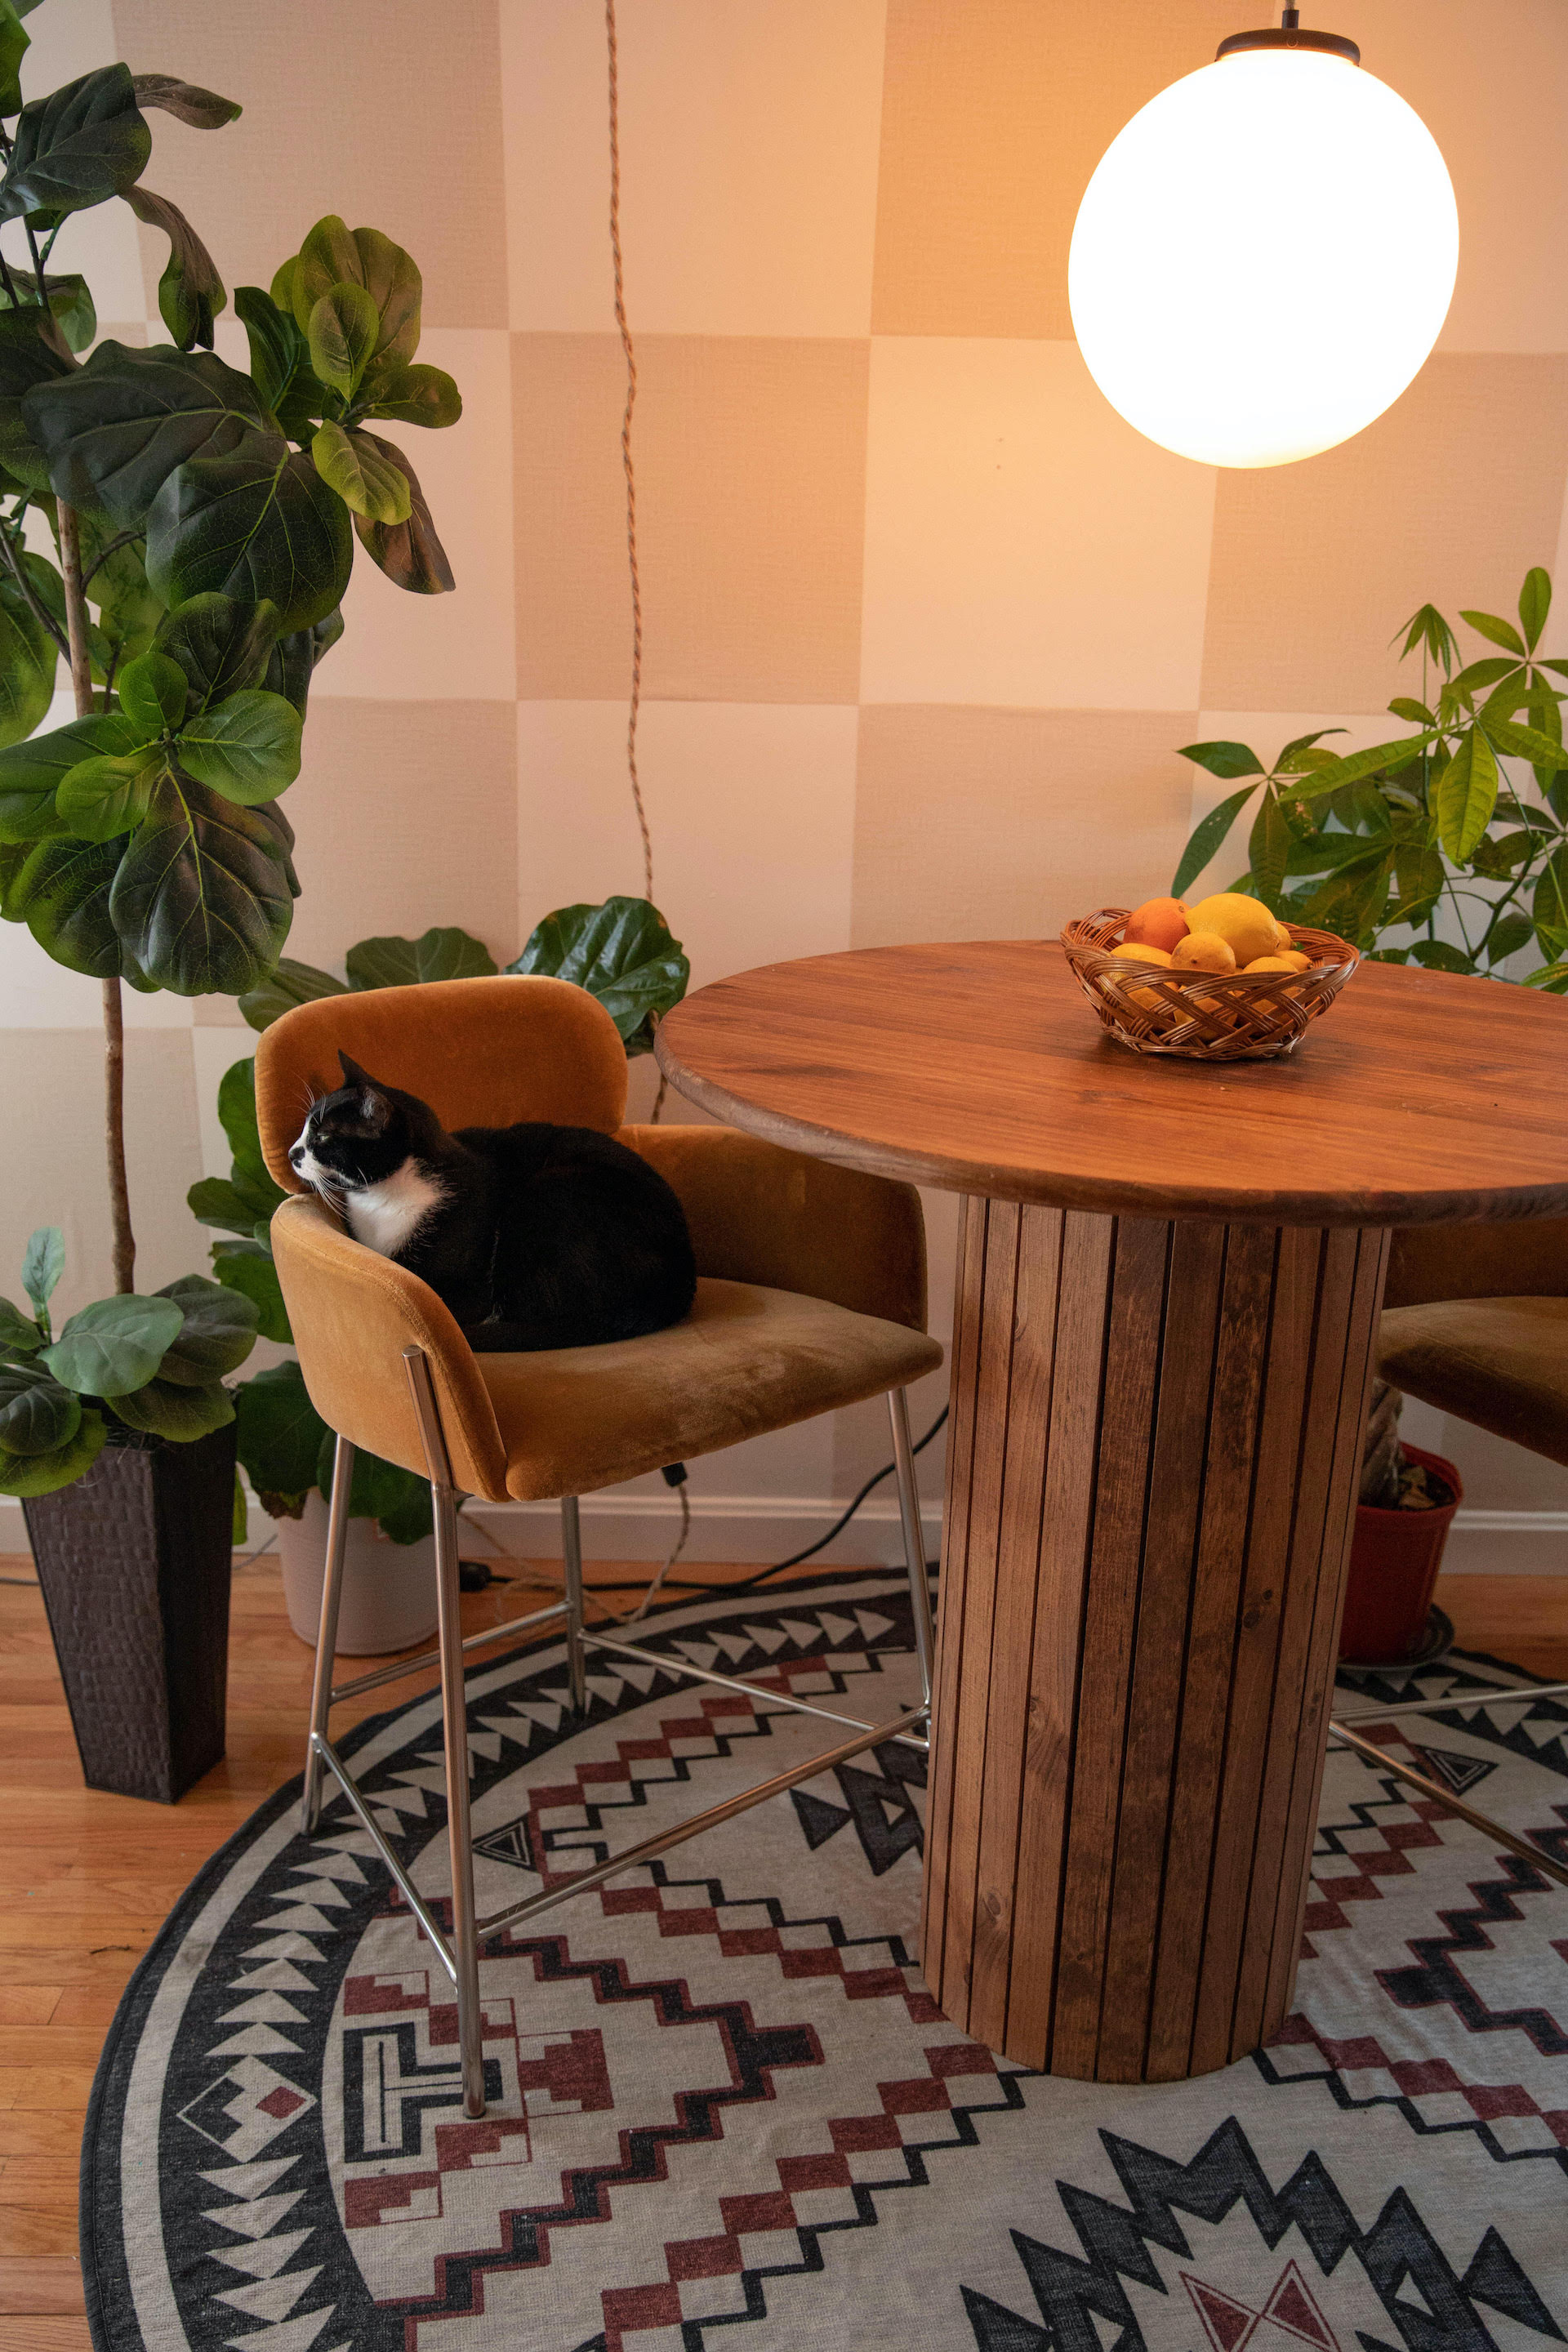
In need of a statement? Checkerboard walls ask us to think outside the box...even though we're painting inside them. TikTok's go-to DIY calls for sweet pastels and perfectly complements the trendy rugs and beloved indoor plants we've been dying to show off. When all is said and done, a monochromatic dream awaits!
"Because the iconic checkerboard pattern is such a nod to '80s style, it made sense that DIY tastemakers started to take the pattern to the walls," says Sue Wadden, Sherwin-Williams' director of color marketing. "The look is so graphic and modern!"
And since checkered home decor is also on the rise, might as well fully embrace the look, right?
How to create checkerboard walls
@steffydegref ♬ Trigger Of Love - JAWNY
1. Plan it out
Creator Mitty Moon insists that prep work will make the straightforward process more seamless.
"Take photos of the potential project walls and sketch designs on top of the photos," she suggests. "Doing this will give you an idea of how the finished outcome will look."
Once you feel as though you're ready to go Van Gogh, Wadden recommends painting the base coat onto the wall using the lighter of the two colors you've chosen. Let it sit for at least four hours.
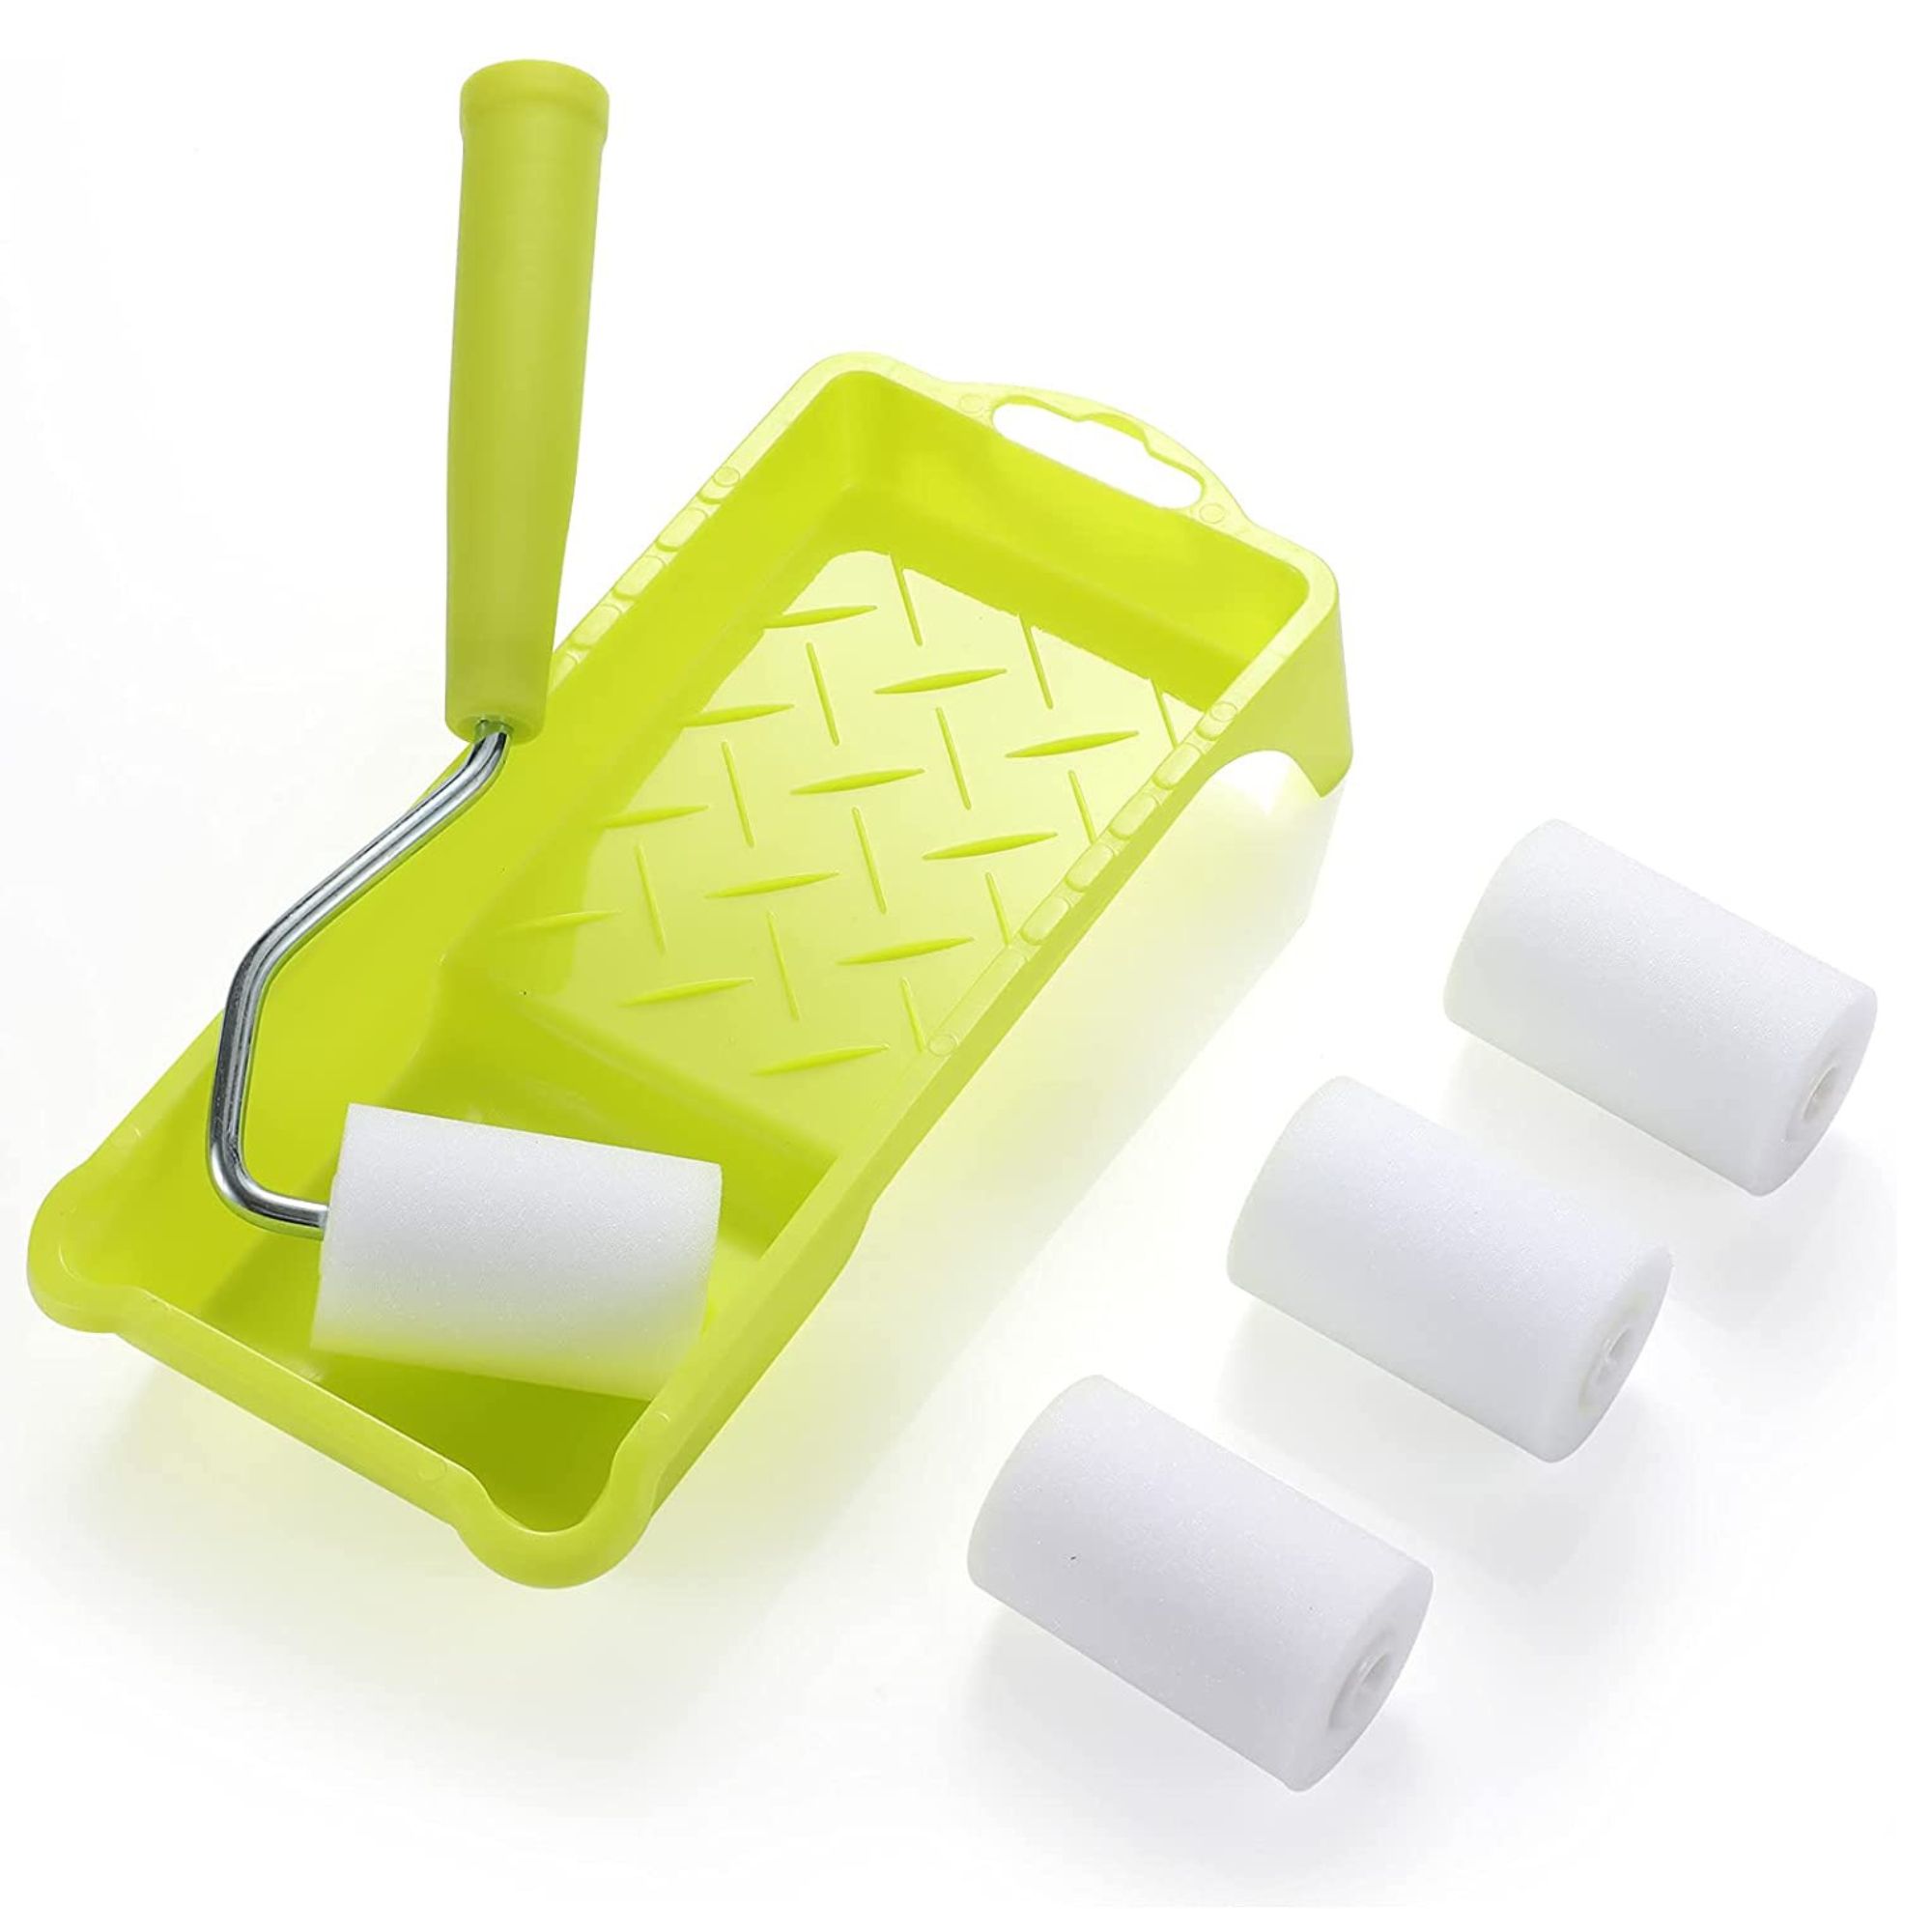
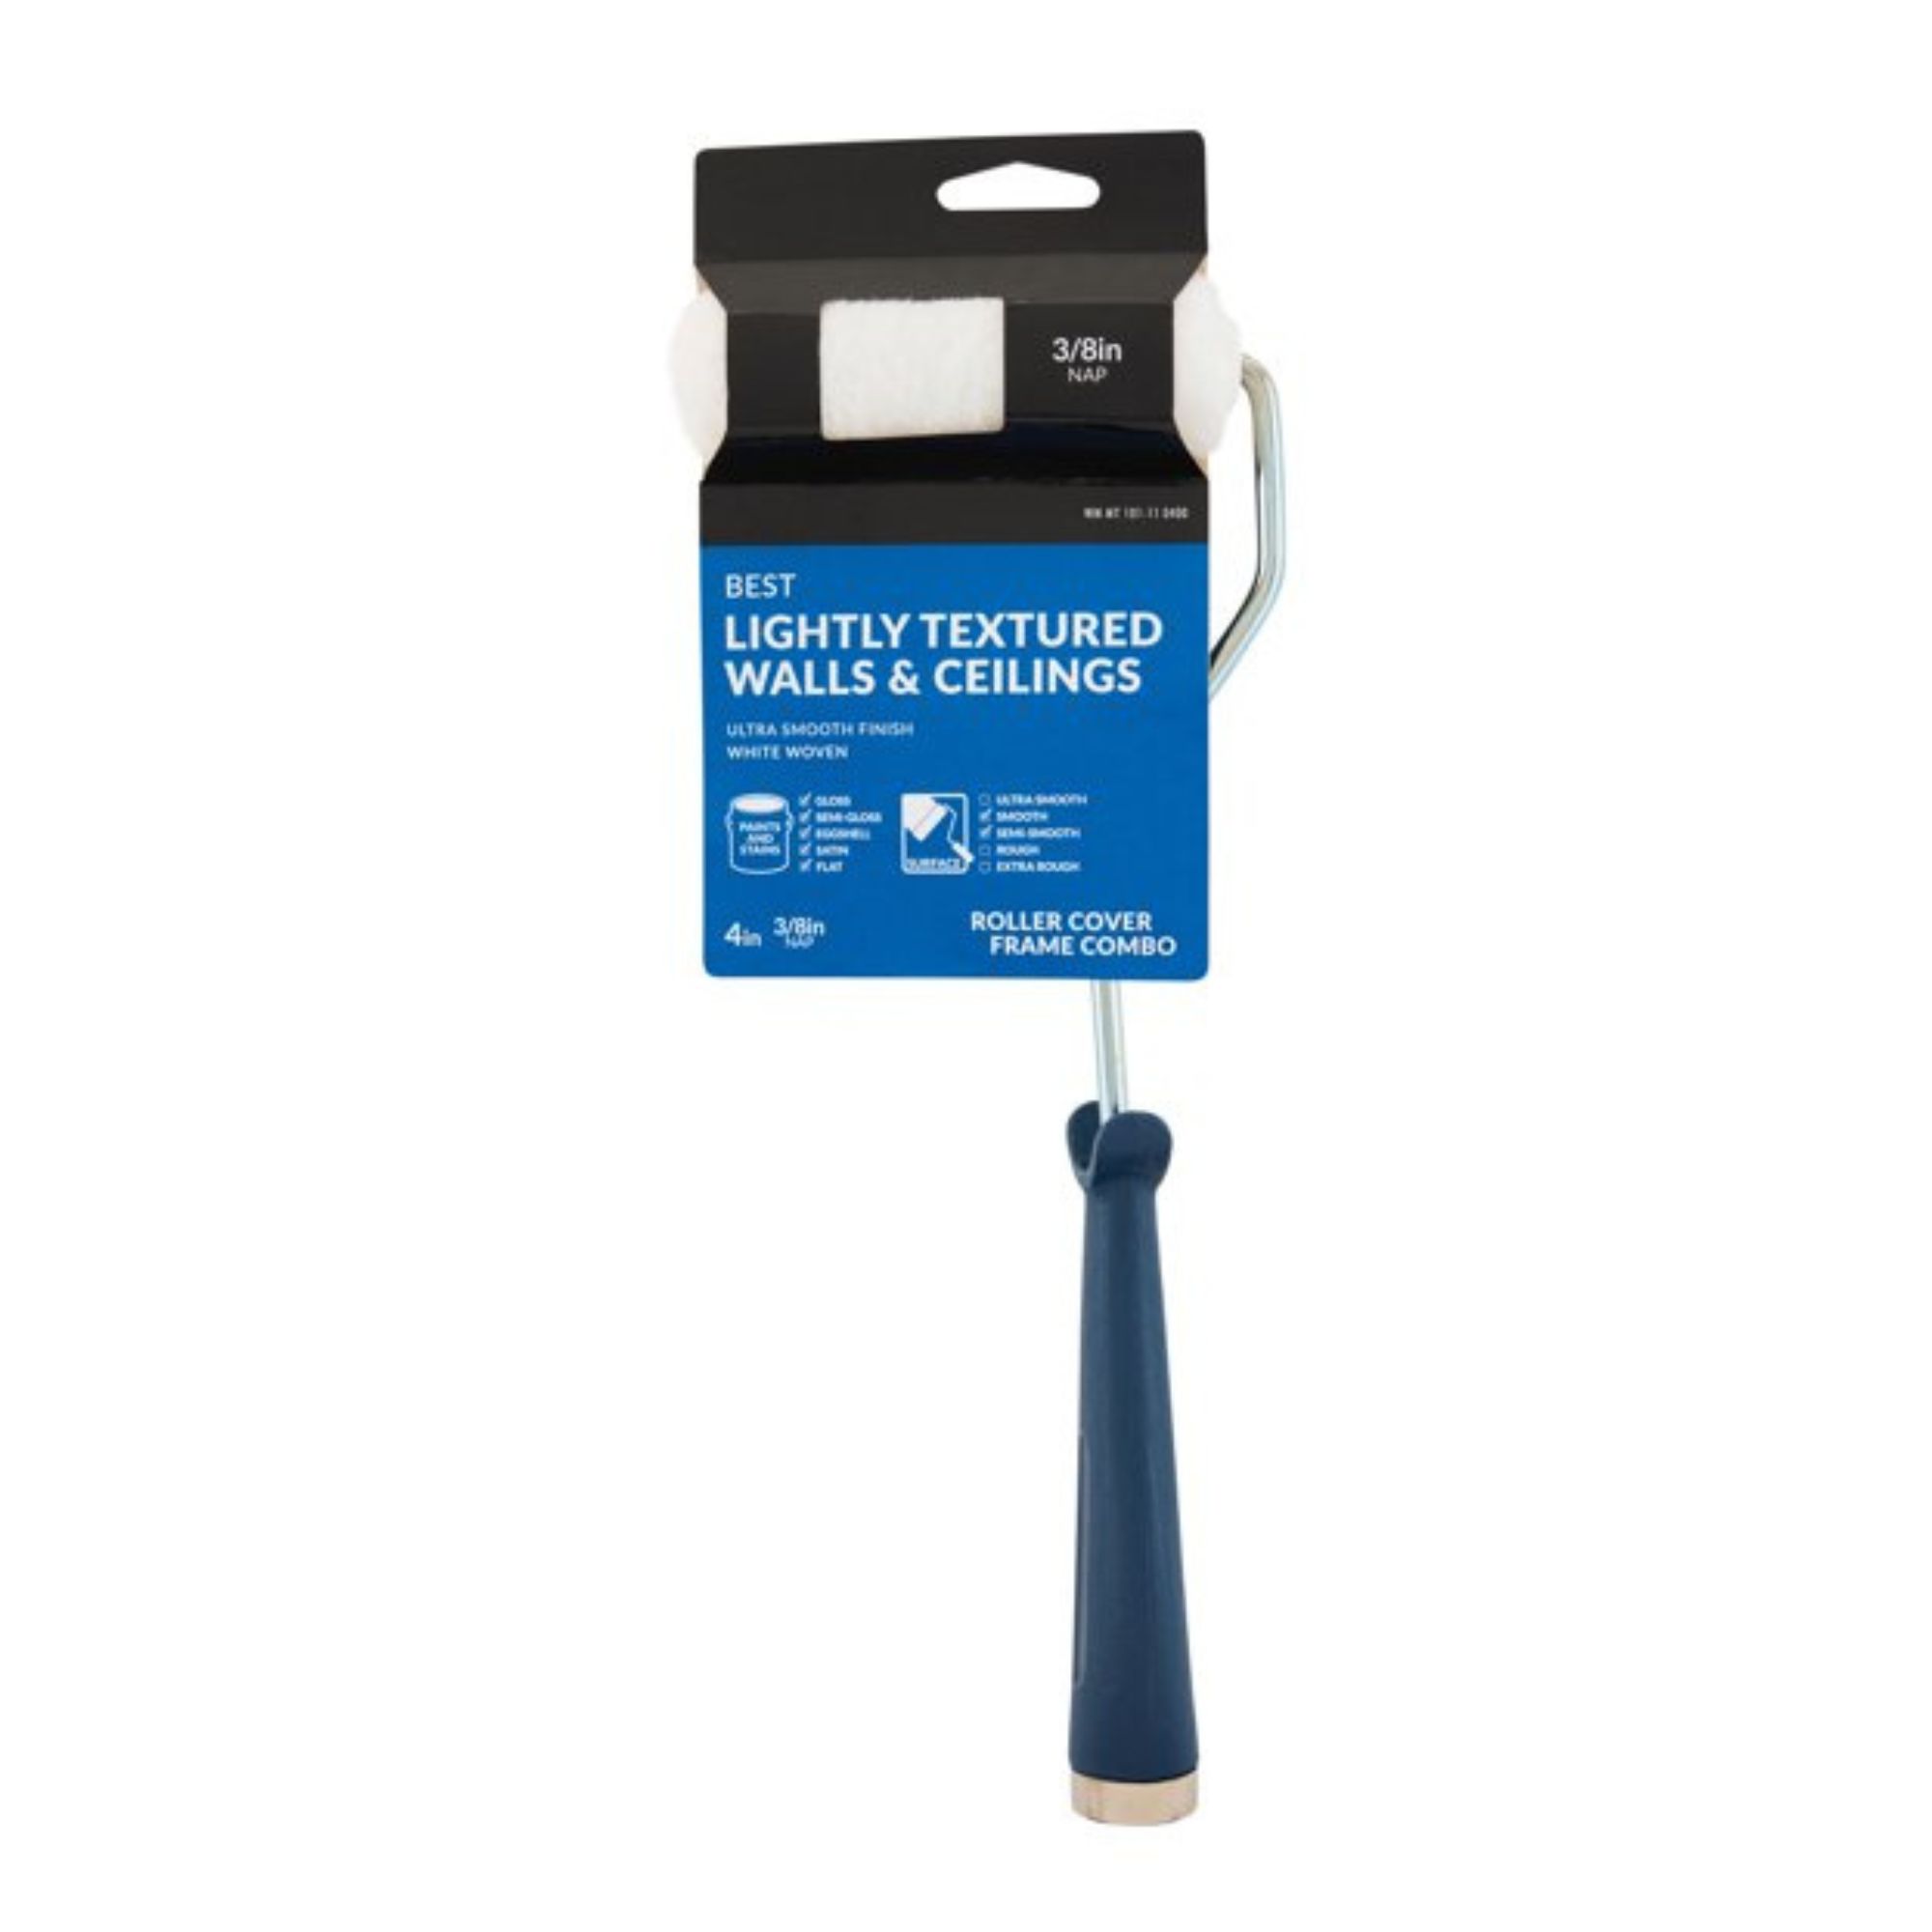
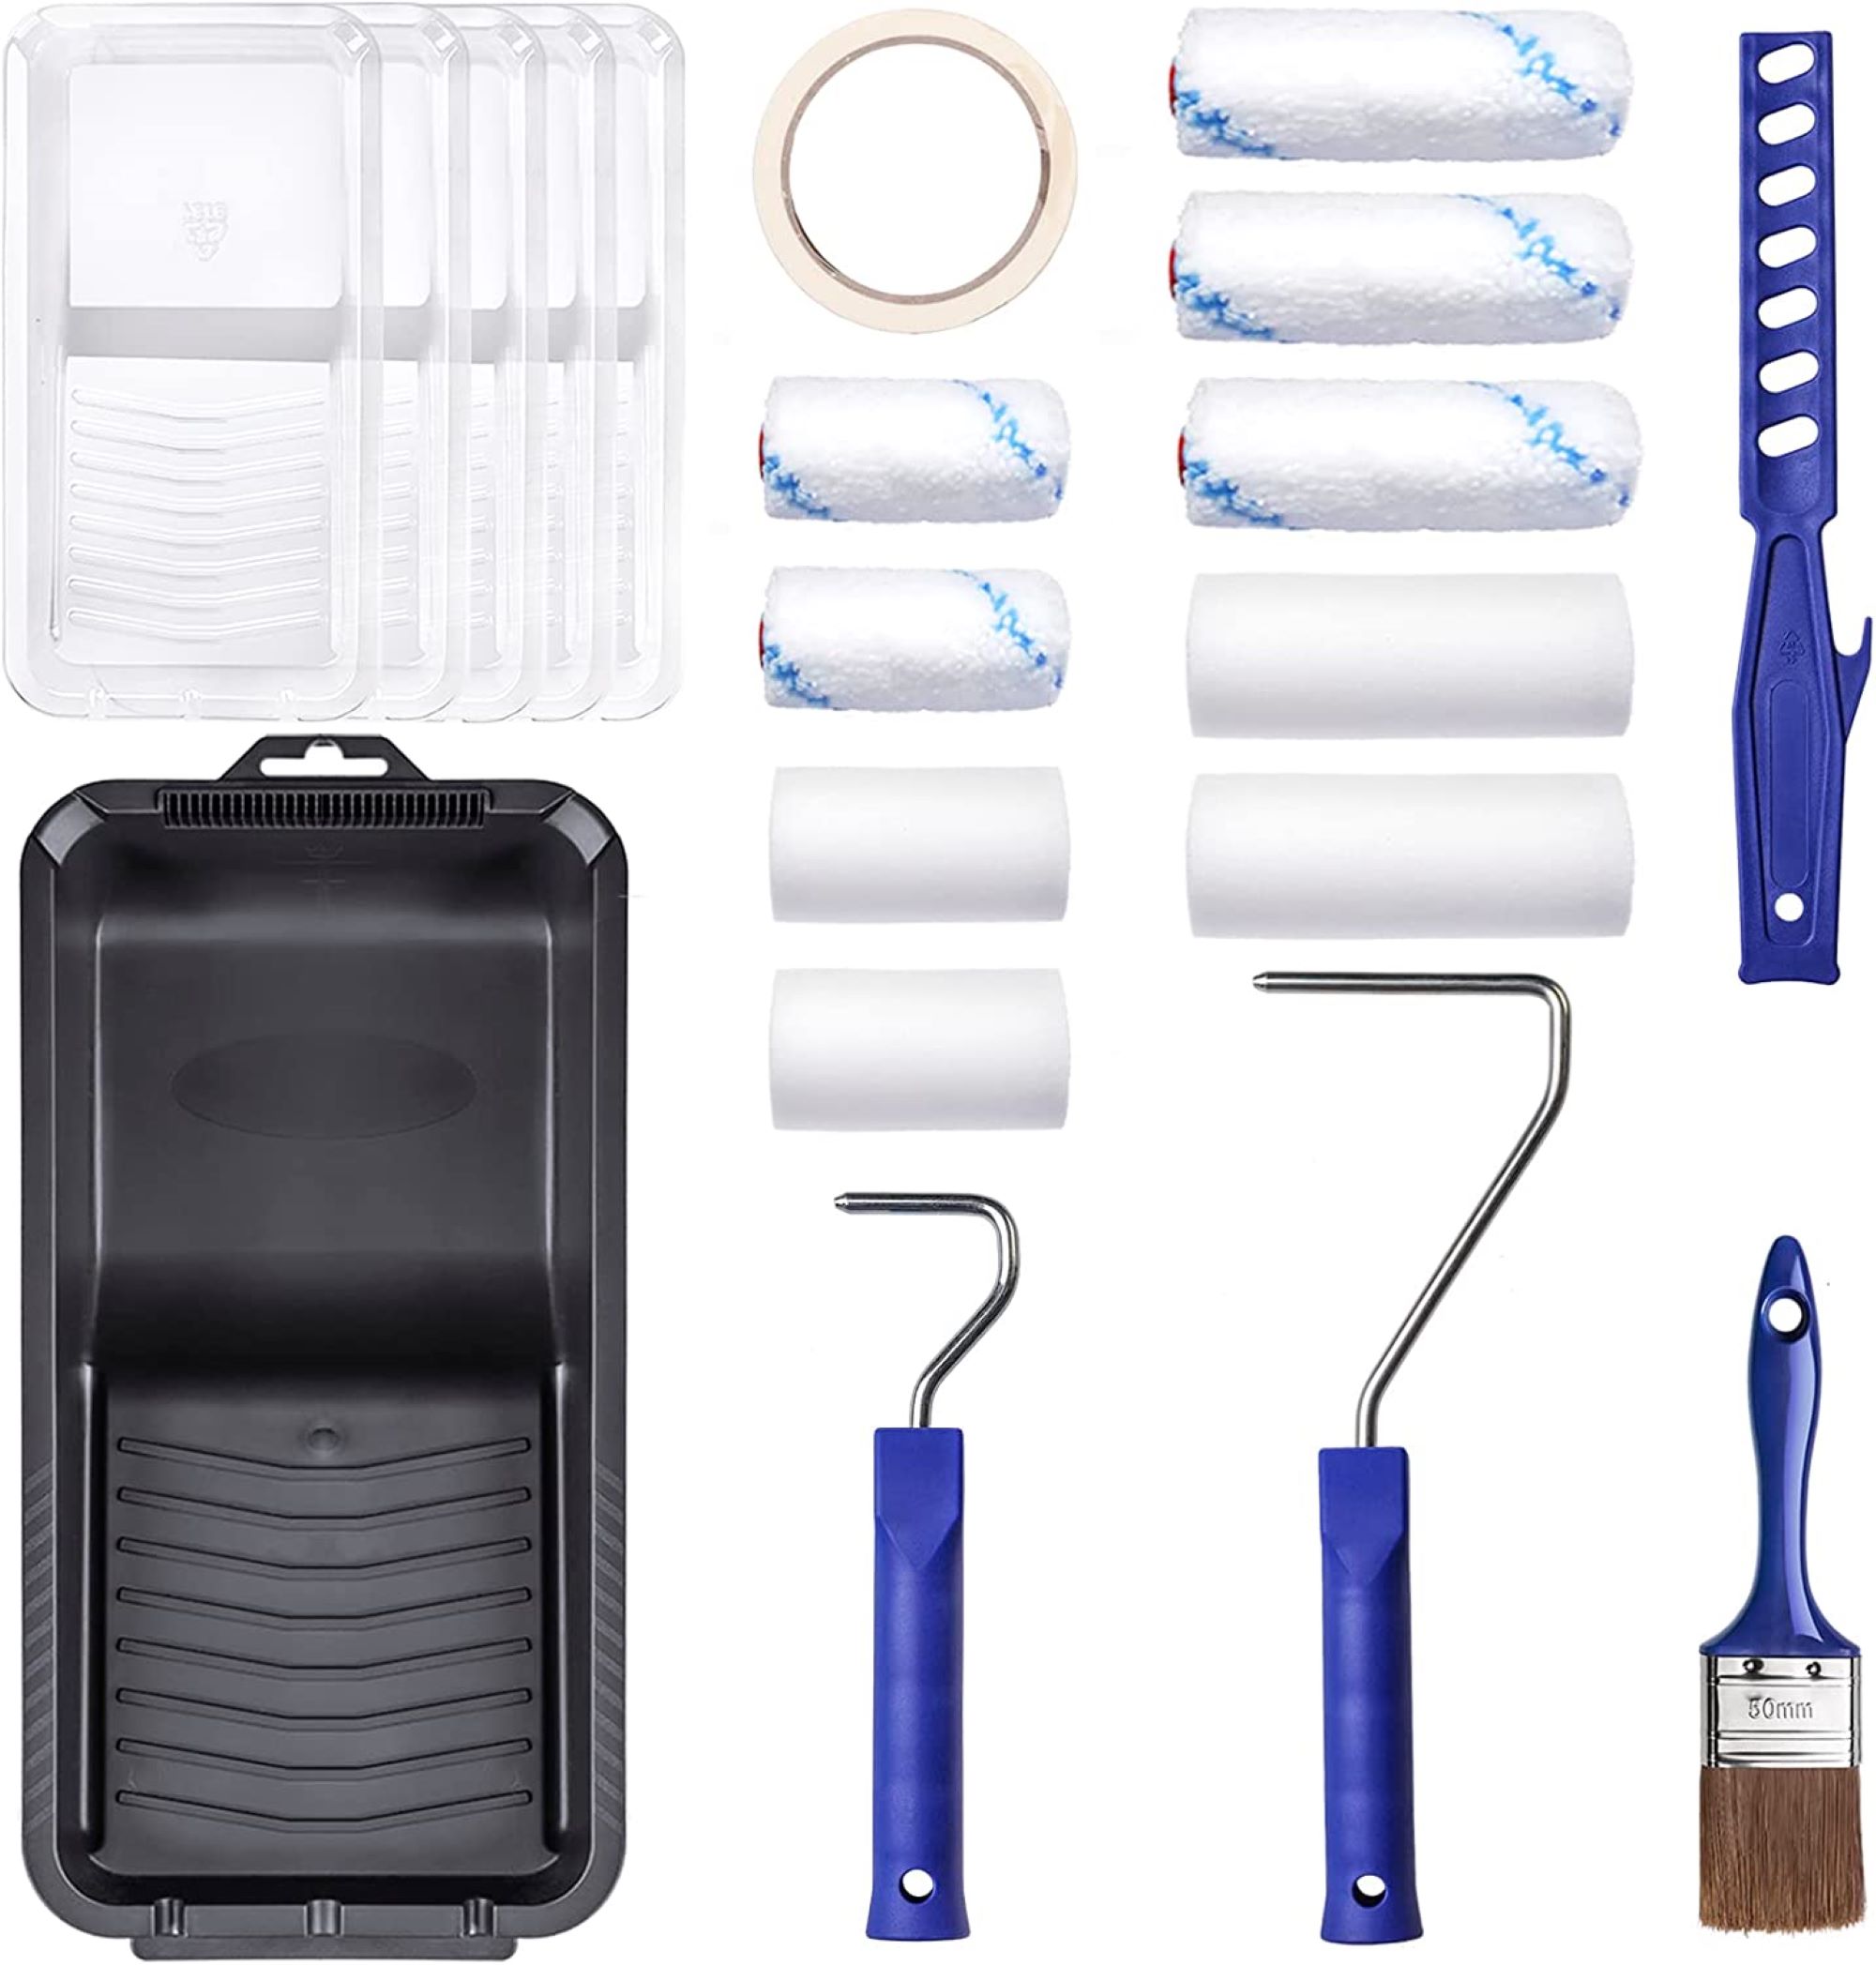
2. Measure and begin prep work
Measure the wall for length and height, and then divide the length and height by the squares' size. Once your math has been calculated, it's time to lay out a grid on the wall, and you'll need accessories.
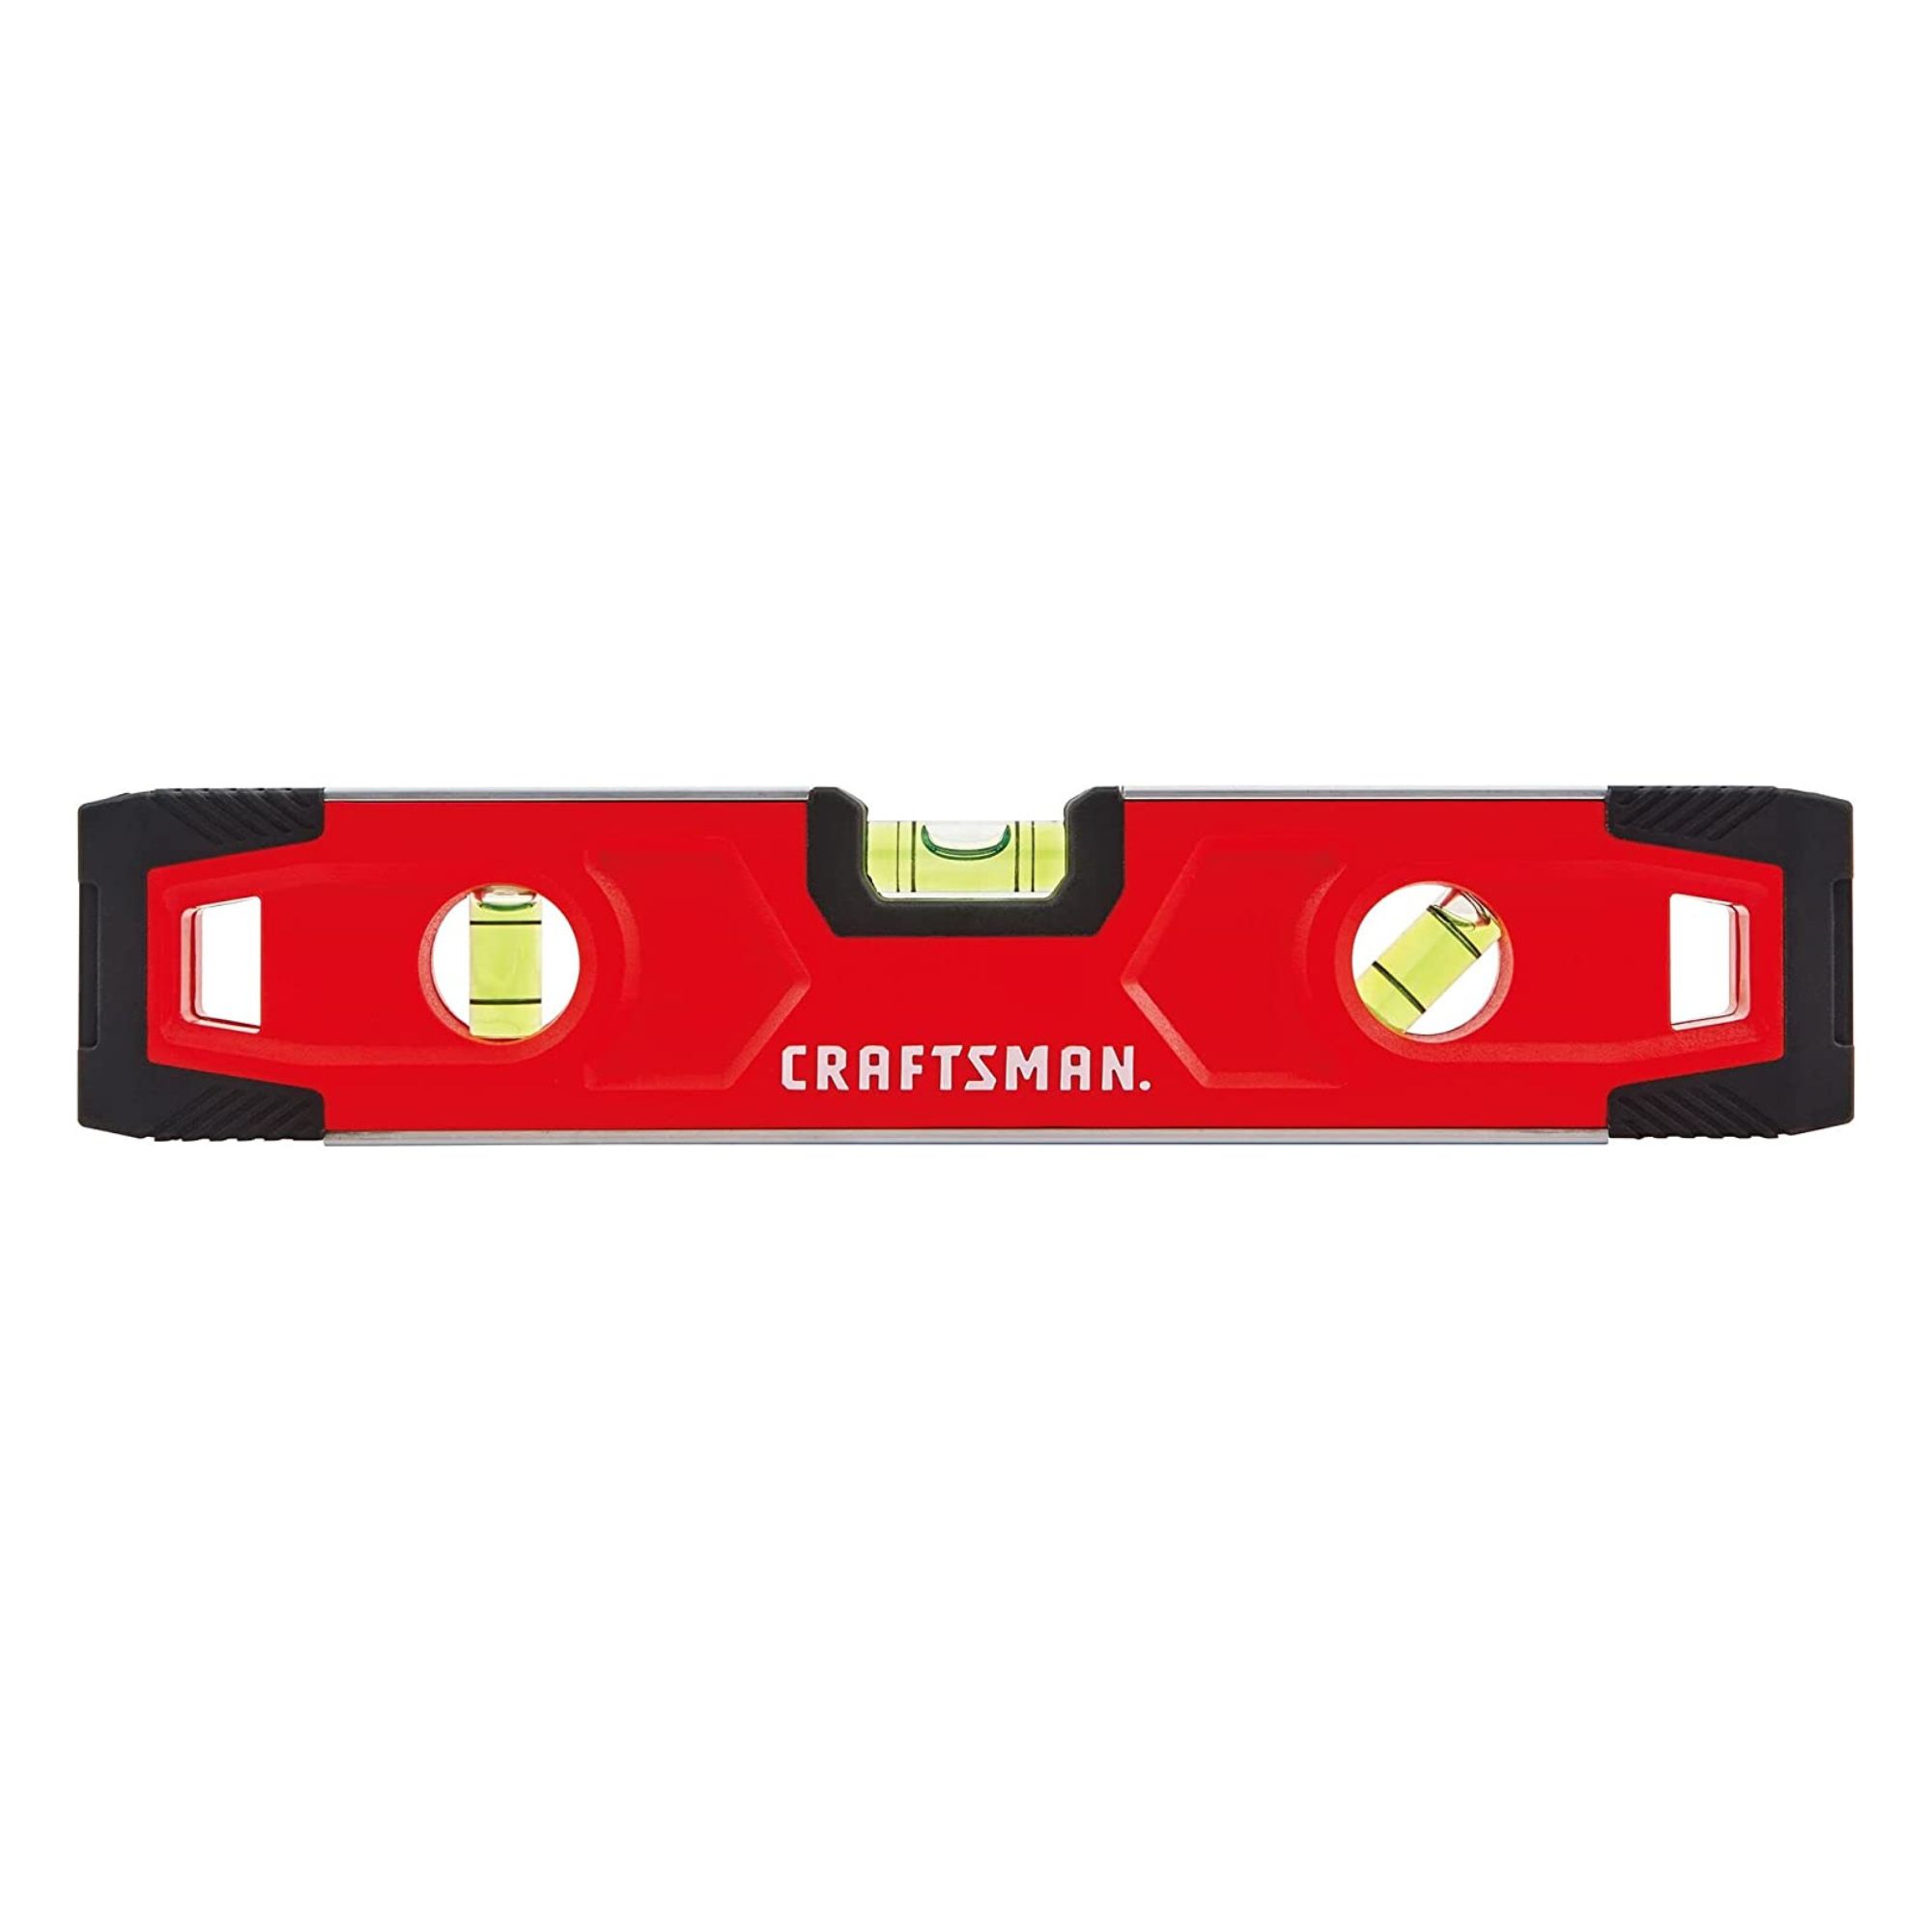
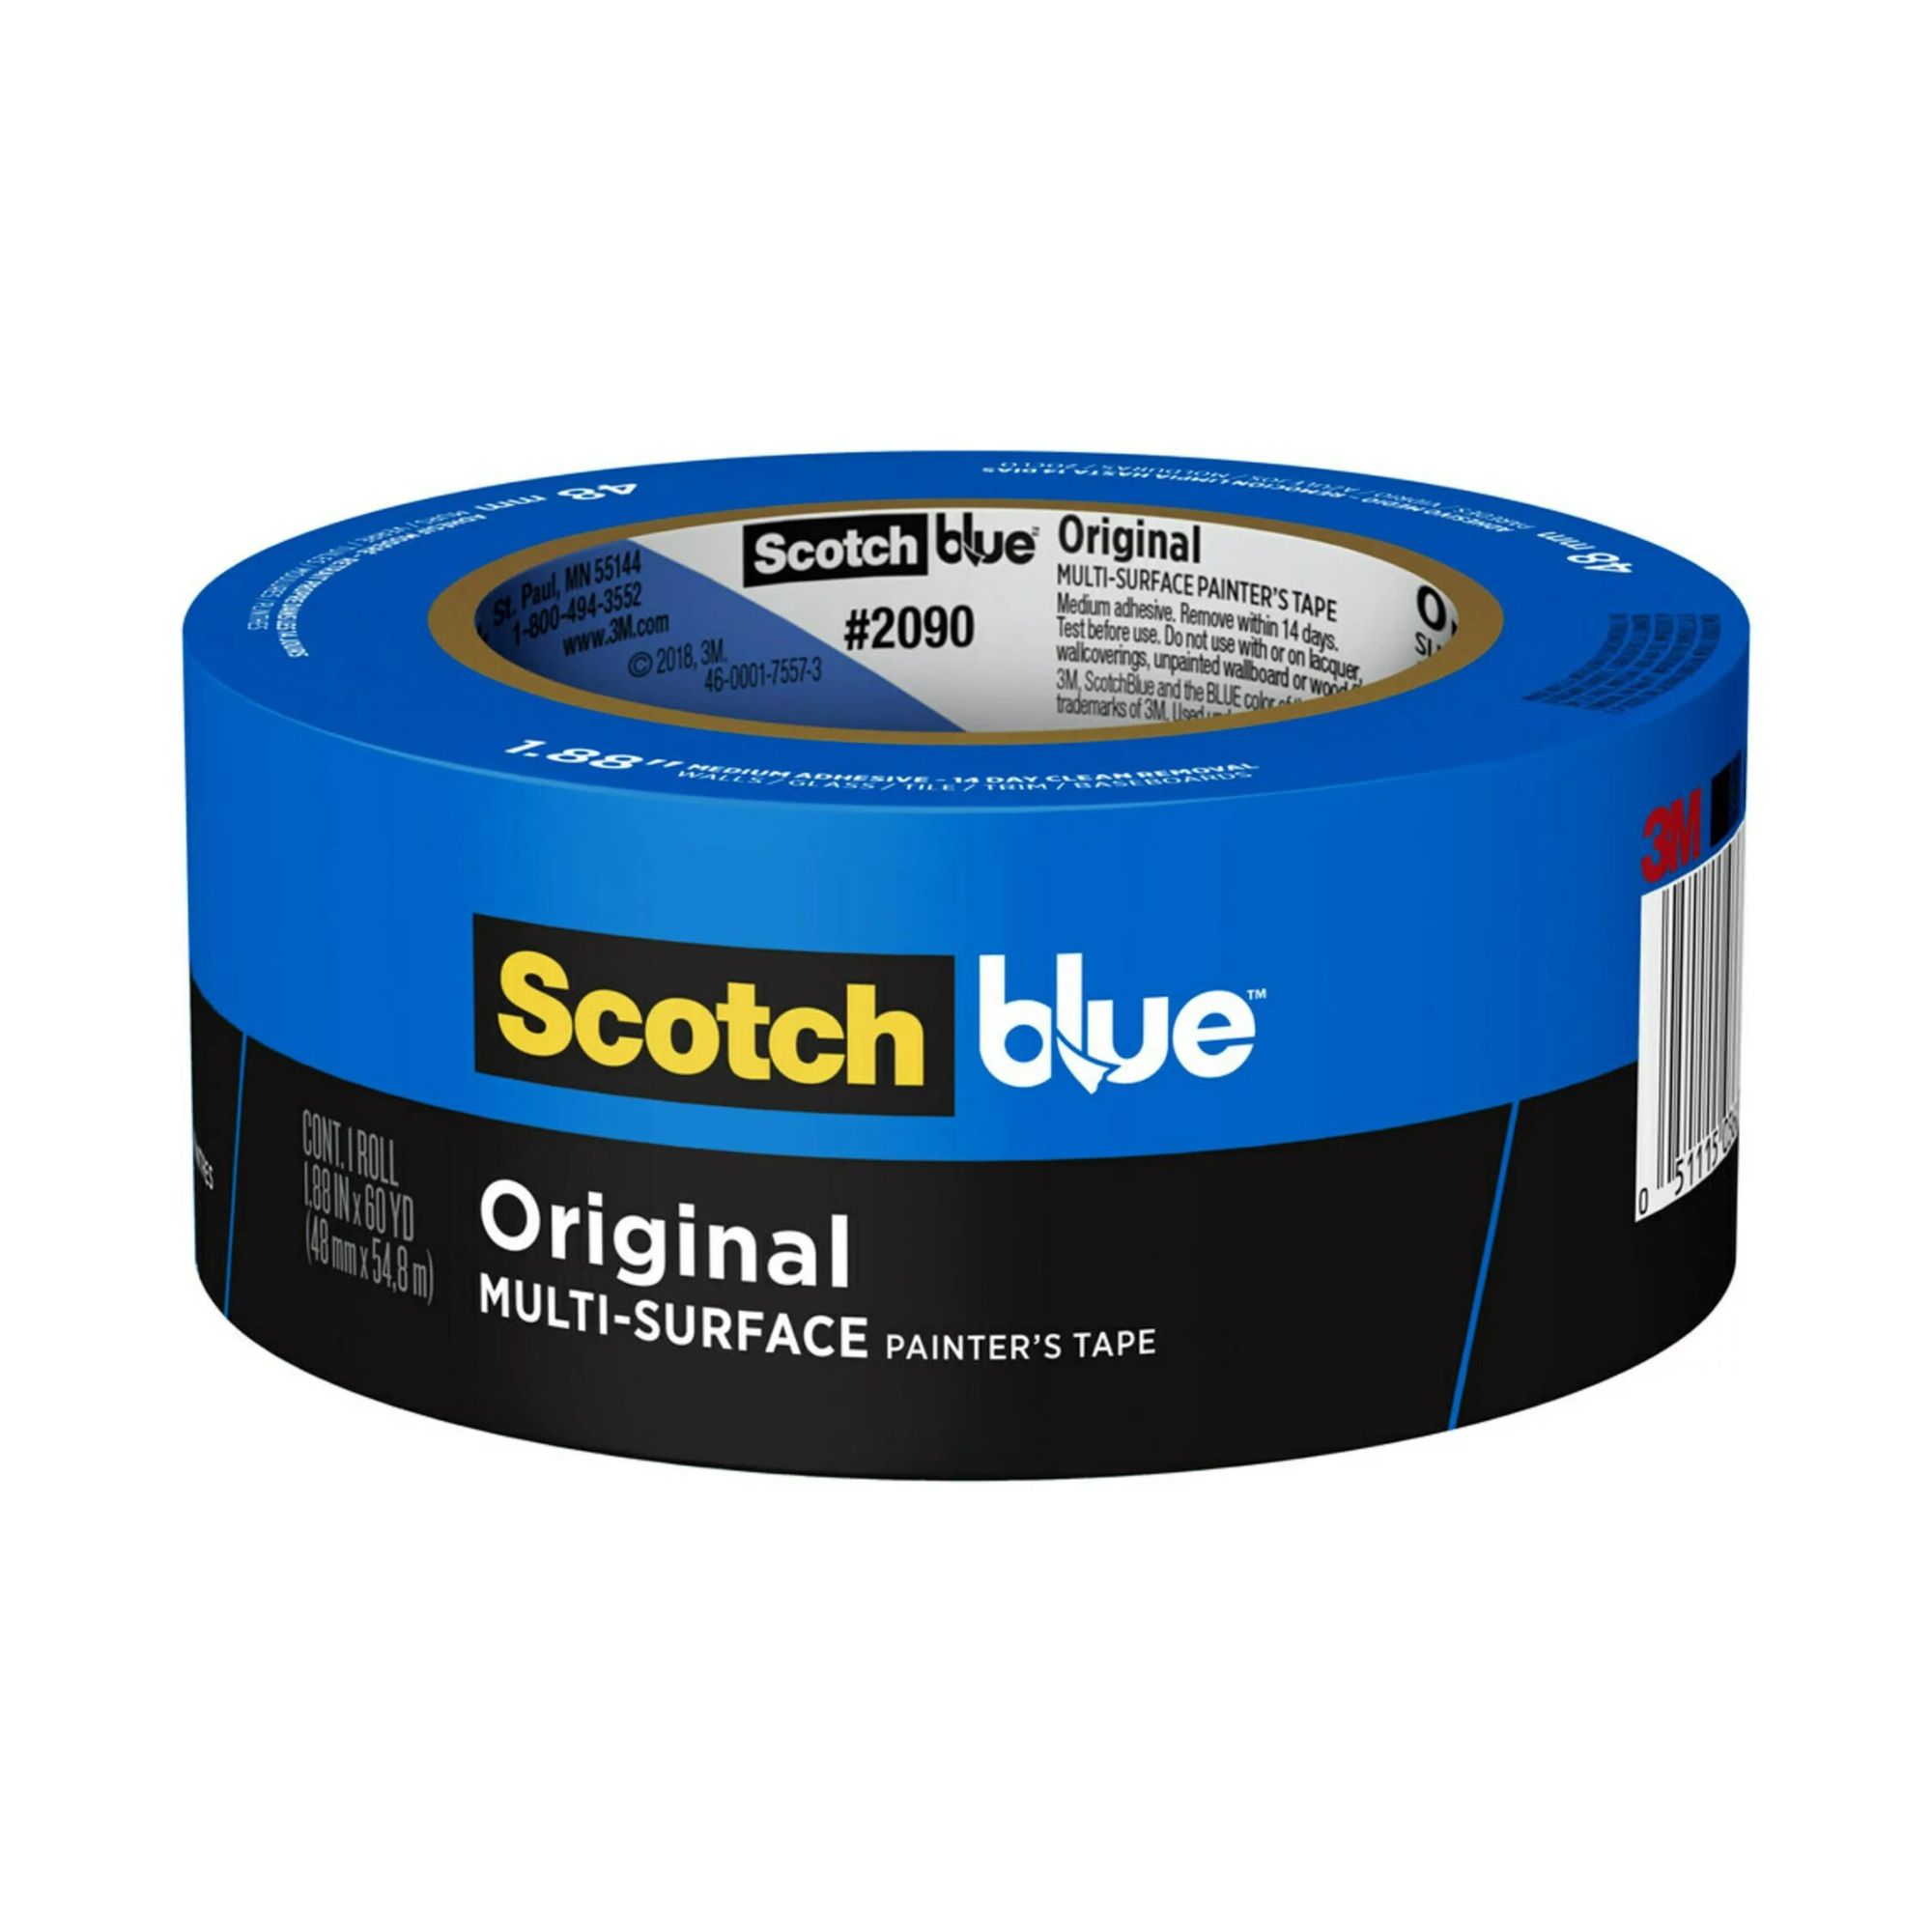
"I used a laser level, which made taping the wall much easier," says DIYer and visual merchandiser Steffy Degreff. "I also used a lot of painter's tape and a regular level to continuously make sure the lines were straight."
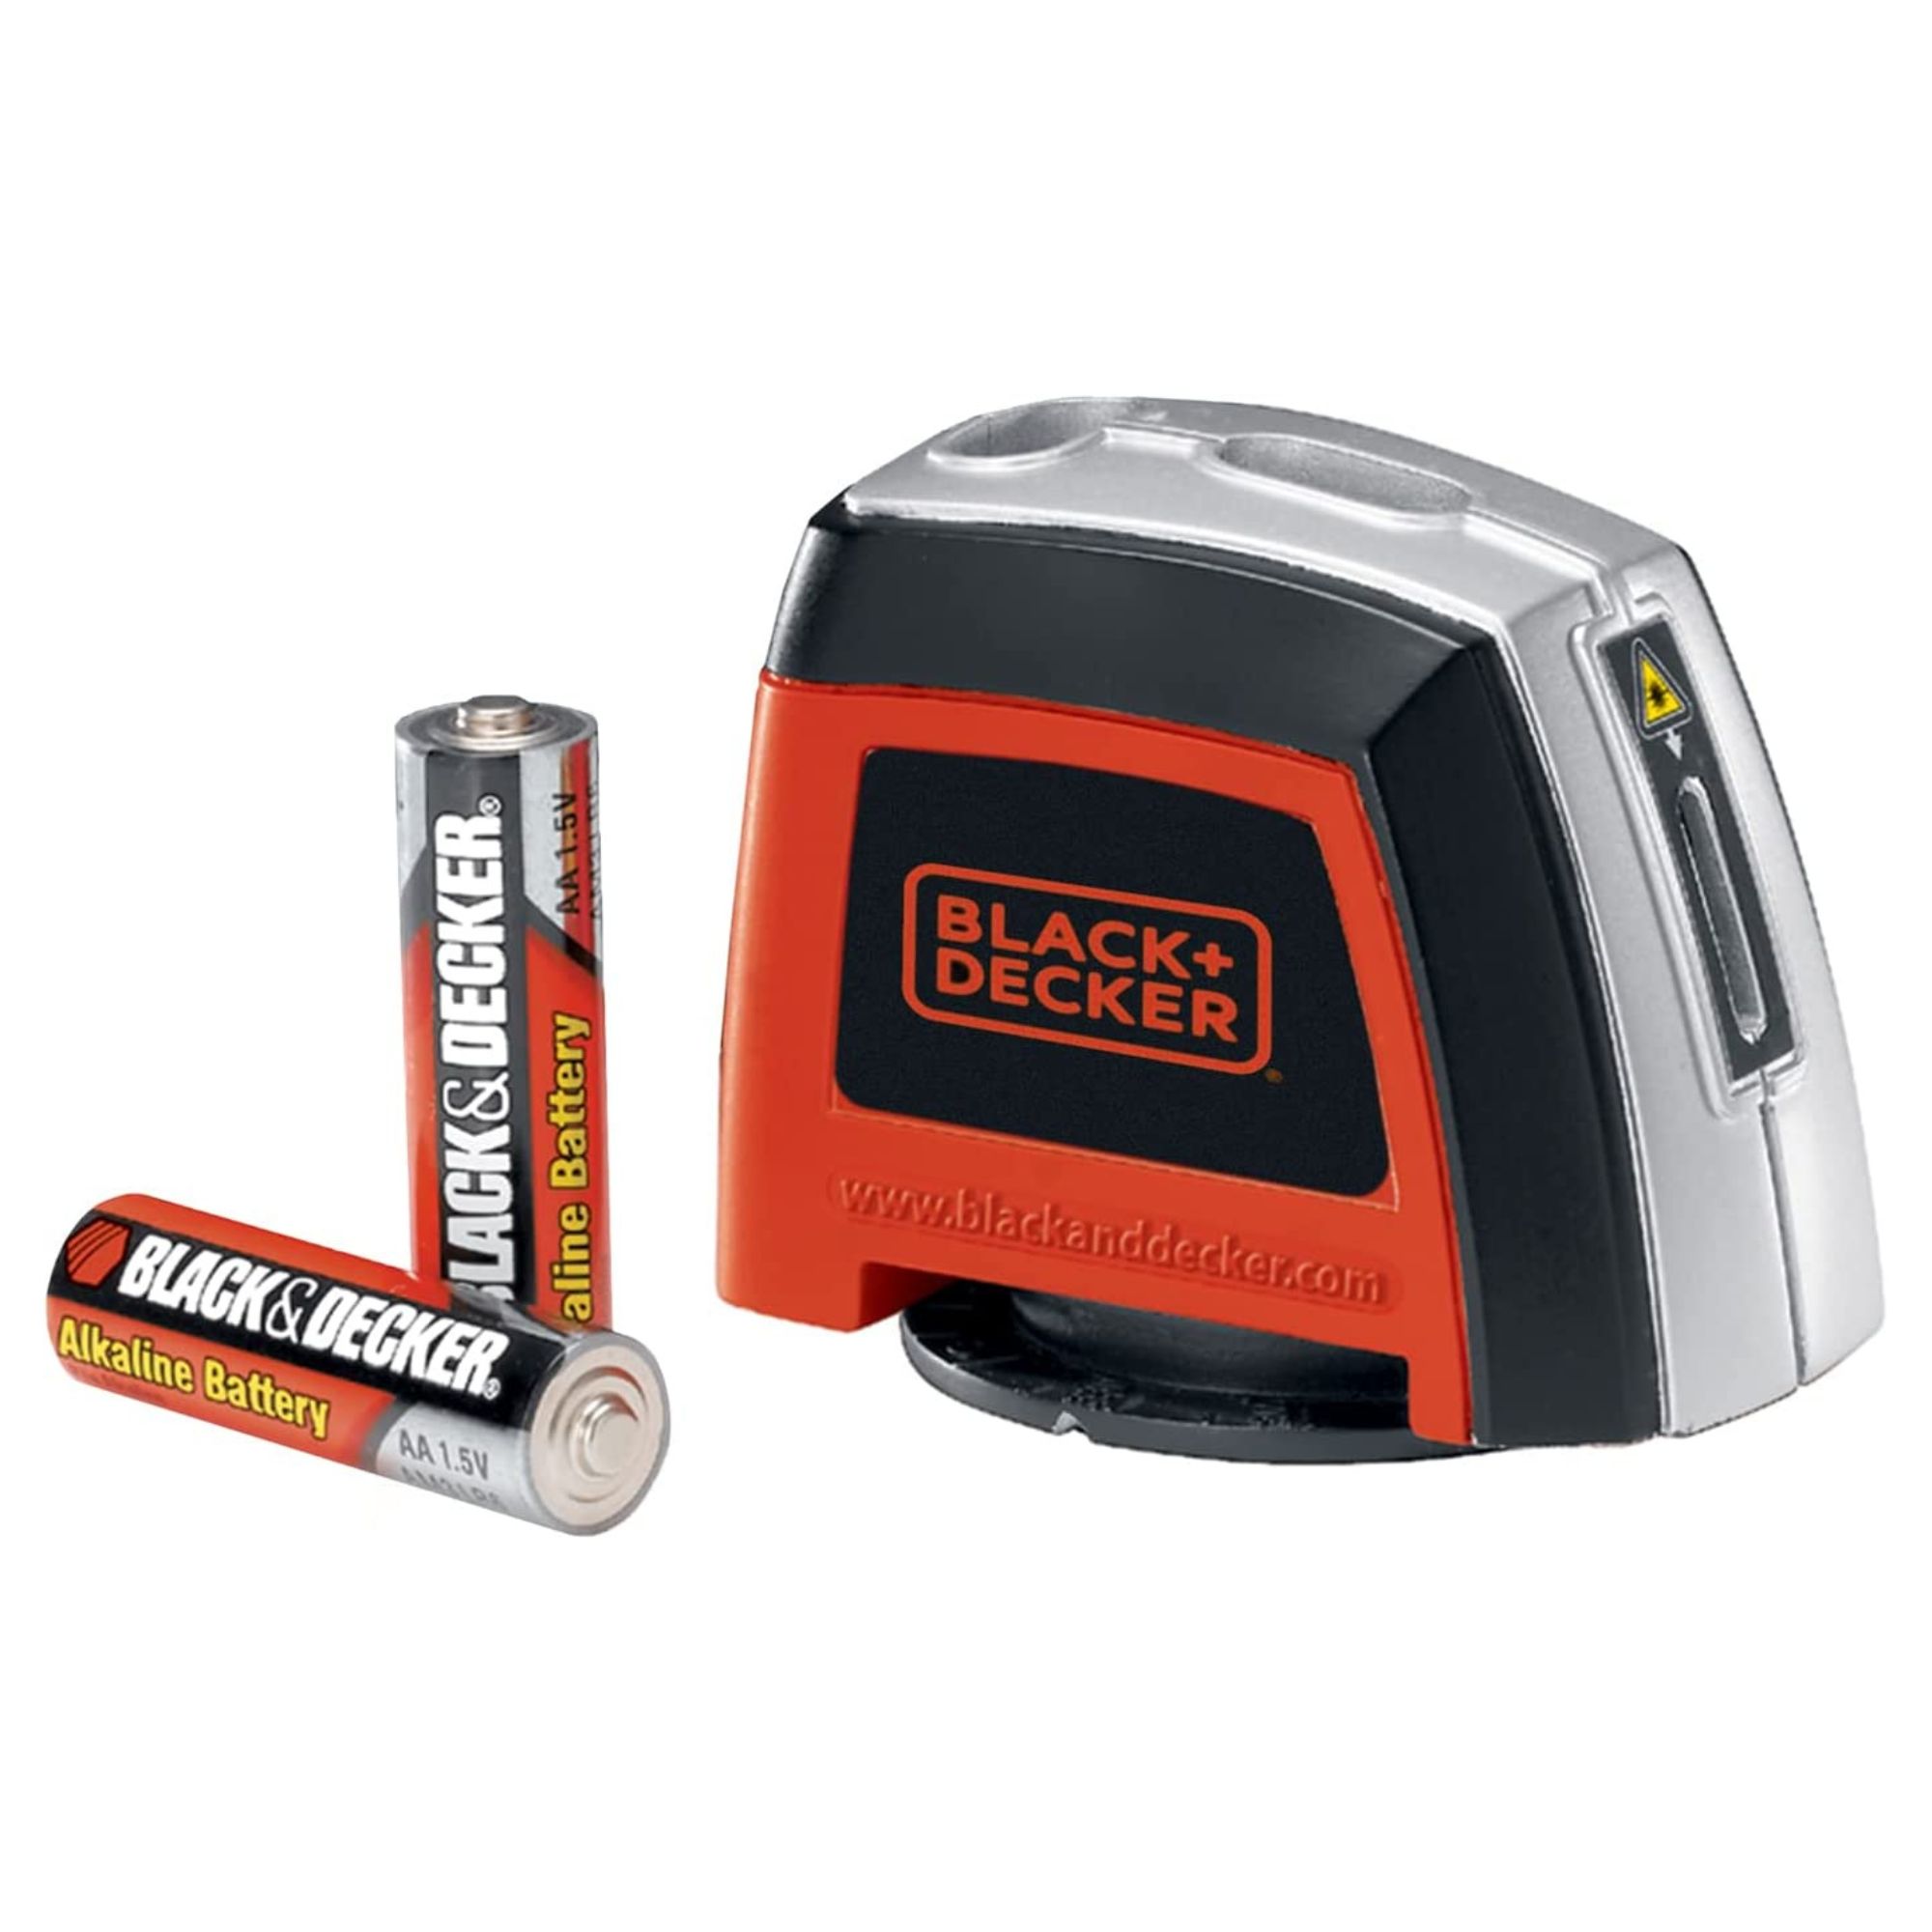
3. Put down a grid
Wadden recommends starting with the horizontal strips; the top edge of the tape should be placed at your first measurement. As you make your way down the wall, use your carpenter's level to ensure everything is spaced accordingly.
Pro-tip: "Press the tape edges down firmly to prevent the second color from bleeding into the adjacent square," Wadden says.
When it comes time to add the vertical strips, you'll start on the lefthand side of the wall and make a vertical cut in the tape once you've reached the square size you're looking for.
"Measure across only the width of the tape and make another cut," Wadden instructs. "Remove the cut section of tape you created. This cut section will be the width of the tape only. This is where you will lay your vertical strips of painter's tape to make your squares."
When you're creating the block pattern, you'll be applying vertical strips of tape crossing through those freshly-made cut spaces.
4. Start painting
Ah, the fun part! Once your grid is neatly and evenly created, it's time to channel your inner artist. Use a mini roller to apply your topcoat (second color) onto every other box down and across your wall. (Anyone else thinking pink?)
Rental-friendly checkerboard wall ideas
Let's say your heart is set on the squares, but you have a landlord who's unwilling to accommodate your painting project. Marissa Zingg of One CrafDIY Girl suggests going a simpler route.
"I actually used peel and stick wallpaper to create my wall and not paint, making it renter-friendly and easy for any DIYer," she says.
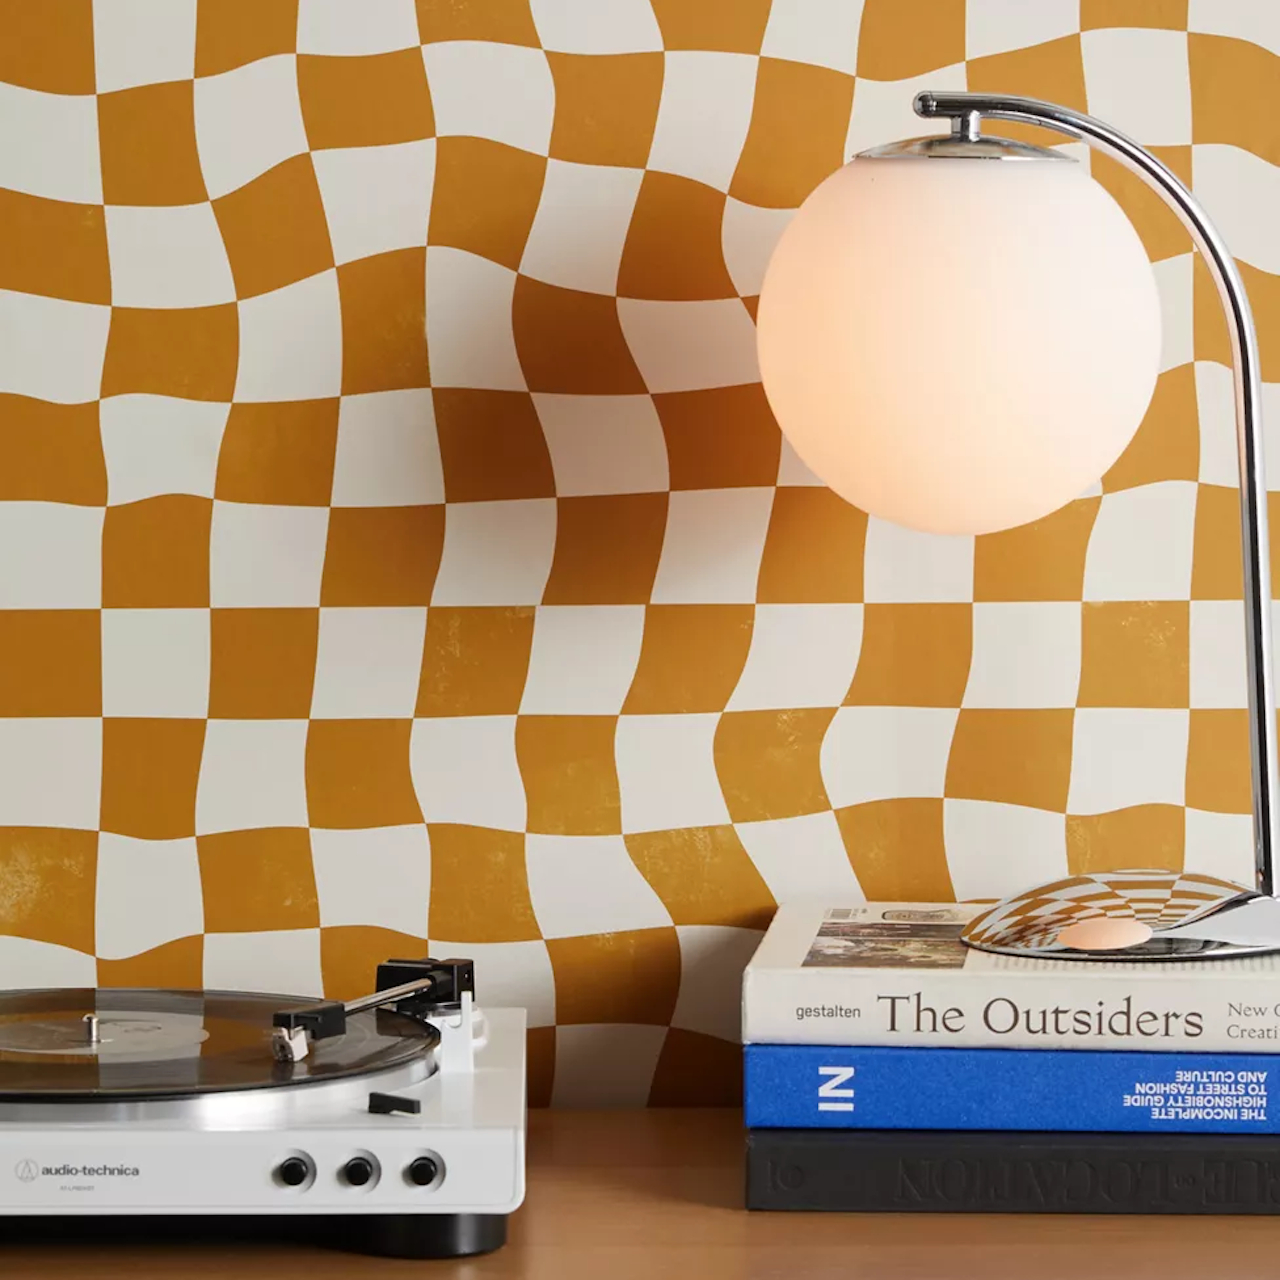
Available in three shades — black, navy, and gold — the Avenie Warped removable wallpaper comes in various sizes: L48" x W24" (small), L96" x W24" (medium), and L120" x W24" (large).
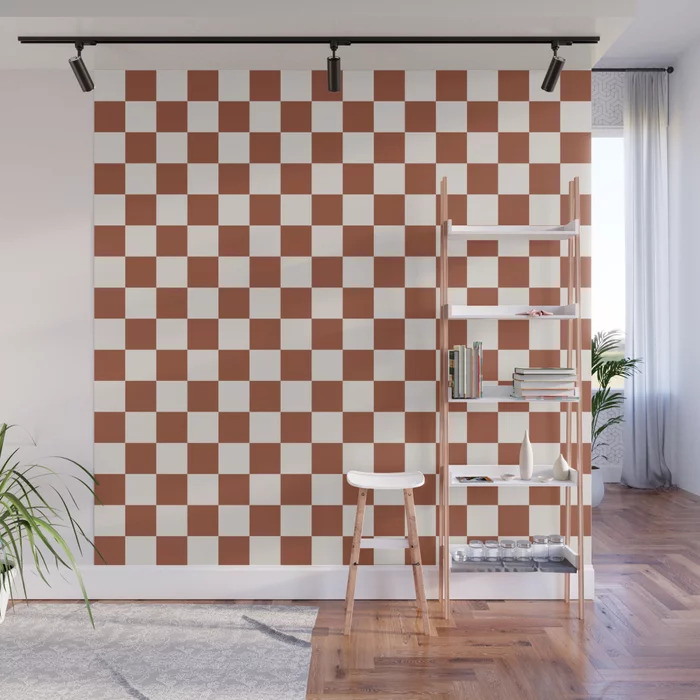
This 8' x 8' removable wallpaper from Daily Regina Designs allows you to make a big statement without a big commitment. When it comes time to remove the earth-toned gem, cleanup is easy and mess-free.
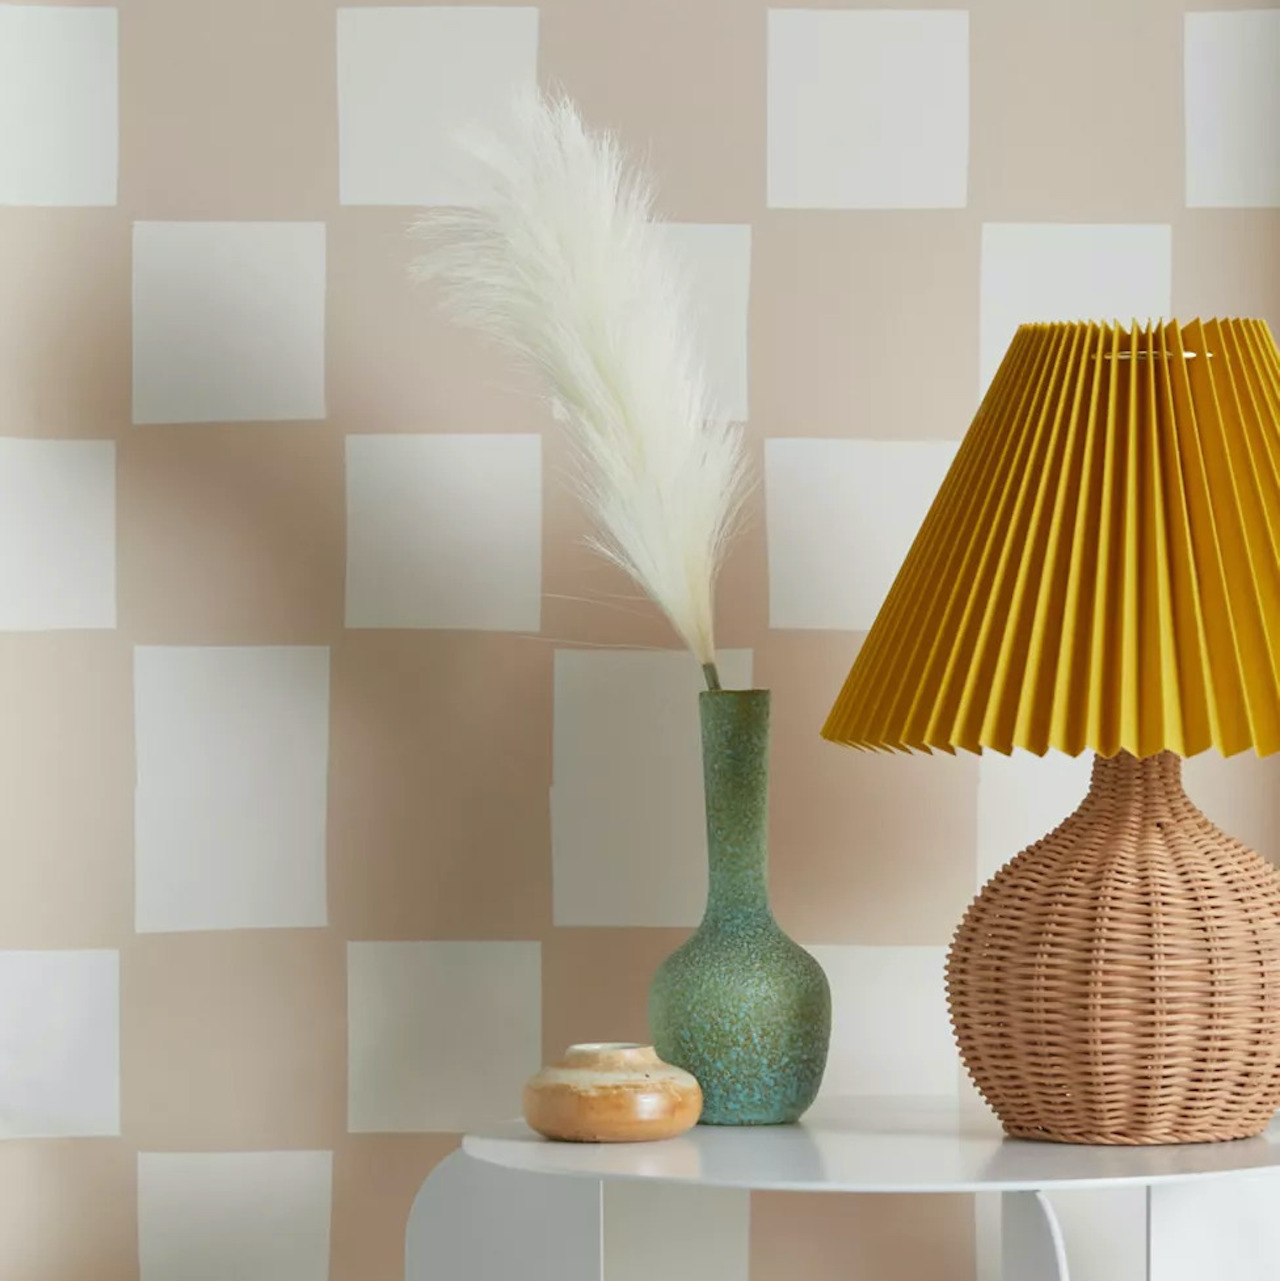
Available in tan and green, Alina Buffiere Playful Check Removable Wallpaper comes in three sizes: L48" x W24" (small), L96" x W24" (medium), and L120" x W24" (large).
6. Accessorize accordingly
As any stylist knows, the work isn't over once the paint dries. When your checkerboard wall is complete, don't forget to add fun accents around the space. Perhaps a checkered rug for good measure?
"Choose a room where you will be adding other elements such as scatter cushions, throw blankets, and larger pieces of furniture, these will help tie the checkered wall into your decor rather than it becoming an overbearing statement," says Leanne O’Malley of Studio.
Without further ado, it's go time, folks! Let's make those living room walls look like your favorite pair of Vans.
Join our newsletter
Get small space home decor ideas, celeb inspiration, DIY tips and more, straight to your inbox!

Pleasure to meet you! I'm Danielle, a content editor at Real Homes who loves scoping out interior trends. I've specialized in lifestyle writing and editing for 10 years with a focus on events, food, and books, among other areas. When I'm not working, I'm usually cooking, reading, or searching for a new project for my apartment.
