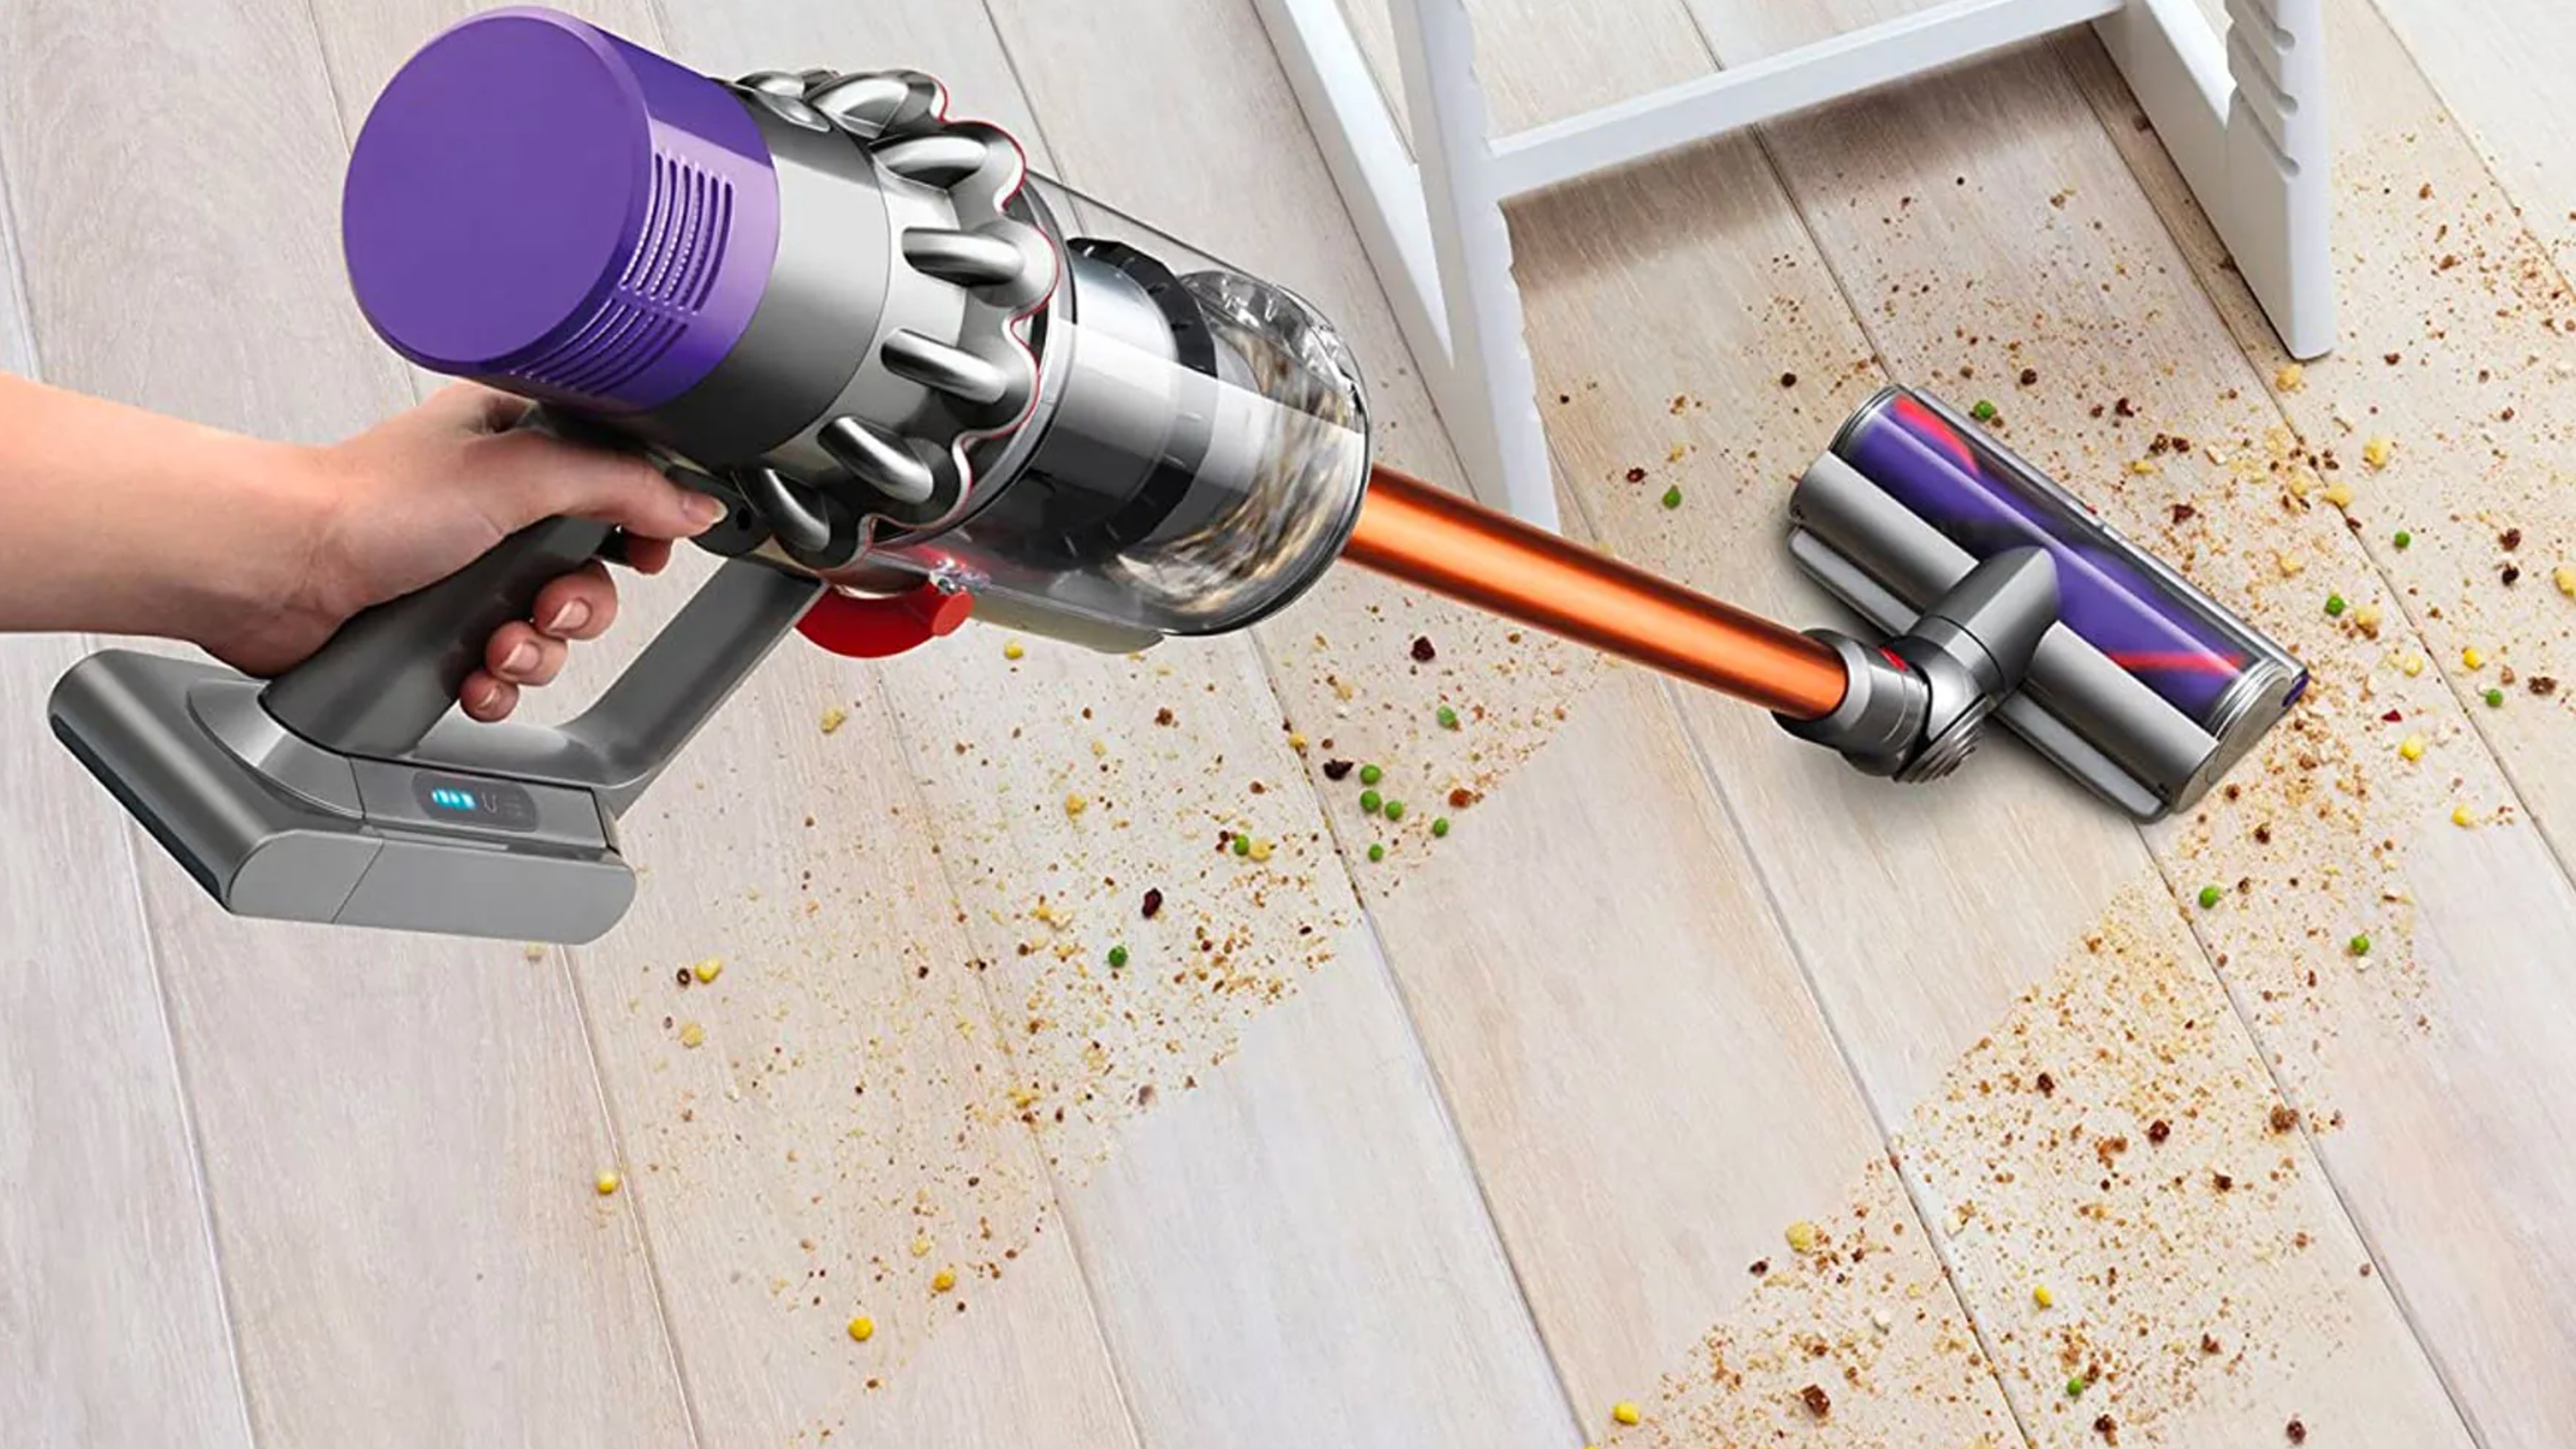
If you want to know how to clean a Dyson vacuum, this step-by-step guide is for you. Dyson is a beloved vacuum brand for a reason – Dyson pioneered a cordless, bagless stick vacuum design that now has become the gold standard of easy-to-use, easy-to-empty vacuum cleaners.
Dysons do require regular cleaning if you want to get the most out of them, though – the more often you clean yours, the better it will perform and the longer it will last. Dysons also should be cleaned regularly because they are bagless, which creates more of an opportunity for bacteria to grow inside them over time.
Even with the cleaning requirements, Dyson makes some of the best vacuum cleaners out there. And, fortunately, cleaning them isn't difficult or very time-consuming – expect to be done in half an hour to an hour. Here's what you'll need to do.
Clean a Dyson vacuum with this easy step by step
1. Always unplug first
A cleaning expert at Royal Cleaning Deni Ivanov tells us, 'this may be common sense, but it’s necessary to make sure your Dyson is unplugged and off to avoid electrocution.' So, always switch off and unplug (if corded) your Dyson prior to. cleaning.
2. Remove and clean the canister
Cleaning the canister is probably the most important aspect of cleaning your Dyson if you want to keep it hygienic over the longer term. 'With a few exemptions, you can often find the canister below the cyclone of your Dyson. If you’re using any V-series models, bring the vacuum over to a trash bin and press the red bin button near the base to release the canister from the body and empty its contents into the trash.'
The next step is to 'shake it well and use a microfiber cloth to clean the insides of the canister. Be sure not to use any chemicals or detergent when cleaning the dirt chamber.' We really like using a slightly damp e-cloth (can be bought on Amazon) to really lift off all the dirt from inside the canister.
Always empty out the canister outdoors – never do this inside and don't leave the waste inside your home. And if you suffer from allergies, wear a mask while doing this step. This method applies to both the corded and best Dyson cordless vacuum cleaners, as well as the Dyson WashG1.
3. Remove the filter/s.
This is the step where you'll ideally need your user manual – 'read the manual on removing and cleaning your vacuum’s filter, as the process may differ depending on the model. For example, for Dyson V6 and Dyson V7, both pre-filter and post-filters are located near the handle.'
Now, 'Pull out the pre-filter, then rotate the post-filter counter-clockwise to remove them from the canister.'
4. Wash and dry the filter(s)
Now, it's time to learn how to clean a Dyson filter. A light-handed approach is best here; Ivanov's recommended cleaning technique is 'gently tapping them upside down to remove debris and running water on both their insides and outside repeatedly before shaking them off to take out all debris.'
Depending on how dirty your filter is, you'll need to 'repeat this step as many times as possible or until the water runs crystal clear.'
Now – this is very important – 'leave the filters to dry for at least 24 hours before putting them back into place.' If the filter's still damp when you put it back on, your Dyson likely will just not even switch on.
5. Clean the brush roll
Dyson brush rolls, in our experience, get clogged very quickly, especially if you have pets or anyone with long hair in your household. A clogged brush roll will eventually affect the effectiveness of your cleaning routine.
So, get a pair of scissors or screwdrivers and 'untangle, pull or cut strings, hairs, and other dirt stuck on your brush roll. Afterward, clean the compartment with a microfiber cloth.'
Top tip: the finer the scissors, the better you'll be able to cut away at all the hair rolled around your brush. Manicure scissors that you can pick up at Amazon will work much better for this fiddly task than regular household scissors.
6. Check and unclog the hose
Don't neglect the hose! Depending on your Dyson model, you may be surprised by the amount of dust and debris you'll find inside it. So, 'detach the hose from the wand, then clean its insides using a cloth pushed inside with the help of a broomstick or anything similar.'
Again, as with other Dyson parts, avoid using detergent; instead, 'you can submerge the hose into a warm water and vinegar mixture for about 5 to 10 minutes to remove bacteria. Rinse it with water, wipe, and hang to dry.'
7. Ensure everything's dry before reassembling
This is essential. Ivanov highly recommends ensuring 'all components are completely wiped and dried before putting them back together.'
Reassembling a Dyson with wet components can lead to mold growth if done repeatedly, but Dysons also do not switch on if the components are wet, so you'll likely end up waiting even longer to use yours again.
Can you wash the cyclone part of a Dyson?
The cyclone part of your Dyson vacuum is the special filter that filters out finer dust particles using centrifugal force. Technically, you can wash it. The official Dyson recommendation is to wash the unit with water by gently shaking it while filling it with tap water.
However, many people find that this creates more problems than it solves – in particular, the dust that's accumulated on top of the filter just turns to mud, making it even harder to remove.
Ivanov also says that washing the cyclone part 'is not recommended' – instead, 'consider putting it over the trash bin and blowing away debris through compressed
air to clean it instead.'
How often should I clean my Dyson?
According to Ivanov, 'as a general rule, you must clean the filters at least every month to guarantee optimal performance of your Dyson and extend its service life.'
You should bear this timeframe in mind for the rest of your vacuum, too, although in practice, it all depends on how much you use it. If you vacuum daily, then you may find that your Dyson gets grimy even quicker, so a quick clean every couple of weeks is not imprudent.
Join our newsletter
Get small space home decor ideas, celeb inspiration, DIY tips and more, straight to your inbox!
Anna is a professional writer with many years of experience. She has a passion for contemporary home decor and gardening. She covers a range of topics, from practical advice to interior and garden design.
-
 How to clean windows without streaks — 5 easy steps that cleaning pros always follow
This method on how to clean windows is favored by professional cleaners. We've asked them for the steps you should follow, plus picked cleaning buys
By Eve Smallman
-
 The latest Shark sale deals are perfect for pollen-proofing your home — with up to $150 off our favorite vacuums
We found the latest Shark sale deals on vacuums that are sure to be swooped up, especially as spring blooms trigger pollen allergies and we're in need of extra cleaning
By Danielle Valente
-
 Tineco Floor One S7 steam wet-dry vacuum review — spotless floors with minimal effort
Our contributing editor, Camryn Rabideau, tests the Tineco Floor One S7 steam wet-dry vacuum in her New England homestead property
By Camryn Rabideau
-
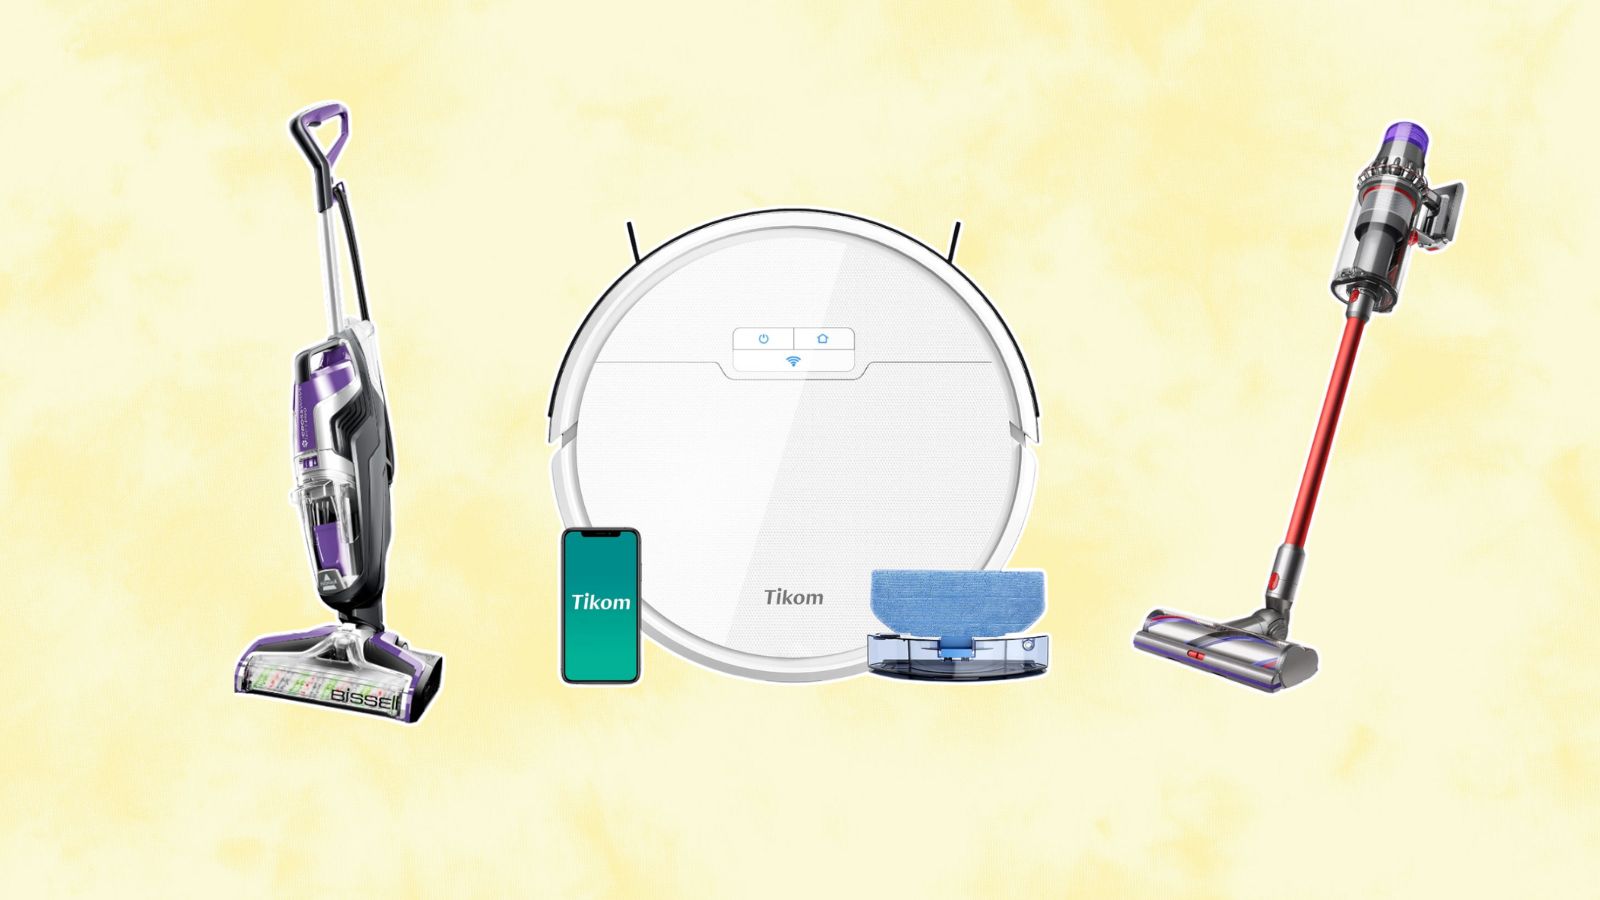 Amazon vacuum cleaners to nab during the retailer's Big Spring Sale — save up to 60% off our go-to small-space finds
Checking out the savings on Amazon? Vacuum cleaners are a must-buy during their first Big Spring Sale — here are our favorites up to 60% off
By Danielle Valente
-
 The Home Edit Walmart cleaning collection has just debuted with finds from $3
Spring cleaning, anyone? The Home Edit Walmart cleaning collection has hit shelves with picks from $3
By Danielle Valente
-
 How to clean carpet on stairs — 3 simple steps to a spruced up staircase
Want to know how to clean carpet on stairs? Our experts explain the simple steps to a sparkling stairway without too much elbow grease
By Andy van Terheyden
-
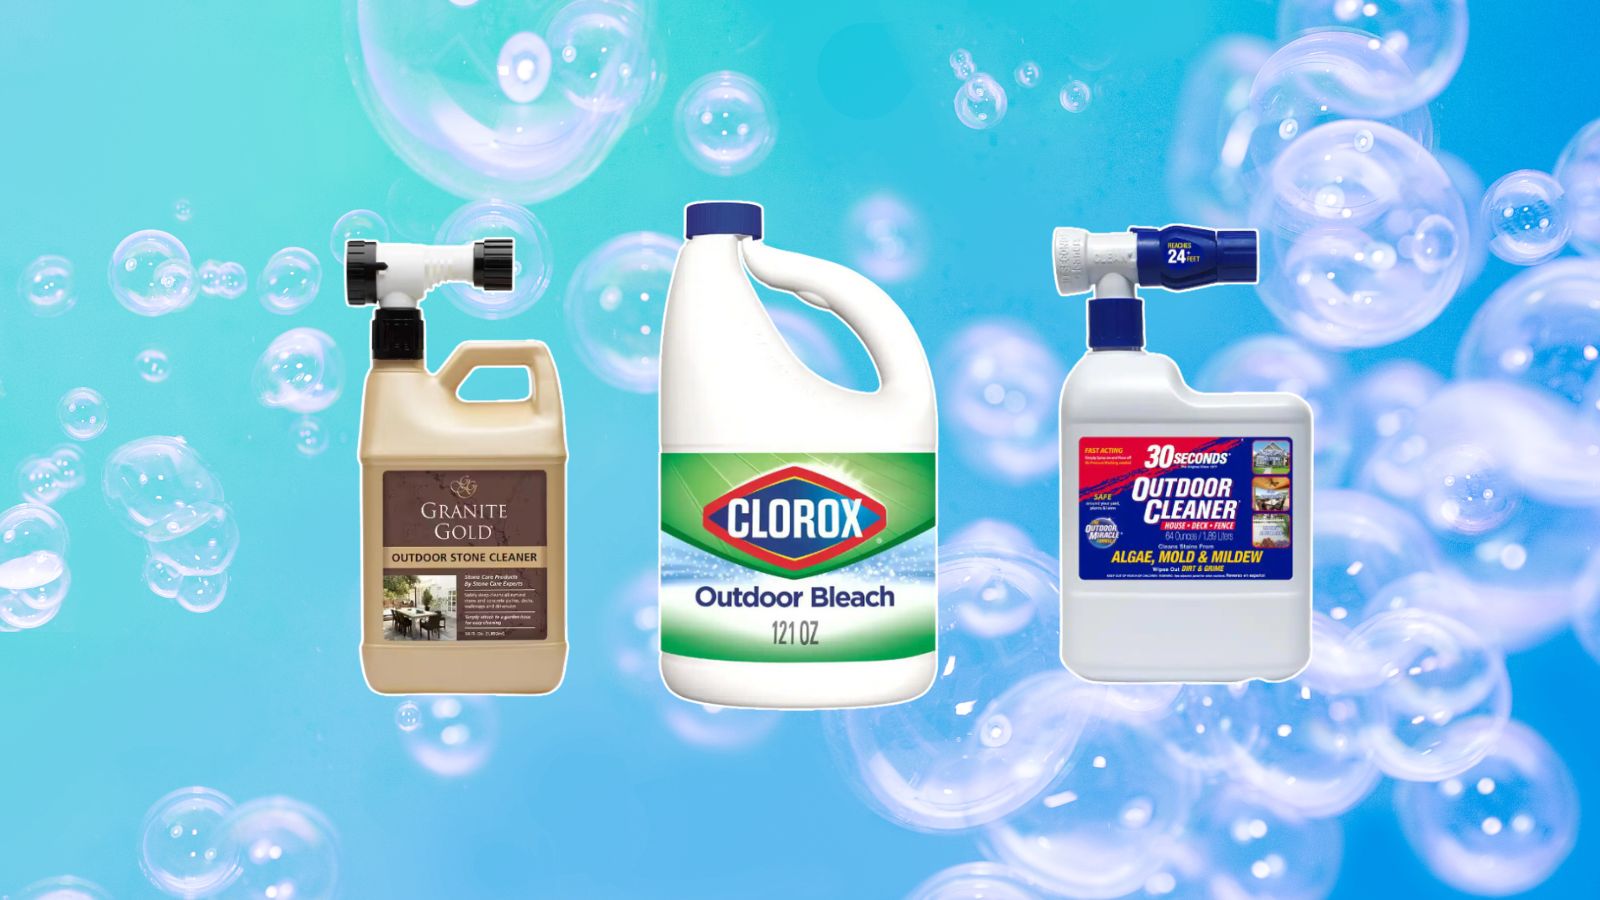 The Home Depot backyard and patio cleaning supplies we're stocking up on before spring
Don't forget the outdoors when spring cleaning — The Home Depot backyard and patio cleaning buys from $11 will assist with tidying up
By Danielle Valente
-
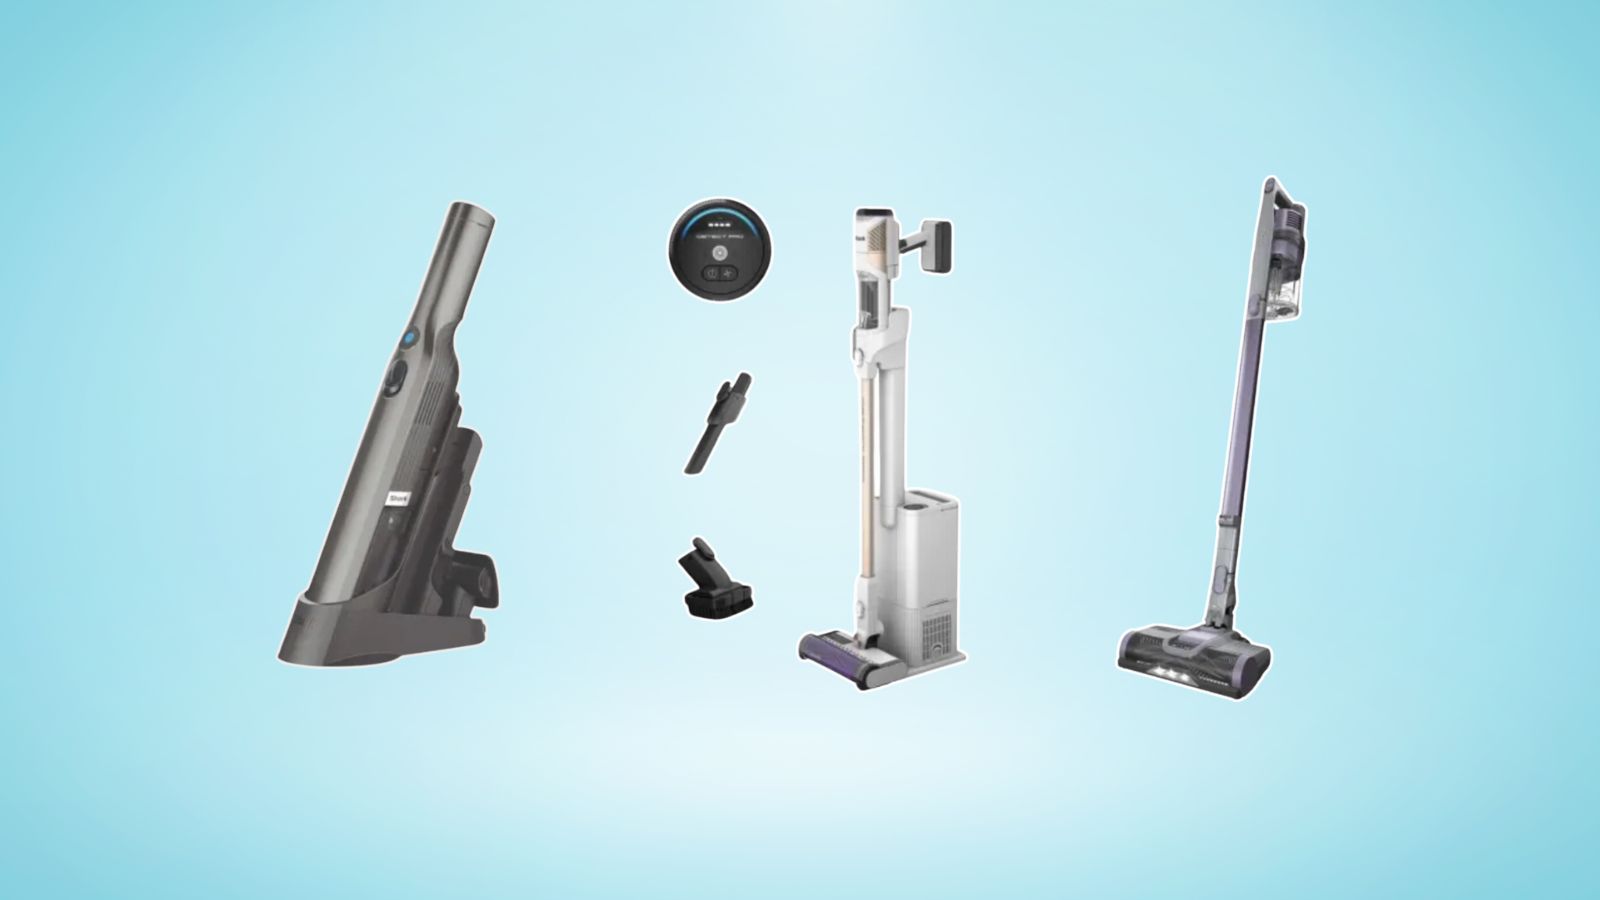 The Shark Detect Pro vacuum and other models are on sale for St Patrick's Day — perfect picks for your spring clean
Whether you're eyeing the Shark Detect Pro Vacuum or Shark Pet Cordless Stick Vacuum, shop the St. Patty's Day sale for a discount on the best vacuums on shelves
By Danielle Valente