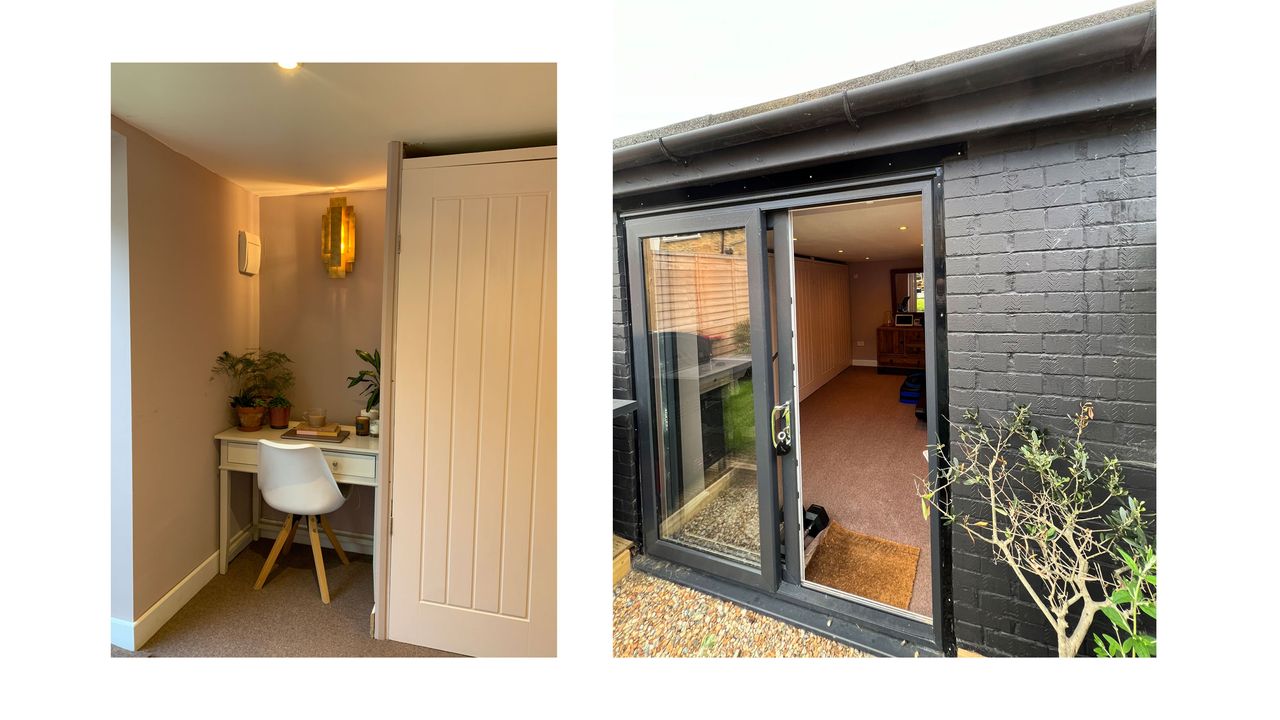

If you're into the new groove of home working but looking at ways to refresh your setup, your answer could be closer than you think. Whether you've got a tired-looking shed or a big ol' outbuilding that's a little out of use, creating a home office garden room that you are proud of is within reach.
Follow these steps below to transform your unused space into a fabulous new home office and be the envy of the office on those zoom calls.
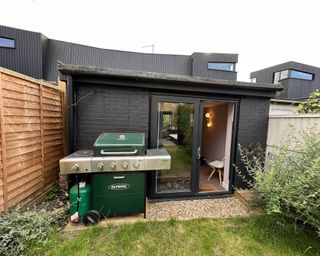
This is a DIY project for those pretty comfortable with power tools but it's also not overly complicated and the edits are mostly cosmetic. It illustrates a brick outbuilding transformation but the same could be done for a shed with a few tweaks.
We’ve suggested building a wall of storage, as well as space for a desk at the end to create your favorite home office look. This should still mean that you have the rest of the space to use as a room that you could use as a spare living room, gym or put a sofa bed!
Note: If you are transforming a brick outbuilding then it is worth having it plastered before starting any work.
Preparing to transform your space
You need to clear your space and design the layout. If you’ve used it as a dumping ground for some time then sort through the space and work out:
- What is staying in the space
- What needs to be stored elsewhere
- What is going to the charity shop
For those items that are staying, it’s important to consider them from a storage perspective so that you build storage that can accommodate everything.
Select the largest wall length-wise to build your storage along. Decide upon the number of doors and shelves you would like. In terms of selecting doors, a standard cupboard door width is 1981H x 457/533Wx 35D millimeters. They can be purchased in most local hardware stores.
The project illustrated used four standard doors, leaving space for your favorite desk at the end, with shelves behind the doors for storage. You should select the number of doors to use based on the space you have available.
When planning your shelves, as mentioned in step one below, consider what you want to store. You may want to use the space to store useful but bulky items such as bikes, the lawn mower and tools as well as DIY items like paint and wallpaper.
To do this, opt for one large double storage space at the bottom to house large items, making the first shelf a few centimeters taller than the tallest item. Additionally, to decide on the depth, consider the amount of items that you want to store, standard shelf depth is around 40 to 50 centimeters; you can go deeper if needed but doing so may affect accessibility.
How to create your home office garden room
When it comes to materials, all the quantities will depend upon the size of your space. Tools that you don't have to hand are usually readily available from Amazon or The Home Depot also.
My equipment list
1. Circular saw: I used the HYCHIKA 6.2A
2. Internal doors: choose desired from a local hardware store
3. Wall brackets or fixings to suit the materials you are attaching your frame to
4. Various screws (the longer and thicker the screws, the heavier and stronger the fixing you will create. Ask your supplier for advice or buy a pack of screws containing various sizes so you can select the right ones as you go along).
5. Right angle metal bracket: to make the wood joints on the frame stronger. About 75 millimeter should be sufficient..
6. Tape measure
7. Set square
8. Fiberboard
9. Coving (optional)
10. Pencil
11. Hand saw: I used the HAUTMEC 20
12. Spirit level
13. A good paint brush
14. Painters tape
15. Your best pant roller
16. Paint of choice (I used egg shell and Matt)
17. Carpet or another type of flooring material
18. Wood for door and shelf frames. Watch out when visiting the timber yard as timber sizes often refer to un-planed timber so the finished materials are always smaller so ask the advice at the store or yard.
18. MDF for shelves (required thickness will depend on the weight you plan to store and the number of supports you use but 12 or 15 millimeters should be the minimum thickness).
1. Measure your frame
You need to build the door frames using the 65 x 45 centimeter timber so there is enough strength and depth for the doors to be hung upon; this is serving the same purpose as the door frames or architraves in your house. Once the doors are hung you can add lengths of 40 x 19 centimeter wood behind them to make a rebate (a step in the wood) they can close against.
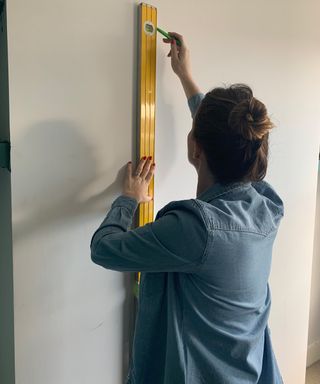
To measure your frame accurately, use the door sizes as a basis for your measurement; for example, if a standard door is 1981H x 457/533Wx 35D millimeters when building your frame allow an extra 2 millimeters (about the thickness of a coin) at the sides and the top so the doors can sit within it. It should be a three side frame; if you have single doors then you will have a frame around both sides and the top of the door, if you decide to install double doors then you will need a frame that sits around the two. Neither single nor double need a frame running along the bottom but you should allow 5 or 10 centimeters clearance at the bottom to allow for any carpet or floor covering you intend to use.
2. Cut and build your frame
To build the frame, use 65 x 45-centimeter wood to house the doors and act as the frame. You should use 45 x 45-centimeter wood to attach to the wall and form the supporting frame for the shelves so don’t cut any wood for those just yet, that is covered in step two. Once you have your measurements per step one, you can begin to cut your frame. Use a tape measure or builders ruler to measure your pieces of wood accurately and a set square to ensure you are cutting the wood in a straight line. When building the frame, ensure that you are installing it at the correct depth based upon the shelf depth you desire. For example, if you want shelves that are 40 centimeters deep then your frame needs to be built and extend to 40 centimeters.
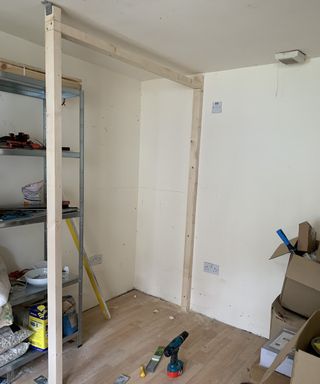
Start with your first door or set of double doors. Begin by installing the sides of each door, attaching it to the ceiling and floor with right-angle brackets, checking it is vertical with a spirit level as you go. Once the sides are installed at the correct distance to allow the doors to fit into the gap, then the head or top of the frame can be installed. Screw the wood in using appropriate screws and if required, use right-angle brackets for added strength.
Once you have done the first door or set of doors, move on to the next (beginning with the side) until complete. Take note that when building and installing the frame you need to ensure that the frame is 90 degrees square so that the doors will fit, to do this make sure you use a level to measure the wooden frame, rather than using your walls or ceilings as a guide as they may not be straight. Don’t worry that there is a gap between the ceiling and the top of your frame as you can cover this with coving or some other paneling later. When building the frame, screw each piece of wood in with appropriate screws, adding a right-angle bracket at each joint of wood to strengthen it. Screws for these brackets will probably be 3 x 25 millimeters.
3. Build the frame for the shelves
Once your door frame is installed, you need to build a frame for each of the shelves to rest upon, using the 45 x 45 centimeter wood, cut at the desired depth and height you have decided upon based on your storage needs. You need to build a frame that will sit around each side and the back of the shelf, aligning the sides of the frame to that built for the doors so that they can be attached to the side of each door frame.
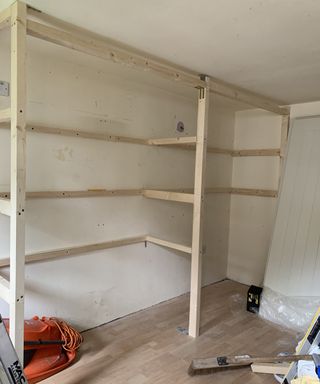
Begin with the side, and cut a piece of wood to fit between the wall and the door frame. Attach this with screws at the desired height of your first shelf, ensuring it is level with your level as before. Then repeat for the back and remaining side of the shelf. Repeat this for each set of shelves in your cupboard.
4. Measure, cut and install your shelves
You can build your shelves from MDF, check the weight that the MDF will hold before you purchase it based upon the items you want to store; the thicker the MDF the more it will hold but the more expensive it is likely to be. To avoid any sag in the shelves you can either insert an extra cross piece of 45 x 45 centimeter wood beneath the shelves, using right angle brackets or alternatively, you can use slightly thicker MDF; it is worth checking the cost to see which is the best option for you.
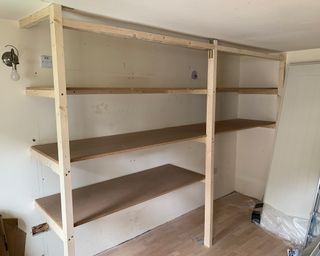
Once your frame is built, measure your shelves, using the frame that you have built as a measurement guide; the shelves should sit upon and cover each frame. Note that you should have one piece of MDF per set of doors to maximize weight-bearing load, so if you have two double doors, each set of doors will have a set of shelves behind it, rather than using one single piece of MDF running the whole way along.
To measure your shelves, measure the correct length and width then mark with a pencil, ensure the line is straight using a straight edge such as a spirit level and cut them using a circular saw. It is useful to have someone to hold the MDF as you cut it to help keep the line straight as you cut. Attach the shelves to the frame using screws, check the appropriate length based on the thickness of the wood that you have chosen.
5. Hang the doors and finish the look
Once your frame is built, hang the doors using butt hinges, two per door should be sufficient but check with your supplier that they are sufficient in size for the doors you have chosen. If you wish to, you can add coving or some other paneling to cover any gap you may have at the top, depending upon size of your original space.
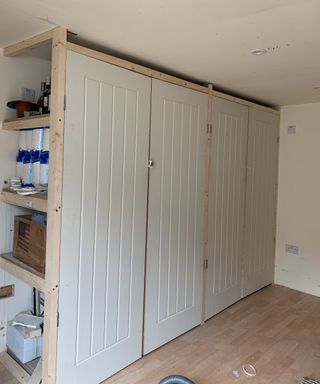
You can also add a sheet of fiberboard to enclose the shelves, this can be painted or plastered for a cleaner finish. If you are working with a brick building that has been plastered then you may also want to finish the walls with skirting boards.
6. Paint the space
Paint the walls and doors as needed (you can get pre-painted doors if you prefer). Ensure that you choose eggshell paint for doors and wood, using a wall paint for the other areas of the office.
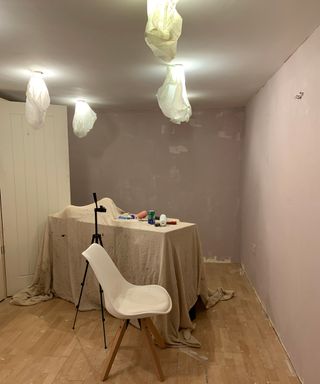
We would always recommend preparing the area using tape to ensure that you get neat lines as well using a brush to cut in at the edges, and using a roller on the larger space.
7. Enjoy
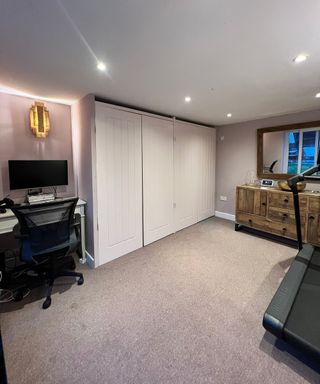
Add in a desk and any finishing touches; you may choose to add in a dark, cheap carpet to make the space feel warmer but also ensure that you can move items such as tools or lawnmowers without too much risk of damage.
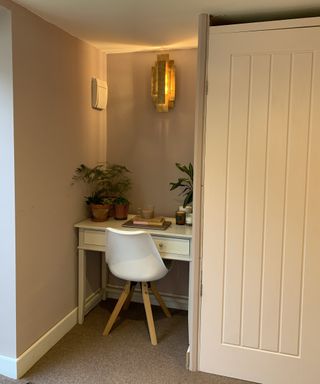
You may also want to style the space with some more expensive items such as lighting. Our outbuilding already had electricity but if you haven’t got this then you should be able to get an electrician to run this from your house for you, to give it more of a plush feel and a sideboard for some additional storage.
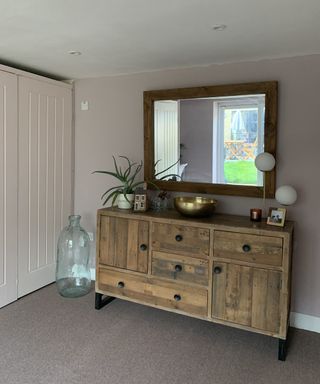
Heating wise, unless you experience extreme cold, a small electric heater will be sufficient for the space, this should be perfect for winter and super cheap to create yourself!
Join our newsletter
Get small space home decor ideas, celeb inspiration, DIY tips and more, straight to your inbox!

I’m a DIY and renovation expert from a family of renovators; it's in my blood! Renovation is my passion and I love sharing my knowledge, either through my Instagram renovation tips or my renovation course. I love seeing how it helps others build the confidence to create their dream home without it costing the earth!
-
 6 small living room DIY projects — inspired ideas from an interior designer
Does your small living room need a refresh? These 6 small living room DIY projects will have your living room serving looks
By Aida M. Toro Published
-
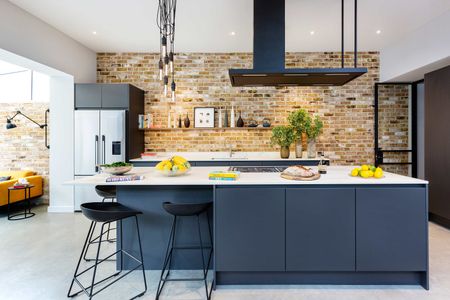 A 9-step guide to installing kitchen cabinets yourself, for a pro finish
You can install kitchen cabinets yourself no problem. Measure carefully and take it one step at a time when replacing base and wall cabinets to upgrade your cooking space.
By Sarah Warwick Published
-
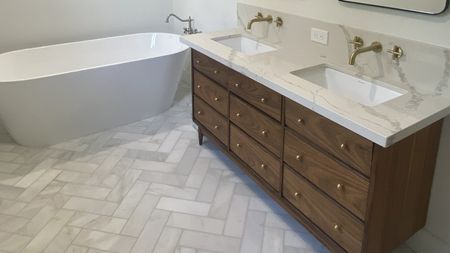 How to turn a vintage dresser into a bathroom vanity
DIY-er found a vintage piece on Facebook Marketplace to turn a dresser into a bathroom vanity and save thousands of dollars in the process
By Brooke Waite Published
-
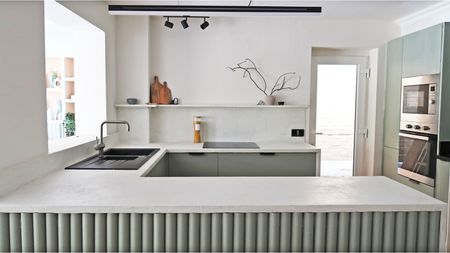 How to use microcement on kitchen countertops for a seriously cool upgrade
Learn how to create budget-friendly, luxury-look countertops with this step-by-step guide on how to microcement kitchen worktops
By Claire Douglas Published
-
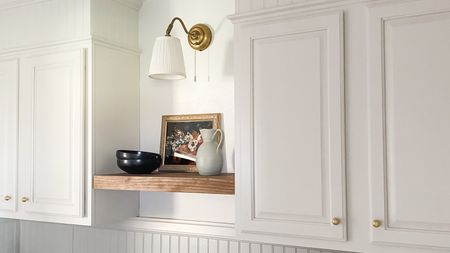 Before and after: installing 'faux' upper cabinets created a lofty laundry room
DIYer Brooke Waite bridged the gap under her laundry room ceiling with a 'faux' cabinet install and crown molding. The result is a loftier laundry room space, all for about $100...
By Brooke Waite Published
-
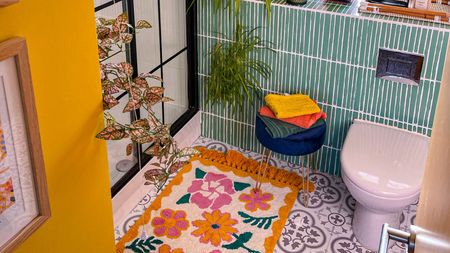 Before and after: Green painted tiles transform this tiny en suite on a budget
DIYer Geri transformed her tiny en suite bathroom on a budget by painting the wall tiles a stunning shade of green
By Emily Smith Last updated
-
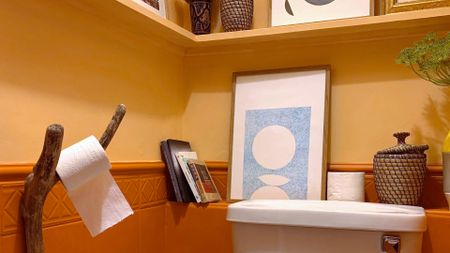 Color crazy DIY-er shares a renter-friendly hack that transformed her downstairs bathroom
An unusual toilet roll holder and a clever DIY tool took this bathroom from dull to totally unique
By Rachel Homer Last updated
-
 DIY bedroom decor – 13 ways to personalize your sleep space
Jazz up your room with these DIY bedroom decor ideas using paint, stencils, vinyl and organic textures.
By Christina Chrysostomou Last updated