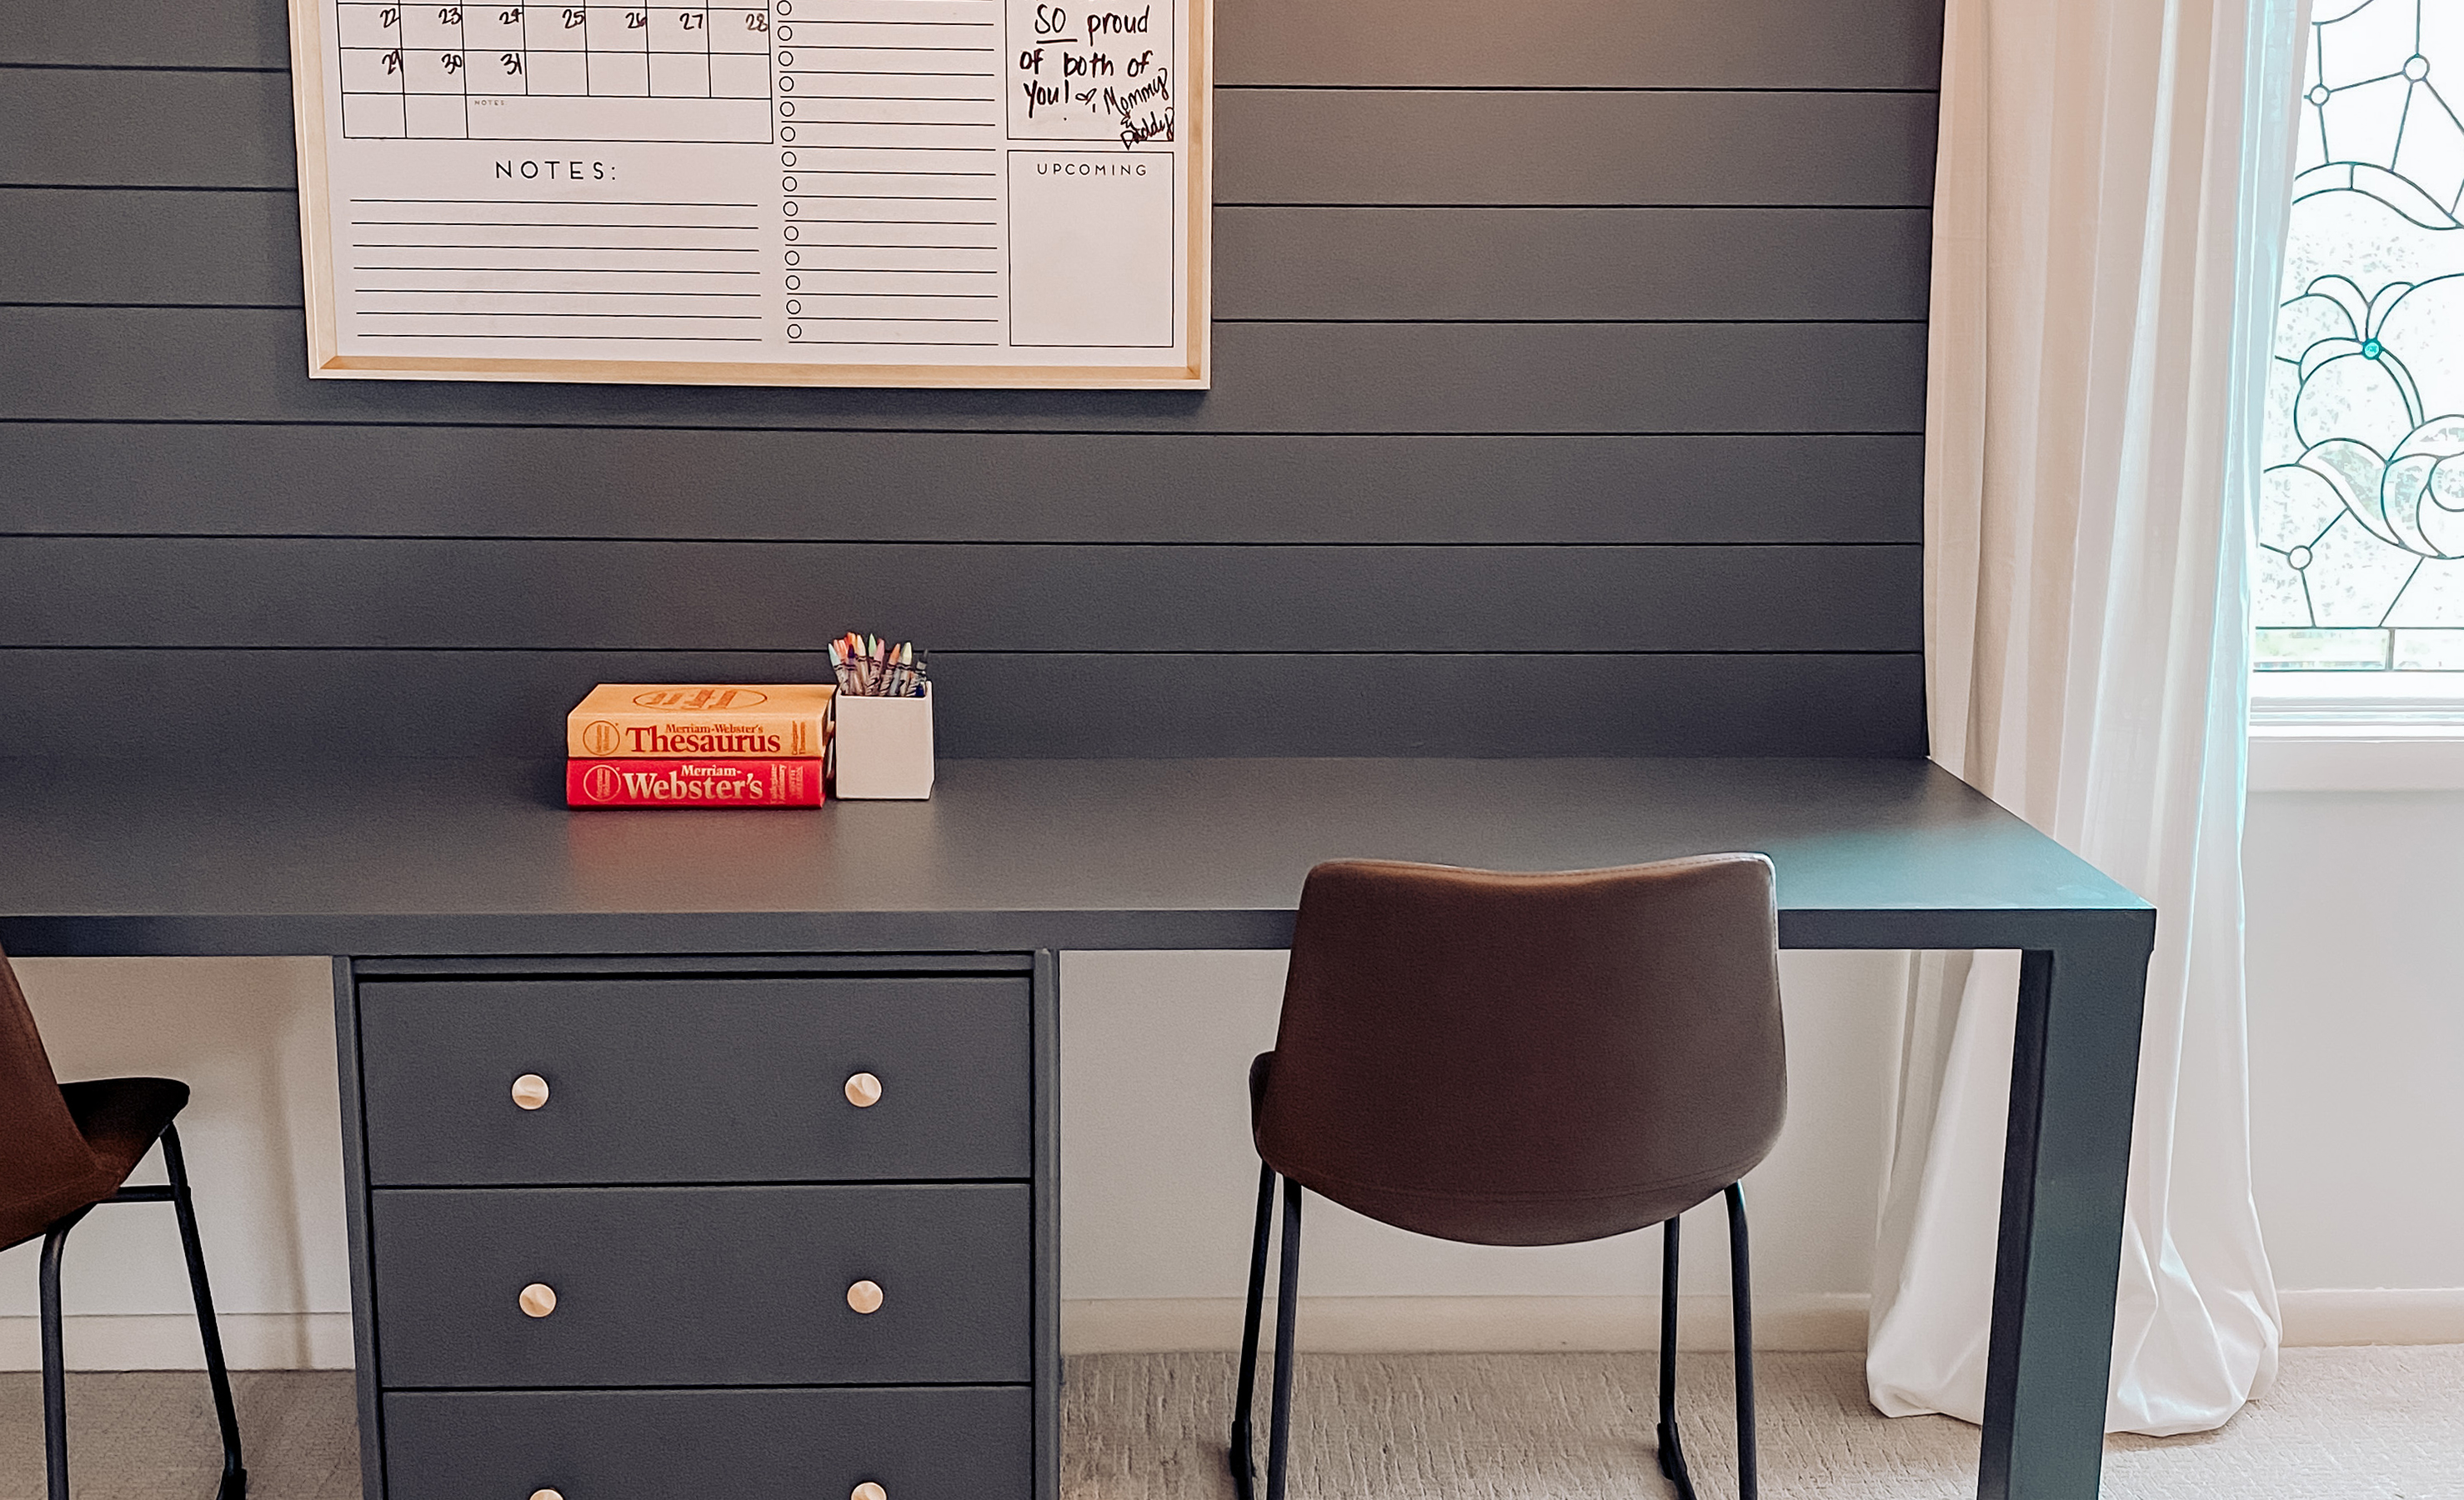
The school year is upon us, and along with all the excitement that comes with going back to school inevitably comes the dreaded homework. As a necessary follow up to a long day of learning, homework isn’t always the easiest thing to check off the list. I have found, however, that having a dedicated spot for kids to work on their schoolwork tends to help them focus, and so I was determined to create a space like this for my kids this year with a DIY built-in desk.
If you’re like me, you have seen the beautiful built-in desks online that probably cost thousands of dollars to install. It was my goal to create a space similar to the inspiration photos I had seen, but at a fraction of the cost. There are many different ways to cut on cost for these projects, and one of the things that I love to do to save money is change the function of a piece of existing furniture.
- DIY: how to build a desk for an adult with a slatted design.
DIY built-in desk: How to
Thinking outside the box of an item’s purpose will open a whole new world of DIY possibilities.
1. Source your materials
In this particular case, I used a laminate countertop that I bought second-hand as the top of the desk and a small, inexpensive chest of drawers to serve as the storage space.
The goal was to make these items appear to be built with each other, so that I would be left with one seamless piece of furniture that looks like it was designed for the space.
Here is a full list of the materials and tools you'll need for this DIY desk:
- Laminate countertop
- Chest of drawers
- Primer
- Paint – these are our favorite paints for furniture
- Paint brushes/best paint rollers
- Dust sheets
- Steel L-brackets + screws
- Nails
- Paintable spackle
- Paintable caulk
- 4x4 to length
- MDF shiplap boards available from Home Depot
2. Priming and painting
The first step in creating a seamless look is paint. Paint has magical powers that can completely transform everything and anything, and for our homework desk, I chose a dark color, anticipating some hard love from the kids that would be using it.
I primed the laminate countertop first, using an oil-based shellac primer (I prefer Zinsser BIN primer which you can find at Home Depot) to coat the countertop sufficiently. Priming a shiny and smooth surface like that of a laminate countertop is a crucial step to ensure that your paint won’t eventually peel or chip.
Once the countertop was primed, I painted a couple of coats with an indoor latex paint and used the same paint to transform the chest of drawers (this piece was untreated natural wood, so no primer was necessary).
3. Assembly
Once dry, I centered the dresser in the space and placed the (very heavy) laminate countertop on top. Because of the weight of the countertop, I secured it to the wall with steel L-brackets that I screwed into both the wall studs and the desk itself.
For added support, I cut down a 4x4 to length and added legs to the side and back of the countertop. These were also painted to match the rest of the desk again, creating a seamless look.
4. Custom-feel additions
After my new “built-in” desk was assembled, I took this DIY one step further. I added MDF shiplap boards to the wall above the desk in order to continue with the seamless look of the desk.
I started at the laminate countertop-turned-desktop and made my way up to the ceiling, snapping the nickel gap shiplap into place as I went. Shiplap boards (and in this case, MDF boards) are a fantastic way to take a space to a whole new level, and they are also an incredibly easy starter DIY project.
Note: A couple of tips for installing shiplap include painting the lip of the board before hanging another and nailing into the lip of the board when possible. This will give you less nail holes to fill later, since the gap containing the lip is covered by the adjacent board.
5. Final touches
Once all was assembled and hung, I filled all holes with paintable spackle and caulked all seams with paintable caulk. This seemingly tedious finishing step actually makes for an amazing impact on the finished space and it is one that shouldn’t be skipped!
The result: the perfect homework station
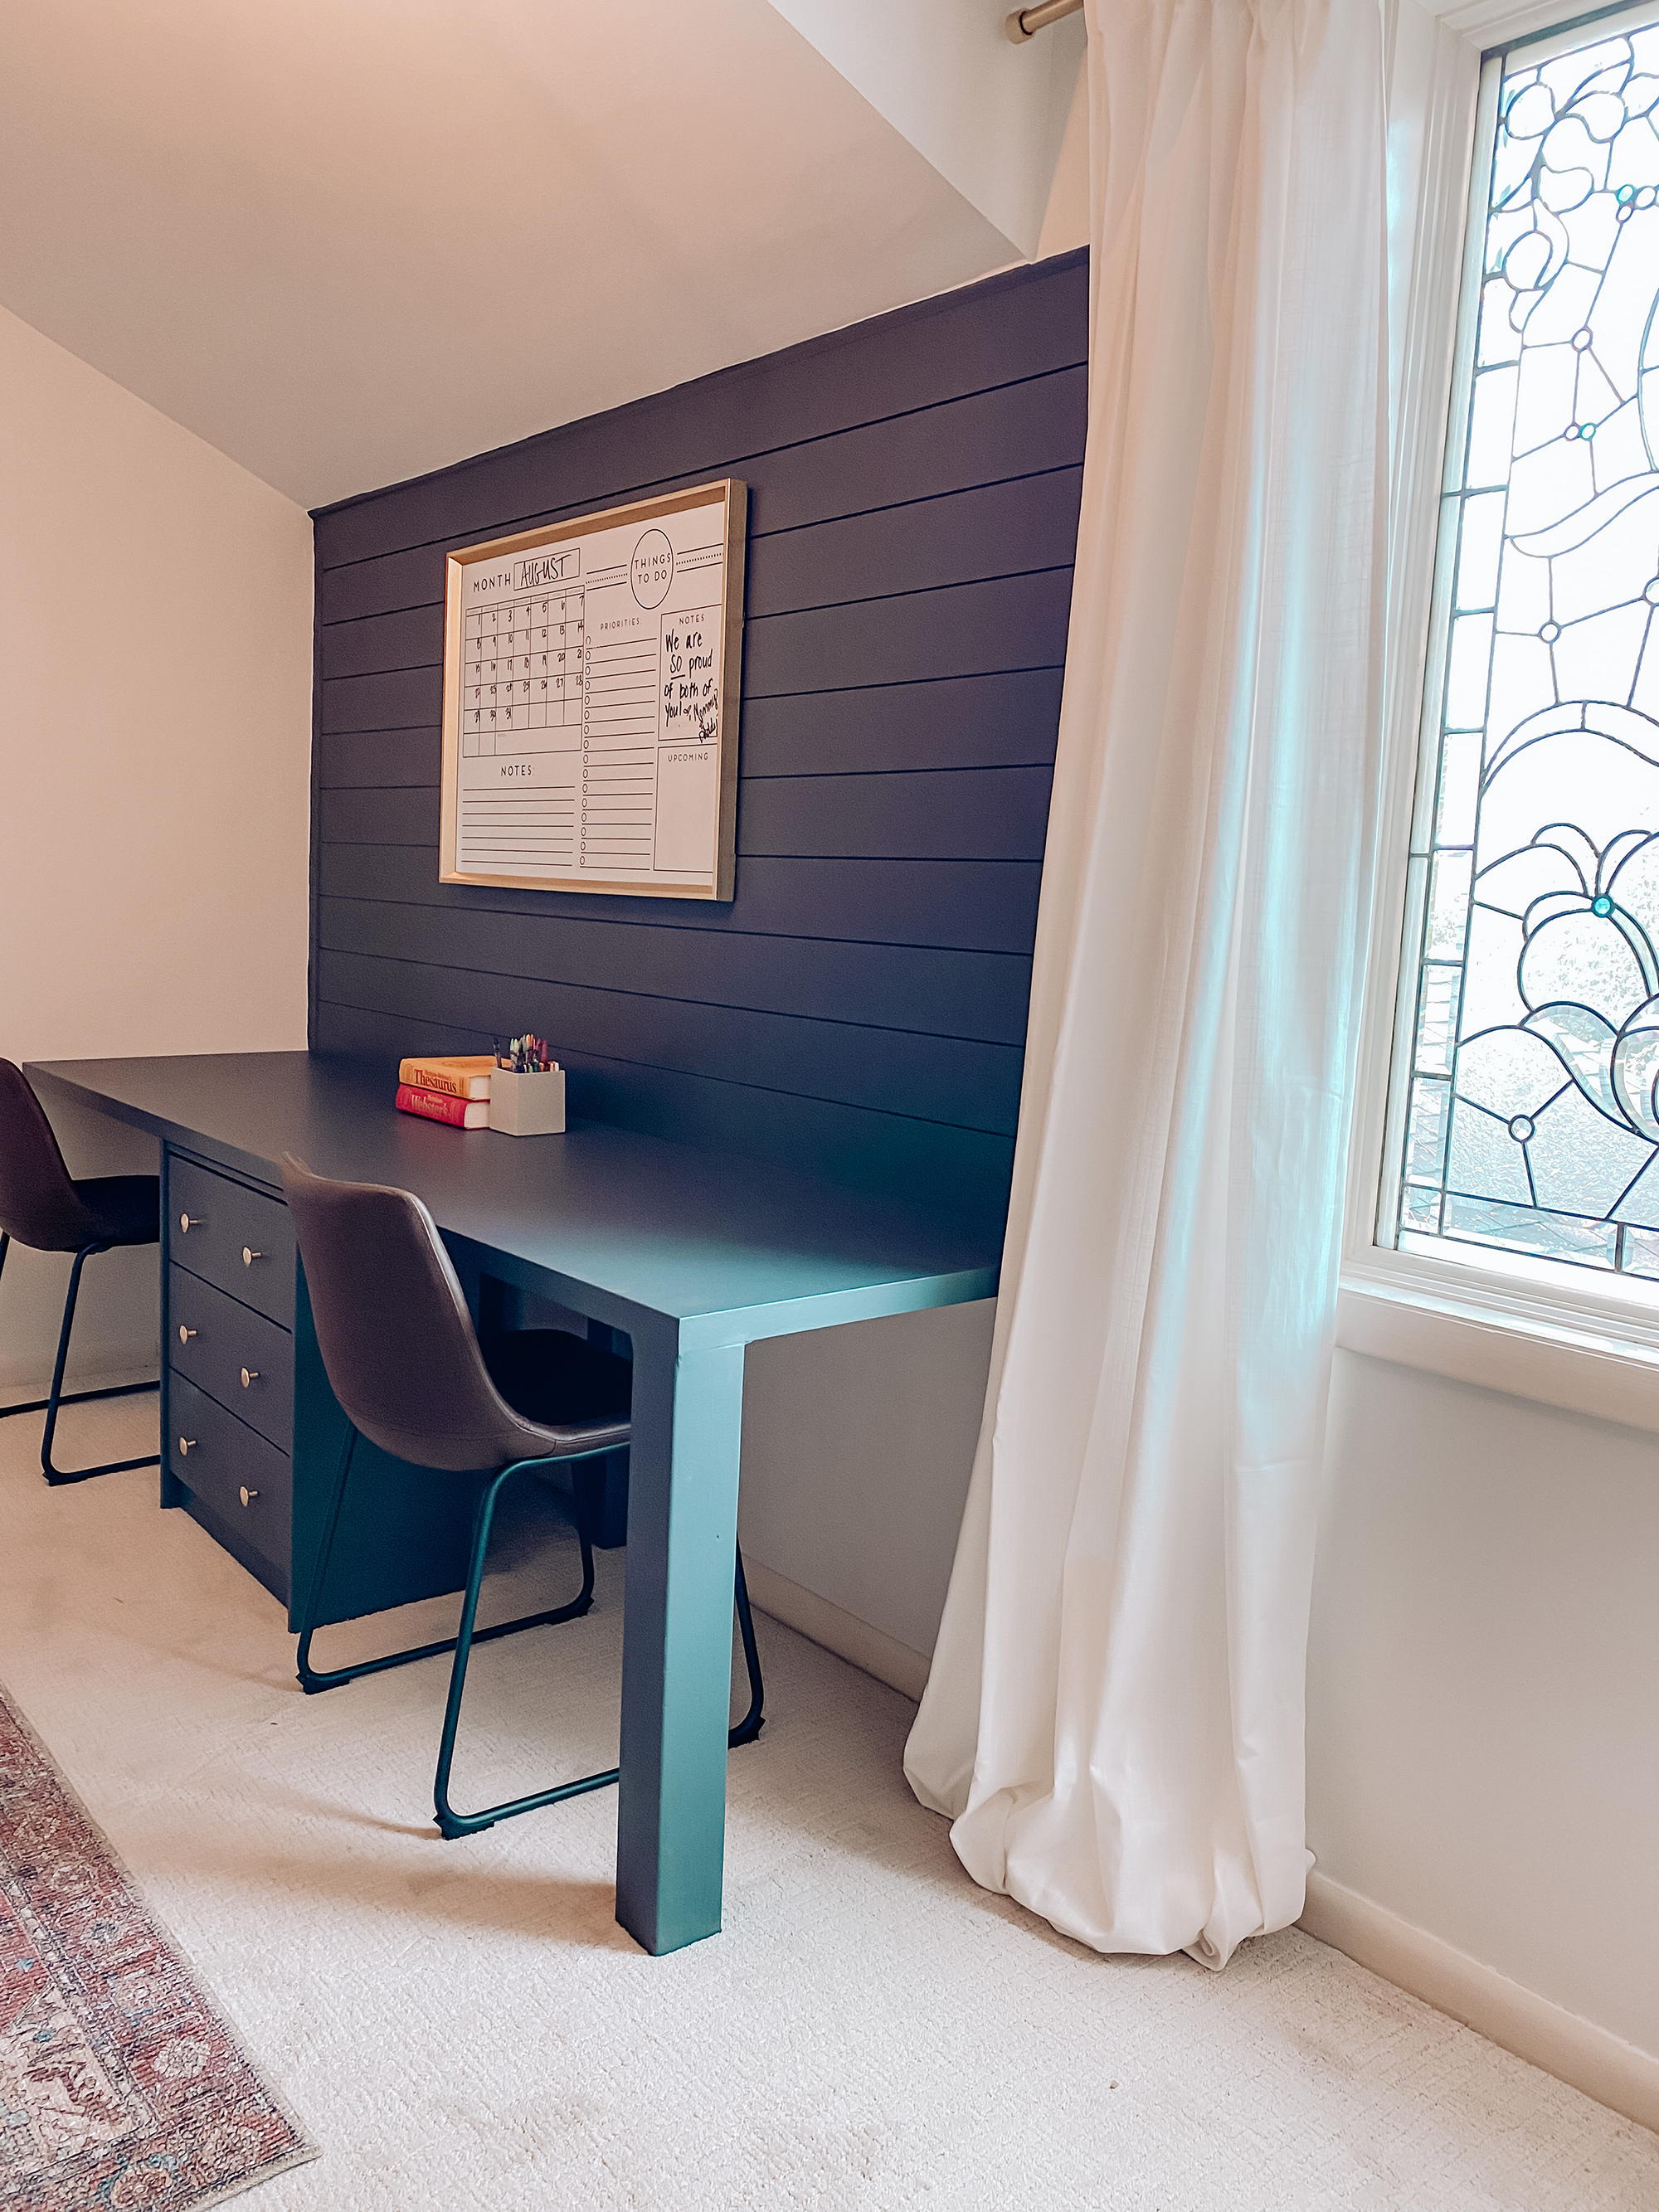
The finished product has created a truly functional area of the kids' room that they now use all the time! They love having their own space to do their work (and play), and I love having a beautiful, and now useful, space that cost me the fraction of the price of a full built-in.
Now that this school year is in full swing and we have a homework area ready to go, we can really say that we are ready for it!
Join our newsletter
Get small space home decor ideas, celeb inspiration, DIY tips and more, straight to your inbox!
-
 A $200 fluted panel transformed my drab kitchen in just one weekend
How to install a fluted kitchen panel: A speedy and achievable DIY tutorial even for DIY novices
By Claire Douglas Published
-
 How to replace a broken staircase spindle in 30 minutes flat
A missing or broken spindle on a staircase is not only unsightly, but it can be a real hazard. This is how to fix it in a few quick steps.
By Kate Sandhu Published
-
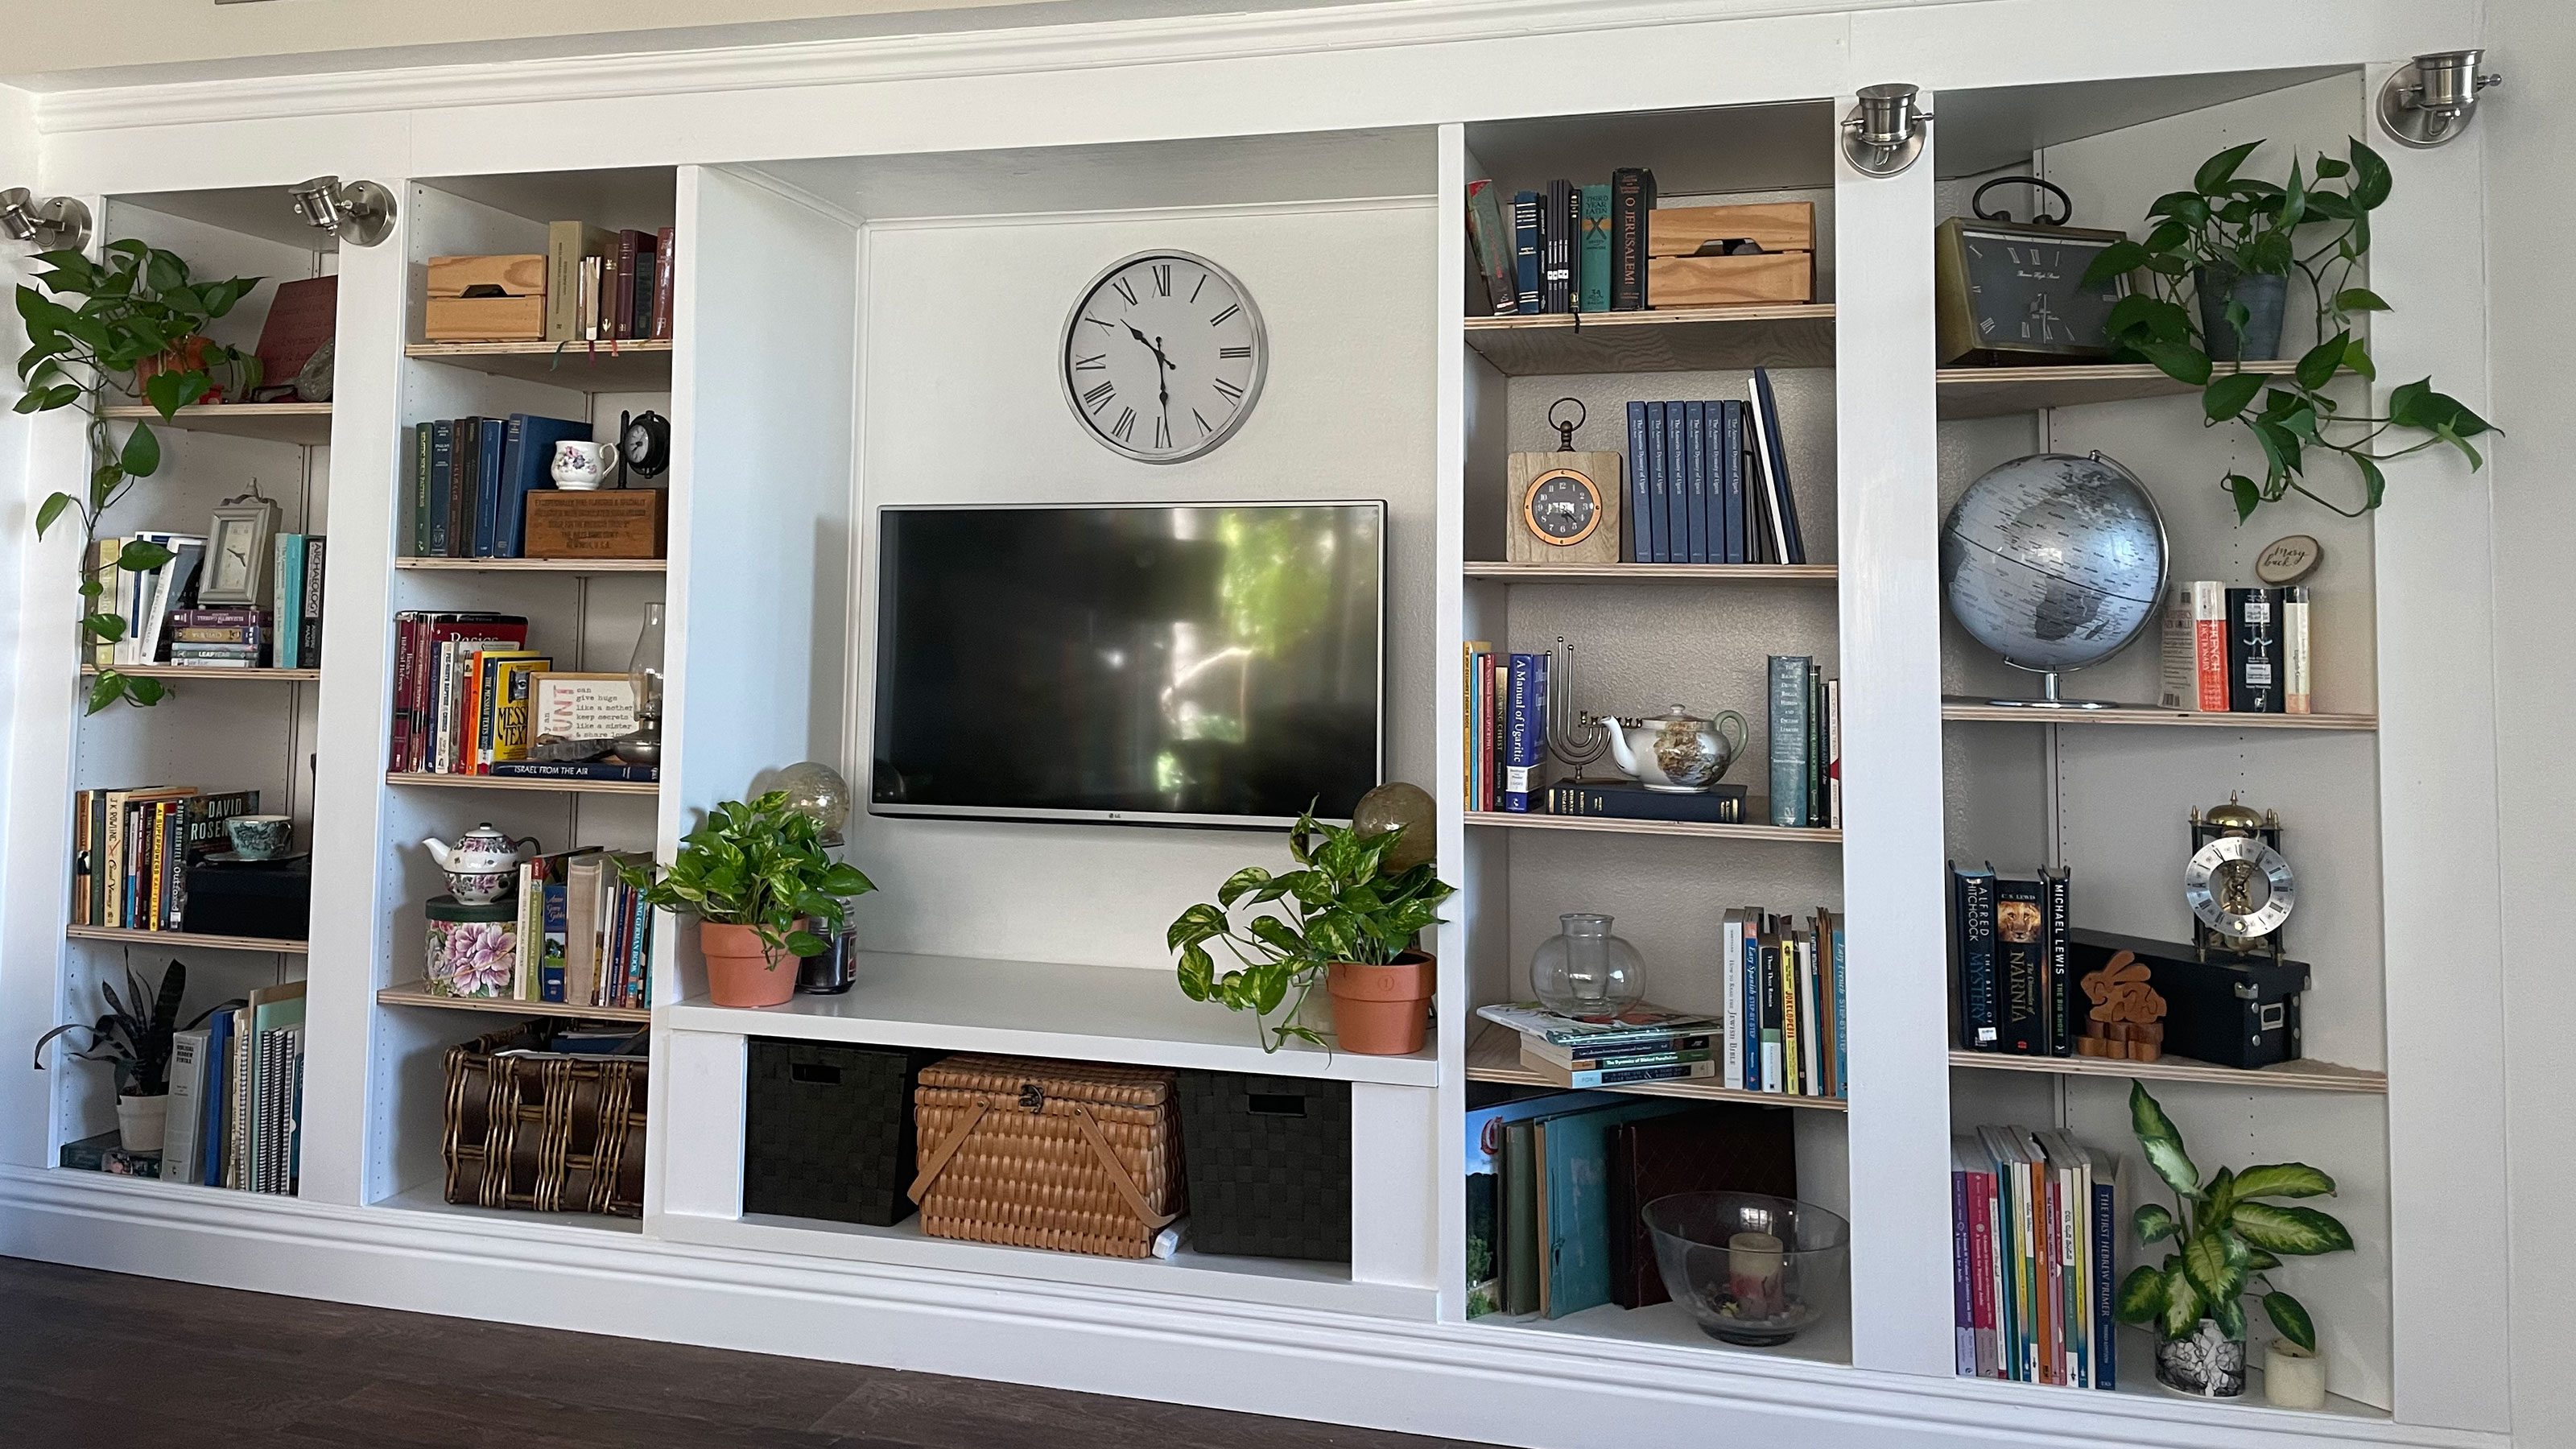 An IKEA Billy bookcase hack inspired this cute media wall DIY
This cute DIY was inspired by an IKEA Billy bookcase hack and brought a ton of symmetry to an otherwise basic media wall space.
By Camille Dubuis-Welch Published
-
 Share your small space glow up to win $150 in the Real Homes competition
Show off your creativity and DIY skills to win $150 and for the chance to be featured exclusively in Real Homes magazine
By Camille Dubuis-Welch Last updated
-
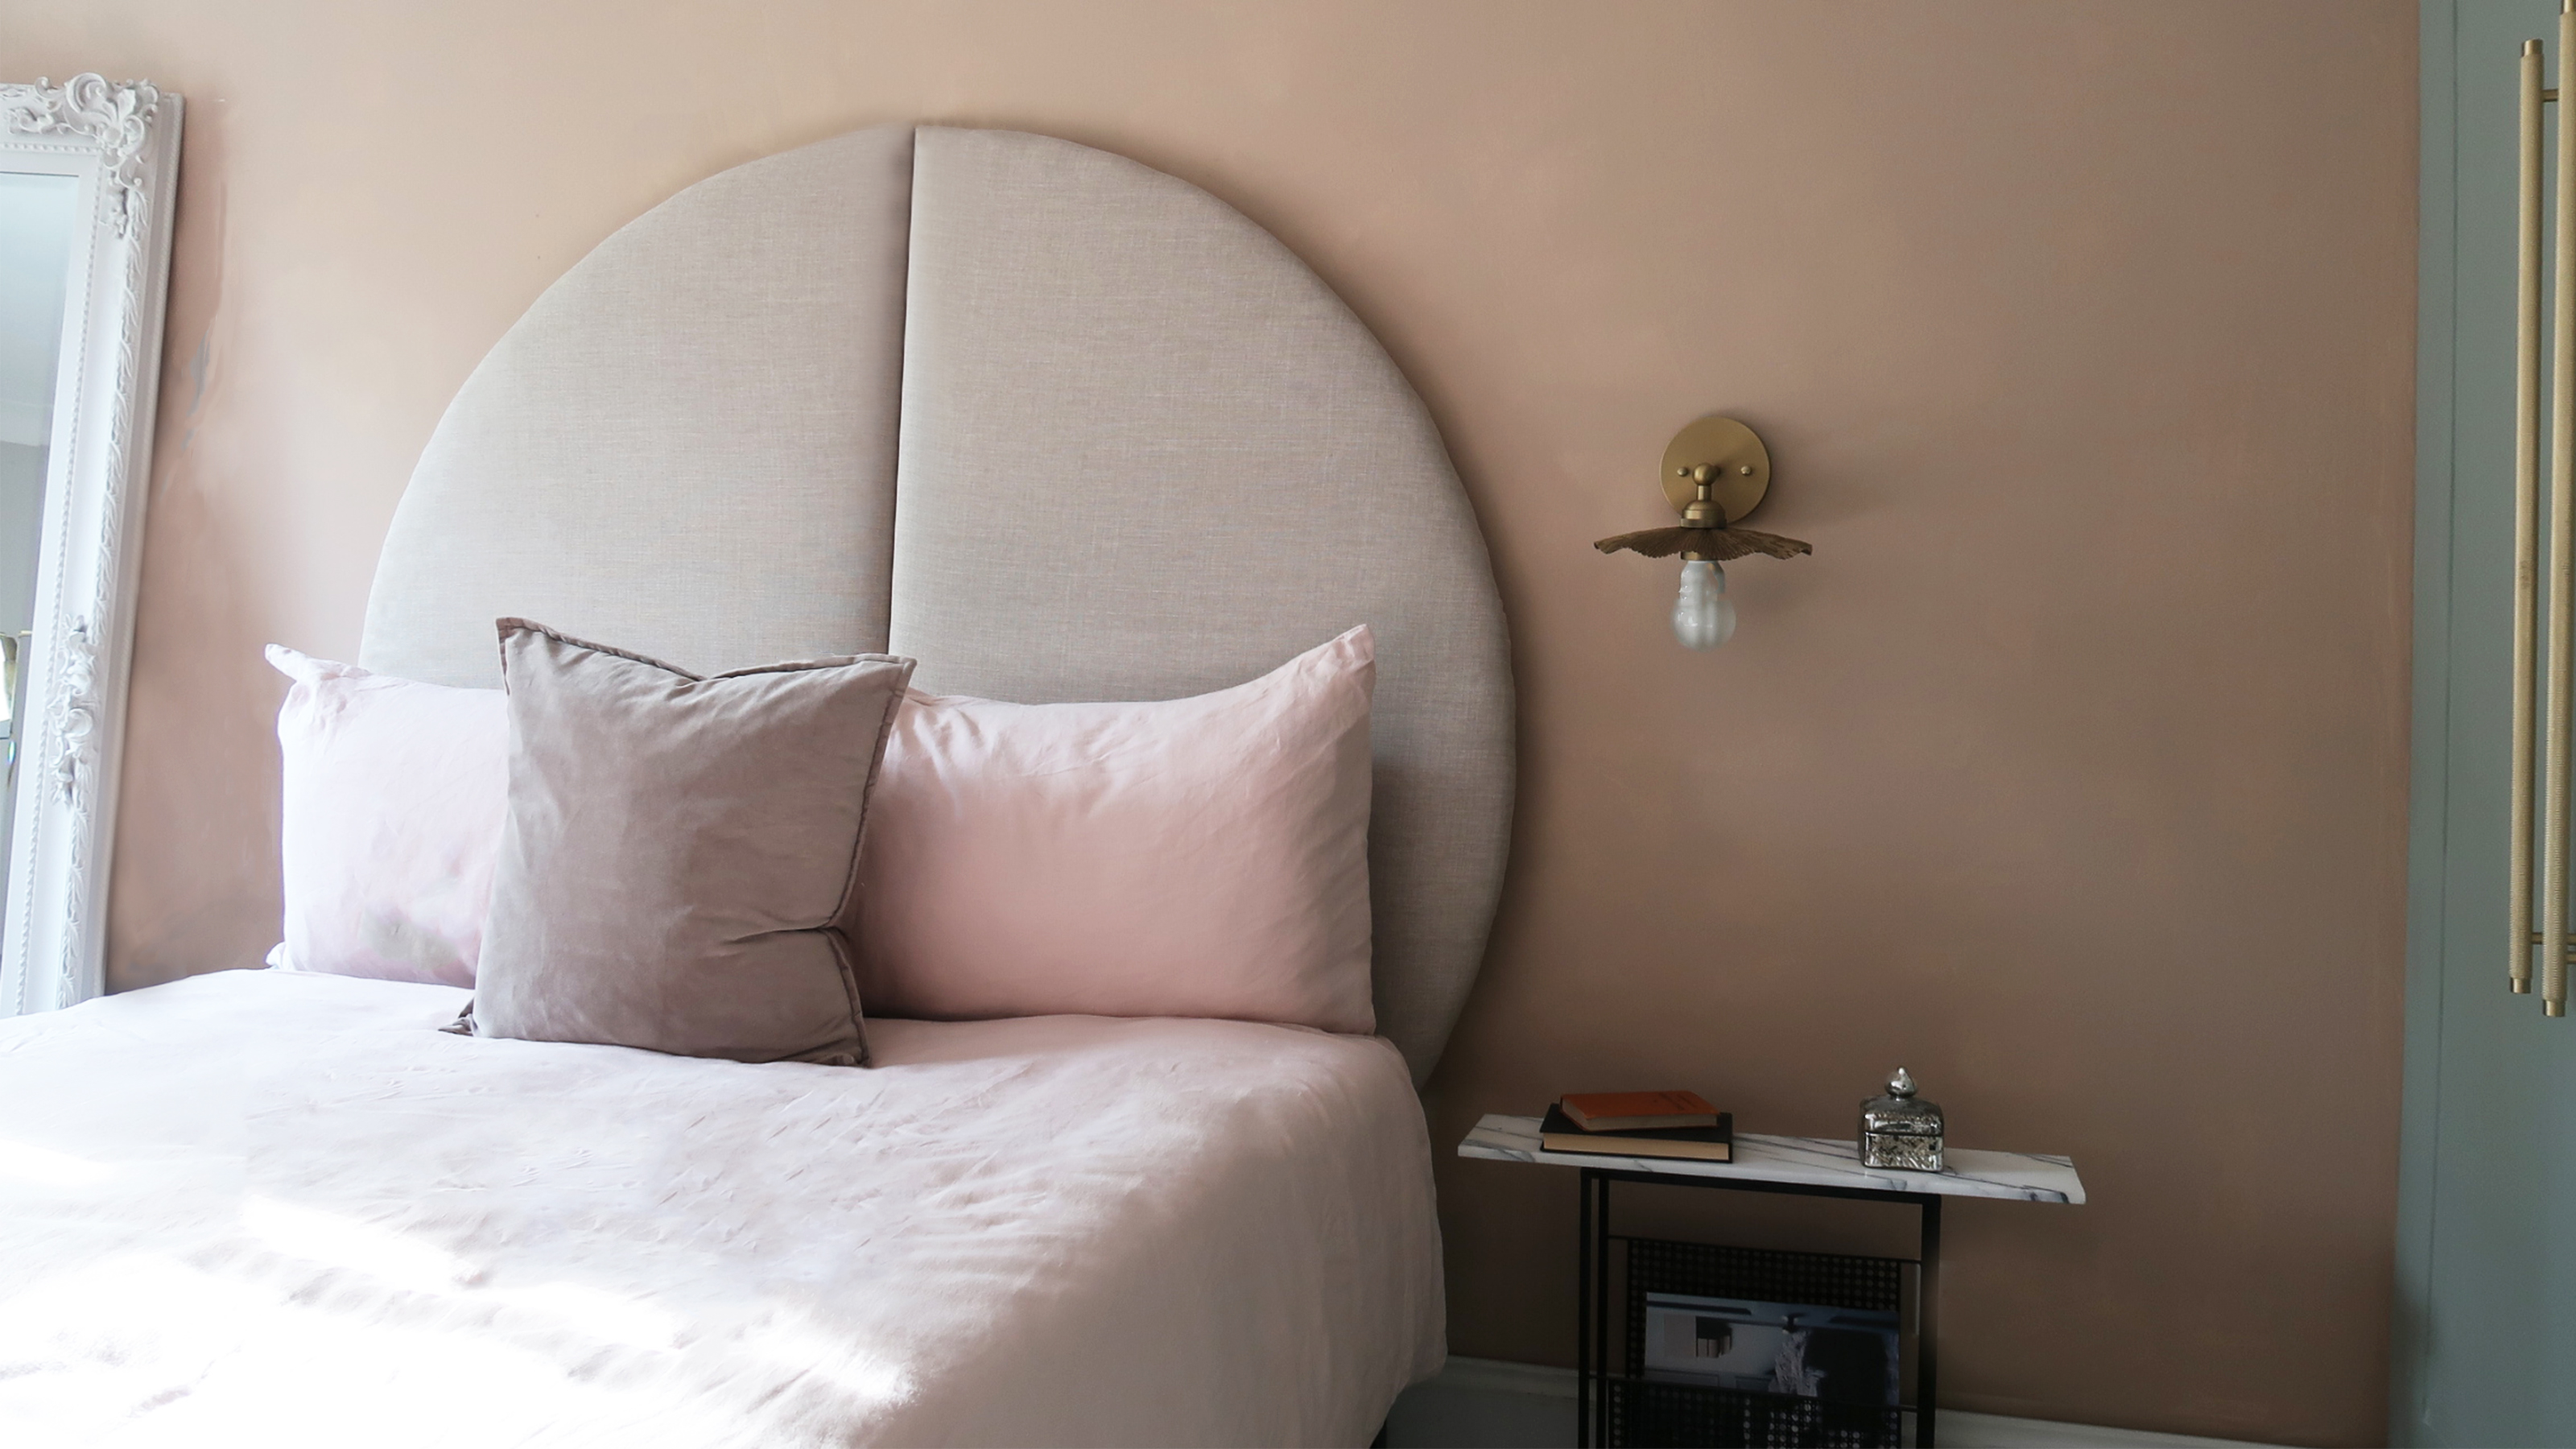 This oversized headboard looks designer, and takes 5 steps to DIY
Super simple to DIY, this oversized headboard will give your bedroom space all the designer vibes you could dream of.
By Claire Douglas Published
-
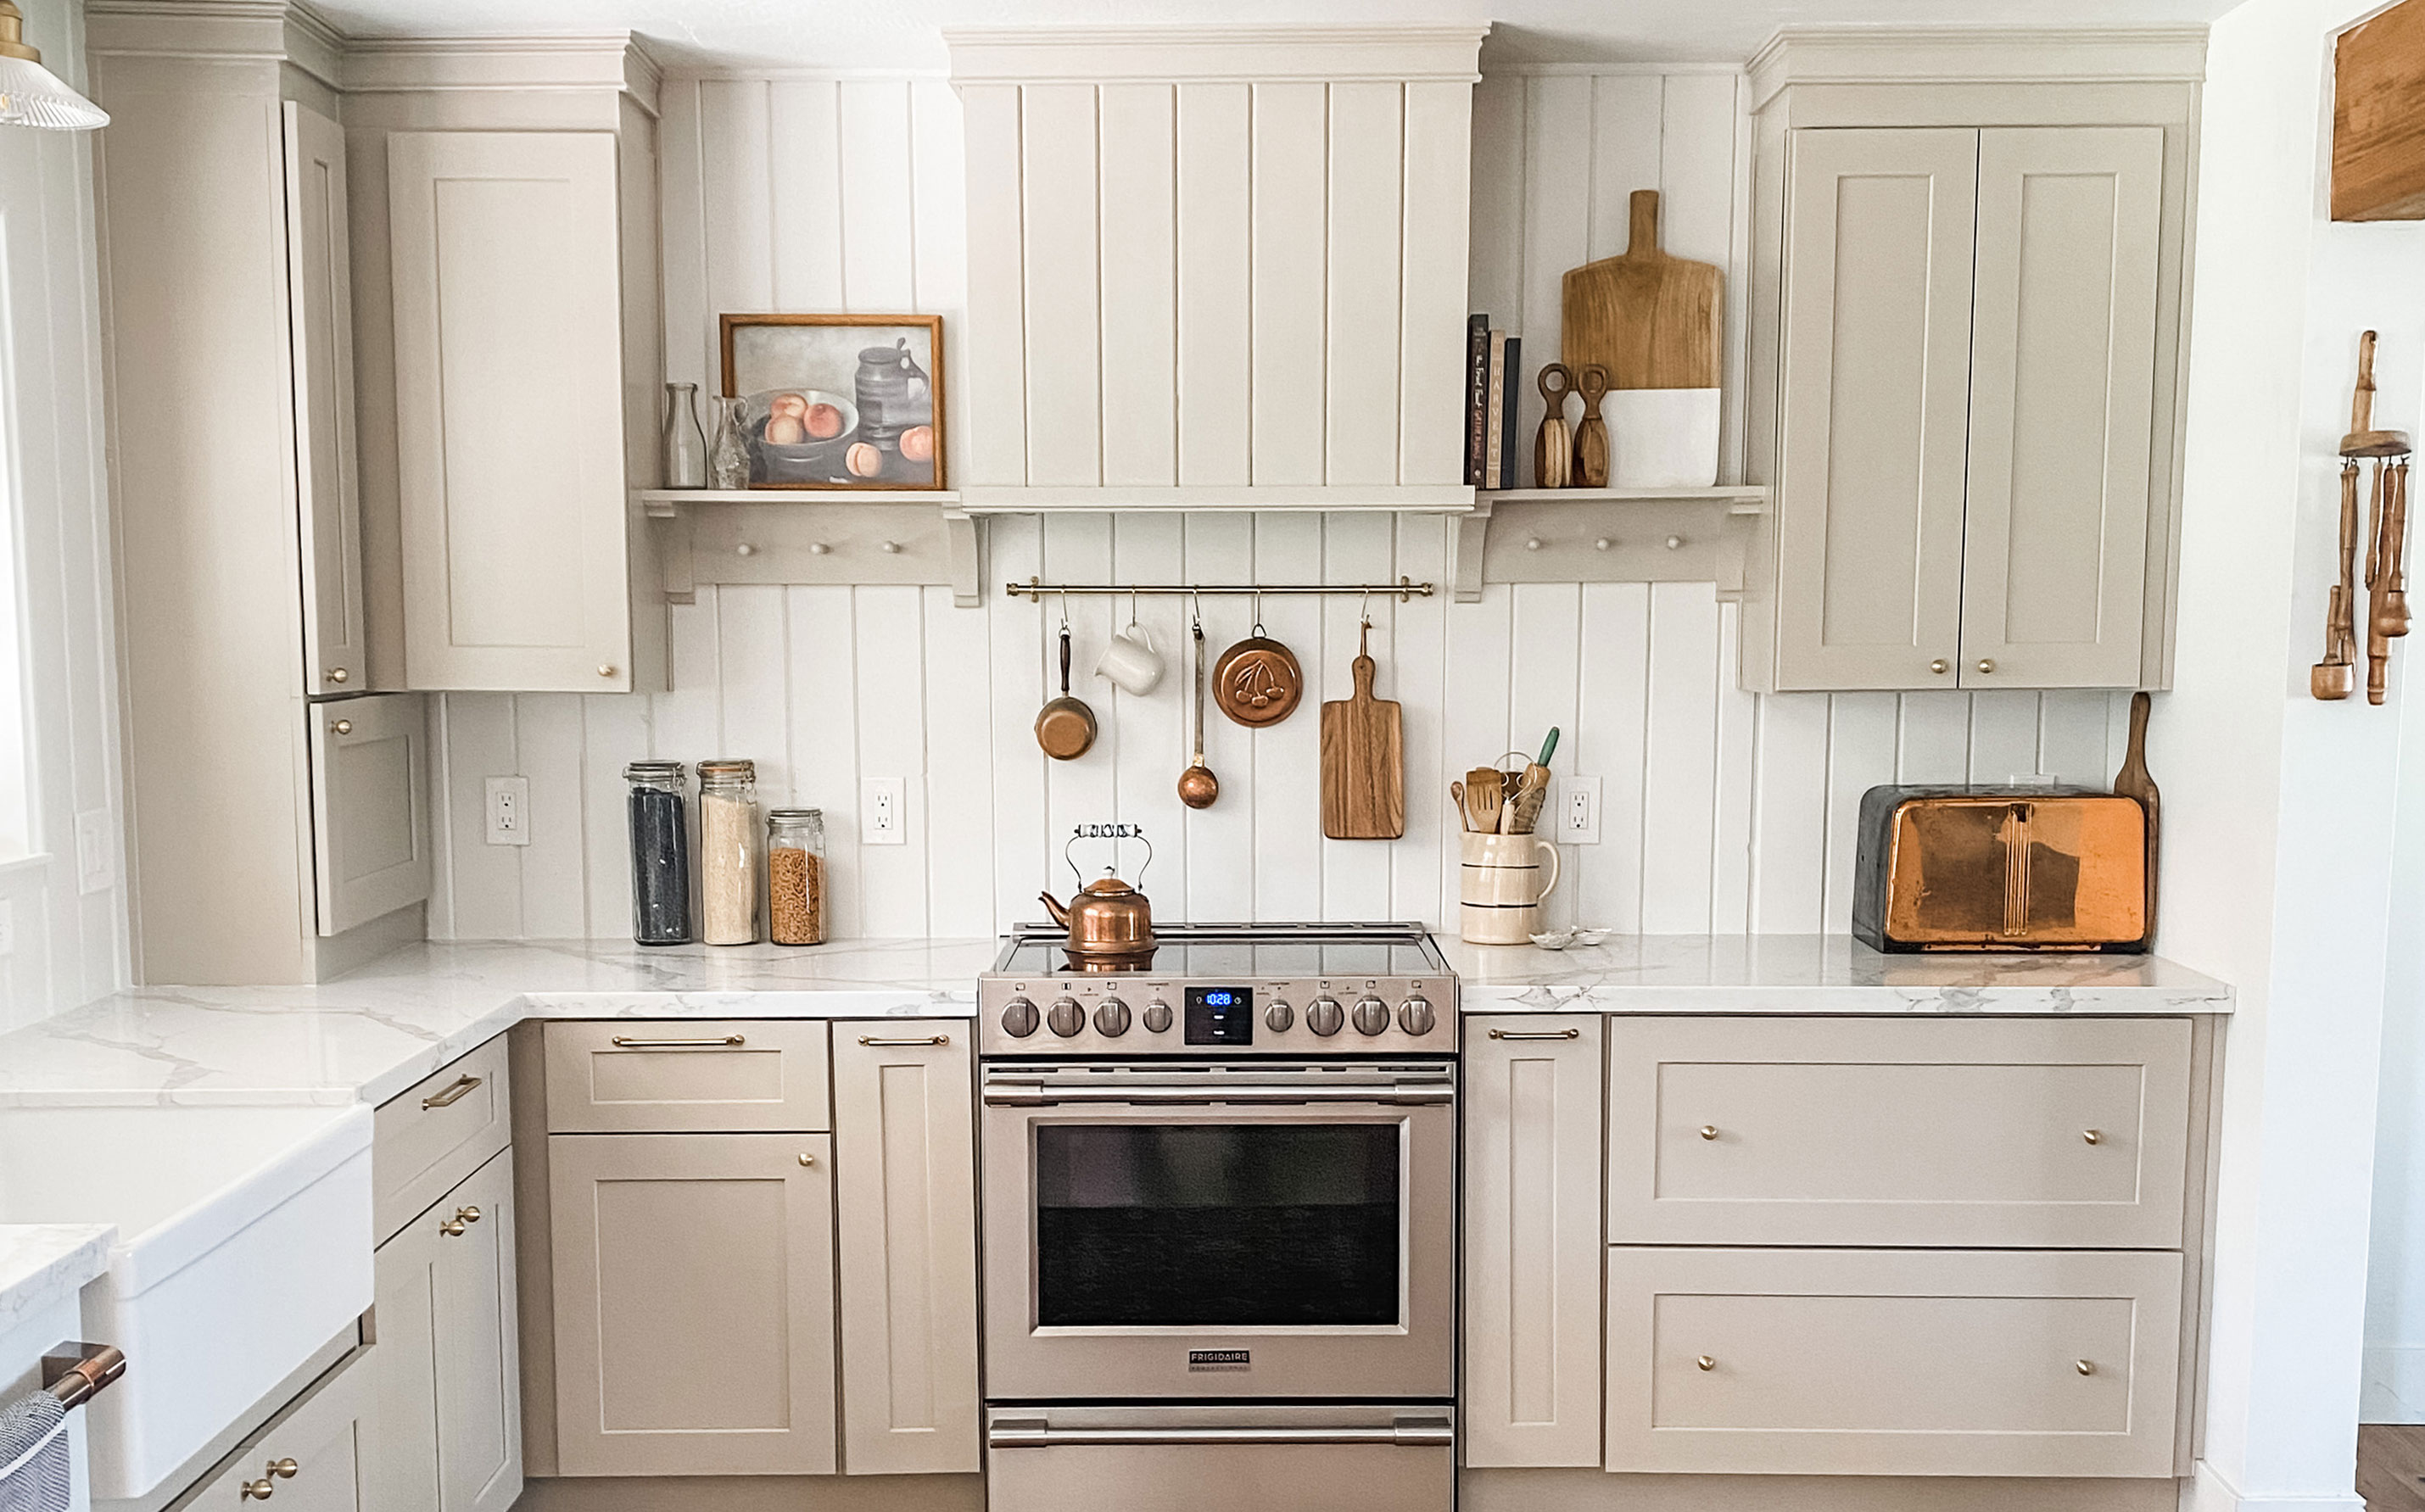 My DIY range hood and backsplash build gave my kitchen the perfect farmhouse finish
I craved charm in my kitchen space and adding a custom range hood and shelving was the best move.
By Brooke Waite Published
-
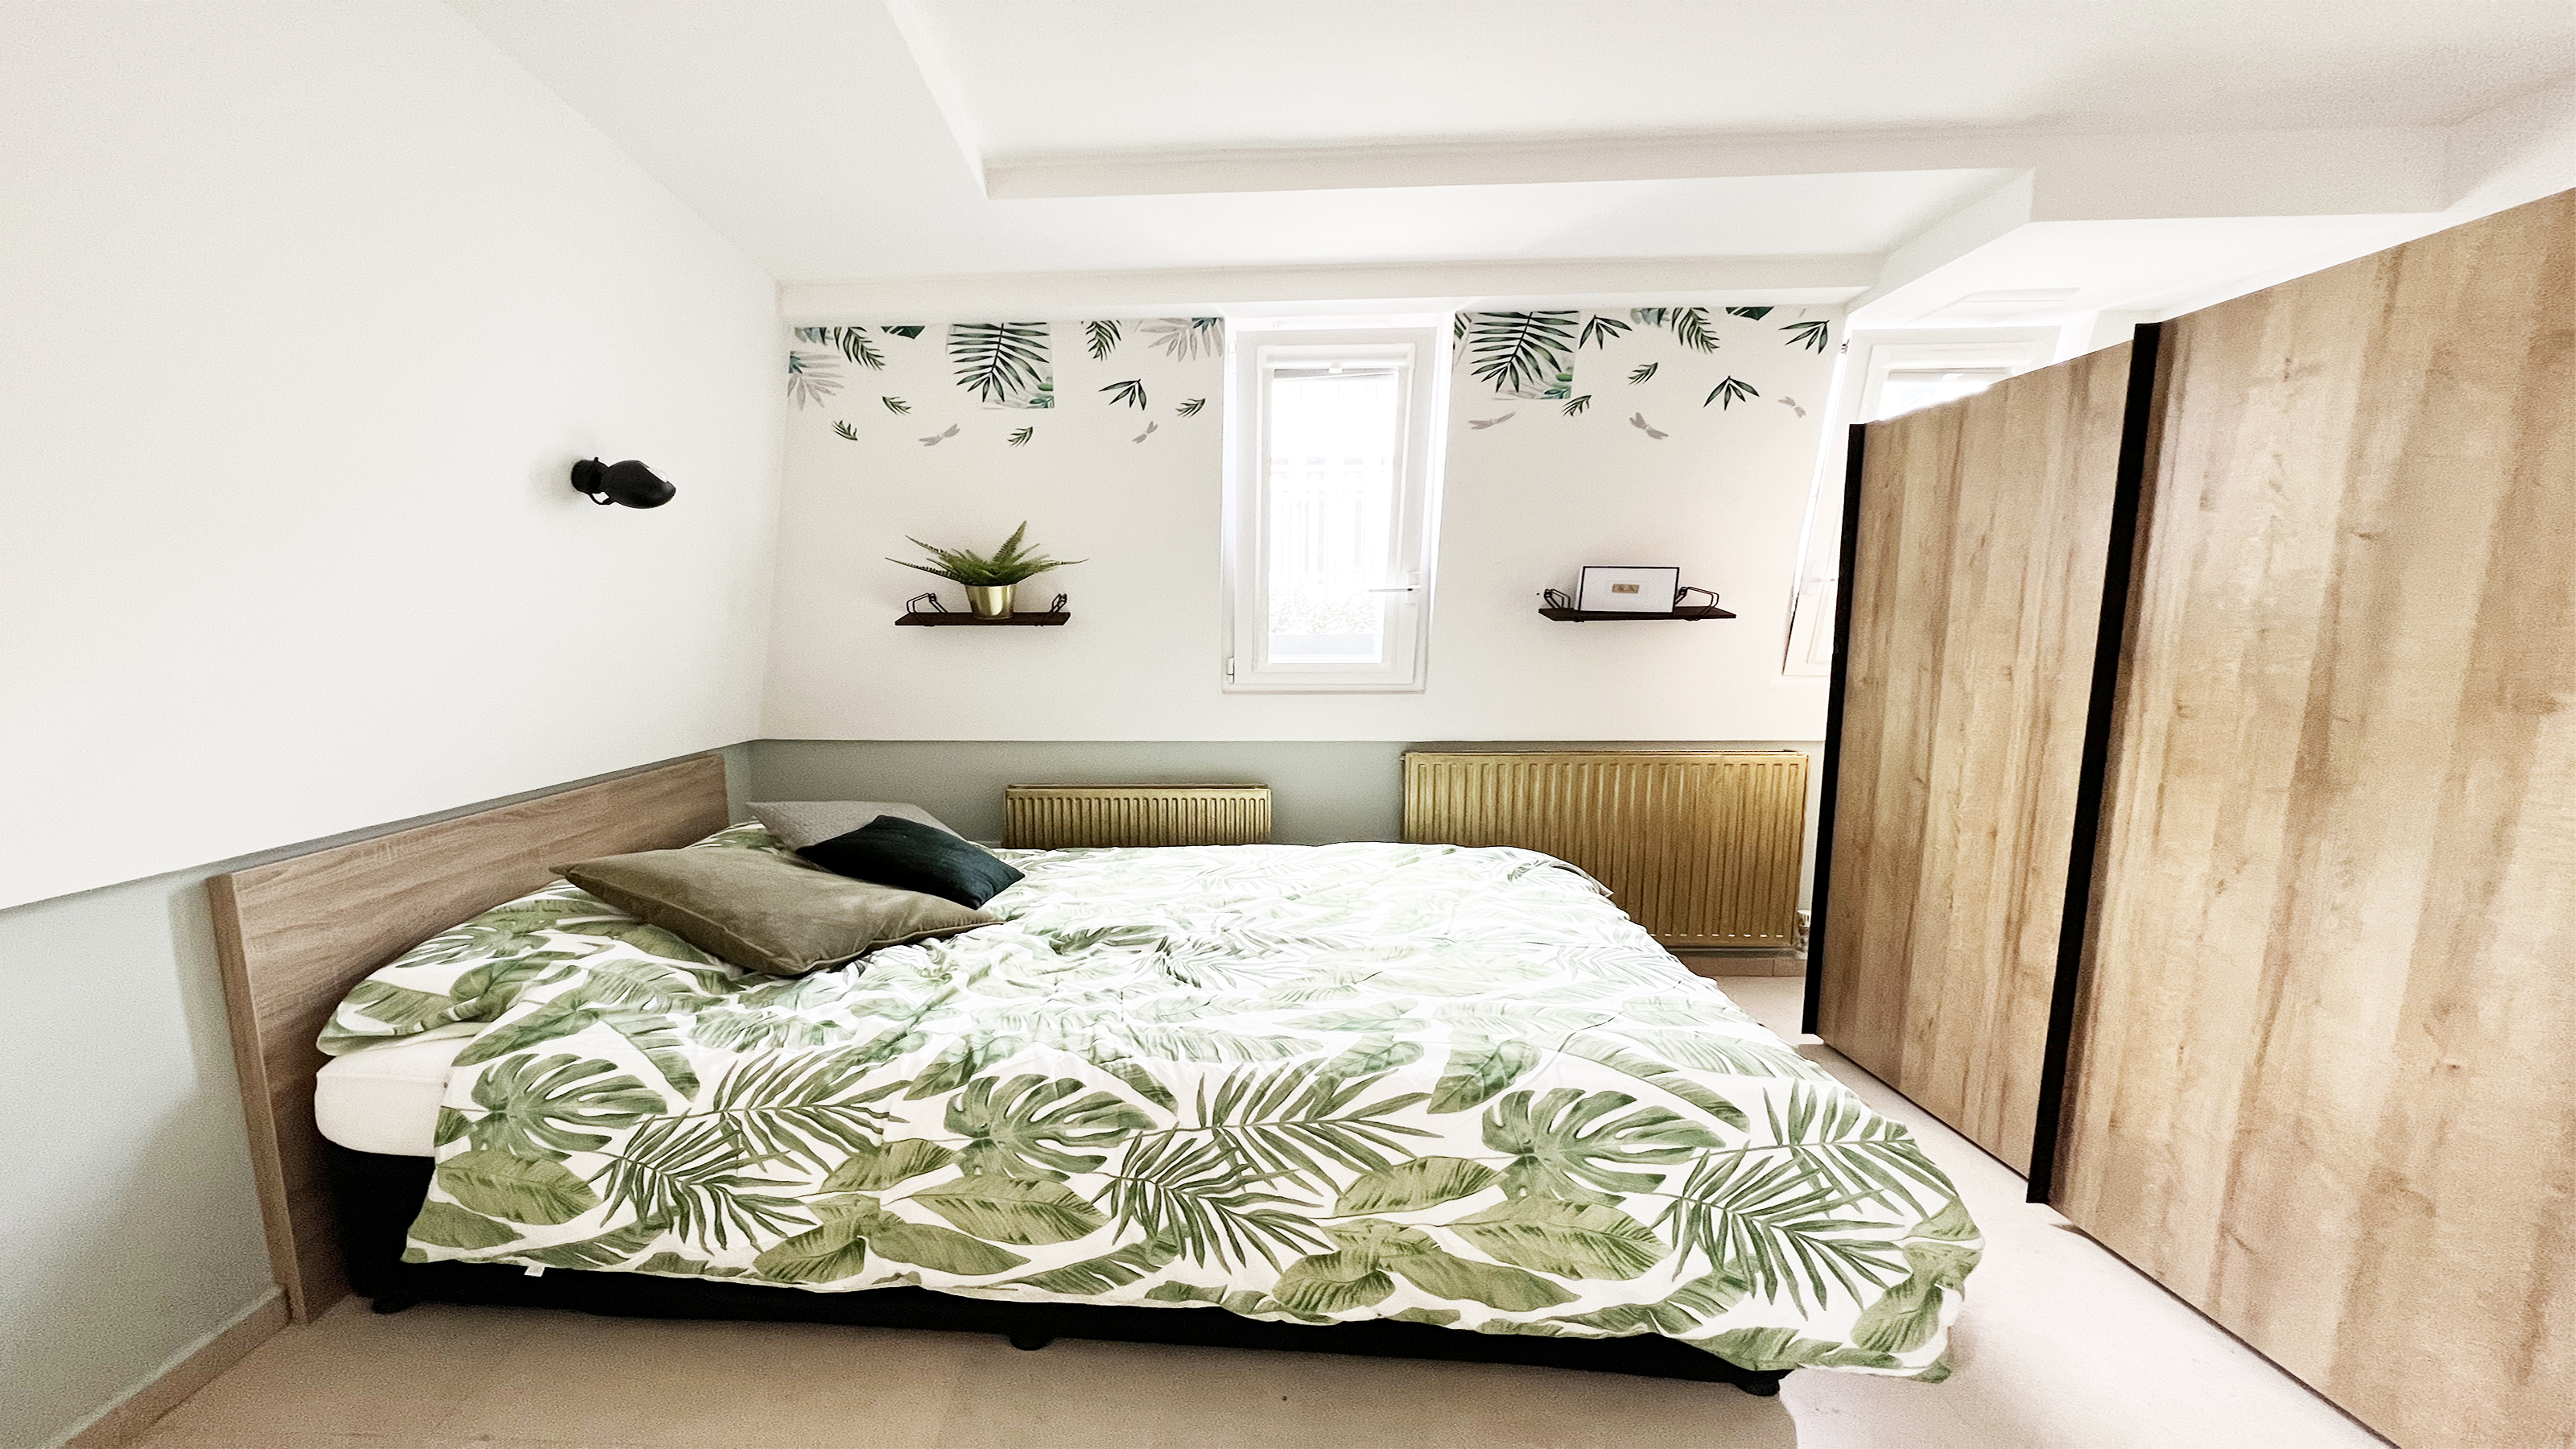 How to paint a radiator in 7 steps
Painting radiators properly is all about choosing the right paint and the best process. Get interior designer-worthy results with our how-to.
By Kate Sandhu Published
-
 How to install a door knob
Updating your interior and exterior doors can be as easy as changing out the hardware! The best part is that installing a door knob is very DIY friendly. Follow these simple steps and enjoy a fresh look on your doors!
By Dori Turner Published