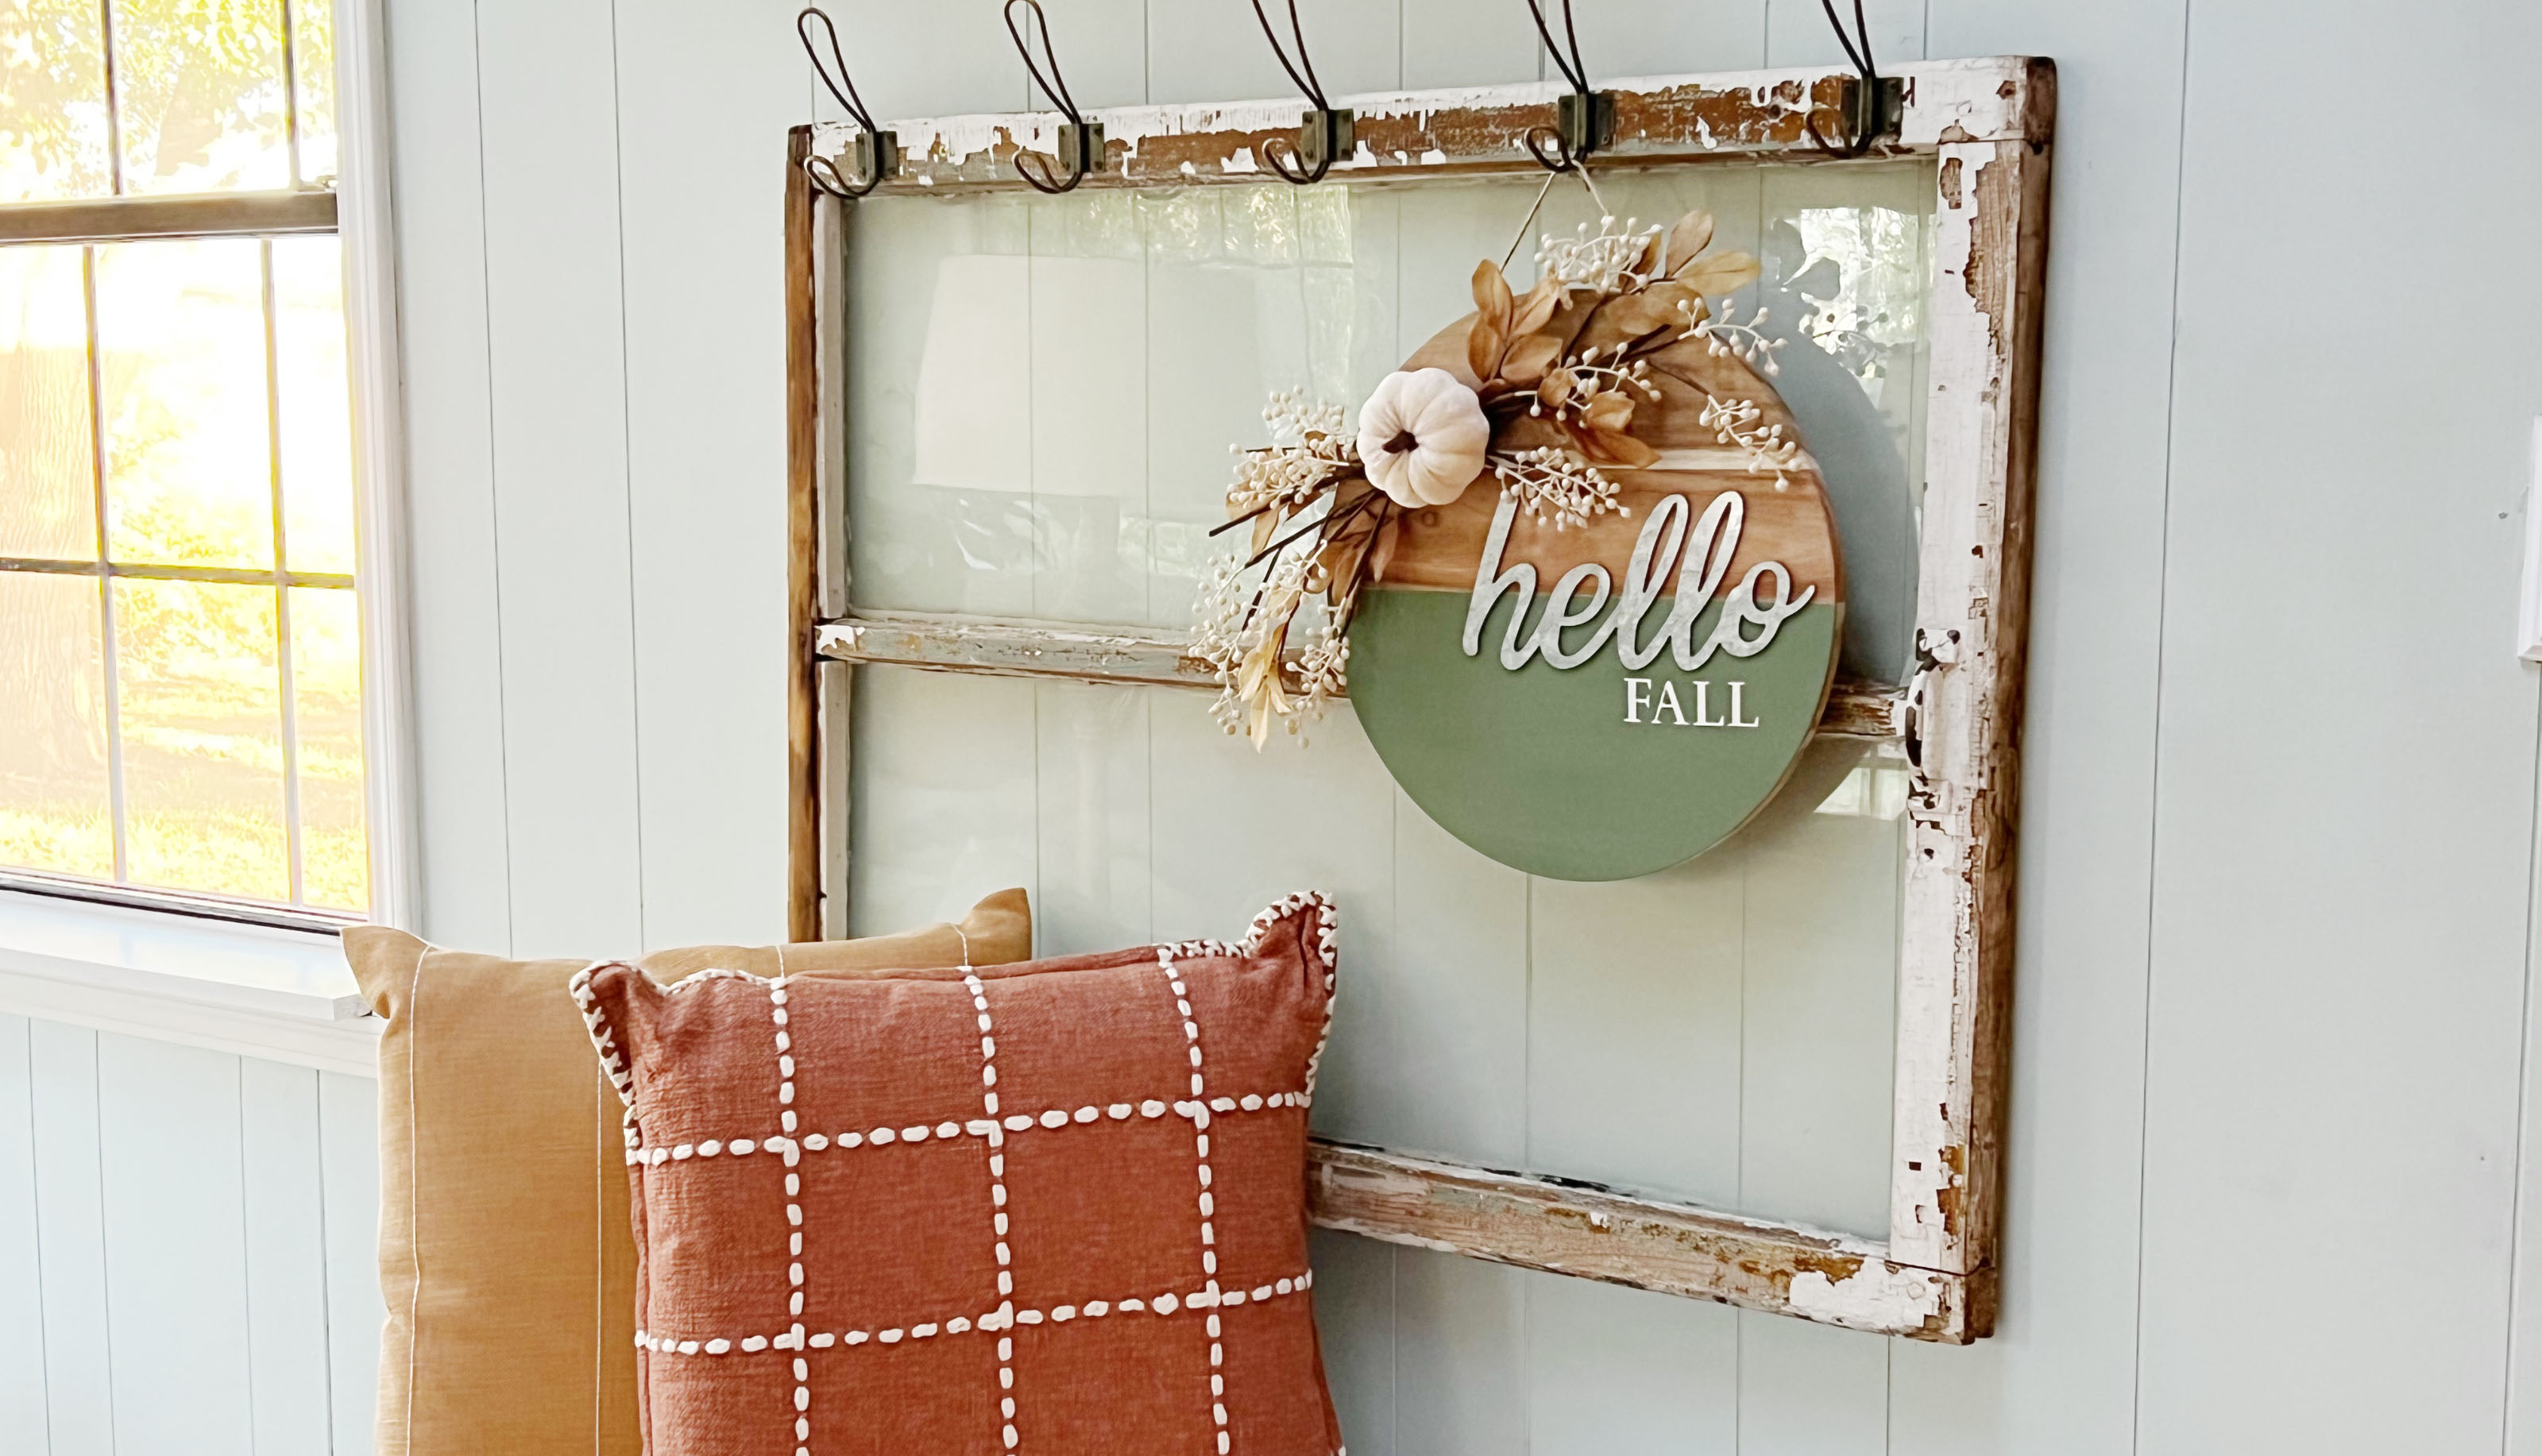

When those autumnal colors start to appear everywhere, when pumpkin lattes take their place once again on coffee menus and when mums start to pop up on porches everywhere, fall has arrived. Welcome one of the coziest seasons with a rustic DIY wood fall wreath make and stir up tradition in a cute way (that's super on budget too).
Traditional fall wreaths are a staple in seasonal decor, but sometimes you want something a little different. This beautiful alternative to a traditional wreath offers a unique opportunity to add some character to your space.
How to make a wood fall wreath
Like all of the coolest DIY fall wreath ideas, this one can easily be customized to include your favorite fall word or phrase and the florals can be different colors or varieties! All of the supplies can be purchased at your local craft store like Hobby Lobby or Michael’s. If you’d like a larger wreath, try this wood disc from Home Depot!
Supplies Needed:
2. Stain (optional)
3. Paint
4. Paintbrush
5. Painter’s tape from Amazon is fine
7. Fall florals
8. Floral wire
9. Hot glue gun and sticks: We rate the Ryobi One cordless 18V that's available at The Home Depot also
10. A Cricut can come in useful for stencils or, pick up some basic letter stencils from Amazon
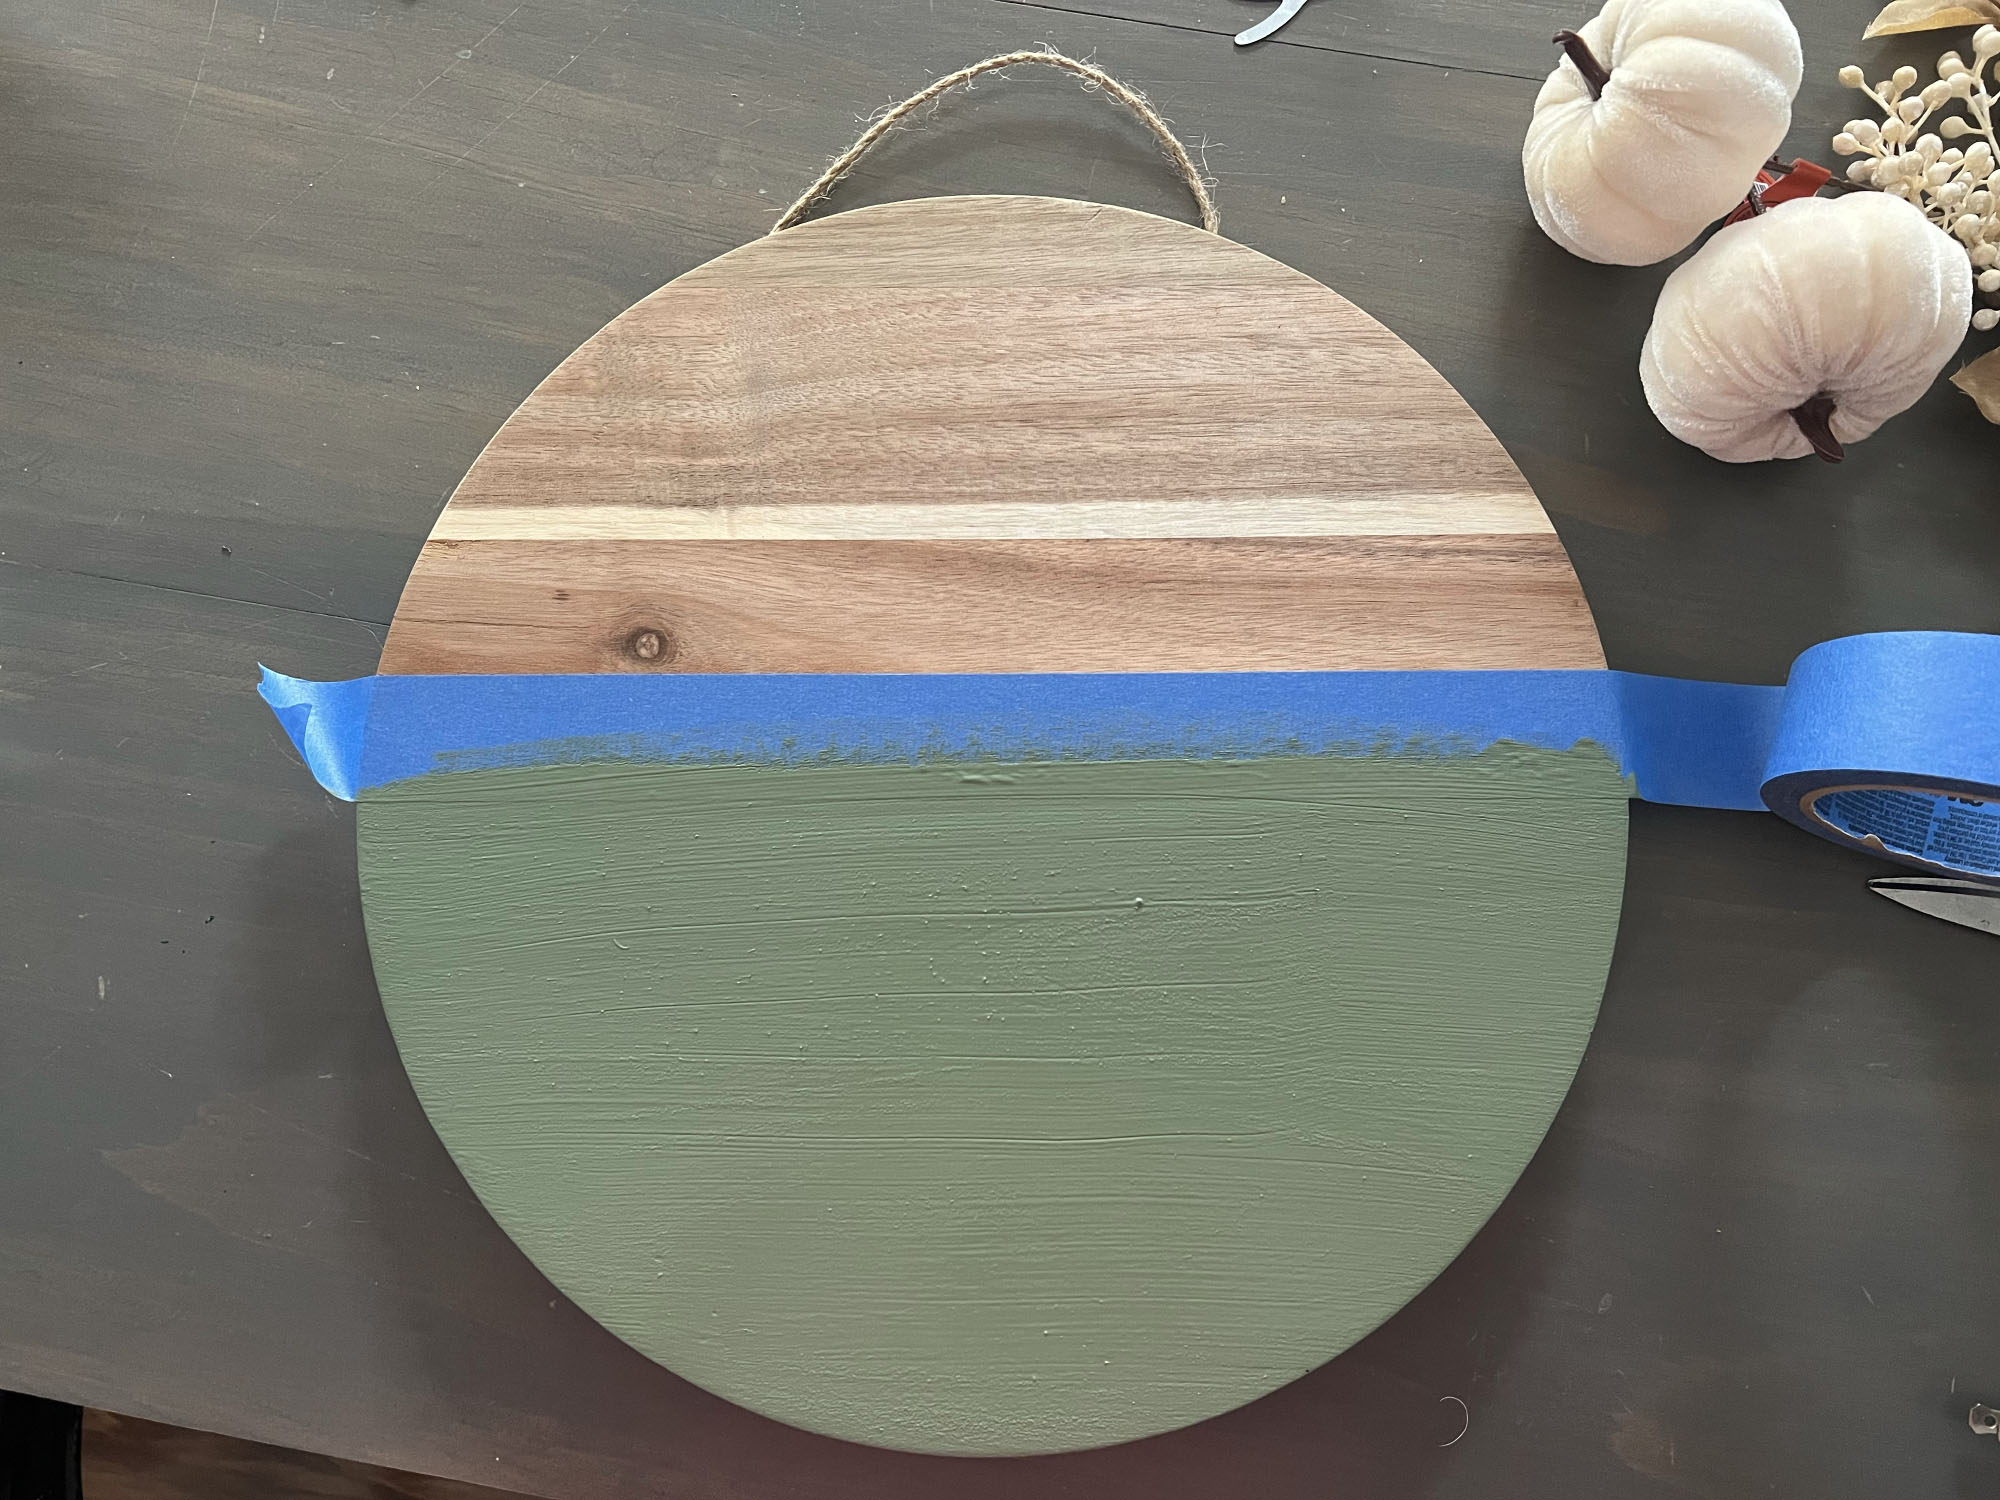
1. Stain or Paint the Wood
The first step is to stain your wood. This is optional, you may choose to leave it natural if you prefer! Once your stain is dry, use painter’s tape to tape off the wood so that it has two equal parts. Using a paint color of your choice, paint half of the wood piece. I used leftover green chalk paint for mine. Remove the tape and allow it to fully dry.
2. Add a Word or Phrase
For the wording you have a couple of options. If you have a Cricut (everyone should have one they are so handy), you may choose to create a stencil with your favorite fall word or phrase. You can also purchase letter stencils to spell it out. Another option is to purchase metal wording to use. For this project I purchased a metal piece featuring the word "hello" from Hobby Lobby. Then I used letter stencils to spell out “FALL.” Stencil or glue your phrase so part of it is on the wood and part of it is on the paint.
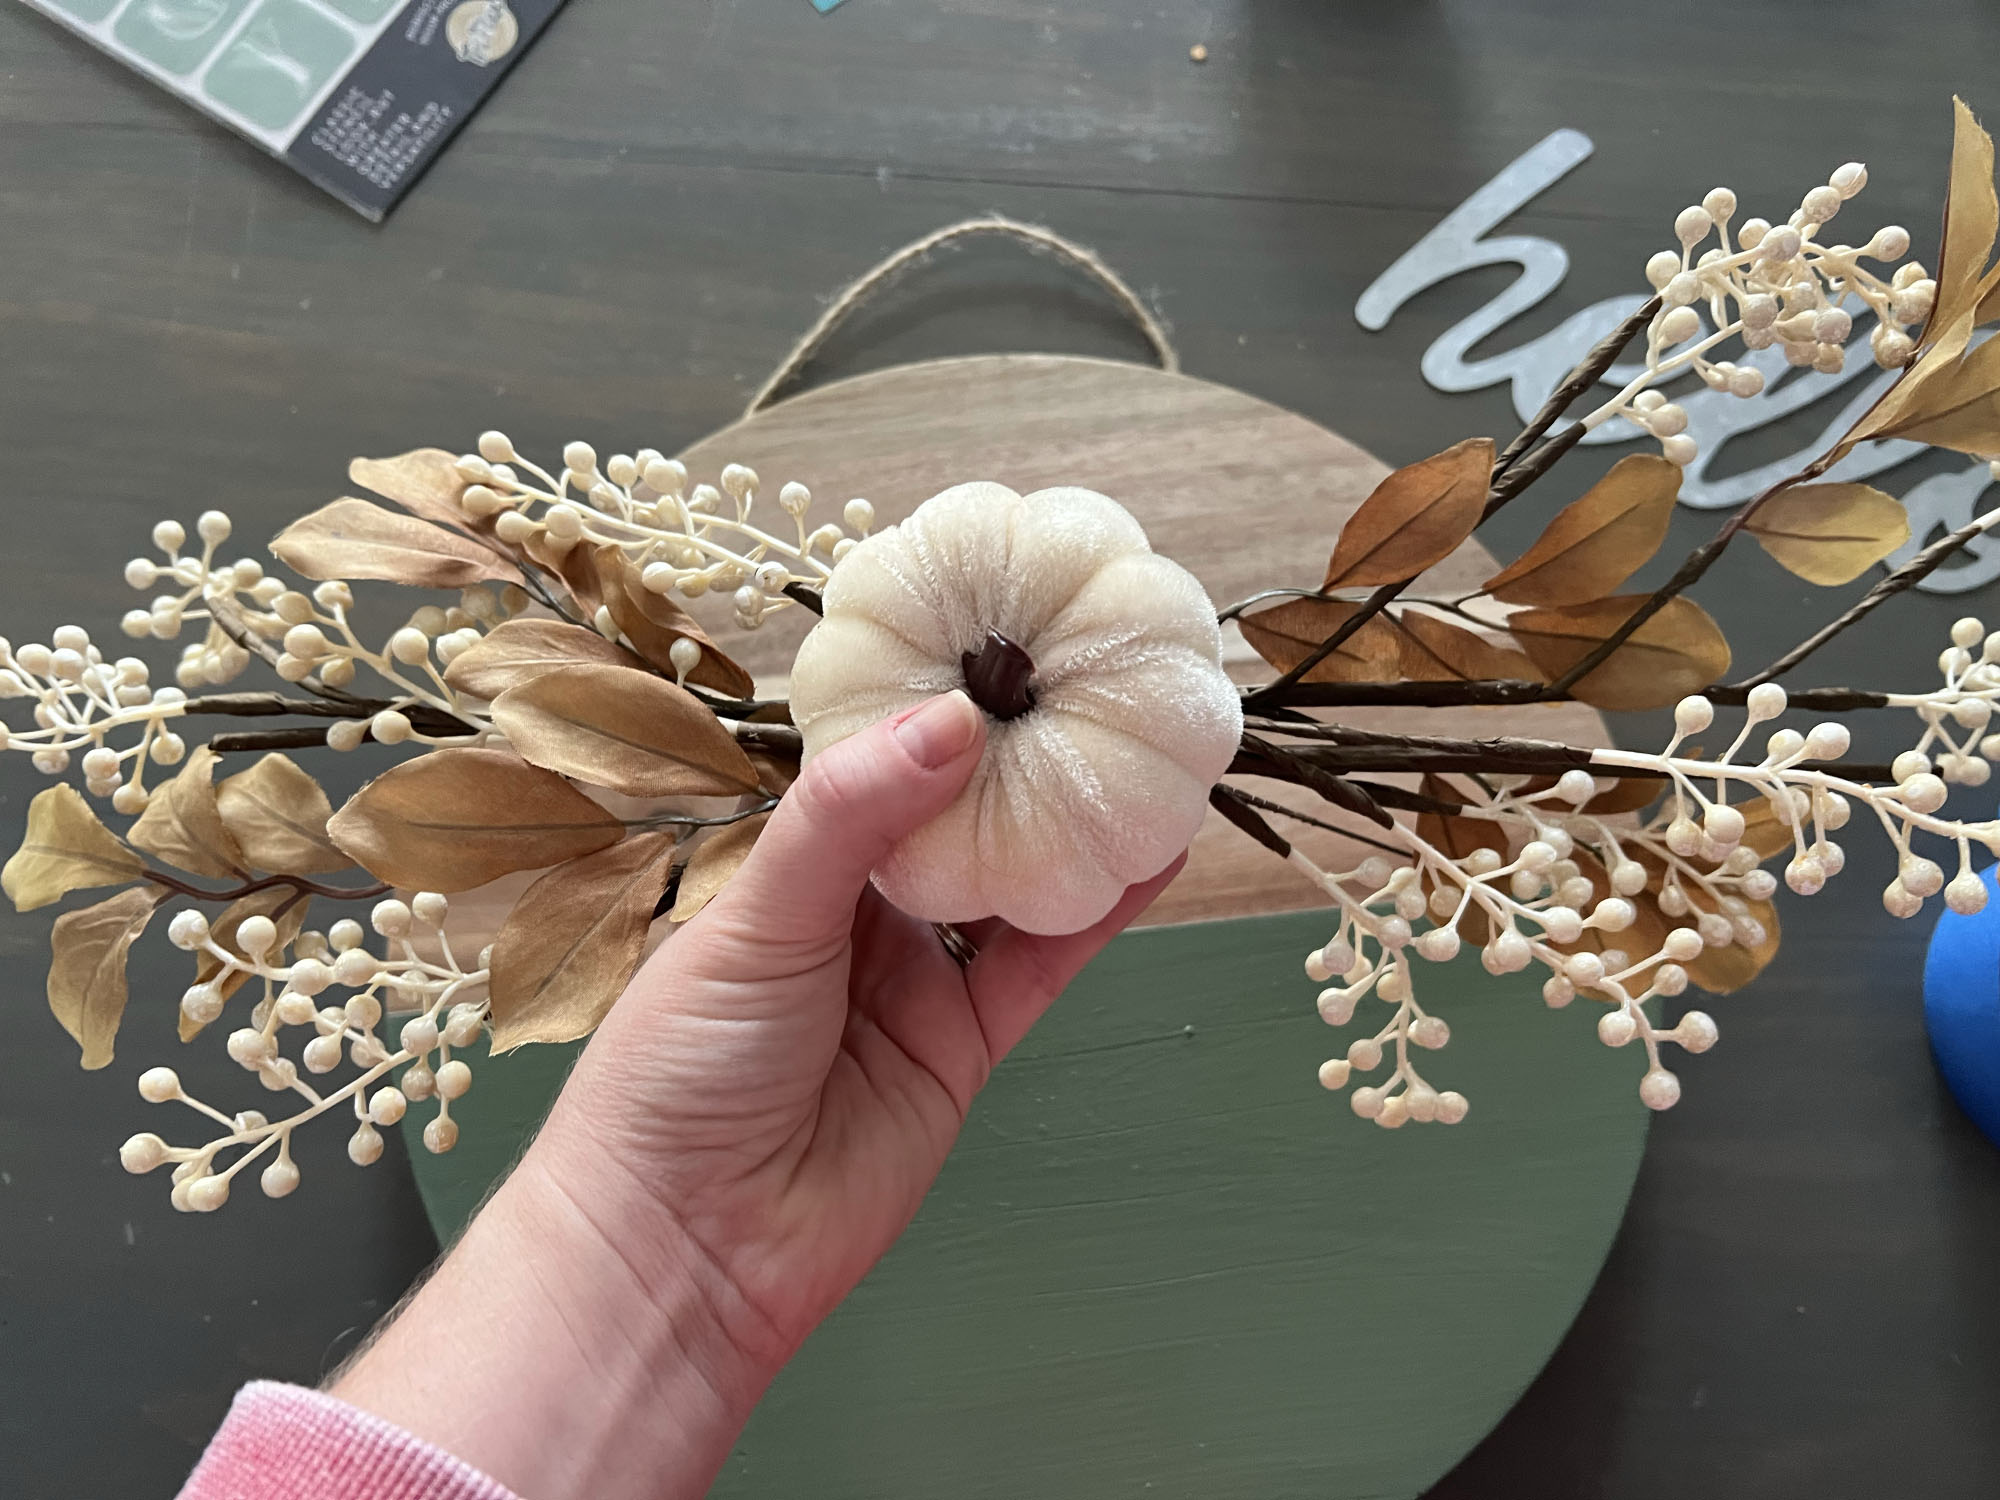
3. Attach Florals and Style!
Finally, take your floral sprigs and bunch them together to create two arrangements. Place the ends together opposite of one another and secure the stems with floral wire.
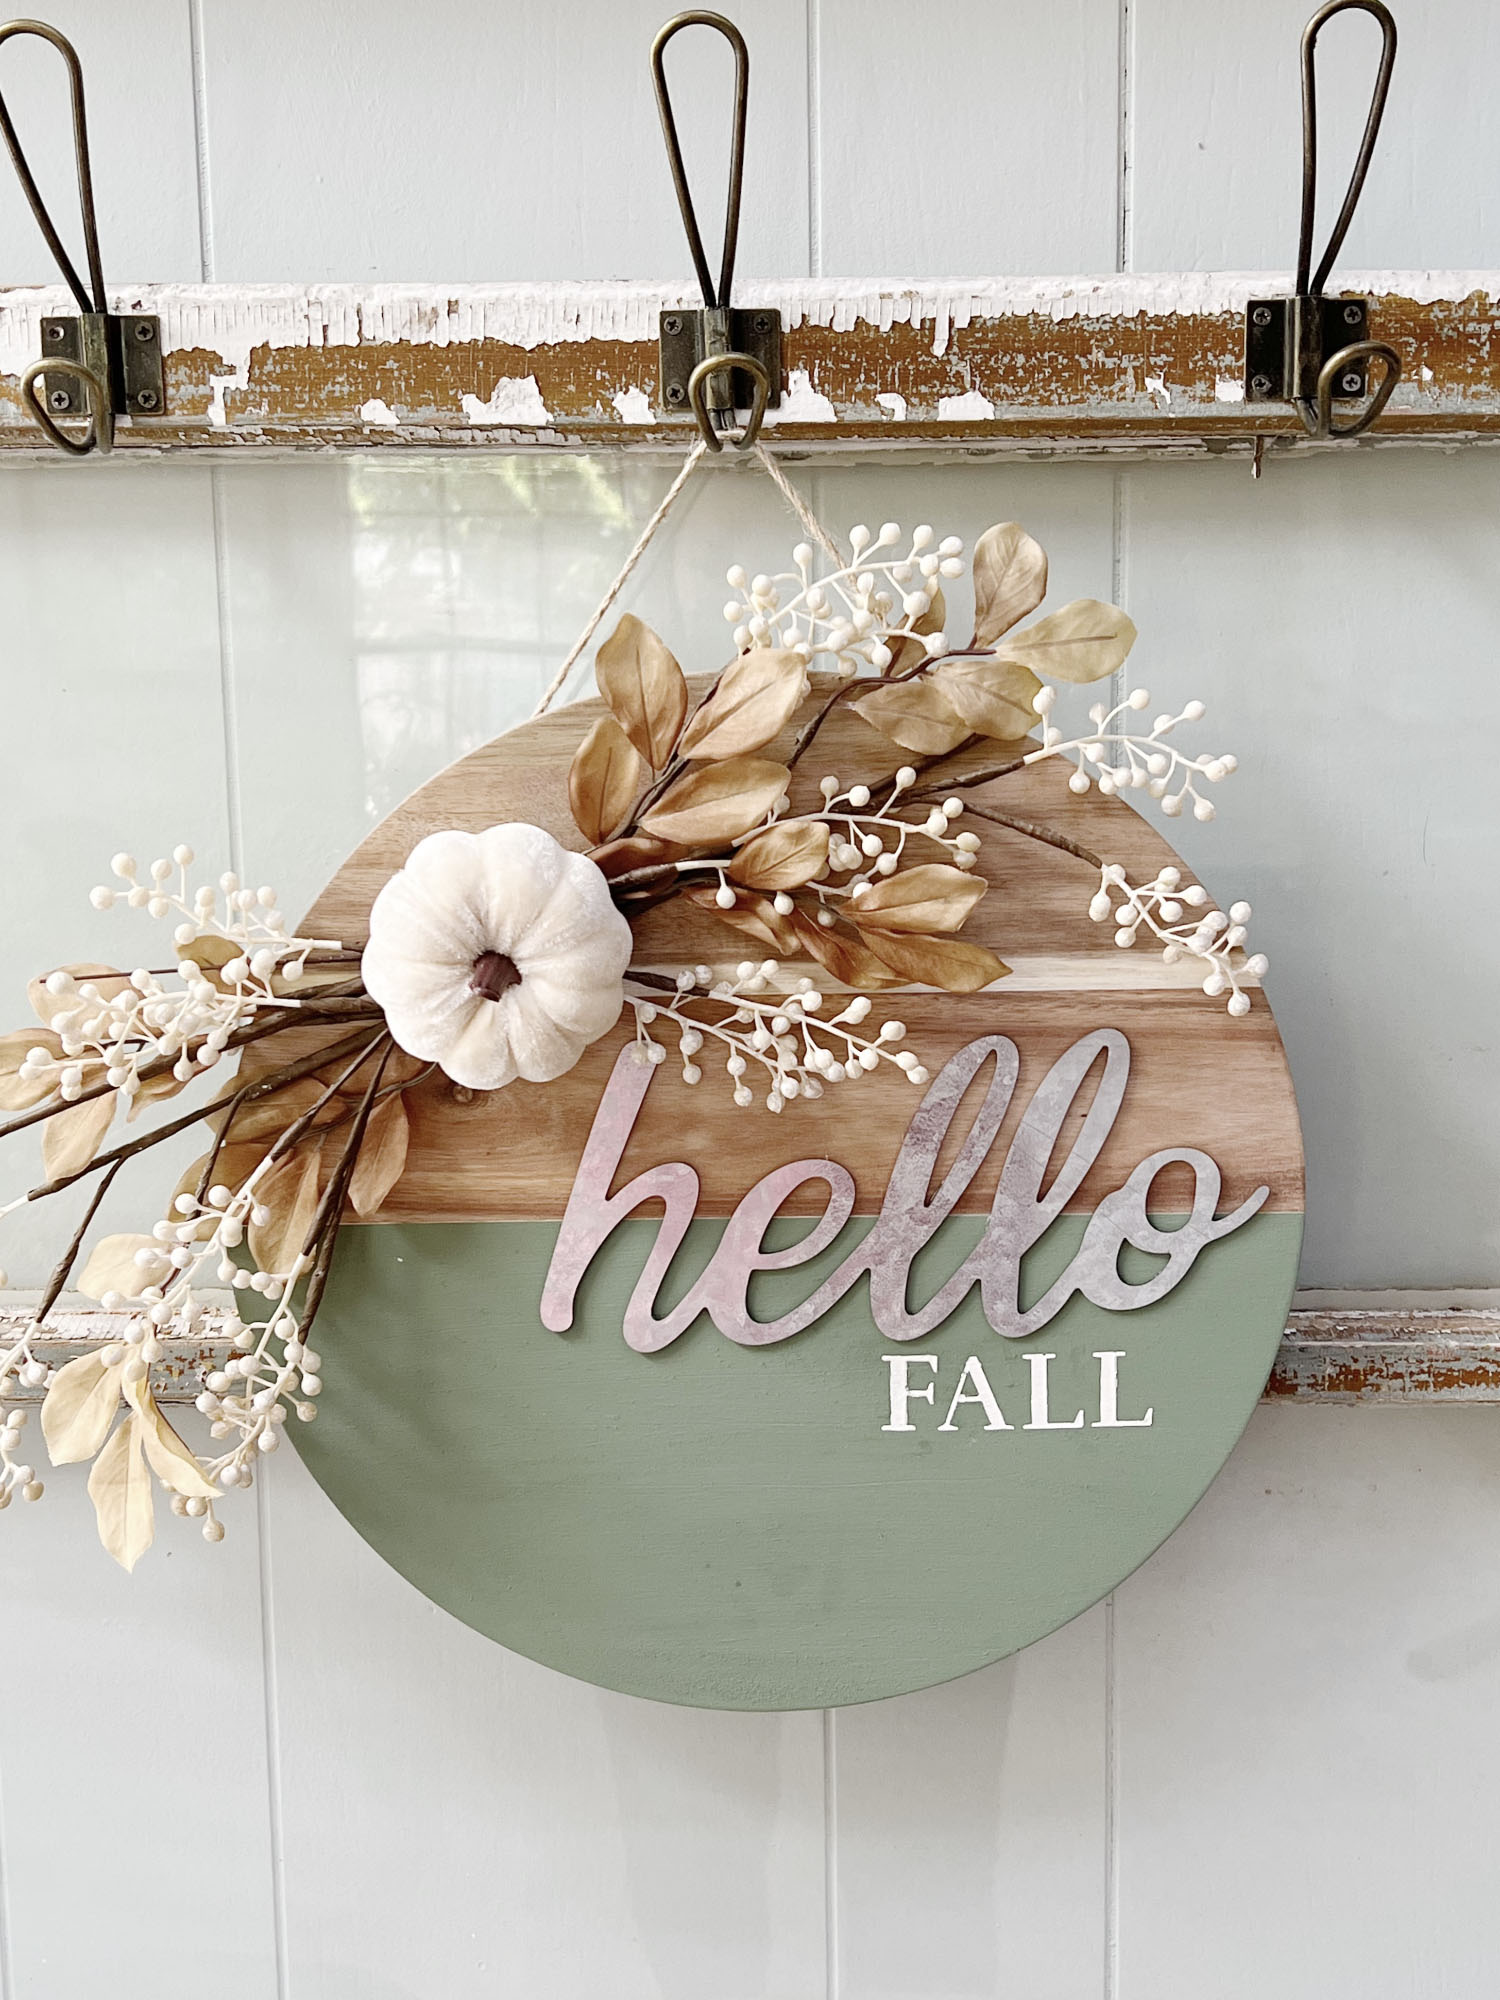
Glue the florals onto the wood and you are done!
How to display your DIY wood fall wreath
Now comes the fun part, styling! Hang your pretty new wood wreath as part of your fall mantel display, on an antique window with a farmhouse-style hook for a vintage feel. You can also display it on your buffet with fall-inspired vases and a bowl full of pinecones.
Hang a wreath on a front door surrounded by beautiful arrangements of mums and pumpkins is of course, a classic look too and you won't need to drill holes in your door either if that's out of the question! Either way, you'll love the character this piece adds to your seasonal fall decorating ideas!
Join our newsletter
Get small space home decor ideas, celeb inspiration, DIY tips and more, straight to your inbox!
Dori Turner writes blog posts and feature articles on affordable design and DIY from her home in the heart of Oklahoma. She has a passion for teaching others how they can transform their home on a budget.
-
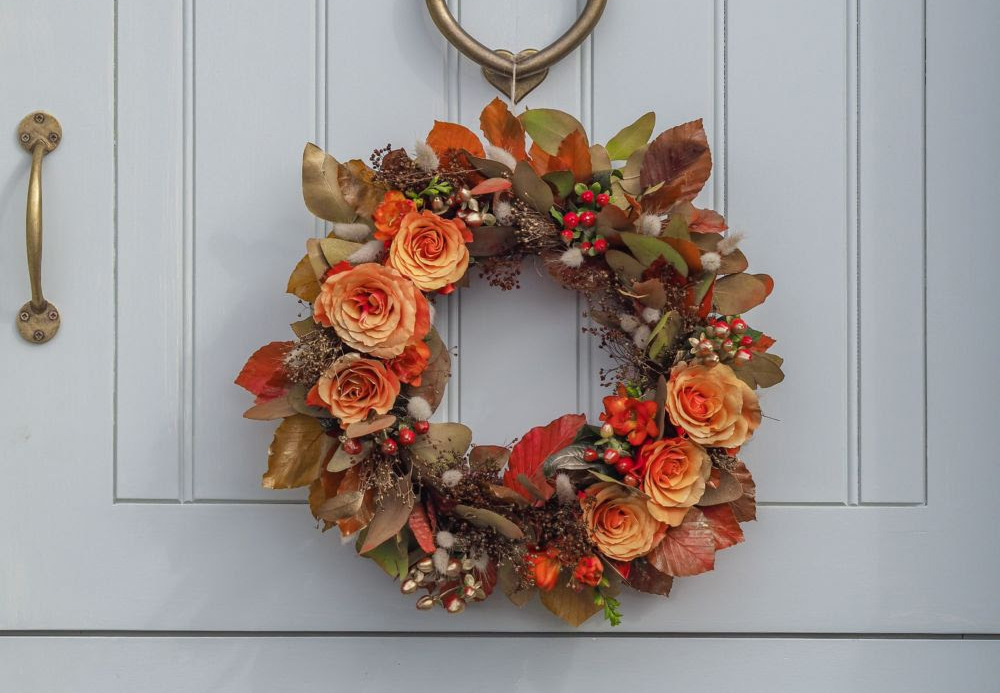 How to make a classic floral fall wreath
This DIY classic floral fall wreath is super easy to make at home with just a few supplies.
By Hebe Hatton
-
 18 Halloween craft ideas 2022 to spook up your space on a budget
These fun Halloween craft ideas will add a playful dose of spook to your space in no time. Prepare your home with DIY painted pumpkins, stenciled gourds, paper ghosts and so much more.
By Amelia Smith
-
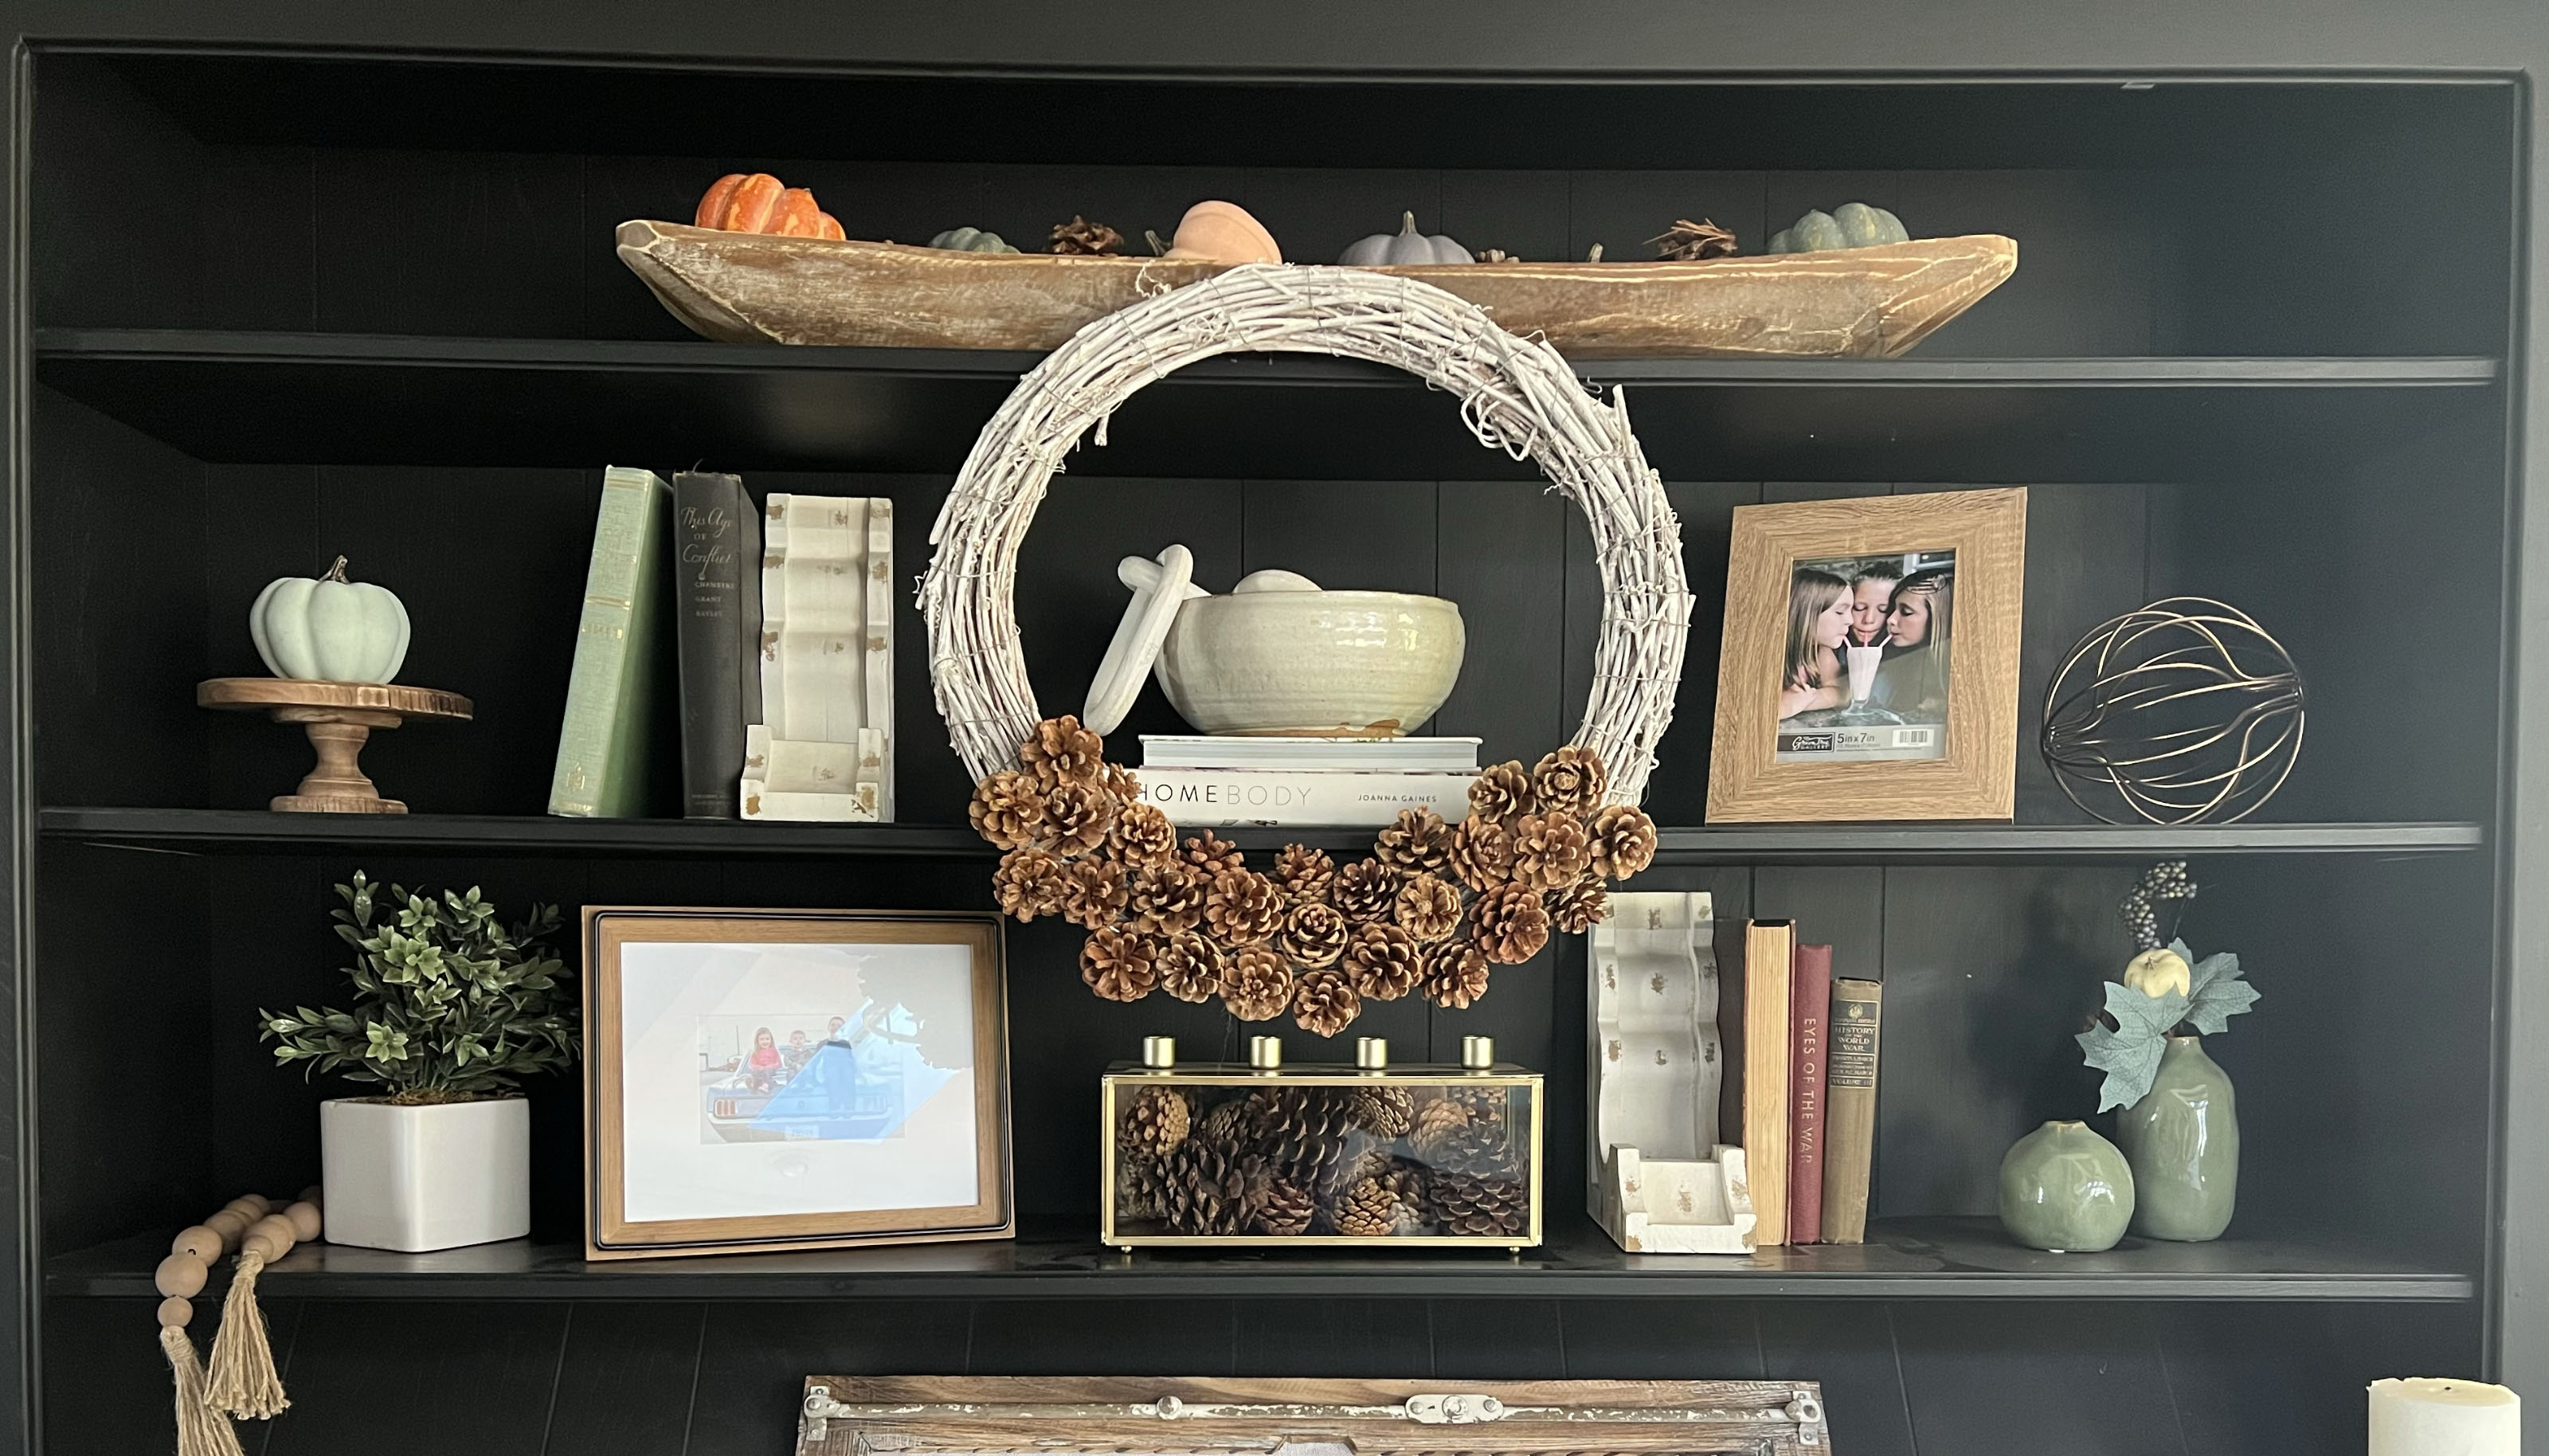 The 30-minute pinecone wreath DIY: a simple, budget-friendly, seasonal craft
For around $15 you can make this beautiful DIY pinecone wreath for fall. It'll take about 30 minutes with just a few supplies...
By Dori Turner
-
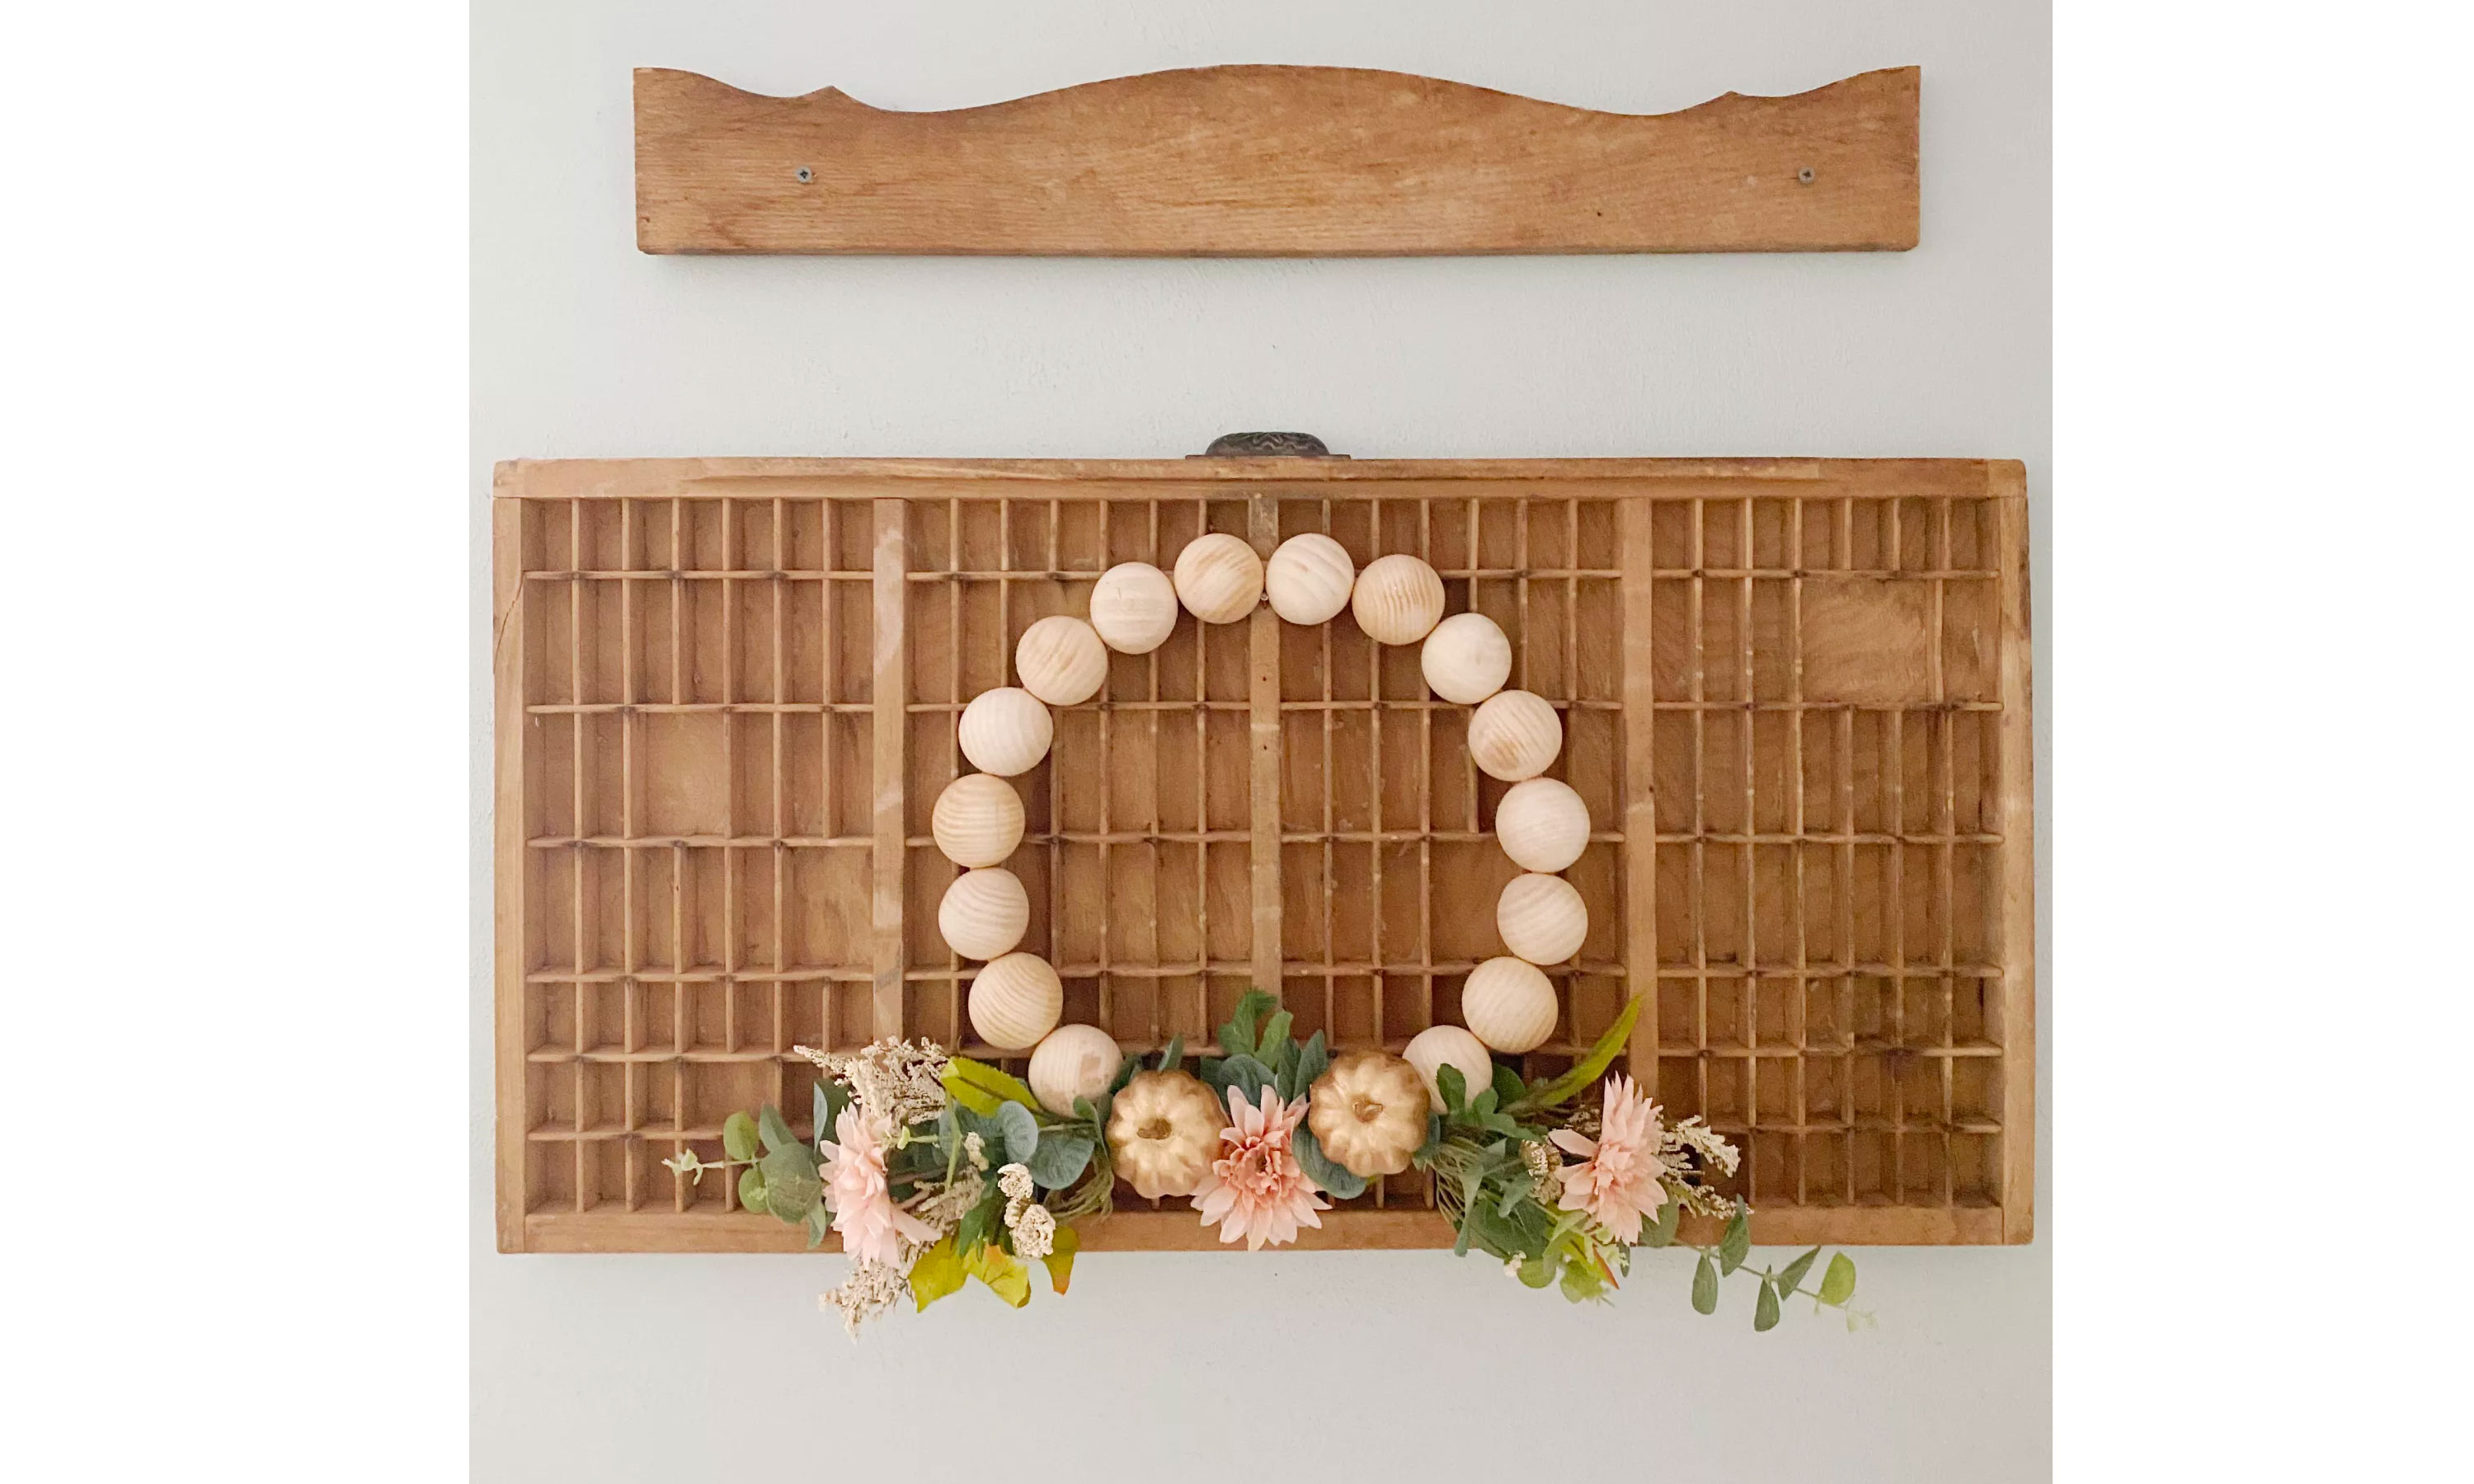 A 5-step split wood bead wreath for fall
Learn how to make a split wood bead wreath for fall and enhance your seasonal decor with a Scandi-esque addition.
By Dori Turner
-
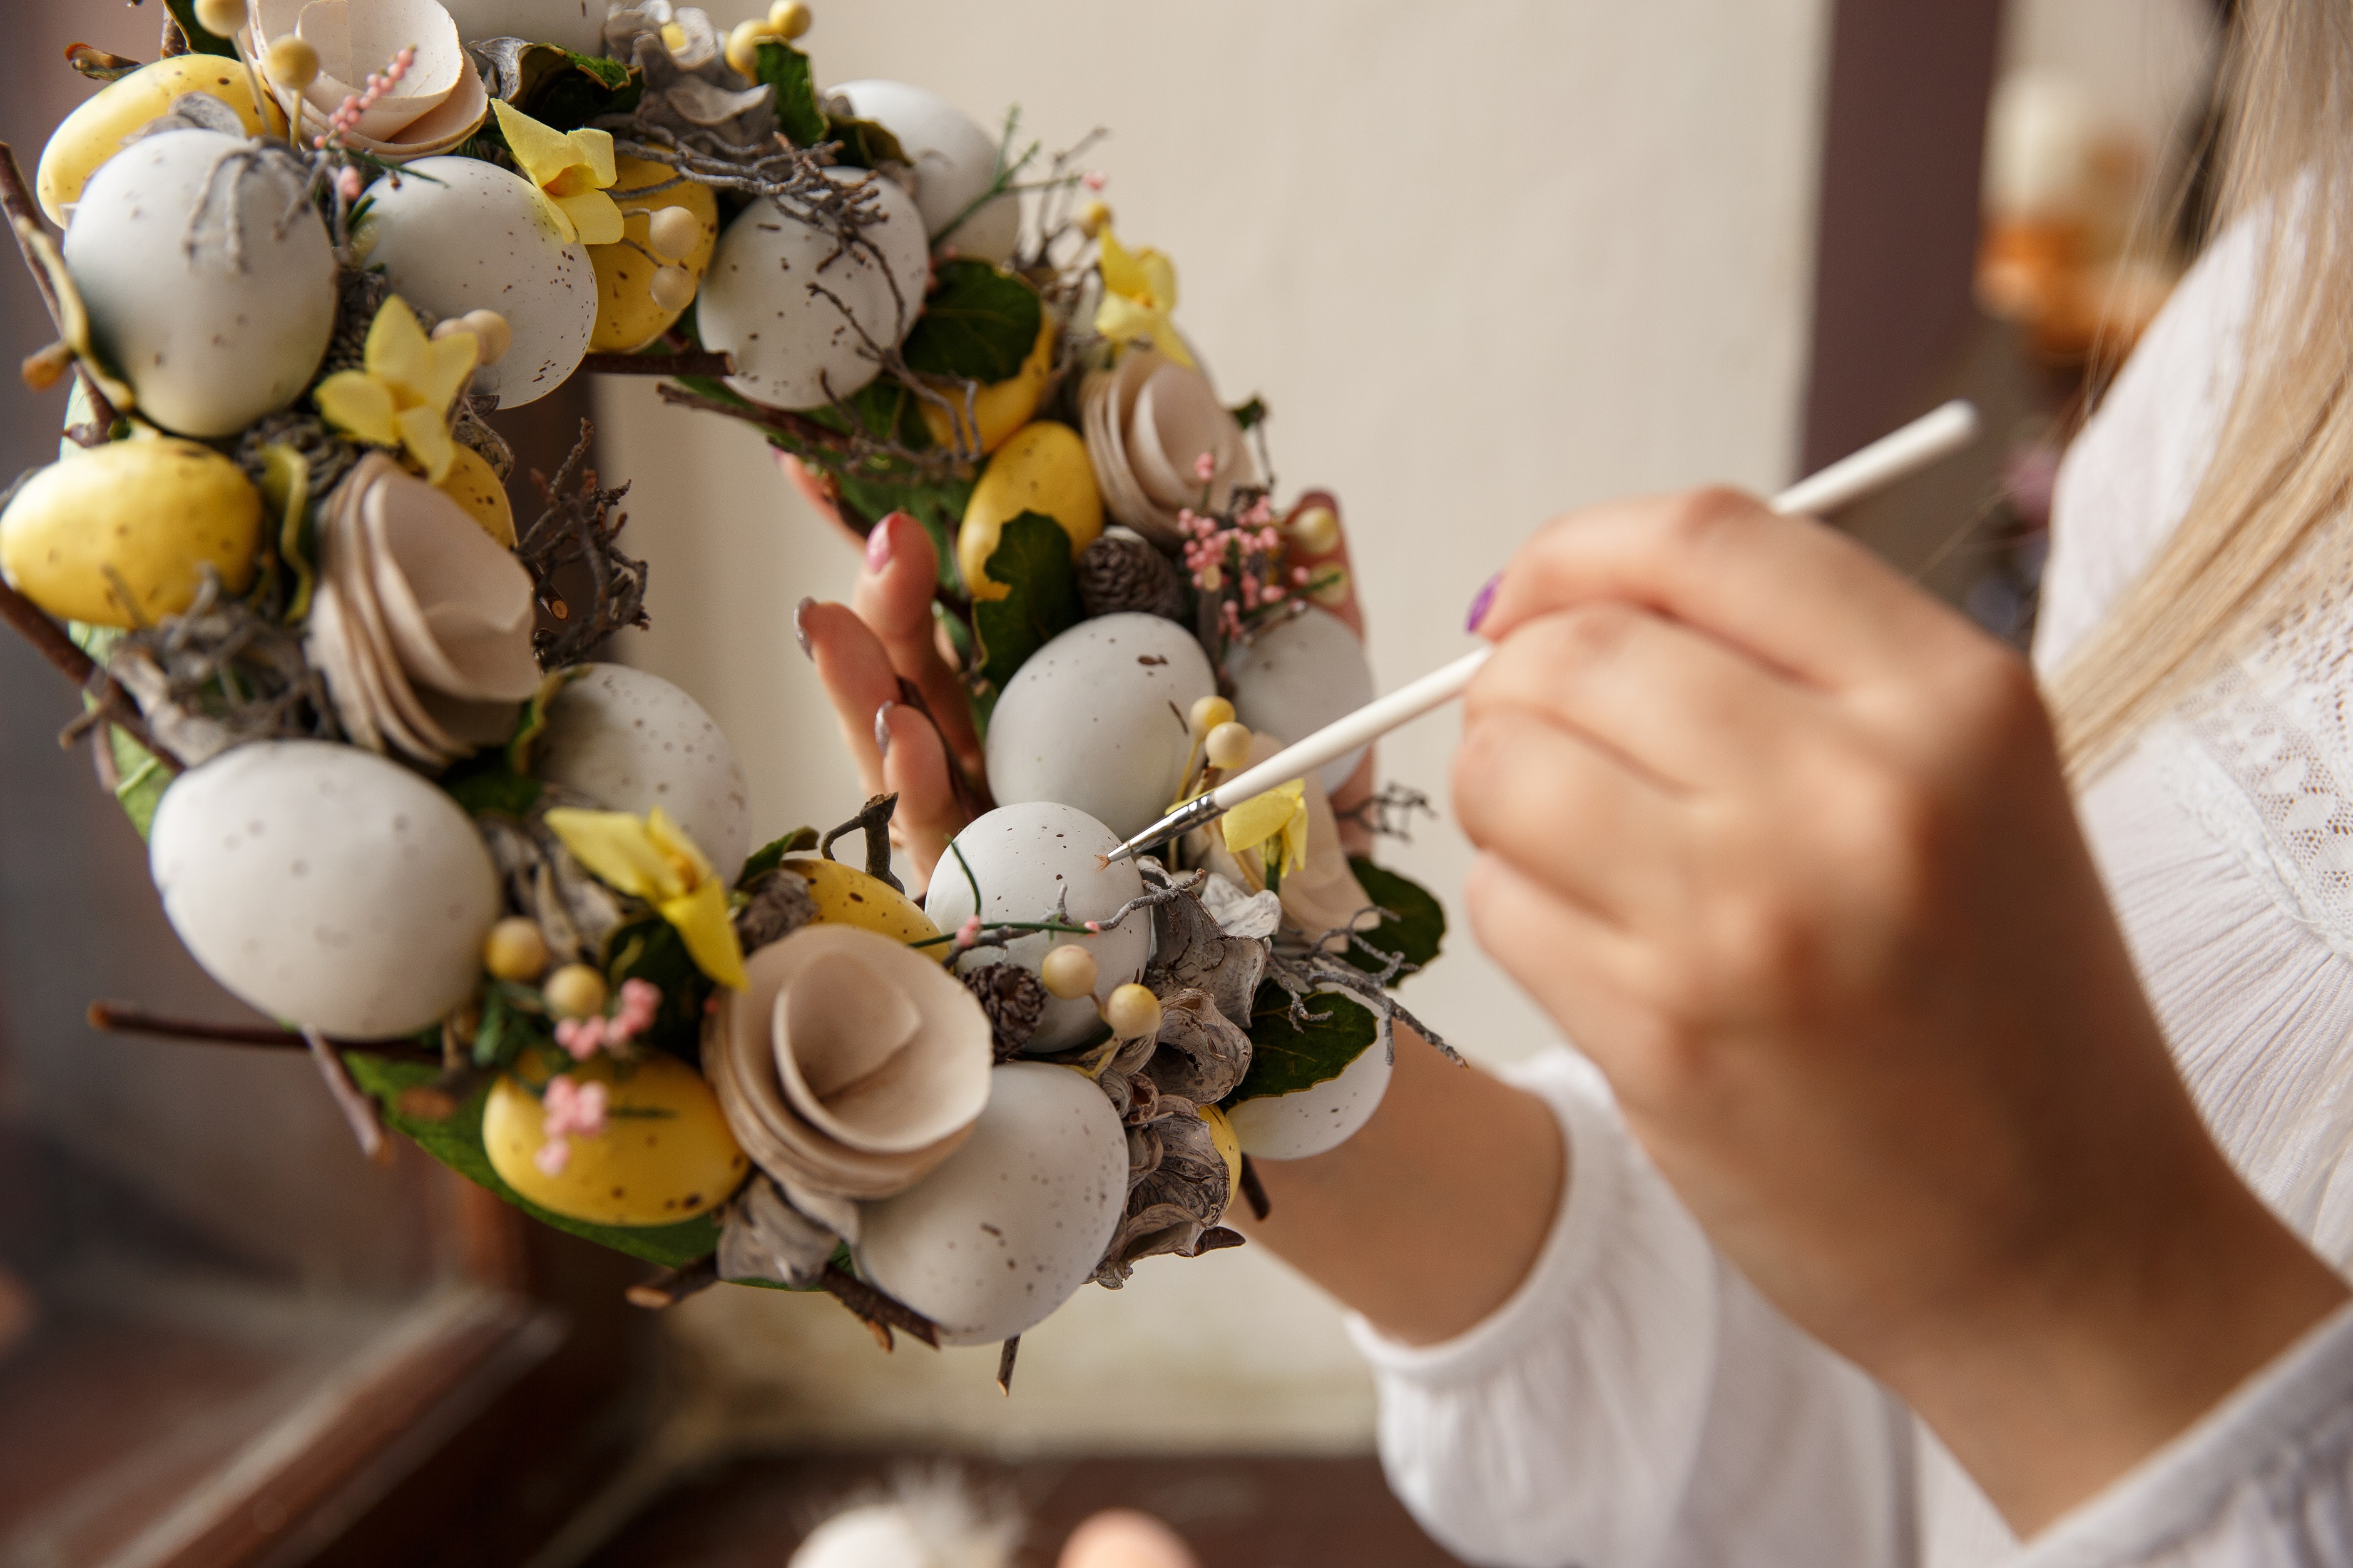 How to make an Easter wreath
Making an Easter wreath is an easy project that the whole family can get involved with
By Lucy Searle
-
 How to make a flower garland
Learn how to make a beautiful flower garland... perfect for a wedding or garden party and easy to do if you follow this easy guide
By Hebe Hatton
-
 How to make a spring wreath
Find out how to make a spring wreath with expert advice from florist Emma Hutchinson of The Bespoke Flower Company
By Pippa Blenkinsop