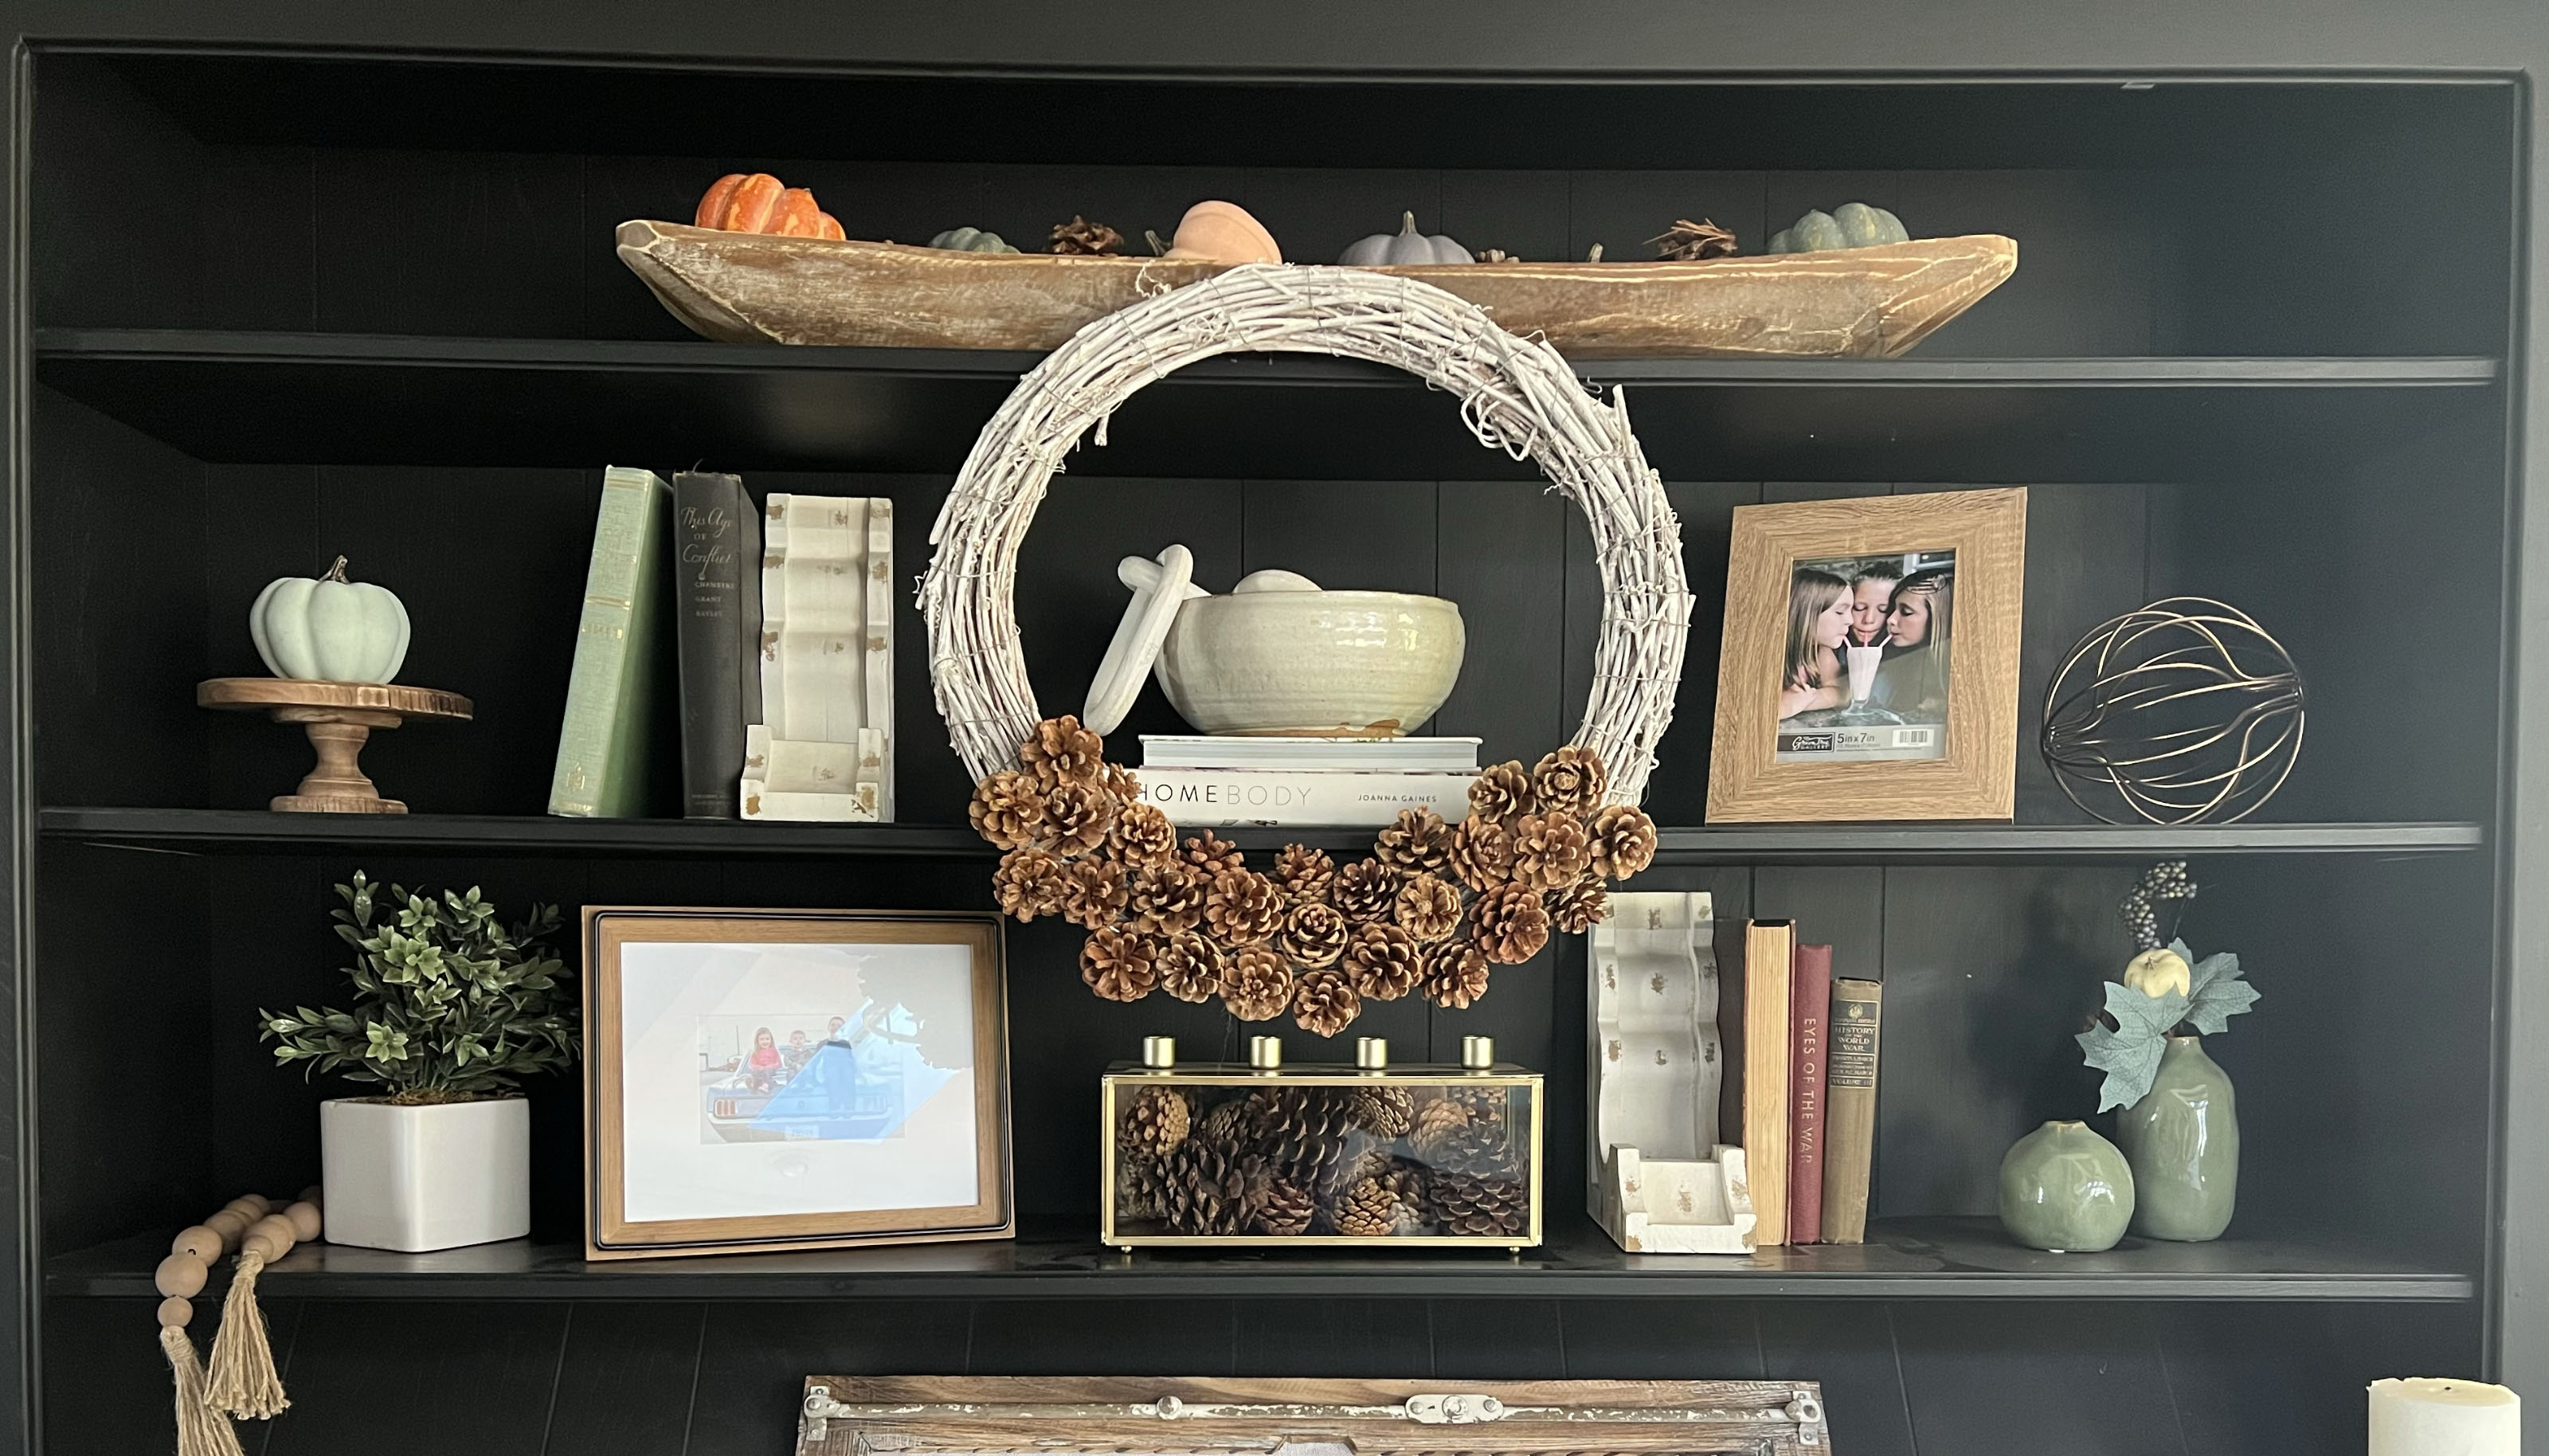

DIY pinecone wreaths are a beautiful way to add a seasonal touch to your space. Fall is a great time to bring a little more nature into your home and there really is no better way to do that than with this simple craft.
We're big fans of hanging fall wreaths on our front doors but, who said you can't have more than one? Wreaths are so versatile and can be used in multiple places throughout your home including on your porch but also inside, centered on a large mirror, hung on the front of a bookcase or as a welcoming touch to your entryway.
How to make a pinecone wreath
Making your own pinecone wreath is the perfect way to add character to your space also, combine this craft with more DIY fall decorating ideas for maximum effect.
Supplies
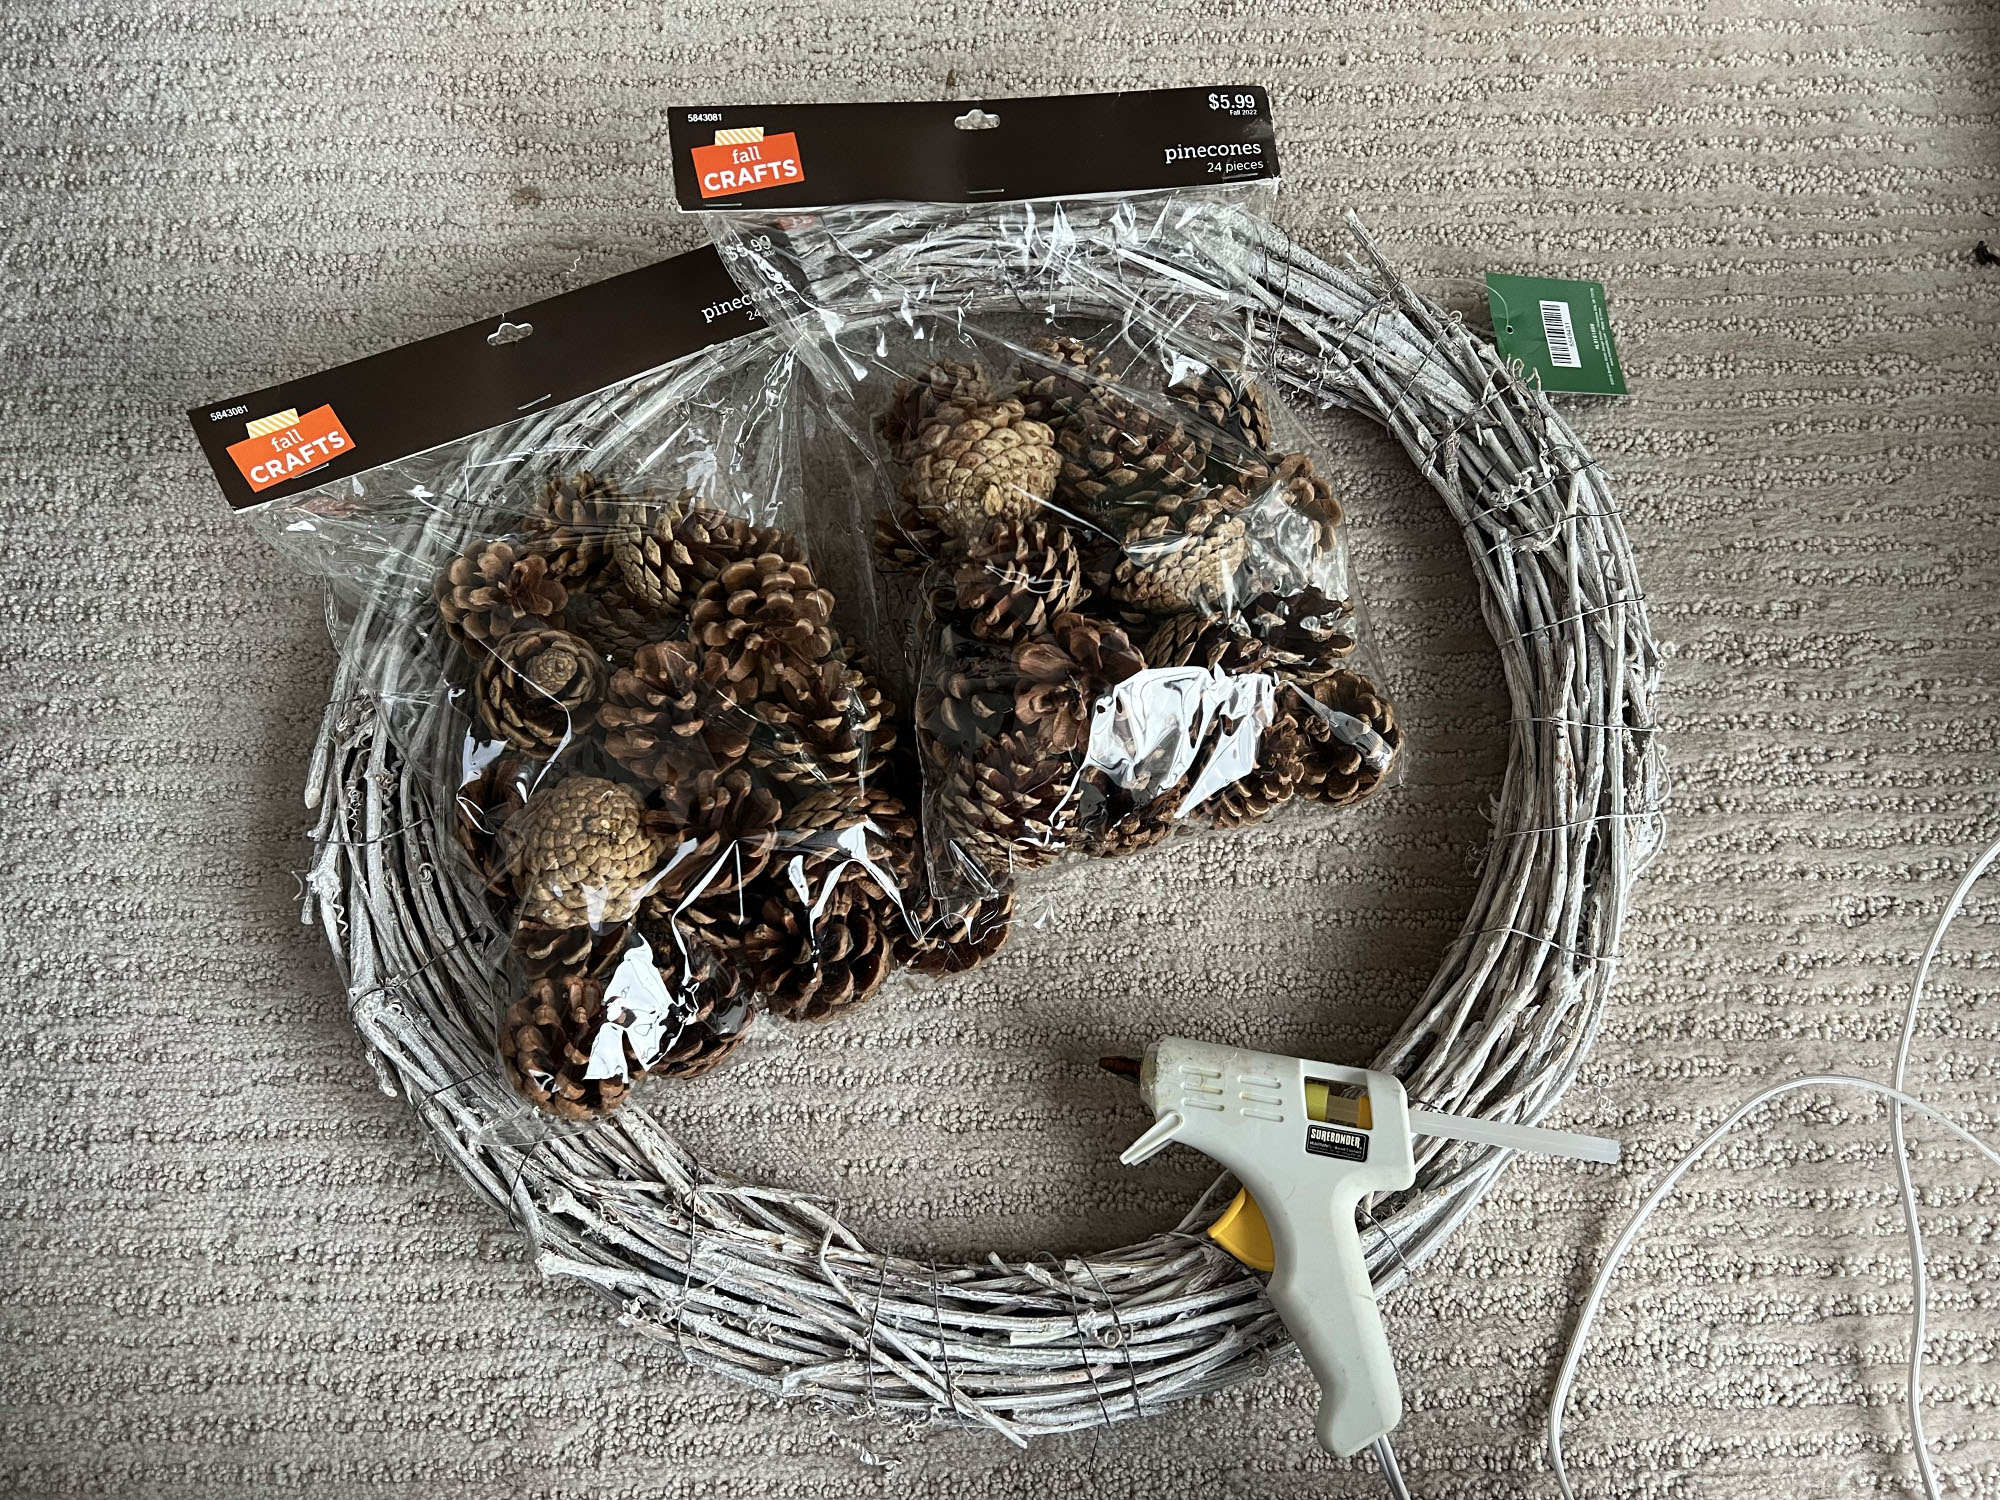
1. Twig wreath: this grapevine/natural wreath from Amazon is a nice option.
2. Pinecones: from your yard or you can find them online.
3. Hot glue gun/glue sticks: Ryobi has good options at The Home Depot.
4. Ribbon (optional).
This design is sure to wow your friends and family, and give your home that cozy autumn touch! I found actually found this white rattan twig wreath and pinecones at Hobby Lobby and both were part of their seasonal decor half-off discount so the wreath was $10 and the pinecones were $3/bag. You can also find them on Amazon for a few dollars more!
As you can see, I only use pinecones around a portion of the wreath but you can of course, do the whole thing if you want a really classic DIY fall wreath finish or, if you want this to double up as Christmas decor...
1. Locate your starting point
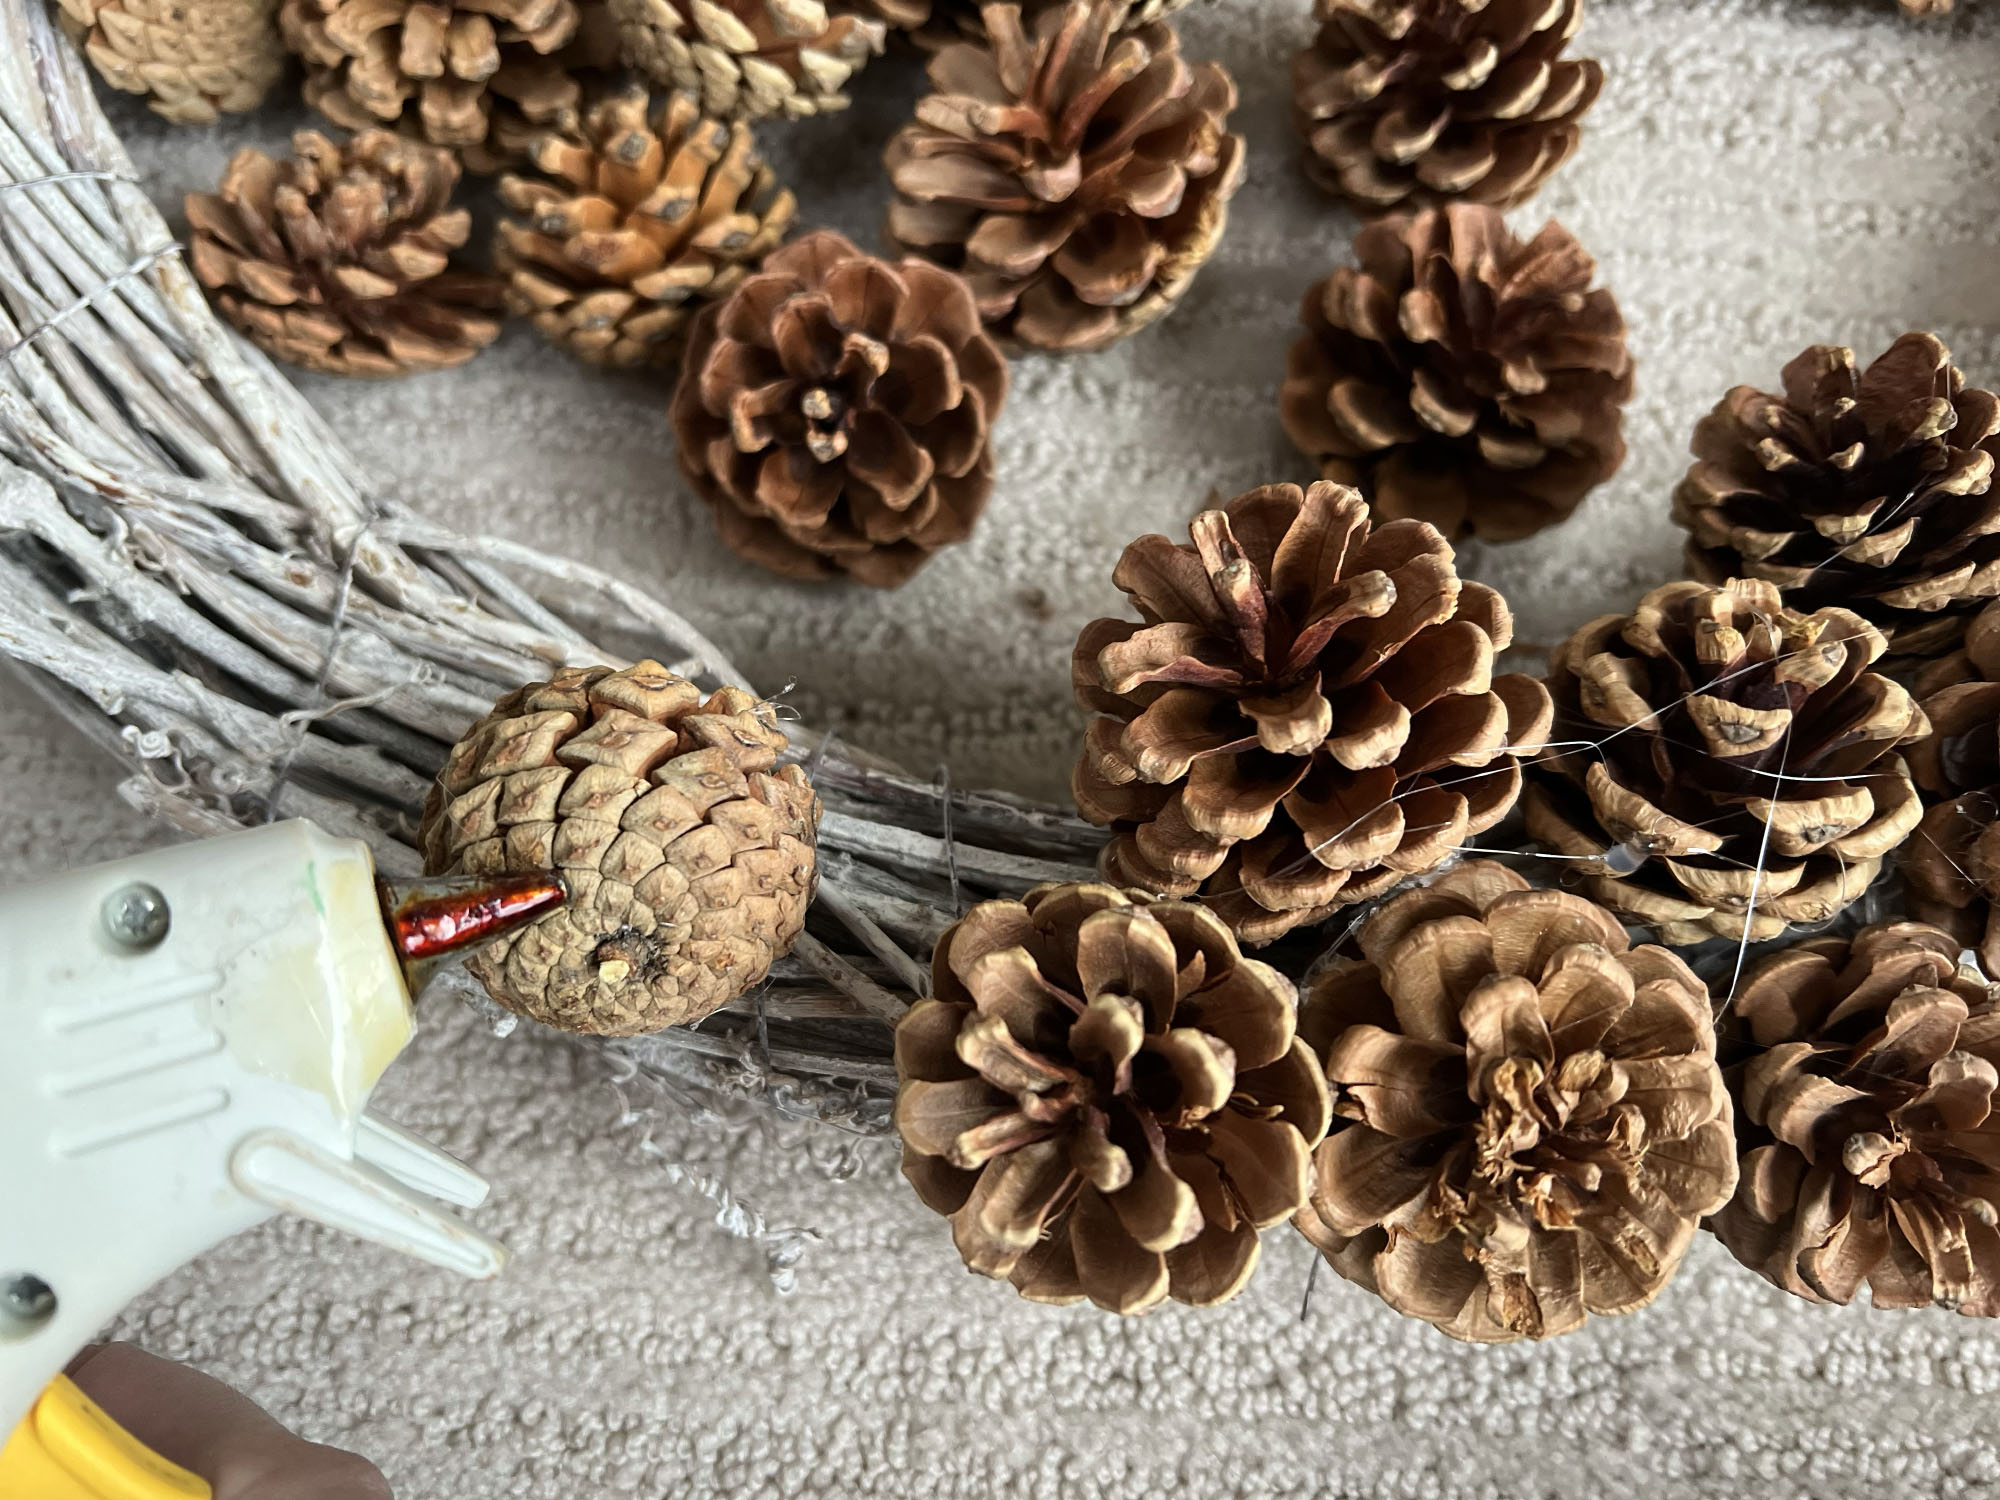
Starting at the center bottom of the wreath, glue your first pinecone on using a hot glue gun. Hold it for several seconds until the glue has dried and the pinecone is firmly secured to the wreath. Glue another pinecone on diagonally to the first cone, but close enough that they’re touching. Select another pinecone to glue next to the first two, creating a grouping.

2. Glue Pinecones in Groupings
Continue building off the grouping of pinecones, gluing them with sides touching but not side-by-side. Making sure you place them at an angle from the previous cone as you go will give the wreath a more natural and full look.
Work up the right side of the wreath until you’re about a third of the way up. Repeat the process on the left side of the wreath.
Top tip: If you are working with pinecones of varying sizes, make sure to disperse them evenly throughout the wreath for a full and cohesive look!
3. Finishing Wreath
Once you’ve finished gluing on your pinecones, you may choose to leave it as is or you could attach a little ribbon to add some color to the piece.
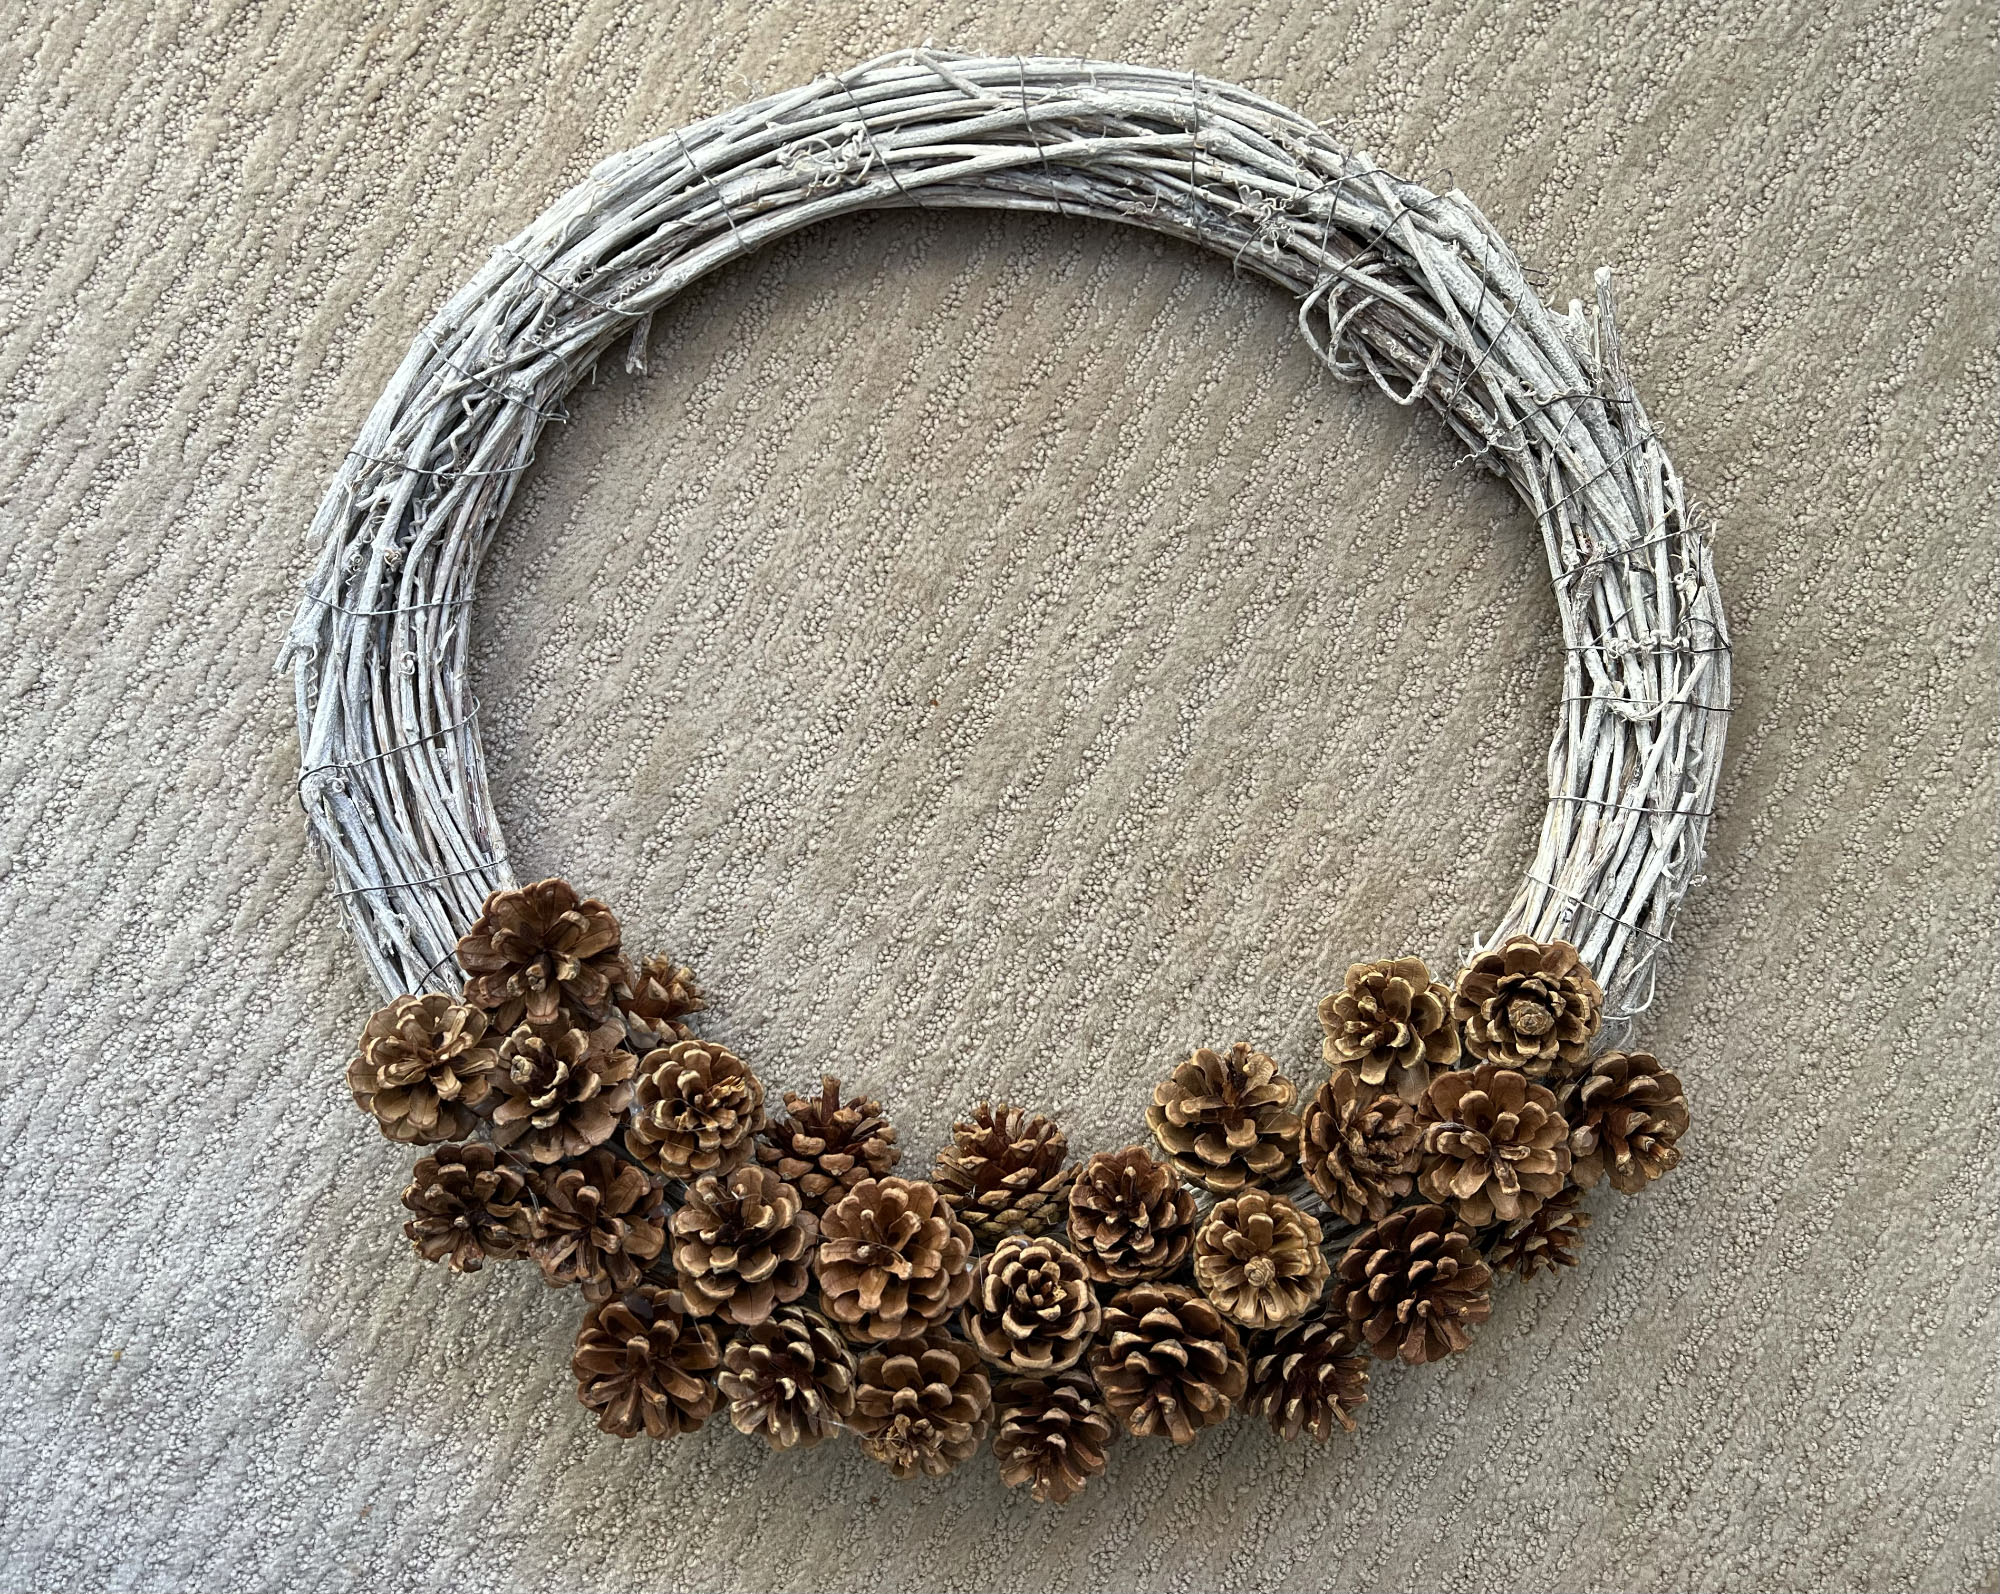
Finally, hang your wreath to enjoy your beautiful make throughout the season!
Pinecone wreath styling tips
If you want to make this into a DIY Christmas wreath, consider spray painting the pinecones in gold or silver and using red or tartan ribbon to give it a super festive finish.
I like Rust-Oleum's Metallic gold spray paint that's on Target and I tend to bulk buy cute ribbon from Amazon for the holidays. Ideal for DIY ribbon wreaths, wrapping gifts and lots more!
Join our newsletter
Get small space home decor ideas, celeb inspiration, DIY tips and more, straight to your inbox!
Dori Turner writes blog posts and feature articles on affordable design and DIY from her home in the heart of Oklahoma. She has a passion for teaching others how they can transform their home on a budget.
-
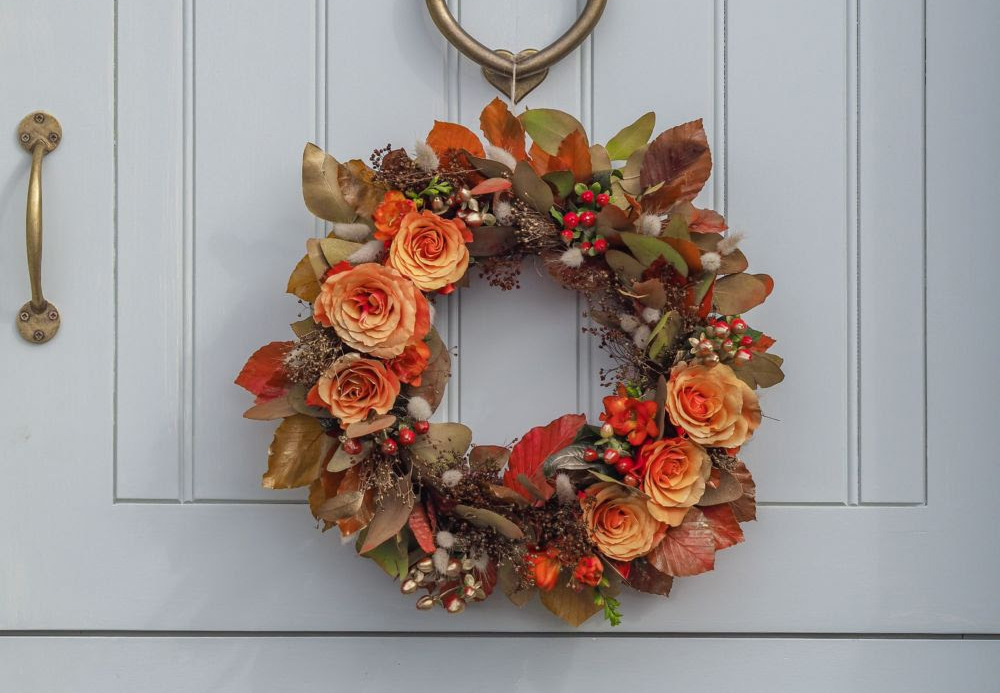 How to make a classic floral fall wreath
This DIY classic floral fall wreath is super easy to make at home with just a few supplies.
By Hebe Hatton Published
-
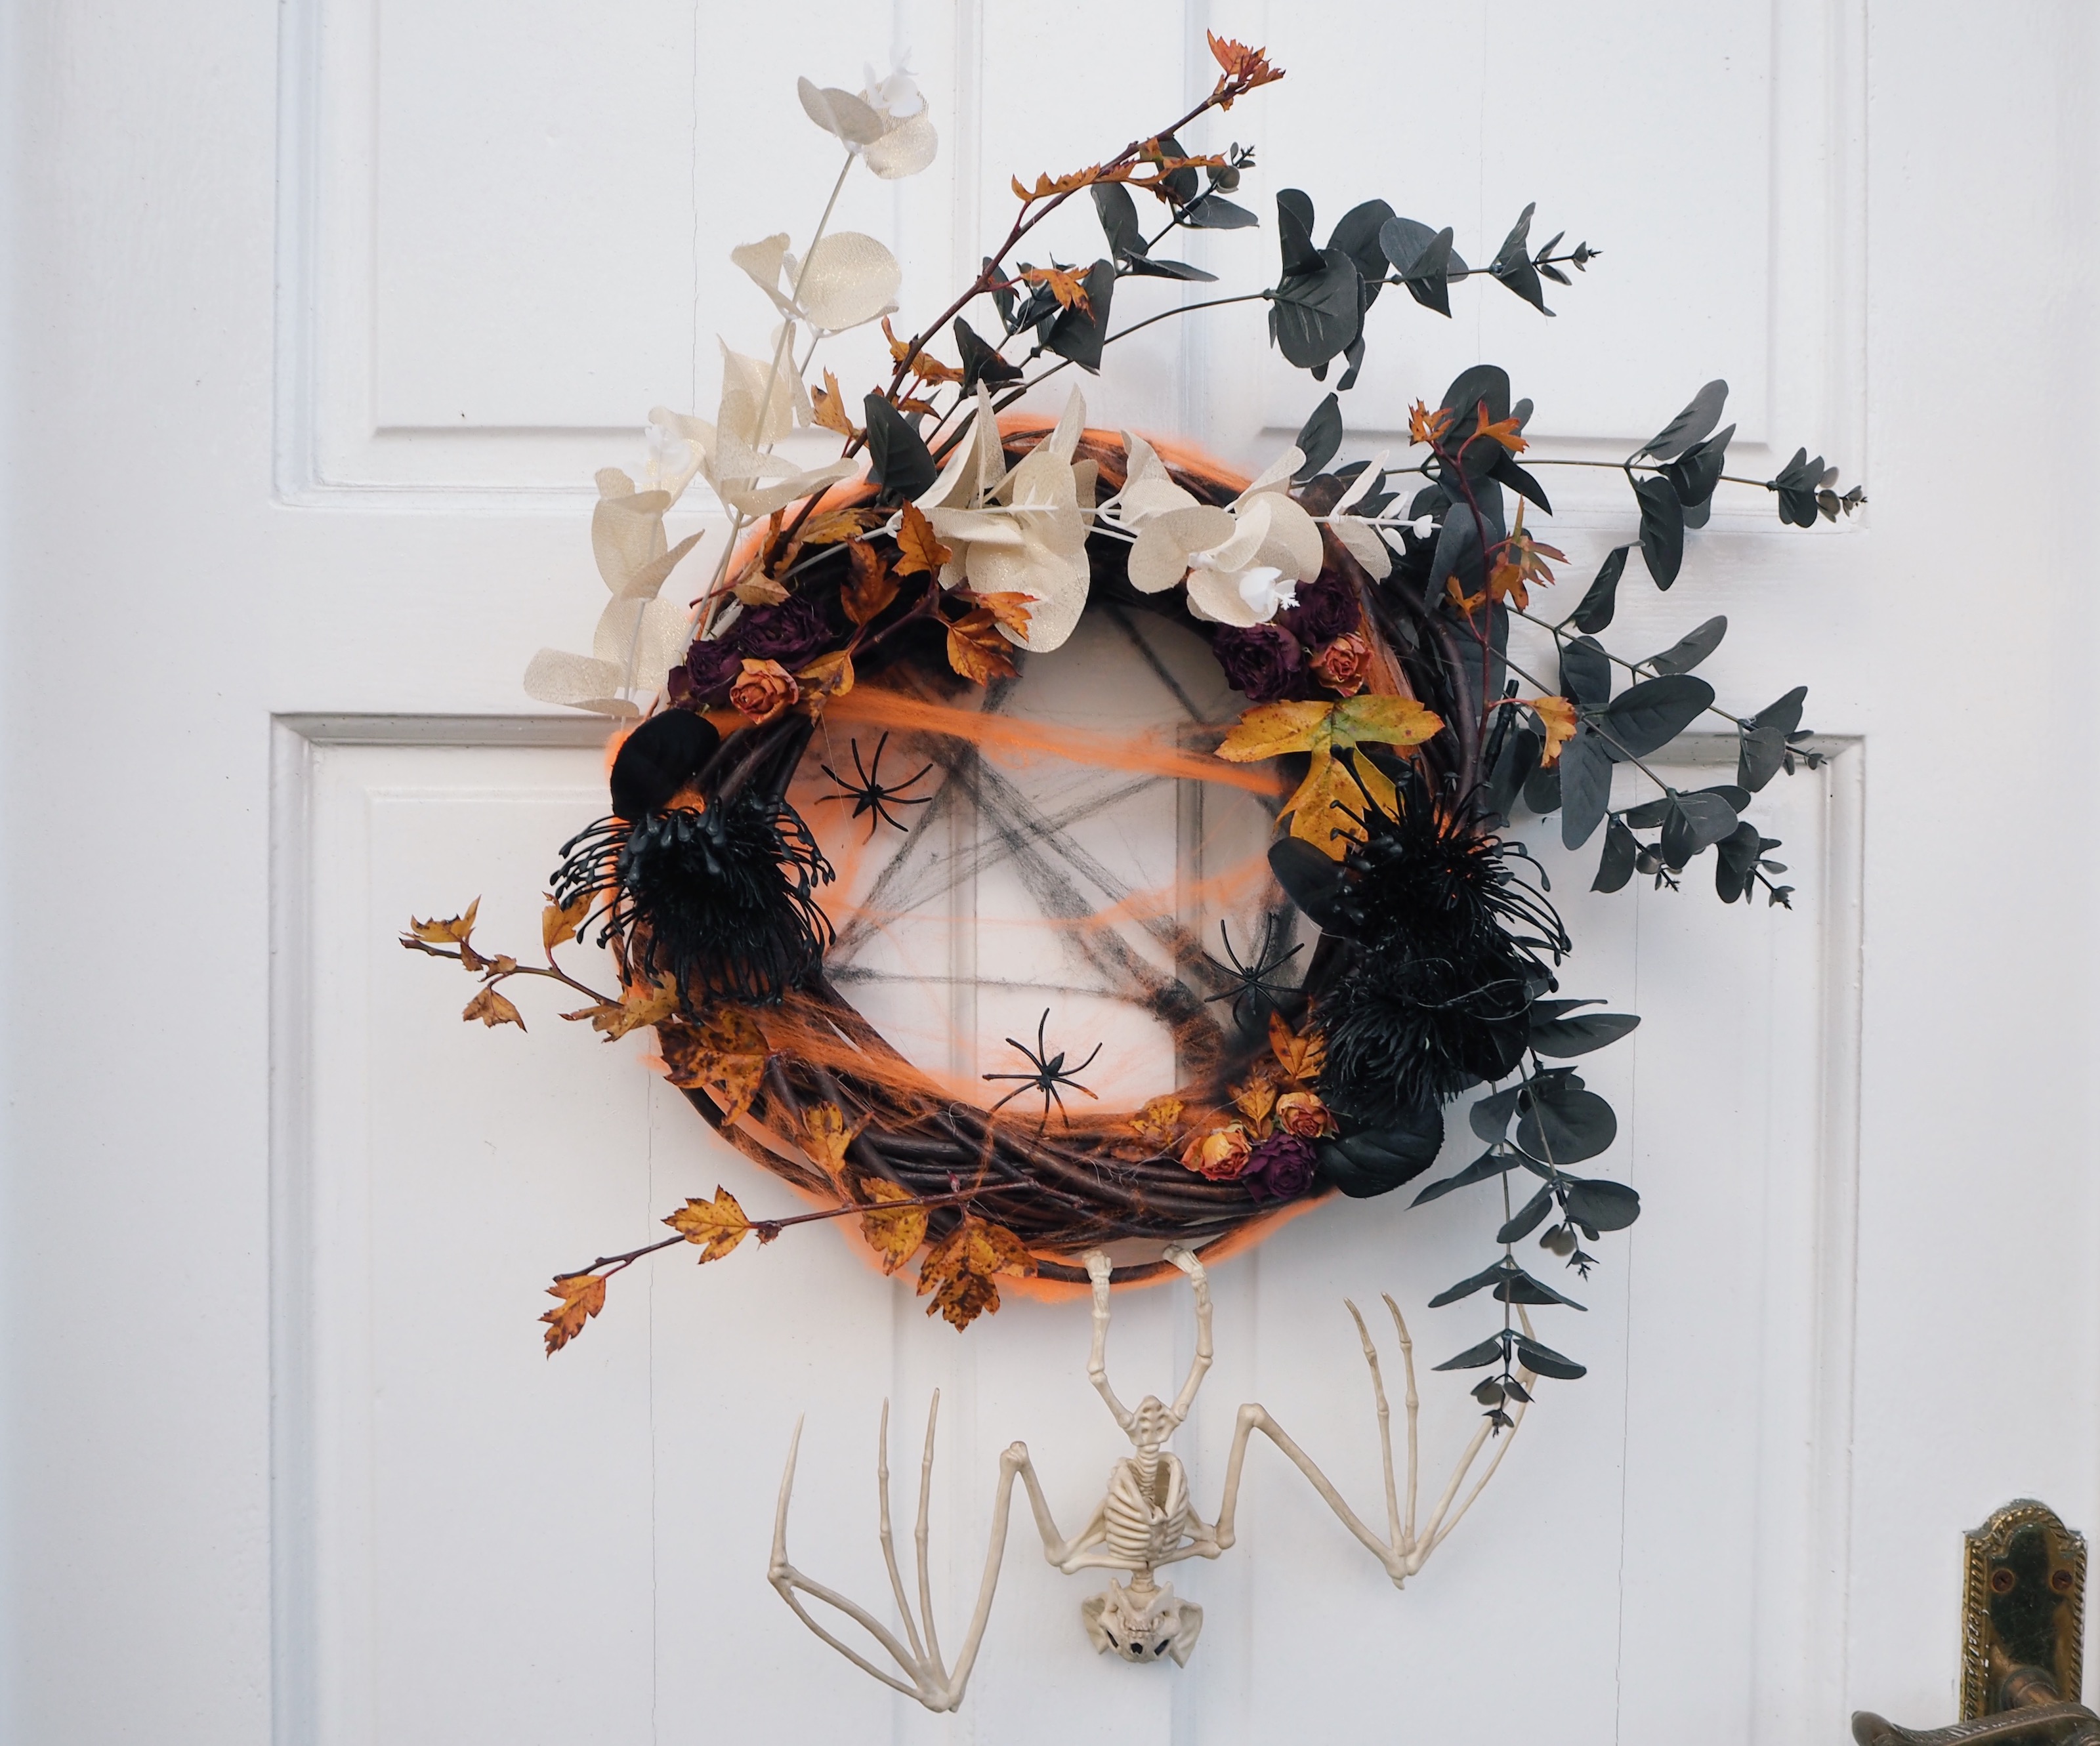 How to make a Halloween wreath: the perfect craft for spooky season
Spooky season is just around the corner. It's time to DIY a Halloween wreath by sourcing spiders, skeletons and more for the October 31st
By Sophie Warren-Smith Published
-
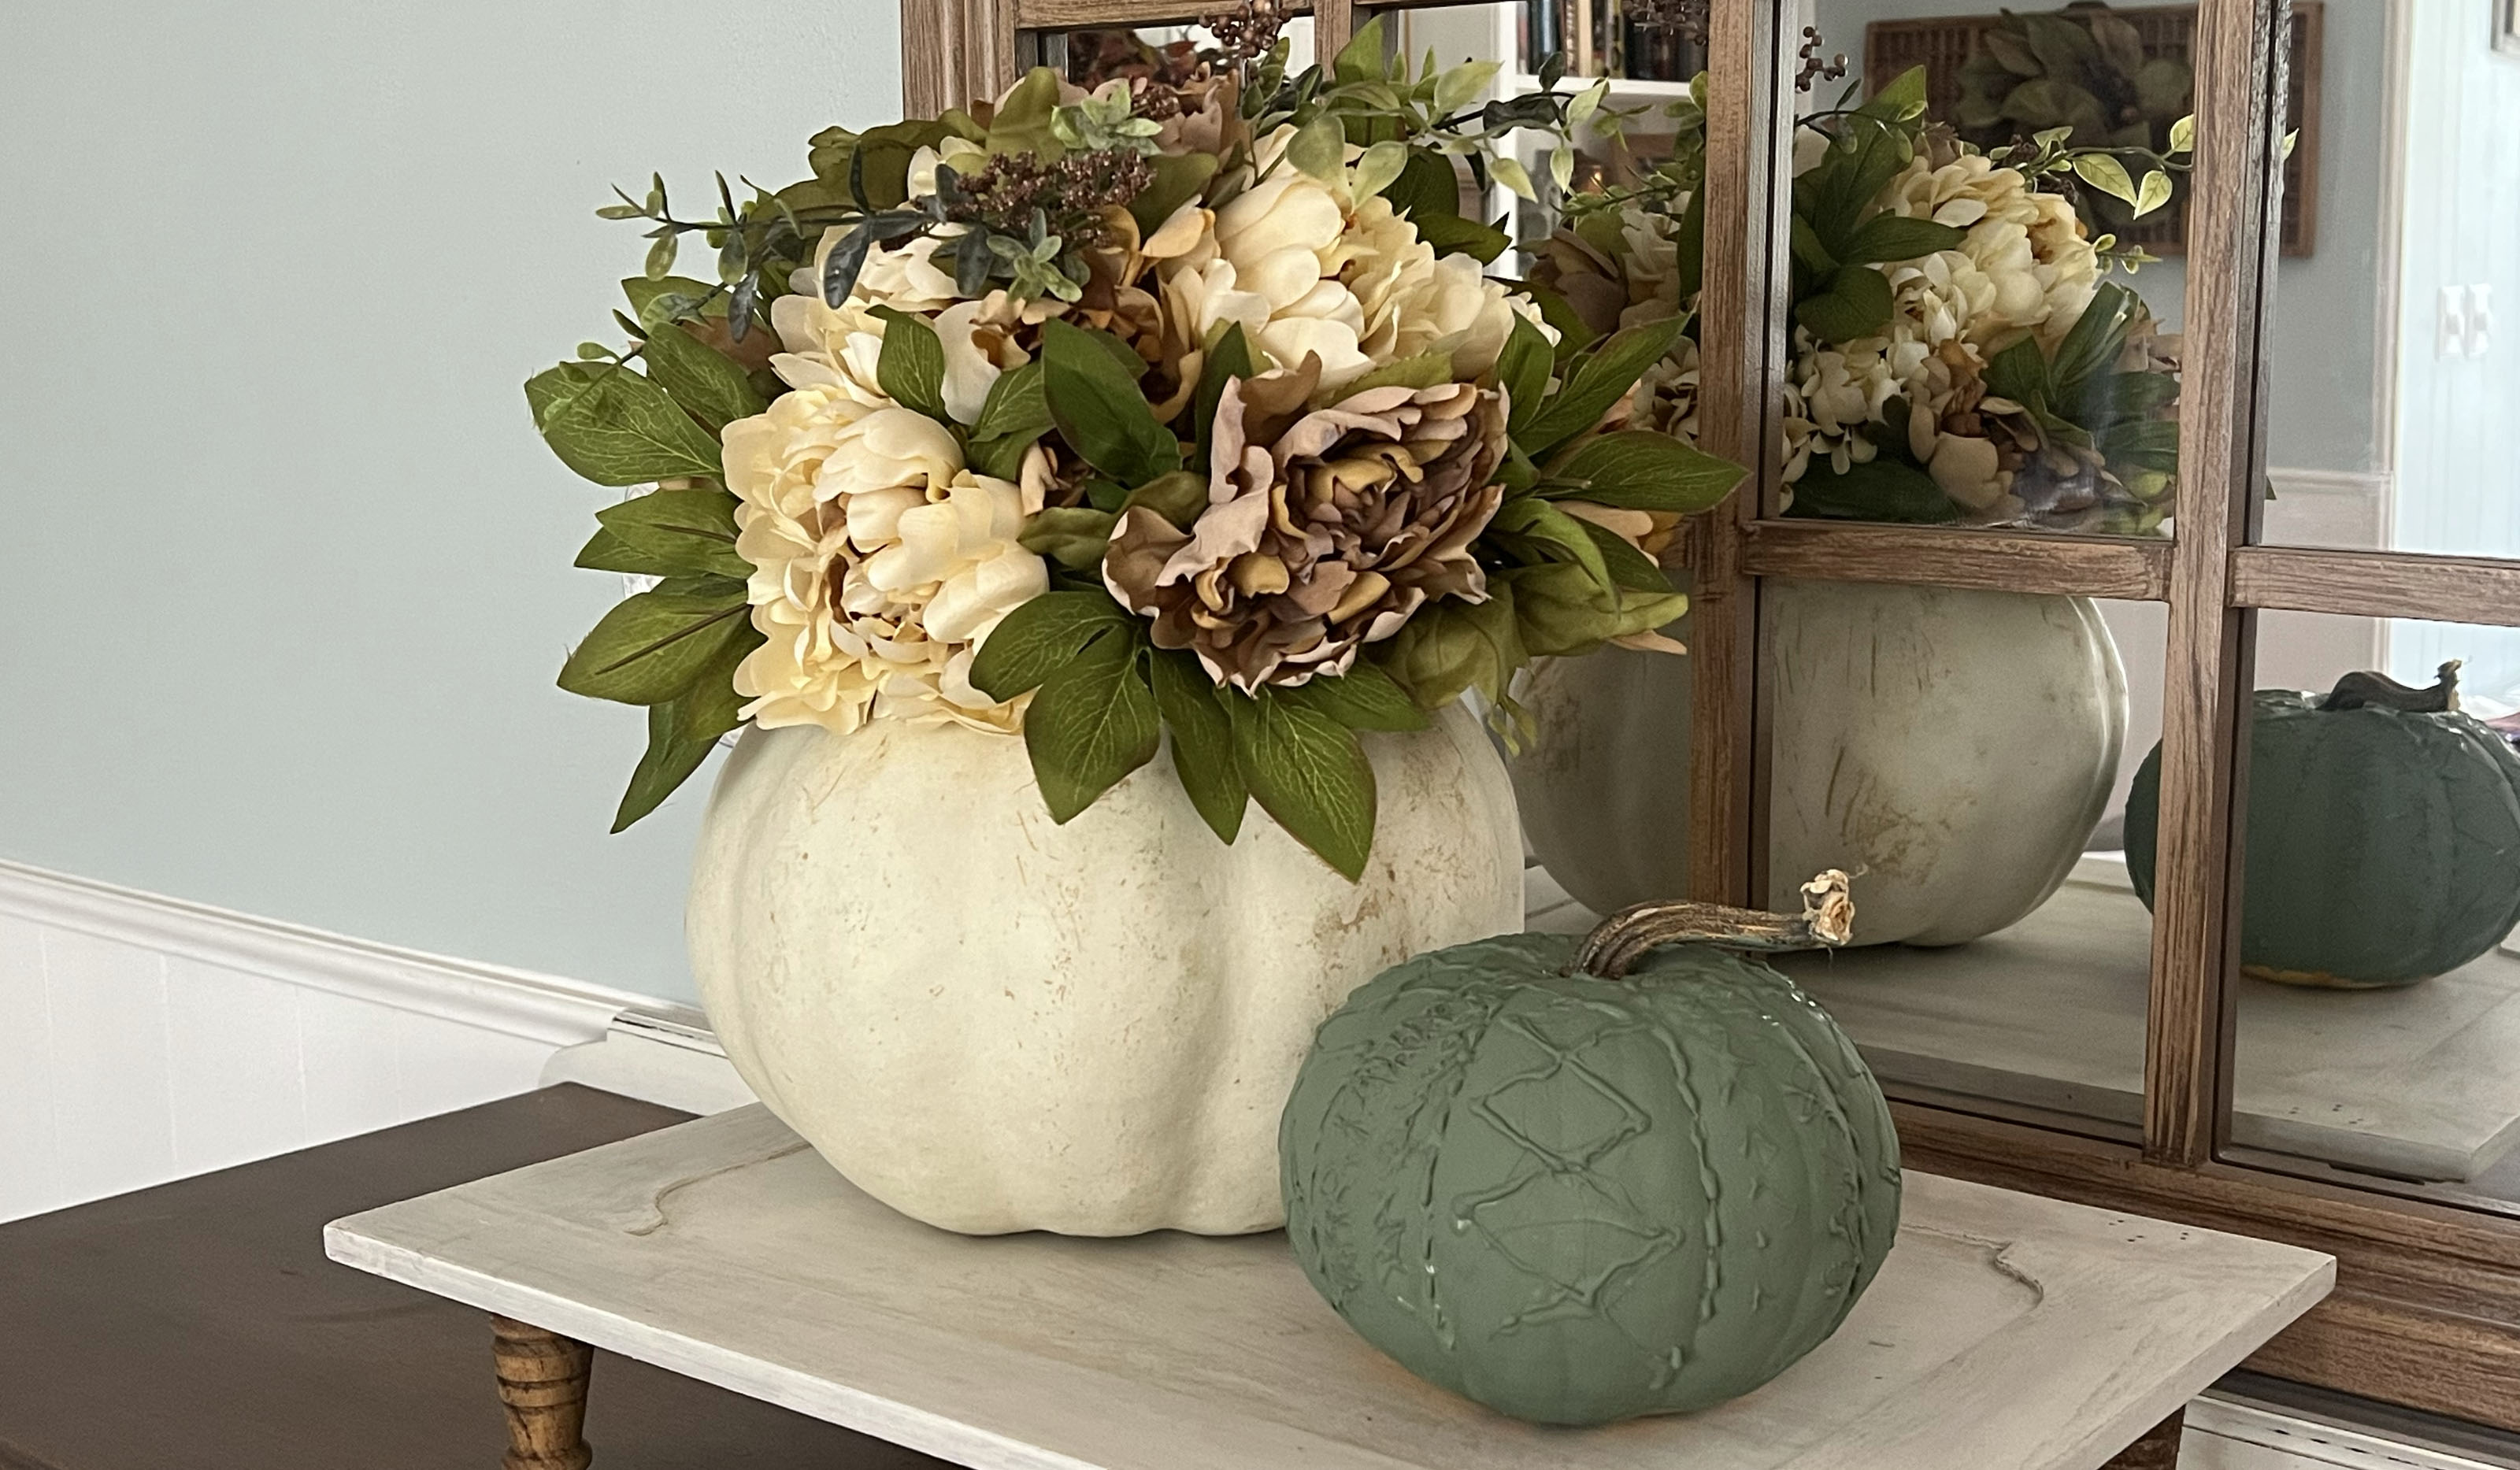 Embrace the best parts of fall with a DIY sweater pumpkin
This adorable DIY sweater pumpkin can be made in about 45 minutes with just a pumpkin, some hot glue, and your favorite fall paint color!
By Dori Turner Published
-
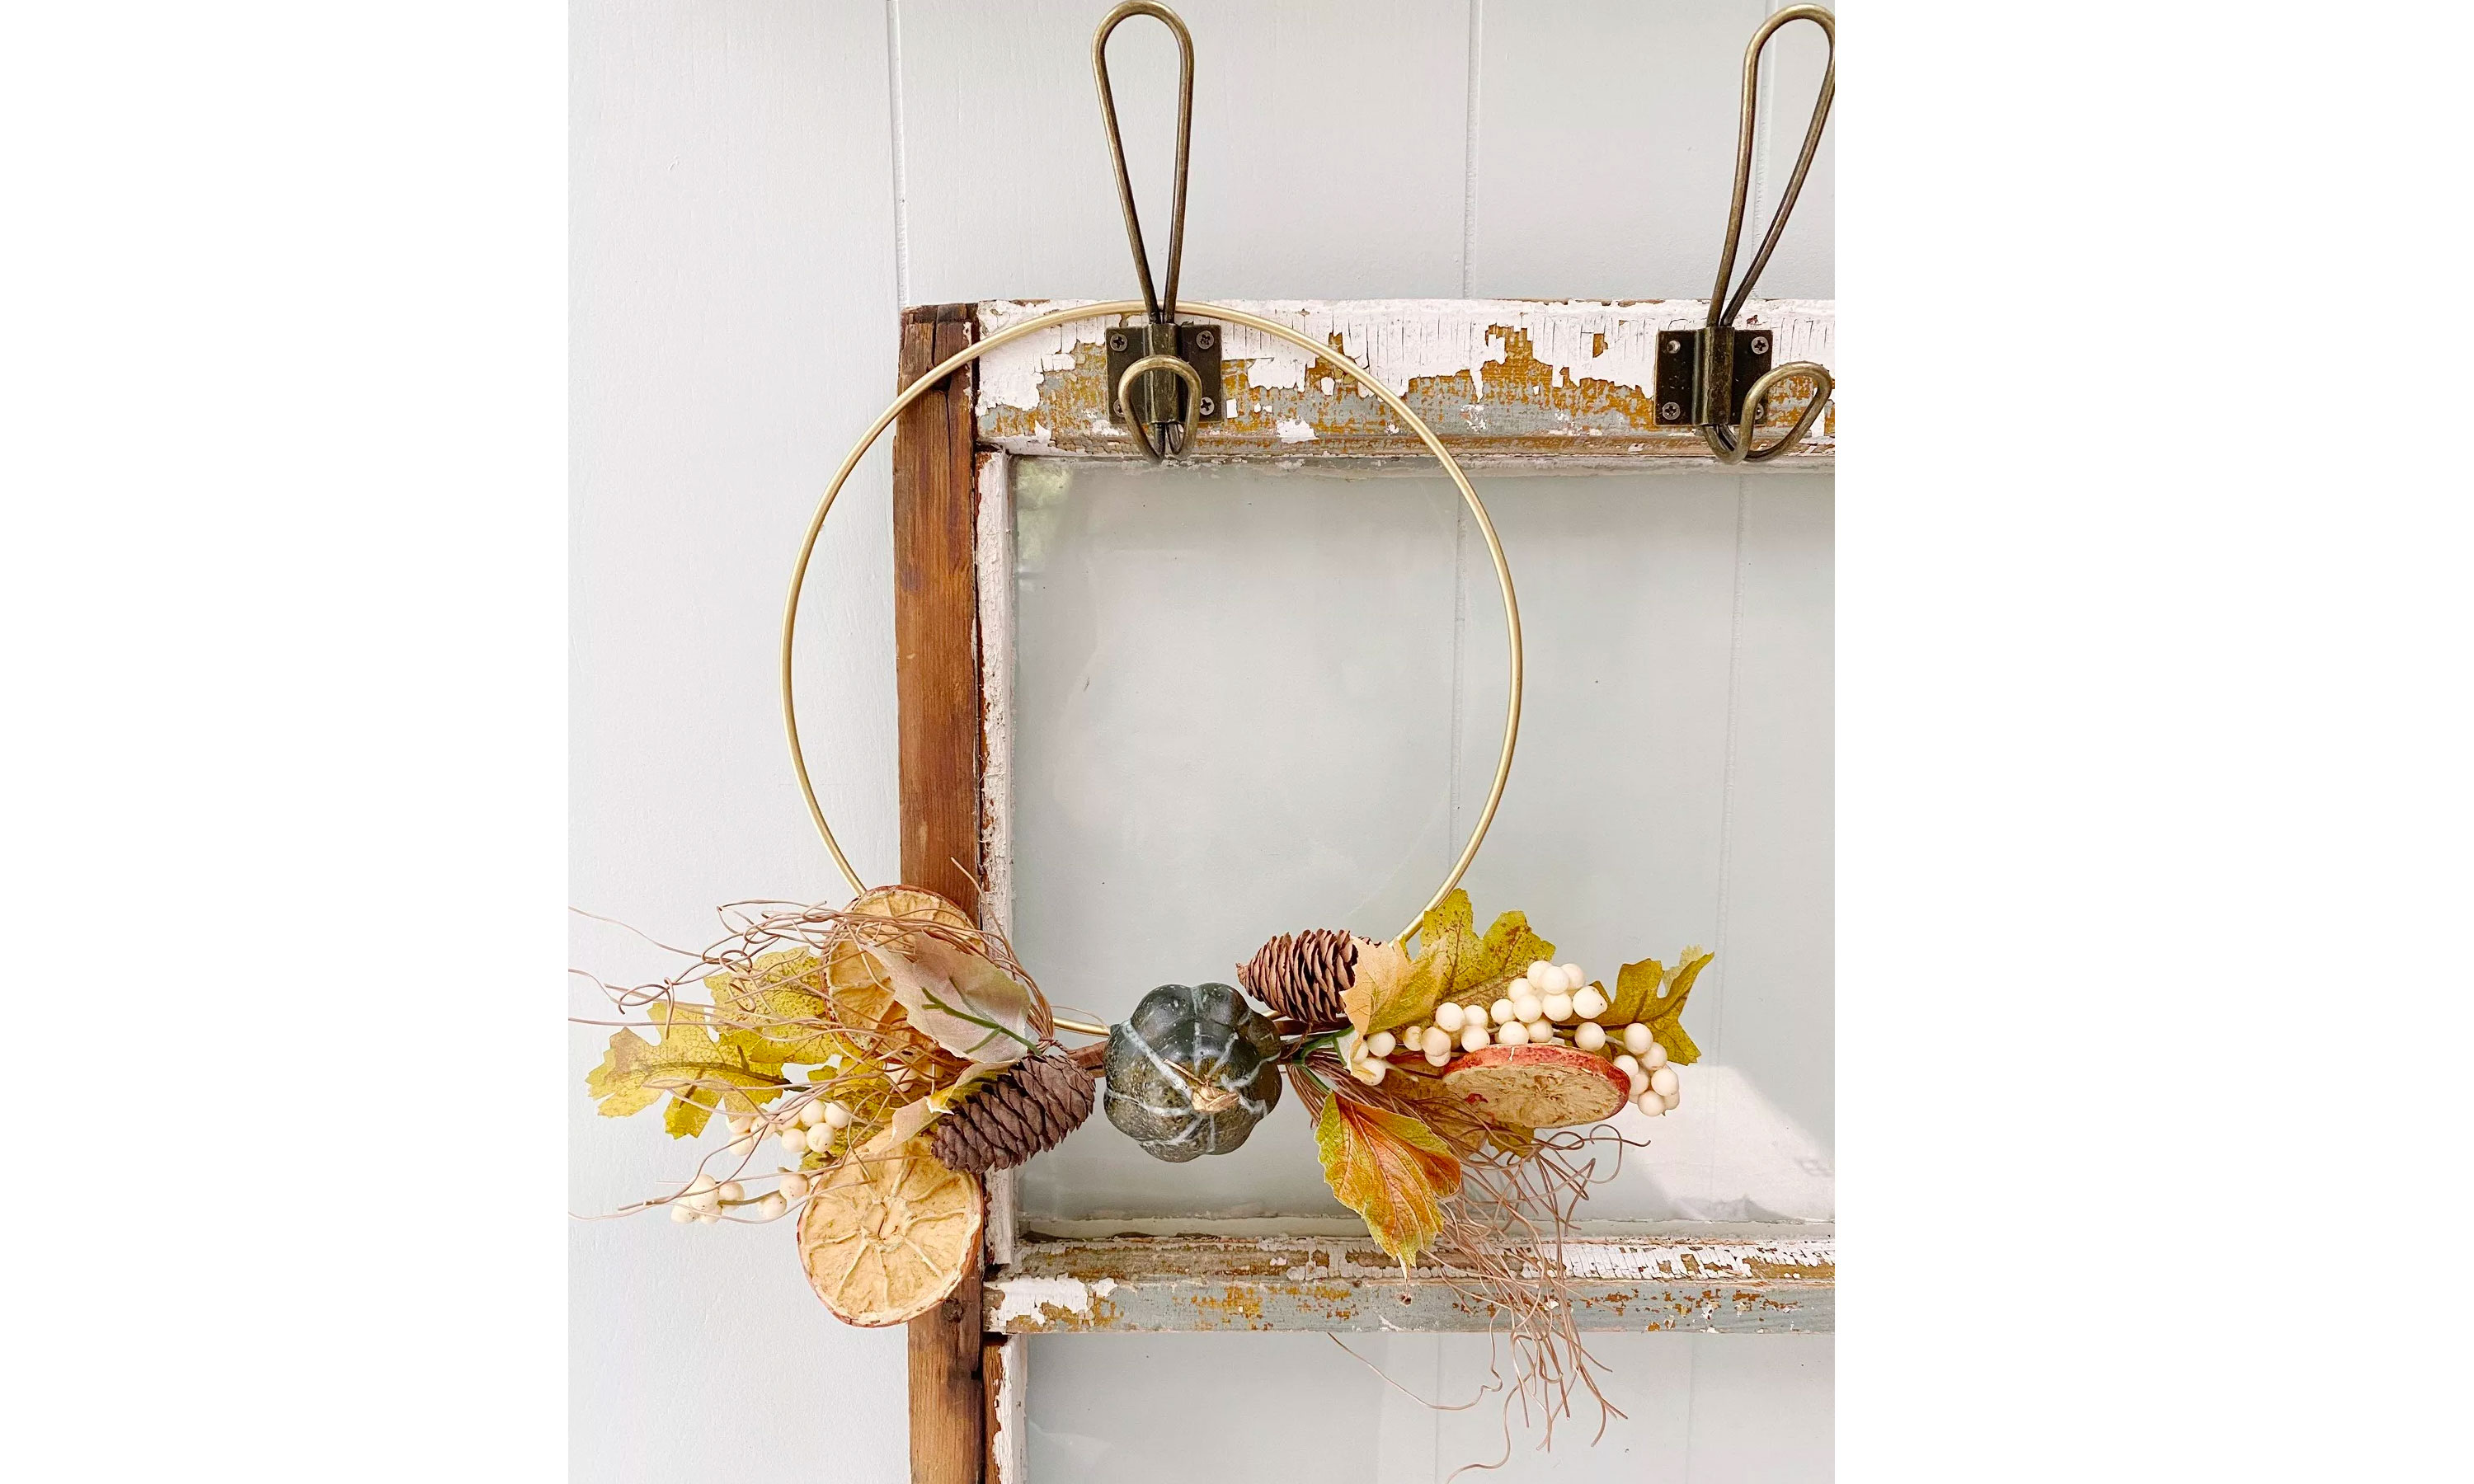 How to make a simple fall gold hoop wreath
This DIY simple fall gold hoop wreath ticks all the boxes for an elegant seasonal craft, that's easy and inexpensive to make!
By Dori Turner Published
-
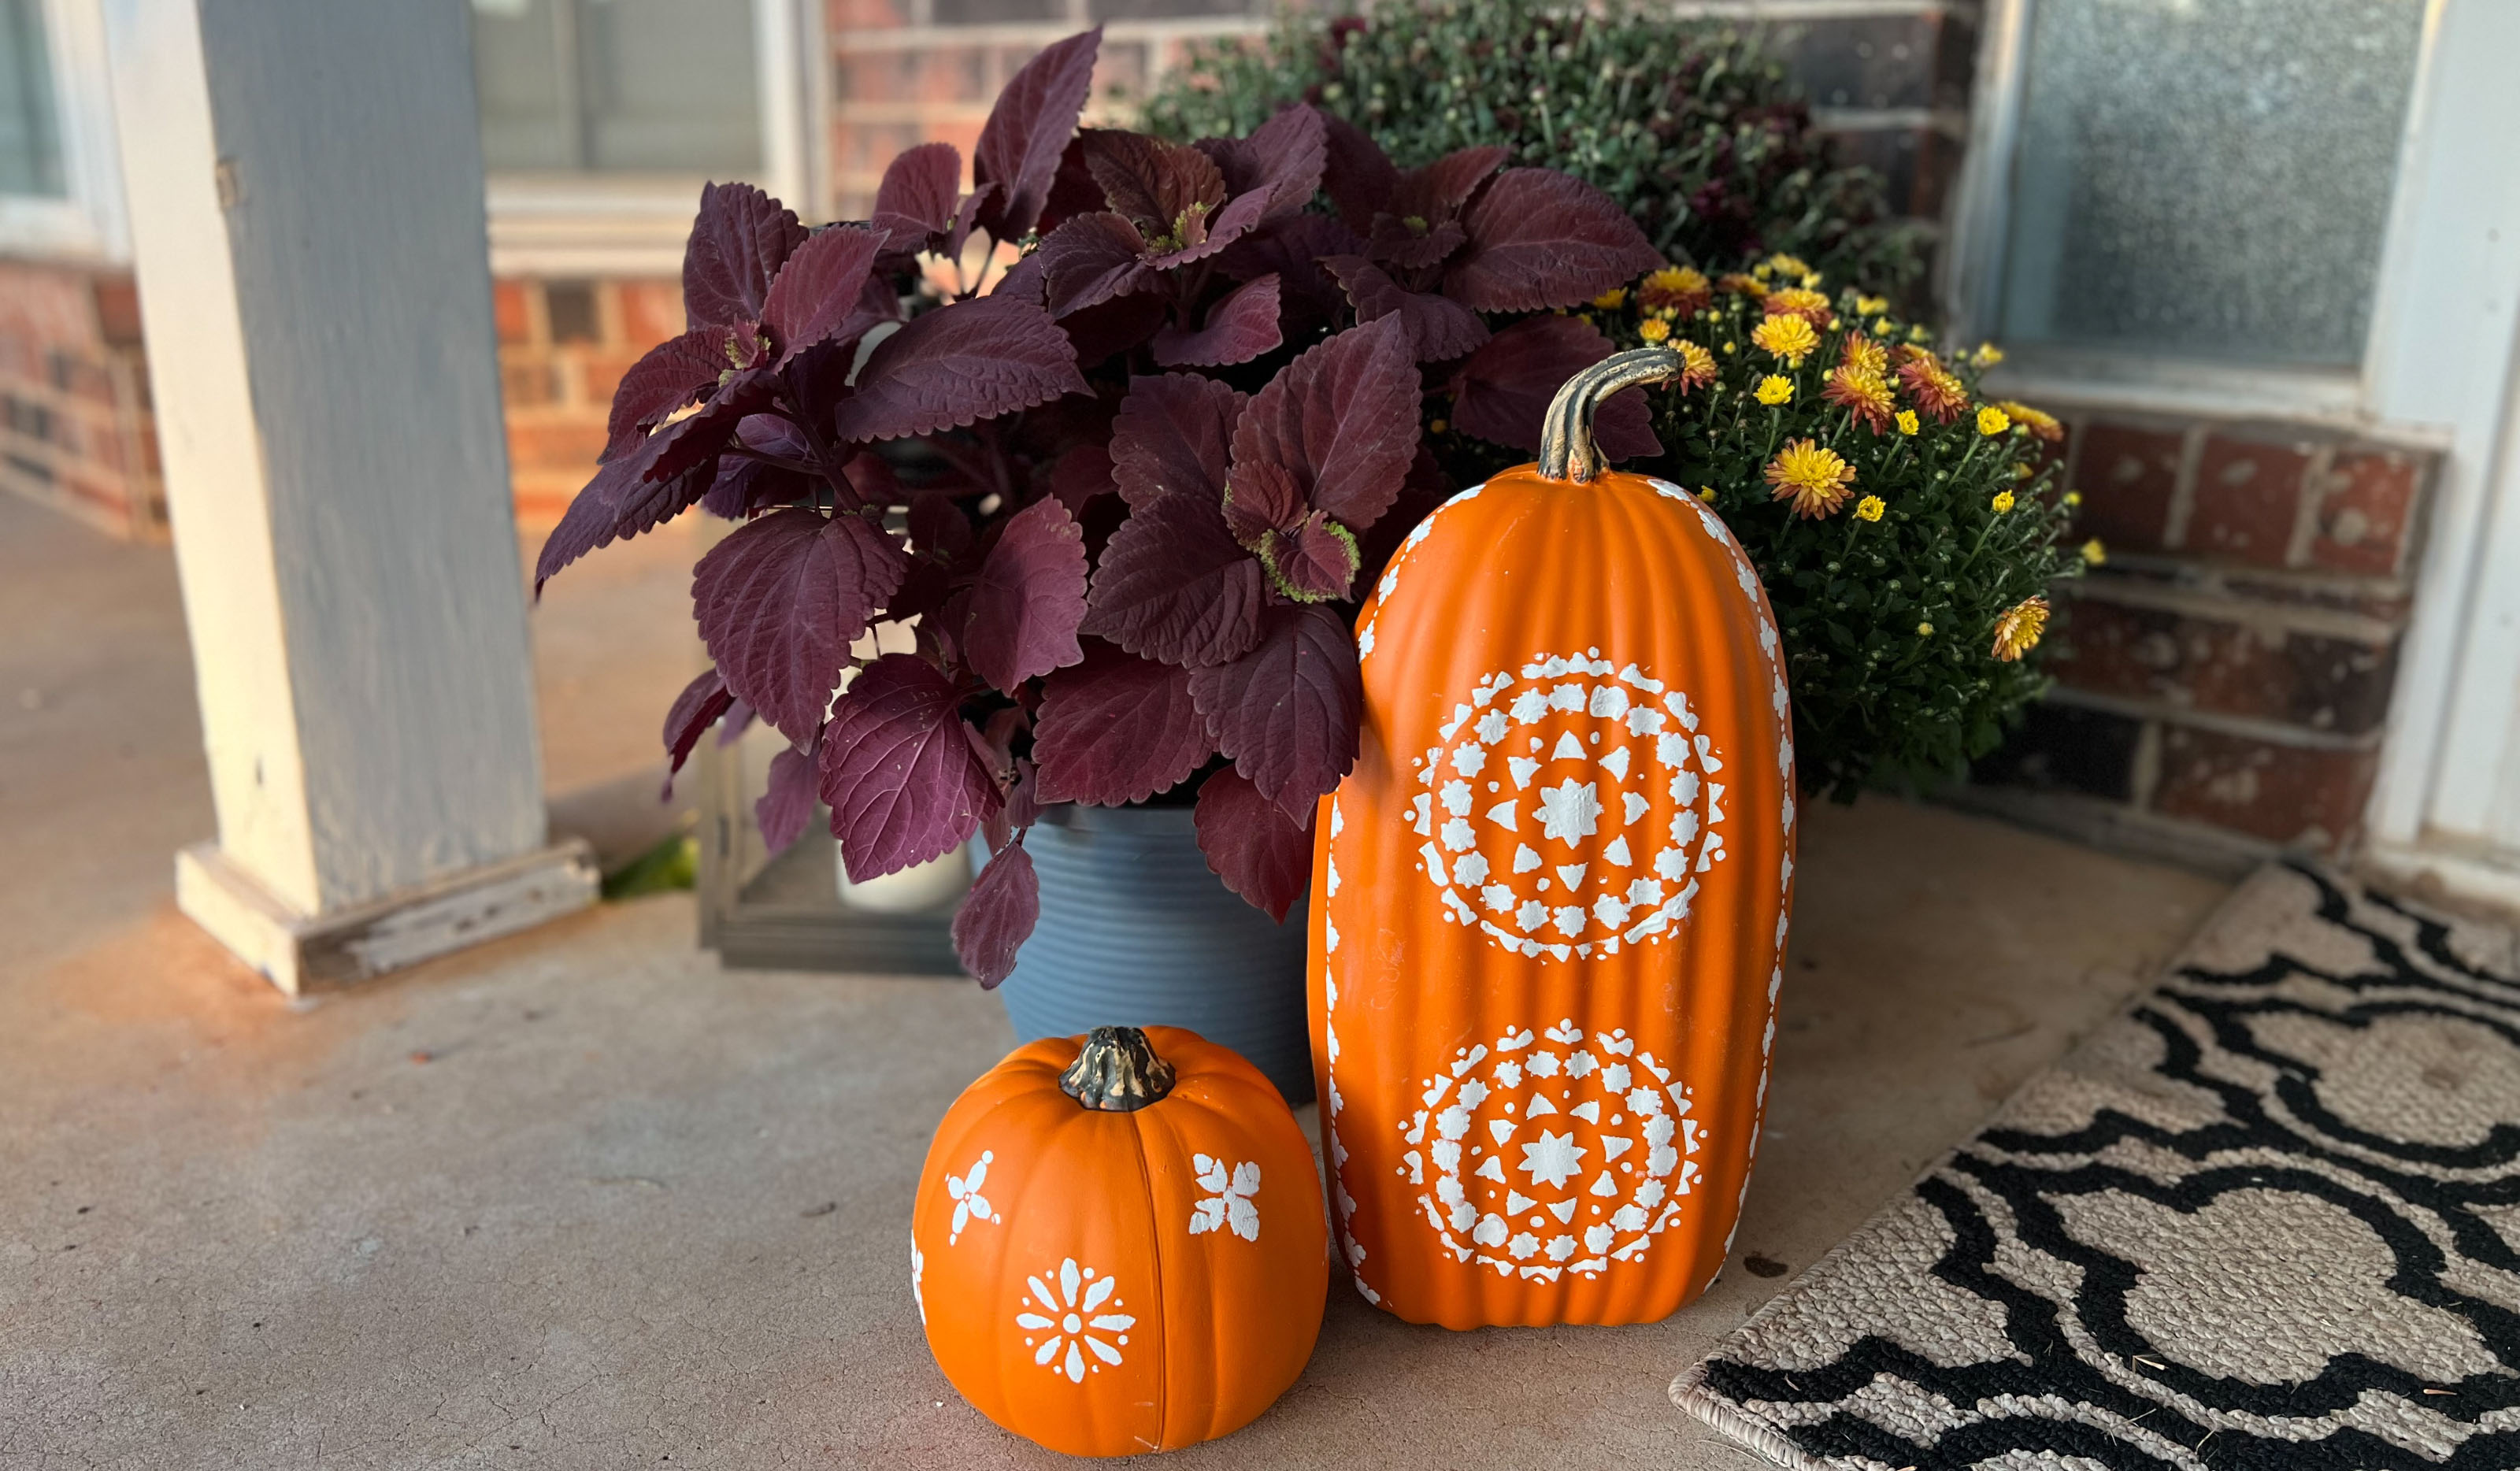 No-carve floral stenciled pumpkins: a cute fall craft for gourds big and small
Stenciled pumpkins are a fun alternative to carving, be that for a fall mantel or for your Halloween display! Simple to do and cheap to make.
By Dori Turner Published
-
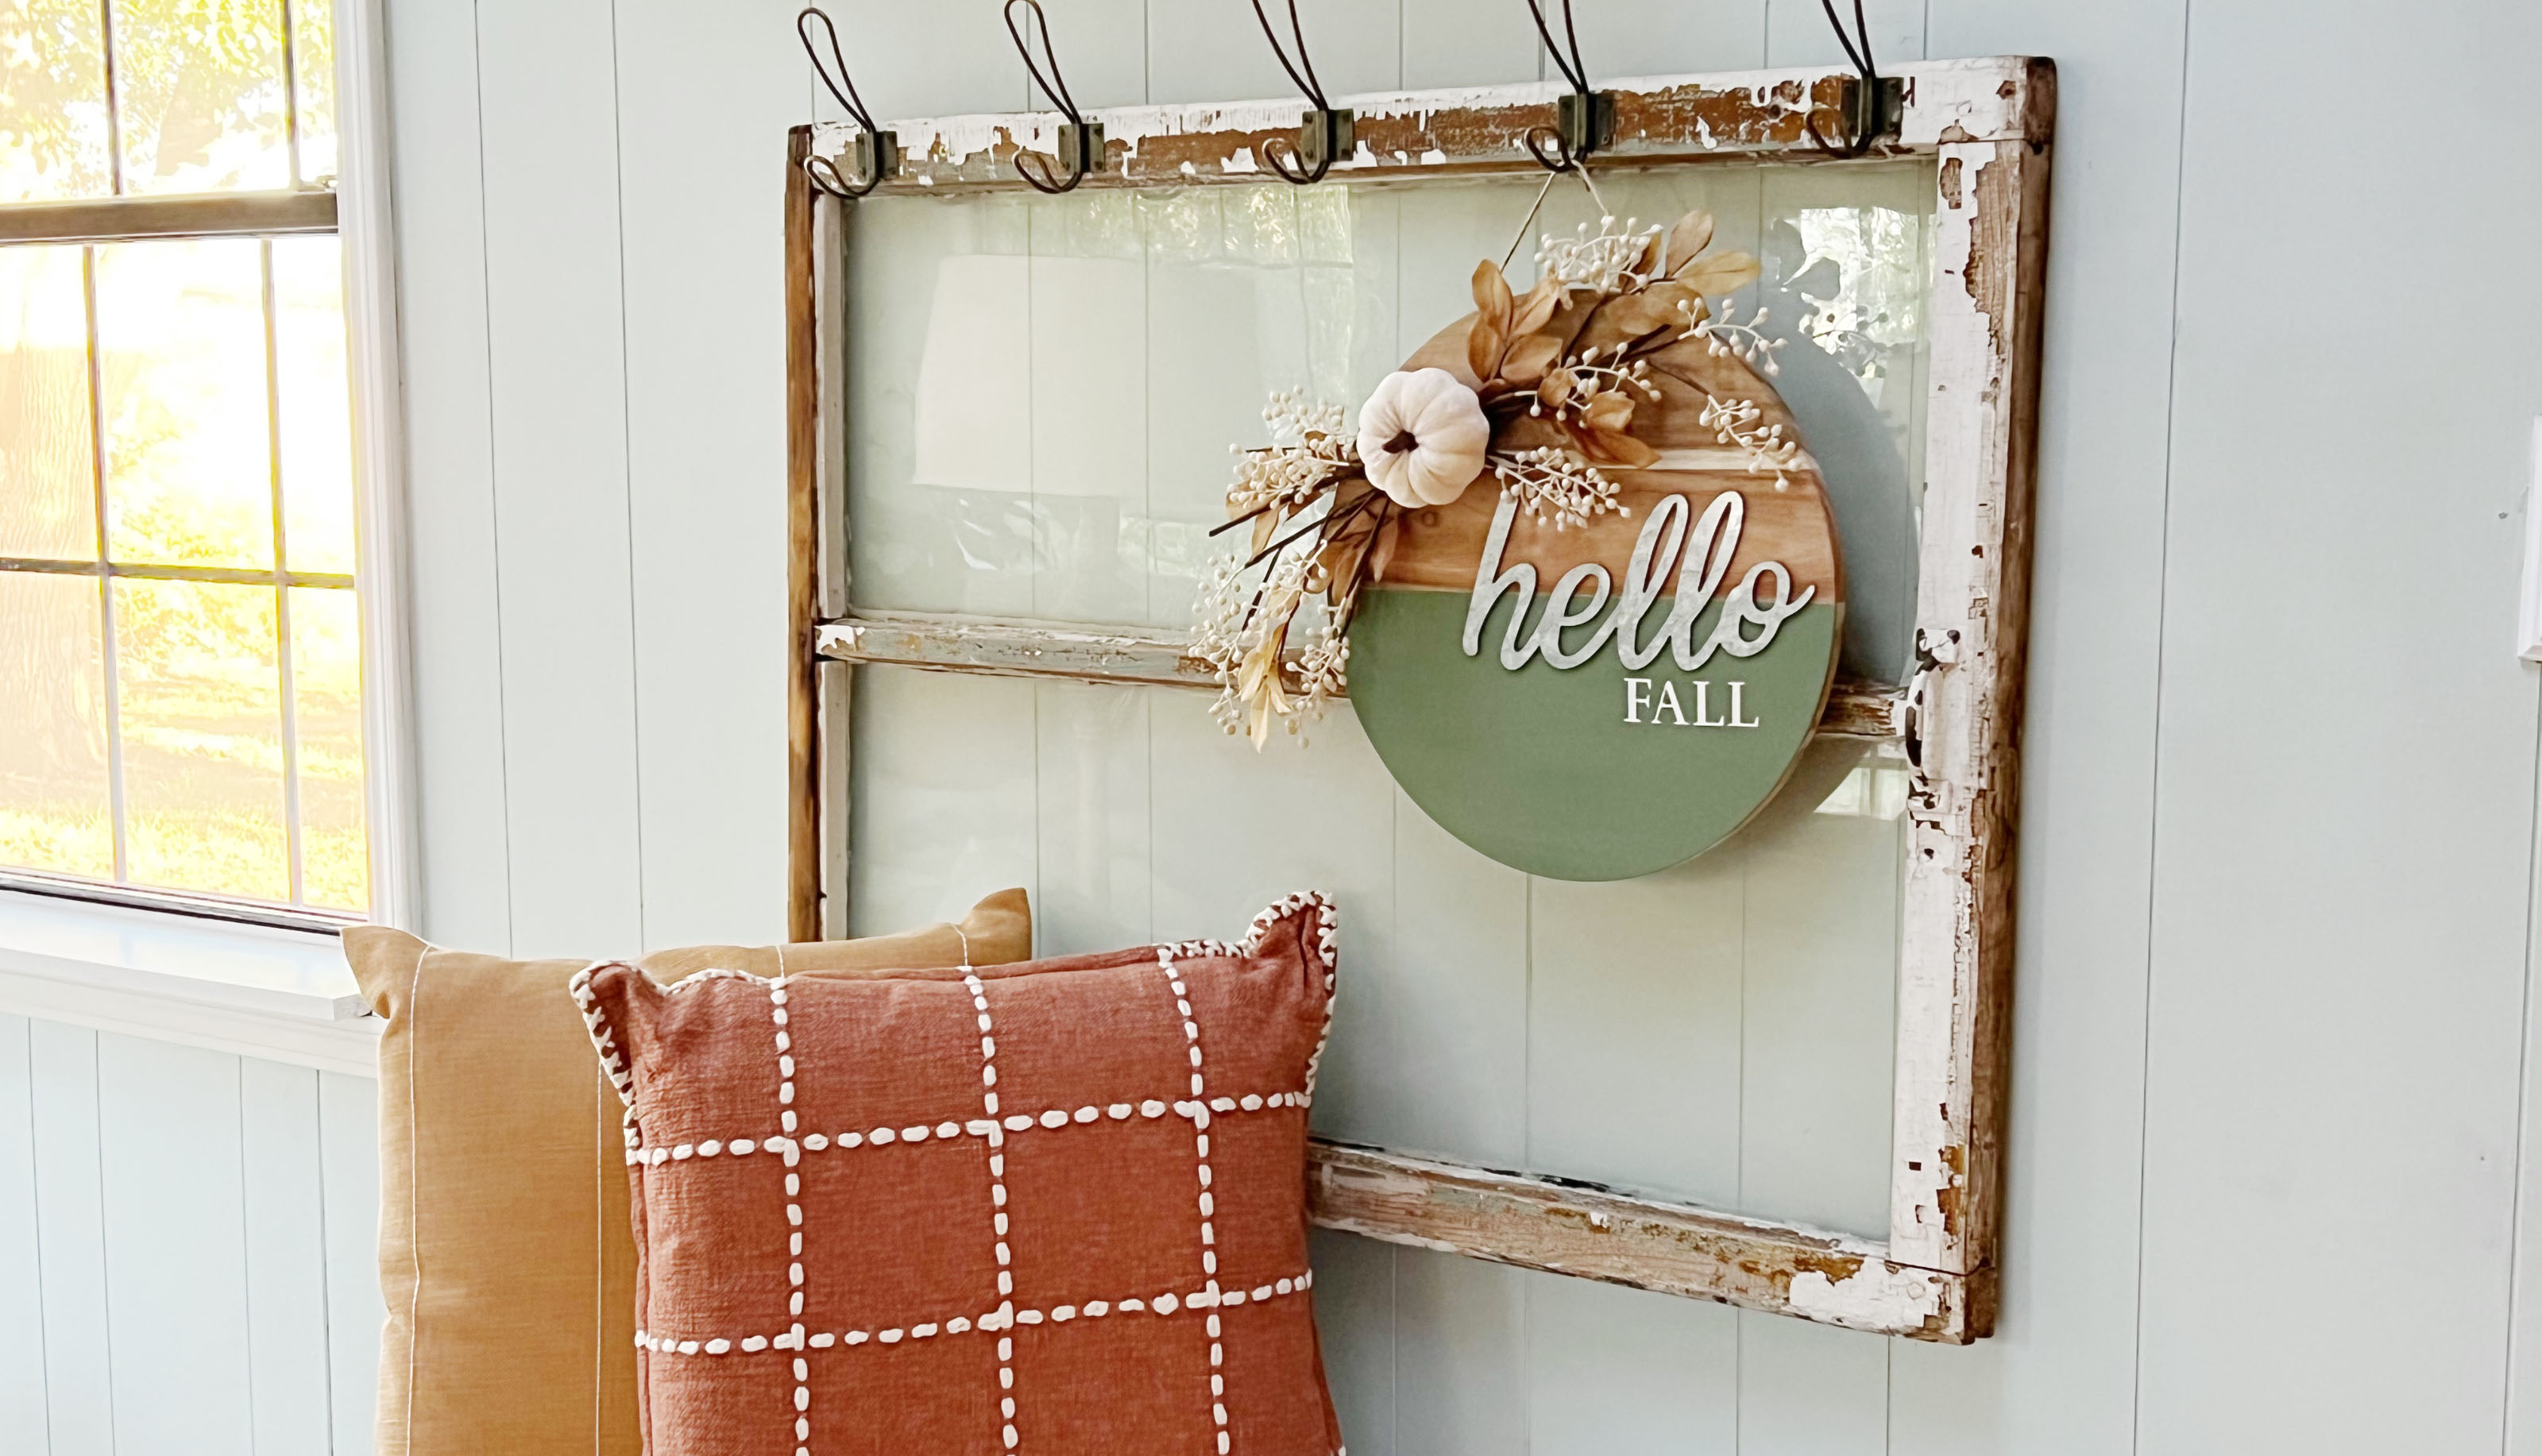 How to make a rustic wood fall wreath: A 3-step craft
This rustic wood fall wreath is a unique alternative to the traditional autumnal decor staple. You can customize it to fit your needs by choosing different stains or colors, phrases, and florals!
By Dori Turner Last updated
-
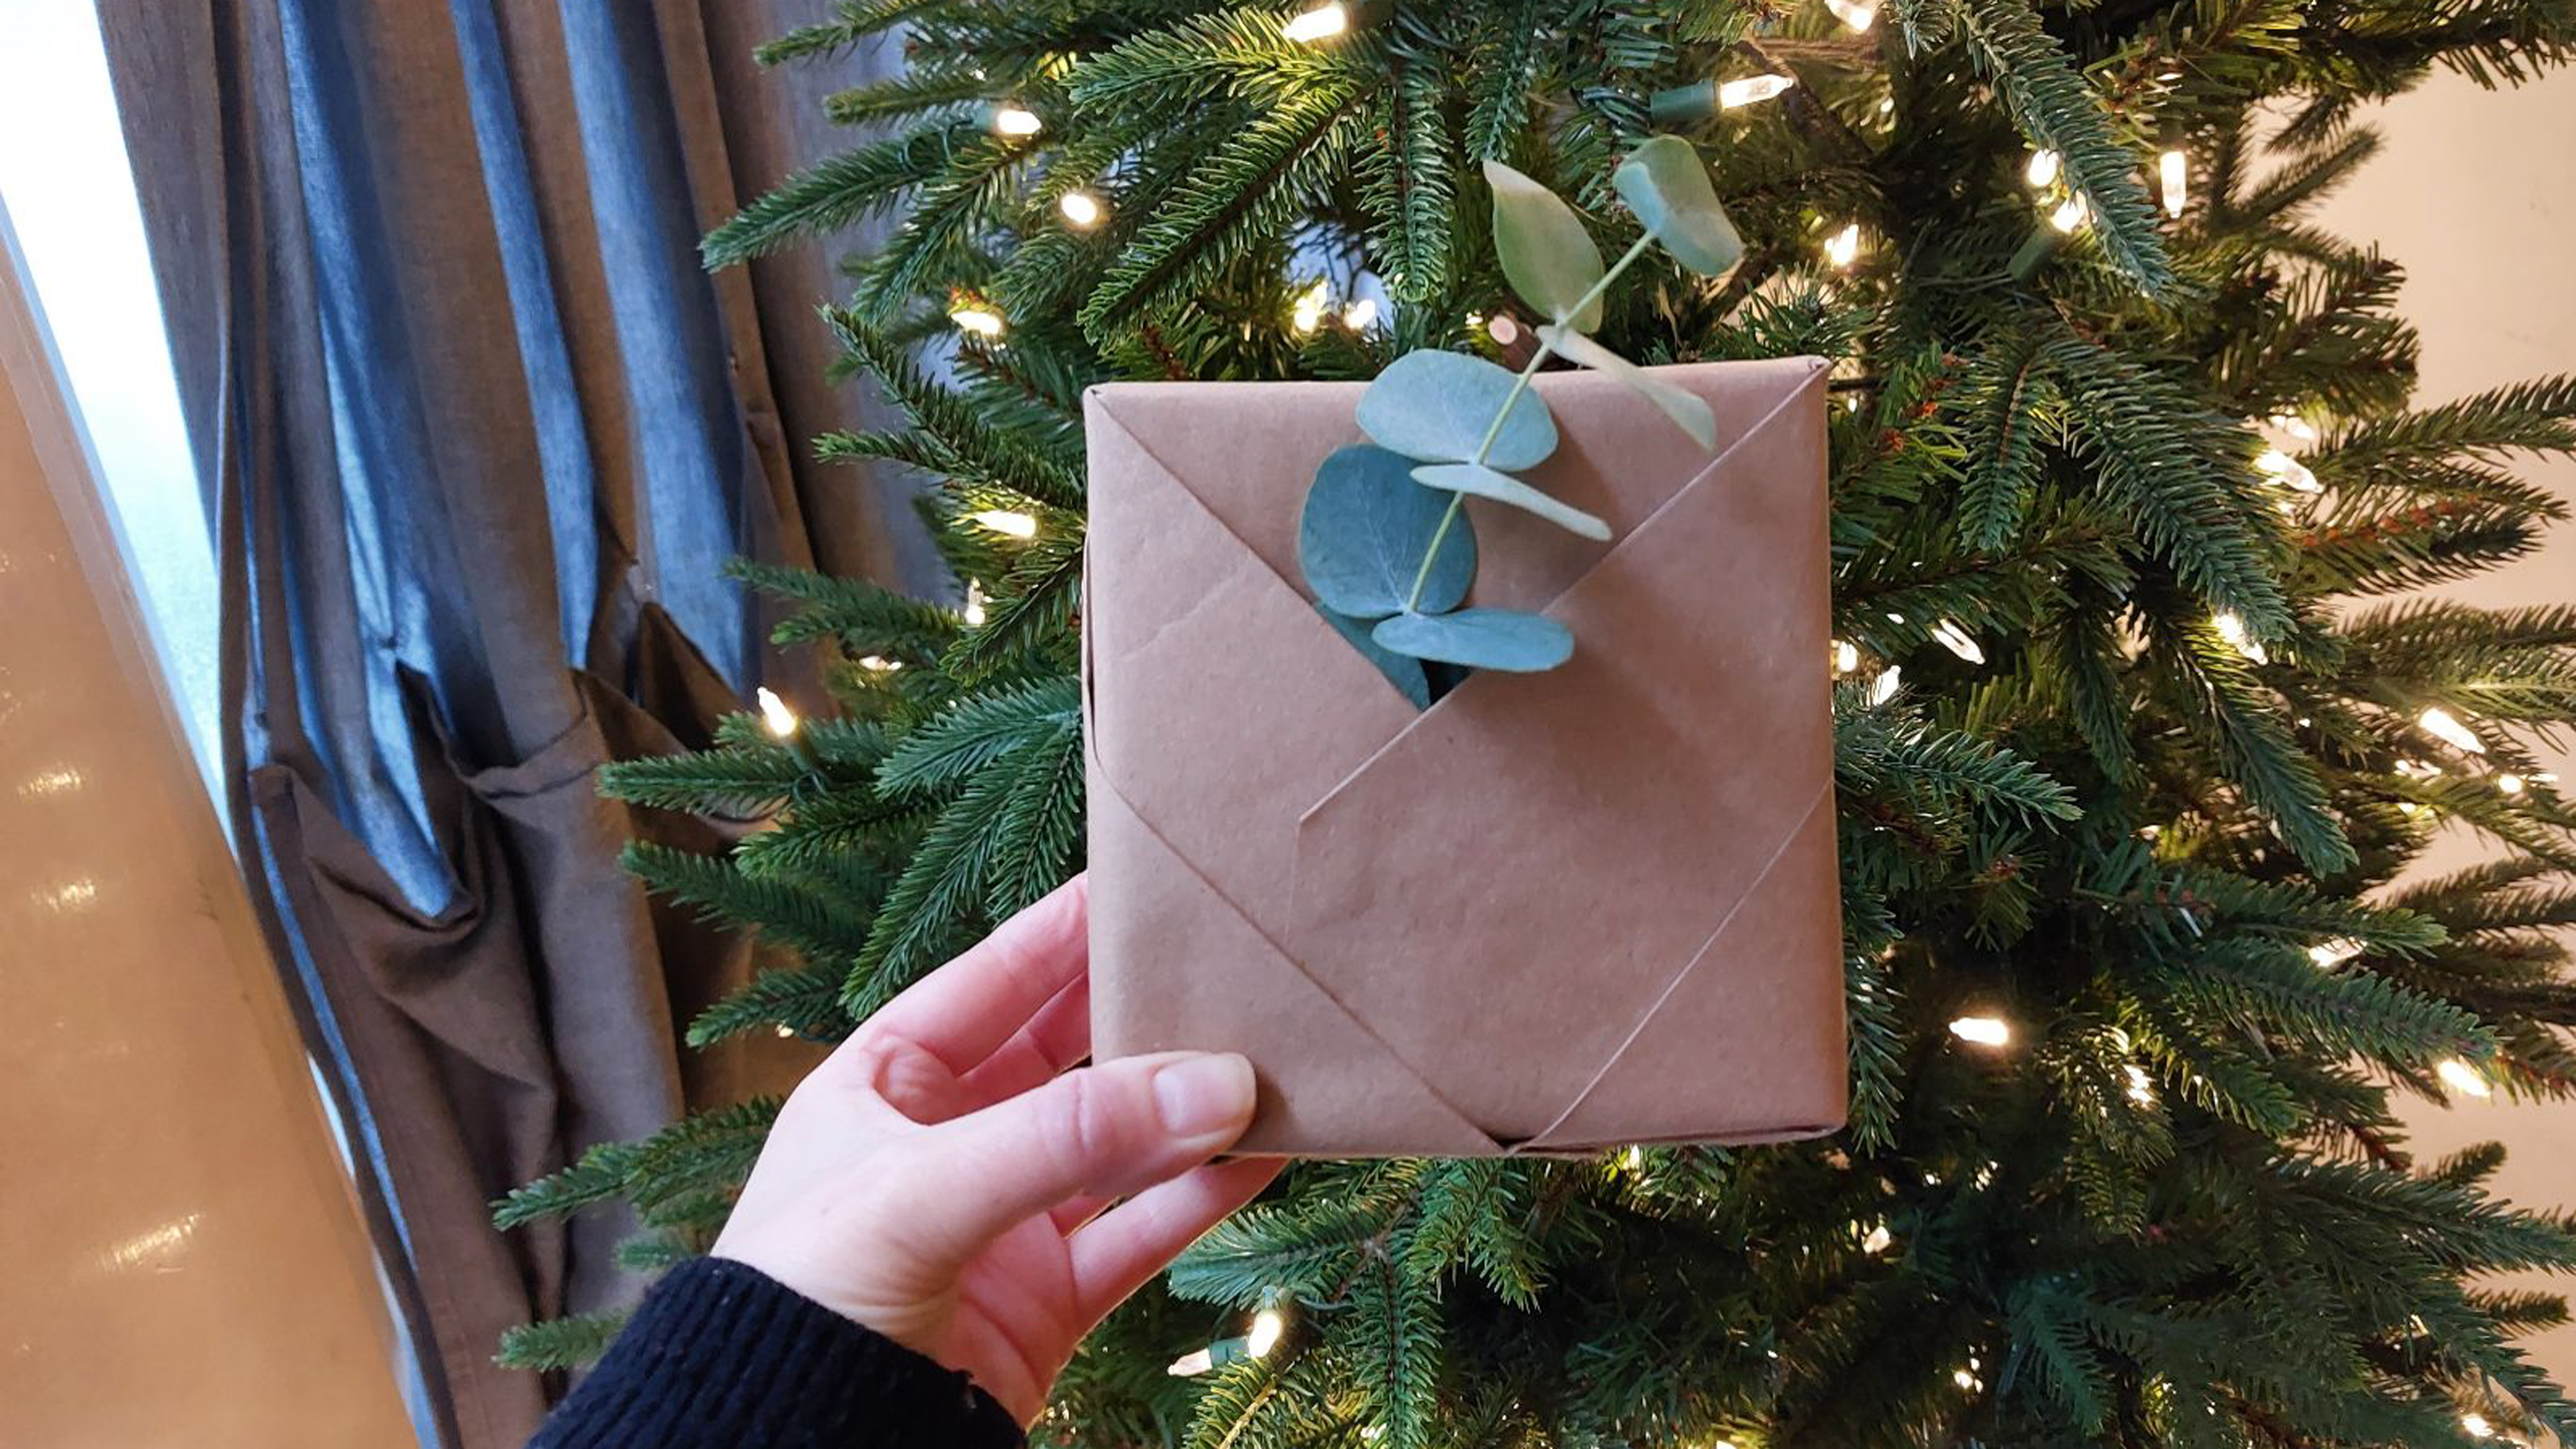 We tried the viral Christmas wrapping hack – it uses only one piece of tape
Ideal if you're running critically low on supplies
By Millie Hurst Published
-
 DIY Christmas card ideas – 11 beautiful handmade options for this festive season
Give your friends and family on of these DIY Christmas card ideas to treasure this year
By Sophie Warren-Smith Published