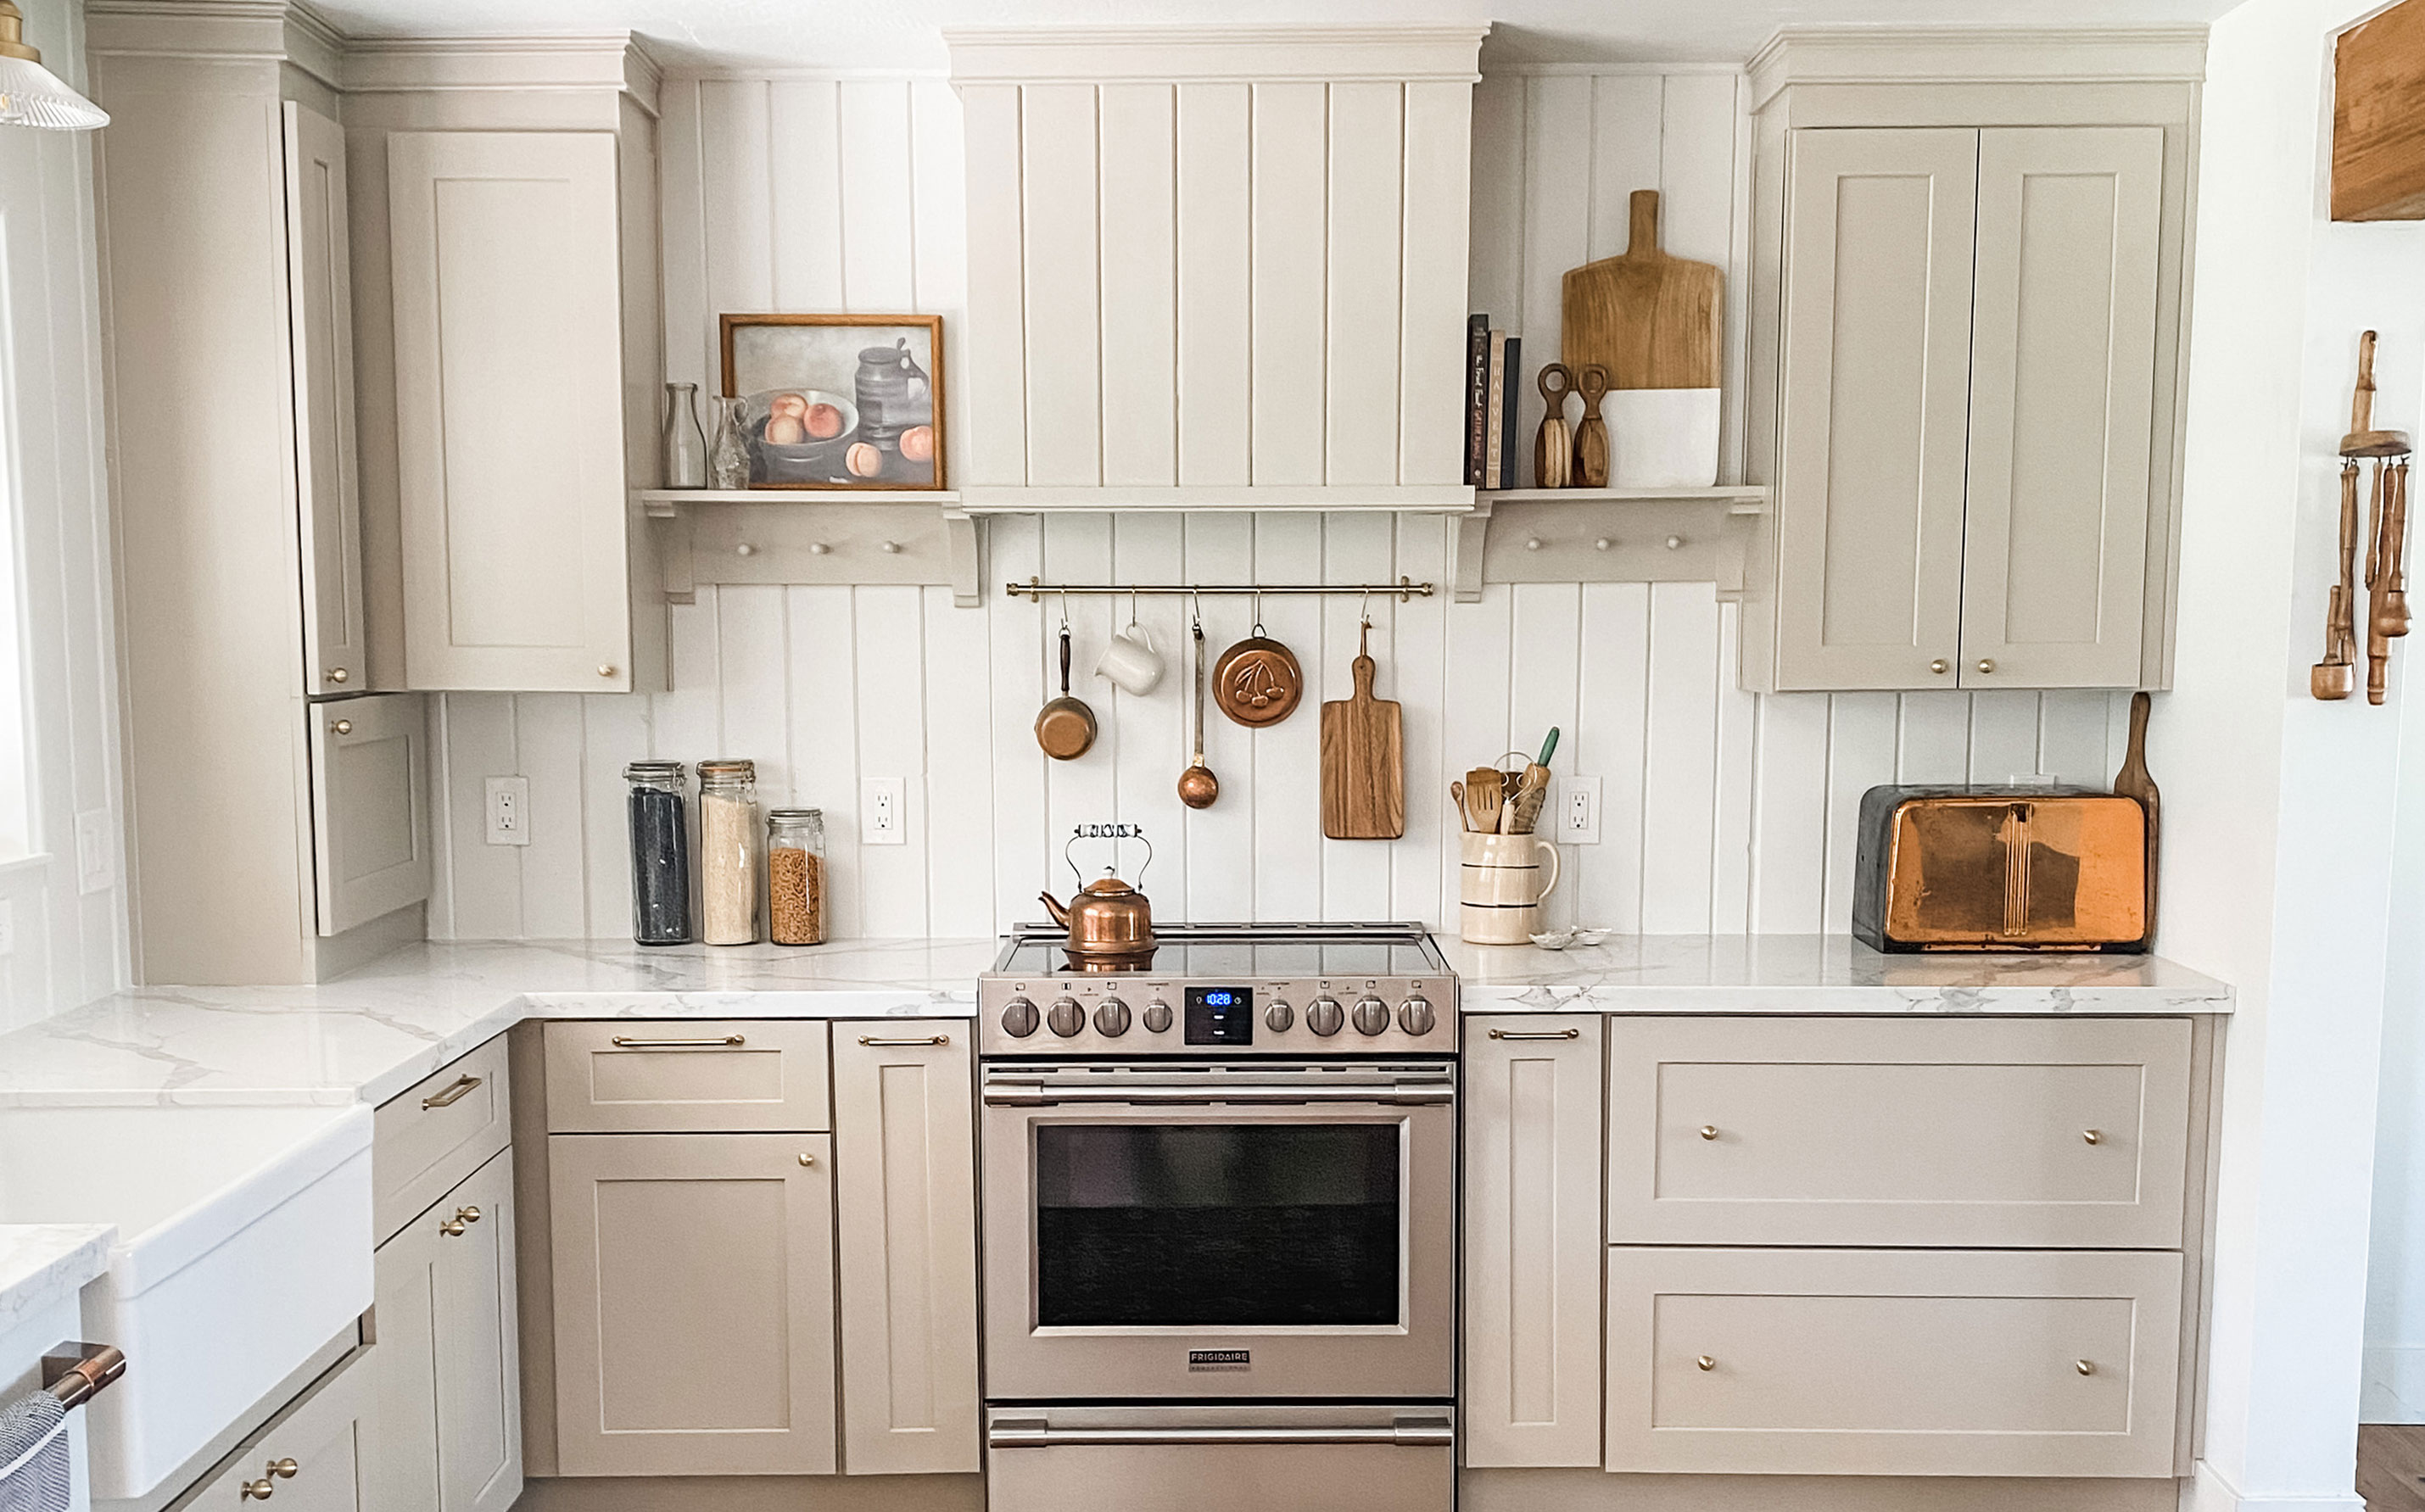

Building a range hood was always a part of this plan from the beginning. It took us quite a while to get to it and didn’t seem urgent because we did have a functional kitchen.
I really craved charm in this space and knew that adding a custom range hood and shelving would really give us the cozy farmhouse kitchen look we were going for.
- DIY skill level: Intermediate
This DIY requires power tools and precision but if you're up to the challenge, it's totally worth trying because you'll fall in love with the results.
My main supplies
1. Hood vent: MCBON Range Hood Insert in Stainless Steel
2. Filter: I chose the MCBON Range Hood Charcoal Filter from Amazon again
3. 2x4 lumbar
4. 3” screws
5. 8’ tongue-and-groove boards
6. Construction adhesive (liquid nails is my go-to)
7. Trim for hood/cabinets
8. Scrap mdf
9. Corbels are readily available at The Home Depot
10. Pegs: I chose Shaker pegs on Amazon
11. Caulk: You can pick up sealant at the Home Depot again
12. Primer/paint of choice: I used Sherwin Williams trim enamel paint in the color Aesthetic White
Selecting the right hood vent for your space
The first thing I did was order the hood vent. It needed to be “ductless” because we did not have venting running to the outside prior to this build, so we chose this MCBON Range Hood Insert in Stainless Steel as you could select ductless as an option.
A ductless vent will have a filter that needs to be changed periodically. Ours can be changed by unscrewing the face plate, but make sure that whatever vent you order you can have access to the filter through the hood.
Custom fitting
I built a 2x4 frame using the actual vent as a guide so it would be a snug, custom fit. I added a 2x4 support in the back of the frame in order to secure it to studs in the kitchen wall.
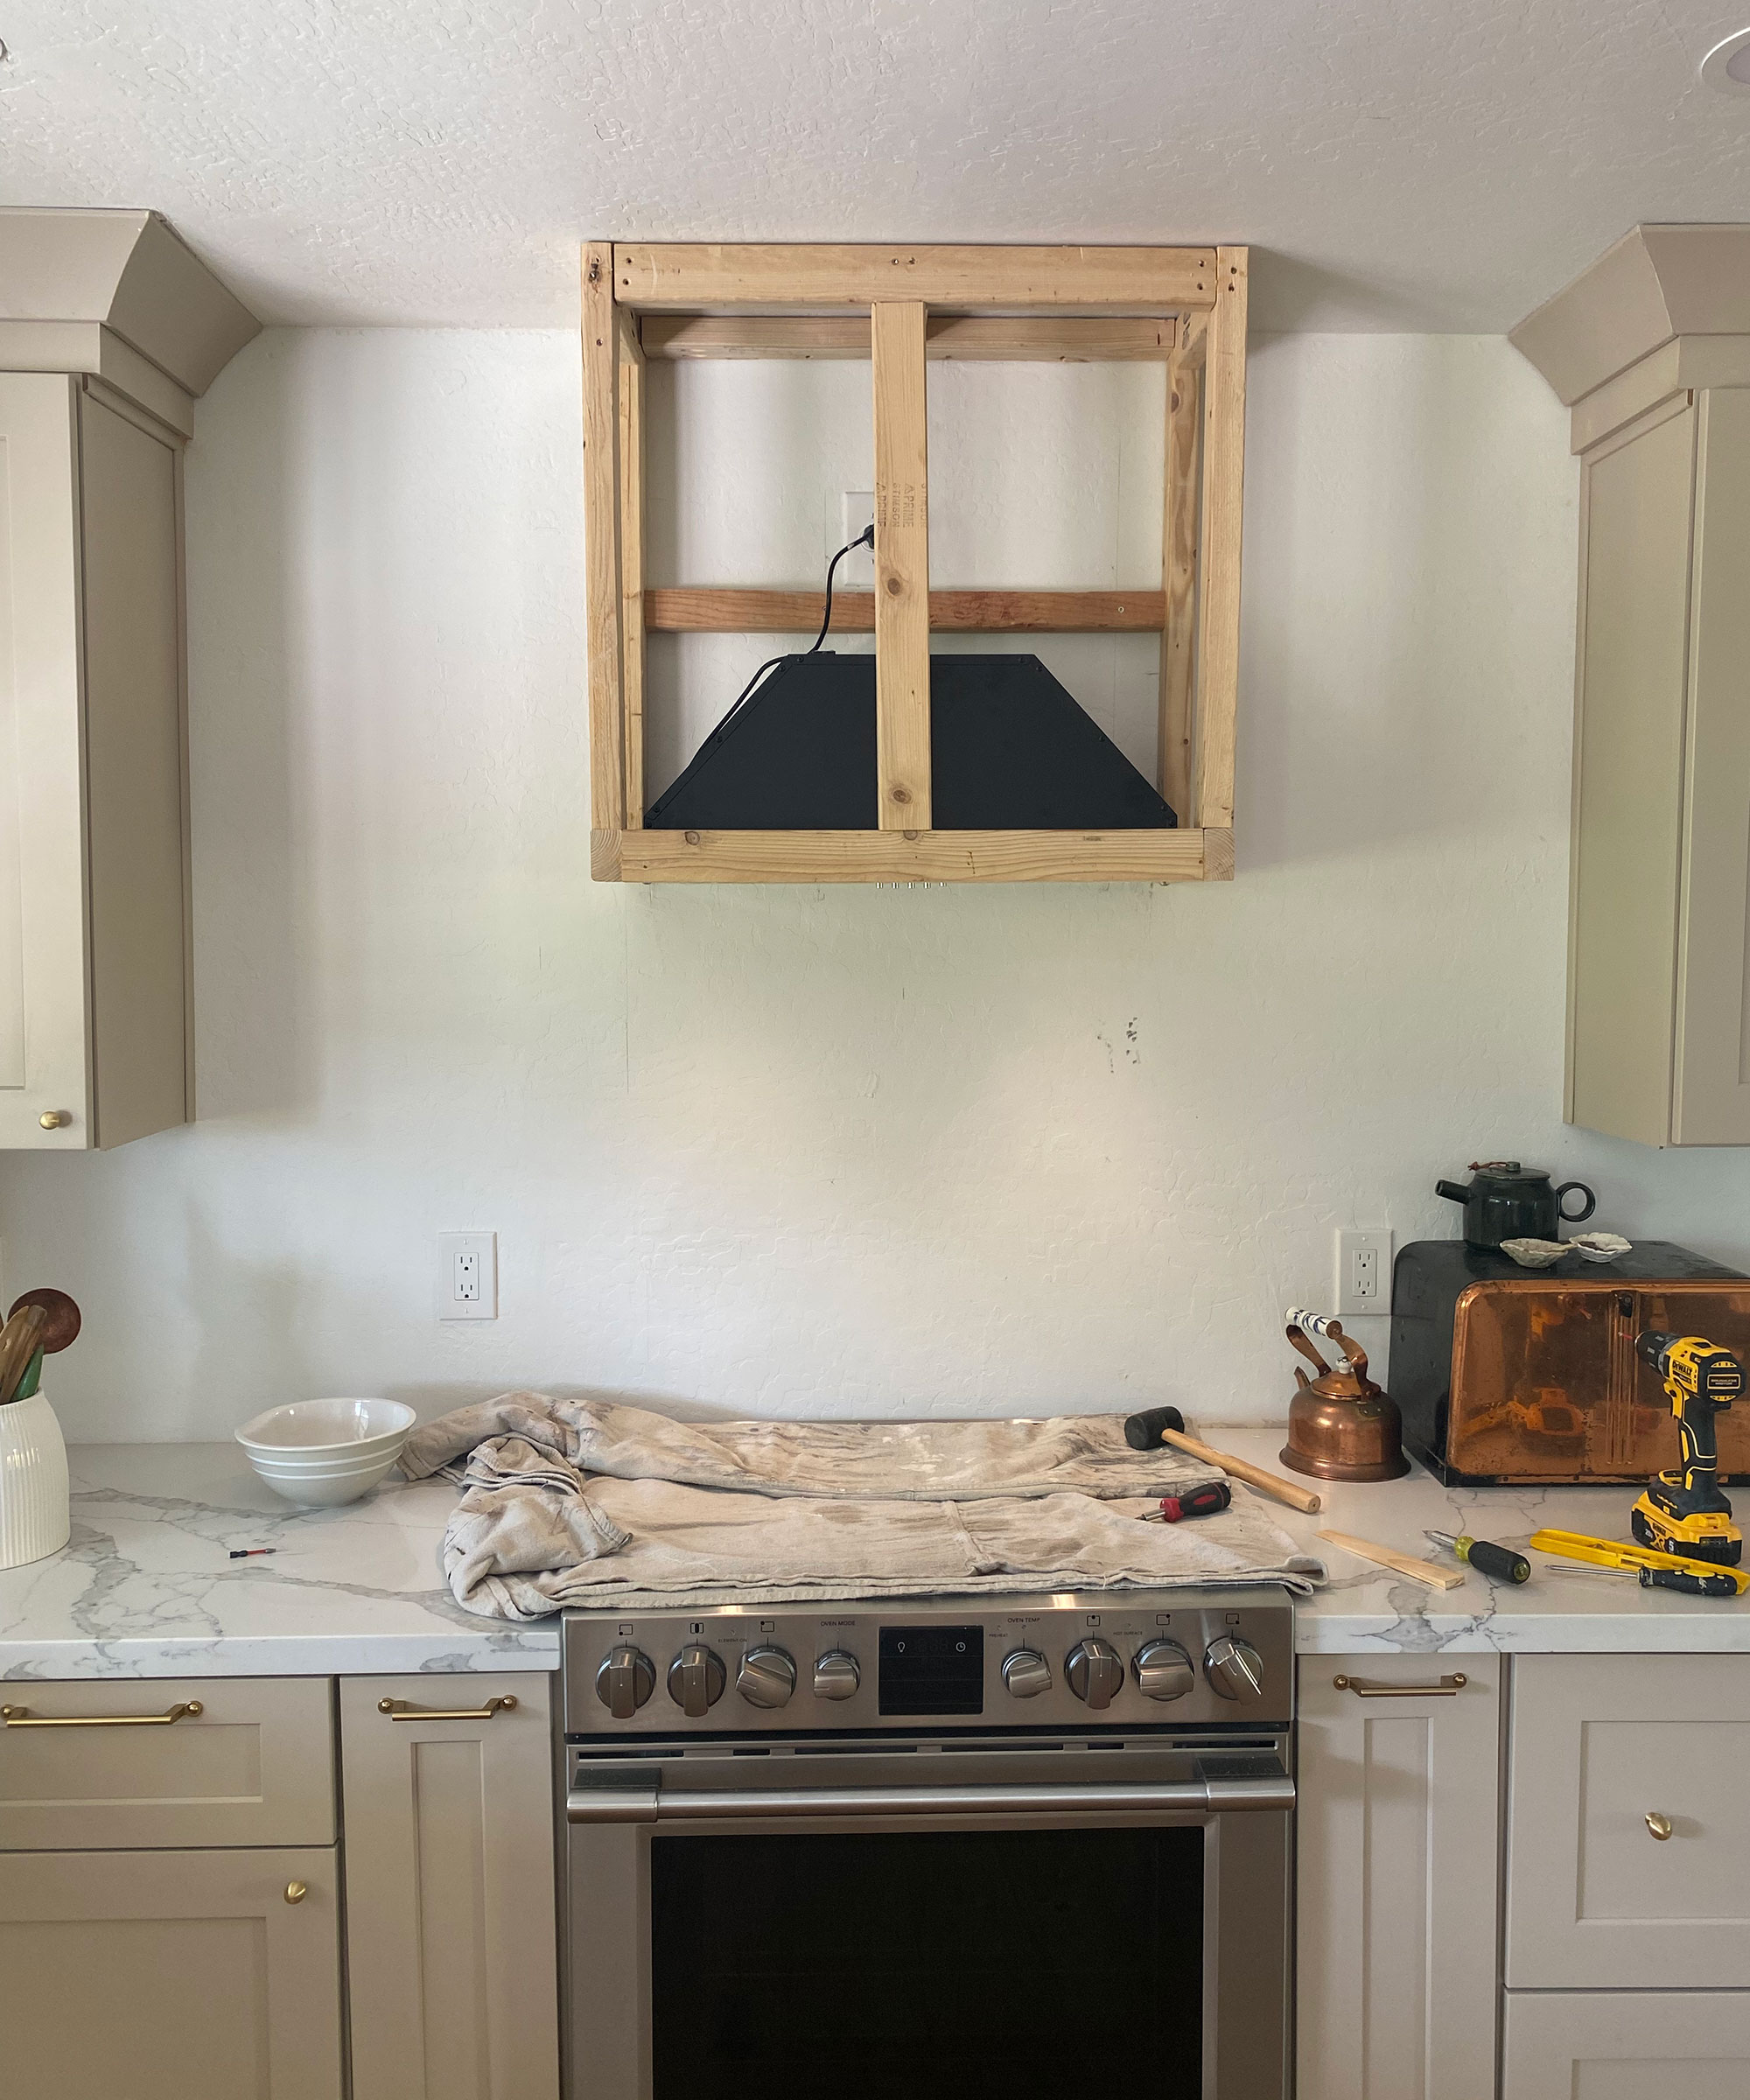
I measured the halfway point in our rangetop and placed the frame for the hood exactly in the center of that on the wall so it would be pleasing to the eye. I considered the distance from the hood to the cooking surface before I built the frame. The recommendation is 24-30” of clearance. Our hood is hung 30” from the cooktop.
Constructing the range hood cover
There are plenty of ways to go about covering your range hood from plaster to tile, to wood. We wanted a rustic farmhouse vibe so we went with tongue-and-groove pine boards.
I cut the boards to size to wrap around the hood using my brad nailer – the Ryobi One+ 18 Volt Cordless AirStrike 18-Gauge Brad Nailer is a good choice, you should see the Real Homes review!
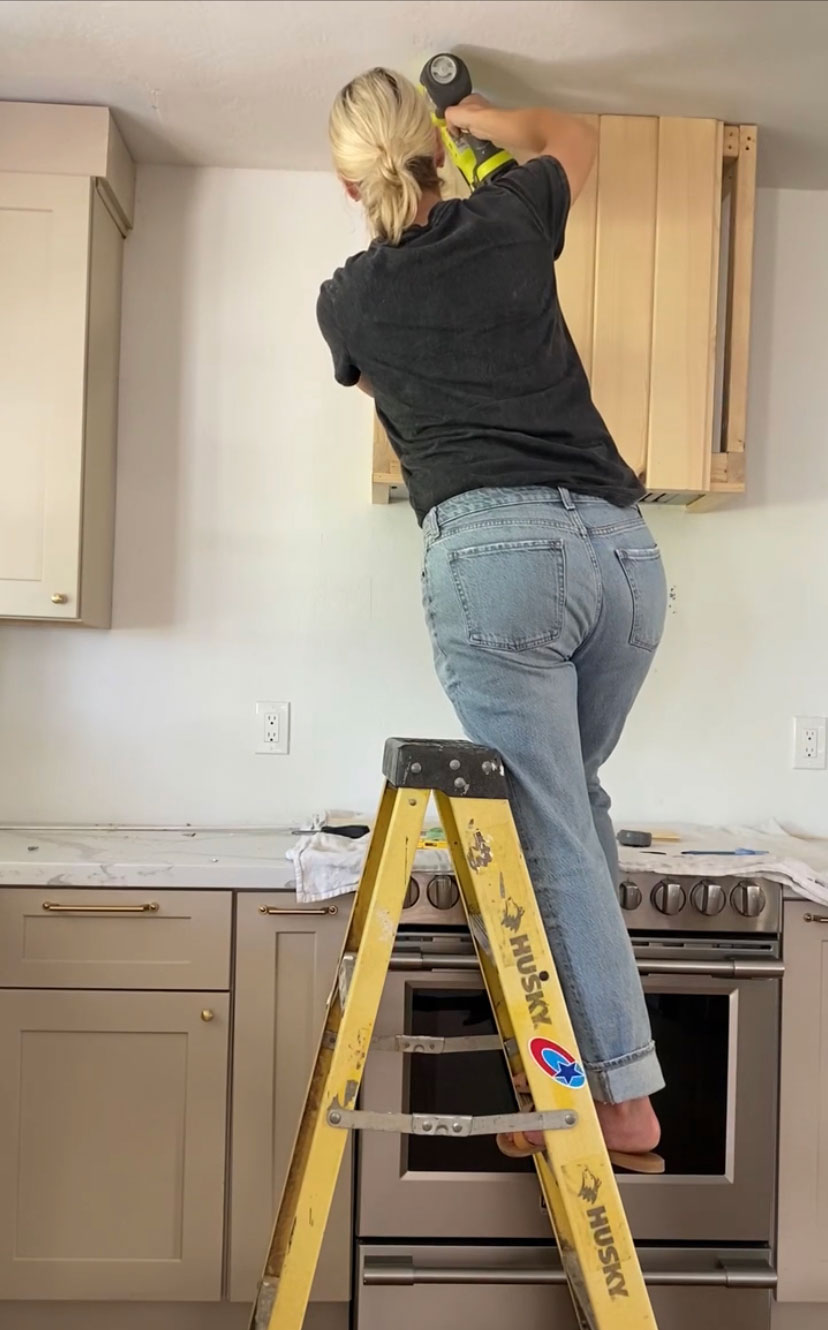
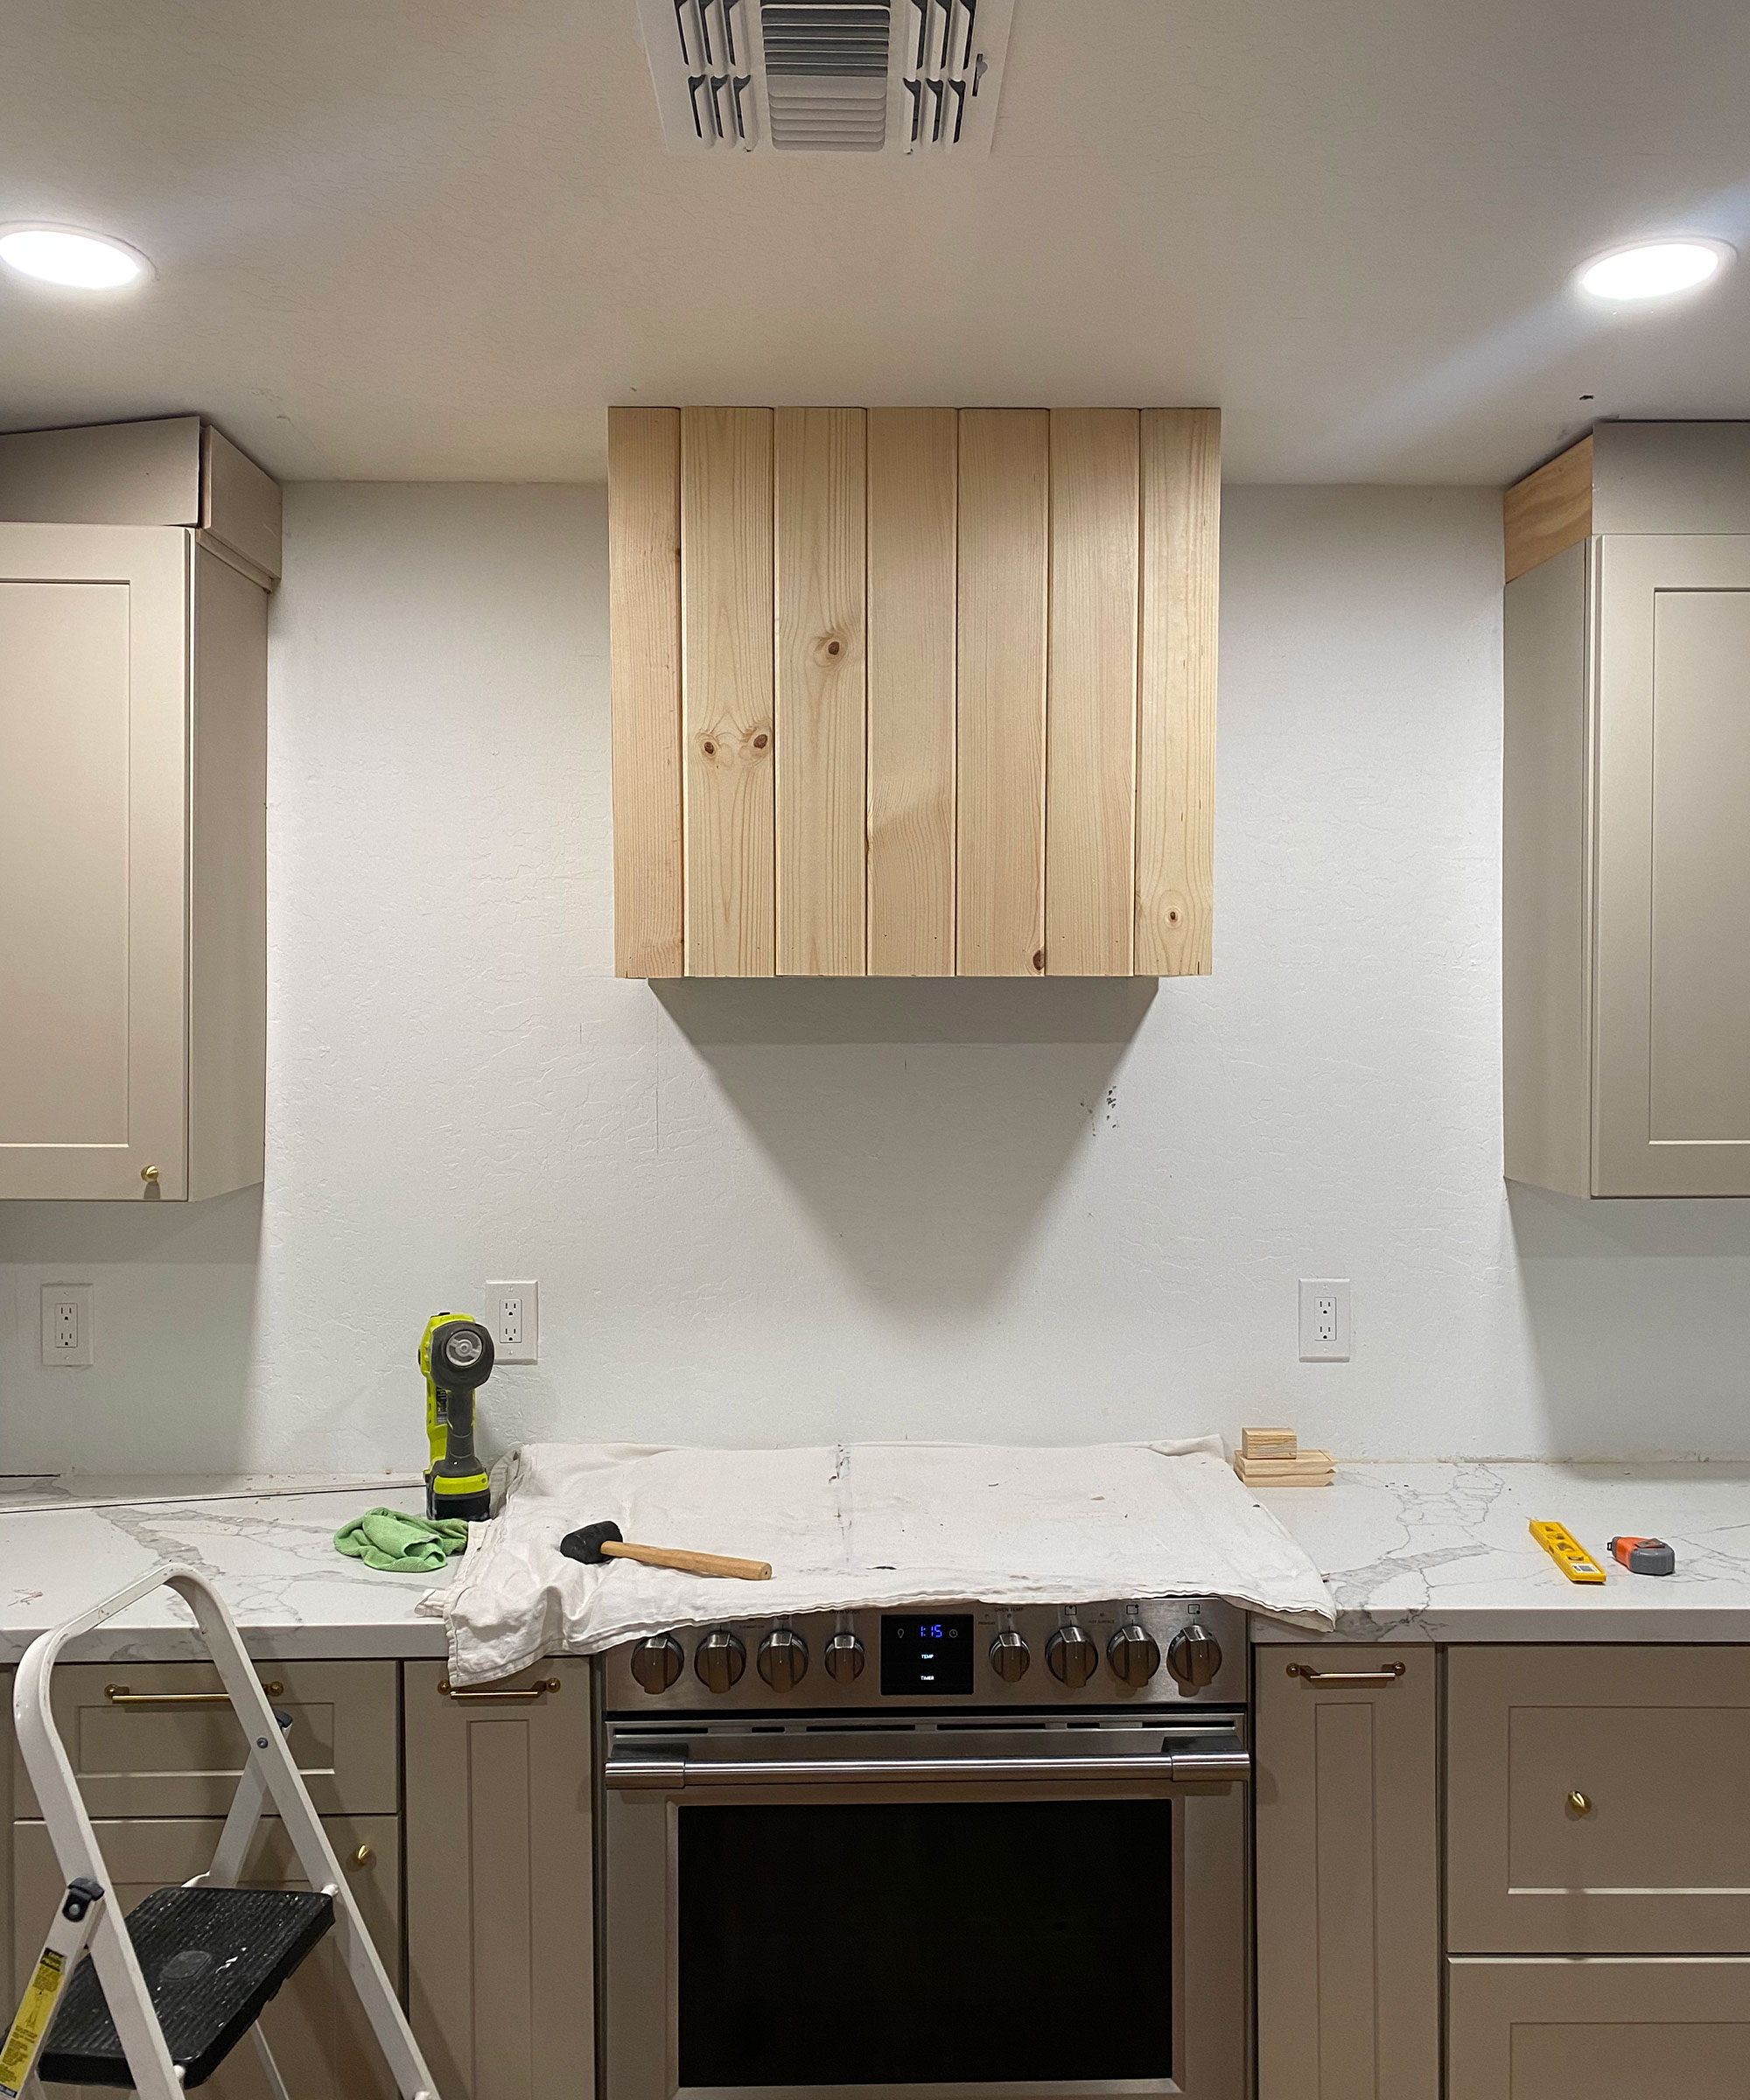
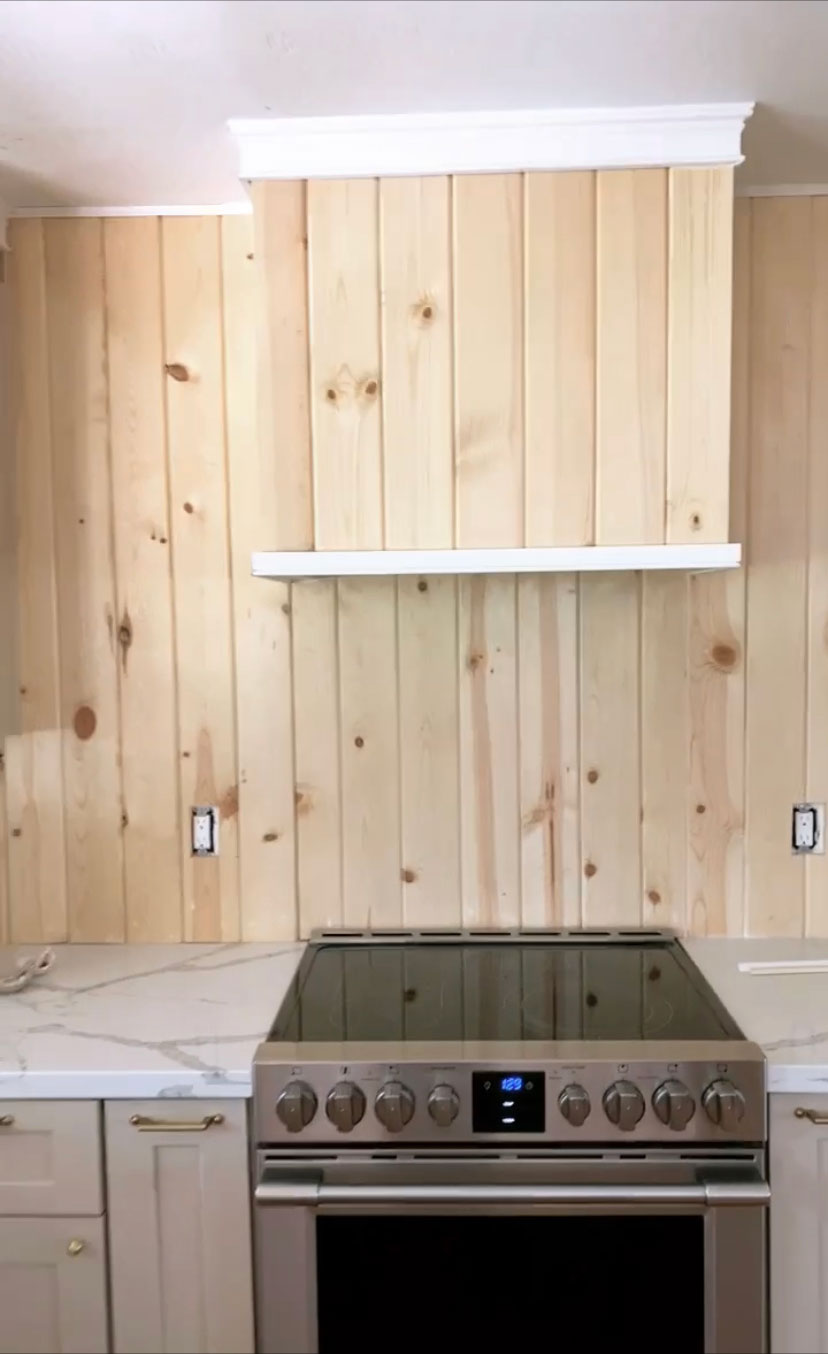
I started in the exact center with my first board and worked my way out, checking to make sure they were level before nailing to the frame. For the corners, I ran the 2 cut board through my table saw at a 45 degree angle so the corner would have a seamless mitered edge.
Working on the backsplash
When the hood was paneled I began working on the backsplash using the same material as the hood. I started the first board on the wall lined up with the board on the hood. Using construction adhesive and brad nails I nailed into the wall behind the cooktop. These tongue-and-groove boards are what I used as paneling for my backsplash on two kitchen walls as well.
Installing the trim
When the paneling was complete, I installed the trim on the hood range. I used a 1-¼” brick molding to trim the bottom of the range hood and this 4” molding for the top. I continued with the same molding at the top of the hood and ran it throughout the kitchen cabinets as well.
The last thing I wanted to add was a shaker peg shelf on each side of the hood to go between the cabinets. I made these using scrap wood I had in my garage. I used 1x4 and 1x3 mdf cut to size, as well as two corbels.
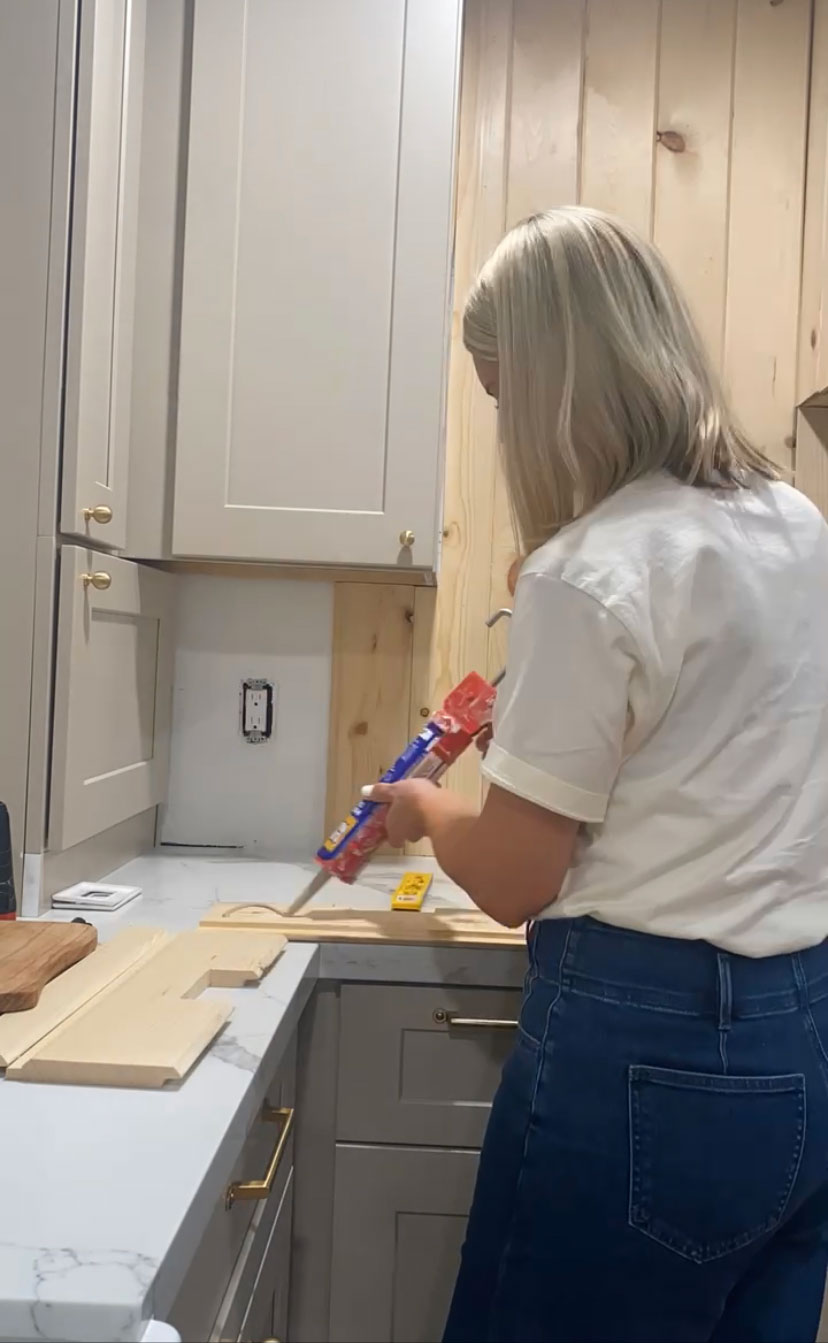
I glued these together and set them in my pipe clamps overnight to dry. I then hung them between the hood and cabinet on both sides and installed three shaker pegs to each shelf. I caulked every last edge and seam on this backsplash and trim on the range hood in preparation for paint.
Painting your hood cover

The final thing to do is paint! I applied a coat of primer to the raw wood panels on the hood and the backsplash and then used Sherwin Williams trim enamel paint in the color Aesthetic White on the backsplash. The range hood was painted the same color as the cabinets, Shiitake by Sherwin Williams.
The final results
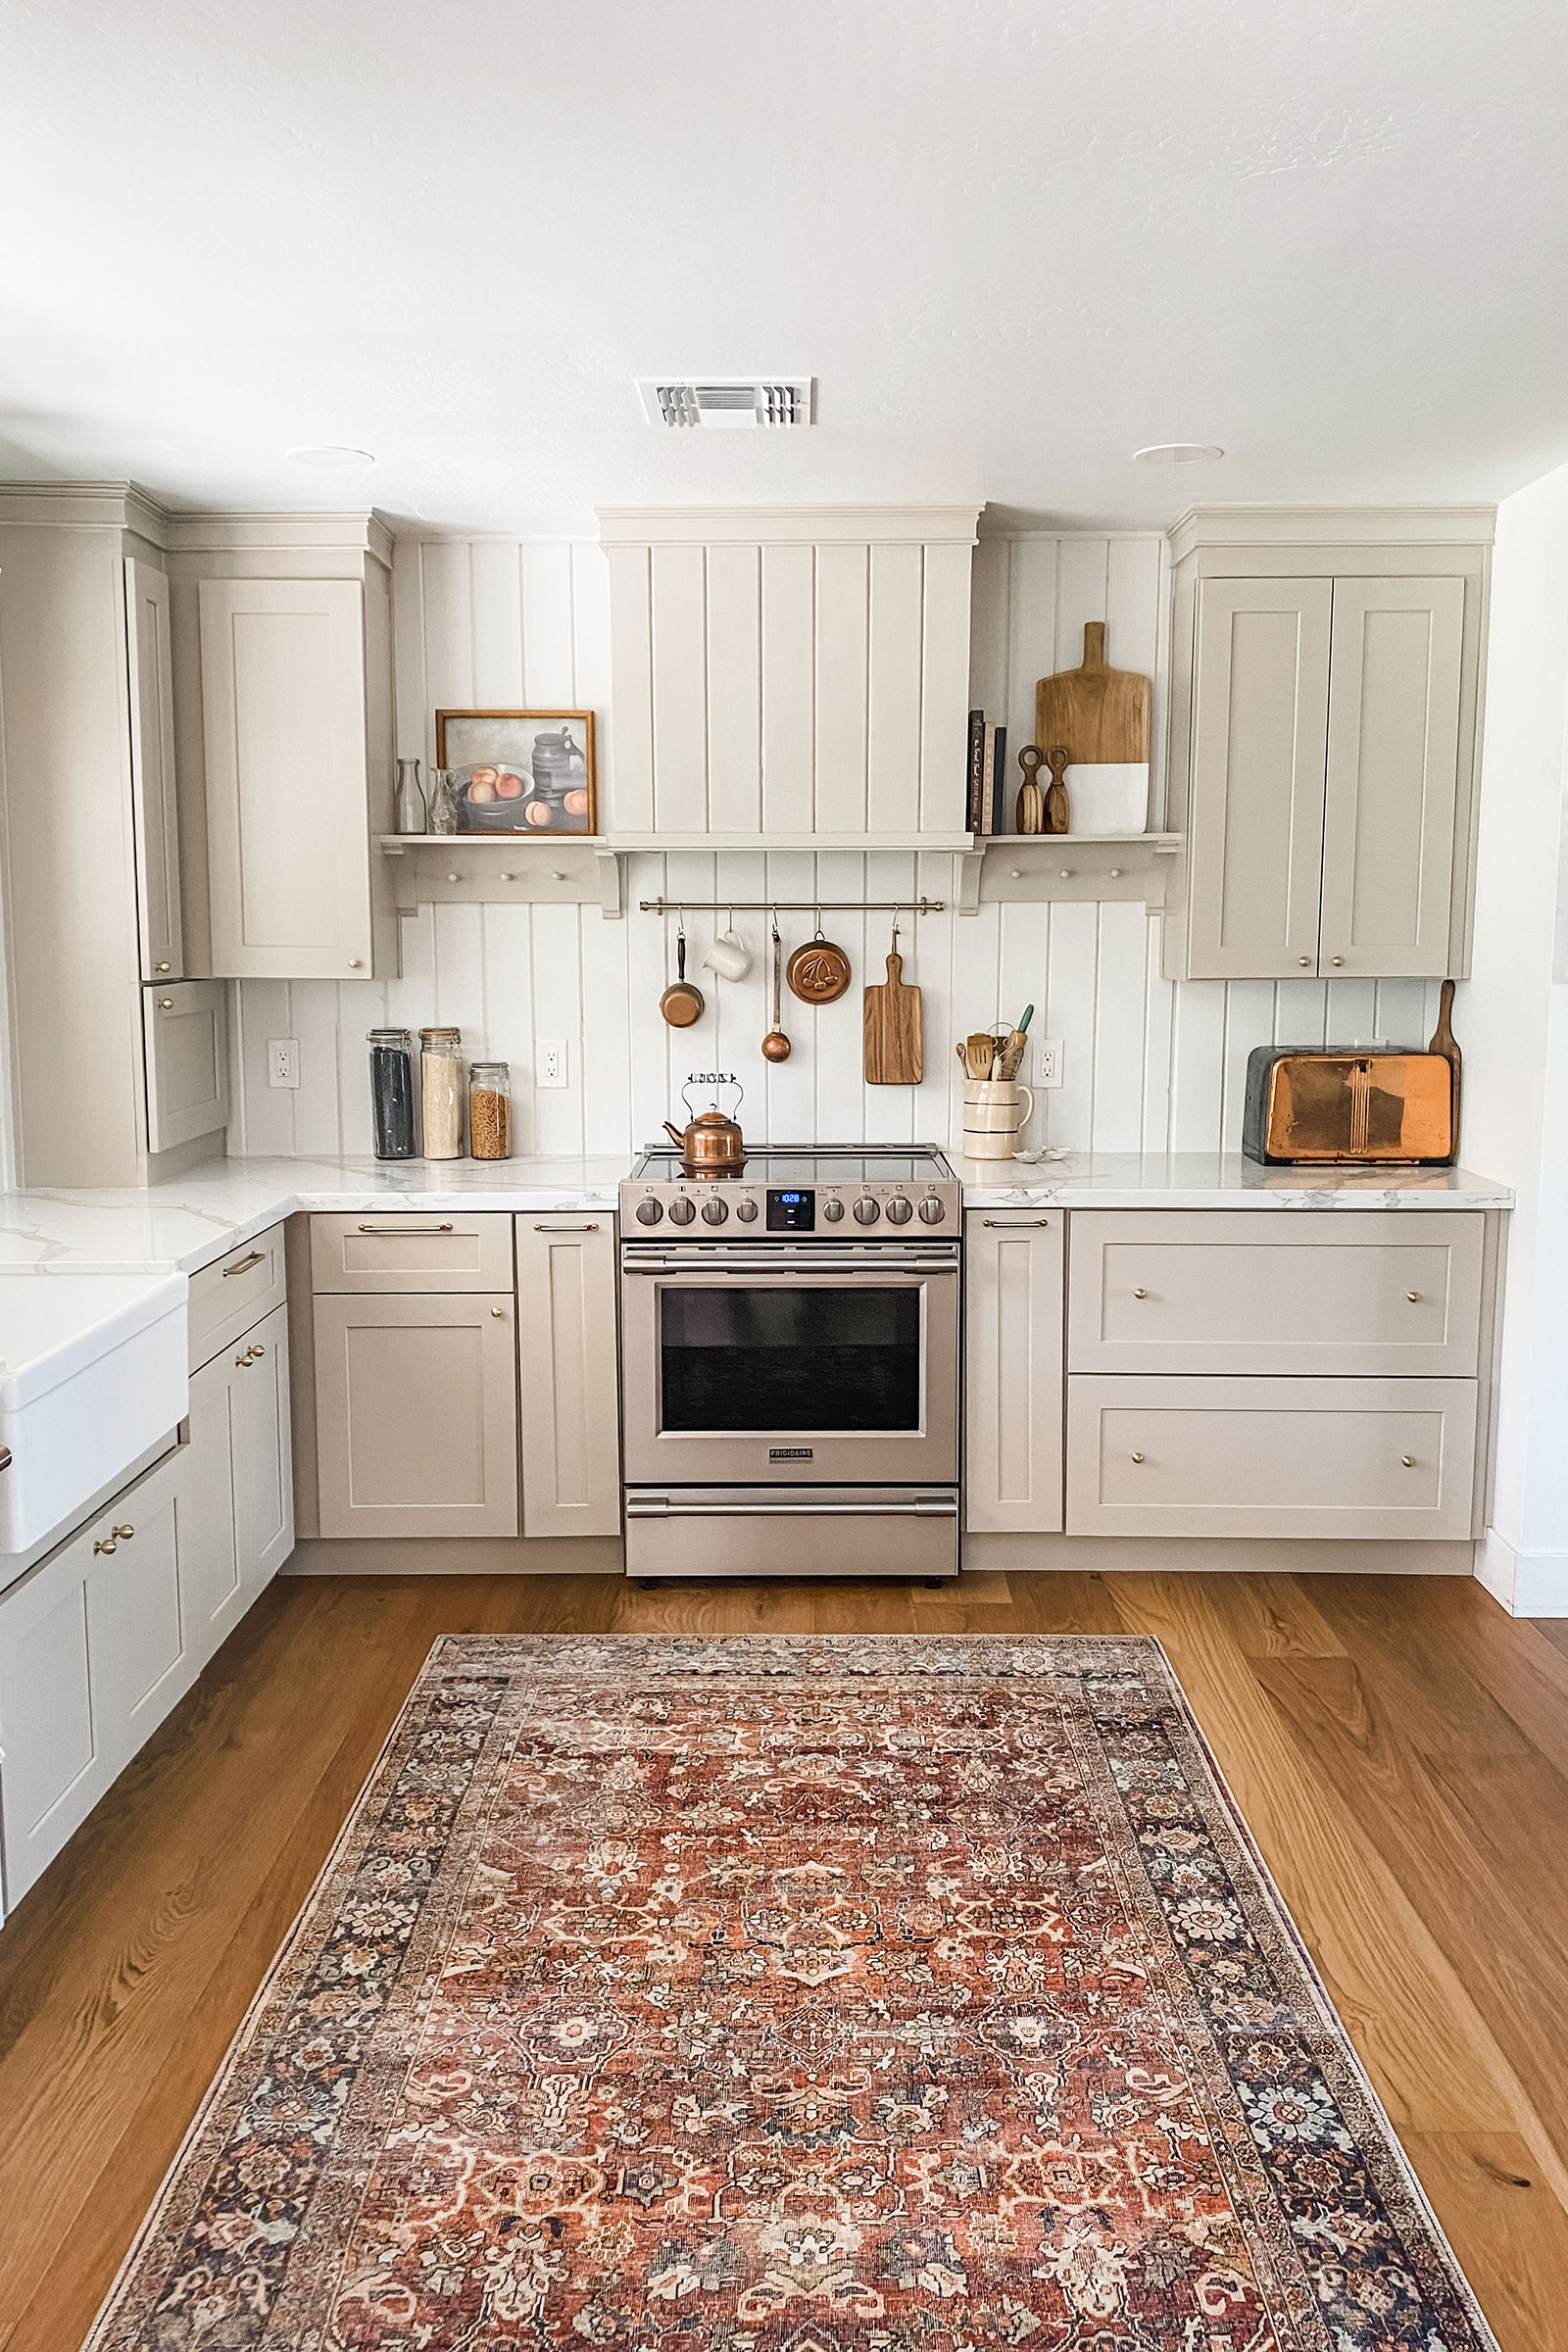
I love how this project turned out! I couldn’t be happier with our now complete and cozy farmhouse kitchen.
Cost breakdown:
- Vent hood/filter $350
- 2x4 x3 $15
- t&g boards x25 $250
- Liquid nails x2 $5
- Trim $118
- Corbels $38
- Pegs $10
- Caulk x2 $12
- Primer/paint $125
The total cost of this project for me came to $923 which isn't made for the beautiful results, if I do say so myself. And to buy and have a range hood like this installed by a store would cost well into the $1000s so it's a really worthwhile DIY project if you feel up to the challenge!
Join our newsletter
Get small space home decor ideas, celeb inspiration, DIY tips and more, straight to your inbox!
I'm a mom of three with a passion for interior design and DIY! I am currently renovating a farmhouse along with my husband and running an Airbnb in our hometown. I would define my style as loving clean lines with a good mixture of old and new. I love a modern cottage look and have been very interested in vintage pieces as of late. When I’m not spending time with my family or dreaming up another home project, I love to read, eat good food, and binge-watch crime shows on Netflix!
-
 A $200 fluted panel transformed my drab kitchen in just one weekend
How to install a fluted kitchen panel: A speedy and achievable DIY tutorial even for DIY novices
By Claire Douglas Published
-
 My first apartment makeover: 5 renovation mistakes I learned the hard way, and how you can avoid them
These are 5 things to avoid in your apartment makeover. Trust me, I learned these the hard way during my first renovation project
By Luisa Rossi Published
-
 How to replace a broken staircase spindle in 30 minutes flat
A missing or broken spindle on a staircase is not only unsightly, but it can be a real hazard. This is how to fix it in a few quick steps.
By Kate Sandhu Published
-
 An IKEA Billy bookcase hack inspired this cute media wall DIY
This cute DIY was inspired by an IKEA Billy bookcase hack and brought a ton of symmetry to an otherwise basic media wall space.
By Camille Dubuis-Welch Published
-
 Share your small space glow up to win $150 in the Real Homes competition
Show off your creativity and DIY skills to win $150 and for the chance to be featured exclusively in Real Homes magazine
By Camille Dubuis-Welch Last updated
-
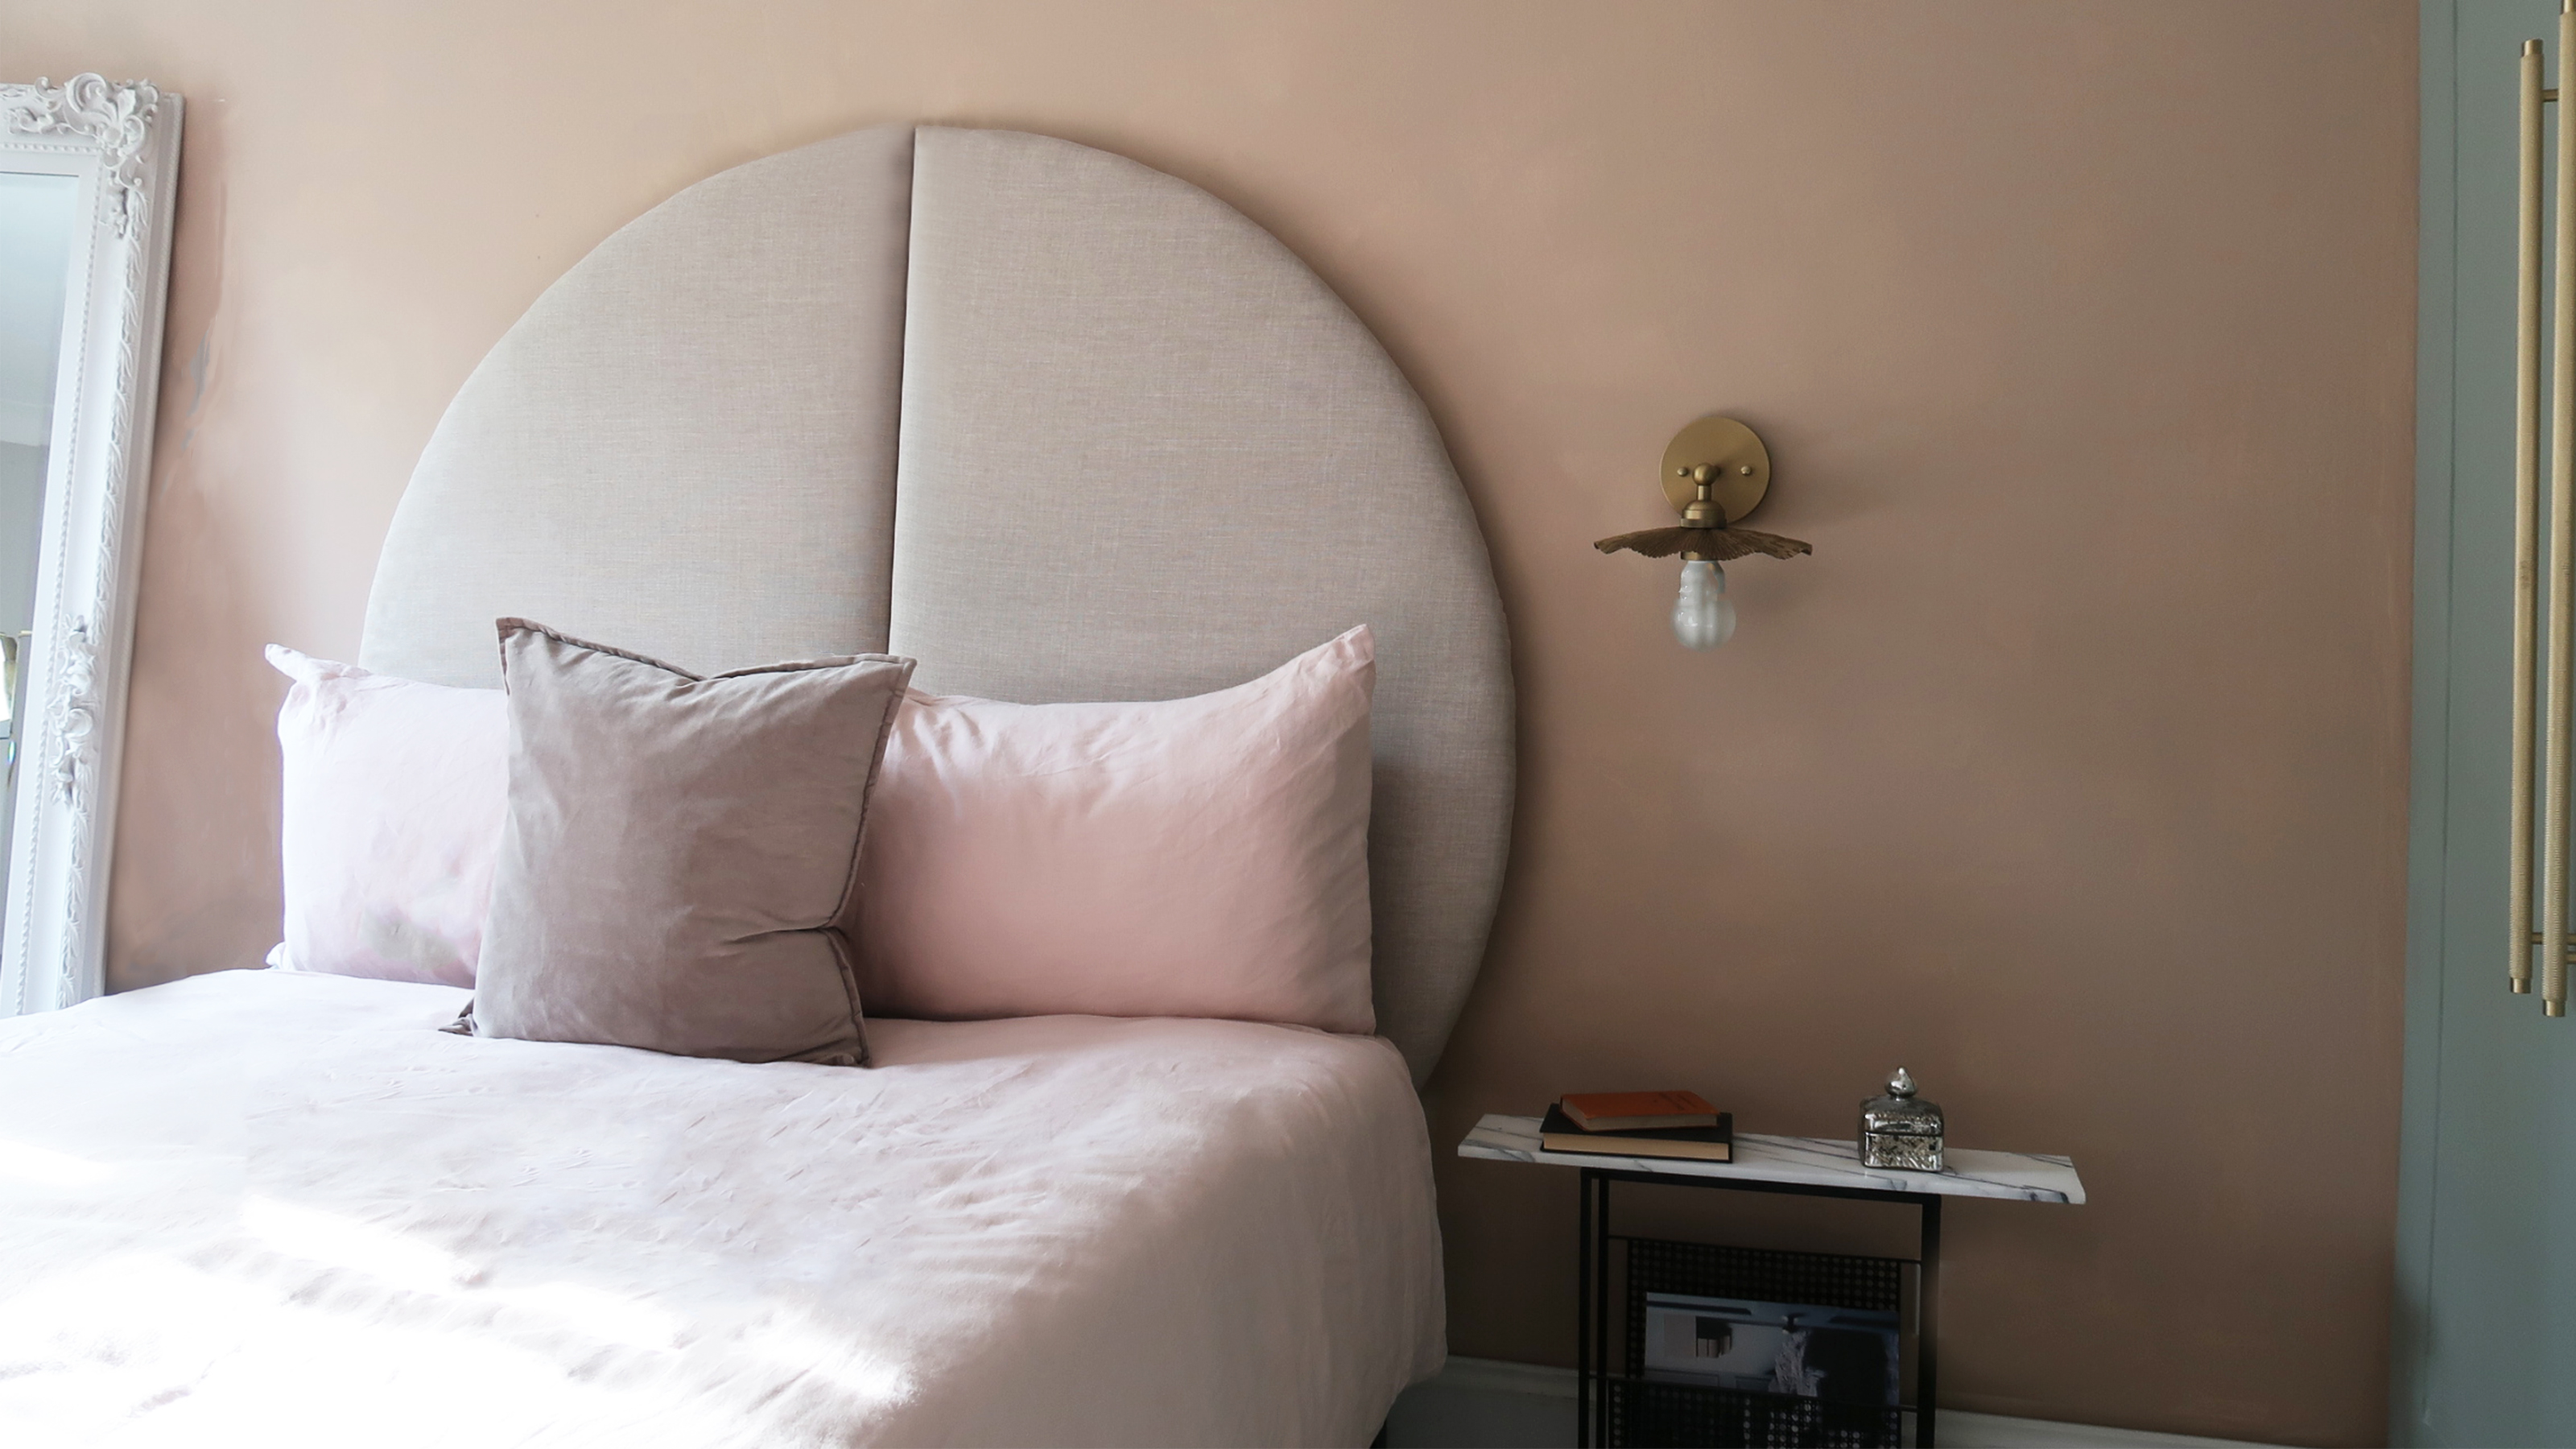 This oversized headboard looks designer, and takes 5 steps to DIY
Super simple to DIY, this oversized headboard will give your bedroom space all the designer vibes you could dream of.
By Claire Douglas Published
-
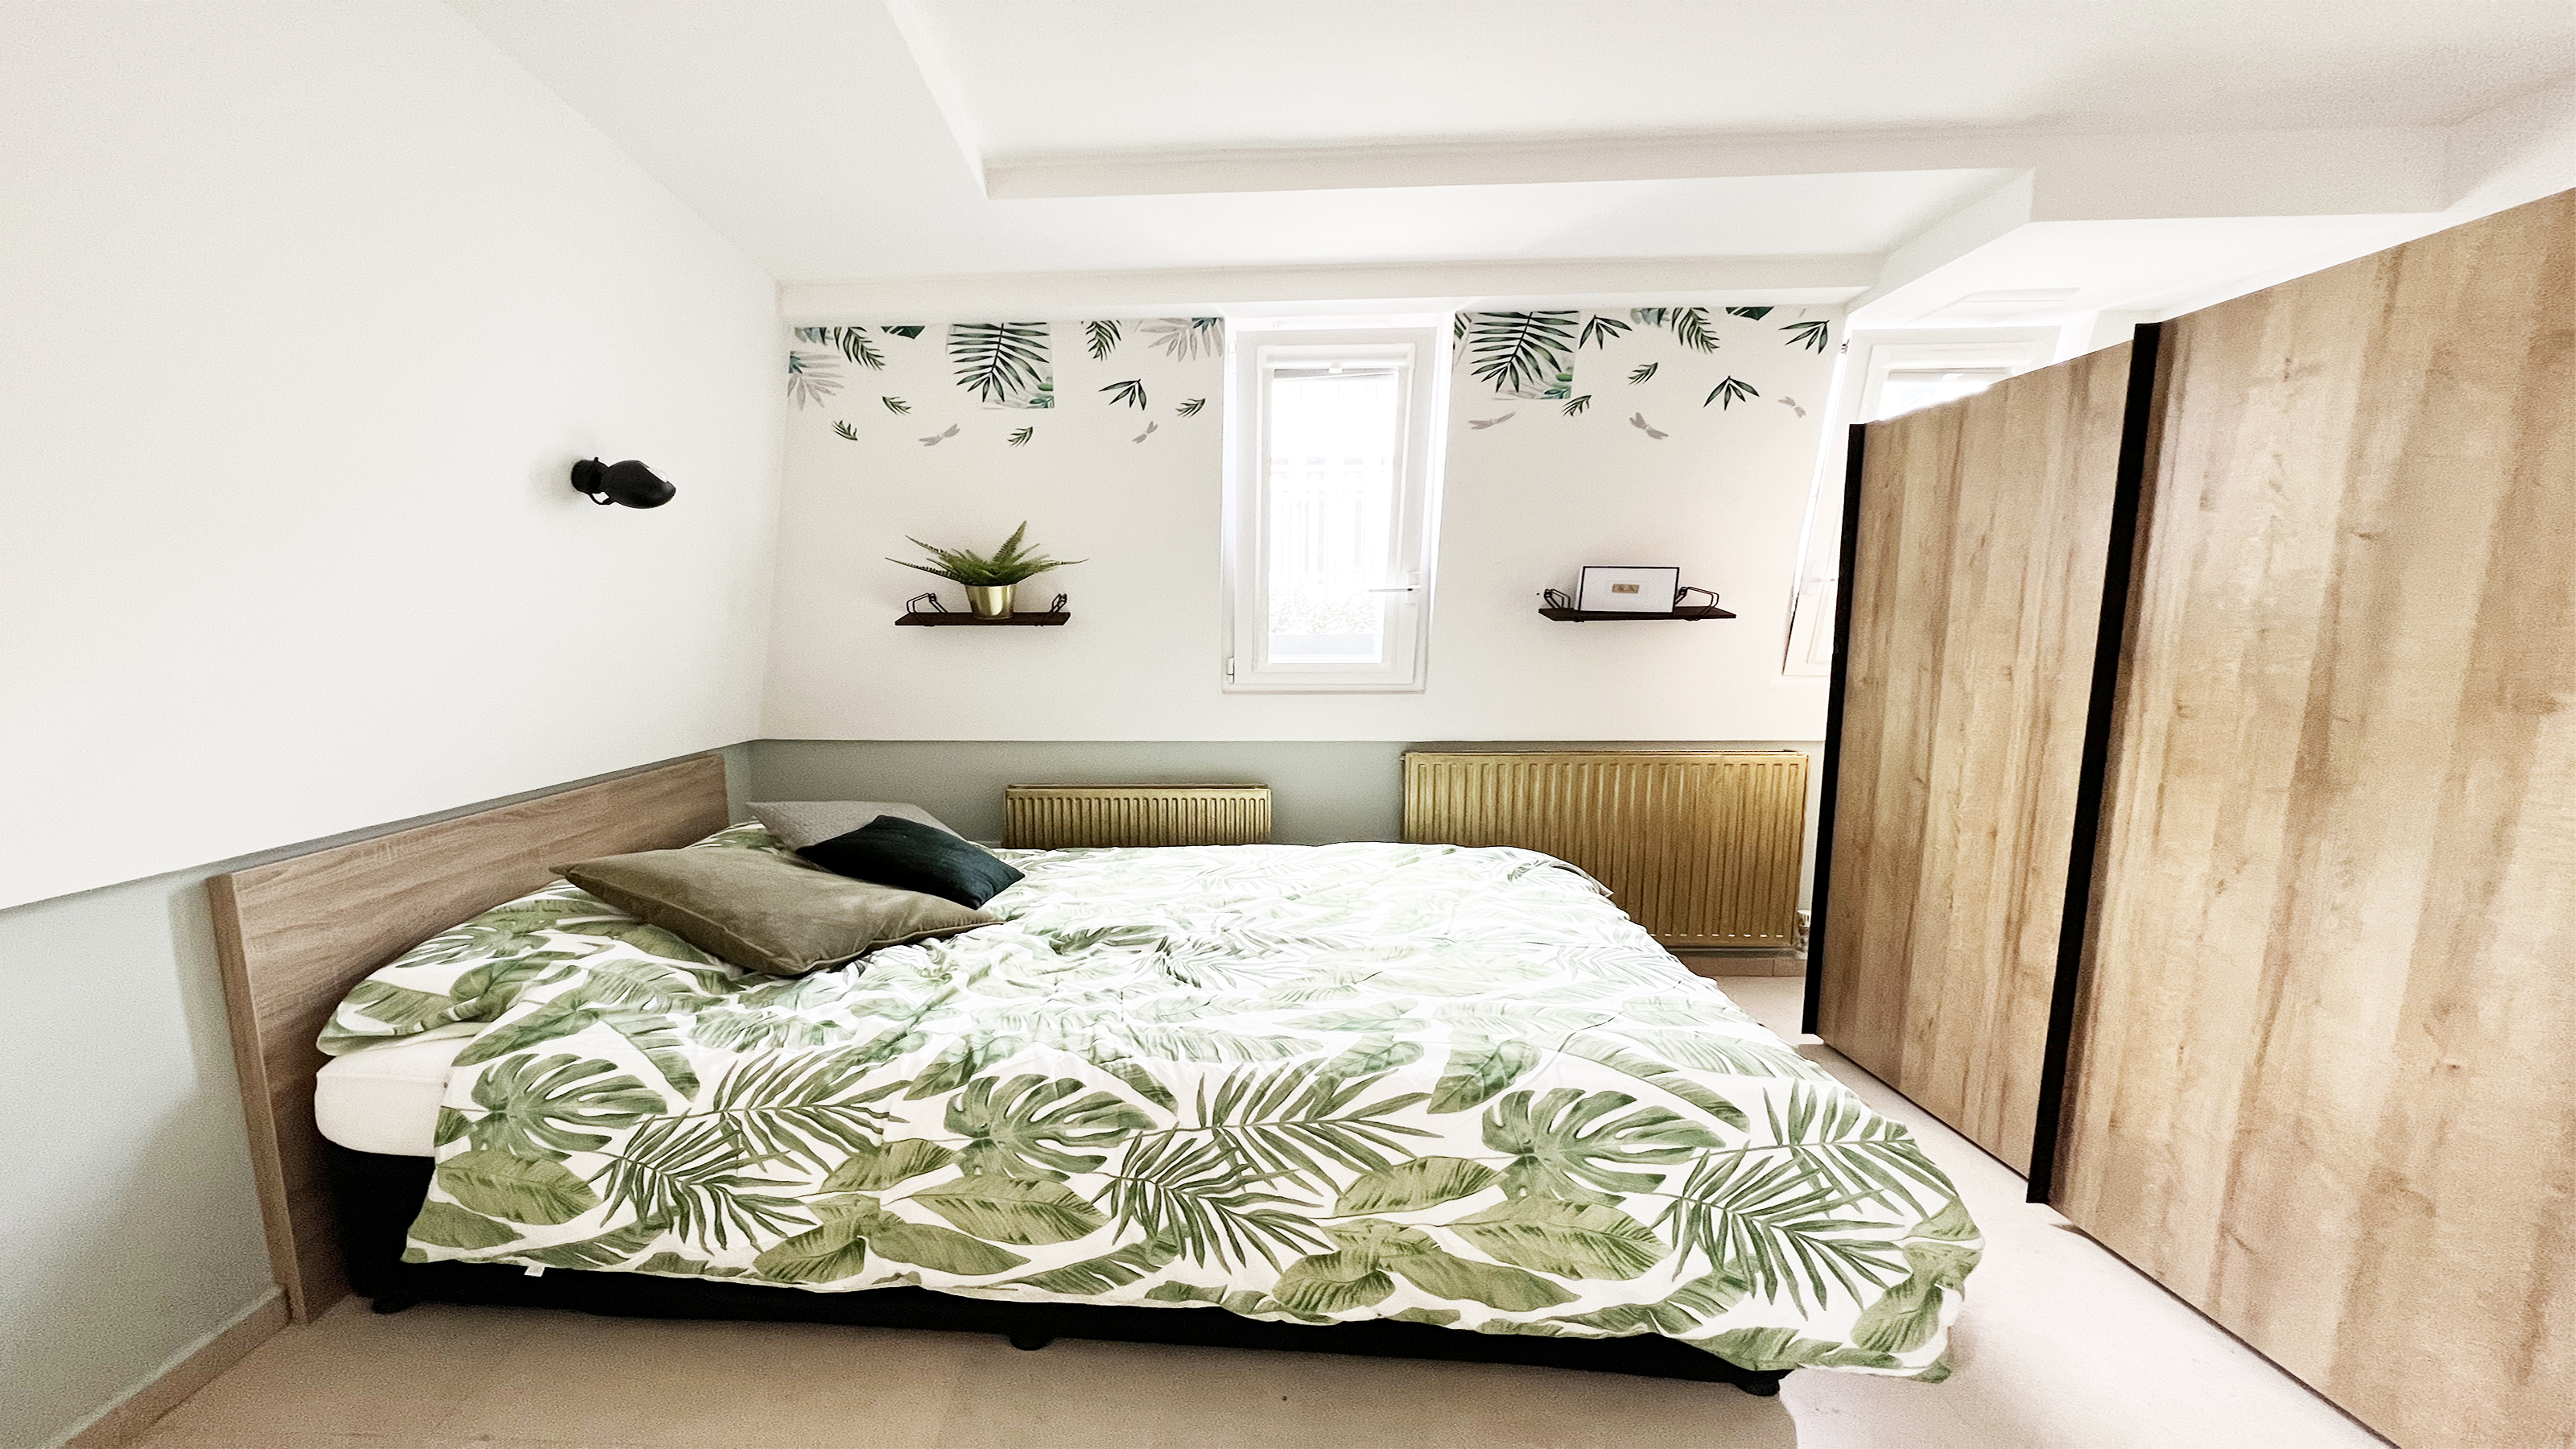 How to paint a radiator in 7 steps
Painting radiators properly is all about choosing the right paint and the best process. Get interior designer-worthy results with our how-to.
By Kate Sandhu Published
-
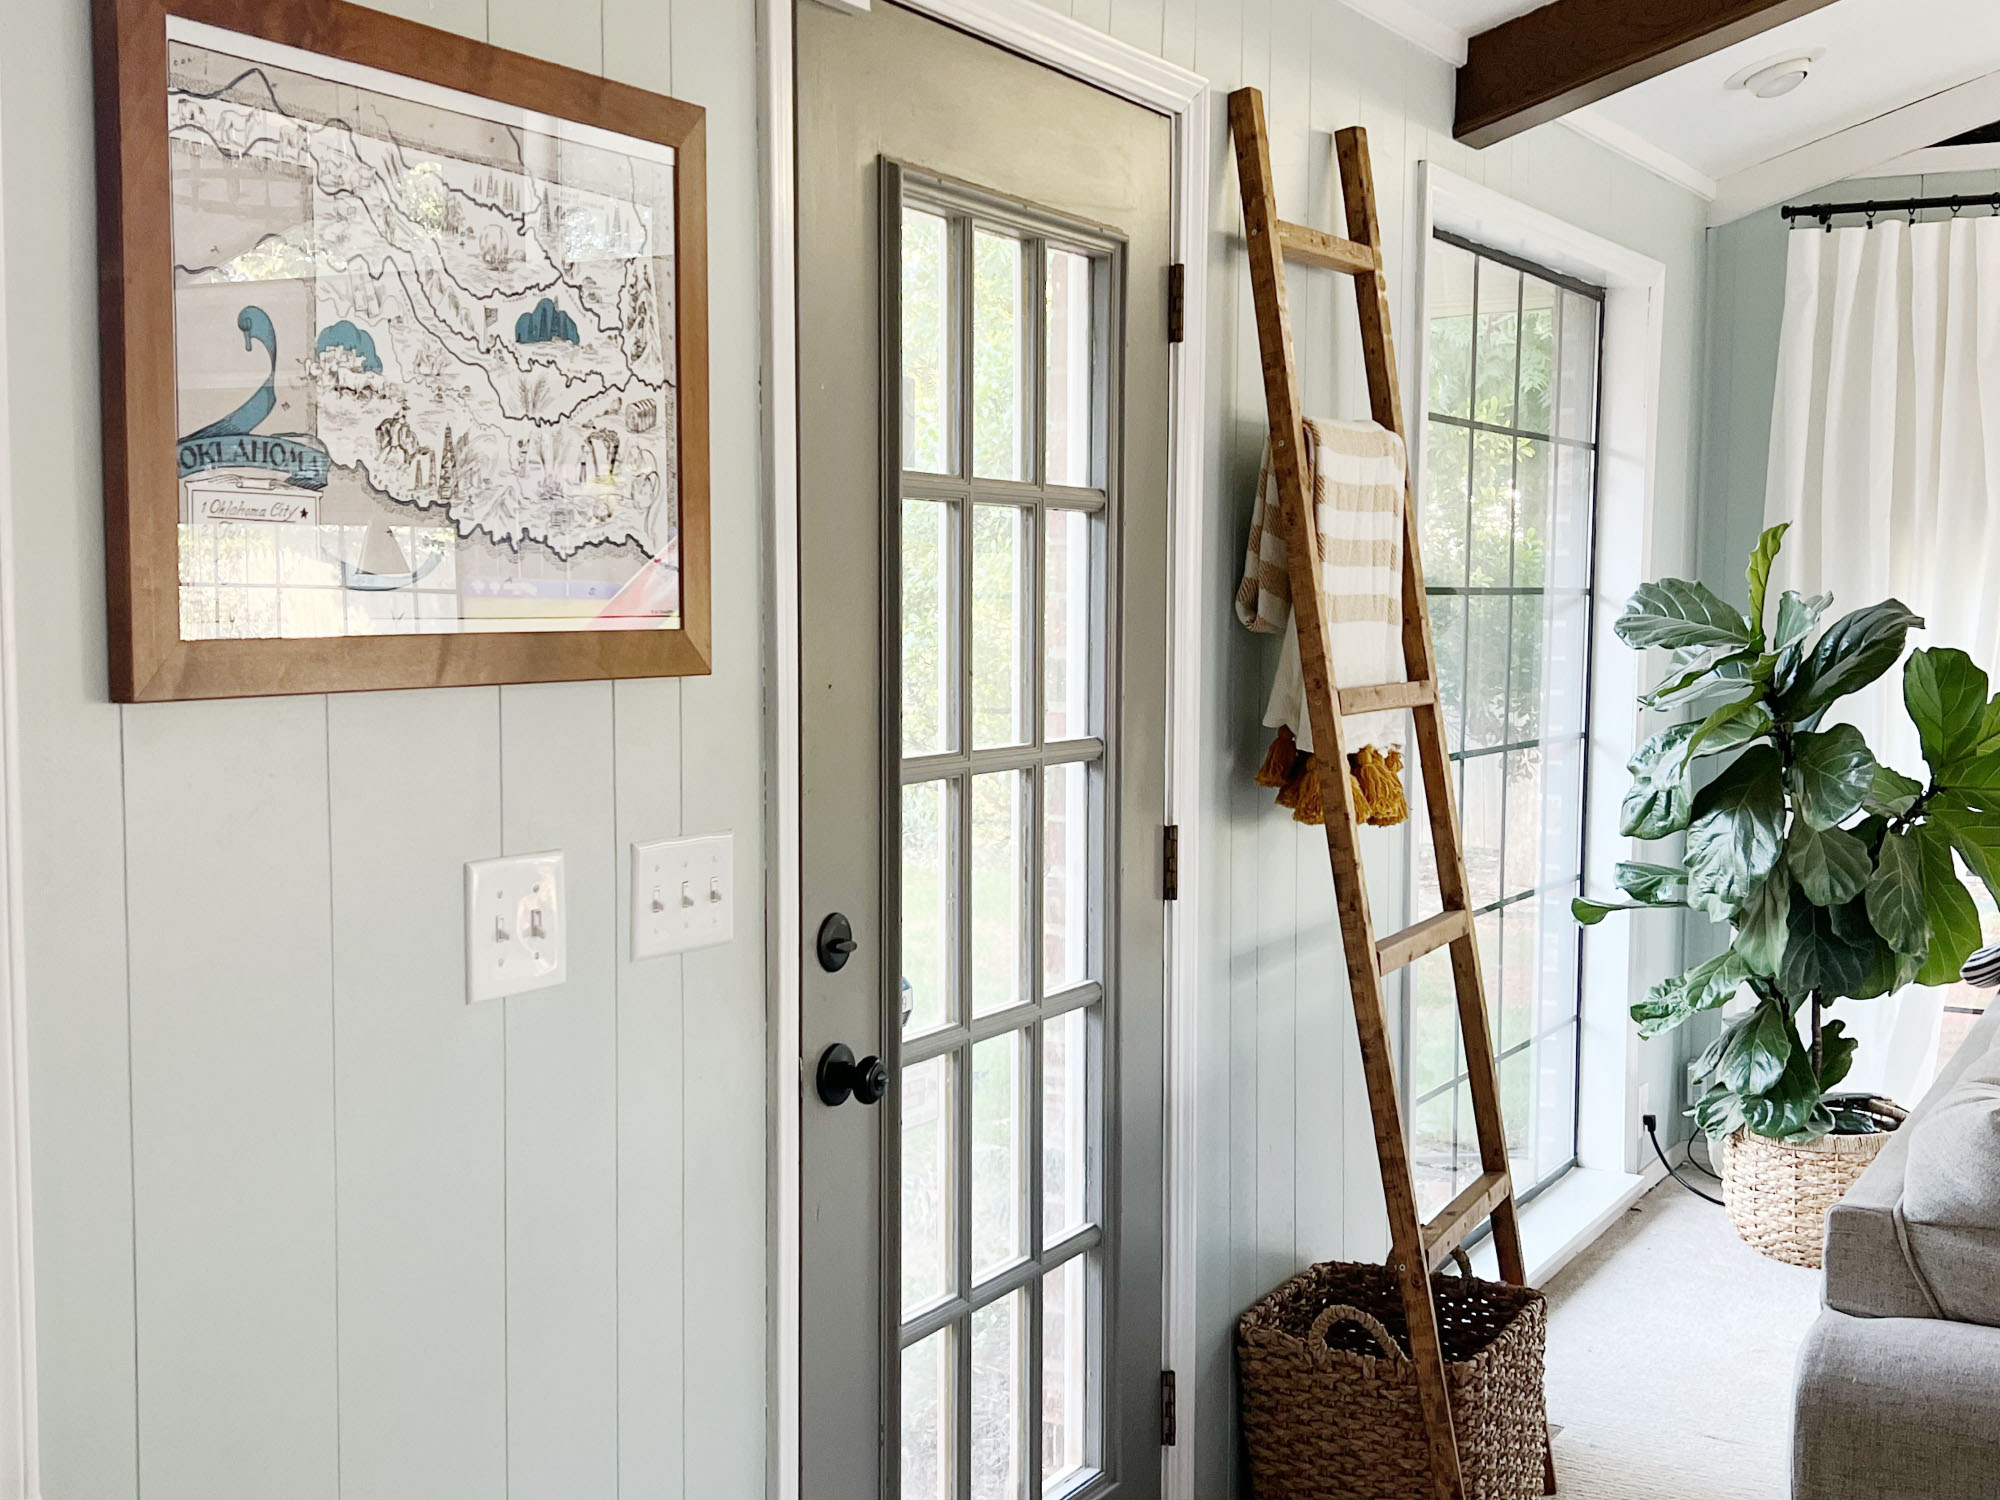 How to install a door knob
Updating your interior and exterior doors can be as easy as changing out the hardware! The best part is that installing a door knob is very DIY friendly. Follow these simple steps and enjoy a fresh look on your doors!
By Dori Turner Published