
Decking is a great British obsession. Homeowners want to make the most of their garden space from the unpredictable British weather and a decking is a great way to do that. More and more people are looking at alternatives to the low-cost, pressure-treated-softwood, grooved decking boards to create a more stylish edge. There are some alternatives out there including solid wood decking boards which give a high-quality finish, and newer composite and PVC boards that offer a low-maintenance approach. These alternative boards give a great finish, but come at a high cost.
So which should you choose?
Personally, I am not a fan of the traditional decking boards. The grooves can hold water and debris and requires a lot of maintenance. Trends within garden design for the last few years are leaning towards clean lines and shapes and which fits less with the traditional style boards, in my opinion. When it came to installing decking in my own garden I knew I wanted to try something different but the high cost of the solid wood and plastic alternatives meant they weren’t viable. This is when I decided to try another decking idea made from scaffolding boards.
Scaffolding boards are inexpensive softwood which can be easily bought anywhere. They are generally twice as wide than a traditional decking boards which to me is much more striking. After a little research I decided it was the way to go and this is how I did it.
Board selection
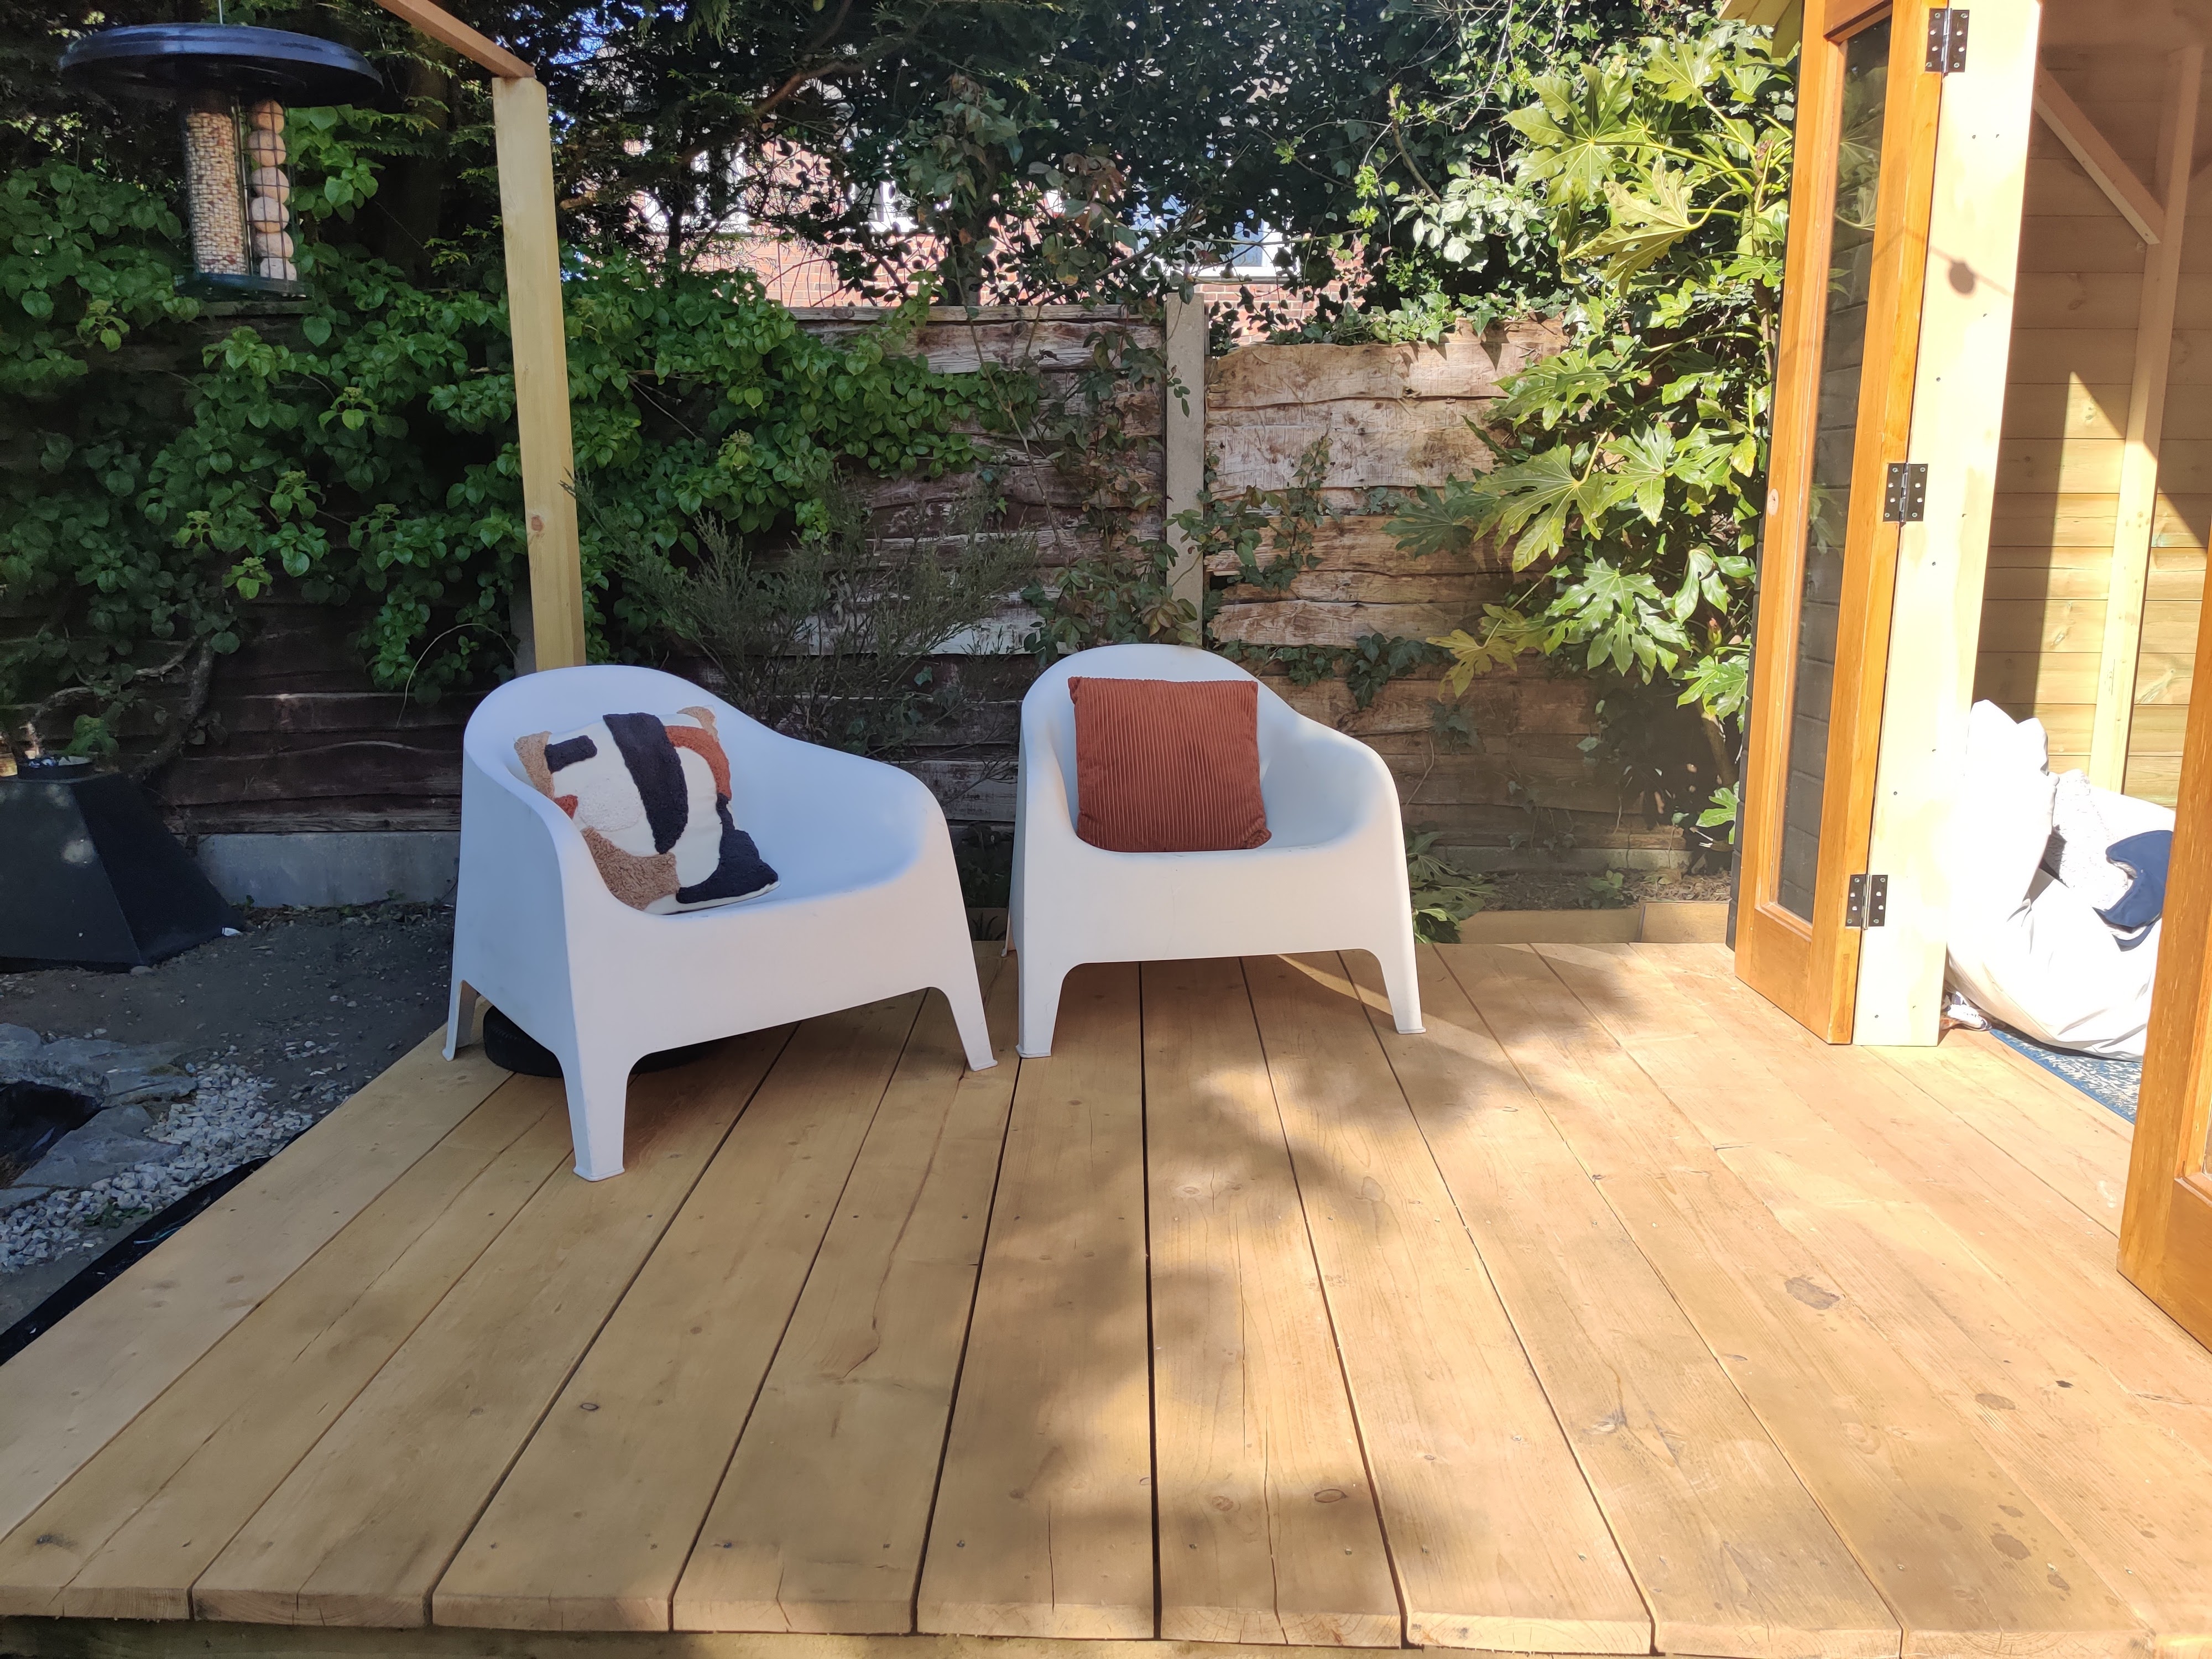
Scaffolding boards can be picked up easily at a local timber yard or online. You can purchase the boards untreated or treated dependent on what you want your finish to be like and budget. Treated timber is longer lasting for outdoor use but also tends to be darker in appearance. Untreated white wood is lighter in appearance but will not last long outdoor without some form of treatment. I decided to use untreated as it is lighter in appearance and I was willing to put in more labour at the end to treat the timber so it lasts longer outside myself. I also opted to use boards without the protective metal ends as aesthetically I believe this looks much better.
- Keep reading: 90 garden ideas to transform your outdoor space
Groundworks
When building decking you need you need to ensure the structure is built on a solid and level base. To do this I chose to cement posts into the ground which will support the frame of the decking. Luckily my garden is level so this made everything more straight forward. If your garden has a slope then you need to chose a base structure that will work with this.
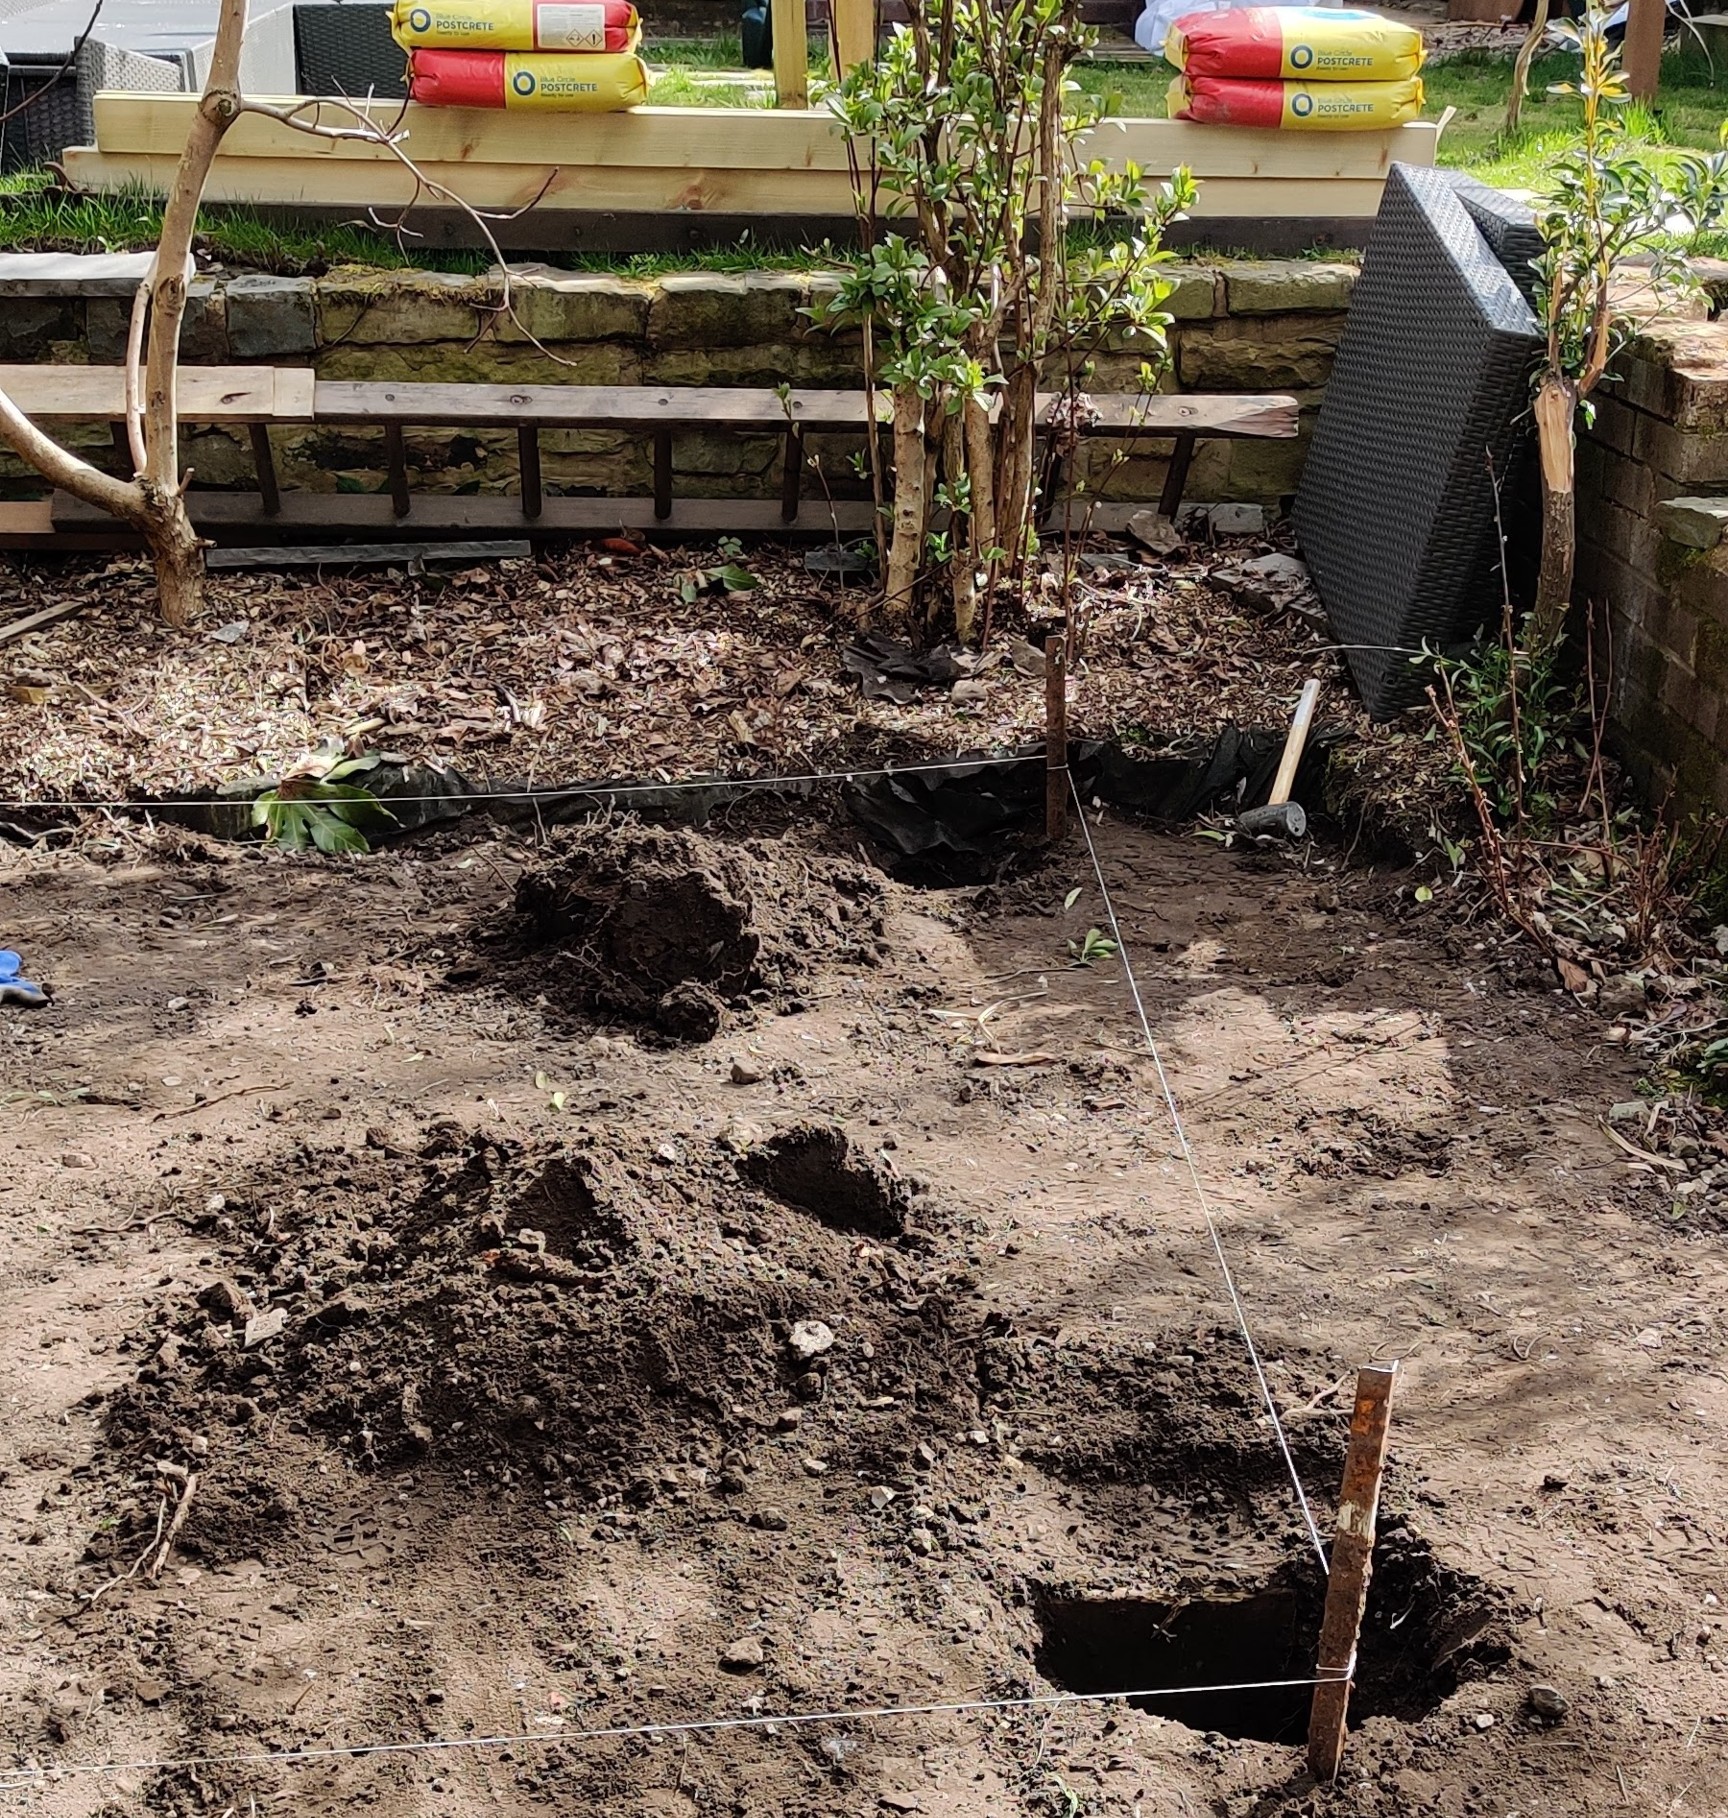
My decking area is 5 metres by 2.4 metres, half of which will eventually be covered by a summer house. I decided to use six 90x90mm pressure treated posts 2.4 metres long to be cemented into the ground. I dug holes 400mm deep which meant the posts would stick out 2 metres into the air. To make sure all the posts were in the correct position I used string and a builder's square.
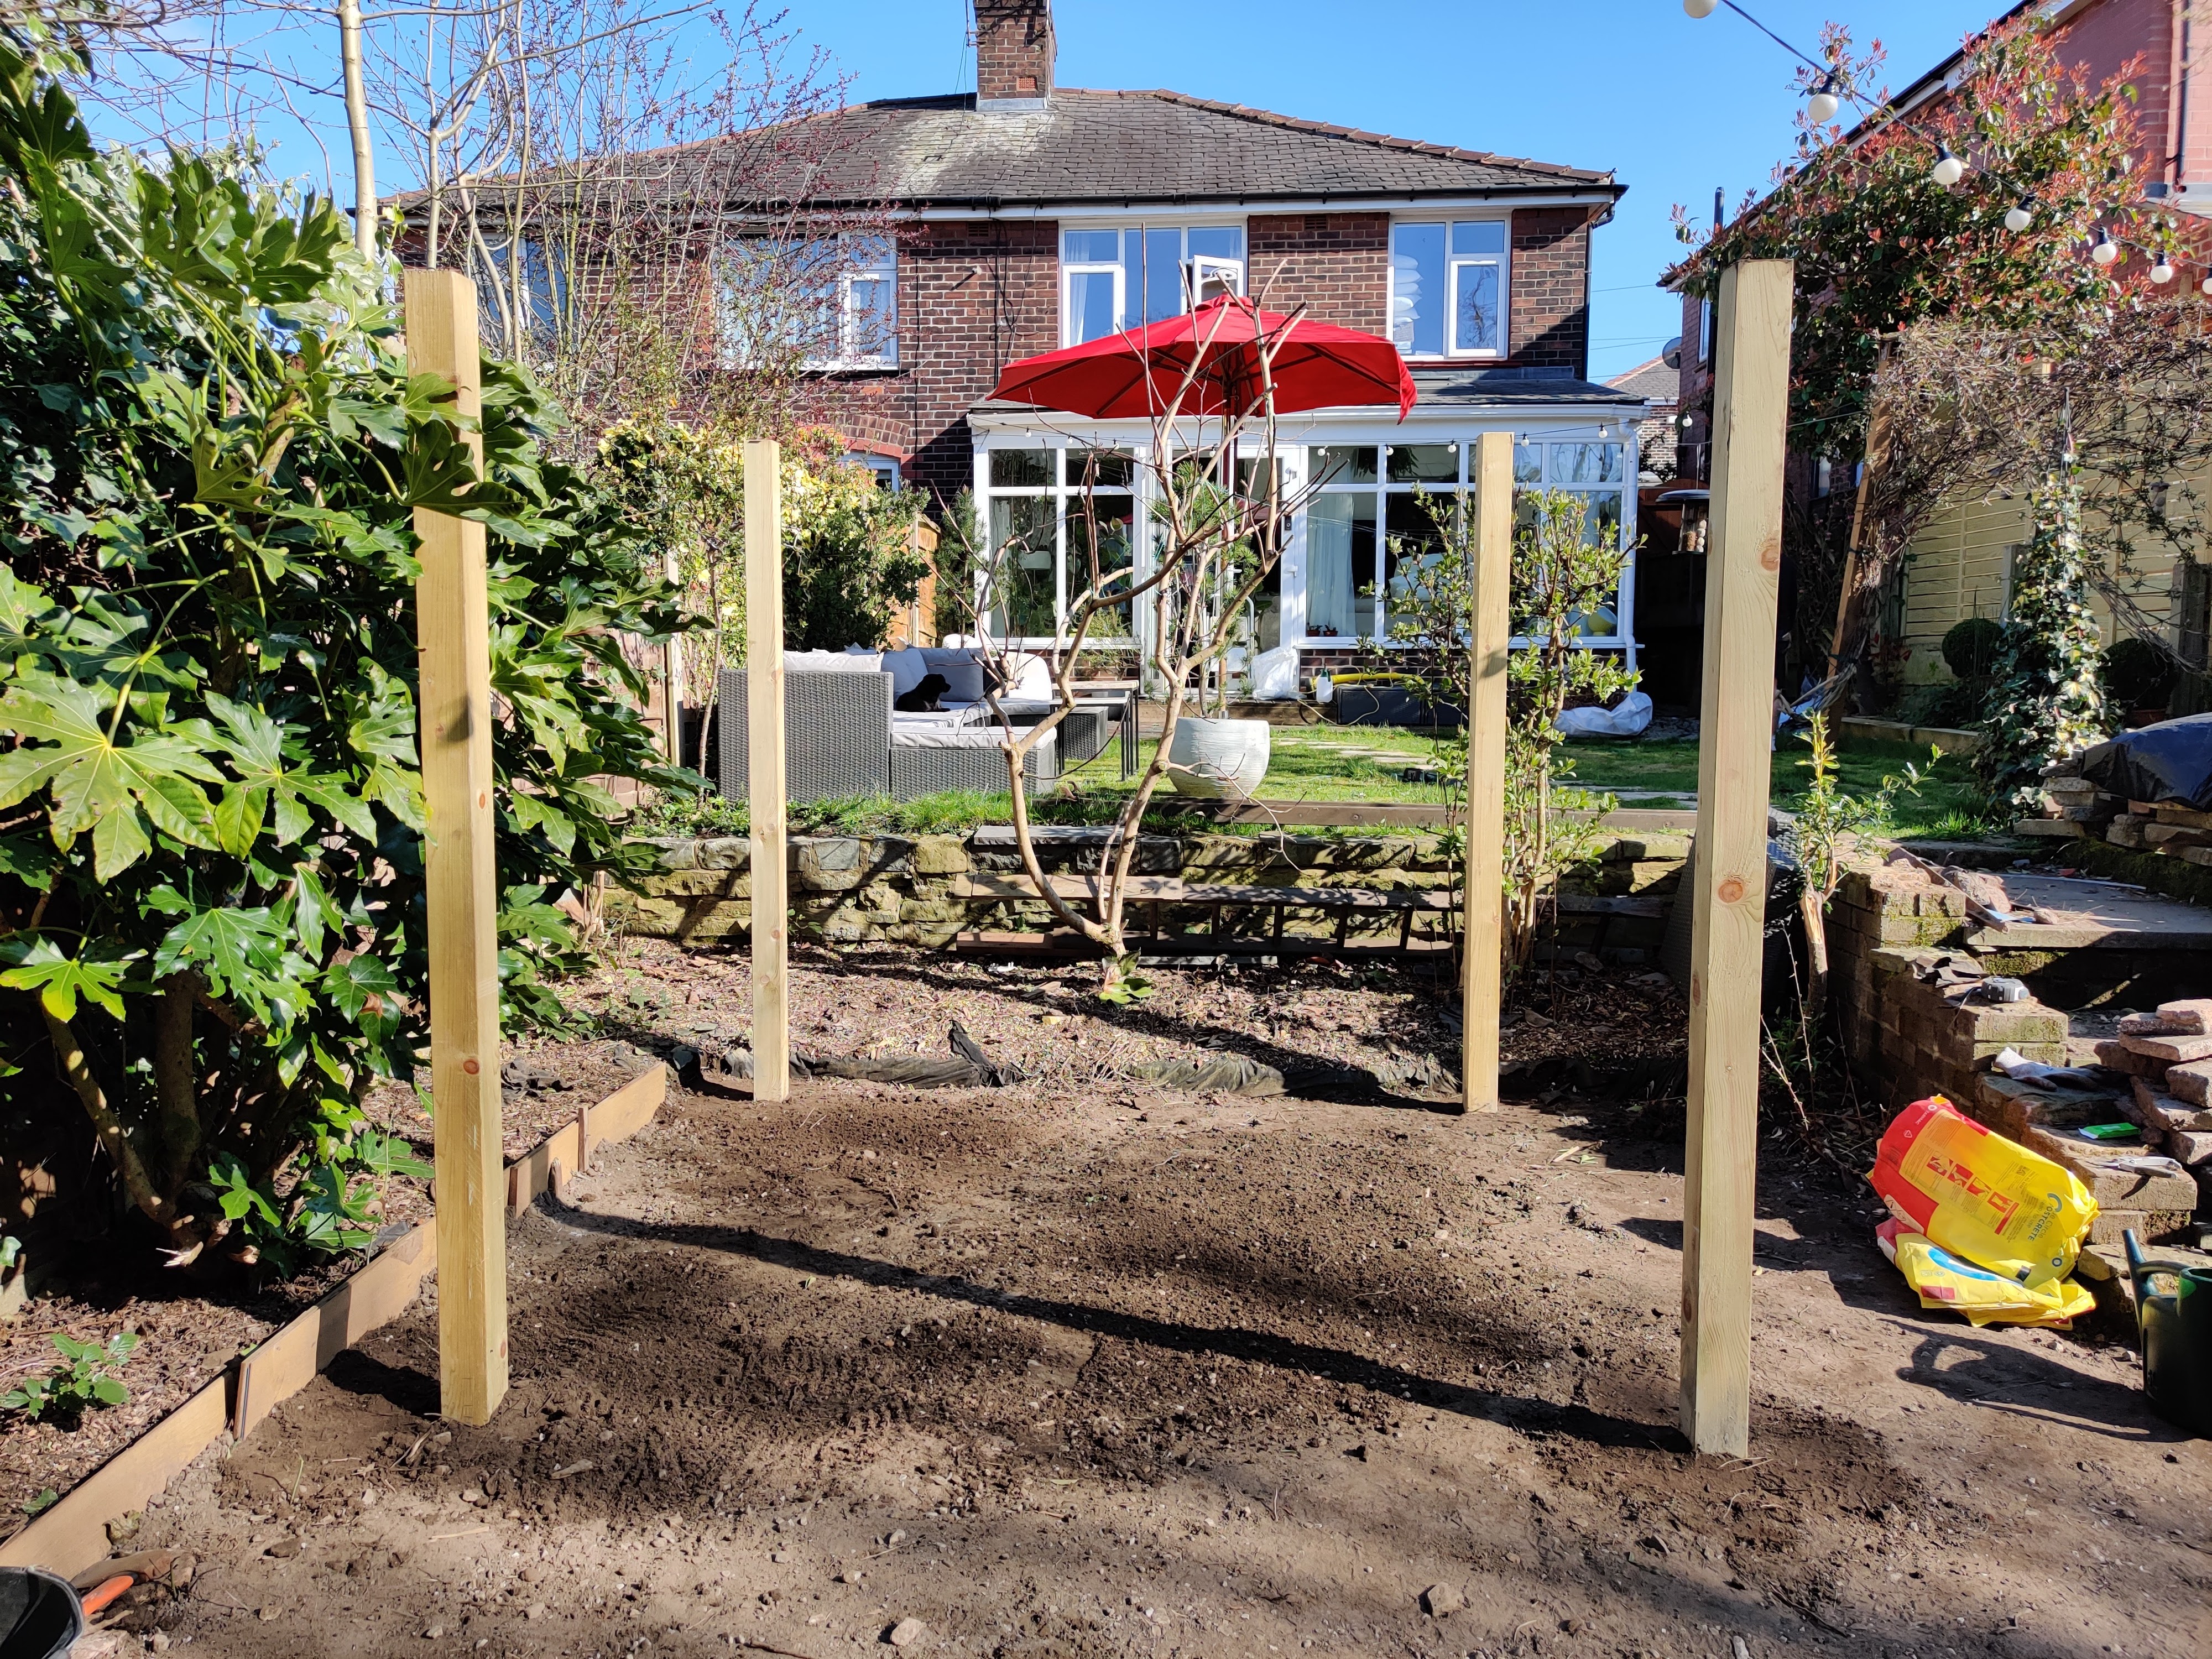
Each post was levelled vertically when in its correct position and cemented in place using a quick setting post cement mix that you only need to add water to.
Structure
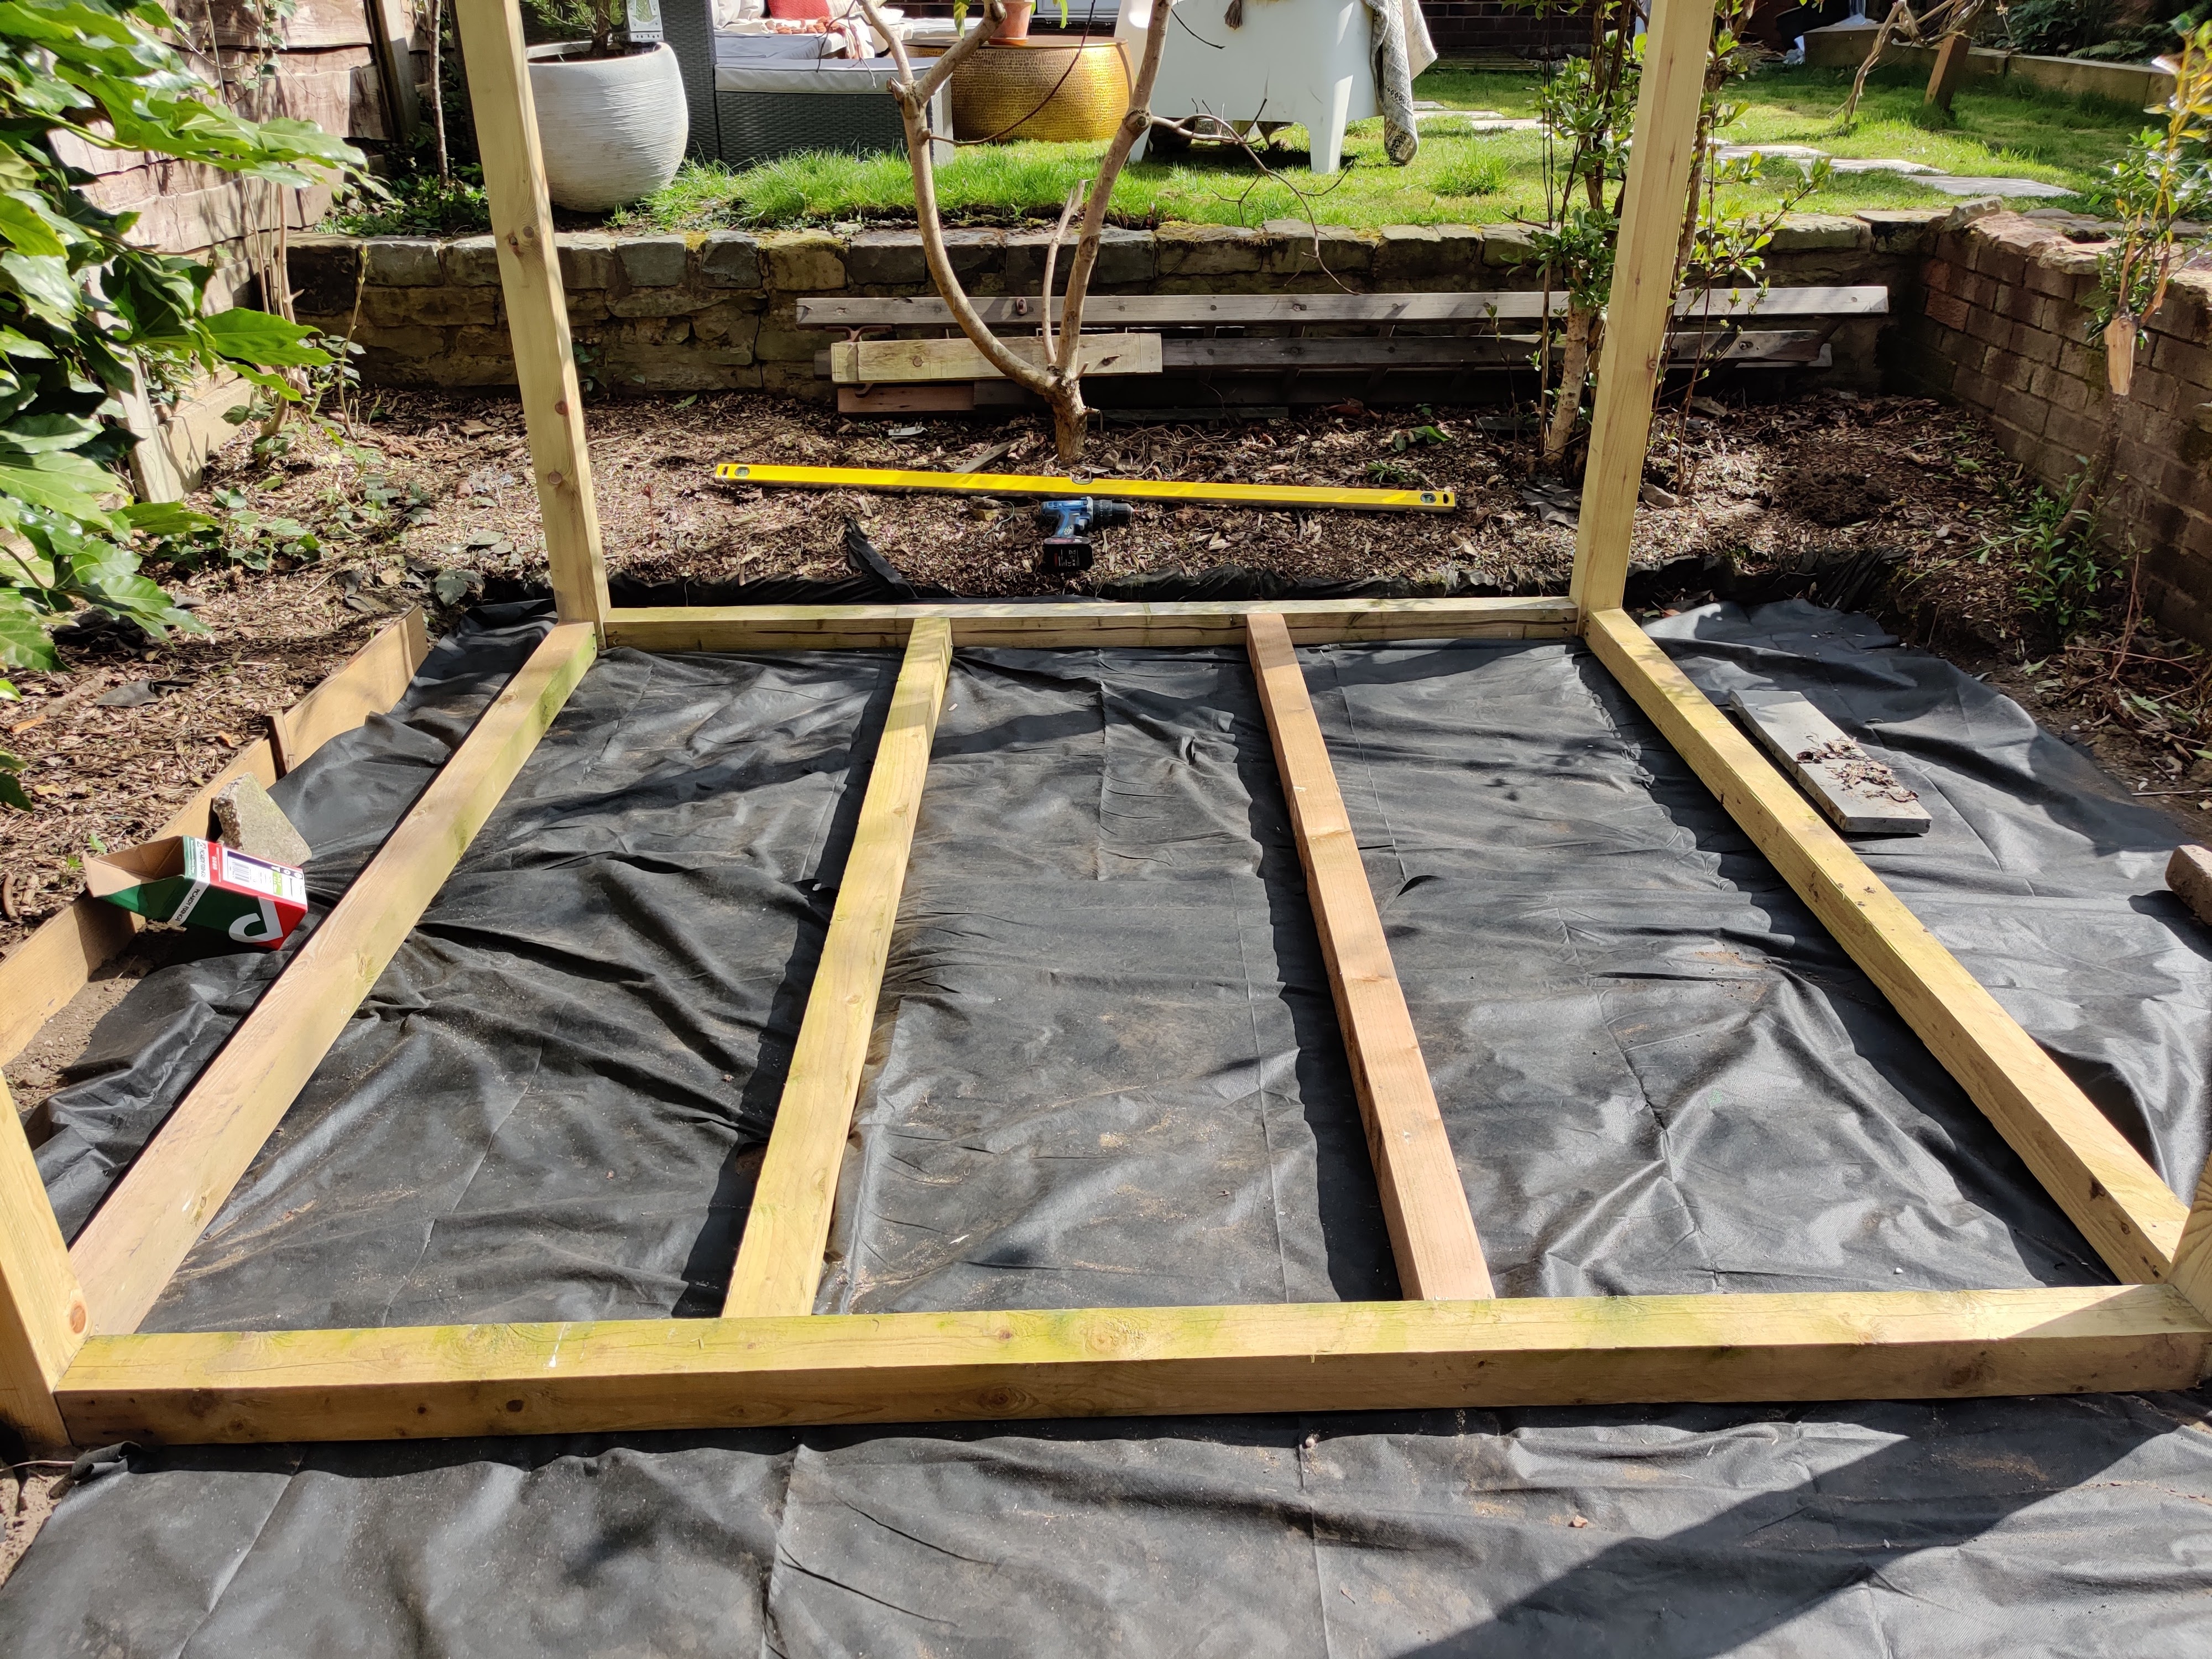
The frame of the decking is attached to the newly cemented posts and this is what the scaffolding decking boards is laid onto. It is really important this is level or otherwise your decking boards wont be level. Before attaching the frame put down a weed barrier under the area your decking will be. Again there is a number of ways to build these frame and it is worthwhile researching for what best suits your situation. Using decking screws I connected the frame to the supporting posts ready for the boards to be placed on top.
Installation
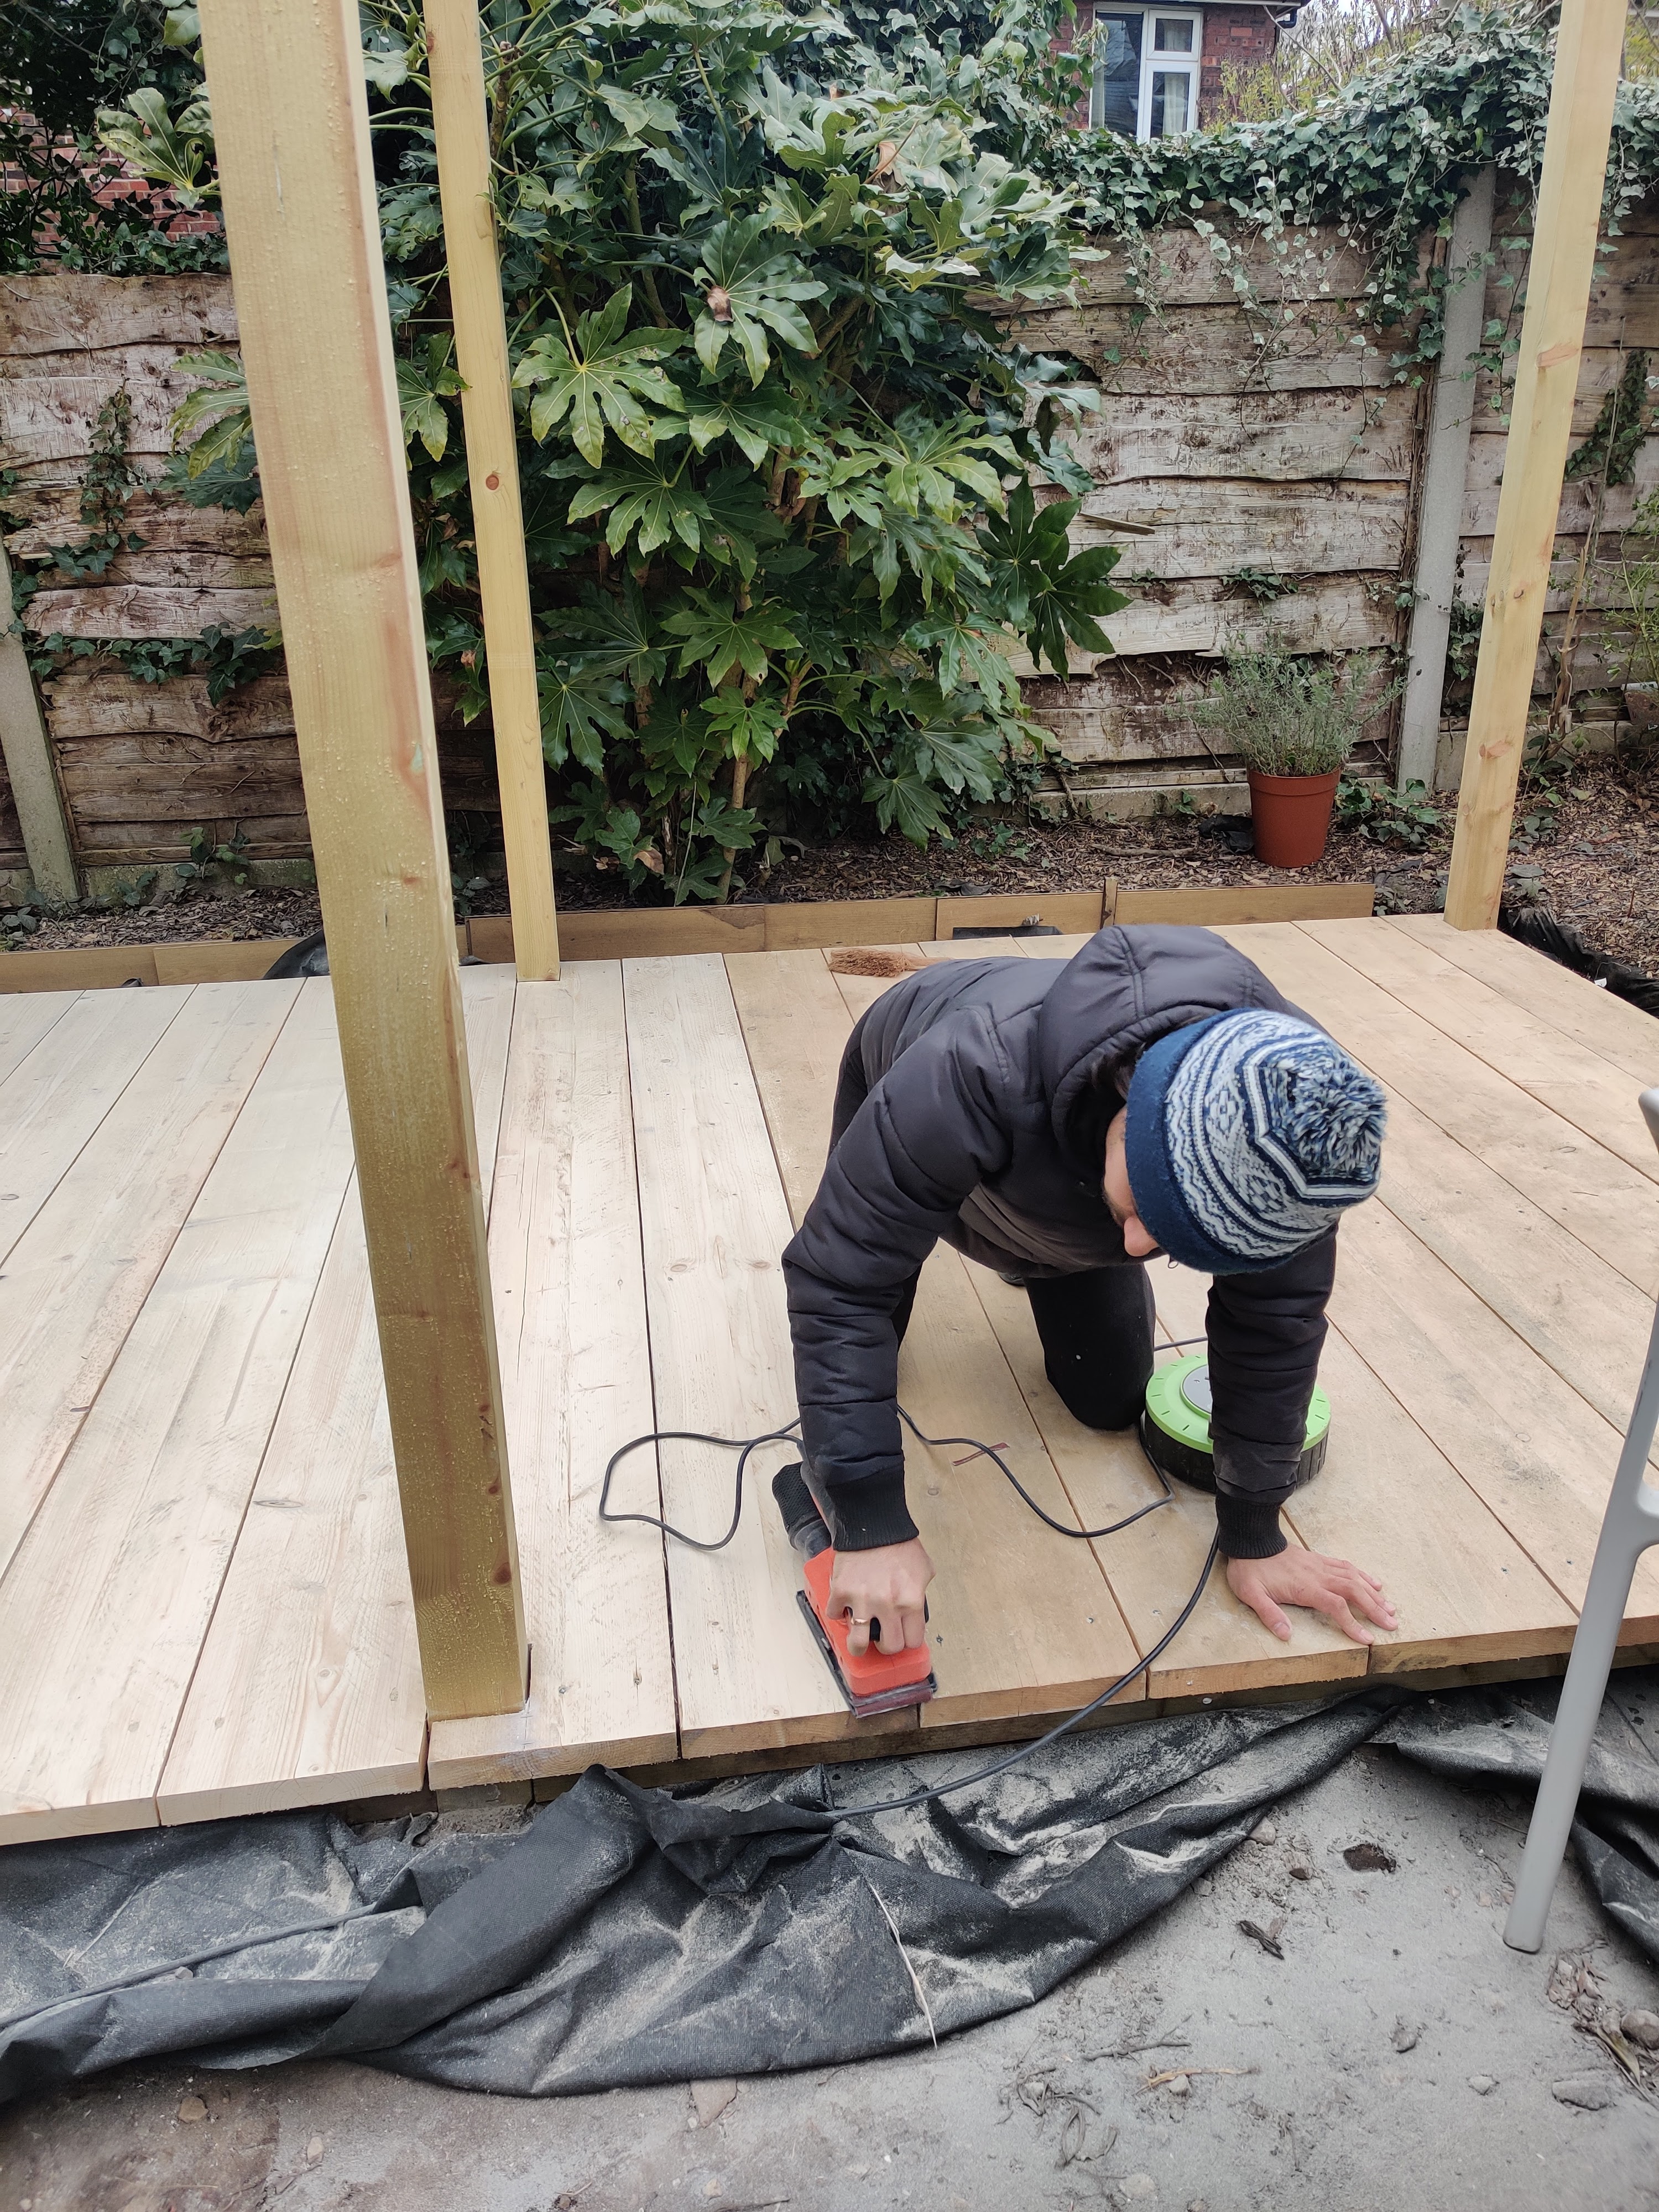
I chose the width of my decking as 2.4 metres as this is a standard length for scaffolding boards and require less cutting. I treated the wood with a layer of water repellent wood preserver on all sides and allowed to dry before installing. It is important to do this as scaffolding boards are generally untreated and this will extend the life of your decking.
Using decking screws I secured them to the frame ensuring that the screws flush with the wood to ensure no tripping accidents. As the boards are wider that a standard board the installation process is much quicker.
- Keep reading: The best decking stains
Finishing
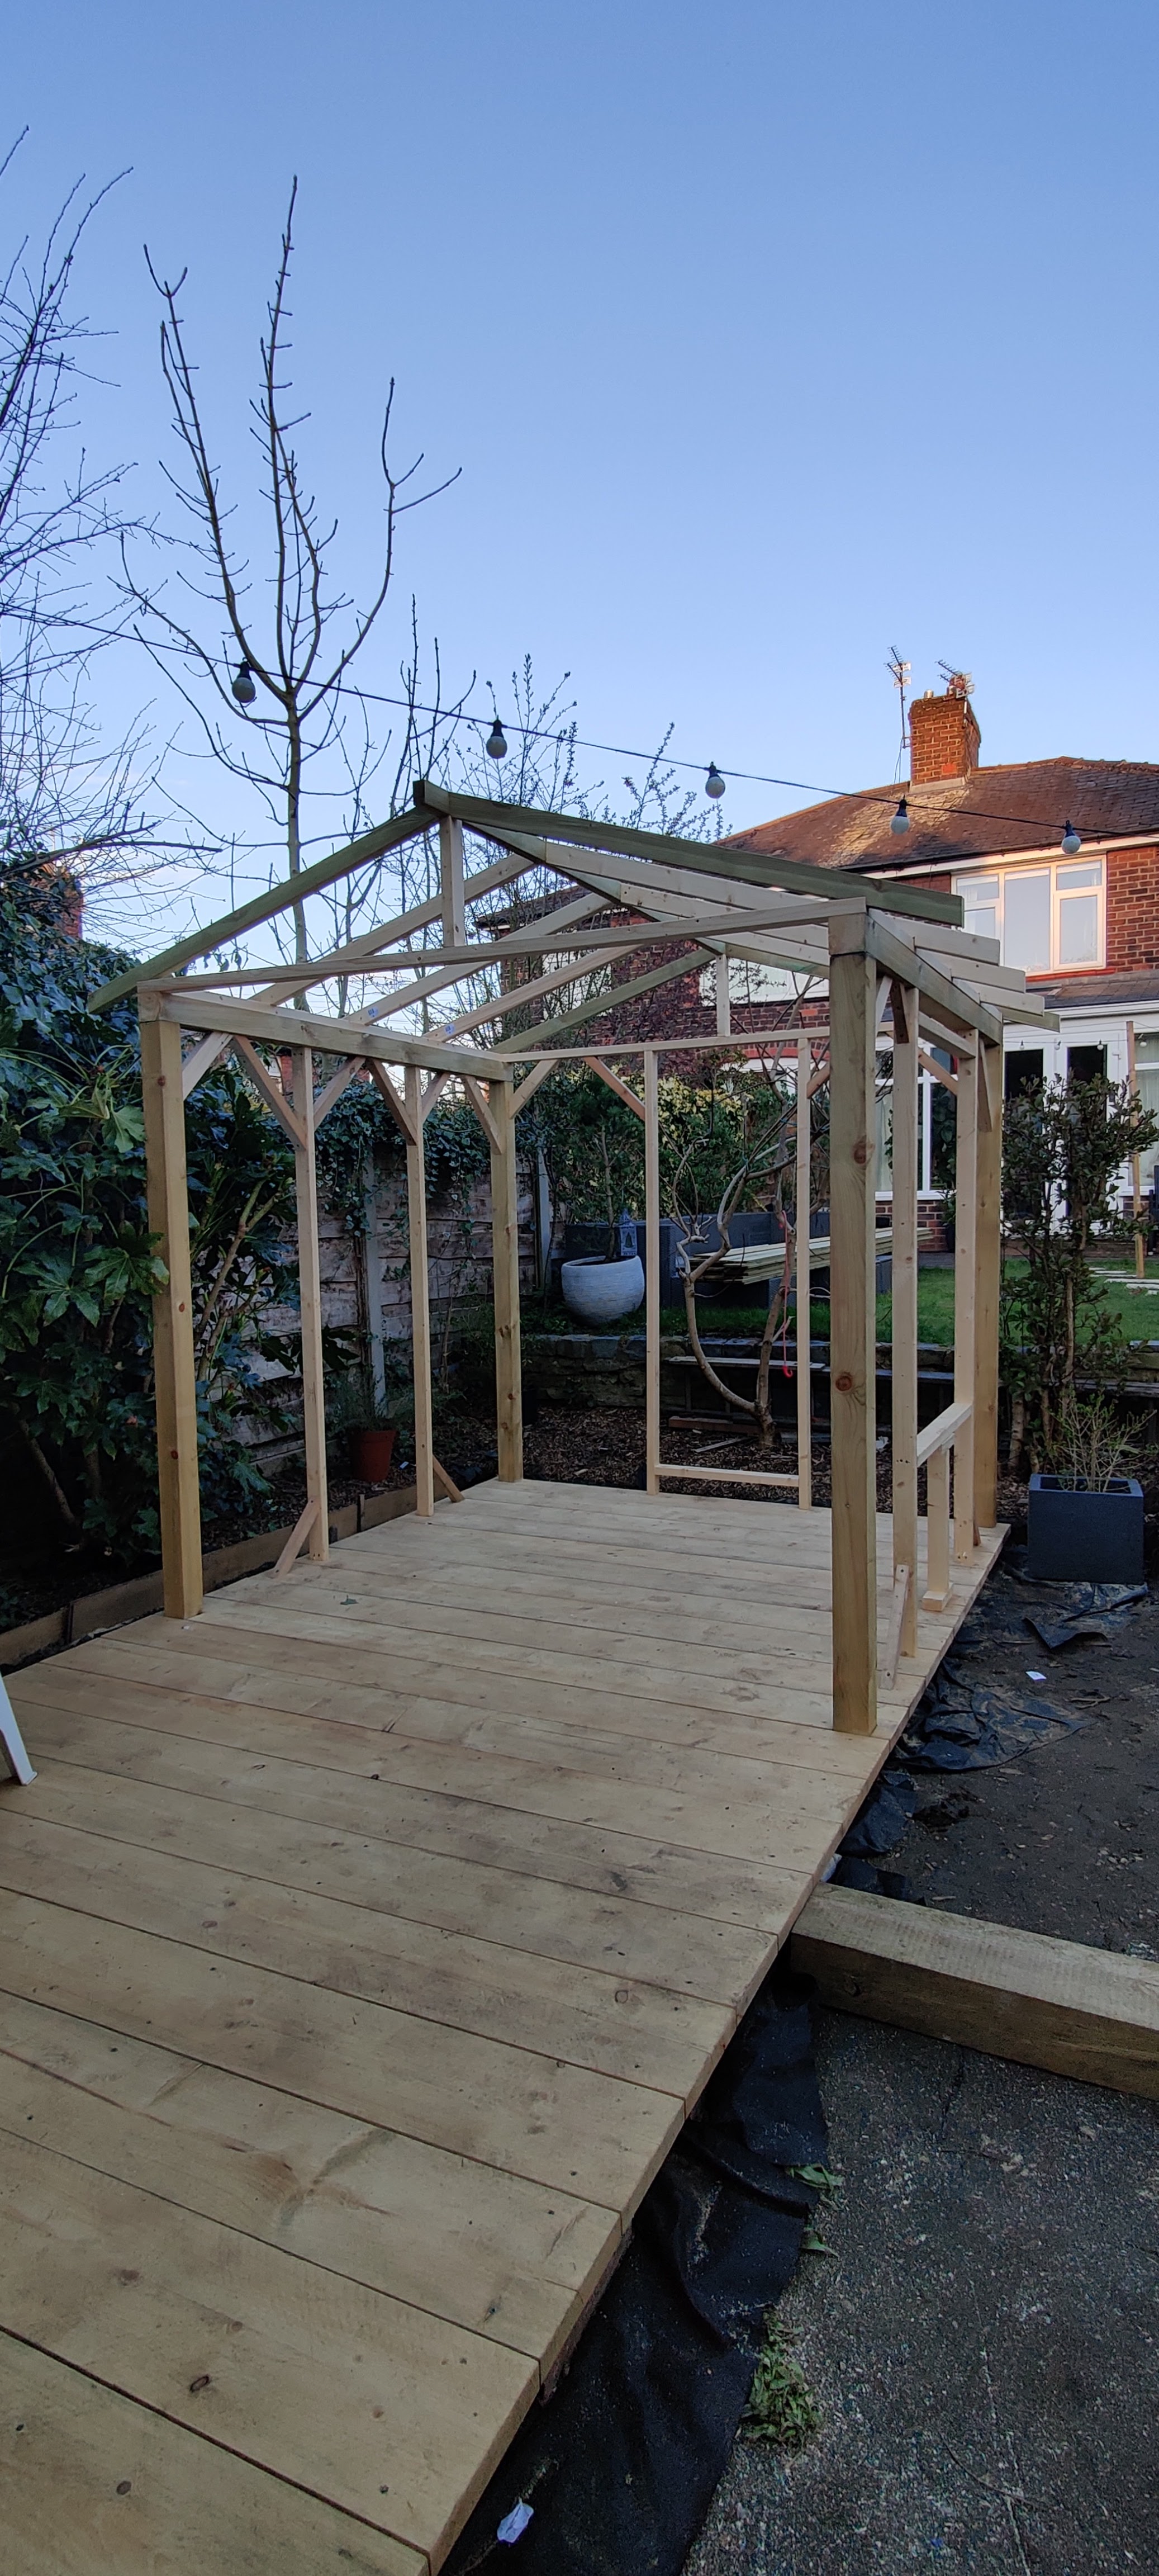
Scaffolding boards have a rougher finish so I chose to sand them down once they laid to get a smooth surface on top. This isn’t a necessary step and comes down to personal preference but feels much nicer under your feet in my opinion. Using an electric sander I sanded all 24 sq metres and this was without a doubt the most laborious part of the install but definitely worth it.
Once sanded I decided to add two more layers of clear wood preserver but you can doing this with whatever colour decking oil you prefer.
I love how it has turned out and feels like a great alternative to the traditional decking board.
Join our newsletter
Get small space home decor ideas, celeb inspiration, DIY tips and more, straight to your inbox!
Jo Lemos is a DIYer and decorator who chronicles his projects on the popular Instagram account @two.men.and.a.semi. His DIY obsession began in childhood, when he used to help his parents redecorate the family house. Since then, he’s been developing his DIY skills for two decades, culminating in a full renovation of his current house alongside his partner, Chris. Currently the duo is restoring a 1930s semi-detached house in Manchester that had been badly renovated throughout the years. For Jo, sustainable and budget friendly design is the best way to renovate your house, and he considers his renovation motto to be: “Why pay someone when I can do it myself?!”
-
 A DIY concrete table for $186 - here's how one creative homeowner pulled it off
A Facebook Marketplace find became an outdoor statement piece with a high-end look, and it's all thanks to an inexpensive concrete DIY.
By Brooke Waite Published
-
 Instagram star Mik Zazon’s backyard renovation: From muddy mess to enclosed sanctuary
Instagram star Mik Zazon transformed the bleak backyard of her Columbus, Ohio home into a modern sanctuary for year-round outdoor living
By Grace Stetson Published
-
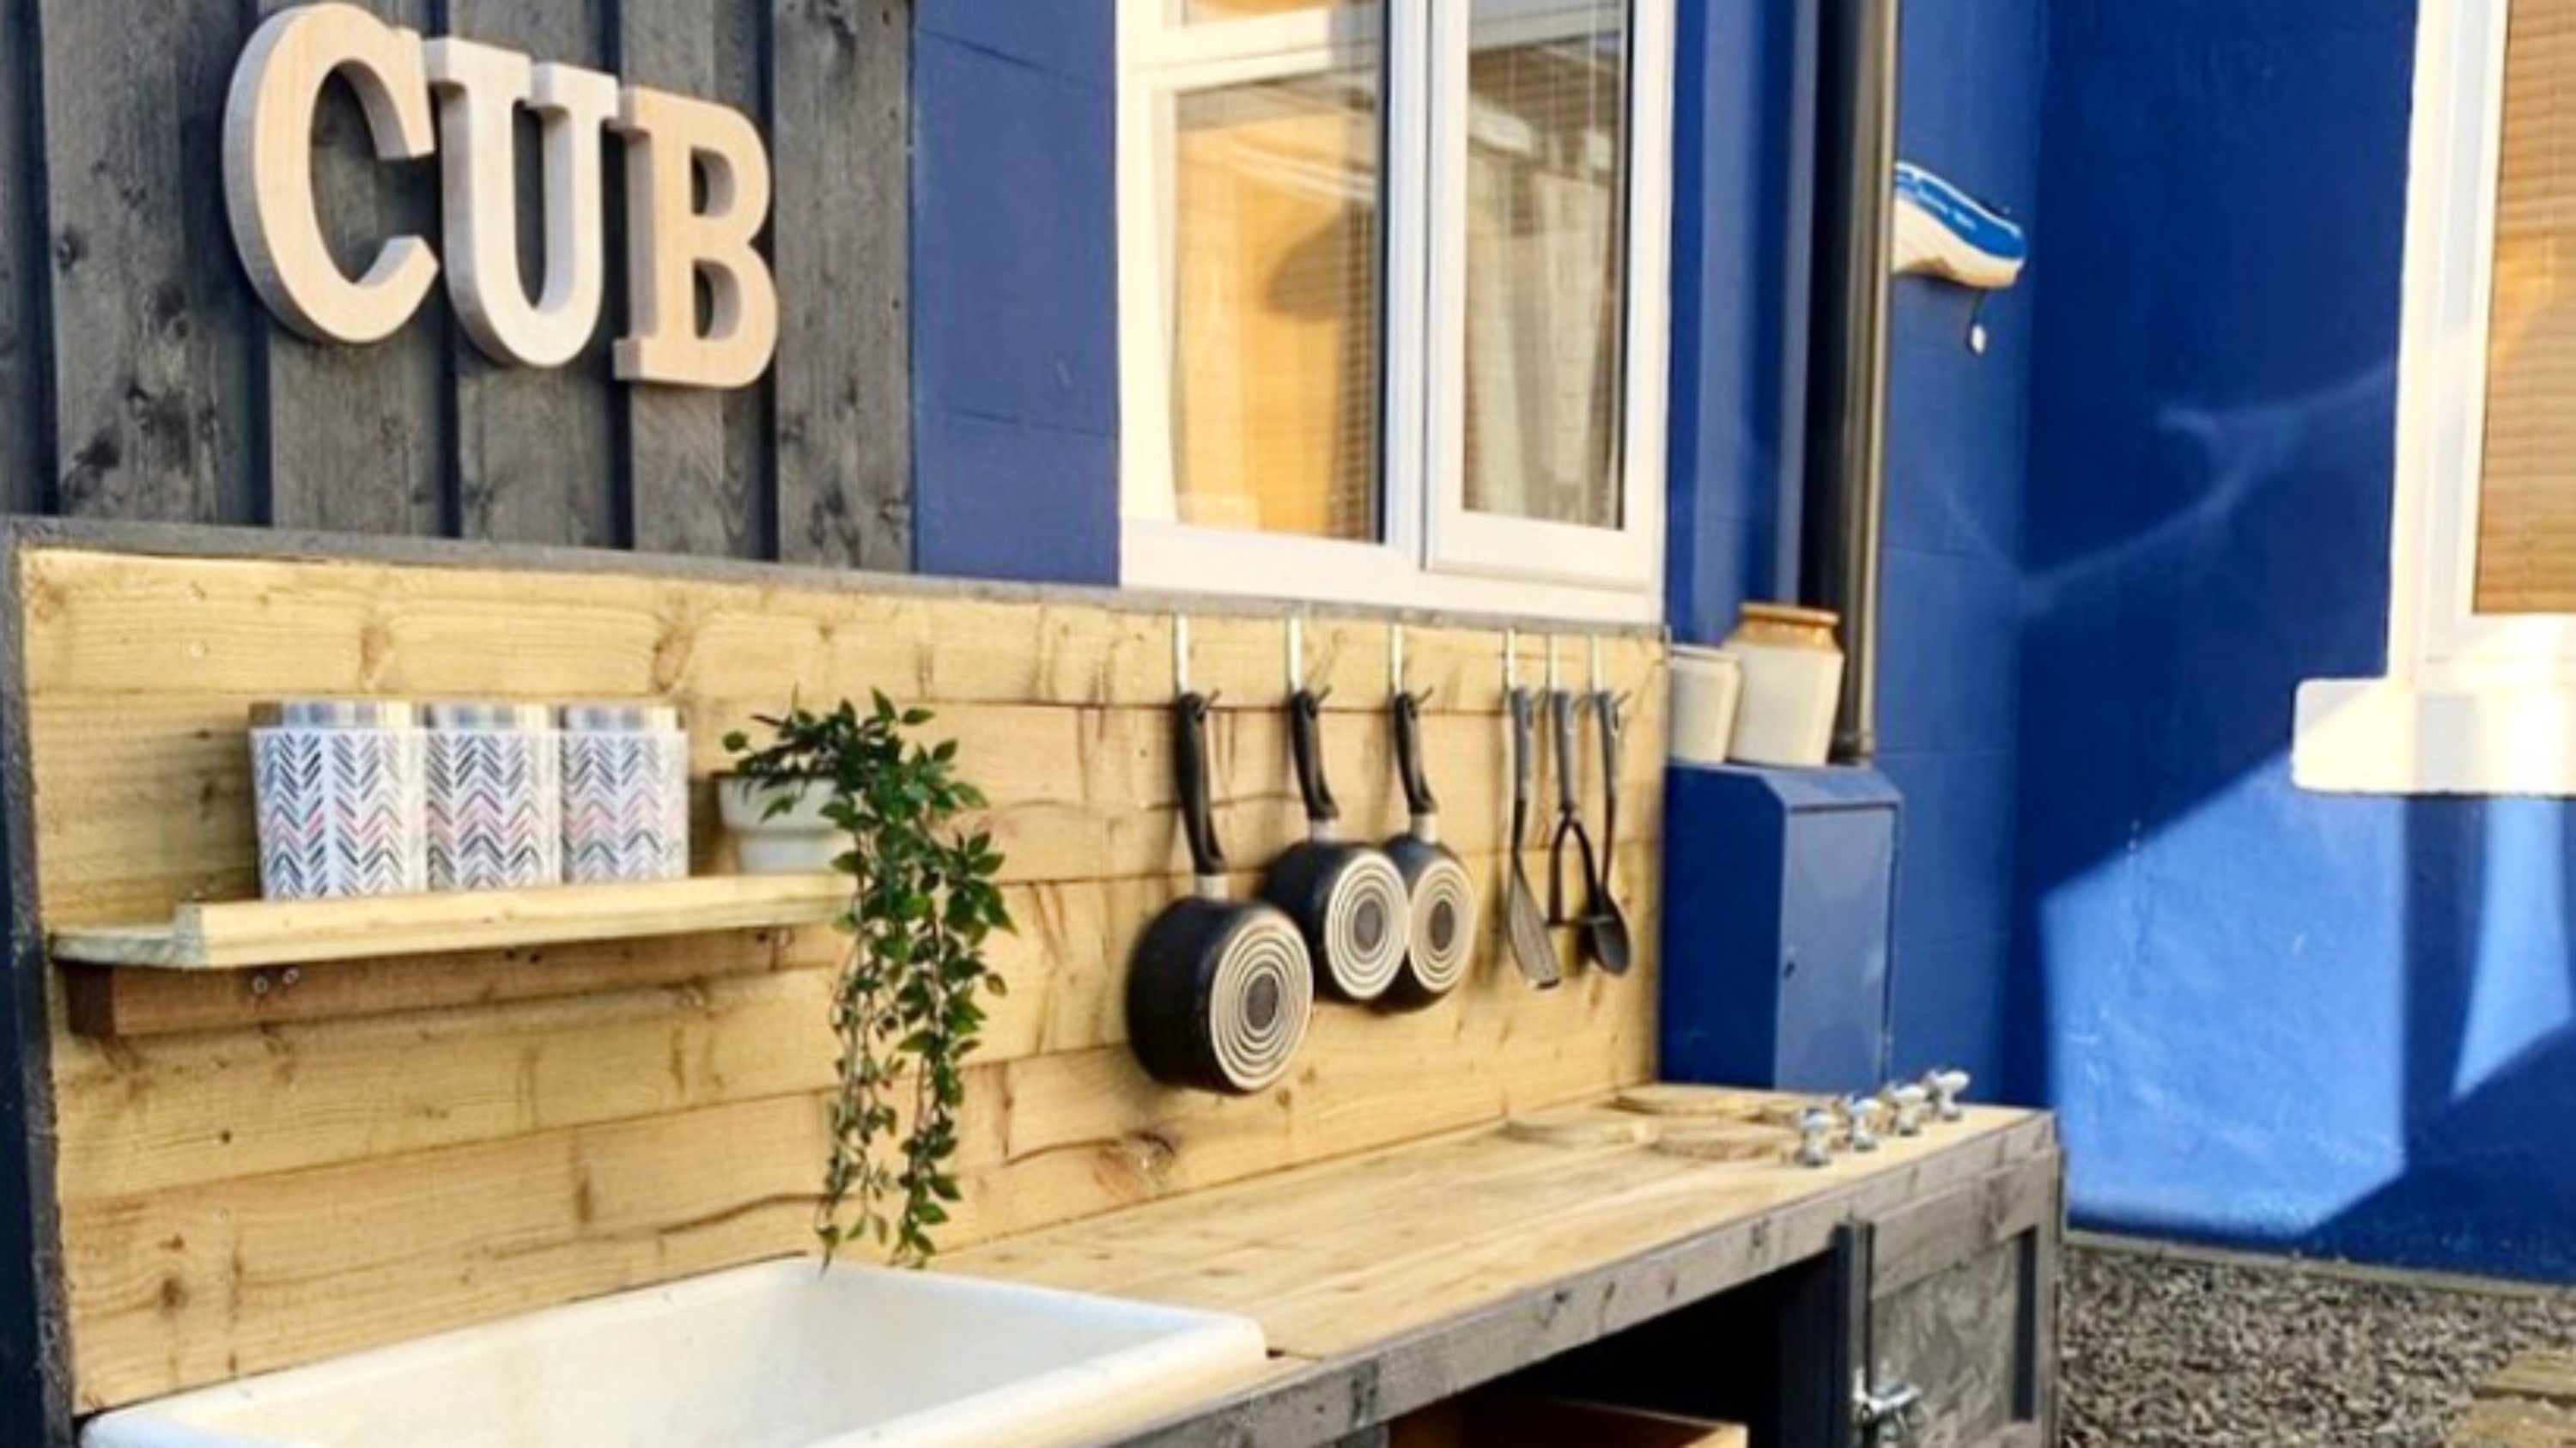 Before and after: this DIY mud kitchen is made from fence panels – and cost just £40
Your next weekend project is right here!
By Ellen Finch Published
-
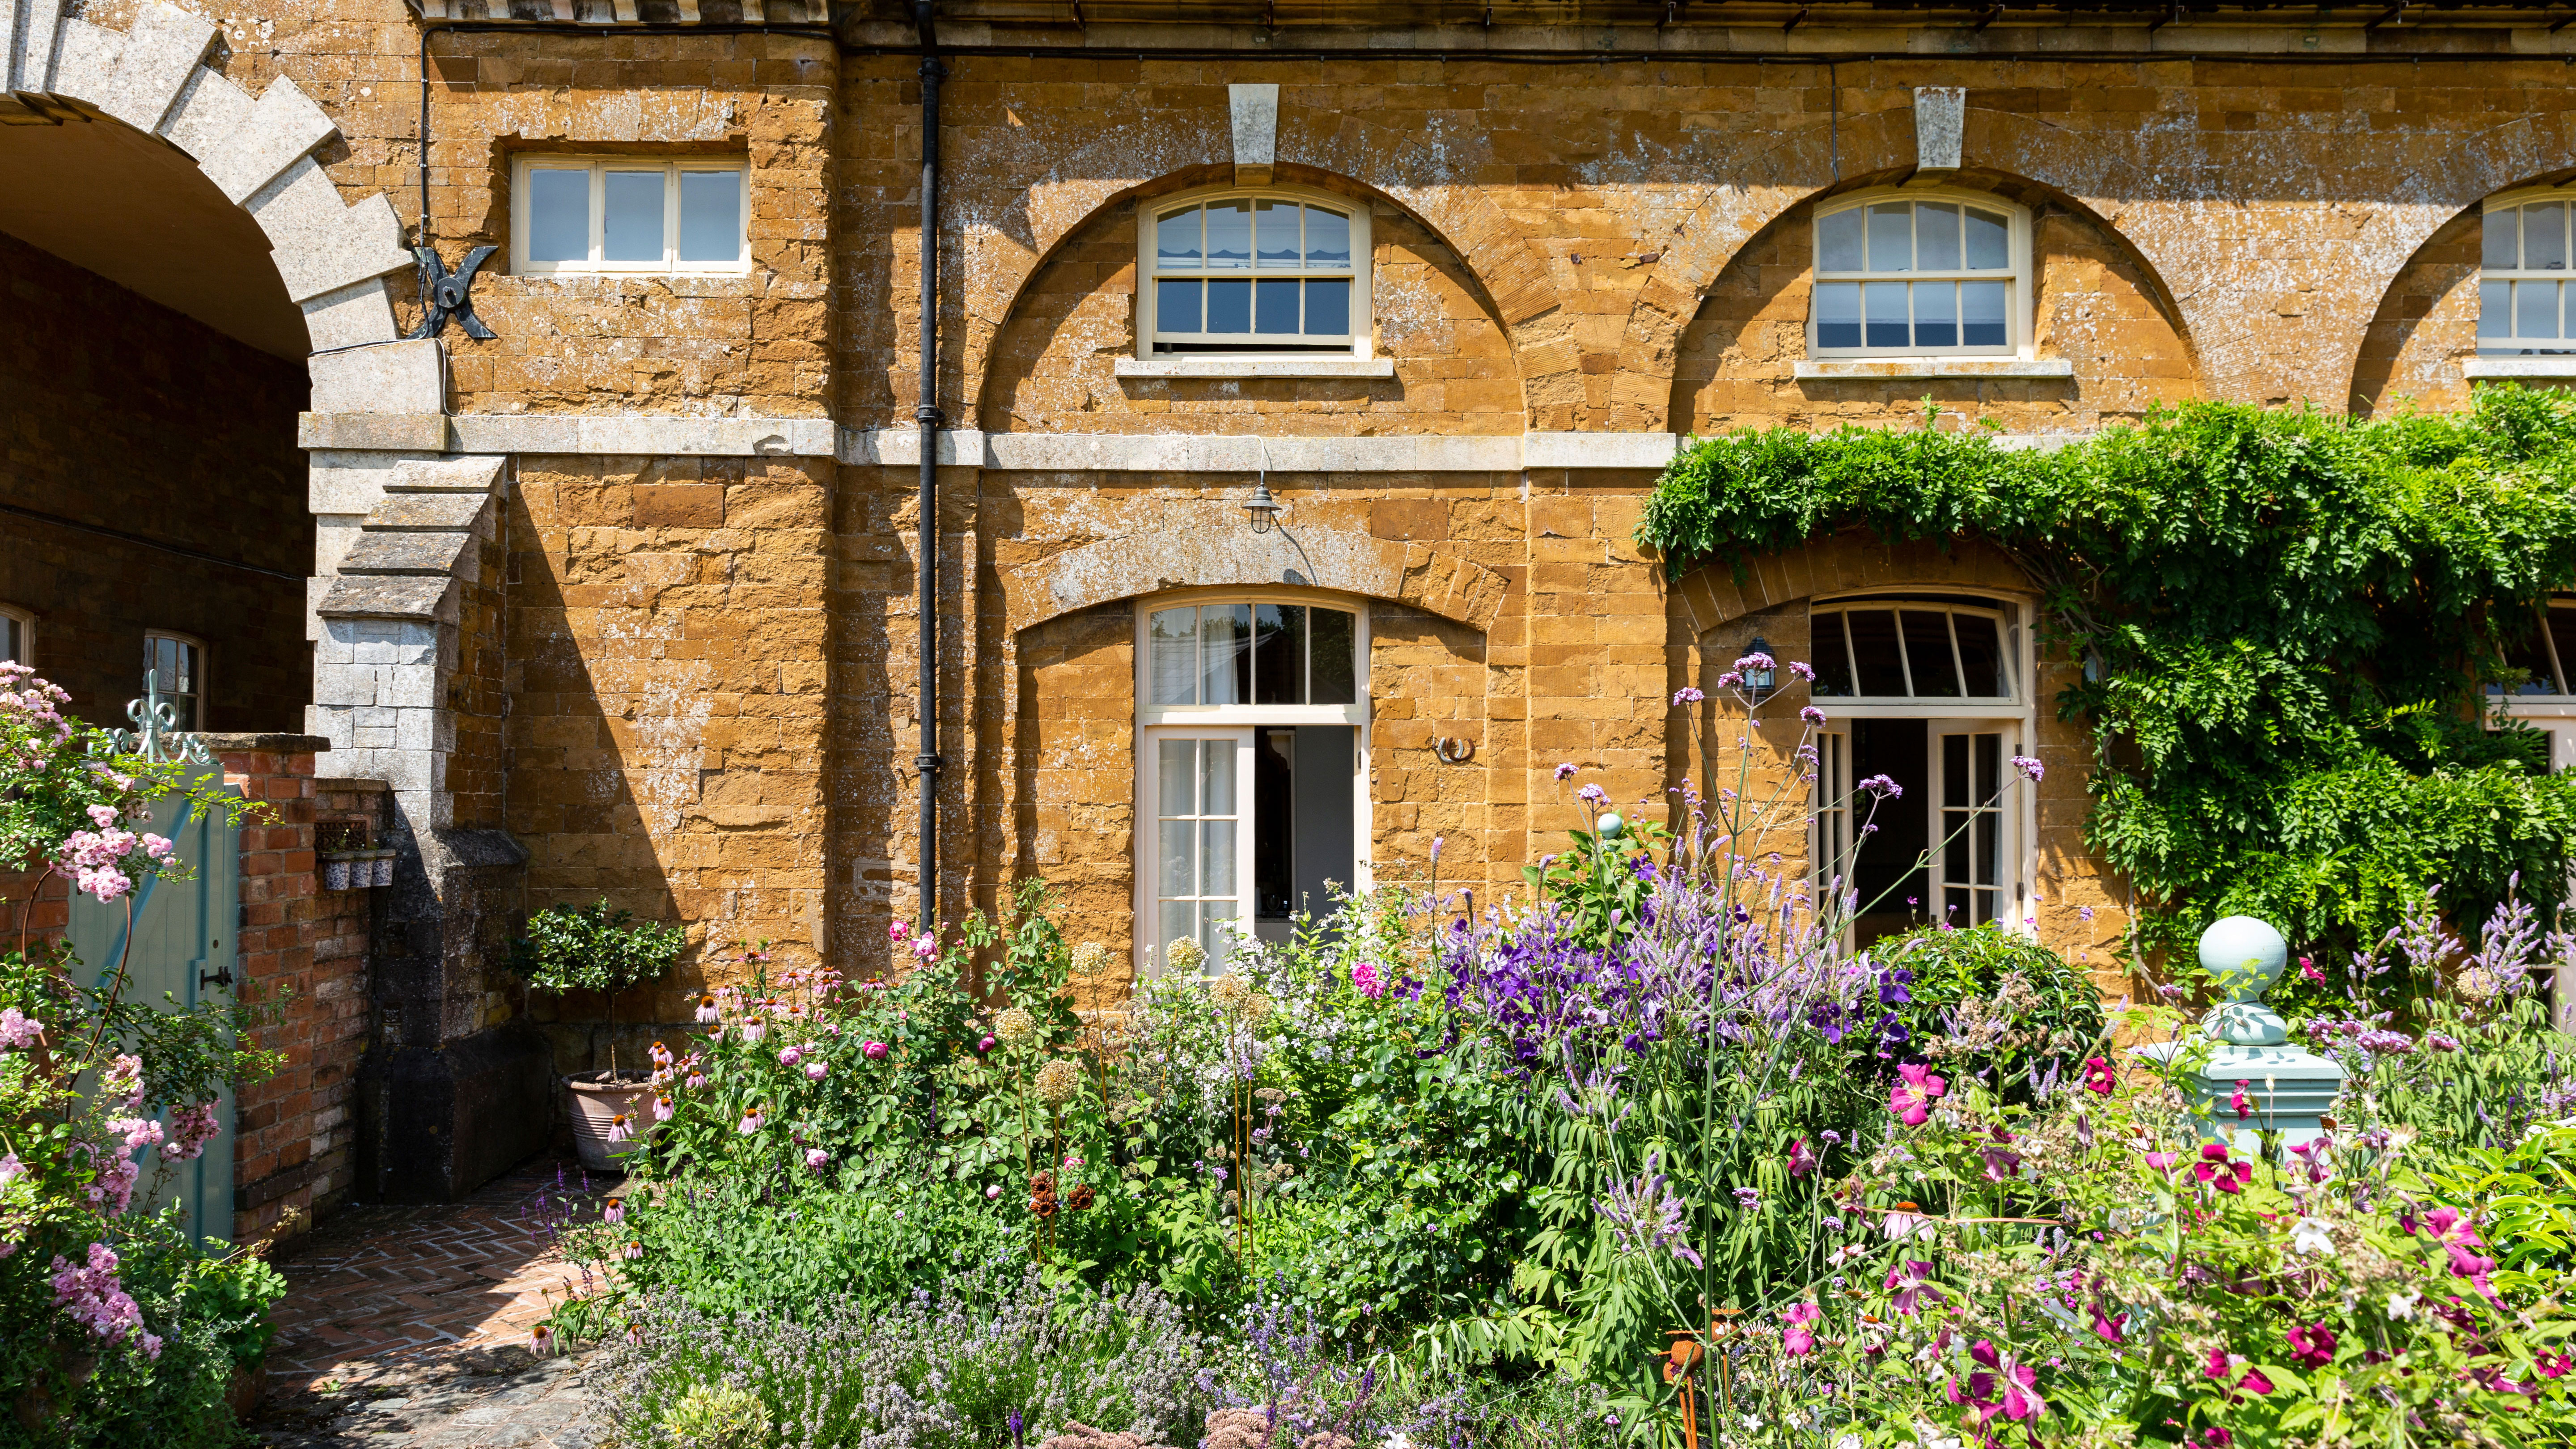 Real home: explore an 18th-century converted coach house
Theresa and Joseph Mankelow have breathed new life into an 18th-century coach house, creating a colourful and classic country-style home and garden
By Janet McMeekin Last updated
