

Shaker wall paneling is one of the most popular DIY upgrades homeowners are making today. While the most classic wood panel look is made up of evenly spaced vertical posts bordered by a horizontal trim at the top, there are lots of ways to get creative with this wall paneling DIY too. You can go geometric, with a grid-style layout, or a crafty herringbone look, but today we're doing a basic (but nonetheless stylish) square wall paneling DIY.
- See more: Wall paneling ideas for inspiration.
You will need:
- Tape measure
- Pen and paper
- Ruler
- Wood panels/MDF
- Paint to match your walls (we've gone with a matt finish)
- One of the best paint brushes
- A good paint roller
- Hack saw
- Adhesive
- Nails (optional but good for a pro and secure finish)
- Wood filler/caulk
- Spirit level
1. Measure up

To ensure a really neat and professional looking finish, you want to measure twice and cut once for this kind of DIY job. So, measure up your wall space, accounting for any wall fixtures like radiators, baseboards and so on.
The key to a professional finish is to have the trim the same distance away from the edge of the wall so the overall look is uniform. All panels should also all be at the same height, and the same distance from floor and ceiling. Mark up the wall with your pencil so you know exactly where the trim will go.

2. Saw your wooden trim

You can alter the width of these pieces but we chose to cut our trim to 100mm in width for a bold, modern look.
Textured walls?
If you want to panel over textured walls, pick up some backer board to put down first. This isn't part of our video so ensure you cut it to the correct dimensions and attach it to the wall securely ready for your wooden panels.
3. Start with the borders
Start by adding glue to your wooden panel, securing it at the top border and working your way around the sides and the bottom. Use a level to make sure everything is super precise and use actual nails also if you'd like an expert finish.
You then want to secure your vertical trim, then the horizontal panels, cutting them to the right length to fit the space.
4. Smooth the edges

Using the caulk/wood filler, make sure you fill in any gaps where the trim edges meet. Perfection is tricky after all! Repeat until everything is securely in place and looking very neat. Be sure to sand any uneven areas if you need to.
5. Prime and paint your Shaker wall paneling

Whether you've used a backer board or not, prime the entire area to prepare it for a coat of paint.

And finally, when the primer is dry, paint your DIY Shaker wall paneling in the color of your choice!

-
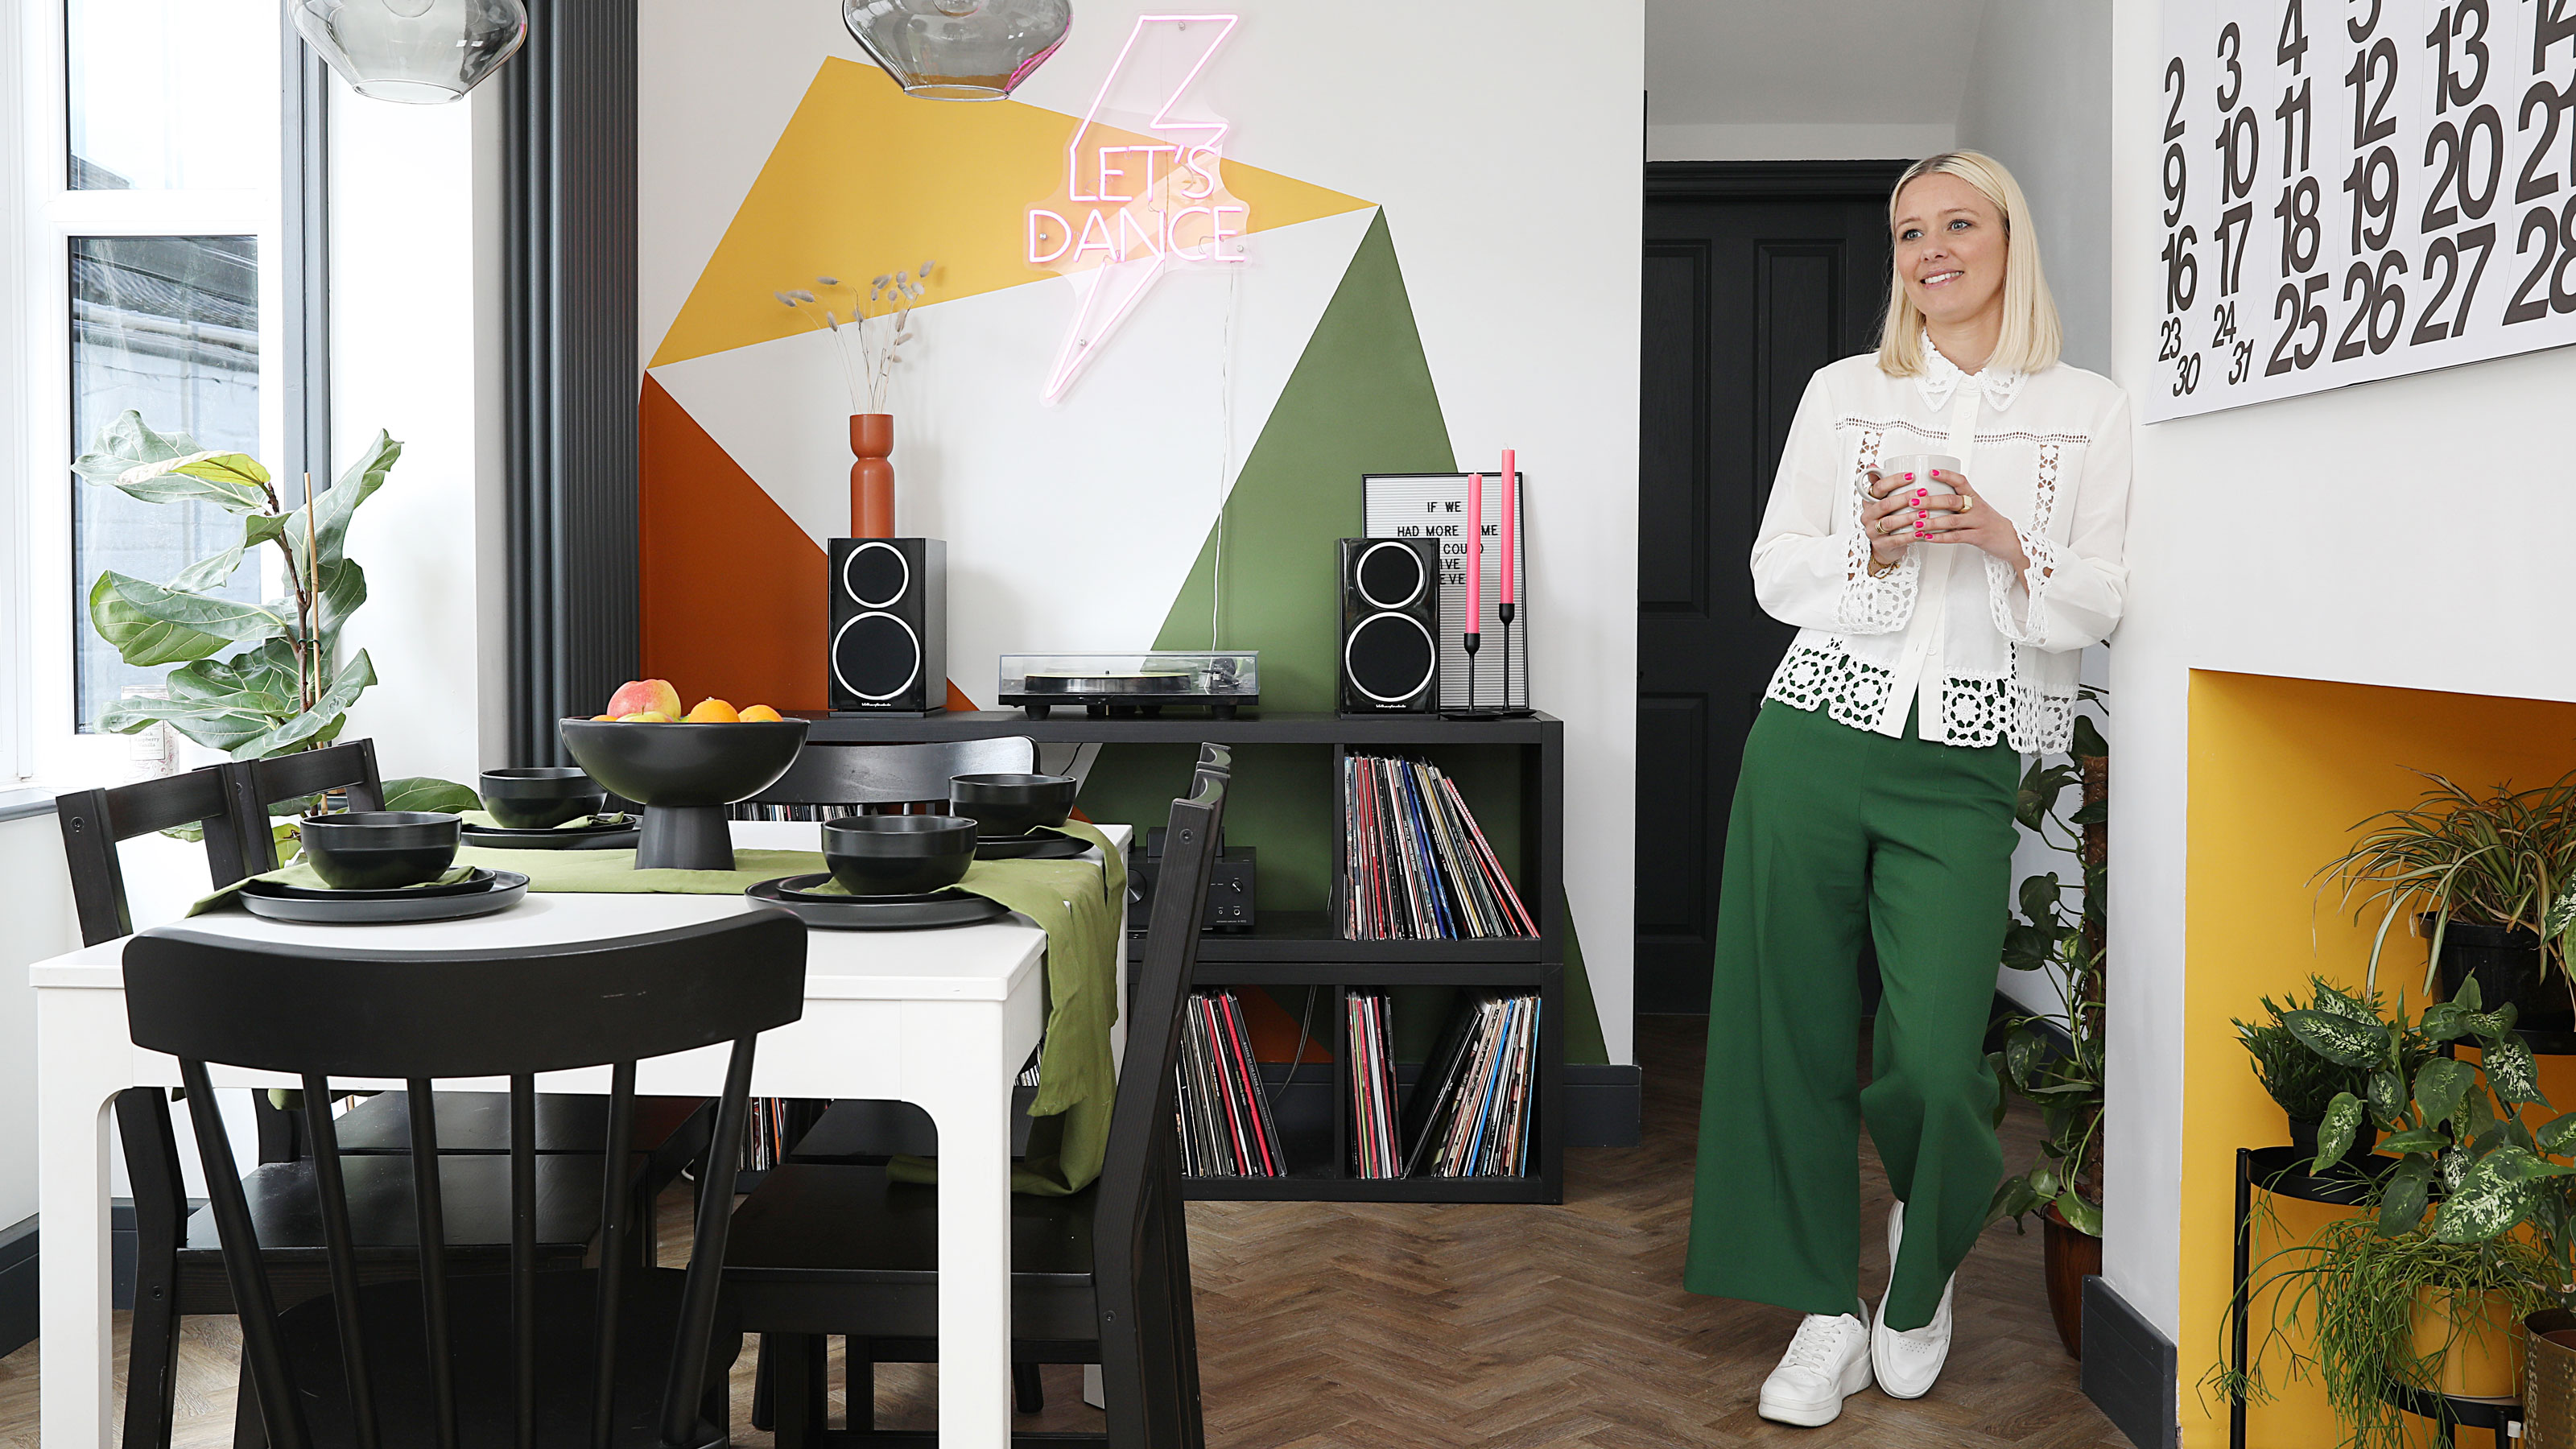 This colourful home makeover has space for kitchen discos
While the front of Leila and Joe's home features dark and moody chill-out spaces, the rest is light and bright and made for socialising
-
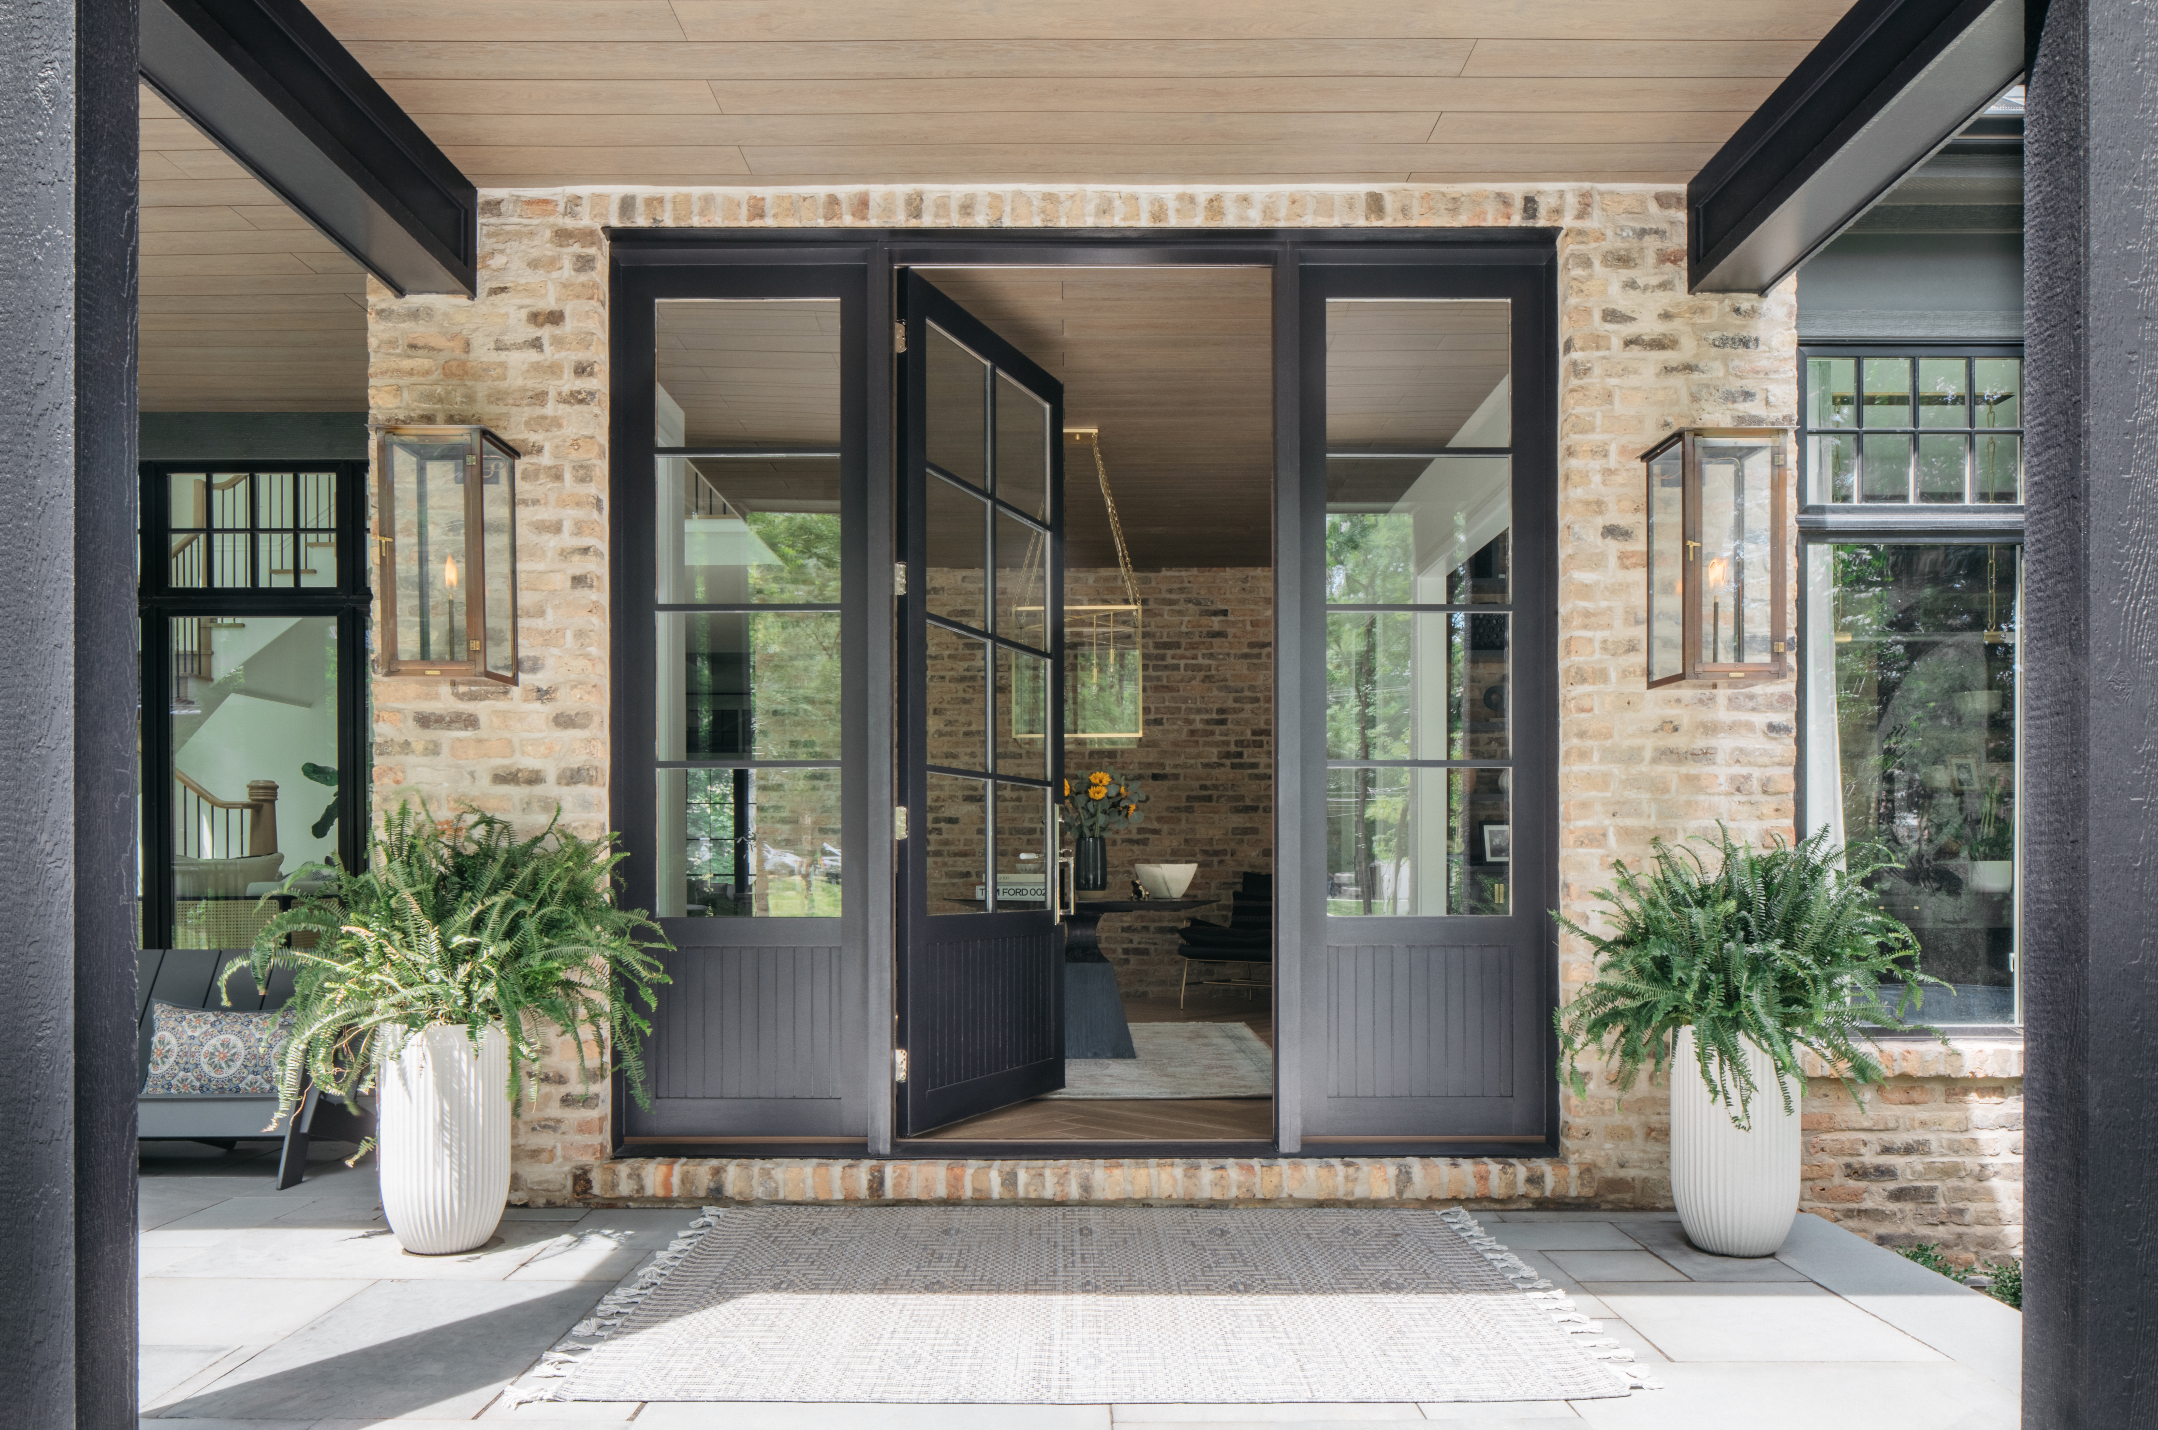 How to paint a door and refresh your home instantly
Painting doors is easy with our expert advice. This is how to get professional results on front and internal doors.
-
 DIY transforms 1930s house into dream home
With several renovations behind them, Mary and Paul had creative expertise to draw on when it came to transforming their 1930s house
-
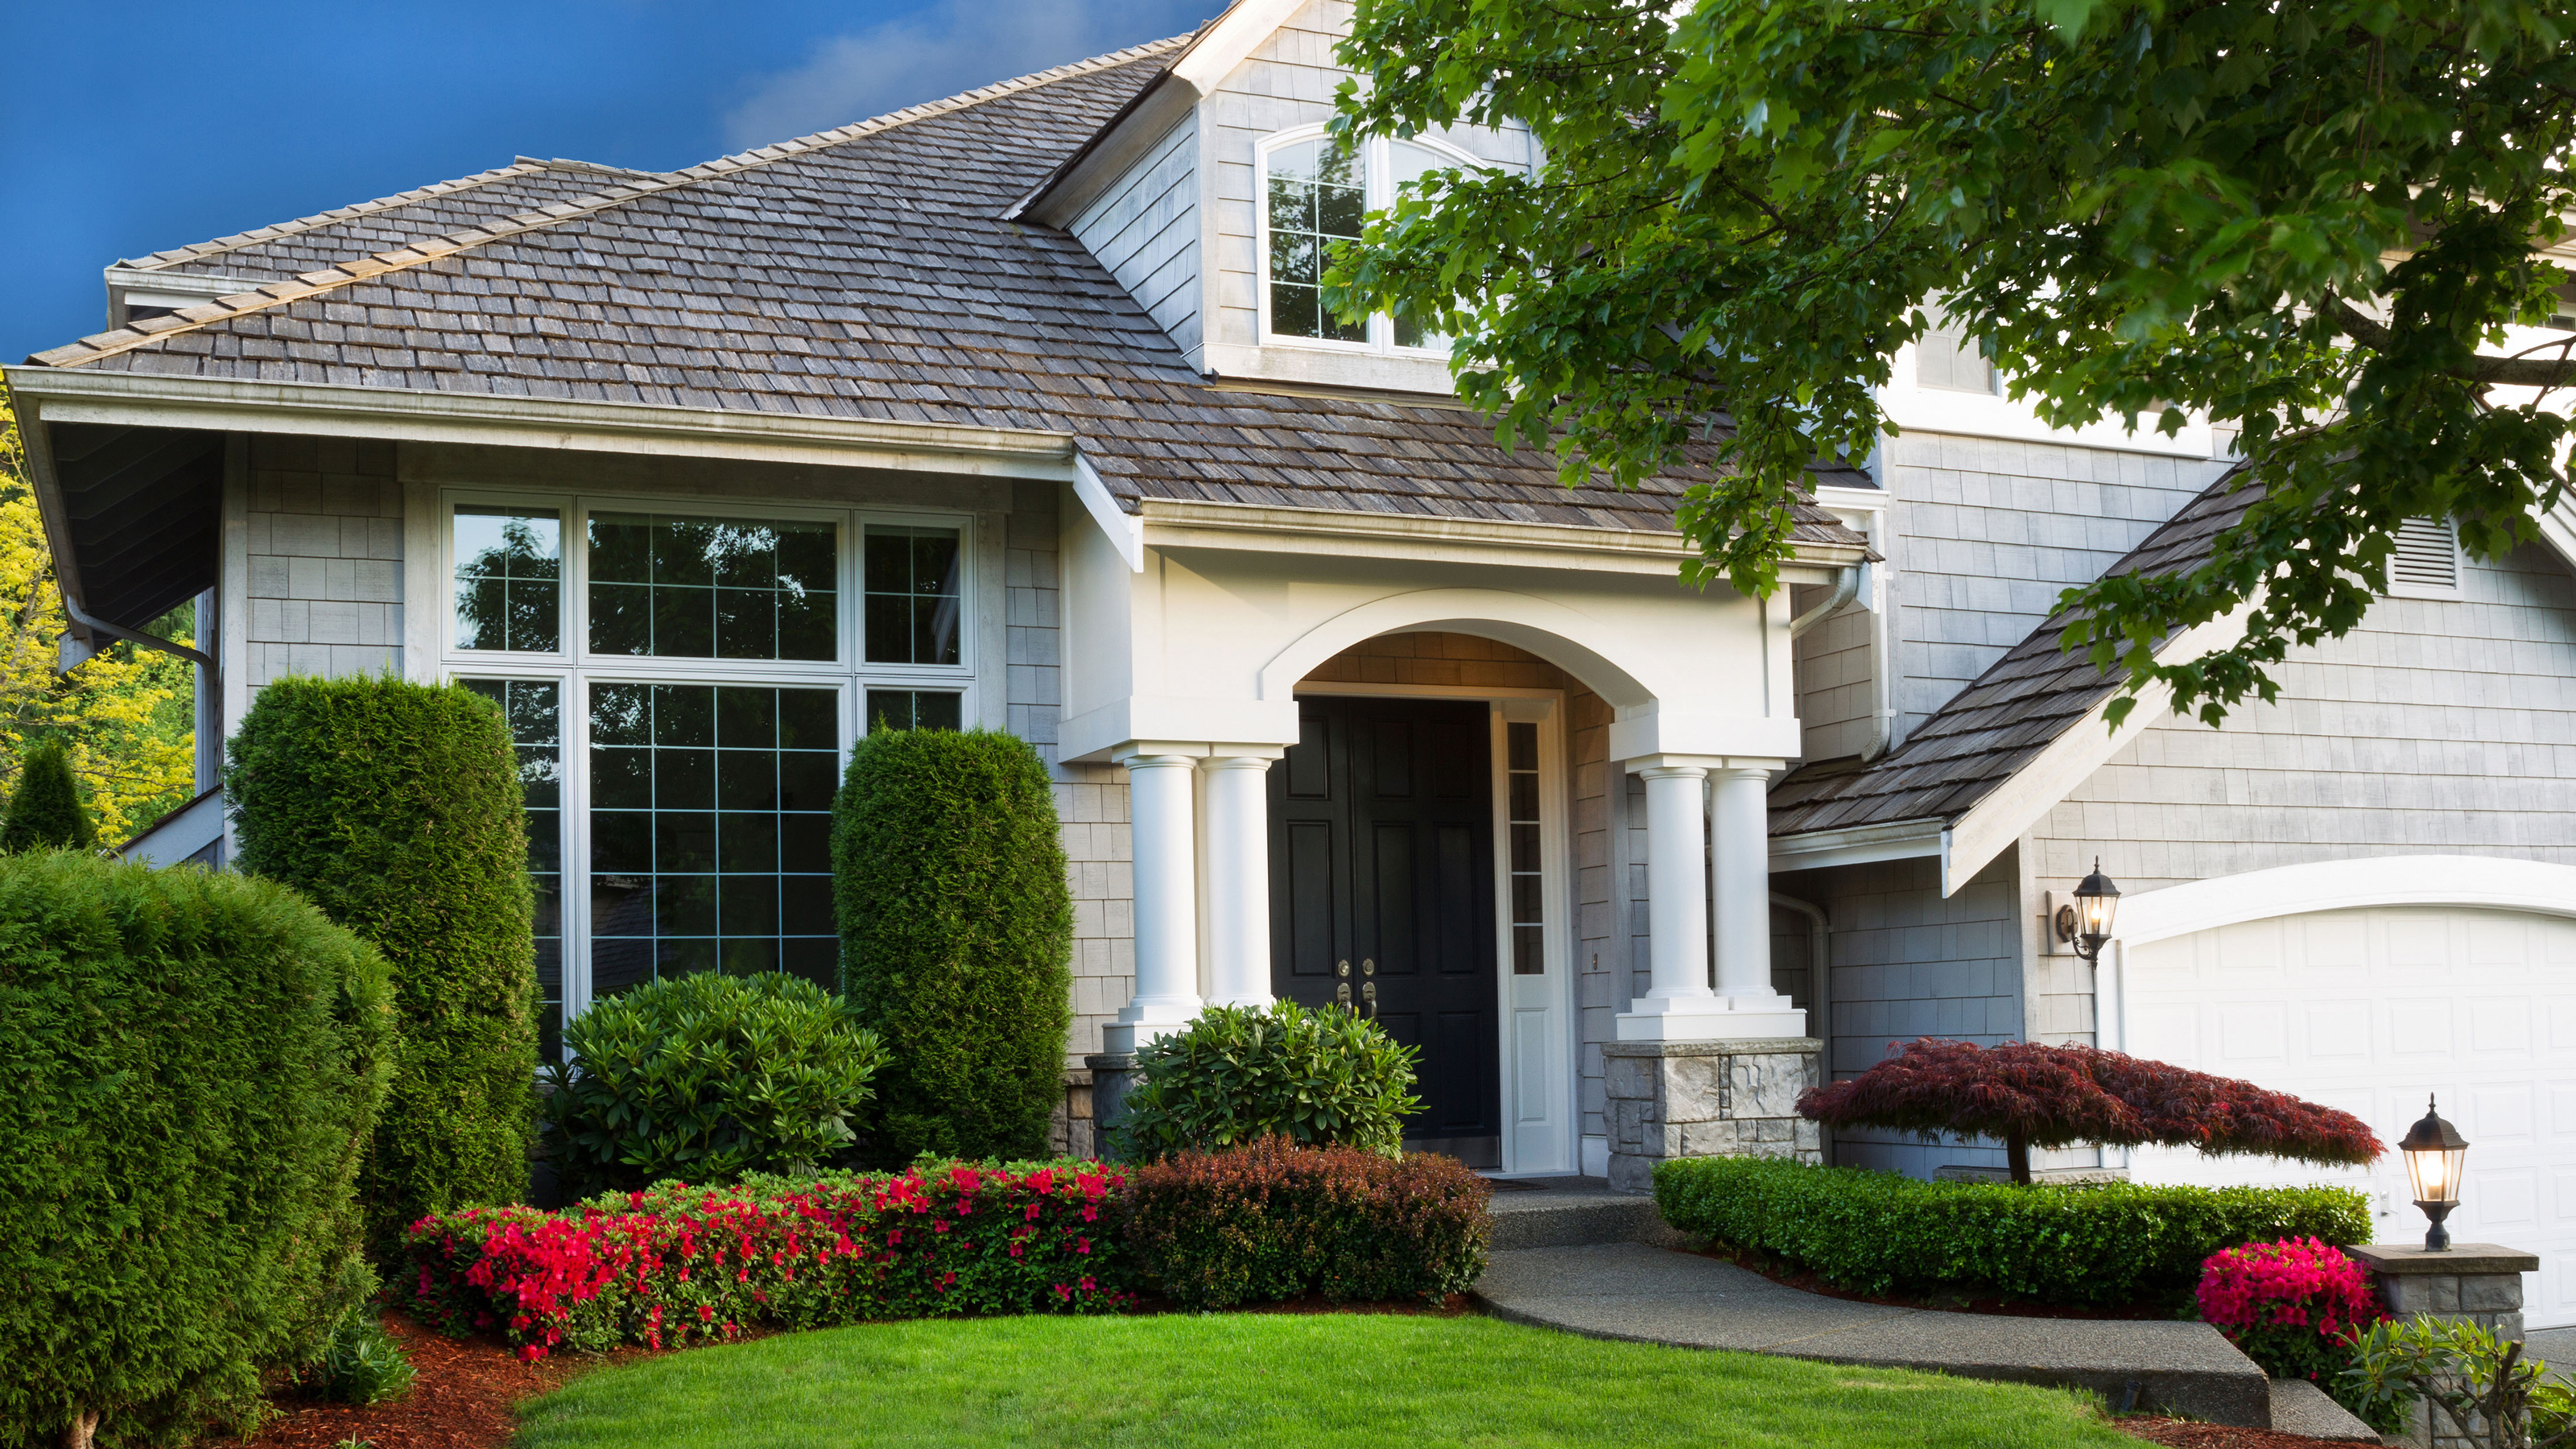 12 easy ways to add curb appeal on a budget with DIY
You can give your home curb appeal at low cost. These are the DIY ways to boost its style
-
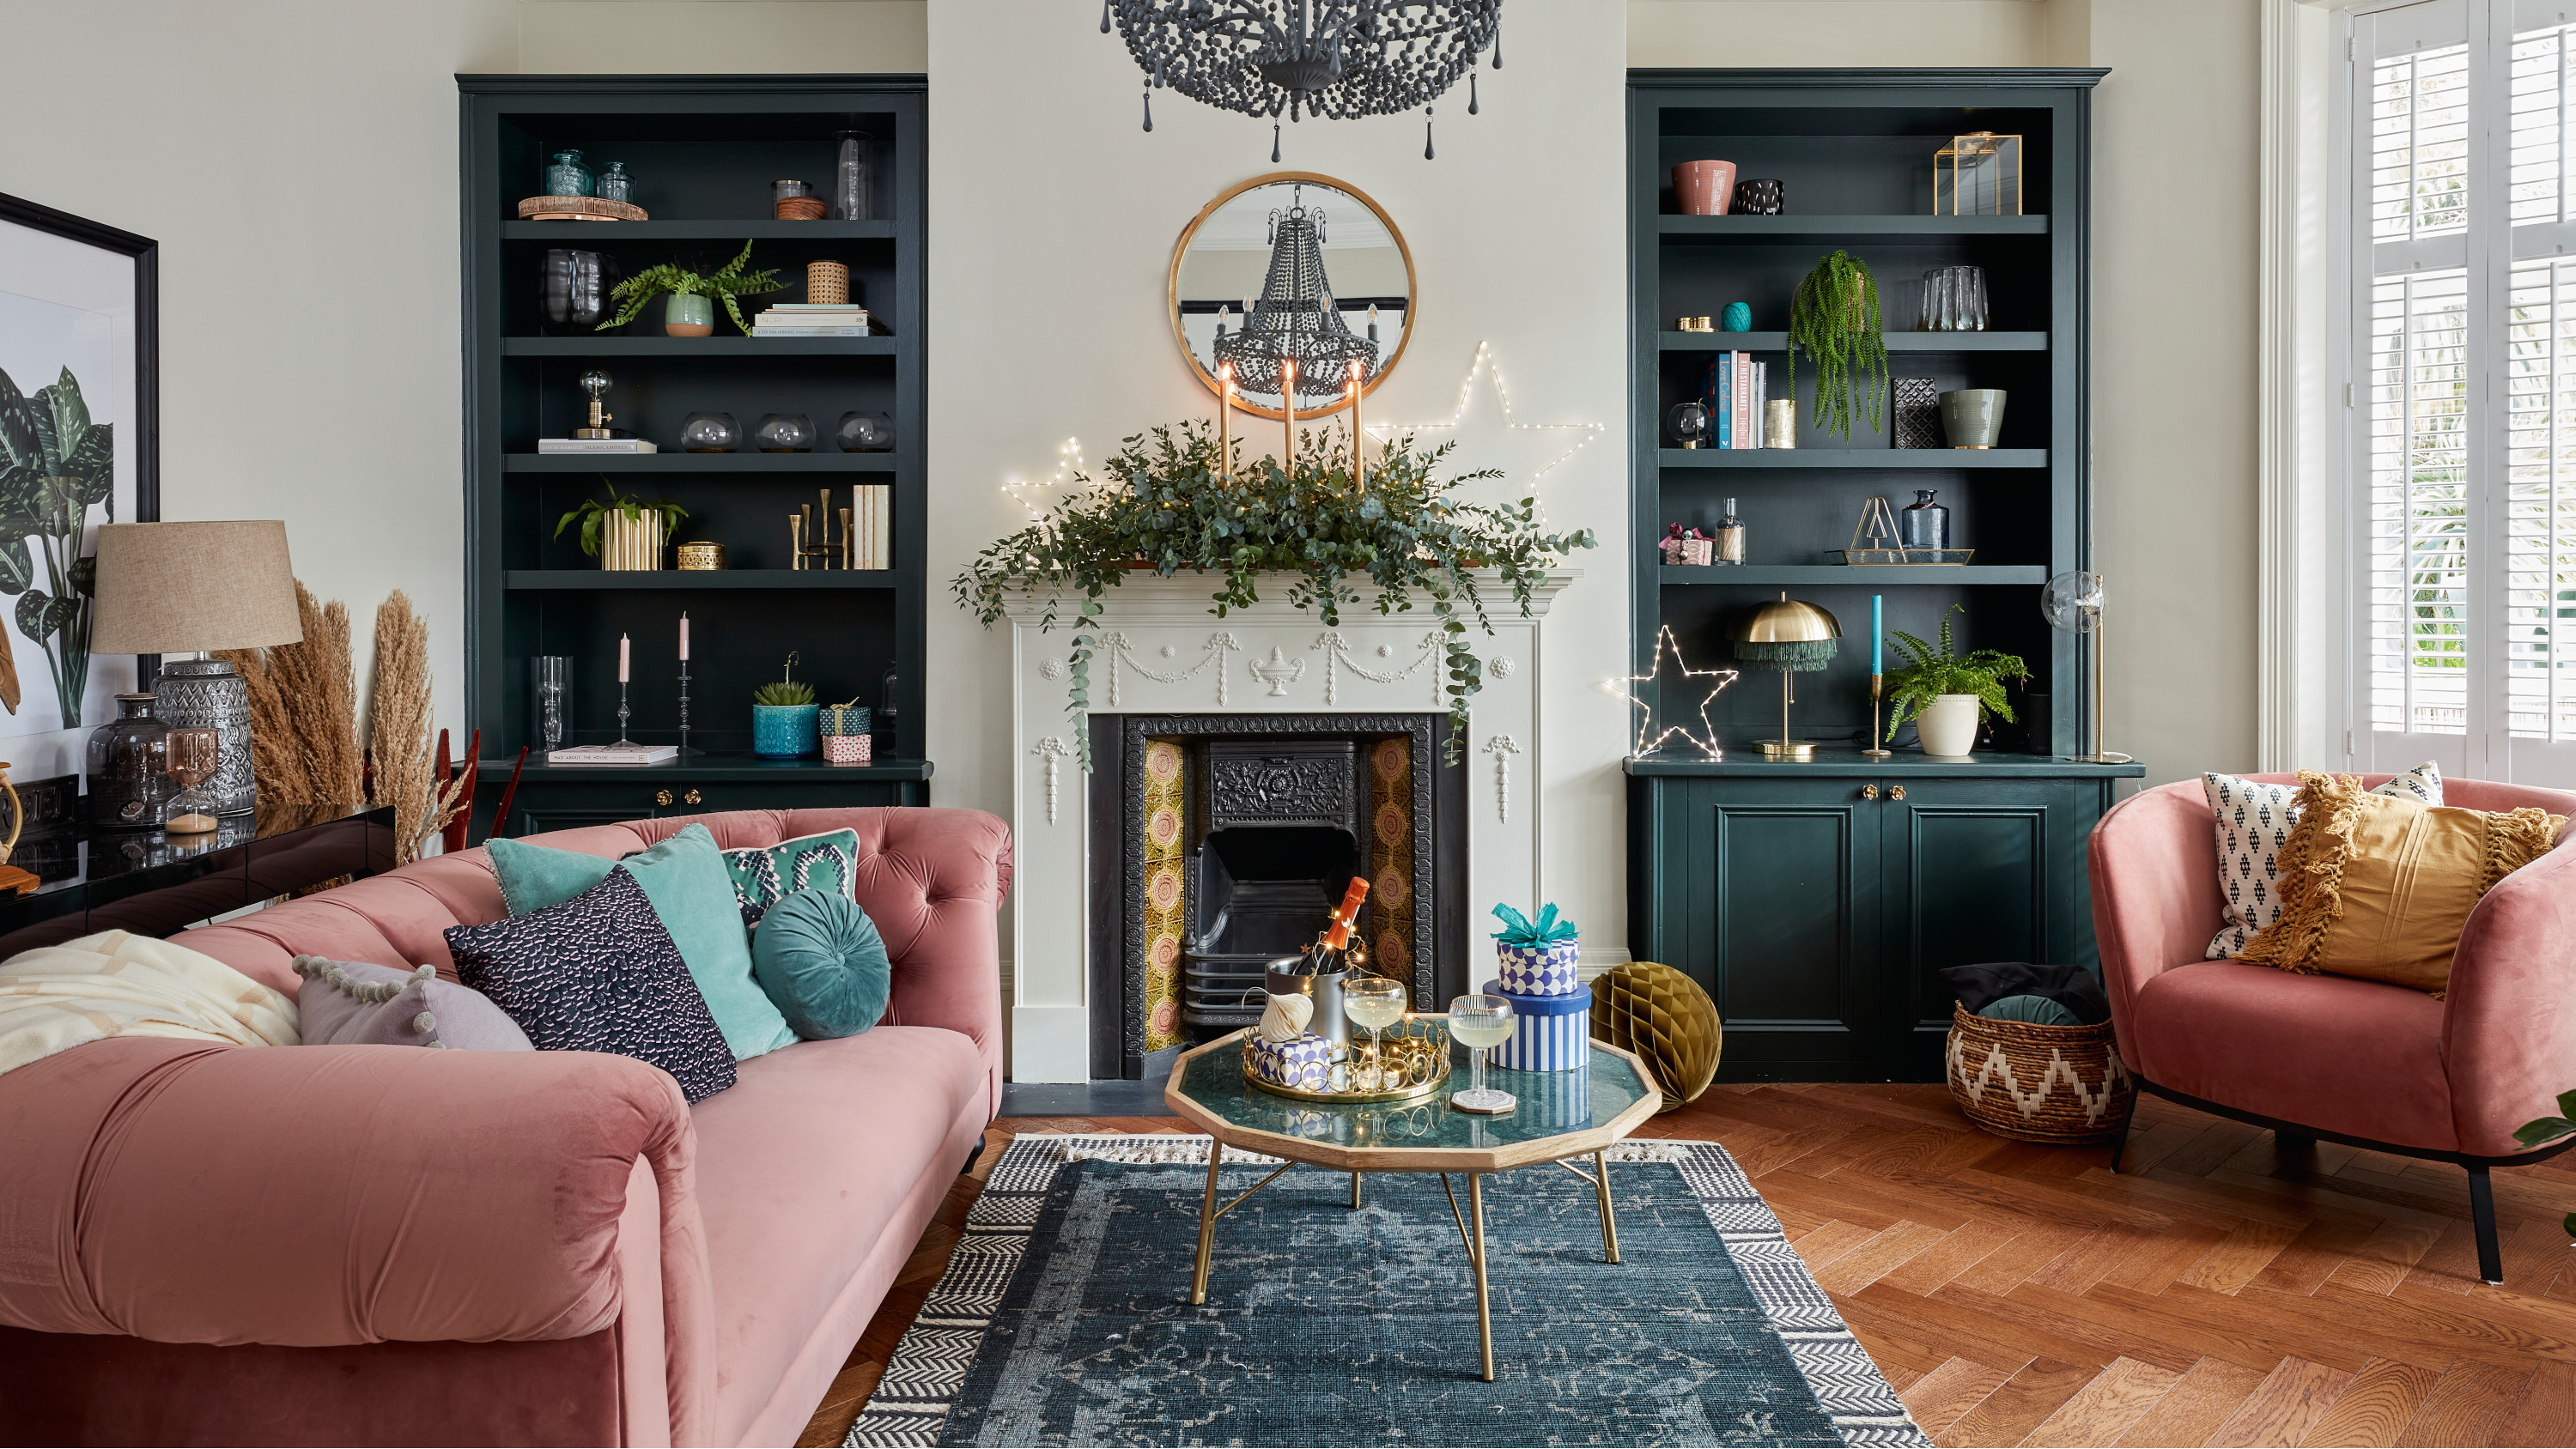 5 invaluable design learnings from a festive Edwardian house renovation
If you're renovating a period property, here are 5 design tips we've picked up from this festive Edwardian renovation
-
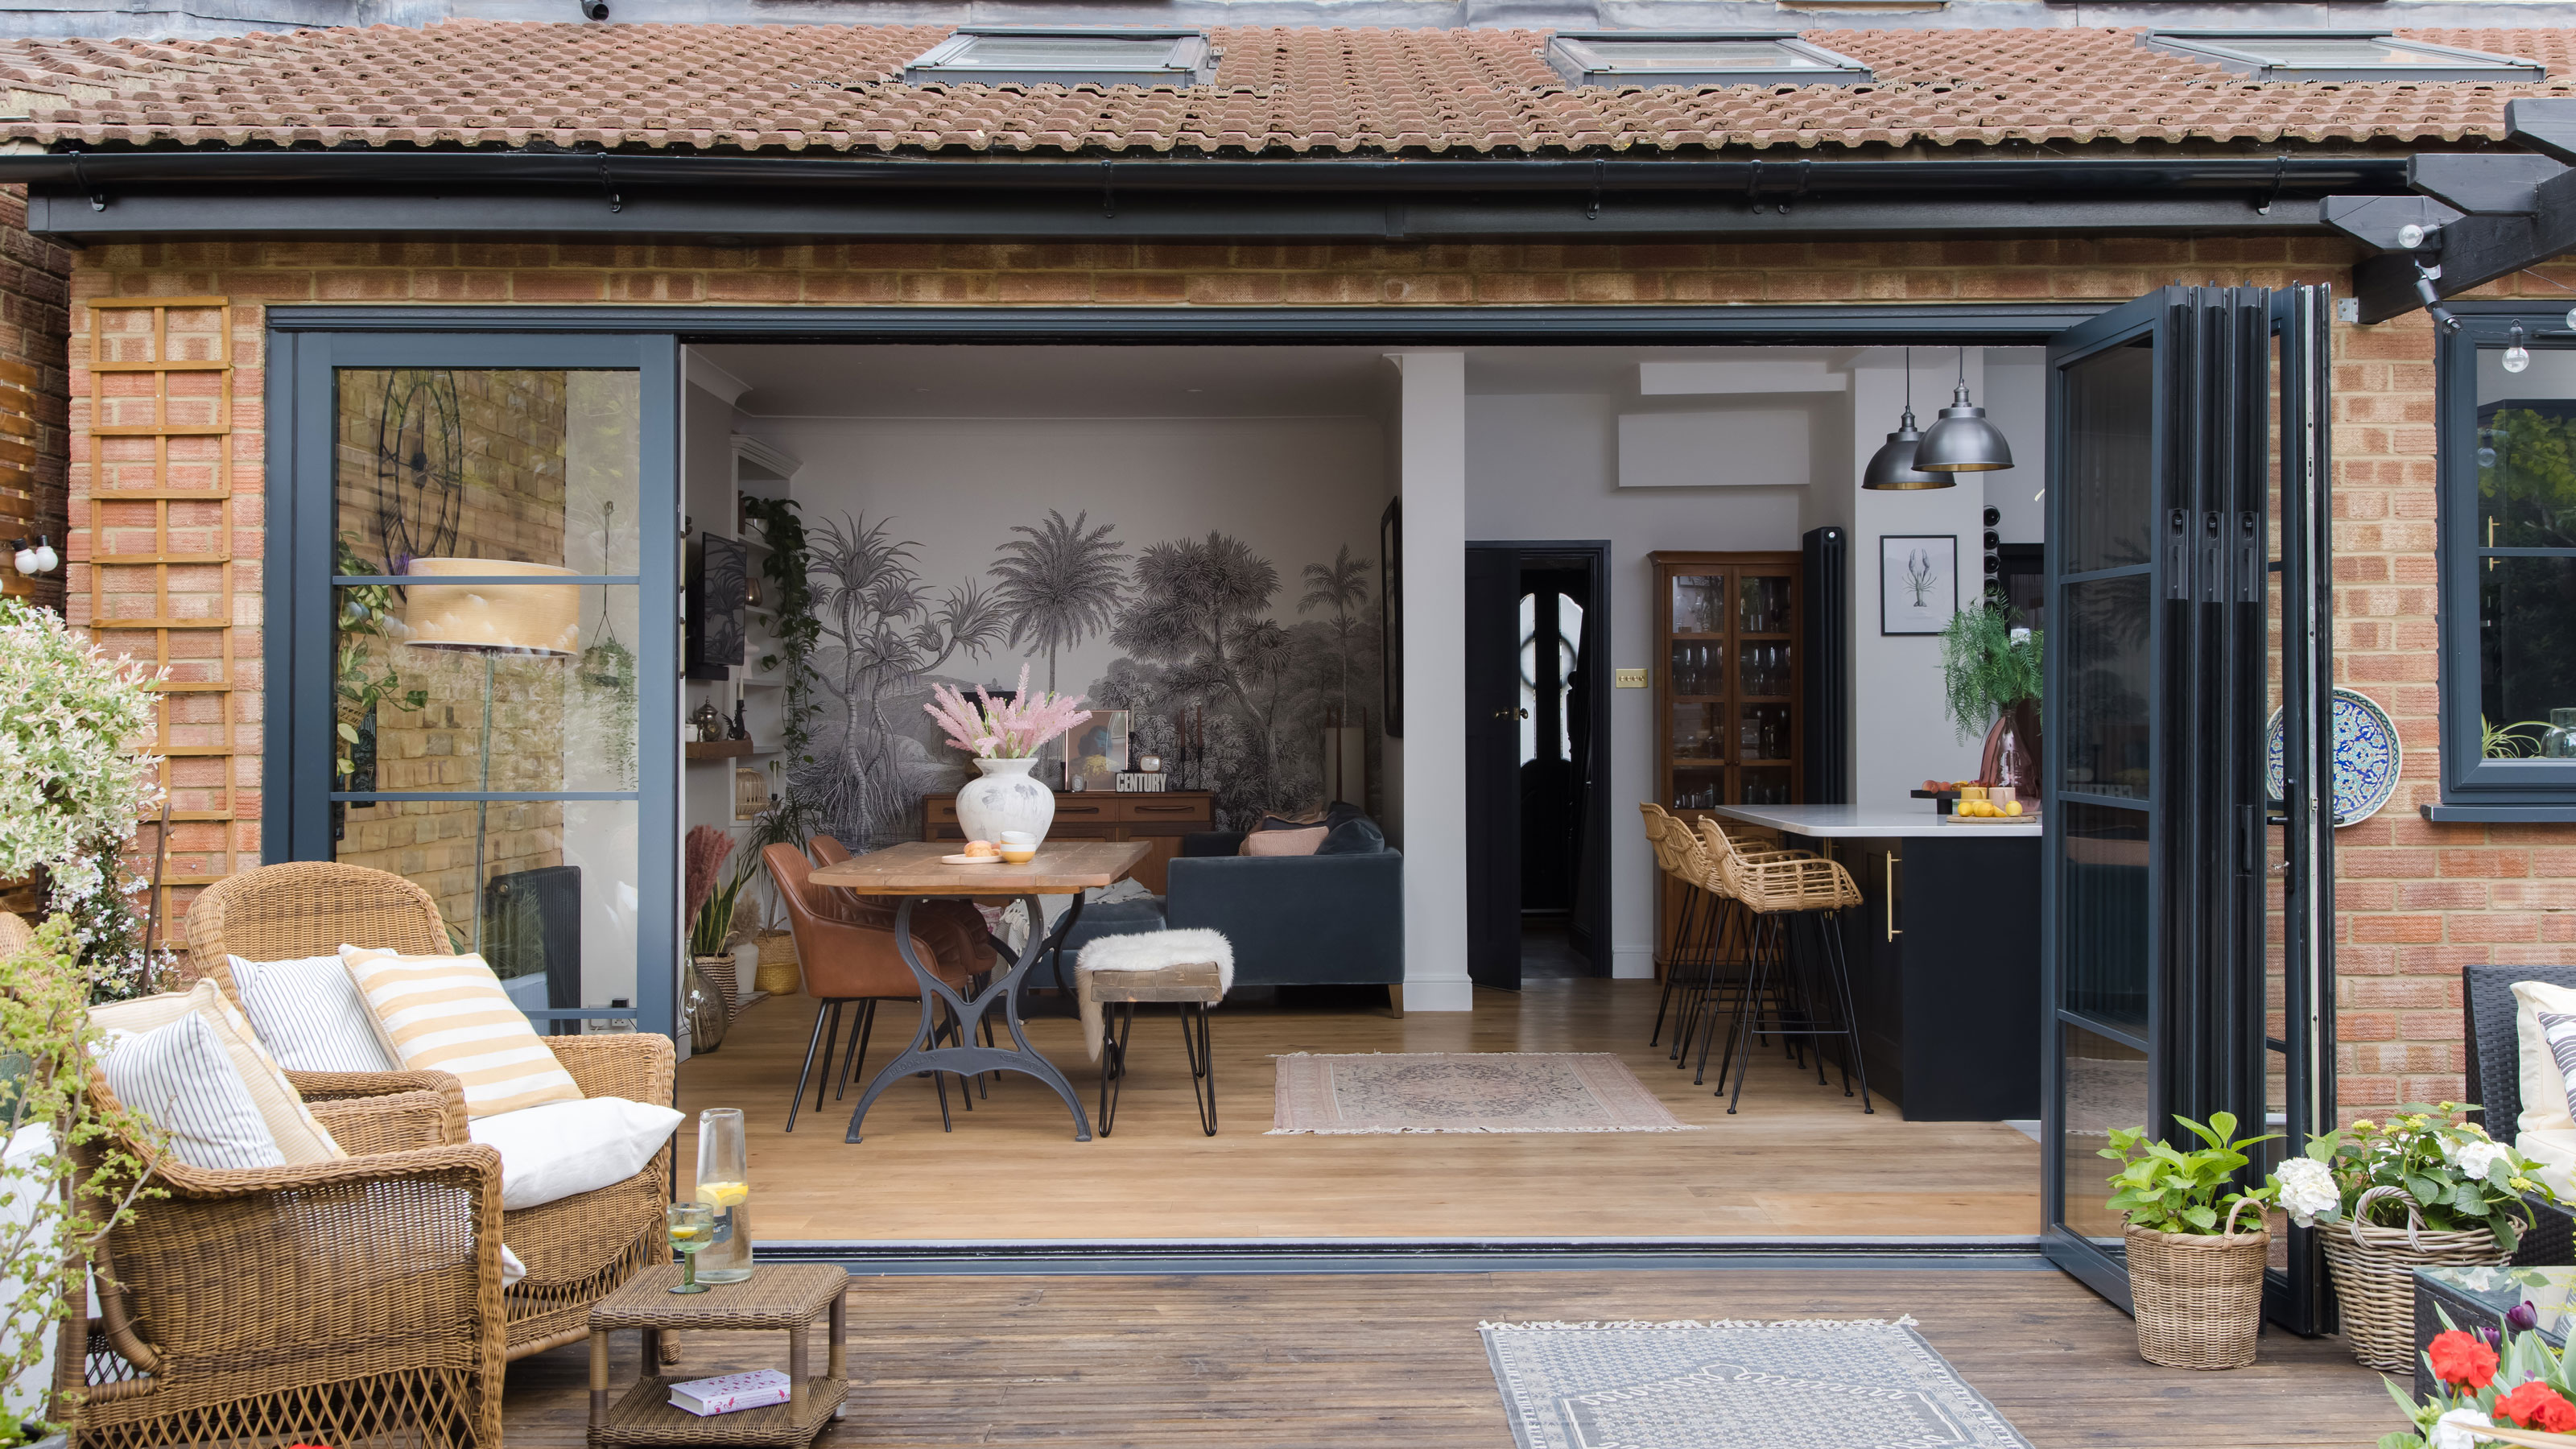
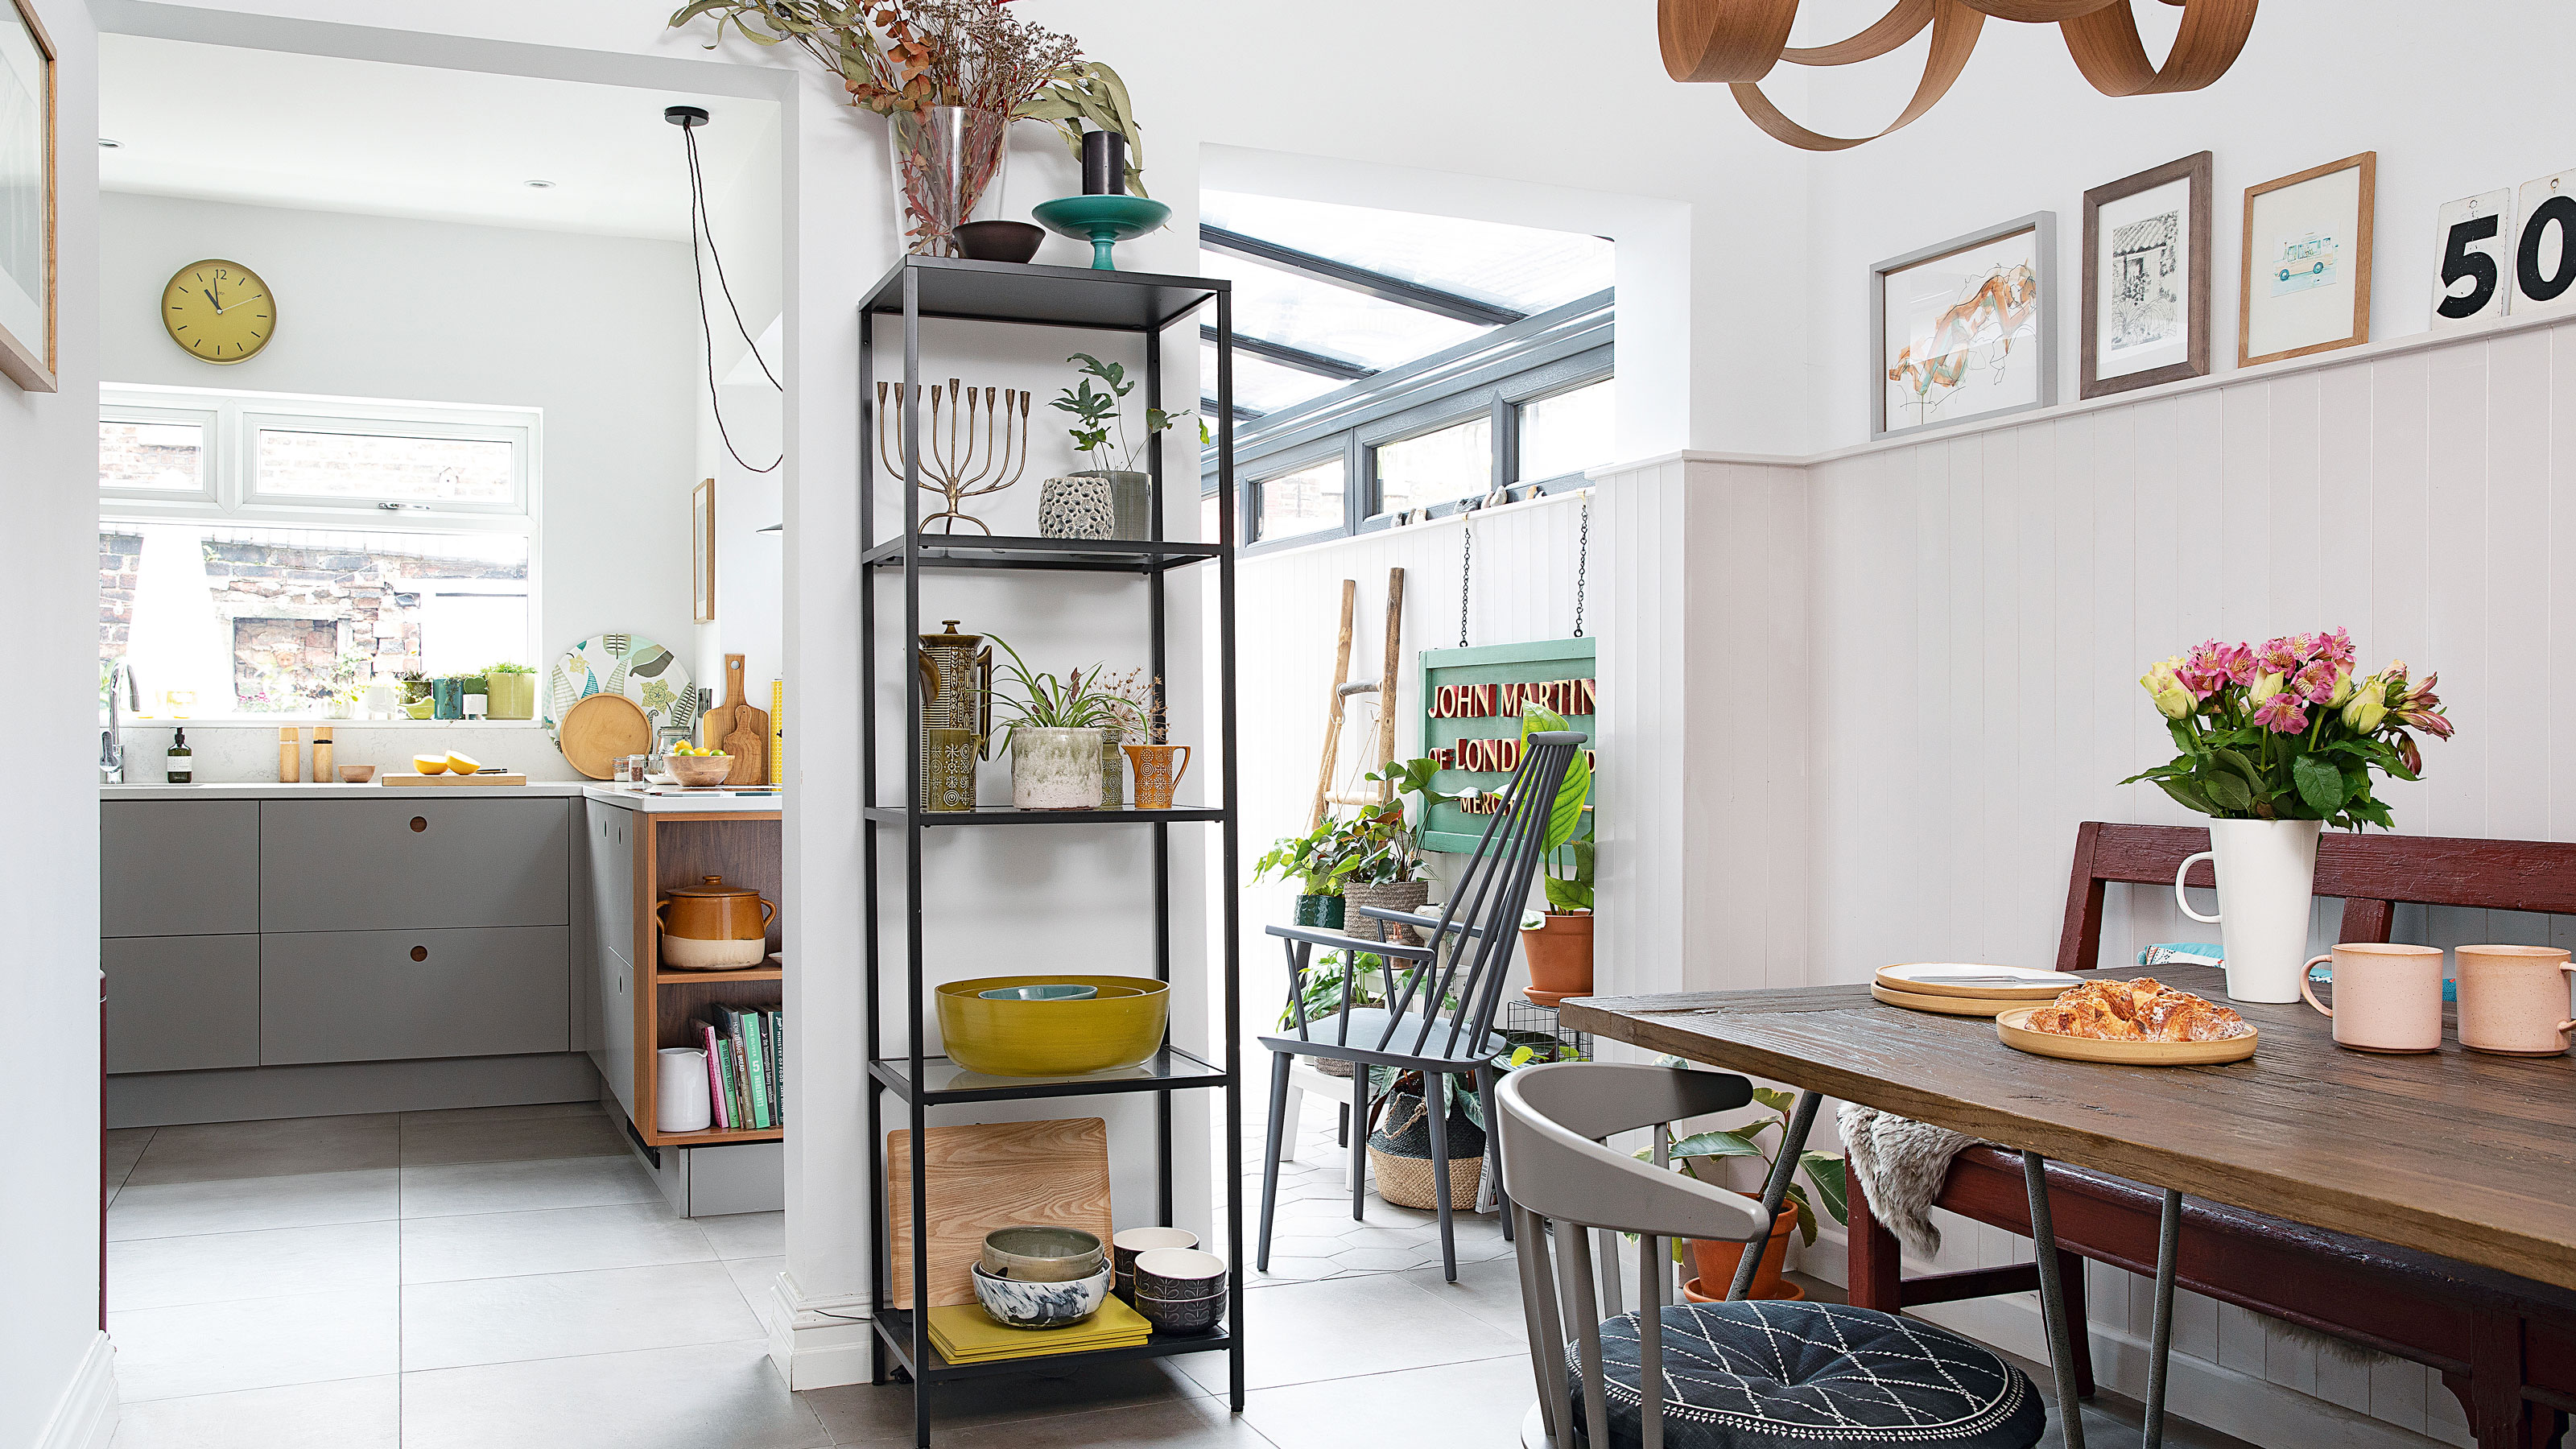 Real home: Glazed side extension creates the perfect garden link
Louise Potter and husband Sean's extension has transformed their Victorian house, now a showcase for their collection of art, vintage finds and Scandinavian pieces
-
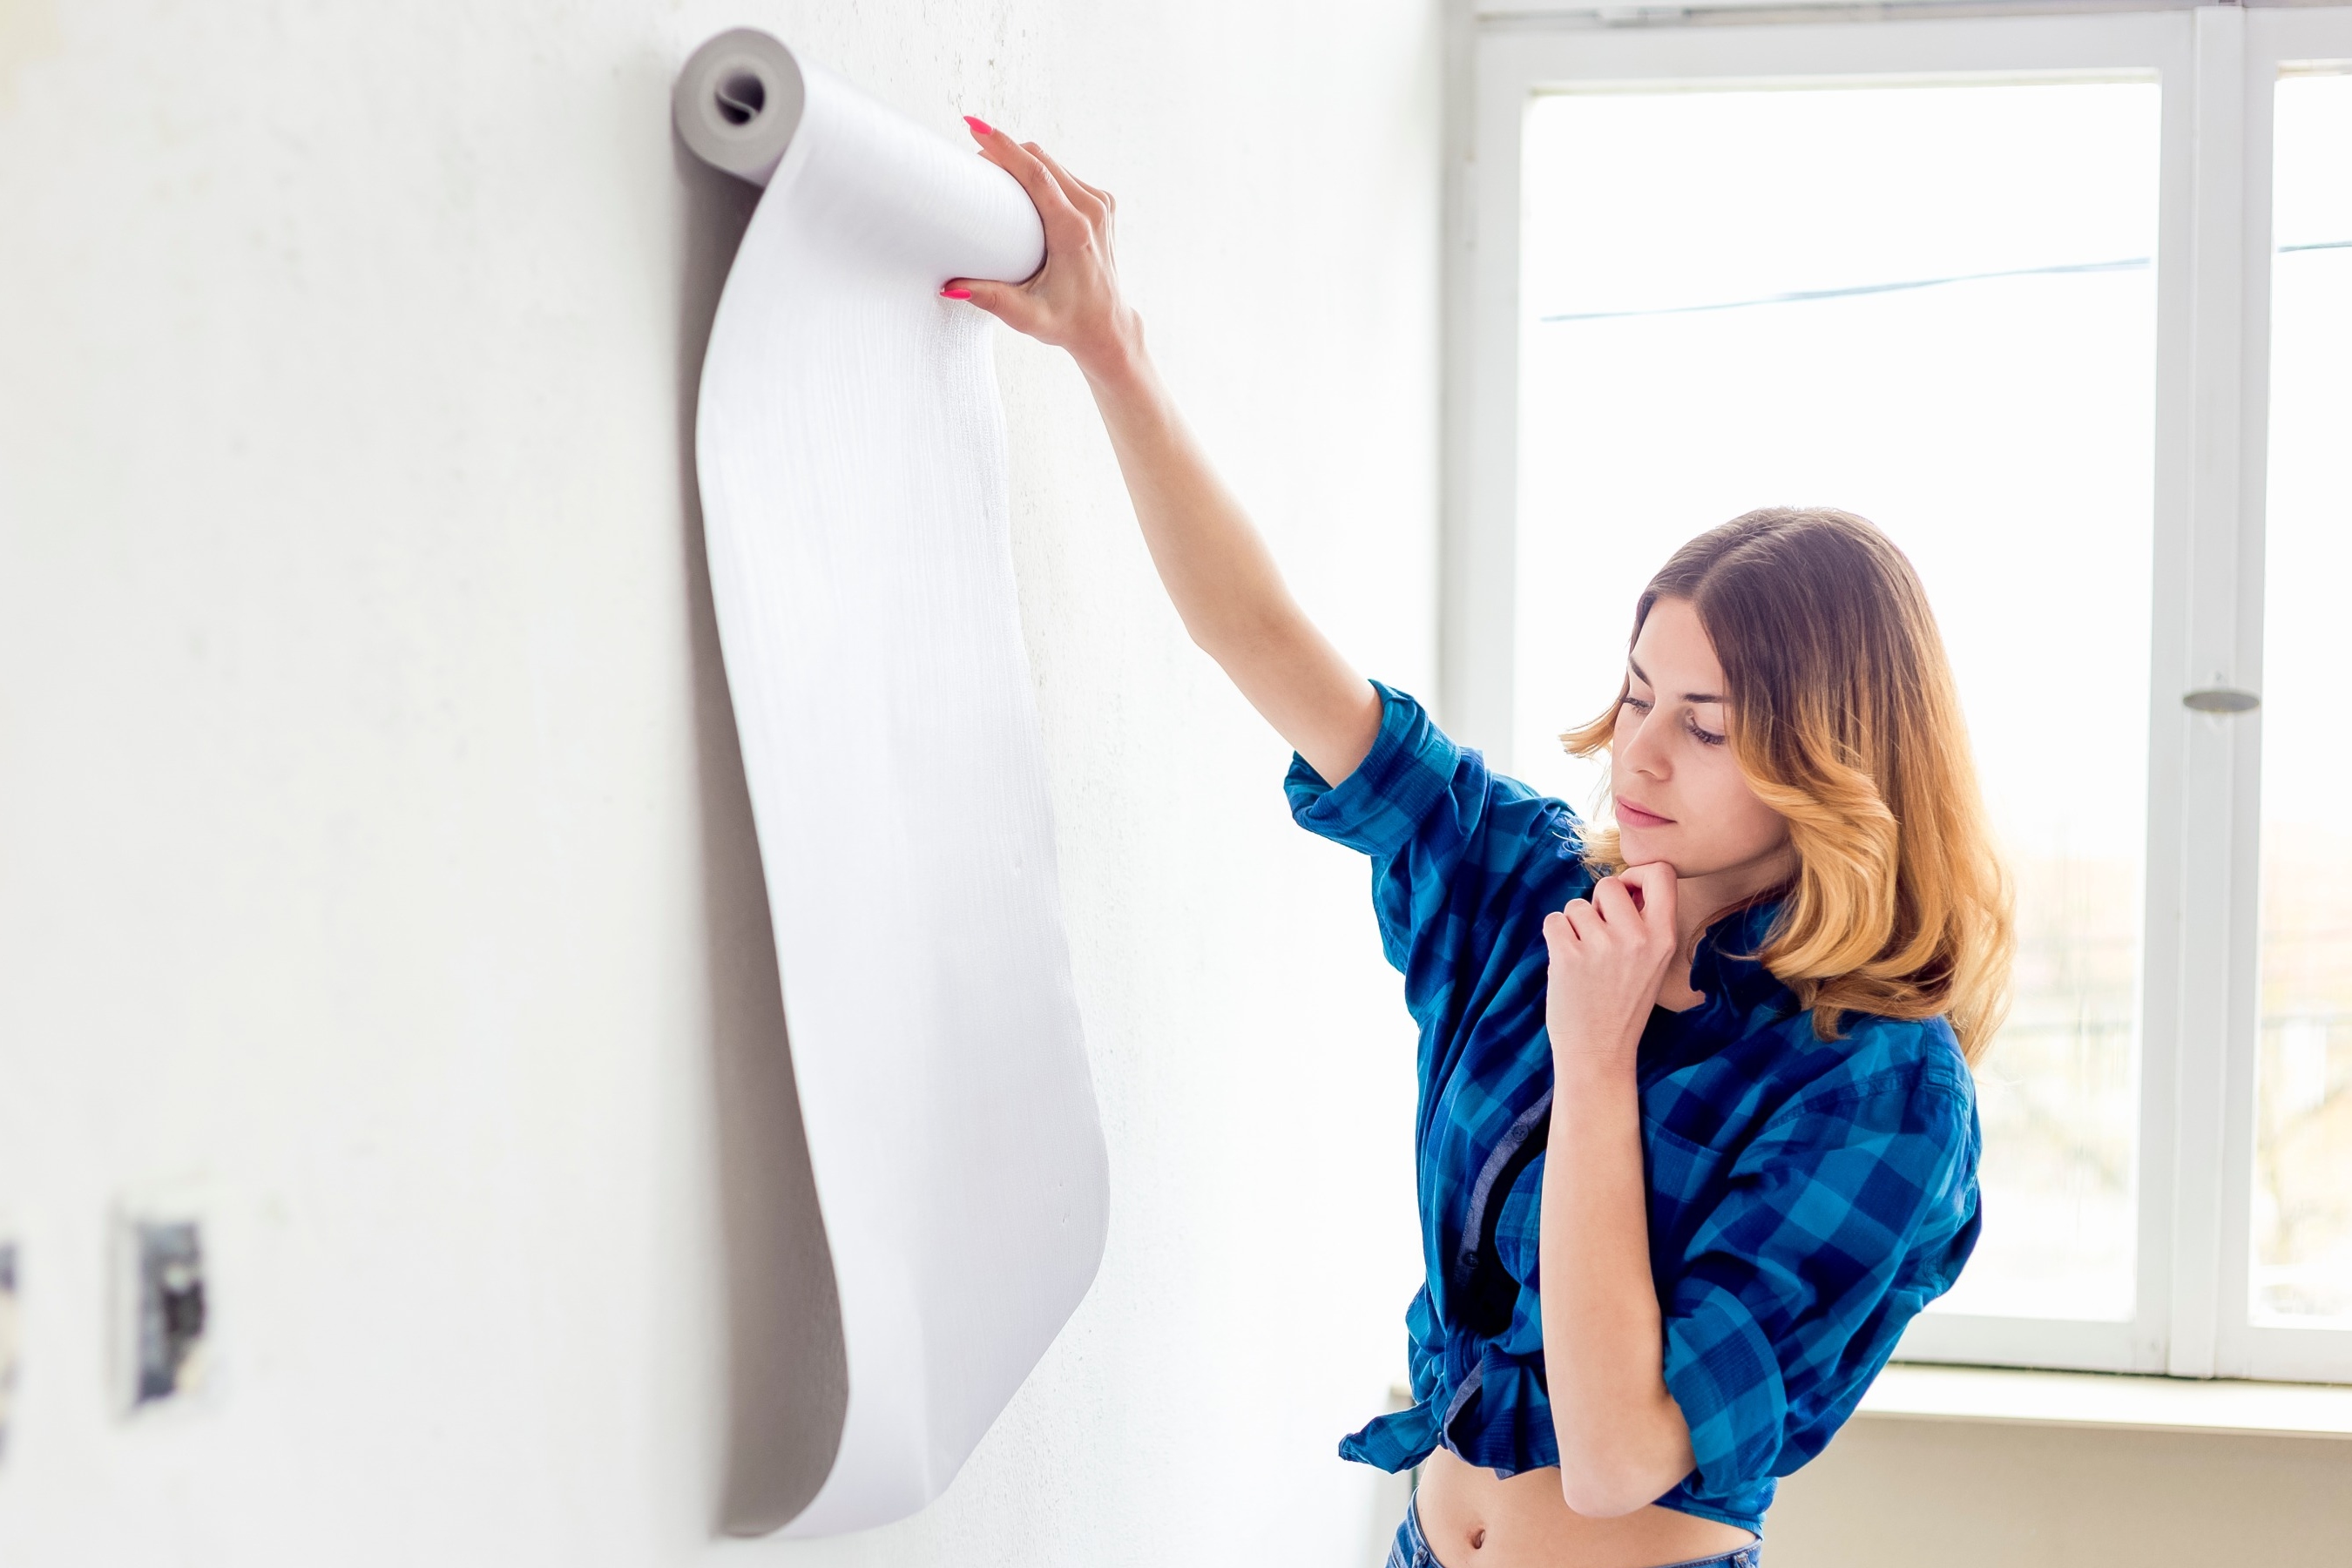 I tried this genius wallpaper hack, and it was perfect for my commitment issues
Beware: once you try this wallpaper hack, you'll never look back.
-
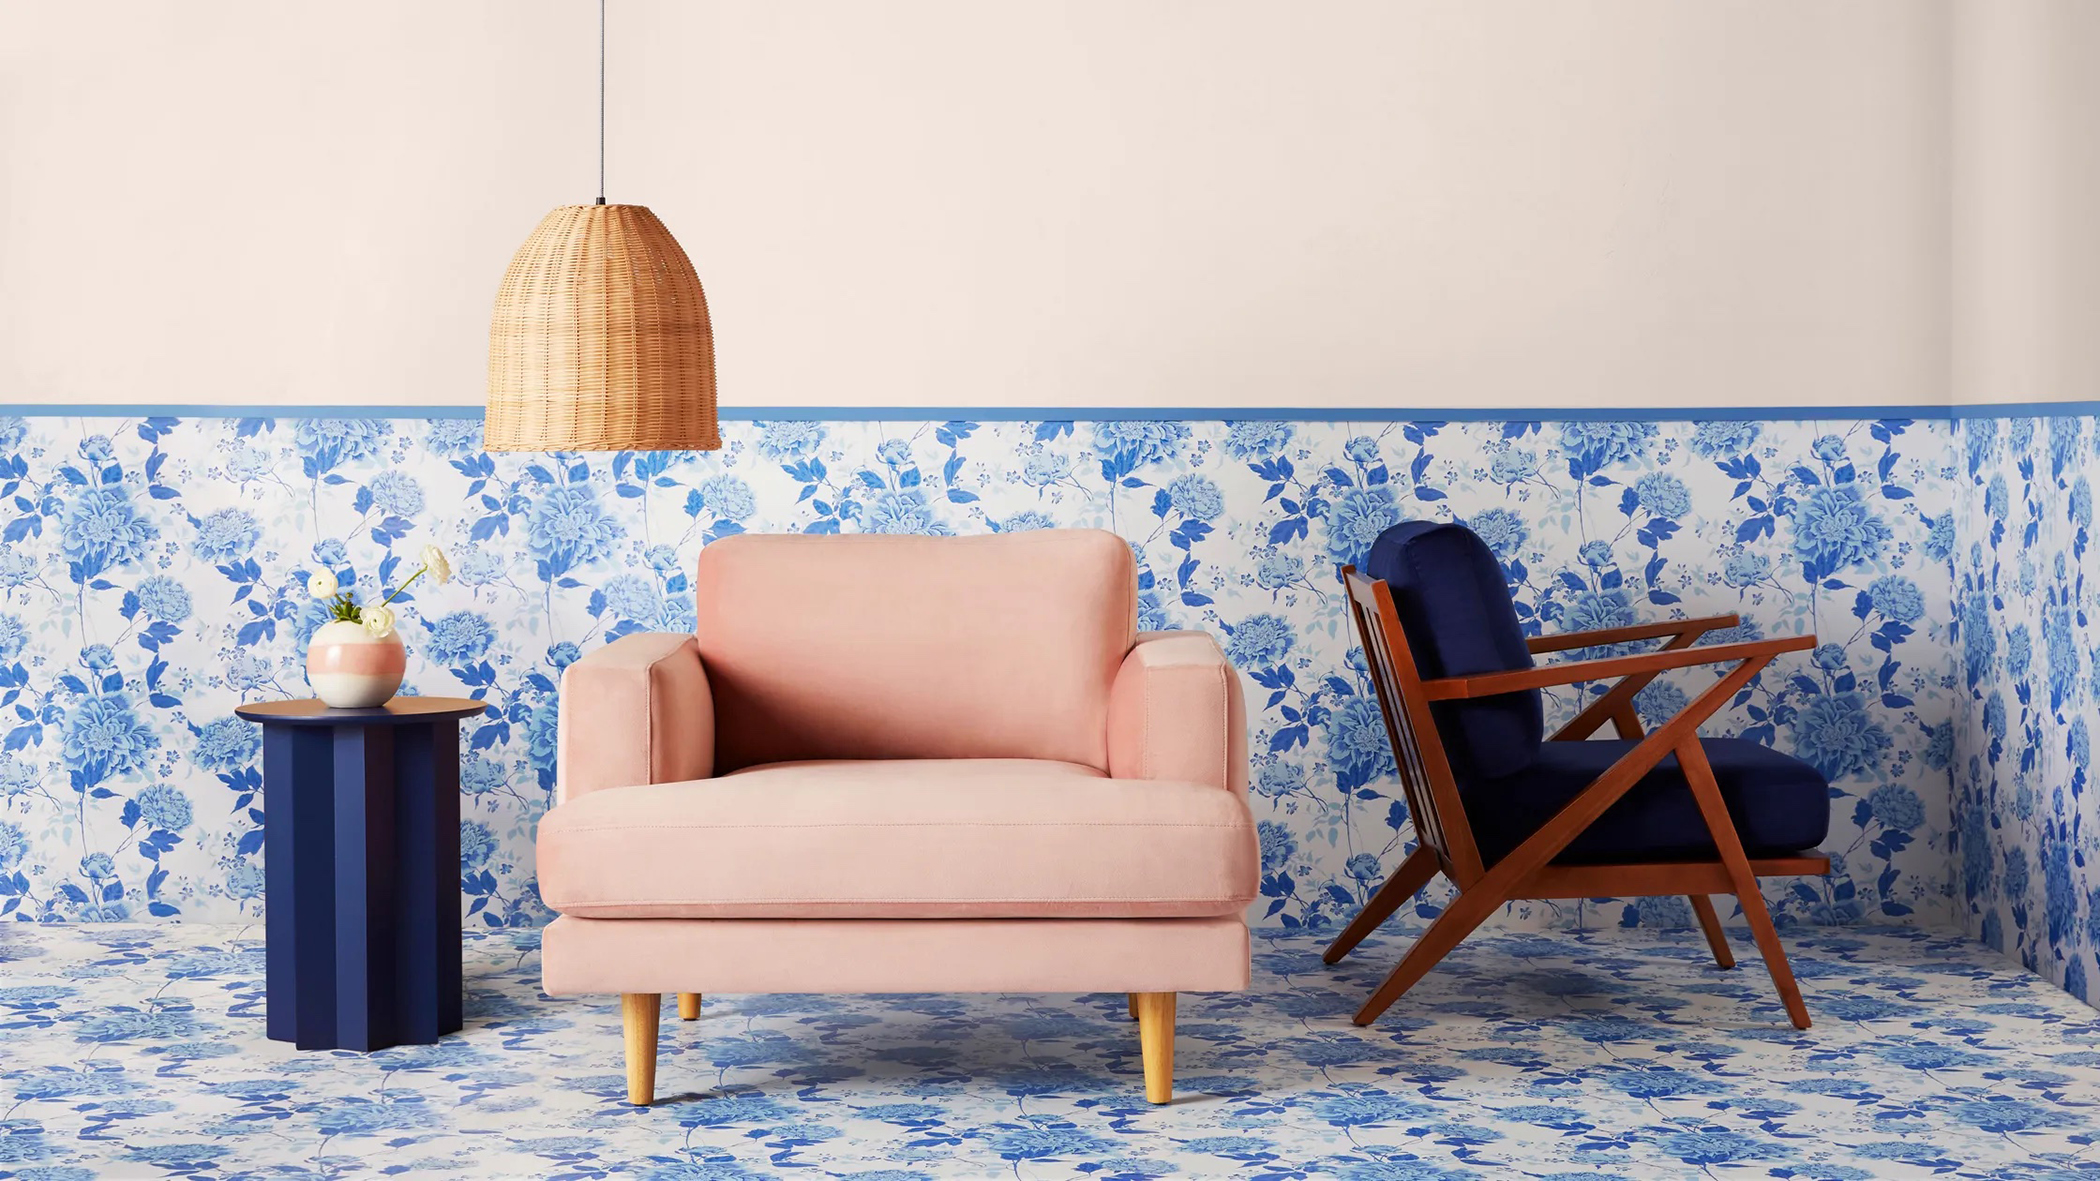 Drew Barrymore's new FLOWER Home paint collection wants to give your walls a makeover
Drew Barrymore FLOWER drops 27 brand-new paint shades, and every can is made from 100% post-consumer recycled plastic.


