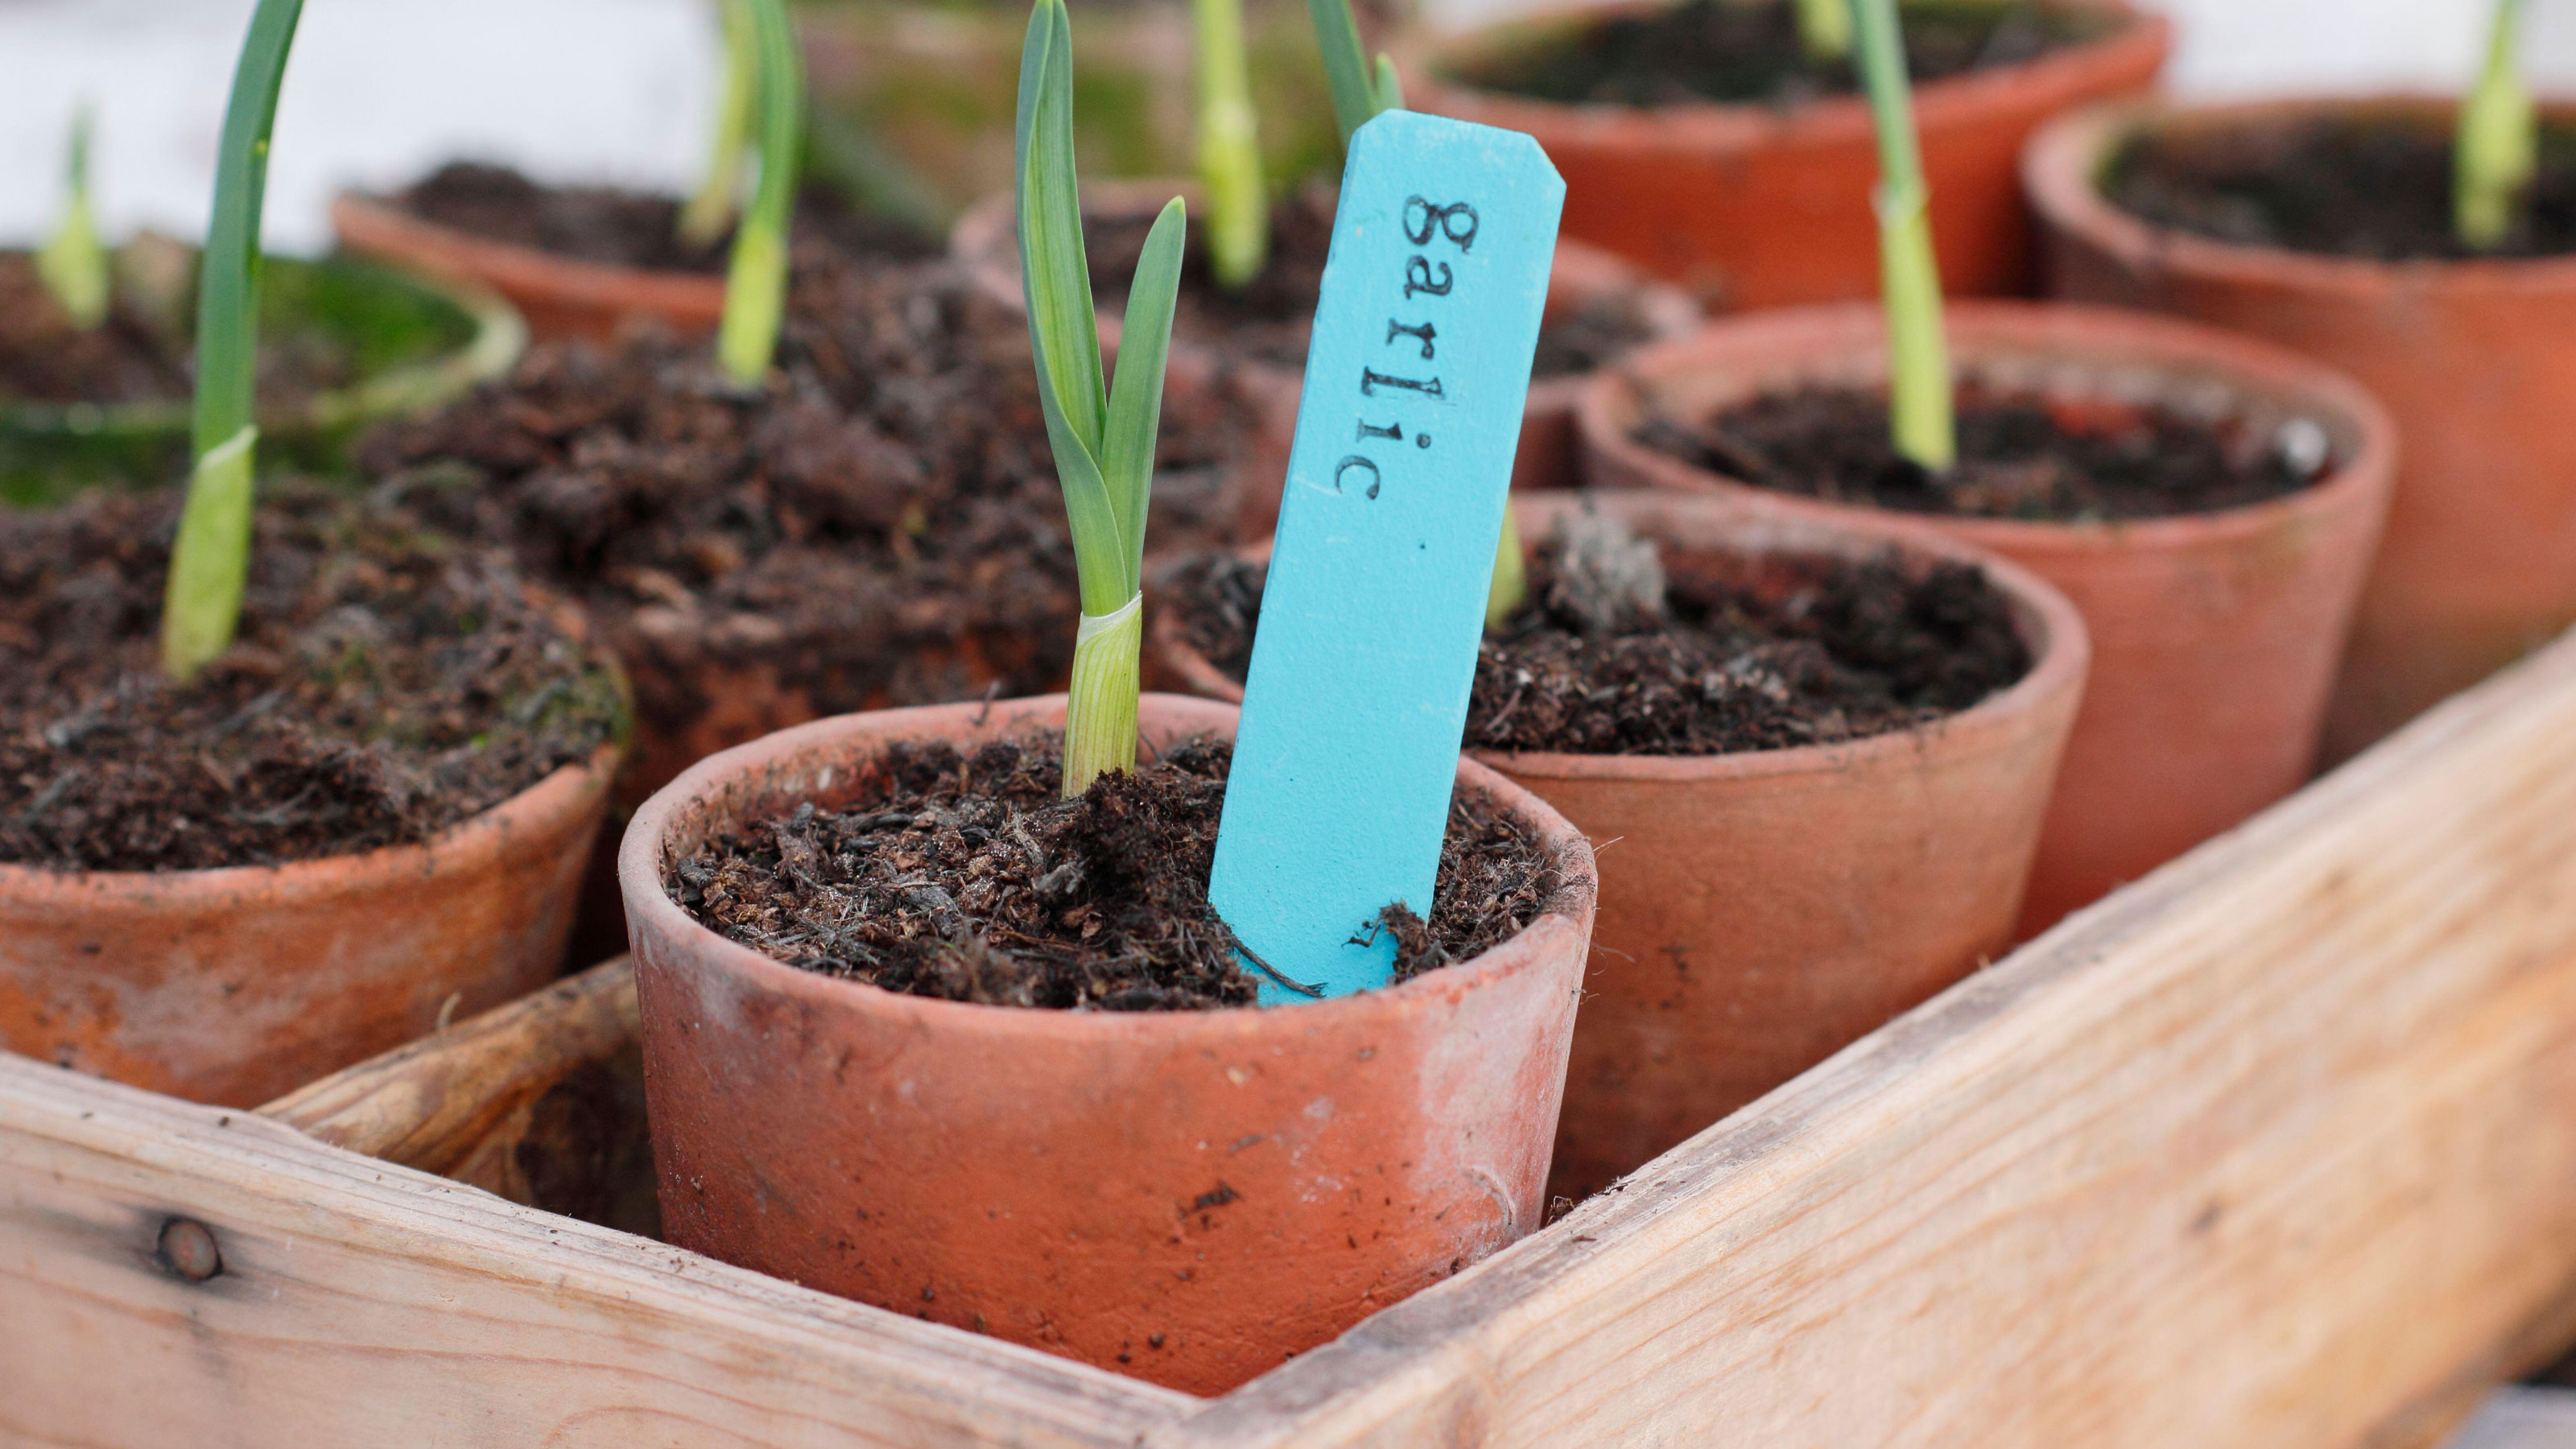
Can you really grow garlic indoors? Yes you can and the good news is it's pretty easy to do. It's a great option if you love the idea of growing this kitchen staple but don't have a garden, balcony or other outdoor space that makes this possible.
As well as bulbs you can successfully cultivate fast-growing garlic greens indoors as a handy and fast option you can snip to zhuzh up dishes.
New garlic bulbs are grown from the single cloves of an existing bulb so this doesn't take up a lot of space like seed trays do as they can be grown in pots. As long as you follow a couple of easy steps like choosing the right type of garlic bulb and giving them enough light to flourish you'll soon be harvesting your own crop.
Now find out how to grow garlic indoors and discover that homegrown produce always tastes so much better. All you need is a pot, some soil, and a bulb of garlic.
The best way to grow garlic indoors
Step 1: Source the right garlic bulbs
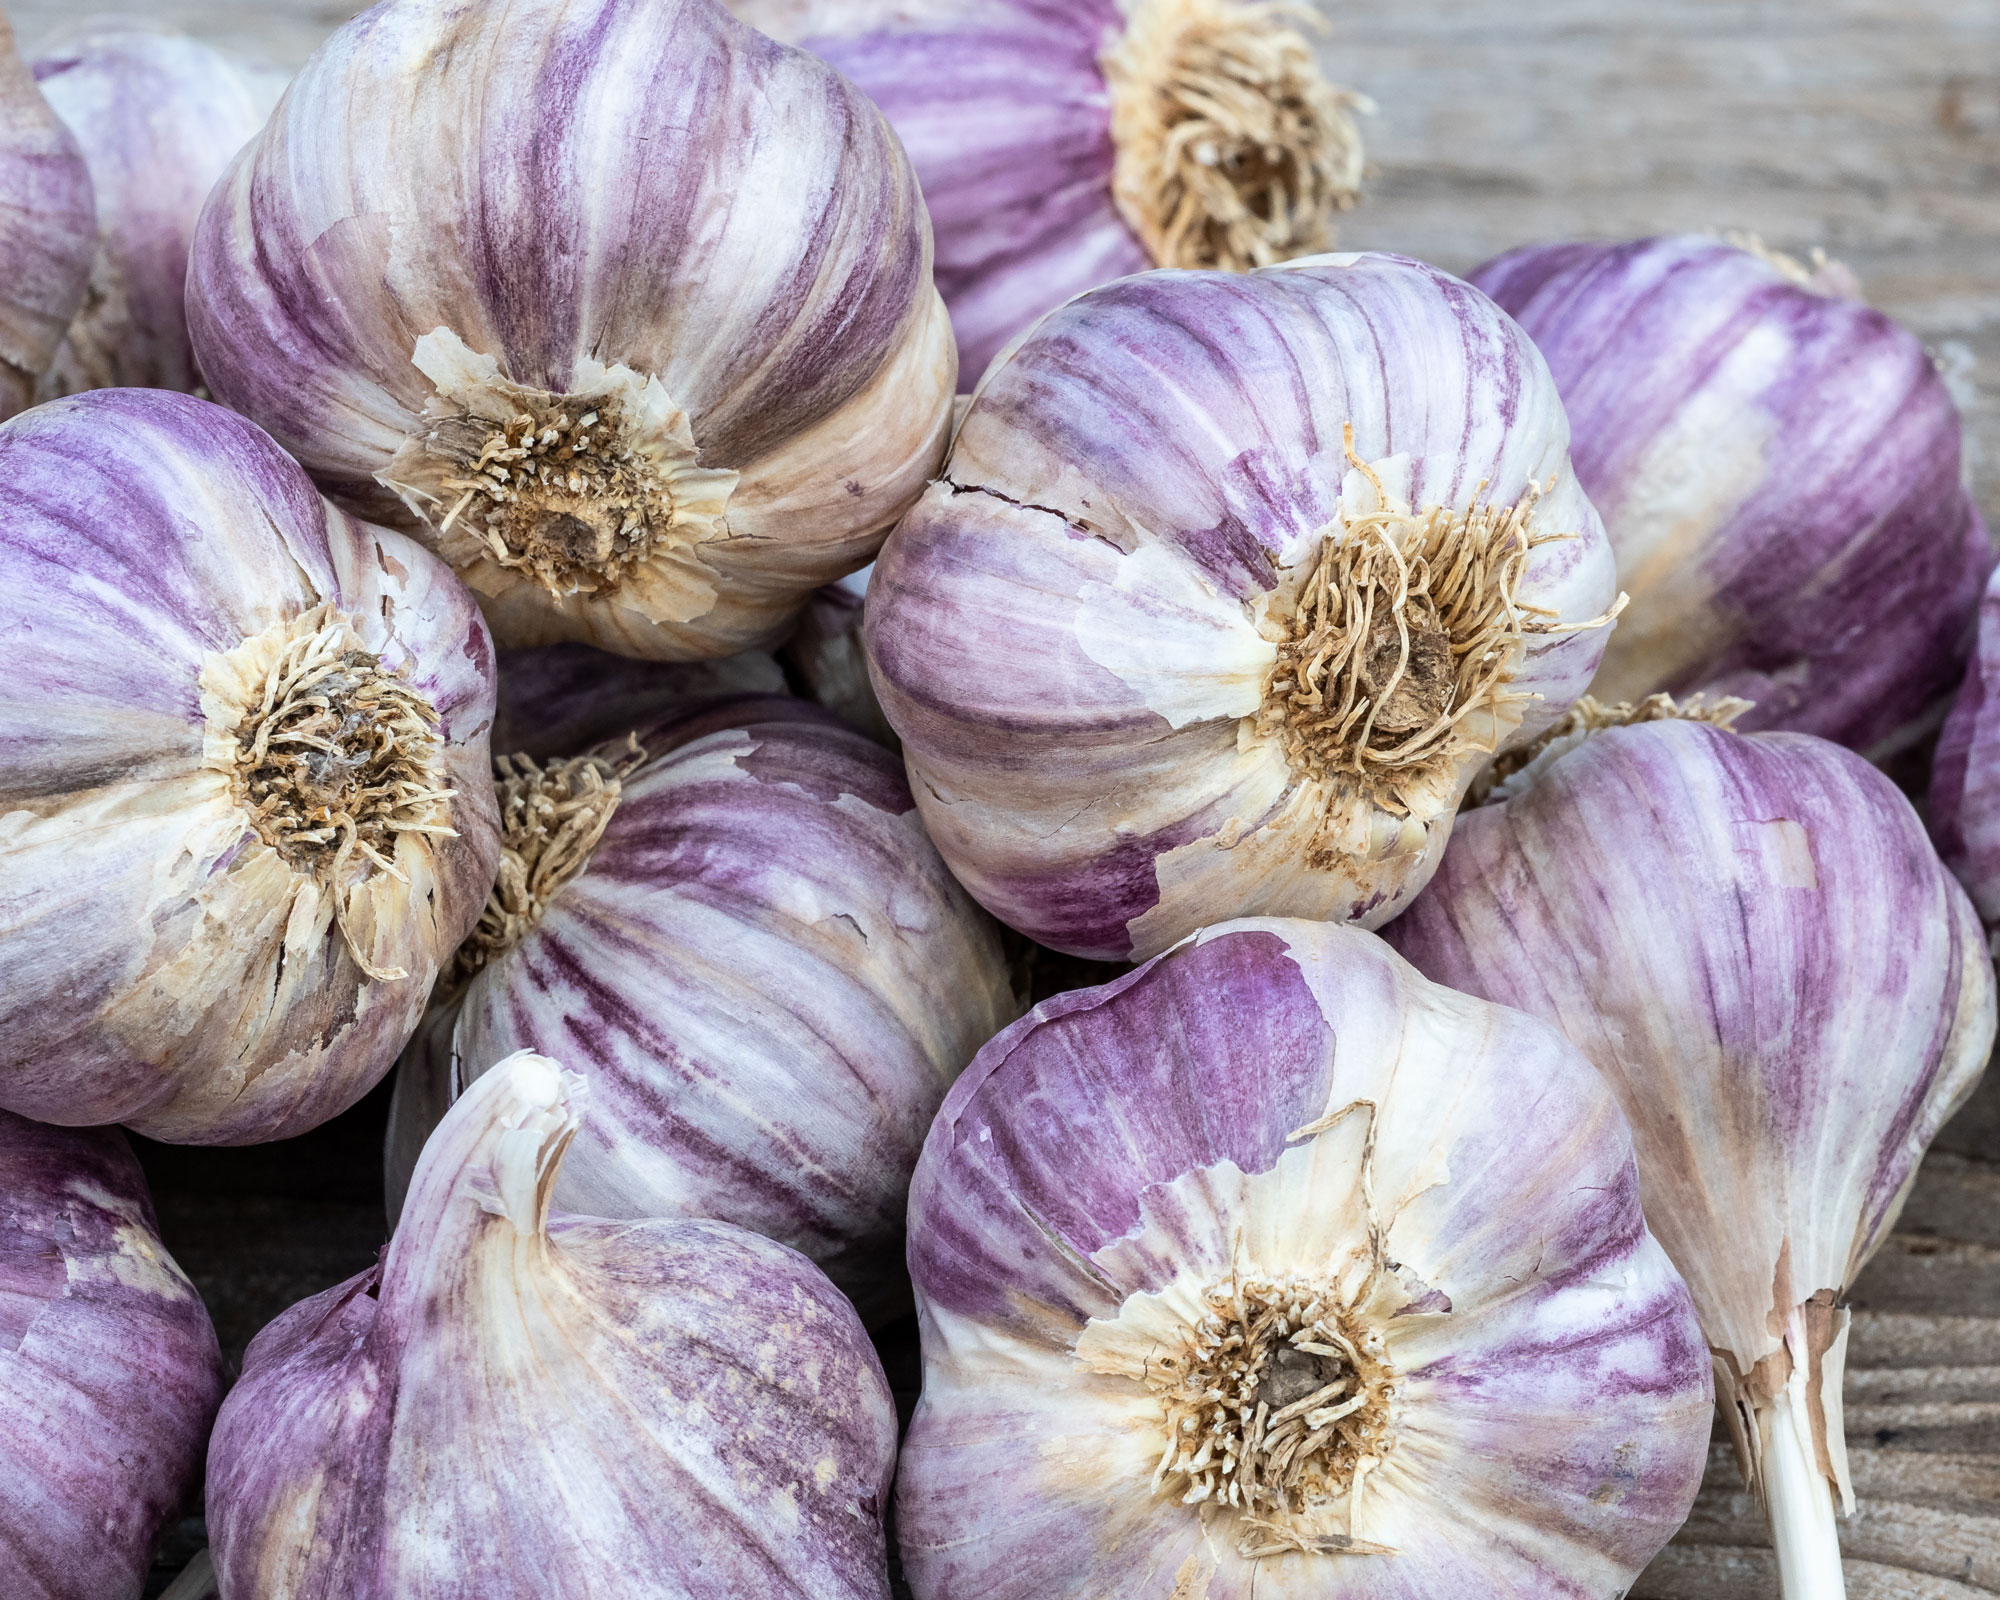
Find named varieties of garlic bulbs from a plant nursery or mail-order supplier and you should end up with a good crop. These bulbs are often called 'seed garlic' and are the best quality.
Planting garlic bought from the grocery store is not recommended as they might carry disease, are sometimes sprayed with a sprout inhibitor, and are not as fresh as seed garlic.
The two main types of garlic to choose from are hardneck and softneck varieties.
Softneck garlic is the more common variety you buy at the grocery store. It tends to have more cloves per bulb, grows well in a warm climate, and stores for longer. But it has less flavor.
Hardneck garlic is available in may different varieties, the cloves are bigger, and it grows well in a cold climate. In addition it has a good flavor but it doesn't store for as long as softneck garlic.
Step 2: Trick the bulbs by faking winter
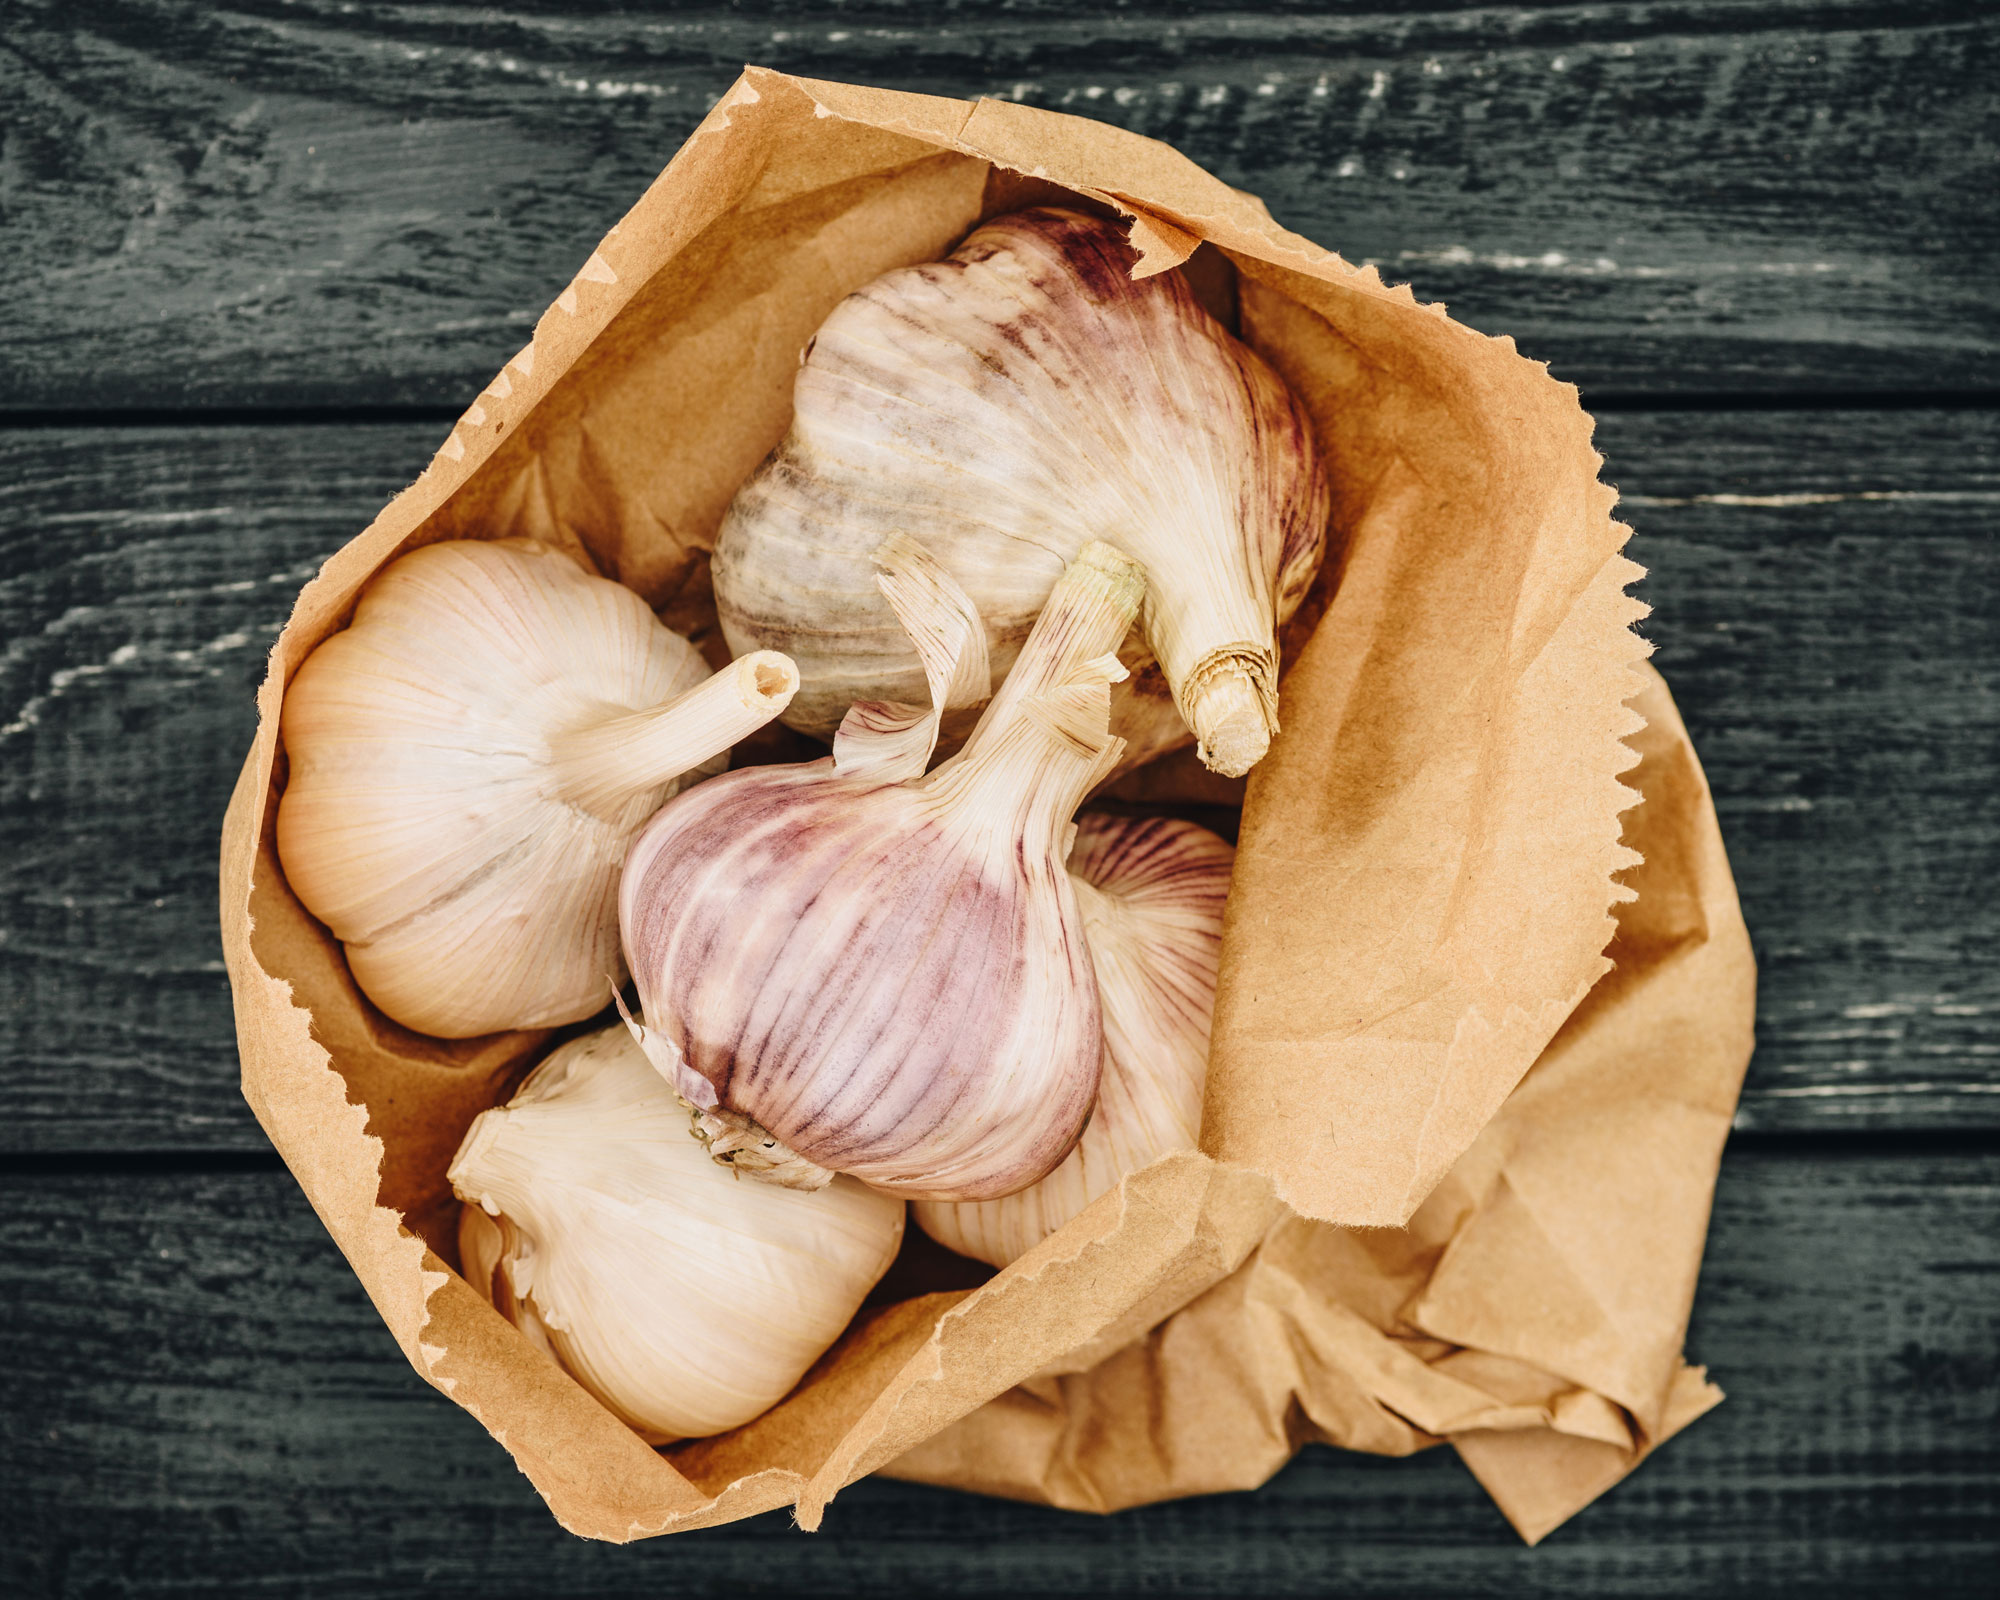
Garlic bulbs first need to be exposed to fake winter conditions before planting. Like many bulbs, they need a cold dormant period to develop.
This process is known as vernalization. It sounds scientific but put simply all you have to do is expose the garlic to cooler temperatures for a specific period of time to trick it into thinking it's winter.
This is less important if you choose a softneck type, so for this reason they are often preferred for indoor growing as you can skip this stage.
Otherwise put your garlic bulbs in a brown paper bag and store in the fridge for 6-10 weeks at a temperature of 39F, checking occasionally to make sure they haven't gone mouldy through exposure to excess moisture.
Step 3: Prep garlic cloves for planting
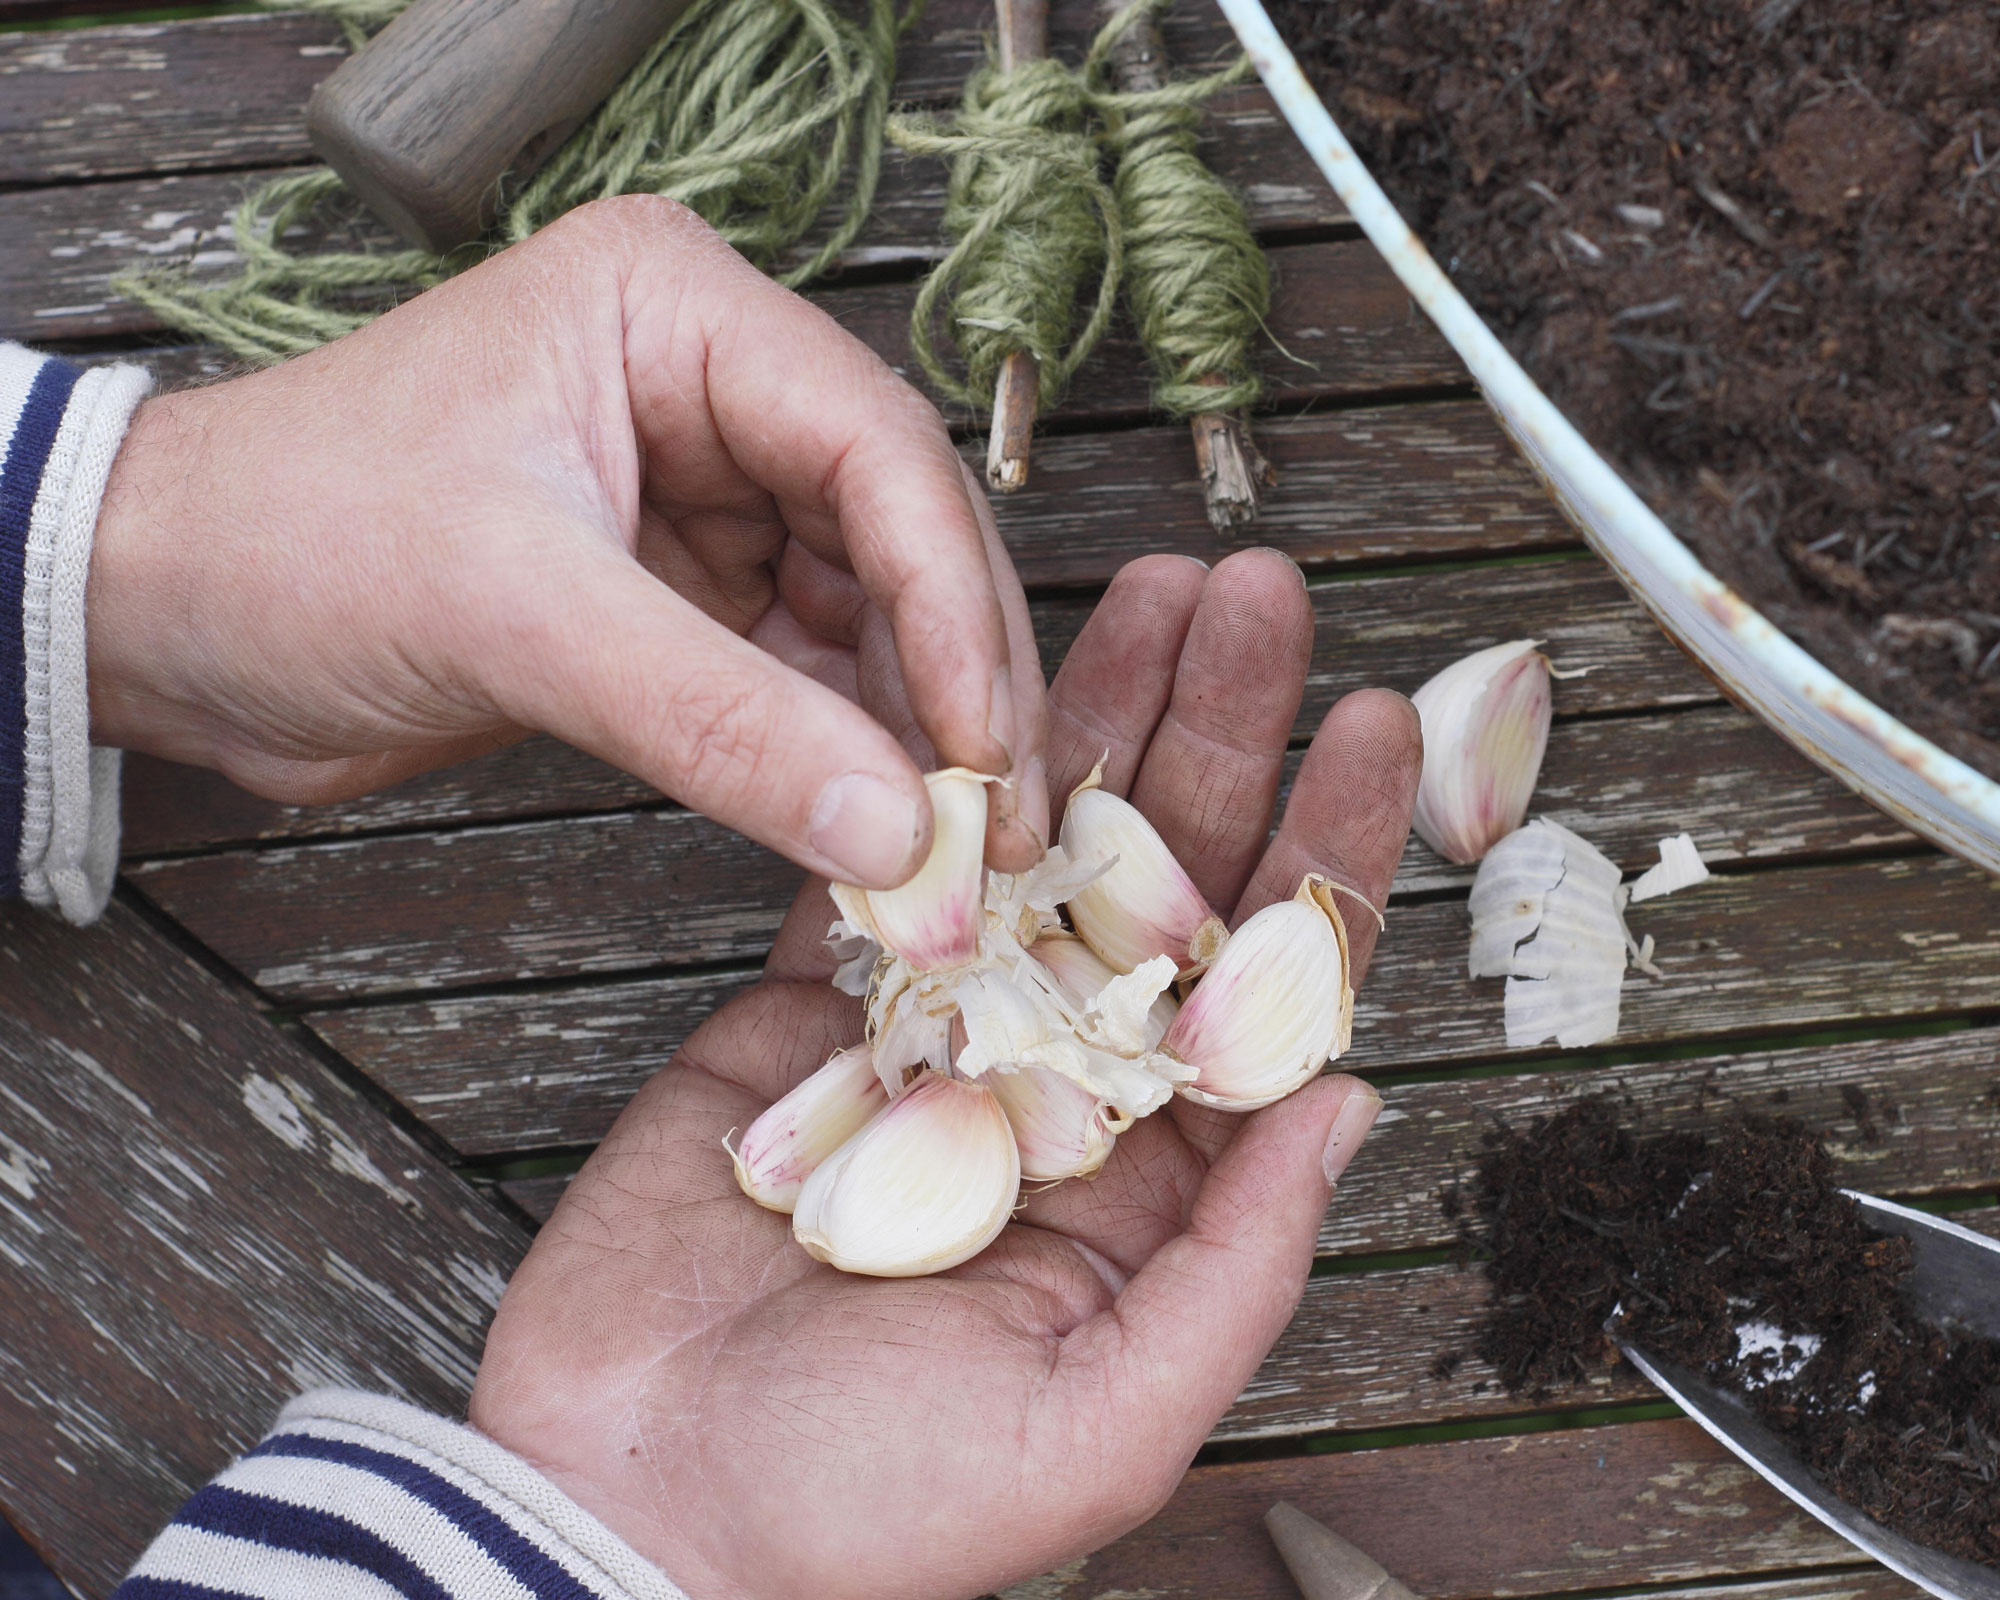
Prepping only takes a few seconds. Remove your bulbs from the fridge and separate the individual cloves from the main bulb by popping them out. Loosen them gently by applying slight pressure with your thumb and eventually the whole bulb will come apart.
If you have a hardneck garlic variety you will actually see the neck running down to the base, and this can be removed to make division of the cloves easier. Remove any excess papery layers except the inner one covering the clove itself, as it's a good idea to leave this intact as it offers a layer of protection
Your garlic bulb may have already started to sprout but this is perfectly fine and nothing to worry about. Discard any cloves that are soft, discolored or smell strongly.
Step 4: Choose the right soil and container
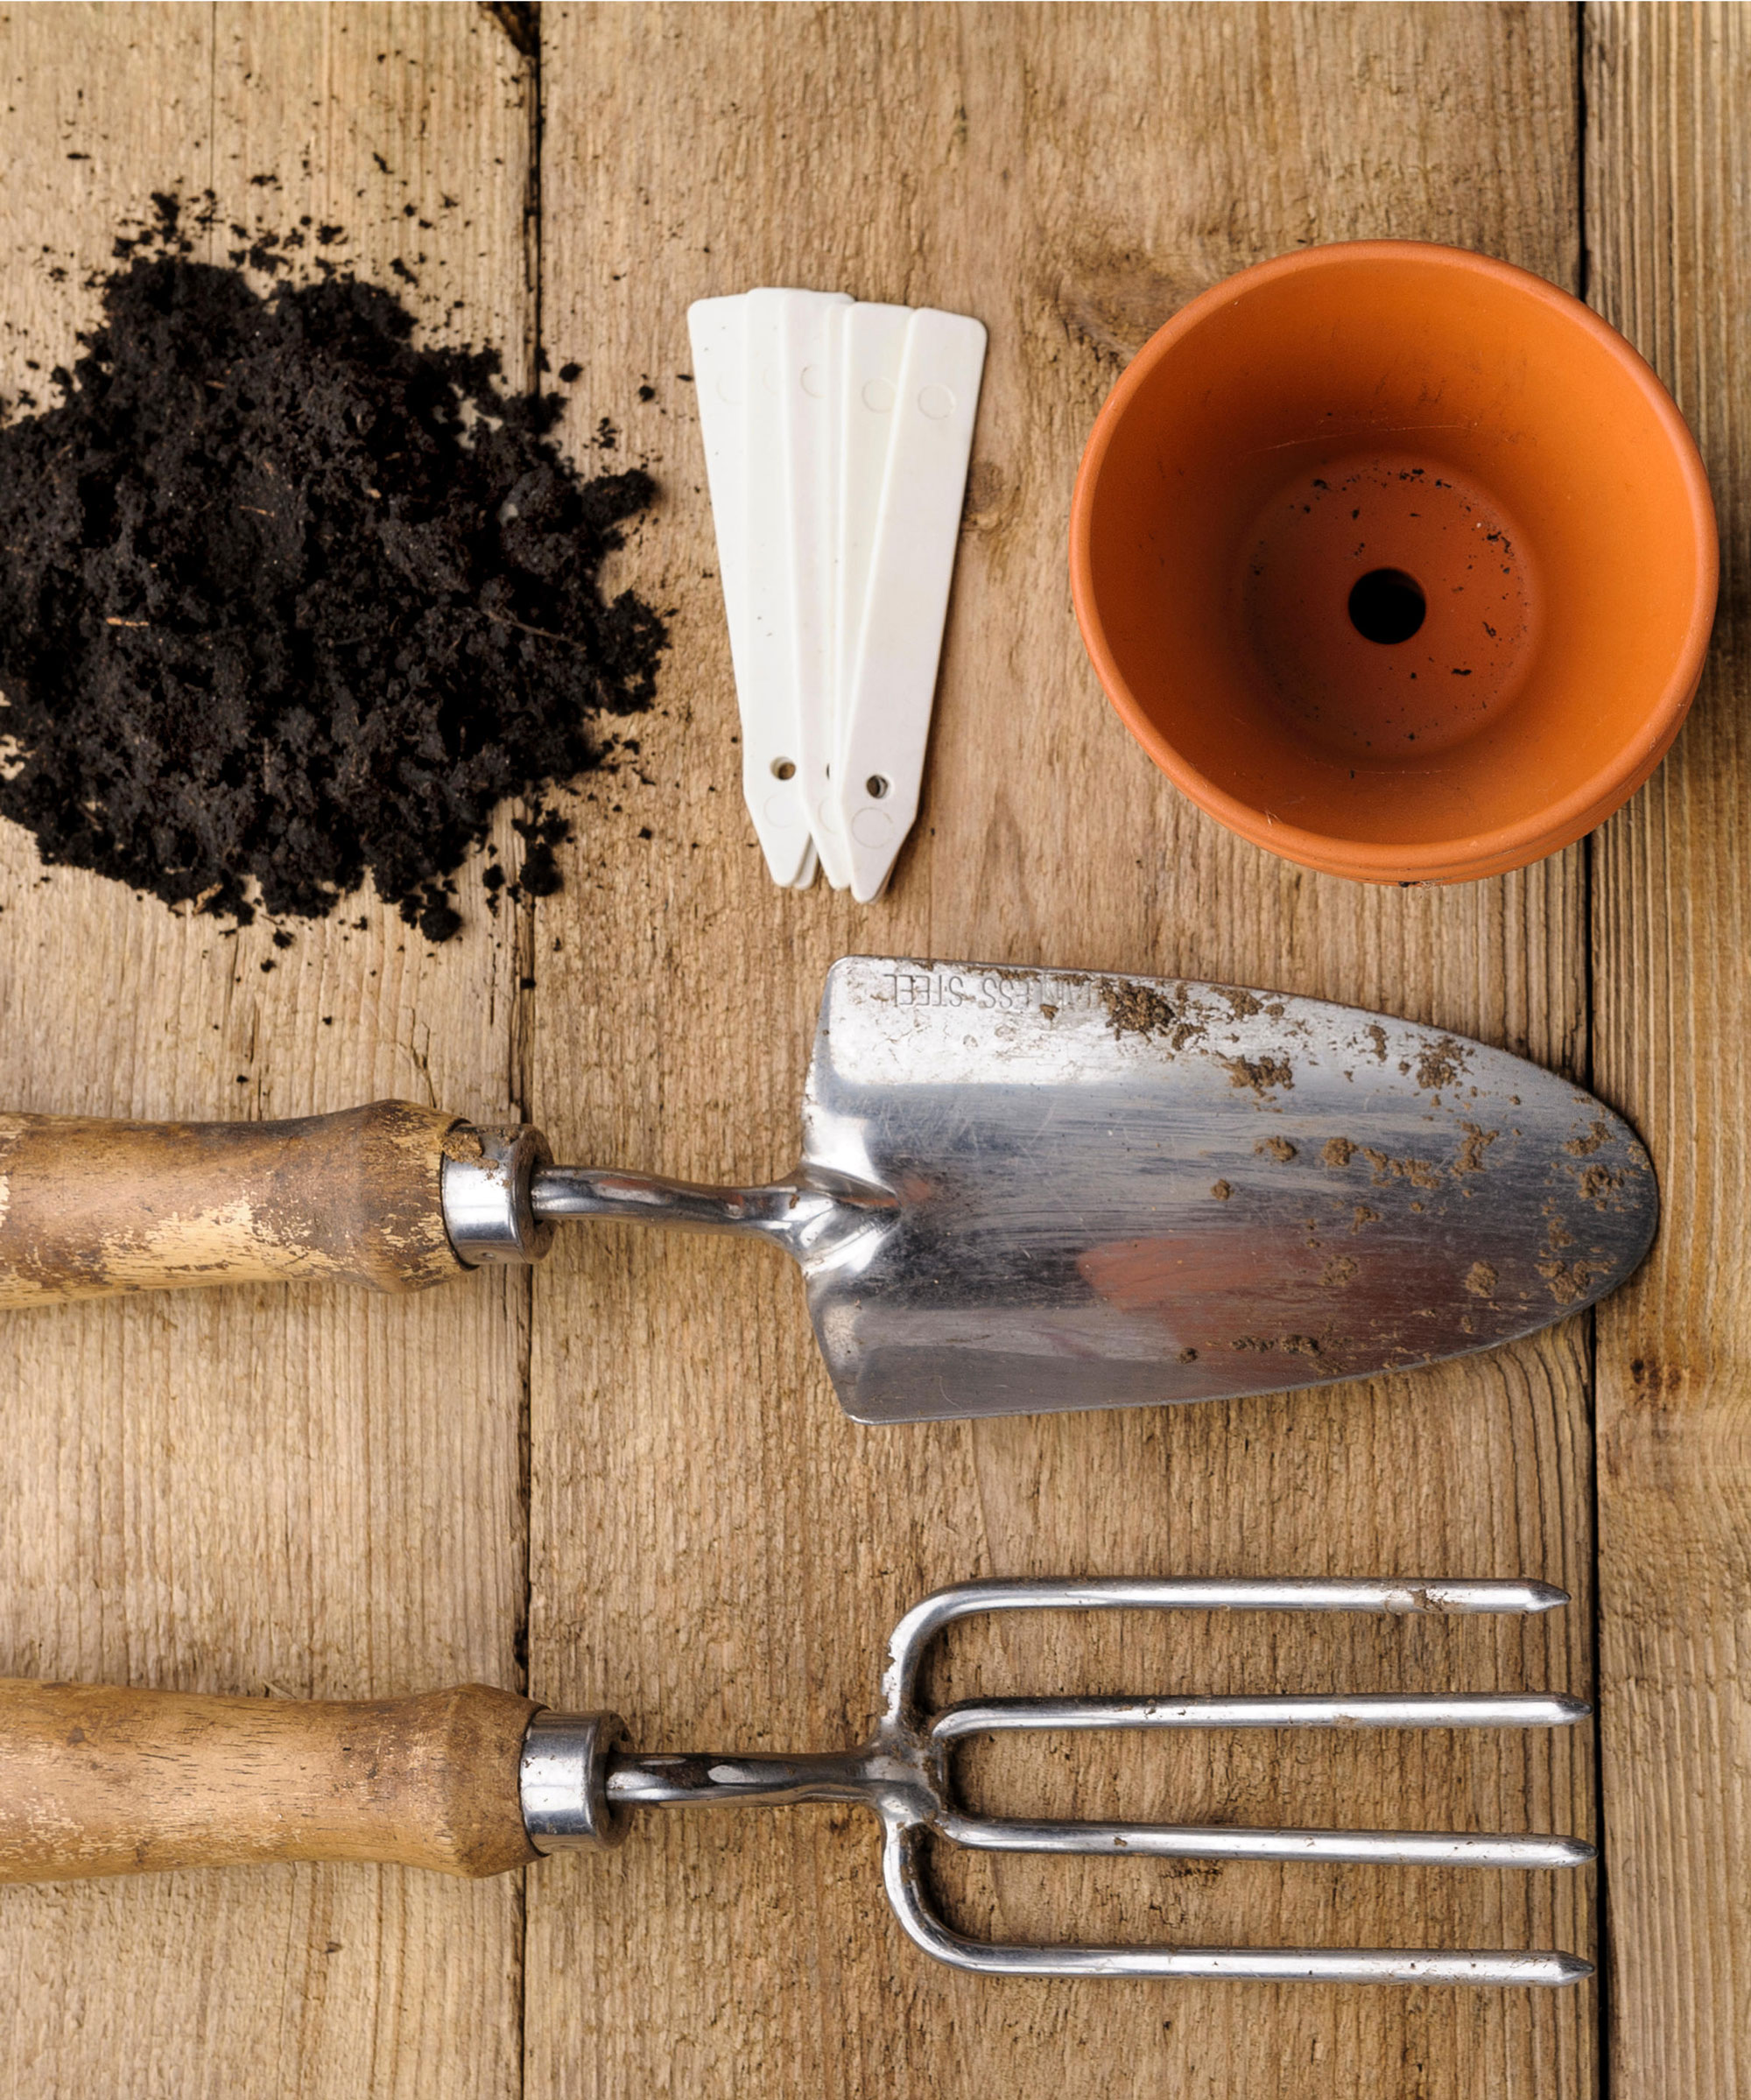
You will need a rich, well-drained potting soil and the container of your choice, which will need drainage holes in the bottom. The depth of the container doesn't really matter as garlic is a shallow-rooted plant. Anything with a depth of 6 inches and above will work fine.
Choose a commercially prepared soil from the garden center and add 10% sand as garlic will thrive with this combo. Mix thoroughly then fill the container all the way to the top with the soil mix and compress it down about an inch.
Step 5: Plant the garlic cloves
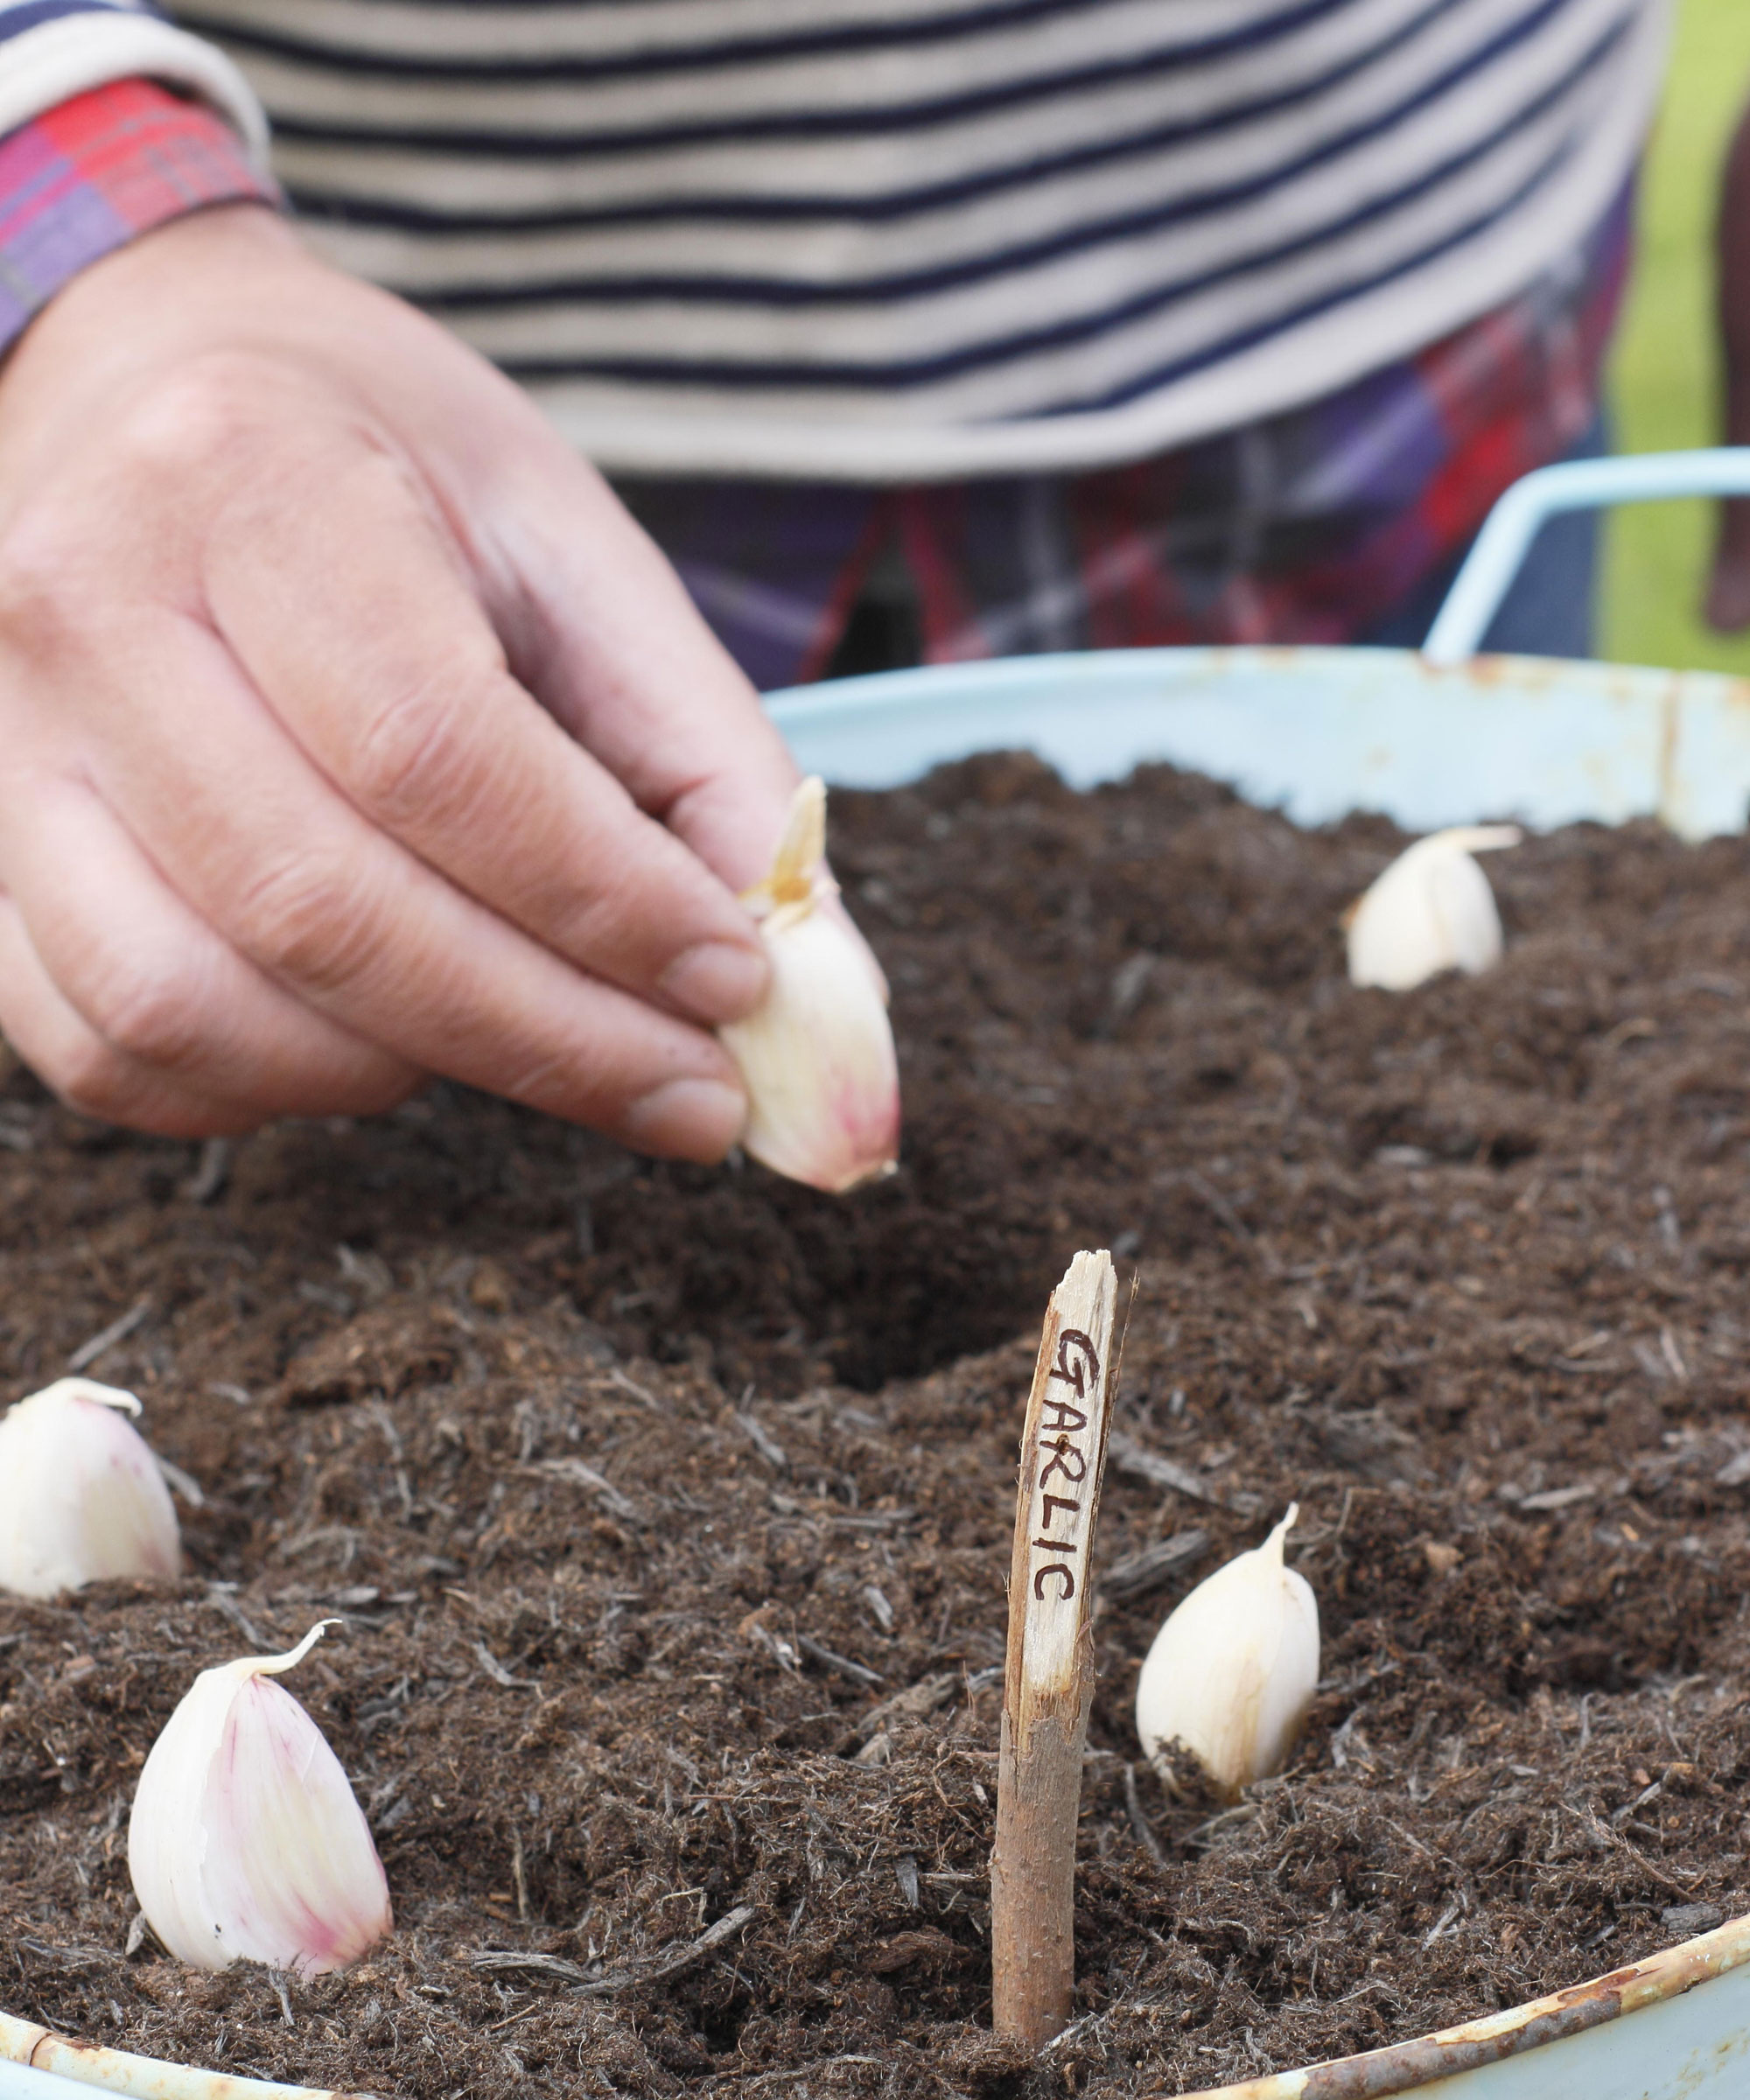
You are now ready to plant the garlic cloves. They should be inserted into the soil pointy tip up, as this is where the sprout will emerge. Plant them an inch deep and 4 inches apart.
Fill the container with more potting mix until it covers the garlic by about 1/2 inch, making sure you fill any spaces between the cloves. Press the surface down gently.
If growing garlic for garlic greens only you can plant the cloves much closer together.
It's also a good idea to add a layer of straw mulch to garlic grown indoors to help prevent evaporation, and keep the soil moist and warm.
Finally, water the newly planted garlic cloves. At this stage one good soaking should last your garlic a month. Water slowly until water comes out of the bottom of the container. Add more potting mix if you see any garlic cloves poking through.
The ideal place for the container is a south or west facing window where it will get 6 hours of sunlight every day.
Check the soil for moisture from time to time. Remember that too dry is better than too wet. 'Water garlic well while it's sprouting and the new leaves are forming,' says gardening expert Pam Farley, founder of BrownThumbMama.com and author of The First-Time Gardener: Container Food Gardening. 'Reduce the amount of water when leaves begin to die back.'
Step 6: Harvest and store correctly
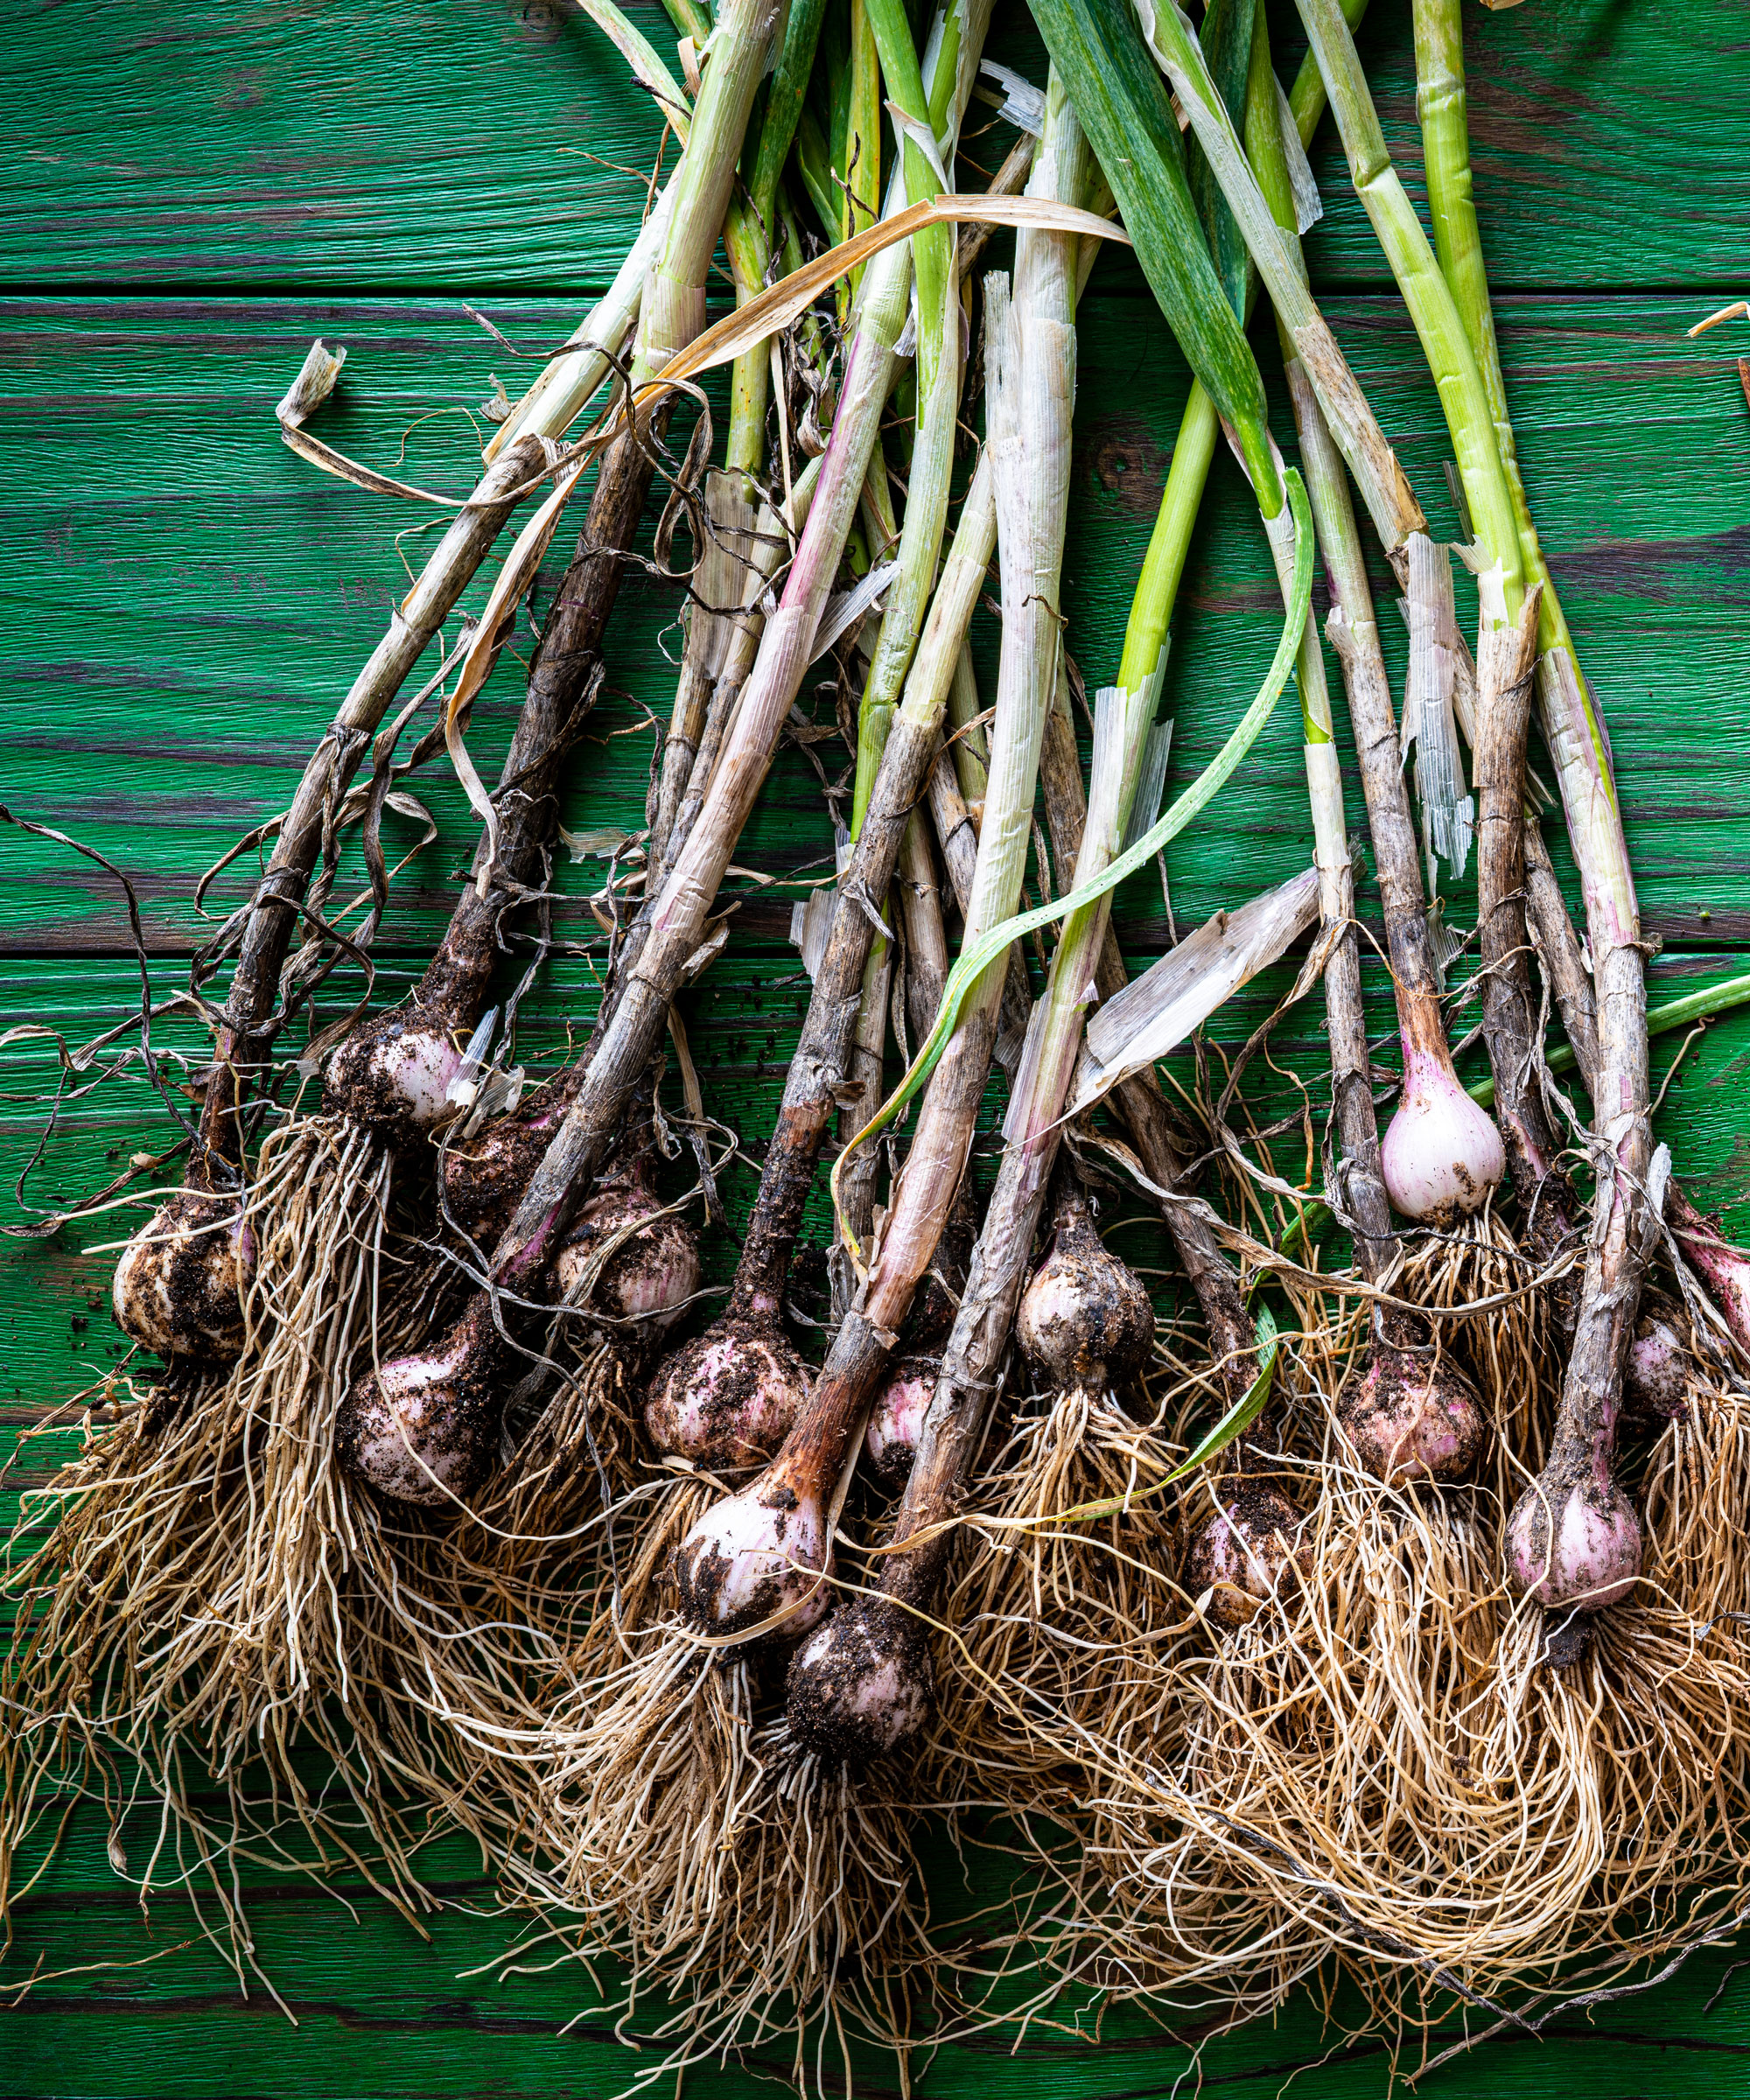
After about a month your garlic will start to sprout, which is great news as it means your bulbs are viable. Garlic grown indoors will develop much faster than outside, where bulbs will still be in their dormancy phase until the spring thaw. If you prefer you can move the garlic outside once spring weather hits but otherwise leave it where it is.
Meanwhile you can snip off the green leaves, also known as green garlic, and use them in salads and other dishes. Generally garlic grown indoors can be harvested roughly 3 months ahead of garlic grown outdoors, so if you plant garlic cloves in fall you should be able to harvest them in spring. When the leaves turn yellow or brown it's generally a sign that your garlic is ready.
If you end up with a bumper crop it's important to store garlic bulbs correctly. 'After harvesting garlic you need to cure it for 2 to 3 weeks,' says New Jersey based organic gardener Resh Gala, the founder of @hundredtomatoes and author of Vegetable Gardening Made Easy.
'Lay your garlic harvest flat on top of cardboard or sheets of newspaper. Alternatively place them on a drying rack and allow them to hang dry. After 2 to 3 weeks the outer skin will become dry and crisp. At this point you can brush off any excess soil, and trim off the stalks and roots with a sharp pair of scissors.'
Resh suggests storing your garlic bulbs in milk crates or cardboard boxes with holes poked in the sides for ventilation. Line with paper towels or newspaper then store in a cool dark place and use as needed.
Growing essentials

Price: $17.95/1/2lb bulbs
This versatile hardneck variety of garlic is one of the best for cooking. Its cloves offer a robust and medium heat pungency. Averages 5 cloves per bulb. Plant cloves in rich well-drained soil and full sun when you receive your bulbs.
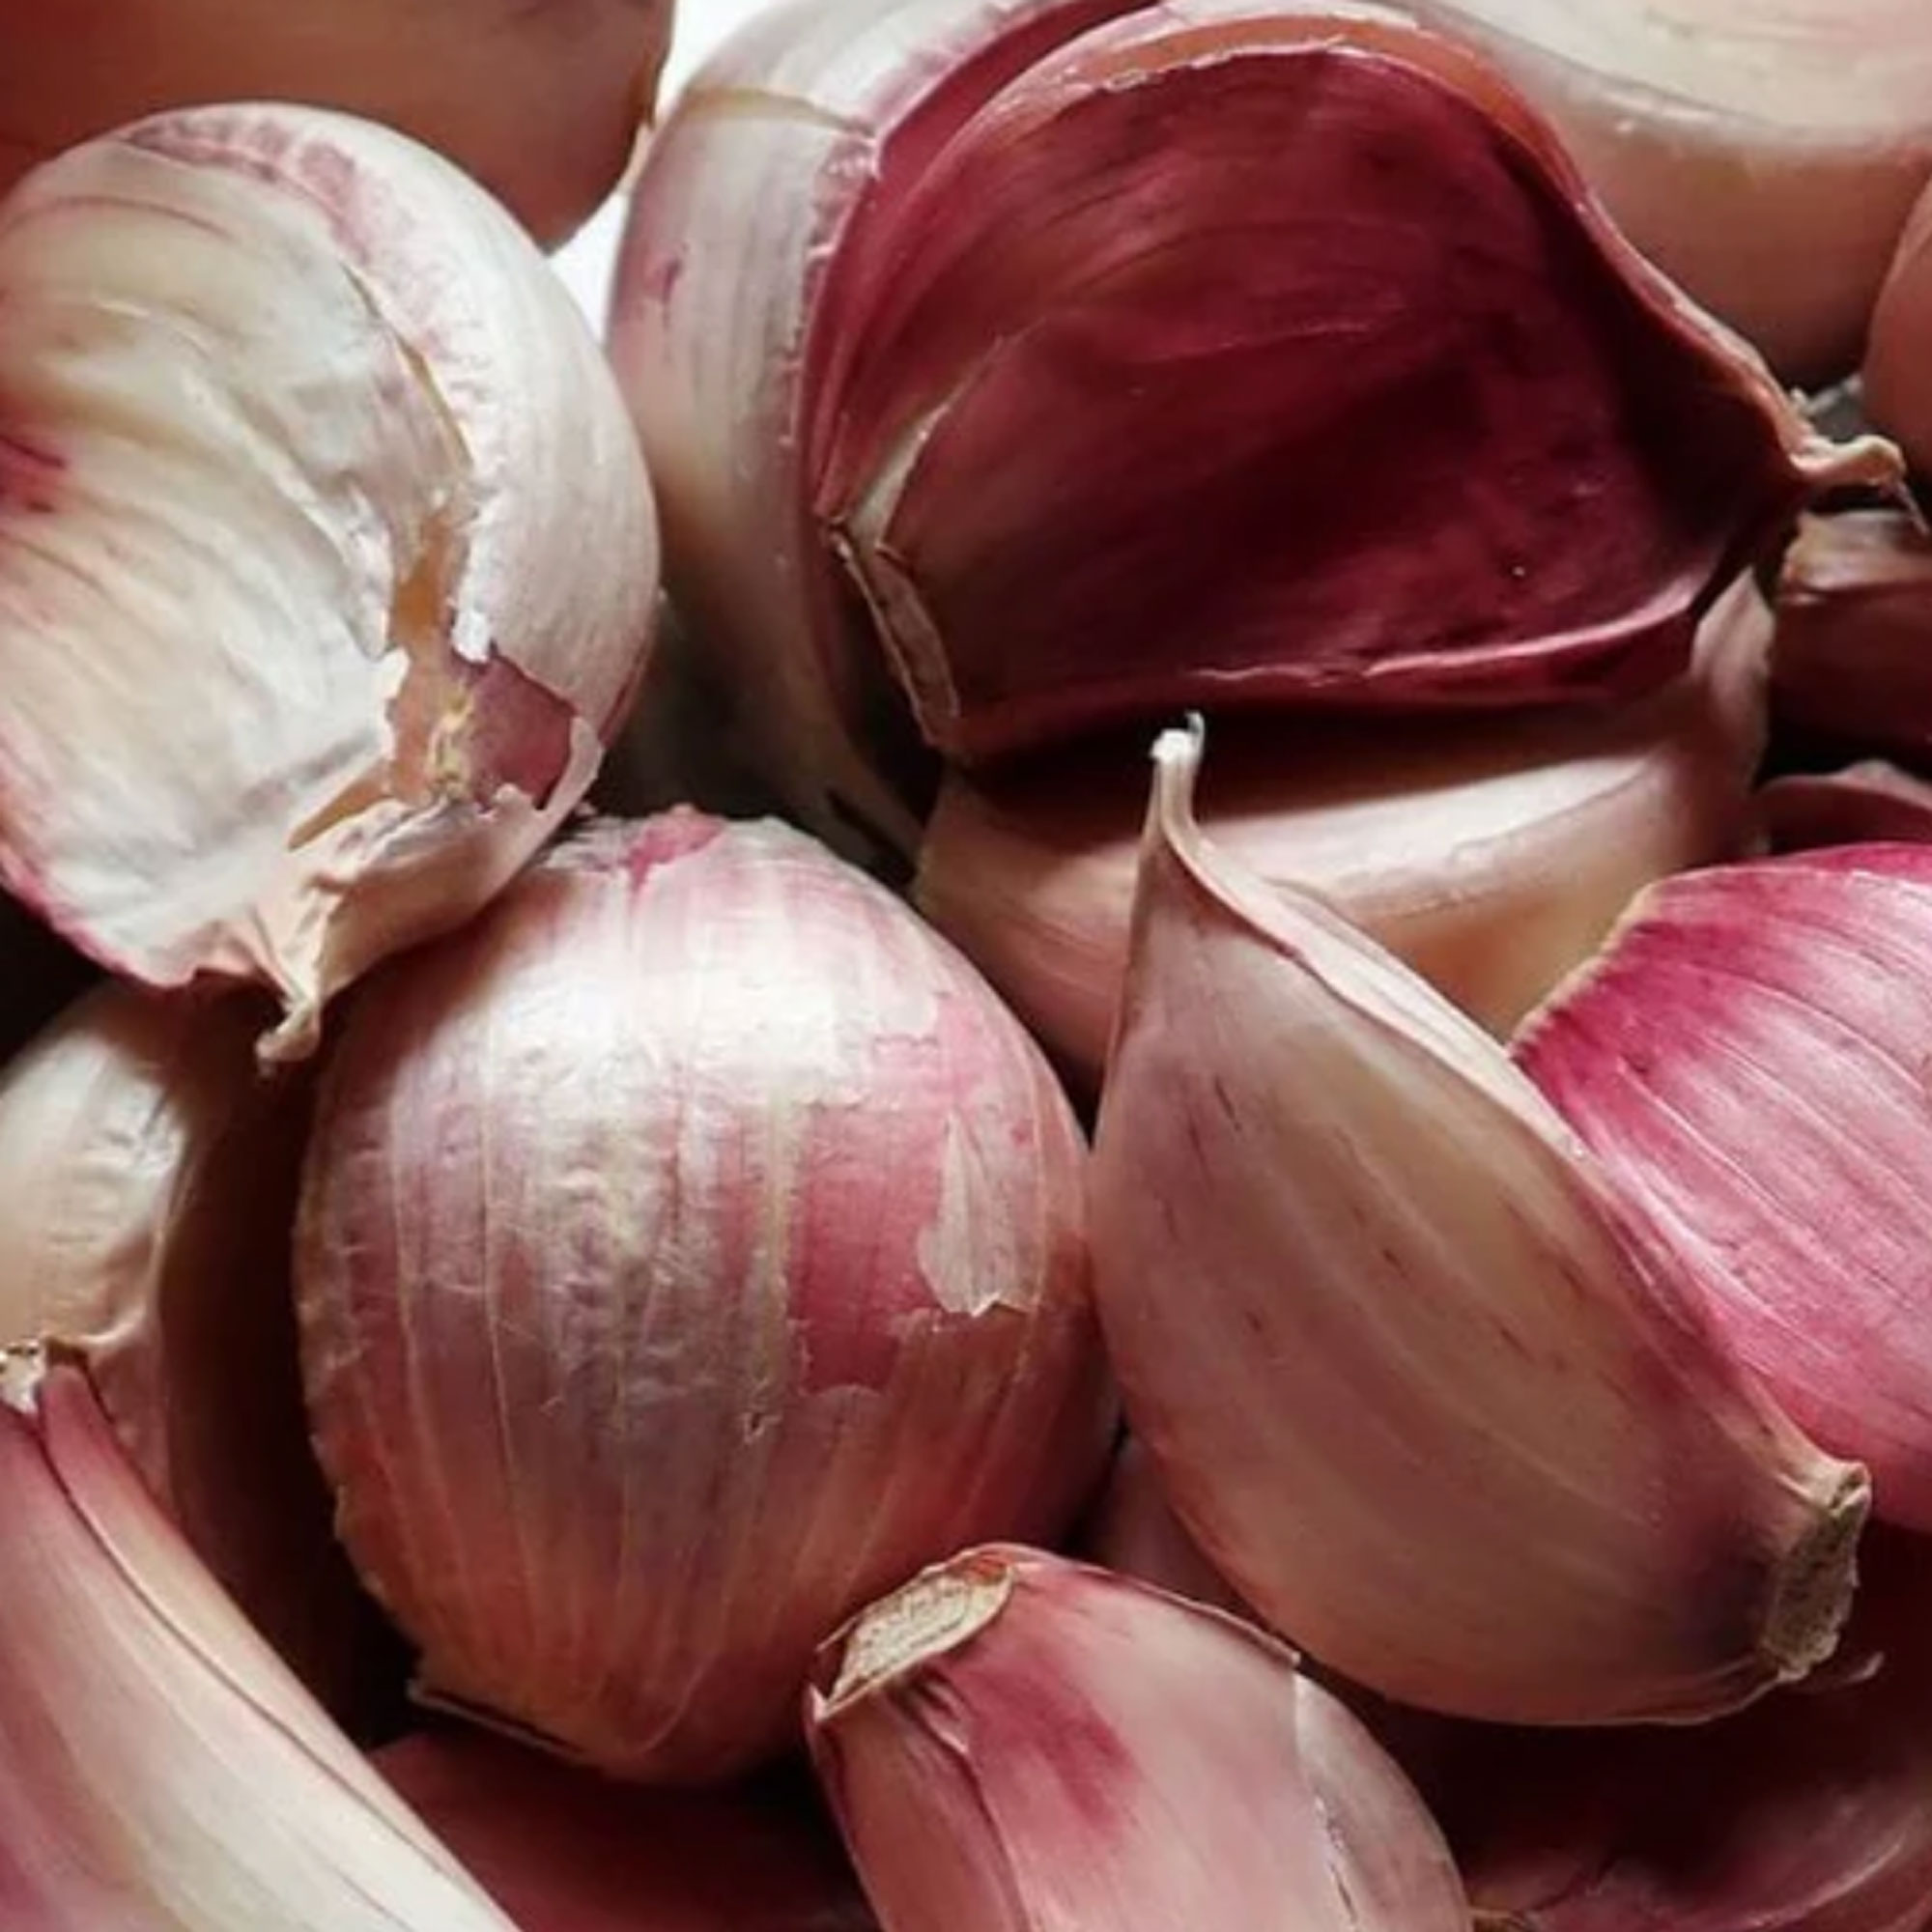
Price: $16.88/3 bulbs
Suitable for growing in containers, this large heirloom variety is one of the best softneck choices. It has an excellent storage life, each bulb easily produces at least ten large cloves, and it has won awards for its outstanding flavor.
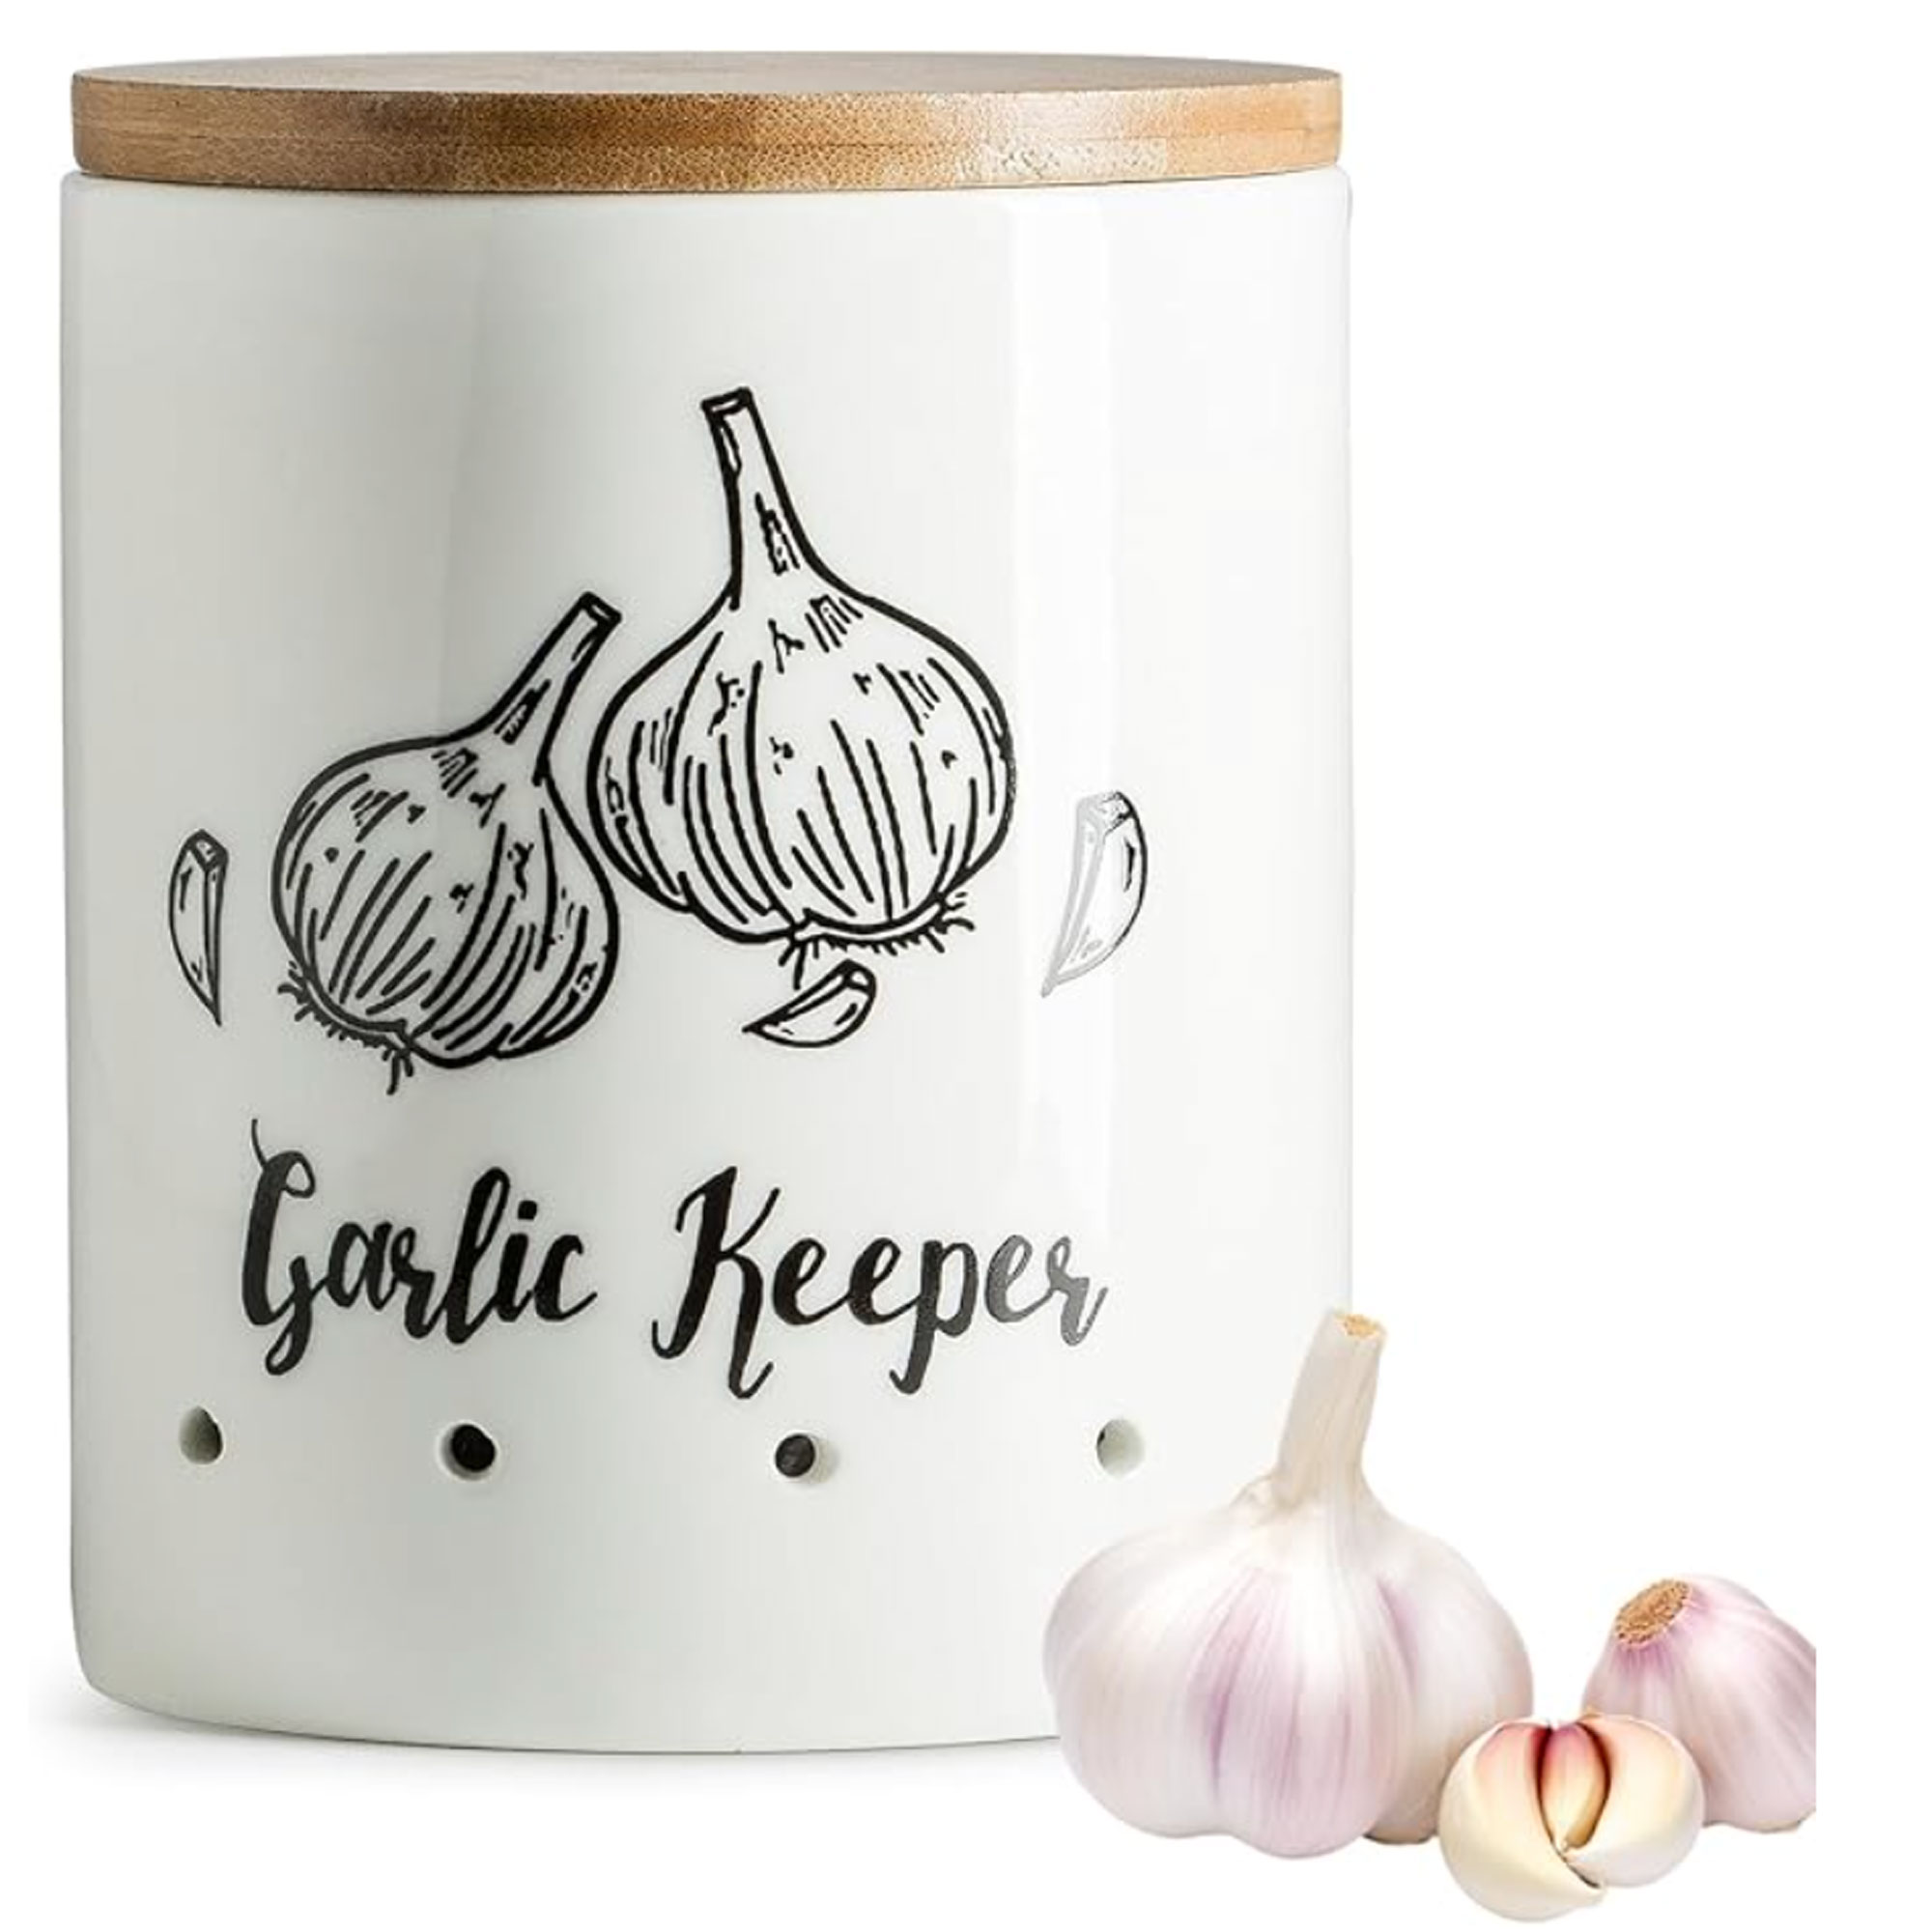
Price: $15.69
This garlic keeper for the kitchen is designed with 4 holes for improved ventilation to keep your garlic fresh and flavorful for longer. The smart design helps maintain the ideal conditions for storing your garlic at its best.
FAQs
Can you grow garlic in water?
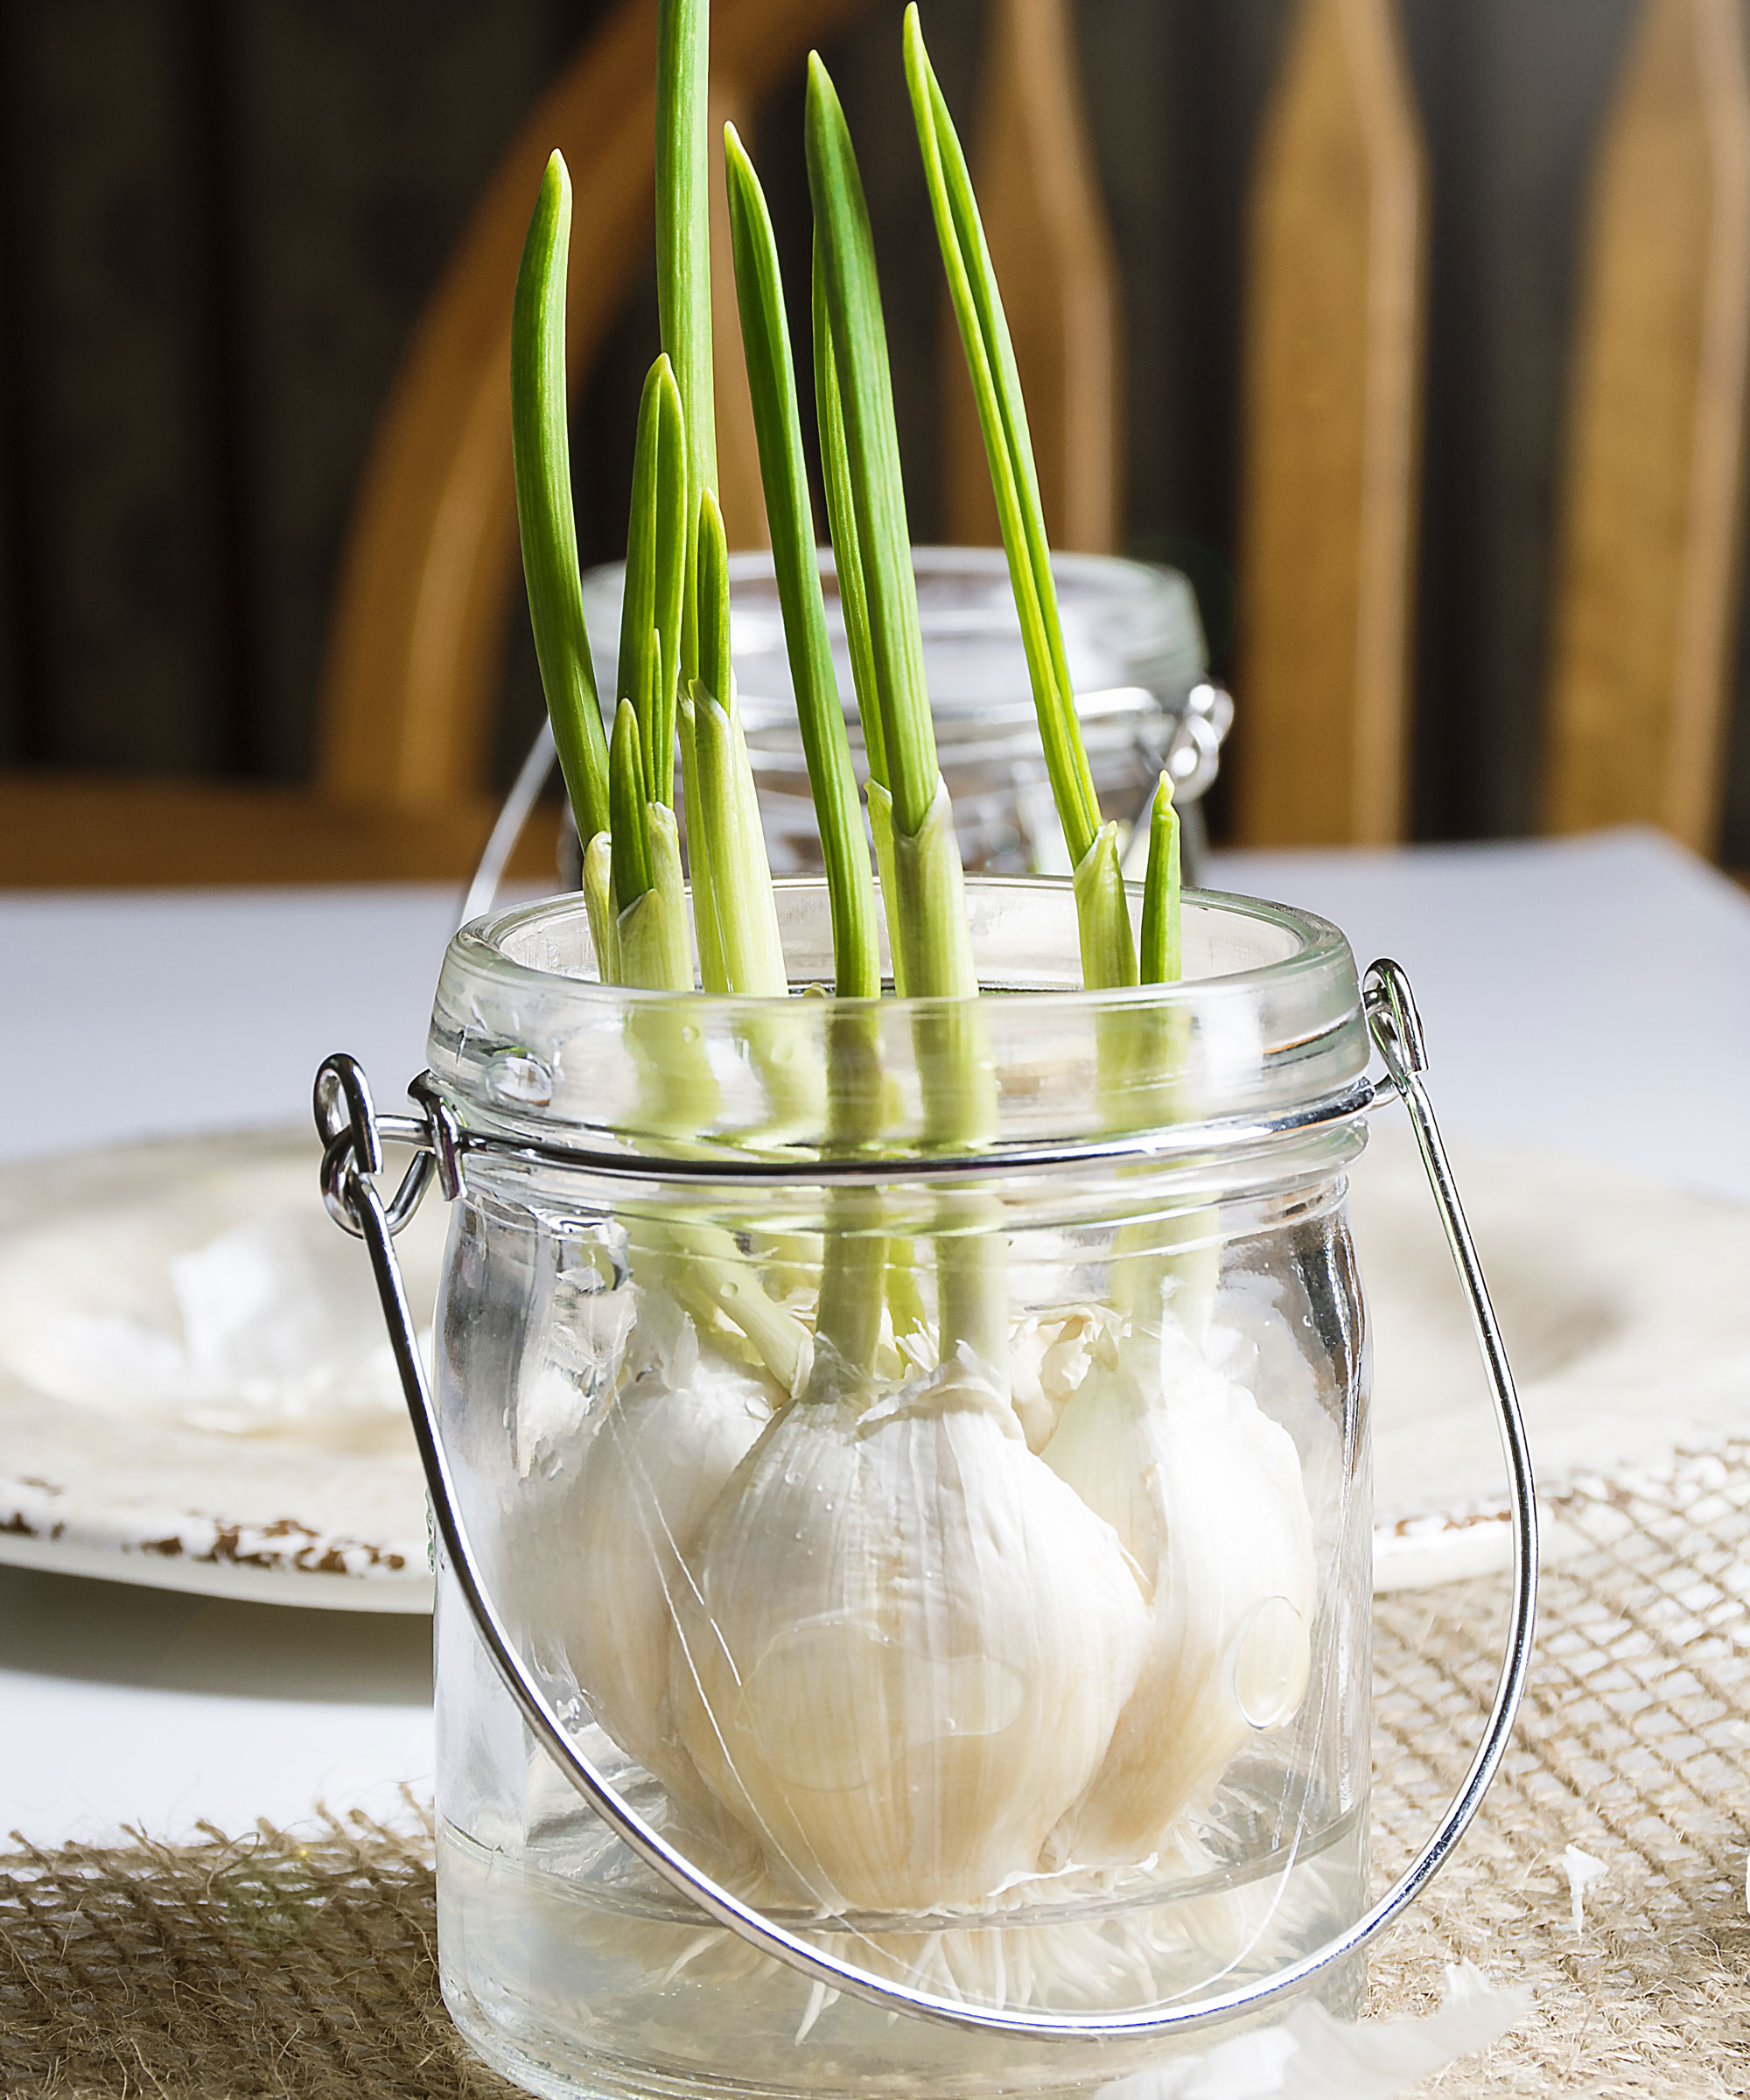
You can also grow garlic in water. Any garlic bulb can be used, but it's best to use garlic bulbs specifically sold for growing. This method is generally used for garlic greens rather than garlic bulbs.
Separate the garlic cloves from the bulb in the same way as before and select the healthiest cloves to sprout in water.
Place the selected cloves pointed end up in a jar or other clear container. If preferred you can submerge the whole bulb in the water rather than separating the cloves and submerging them individually.
Add lukewarm water to the jar until the bottom of the cloves or bulb is covered. Transfer to a sunny spot, such as a windowsill, to give the garlic plenty of sunlight. You will need to change the water every couple of days or as soon as it goes cloudy.
The green garlic shoots should appear quickly and will be ready to harvest within a few weeks of when you started growing the garlic in water.
Now you know how to grow garlic indoors think about what else you can grow. How about growing fresh herbs indoors on a windowsill. Find out how to grow an indoor herb garden for fresh leaves all year round, and how to grow basil indoors for top tips on cultivating this favorite herb in your kitchen. Check out more indoor gardening ideas for inspiration on how to max up your growing space.
Join our newsletter
Get small space home decor ideas, celeb inspiration, DIY tips and more, straight to your inbox!
Lifestyle journalist Sarah Wilson writes about flowers, plants, garden design and trends. She has studied introductory garden and landscape design and floristry, and also has an RHS Level 2 qualification in the Principles of Plant Growth and Development. In addition to homesandgardens.com and livingetc.com she's written for gardeningetc.com, Real Homes, Modern Gardens and Country Homes & Interiors magazines. Her first job was at Elle magazine, during which time a trip to the beautiful La Colombe d'Or in St-Paul-de-Vence led to an interest in writing about all things botanical. Later as lifestyle editor at Country Homes & Interiors magazine the real pull was the run of captivating country gardens that were featured.