
Want to add new mouldings to your home? Or restore ones which may have been lost in renovations? Our expert guide covers everything you need to know about choosing, restoring and installing mouldings.
What are the different types of moulding?
As well as their aesthetic value, helping to define period styles and the status of homes, or even individual rooms, most mouldings fulfil practical purposes, too.
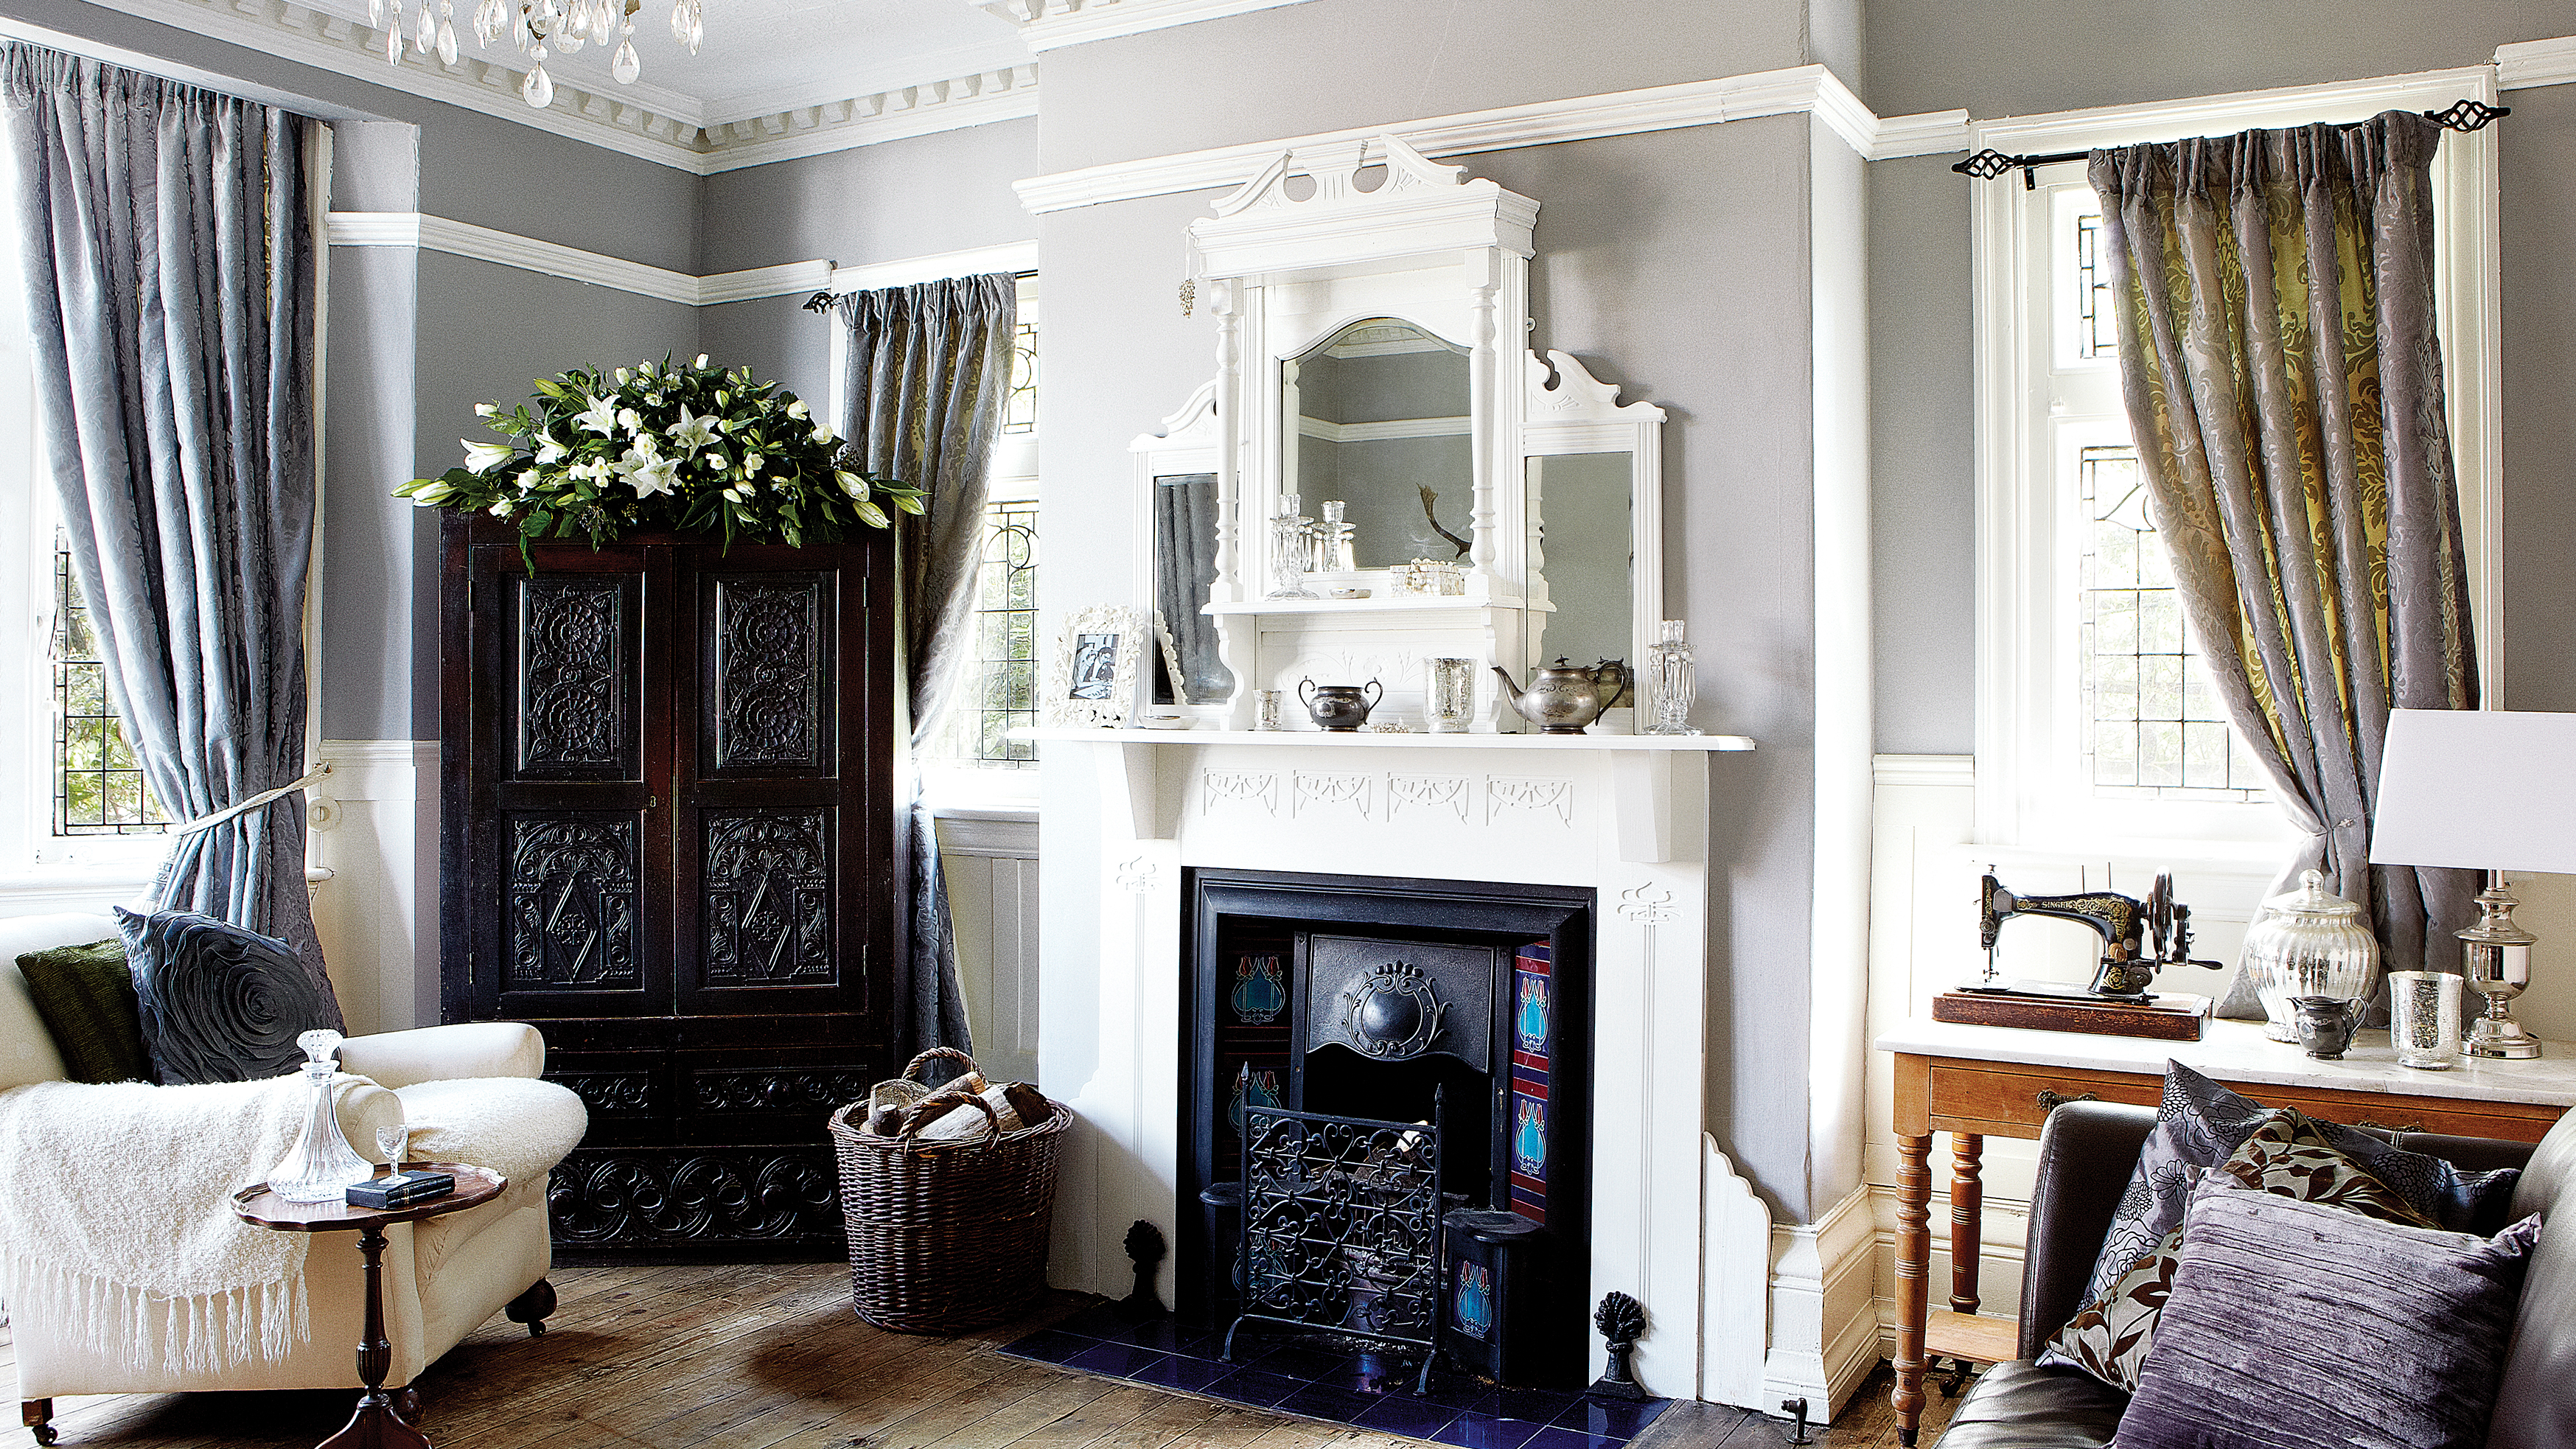
Skirting protects the foot of walls and acts as a line of defence against the vacuum cleaner. Dado rails were originally fitted to stop the backs of chairs scraping surface finishes, but still serve to break up blocks of colour and wallpaper patterns. Mouldings around doorways, or architraves, also add protection and can turn a mundane opening into a welcoming entrance.
Coving or cornicing is perfect for mirroring skirting and hiding joins and cracks between the ceiling and wall, but it can also help large rooms appear less clinical and more intimate. In ornate interiors, a cornicing may be complemented with a decorative frieze running beneath.
Ceiling roses and domes tidy the area around the mounting of a light fitting and are generally quite large and circular, placed in the centre of the ceiling. On grander projects, whole ceilings can become features.
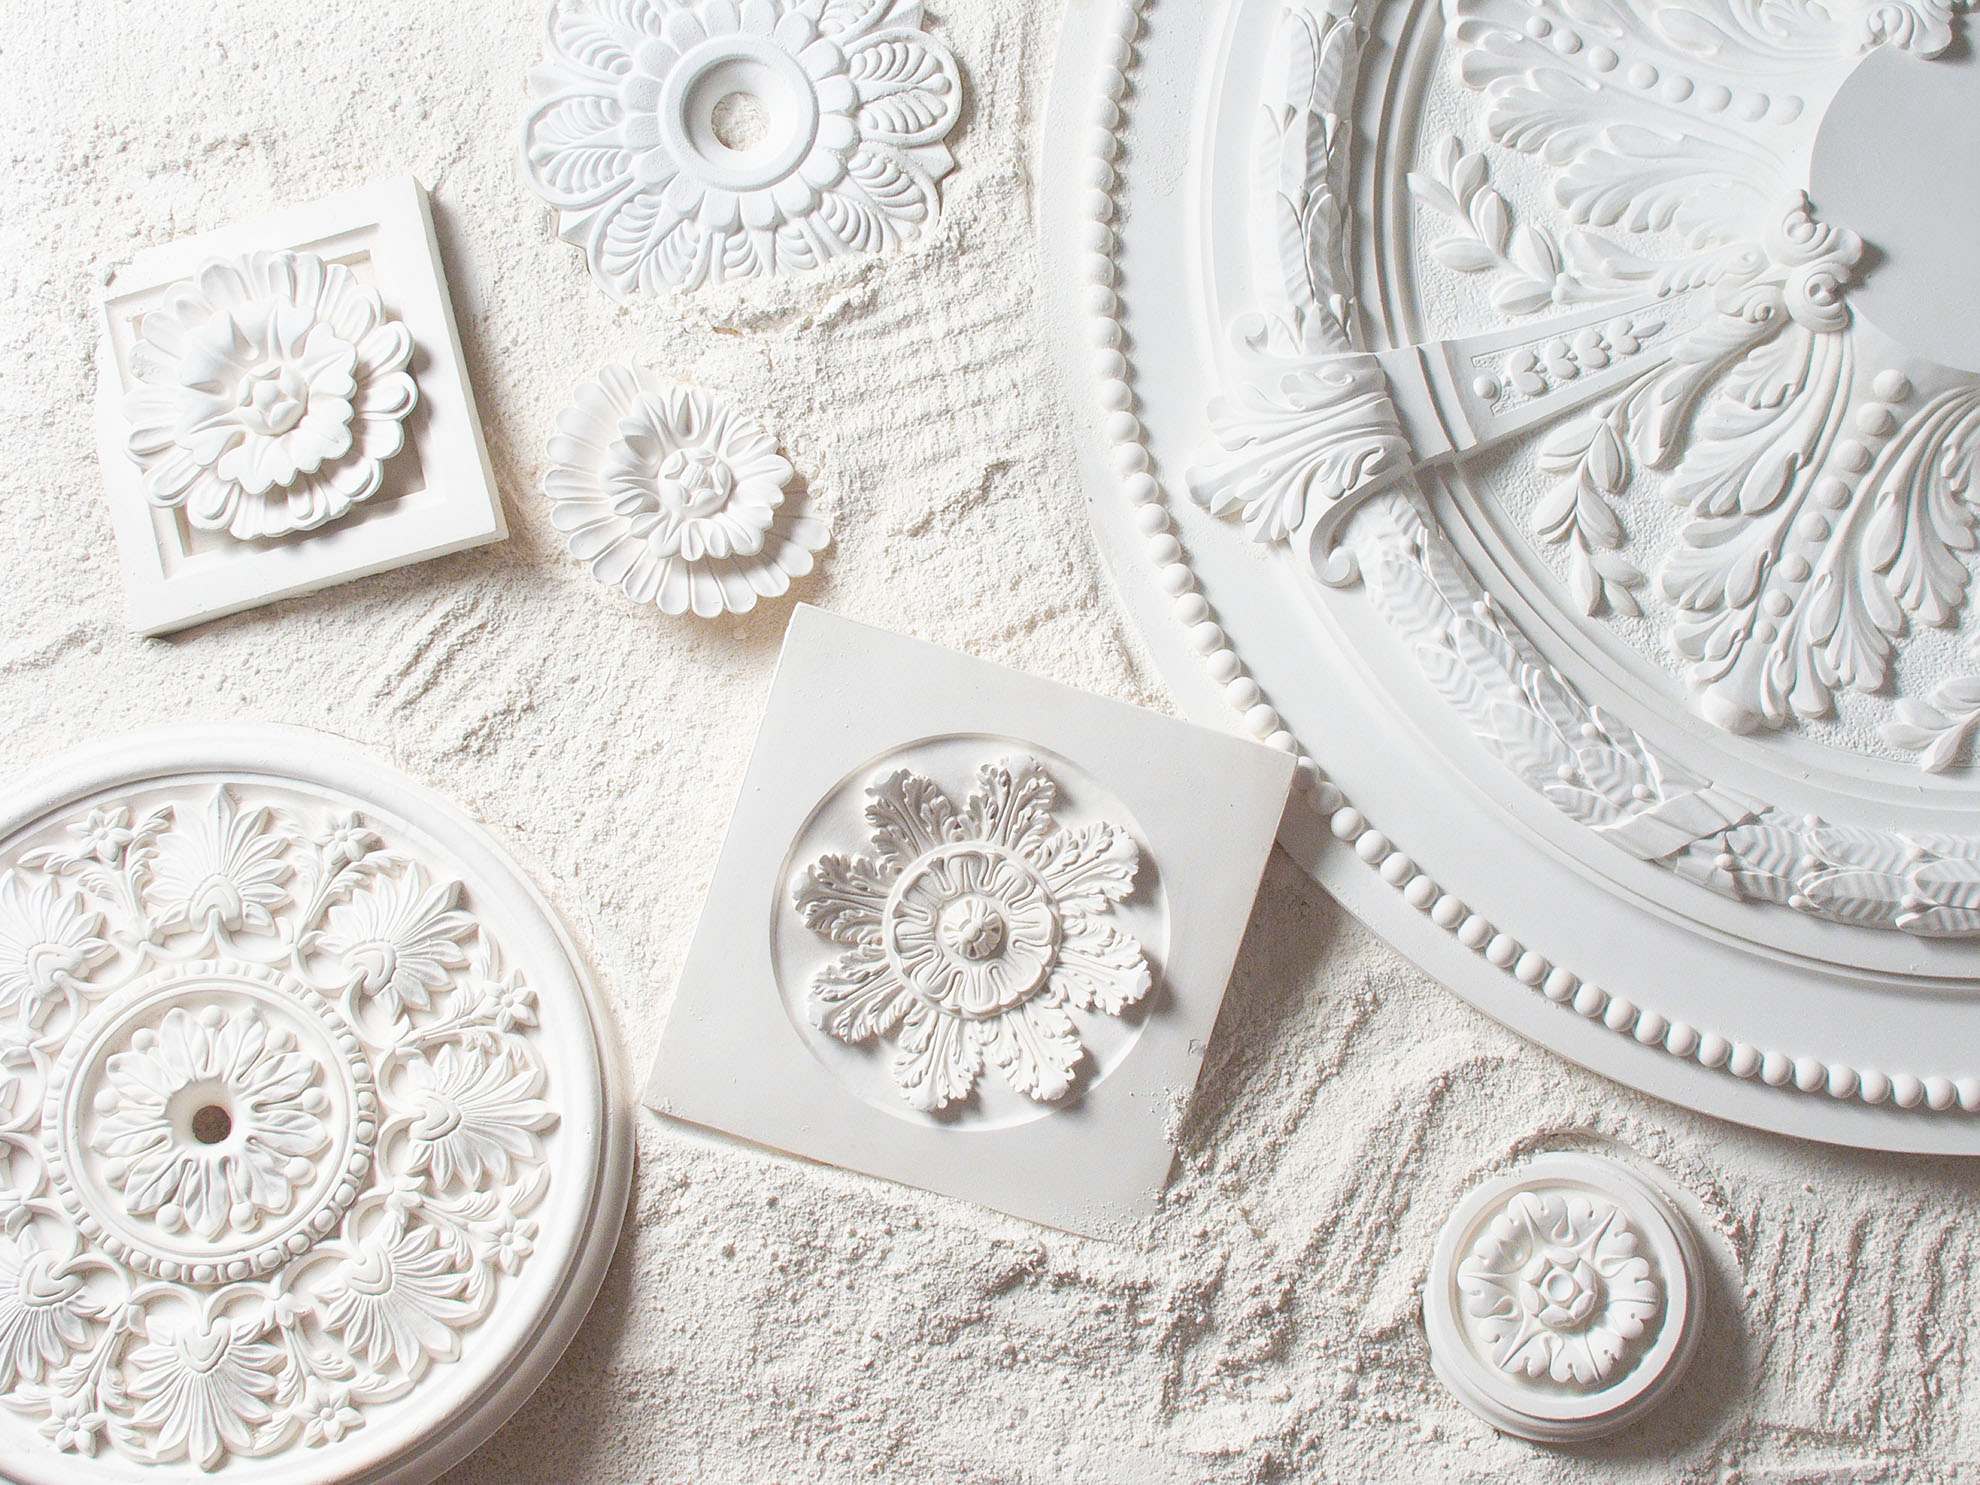
How to choose mouldings to suit your home
Mouldings can be as clean-lined or as opulent as you desire, but staying true to the style of your home and its period, as well as creating a balance in the proportions of the mouldings, is the key to success.
Imposingly large mouldings in a small space will look overdone, but in a vast room you can afford to be more bold; most off-the-shelf mouldings are available in more than one size. Also bear in mind their depth: if their protrusions differ too much they will look unbalanced.
The status of rooms is important to remember when renovating a house, as elaborate reproduction mouldings introduced into informal areas can seem out of place. Adding mouldings where none would have existed can also upset the proportions of a room. Removing original mouldings can have a similar effect.
It is always worth looking for any telltale signs that might indicate where mouldings were used. For example, when wallpaper is stripped away, patched nail holes or parallel lines of paint on the original plaster may reveal the position of long-lost picture and dado rails.
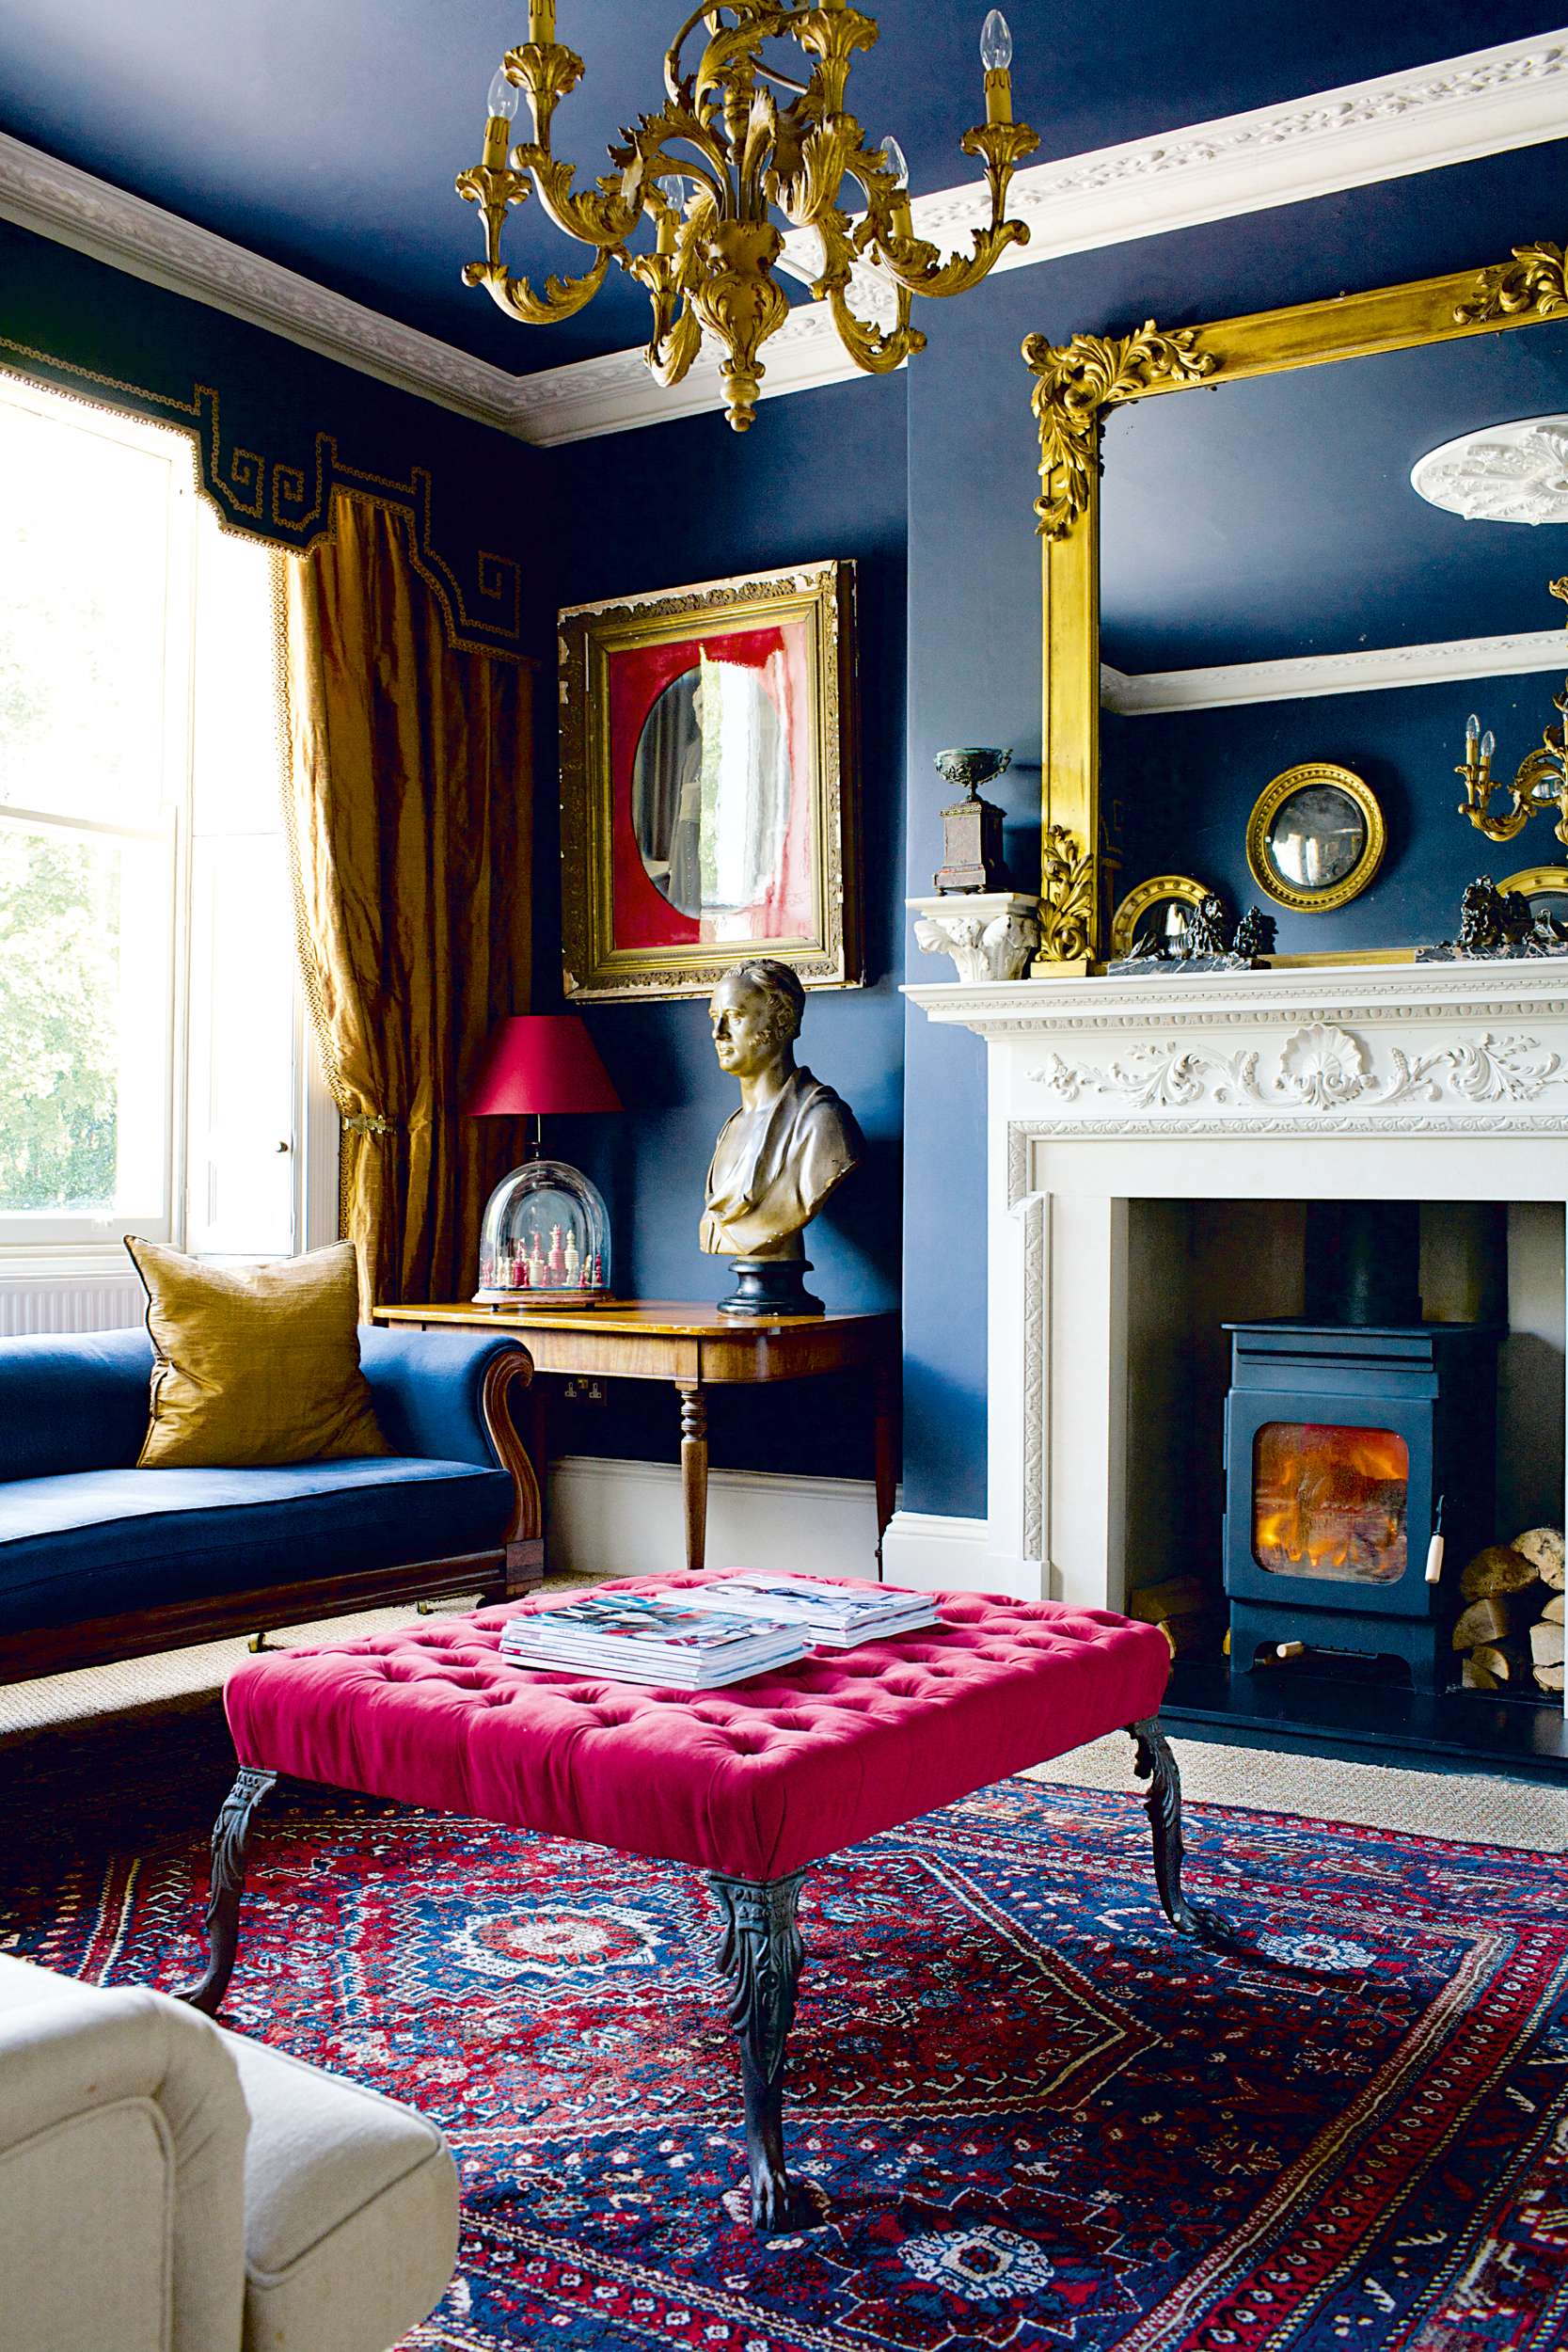
Each era in history has its distinctive styles of decorative mouldings
Georgian
Georgian mouldings tend to vary considerably. One of the main features of cornices of this period is that they projected down the wall and across the ceiling at equal distances. Deep wall friezes were also popular.
Ceilings often featured ribbons and swags, Classical figures and urns. Other decorative devices included dentils and egg and dart patterns. The ornamental qualities of the mouldings diminished with the relative social importance of the room. The most ornate mouldings in a home are found in the areas seen by visitors, such as hallways and sitting rooms, as these were designed to impress.
Victorian
From the 1850s ‘fibrous plaster’ (strengthened with hessian fibres) allowed for large, complex cornices to be cast in one piece prior to fitting. Also used were cheap, lightweight papier mâché ornamental mouldings. Cornice was very ornate, featuring flowers, fruit and vines. Ceiling roses were at their height during this period.
Post-WWI
World War I marked the end of decorative plasterwork in most homes, paving the way for starker, simpler lines, often with a simple cornice and perhaps a matching centrepiece.
Art Deco
Bold, chunky designs are typical of this era — and decorative mouldings are no exception. Strong, stepped designs feature heavily in both skirting boards and cornicing, whilst sweeping yet solid curves were also popular. The materials may also reflect trends of the time, with polished black and white finishes being much sought after.
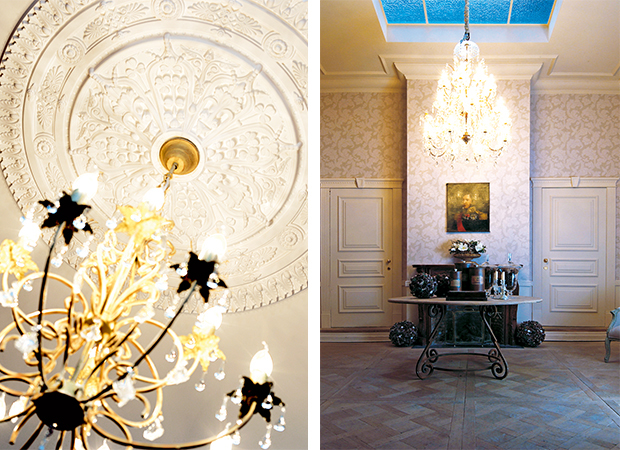
Above left: Victoria polyurethane ceiling rose by NMC-Copley; Above right: Polyurethane architraves, and raised door panels by Davuka
Materials for mouldings
In Victorian times fibrous plaster became the traditional material for producing mouldings, and it is still popular today for its superior appearance and texture. Plaster is perfect for mouldings, as it can be used for both mass-produced and bespoke designs, and can easily be resized and shaped in the production process; however, it is usually more expensive than modern versions and also more difficult to install.
There are alternatives that some manufacturers specialise in, such as polyurethane, GRP and glass fibre-reinforced gypsum. These are often more lightweight and cheaper than plaster, but some are better looking than others so, if possible, view the finished products in the flesh before buying.
Wood is another popular moulding material, as it brings warmth to the interior and can be beautifully carved into ornate designs. It tends to come unfinished so you can either varnish or paint it.

Ornate cornicing in a Victorian property
How to repair mouldings
When undertaking renovation or repair work, try to avoid removing mouldings as plasterwork easily crumbles, and timber splits and chips. Where removal is necessary, photograph, number and note the position of all sections so that they can be correctly returned later.
Mouldings were often made up of various pieces to create the desired size and look. They were also sometimes composed of a combination of materials, so it is important to try to understand how the mouldings were formed before starting renovation work.
Timber
Mouldings were fashioned from both softwood and hardwood, nailed either directly onto the masonry or into wooden plugs or battens – known as ‘grounds’ – embedded in the wall.
Where timber mouldings must be removed, gently tap an old chisel under the edge then, using a block of wood to provide leverage, gently prise the moulding away from the wall. Take care not to damage the face of the timber while removing the nails. Screws and wall plugs are ideal to use when replacing items.
Plaster
Plaster detailing can be fragile and great care should be taken during building and repair work to protect it. Ceiling decorations, in particular, are vulnerable to vibrations, so may need to be supported. The way plaster mouldings were made varied: originally items like cornices were ‘run’ in situ with further ornamentation added separately in the form of ‘enrichments’ cast in moulds. Later, fibrous plaster was used. This is formed from plaster, hessian and timber laths, which meant that items could be cast on a bench, with the prefabricated sections subsequently fixed in place.
Minor damage may be repaired with a proprietary filler, while plaster of Paris is ideal for larger repairs. However, plasterwork requires considerable skill so it is advisable to employ a craftsperson where significant or intricate work is required.
Some fibrous plaster mouldings are readily available to replace missing sections and
a number of companies will reproduce plasterwork using moulds taken from existing items.
Dealing with paint
Much of the detail and beauty of a moulding may be lost due to accumulated coats of paint added over the years. Paint removal requires care and is a time-consuming process; it is important to test stripping techniques on a small area first.
Wire brushes and other abrasive methods should never be used. Plaster and wood are often successfully stripped using chemical removers and peel-off poultice systems. The careful use of a steam wallpaper stripper may help strip paint from plasterwork, while hot-air guns work well with timber mouldings – although it is important to avoid scorching the wood or allowing scrapers to dig in.
Paint lodged in fine detail can often be dislodged with a toothbrush and toothpick. New paint should then be applied in thin layers, while taking great care not to let it clog the indentations of the moulding.
See our step-by-step guide on how to strip and repaint original mouldings
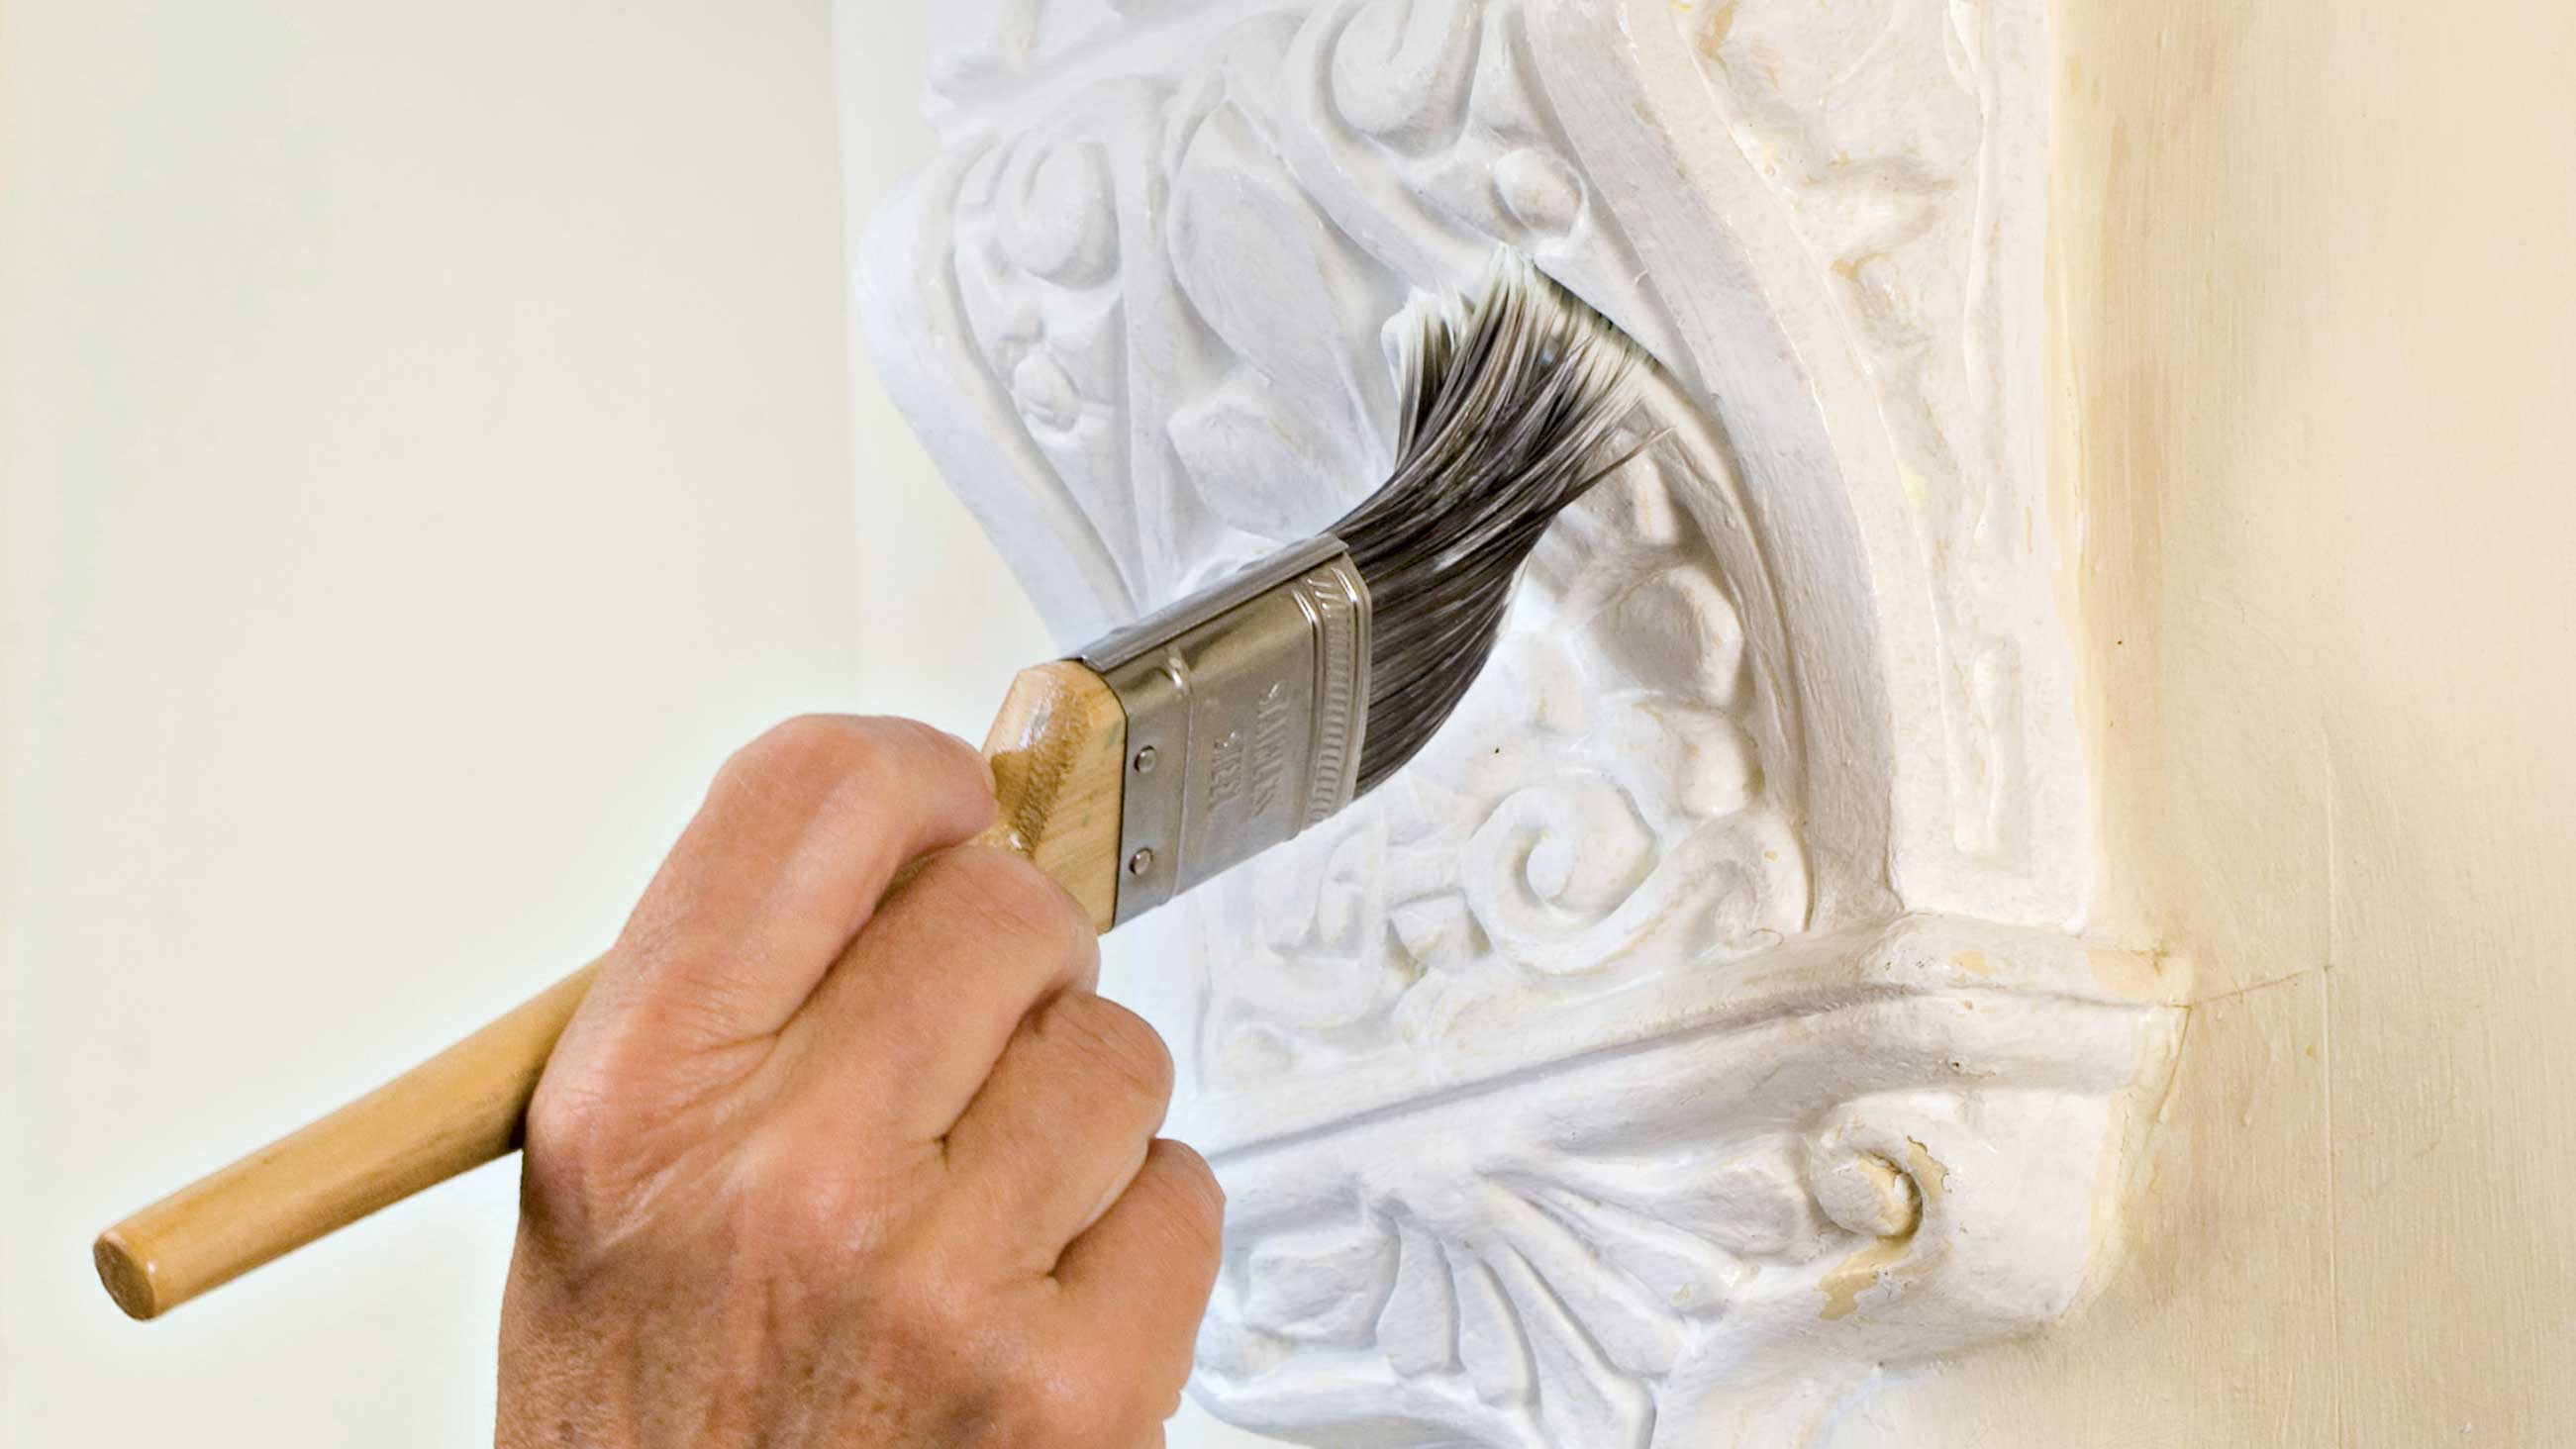
Care and attention needs to be paid when removing paint from mouldings and then repainting them
Mouldings maintenance checklist
- Clean dust and dirt from crevices in mouldings
- Remove accumulated layers of paint
- Look for rot or insect attack
- Refix loose sections
- Repair missing pieces or areas of damage
Where to buy mouldings
Most polystyrene and timber mouldings are available from DIY stores, timber yards and specialist suppliers.
Lengths of plaster mouldings in almost every style conceivable can also be found online from specialist companies. Cornice tends to be available in standard lengths, with 3m being a popular option.
If you are looking for mouldings to match original designs already in your home, or for something more specific, specialist companies will make them to match, or will run them in situ, either from plaster or glass-reinforced gypsum.
Another source is architectural salvage yards; it’s worth taking a section of what you are trying to match when searching.
How to fix plaster mouldings
Plaster and gypsum-based mouldings should be fixed using both the adhesive recommended by the supplier, as well as rust-proof screws. You should use a mitre box – a box with angles at various degrees that provides a guide for cutting. It is worth buying some cheap polystyrene coving and practising with it first.
Need more restoration advice?
- Our expert guide to plaster in old homes is a good place to start
- Read our full guide to choosing paint colours for a traditional home
- How to repair plaster: fix cracks, bulges, loose plaster and damp
Join our newsletter
Get small space home decor ideas, celeb inspiration, DIY tips and more, straight to your inbox!