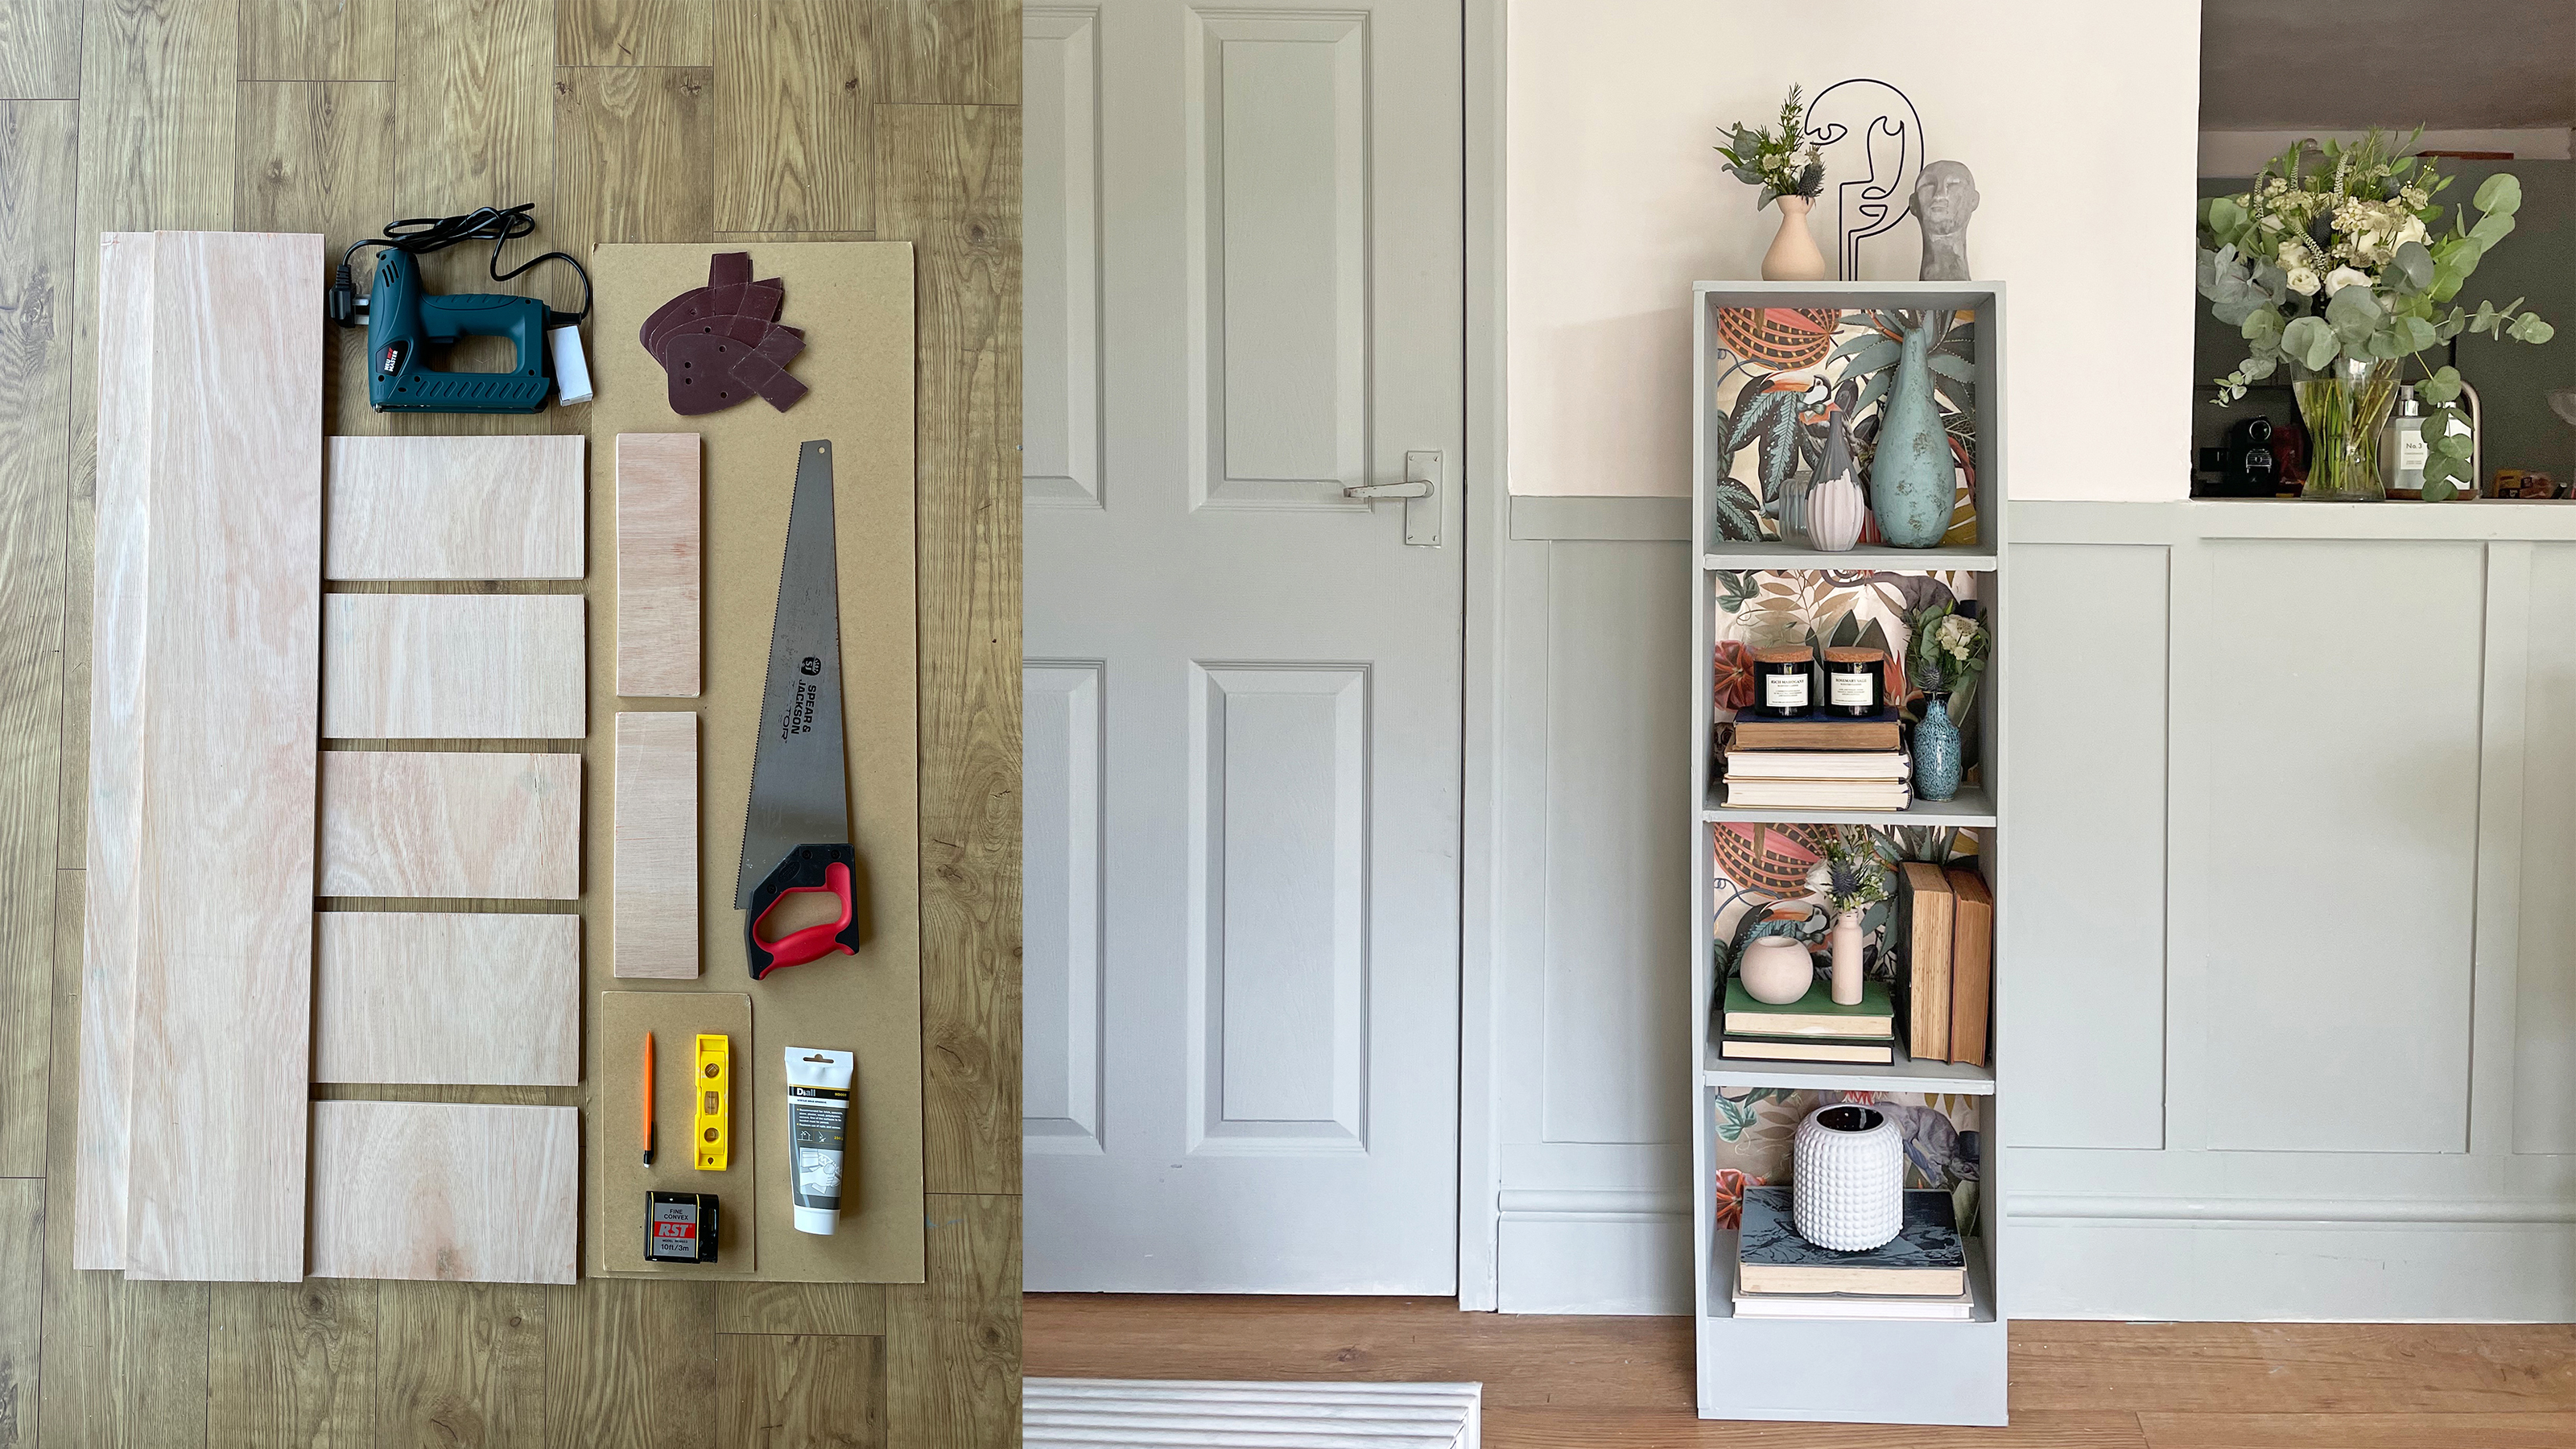
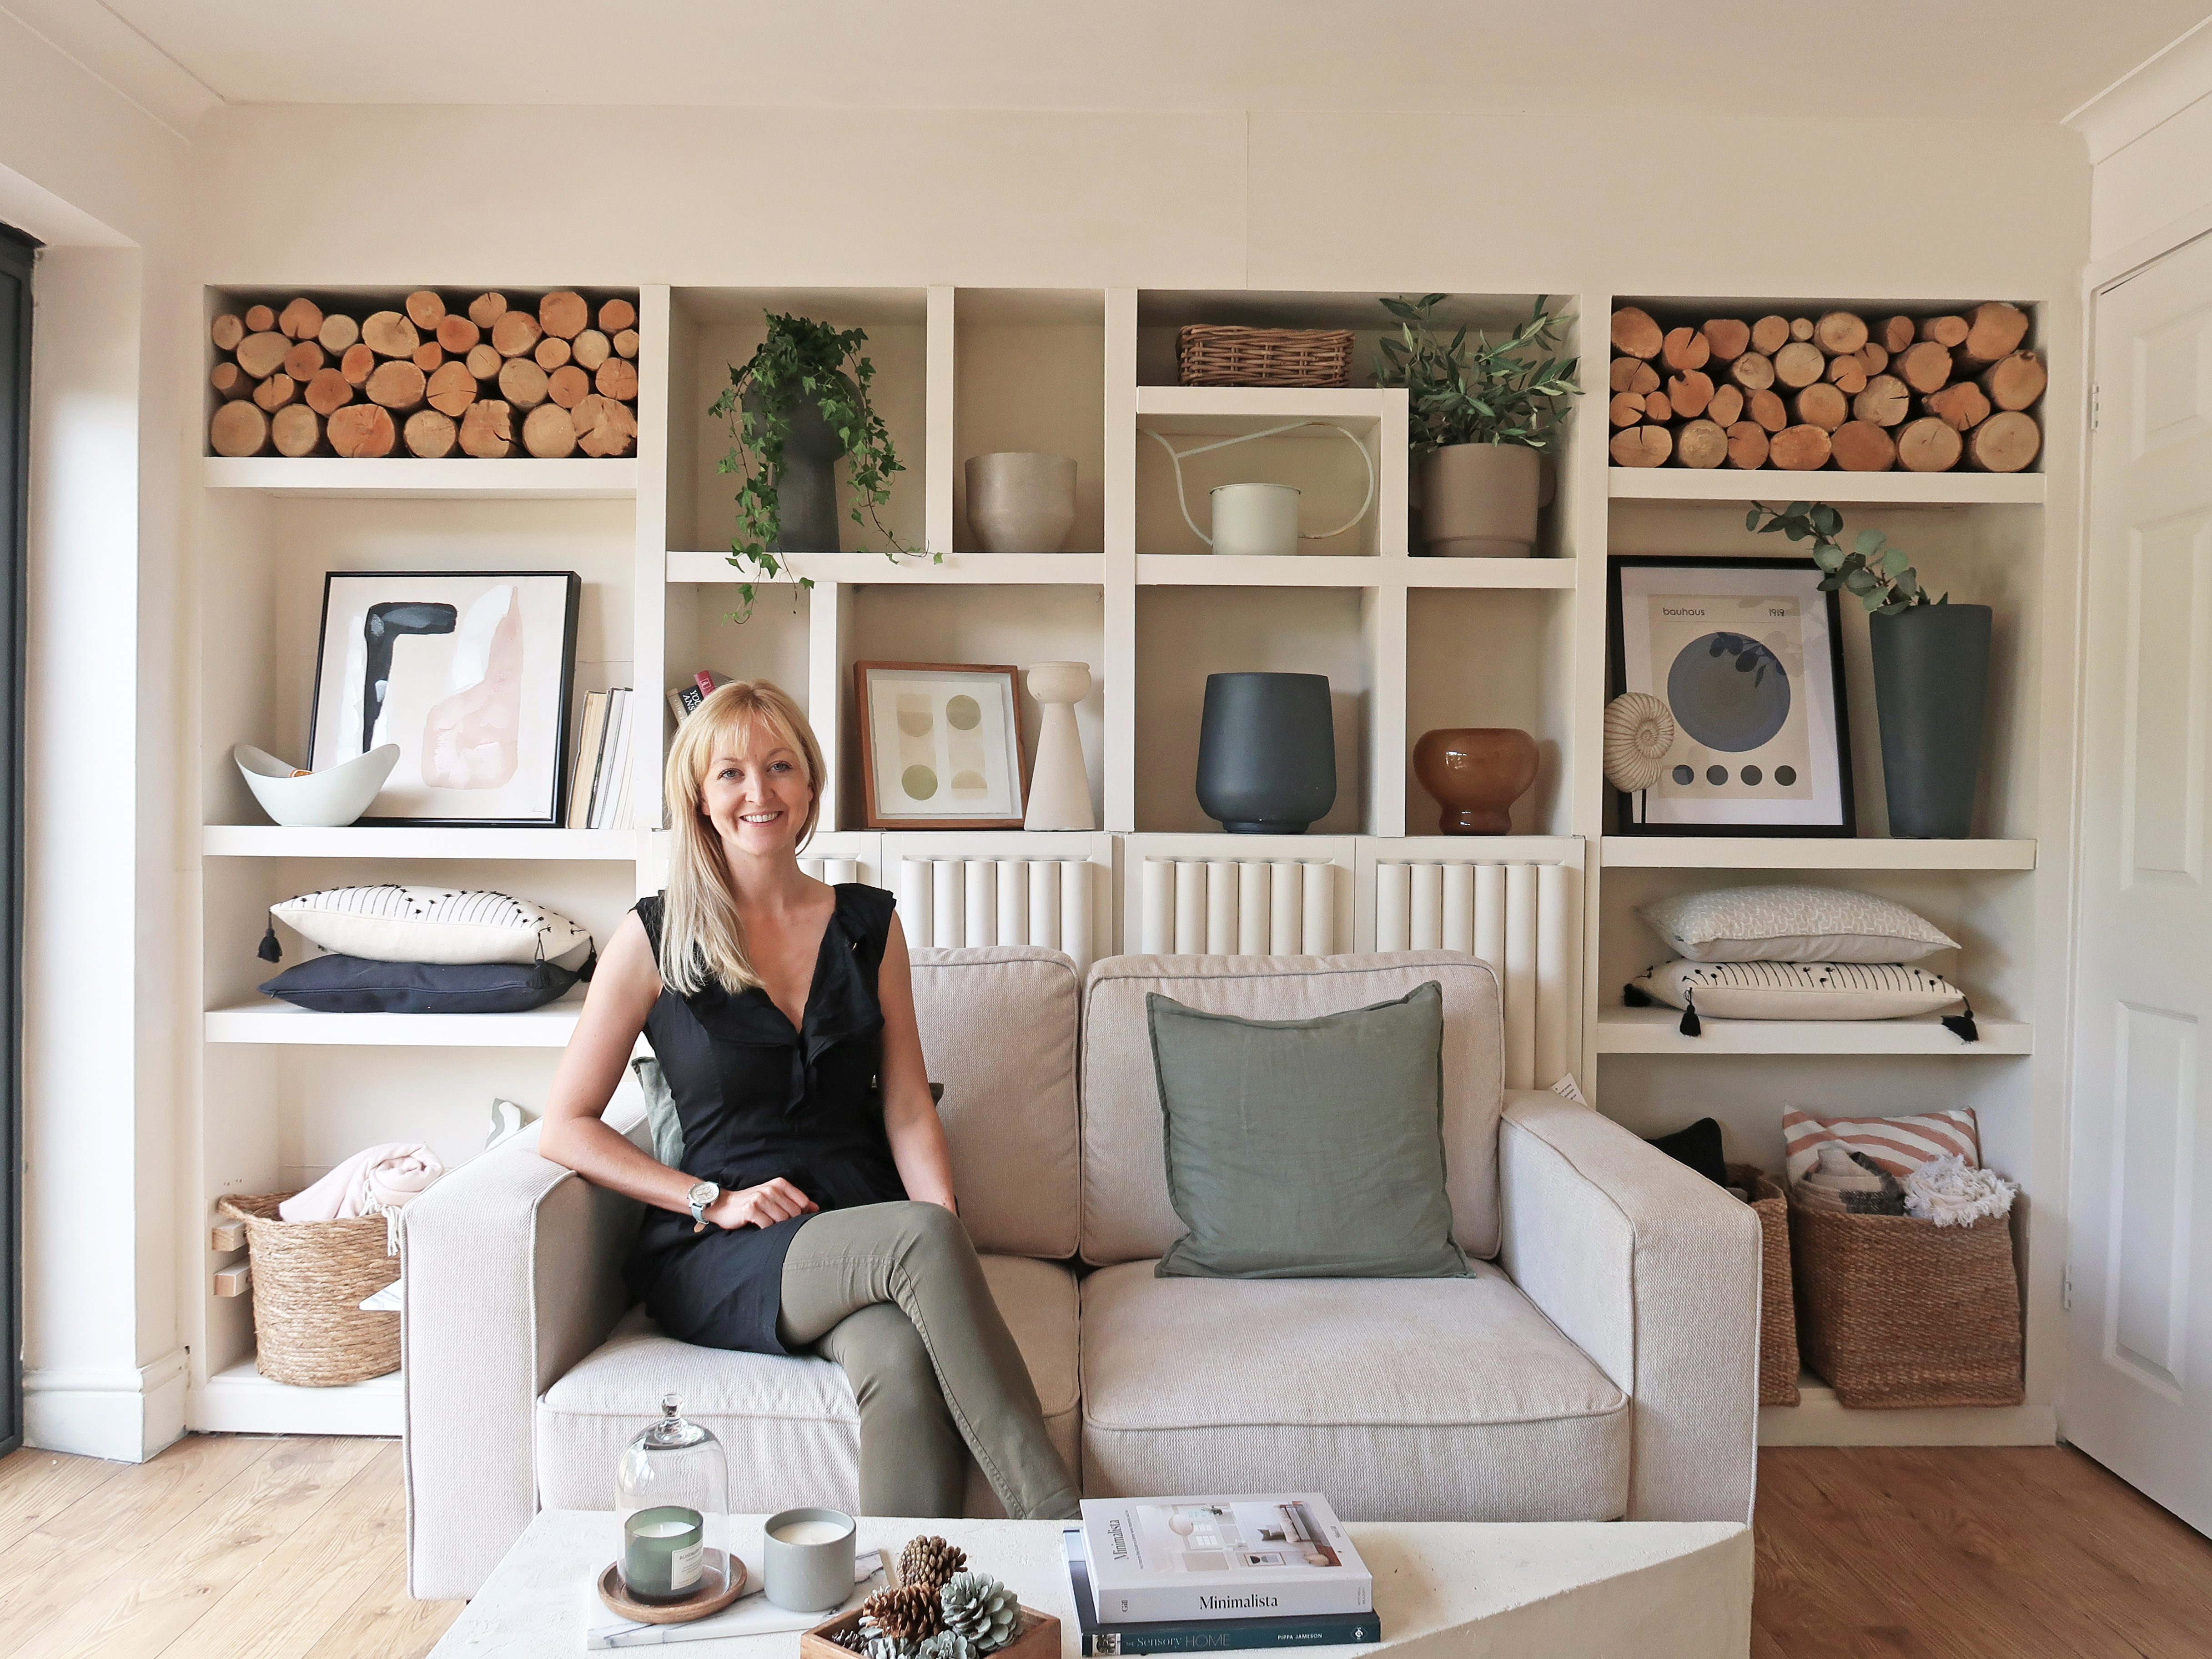
When you know how to build a bookshelf yourself, it opens the opportunity to add both design interest and storage space to your home!
Because when displayed correctly, books can add texture, color, and depth to a room. Not to mention that books left lying around collecting dust can really bring a space down, making it feel cluttered and untidy.
So If your book collection is more impressive than your budget, why not embark on this satisfying yet simple DIY project to make your own bookcase?
How to build a bookshelf
A DIY bookshelf is a great way of saving money while ensuring the piece will fit perfectly with your style and designated space. Here's everything you need to know about how to build your own.
You will need
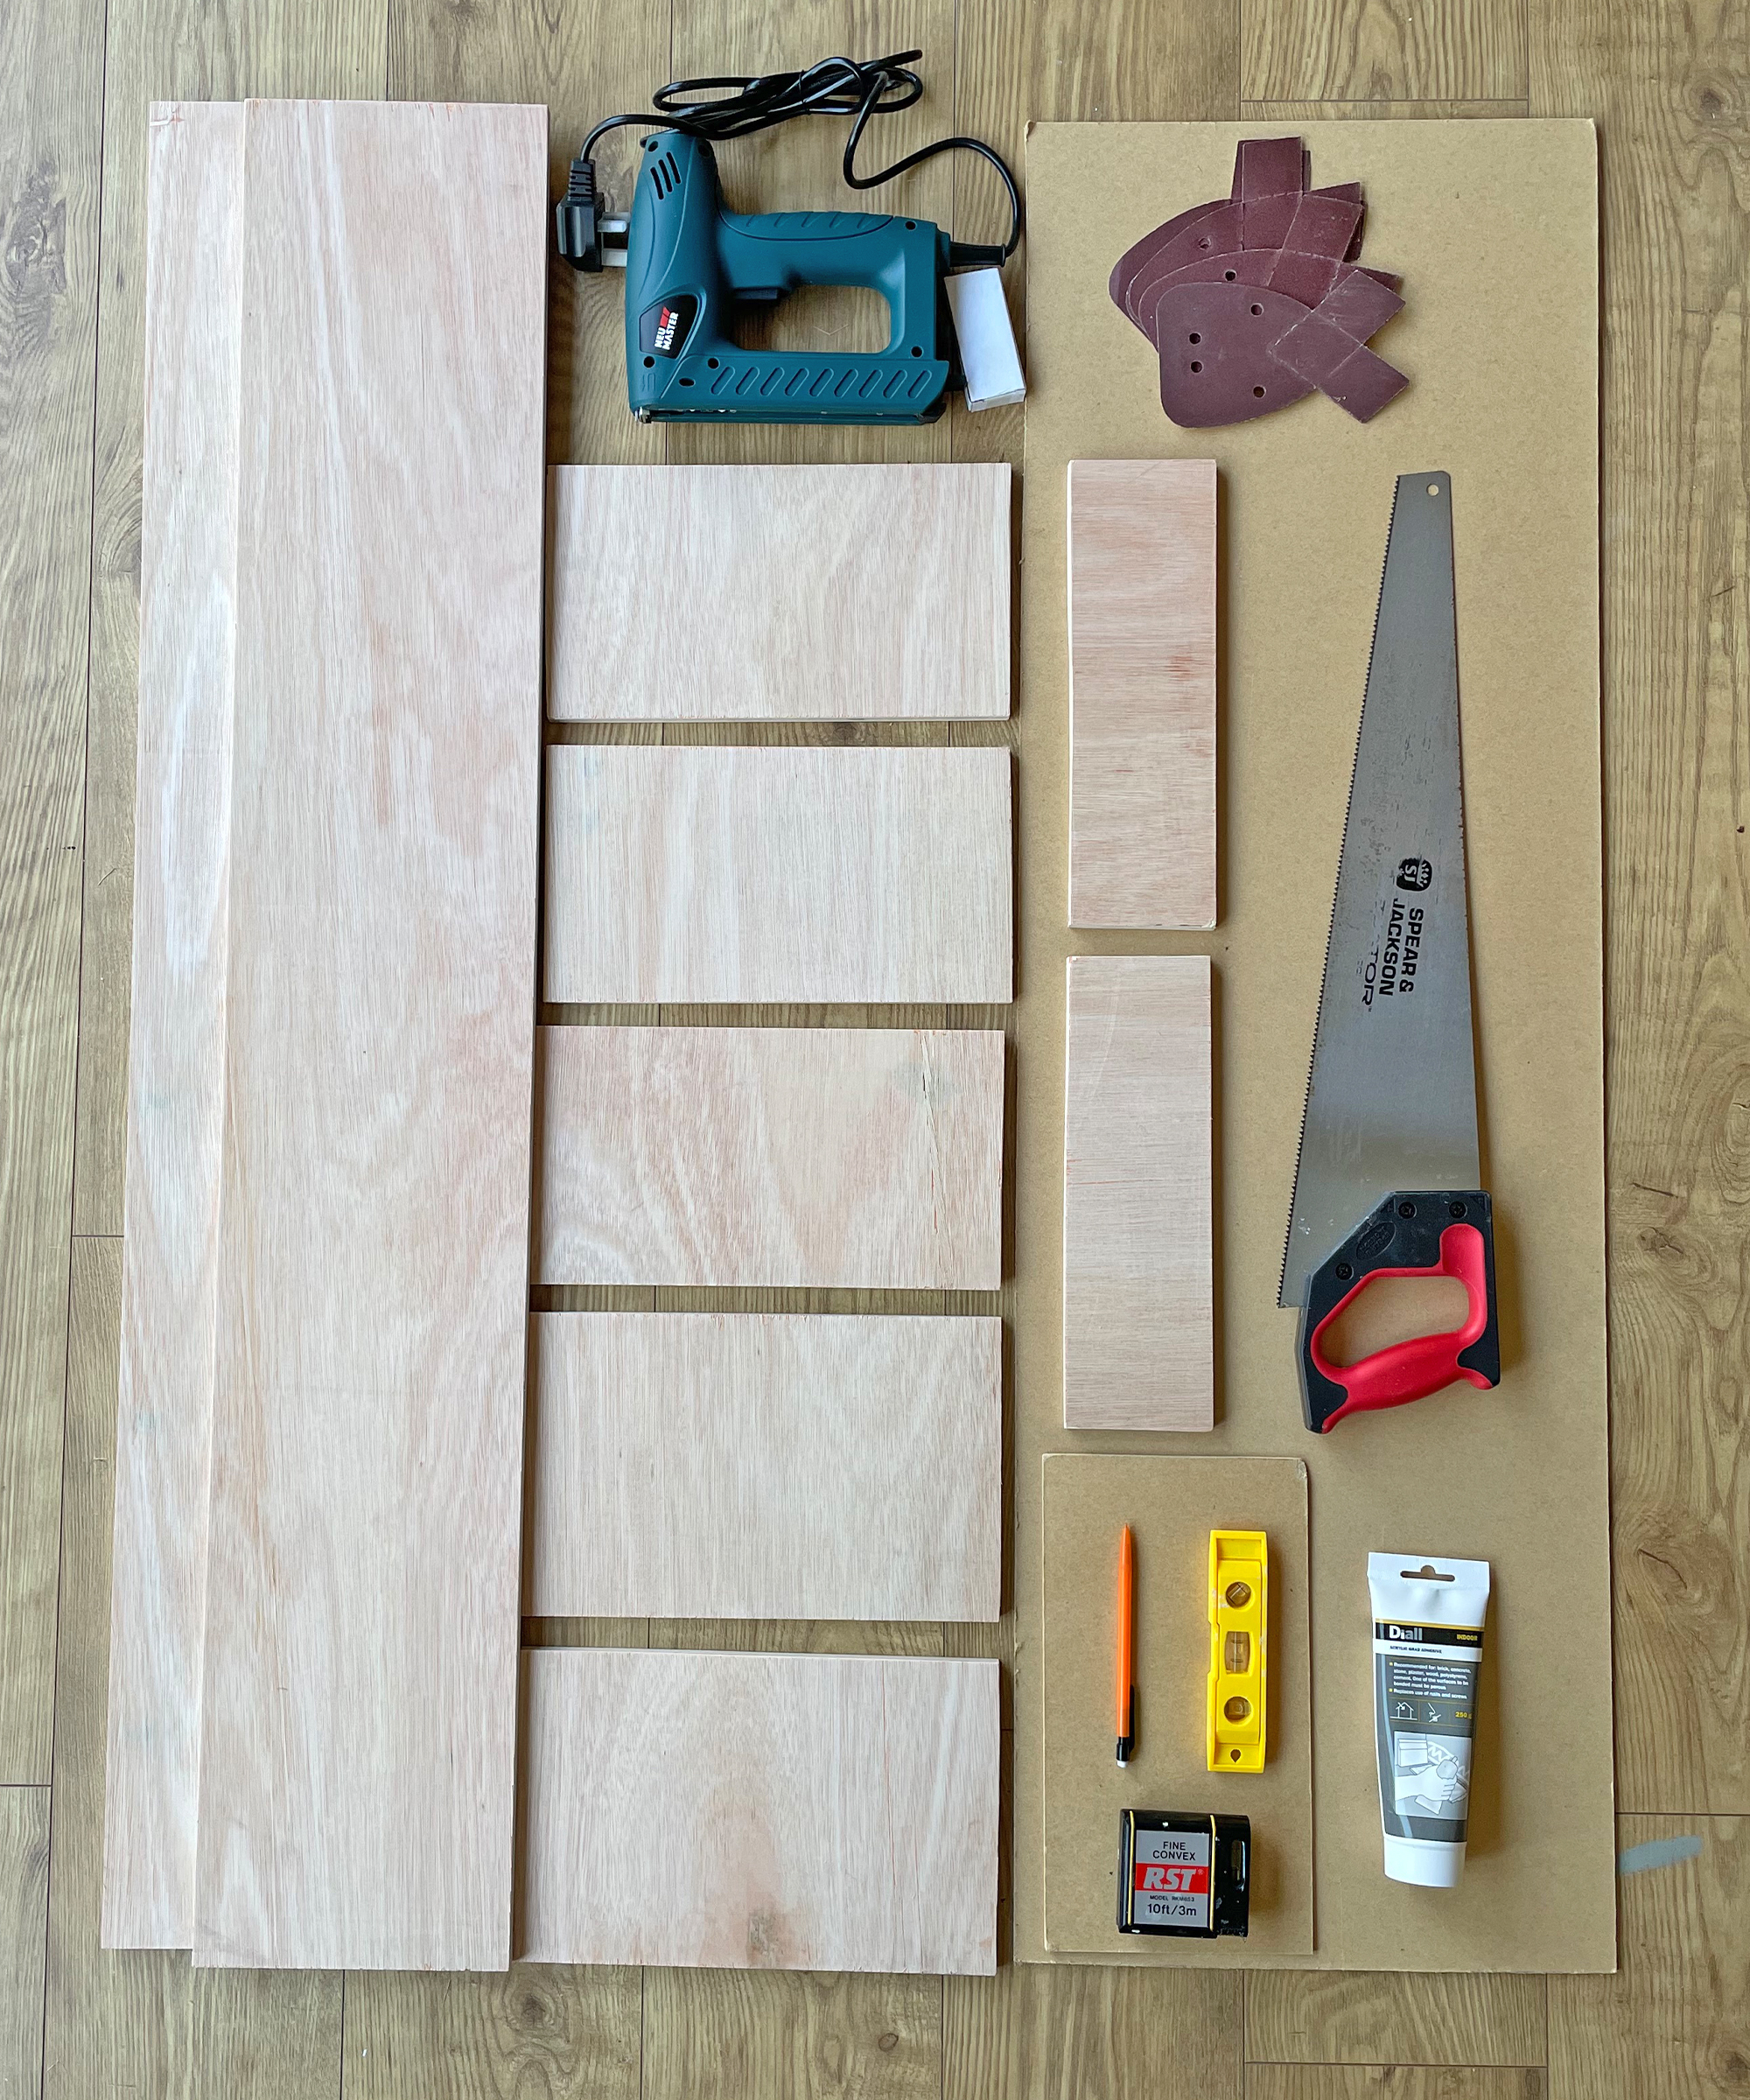
1. Wood (readily available from your local hardware store)
2. Glue - You can use specialist wood glue or grab a UniBond adhesive like I did (as long as it's suitable for wood)
3. Brad nailer (I use the NEU MASTER NTC0060) and brad nails speed up the build process, but a hammer and nails will work fine too.
4. A level
5. Pencil
6. Tape measure
7. Damp cloth
8. Saw
9. Wood primer like Frankie & Stone Acrylic Wood Primer Paint
10. Wood or furniture paint: I like this one from Rustoleum and used shade 'Chalk Green' on this project.
11. Paintbrush
12. Shelf support studs - I used these from Amazon
13. Wallpaper (optional) I bought this one from Decorating Centre Online
14. Drill (only required if using shelf support studs)
1. Designing
Once you know where your bookcase is going, you need to measure the space and decide on the width, height, and depth. Use these dimensions to produce a detailed drawing and cutting guide for your bookcase.
A cutting guide will save you time in the long run and will be handy to refer back to when you are mid-build and need a quick reassuring check before nailing a piece in place. I chose a really simple design to ensure it would be easy to replicate, but if you’re a confident DIYer you could flex your woodworking skills by adding trim and decorative moldings as well as going bigger and bolder if your space allows.
You could also add legs to the design, many different styles of bookcase legs are available on Amazon. You will need to decide what materials to build with. In the example shown I’m using plywood as it is cost-effective and stronger than MDF. You could use MDF, pine, or hardwood if you prefer or if you're trying to replicate a particular book or wall shelf you've seen in-store or online.
2. Preparation
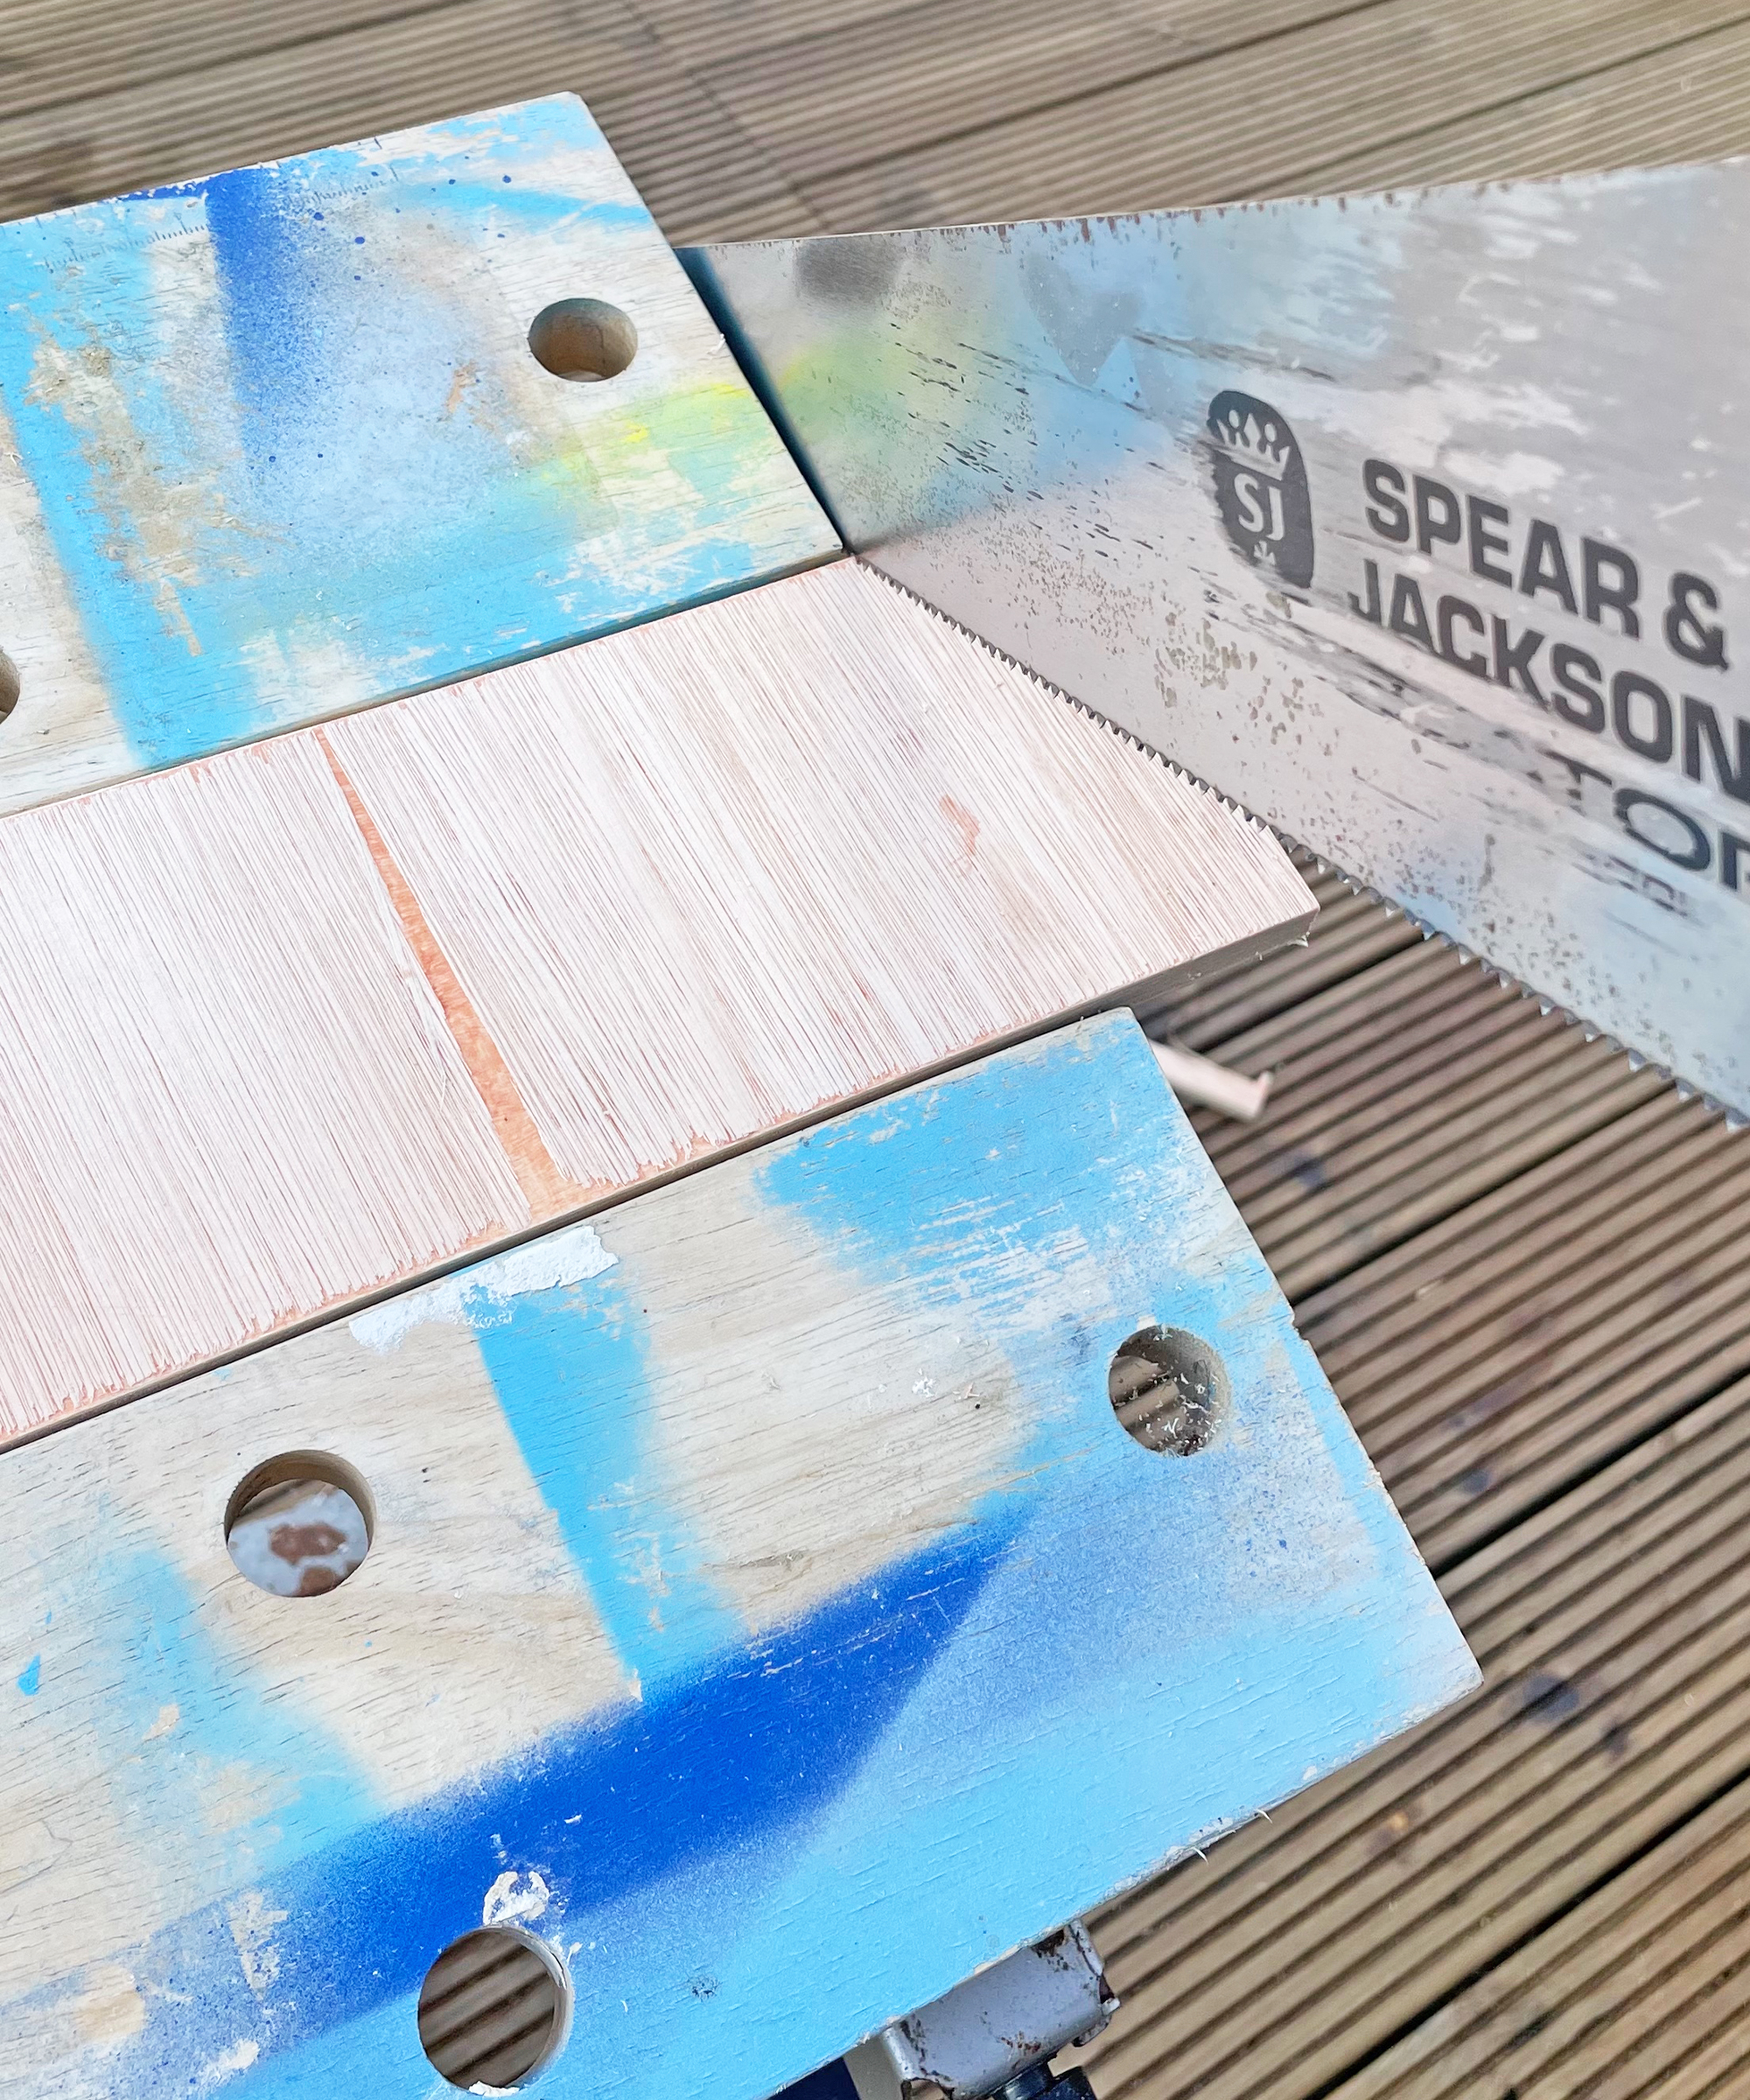
Cut your wood to size and sand the edges of each piece to ensure a smooth finish. Use high grit sandpaper to ensure you don’t scratch or damage the wood. Place the pieces in their intended positions, laying on the floor to check there won’t be any issues before you apply any glue. If you have lots of similar-sized pieces, it might be handy to write on them in pencil where they belong.
3. Build the bookshelf frame
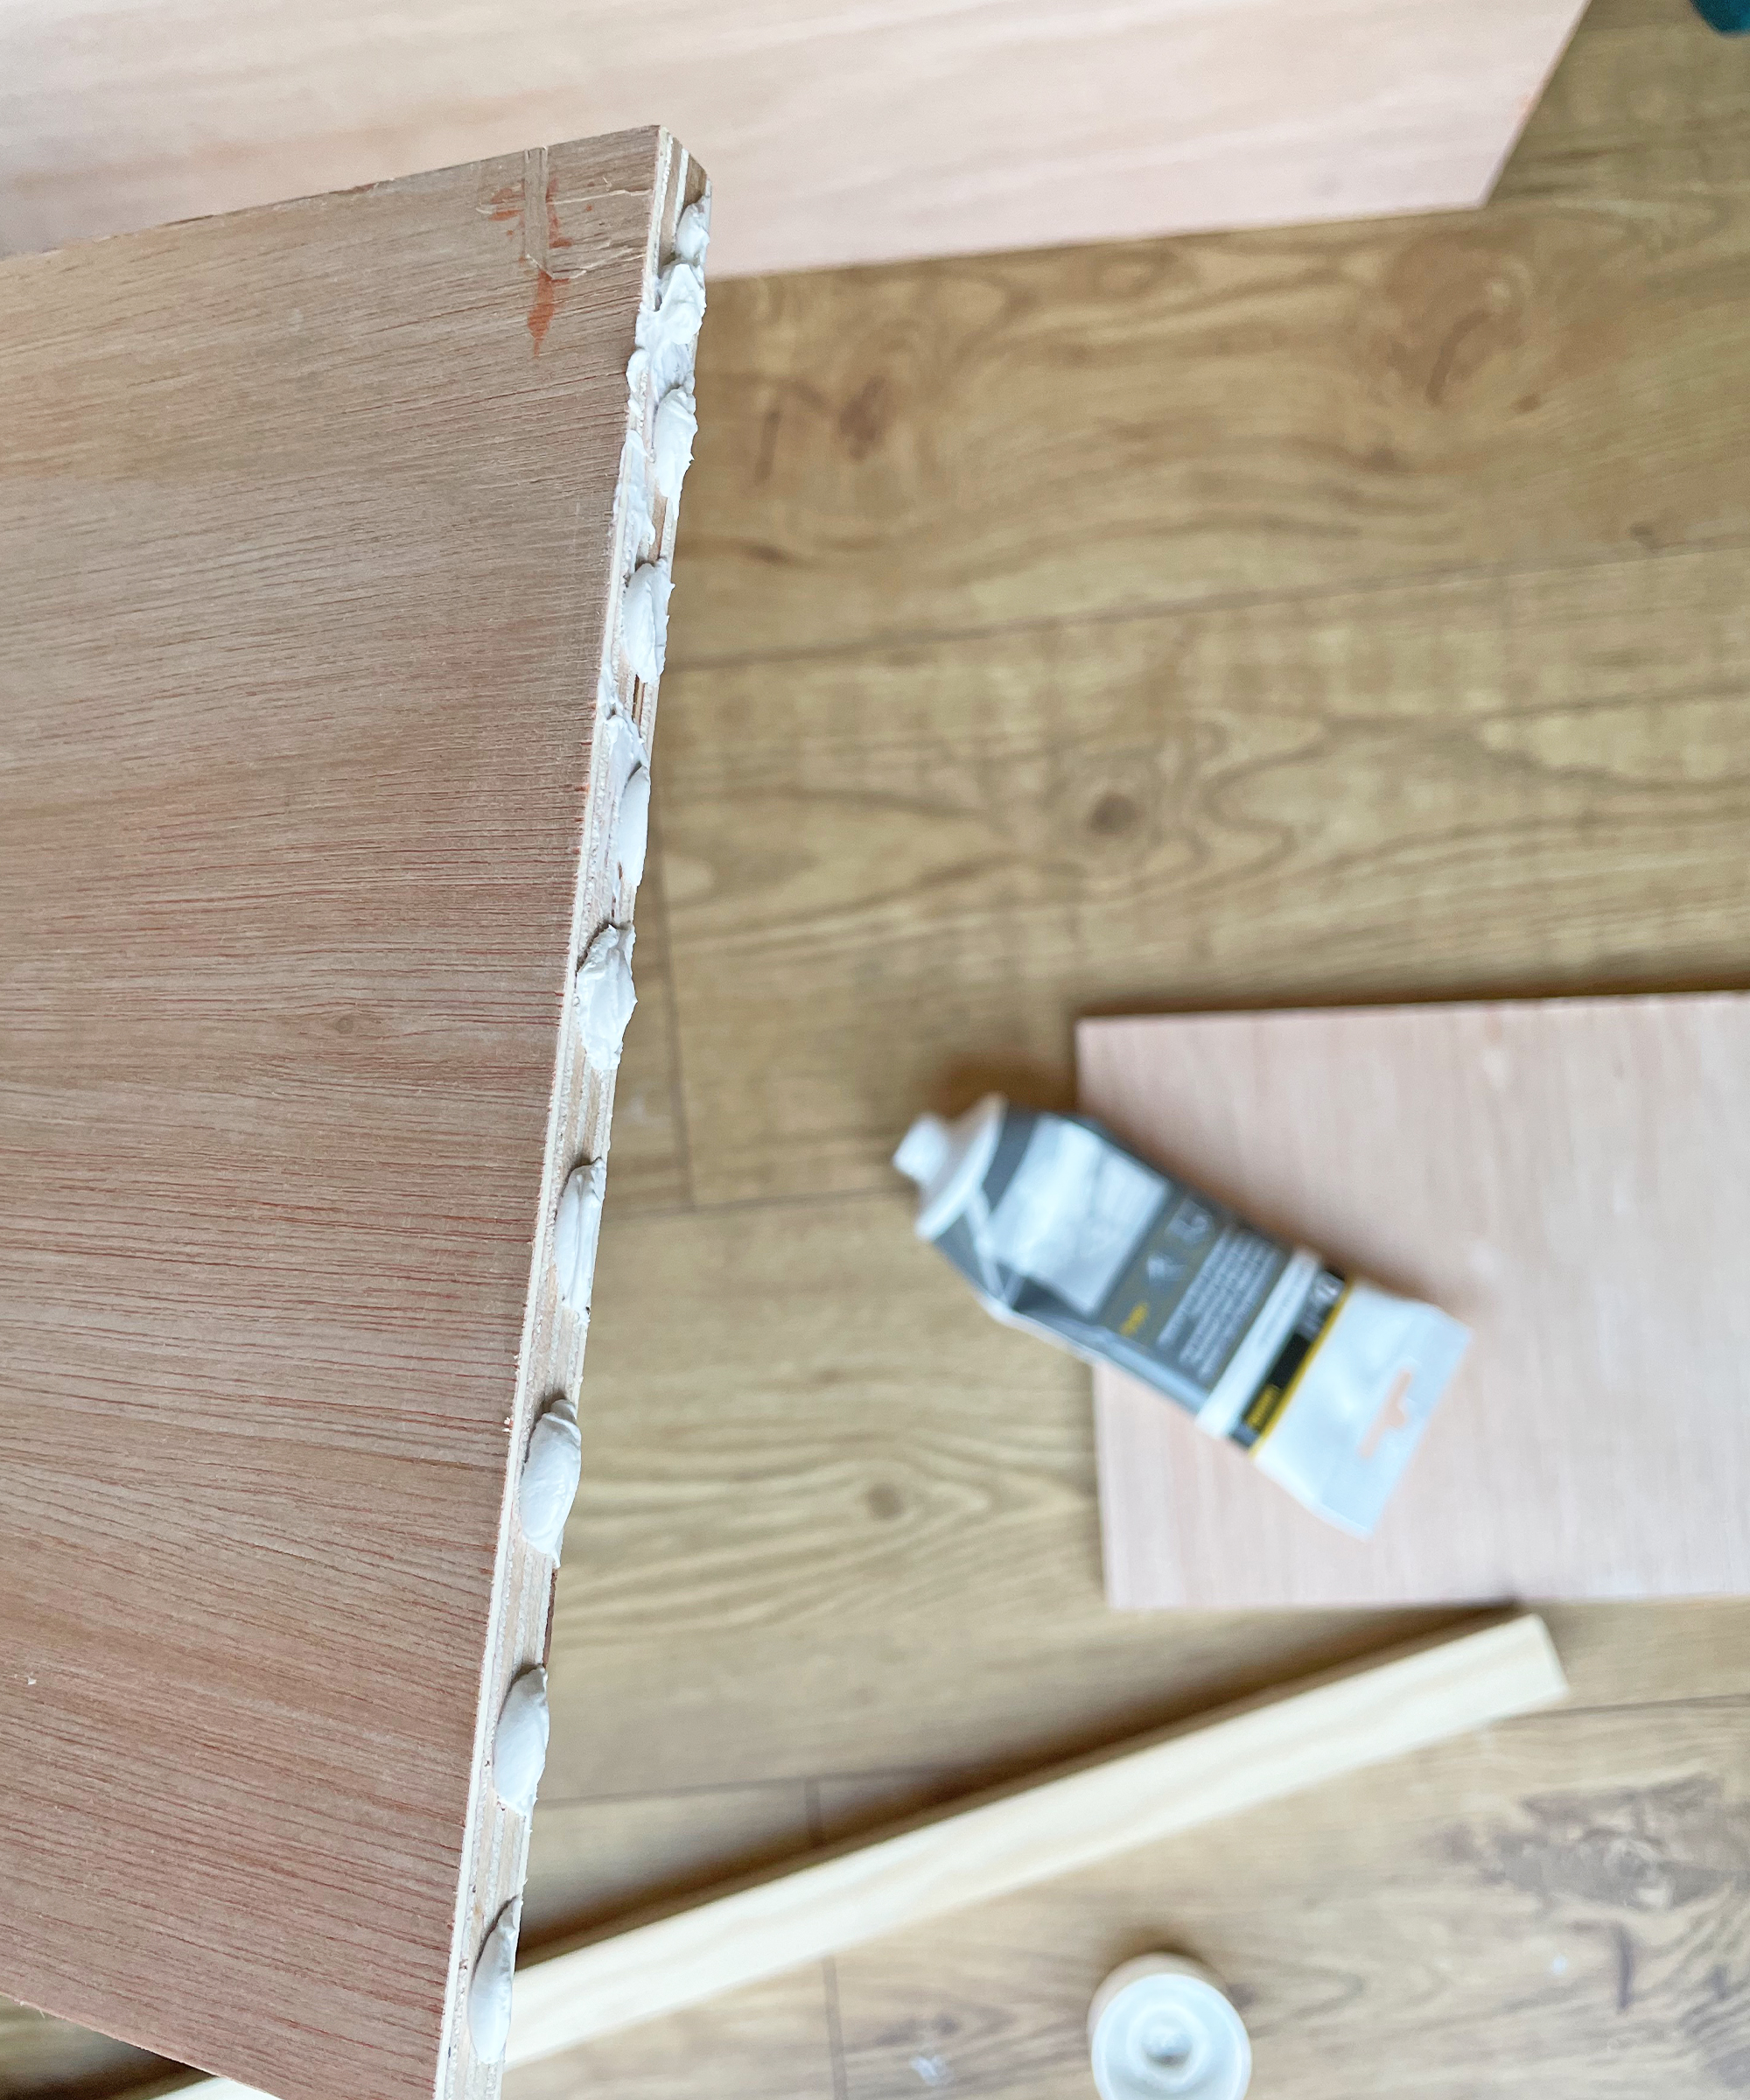
Connect the two long sides with the base piece by gluing and brad nailing for extra stability. A second pair of hands is helpful here to hold the pieces of wood together while you operate the brad nail gun. Alternatively, you can use clamps to hold the pieces together or clamp them in a vice or work bench.
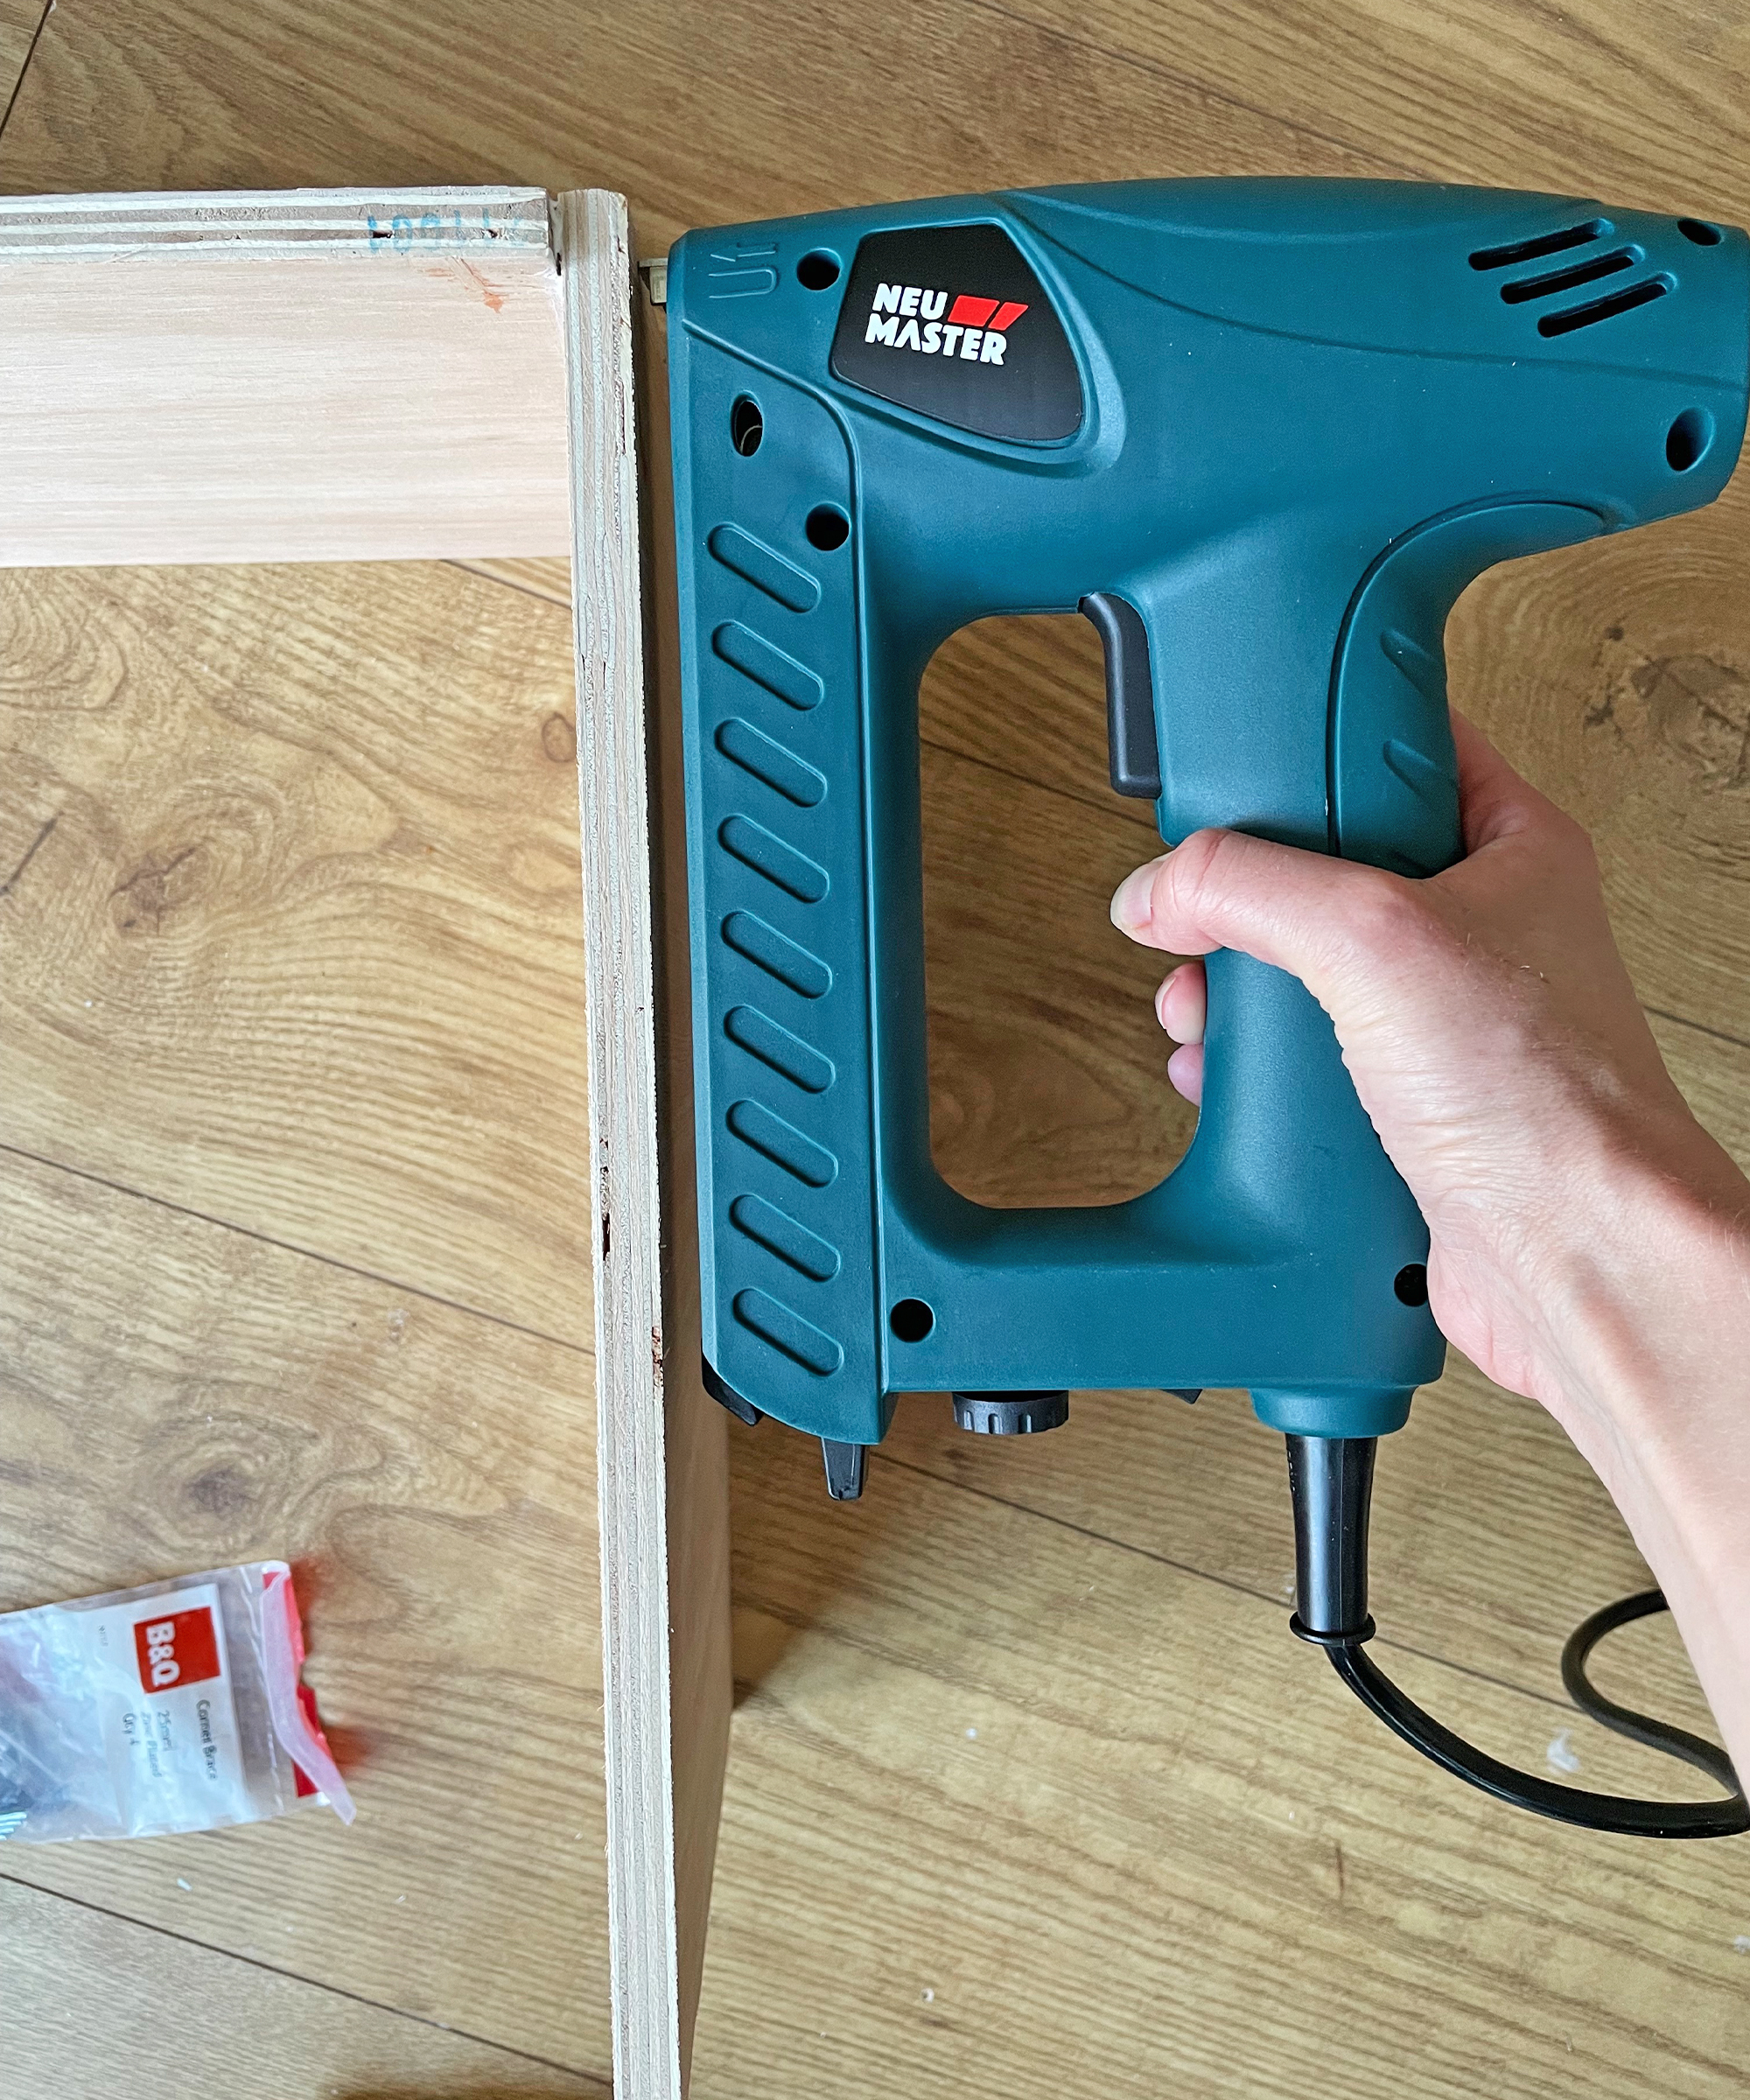
Add the top piece in the same way to complete the frame. Wipe off any excess glue before it dries. It might be helpful to nail a piece of wood across the two long sides to act as a brace while you are working on the first few pieces as this will help with stability.
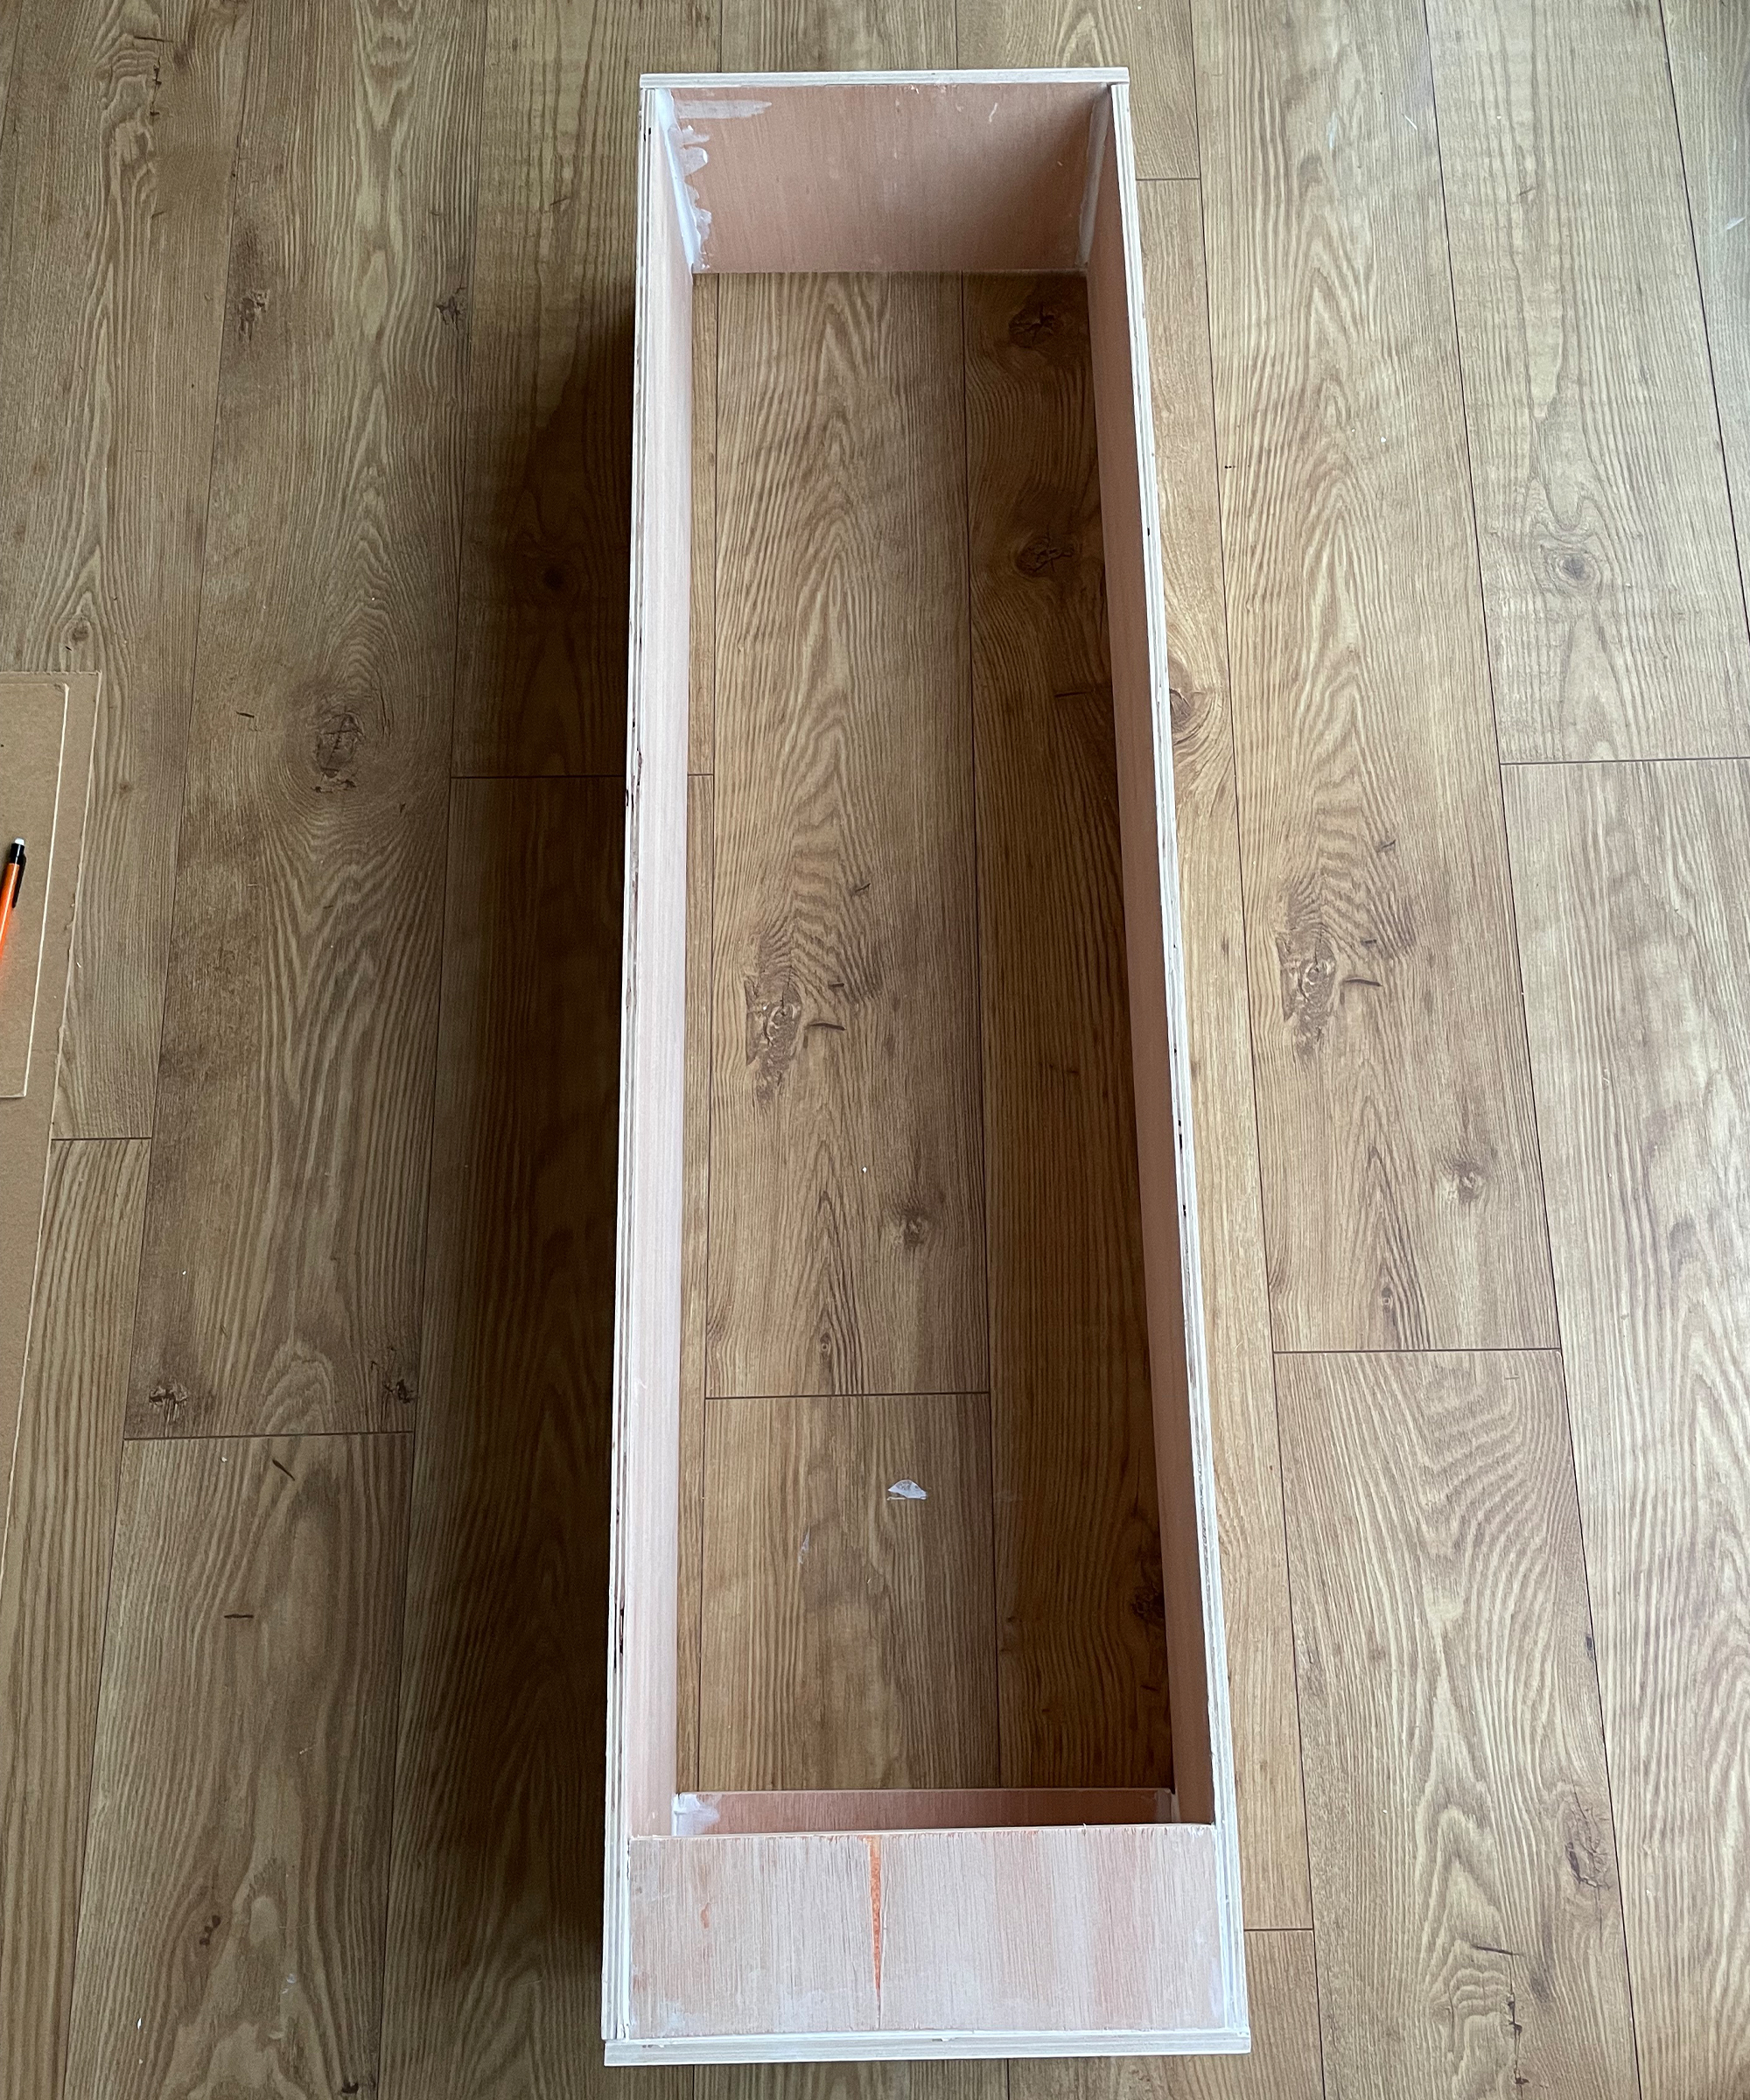
Follow the same process using a combination of glue and brad nails to add the front and back base supports followed by the bottom shelf which is seated on top. With tall bookcases, it’s a good idea to add a central shelf as structural support. This will mean you can’t easily change the height of this shelf, but it will help keep the bookcase strong and sturdy. Do this by nailing or screwing directly into the side of the shelf from the outside through the long side panels.
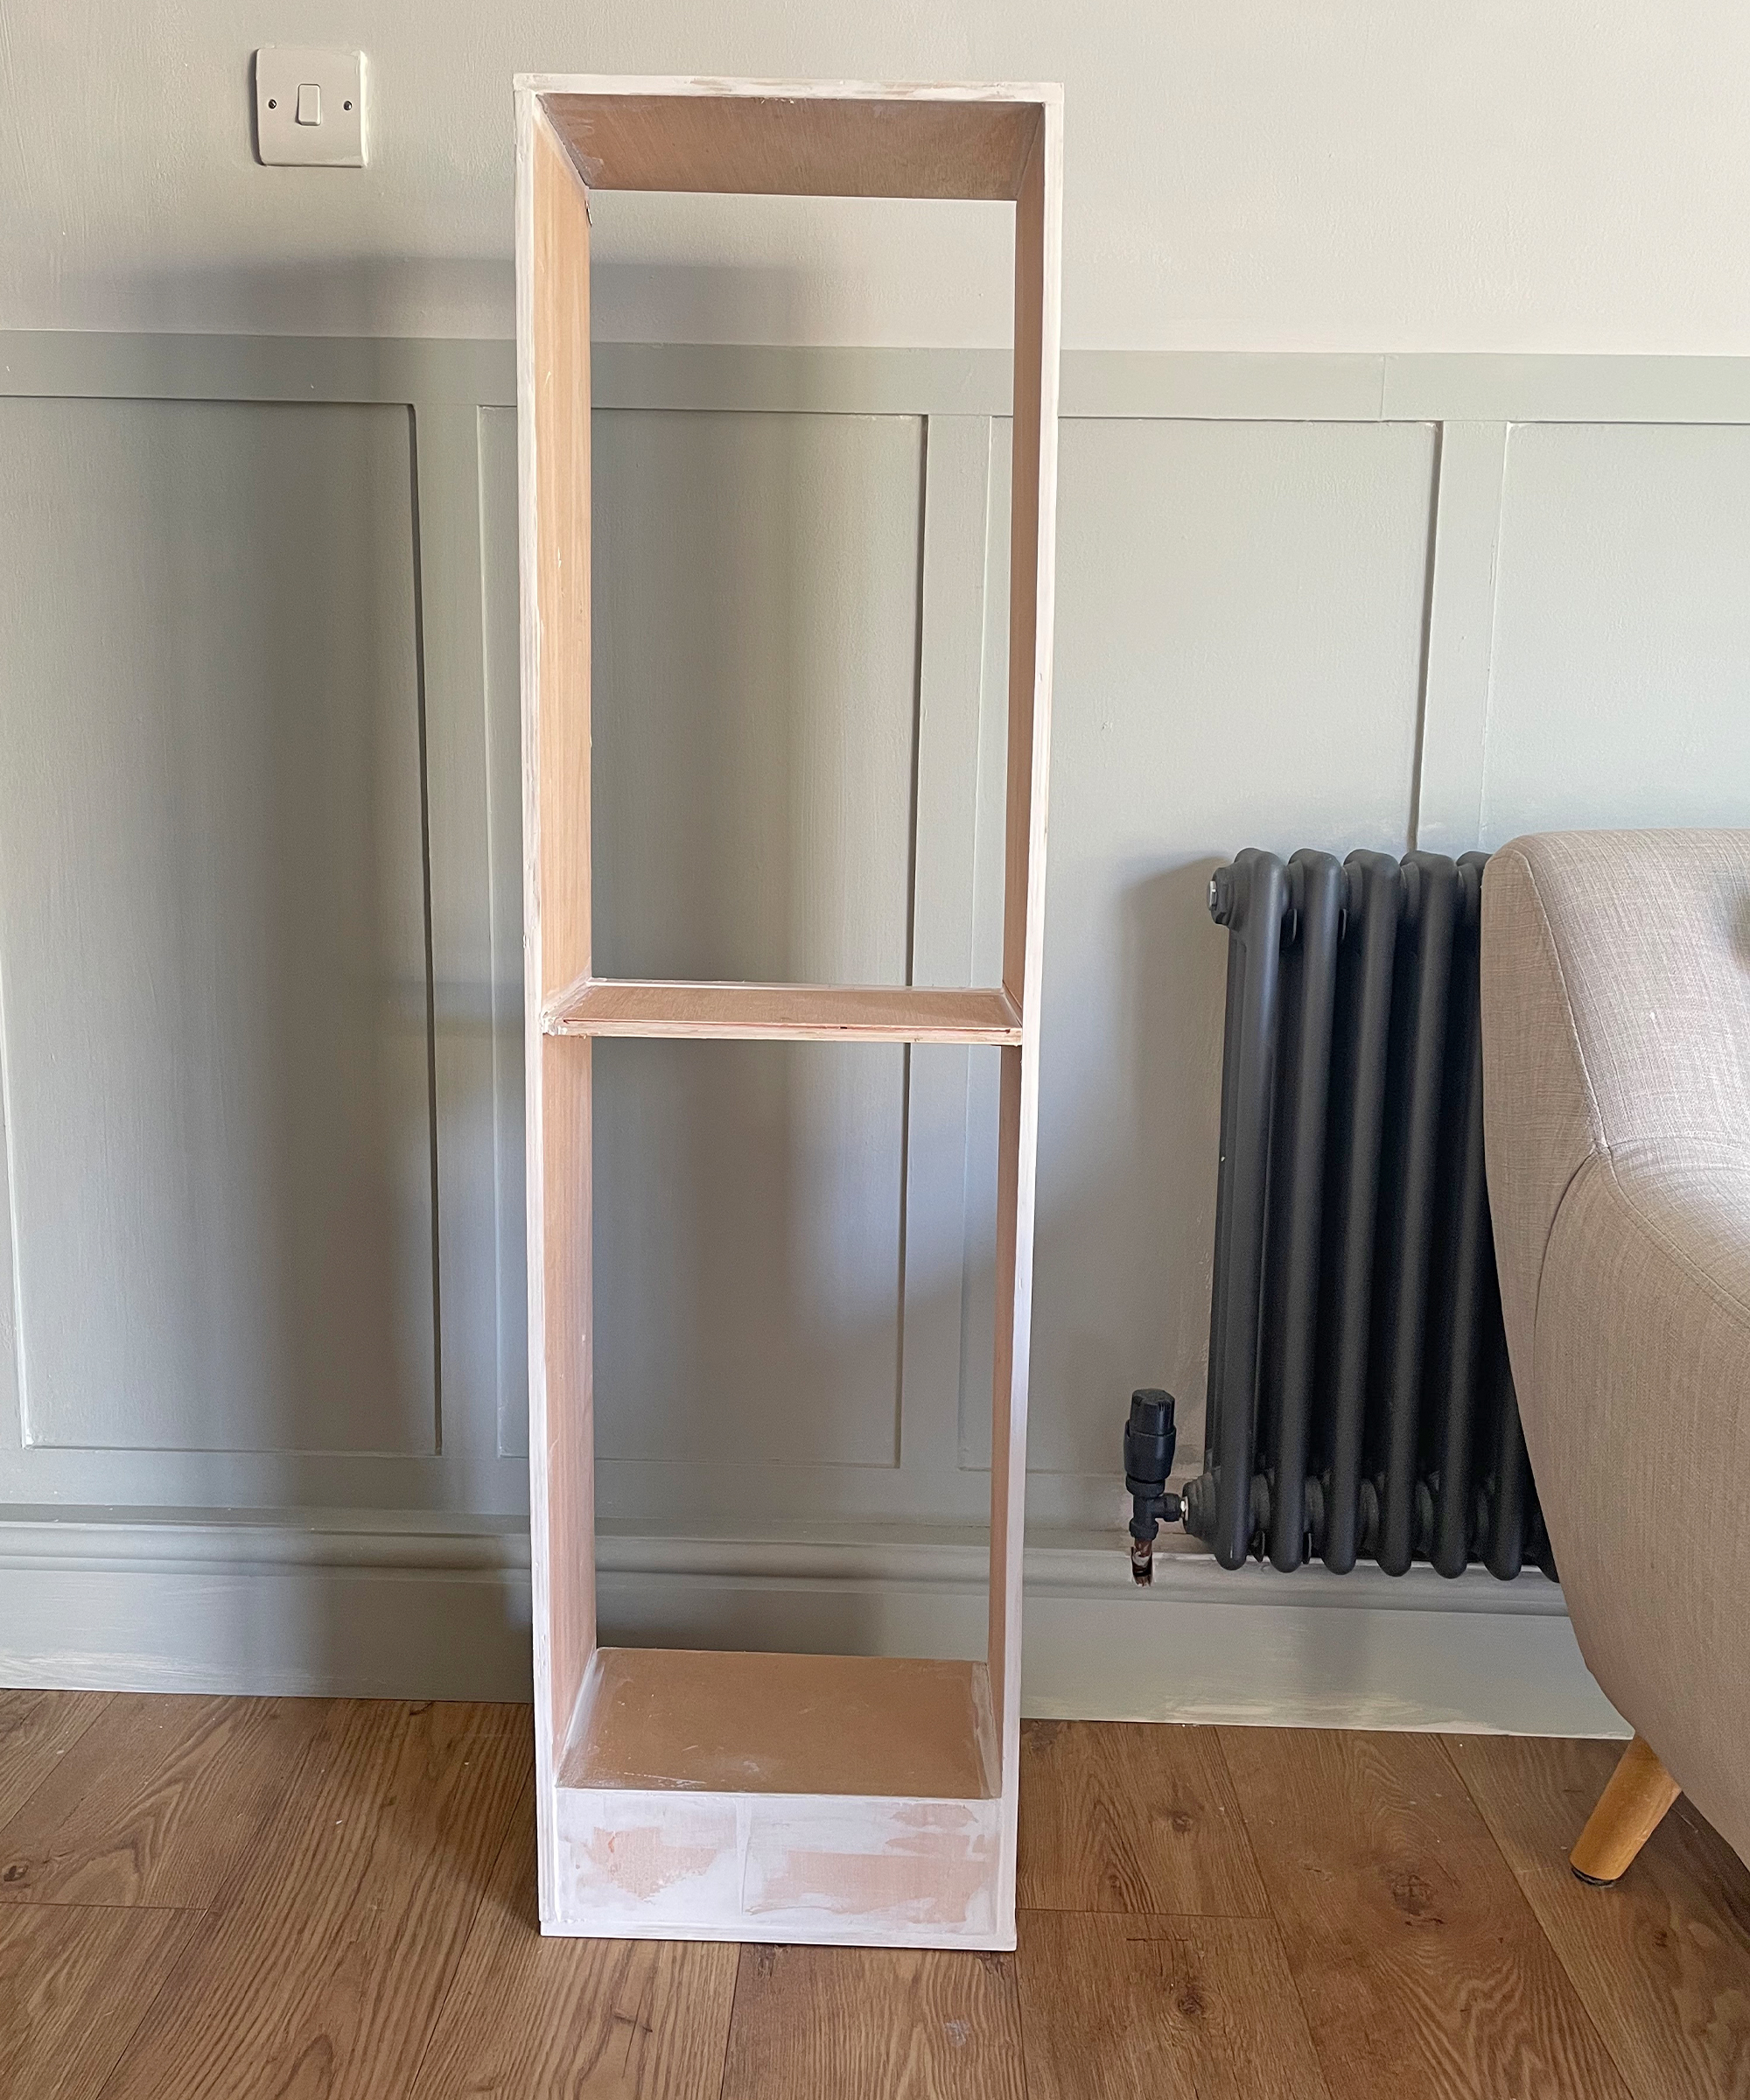
4. Add shelves to your bookcase frame
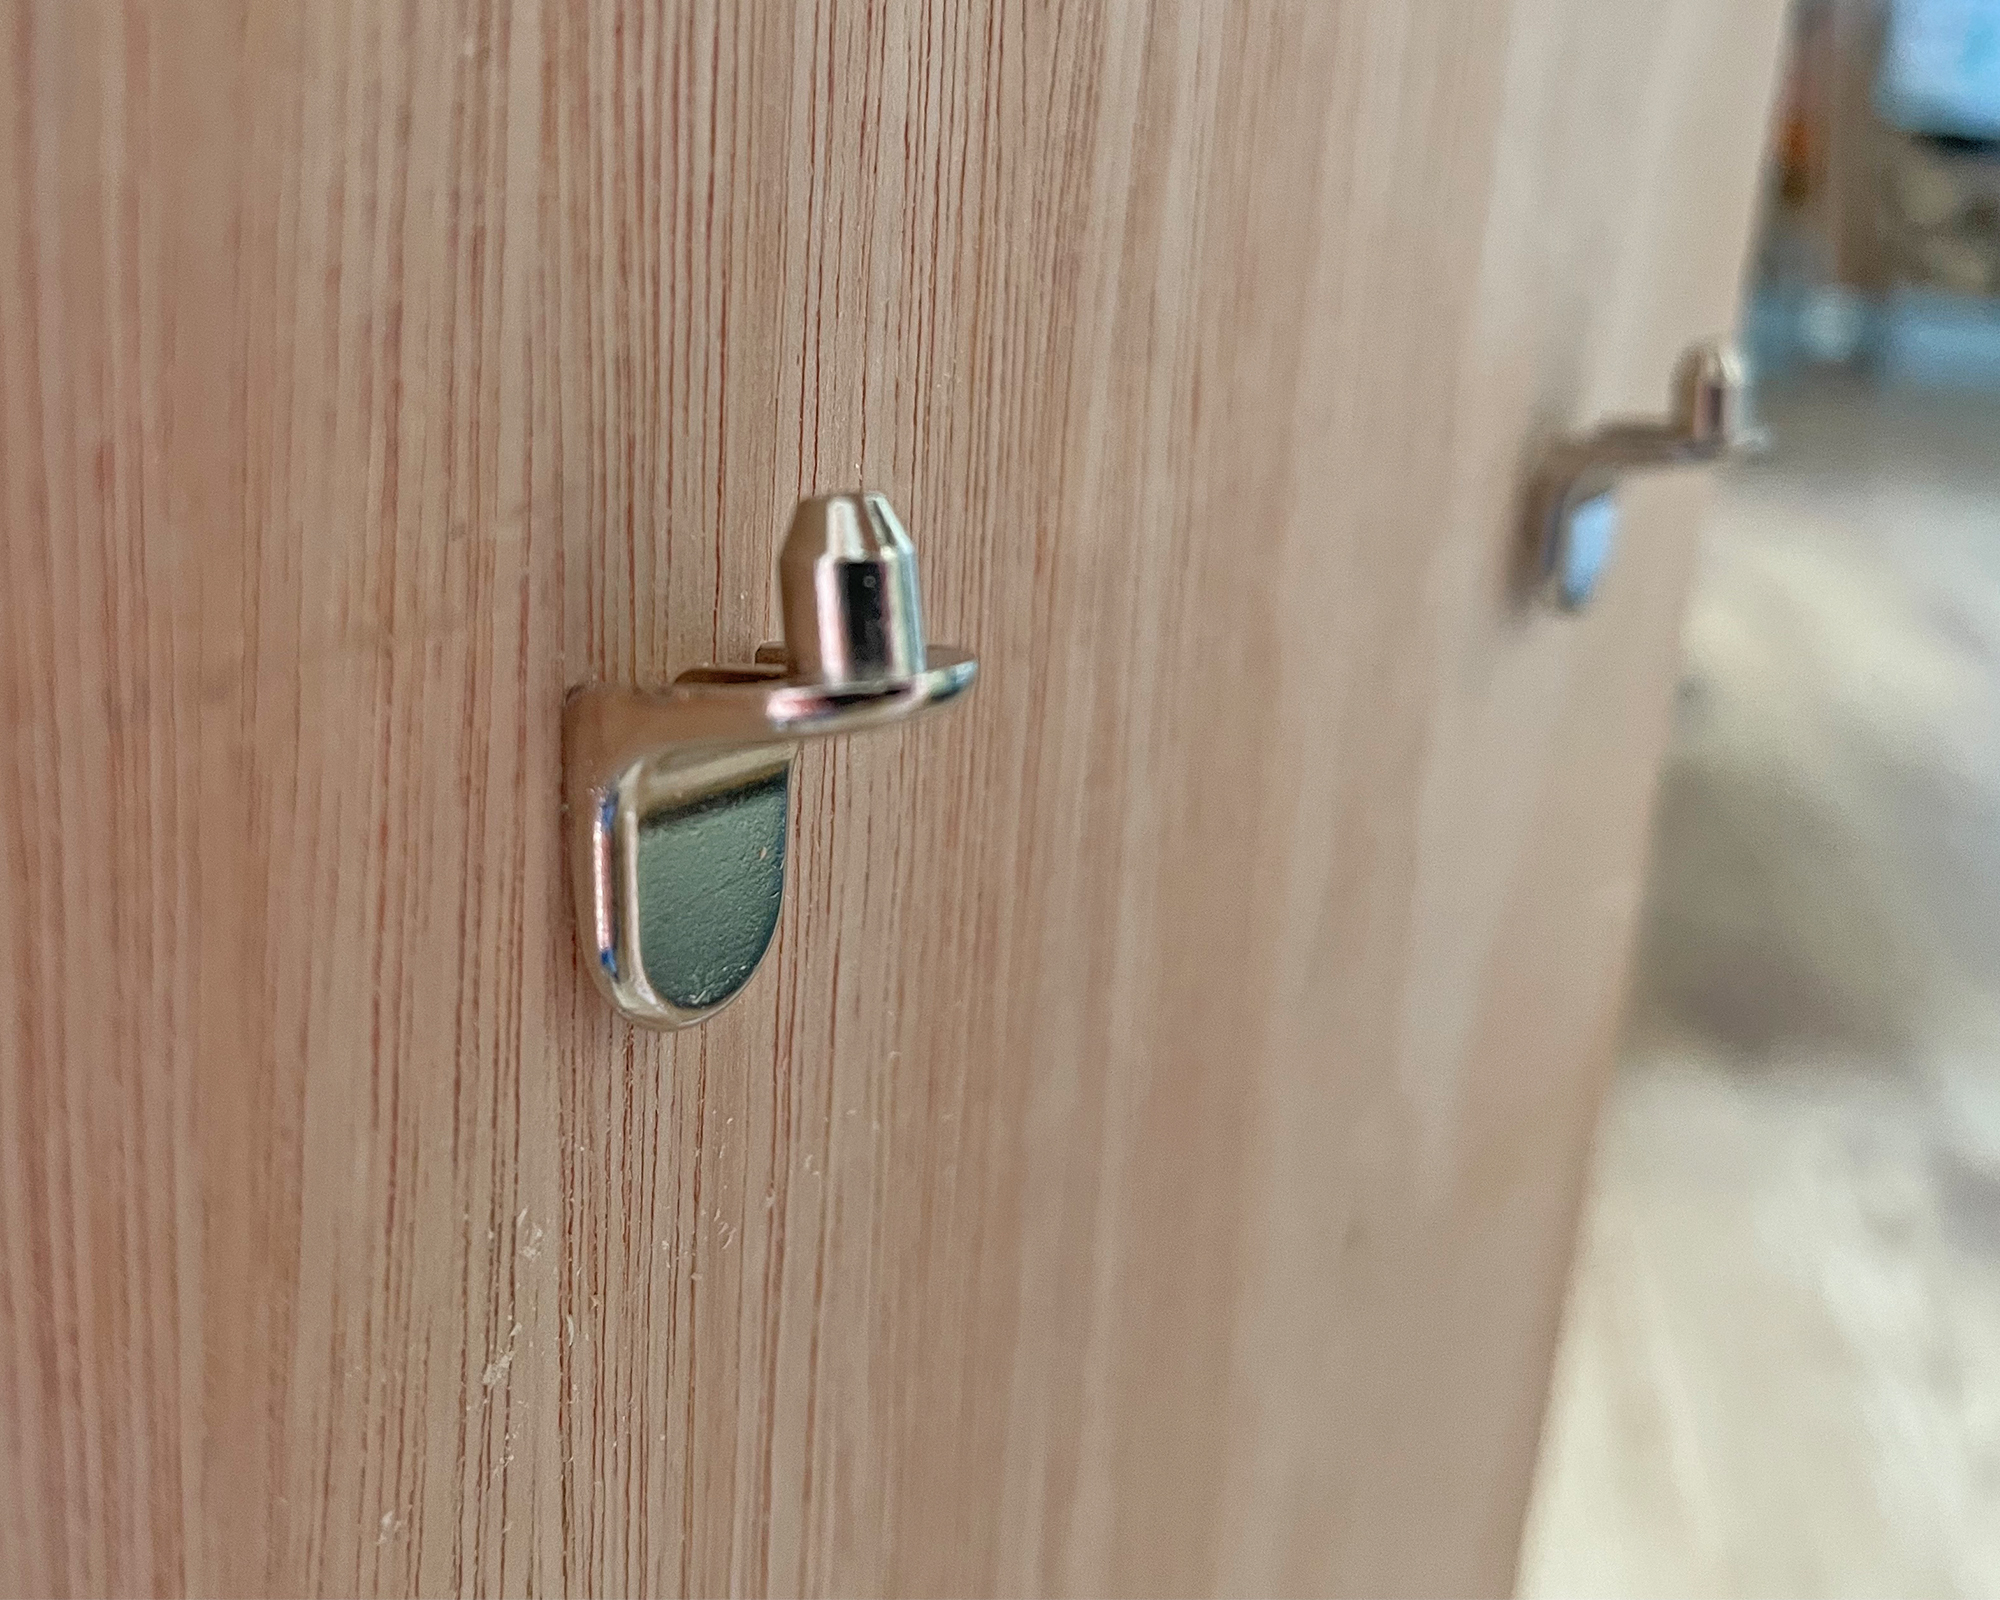
Measure and mark the rest of the shelf positions. Test the line you have drawn with a level prior to drilling. Drill two small holes on each side along the lines you marked for the shelves (four holes per shelf). Insert the shelf support pins (shown below) in the holes you drilled. The shelf supports shown are readily available on Amazon and were chosen because they can be easily repositioned on the frame should you wish to change the shelf heights later down the line. You might prefer to screw wood batons into the sides as shelf supports or opt for another style of shelf support altogether.
Position the shelves on the shelf supports and check they are level. With the style of shelf support shown, you also need to drill holes into the base of the shelves for the supports to slot into, this provides the shelf with extra stability.
5. Getting a good finish
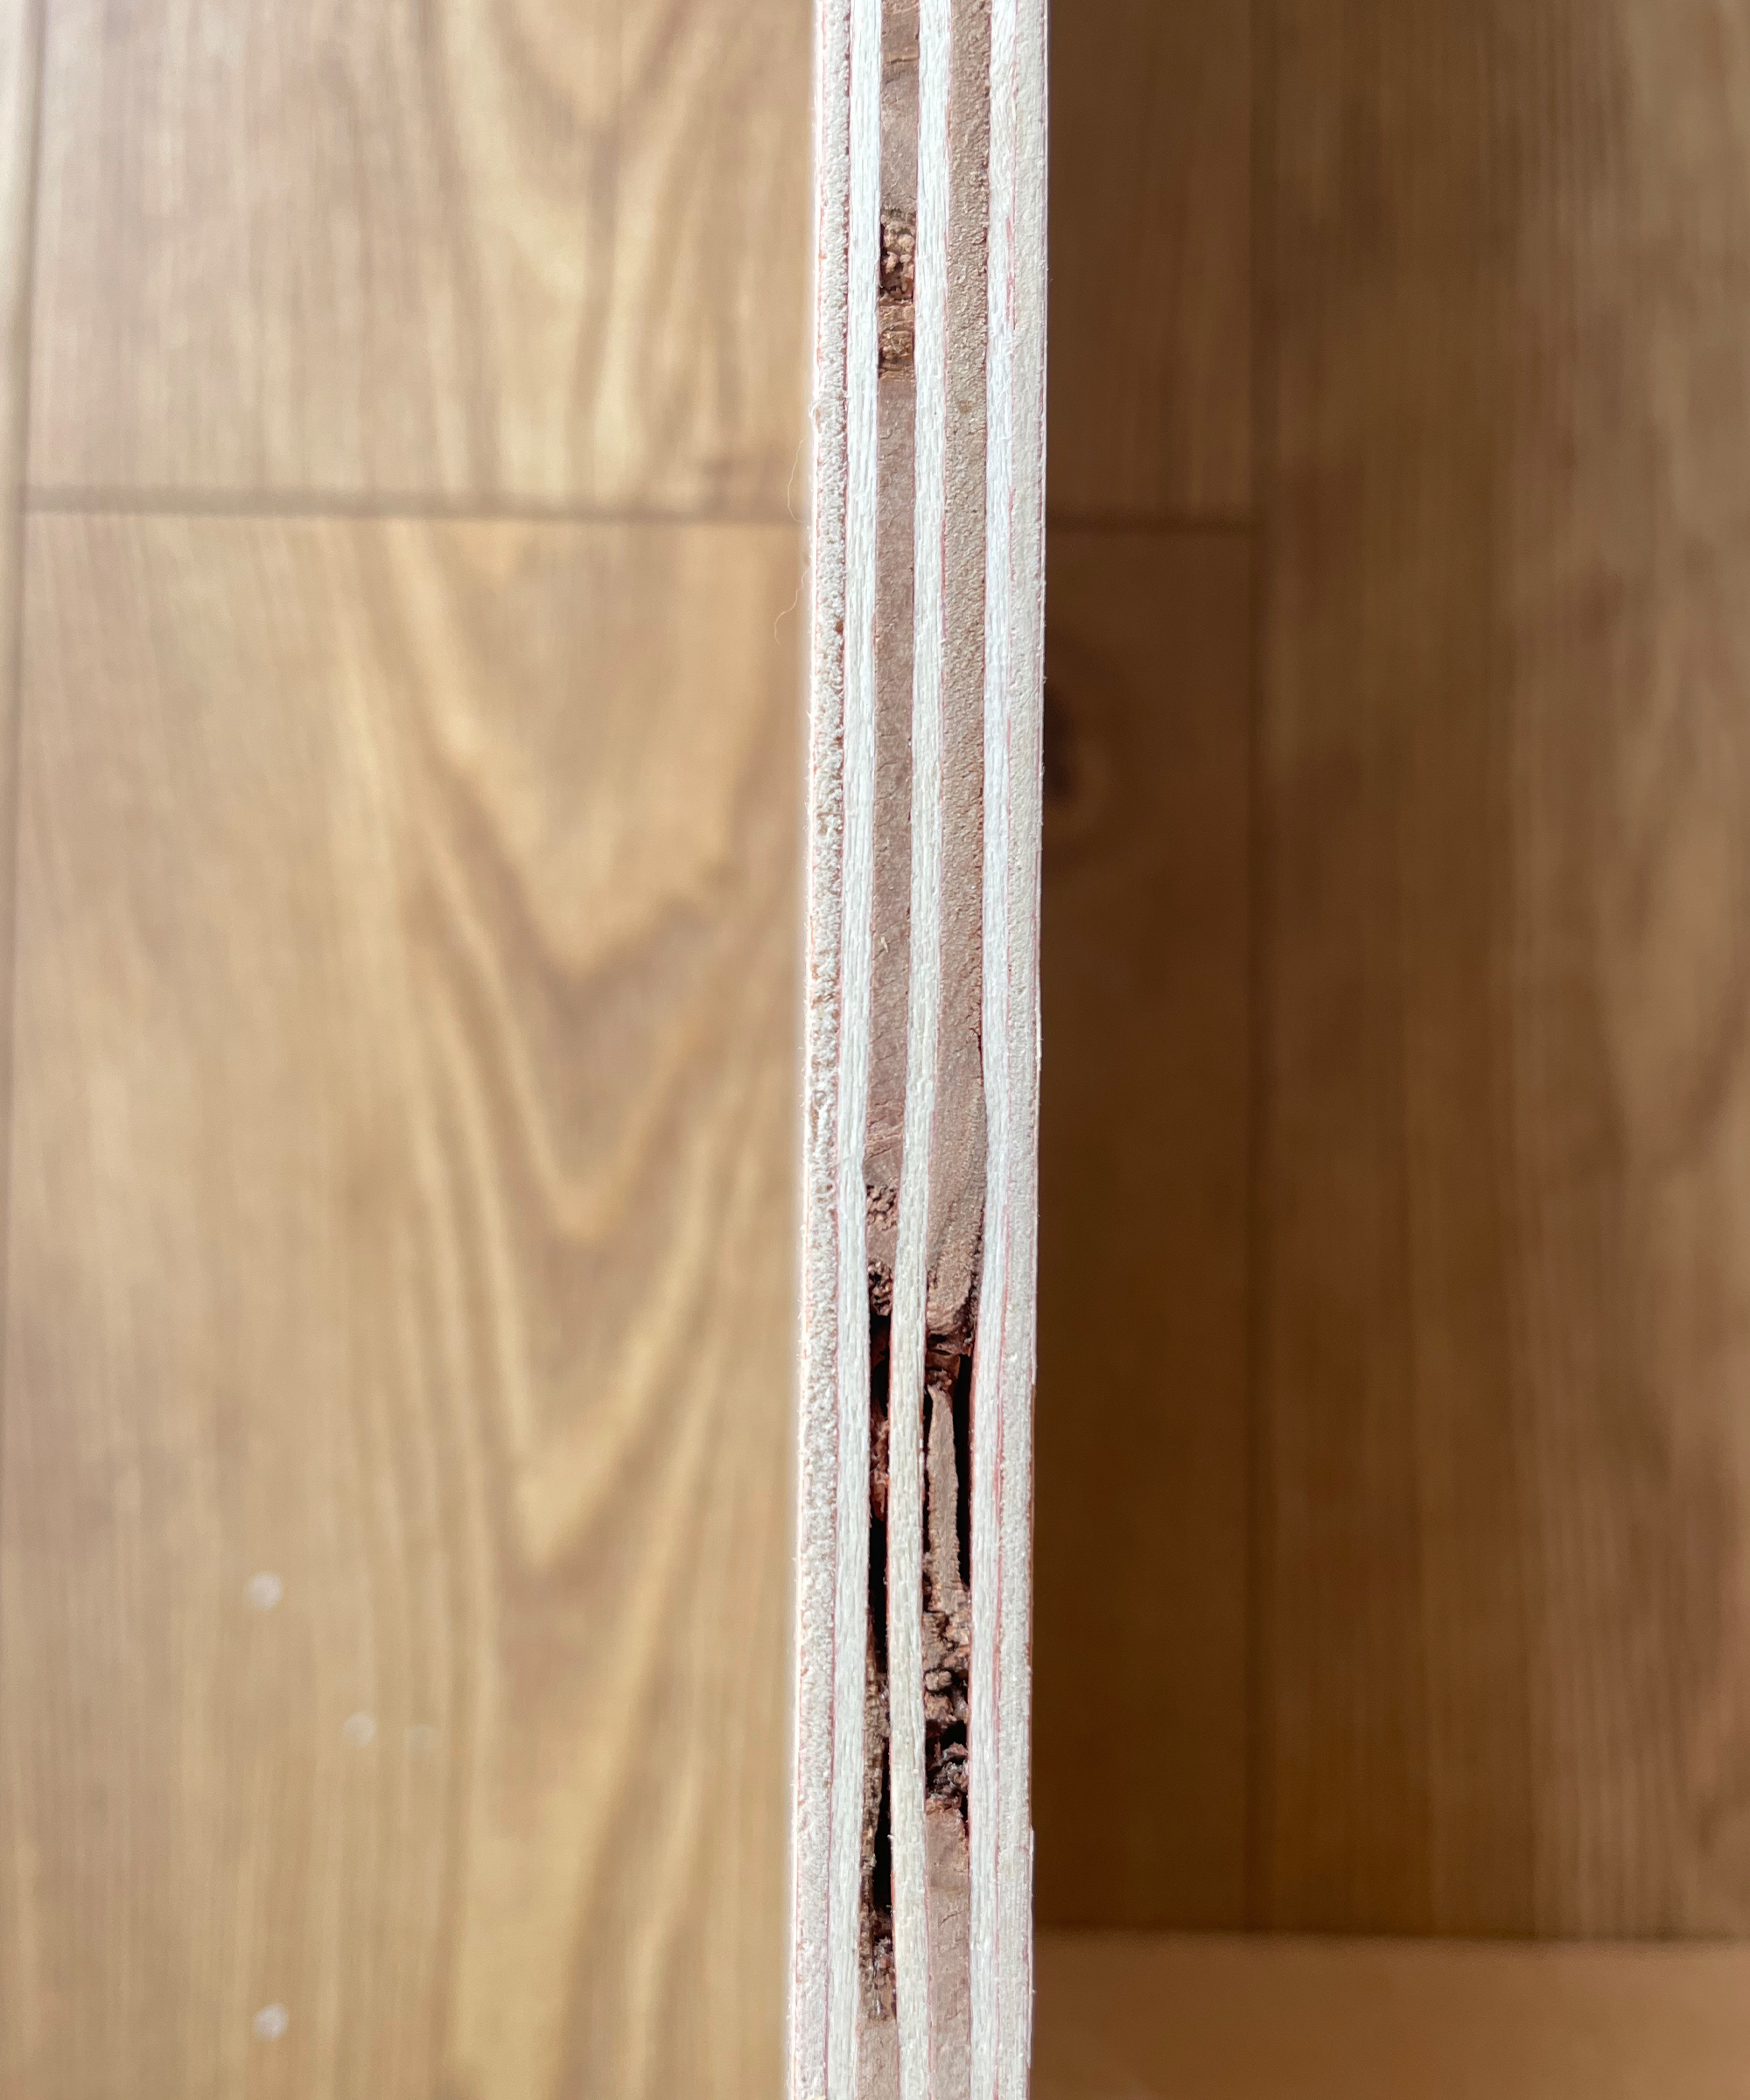
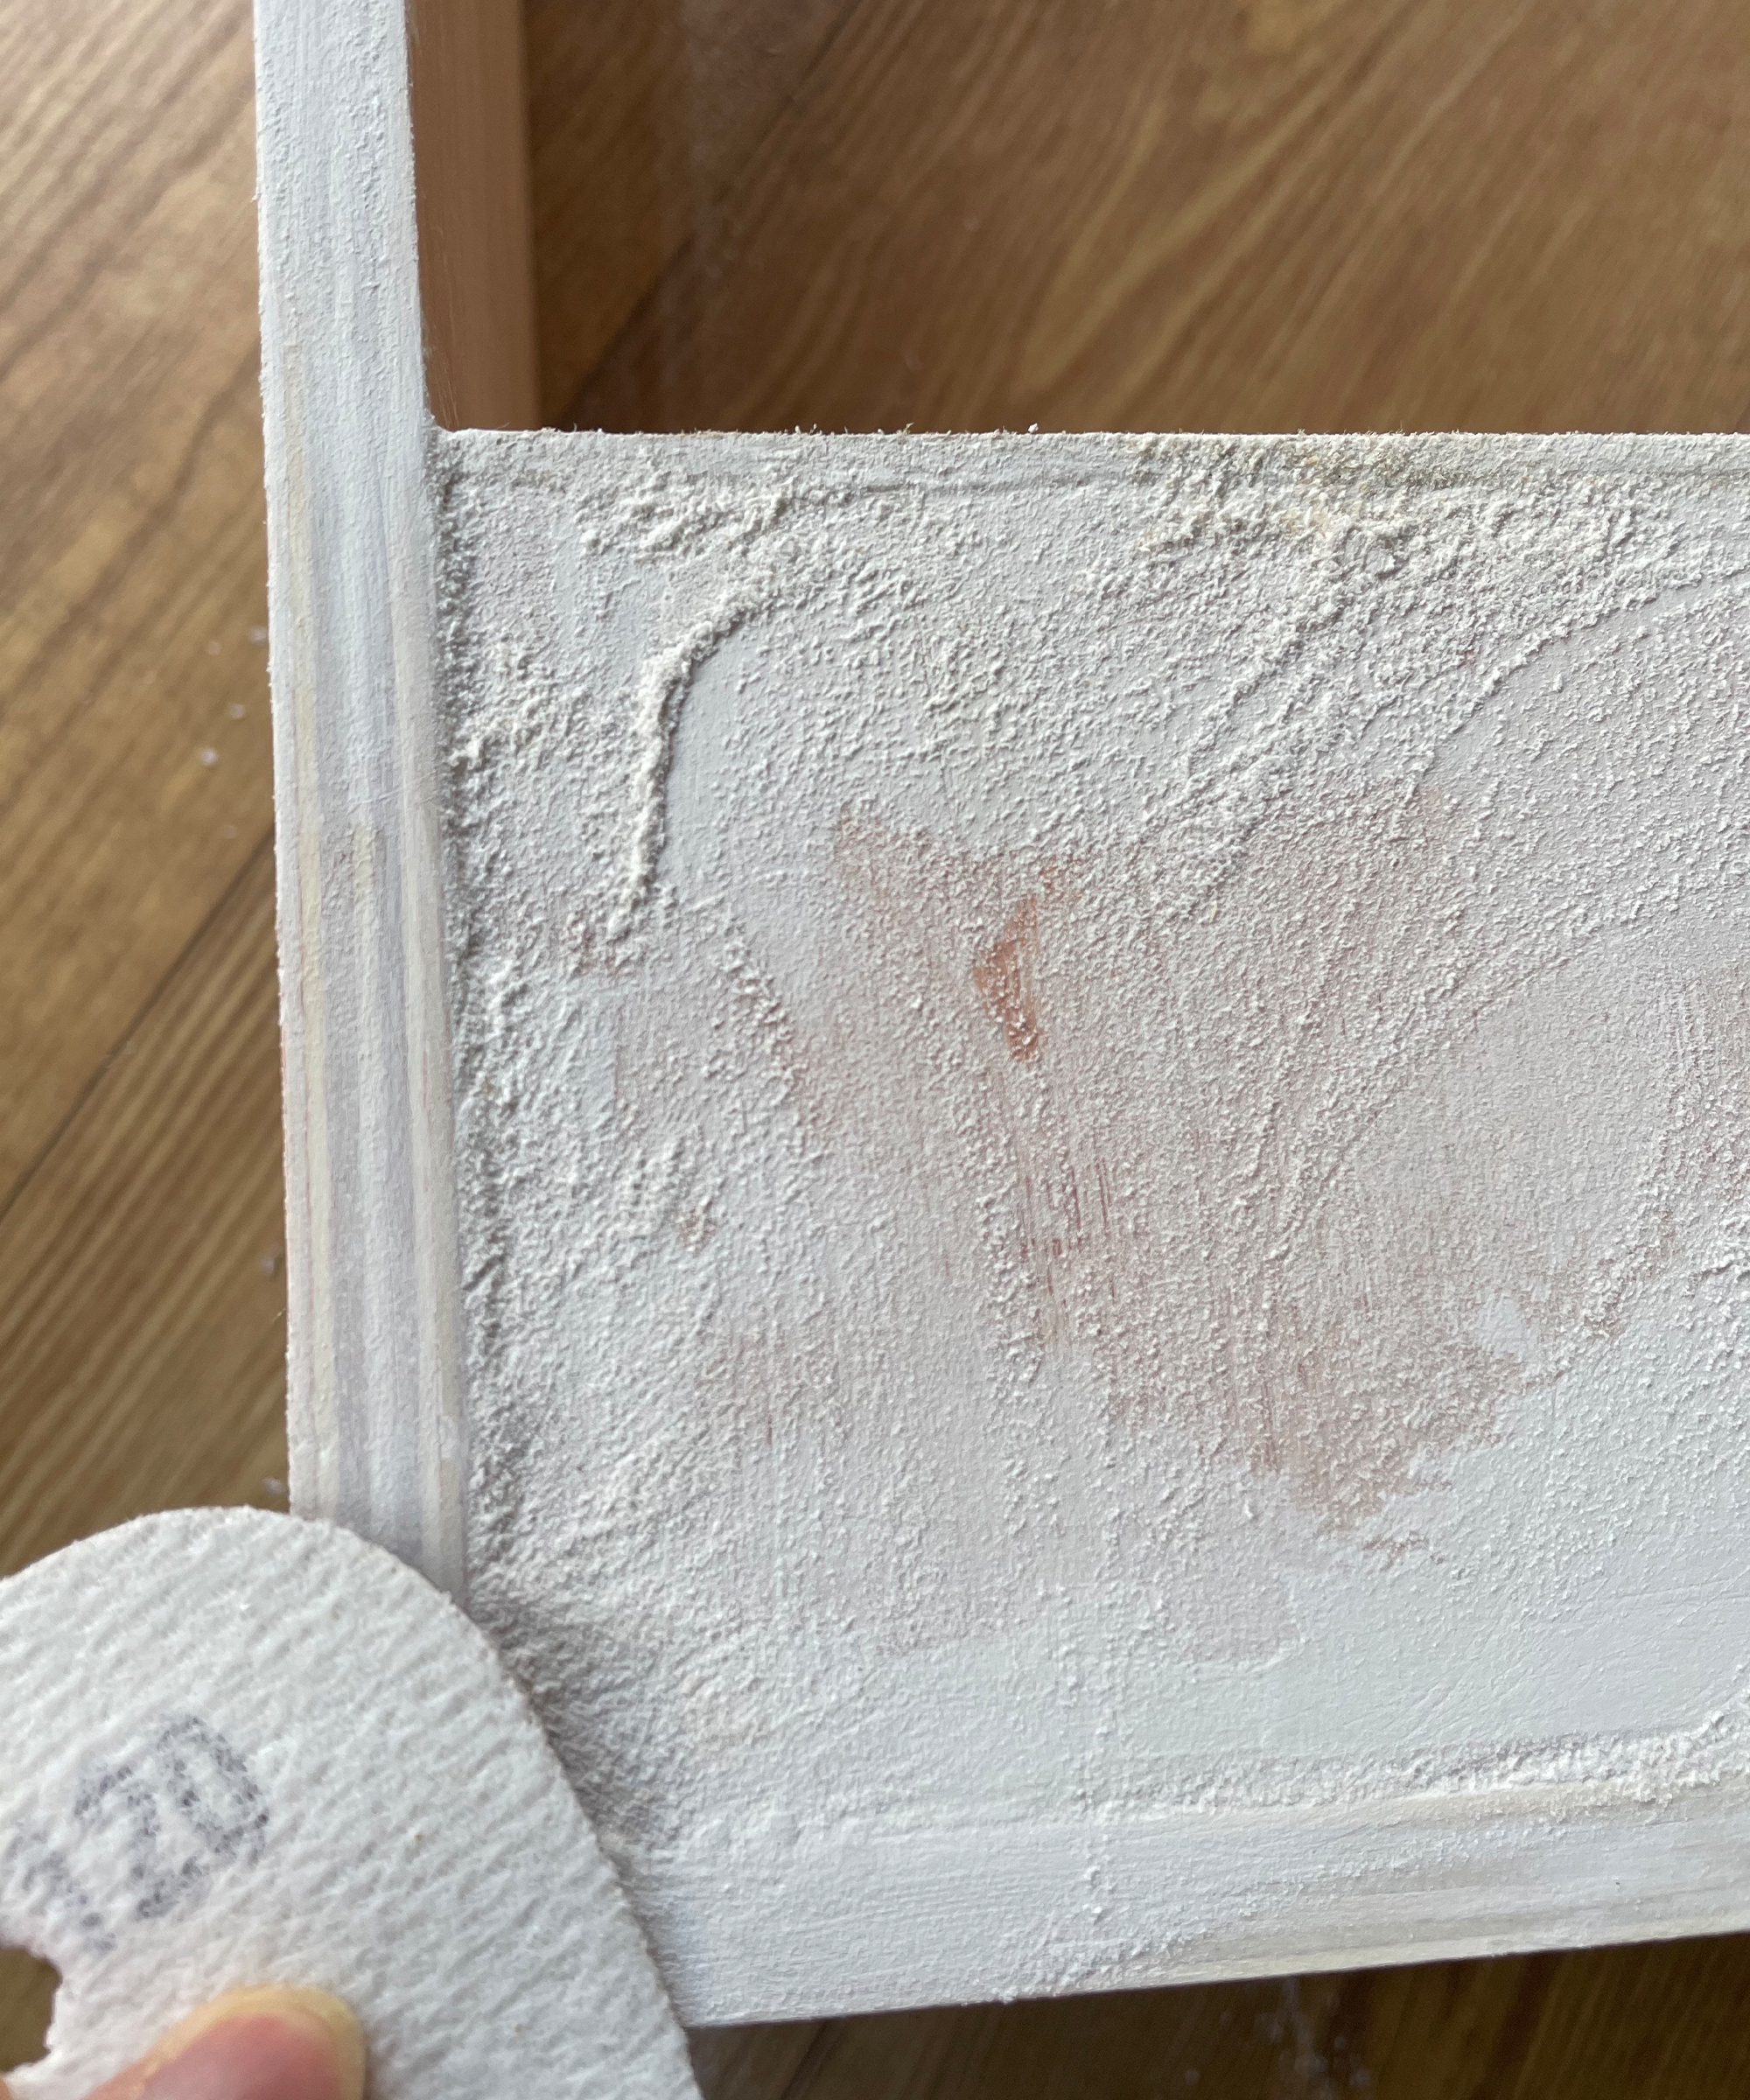
Plywood is strong and sturdy but requires some extra attention to get a high-quality finish, as there are often holes and imperfections visible along the edges. To smooth the edges you can use wood filler but I prefer to use spackle (Polyfiller in the UK) as it dries quickly and can be easily sanded to a super smooth finish. Apply with a palette knife to all places on the plywood that would benefit from smoothing out, allow to dry then lightly sand with high grit sandpaper.
6. Prime and paint
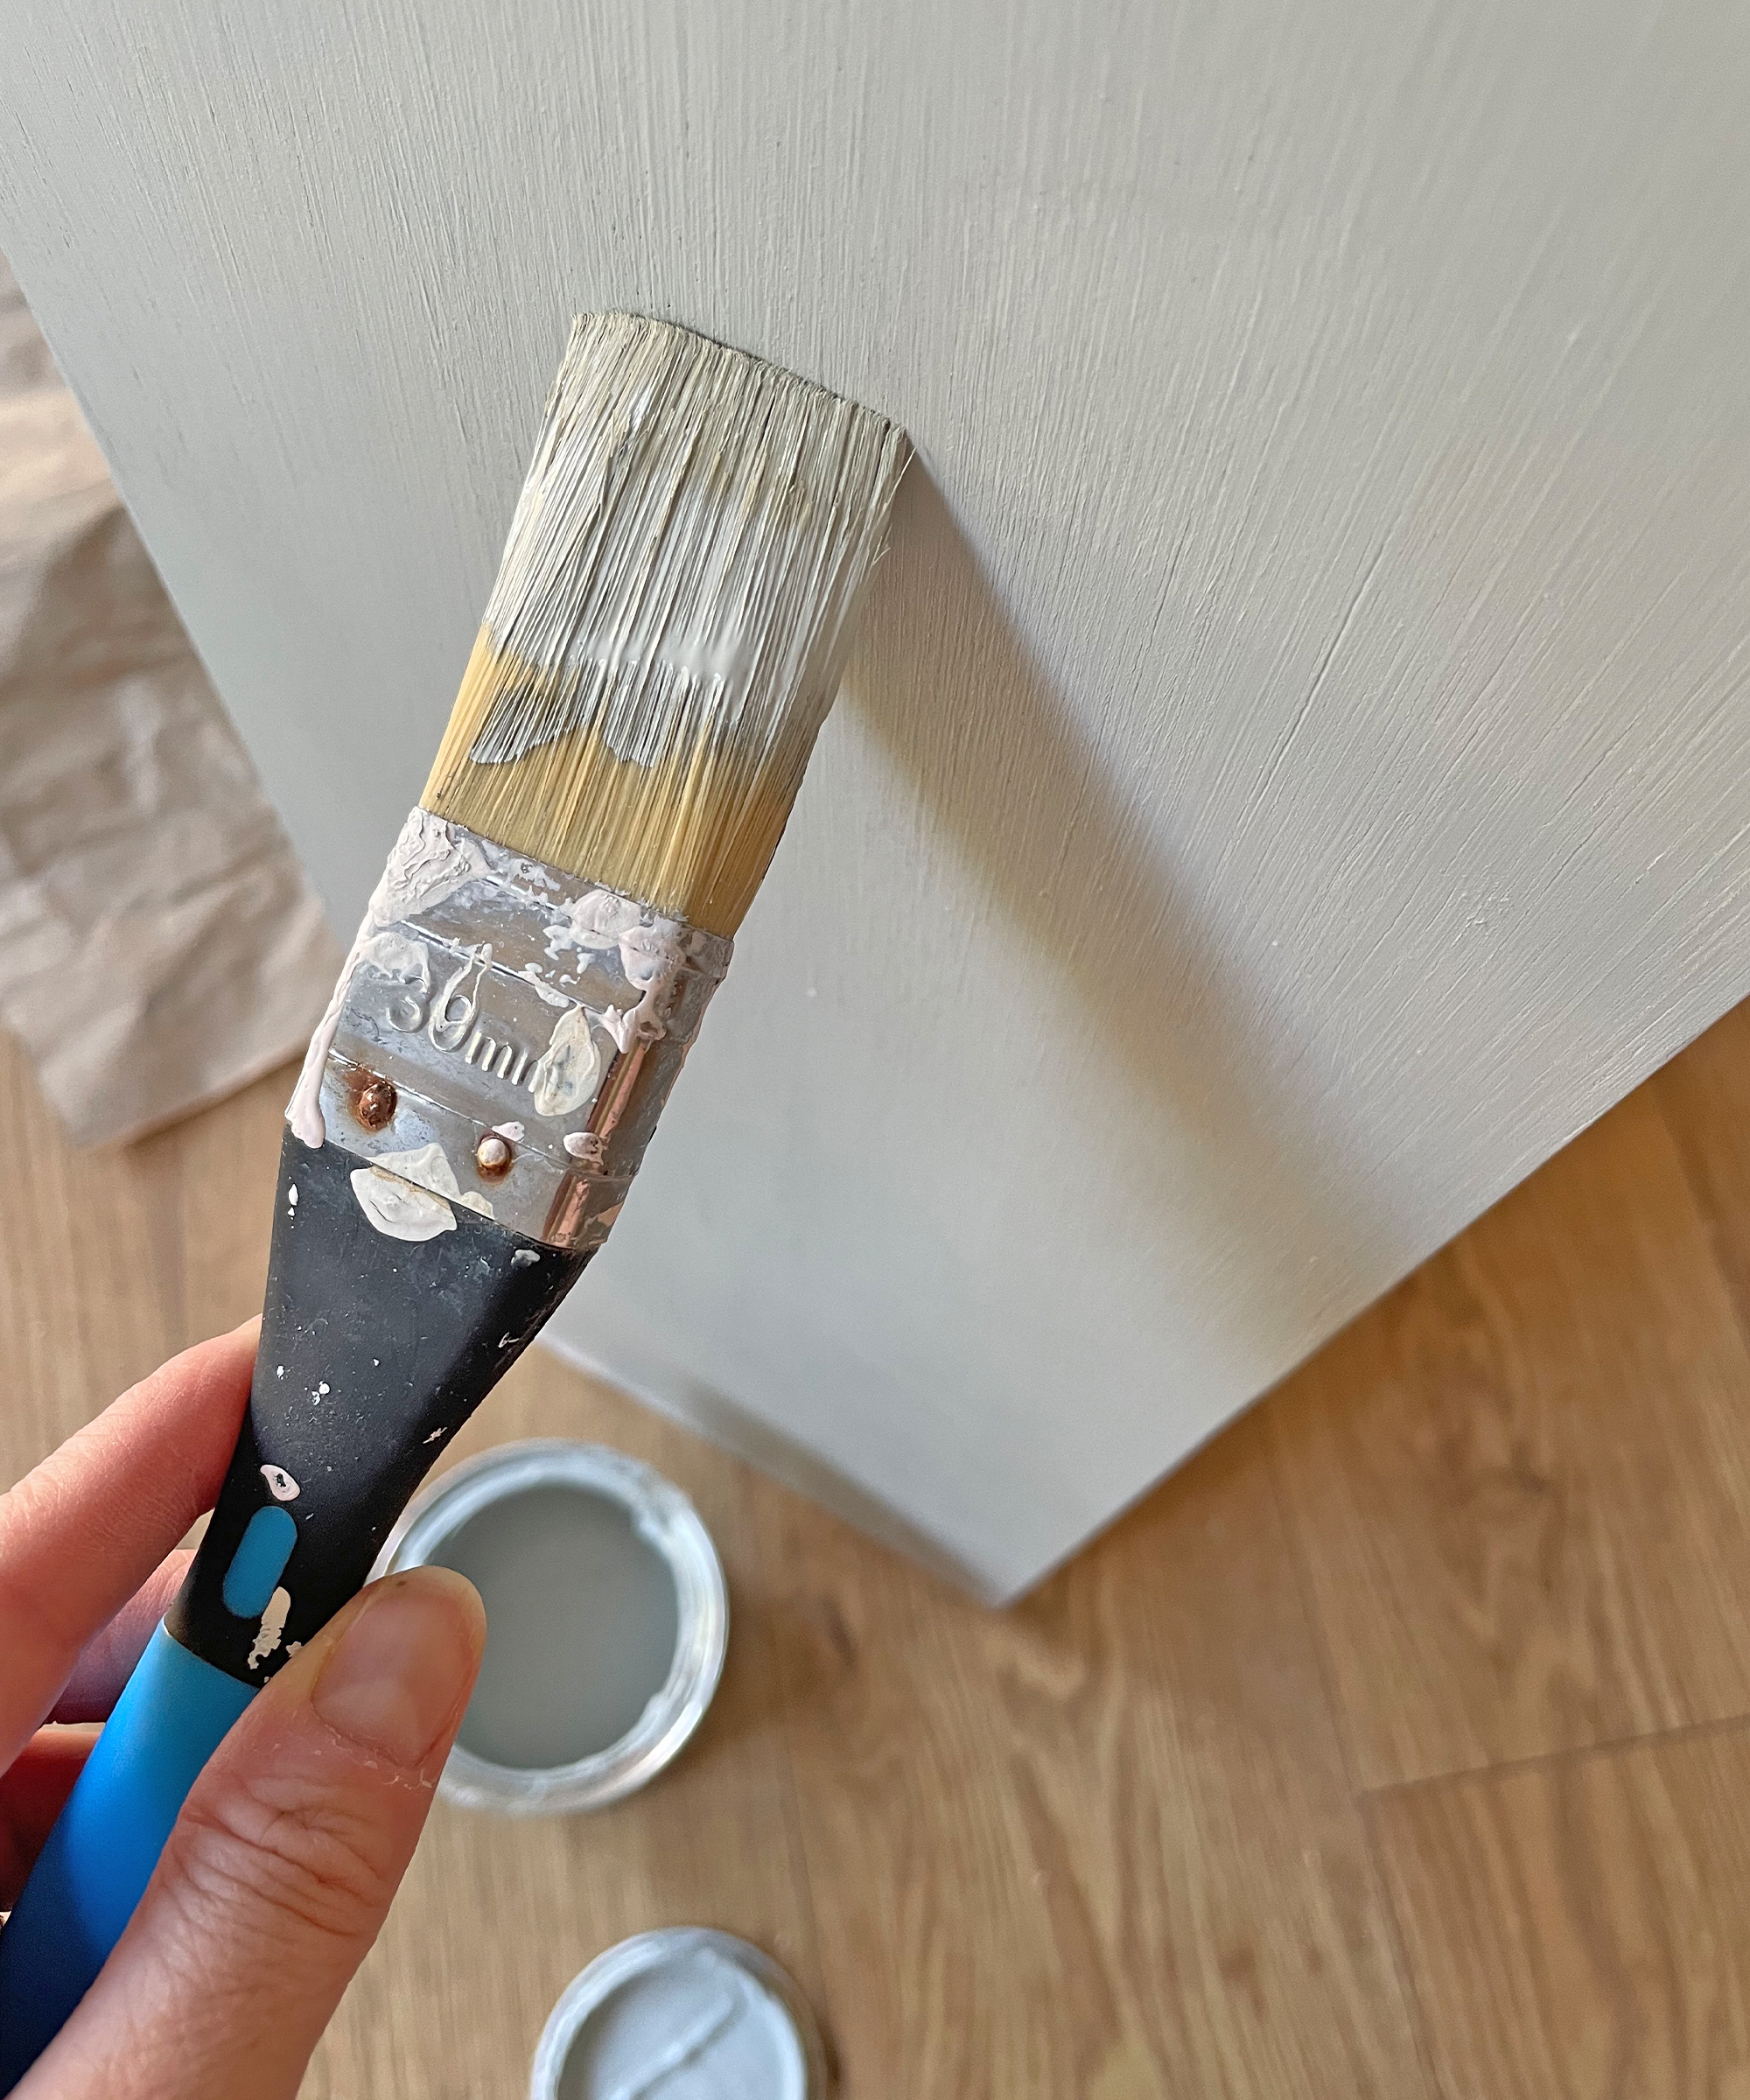
Depending on the wood you’ve used, you might not need (or want) to paint your bookcase. If, like me, you have used lower-quality wood or MDF then painting will help you achieve a more high-end look, but don’t forget to prime first (unless the paint you’ve chosen specifically states that this step is not required as it includes a primer). When the bookcase has been primed and allowed to dry fully, apply the first coat of paint. It’s a good idea to use a small paintbrush for the edges, joins, and corners and then a roller for the flat open areas, but you can use a paintbrush for the whole unit and lightly sand any brush marks in between coats once the paint has dried.
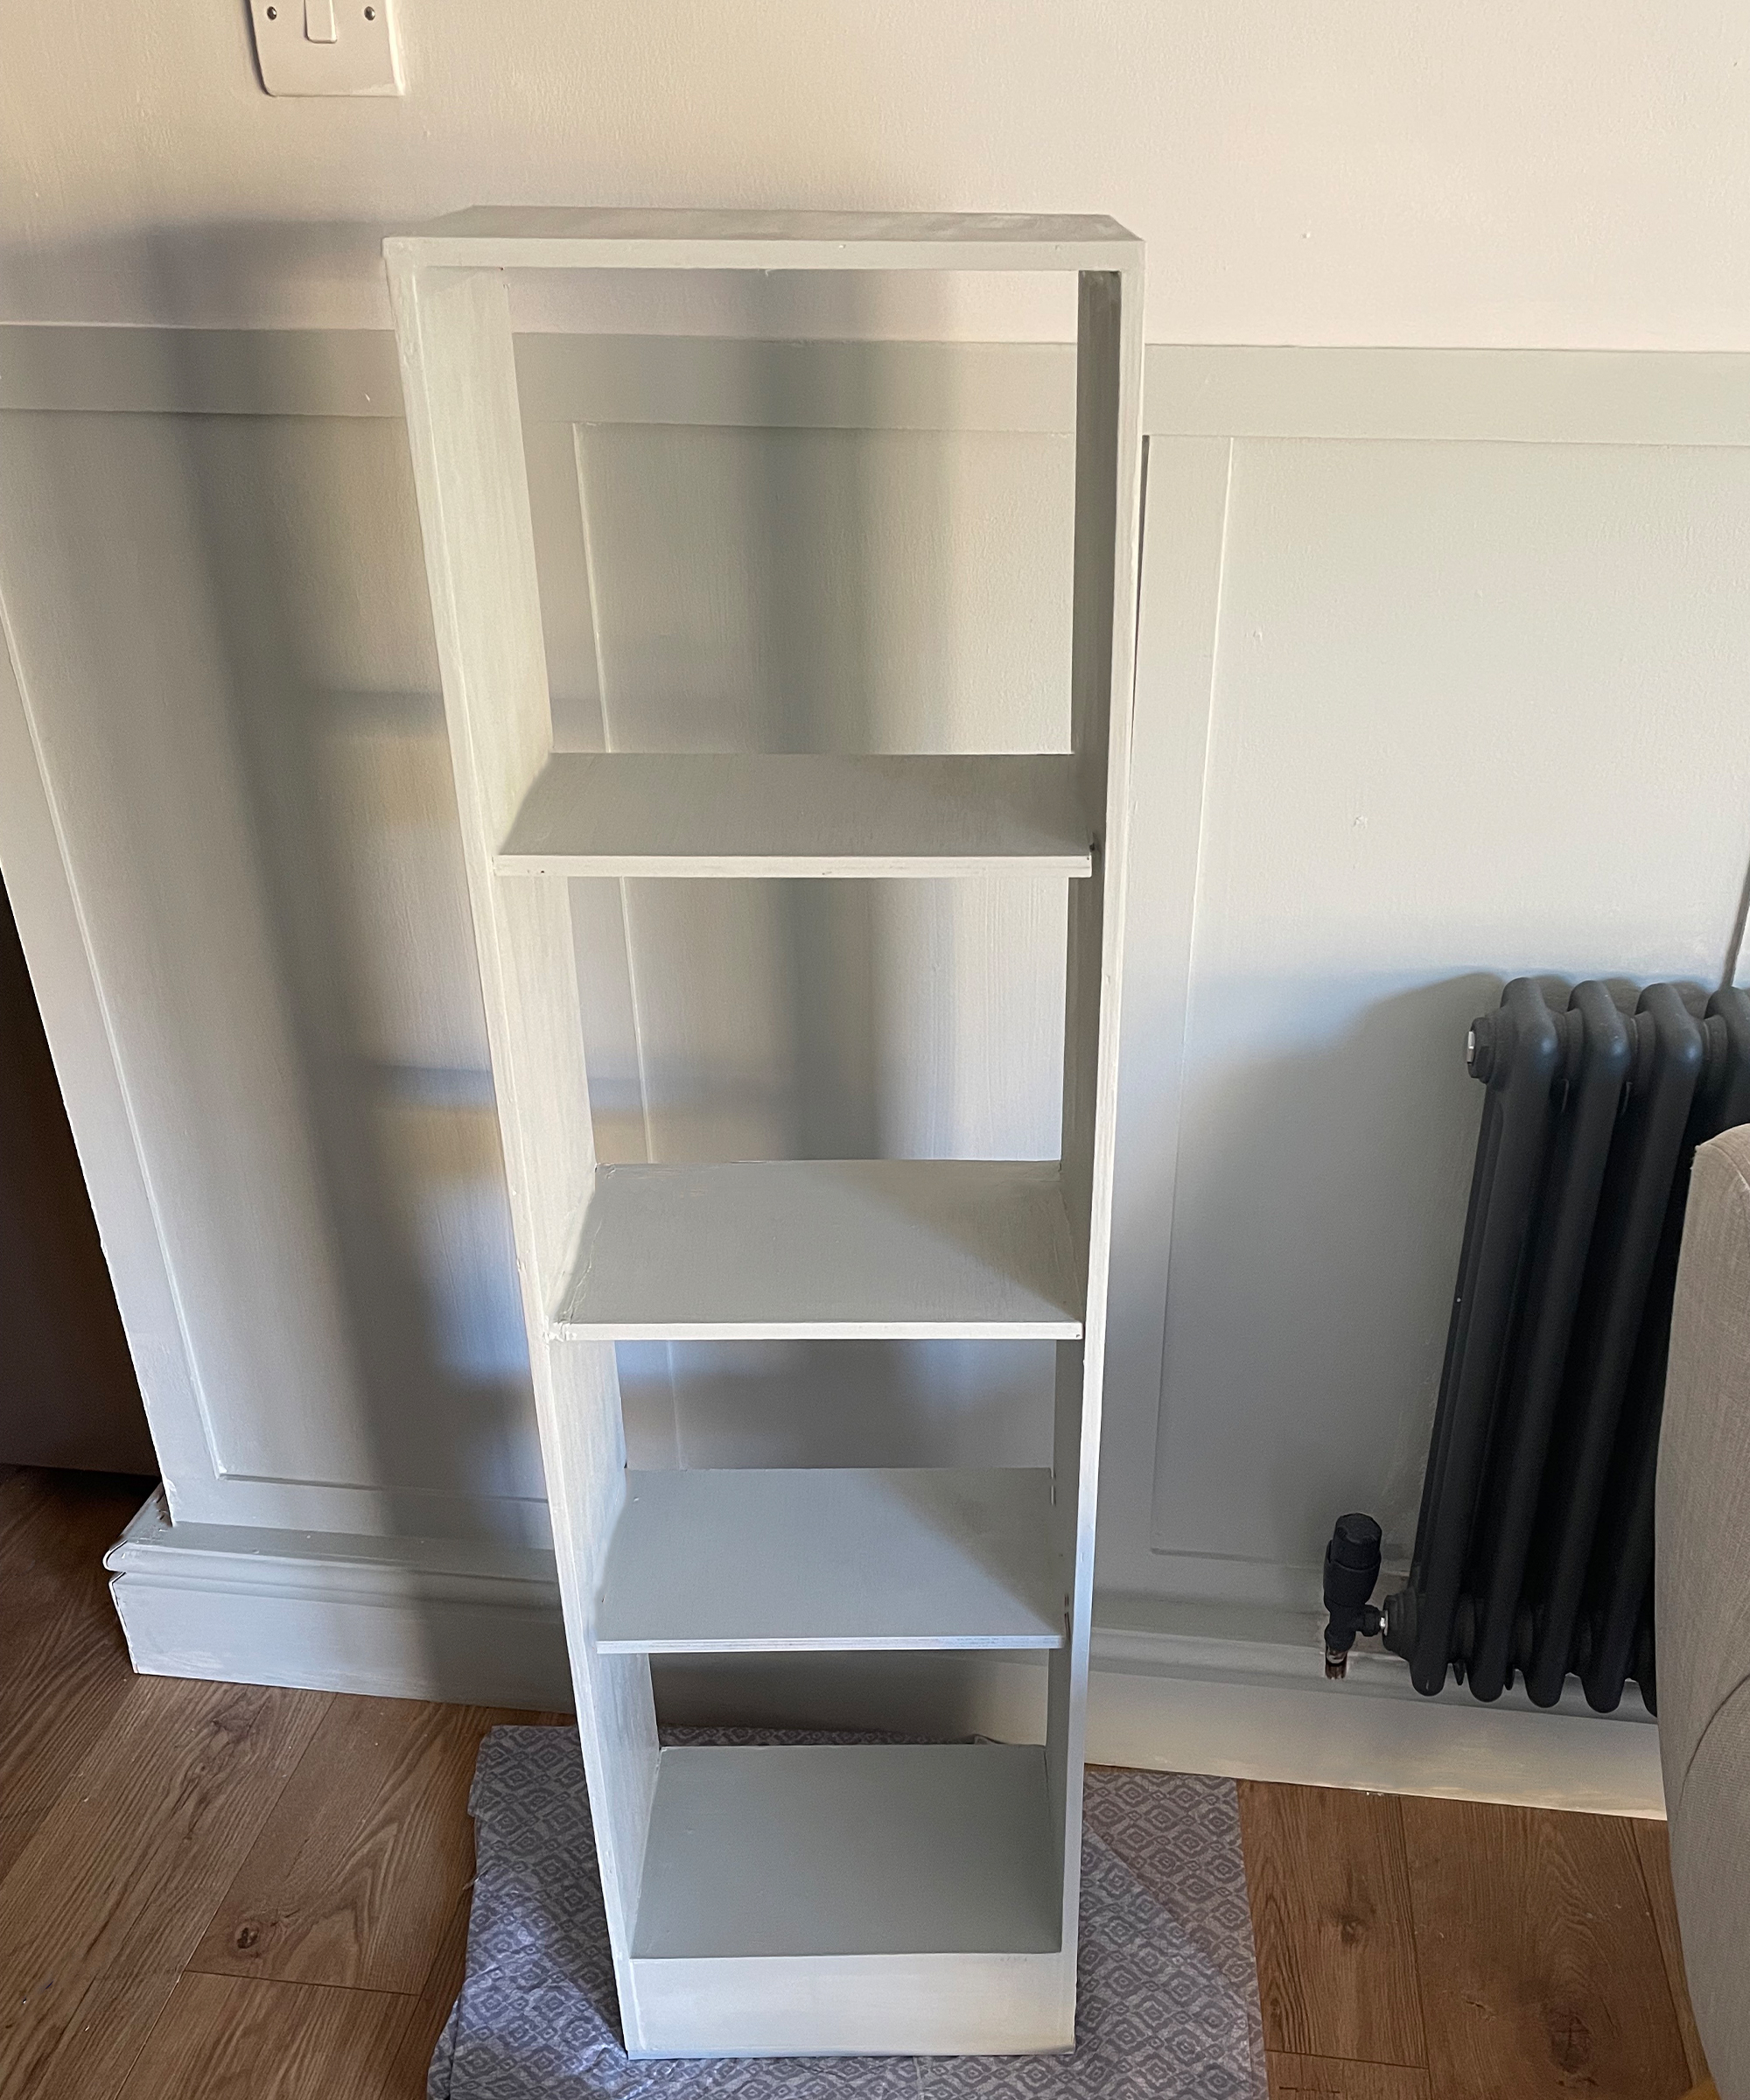
7. Add any decorative features
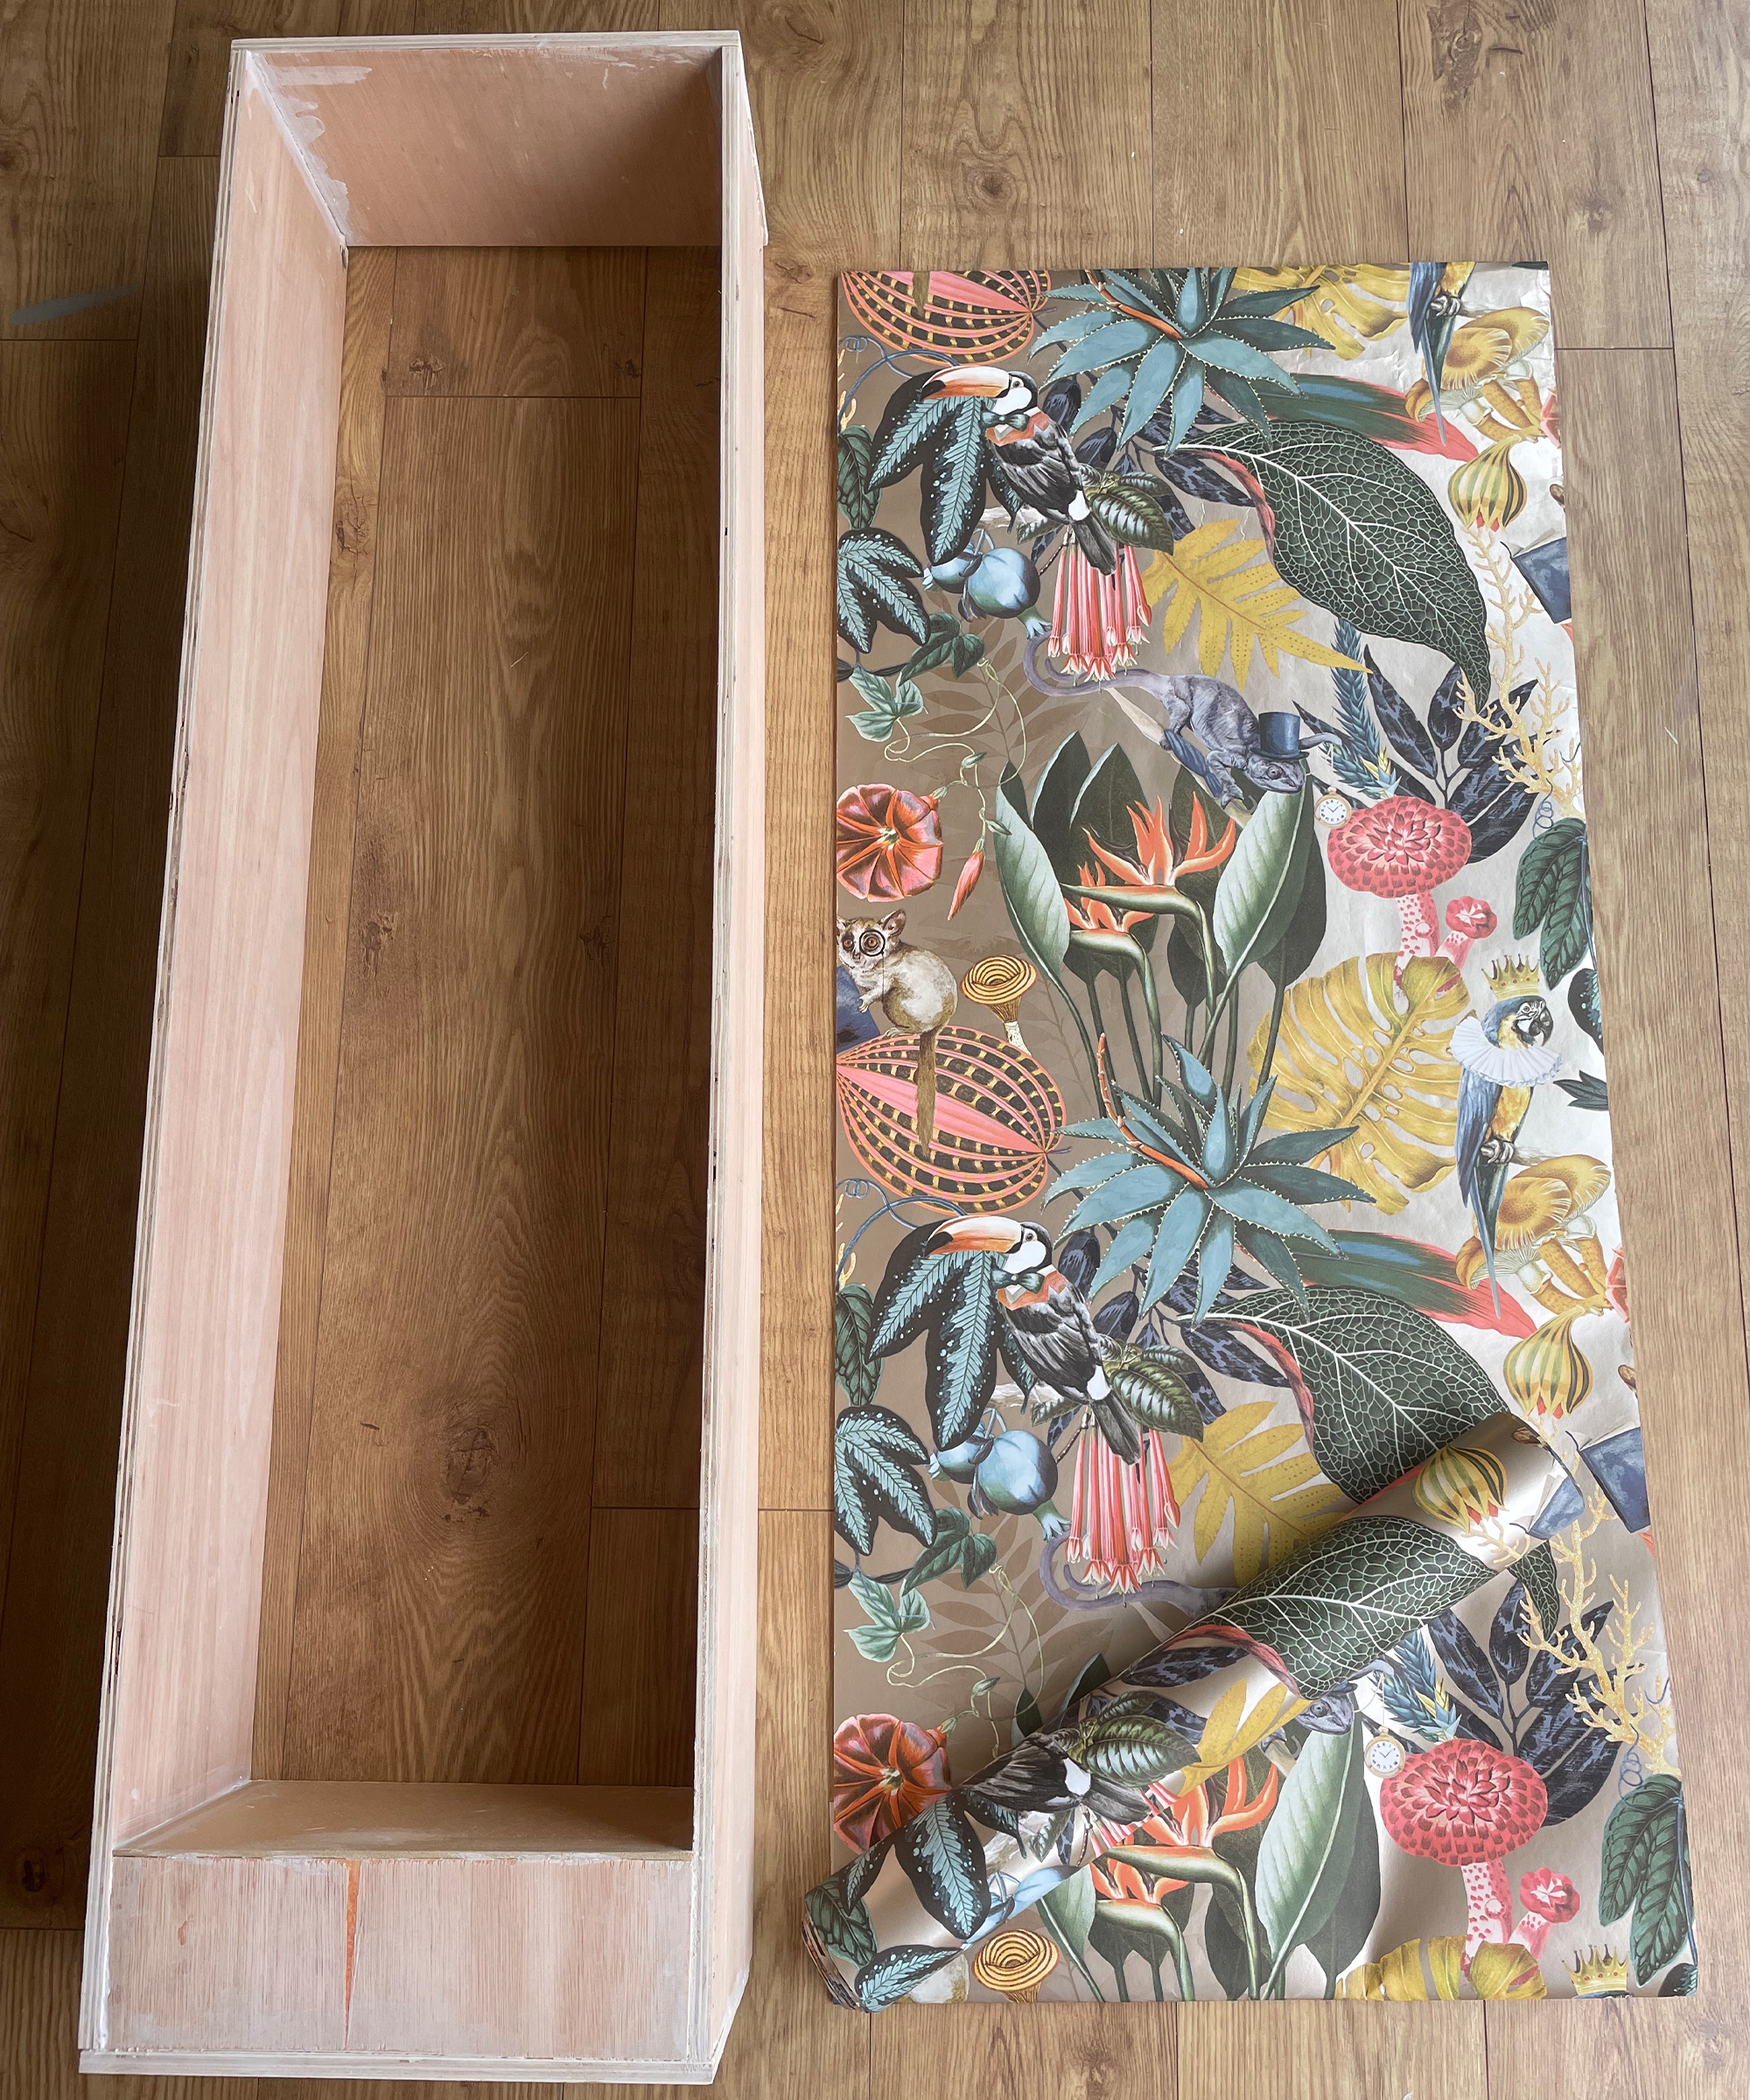
I opted to cover the back panel (a sheet of 6mm thick MDF cut to size) with bold patterned wallpaper, but you could just use paint or even opt to leave the back open. I used panel pins to attach the back panel, but you could hammer in small nails or use the brad nailer. I didn’t use glue on this occasion in order to remove or update the look easily, peel-and-stick is ideal for most wallpaper projects.
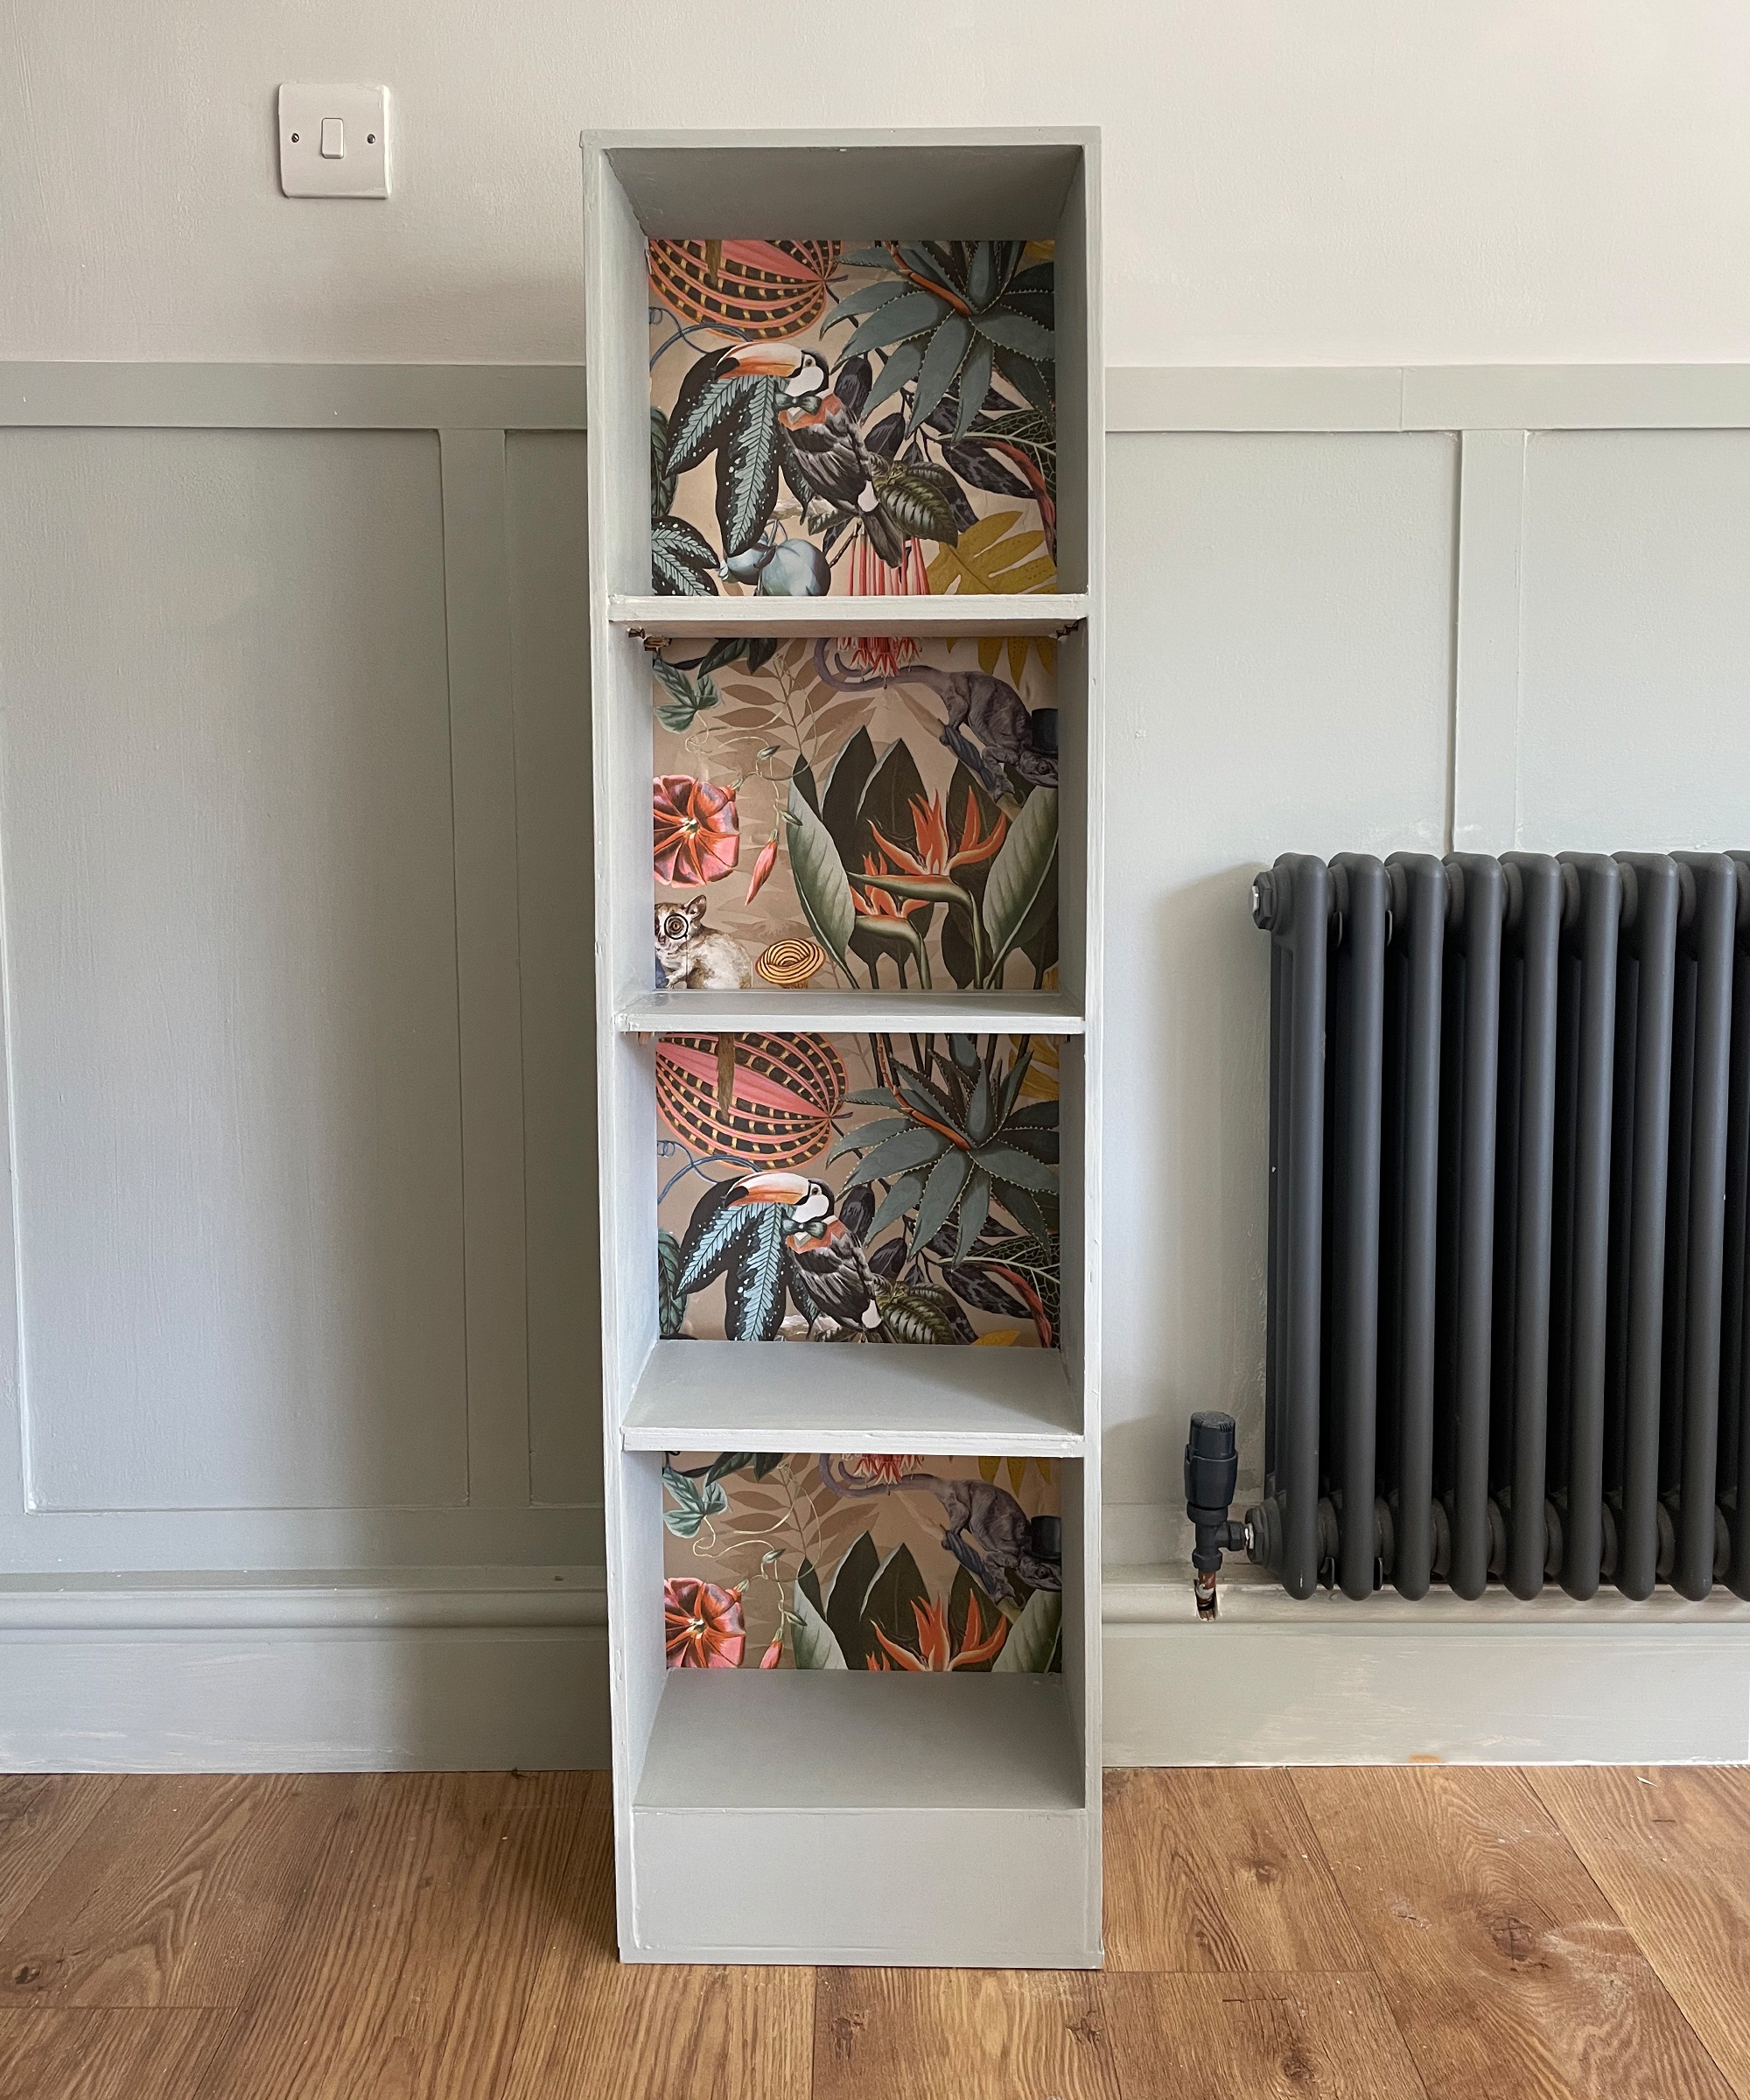
8. Styling and securing
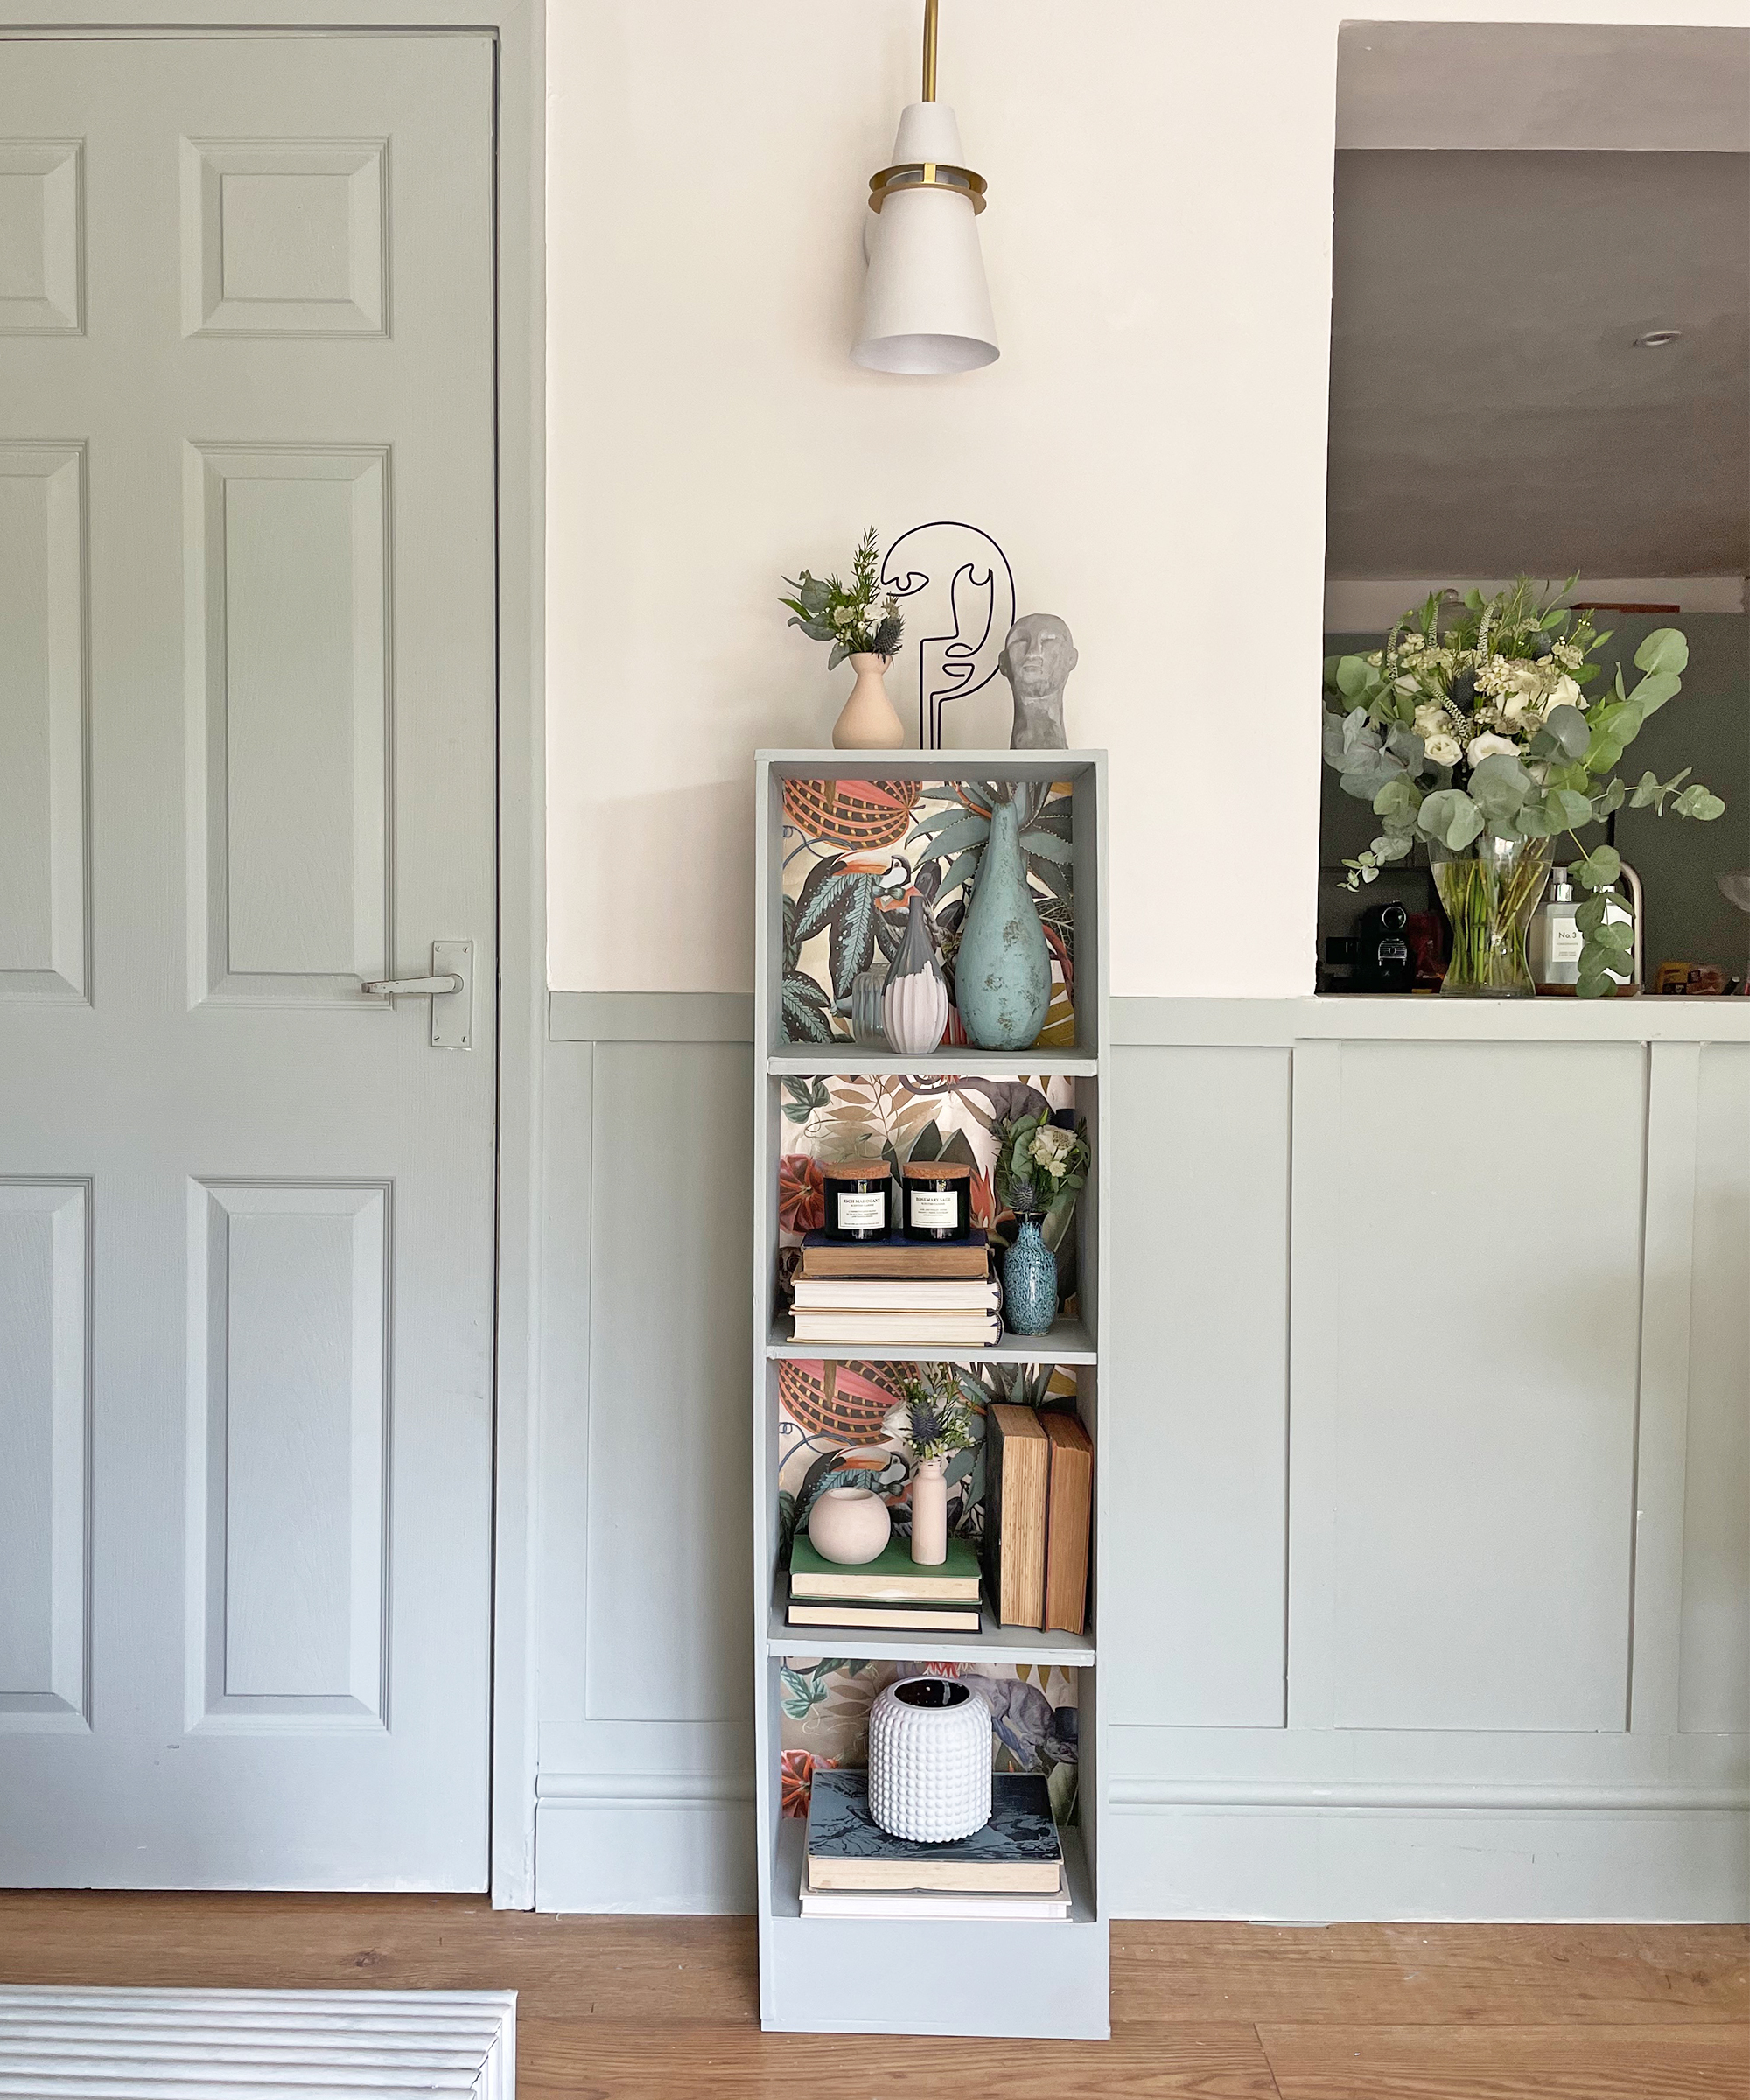
When you are happy with the finish of your bookcase, it’s time to add your books and any other decorative items you wish to use for styling. If you have small children (or pets), don’t forget to secure the bookcase to the wall with furniture straps to prevent the bookcase from toppling over if climbed or pulled.
Join our newsletter
Get small space home decor ideas, celeb inspiration, DIY tips and more, straight to your inbox!

I'm happiest when I have either a drill or paintbrush in my hand! I specialise in room transformations on a budget and love experimenting with different styles and techniques which I share on my Instagram. I believe that your imagination, not your budget, should be the limiting factor when transforming a room and I love thinking of creative ways to build custom and bespoke-looking furniture using flatpacks or upcycle finds.
I also love writing and my home improvement blog (ClaireDouglasStyling.co.uk) is my passion project where I share creative ideas for interior styling and DIY tips and tutorials.
-
 A $200 fluted panel transformed my drab kitchen in just one weekend
How to install a fluted kitchen panel: A speedy and achievable DIY tutorial even for DIY novices
By Claire Douglas Published
-
 How to replace a broken staircase spindle in 30 minutes flat
A missing or broken spindle on a staircase is not only unsightly, but it can be a real hazard. This is how to fix it in a few quick steps.
By Kate Sandhu Published
-
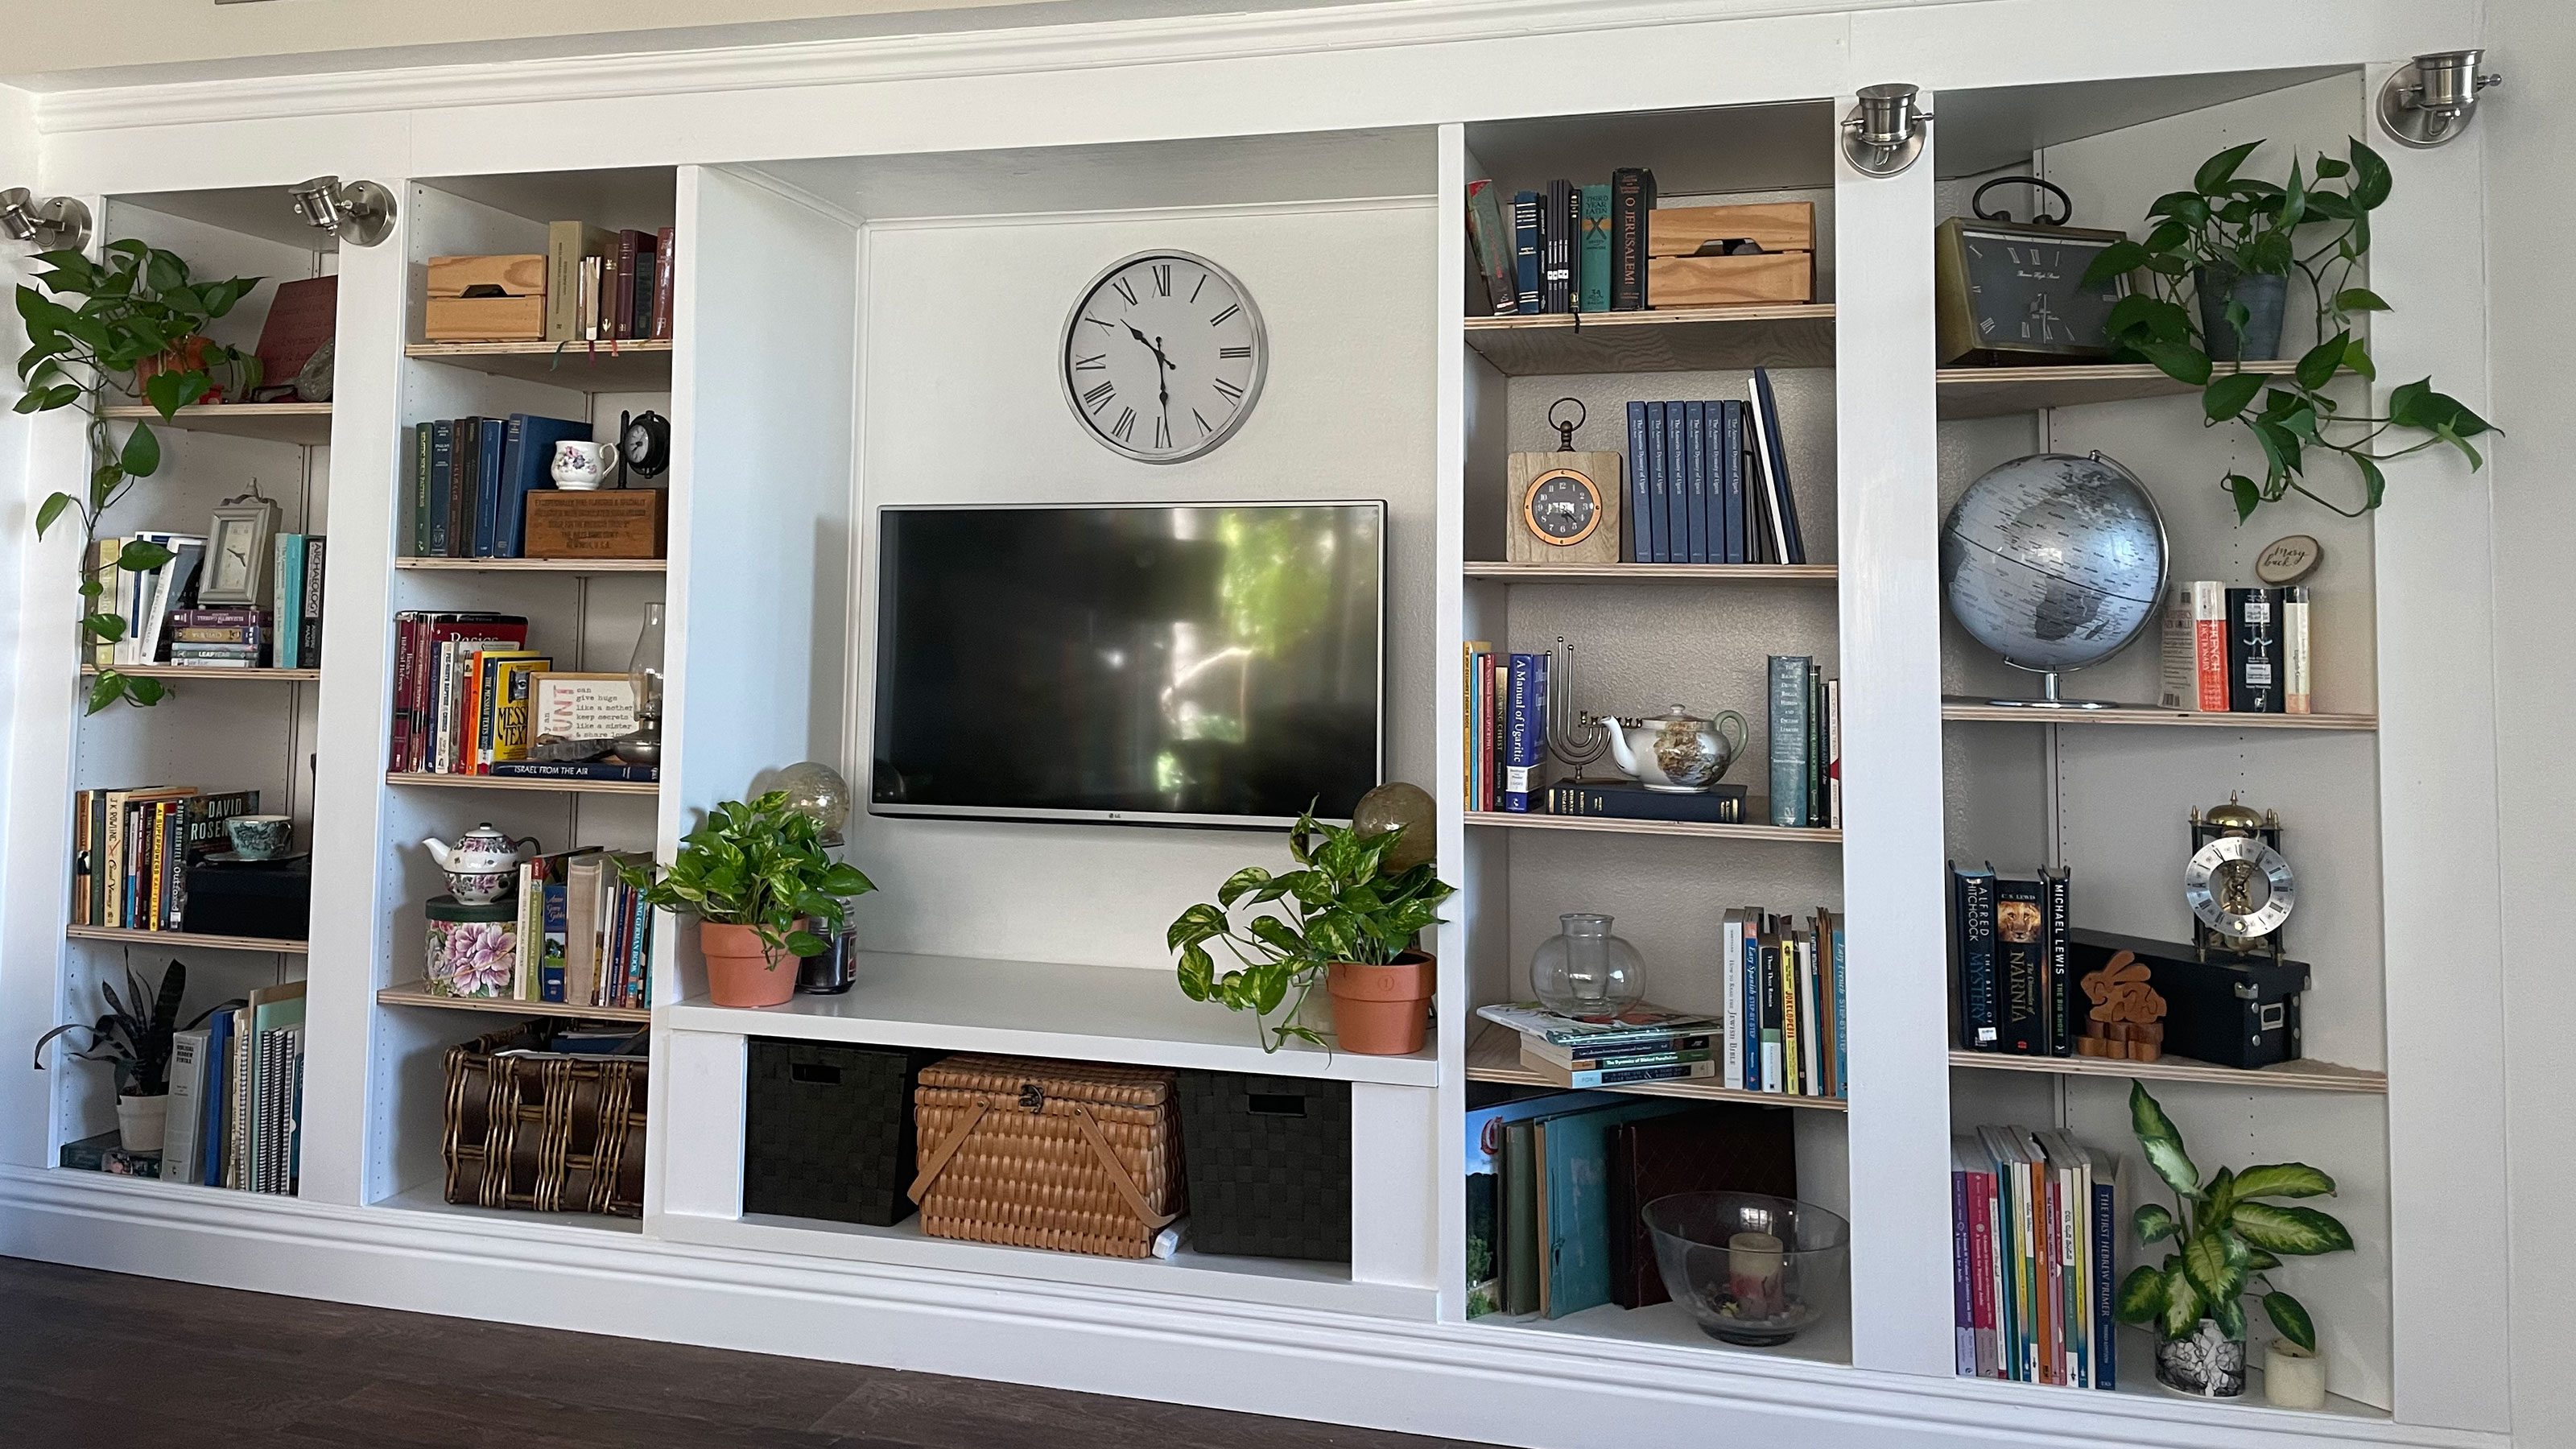 An IKEA Billy bookcase hack inspired this cute media wall DIY
This cute DIY was inspired by an IKEA Billy bookcase hack and brought a ton of symmetry to an otherwise basic media wall space.
By Camille Dubuis-Welch Published
-
 Share your small space glow up to win $150 in the Real Homes competition
Show off your creativity and DIY skills to win $150 and for the chance to be featured exclusively in Real Homes magazine
By Camille Dubuis-Welch Last updated
-
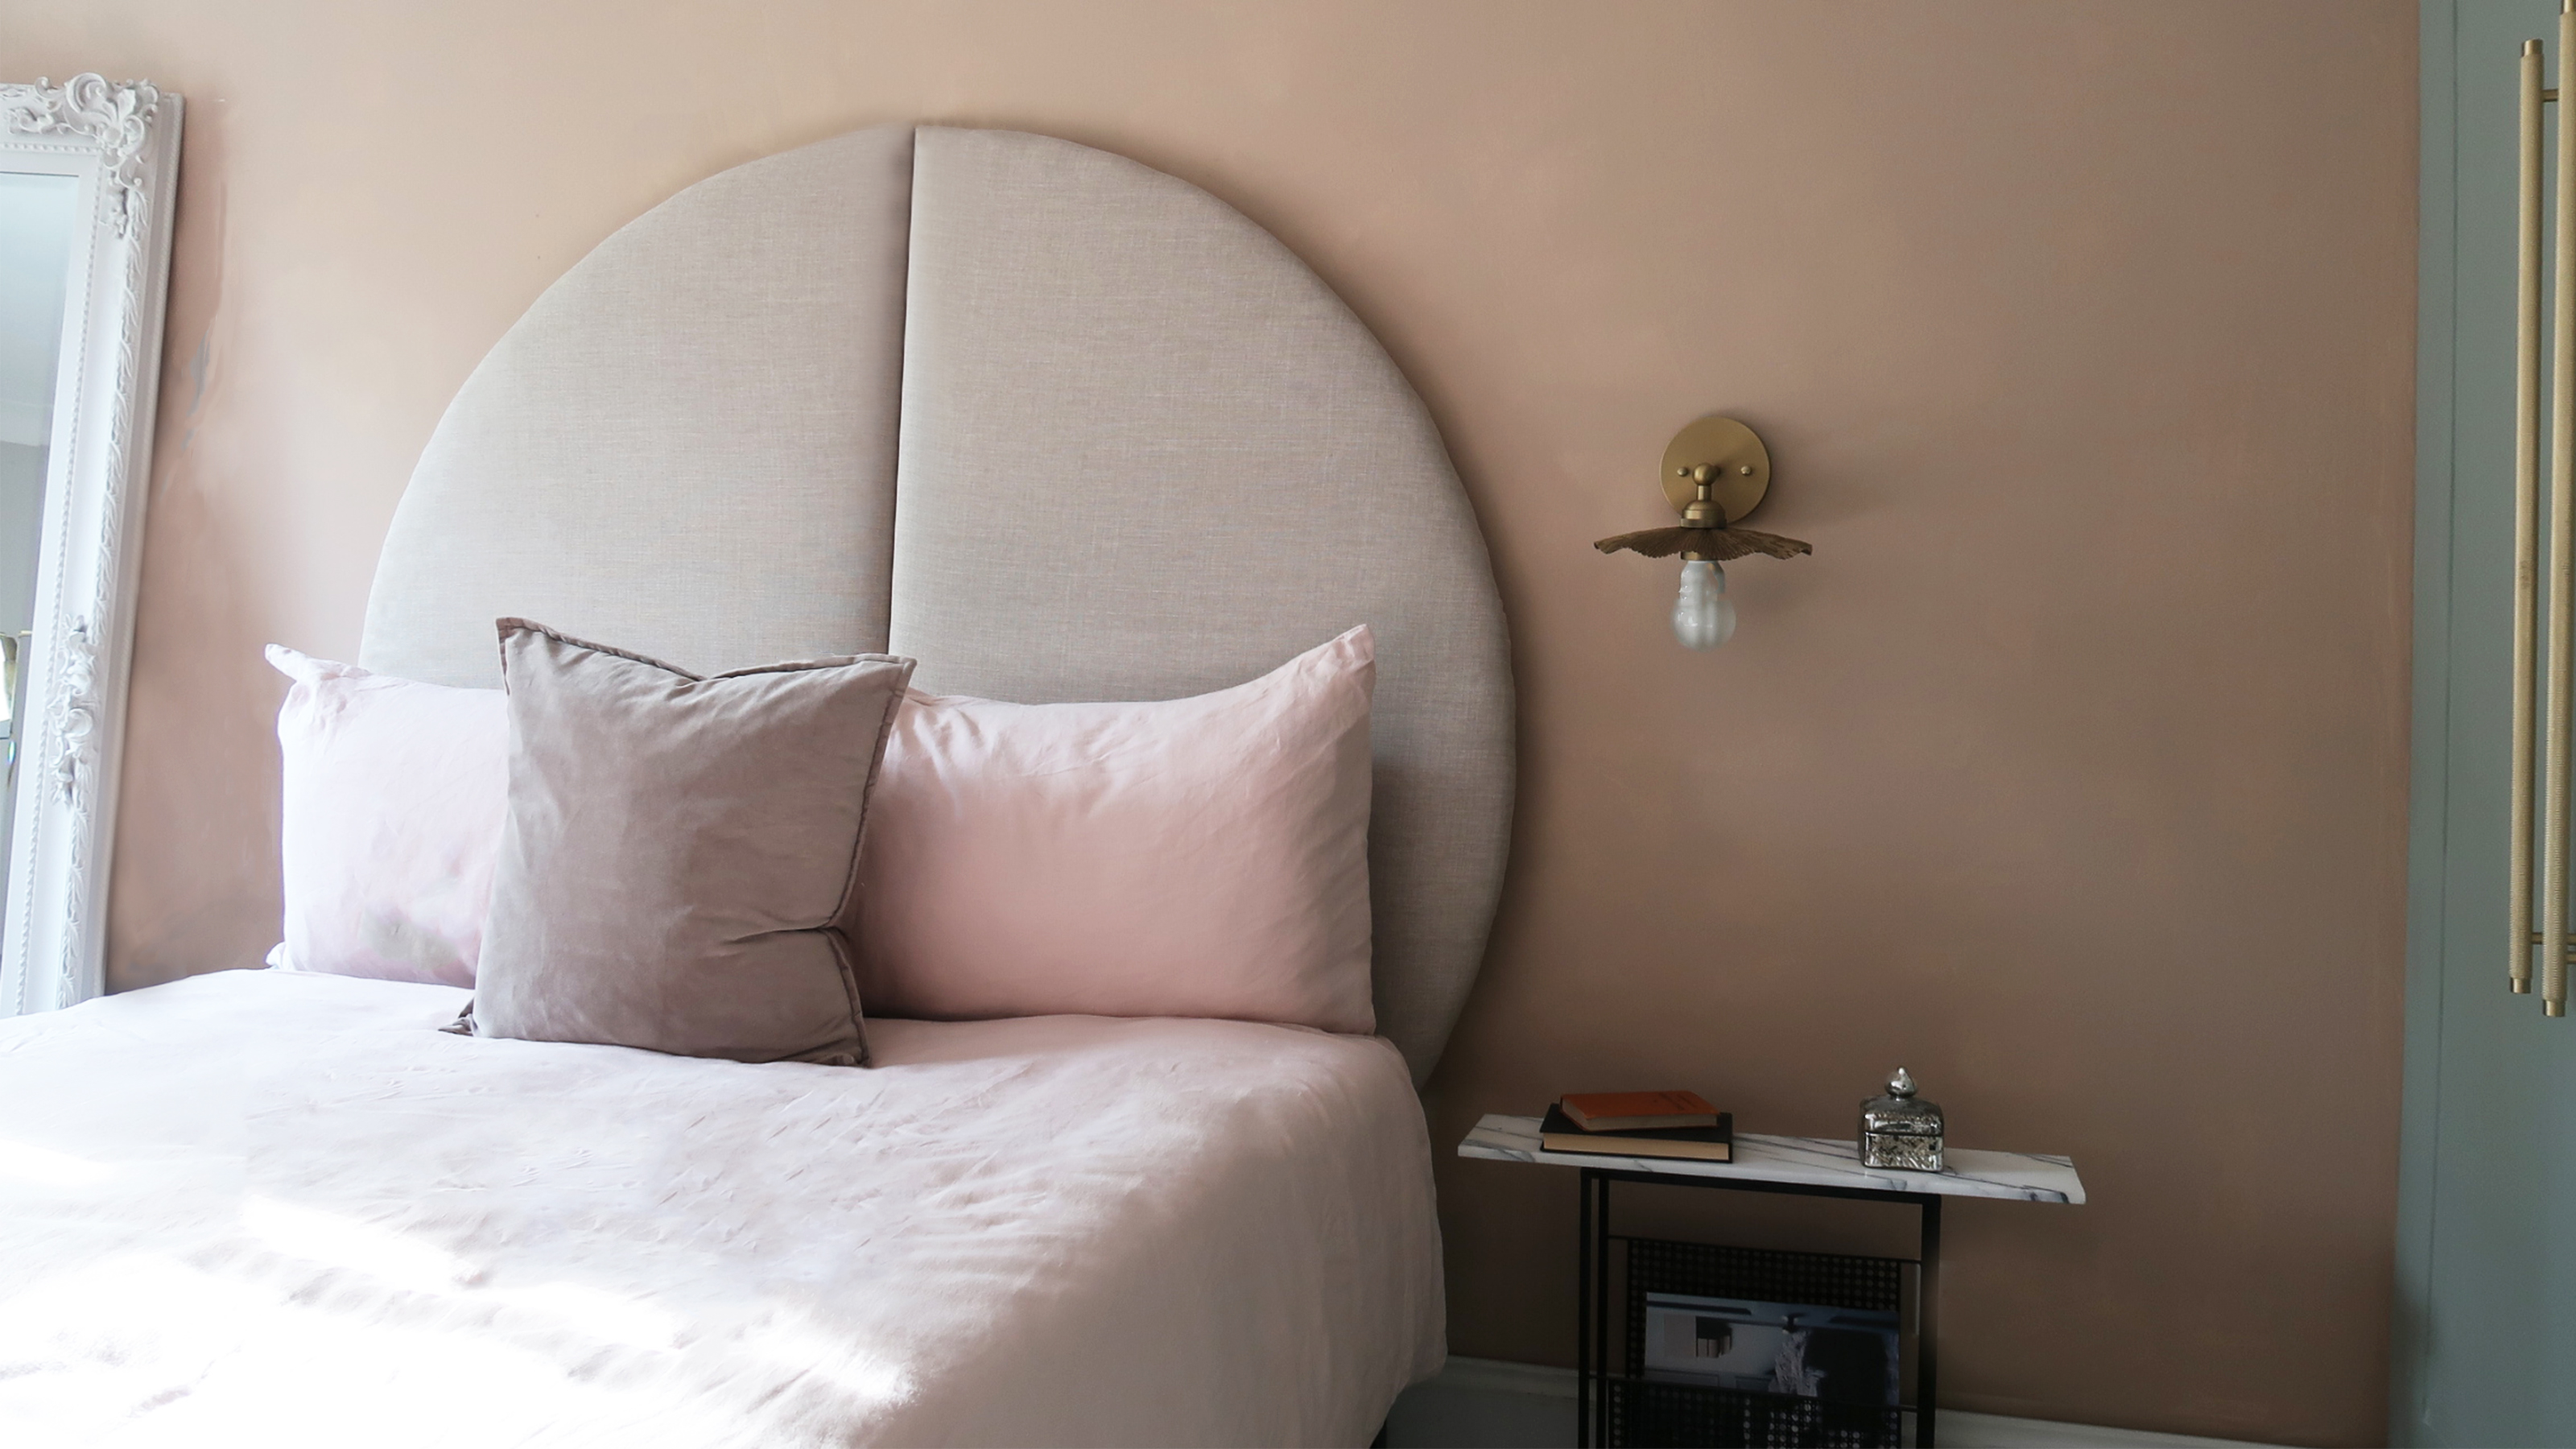 This oversized headboard looks designer, and takes 5 steps to DIY
Super simple to DIY, this oversized headboard will give your bedroom space all the designer vibes you could dream of.
By Claire Douglas Published
-
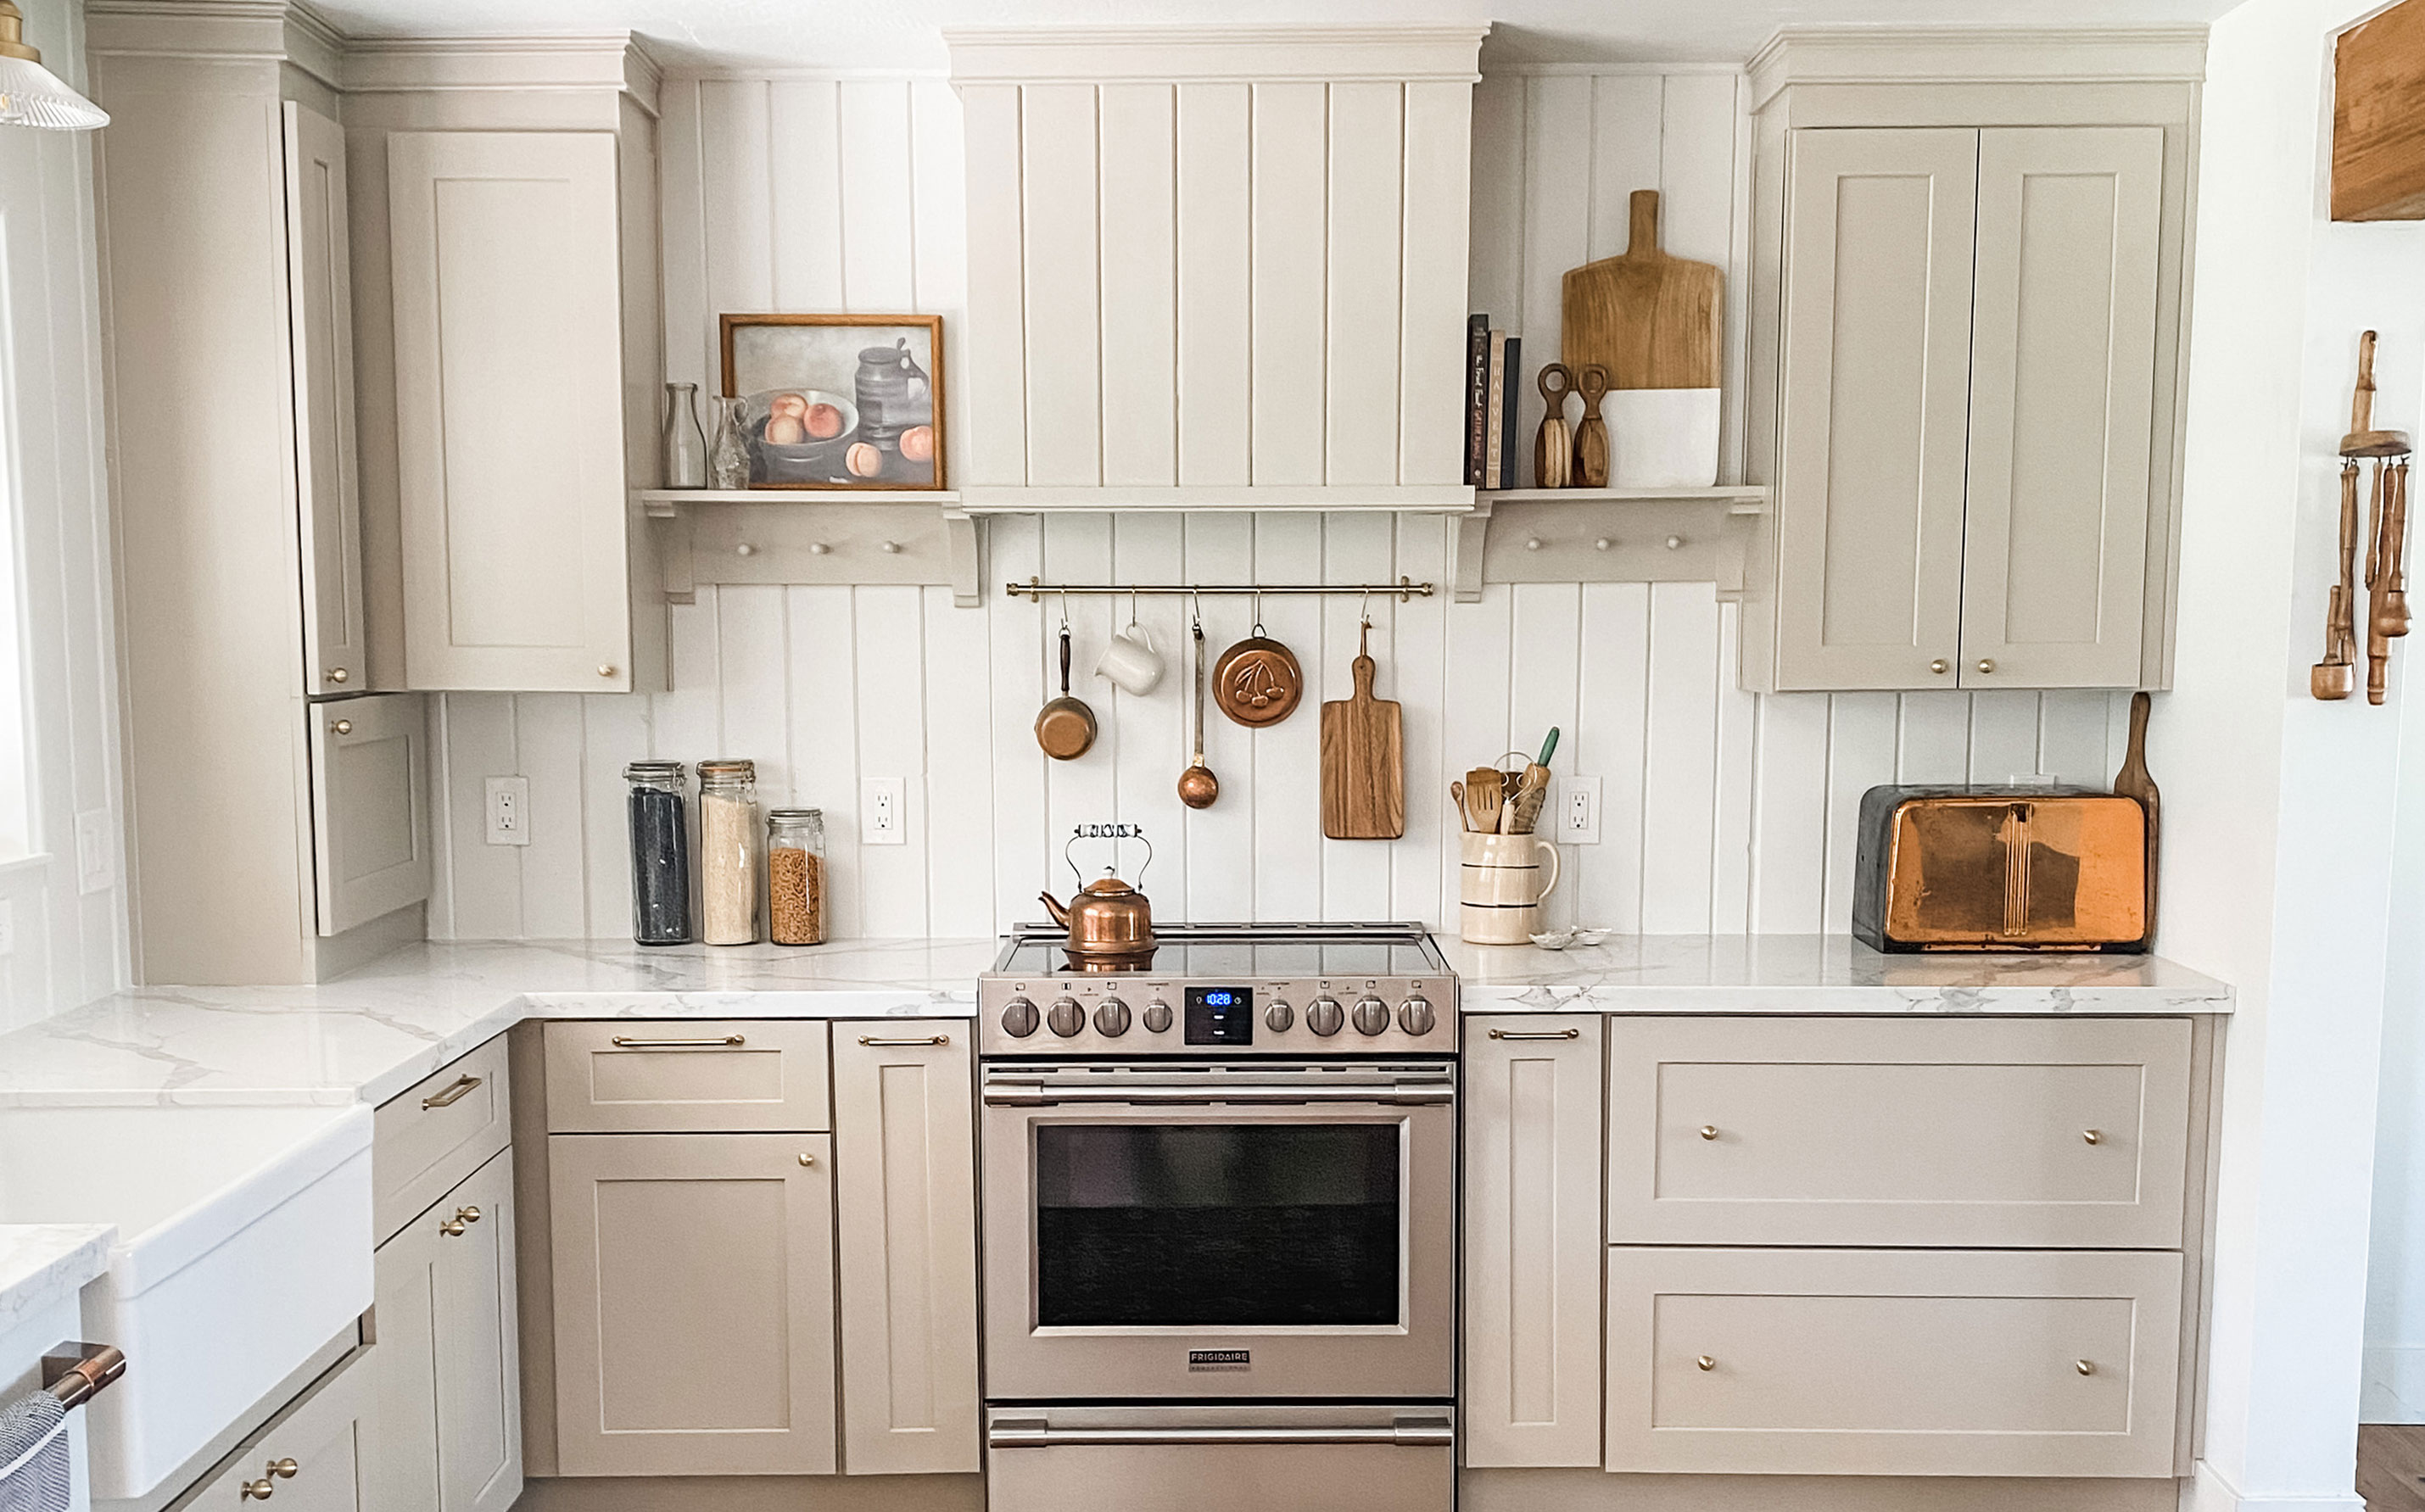 My DIY range hood and backsplash build gave my kitchen the perfect farmhouse finish
I craved charm in my kitchen space and adding a custom range hood and shelving was the best move.
By Brooke Waite Published
-
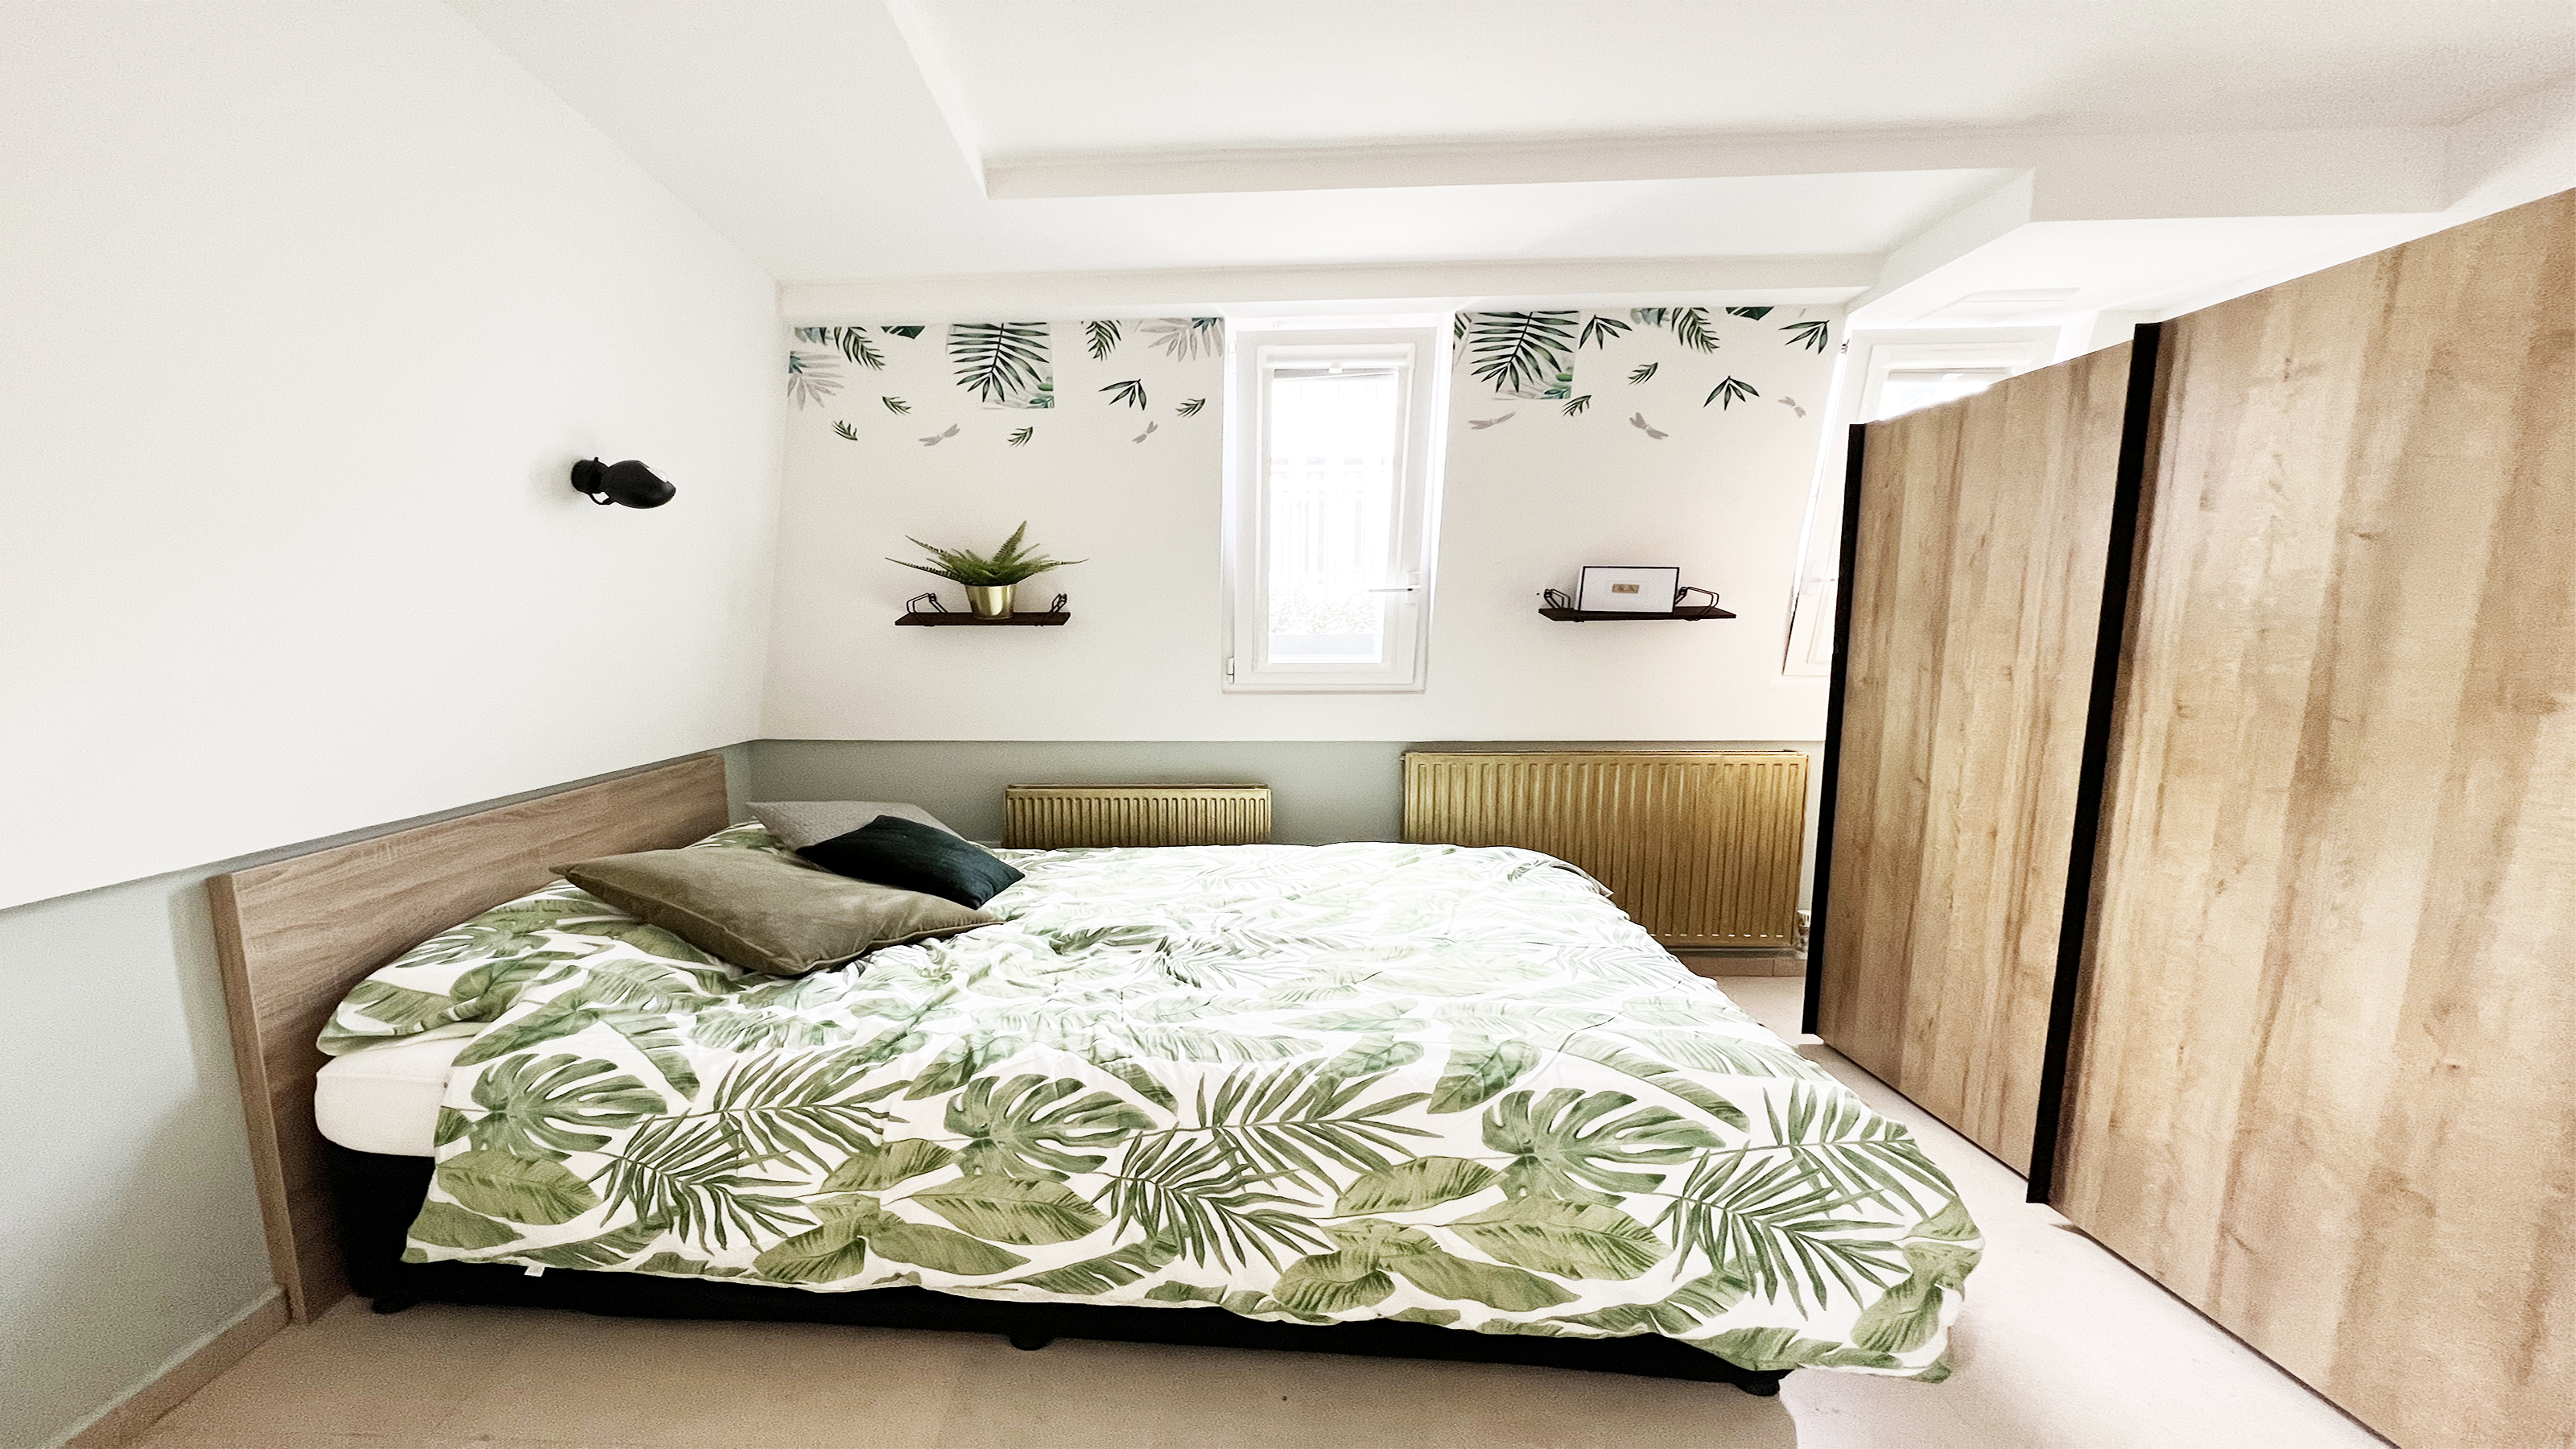 How to paint a radiator in 7 steps
Painting radiators properly is all about choosing the right paint and the best process. Get interior designer-worthy results with our how-to.
By Kate Sandhu Published
-
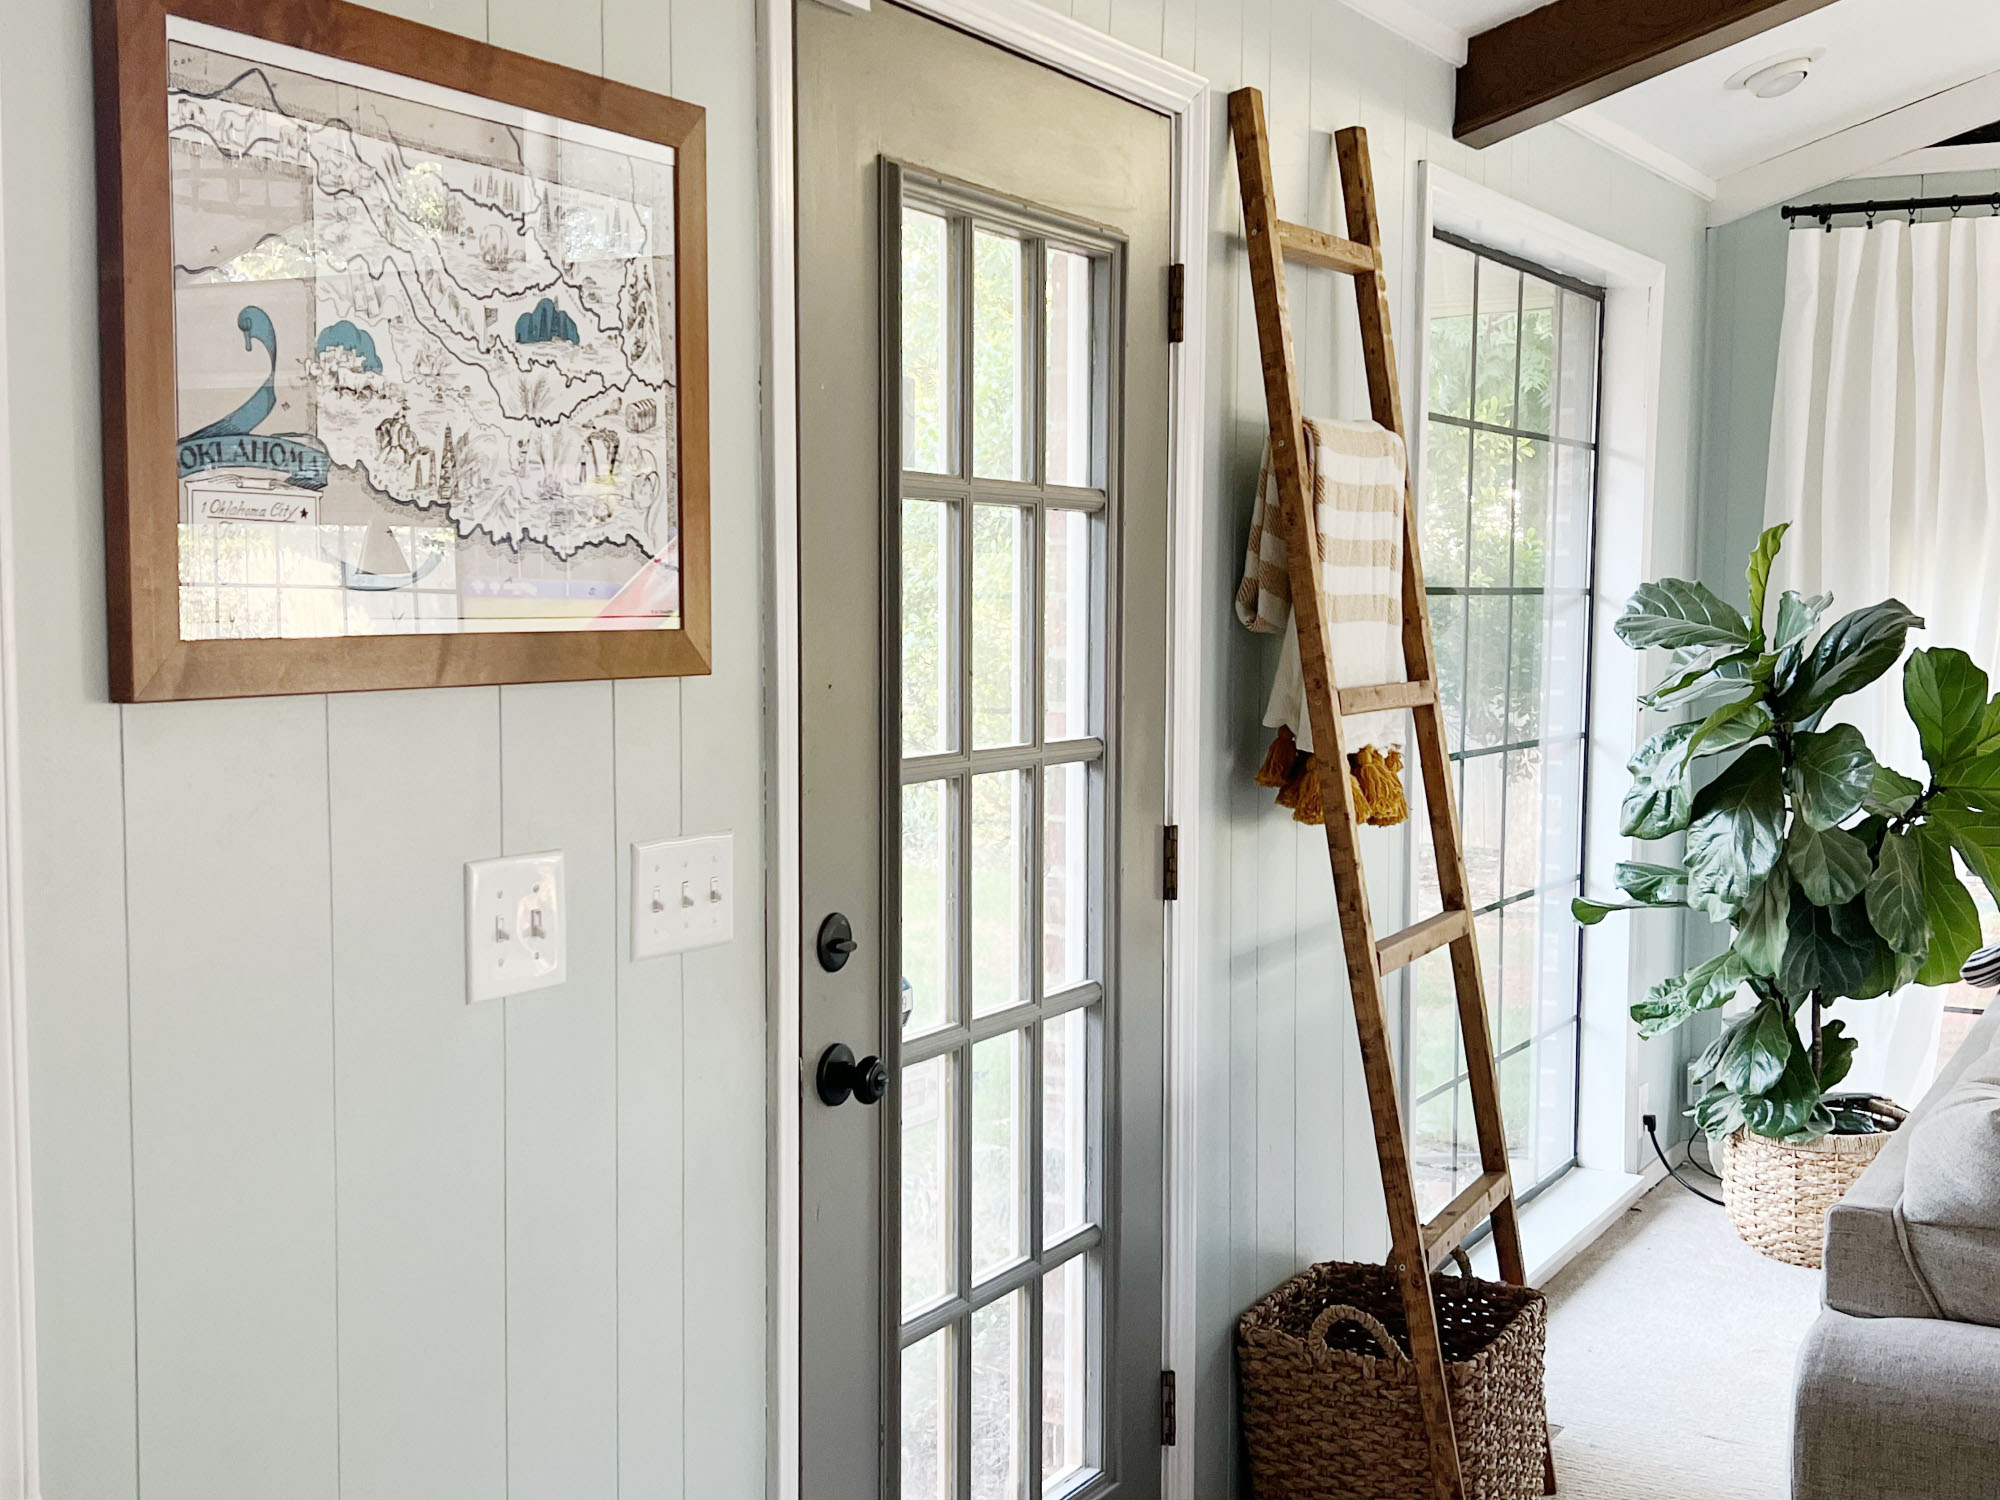 How to install a door knob
Updating your interior and exterior doors can be as easy as changing out the hardware! The best part is that installing a door knob is very DIY friendly. Follow these simple steps and enjoy a fresh look on your doors!
By Dori Turner Published