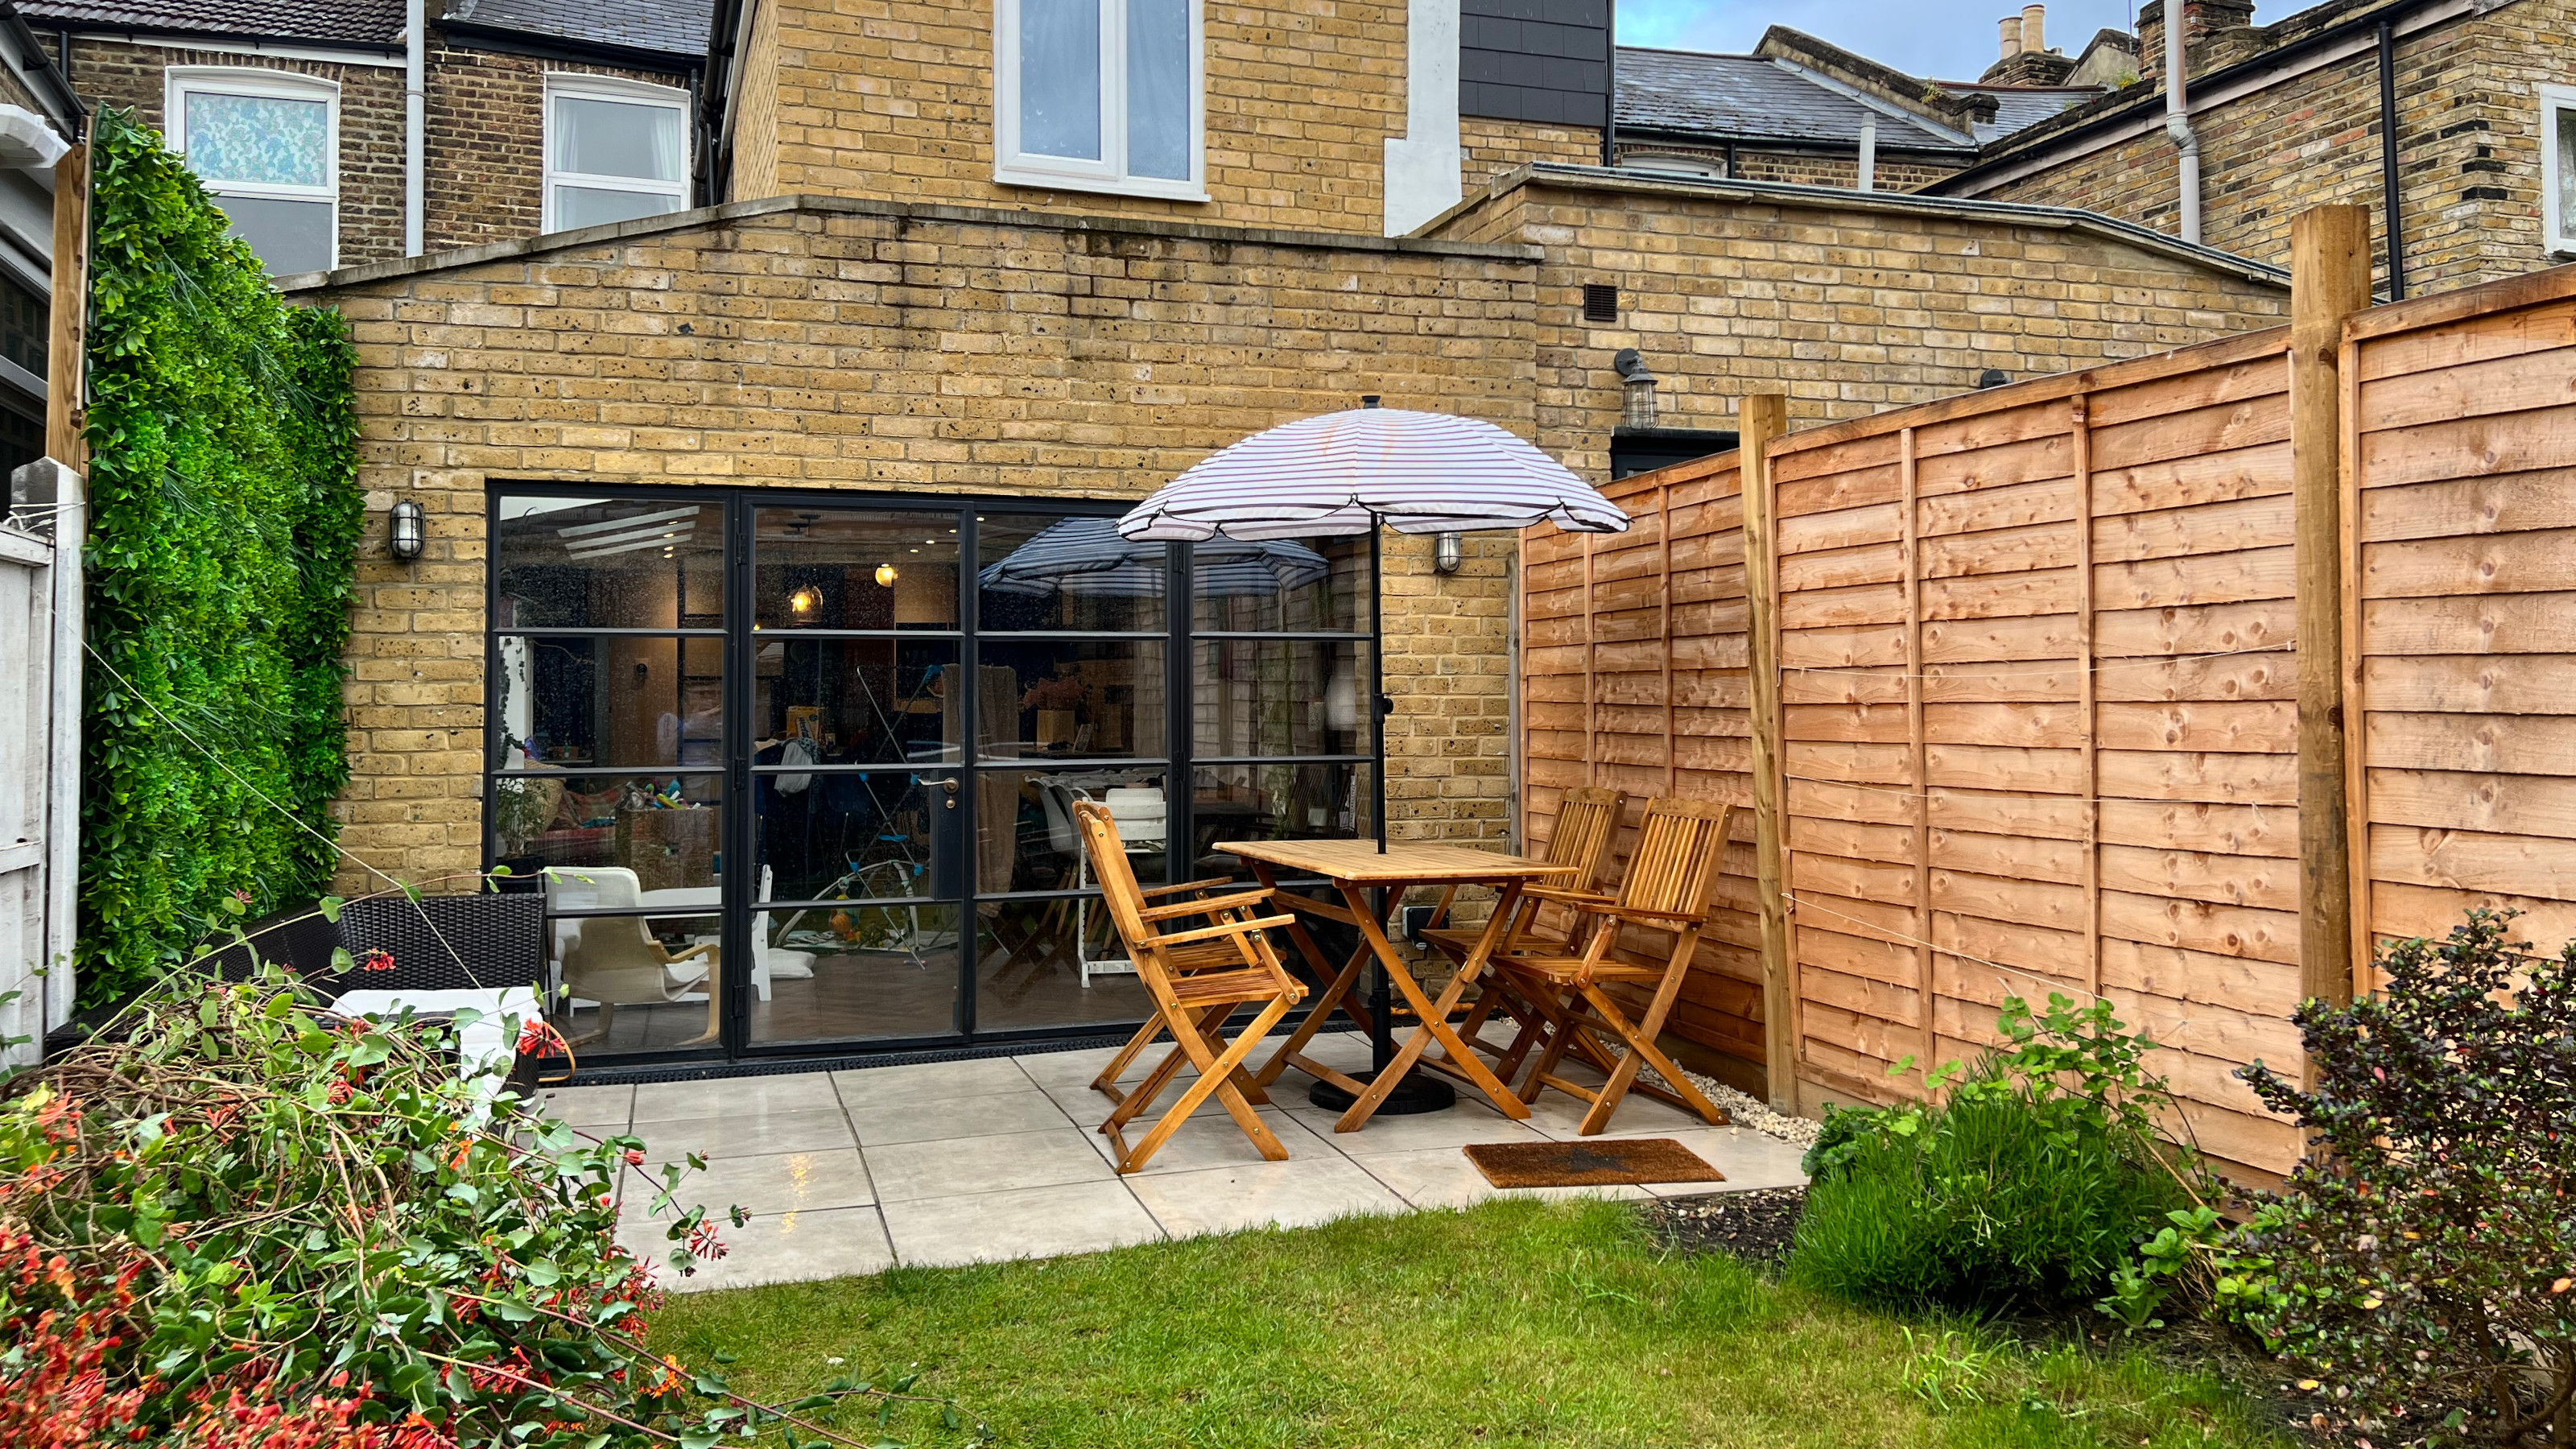

Learning how to build a fence can save you a lot of money. The material costs are not huge, but hiring someone in to put it up for you means that the average boundary could soon add up to thousands.
We decided to build our own fence and as competent DIYers, it was something we knew we could do ourselves in a weekend.
Though there are a variety of options to go for when building a fence, we chose wooden posts, concreted in. This is because we felt they were the best option aesthetically and in addition, although met posts are easier to erect, with rocky ground (such as ours) they can at times go off at an angle or twist if they hit rocks, causing some issues.
If we had been building the fence on top of slabs or a wall, we would have used metal met posts bolted down. For vast expanses, you might want a classic pillar and post fence where wooden stakes are driven into the ground at set intervals.
The fence idea you opt for will depend on your space and the look you are going for. If you have another fence in your outdoor area already, you may want it to match. You also need to consider the purpose of the fence. If it is for privacy or security, you’re unlikely to select a low fence or one that allows light through for example. If it is to keep in a pet dog, it will need to be higher than they can jump.
How to build a wooden fence
Difficulty rating: medium, ensure you prepare thoroughly and check your measurements twice!
Approximate cost: This can really vary depending upon fence panel type, height and quantity but you should prepare to pay around £35 per panel installation for a simple close board fence (or $25 per linear foot in the US). There are plenty of cheap fence ideas if you want to keep costs down.
Time: set aside at least a whole day, ideally a weekend and rope in at least one friend to help.
Preparing to put up a fence
Before you put up a fence you should consider a few factors:
- How high can it be, subject to local regulations or planning permission.
- The impact on your neighbors, it’s important to discuss and consult with them should your fence face off into their yard or have any impact on them.
- Are you erecting it in the correct place? Check the exact line of any boundaries to ensure you’re building in the right place.
- If you’re taking a fence down and replacing it, confirm that the fence is yours. If it isn’t and your neighbor, won't let you take it down, you can erect another alongside it as long as it’s on your side of the boundary.
You will need:
- Bamboo canes: I just grab a batch on Amazon
- Tape measure
- String
- Spade or post hole digger also available on Amazon
- Spirit level
- Nails or galvanized screws
- Fence posts and caps
- Fence panels
- Gravel boards: I got these and the above at B&Q
- Concrete or ready-made post mix
- Drill
- Pencil
- Trowel
- Hammer
- Silicone-based sealant (optional but this kind from Amazon will do).
- Circular saw or hand saw if cutting needed
- Gloves (optional)
- Protective treatment (optional) such as best best fence stain or paint
Step 1: measuring for the fence posts
Top tip
Ideally you don’t want to cut fence panels but if you do, lay the panel flat, remove the vertical wood piece (or battens) from one end of the panel, cut to the required size using a circular saw (remembering to wear gloves, safety glasses and tight fitting clothing to avoid anything getting caught). If you haven’t a circular saw you can use a hand saw. Reattach batons at intervals with nails at the required width.
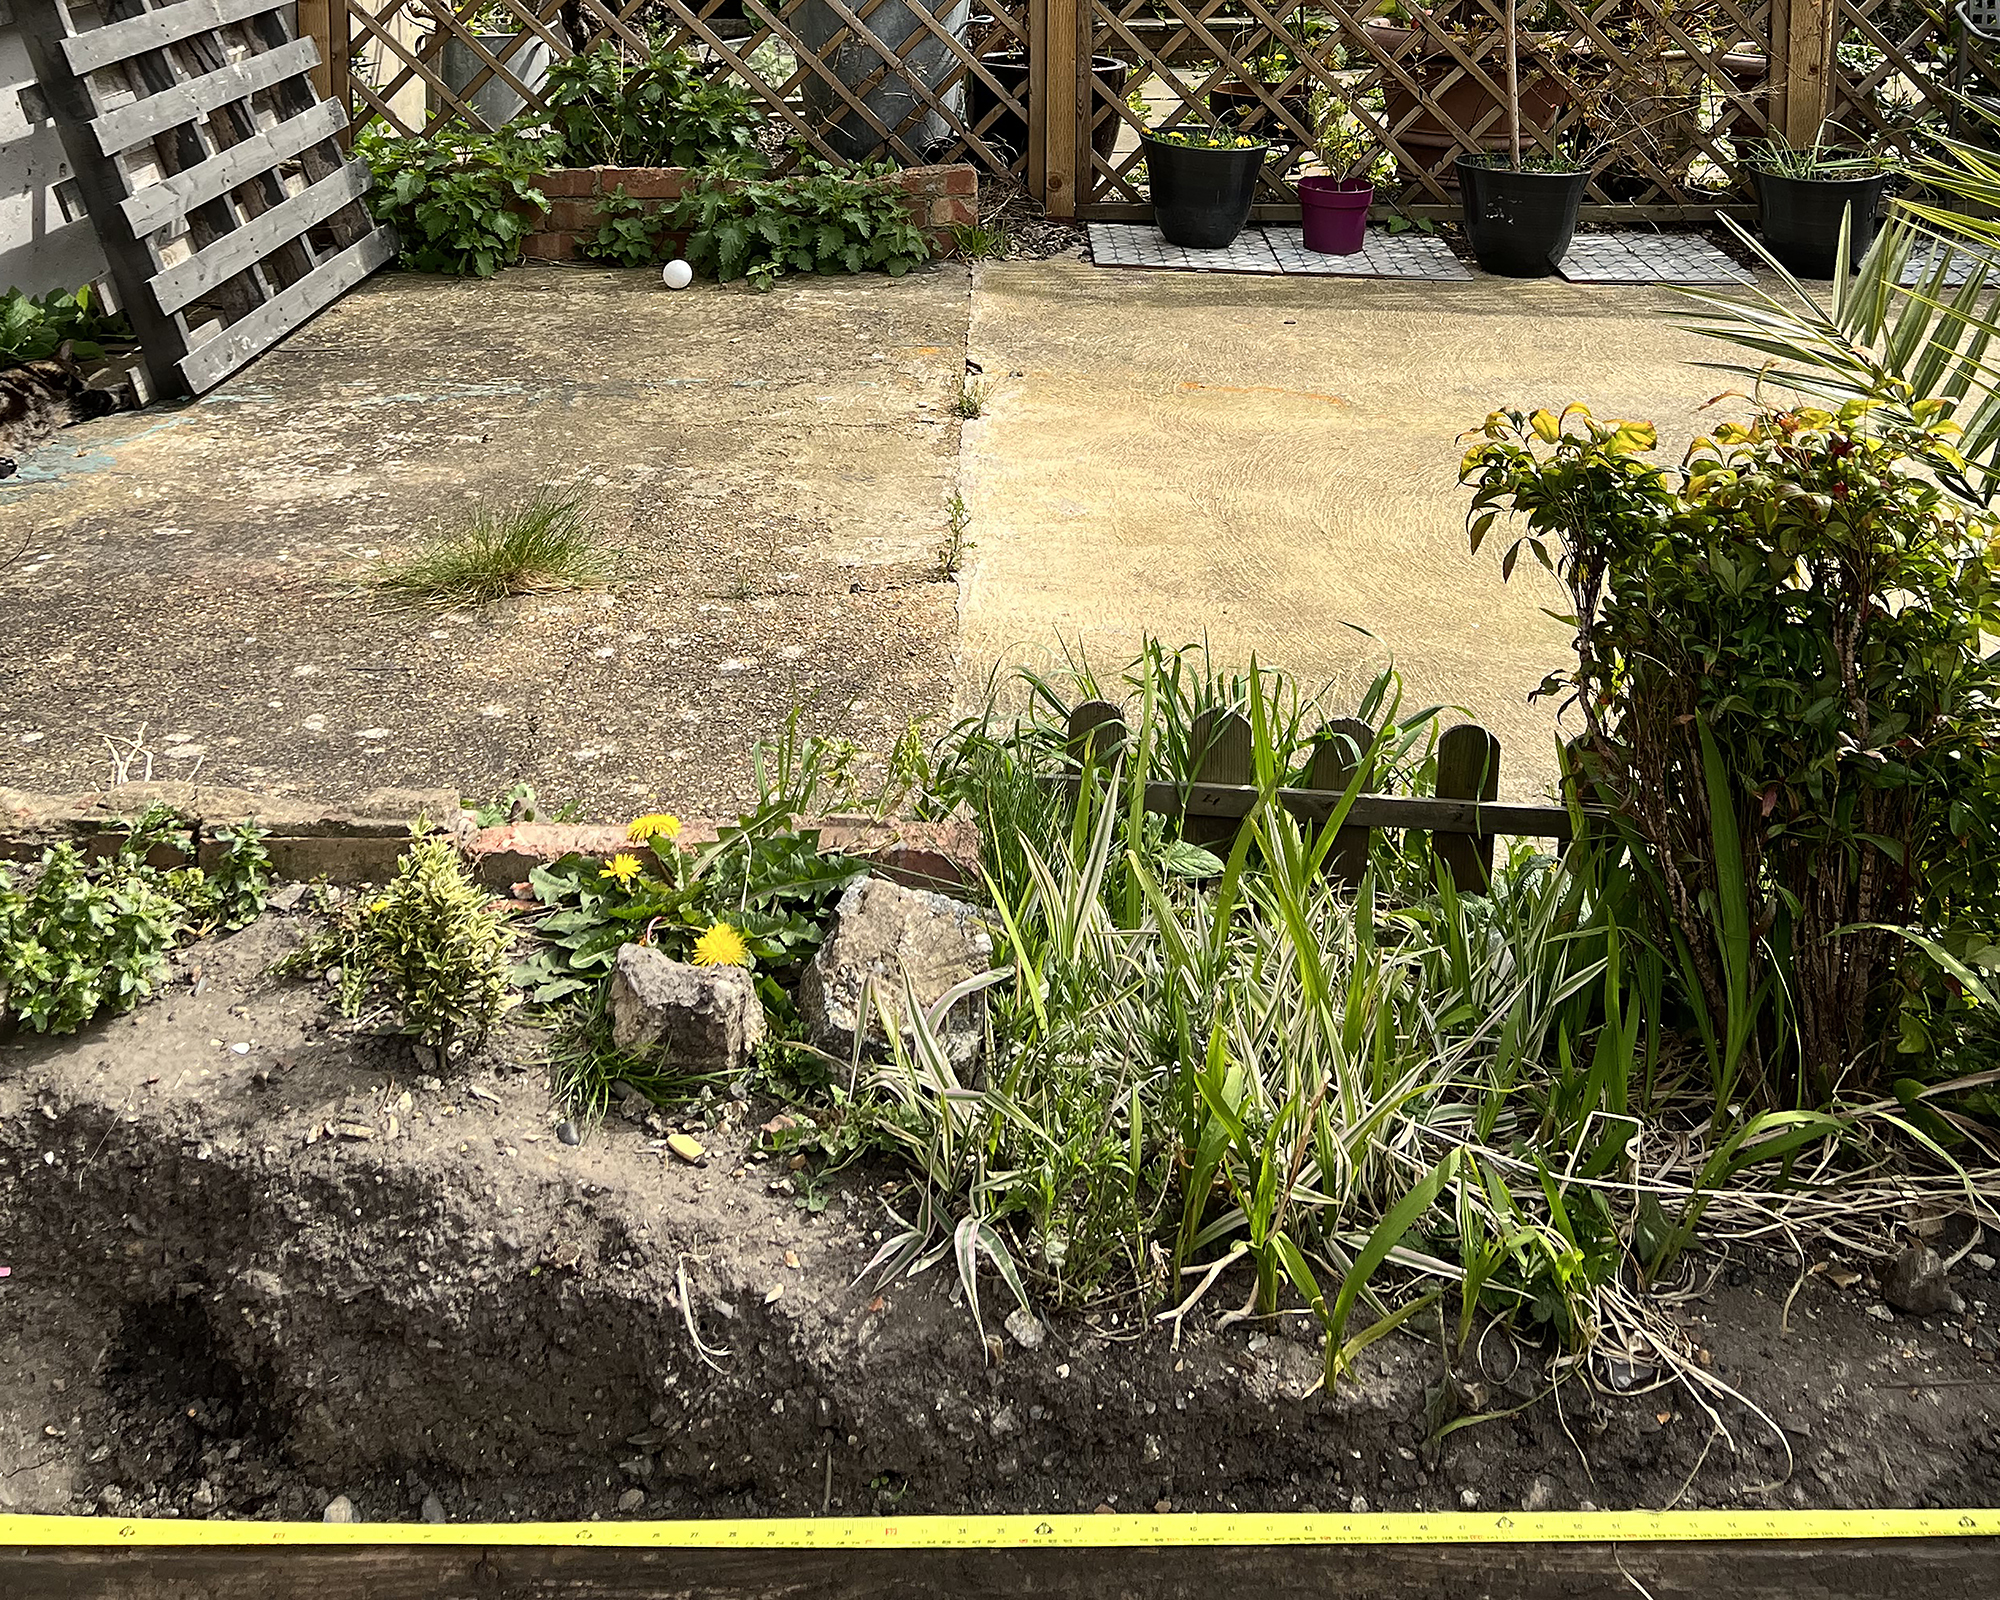
Clear the area of any plants or rocks and pot anything up that you want to replant. Stretch string from one end to the other, the whole way along the line of the fence, tracking the boundary line.
Using this as a guide, measure out the position needed for each post and mark it by pushing a bamboo cane into what will be the center of each post hole. As an example, standard width fence panels are 1.83m and posts are 100mm wide, in this case the centers of the posts will be 1.93m apart. These canes will serve as a marker to put up each fence post, helping ensure that they are in a line along the boundary and central.
Step 2: digging for the fence posts
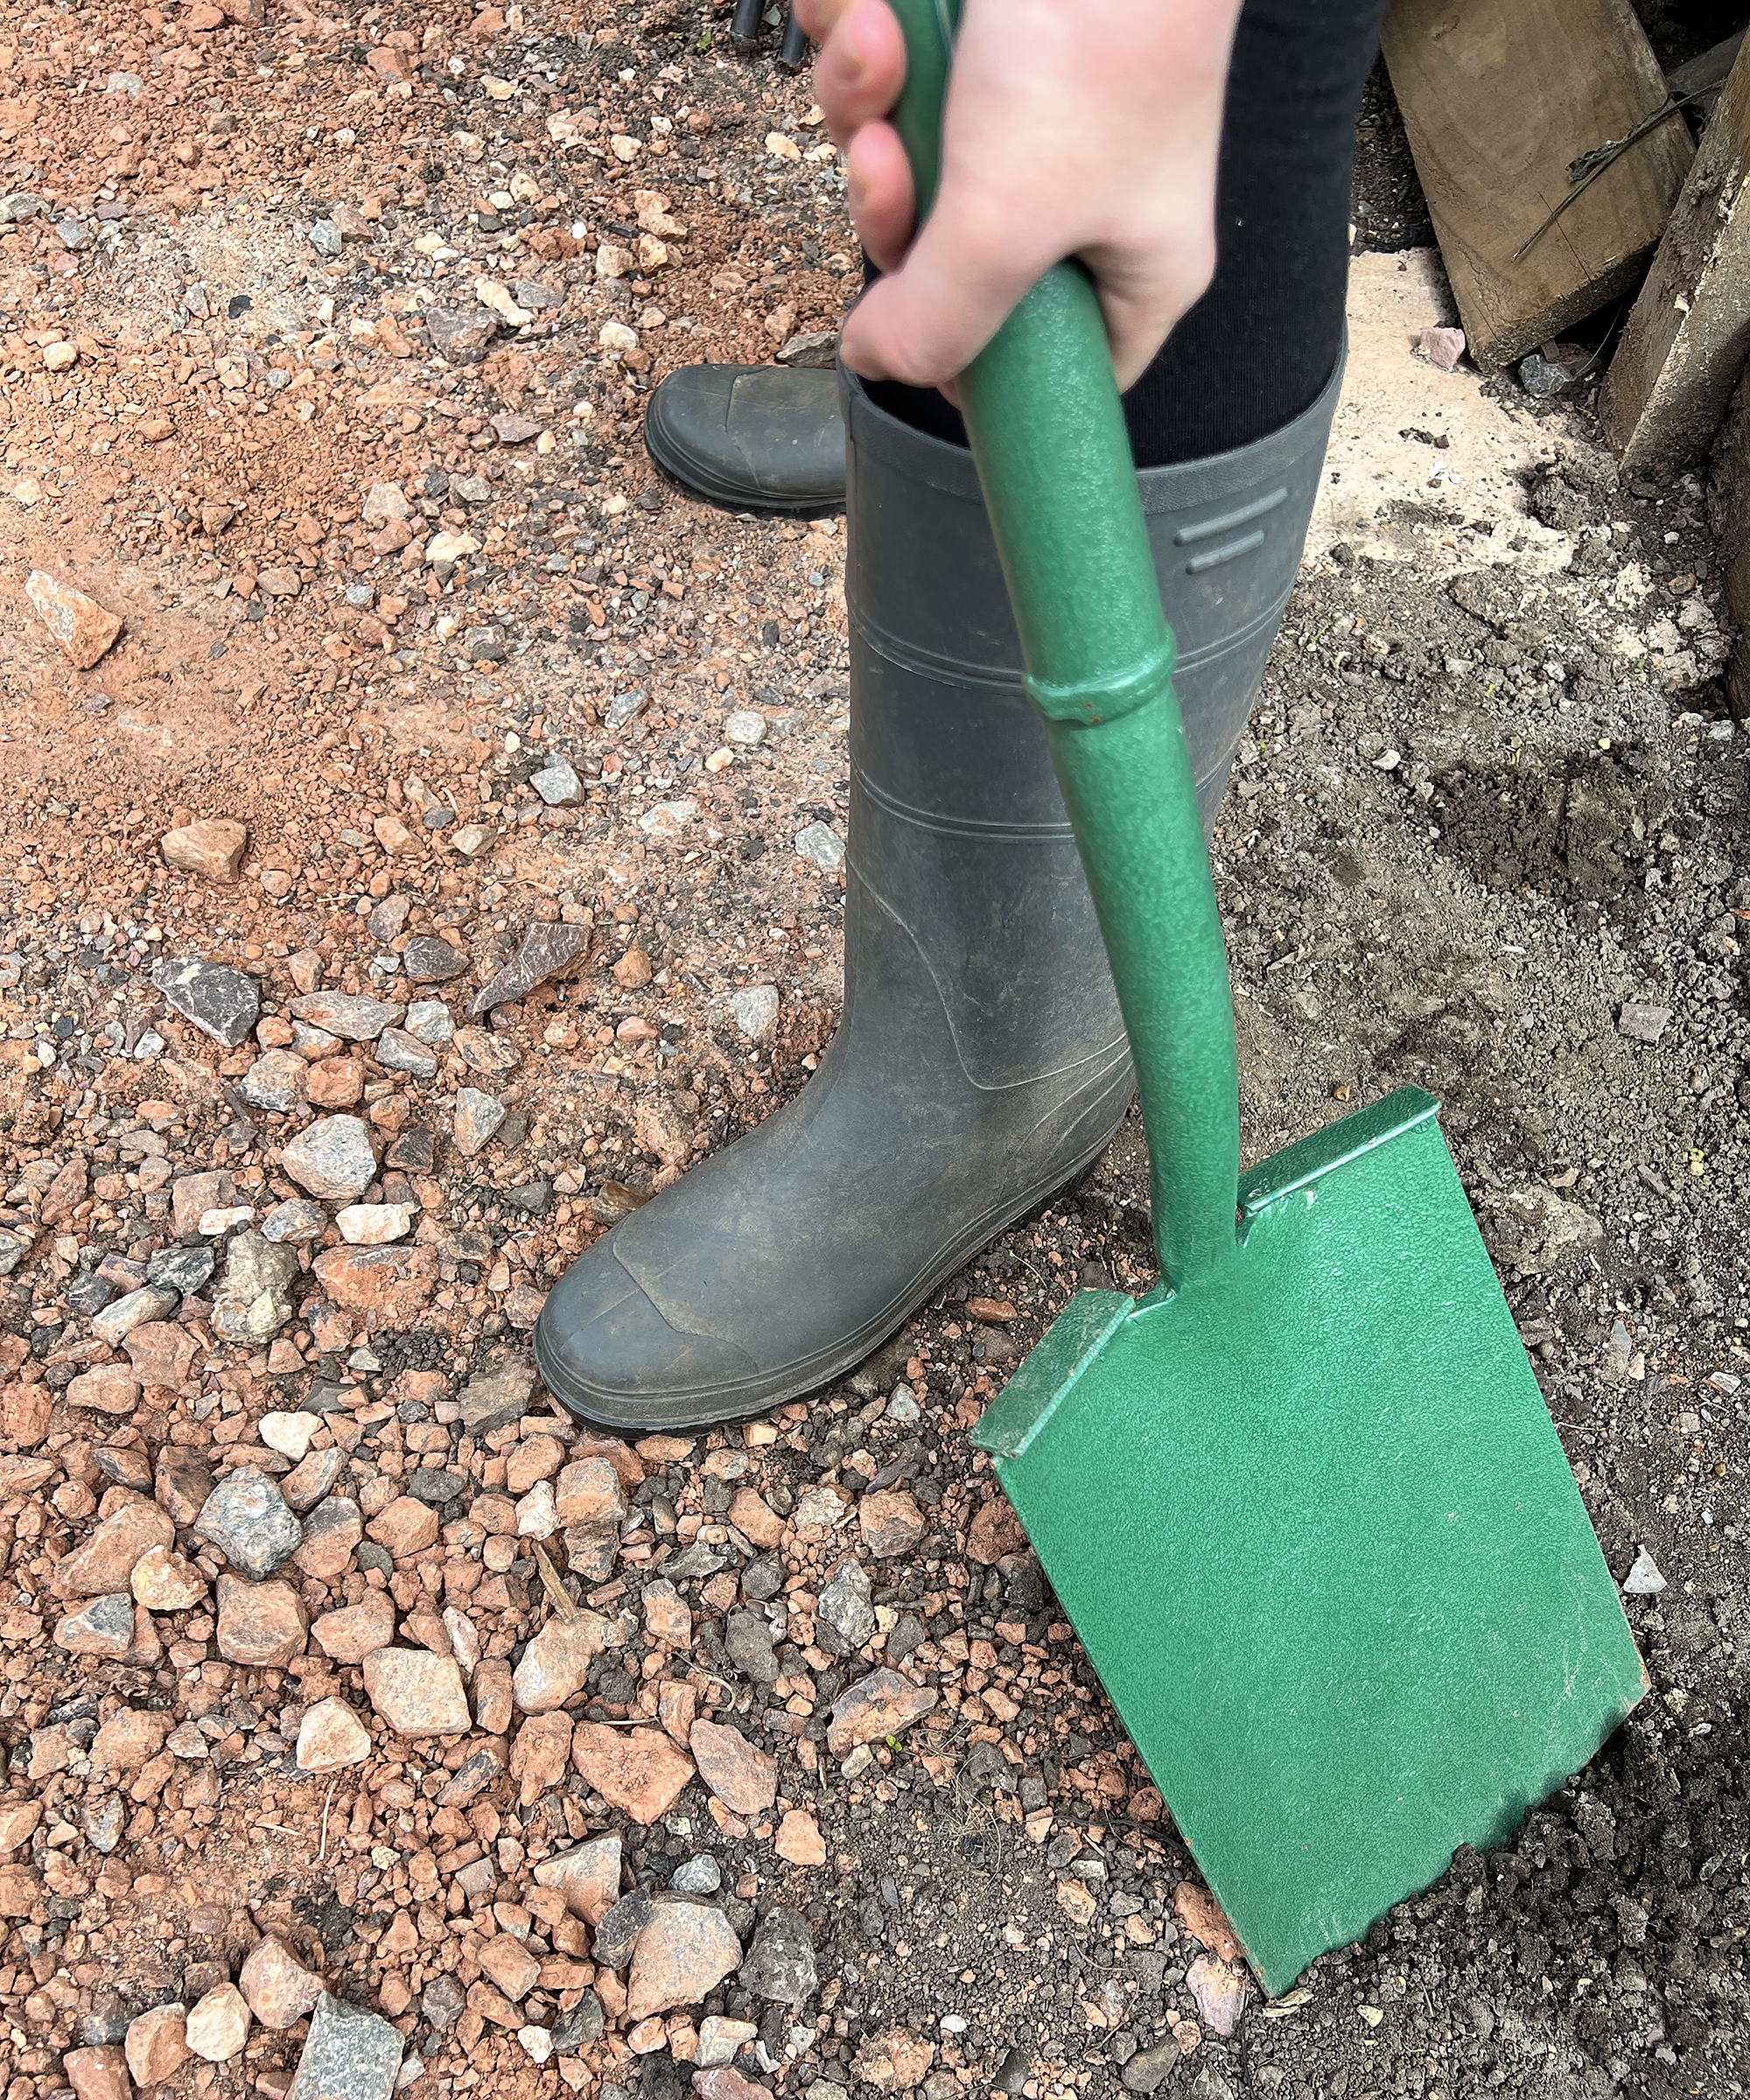
Use a spade (or a specialized post hole digger) to dig all of the post holes and remove the soil.
A standard depth of 450mm is usually enough however in softer soil you will need to dig deeper holes for more stability; ensure you use longer fence posts to compensate for this and the fence remains at the height you desire.
Step 3: erecting the fence posts
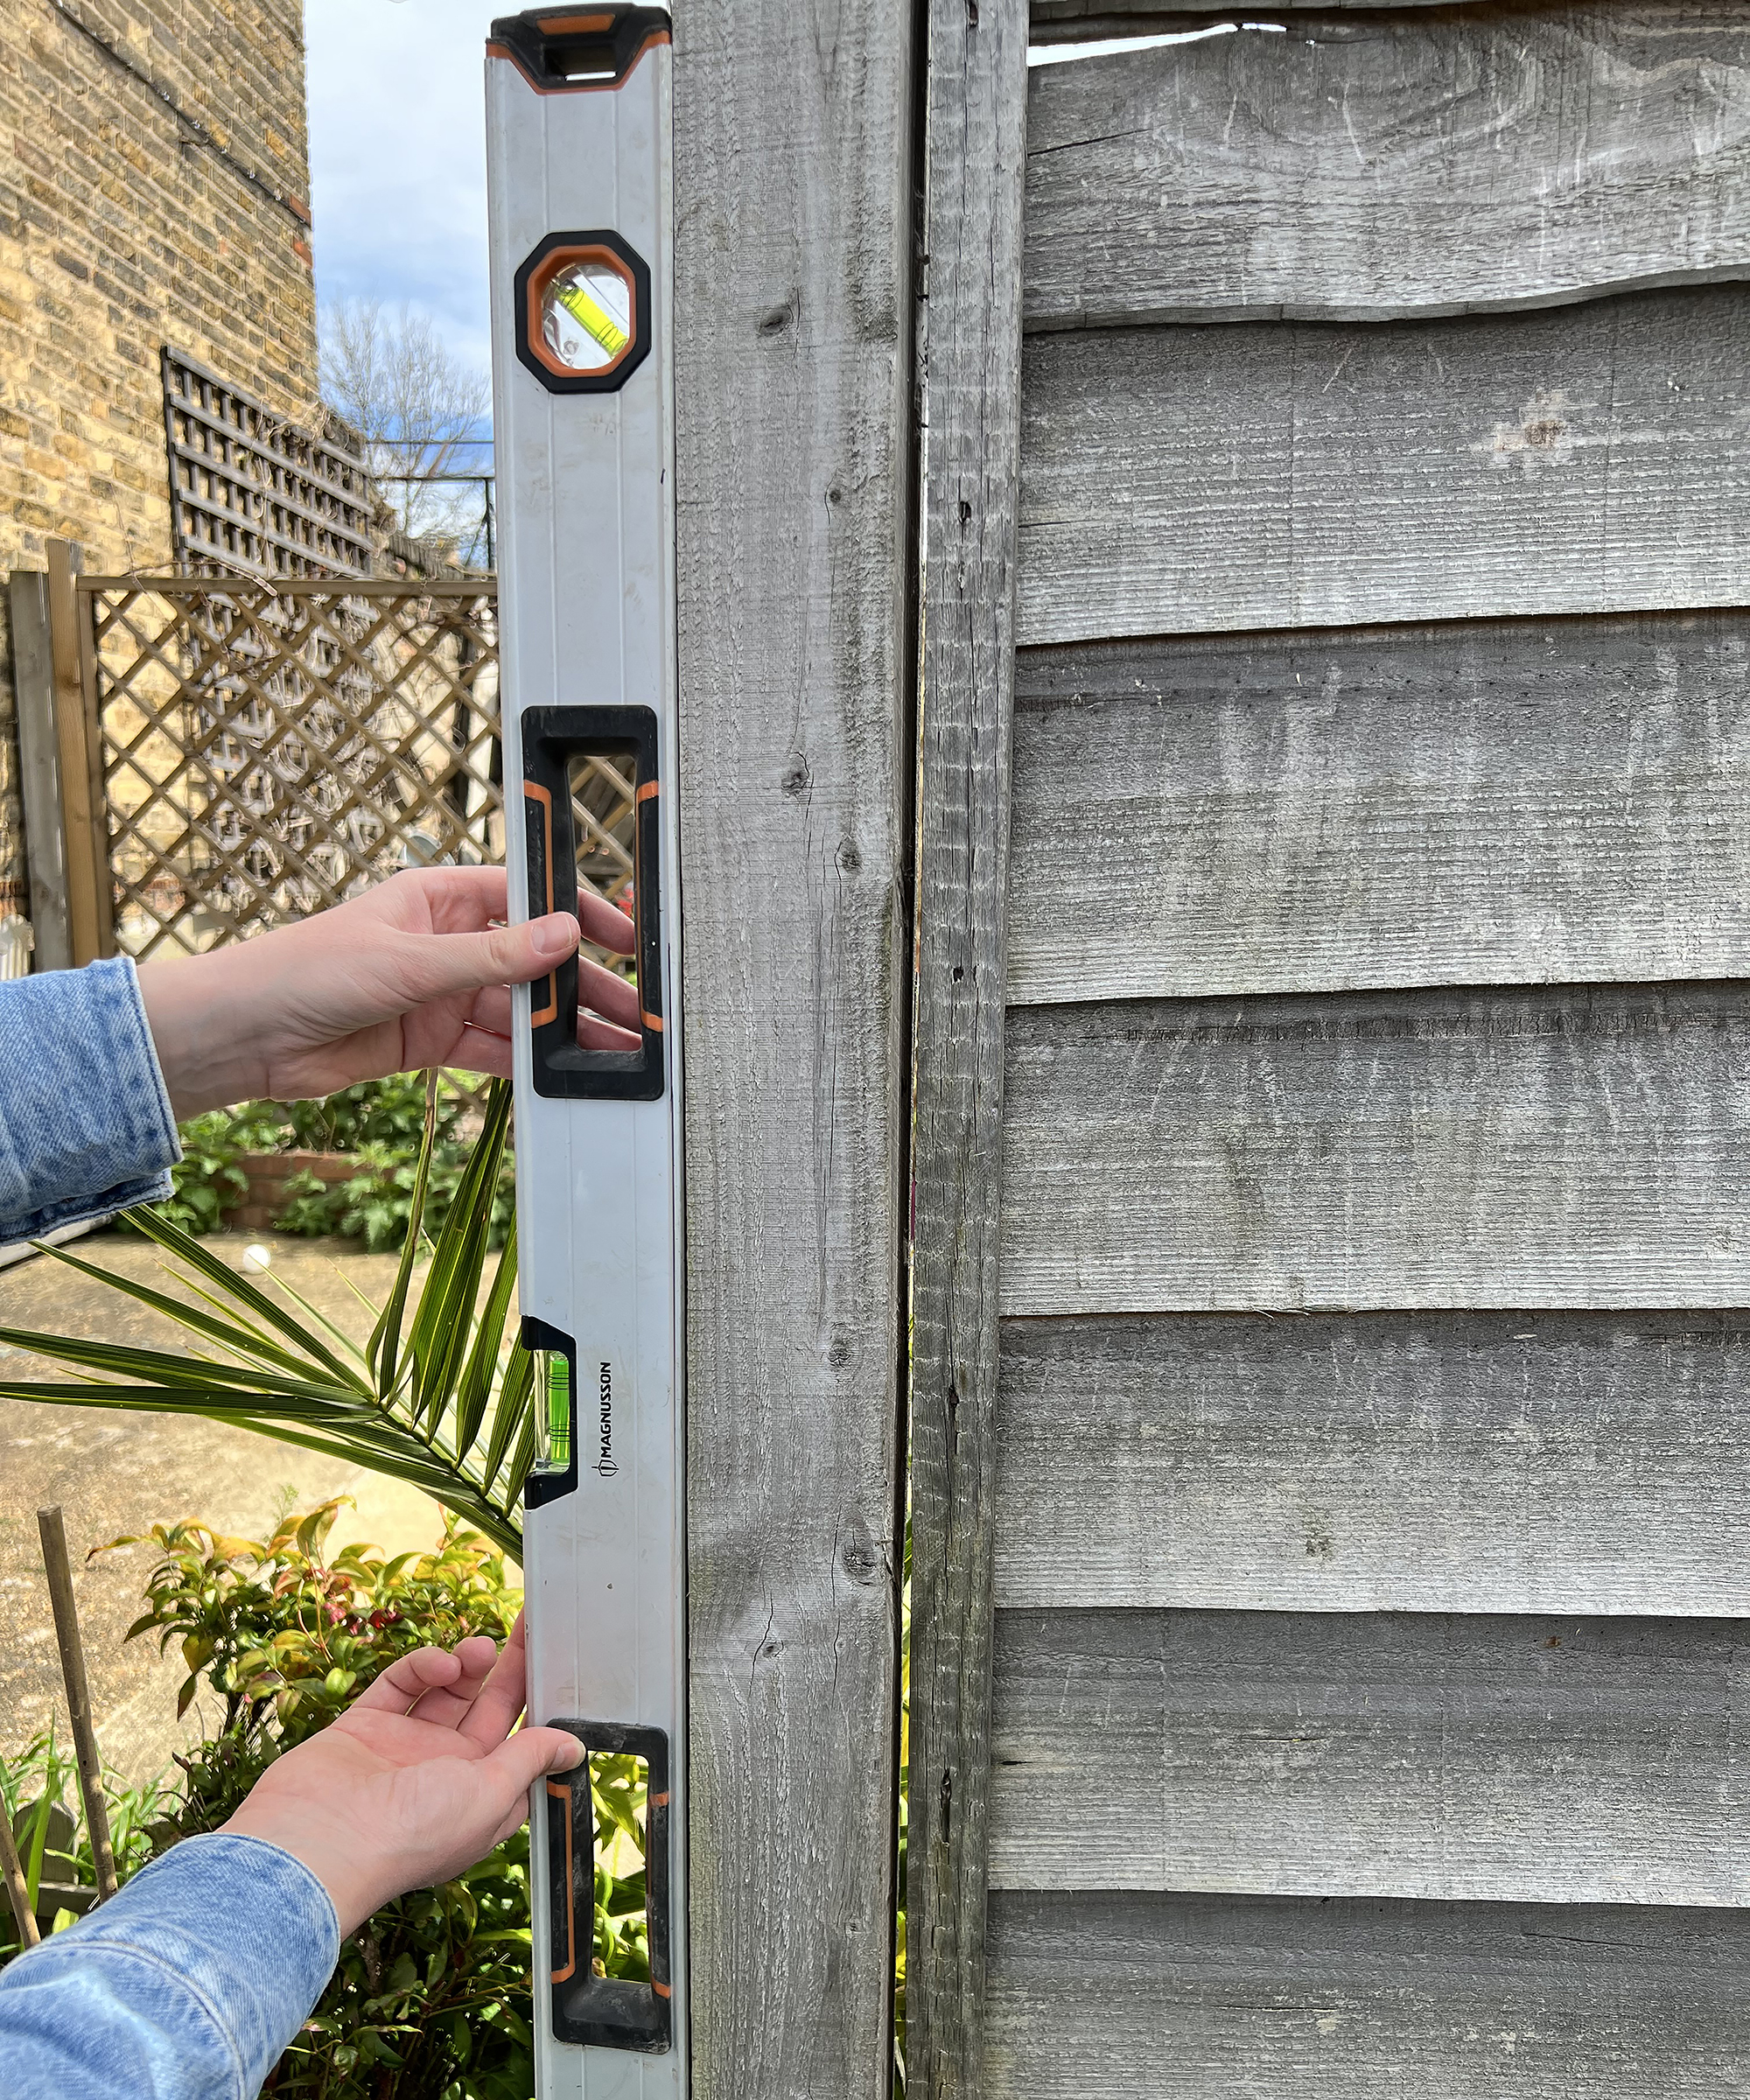
Once you have dug all of the holes you can begin to insert your fence posts. Start with the first fence post, and begin by inserting the post into the hole. Ideally, have someone hold the post in place whilst you use a spirit level to ensure that the post is straight. Once you are sure that it is straight, concrete the post in (see step seven for further detail) and erect your last post along the boundary line in the same way.
Once both are erected, run a line of string between the posts at the top and bottom of the fence, to serve as a guide for putting up the remainder of the fence, as you did for the fence posts.
Fit all other posts loosely in their holes, you will concrete them one by one as you fit the panels. The reason that we don’t suggest that you concrete all posts into the ground at the outset is because if you have made any error in marking out the posts, panels may not fit and it is much more difficult to put right once everything is concreted down.
Step 4: erect the panels and fitting gravel boards
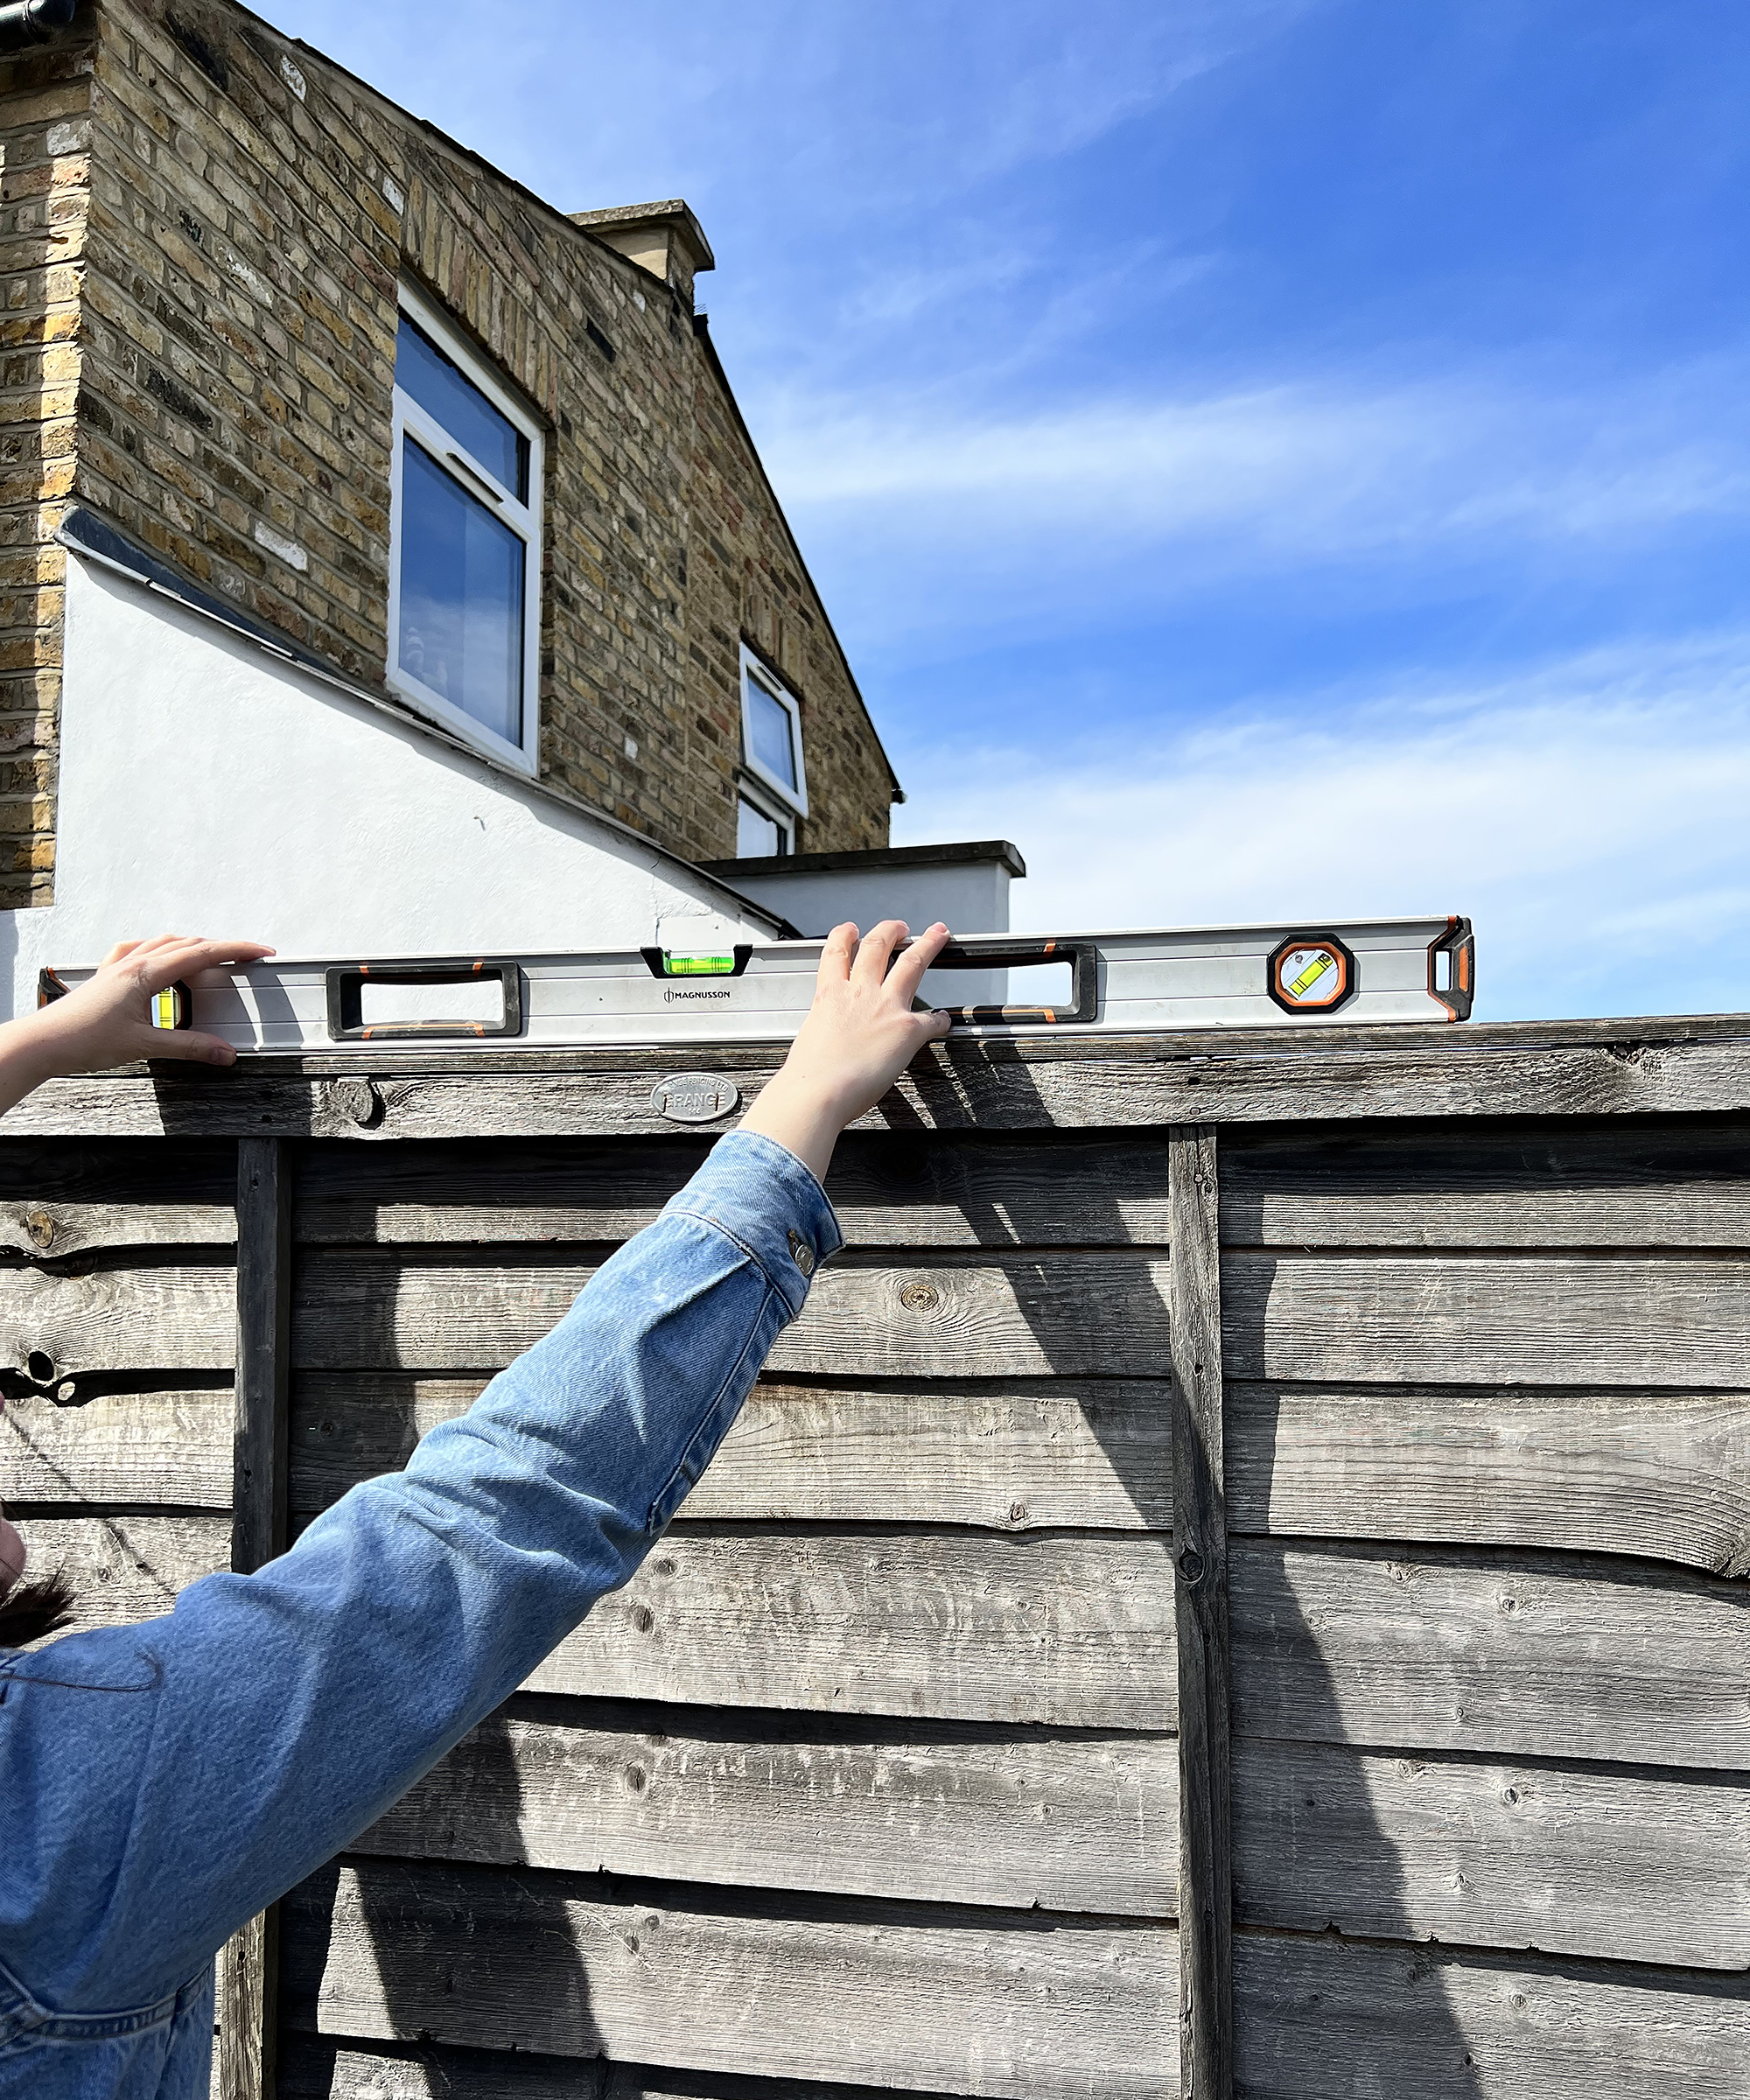
Once you have all posts in each hole you can begin to fit panels and gravel boards. Start from one side and erect the posts and panels alternately as you work down the line of the fence, concreting in the right hand post first, then working on the panel measurements and fit, before concreting the left hand fence post and fitting panels. Remember to keep checking that the panels are level and straight using a spirit level. Use gravel boards under each panel, this will stop the fence from rotting.
To fit them, lay the board between each post (this is also a useful guide that your measurements are correct, do be sure to buy boards that are the same size as fence panels), check that the fit is correct and use a spirit level to check they are level and then fix them with galvanized screws or nails inserted at an angle into the posts
Step 5: fitting the fence panel
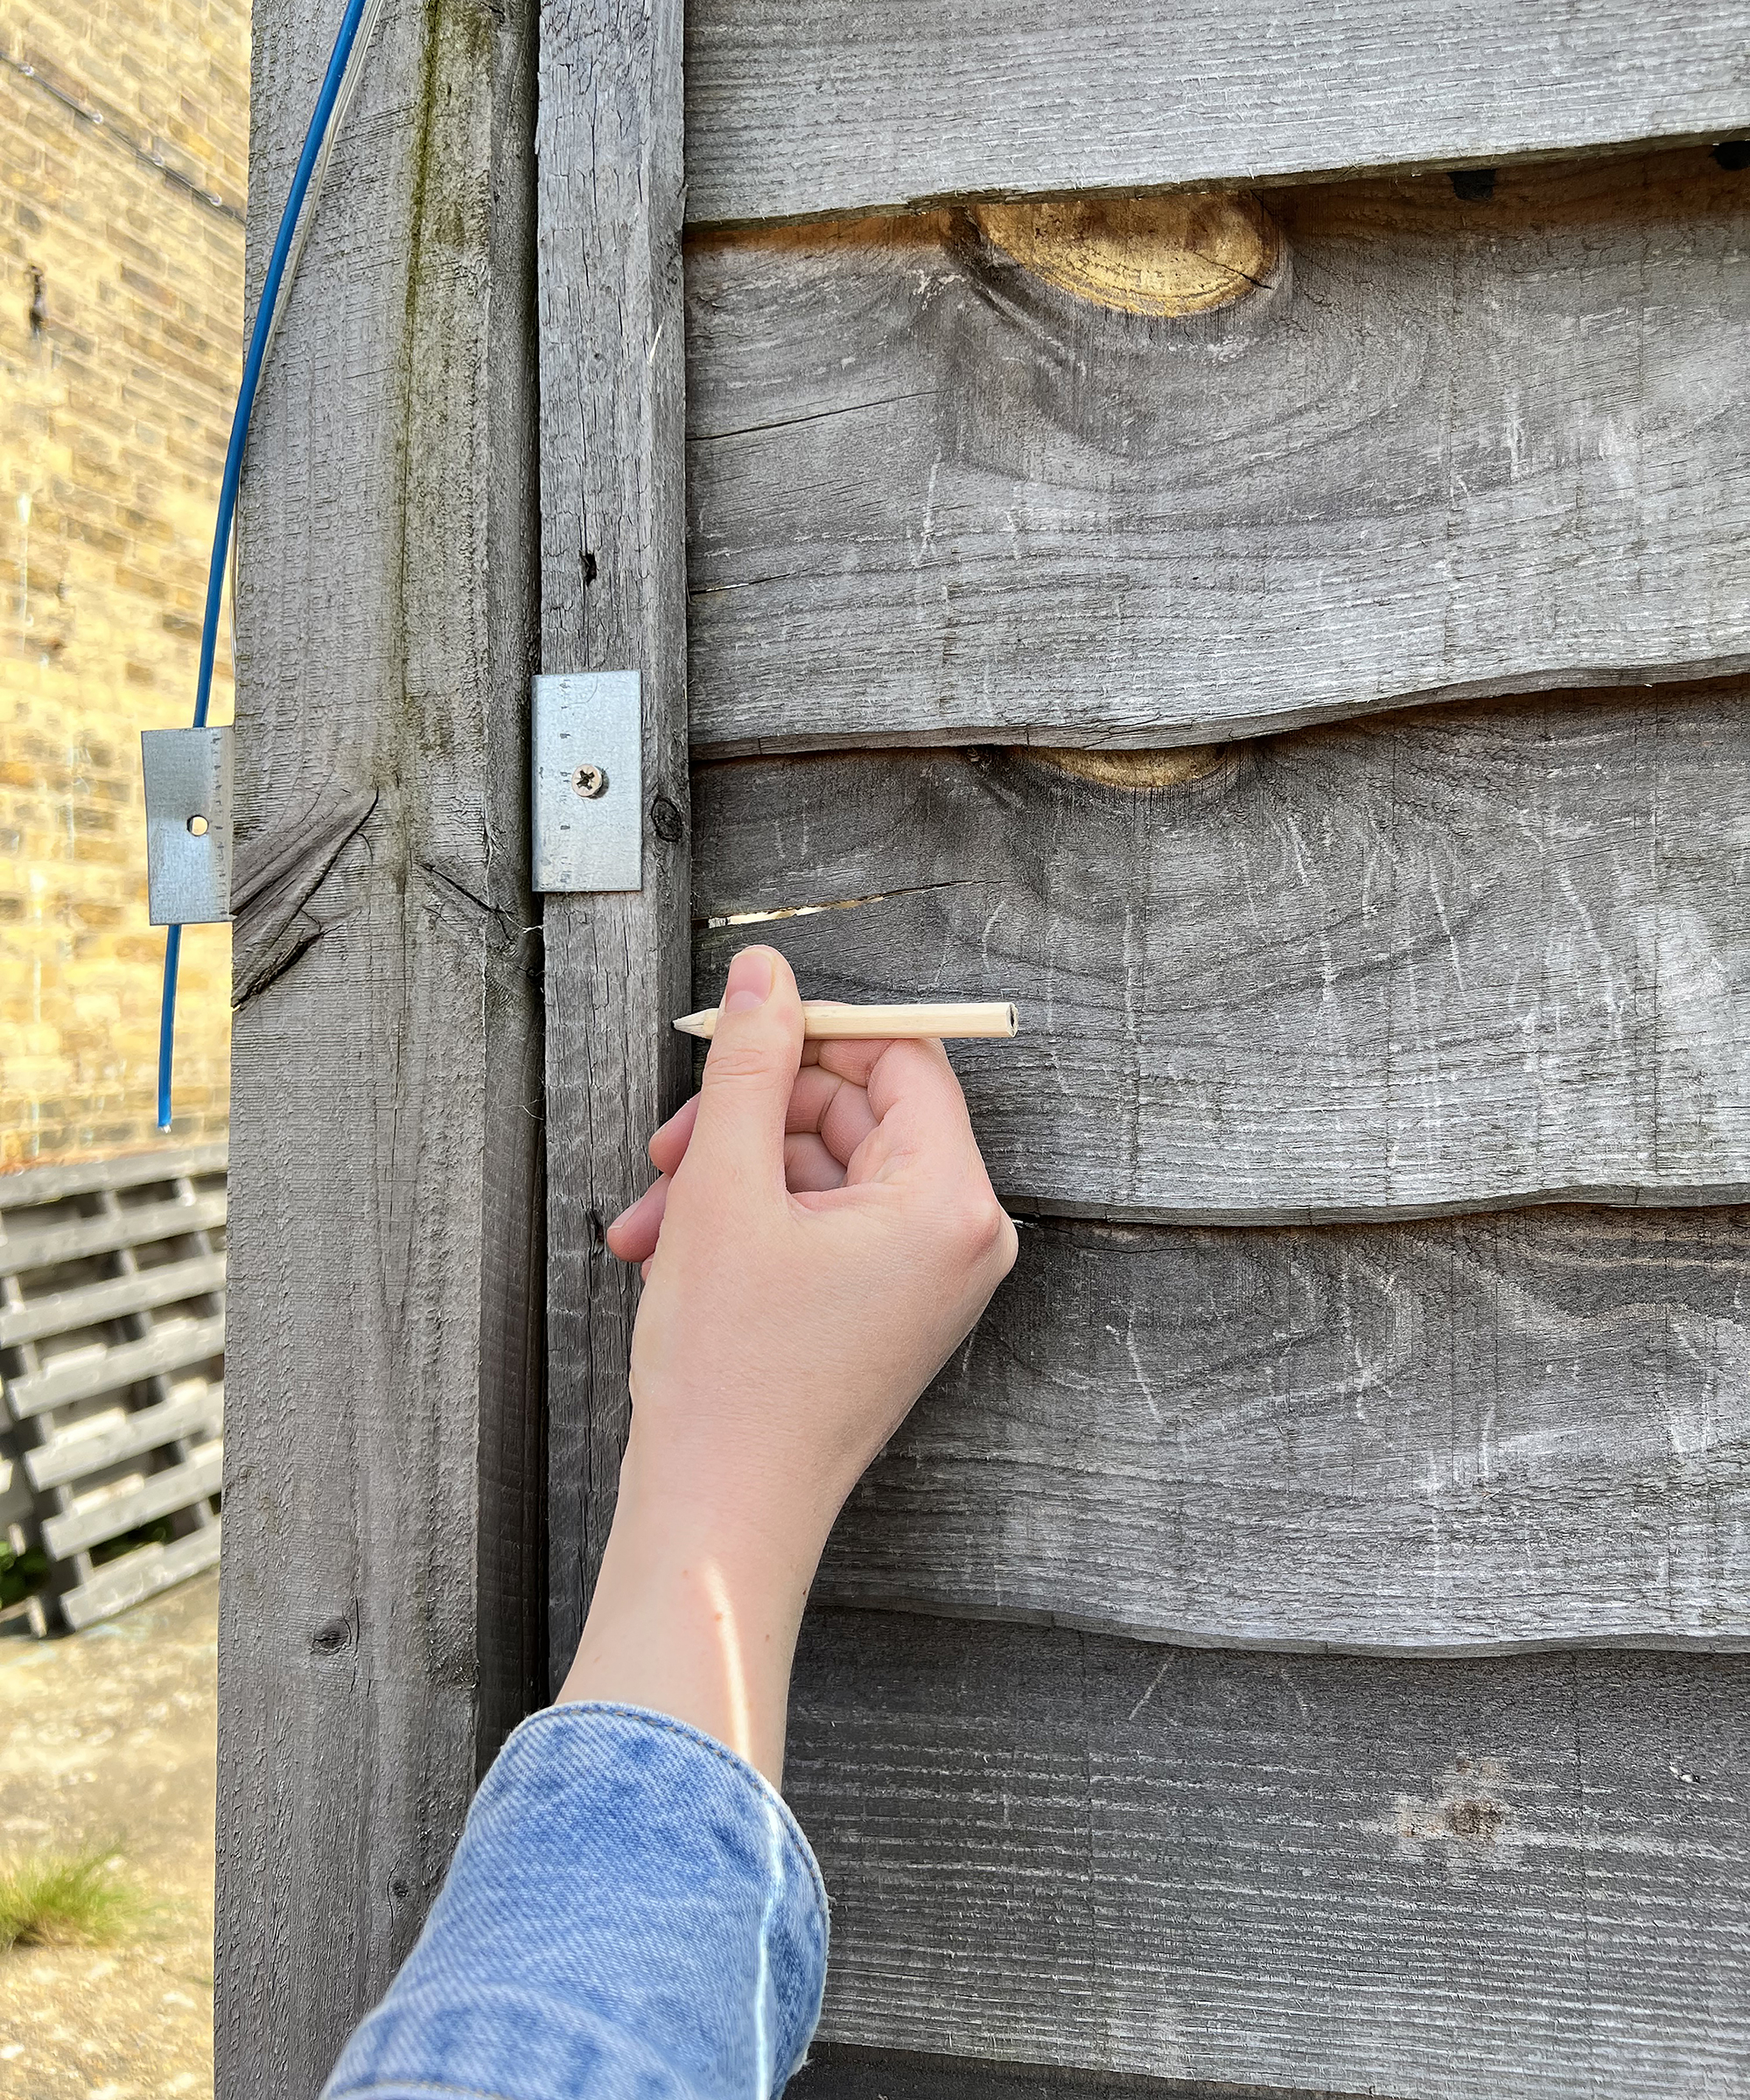
Measure six evenly-spaced marks down the side of the fence panel's batten framing (this is the raised wooden frame around the edge of each panel), using a pencil to mark on both sides and at each end.
These marks are where the nails will go to secure the panel to the post. Drill pilot holes into the penciled marks. A pilot hole provides a guide hole to help direct the nail and prevents it from splitting the wood.
Step 6: fixing the panels
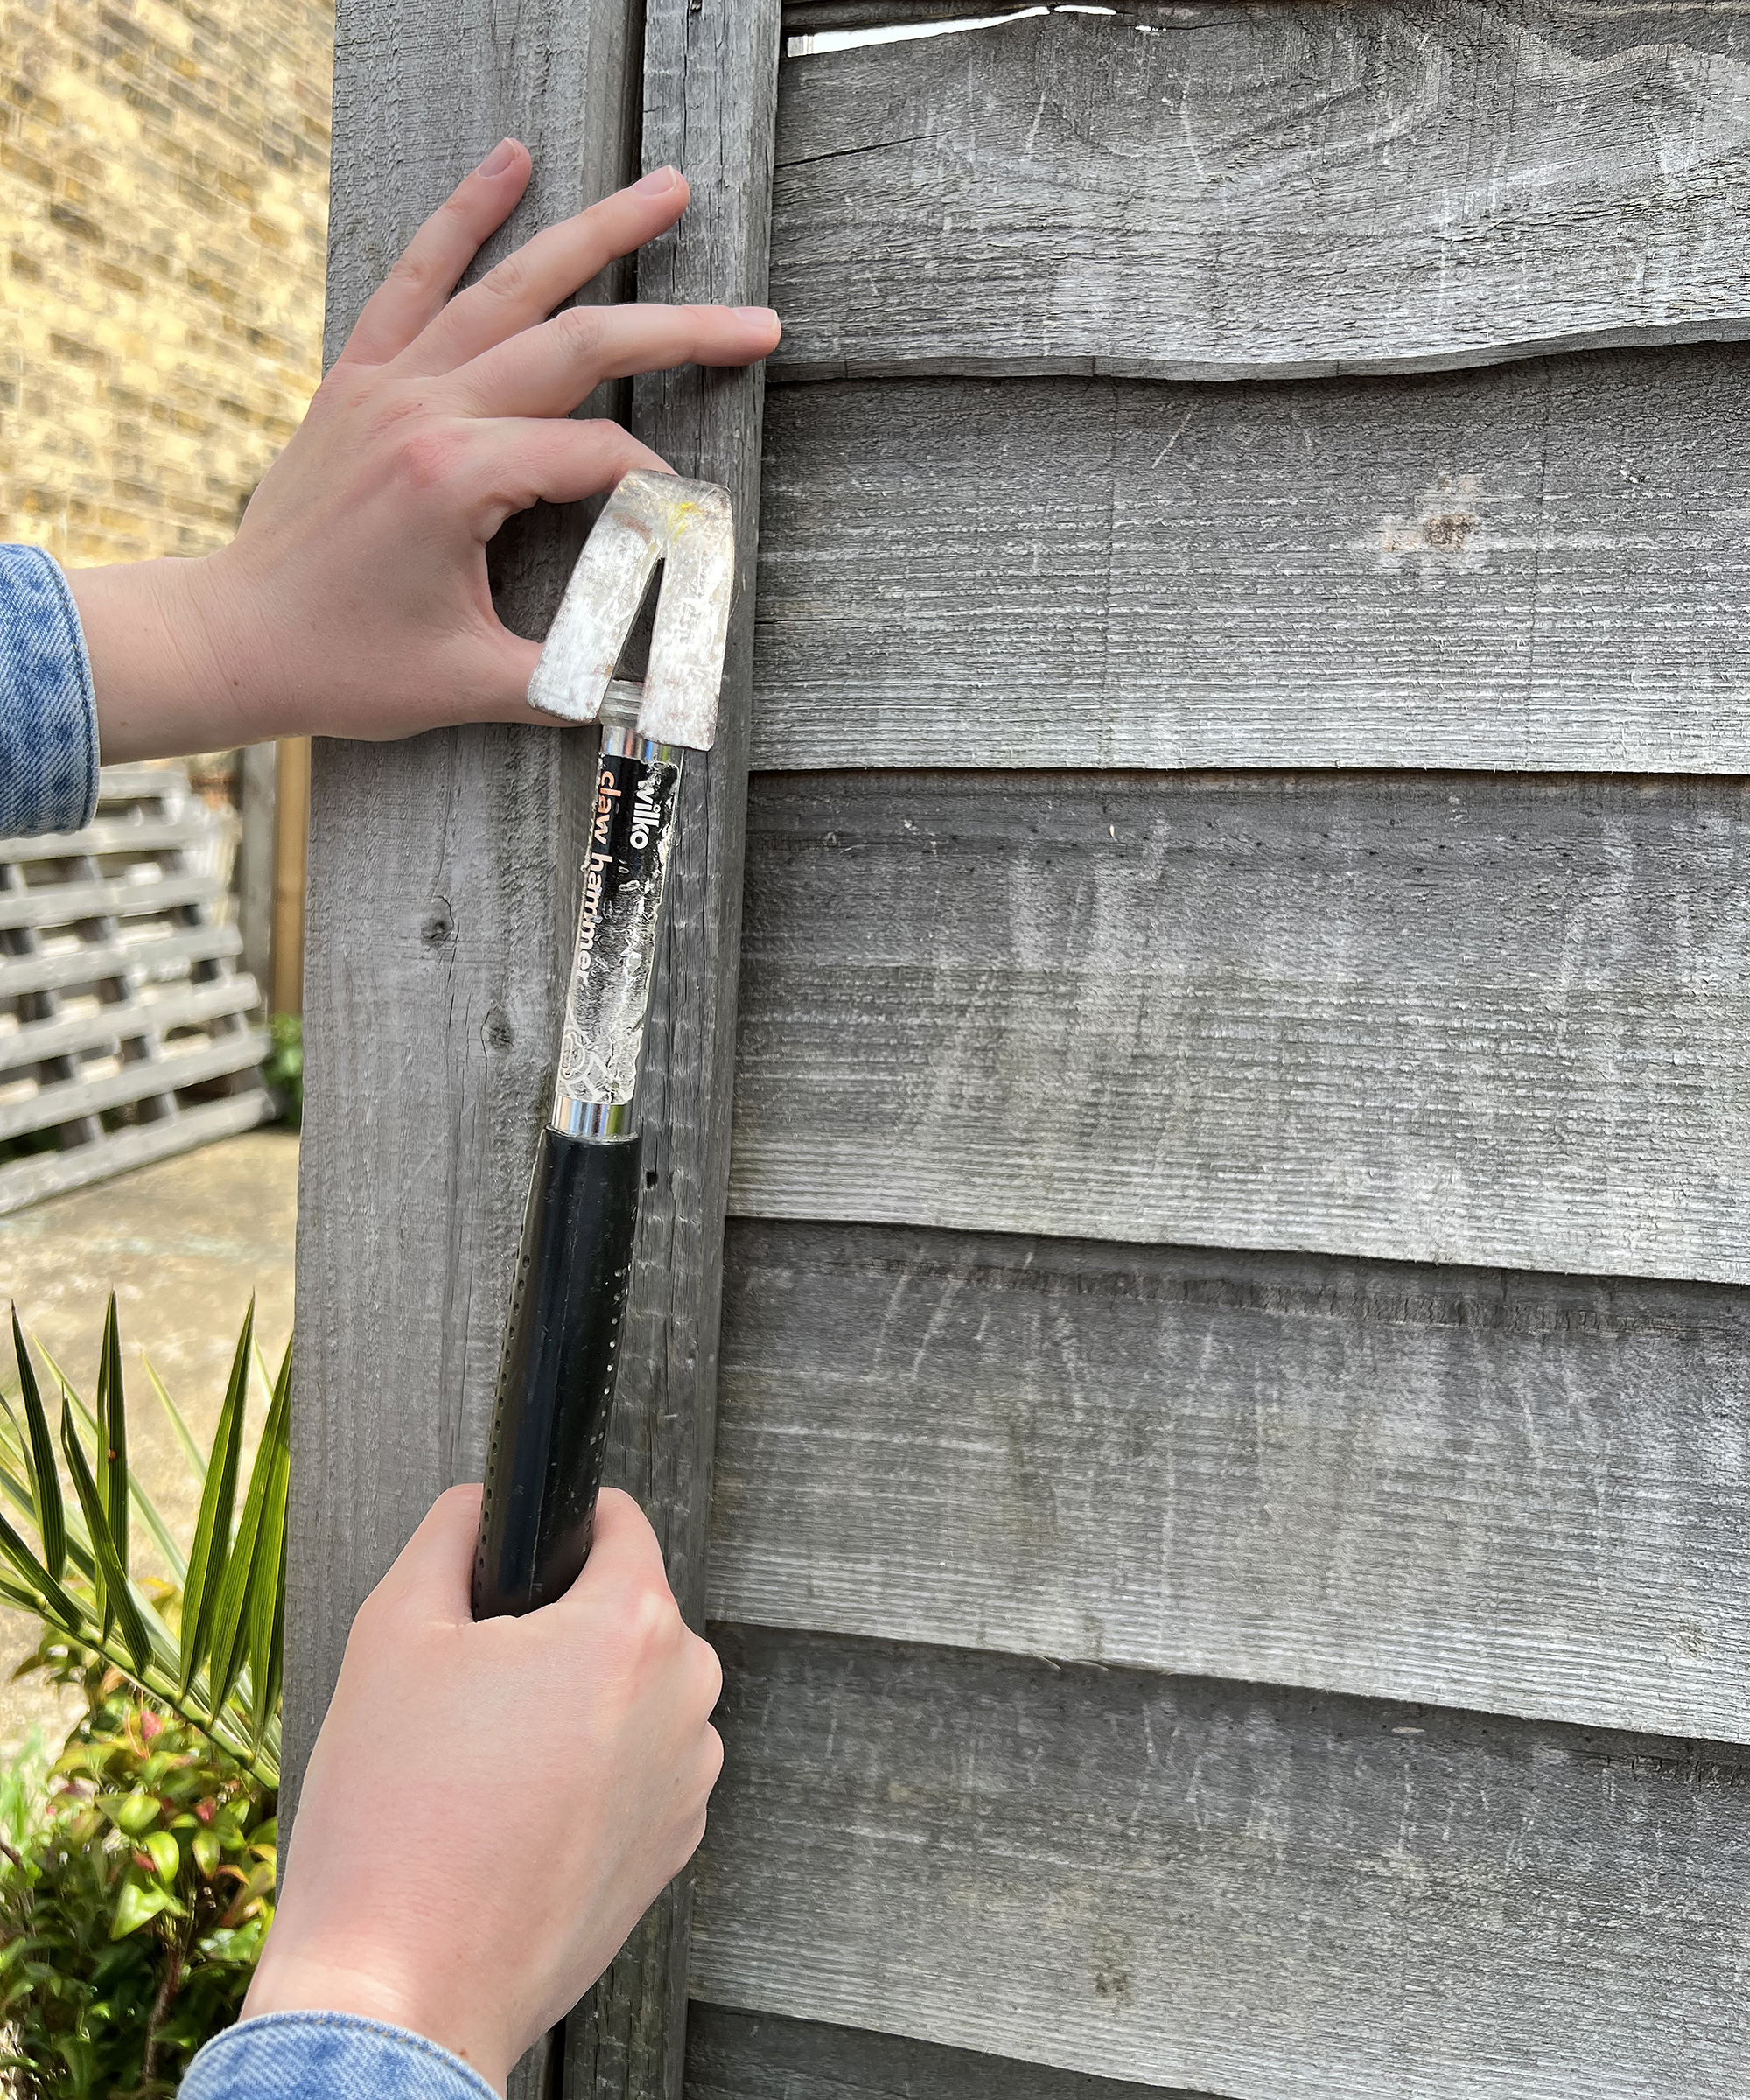
Lie a spirit level on top of the fence panel to make sure it is straight, once it is, ideally have someone hold the panel in place, then hammer a galvanized nail into the pilot hole, through the batten framing into the fence post. Repeat this for all pilot holes on the panel until the whole panel is secured then repeat for the other fence post. Do this for each panel as you progress along the boundary line.
Step 7: concreting in the posts
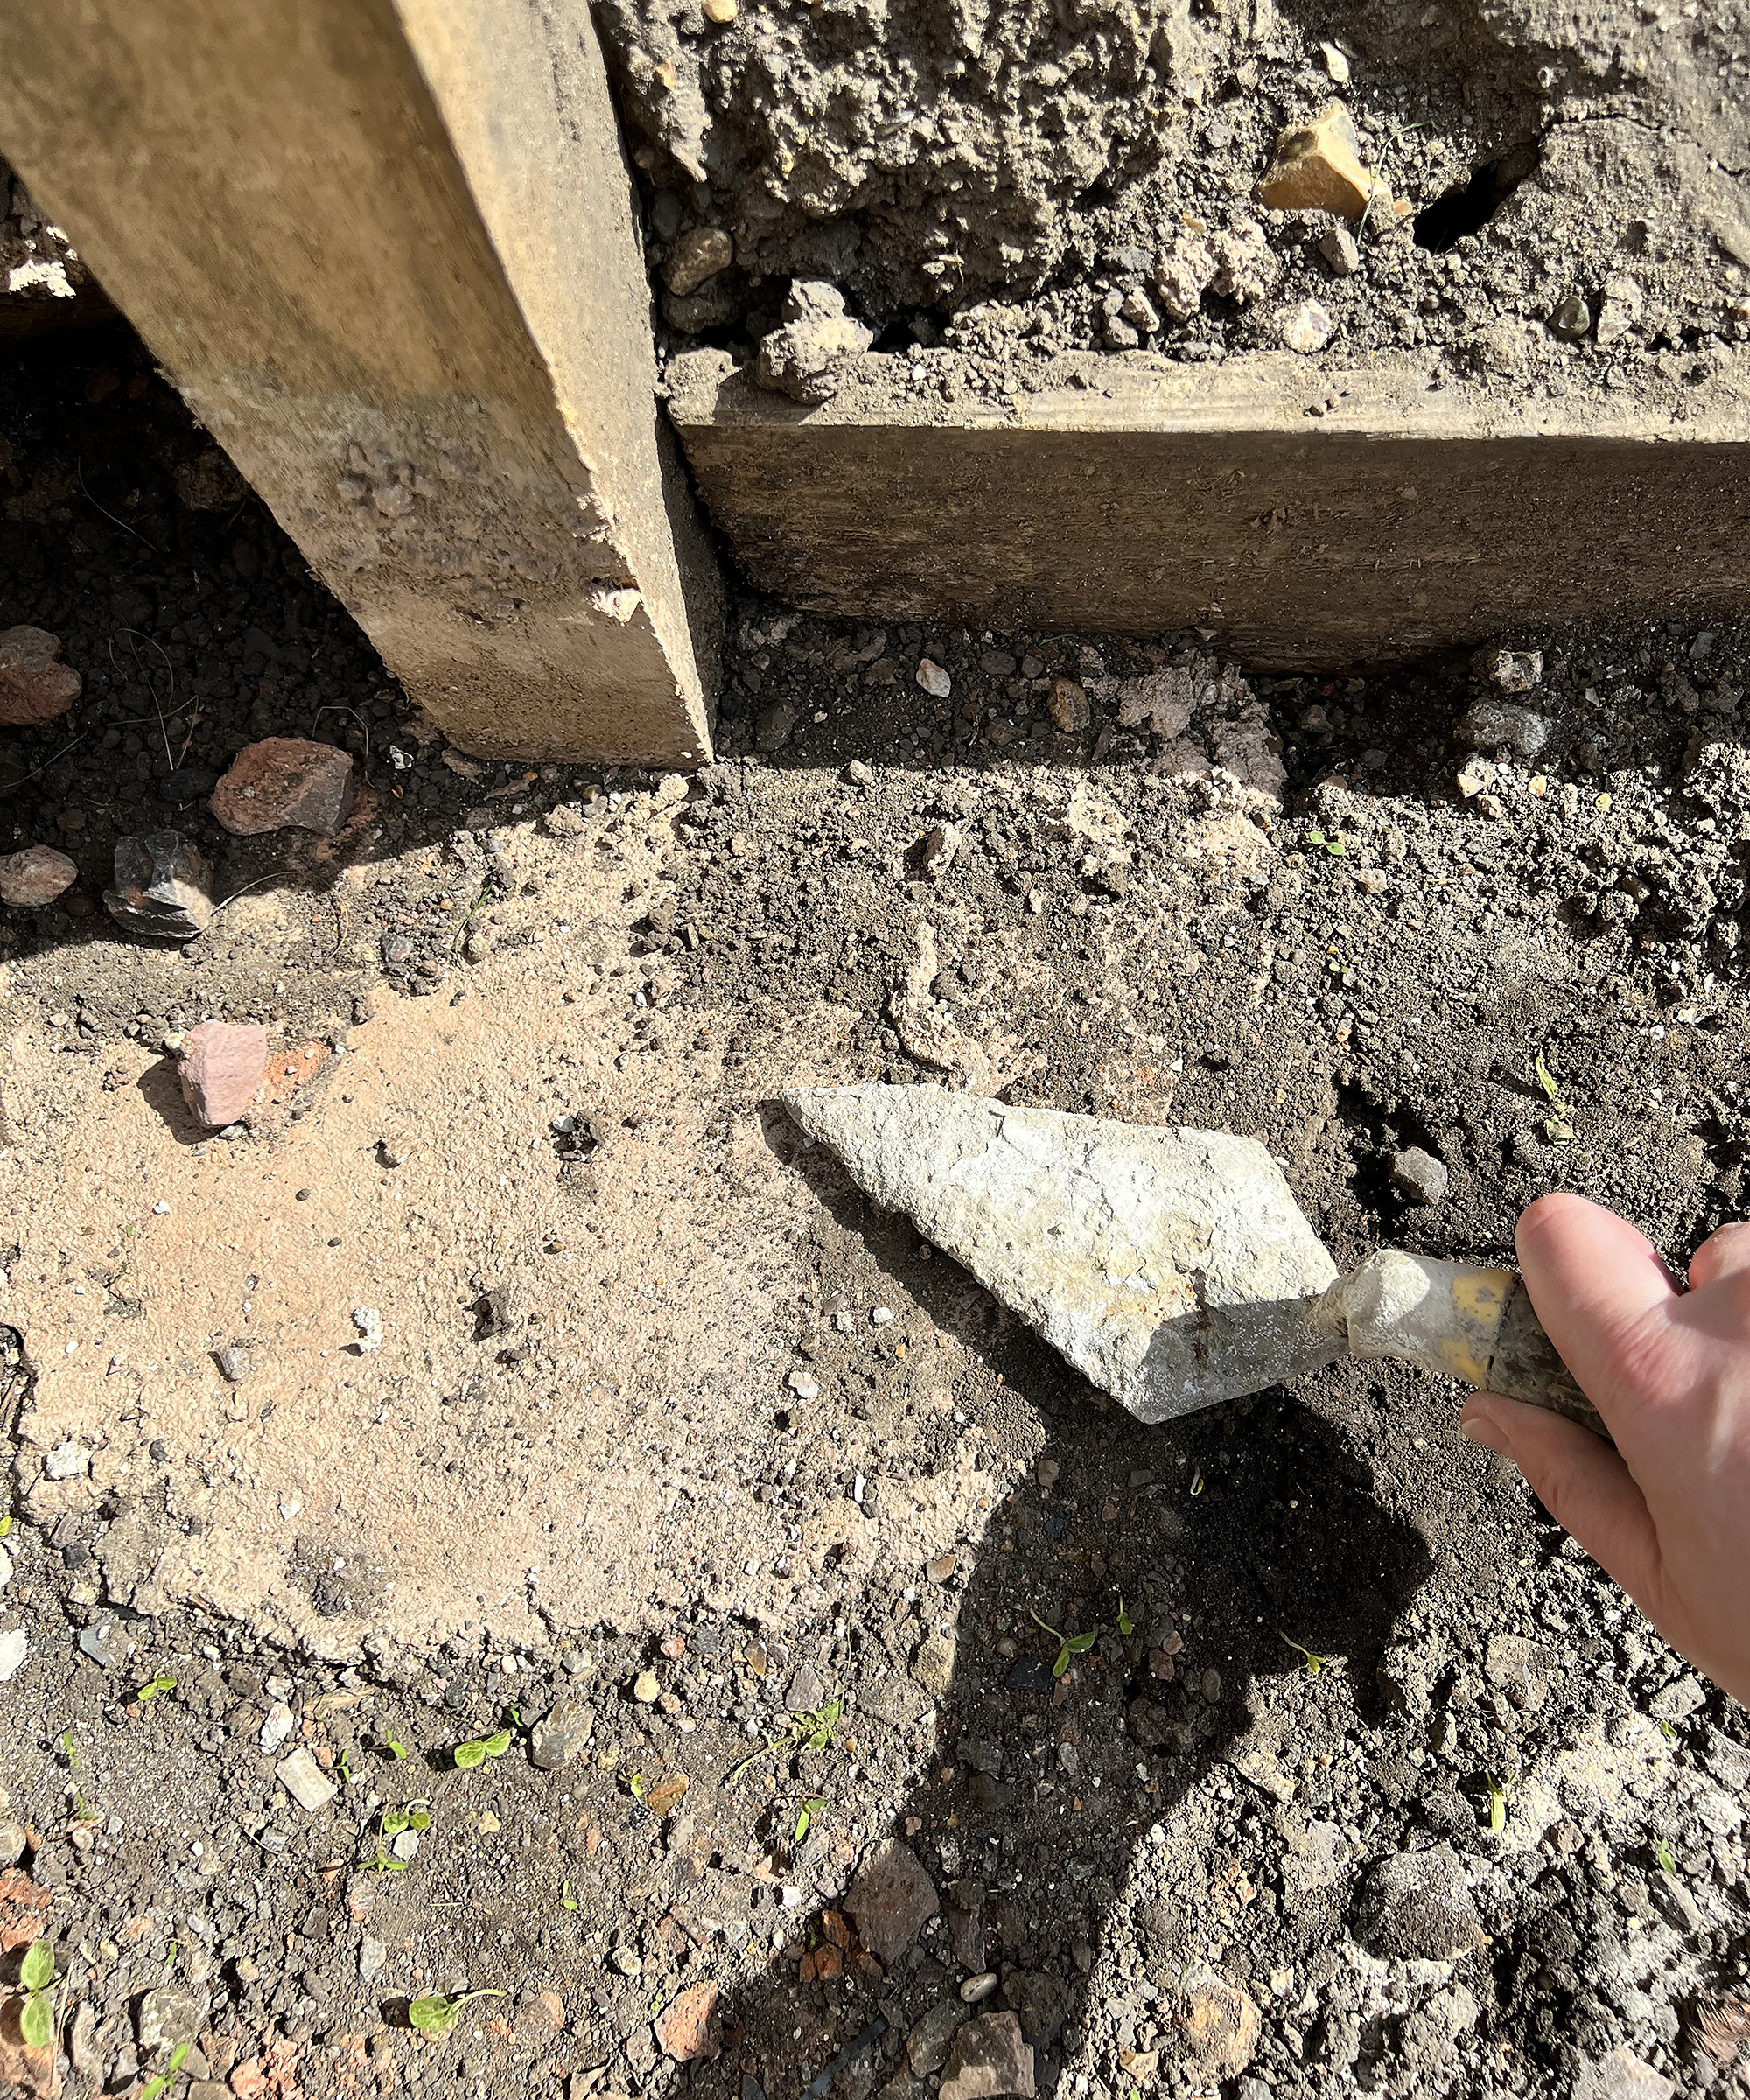
Mix the concrete and fill the post hole as per the manufacturer's instructions, this is usually to just above ground level.
Use a trowel to smooth the concrete surface downwards, away from the post. This is so that rainwater will drain away from the wooden post rather than collect by it. You may also choose to use a ready-made post mix which is a little more expensive than mixing your own concrete but is easier as it just requires the correct amount of water to be poured into the post hole, followed by the correct amount of post mix; it sets after around 10 minutes.
Step 8: Fix the posts caps
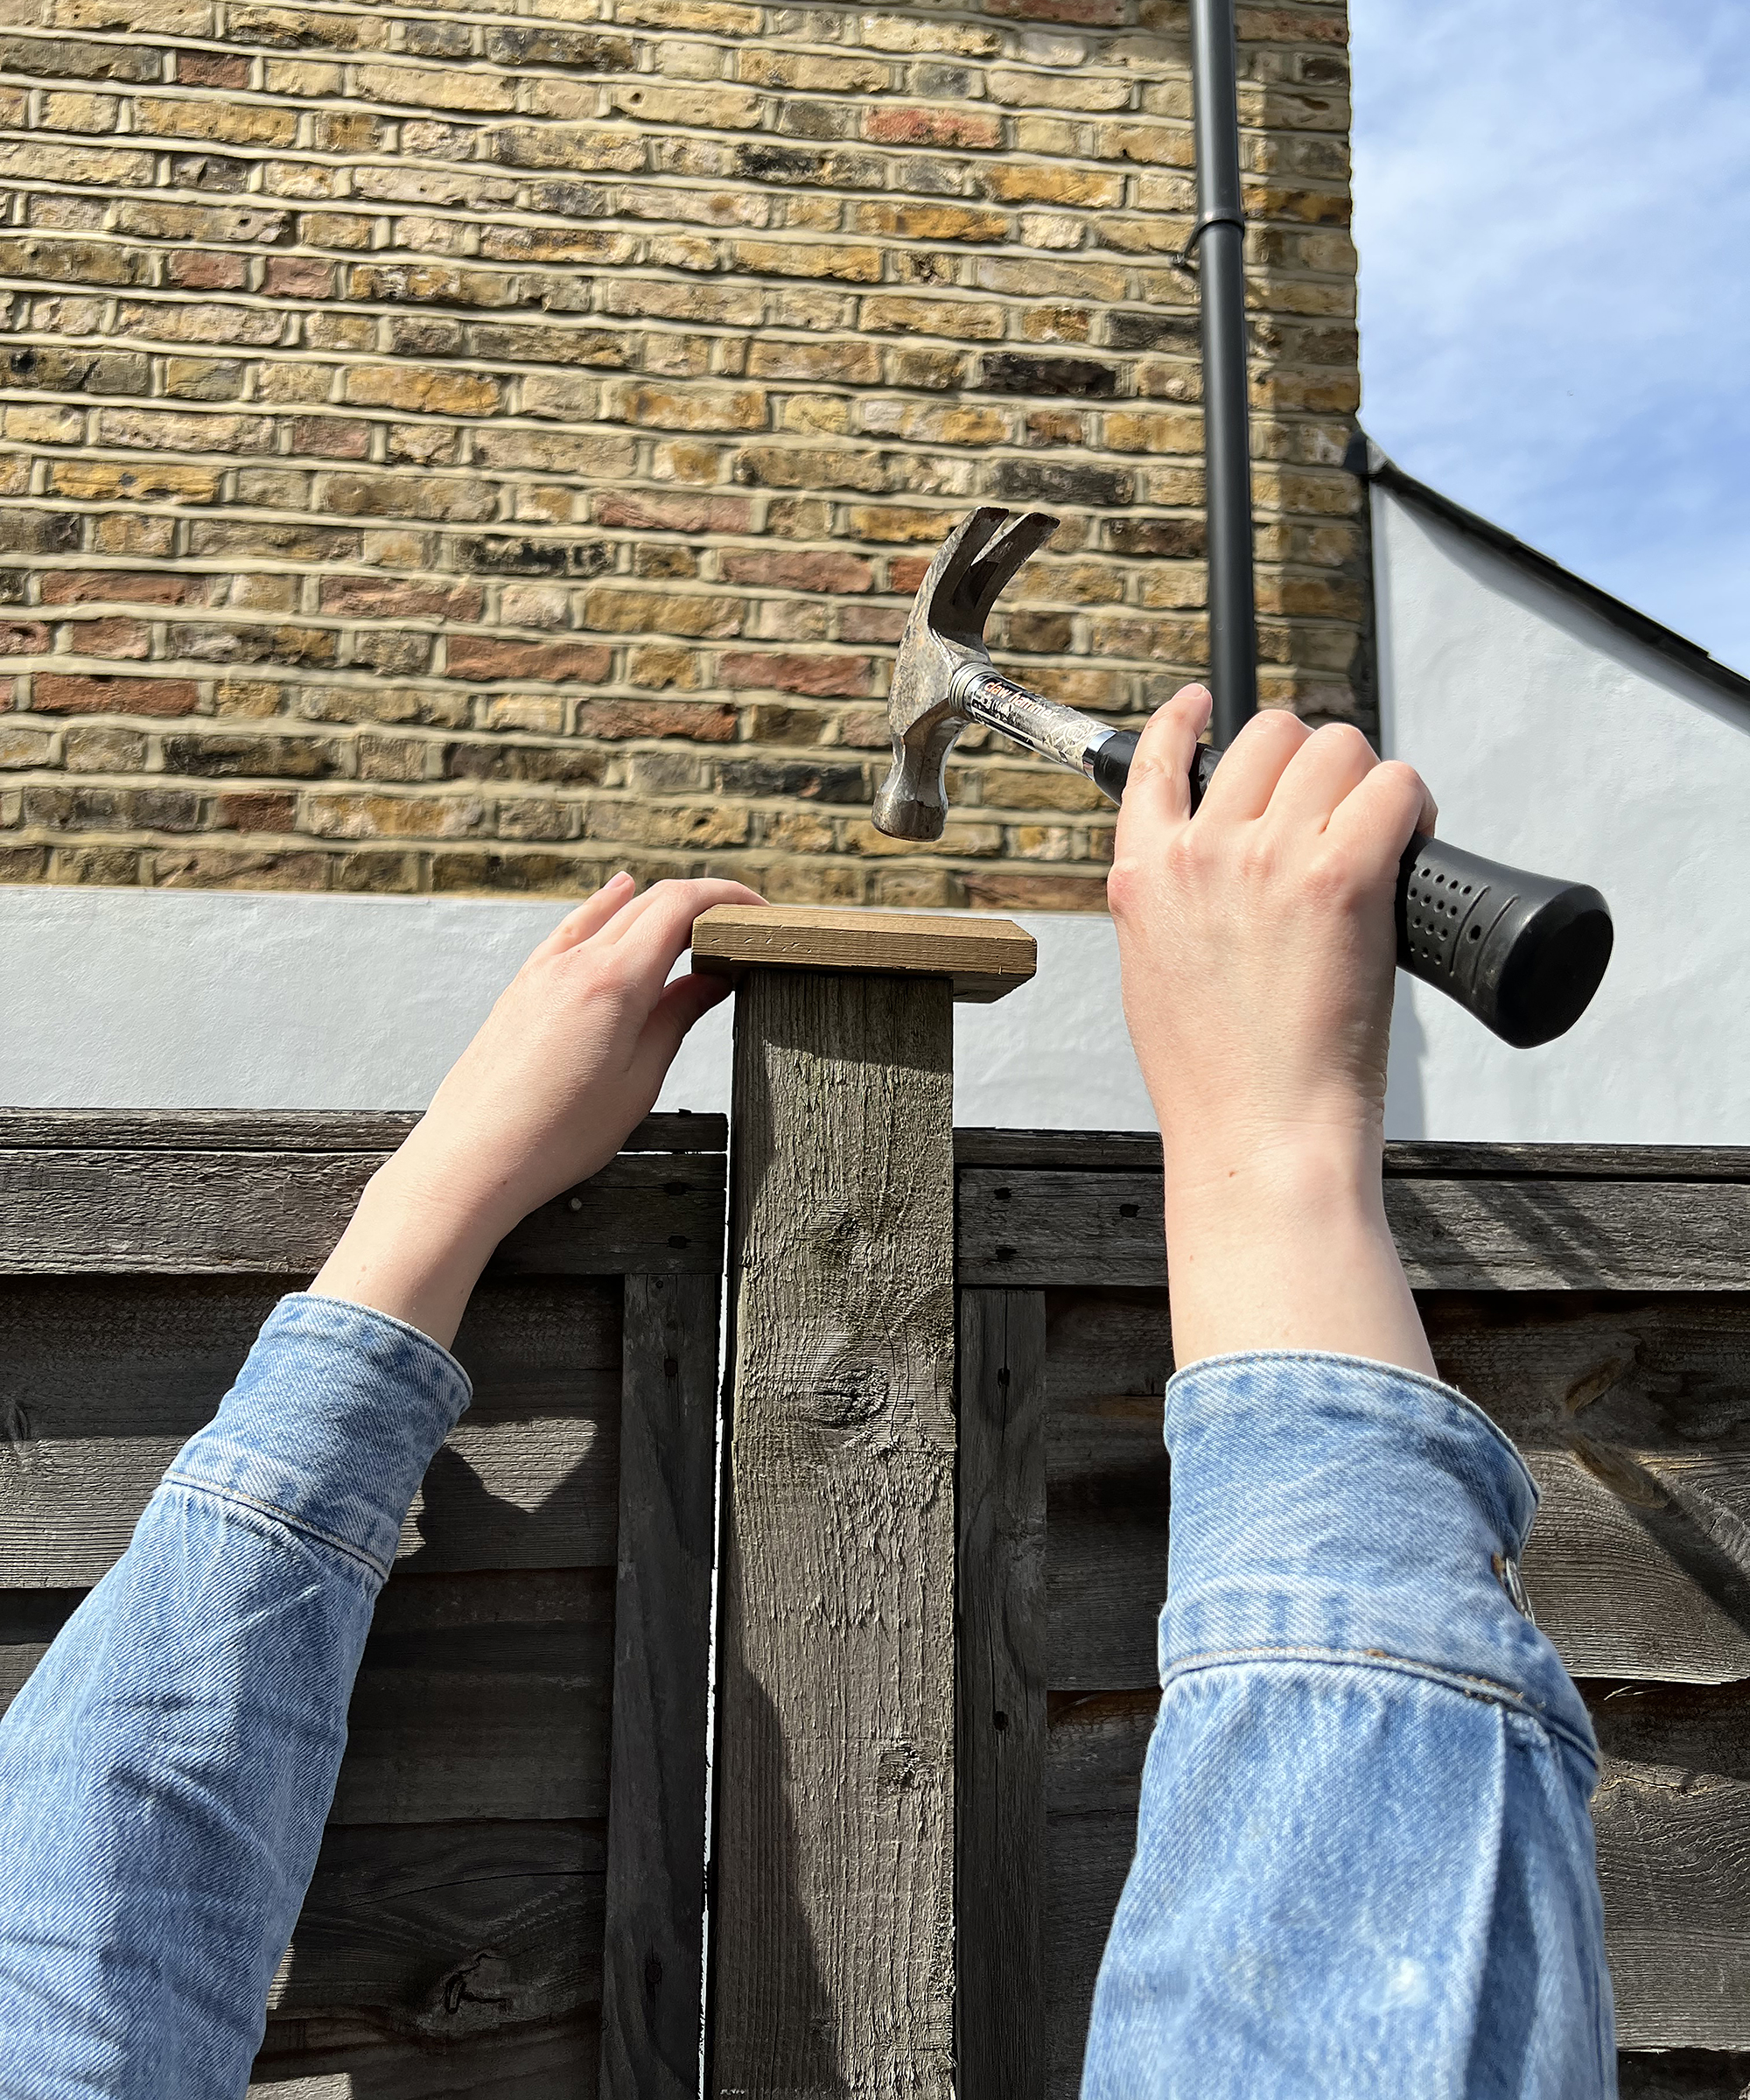
Once the fence is finished you may want to finish it off with fence caps. If you choose to, you’ll want to soak the caps in water so they don’t split when you nail them on. Soak for around 12 hours.
You can also put a sealant on the base of the cap before you attach it, this will help prevent rotting due to rainwater. This should be a silicone based sealant.
Nail the cap to the top of each post, ensuring it is level and in the correct position. Paint you fence as desired; you may also choose to coat in a protective treatment to prolong the life of your fence, protecting against insect and weather. The best exterior wood paints, or a fence stain are good options.
Join our newsletter
Get small space home decor ideas, celeb inspiration, DIY tips and more, straight to your inbox!

I’m a DIY and renovation expert from a family of renovators; it's in my blood! Renovation is my passion and I love sharing my knowledge, either through my Instagram renovation tips or my renovation course. I love seeing how it helps others build the confidence to create their dream home without it costing the earth!