

Knowing how to carve a pumpkin properly is a must when fall comes around. Not only do gourds make perfect seasonal decor but they are the hallmark of one of our favorite holidays of the year: Halloween.
Some may shy away from this classic Halloween decorating idea, overwhelmed by the complexity of a design or by gourds of the past gone wrong. However, with the right tools and technique you'll be able to tackle pumpkin carving like a pro, year after year.
What is the best way to carve a pumpkin?
Devan Cameron, chef and owner of Braised & Deglazed, a food-focused website with recipes, tips and inspiration for the home cook says that having the right tools to hand and planning out your pumpkin carving design is the best place to start.
'Unless you’re an established freestyling artist, then you’ll probably want to plan out the design of your pumpkin with either a stencil or from a picture. I like to find a pumpkin carving stencil online and trace this onto the pumpkin with a light marker. Starting from the top of the pumpkin, follow the lines of the stencil with your pumpkin knife until you achieve your perfect pumpkin design.' Your approach really will depend on the carved pumpkin design you're looking to recreate or rather, bring to life!
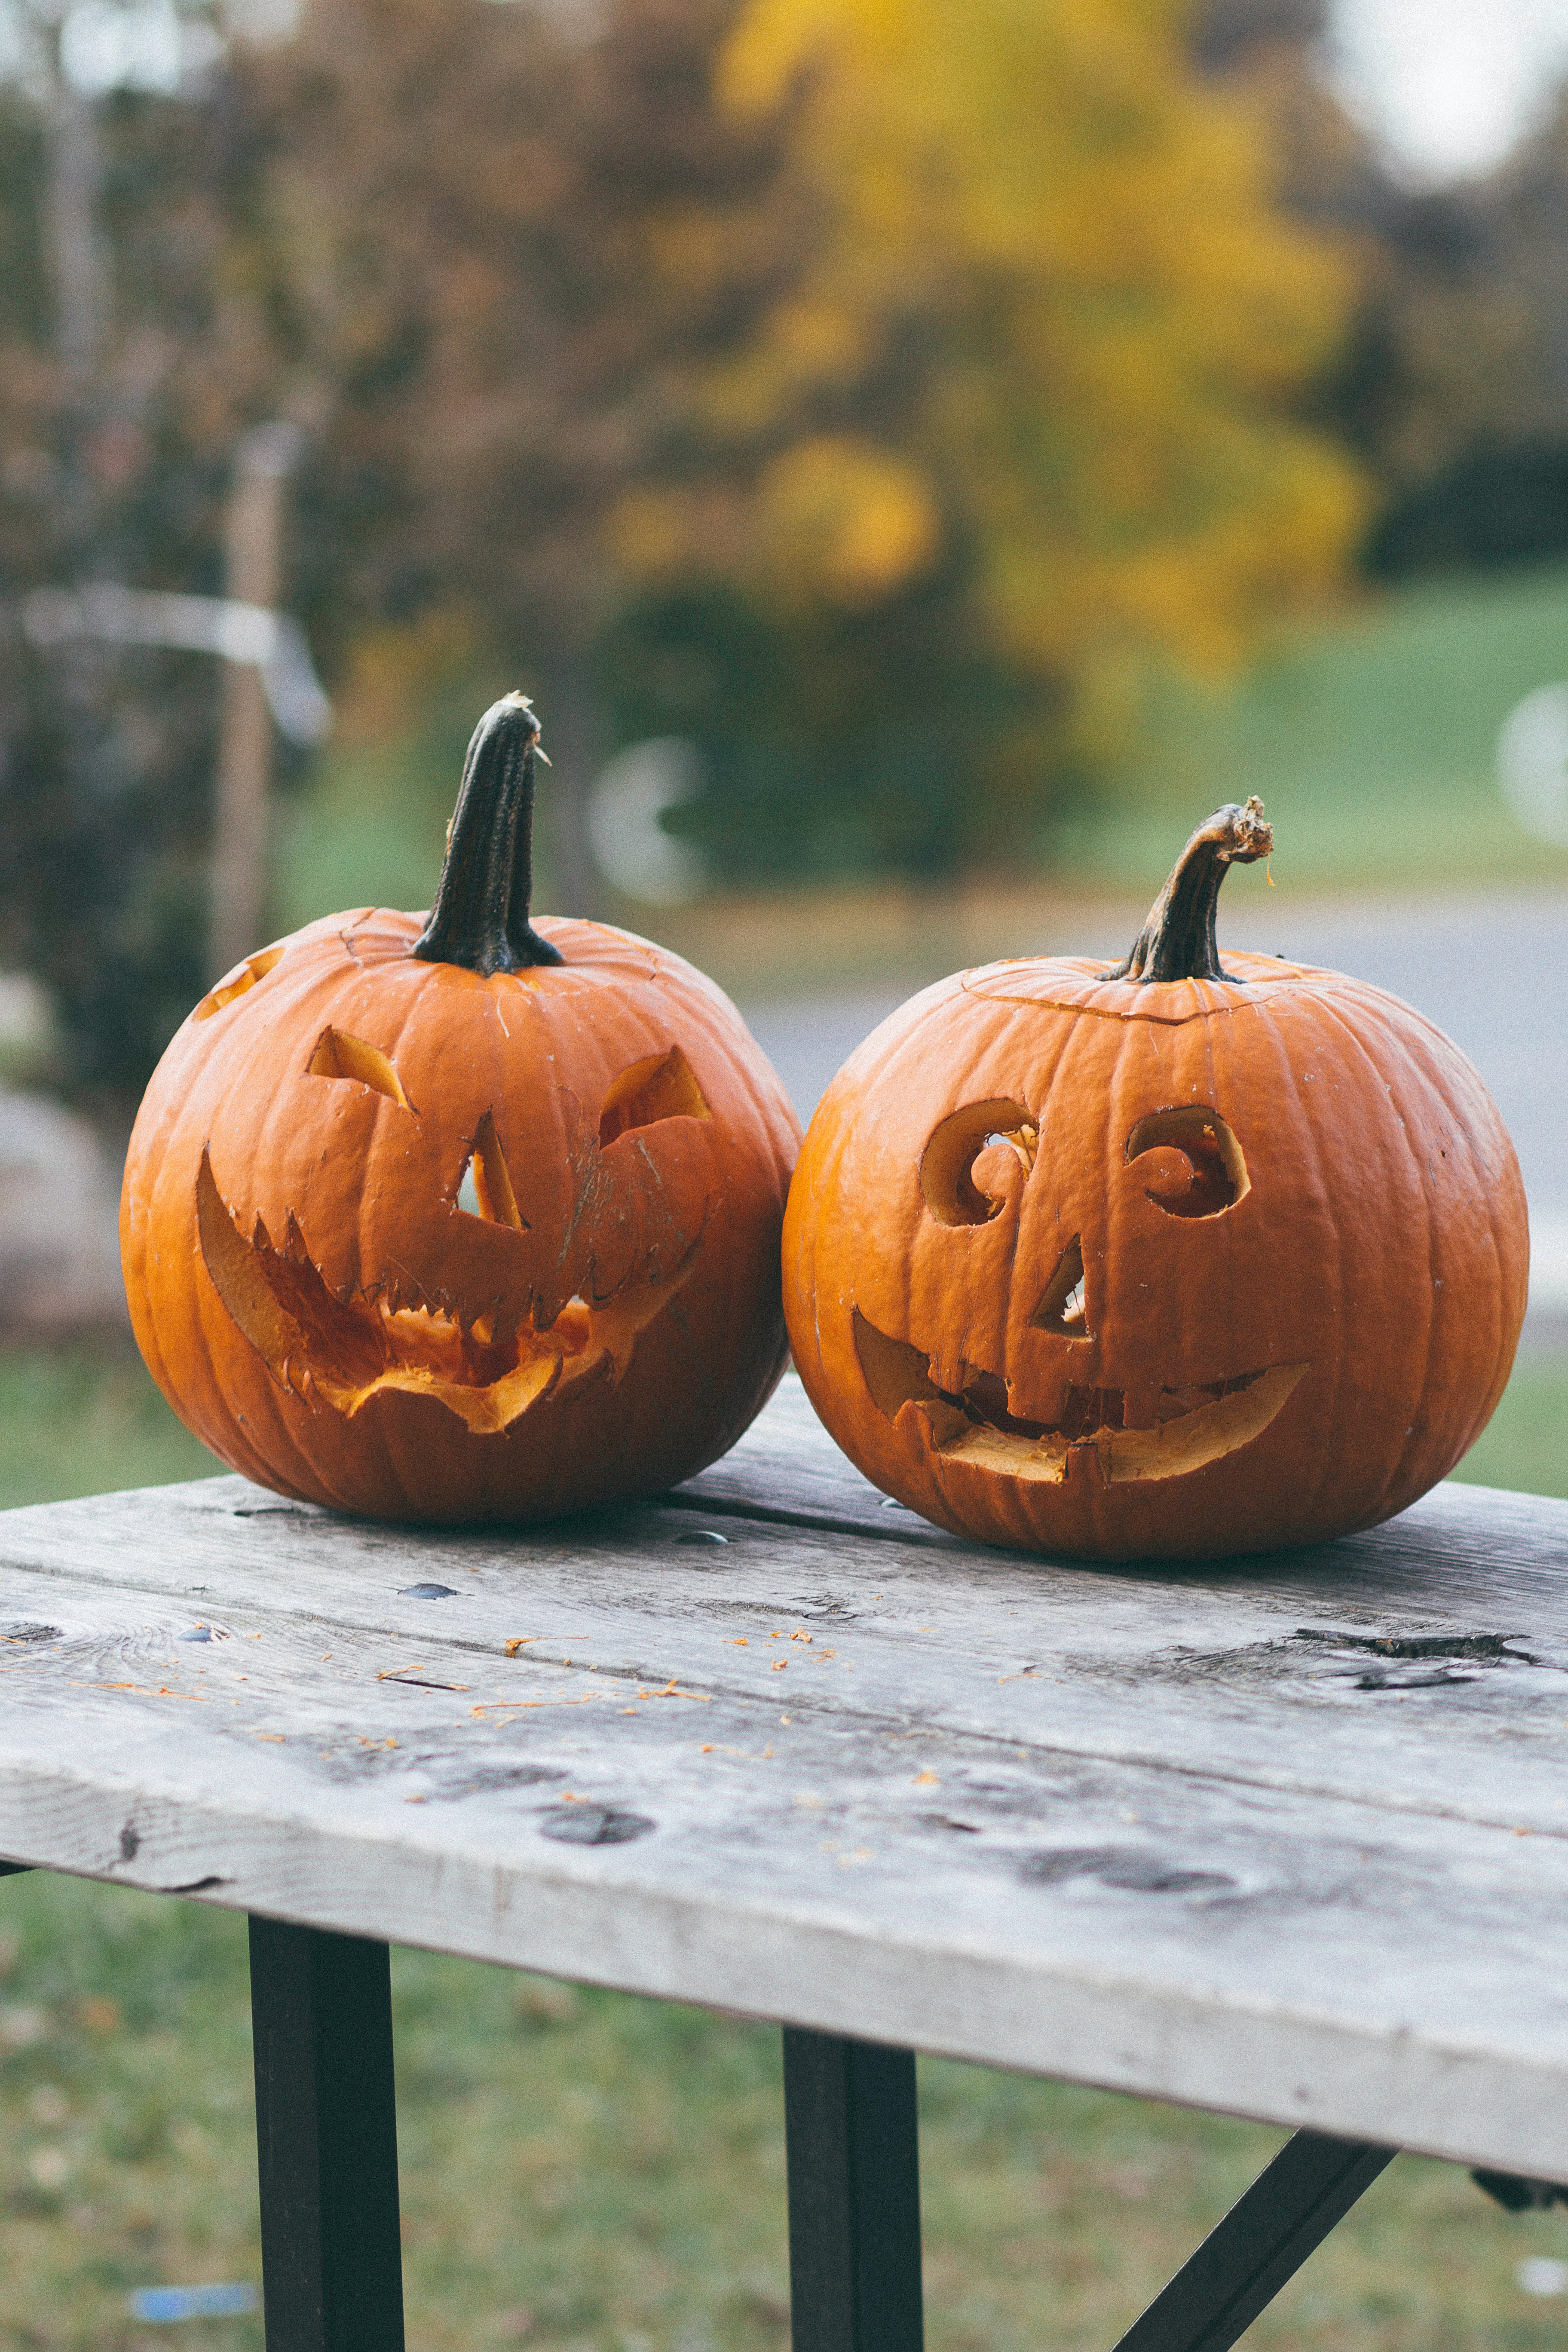
- Gourds make perfect fall decorating ideas too.
How to carve a pumpkin step-by-step
As Cameron suggests, the first thing you'll need to decide is on your design. You could go for a simple cut-out design, or a more intricate two-tone design where parts are shaved off rather than completely carved out. For either type of design, you will need:
- A sharp, serrated knife or pumpkin carving knife
- A small kitchen knife
- A table spoon
- A marker or pen
- A pin and paper if doing a two-tone design
- Bleach or all-purpose disinfectant
Top tip: Pumpkin carving can get a little messy, so we like doing it out in the garden, but you can do it in the kitchen – just make sure whatever surface you'll be carving on is lined with newspapers.
Choosing a pumpkin is also important. The larger, more evenly surfaced the pumpkin, the easier it will be to achieve a neat design. Avoid pumpkins with too many grooves and imperfections.
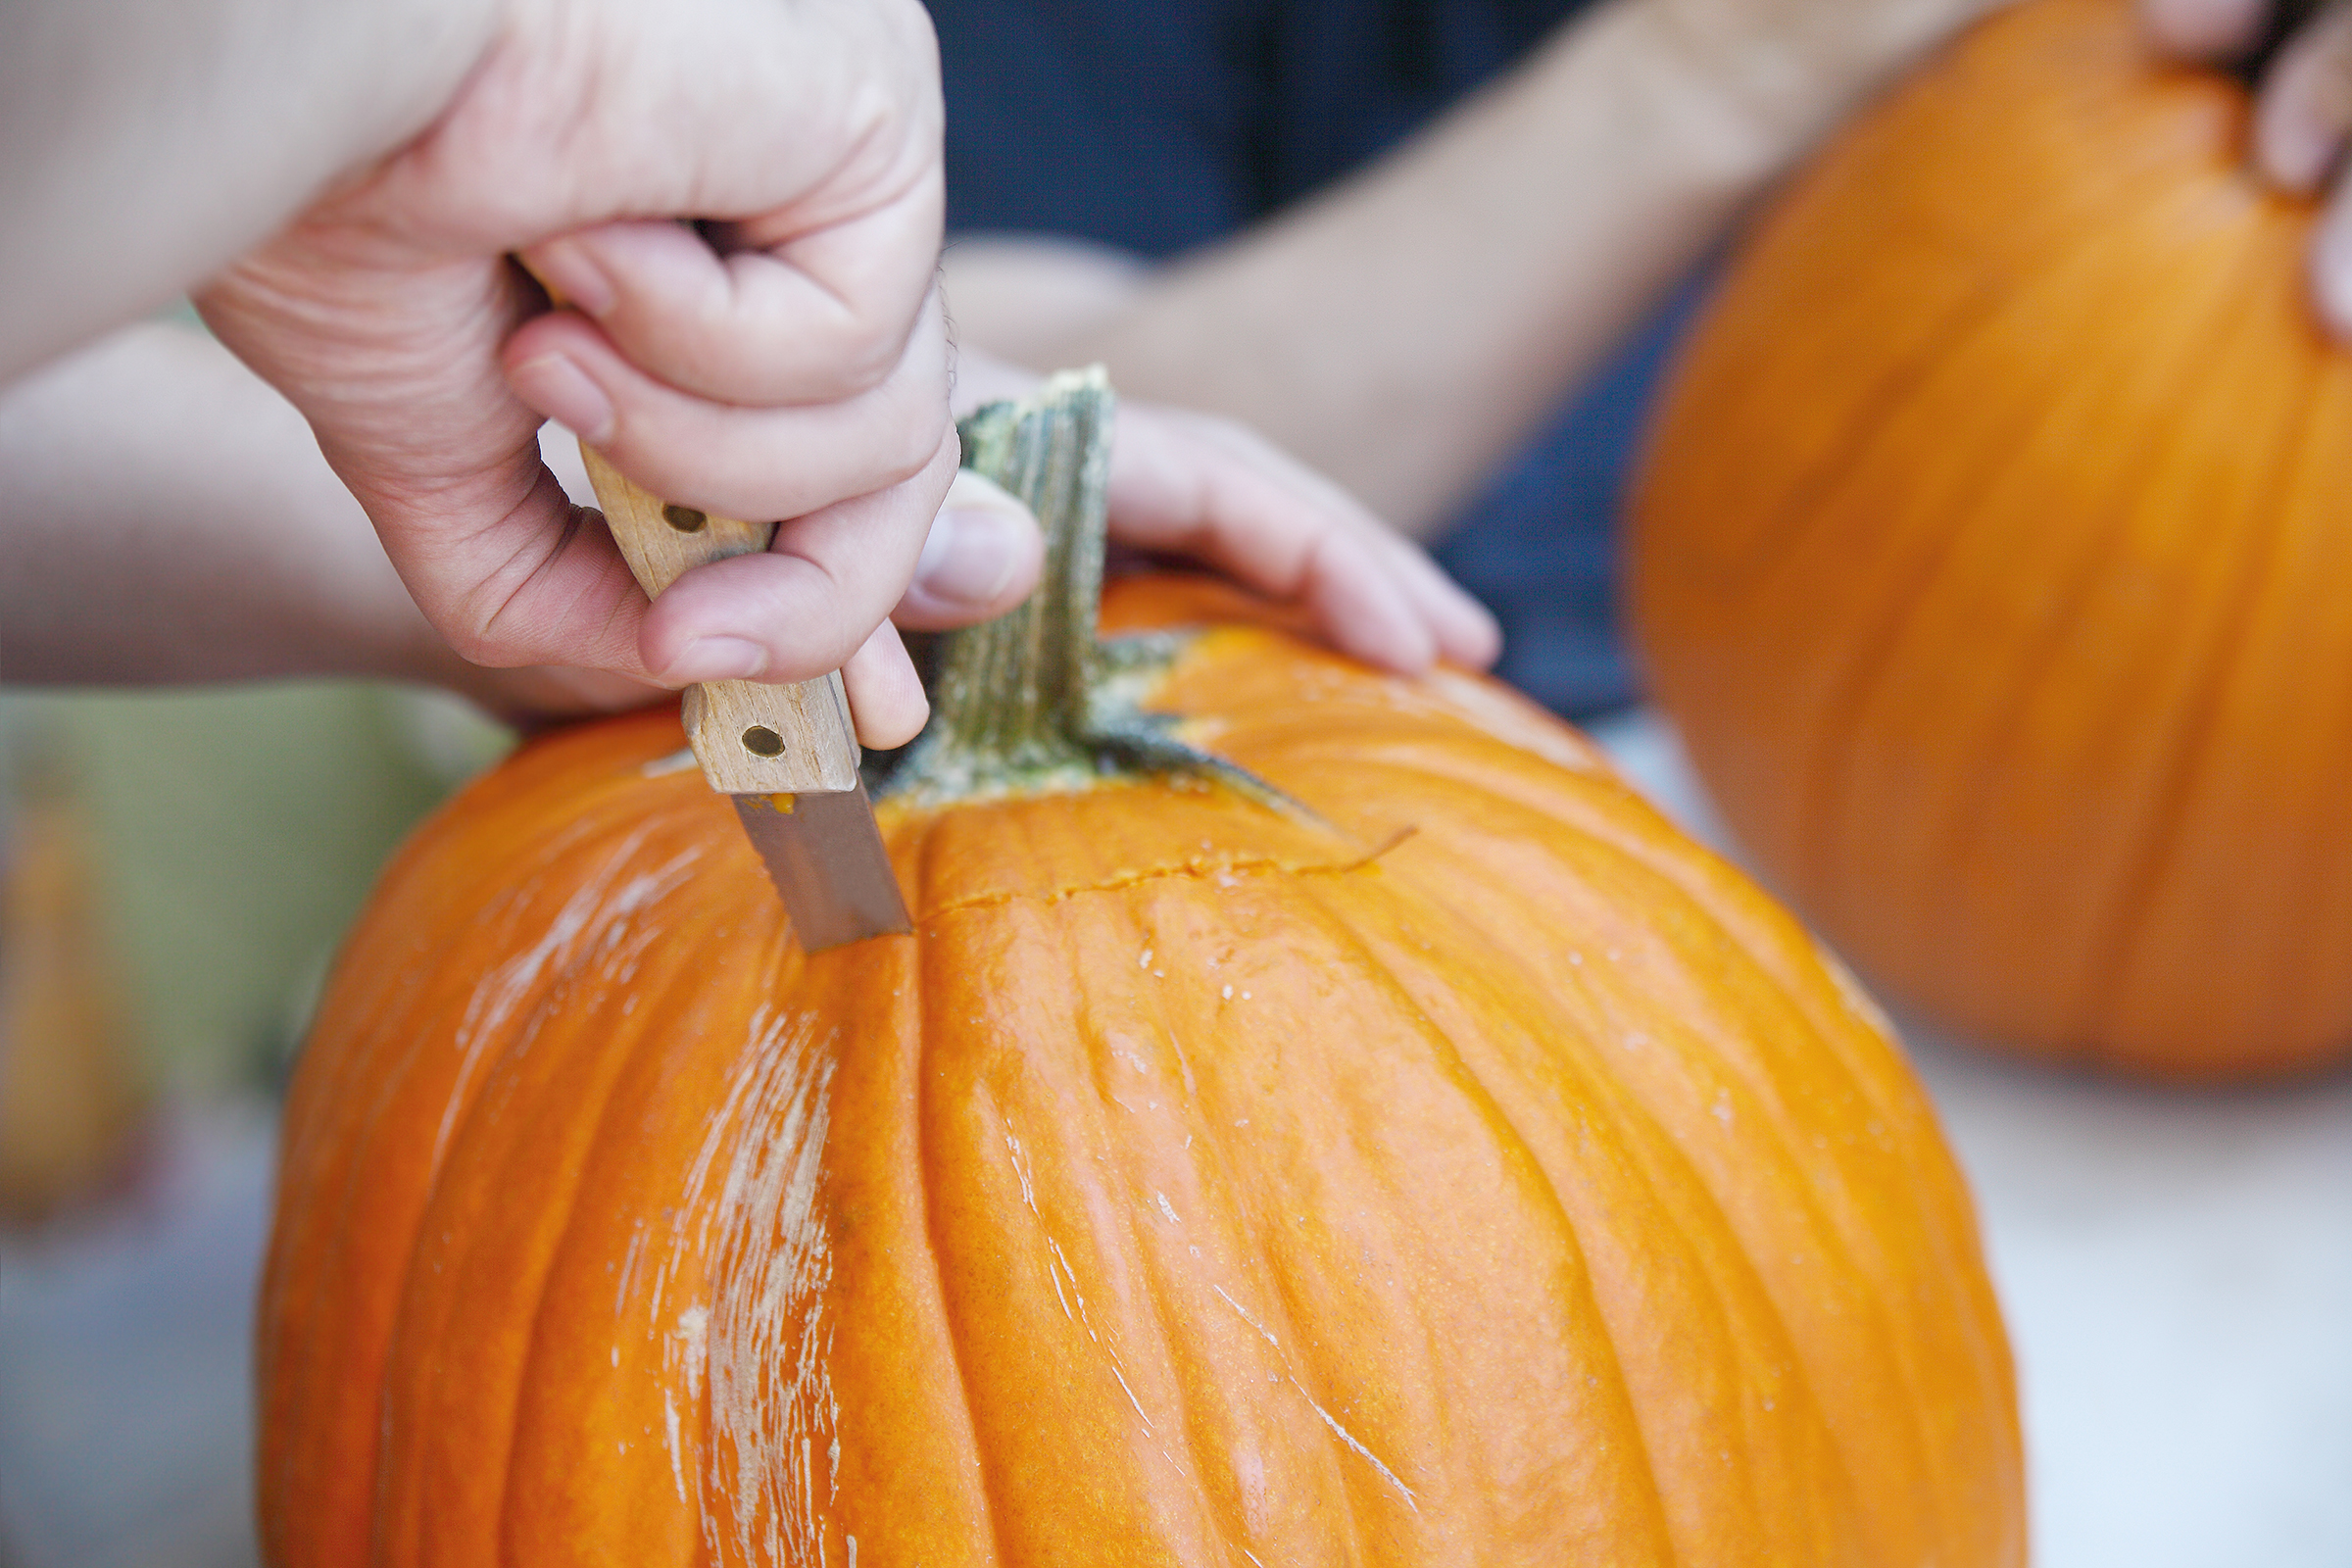
Step one: Carve from the top – at a 45-degree angle
Cut out the top section of your pumpkin. Don't just slice it off, though: cut in at a 45-degree angle, using your pumpkin carving knife. You want the lid to be fairly small and neat.
Melissa Collins, Partnership Manager at Perfect Brew recommends, 'To make the lid, draw a circle with a V-shaped notch on the rear. This notch will be used to guide you while replacing the lid.'
'If you want to use your pumpkin to hold a candle, cut a hole in the bottom of it. Make sure the aperture is large enough to reach inside and scoop up the contents once it's been sliced.'
'When cutting a lid, slant the blade toward the pumpkin's centre to create a ledge that will support the lid. If you're going to cut a bottom, go straight through the pumpkin.'
Step two: Scoop out the seeds and flesh carefully
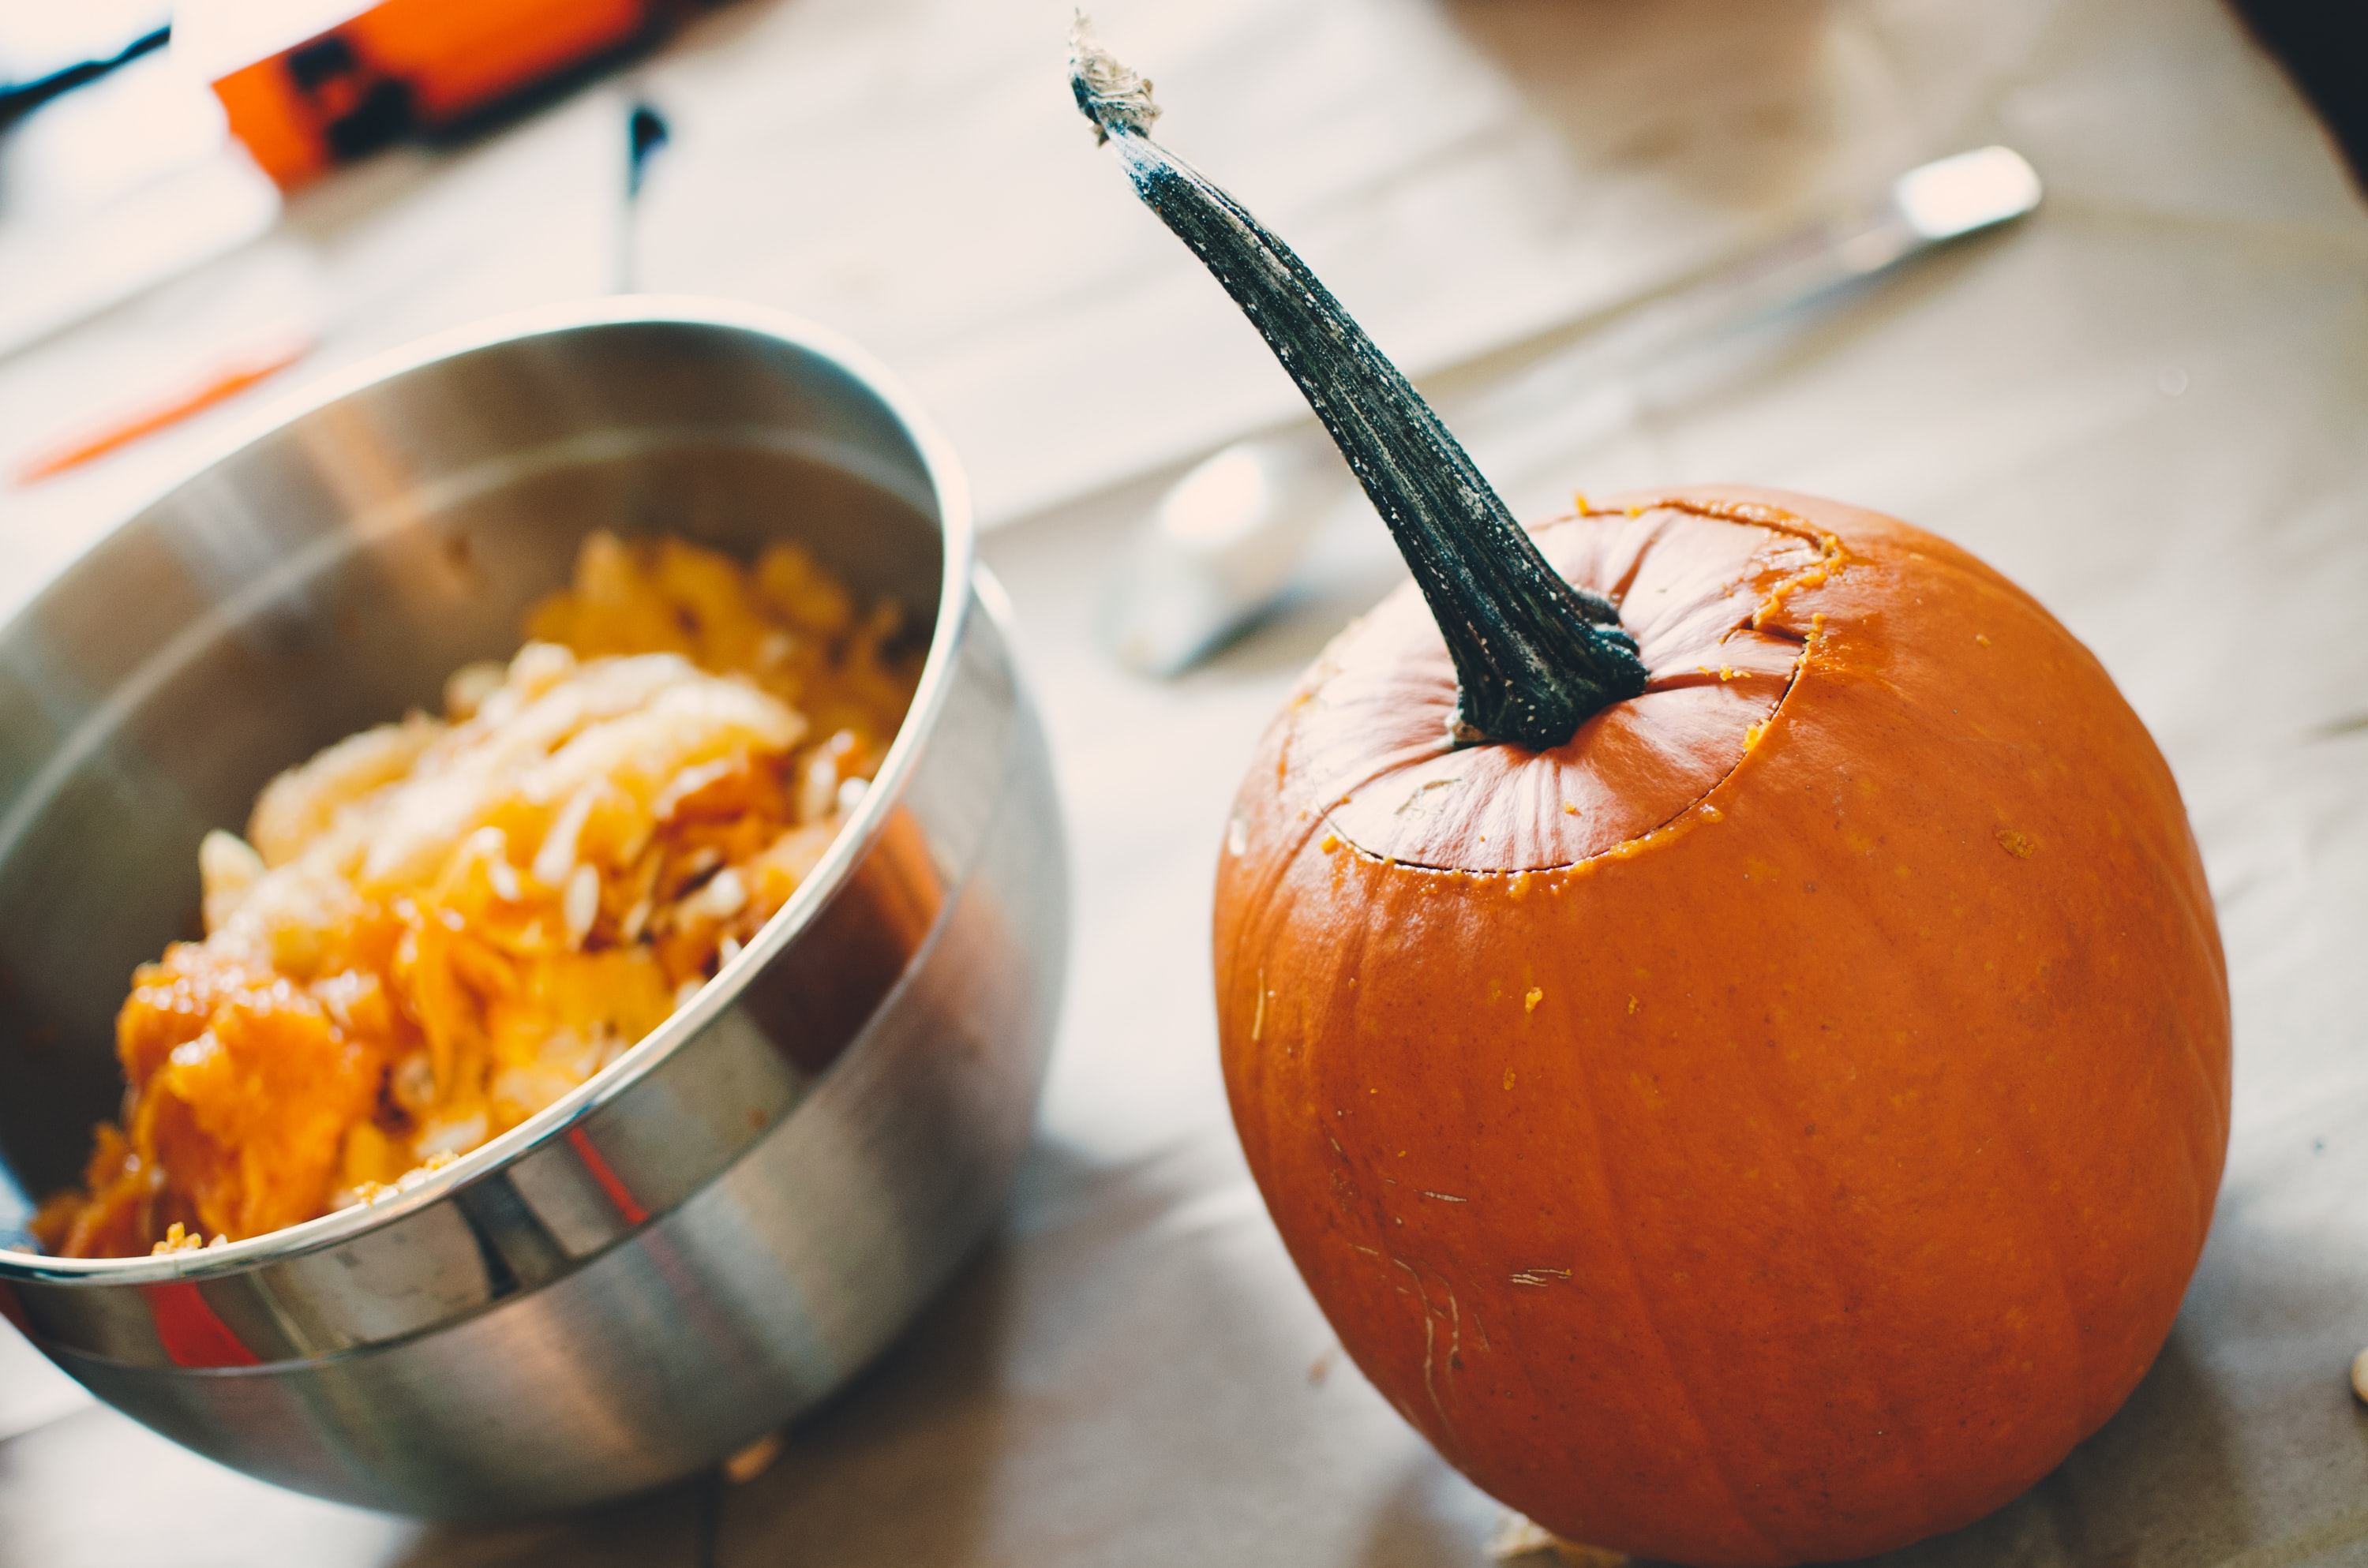
Scoop out the pulp and seeds and set aside. Now, begin scooping out an even layer of the flesh with a spoon. Leave a little bit of the flesh on the inside, though: if the walls of your pumpkin get too thin, you may find that the carved-out design snaps in places.
Collins says 'Remove the seeds and threads from the pumpkin's inside. Use a big spoon, ice cream scoop, or a plastic scraping scoop developed specifically for this task.'
'Scrape the interior pulp away from the carving region of the pumpkin until the pumpkin wall is about an inch thick.'
Step three: draw out your design
Draw or trace your desired design on the pumpkin with a marker, pen, or pencil.
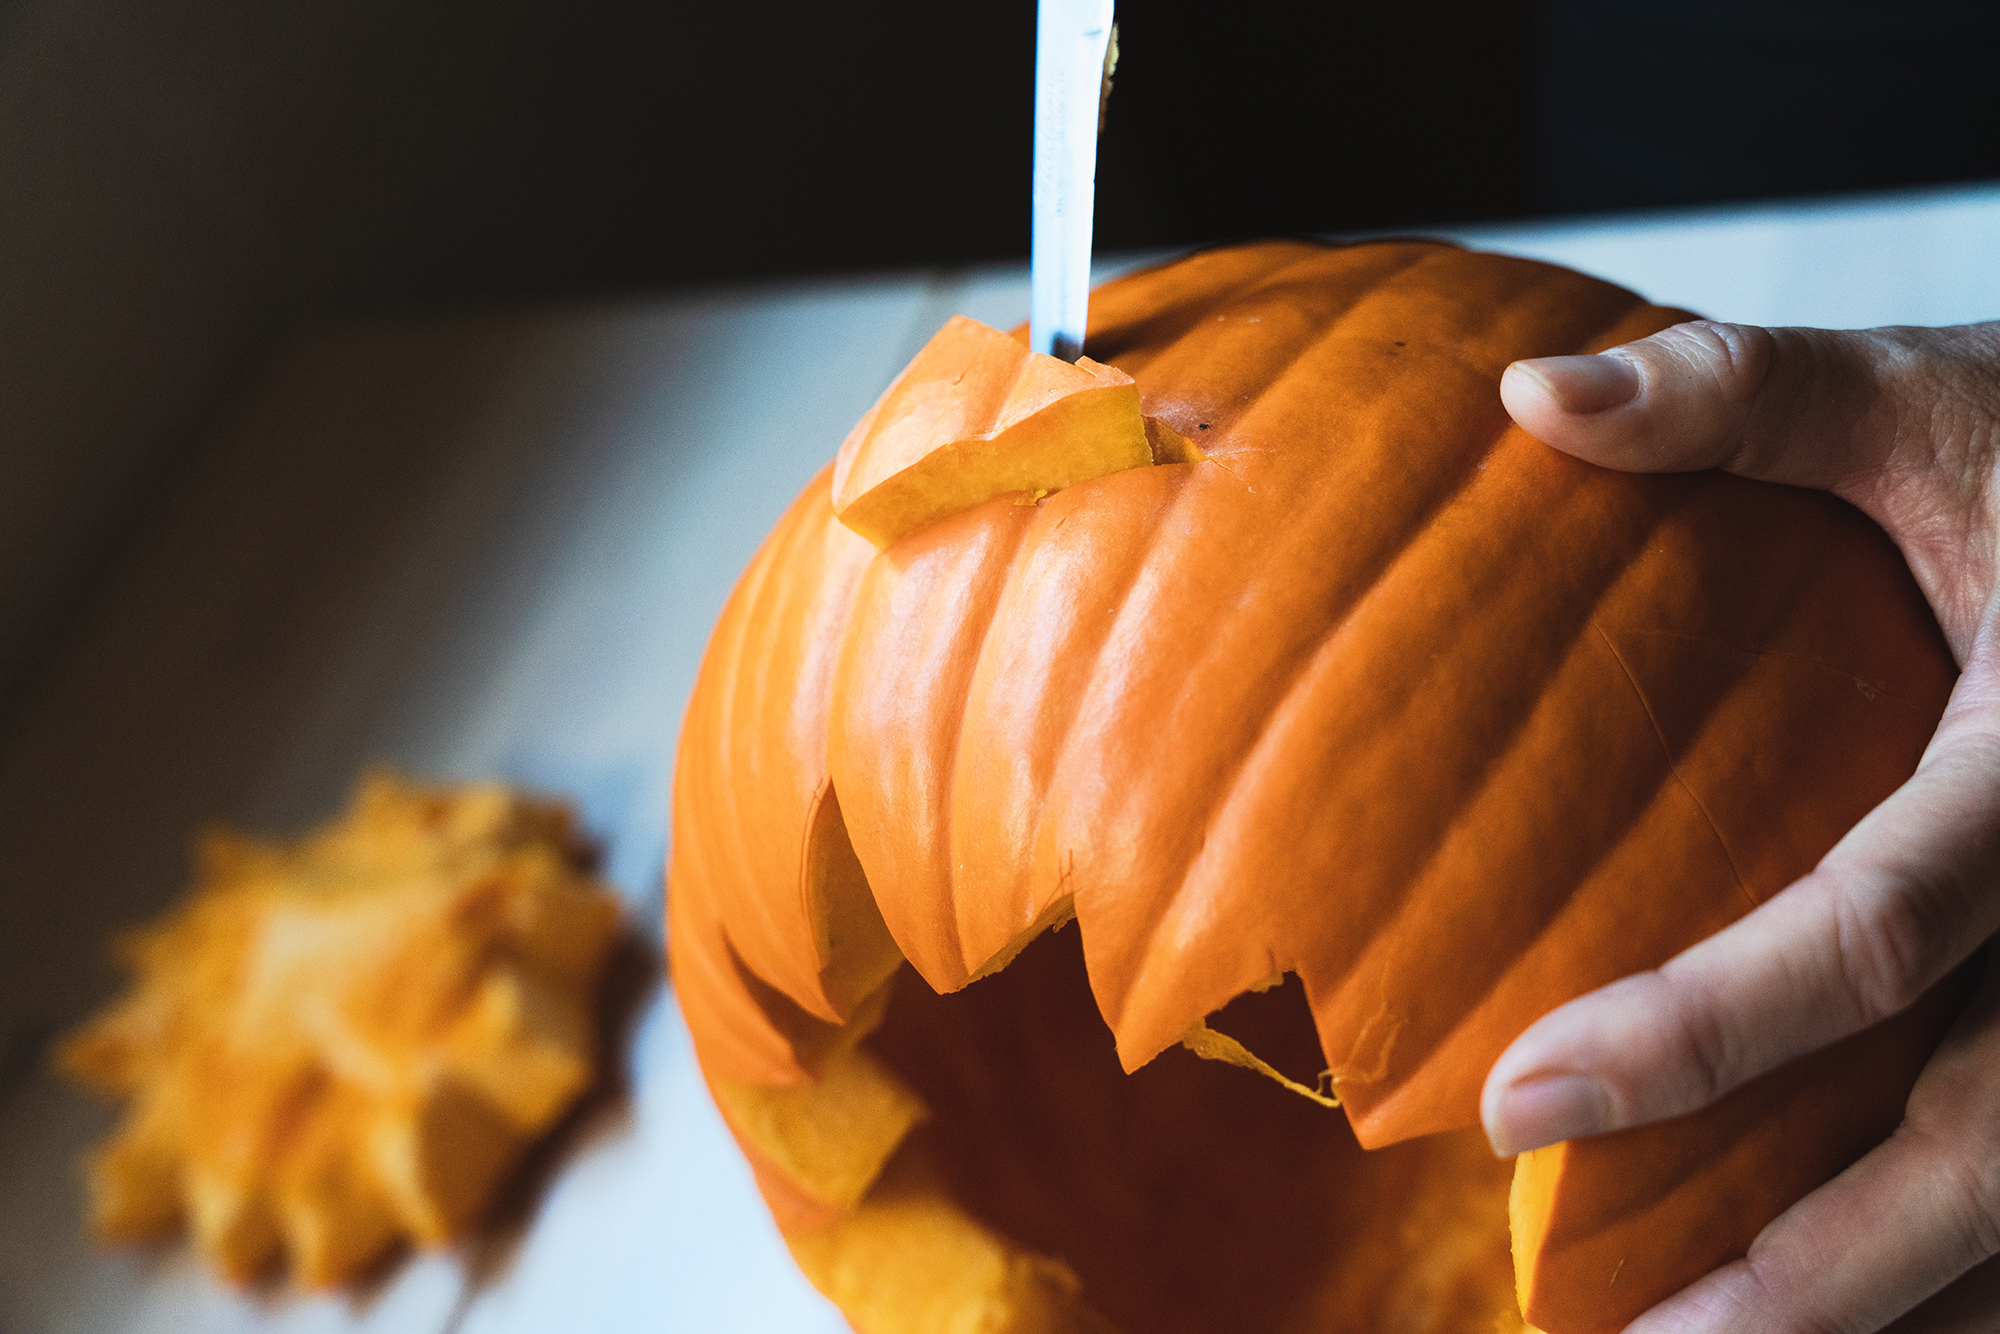
Now, begin carving out your design using the carving knife. Always cut at a 45-degree angle rather than straight in: you'll make fewer errors, and the openings will let in more light. For very small bits like the eyes, you may need to go in from the inside to make enough of an opening.
Jason White, the founder and CEO of All About Gardening recommends etching for a professional finish when carving your pumpkin.
'Etch the details on your pumpkin surface to give it depth and 3D volumes and make it stand out like a pro. Etching will give your pumpkin design shade and texture by giving it highlights.'
'Plan the parts of your design where you want certain shadows and light to be, and strategize your carving and etching around this. Carve shallowly for the areas you want shadowed and carve deeper for the areas you want to have brighter highlights.'
Top Pumpkin Carving Tips
Top tip: If you're doing a two-tone design with shaved bits, first draw your design on paper, pin it to the pumpkin, and make a carving map by pricking the surface of the pumpkin with the tip of your knife or with another pin. Then, make a thin incision along the perimeter of your design. Shave small bits of skin off with a kitchen knife, always away from yourself, stopping at the boundary you've made. Always do the shaved bits first, the carved-out bits second.
Laura Ritterman, a cook, recipe connoisseur and household decor enthusiast says, 'Try incorporating extra facial features like eyebrows, eyelashes or small holes for freckles. Adding more dimension to your pumpkin really brings it to life and looks much better than a simple jack o’lantern.'
'Always trace out the places you are going to cut so you have a guide and the face or sculpture does not turn out lopsided.'
Step four: Neaten up your design with rubbing alcohol
Now, go over the edges of your cut-outs with a sharp kitchen knife, smoothing over any uneven cutting. This will help achieve a neater finish.
Clean up any messy work, Ritterman says to 'Use rubbing alcohol or nail polish remover to take away any left over markings from the marker. I also like to use a ruler or tape measure to make sure the eyes line up and the mouth is not too far to one side.'
Step five: Help your pumpkin last longer
Give your pumpkin a bath in a disinfectant solution. The simplest thing to do is just fill your kitchen sink with water and add a bit of bleach, and then submerge your pumpkin in the solution for a couple of minutes. This will help your pumpkin last longer, stopping the remaining flesh inside from rotting too quickly.
Ritterman opts for the bleach method also: 'Once you have the initial carving, make sure to double back and smooth out any rough edges with a knife or sandpaper. Once you have the face done, make sure to dunk your pumpkin into a water and bleach mixture to make your pumpkin last all the way through Halloween, and use battery operated tea lights to not turn the inside of your pumpkin black.'
If you'd rather not use bleach, covering yours in petroleum jelly is also a good way to help it last. This is also a great hack to stop squirrels eating pumpkins...
Can you carve a pumpkin with a regular knife?
Cameron suggests not, saying 'My best advice for carving pumpkins is to buy the right knife. I see so many people grab a dull straight-edged knife from their kitchen drawer and this is a terrible mistake. The perfect knives for pumpkin carving are the small serrated knives that can be found at Halloween stores. The serrated edges help to cut through the tough skin of the pumpkin and the small thin blades can efficiently cut curved shapes into the pumpkin.'
Ritterman adds, 'I always buy fresh pumpkin every year to make pies, cookies, squares, soups and pastas because it is so much better than canned. I also love to scoop out the insides to get the seeds and roast them. Because of all of this pumpkin cooking, I always have so many around fall and I carve so many to decorate my front porch.'
'It is important when carving a pumpkin to have a sharp knife, big and small. A big one to cut the top off, and smaller paring knife or sharp carving tool for the facial features.'
- Not got the technique? Try no carve pumpkin ideas instead.
How to save pumpkin seeds for planting
If you have the space to grow pumpkins in your garden, don't discard the seeds. Having said that, not all pumpkin seeds are worth saving: the ones from hybrid cultivars will not grow into the beautiful orange pumpkins we use for Halloween. So, always ask what type of pumpkin you're buying. If it's an heirloom pumpkin, you will want to save the seeds:
1. Rinse the scooped out pulp and seeds under cold water, separating the seeds from the pulp. Do this very thoroughly: if any pulp remains on the seeds, they will likely rot.
2. Dry the seeds as much as you can with paper towels and place of a baking sheet or newspaper.
3. Dry off in a cool, dry place, until completely dry. This will take several days. Don't dry in direct sunlight.
4. Place the dry seeds in a paper bag; store in a cool, dry cupboard or pantry until they're ready to be planted in the spring.
Join our newsletter
Get small space home decor ideas, celeb inspiration, DIY tips and more, straight to your inbox!
Anna is a professional writer with many years of experience. She has a passion for contemporary home decor and gardening. She covers a range of topics, from practical advice to interior and garden design.
-
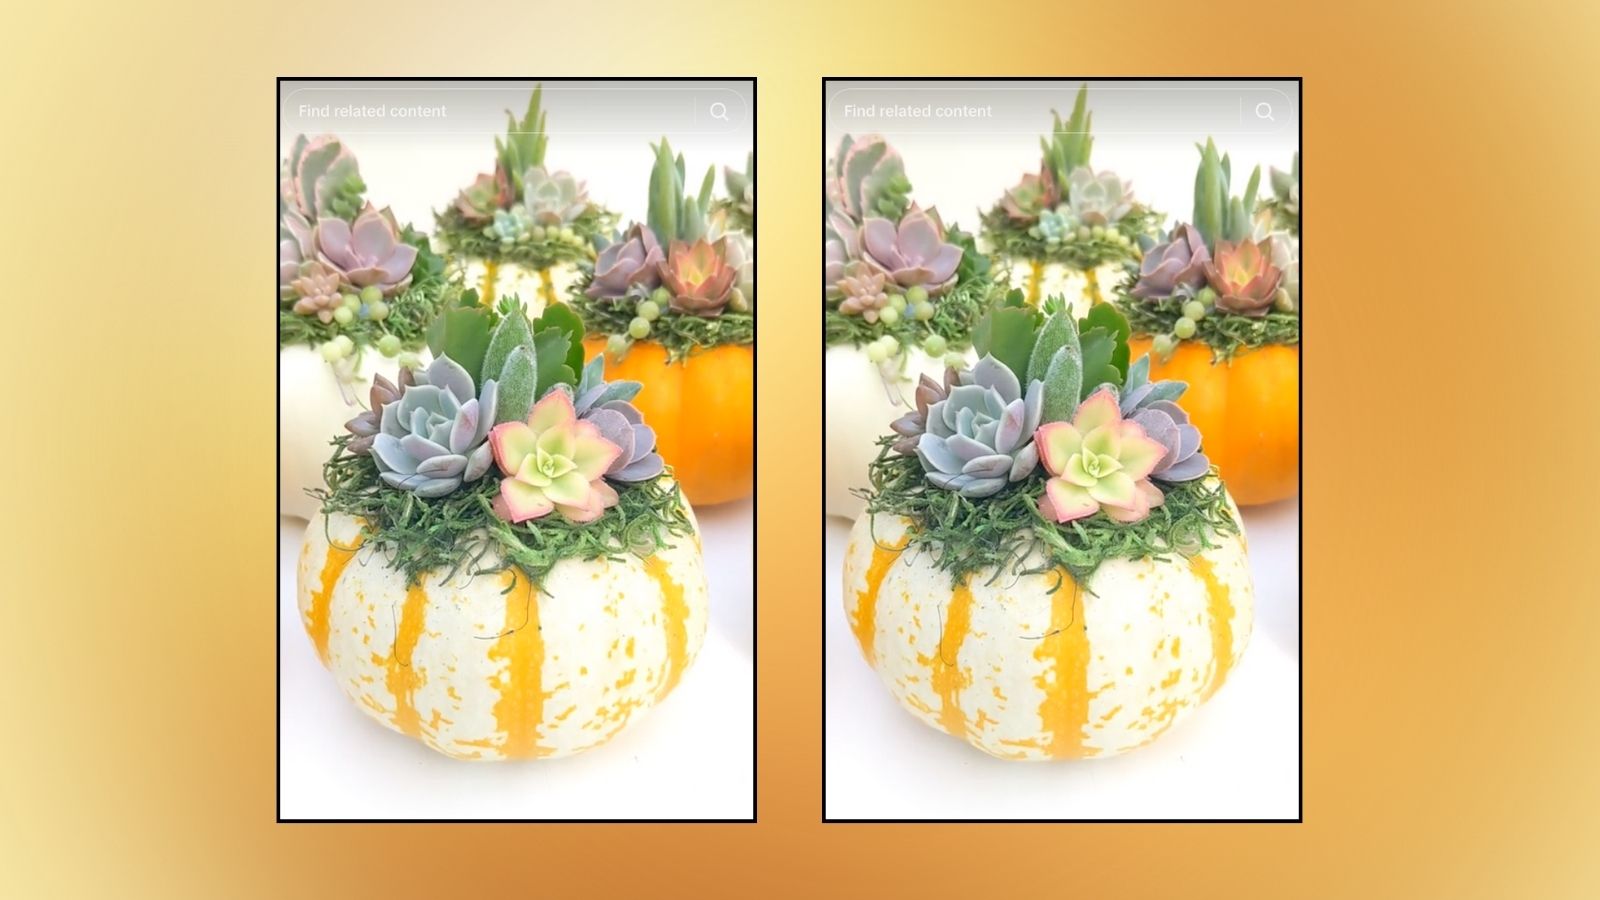 No carve pumpkin decorating ideas from TikToK for when you're feeling spooky but lazy
We round up some TikTok-favorite no carve pumpkin decorating ideas with expert-backed tips
By Danielle Valente
-
 Amanda Seyfried made a haunted house for her son, and we're swooning over the spooky cuteness
Check out how Amanda Seyfried styled her son's Halloween haunted house—and how to copy
By Danielle Valente
-
 The Real Homes Christmas decor wishlist: Here's what our editors are obsessed with
Shop our editors' favorite Christmas decor picks from cozy bedding to funky ornaments
By Nishaa Sharma
-
 Modern Christmas decorations to shop if you're not feeling basic red and green
These modern Christmas decorations are sure to make any space feel clean and chic but festive, whether you're after white Christmas decorations or those with a little more color.
By Melissa Epifano
-
 NGL, I procrastinated decorating for the holidays, so this is what I’m buying last-minute
Fallen behind on Christmas decorating? Don't worry. Shop these last-minute Christmas decorations and get them ASAP
By Camille Dubuis-Welch
-
 10 ways to deck the halls that are better for the planet
If you love decorating your house for the holidays but want to nod to sustainability too, you can do both with these cute eco-friendly dec ideas.
By Camille Dubuis-Welch
-
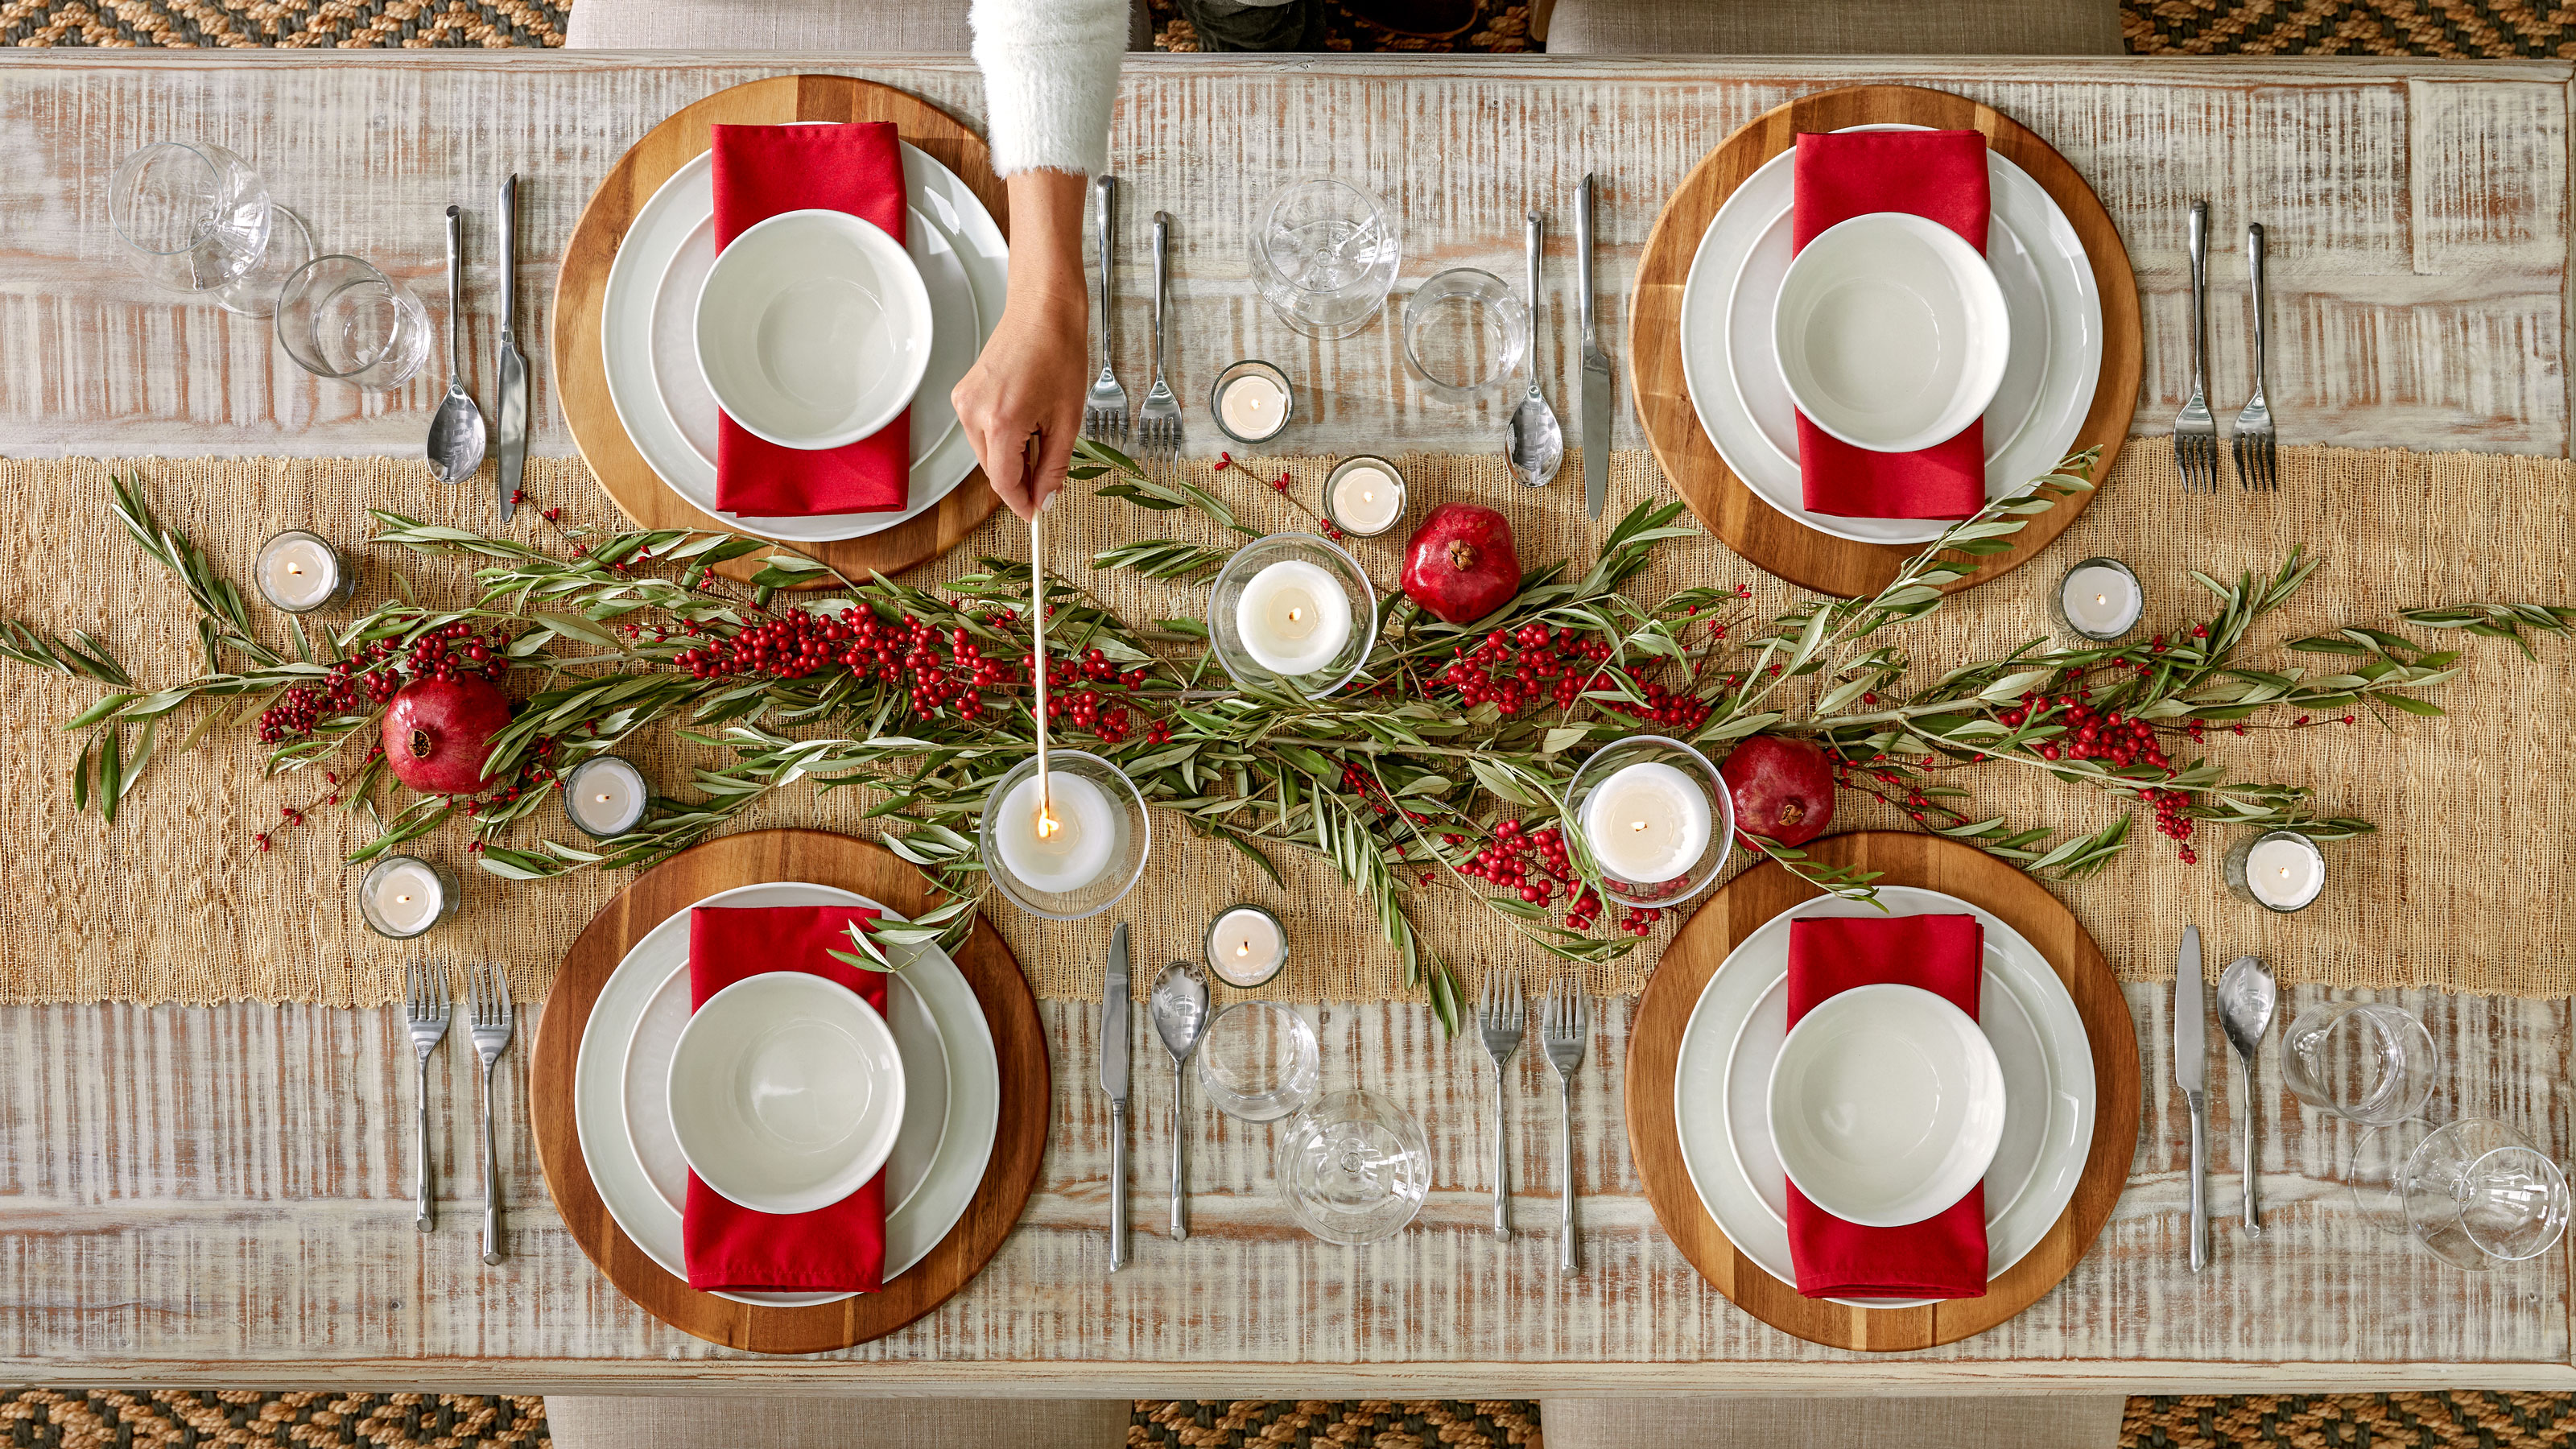 16 Christmas table settings and decor ideas for the perfect festive scene
The latest inspiration for the most festive and beautiful of Christmas table settings this year. Think holiday tablescaping at its best.
By Nishaa Sharma
-
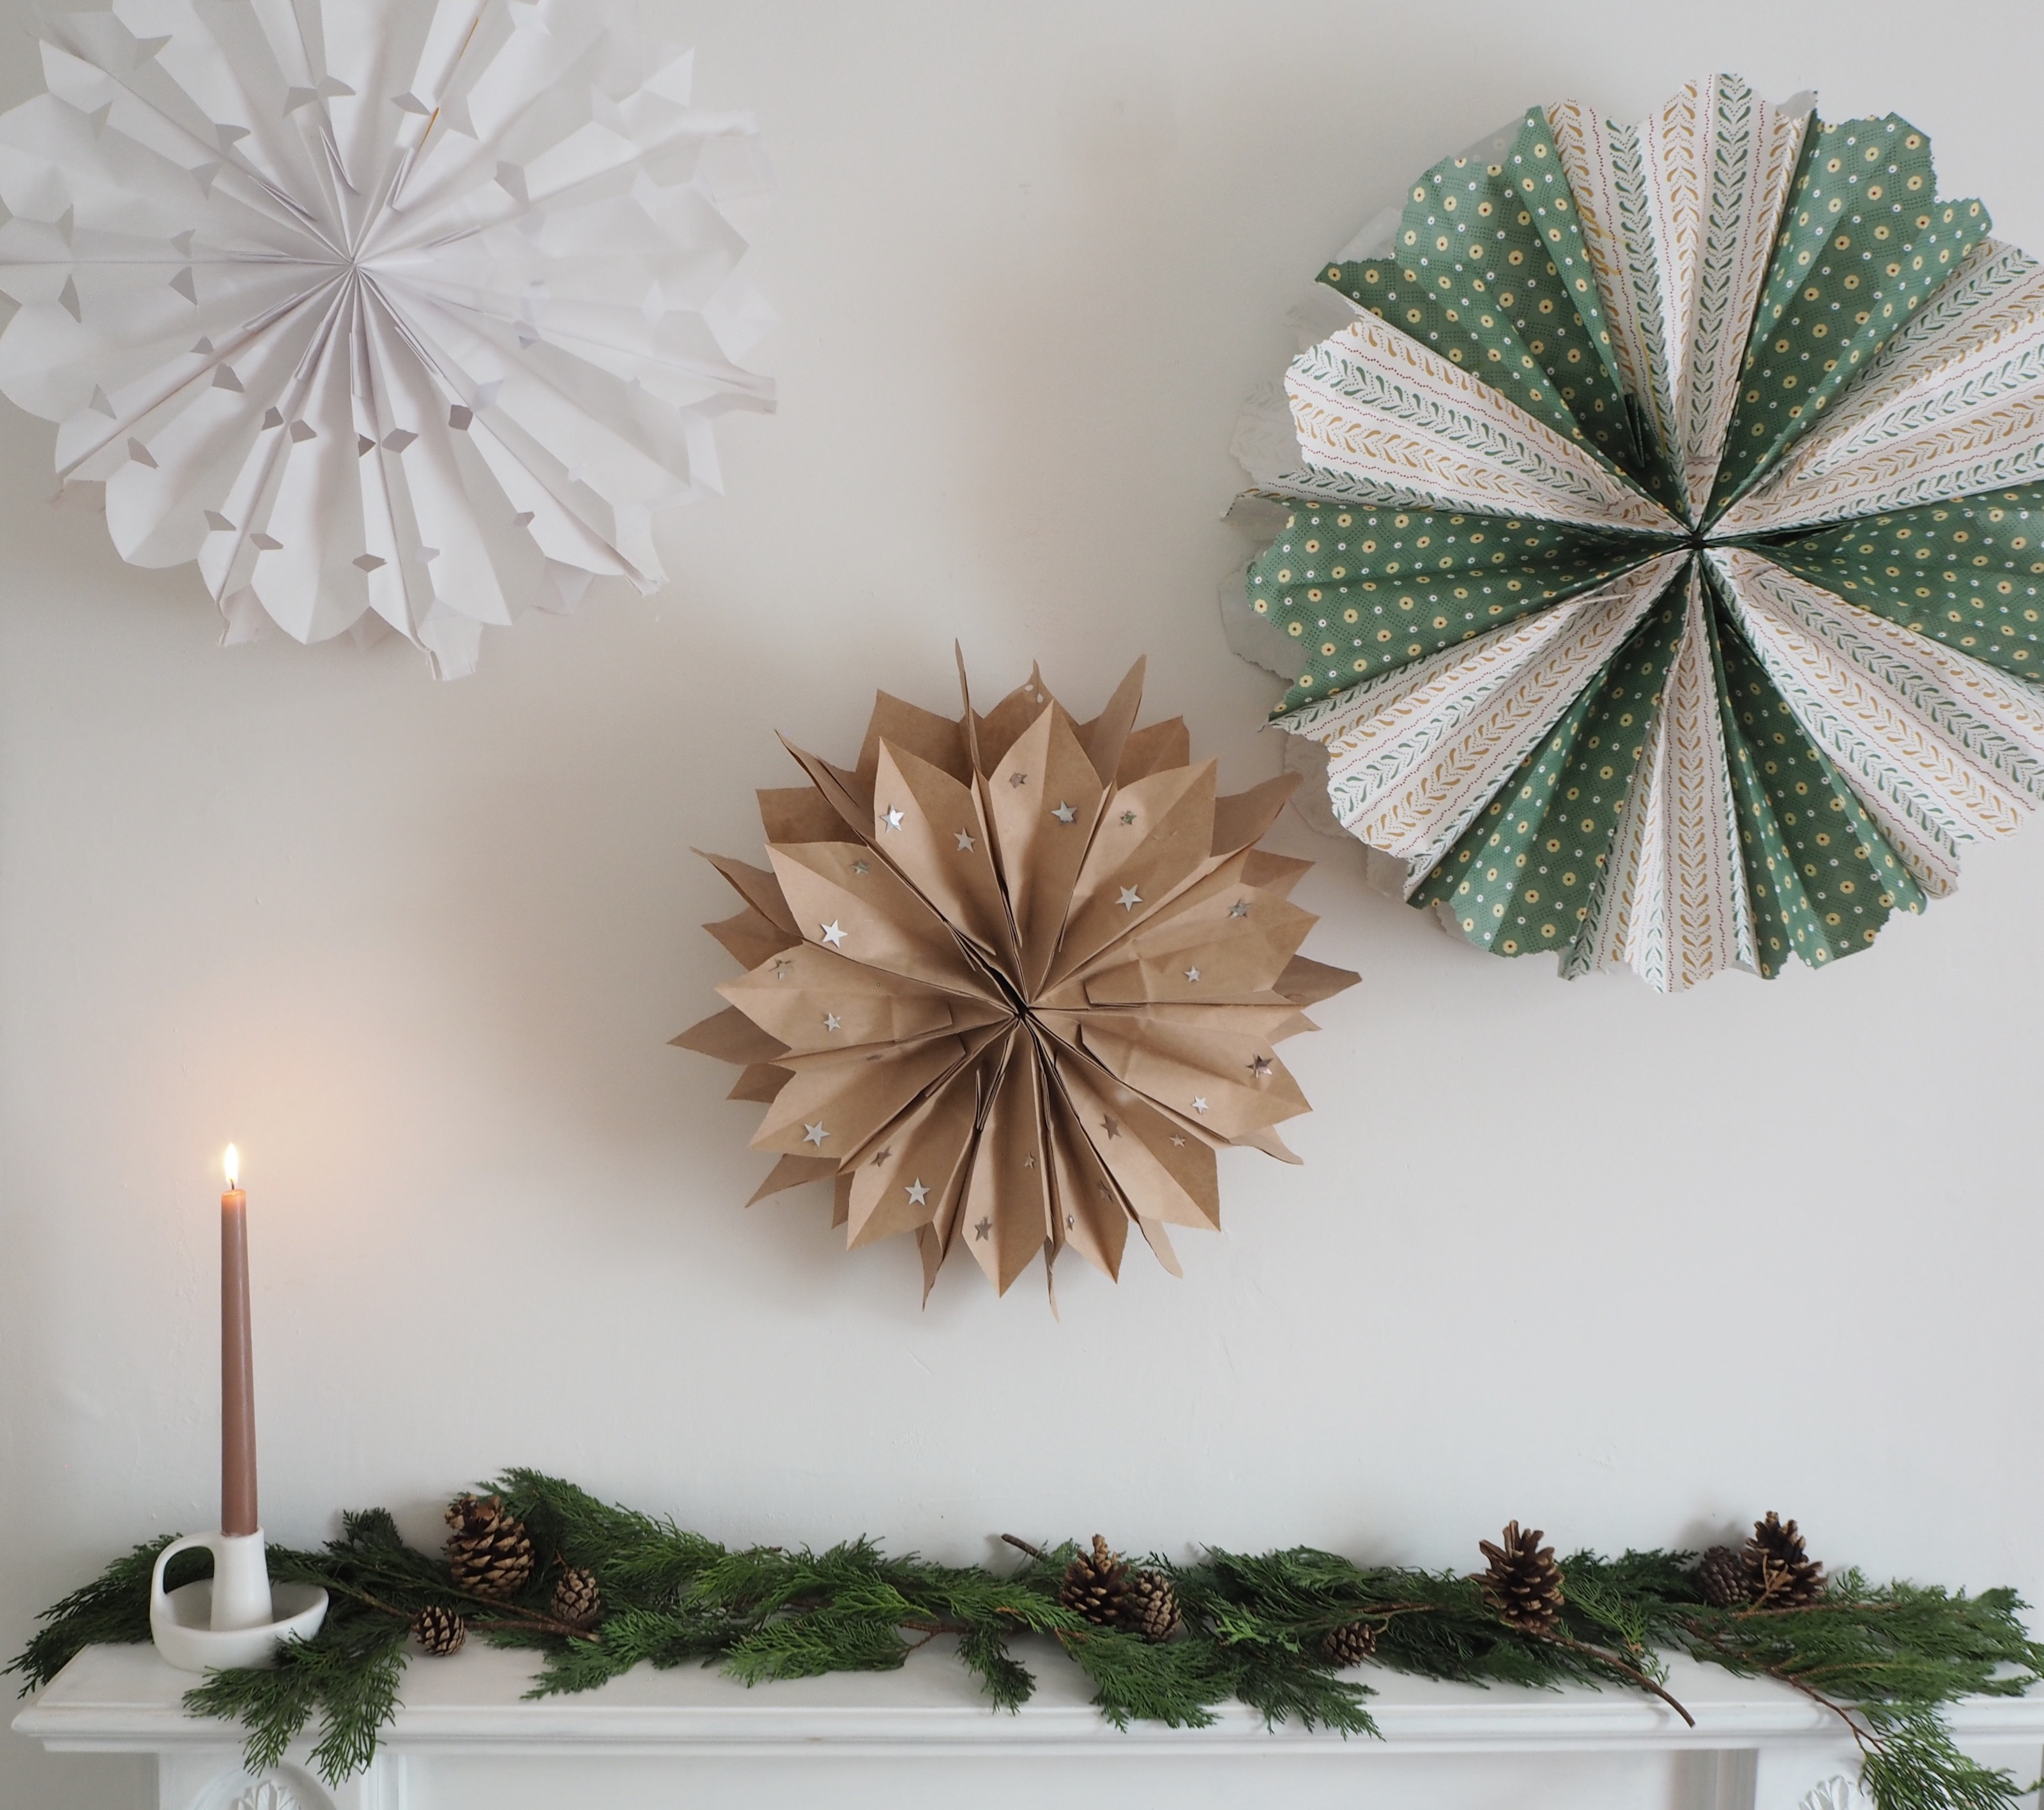 These DIY paper bag Christmas decs are super cheap to make and give a cozy, festive finish
Kinder to the planet and on your wallet, these Christmas paper bag decorations are quick, cheap, and super easy to make
By Sophie Warren-Smith