

If you are doing any decorating project, you will need to know how to caulk. This essential step preps an area for paint or wallpaper, by filling gaps between surfaces that would otherwise be unsightly.
Caulking is very simple but takes a bit of practice for the best results. It is something anyone with basic DIY skills can do and it doesn't require many specialist tools. All you need is the caulk, a caulk gun and a damp sponge, plus a few items you should already have for decorating prep.
To show you how it is done, I documented some caulking I had to do in my own home. I have wooden stairs leading to my kitchen. The kitchen has just been remodeled and I was getting ready to give the space a fresh coat of paint. The old caulk around the stairs wall string was at least nine years old and had become cracked in places. For a seamless look, I wanted to remove the old caulk, and put a new seal around the stairs, ready for painting.
Now I have the knack, dare I say it is one of my favorite DIY jobs. Read on and you will be marveling at your own caulking work in no time.
What is caulk used for?
Caulk is a paste that is piped into gaps for a neat finish. It is used between baseboard (skirting) and walls, and may also be used in the corners between walls or walls and ceiling, to create a smooth edge.
You will also need to use it if you are installing beadboard or any other wall paneling. It seals joins and gets your project ready for painting.
People also talk about caulking when they are sealing other spaces such as around windows, gaps in guttering and even boats. In this piece, we are sticking to decorator's or painter's caulk that is used internally, but the method is not dissimilar to other caulking jobs.
How to caulk
You will need
1. Decorator's caulk: we like Polyfilla acrylic caulk
2. Caulk gun: metal ones like these are more durable
3. Sandpaper: and you may need a scraper to prep the area
4. A good vacuum cleaner
5. Damp sponge
6. Kitchen paper or an old cloth
We used a flexible, decorator's caulk that is solvent-free and made from acrylic. It can be wiped with a damp cloth once dry, but it is not designed for wet areas. For bathrooms and around kitchen worksurfaces you need a different product and need to read our guide on how to caulk a bathtub or shower.
This creates a smooth fill between the wall and woodwork and once dry can be painted over (unlike waterproofing silicone sealant used to prevent water ingress). Look for a product that dries fairly quickly but allows enough time for you to shape it.
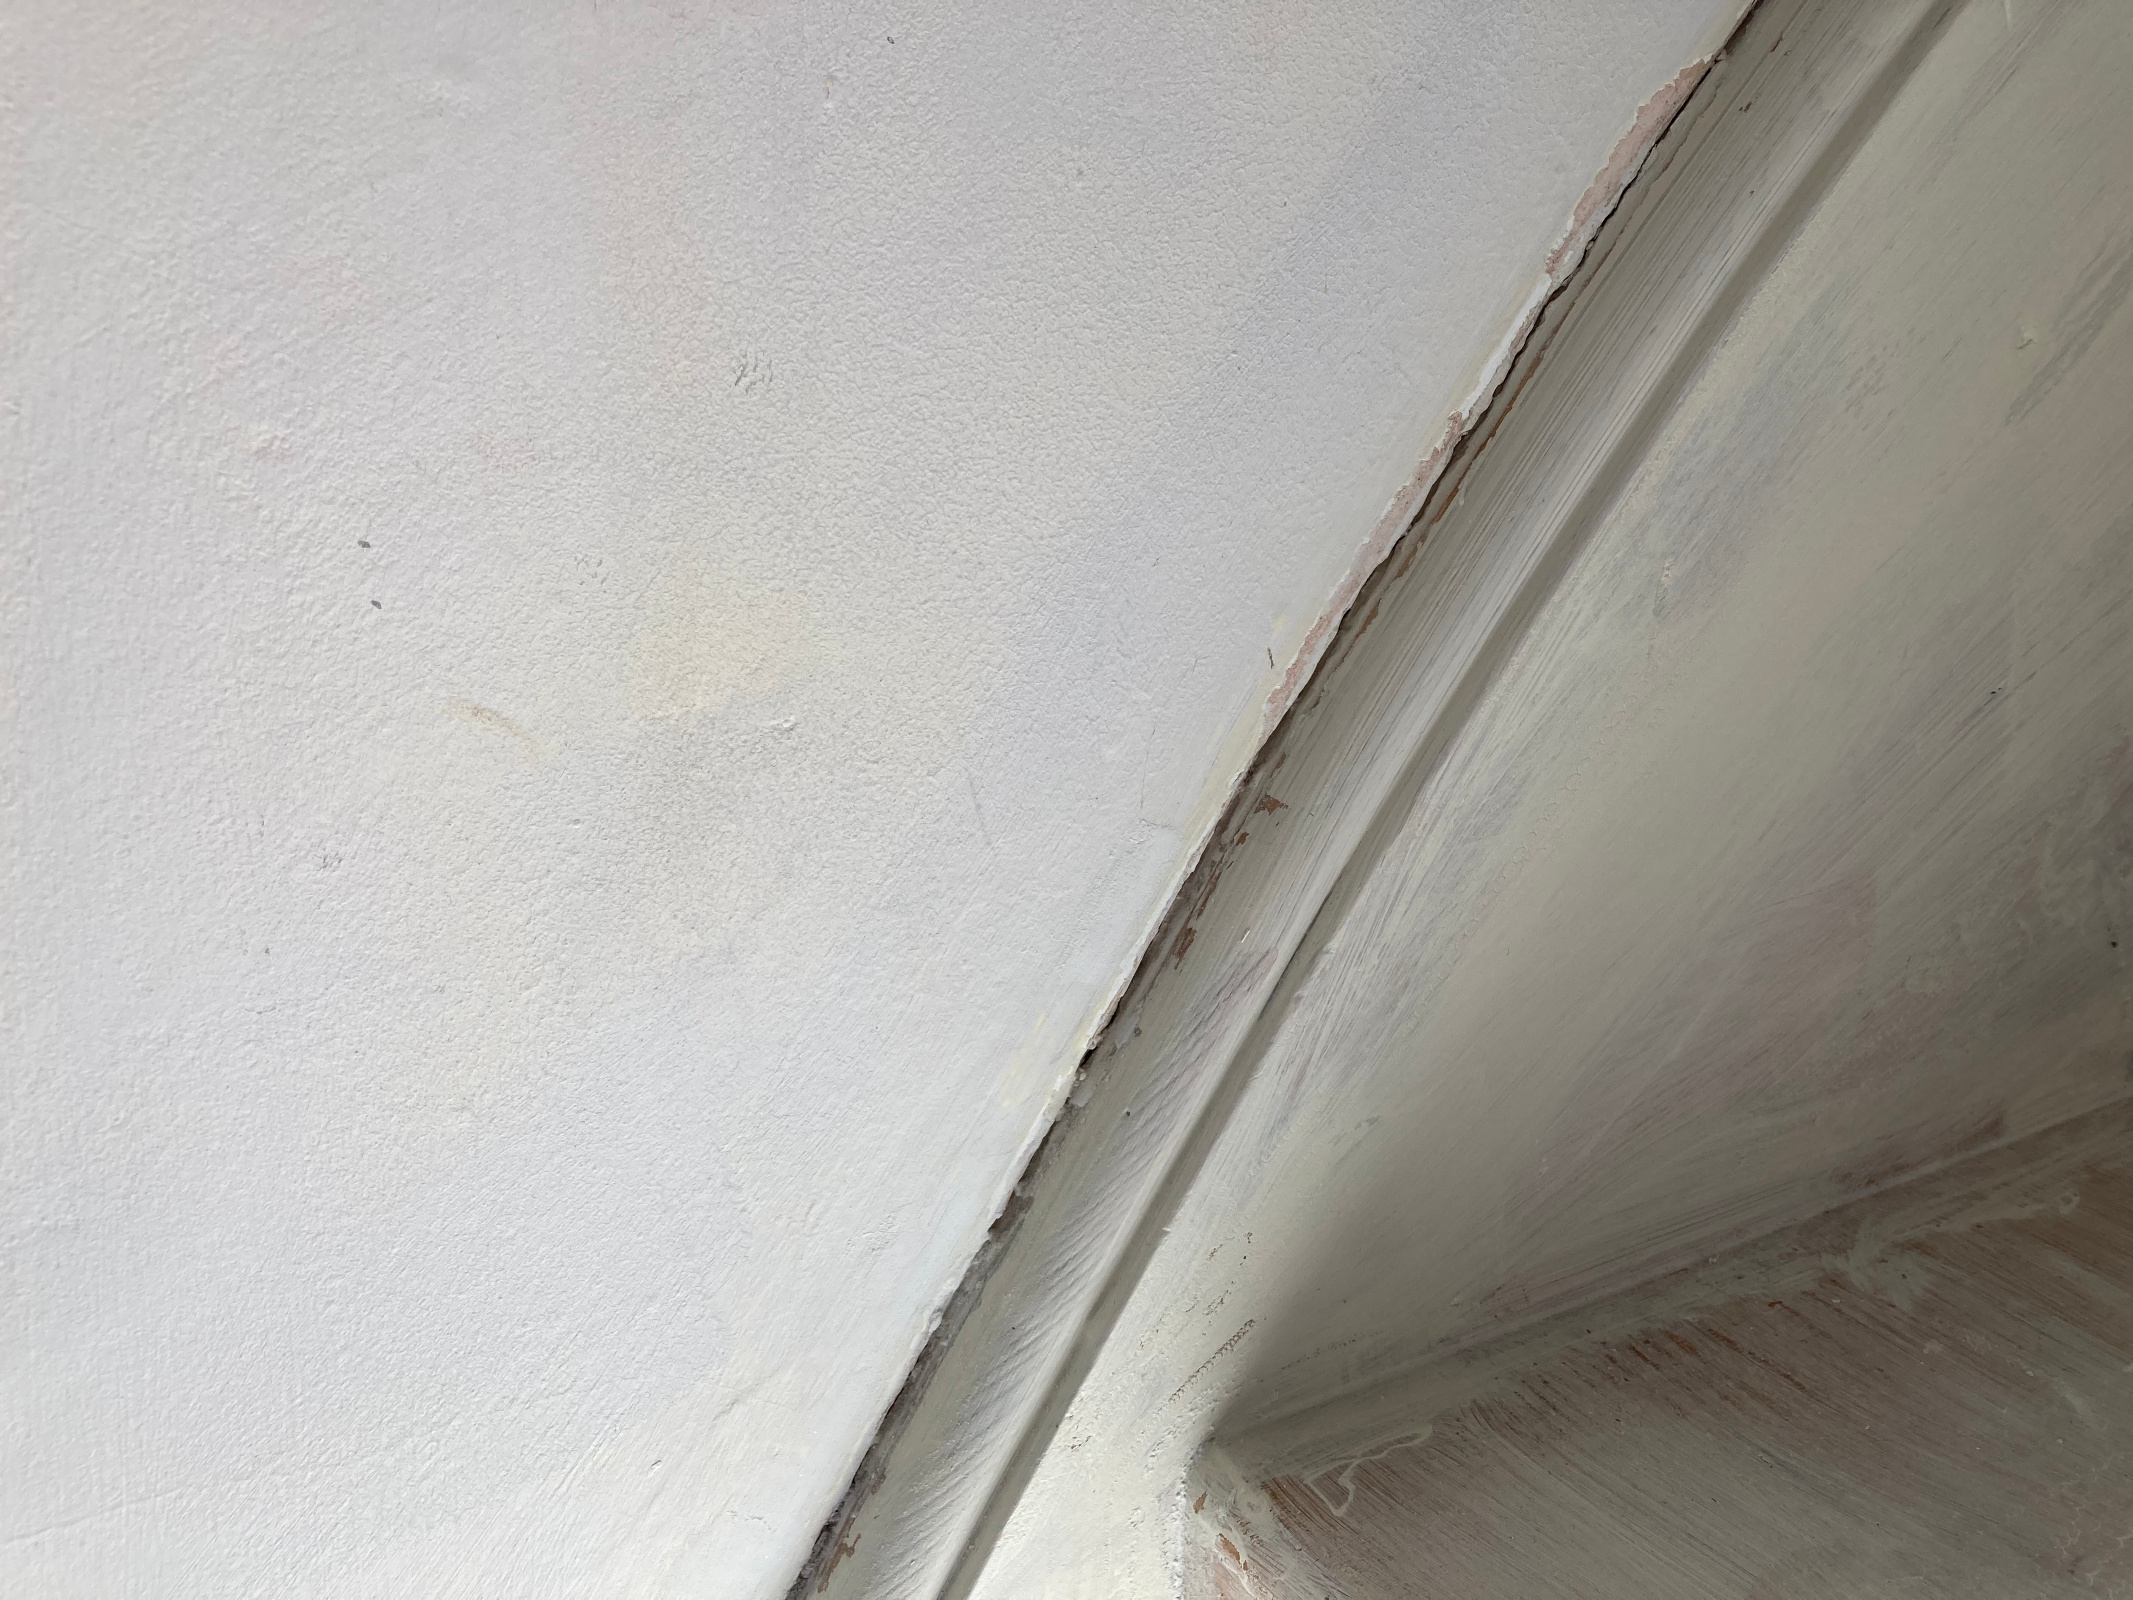
1. Remove old caulk
If you are re-sealing an area that has been caulked before, you need to remove any old, cracked caulk. Use a scraper or, if needed, a special angled caulk removing tool like these on Amazon.
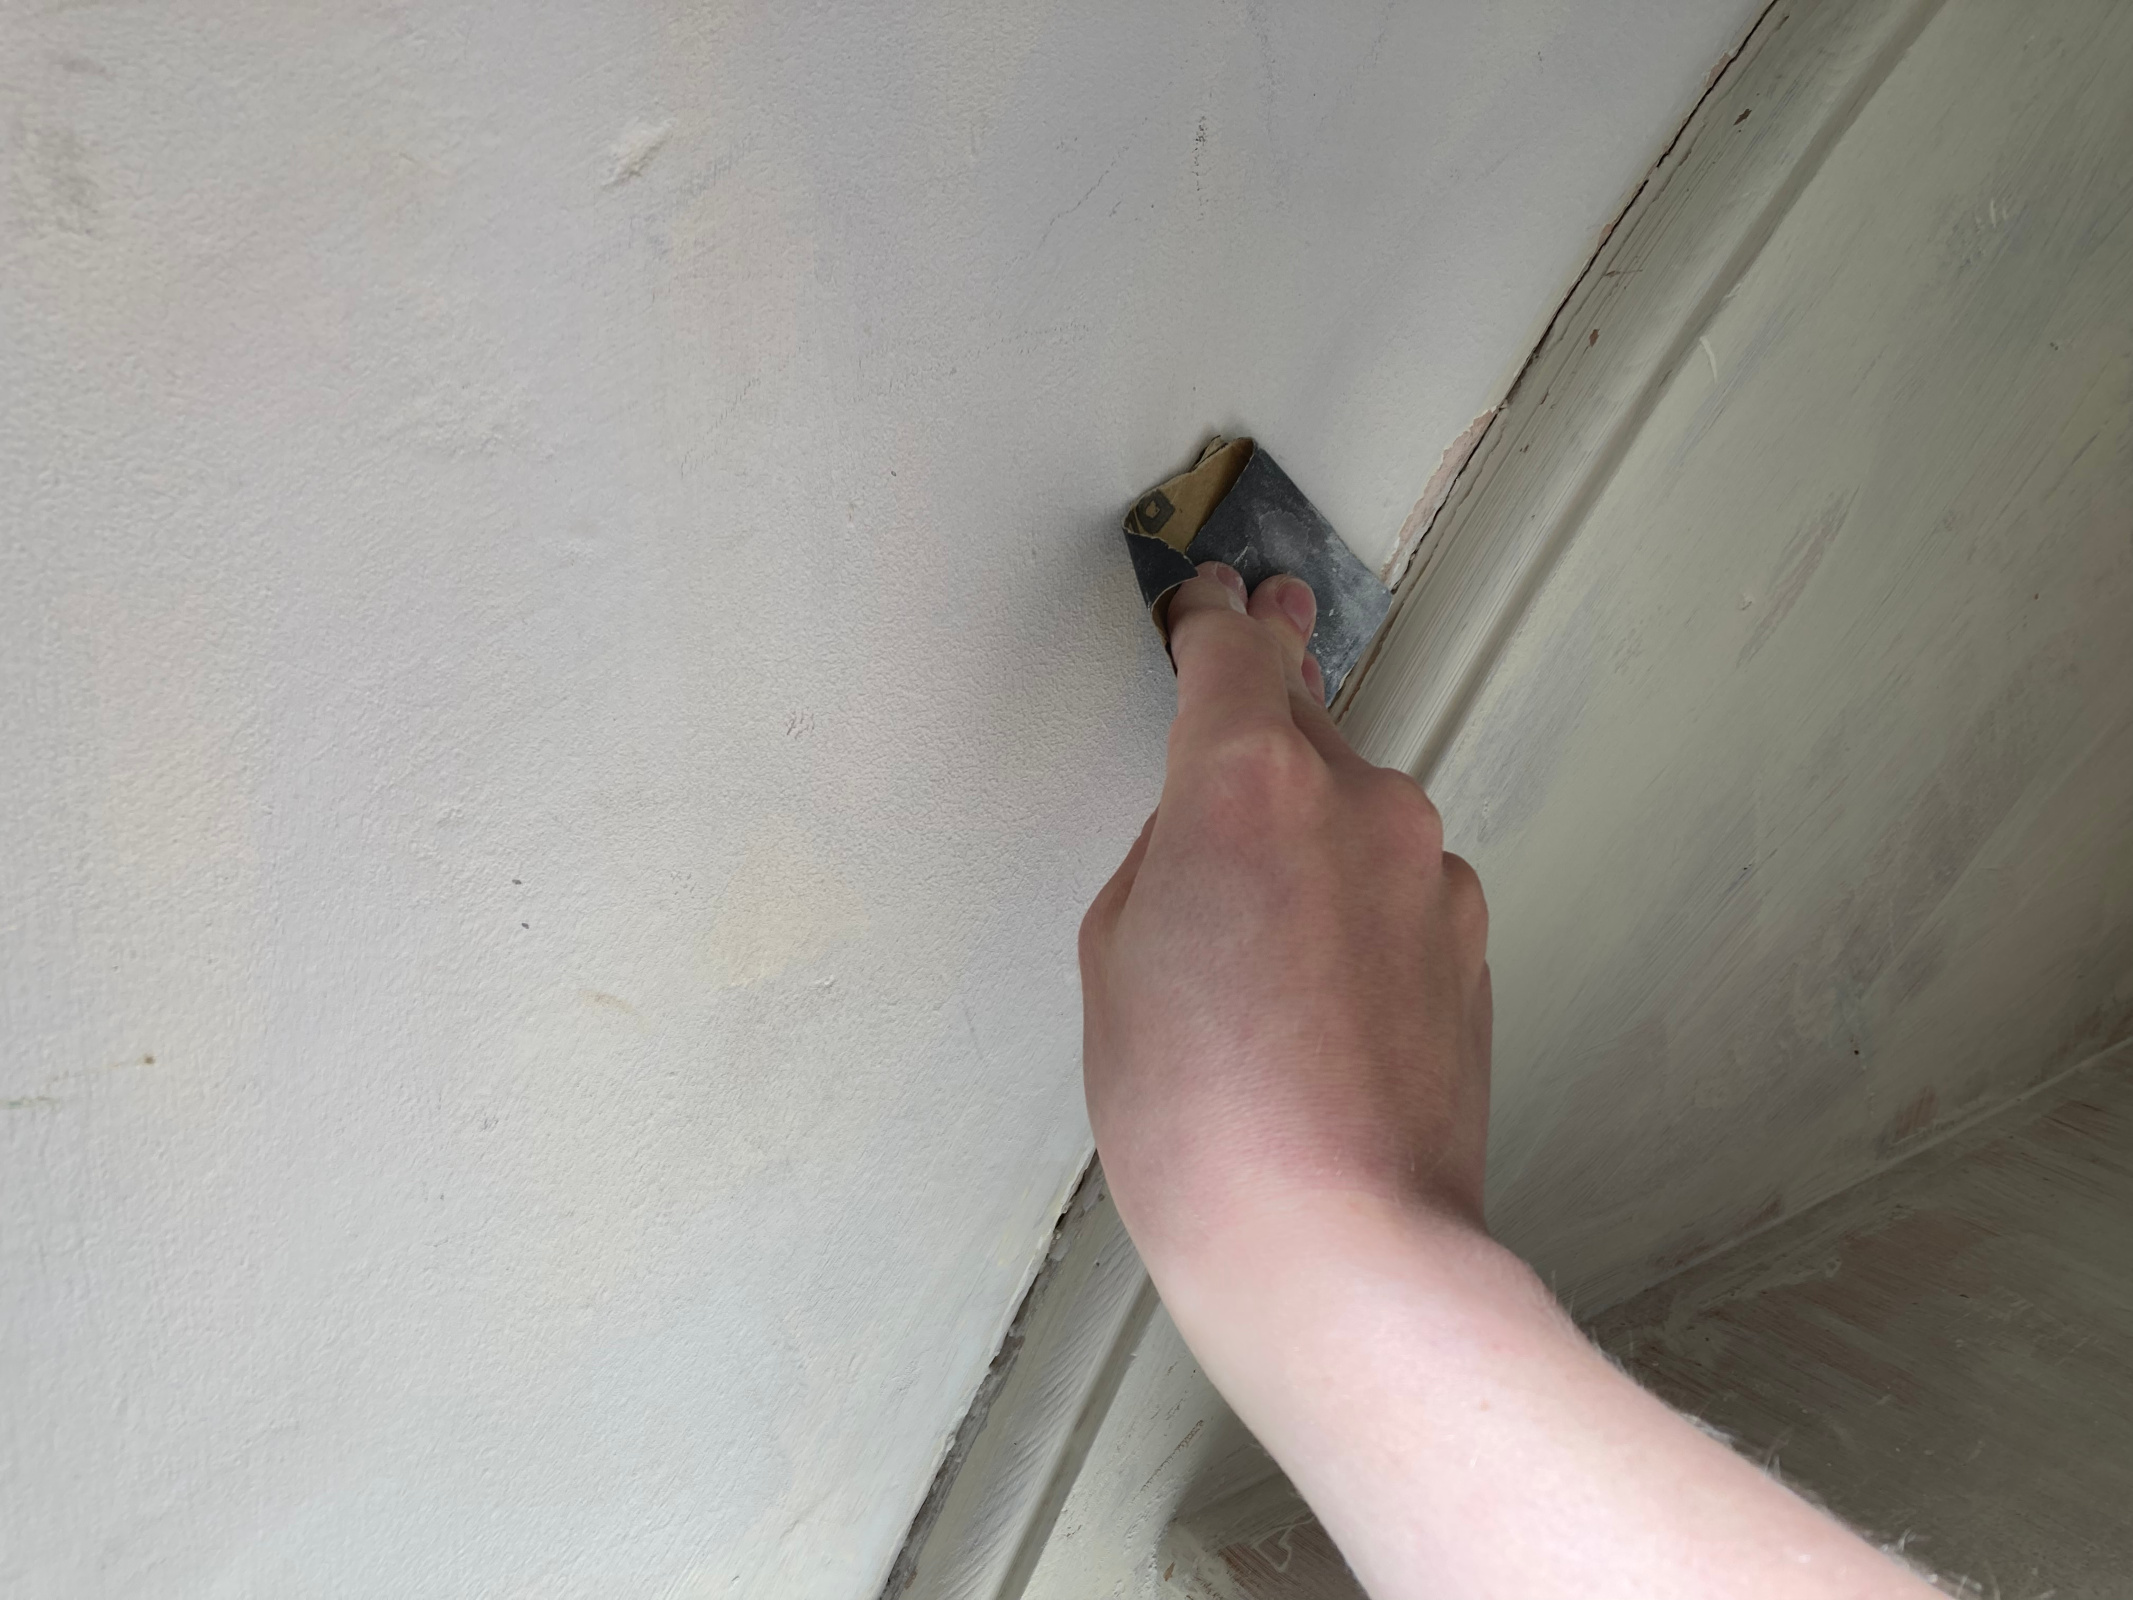
2. Sand, clean and prep the area
Next, sand any rough edges on the wall and trim. Caulk will have a much neater finish if you are filling against smooth edges. Use sandpaper to tidy the area, then vacuum up the dust and finally give everything a clean with a sponge or cloth. Make sure to wipe any grease and grime away with dish soap or sugar soap if required.
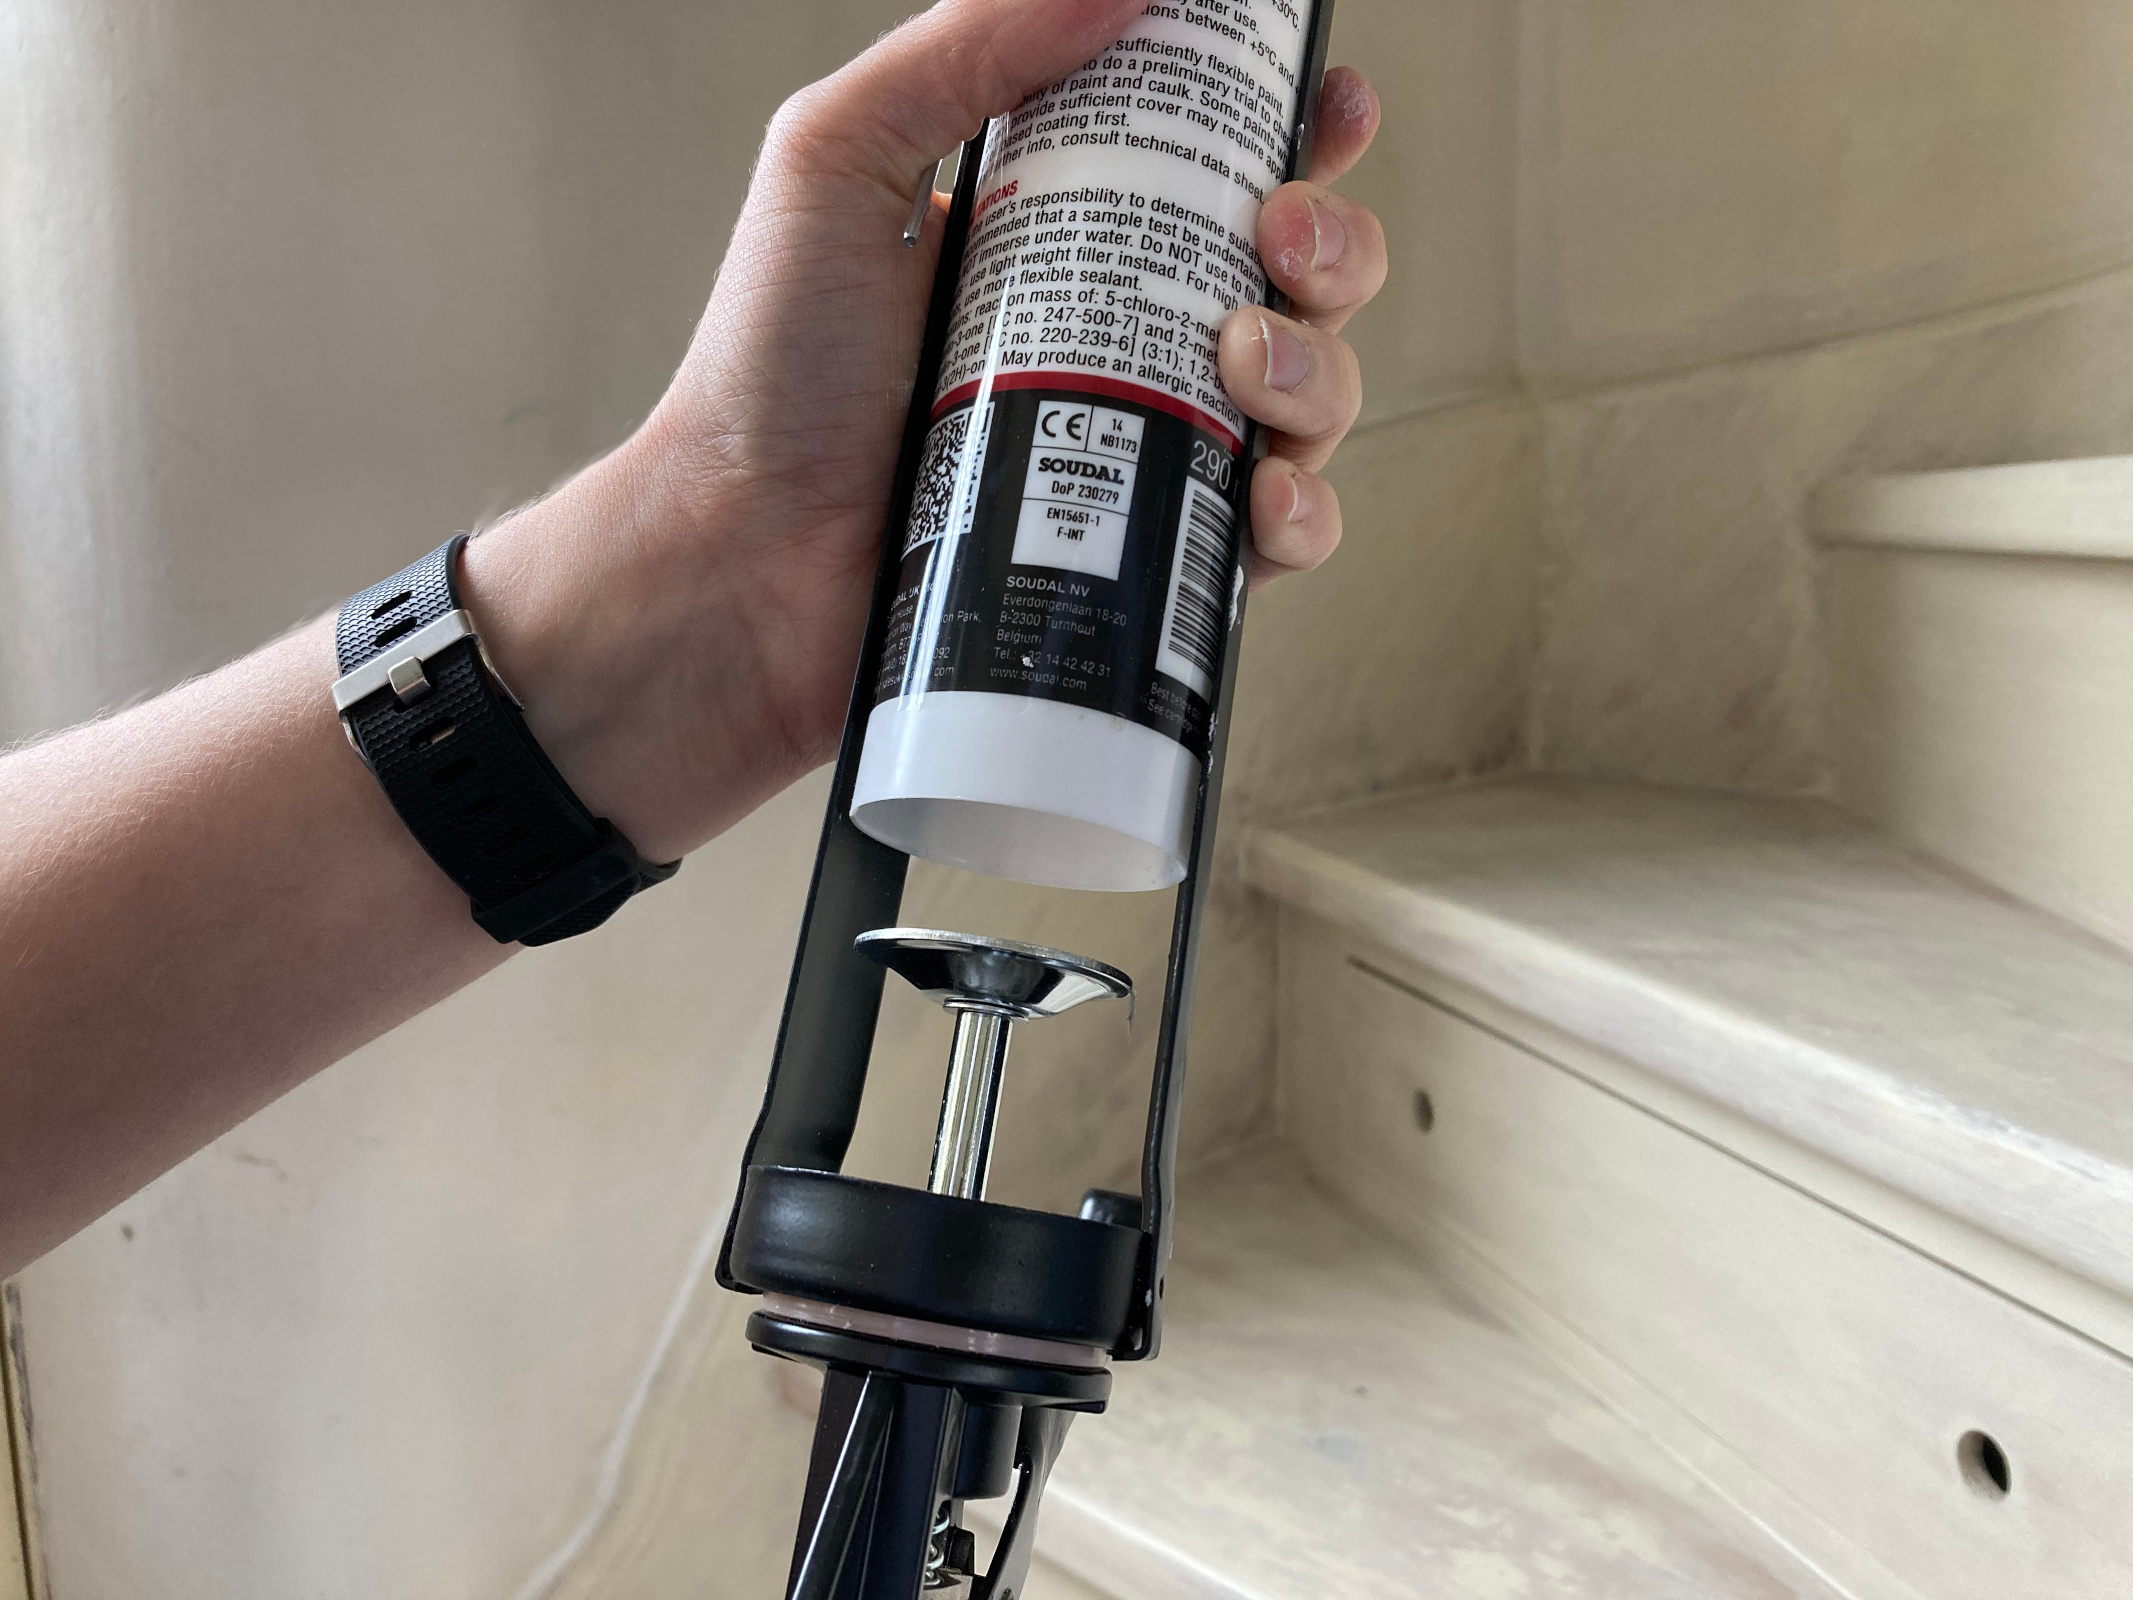
3. Load up your caulk gun
Get your caulk gun ready. We go for metal ones and if you can, find one with an attachment for clearing the nozzle. You can also get caulk guns that have a notch for cutting the nozzle open.
If your gun doesn't have this, use a Stanley knife to cut the end of the tube before attaching the nozzle. Be careful not to cut too far as you won't leave enough threaded area to attach the nozzle and it will come off. Next, cut the nozzle at a 45-degree angle. This gives you a nice nib to work along the edges. Put the caulk tube into the gun, but take care not to press the plunger in until you are ready or caulk will start coming out.
4. Do a test run
Before caulking along your gap, do a test run to get a feel for how much pressure you need to apply to the trigger. This also gets the caulk into the nozzle so you aren't waiting for it to feed through, which can lead to overexerting the trigger and getting too much caulk at once.
You can just do this on an old piece of wood or onto some paper. It is solely to get used to the gun and I always do this even if I have used that gun or product before – temperature and the size of the nozzle can all impact how it delivers.
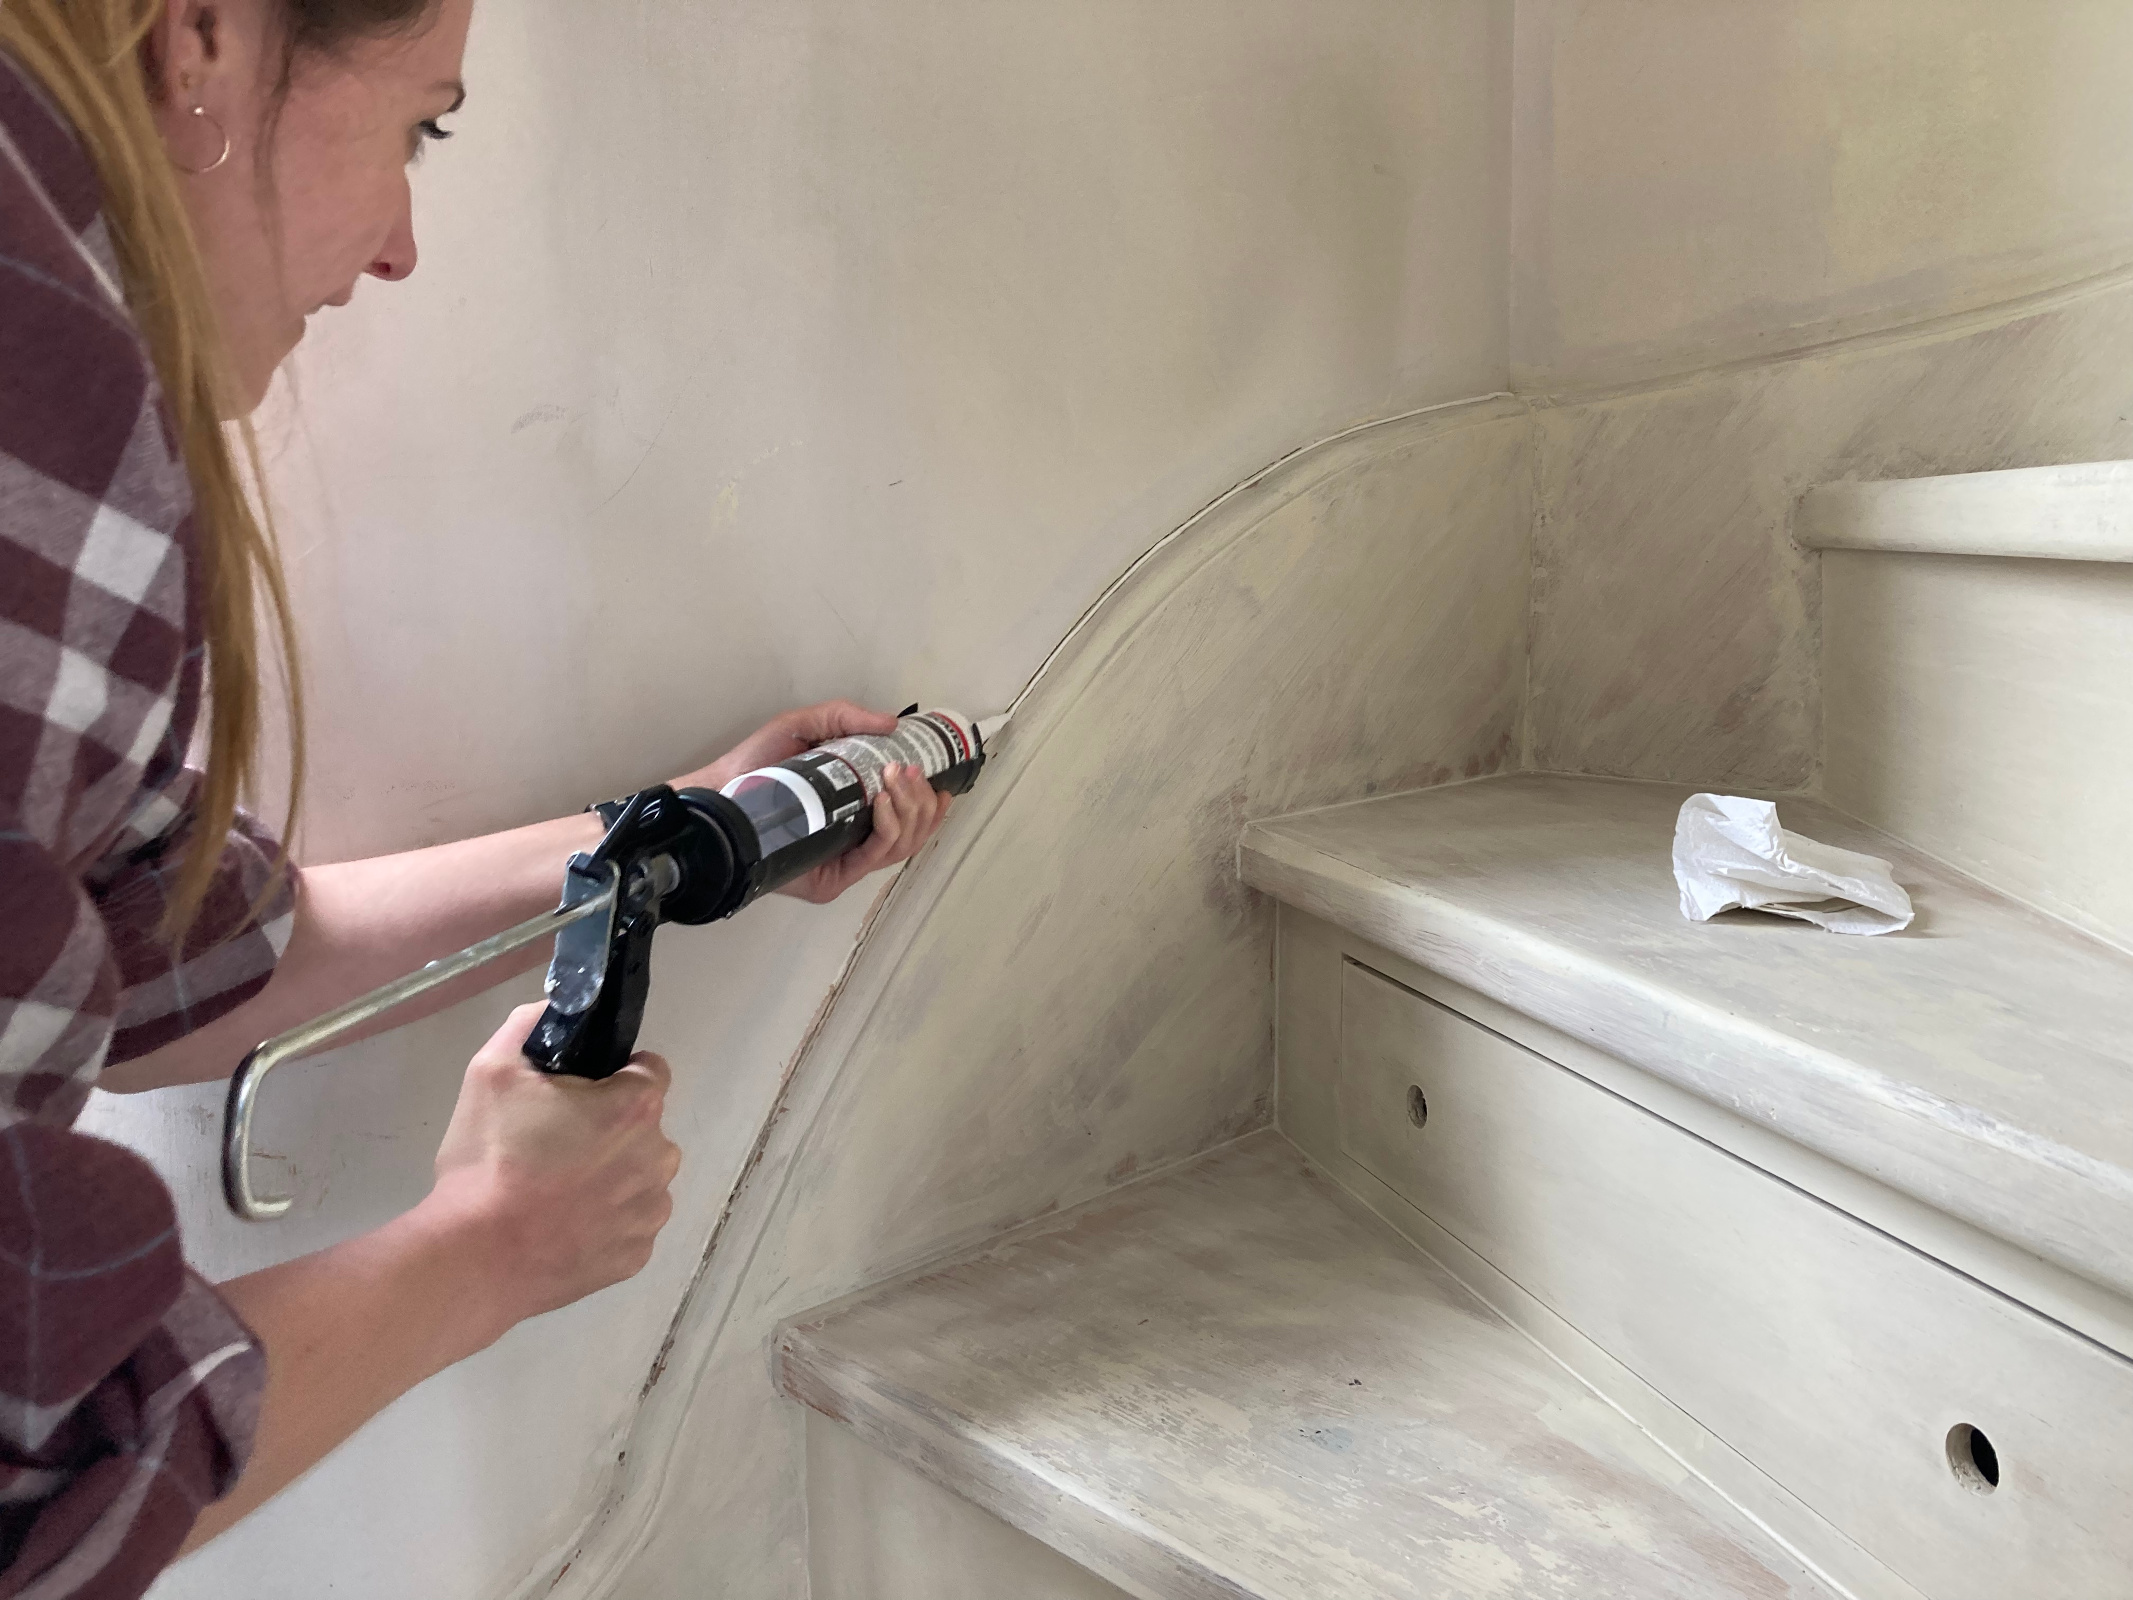
5. Start caulking from a corner
You are now ready to caulk the gap. Start from a corner if possible. Ideally you want to deliver one long bead of caulk at an even pace. If you are right-handed, you will likely find it easier to move from left to right (left-handed, vice versa) along the edge and everyone will find it easier to work top to bottom, as I did with my stairs.
With the nozzle lightly resting between the wall and trim edge, start to press the trigger gently until caulk comes out. When it appears, start moving along the gap, leaving a thin trail of caulk. It is best to 'under caulk', as you can always add more. Trying to remove excess caulk is a messy job, so aim for one smooth line, then go back to top up any missed bits after you smooth it. Exactly how much you need will depend on the width of the gap.
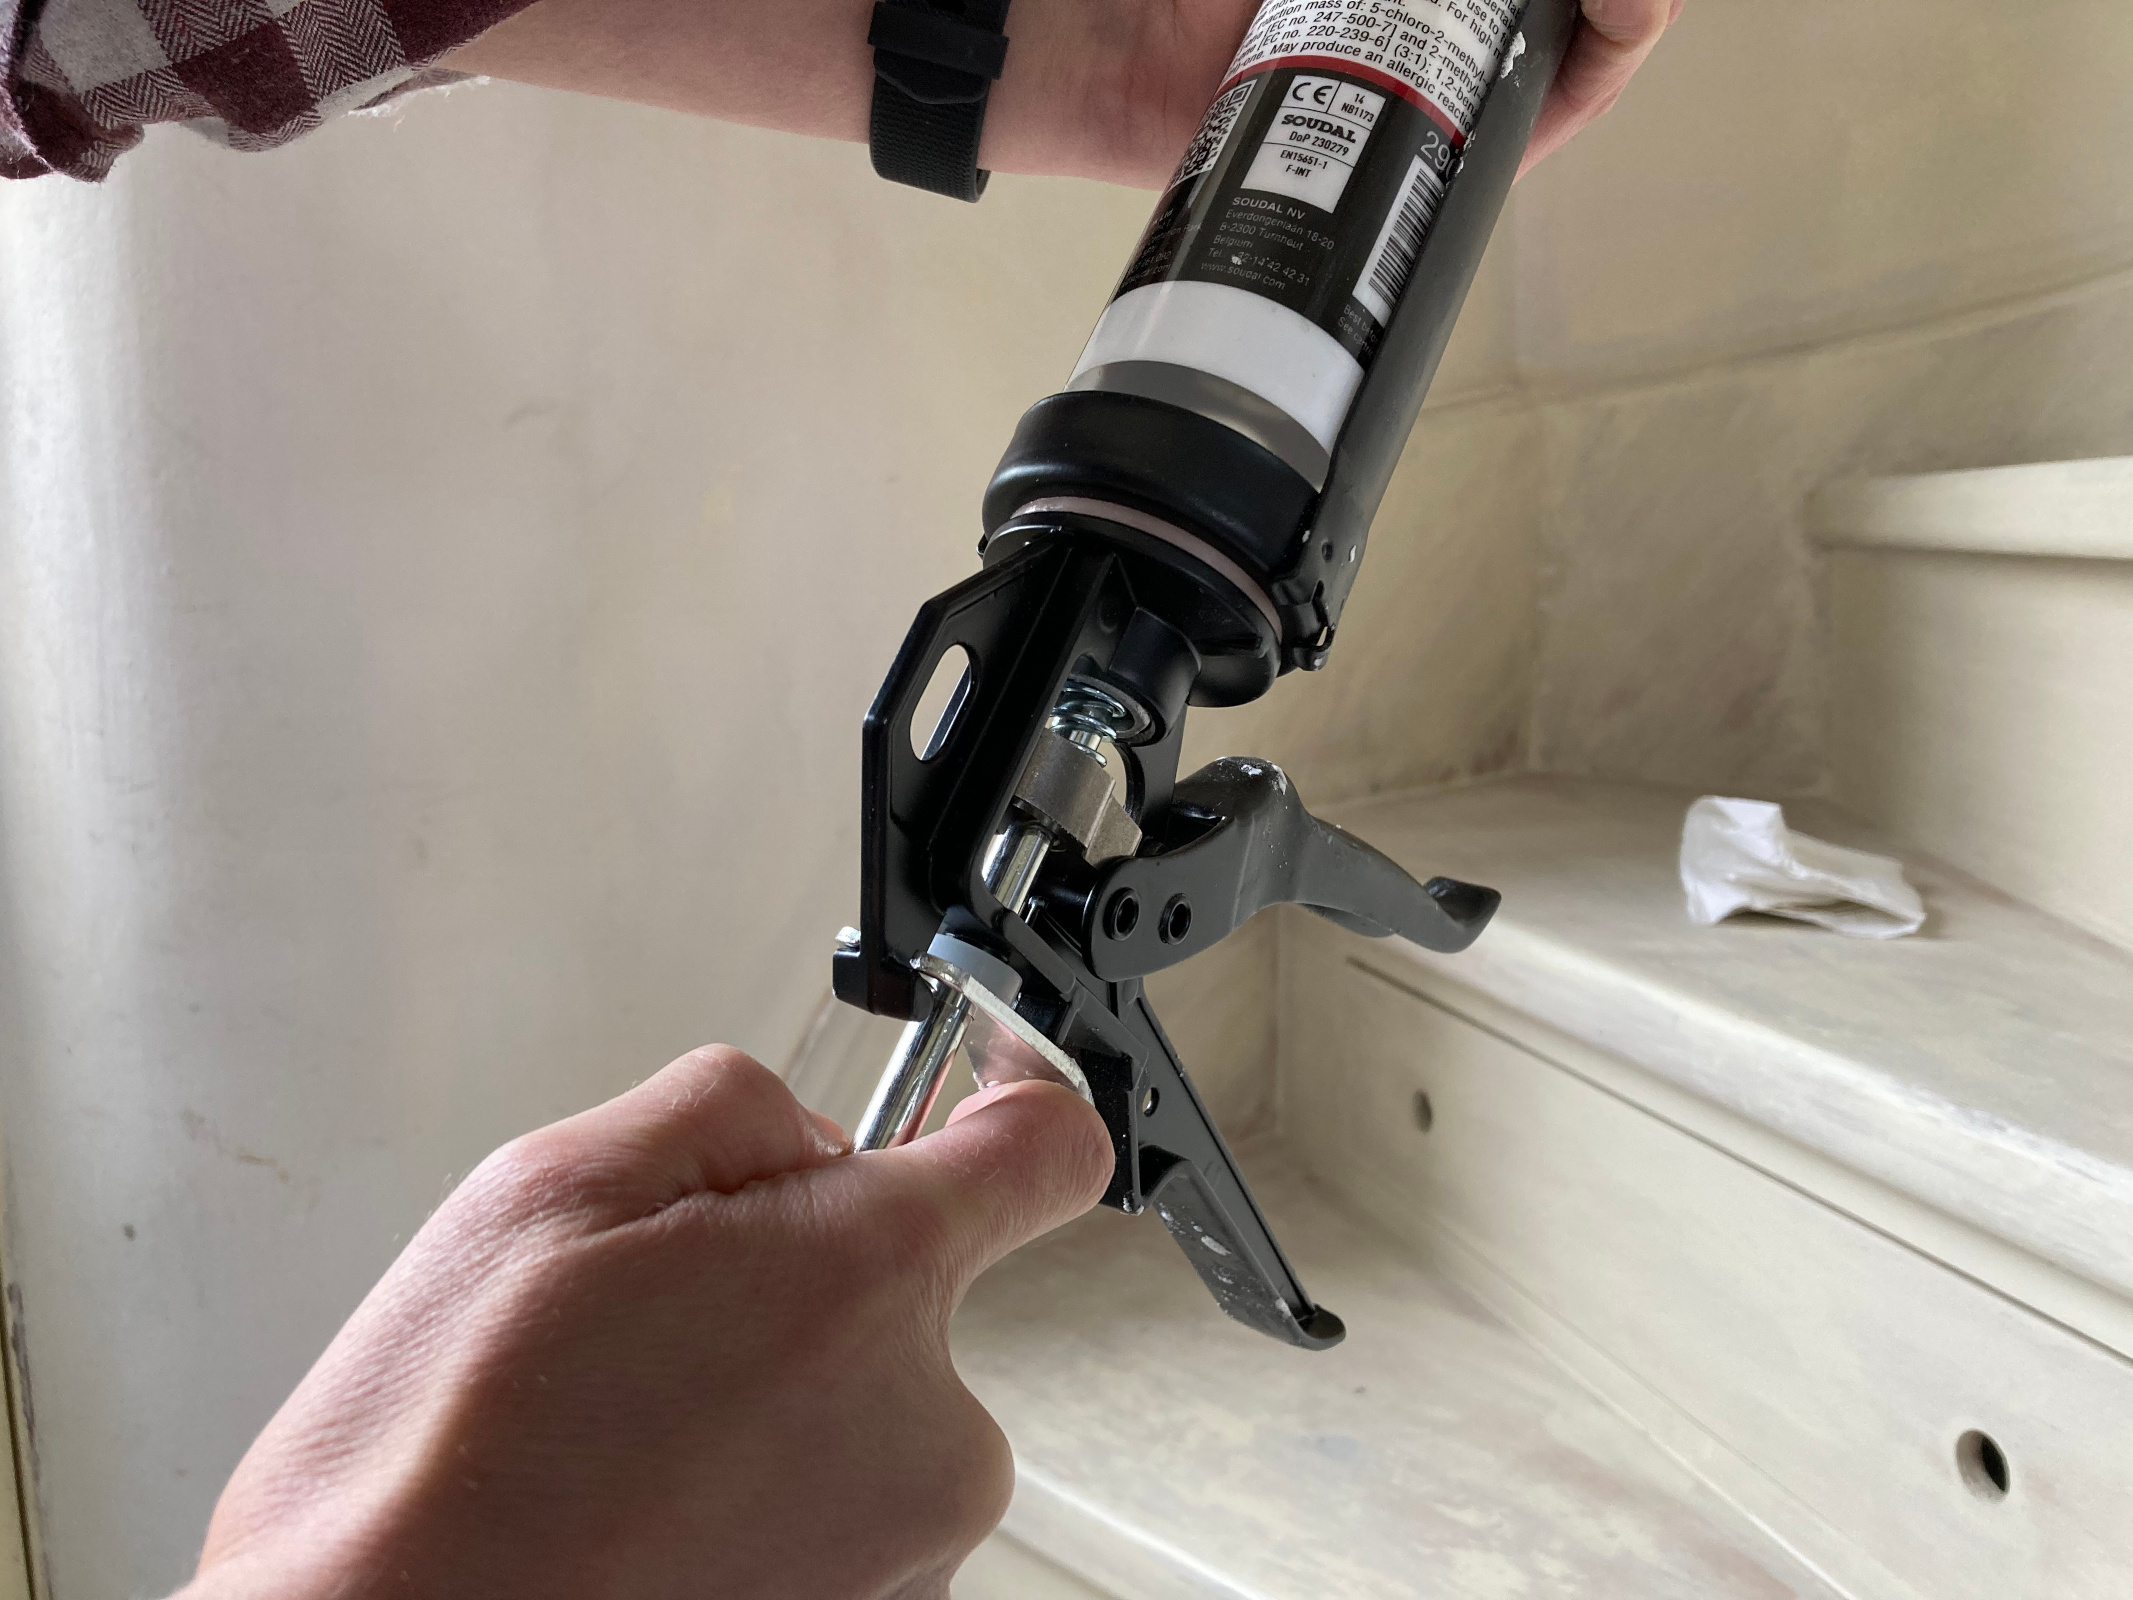
Always release the pressure on the caulk gun when not in use or you will lose a lot of caulk and make a mess
For a neat finish in the corner, start to lighten your pressure on the trigger as you near the end and finish about half an inch out. This is because surplus caulk will build up as you smooth it, so leaving this bare bit gives somewhere for the excess to go.
Release the gun as you smooth the caulk or you will find the pressure continues to push a mess of sealant out.
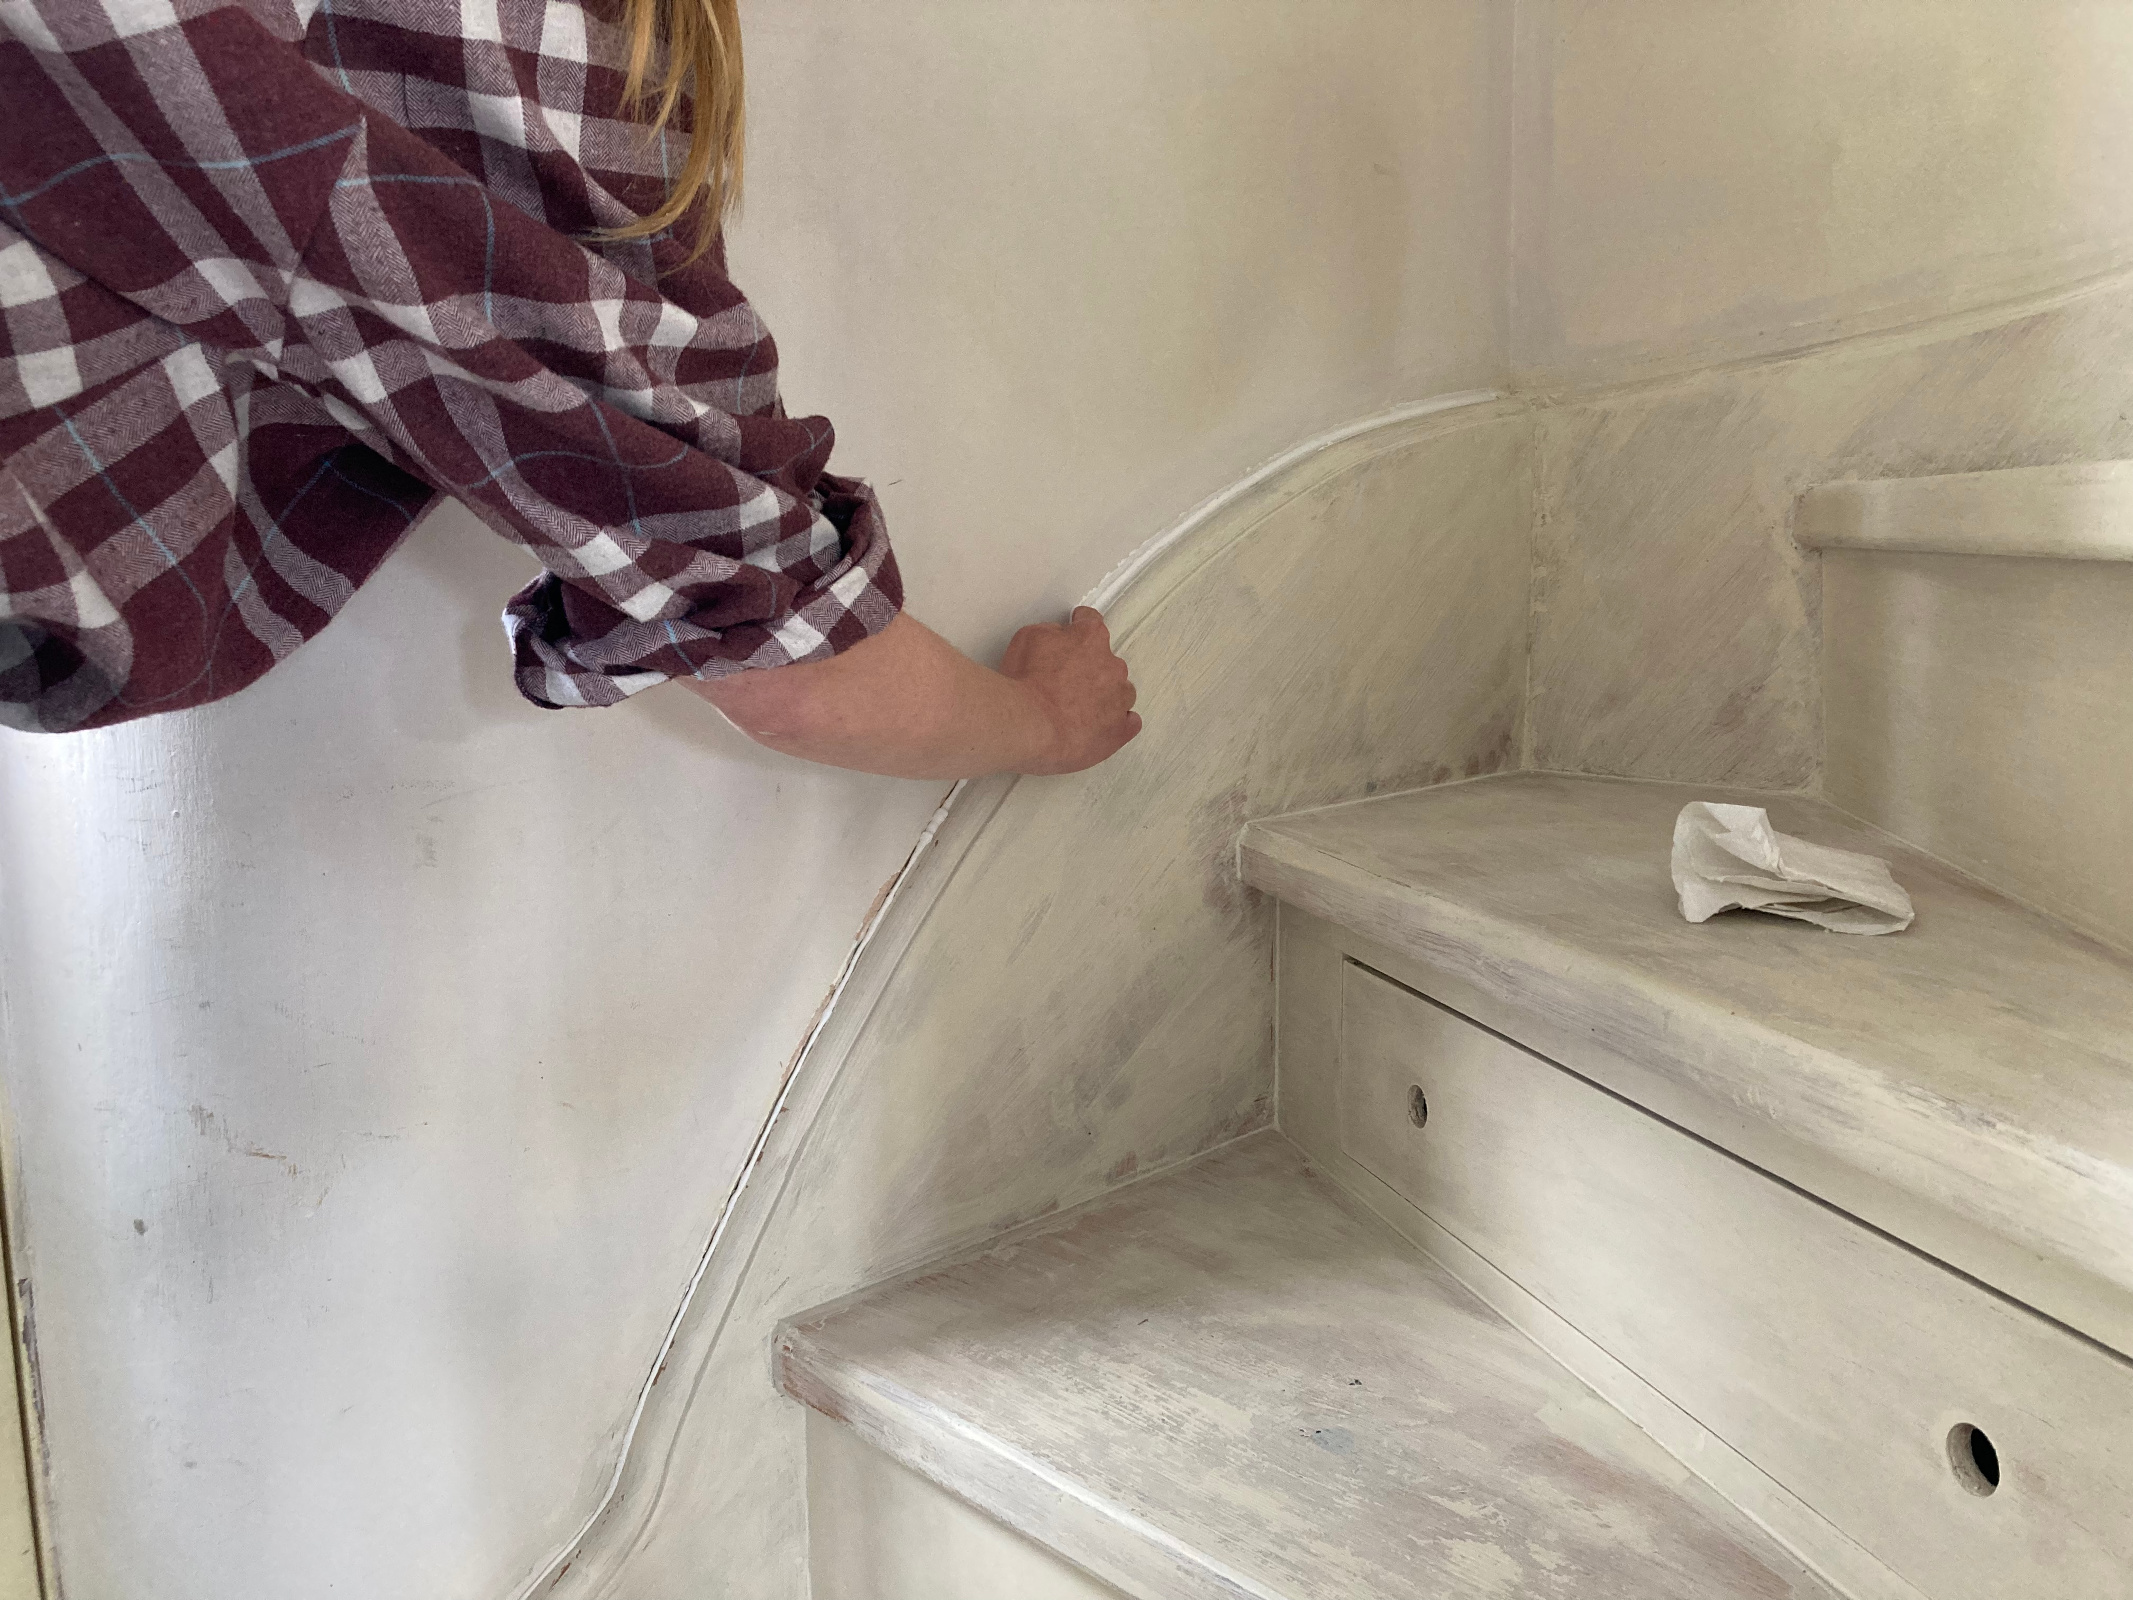
6. Smooth it out
Now comes the bit I find most therapeutic – smoothing the caulk. Lots of people find a damp sponge is the best tool for this, but I use my finger. It is a personal preference and will also depend on how big and dextrous your fingers are!
Use the damp sponge (or finger) to smooth the caulk into the gap. Apply gentle pressure and move in the same direction as you did with the caulk gun. Pause if your sponge becomes too covered in excess caulk as this will end up back on the wall and trim if you don't. Clean your sponge off in water, or wipe bigger lumps of caulk onto an old cloth or kitchen paper. If you do have to pause, go back to just before where you left off to make the line of caulk as smooth as possible.
You will notice the caulk will build up as you move along – this is why we leave a gap at the end so you can finish it off neatly with what is left on your smoothing tool.
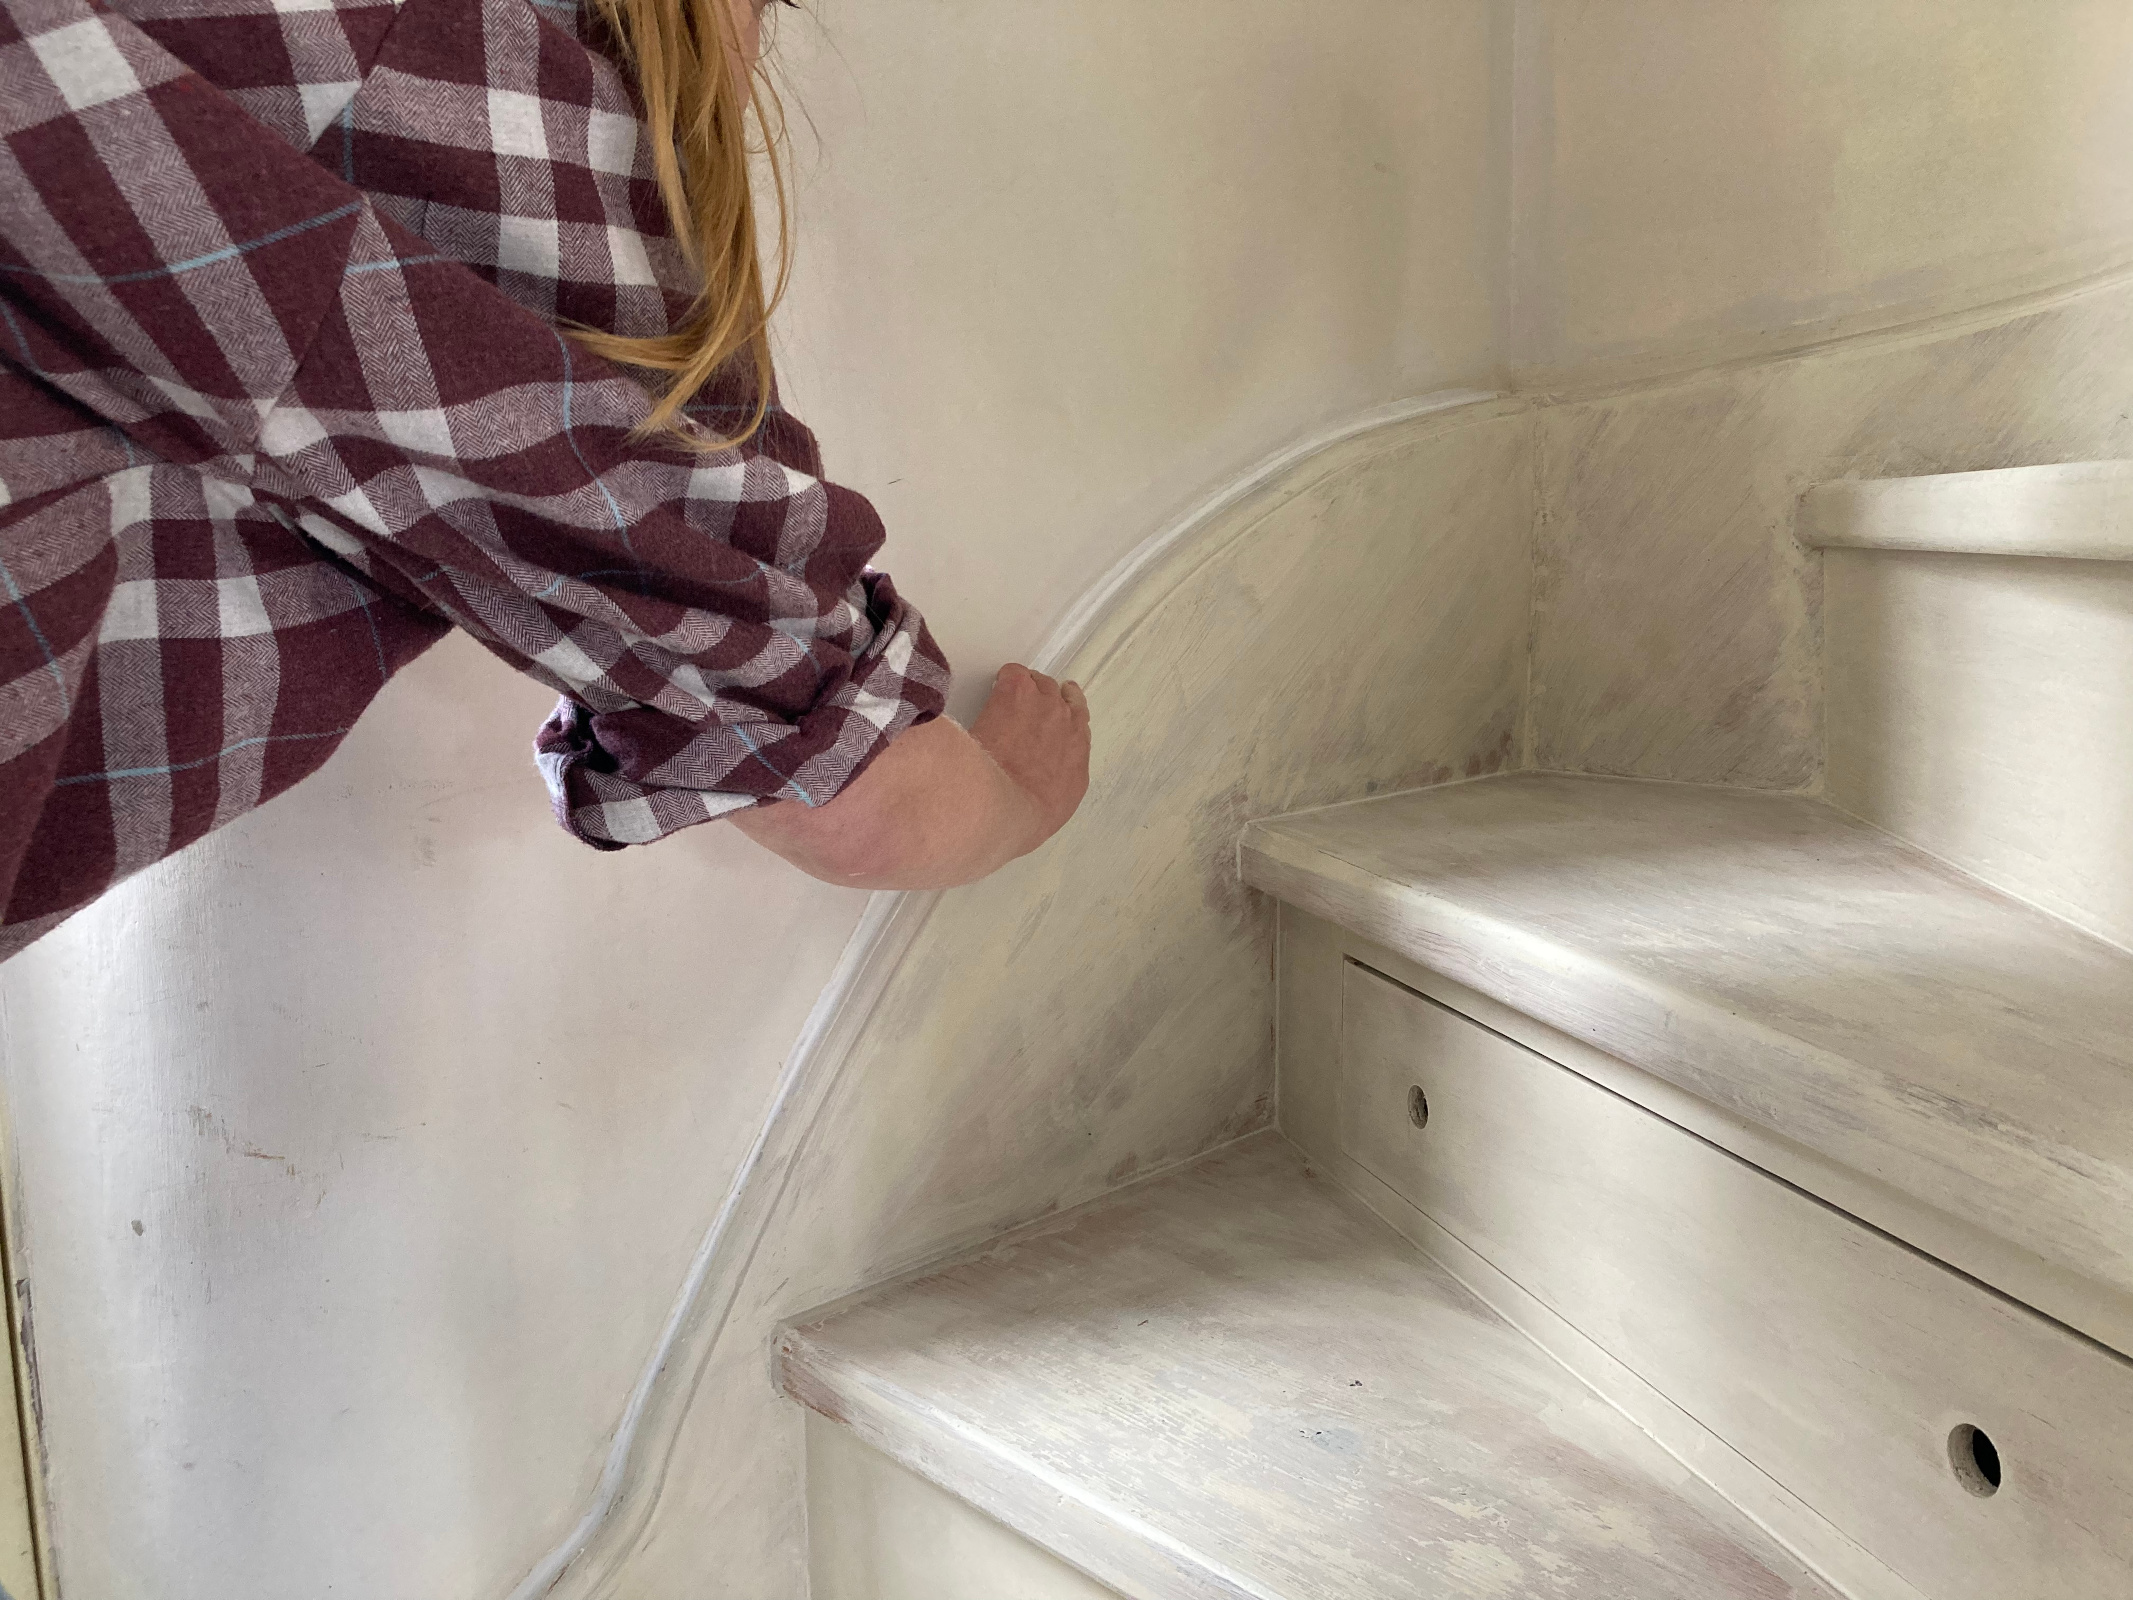
A second pass neatens up any excess caulk
7. Clean the edges
If you get a bit of a ridge of caulk it is a sign you used a little too much, so go more sparingly on your next run. However, you can tidy this up by doing another pass with your sponge or finger to remove excess and neaten the edge. Just be careful not to rework too many times and don't scrub off too much caulk.
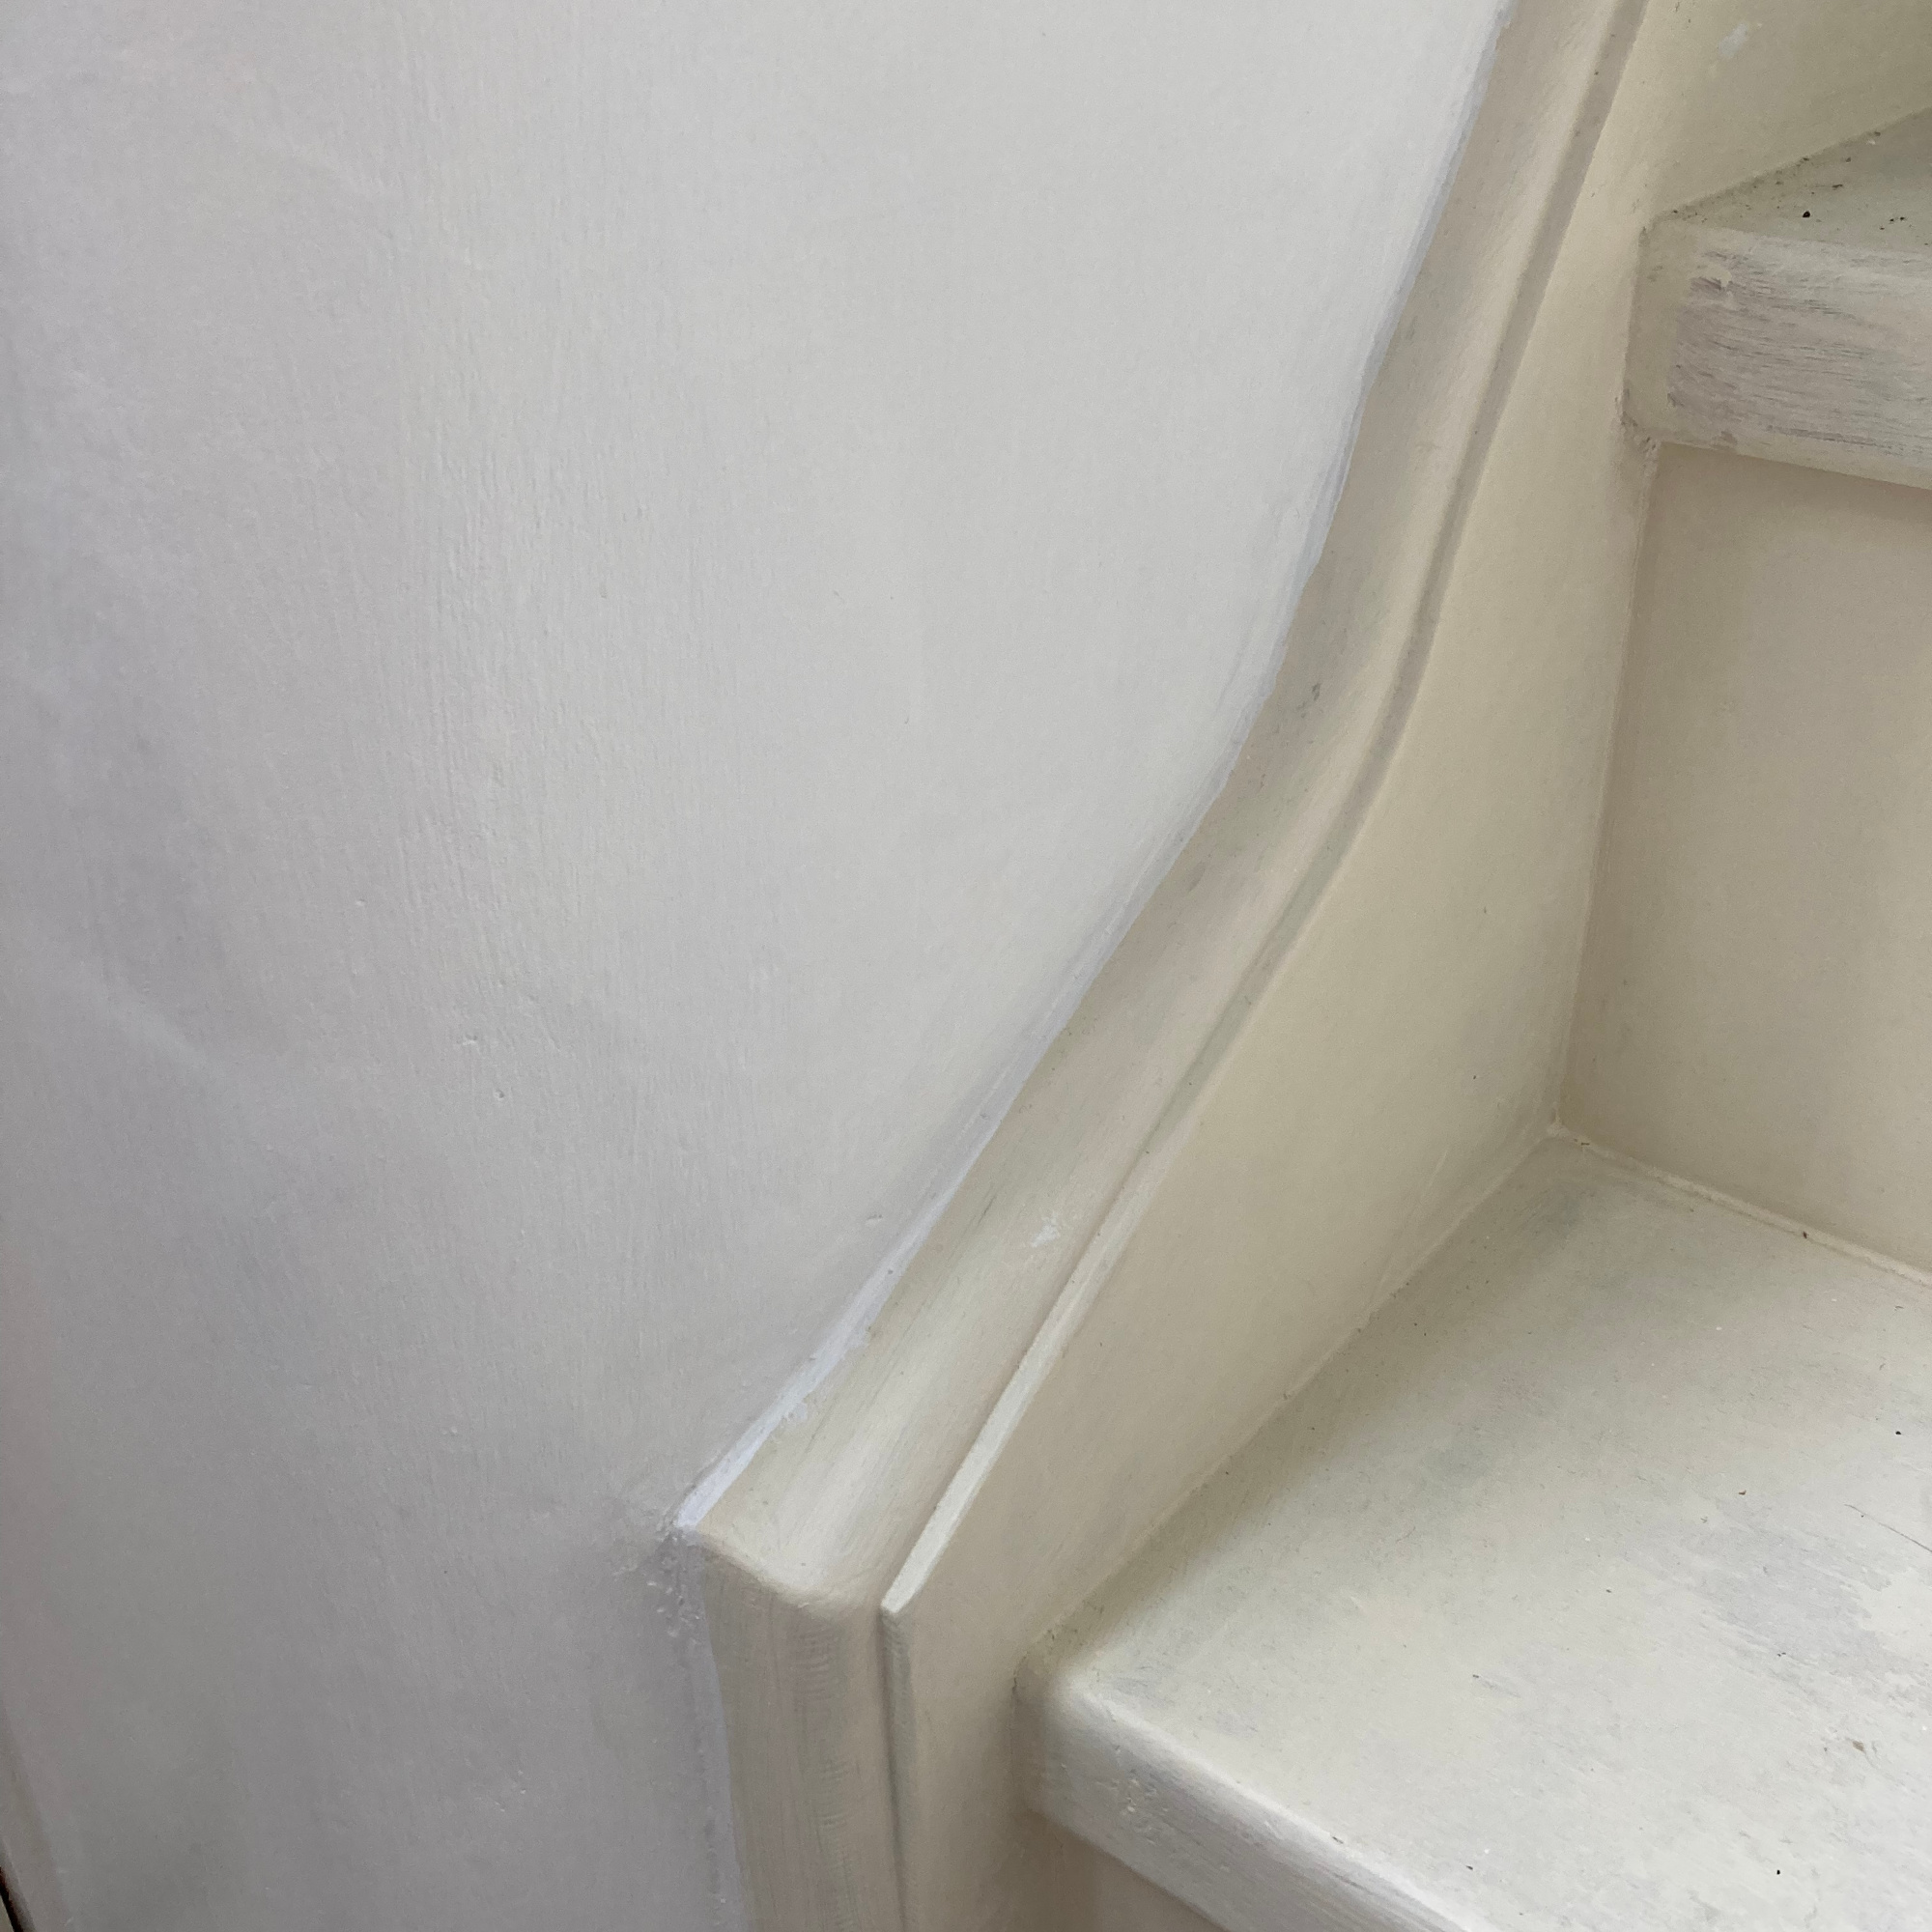
8. Caulk the next edge
Because caulk starts to dry fairly quickly, it is best to caulk a line, then smooth, then move to the next bit. If you are caulking corners and baseboard in a room, start from top to bottom, finishing with the last bit of baseboard/skirting.
Where you can, work on adjoining corners in close succession so that the caulk is still workable.
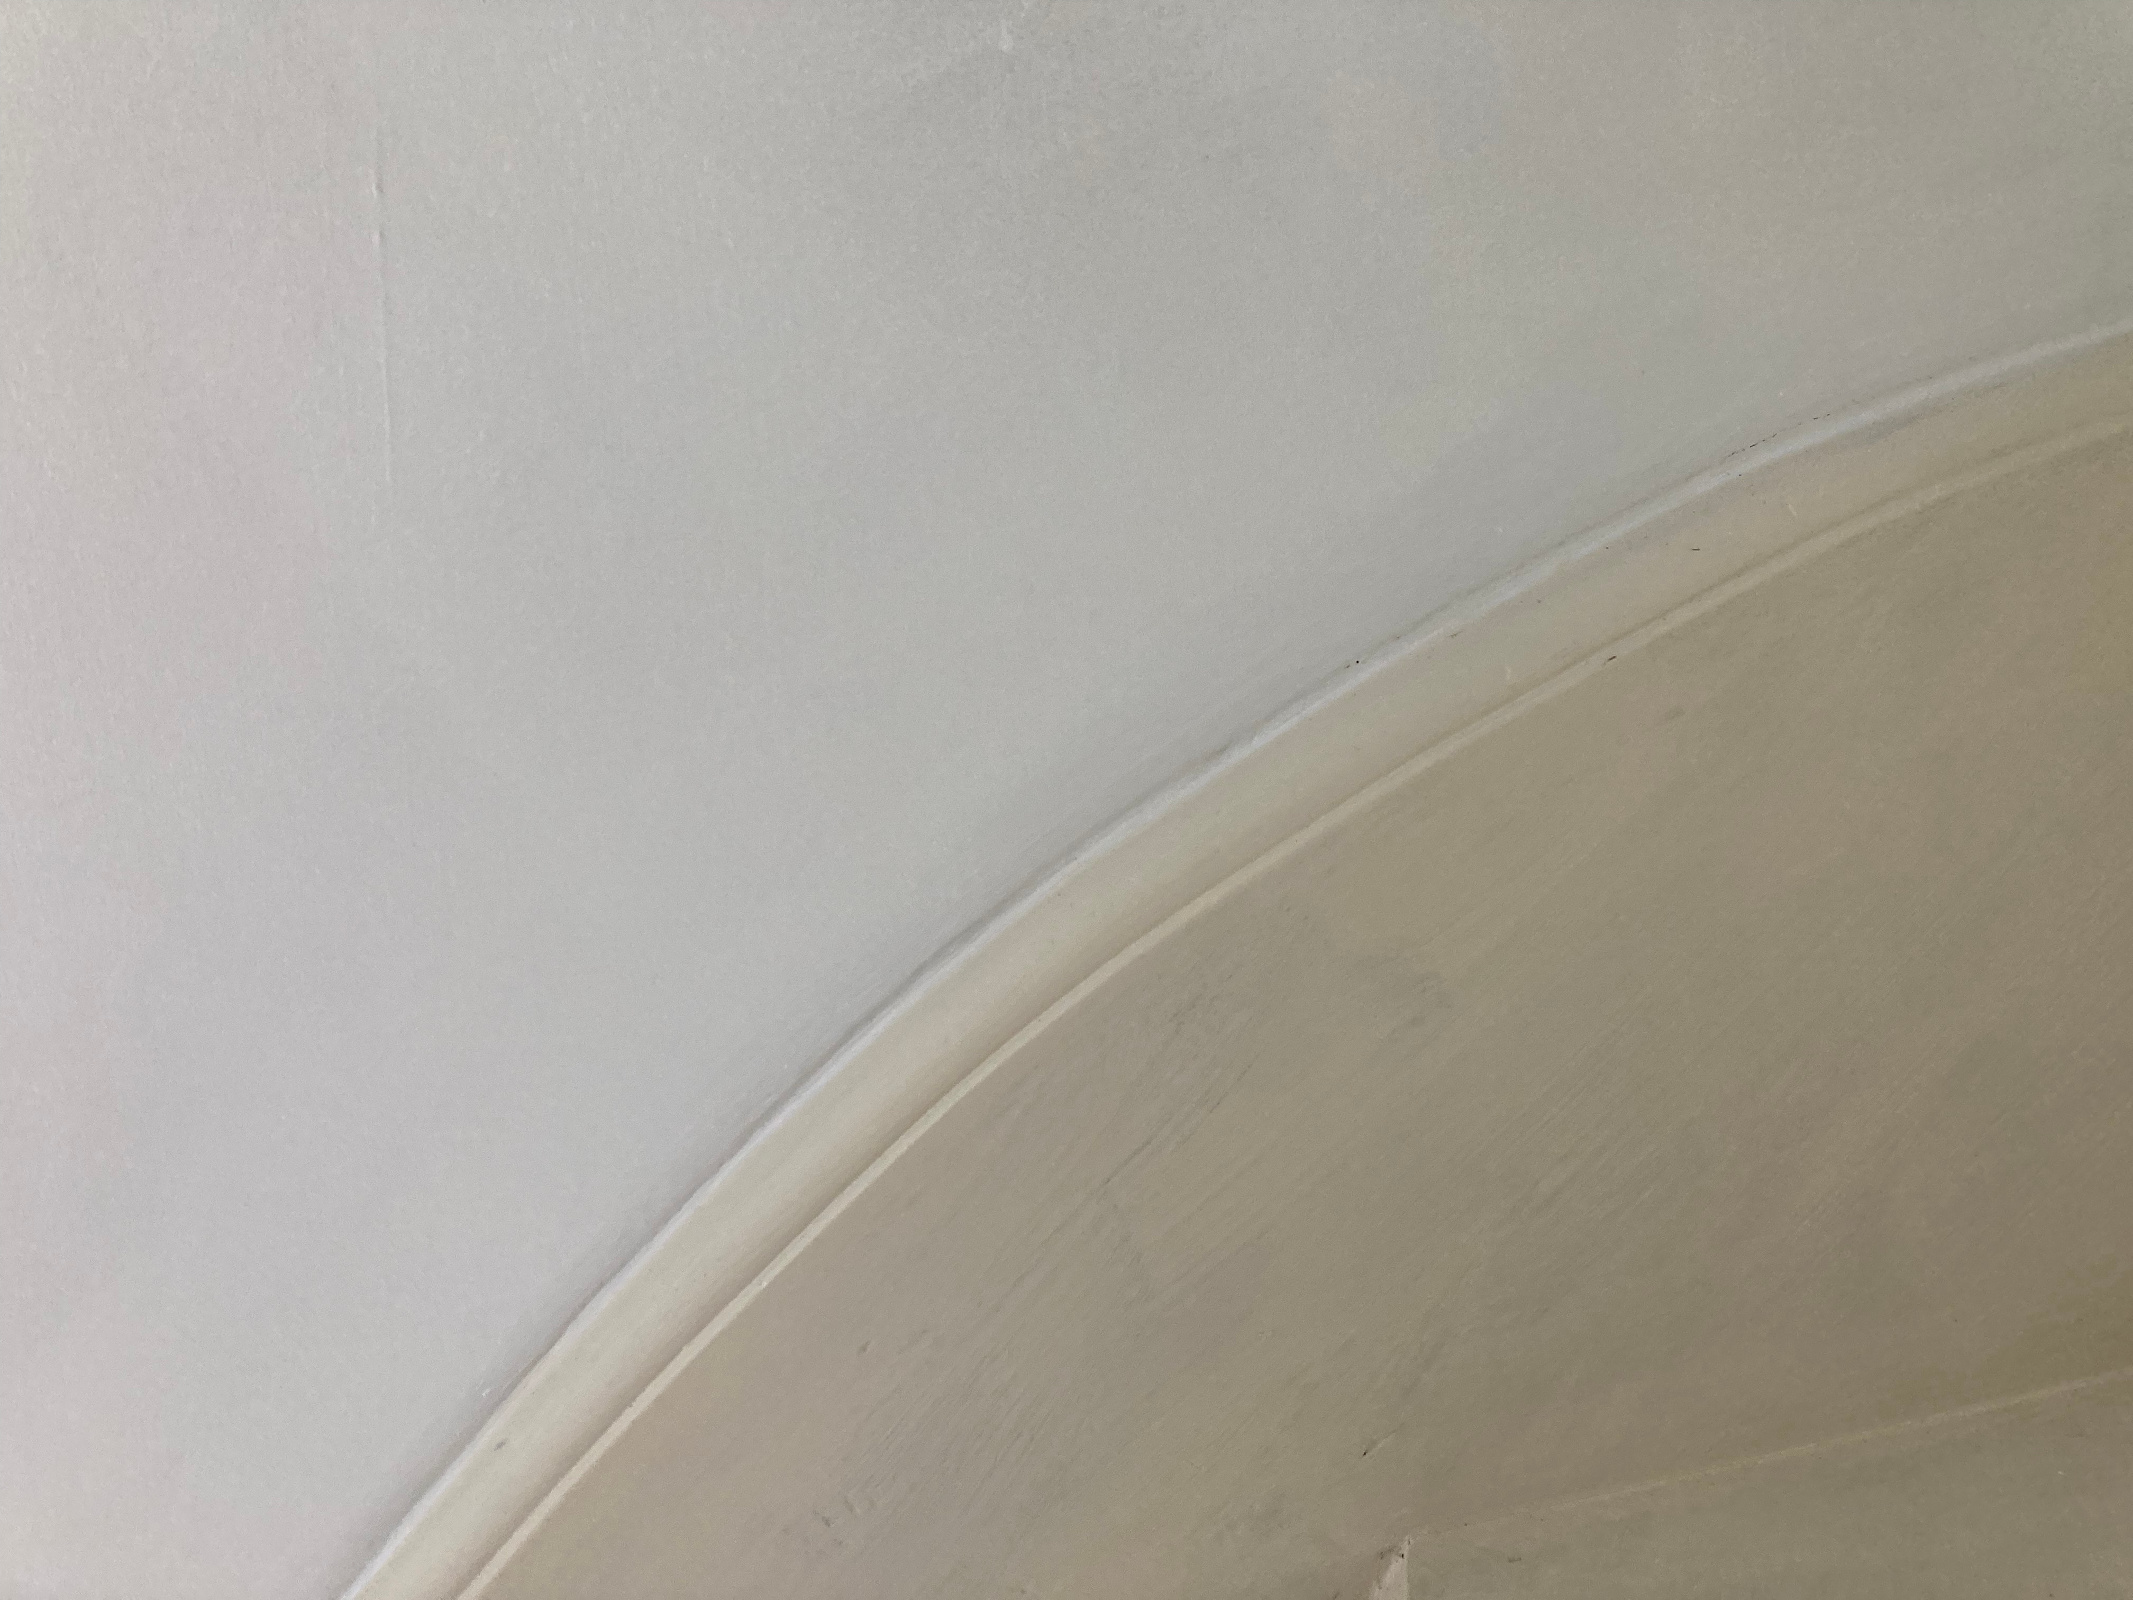
The finished result will be a smooth line that will be ready to paint once dry
How to caulk large gaps
In old homes, there are sometimes large gaps between the baseboard and wall that are unavoidable. Caulk can only fill gaps up to about 1/4 of an inch. Anything bigger will need back-filling first or fixing with another method.
To back-fill, your aim is to create a new surface for the caulk to bed against. You can do this by plugging the gap with foam rods, newspaper or kitchen paper. Fill the space, then run a preliminary bead of caulk along it to fix it. Let this dry before building more on top until you can create a flush line of caulk.
Is there a difference between caulk and sealant?
Sealant is more elastic and waterproof than caulk. Caulk including acrylic does have a certain amount of flexibility, but can shrink and crack over time. This is why you might find you need to re-caulk a space after a few years, especially if the caulking was to new walls that may have settled.
Although people talk about 'caulking' a bathtub or round a sink, what they actually mean is that they are filling the gap with sealant. This sealant is silicone-based and as well as being waterproof and suited to bathroom use, or exterior application, it offers plenty of flex and is suited to spaces that may contract or expand. This means when you use it around a bath it allows for the slight movement that occurs when you fill the bath and get in it.
Join our newsletter
Get small space home decor ideas, celeb inspiration, DIY tips and more, straight to your inbox!

Lindsey is Editor of Realhomes.com and Editor in Chief for Home Ecommerce at Future. She is here to give you aspirational, yet attainable ideas for your home and works with her team to help you get the best buys, too. She has written about homes and interiors for the best part of a decade for brands including Homes & Gardens, Ideal Home and Gardeningetc and isn't afraid to take the inspiration she finds at work into her own space – a Victorian terrace which she has been (slowly) remodelling for the last eight years. She is happiest sipping a cup of tea with a cat on her lap (if only she had a cat).
-
 A $200 fluted panel transformed my drab kitchen in just one weekend
How to install a fluted kitchen panel: A speedy and achievable DIY tutorial even for DIY novices
By Claire Douglas
-
 How to replace a broken staircase spindle in 30 minutes flat
A missing or broken spindle on a staircase is not only unsightly, but it can be a real hazard. This is how to fix it in a few quick steps.
By Kate Sandhu
-
 An IKEA Billy bookcase hack inspired this cute media wall DIY
This cute DIY was inspired by an IKEA Billy bookcase hack and brought a ton of symmetry to an otherwise basic media wall space.
By Camille Dubuis-Welch
-
 Share your small space glow up to win $150 in the Real Homes competition
Show off your creativity and DIY skills to win $150 and for the chance to be featured exclusively in Real Homes magazine
By Camille Dubuis-Welch
-
 This oversized headboard looks designer, and takes 5 steps to DIY
Super simple to DIY, this oversized headboard will give your bedroom space all the designer vibes you could dream of.
By Claire Douglas
-
 My DIY range hood and backsplash build gave my kitchen the perfect farmhouse finish
I craved charm in my kitchen space and adding a custom range hood and shelving was the best move.
By Brooke Waite
-
 How to paint a radiator in 7 steps
Painting radiators properly is all about choosing the right paint and the best process. Get interior designer-worthy results with our how-to.
By Kate Sandhu
-
 How to install a door knob
Updating your interior and exterior doors can be as easy as changing out the hardware! The best part is that installing a door knob is very DIY friendly. Follow these simple steps and enjoy a fresh look on your doors!
By Dori Turner