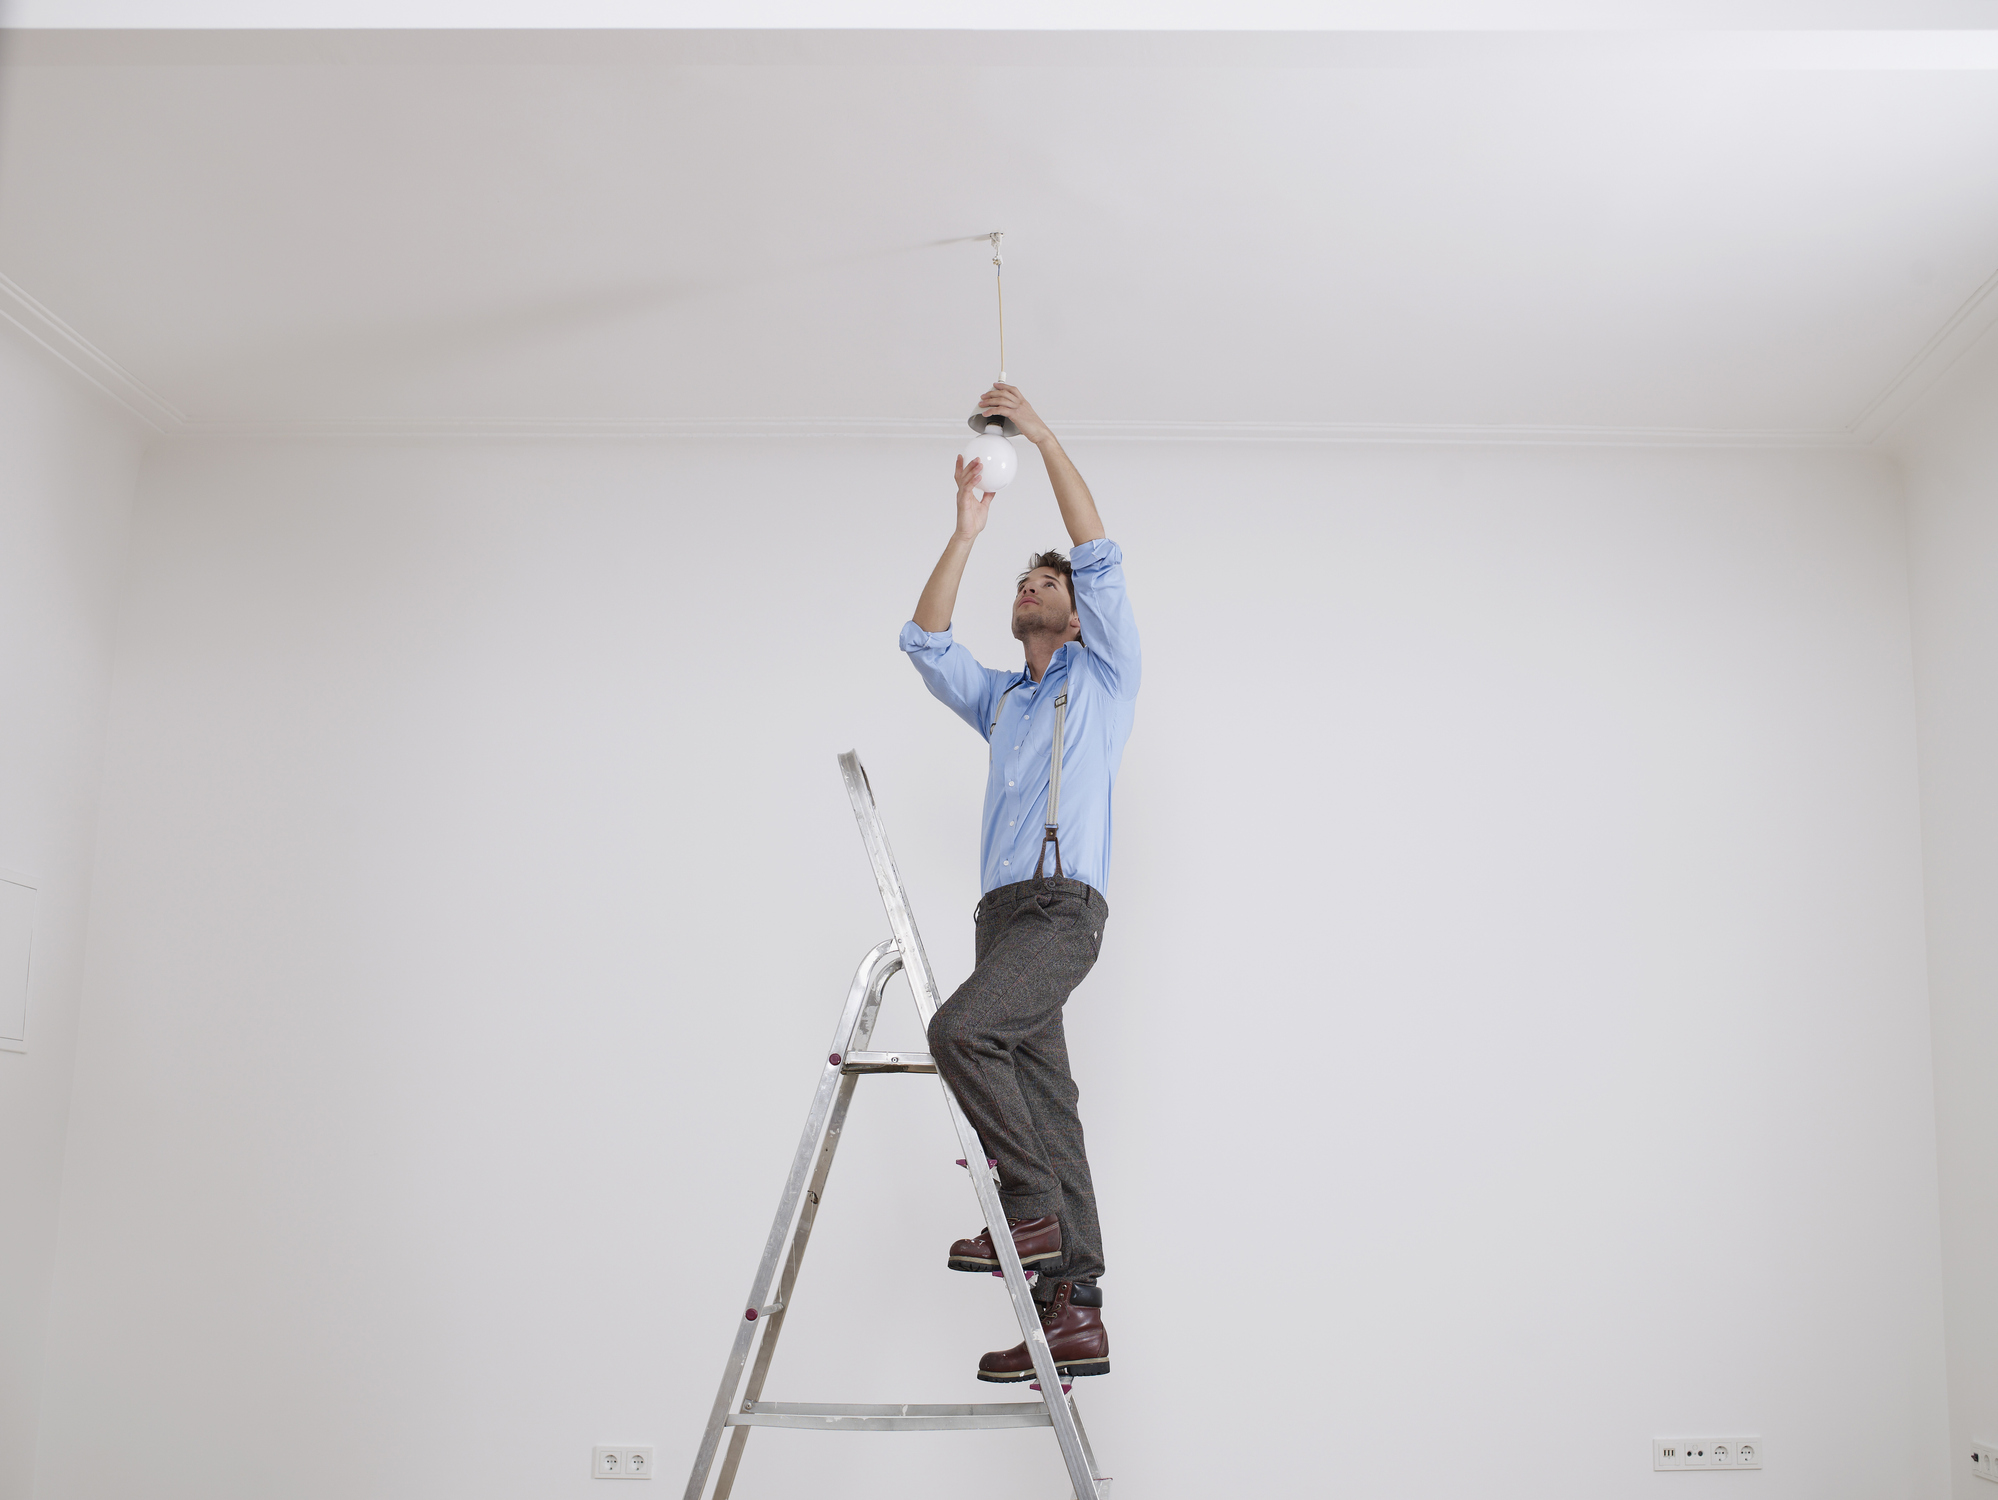
Ceiling-mounted light fixtures are tasked with a lot. Not only do they have to provide adequate general lighting, but they also have to look good too. A dated light fixture, like tired paint or old wallpaper, can age a room. But, good news!, unlike those coverings, changing a light fixture only takes about an hour so.
Floor and table lamps are easy to replace when freshening up a space, but if you haven’t shopped for a ceiling-mounted fixture, you’d be surprised by the variety. From a bedroom to the kitchen or a home office, there is a ceiling fixture to match any architectural style.
Aside from recessed lights, which are tucked into the ceiling, the lights that hang from the ceiling come in a few different styles. Flush and semi-flush mounts are the most common and least expensive. These hang just on the surface of the ceiling or are suspended a few inches below it, usually on fixed arms. Chandeliers and pendants, a group sometimes called hanging lights, can be much larger and typically what you’ll find in dining rooms or foyers with higher ceilings to accommodate a long hanging chain or down rod.
Regardless of the type of light you have in mind, if you're wondering how to change a light fixture, we've put together a step-by-step guide, below.
- Need some inspiration? Check out our favorite living room lighting ideas.
Do I need an electrician to change a light fixture?
Typically no. If you already have an existing light fixture that works well, and you can reach it easily with a step stool or a ladder, then replacing it with a new fixture is a pretty easy wiring process.
Still, there are a couple of instances when leaving the job to a pro makes more sense:
- If you know your house has aluminum wiring, you’ll want to leave it to a licensed electrician familiar with that kind of wiring.
- If the new fixture is too big or heavy for you to install safely, you’ll want to have a second pair of hands helping, or hire an electrician.
- Lastly, homes built before 1985 have wiring that isn't always comparable to modern light fixtures, which might generate too much heat for the insulation wrapped around the wires. If this describes your house, shop for a fixture that does not include a sticker saying it's approved for use with wire rated to at least 90 degrees C.
What tools will I need to change a light fixture?
Modern light fixtures come with brackets, wires, and the wiring nuts you’ll need for installation. However, your light might not be compatible with the electrical box in your ceiling so pick up a pack of extra metal mounting brackets just in case. Fixtures are often packed with cheap all-plastic wiring nuts, so get a pack of metal and plastic wiring nuts with varying sizes—they'll bite onto the wires better. You’ll need a pair of wire strippers, a multi-bit screwdriver, safety glasses, a work light, some electrical tape, and a non-contact voltage detector. You’ll likely need some sort of step stool or ladder too.
- See also: DIY home repairs - 38 quick fixes everyone can and should DIY
How to change a light fixture step-by-step
Once you're confident your project is a good DIY candidate and you have the proper tools in place, here's how to go about changing the light fixture.
Step 1: Shut the power is off to the fixture
The first step is to ensure you'll be able to work on the light safely. Head to the electrical panel, find the switch that controls the power to the light you’ll be working on. Flip the switch to the off position. Then head to the light fixture and set up a ladder or step stool. Now turn off the wall switch that controls the light fixture you’ll be working on, too.
Step 2: Take down the old light and confirm the power is off
Start by removing the existing fixture’s shade or cover, then the bulbs. Then remove the trim holding the fixture's canopy to the ceiling—there are usually one or two decorative caps or screws. Sometimes the electrical box in the ceiling might house wires from other circuits so, while you flipped the breaker, some wires might still be live.
With the fixture hanging down from the ceiling and the wiring exposed, hold a non-contact voltage detector onto each of the wires before undoing any of the nuts. If the detector lights up, one or more of the wires still has power. Head back down to the basement to flip more breakers off, then return to the fixture with the detector to confirm the other wires are not carrying electricity.
Step 3: Take a photo
With the fixture hanging off the ceiling, remove any electrical tape around the connections and take a photo of how the light was wired, making sure the colors of connected wires are clear. Now unscrew the wire caps and remove the old fixture, setting it aside.
- See also: How to change a lightbulb
Step 4: Check the box
It’s good practice to make sure the box is securely mounted to the structure above the ceiling. Give the box a wiggle, if it moves, tighten the screws holding it in place. The box also has to be grounded to meet the building code. If the box in the ceiling is an older metal style it might not have a bare copper or green-coated copper ground wire.
You can add a ground wire to the box, but first, check that the box itself is grounded. To do that, turn the circuit back on at the breaker, then using a circuit tester with two probes. Touch one to the box’s hot wire (usually black or red) and the other to the metal box itself. The tester should indicate the box is grounded. If it’s not, you’ll want to call an electrician to ground it—that’s not a job for most DIYers.
Step 5: Prep for the new fixture
Start by adding the new mounting bracket that came with your fixture to the electrical box. Typically, these have a hollow threaded rod that extends down that will eventually support the weight of the fixture. Before you get to re-wiring the box, have a partner hold the fixture while you make the connections, or if you’re working solo, hook the fixture to the bracket with a length of coat hanger or a scrap piece of wire. Taking the weight of the fixture out of your hands frees you up to make the connections easily.
Step 6: Wire it correctly
Follow the light manufacturer’s directions for wiring the fixture to your house. If you get confused, consult the photo you took earlier. Typically, you’ll wire the fixture’s black hot wire to the box’s black wire, then the neutral white to white, and finally the fixture’s grounding wire, which is usually bare copper or green, to the electrical box’s grounding screw or wire. Use the wire strippers to remove the wire insulation so about 5/8-inch of the bare copper is exposed. Then hold the two wires you want to join together, place a wire nut onto each of them and twist them together with a few turns. Repeat for the other wire. Then wrap the fixture’s ground wire around the box’s green grounding screw or the ground wire. Wrap the wire-to-wire connections with electrical tape, starting just below the nut and wrapping a couple of times around it.
Step 7: Finish installing the fixture
With the fixtures supported, push the wires up into the box above the mounting bracket. Use the light’s hardware to attach the fixture’s base or canopy to the electrical box. Tighten the hardware so the light is snug to the ceiling. Install the included or recommended light bulbs. Now head back to the circuit breaker and restore power to the fixture and flip on the light switch in the room. If the light turns on, then finish the installation by adding any trim and cover pieces. If the light does not turn on, shut the power off at the breaker and the light switch and check your connections. If your fixture hangs from a chain, you might need to remove a few to dial in the right height.
Join our newsletter
Get small space home decor ideas, celeb inspiration, DIY tips and more, straight to your inbox!
Sal Vaglica has been covering all aspects of home improvement for over 10 years, for publications like The Wall Street Journal, This Old House, and Men's Journal.
-
 Interior designer reveals the one thing you shouldn't overlook when renovating a room
The kind of lightbulb you use can drastically change how a space feels
By Millie Hurst Last updated
-
 How to fix a garbage disposal – 5 common problems and the best solutions
See how to fix a garbage disposal that is humming or simply not working as it should. These are the 5 most common problems and fast solutions.
By Sarah Warwick Published
-
 Frozen pipes? What to do and how to stop them from bursting
Prevent frozen pipes and the ensuing chaos (and hefty bills) in your home with these easy tips
By Alison Jones Published
-
 Water damage repair in a house – the cost to fix it and where to start
Need to make water damage repair? Here’s the lowdown from the experts
By Sarah Warwick Published
-
 Leaking pipes – common causes and what to do
How to deal with leaking pipes in your home with advice from the experts
By Sarah Warwick Published
-
 How to seal a granite countertop
Preserve your investment with proper daily care and the right products for cleaning, sealing, and polishing your granite or other natural stone.
By Carol J. Alexander Published
-
 How to replace a toilet
Need a new throne? You can upgrade your bathroom in an hour or so.
By Sal Vaglica Last updated
-
 This 2-step DIY wall sconce hack is all over Insta – this is the Magic Lighting Hack
This is the DIY wall sconce hack that is all over Instagram and you must try it out for yourself. No need for an electrician...
By Hebe Hatton Published