How to clean a blender — blitz leftover bits and lengthen the lifespan of your smoothie maker
Become "best blends for life" by taking care of your appliance

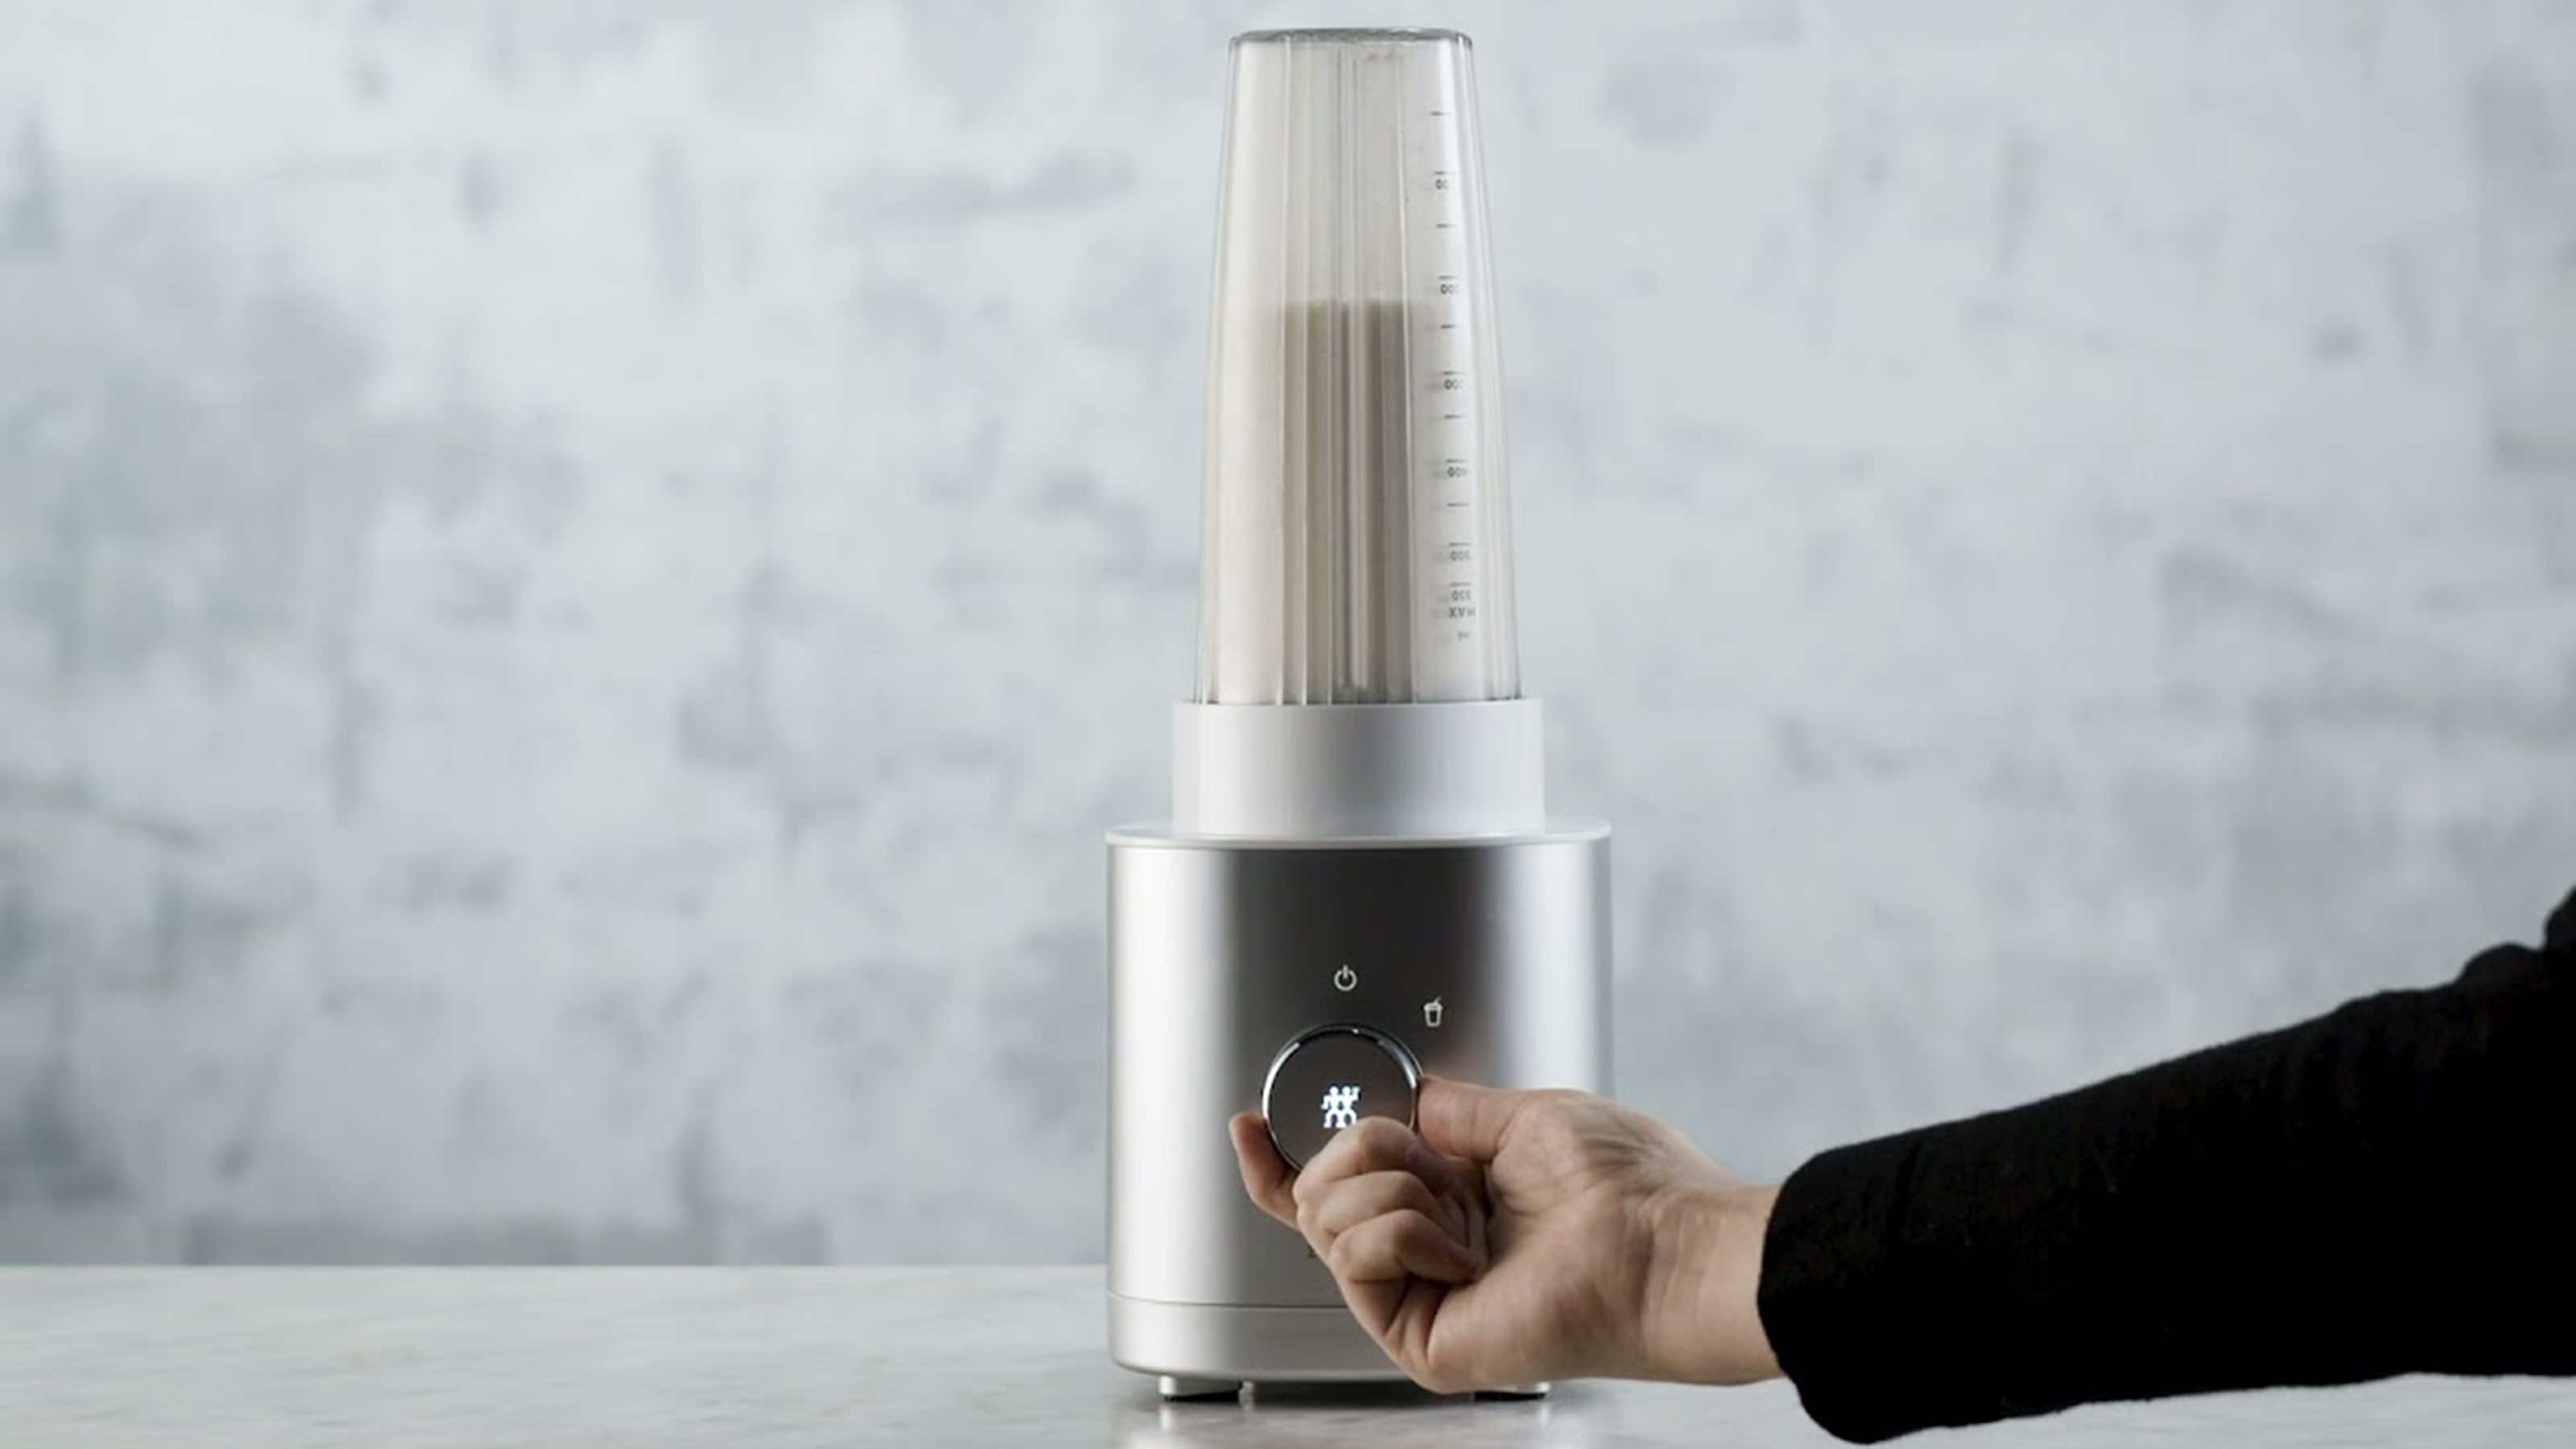
Knowing how to clean a blender after making my protein shake isn't the workout I want after sipping on my supplement. However, I've seen what happens when you forget to wash your whey drink out of the cup after leaving it in the car... and guys, it ain't pretty.
Cleaning a blender after use ensures that it's free from bacteria and that leftover fruit, veggie, and protein bits from your last use don't contaminate the next recipe idea you whip up. Having gunk-free blades means your small kitchen appliance can work efficiently and use less energy, too.
Luckily, you don't need to make a meal out of cleaning your blender, no matter its size. And, you can use the pulse and whizz functions as a cheat code to speed up the process.
How to clean a blender
Good to know
Time: 5–10 minutes
Difficulty: Easy
Helpful hints: We used the Zwilling Enfinigy personal blender to demonstrate how to clean a blender. We appreciate some appliances are made differently, and this particular model comes with a blending cup, a blender lid (with a non-detachable blade), and a base. Always consult your instruction manual or contact your manufacturer if you're unsure. Some blender lids come with detachable blades which make clean-up a little easier.
Here's what you'll need
- Access to a sink with running water
- Dishwasher (optional)
- Dishwashing tablets (optional) — these Cascade tabs have a five-star rating on Amazon
- Your favorite dish soap — has to be Ecover for me!
- A soft sponge or washing-up brush — the Dishmatic is a great gadget
- A soft silicone spatula — like this jar spatula from OXO on Amazon is super handy
- A clean, lint-free microfiber cleaning cloth or some paper towels
- An antibacterial spray (optional) — I like Method's all-purpose spray on Amazon
How to clean a blender
Step 1: Switch off your machine
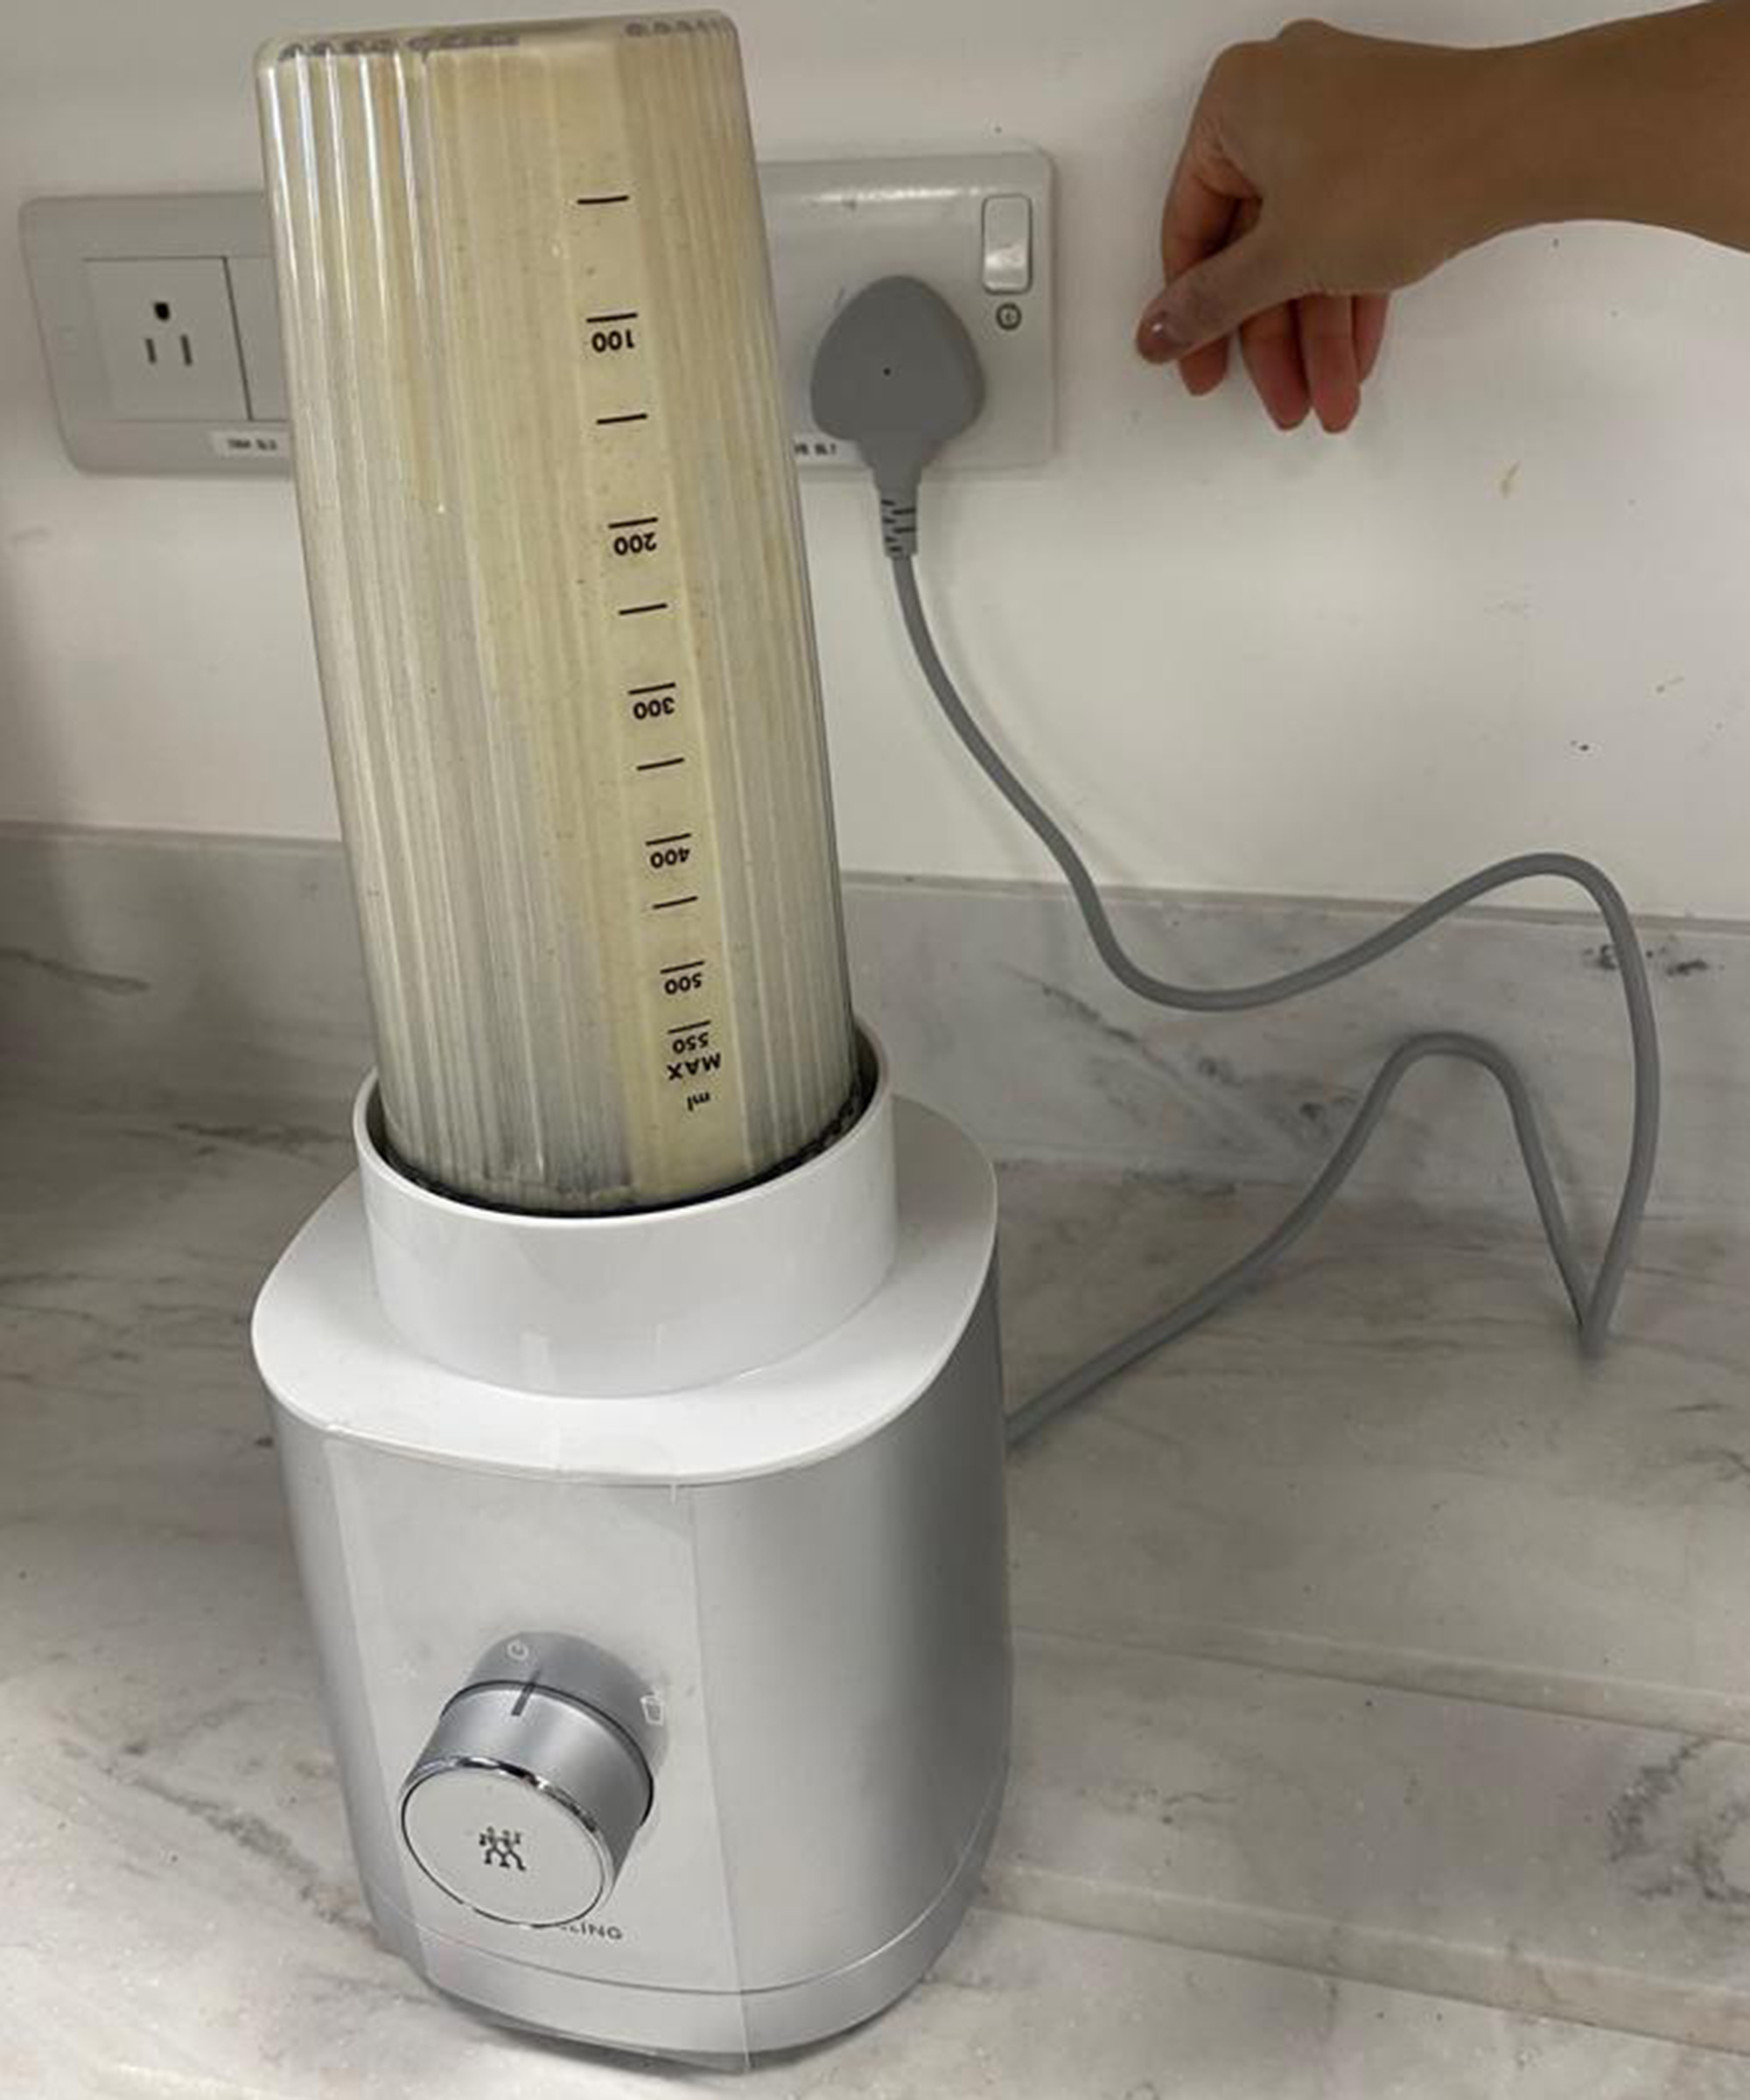
Christina Chrysotomou switching off Zwilling Enfinigy personal blender by the main power source in Reading, UK Future Plc test kitchen
Once you've blitzed the contents of your blender, switch your machine off and unplug it. We made up some waffle batter to demonstrate a real-life scenario.
Get small space home decor ideas, celeb inspiration, DIY tips and more, straight to your inbox!
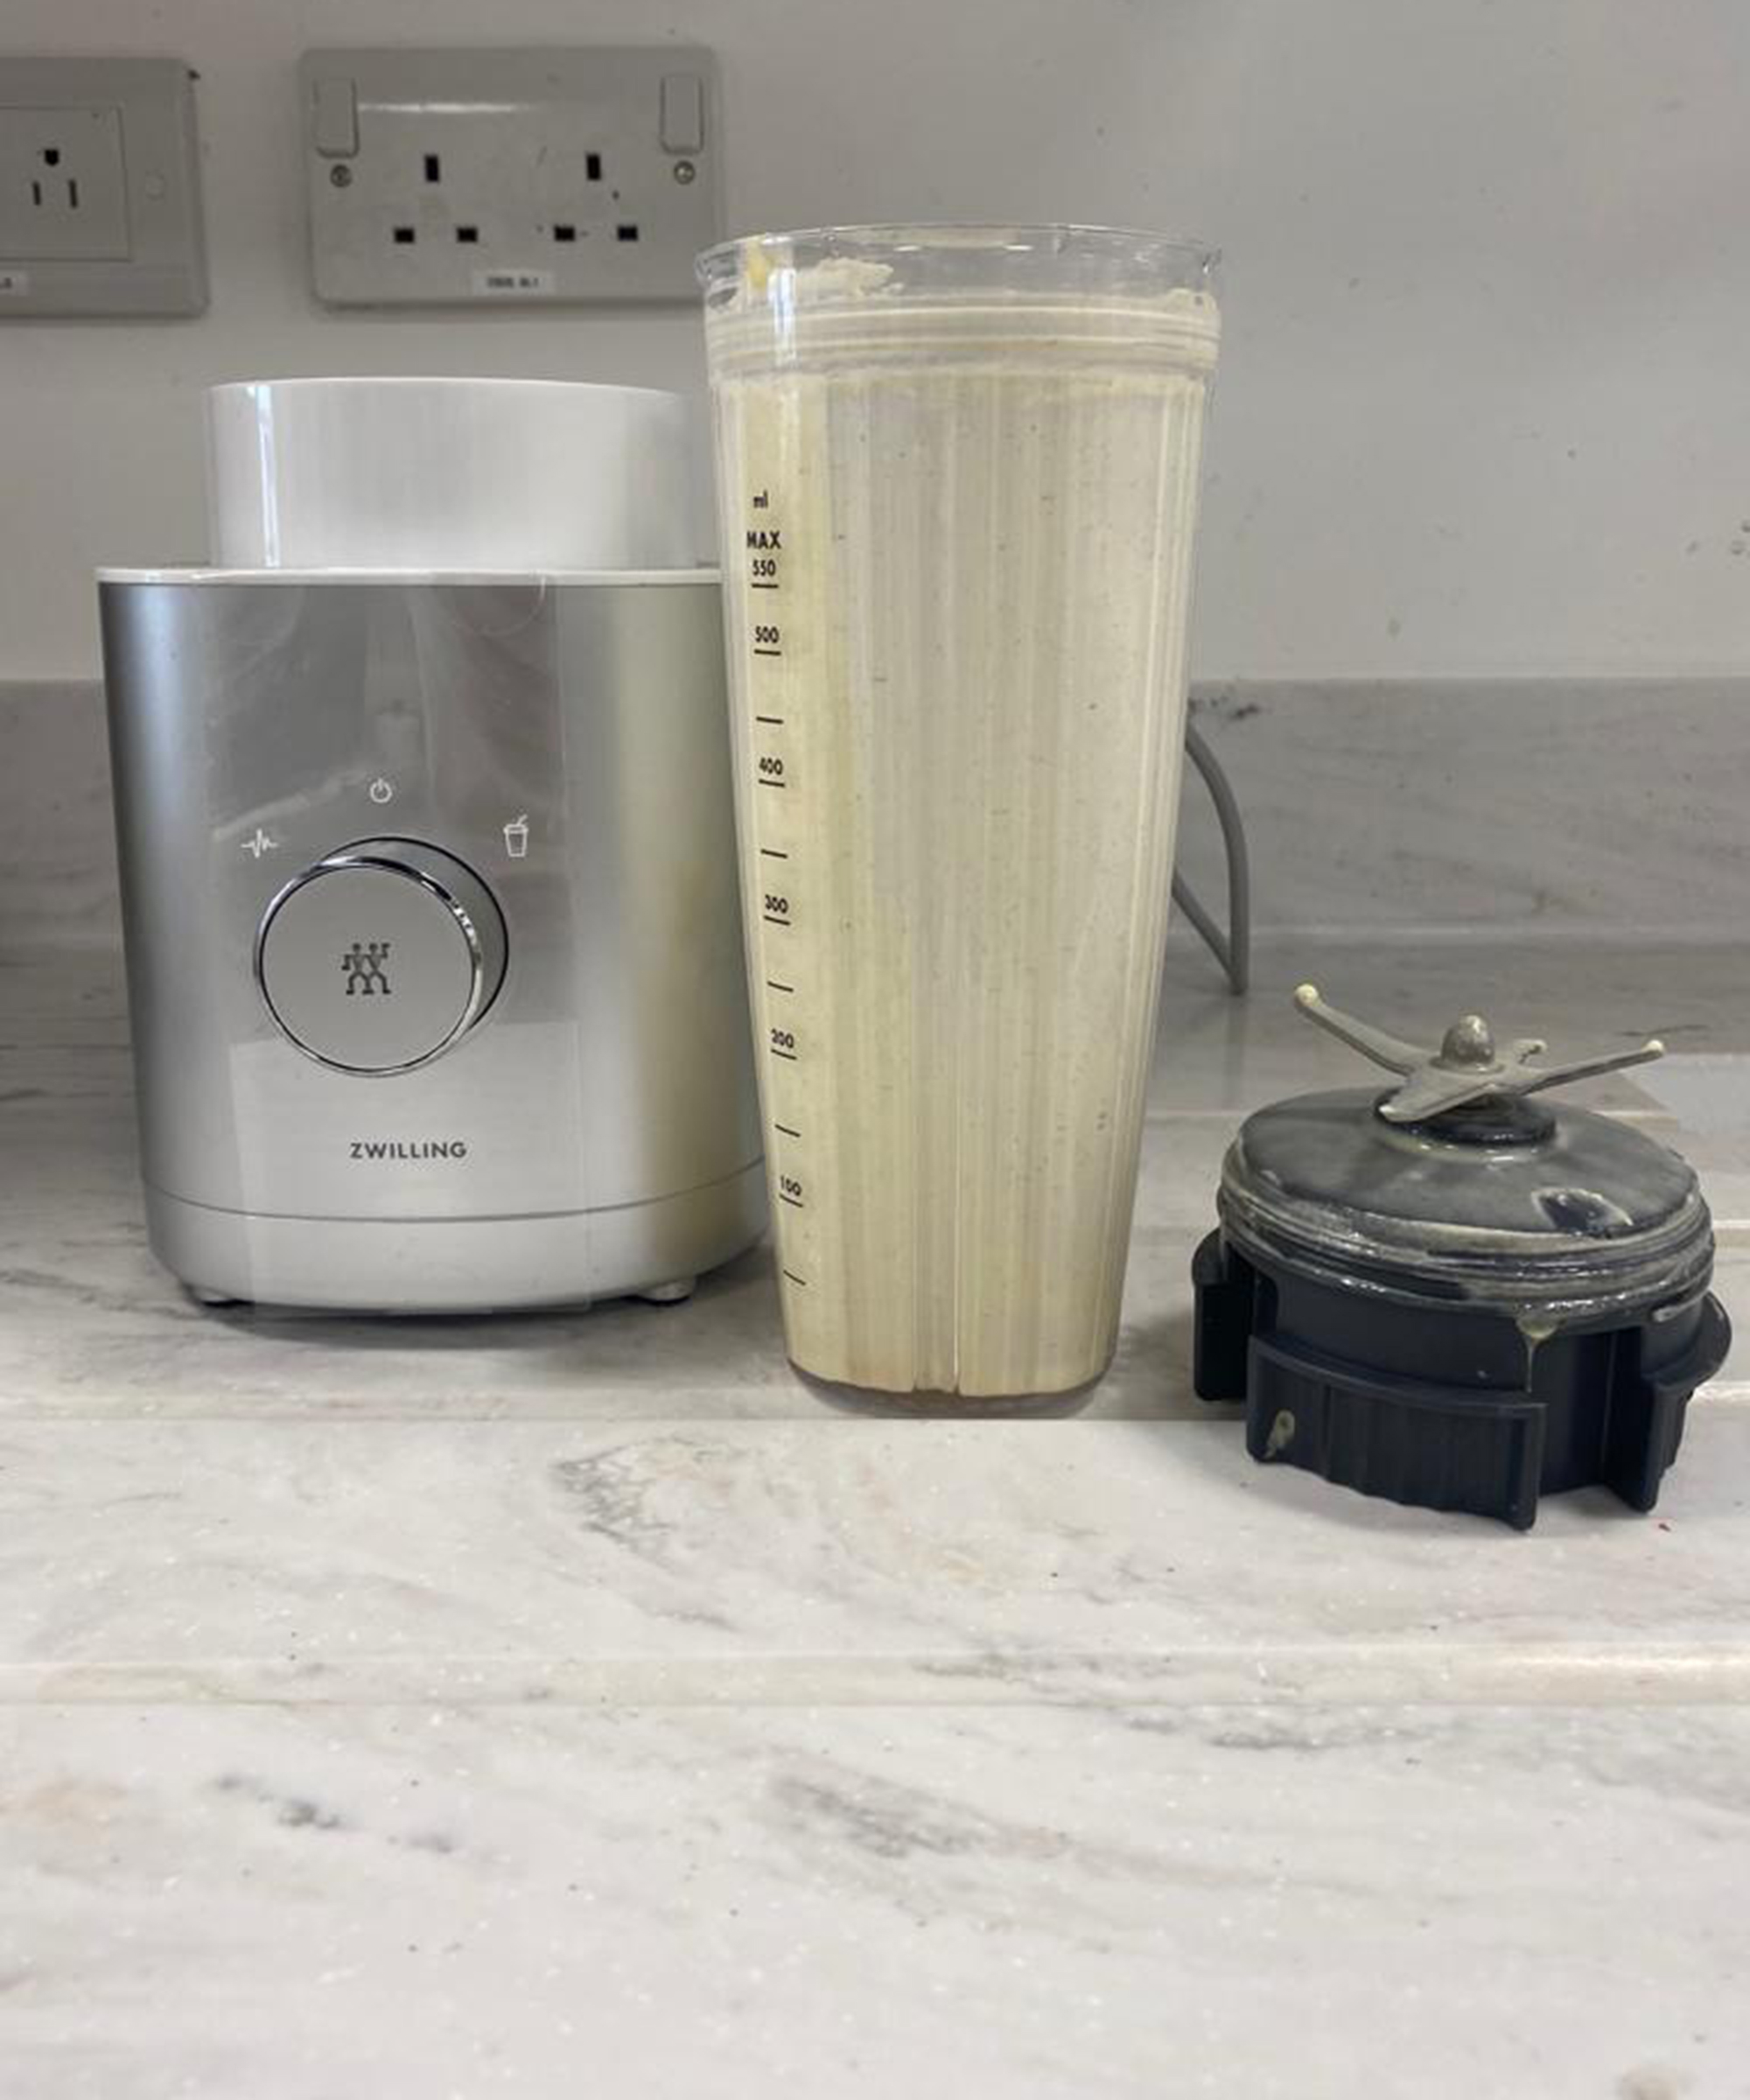
Zwilling Enfinigy personal blender with cup and blender lid detached from base
Twist off the blender blade lid and make sure to scrape out every last bit of food or drink with your spatula to reap the rewards and avoid wasting anything.
Note: A little debris down your kitchen sink (in the next step) is fine, but in an ideal world, you don't want to risk clogging up your sewage system and causing drainage issues.
Step 2: Clean the blender cup
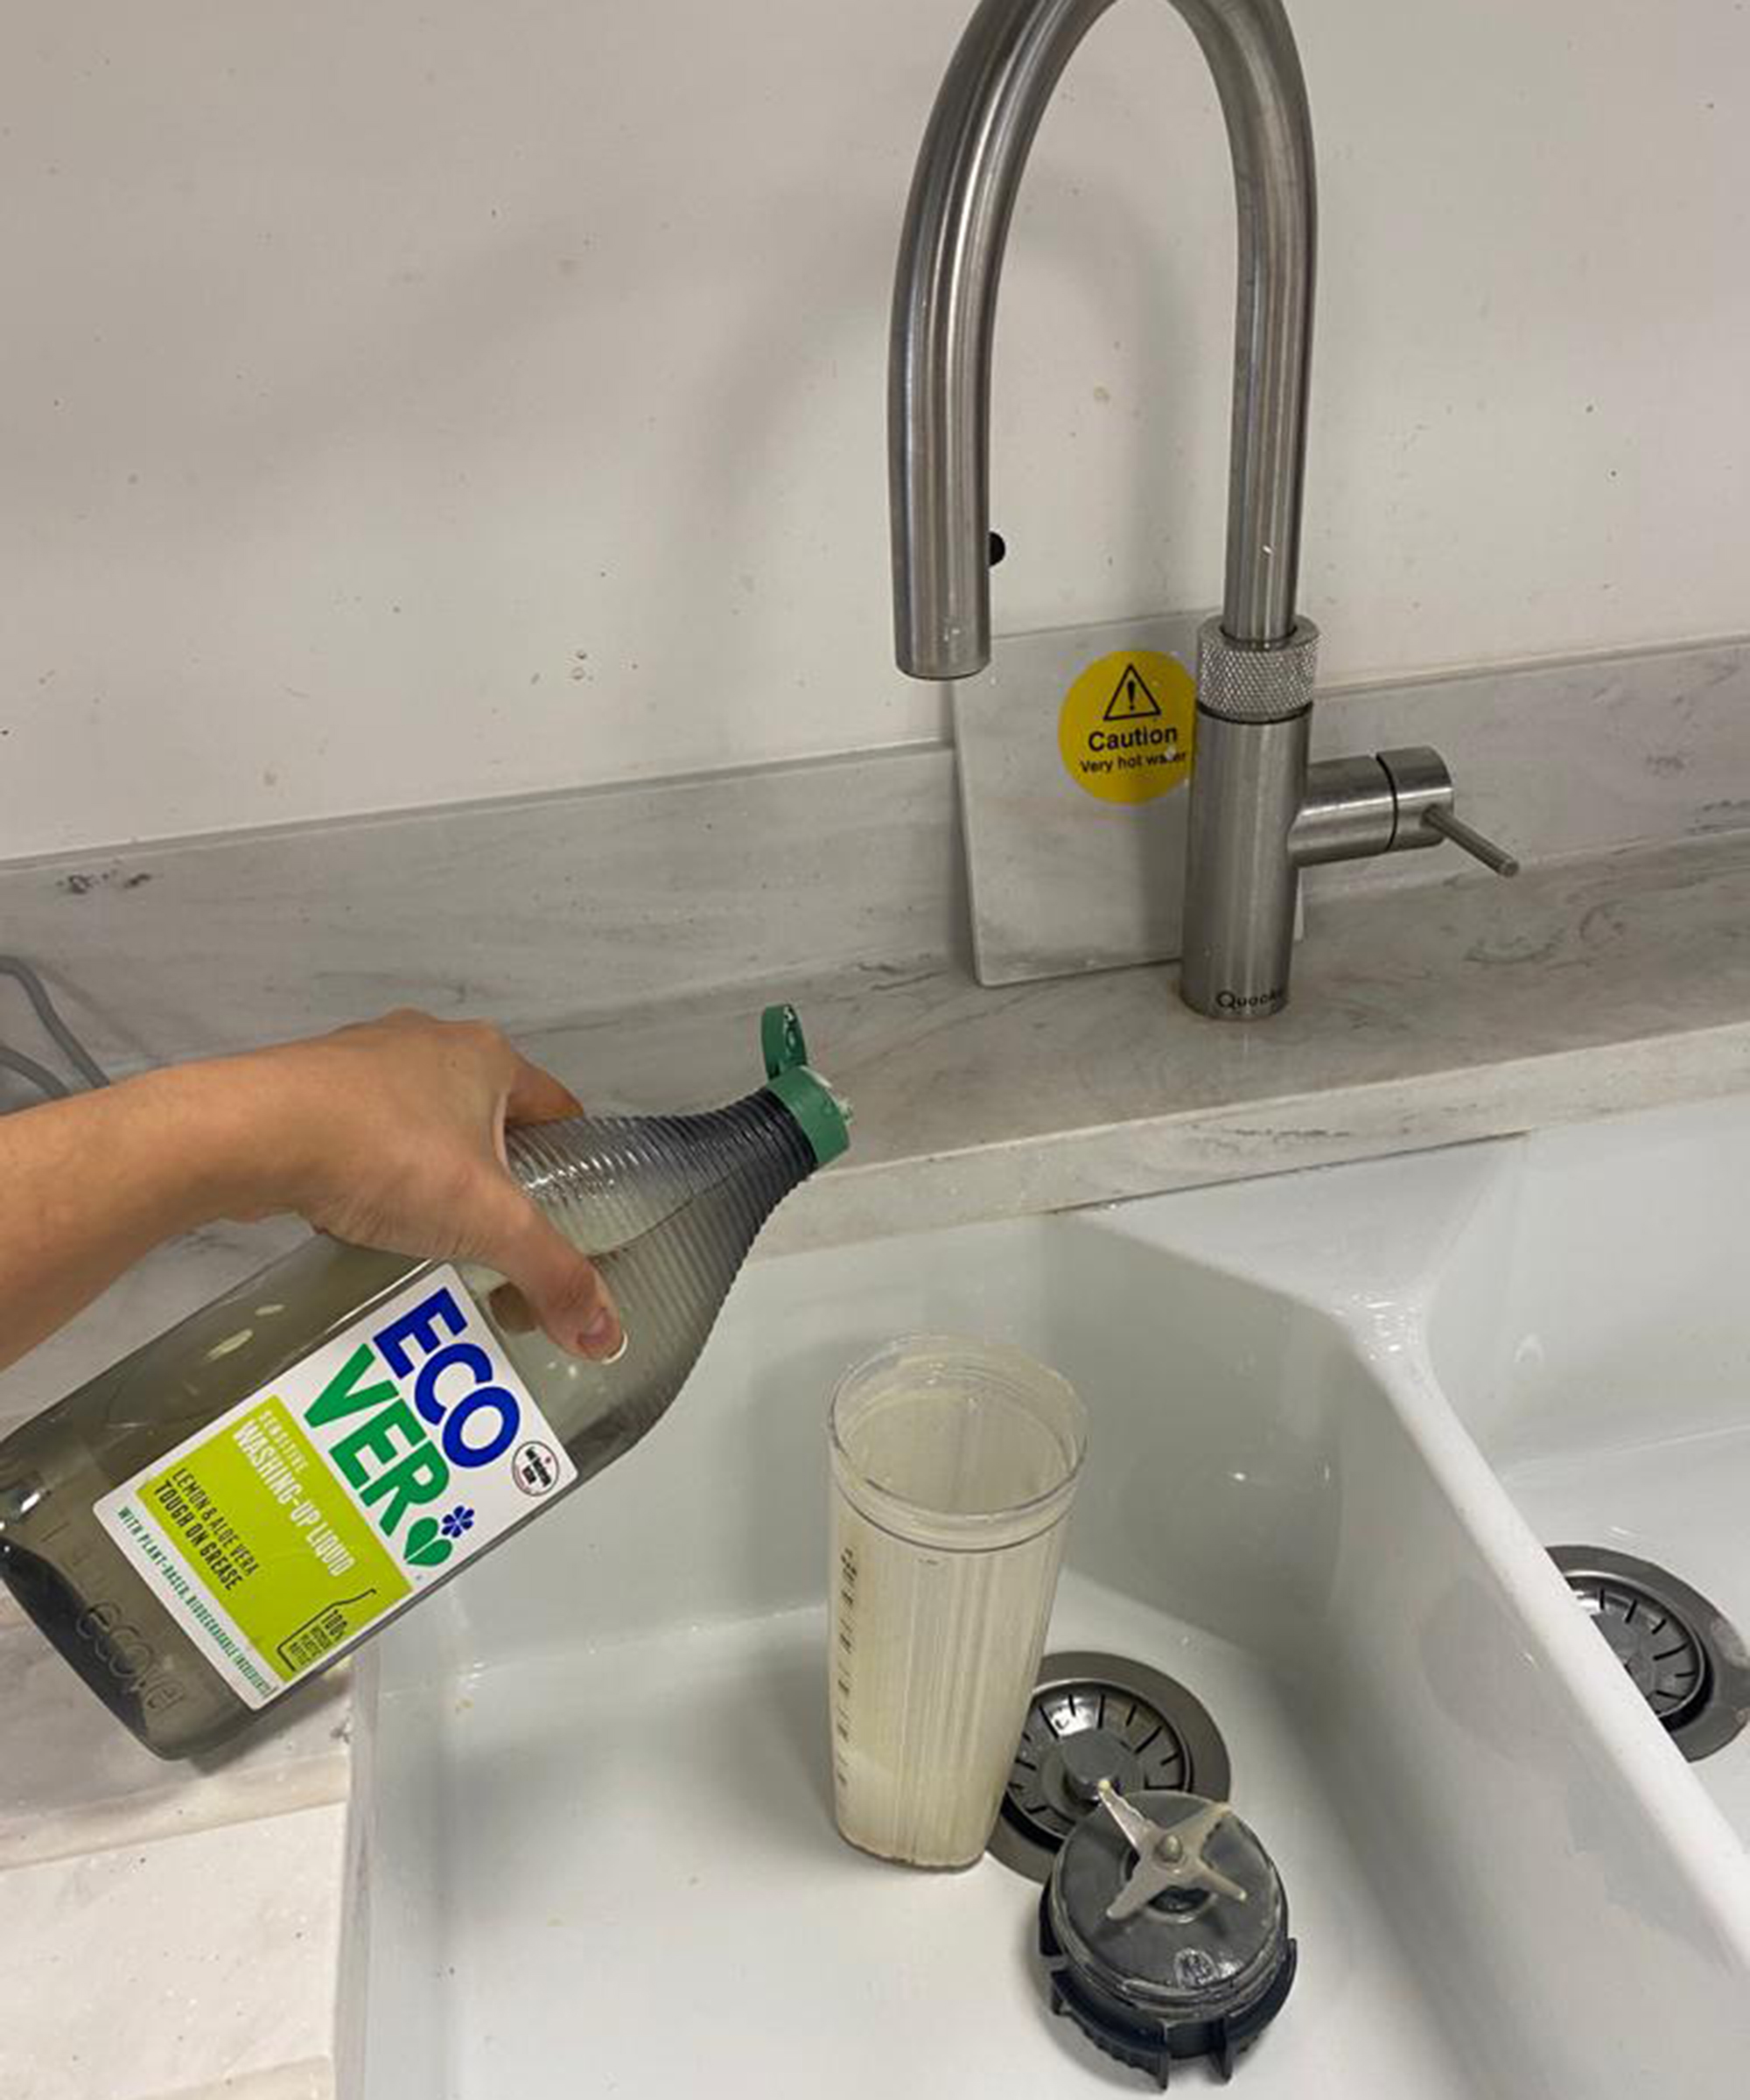
Zwilling Enfinigy personal blender cup in sink with Ecover dish soap
What I like to do at this stage is let the blender do the work for me. How so? I'll show you!
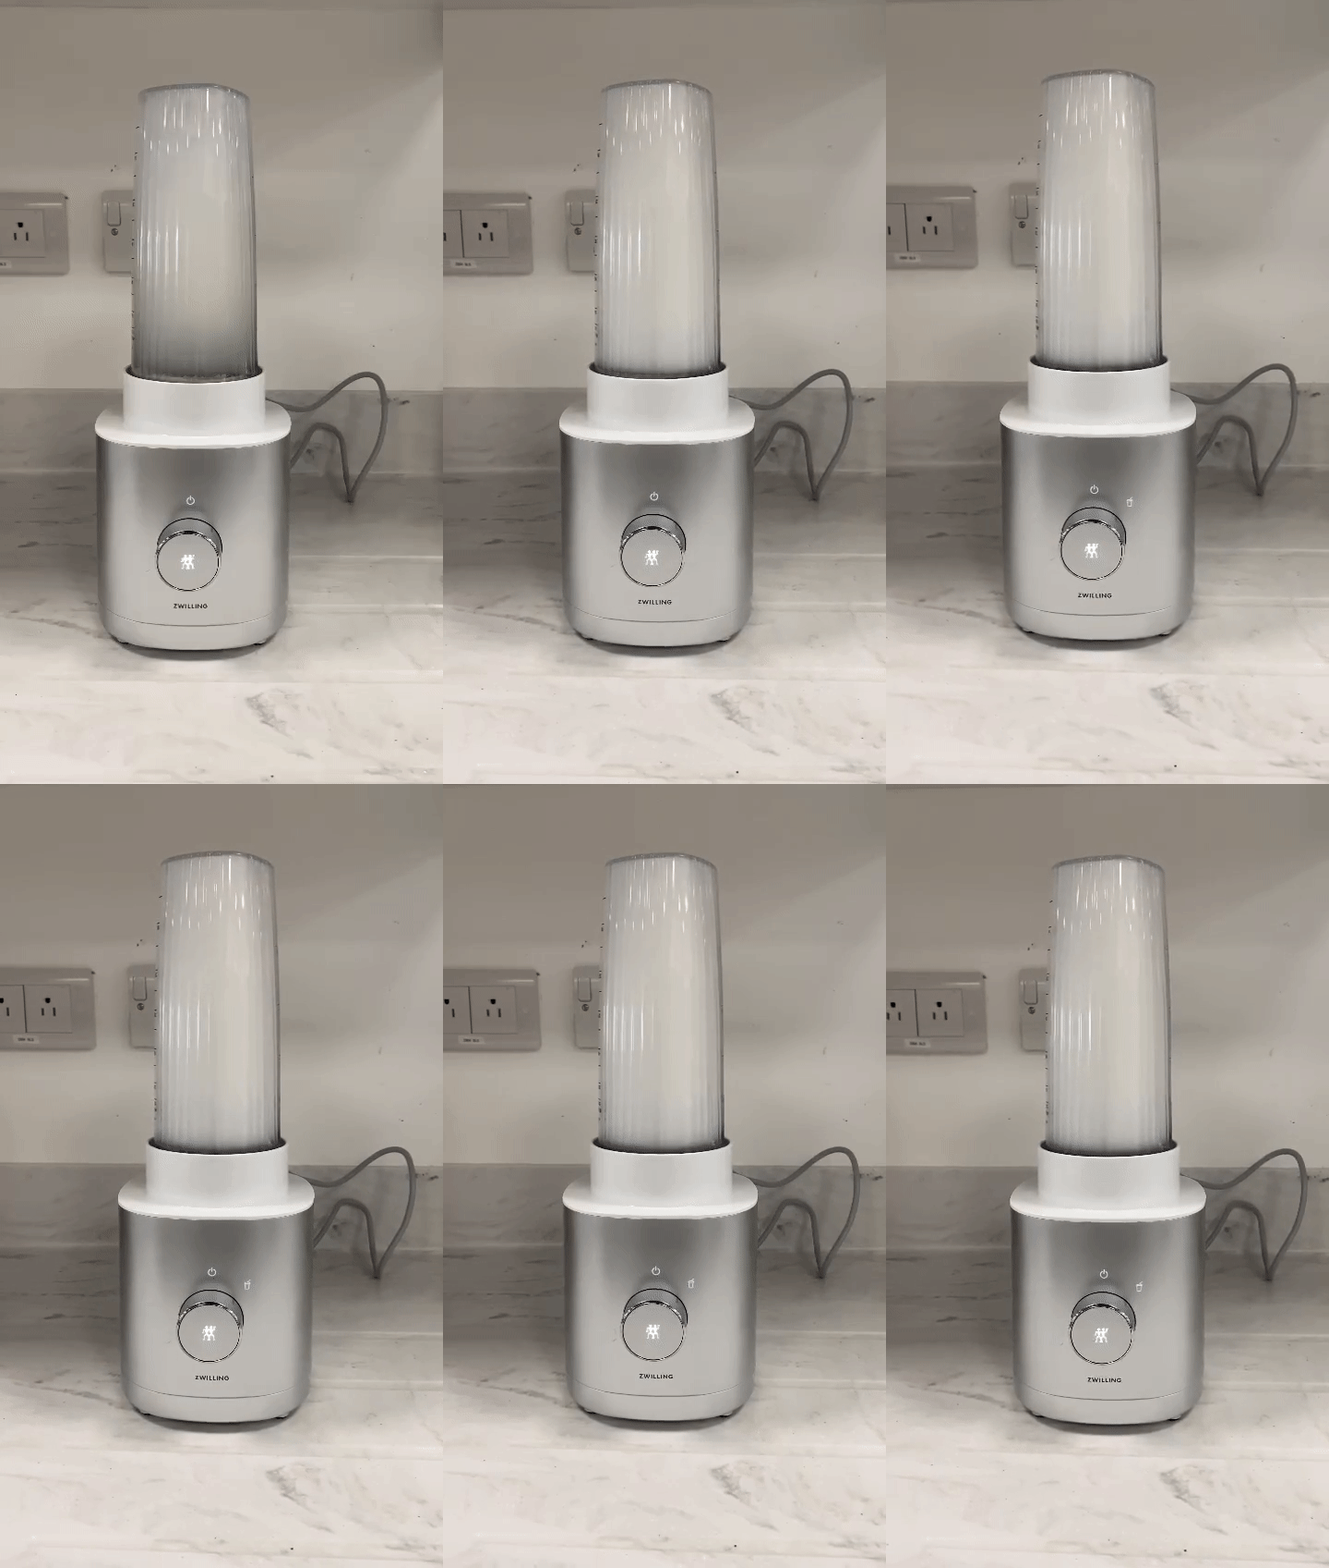
Blending a warm water and dish soap solution in the Zwilling Enfinigy personal blender
Simply fill the vessel about halfway with warm water and add a squeeze of dish soap. Replace the blender lid, position the vessel back into the base of the unit, switch the appliance on, and let the soapy mixture do its thing on the highest setting for approximately 15–20 seconds.
You can completely drop this part and just handwash as normal if you prefer. This is just for the people who don't like food touching their hands. You could also wear a pair of rubber gloves too if it bothers you.
BTW, if you've got a dishwasher — you can ignore the above. Instead, give the blender cup a good rinse and place it into your washing appliance. Do not put the blender lid in as most aren't dishwasher-safe. You'll want to handwash that.
3. Rinse out the solution
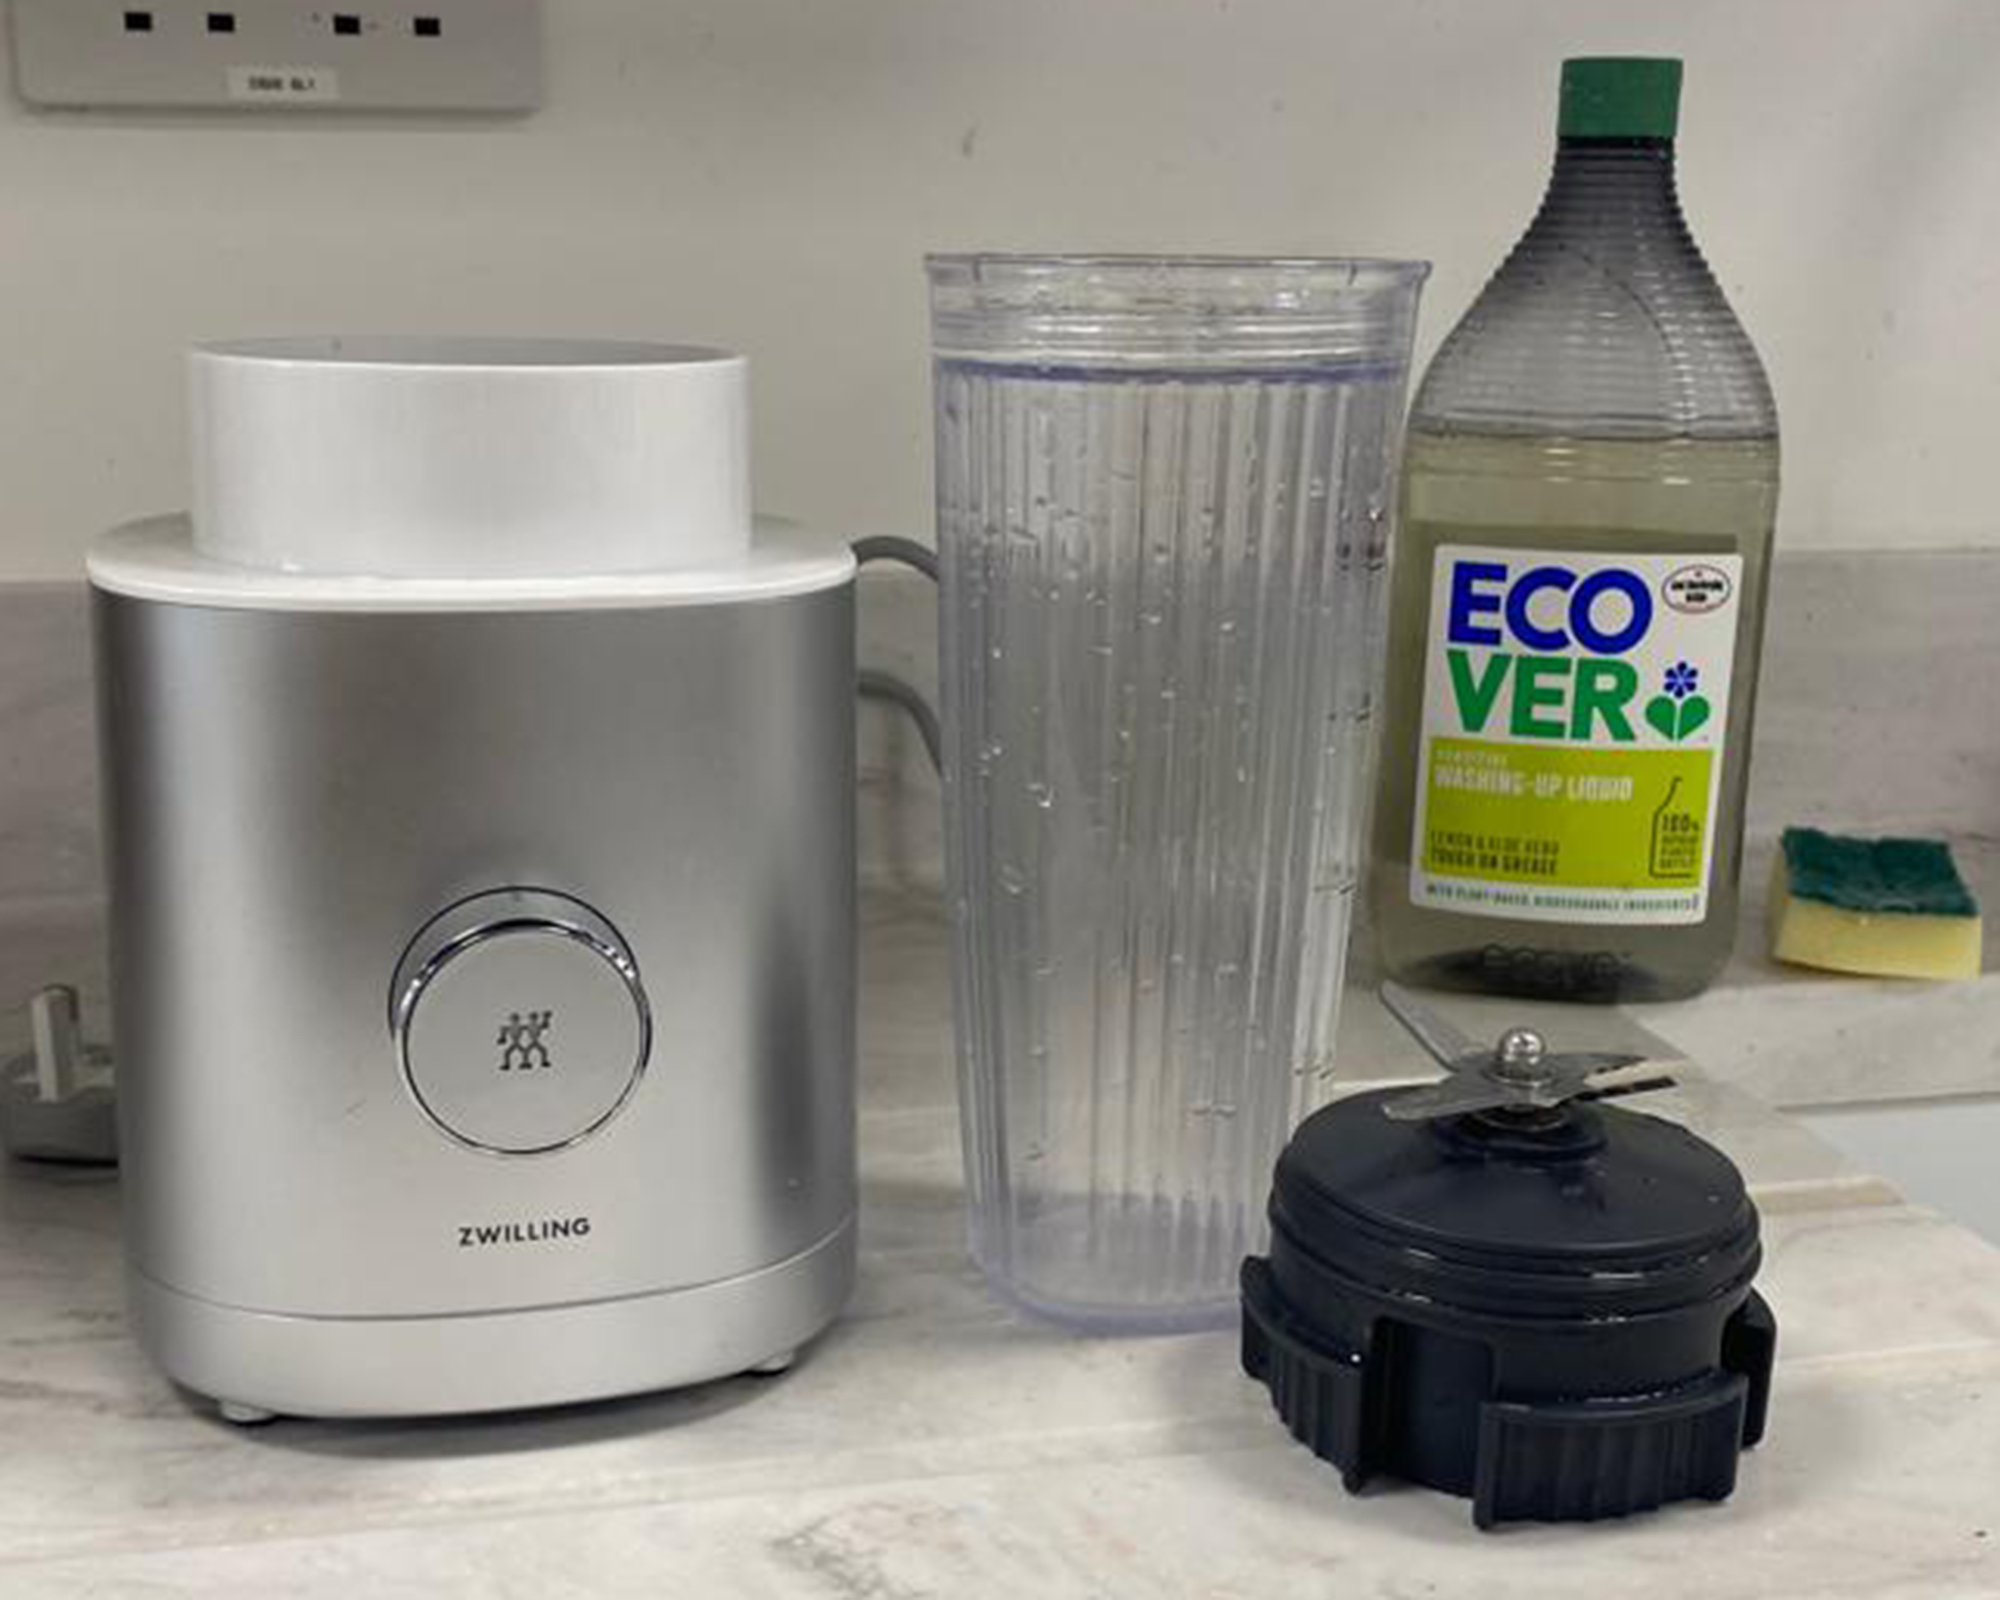
Zwilling Enfinigy personal blender with blender cup, blade lid and base, Ecover dish washing detergent in background
Turn the blender off, remove the cup/lid combo, and pour the soapy mixture down the sink. Rinse the cup and lid with running water until no suds remain.
4. Dry your blender cup, lid and blades
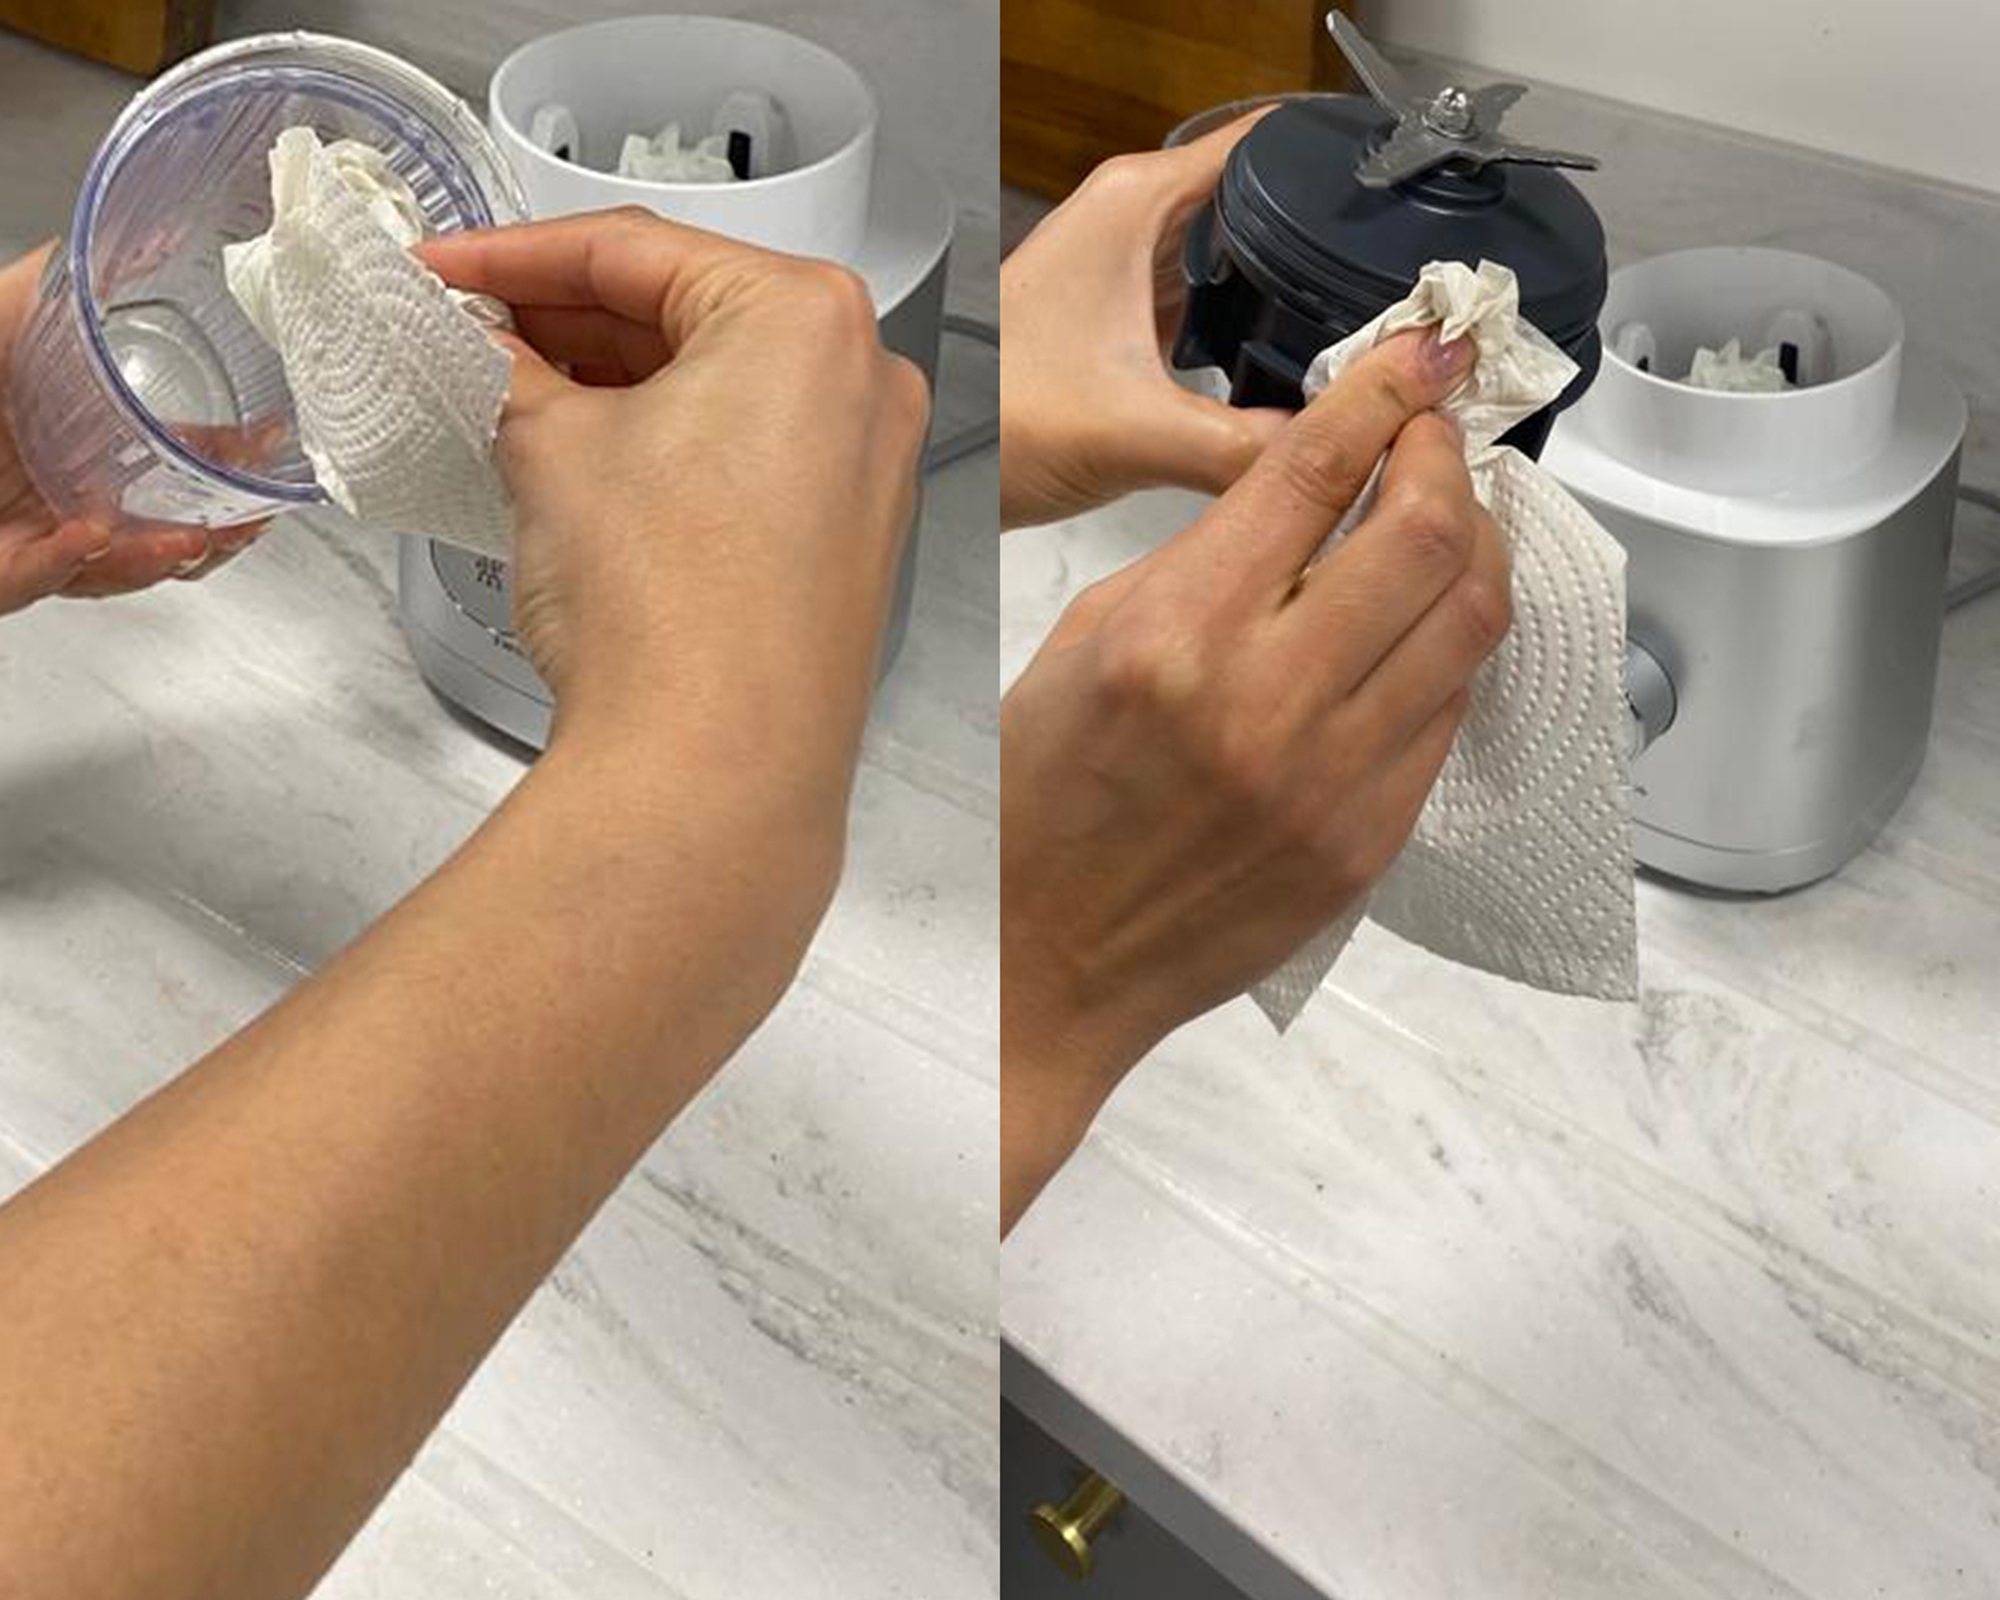
Christina Chrysostomou drying Zwilling Enfinigy personal blender parts with paper towel in Reading, UK Future Plc test kitchen
Use either a dishcloth, a microfiber cleaning cloth, or a paper towel to dry your blender accessories, getting into all the grooves of the cup. Take caution when drying the blade on the lid as this can be sharp!
5. Cleaning the blender base
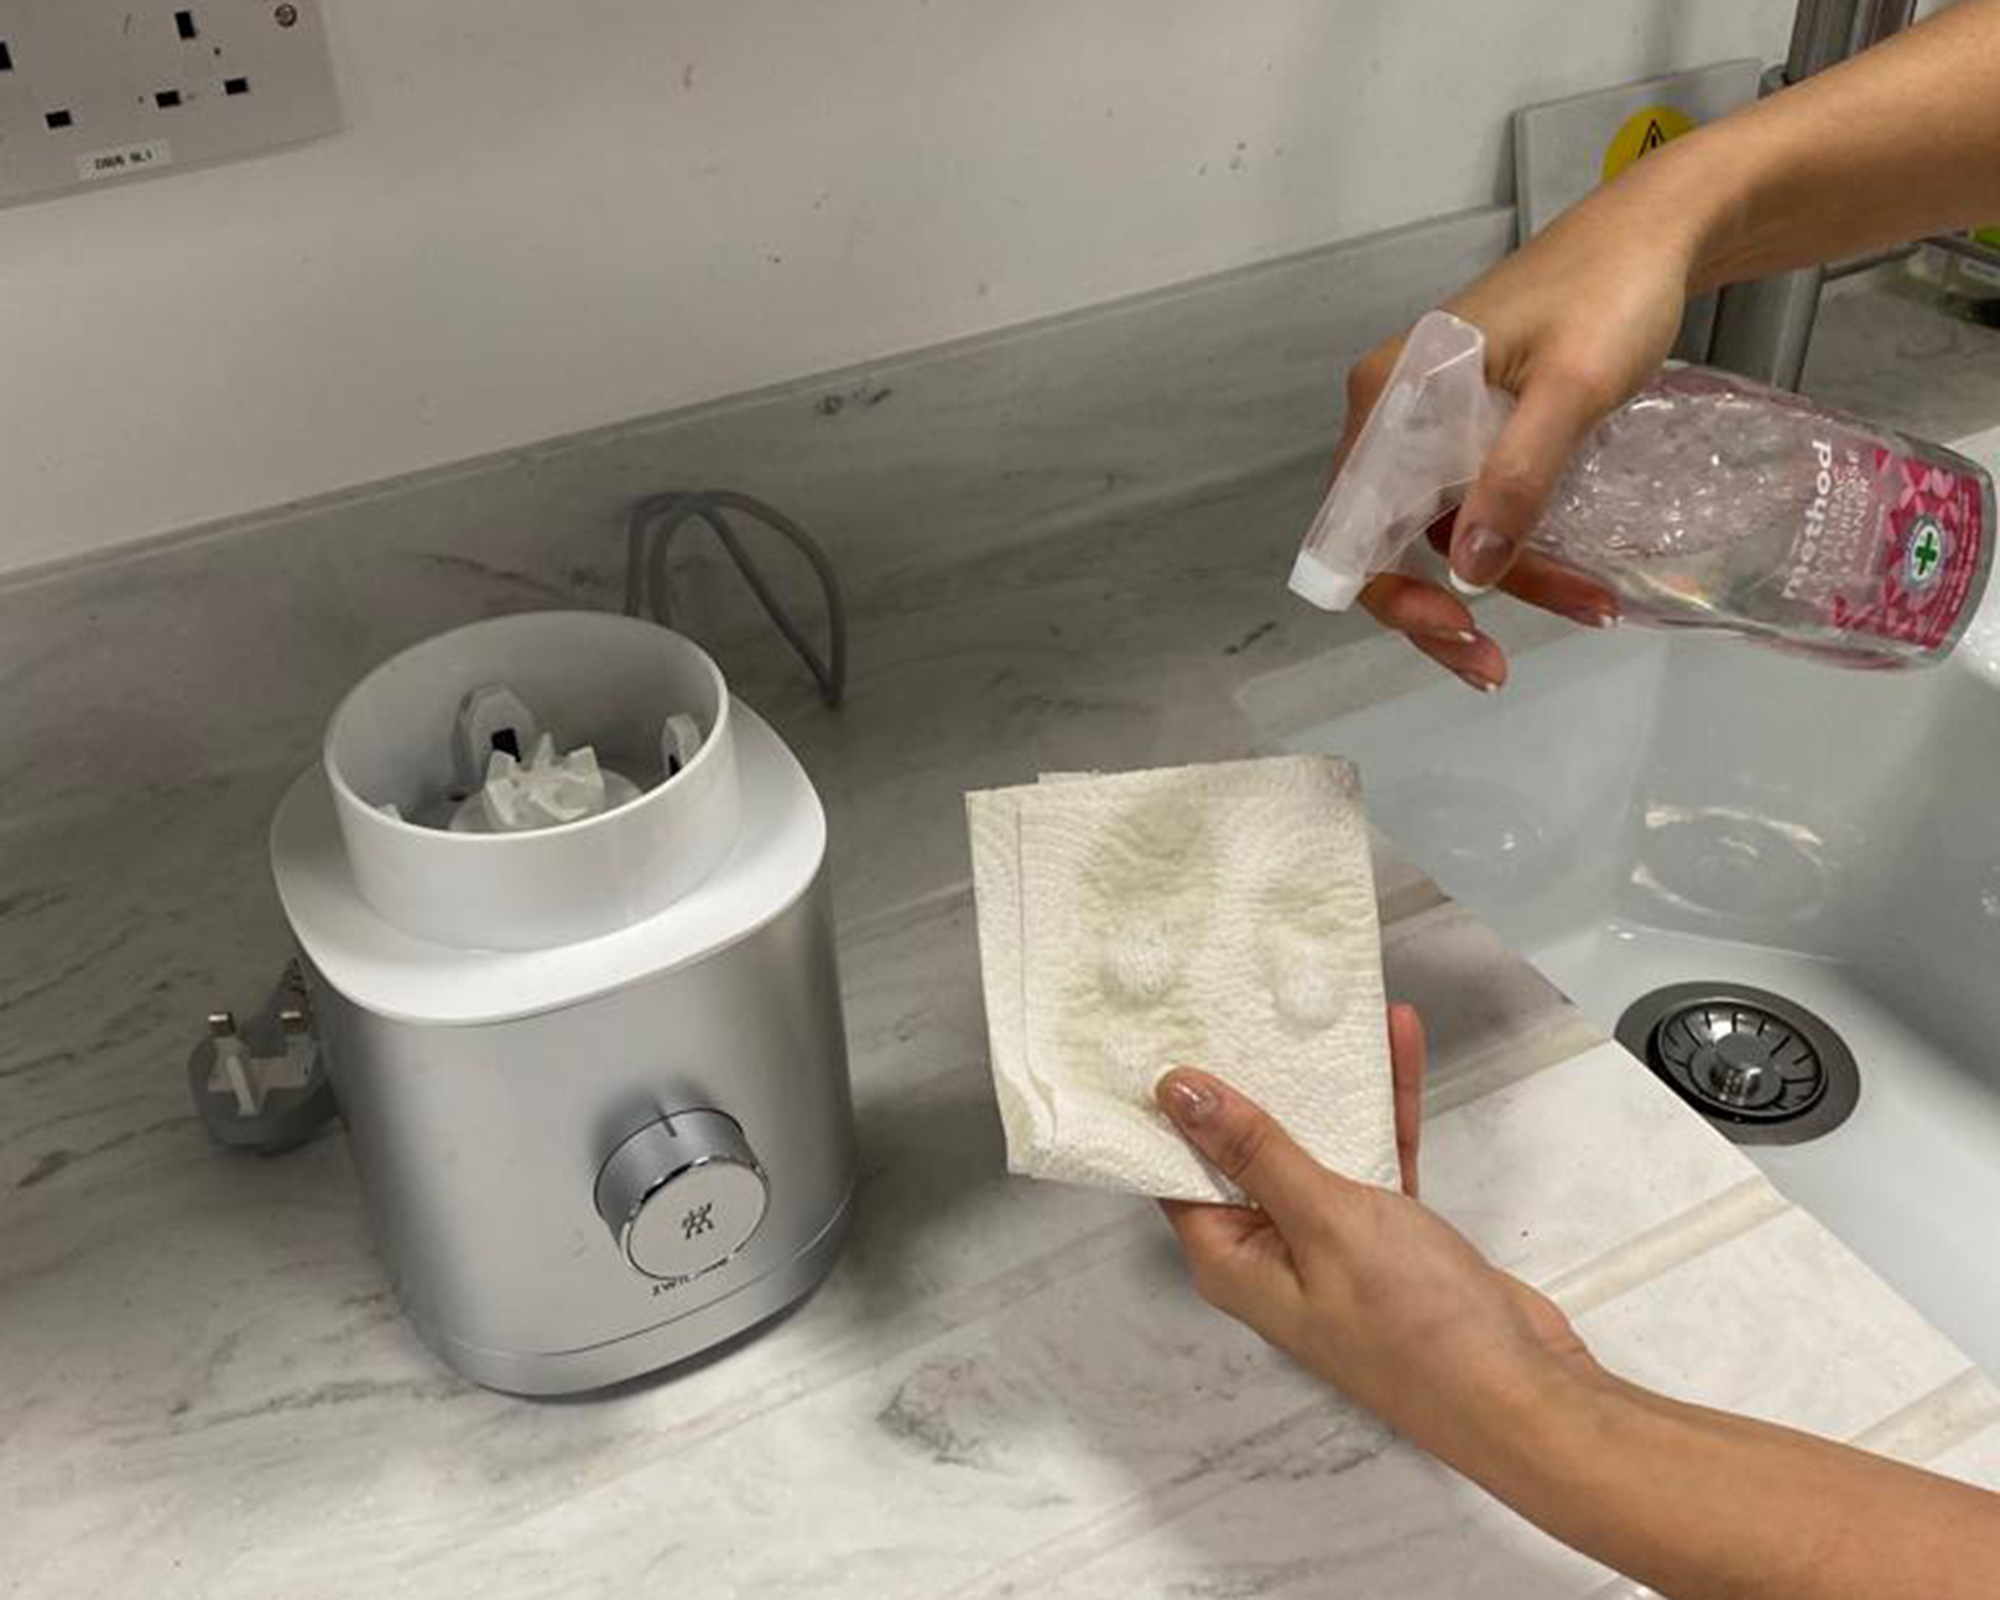
Christina Chrysostomou cleaning the Zwilling Enfinigy personal blender base with paper towel and Method all-purpose anti-bacterial cleaning spray
You shouldn't need to clean your blender base every time you use your appliance. However, if you notice something sticky or dried-on, it's best to spot-treat the stain with a damp, lint-free microfiber cloth. Rub a clean rag in a circular motion with a little pressure to lift the offending article. This is the manufacturer's recommendation.
Alternatively, if you do want to use an eco-friendly product, I sprayed some Method all-purpose antibacterial cleaner on a paper towel to give it a more "thorough" clean.
WARNING: Whatever you do — don't immerse your blending machine in water as this will damage your machine and cause you harm.
FAQs
How do I deep clean and sanitize my blender?
"Sometimes a simple cleaning is not enough, and you are going to need to deep clean and sanitize your blender," says Chloe King, brand manager at KitchenAid.
"Additionally, every so often, a deep clean is a good idea for your blender to ensure that you keep it in good condition. To deep clean your blender, you can run it on high power with ¼ cup of warm water and ¾ cup of white vinegar, or ¼ cup of baking soda, and ¼ cup of warm water."

Hi, I'm the former acting head ecommerce editor at Real Homes. Prior to working for the Future plc family, I've worked on a number of consumer events including the Ideal Home Show, Grand Designs Live, and Good Homes Magazine. With a first class degree from Keele University, and a plethora of experience in digital marketing, editorial, and social media, I have an eye for what should be in your shopping basket and have gone through the internal customer advisor accreditation process.