
Knowing how to clean a vacuum brush is crucial to keeping your floors looking fab. There's nothing worse than starting the machine to realize it's a tangled mess.
While all great vacuums boast super suction, transforming floors from dirty to dazzling, it's all too common for hair, dust, and debris build-up to get in the way.
Fear not! Our experts are here to guide you through the simple steps to refreshing your vacuum brush and bring it back to its best. After investing in one of the best vacuum cleaners, you want to make sure yours is in great shape.
How to clean a vacuum brush like a pro
When it comes to cleaning your vacuum, there's no better place to start than the brush — but knowing exactly how to tackle it can feel like a mystery.
With straightforward steps and top tips, our industry pros have got you covered. So let us guide you through it and you'll have that vacuum purring again in no time.
Where our pros have suggested products, our expert shoppers have curated highly-rated items from trusted retailers.
1. Prepare your workspace
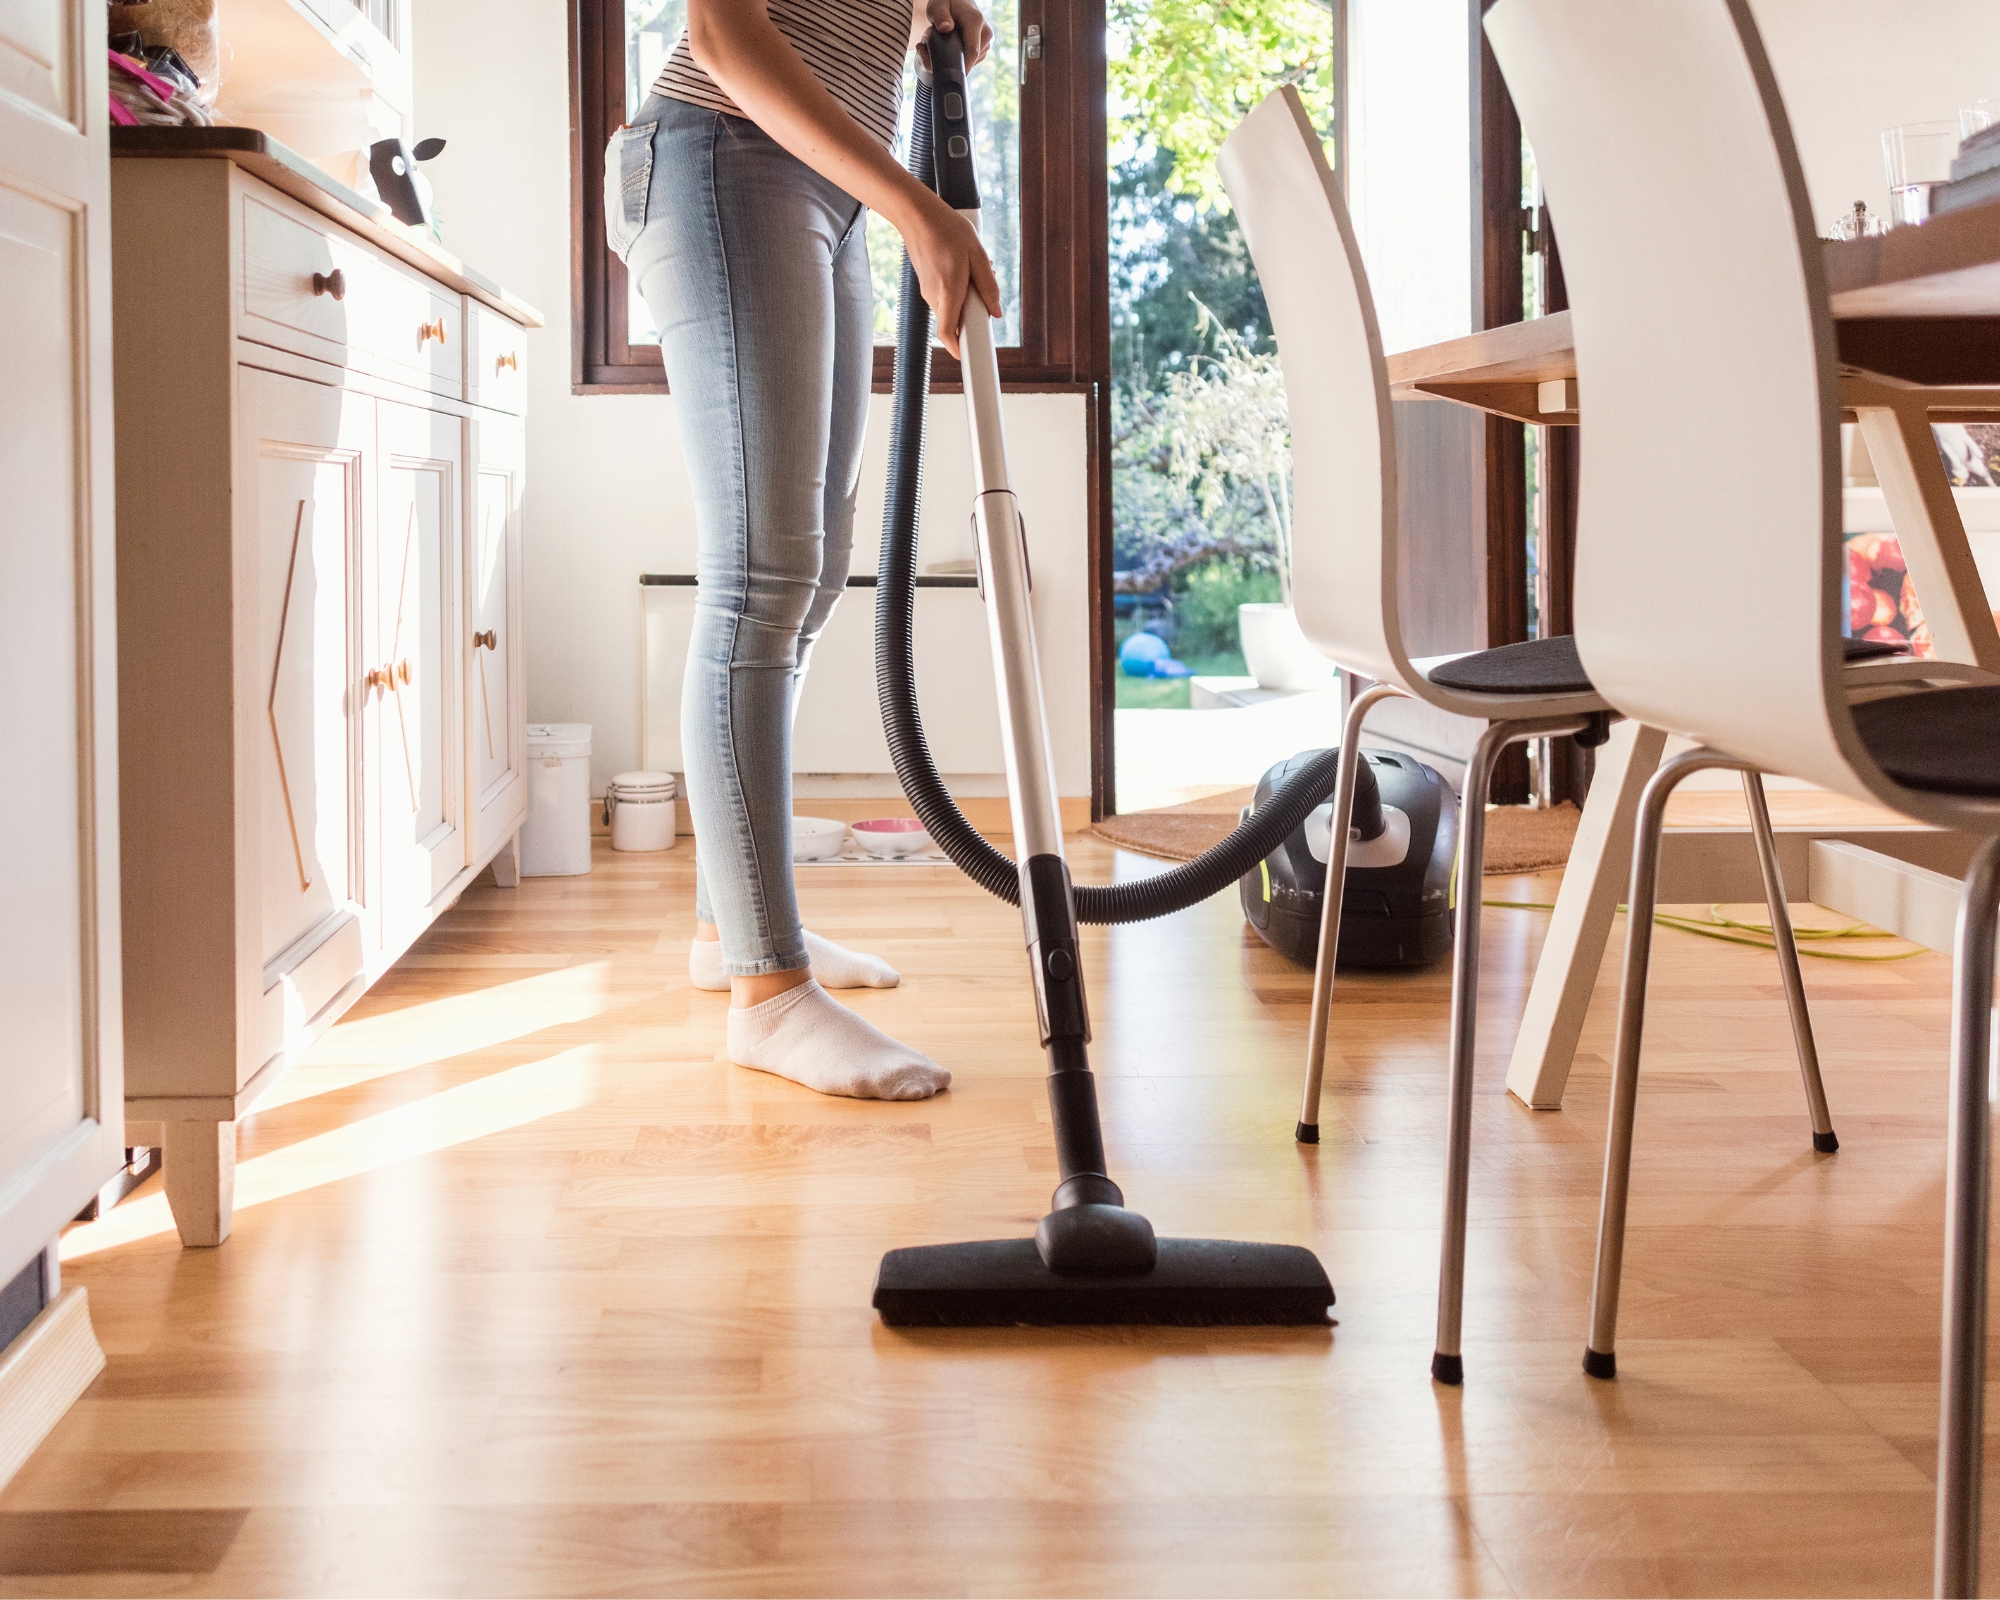
Before diving into cleaning your vacuum brush, it's essential to set the stage for success.
First, find a clean, flat work surface with good lighting where you can easily disassemble and clean the vacuum brush.
Next, gather your cleaning tools, including a pair of fine scissors (check out these Scotch Professional 6" Scissors from Target), a cleaning brush (try this OXO Good Grips Deep Clean Brush Set from Amazon) or toothbrush, your chosen disinfectant and a damp cloth. Depending on your vacuum model, you may also need a tool such as a screwdriver or pliers to remove the brush roller.
With your workspace prepped and your tools at the ready, you're all set to give your vacuum brush the attention it deserves.
2. Disassemble the vacuum brush
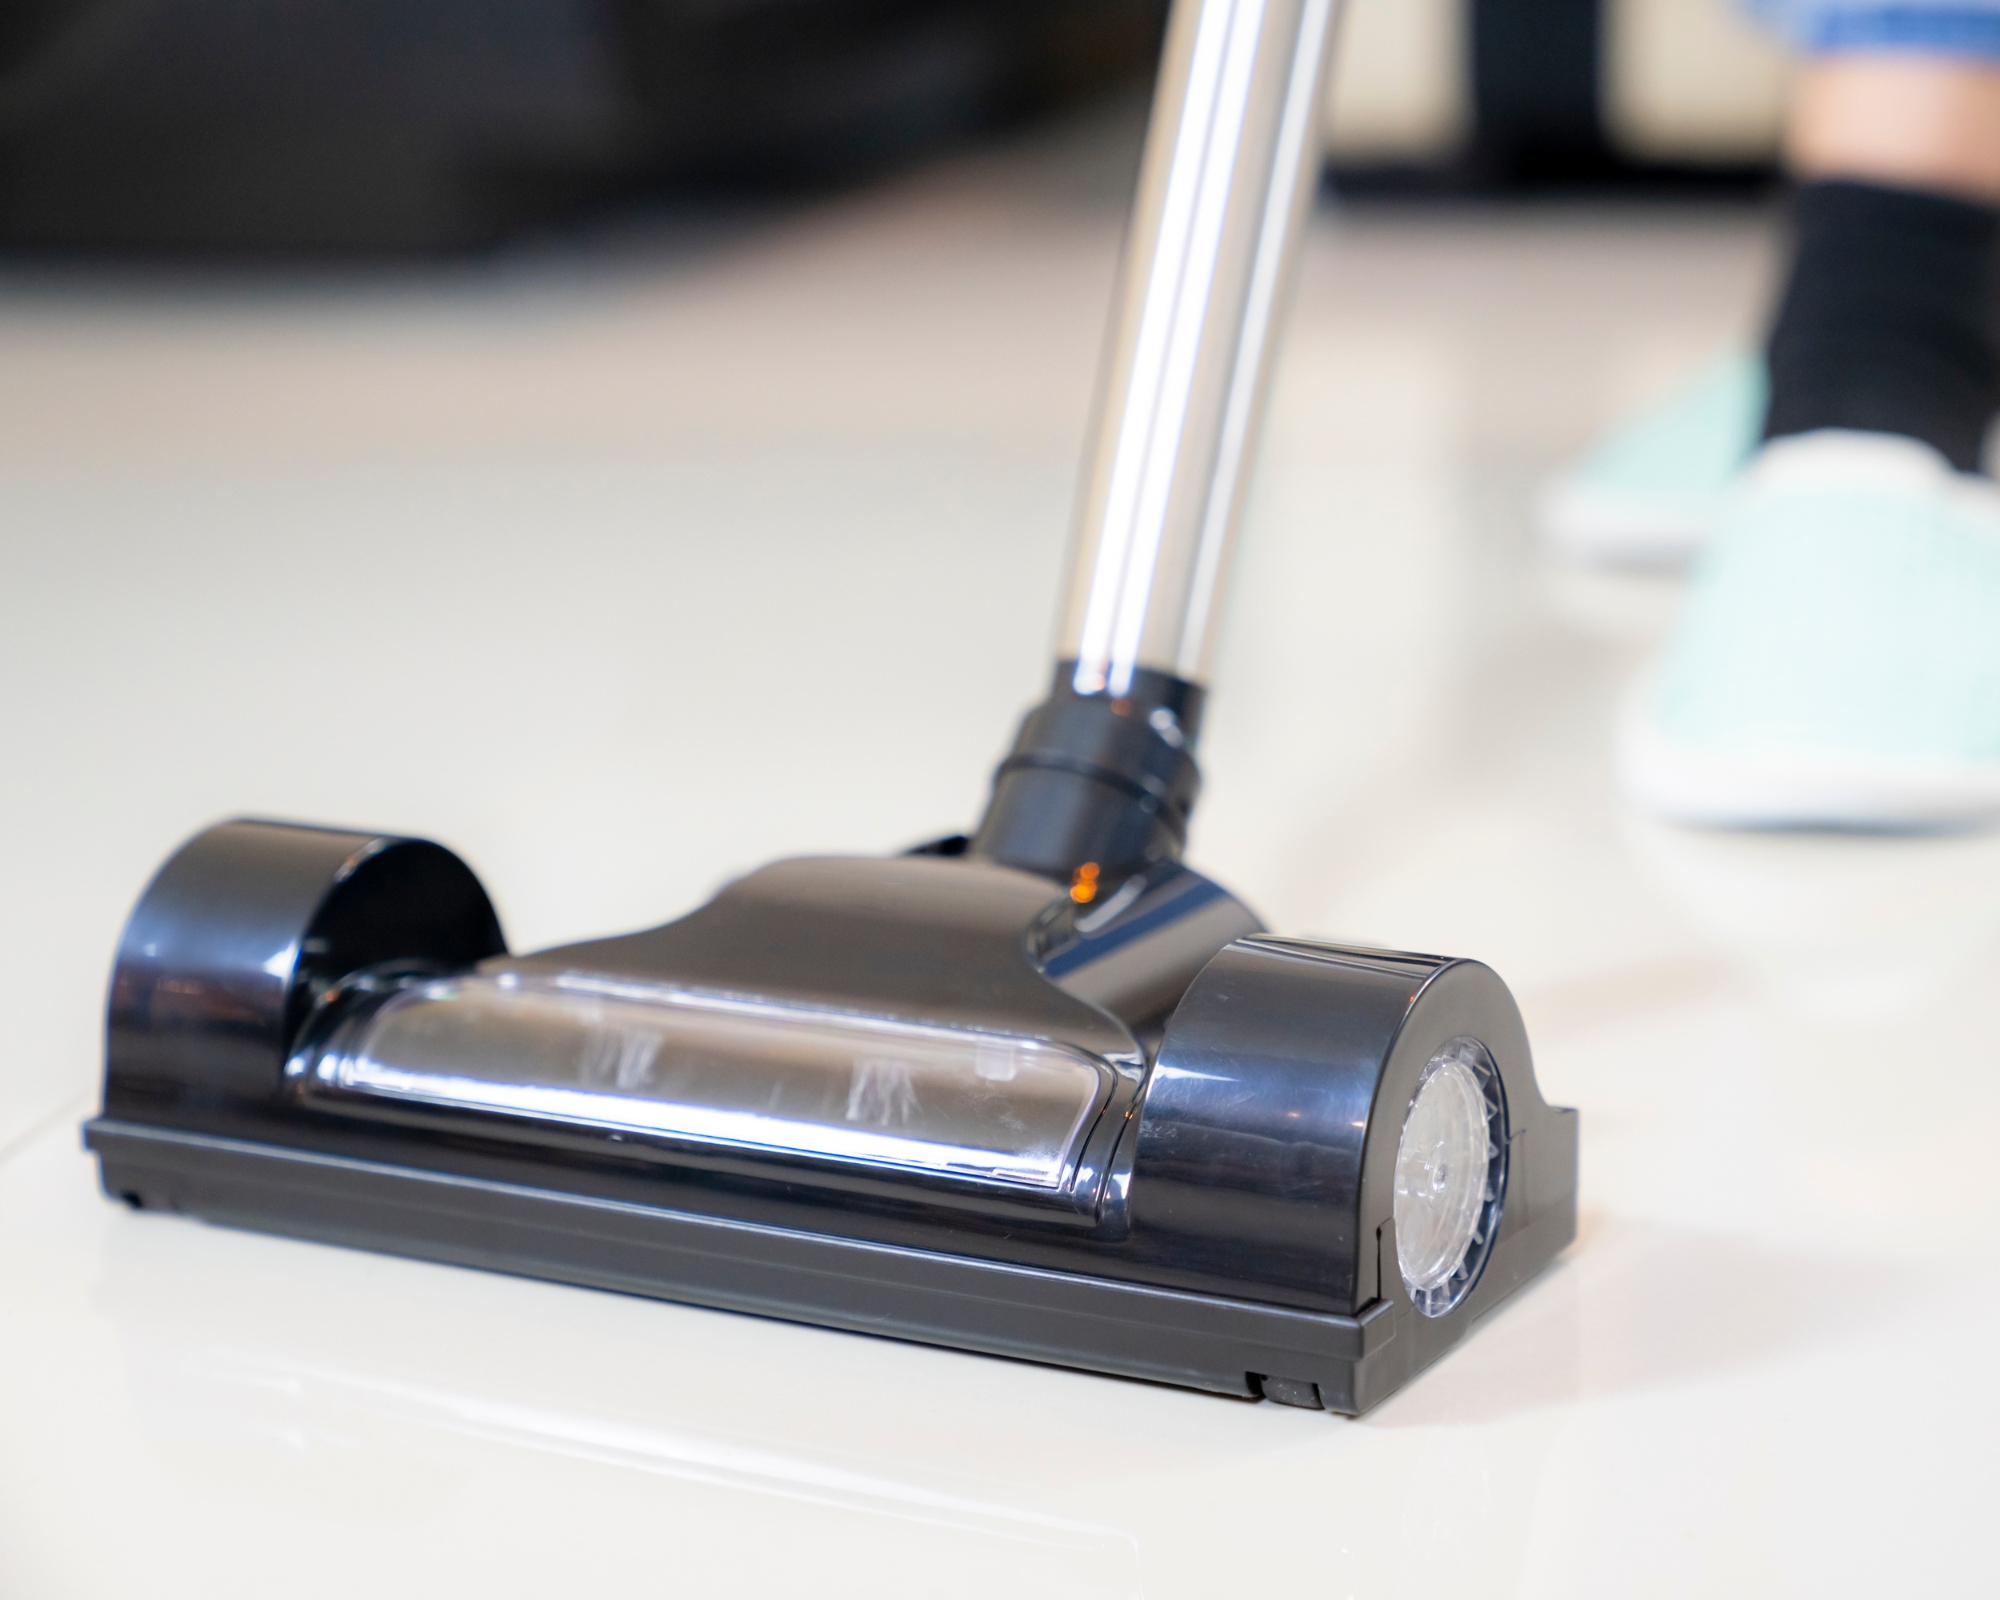
When it comes to vacuum cleaning hacks, the key often lies in getting under the bonnet. To effectively clean your vacuum brush, you'll need to disassemble it to access all the nooks and crannies where dirt and debris can hide.
Always start with safety — make sure your vacuum is turned off and unplugged from the power source to avoid any accidents.
Next, remove the brush roller. Depending on your vacuum model, you may need to remove screws or clips. Use a screwdriver, pliers or simply your hands to carefully detach the brush roller from the vacuum.
Some brushes split into several small parts, so make sure to keep them all safely on your work surface, away from children or pets.
Vanessa Bossart, founder of GreenTerra Cleaning, says, "Disassembly can range in difficulty depending on your vacuum model. If in doubt, consult the manufacturer's manual for specific guidance."
For an easy brush clean, Vanessa recommends the Dyson V15 Detect. She says, "It's great for ease of maintenance, including tool-free brush roll removal, making it my top pick for hassle-free cleaning."

Vanessa Bossart is founder of GreenTerra Cleaning, which has made more than 28,000 American homes sparkle and aims to redefine cleanliness as the cornerstone of healthy, sustainable living. With 18 years’ experience in the cleaning industry, Vanessa is passionate about promoting eco-friendly cleaning practices that improve the health of her clients and the planet.
3. Remove dirt & hair from the brush
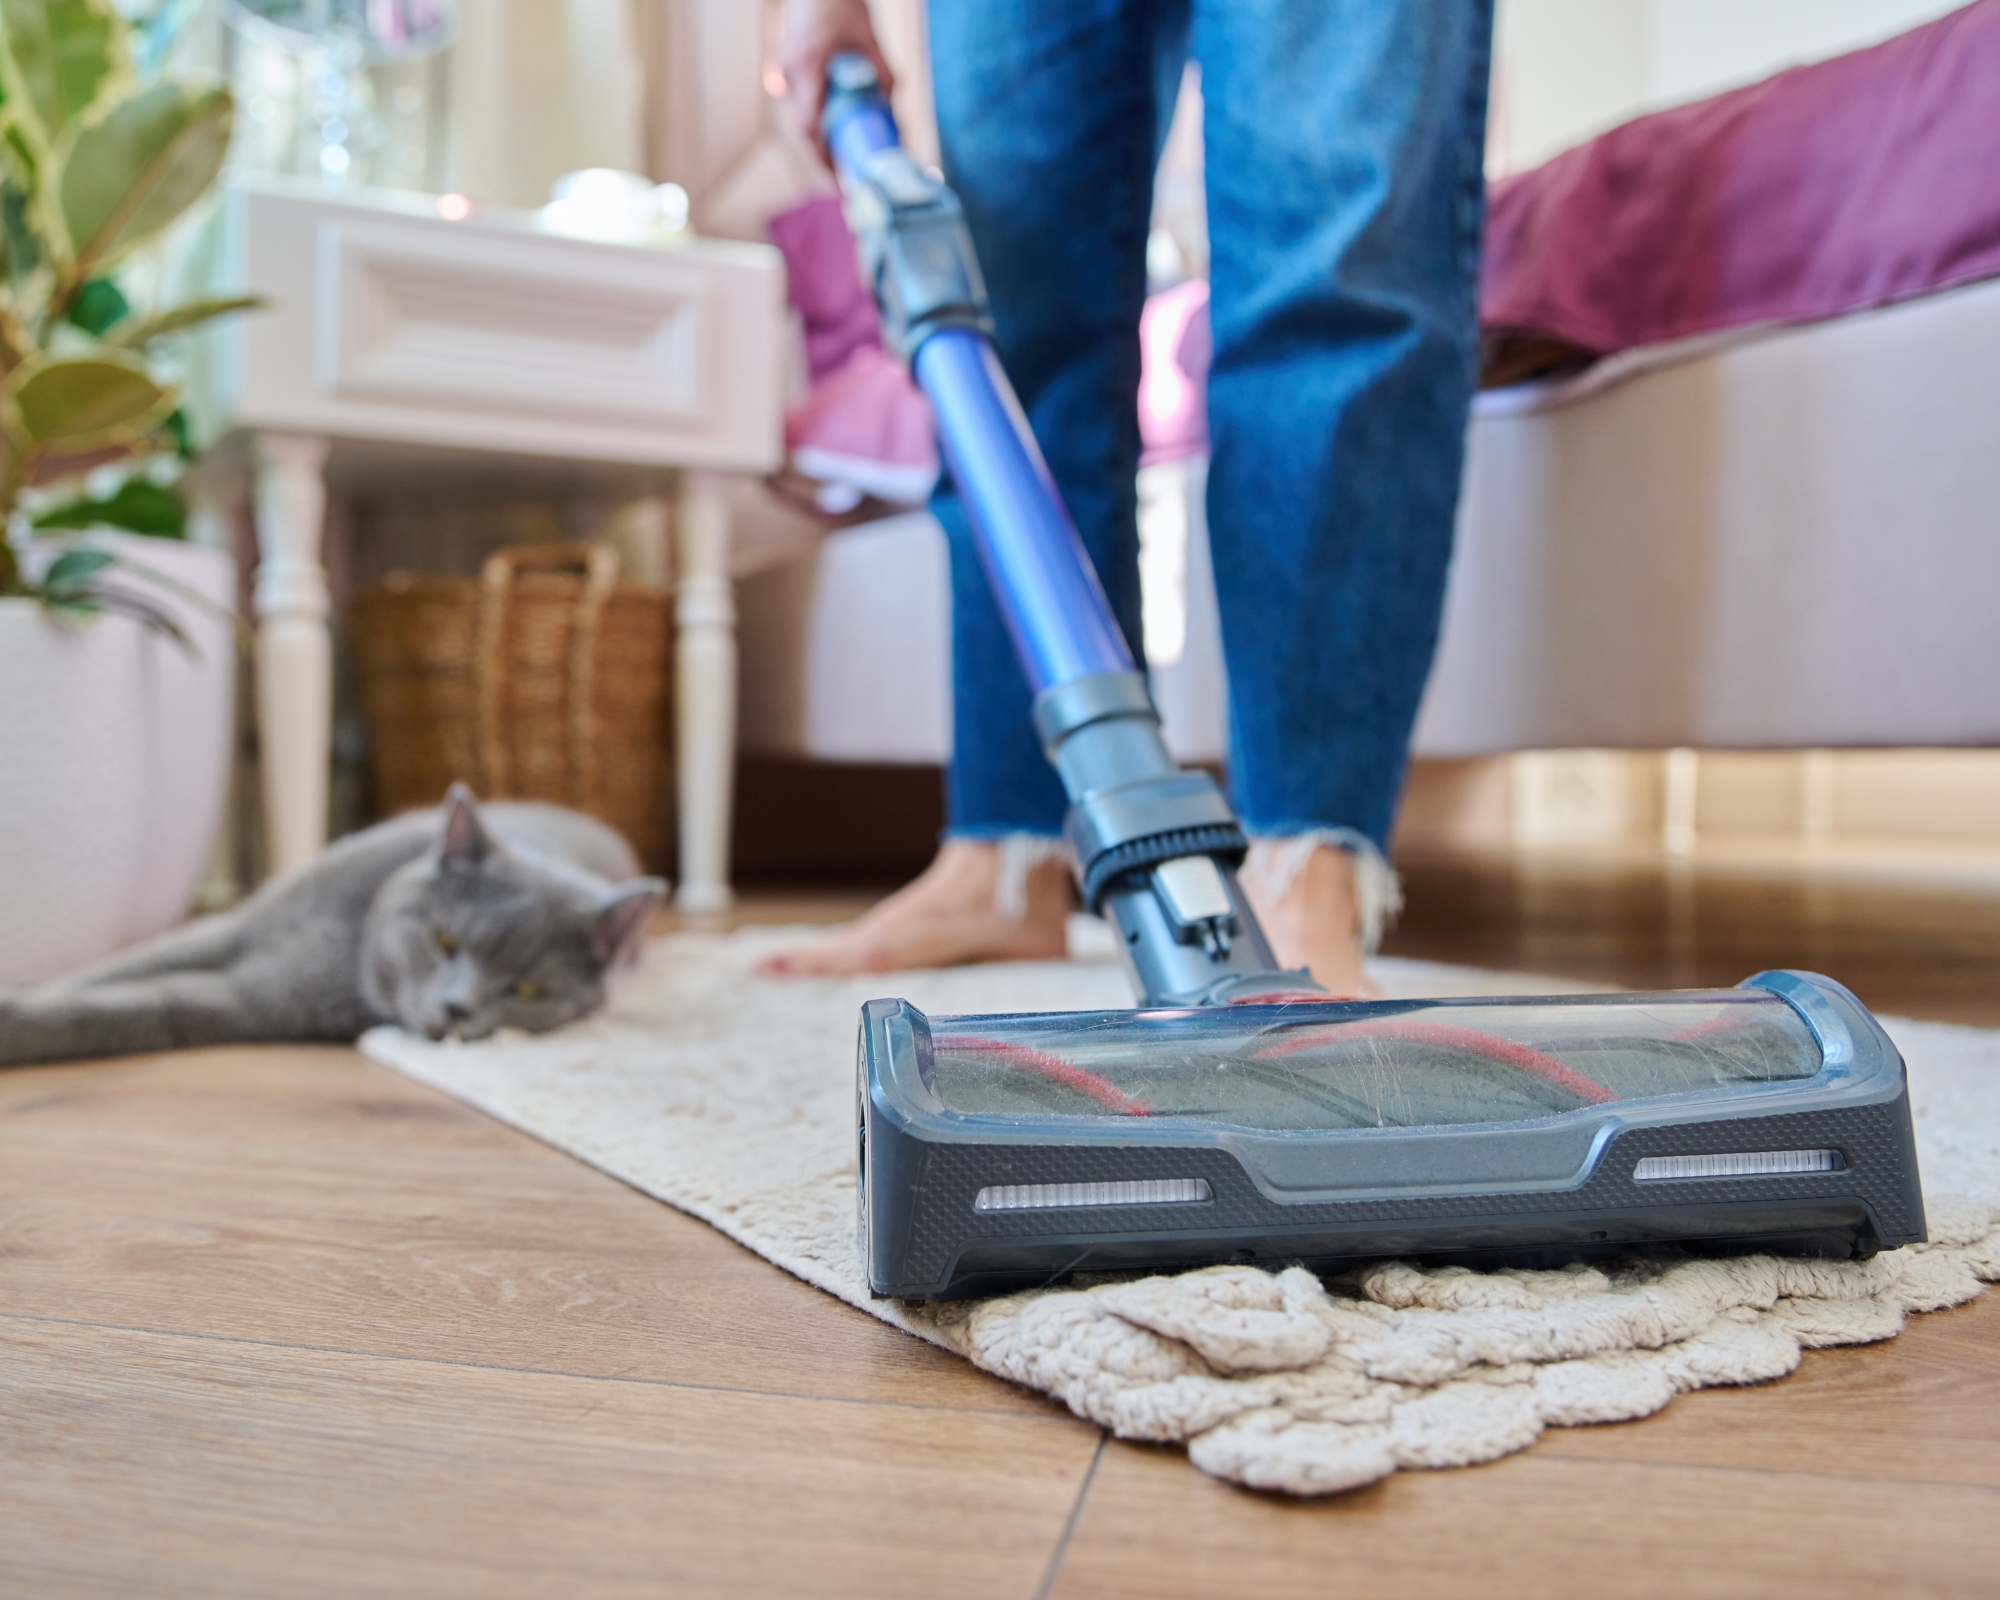
Now that you've disassembled the vacuum brush, it's time to remove all dirt and hair trapped in the bristles.
To begin, use a pair of fine scissors (try these Westcott 5-inch Titanium Crafting Scissors from Amazon) to carefully cut and remove any hair or threads wrapped around the brush roller. Be gentle to avoid damaging or cutting the bristles.
Vanessa says, "Gently does it. It’s critical to cut without pulling to avoid dislodging or damaging the bristles. For vacuums with delicate bristles, a fine-tooth comb can facilitate the removal of finer strands without causing harm."
A cleaning brush (the OXO Good Grips Deep Clean Brush Set from Amazon is popular with our experts) or old toothbrush can also prove handy for scrubbing away any stubborn dirt or debris stuck to the brush roller. Pay close attention to the bristles and crevices to ensure a thorough clean.
Of course, the more often you check your vacuum brush, the easier this step is likely to be. Vanessa adds, "Regular attention to this step is vital, not only for the vacuum’s functionality but also for extending its operational lifespan. Try to make checking the brush and quickly removing any visible hairs a habit."
4. Clean the brush with disinfectant
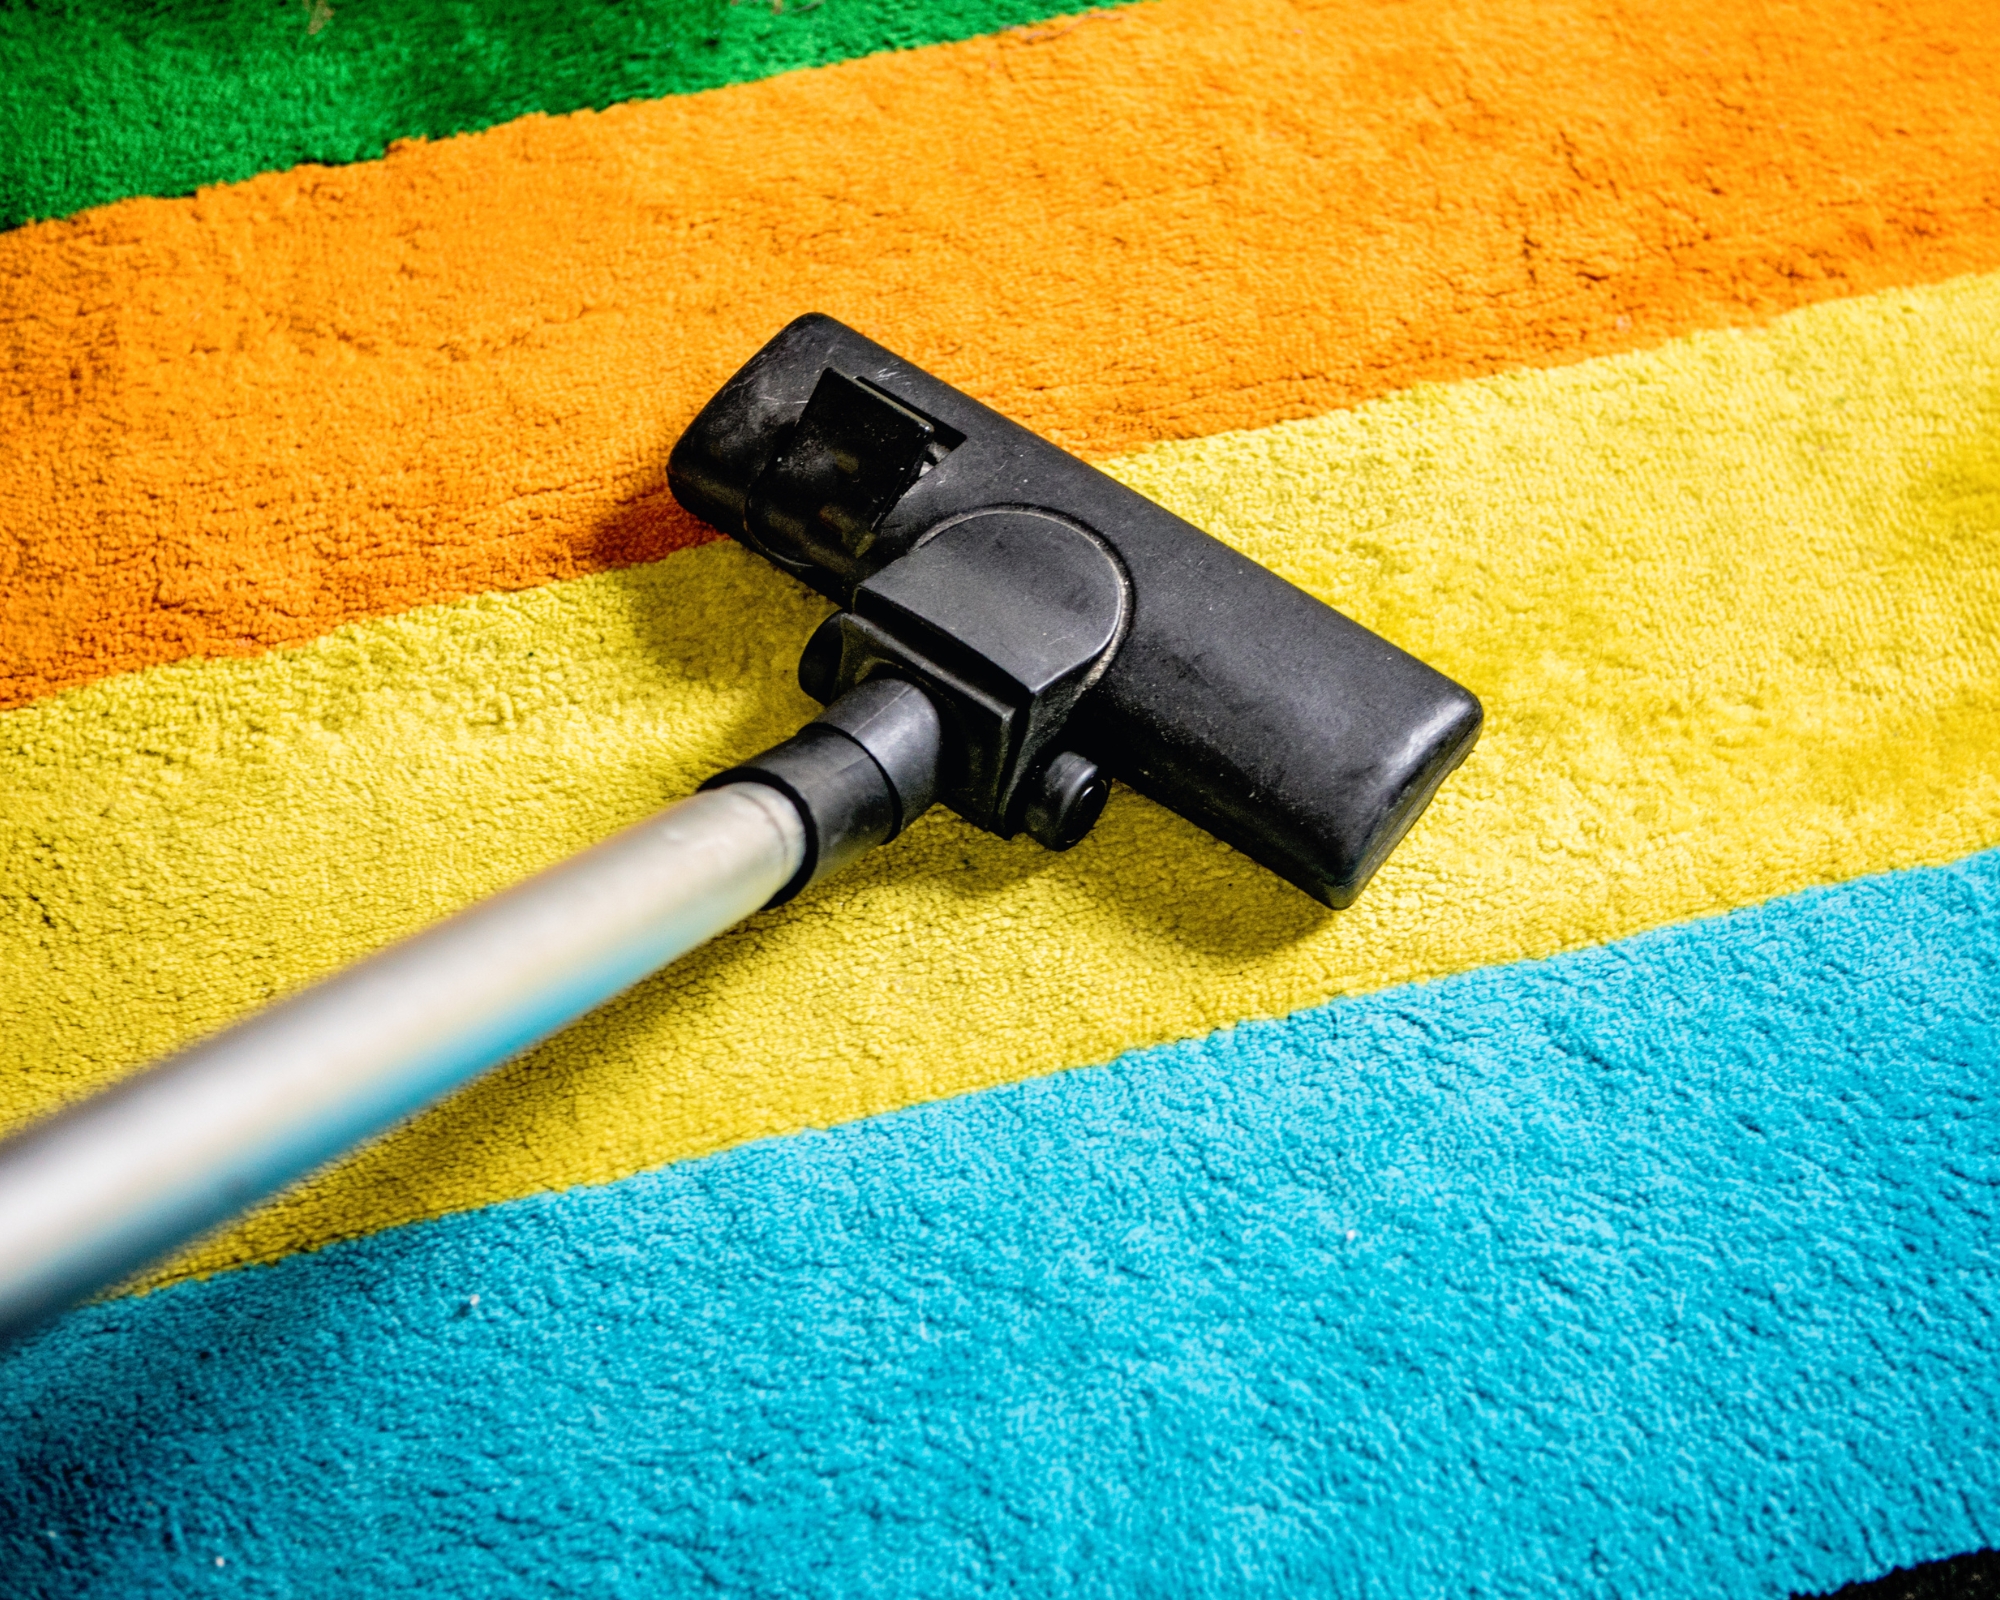
With the dirt and hair removed, it's time to clean the vacuum brush with a disinfectant solution to eliminate germs and bacteria.
DIY expert Amy Poulton, of Hometalk, says, "Rinse the vacuum brush with a solution of water and vinegar, or water with a trace of dish soap. We prefer vinegar as it disinfects the brush — you would be surprised by the bacteria that can thrive in the hair, dust, and bristles of this area!"
Try Target's White Distilled Vinegar from Good & Gather or — if you're on a tight budget — Amazon's Happy Belly White Distilled Vinegar for an effective clean.
Though a cloth can do the trick, the bristled cleaning brushes from the OXO Good Grips Deep Clean Brush Set from Amazon are great for getting in the crevices easily.
Simply dip the cleaning brush into the solution and thoroughly scrub the roller, ensuring all surfaces are covered with the solution, then rinse the brush roller and bristles with clean water to remove any remaining residue.
Lastly, leave your vacuum brush to air dry in a well-ventilated area to prevent any chance of mold or mildew growth. This may take several hours, depending on the humidity levels.

Home improvement expert Amy Poulton is editor at Hometalk, the world’s largest home DIY community, providing tips, ideas and inspiration on cleaning to more than 21 million members.
5. Reassemble, Test & Maintain the vacuum brush
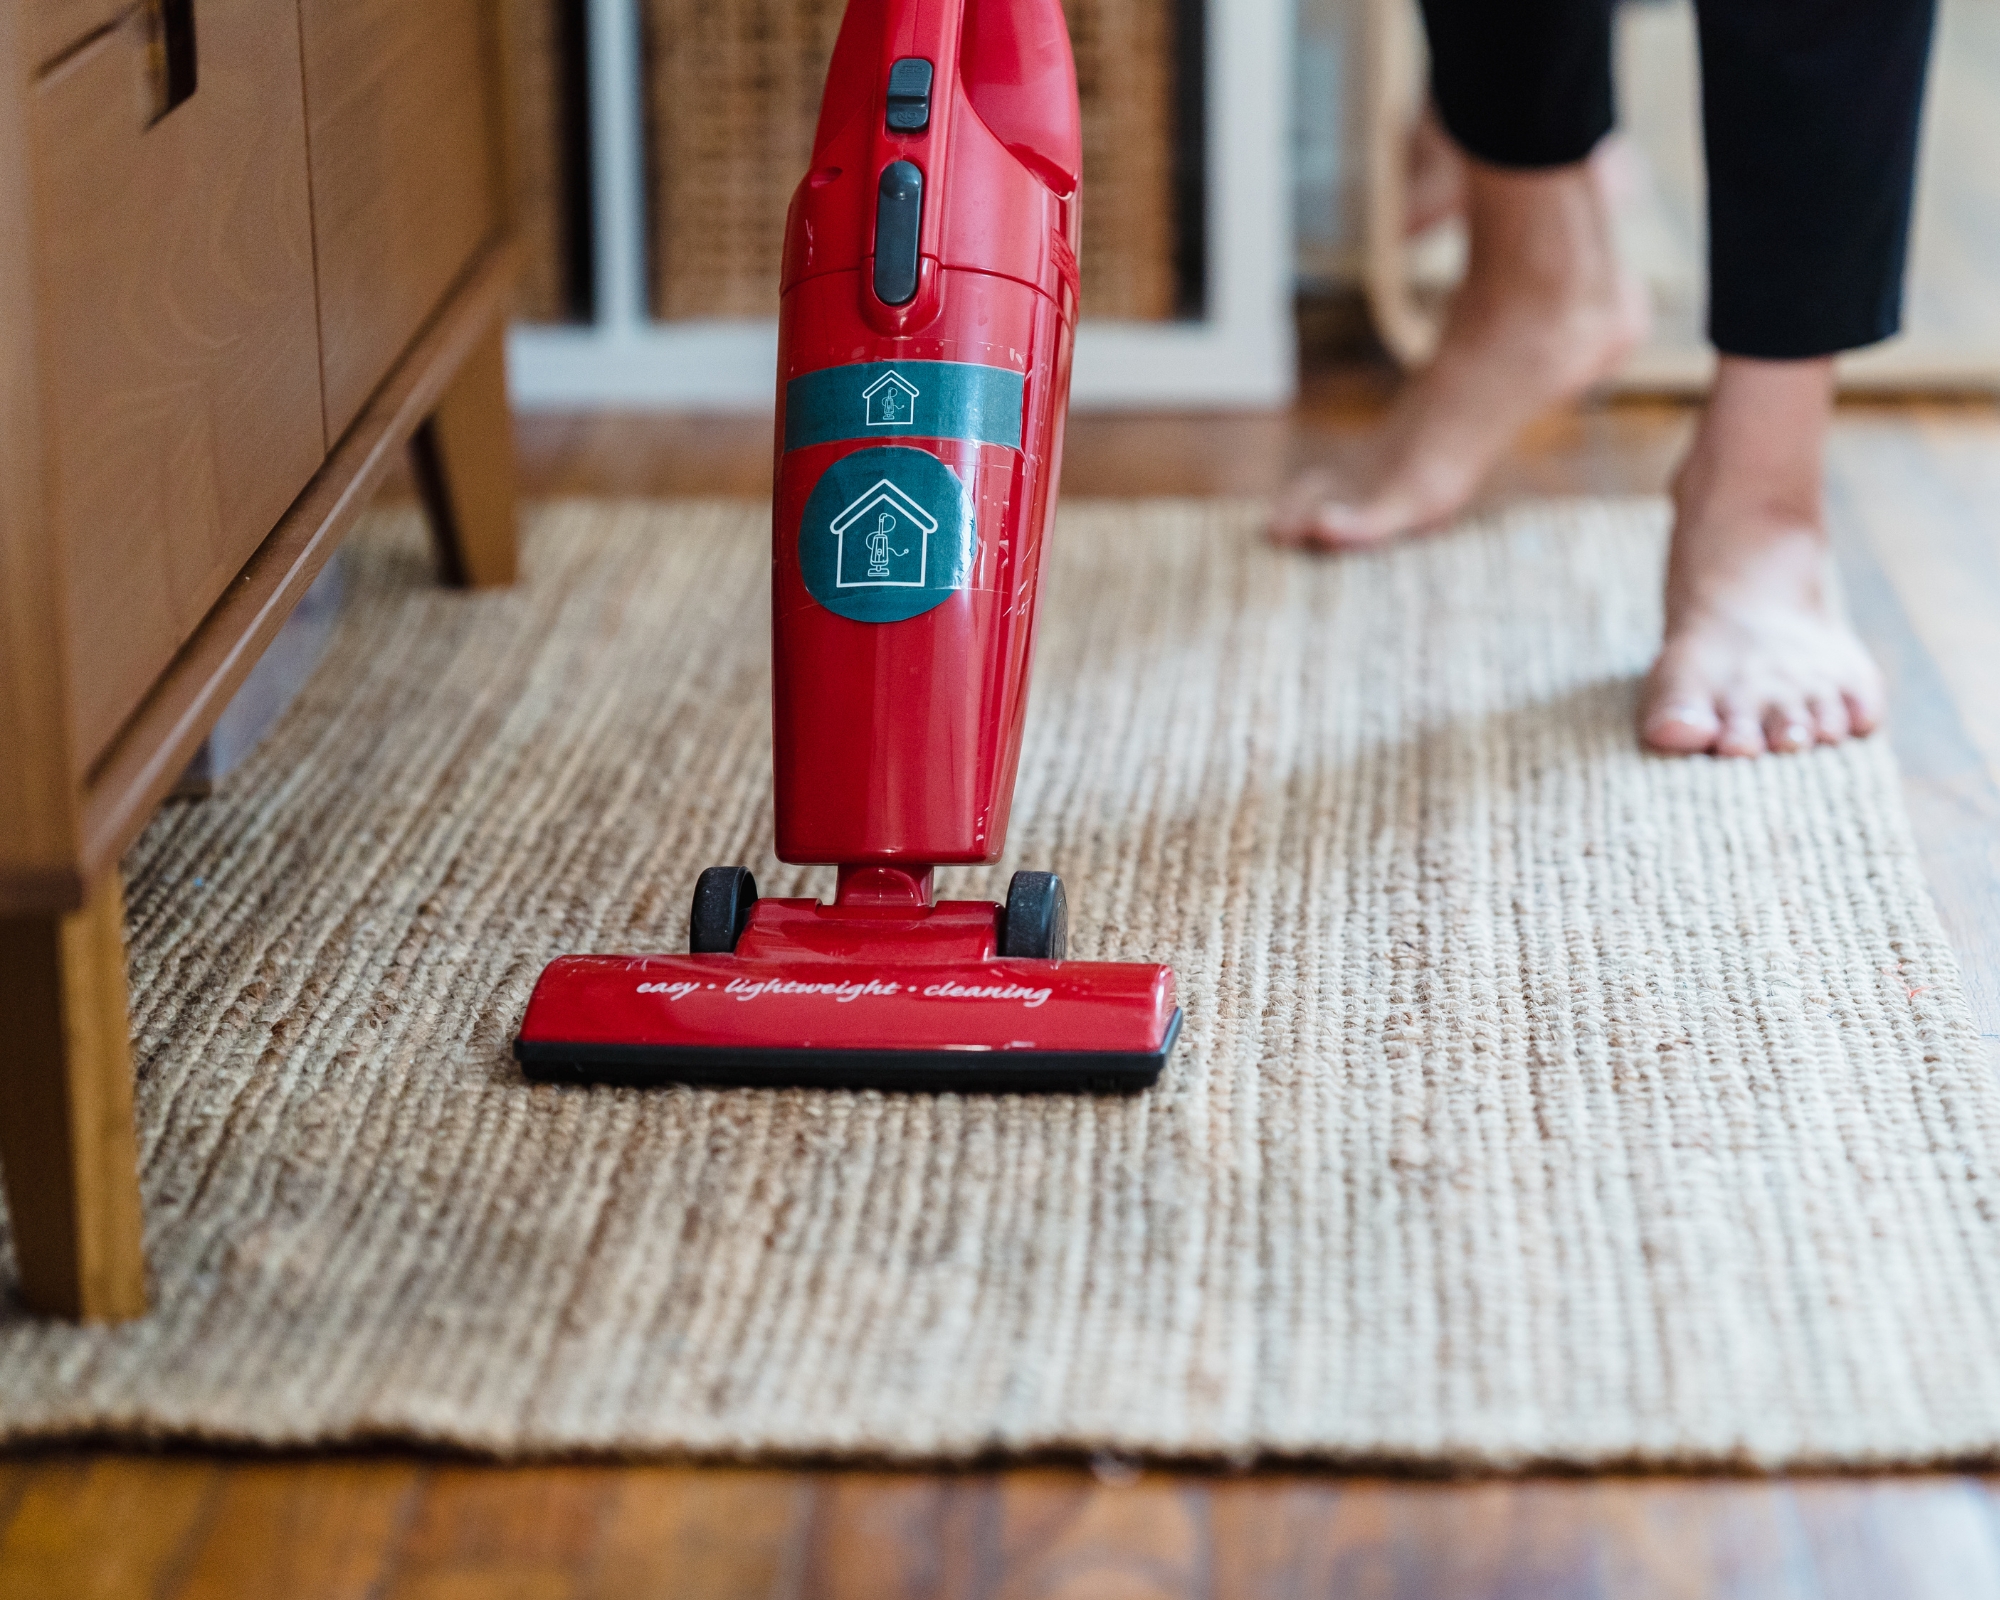
Once your vacuum brush is sparkling clean and fully dry, it's time to put it all back together and give it a test run.
Carefully reattach the brush roller to the vacuum, ensuring it is securely in place. Double-check that any screws or clips are tightened properly.
Next, plug your vacuum back in and give it a test run on a small section of carpet or flooring. Ensure that the brush roller spins freely and that the suction is back to full power.
If you notice any issues or abnormal sounds during the test run, double-check that the brush roller is properly installed and free of obstructions. Make any necessary adjustments before using the vacuum further.
With your vacuum brush back to full health, all that's left is to maintain its A game with some regular TLC.
Amy says, "If you want to really keep on top of maintenance, it's recommended to clean the brush after every use, but I think we all know that this is unrealistic. Instead, check your brush after each vacuum, removing any visible hairs or objects, and give it a deep clean once a year."
For super-easy cleaning, Amy recommends the Shark HydroVac Cordless Pro from Amazon. She adds, "Our community is a big fan of the Shark HydroVac. It has a self-cleaning, antimicrobial brush roll, which eliminates the need to manually clean the brush roll altogether!"
So there you have it — by following our expert-approved steps, you can ensure your vacuum stays in top condition, ready to tackle any mess with ease.
Next, upgrade your vacuum's performance even further by checking out how to clean a vacuum filter.
Join our newsletter
Get small space home decor ideas, celeb inspiration, DIY tips and more, straight to your inbox!

I'm a senior writer with an English degree and NCJ qualification, plus years of experience writing news, lifestyle and consumer articles for the national and international press. I'm also a copywriter, working on a breadth of consumer and corporate projects, and a private education consultant. I live in the quiet of the countryside and love completing DIY tasks to breathe life into my small, newly-built home.