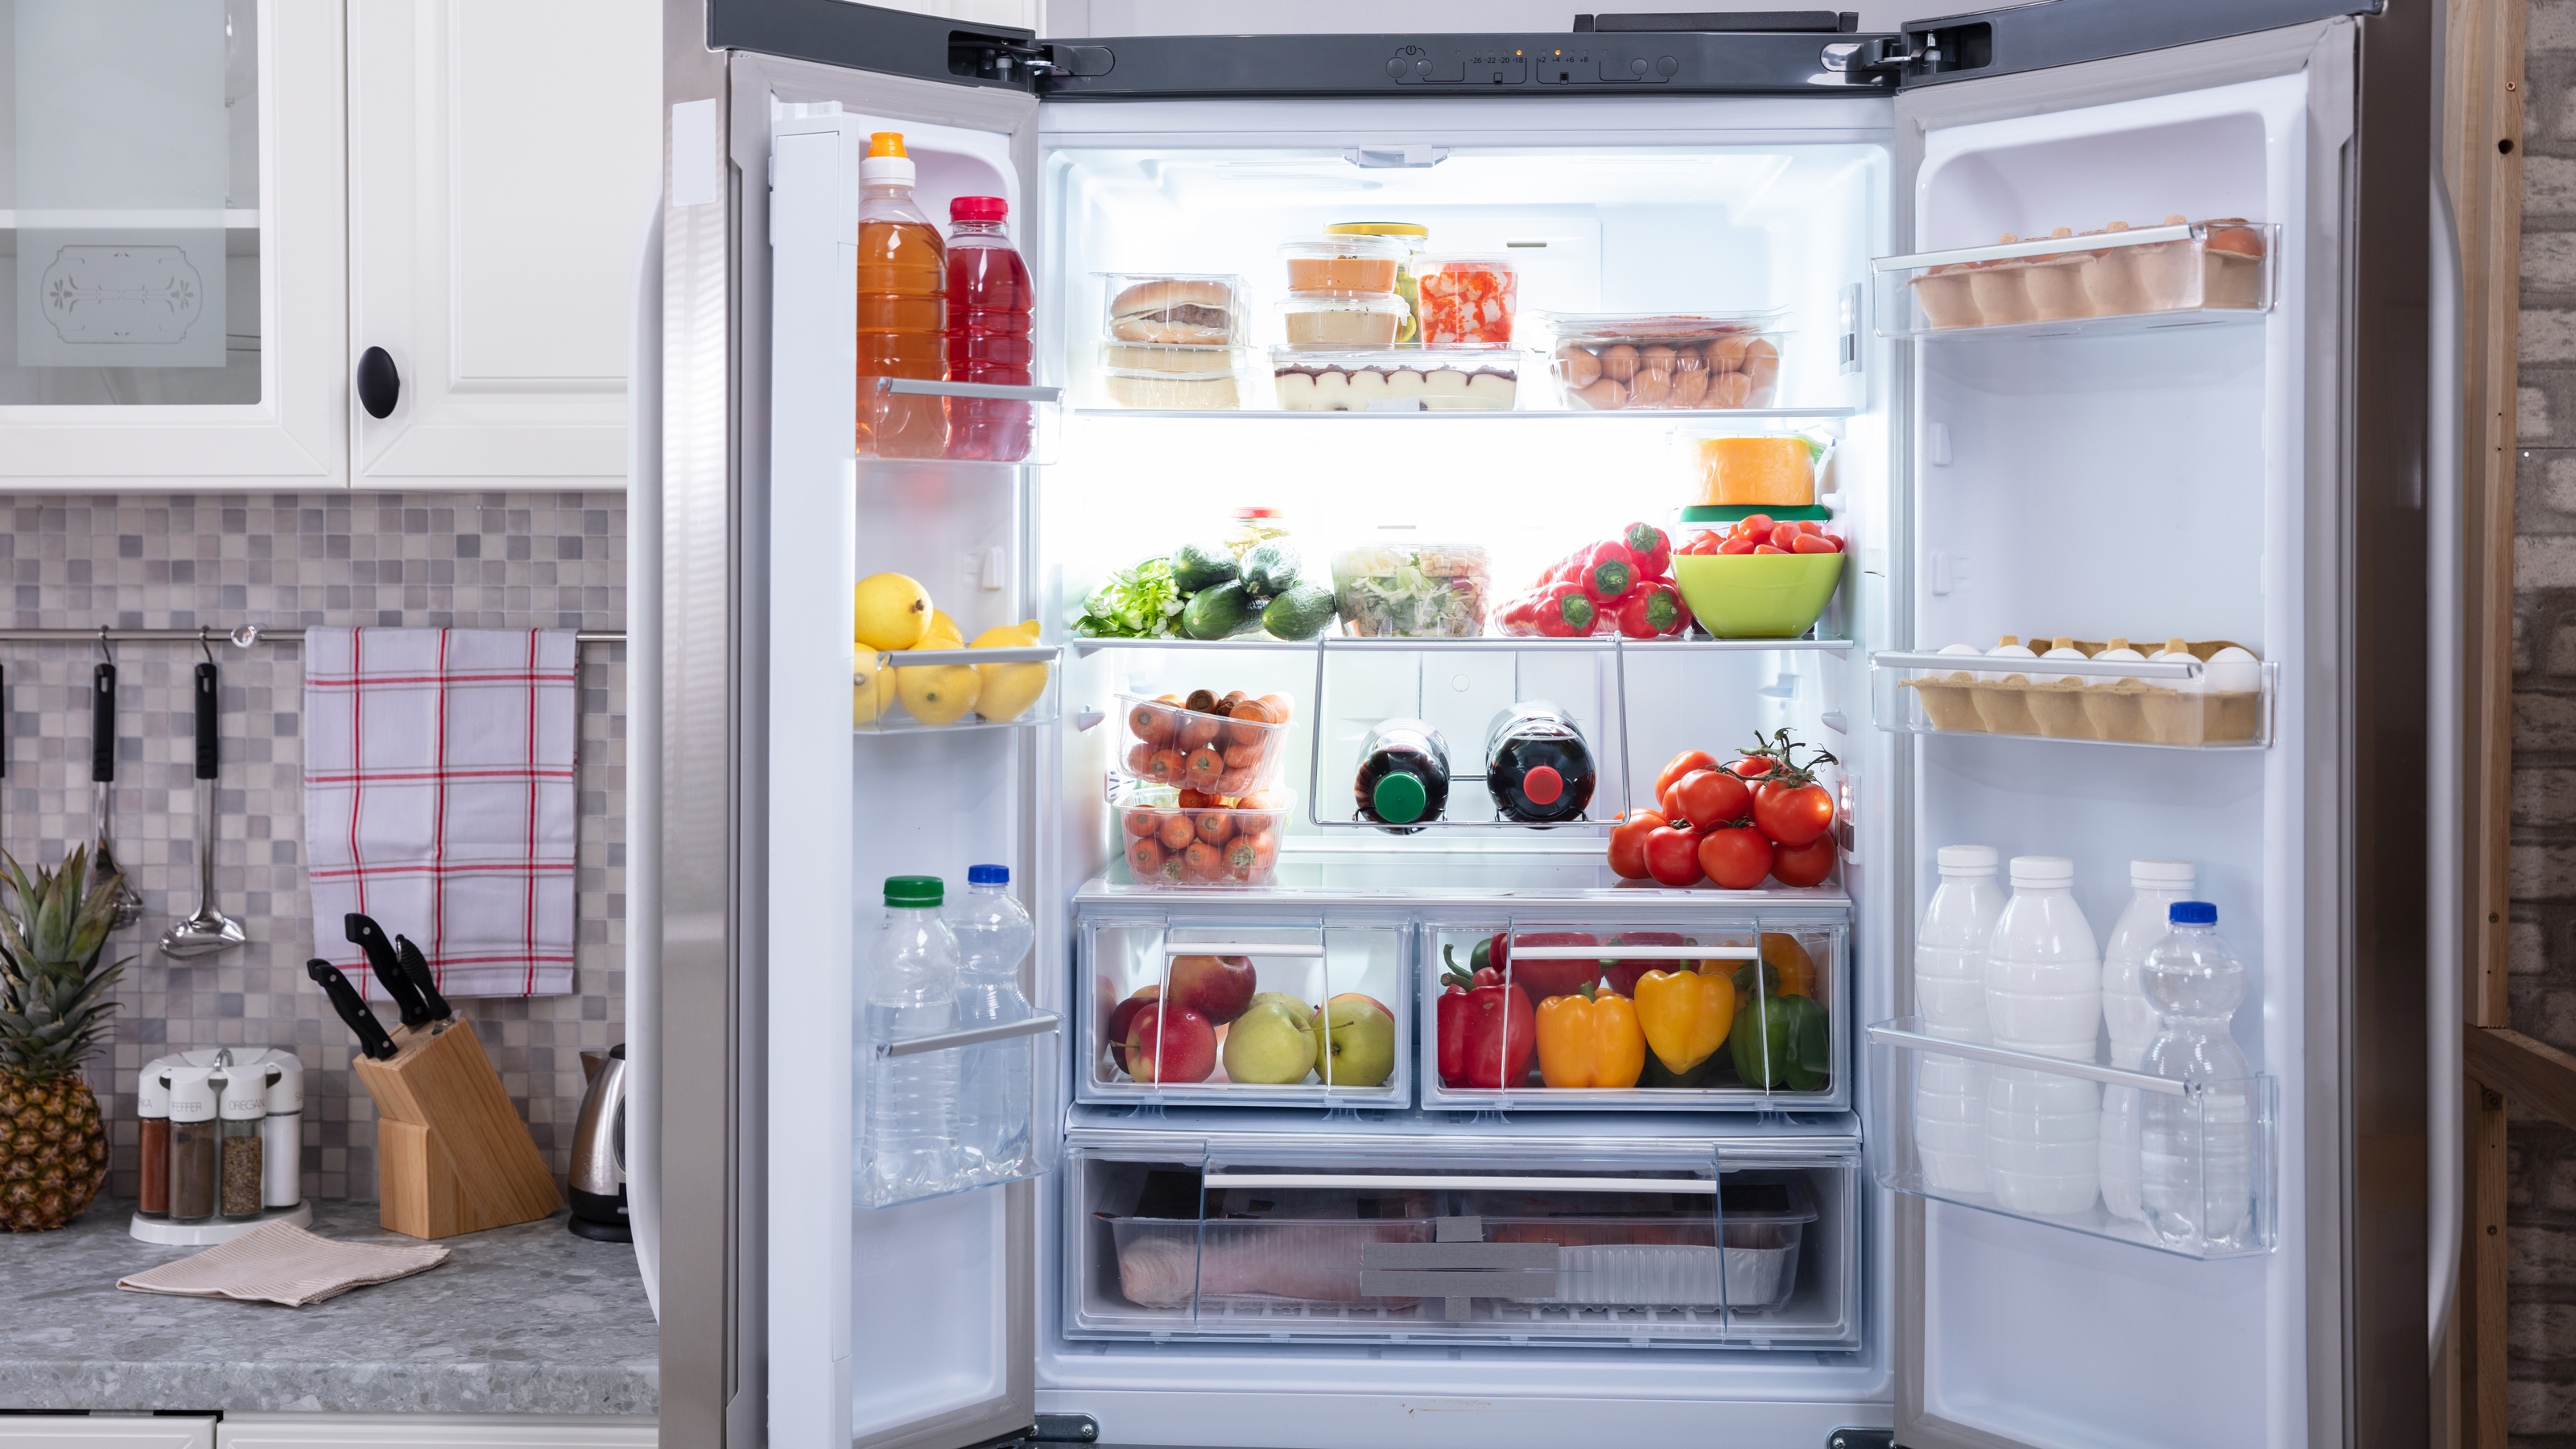
Wondering how to clean refrigerator coils? Or maybe you've never heard about cleaning them at all and are intrigued by why anyone would need to do it? We promise you that after finding out a bit more about fridge coils, you'll be rushing to clean yours as soon as possible.
While most people know how to clean the fridge inside, fridge component parts usually don't get much love. We get it: the thought of cleaning fridge coils is not the most exciting in the world and you may be very tempted to just skip the task altogether. However, there are compelling reasons why you shouldn't.
Why do I need to clean refrigerator coils?
Far from being an obscure cleaning task you can safely ignore, cleaning refrigerator coils at least occasionally is essential if you want your best fridge freezer to run efficiently and not break down before its time. Lana Chere, Director of Operations of Home Alliance, explains that 'The refrigerator coils or condenser coils are responsible for the heat extraction process that allows the refrigerant to circulate. Thus, when the coils are covered with dirt, they require more energy and effort to release heat affecting the optimum performance of the refrigerator, especially the cooling system. This leads to having problems with freezing your ice for chill', to say nothing of raising your utility bills unnecessarily.
Has this made you want to clean your fridge coils right away? Here's what you'll need to do:
1. Clear out and disconnect the fridge
This may seem obvious, but you should never attempt to clean your fridge coils if the fridge is still on and has food in it. Not only is this an electric hazard, but also you'll potentially end up ruining the food with the coil cleaning solution.
Coil cleaning doesn't take a very long time, but you will need to let everything dry out before plugging the fridge back in, so you will need to do a bit of forward planning for food that's perishable.
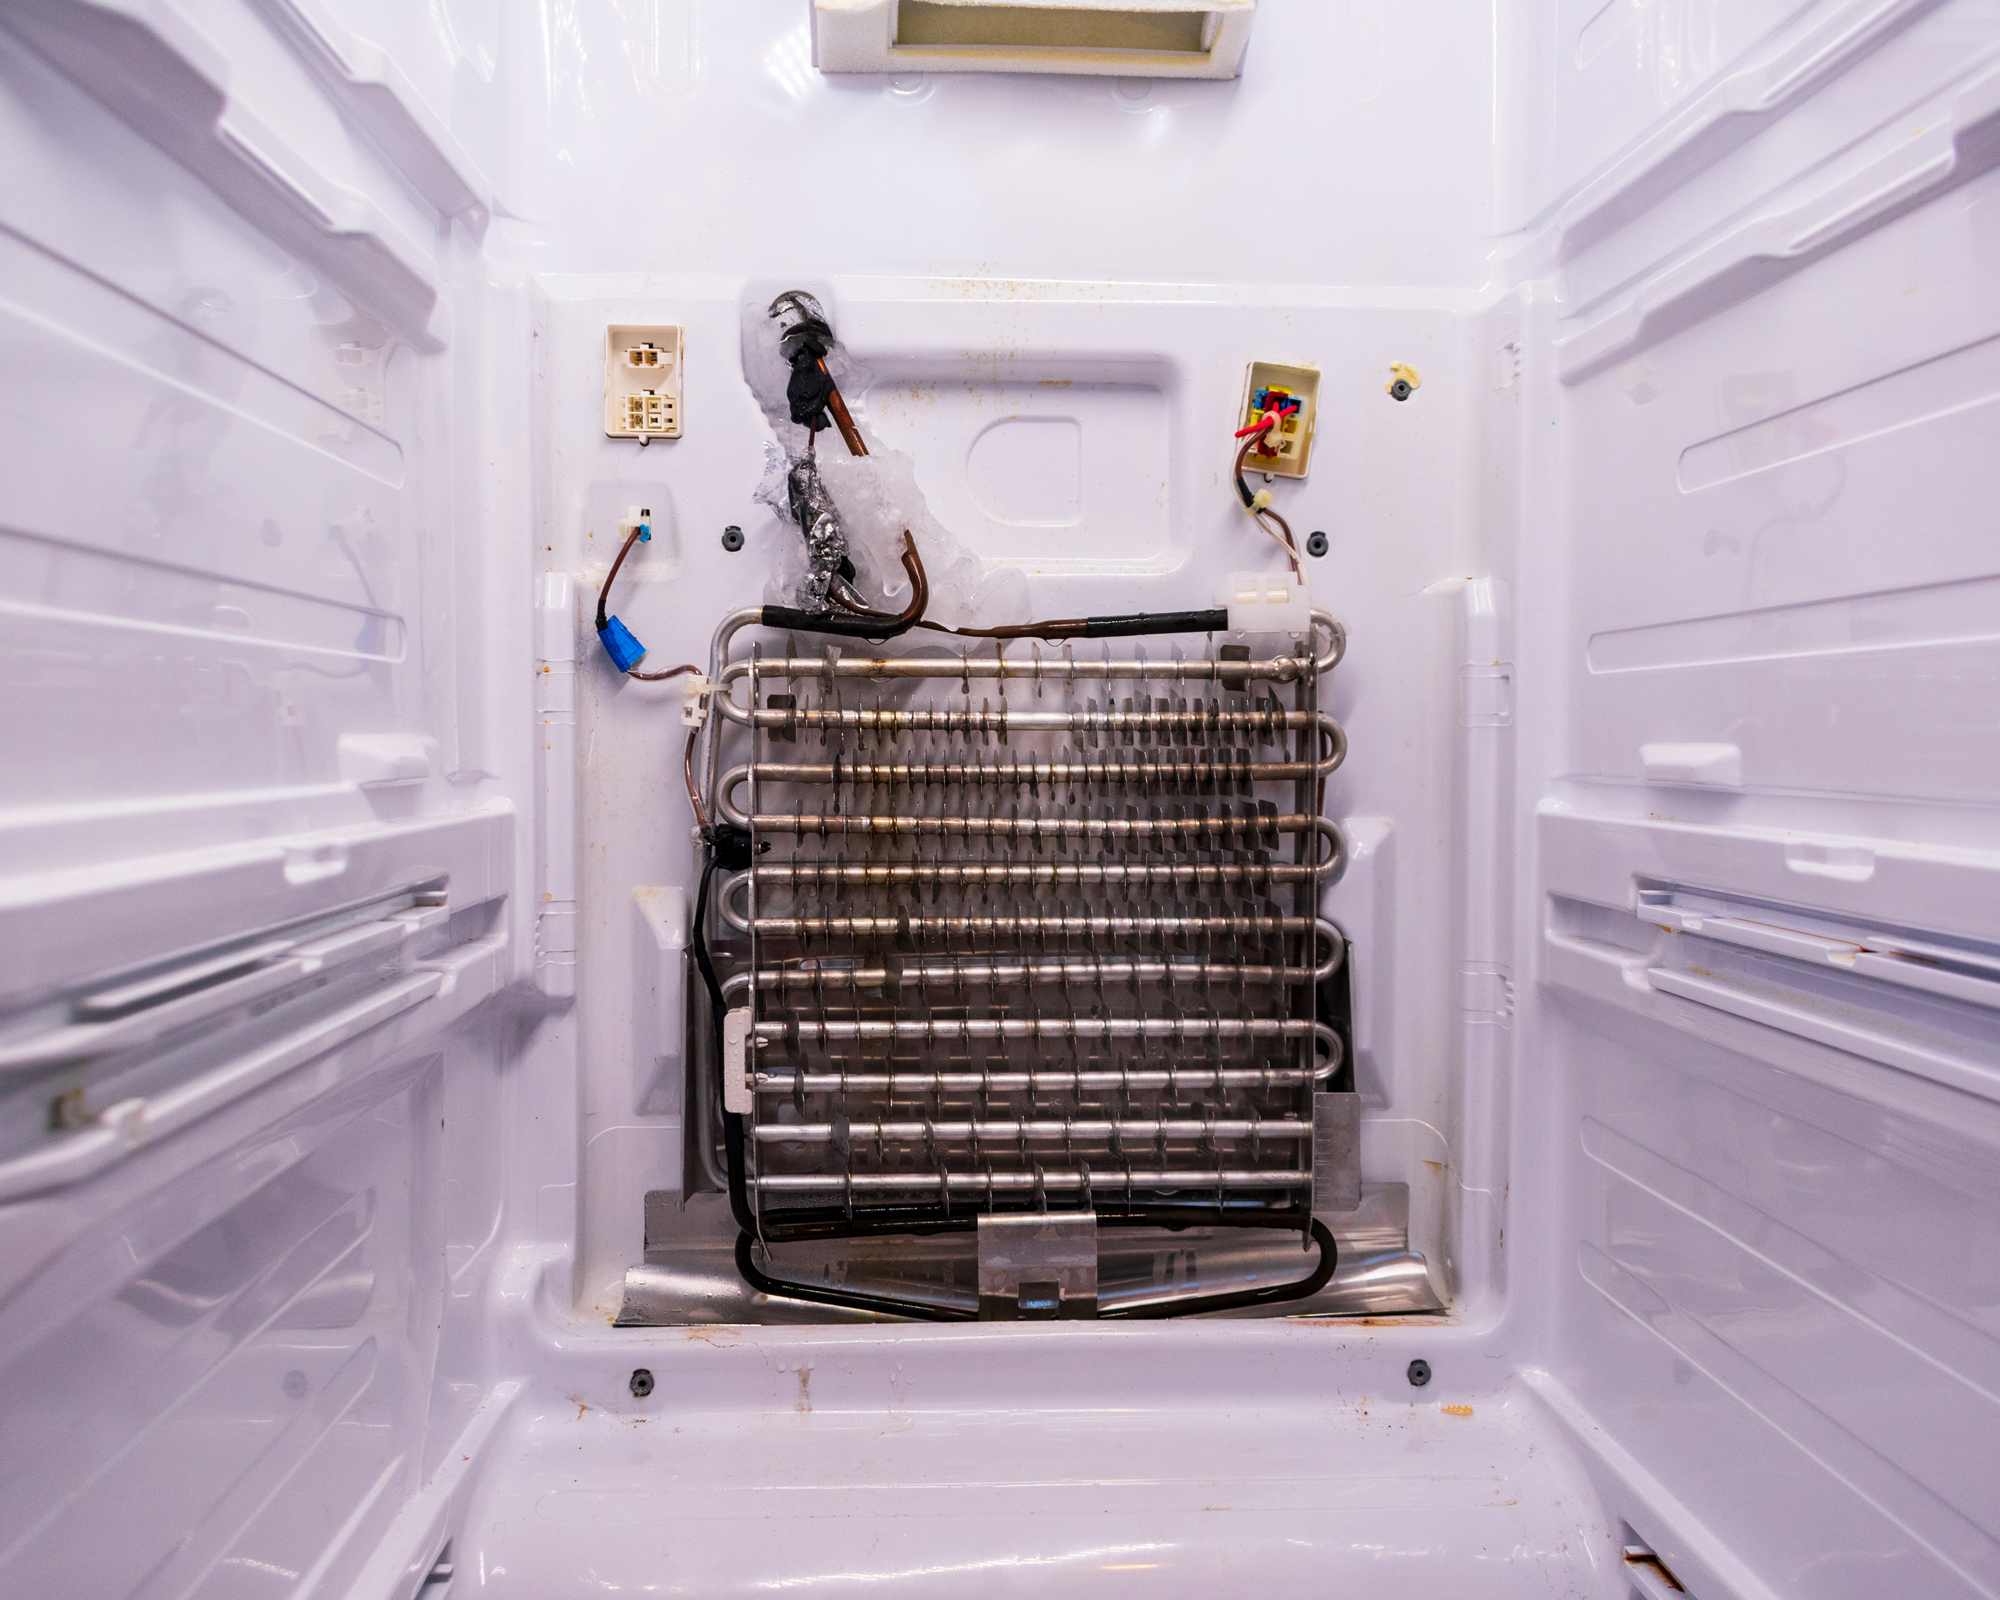
Fridge coils in a freezer compartment with the panel off
2. Locate the coils
You've removed the food and disconnected your appliance. Now, you will need to locate your fridge coils. Depending on the age, make, and model of your fridge, your fridge coils may be located:
- On the outside of the fridge at the back
- Underneath the fridge
- Inside the fridge behind a panel
If the coils aren't obviously exposed, they will be behind a panel inside. You may find it easier to find the manual to be certain. Ray Charles, a heating and air conditioning professional, and the Founder of Household Air, advises that 'If you need to clean coils that are inside the refrigerator, you'll need to take the back panel off and check for exposed coils. If there are no exposed coils, you can apply the coil cleaner on the backside of the refrigerator.'
Now that you've located your refrigerator coils, you will need the following (can be bought on Amazon):
- A refrigerator coil cleaner
- Deionized water
- A power washer
- A vacuum cleaner
- A coil brush or soft-bristled bottle brush
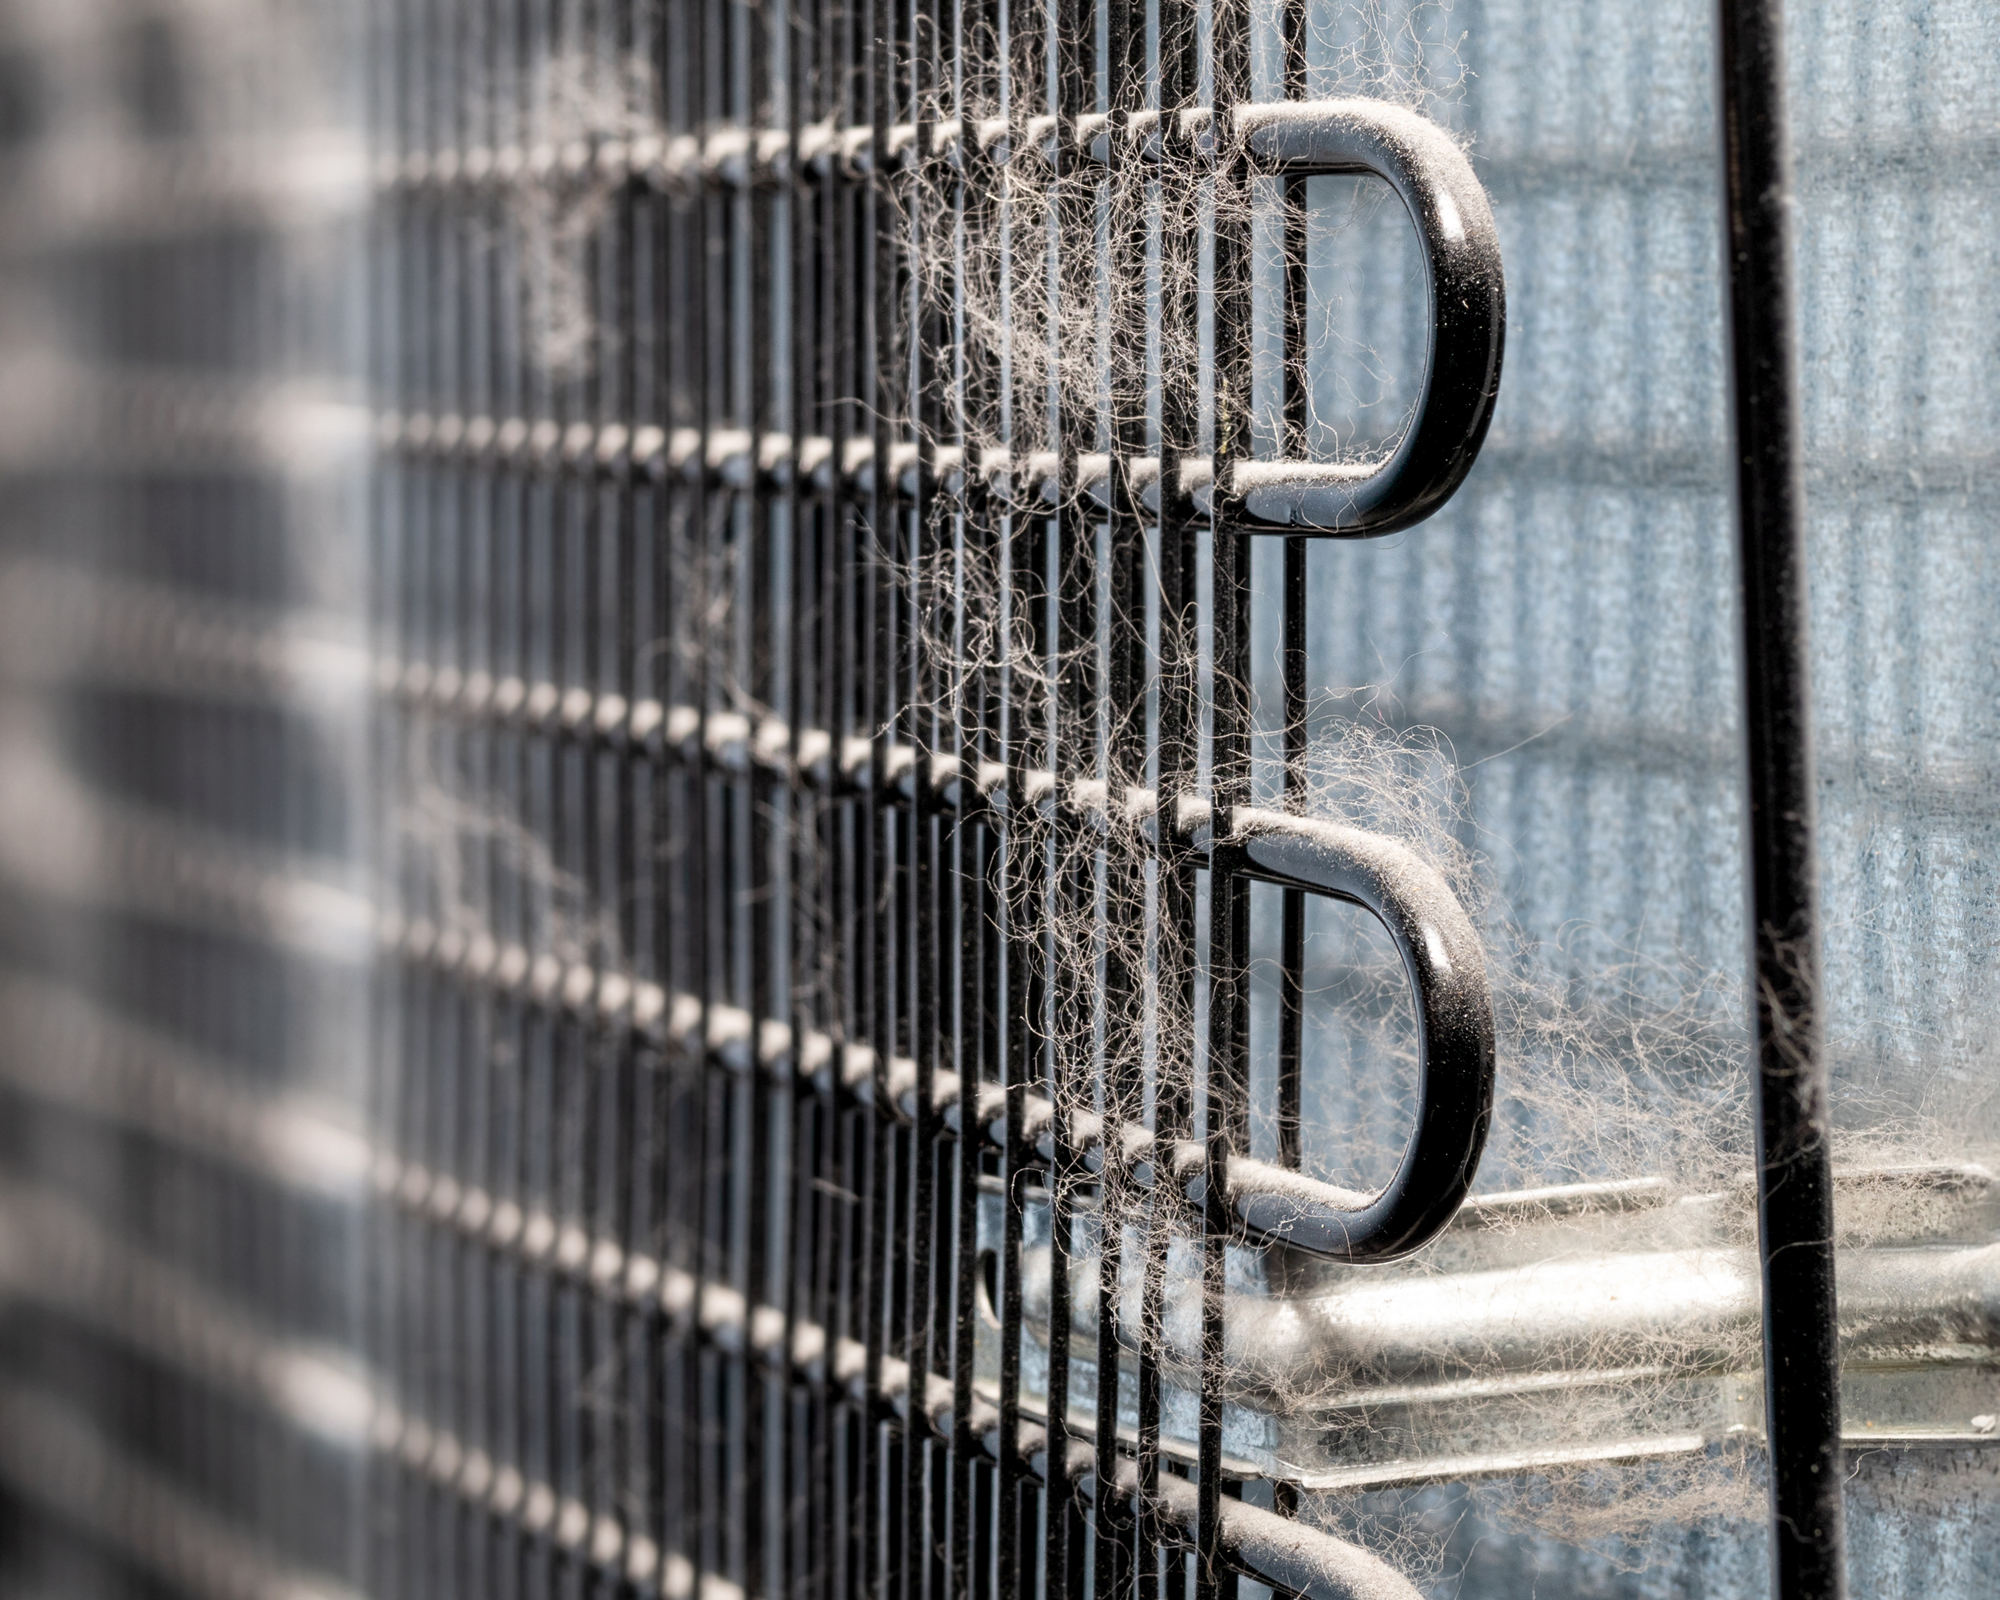
3. Brush off or vacuum lint buildup and debris
Always begin by removing the obvious dirt, clumps of dust, and other debris that will have built up over the months (or years!) Chere recommends using 'a soft-bristled brush or coil brush to remove the clog from the coils – dust, debris, and sometimes hair from the pet and the owner. The small-nozzle vacuum is a perfect partner for the job, especially on the corners and narrow areas.'
4. Saturate the coils with coil cleaner
In many cases, the dry clean part of the process will be enough. However, if there is still visible dirt on your coils and vacuuming or brushing just isn't doing it, it's time to reach for a dedicated coil cleaner. Charles advises that 'you need to saturate the coils with the cleaner and wait until it stops bubbling. It's important to use a solution that melts through the gunk and refreshes the metal coils. You can use a wild solution, but they can be really harsh and damage the metal coils. It is better to go for a commercial refrigerator coil cleaner'.
5. Wash off the solution
Charles recommends using a power washer 'to remove any remaining cleaner from the coils'. This is much more effective than trying to rinse off the cleaner manually, although you will need to think about the water spray from your pressure washer. We recommend lining anything in your kitchen you don't want to get sprayed with old towels.
6. Let the coils dry
When you are done cleaning, Charles recommends setting the refrigerator 'to the coldest setting, and allowing it to run for a few hours. This will help the coils to dry out.' Once the coils are dry, you can put the food back in.
Can I clean refrigerator coils with vinegar?
Yes. vinegar is a great solution if you don't have a commercial coil cleaner, and no power washer. Charles recommends the following process:
1. Spray on the vinegar
Using a spray bottle, spray vinegar on the coils. Then, you simply let it sit for about 10 minutes. The vinegar will remove any residue (such as calcium and lime) that has accumulated on the coils and line, and can even restore their natural shine and luster. If you have a bit more time, you can mix a 50/50 ratio of vinegar with water and then use a scrubbing brush to remove any stubborn residue.
2. Wipe off
Once it's sat, wipe off the vinegar gently with an old cloth. After you've finished, let the refrigerator sit for a few hours to dry out.
3. Leave the door open
Now, leave the door open for the remaining vinegar to evaporate.
Top tip: 'Do not place food in the refrigerator while cleaning. Acetic acid (the active ingredient in vinegar) may cause damage to certain plastics. I recommend you not use vinegar on any plastics. The vinegar smell will eventually dissipate, but it's still recommended to open a window or two to air it out'.
How often do I need to clean refrigerator coils?
Chere highly recommends cleaning the coils every six months. If you really can't be bothered, annually is ok.
Join our newsletter
Get small space home decor ideas, celeb inspiration, DIY tips and more, straight to your inbox!
Anna is a professional writer with many years of experience. She has a passion for contemporary home decor and gardening. She covers a range of topics, from practical advice to interior and garden design.
-
 The Home Edit warn against this labeling mistake when organizing a fridge
Labels can make a huge difference when tidying a fridge unless you fall for this huge mistake
By Rebecca Knight Last updated
-
 This is the part of the fridge we’re all forgetting to clean – according to TikTok
Go and inspect the bottom of your fridge right now
By Millie Hurst Published