How to create a chalkboard wall: 12 top tips and ideas
Thinking of adding a chalkboard wall? Here are our top tips for where they work best and how to create one successfully
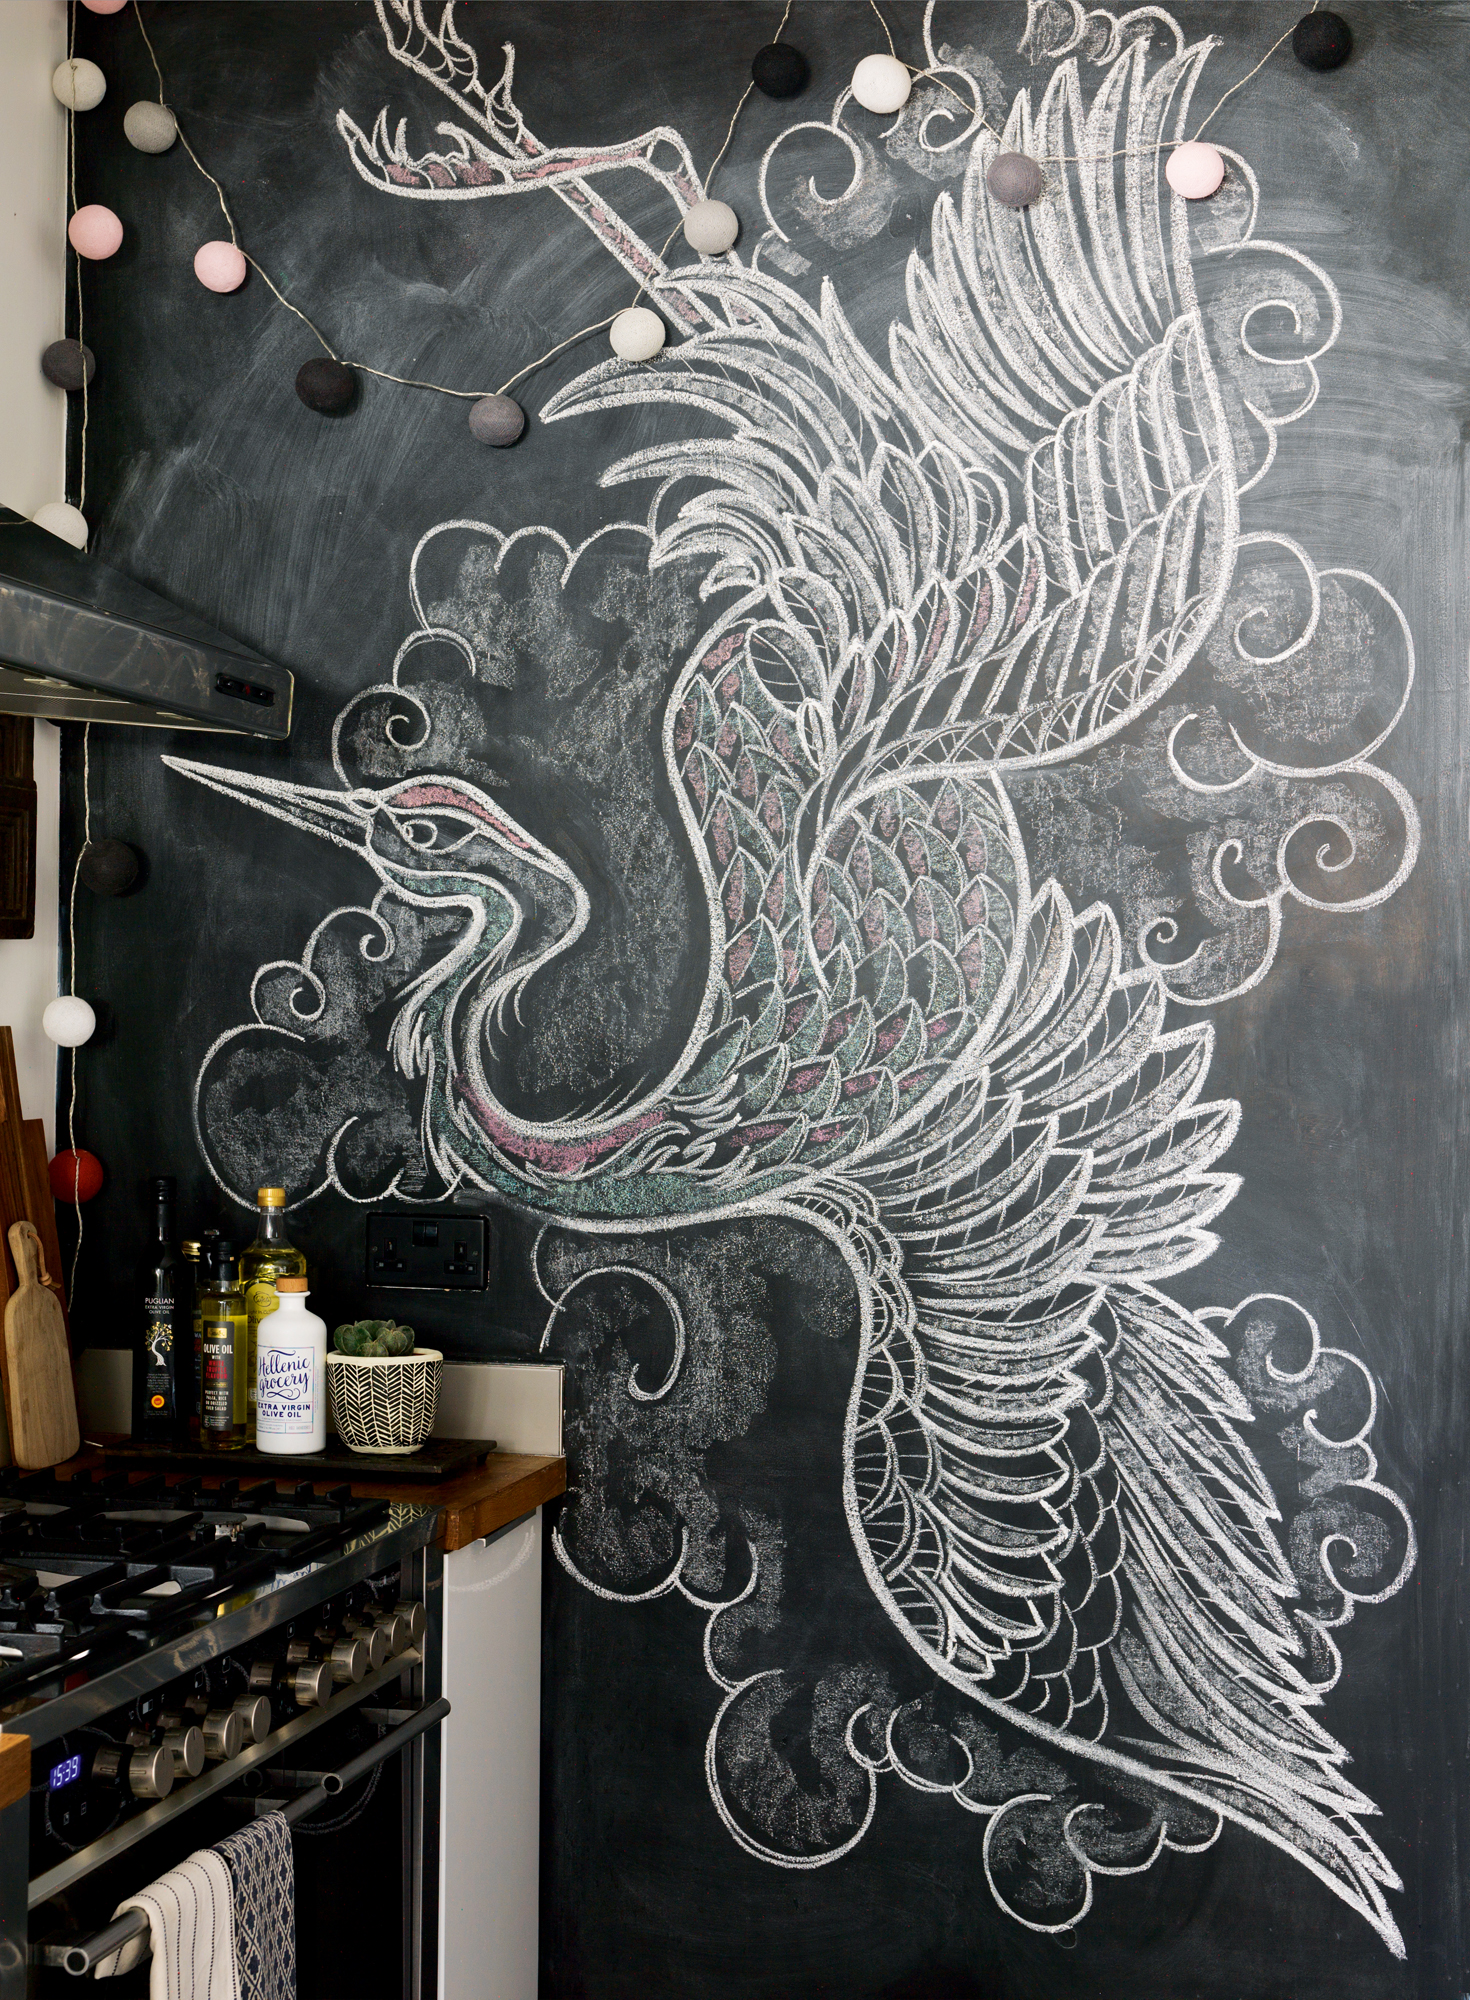

We love a chalkboard wall at Real Homes – or should we say 'chalkboard wall', as this versatile paint is available in so many more colours than standard-issue black. So, whether you want a handy place to scrawl notes, or just somewhere to show off your artistic flair, here are our top tips for adding a chalkboard wall to your home.
It is a great weekend decorating project that will transform how your room looks and works in no time. Inspired? There are plenty more weekend projects to get stuck into over on our hub page.
1. Think about the positioning of a chalkboard wall
Narrow spaces are not the best places for chalkboard walls. You risk brushing past and ending up with clothes covered in chalk dust. Likewise, keep upholstered furniture away from it. If you decide to paint a chalkboard section instead of a whole wall, make sure you can easily reach it to write.
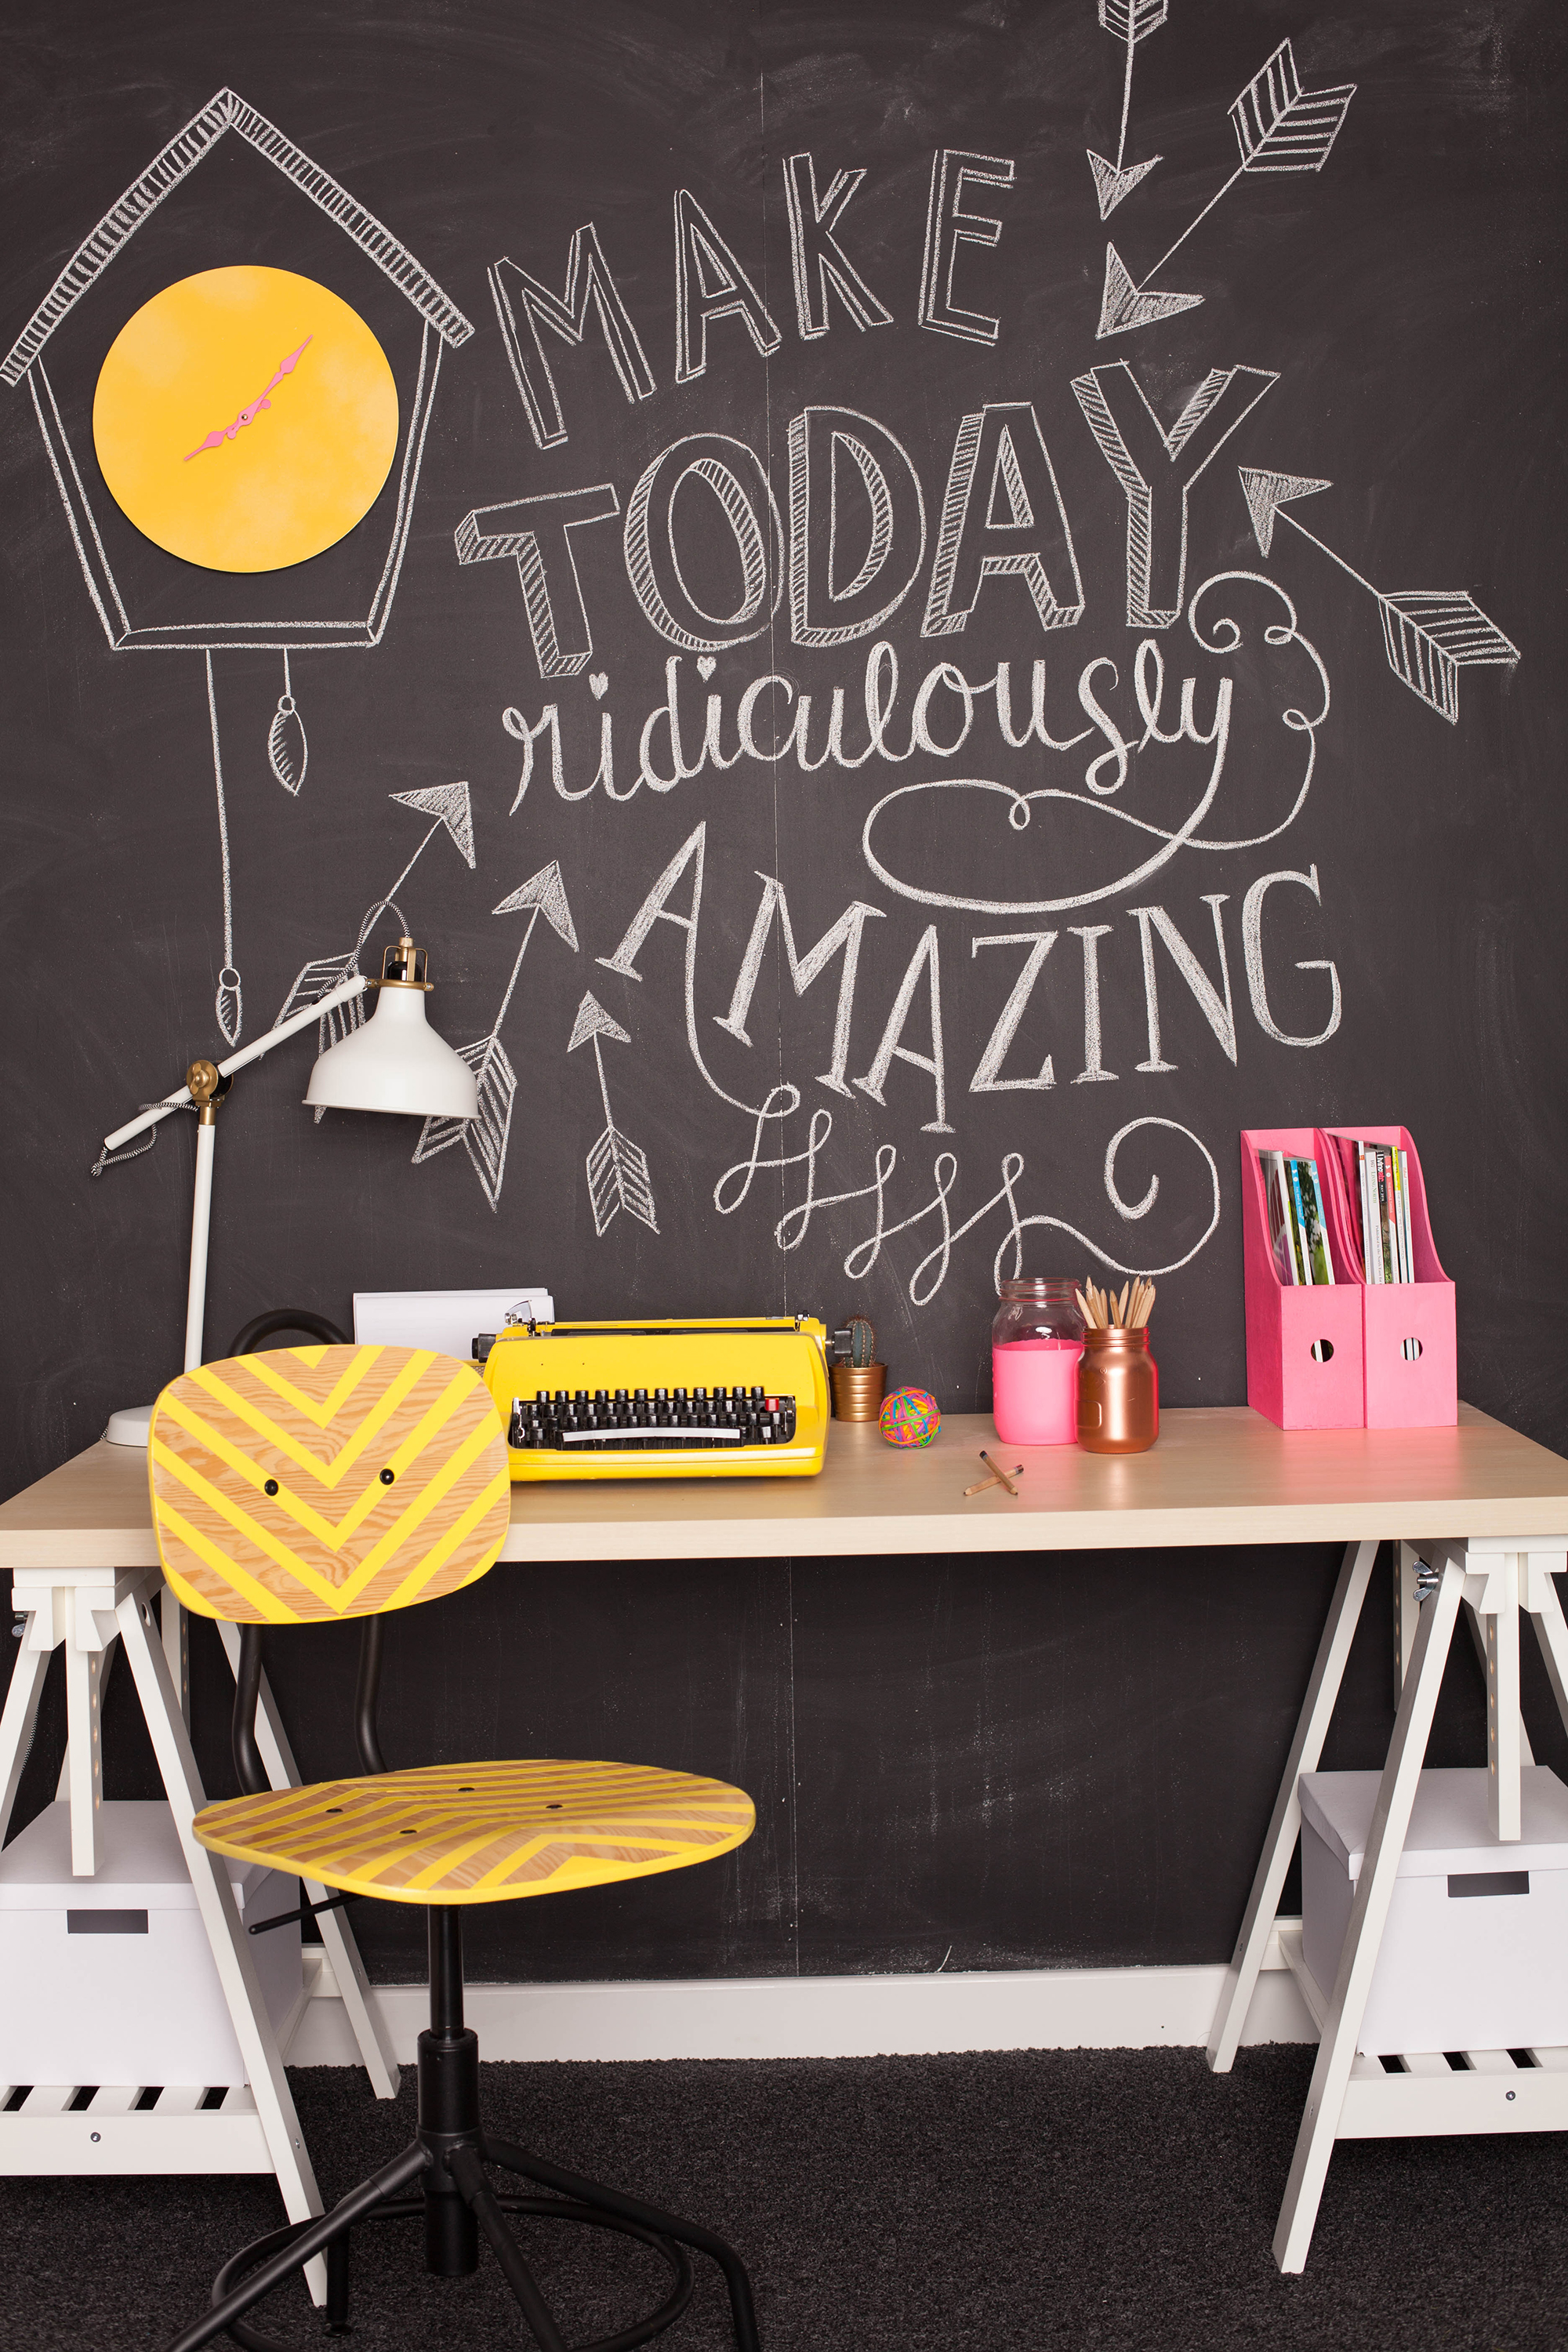
Leave yourself motivational messages while you work from home with a chalkboard in your home office like this example from Rustoleum
2. Prep the wall
For the best results, tackle painting a chalkboard wall as you would any other painting project.
1. Thoroughly clean the wall with sugar soap, making sure to have filled and sanded any imperfections beforehand.
2. Tape off the area you wish to paint using quality masking tape.
3. Protect the floor. This is especially important if you use blackboard paint as the heavy pigment will stain easily.
Get small space home decor ideas, celeb inspiration, DIY tips and more, straight to your inbox!
A post shared by Medina Grillo (@grillodesigns)
A photo posted by on on Sep 26, 2018 at 1:07pm PDT
3. Get painting
Use a roller for larger areas and a smoother finish. Cut in first, using a brush for neat edges. If you use a dark colour it may look like one coat is enough, but for the best results you will need two to three.
4. Use a chalkboard wall as a wall planner
You will be hard pushed to miss another birthday if it is scrawled in 72pt font on your wall. Why not use blackboard paint to make a family wall planner, or a personal planner in your home office?
You can buy blackboard decals to stick on the wall (as seen below), but for a bespoke version, use masking tape to mark out a grid, or create a large stencil to paint around.
Find more advice on how to design a home office in our specialist guide.
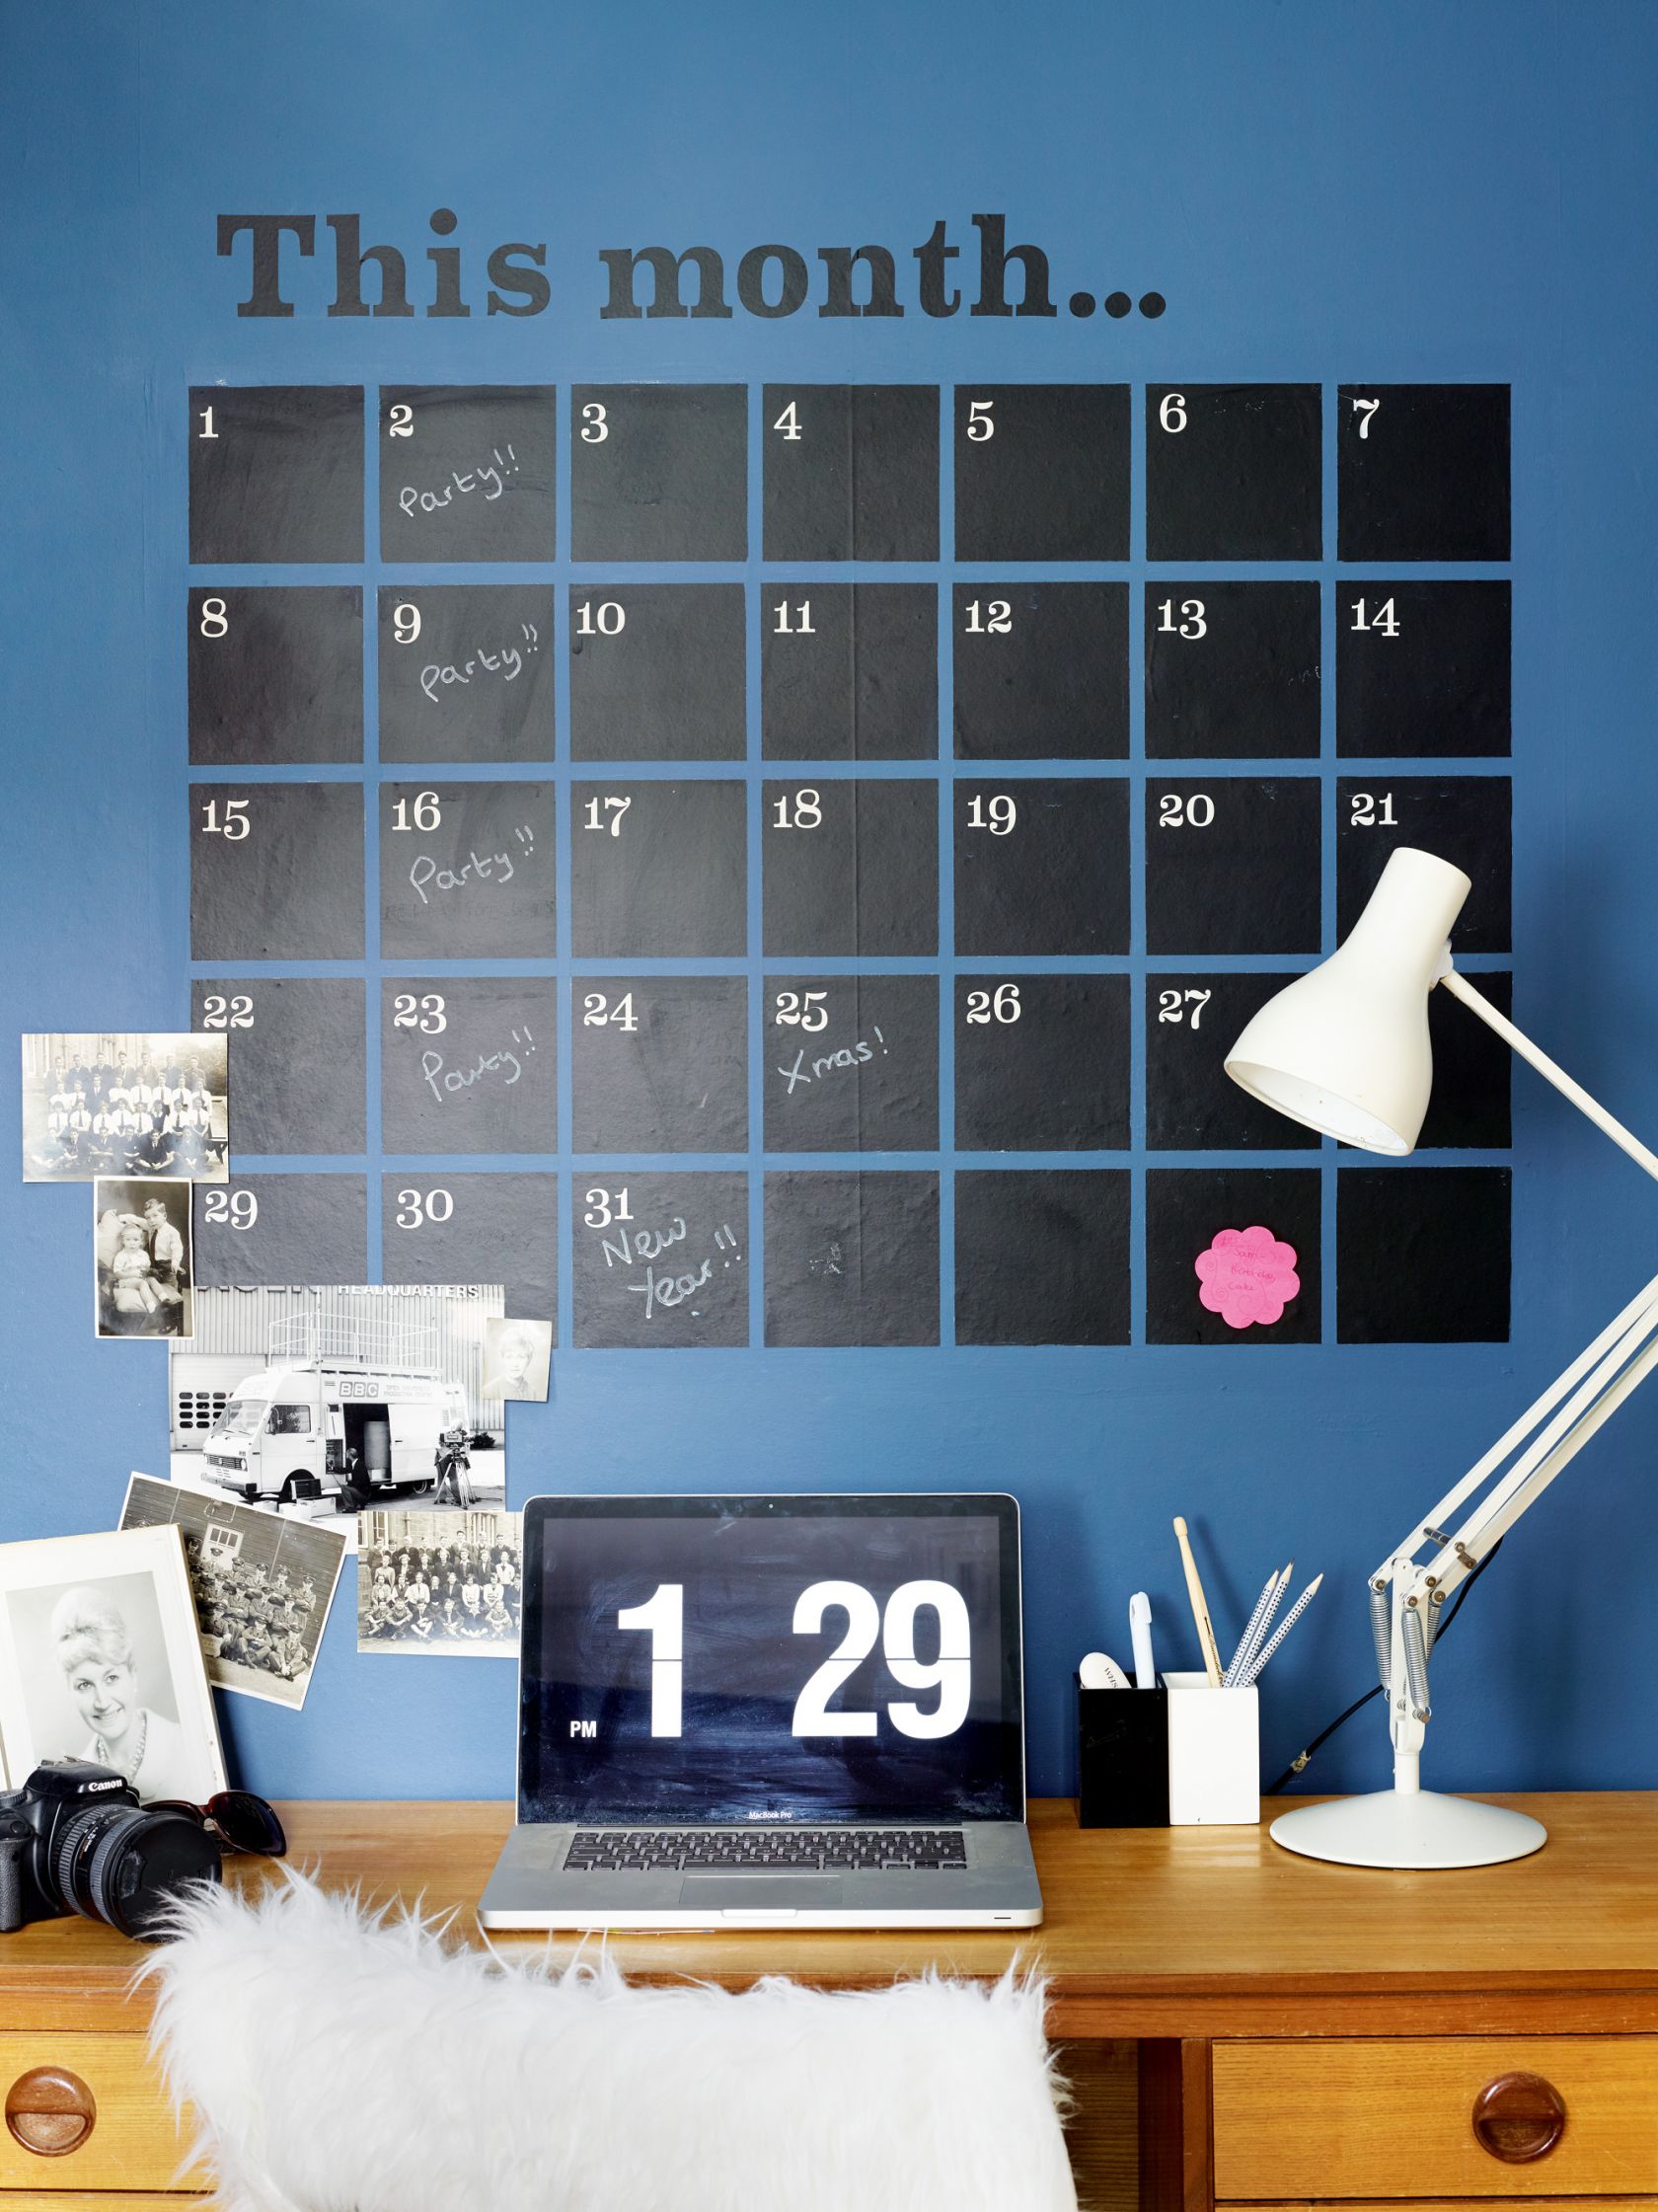
This calendar wall sticker, from Ferm Living, allows homeowner Caroline Firth to keep track of appointments. The same could be created with blackboard paint and some stencils. See Caroline's remodelled Victorian home
5. Create a shopping list you will never lose
If like us you are forever misplacing scraps of paper with groceries scribbled on them, why not turn a kitchen wall into one big shopping list. Always close to hand, you can quickly scrawl a note on the wall when you use the last tin of beans or run out of kitchen roll.
6. Let the kids break the rules
Usually doodling on the walls is strictly forbidden, but chalkboard paint is great in kids rooms. It offers a way for them to customise their own space and a place to play, learn and draw.
Find more ideas for children's bedrooms in our clever kids' room design ideas.
A post shared by LISA DAWSON (@_lisa_dawson_)
A photo posted by on on Jun 17, 2018 at 12:09pm PDT
7. Use it for recipes and reminders
Chalkboard paint by nature is wipe-clean, so you can safely use it in the kitchen – even in areas that might get splashed. This means it is really handy to paint behind worktops as a place to jot down recipes or meal ideas. No more splattered cook books!
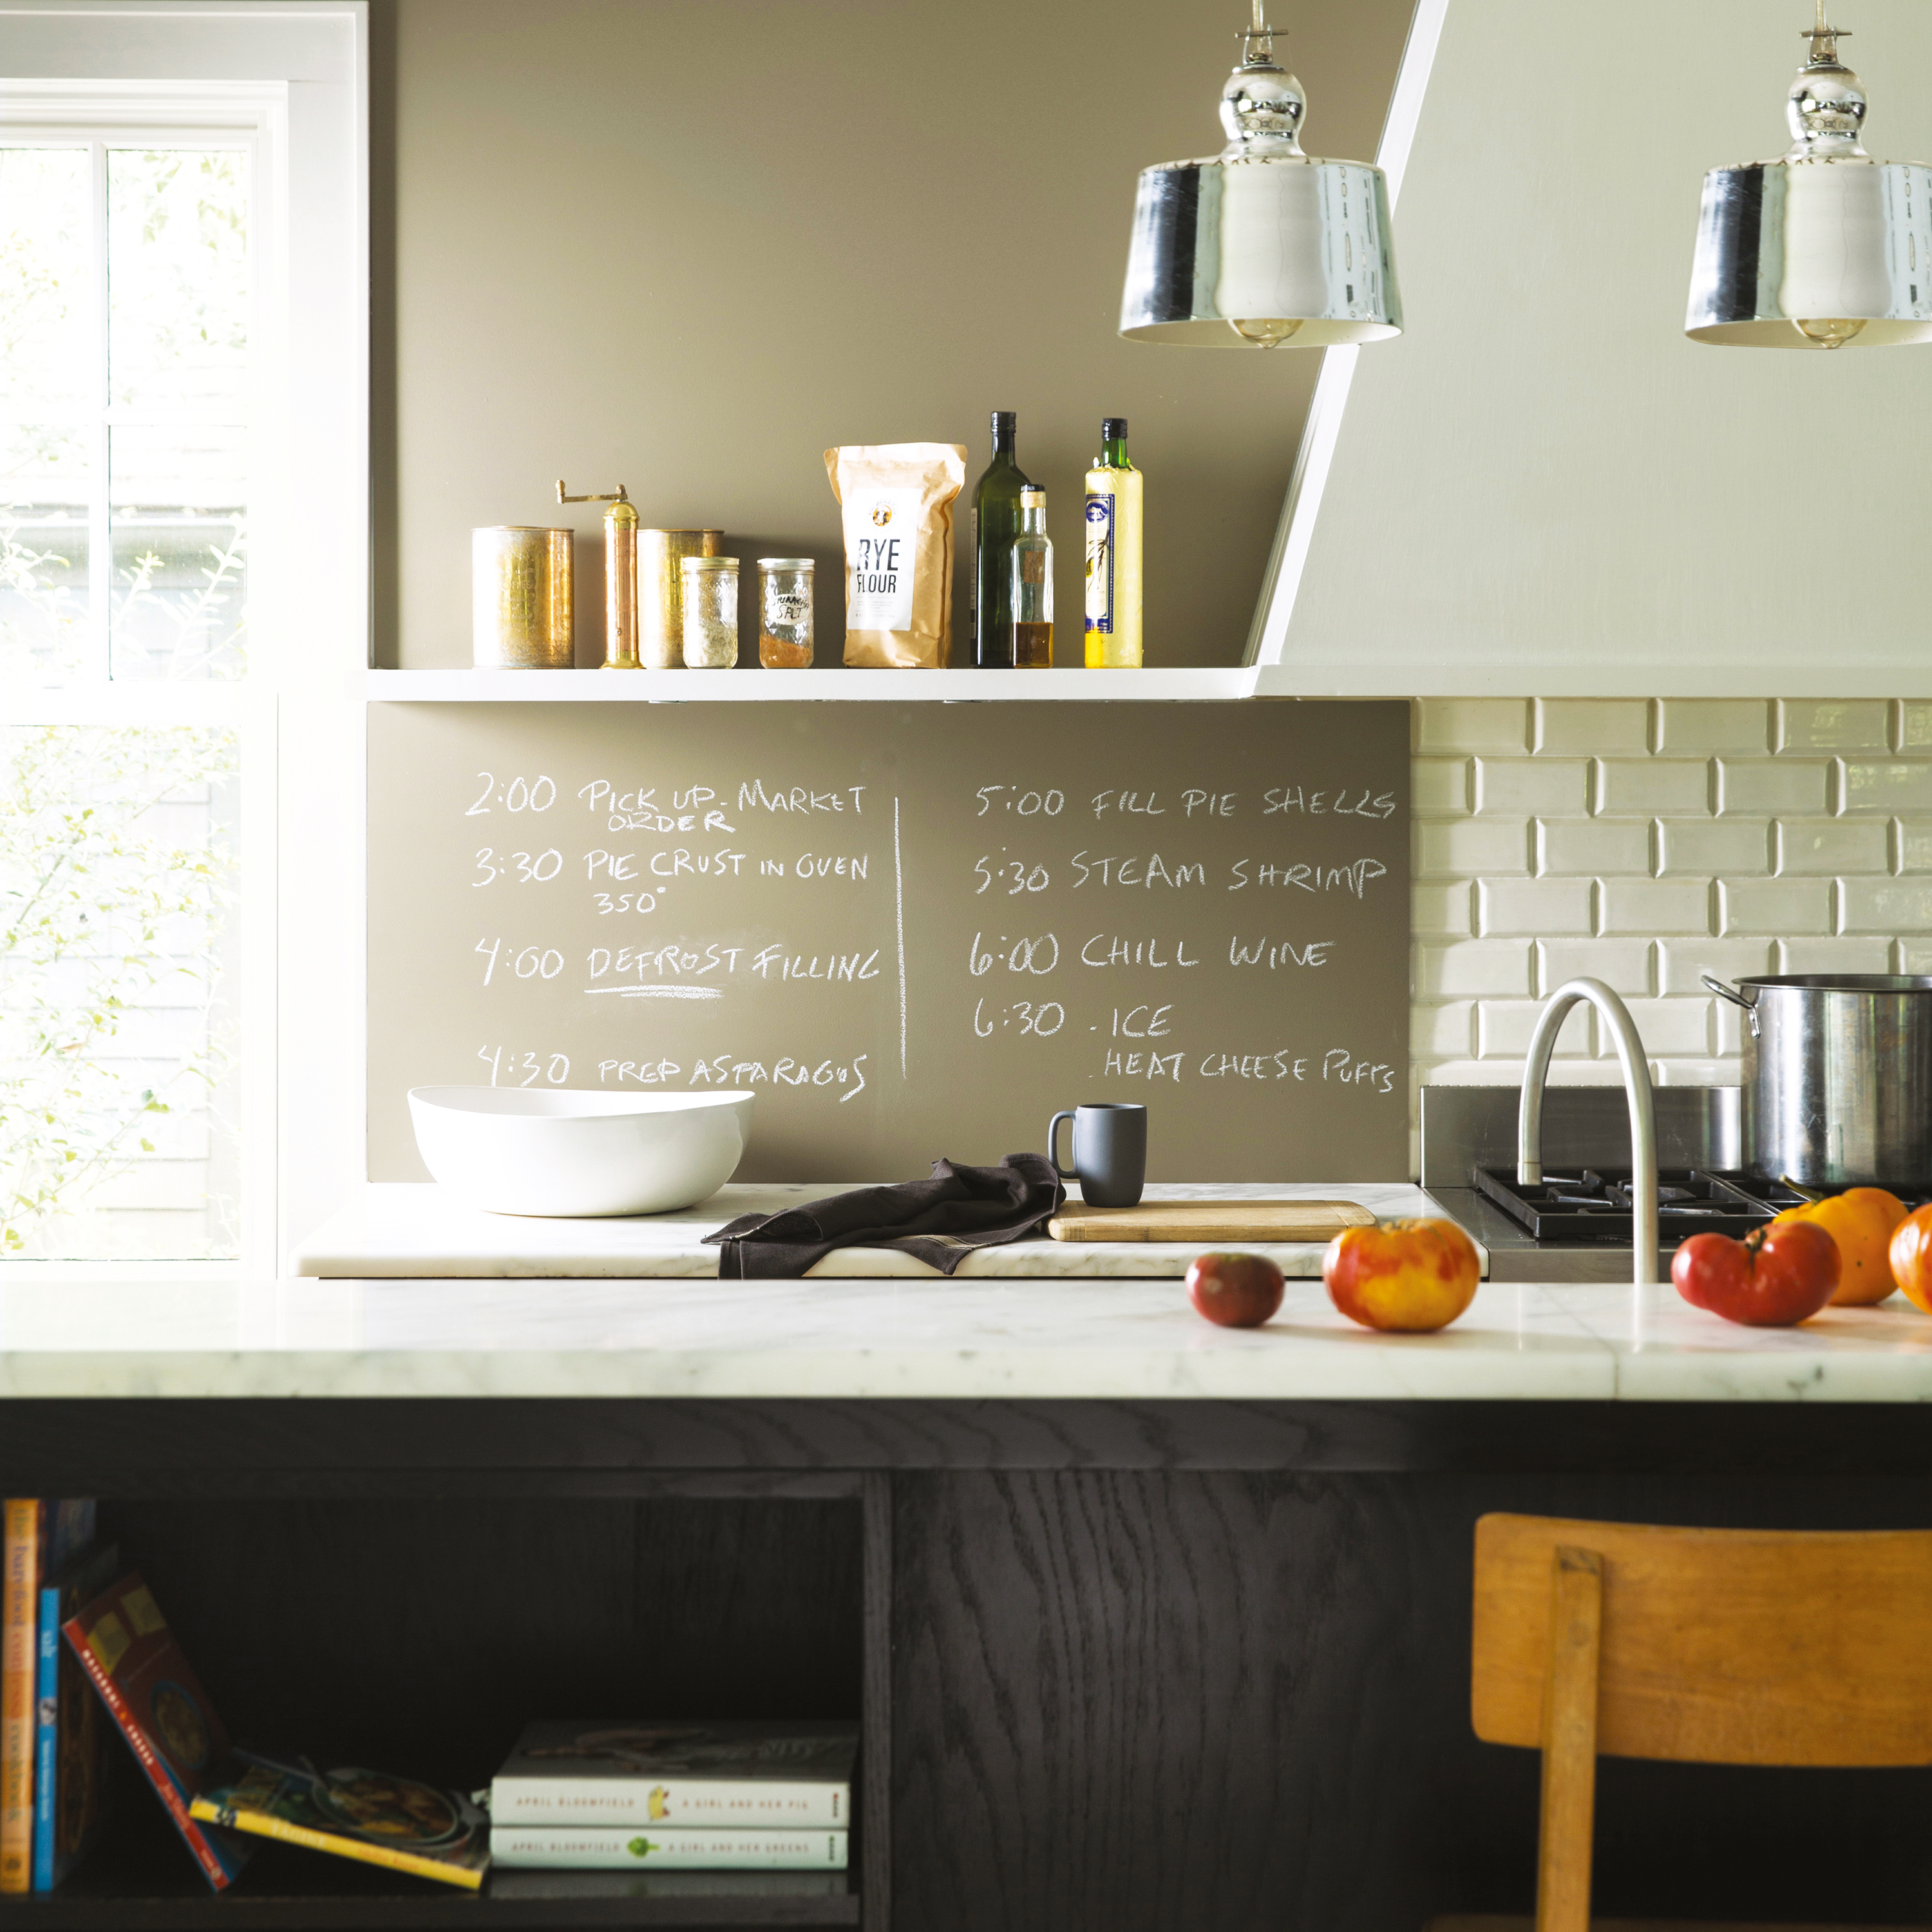
All 3,500 Benjamin Moore paint colours are available as chalkboard paint so you really can use it in any scheme
8. No free walls? Try a chalkboard door
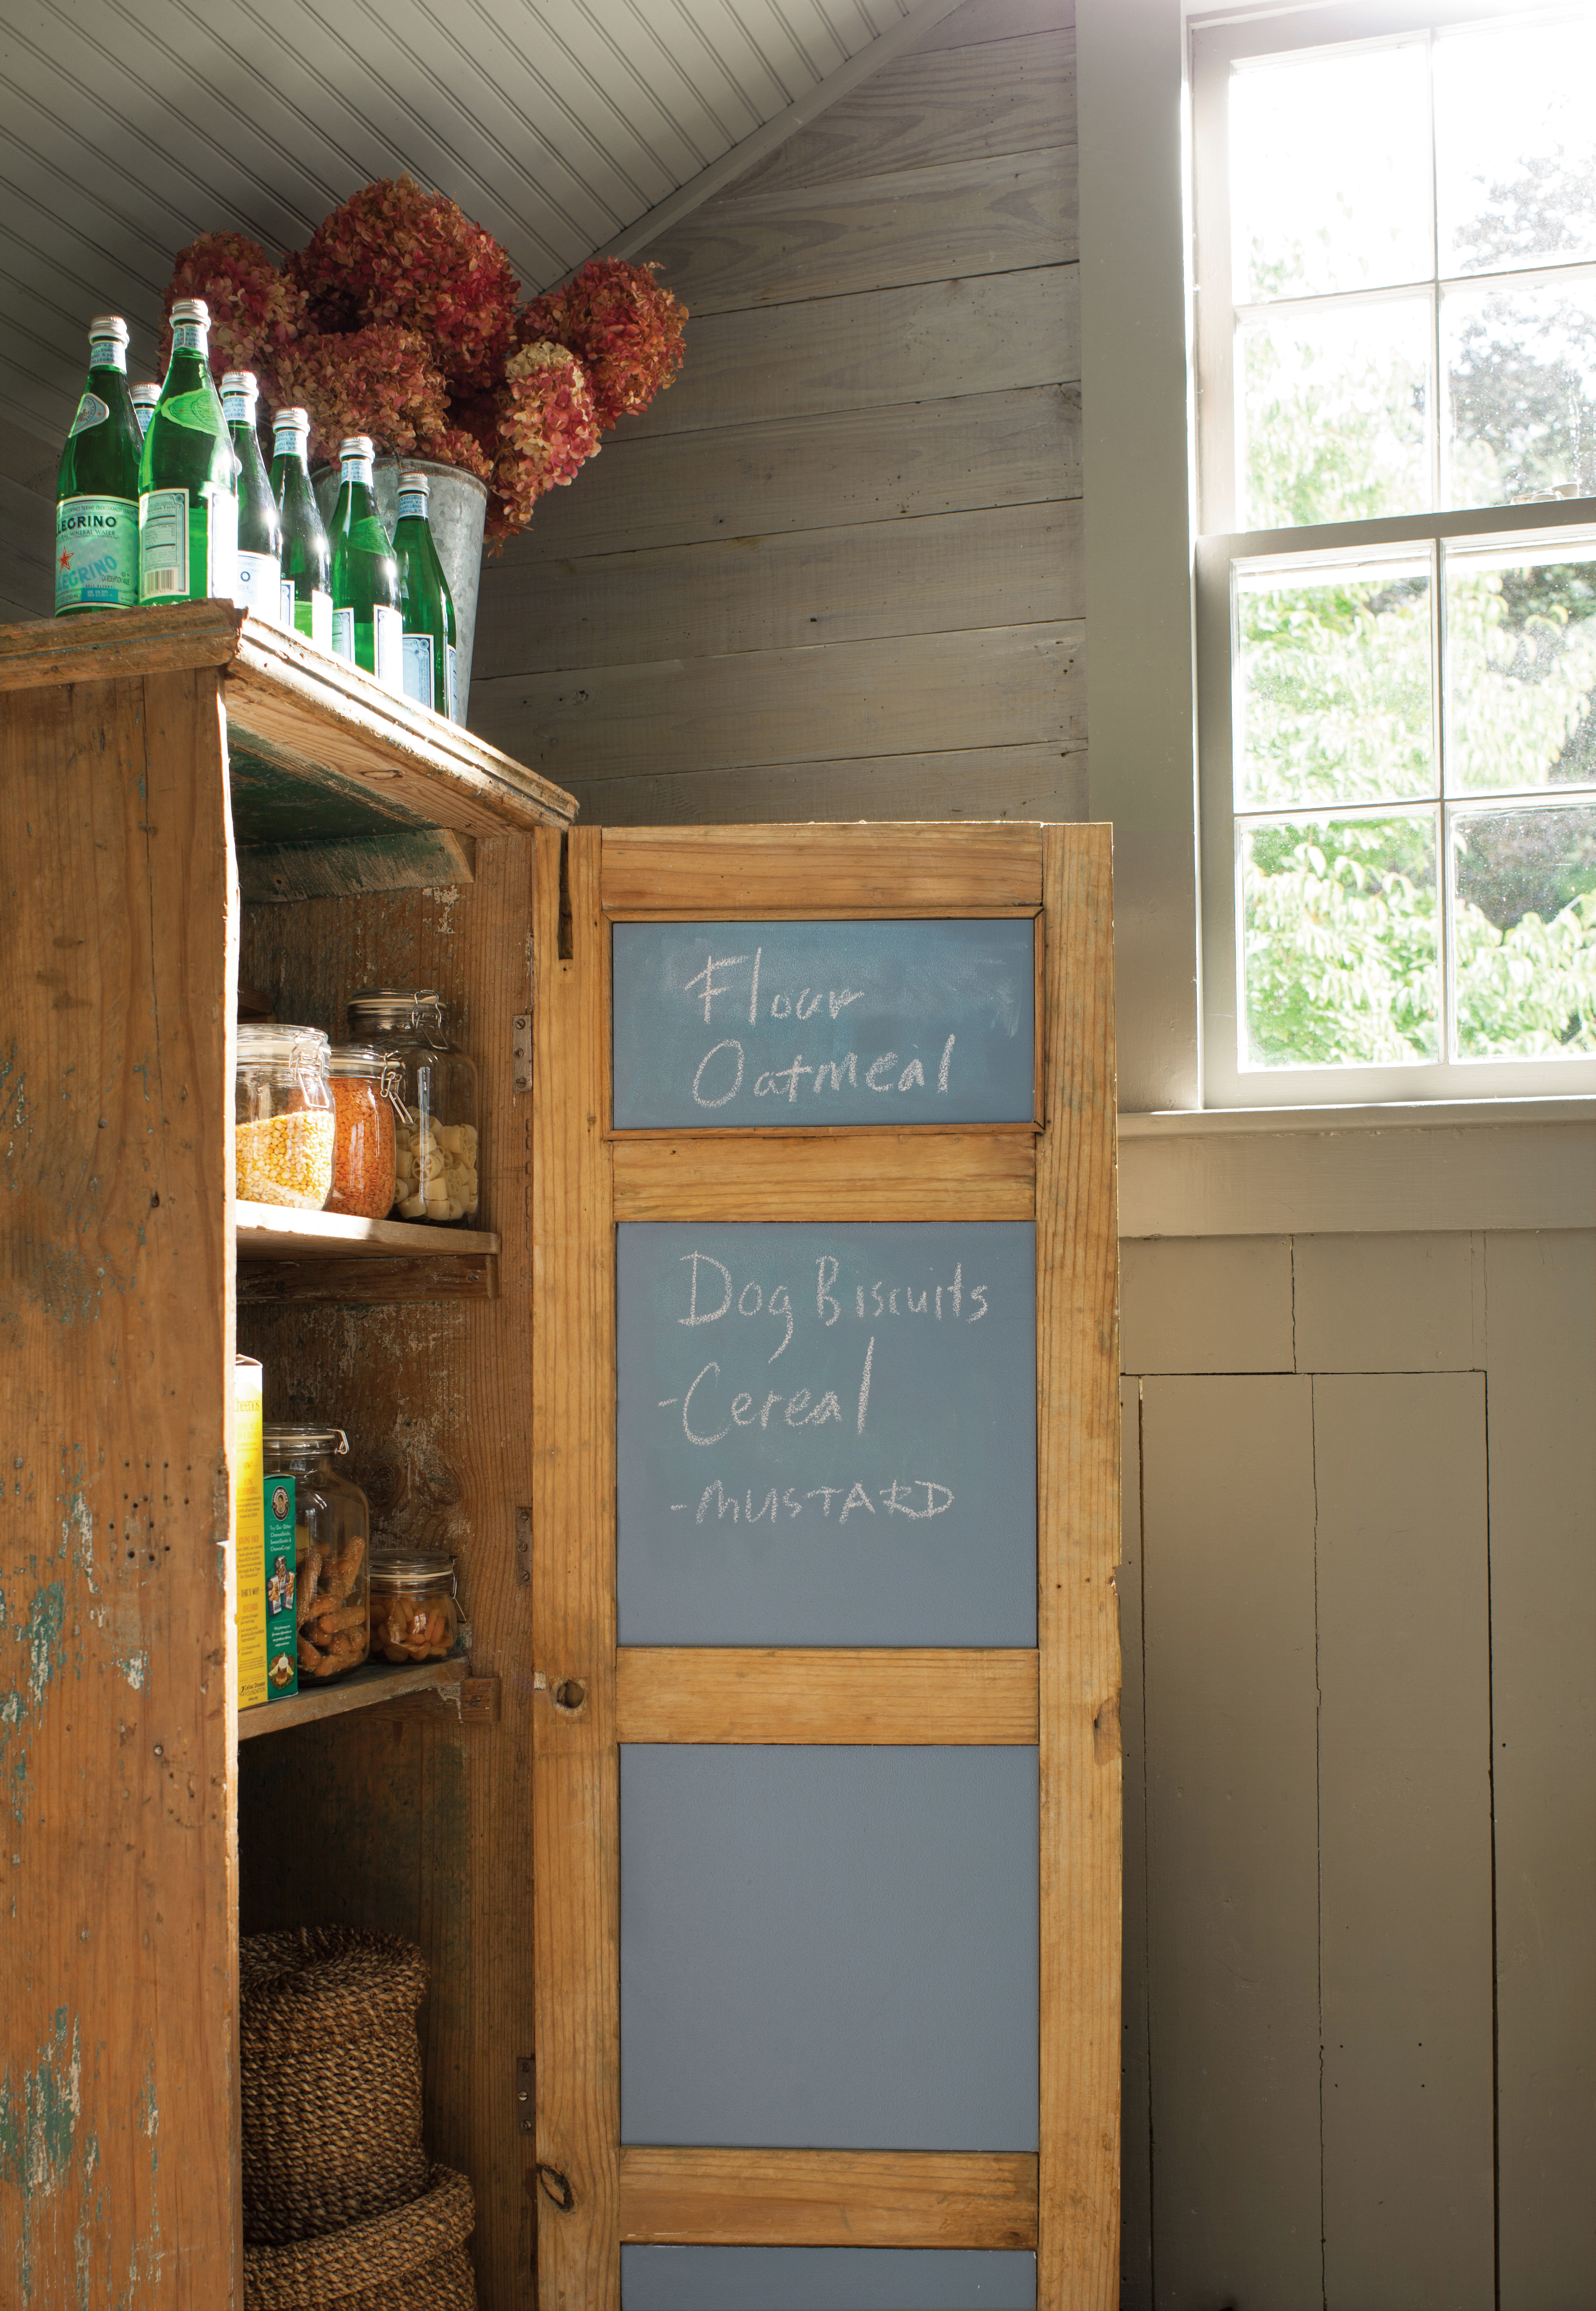
Most chalkboard paint can be applied to pretty much any surface, so you can use it to update cupboards too. This is a great way to integrate a blackboard if you don't fancy repainting your walls.
Give your tired kitchen units a makeover and create somewhere to jot reminders at the same time!
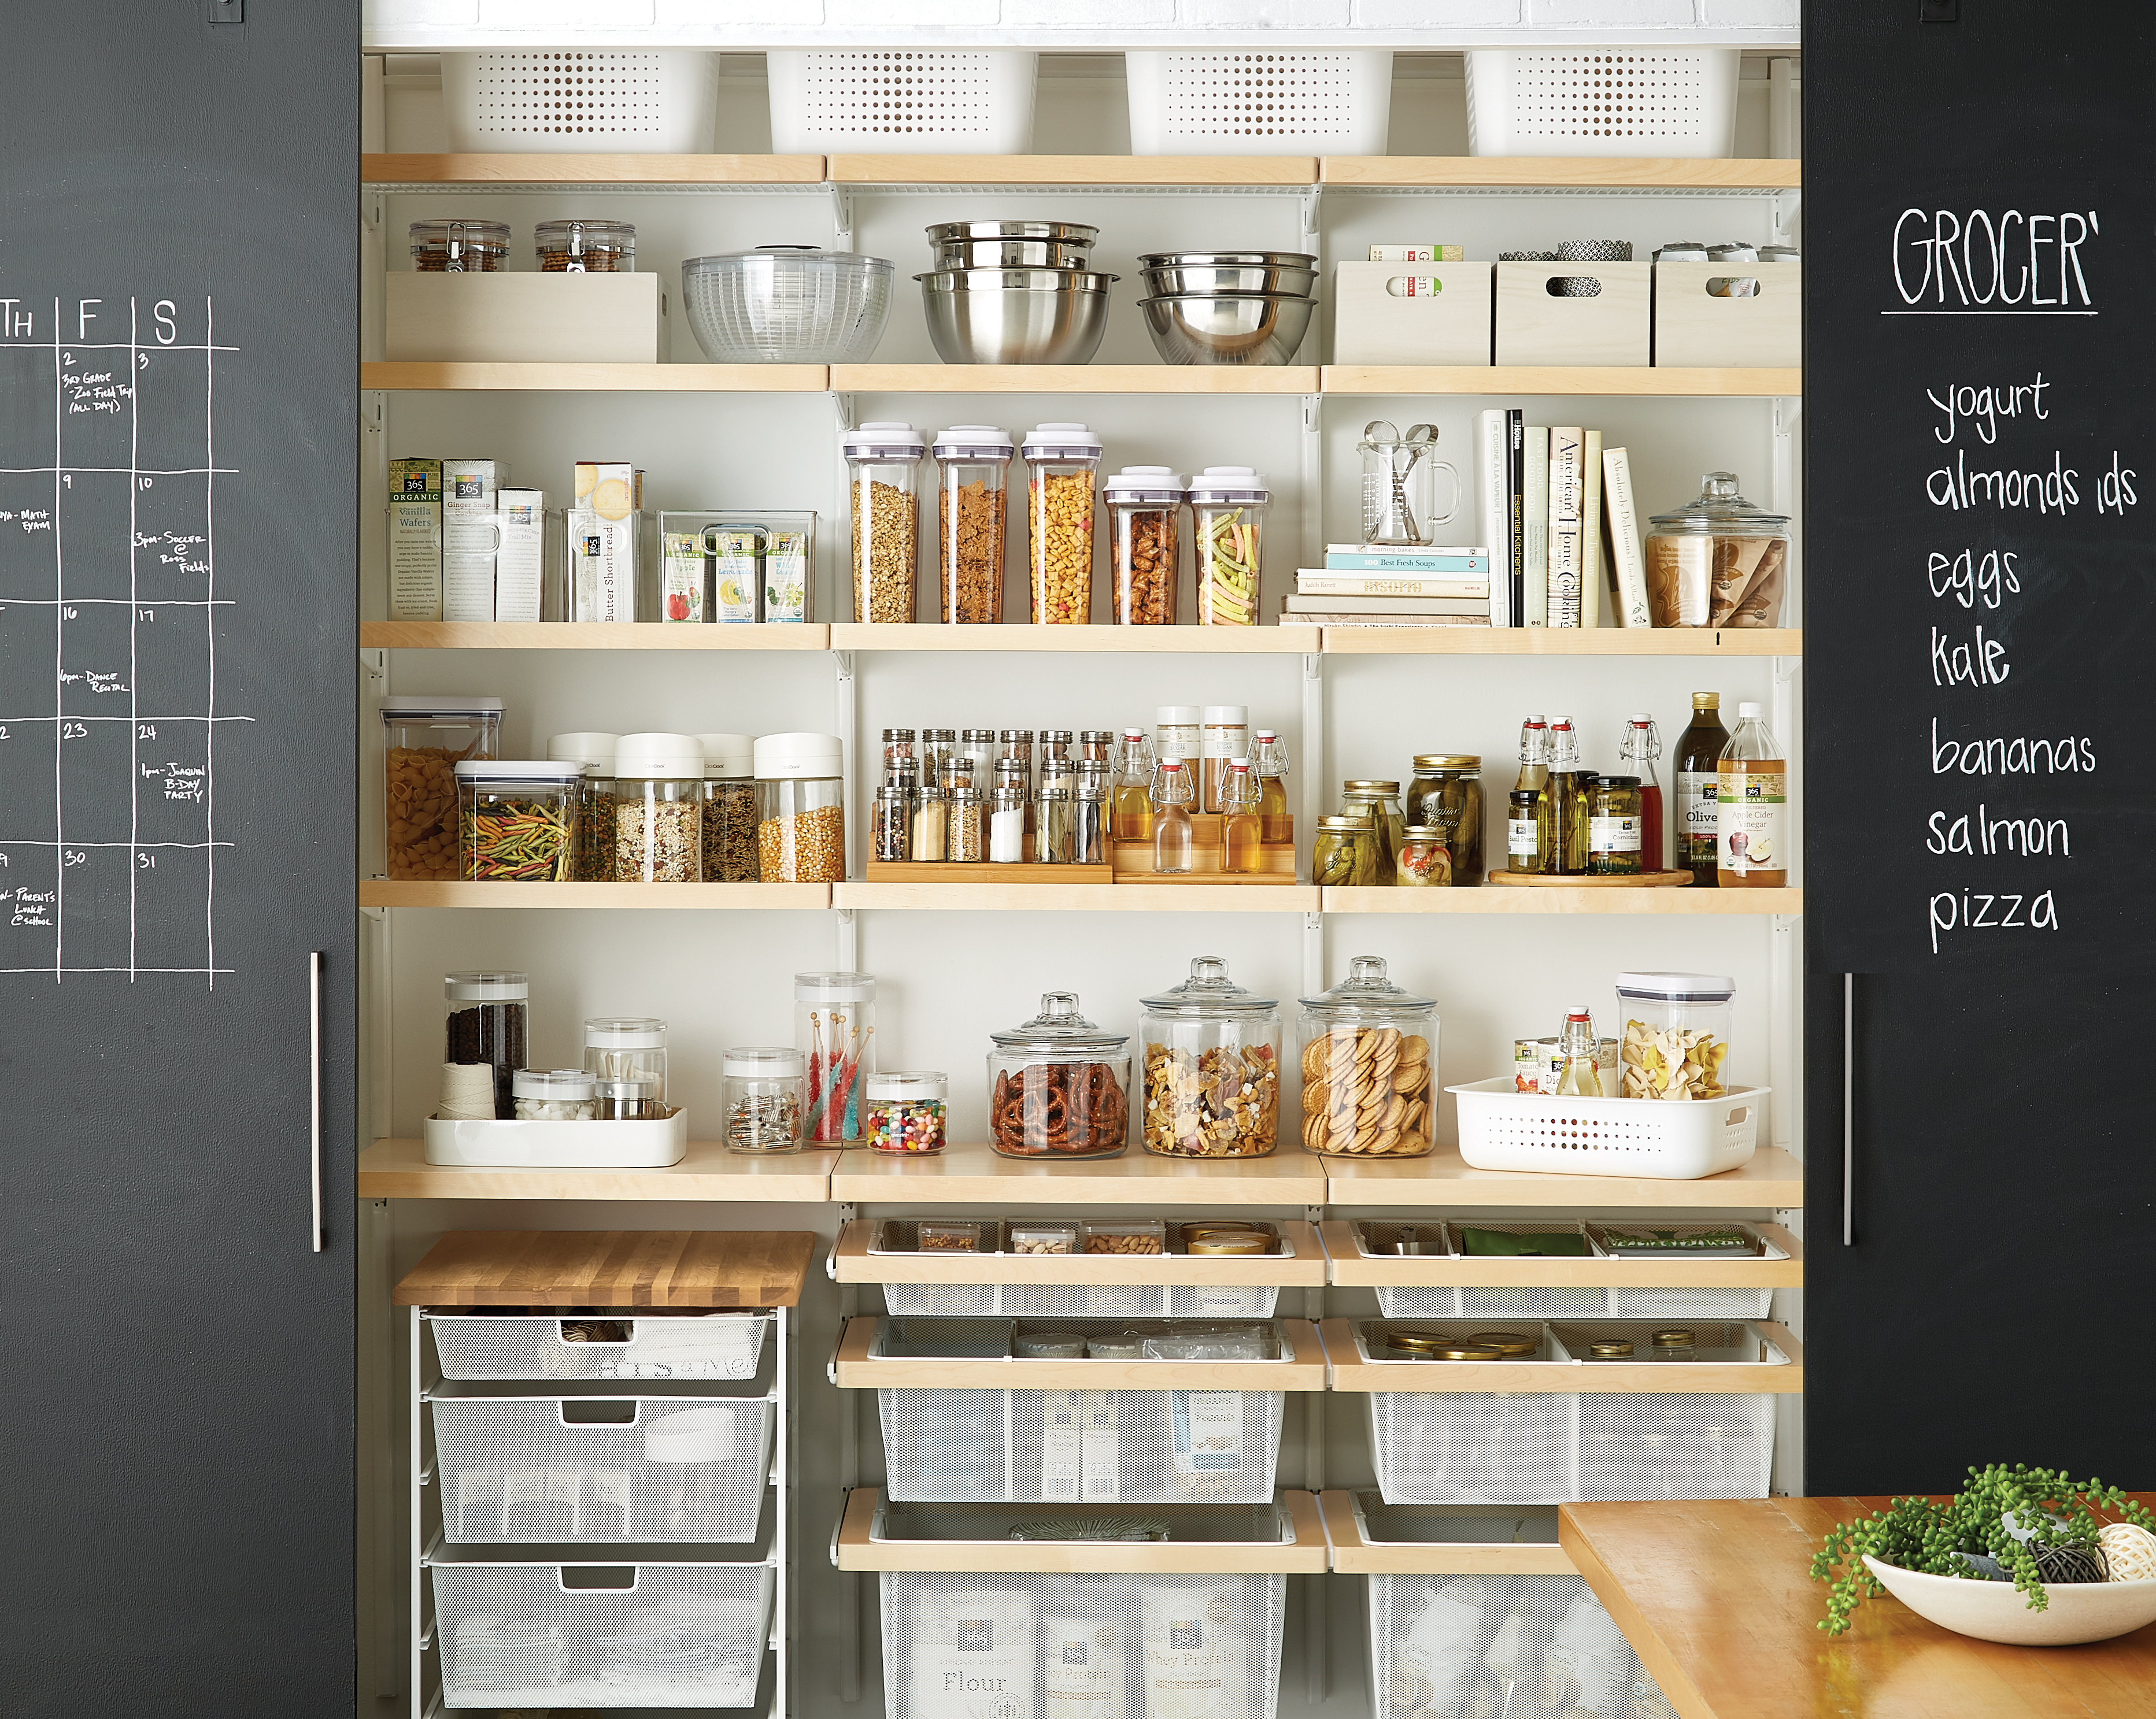
We have storage envy over this pantry from Elfa. The blackboard painted doors are great for calendars and shopping lists
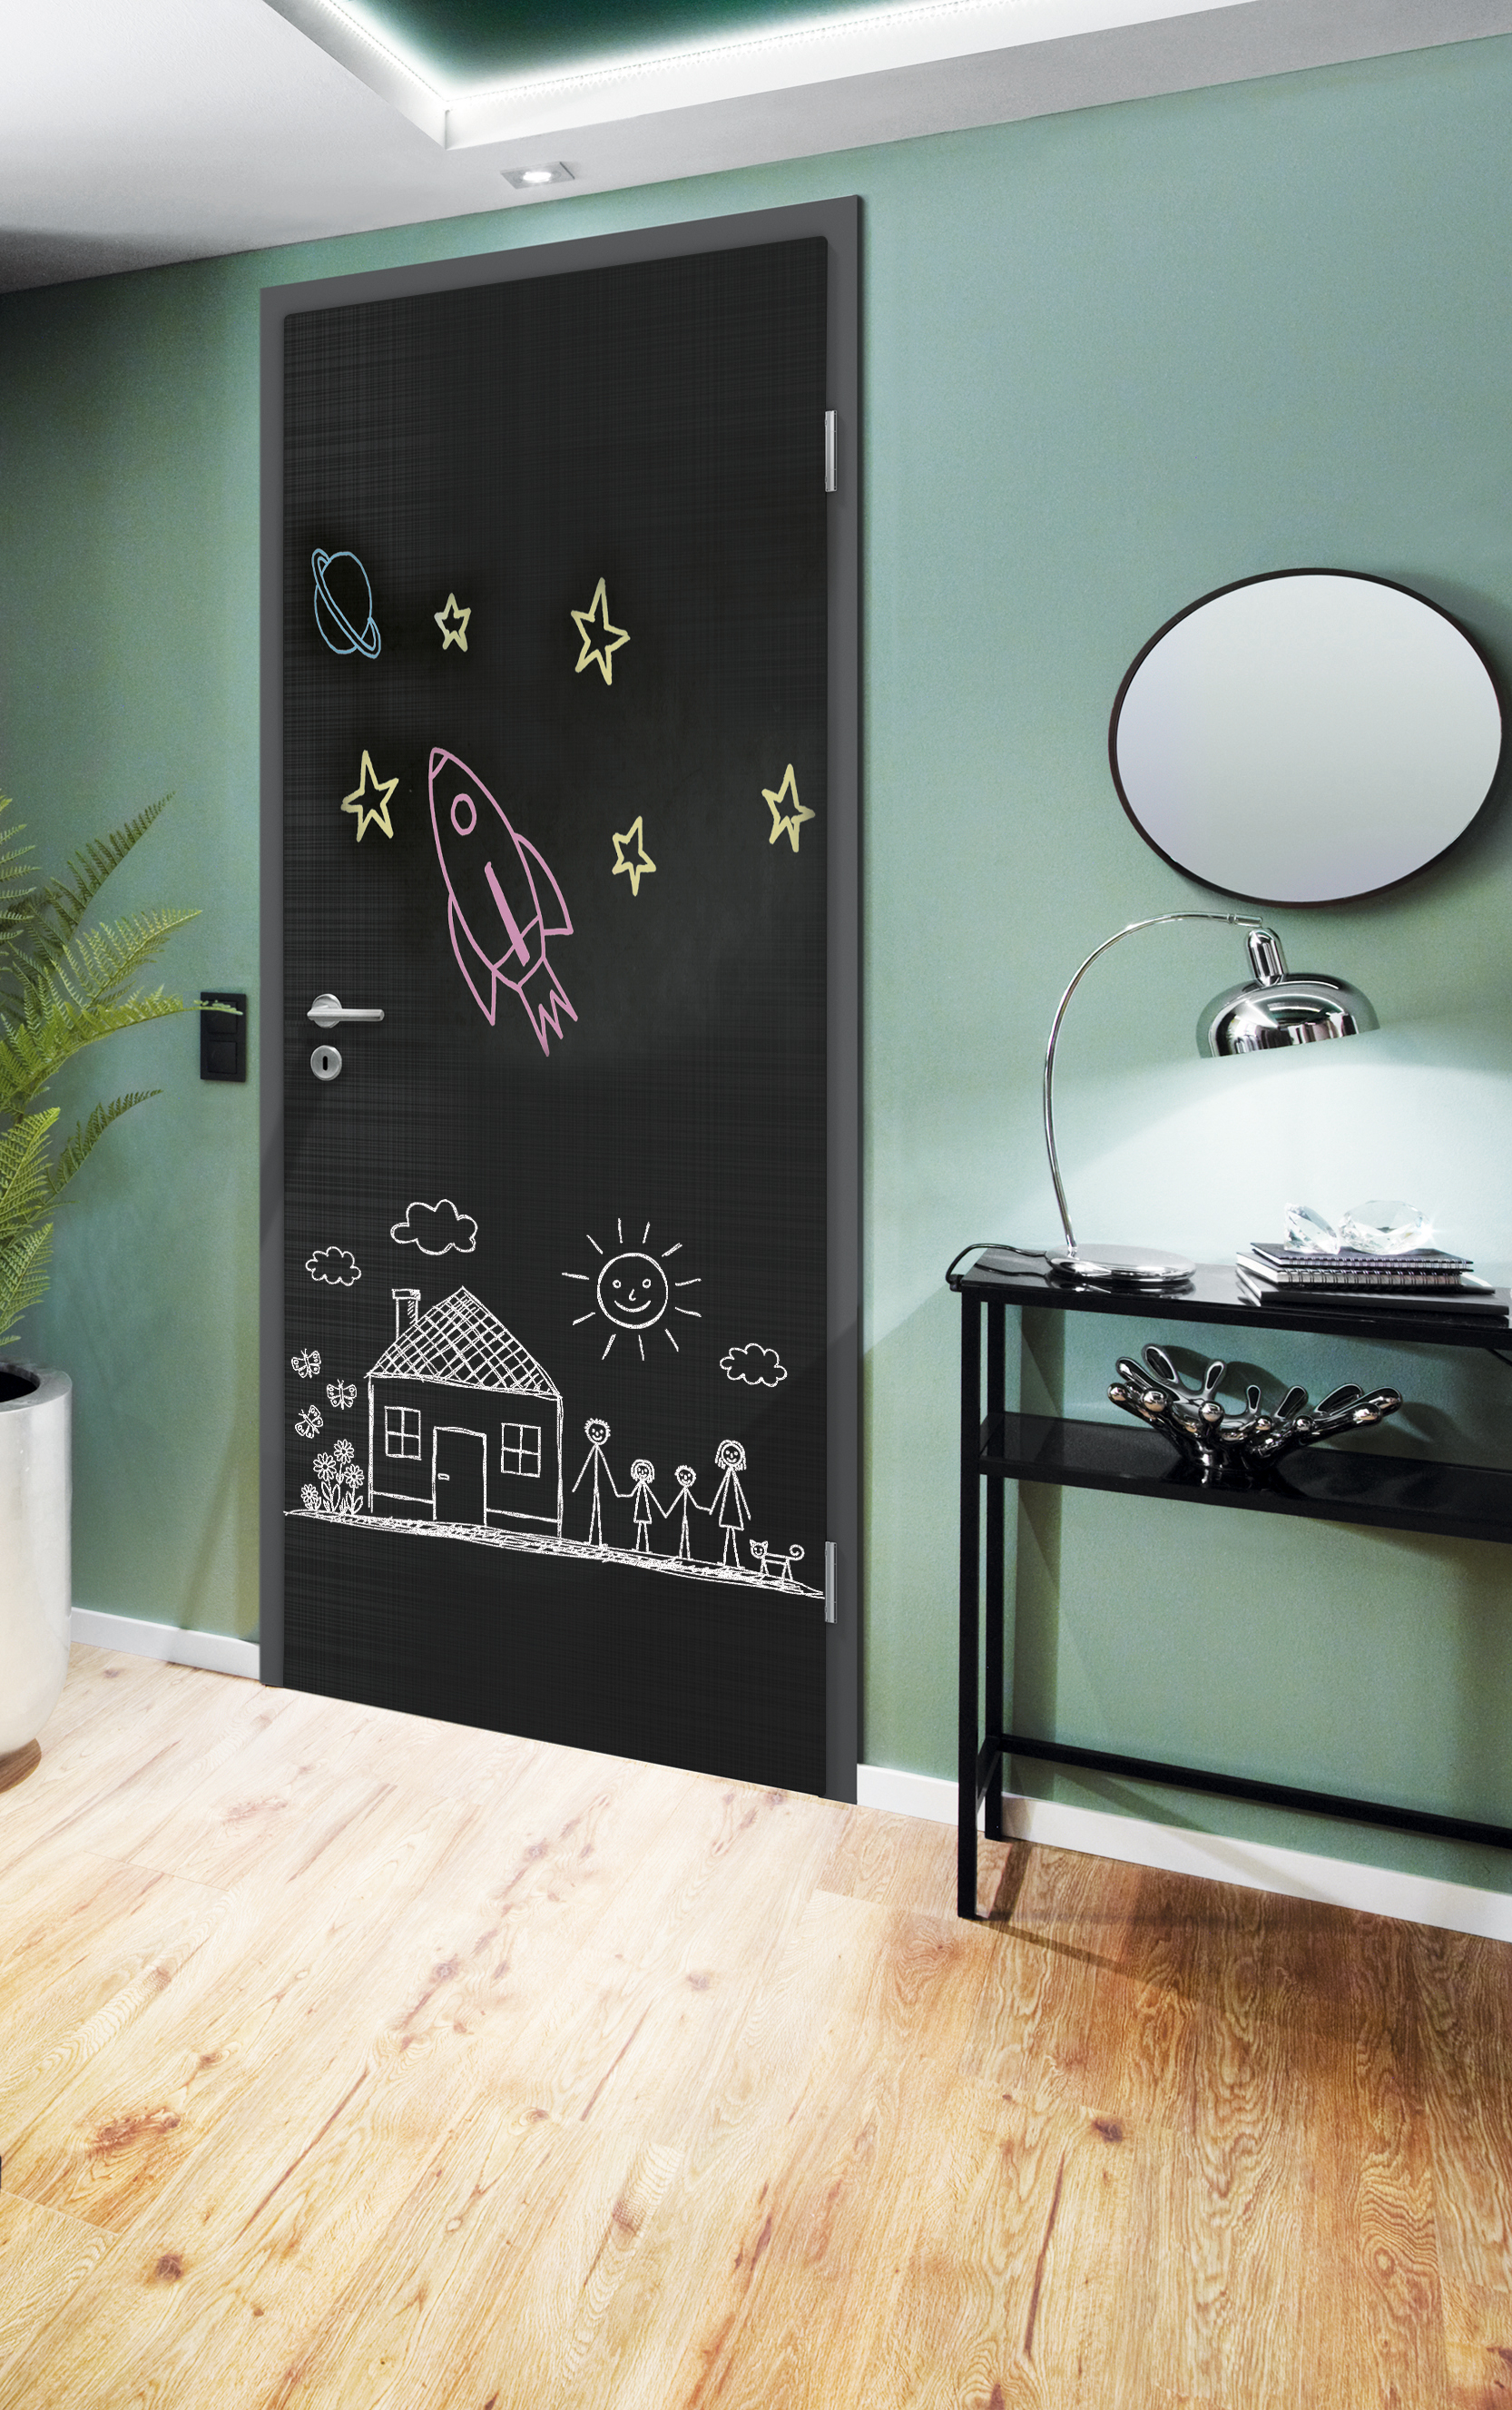
You could also turn an internal door into a chalkboard wall and then let the kids (under strict instruction obviously) go to town on making in their own. You can always just wipe it clean and start again if you are having guests over and don't want 'Henry smells' written on your living room door.
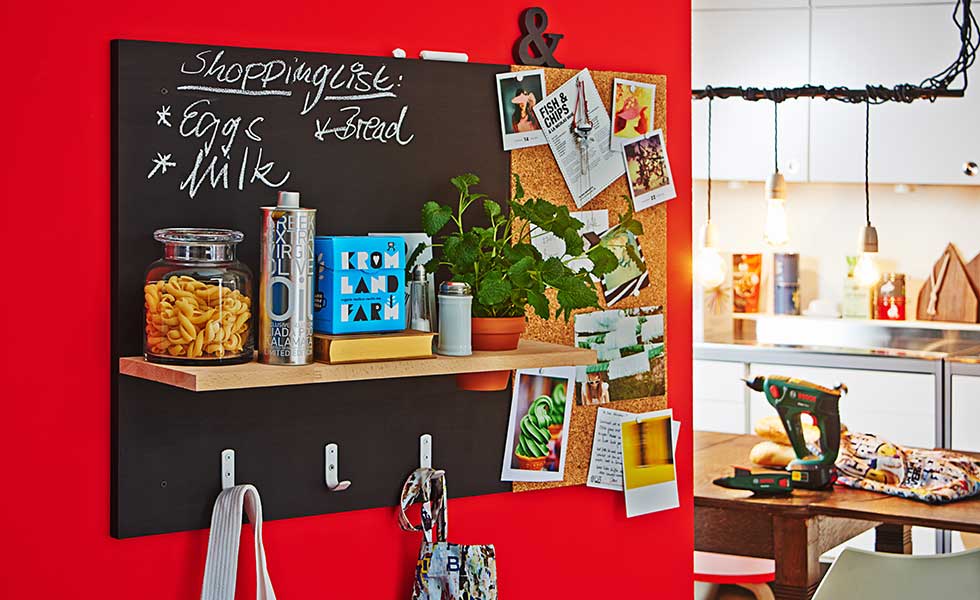
9. DIY a kitchen organiser
This handy kitchen storage solution includes a blackboard with hooks, a shelf for storing things on and a built-in pinboard. It might look impressive, but it’s actually simple to make yourself with these simple steps...
You will need
- 1 MDF board (60cm x 90cm x 1.9cm)
- 1 laminated, edge-glued wood, beech (60cm x 18cm x 1.9cm)
- 1 cork board (60cm x 30cm)
- Blackboard paint
- Brush
- 3 hooks and screws to match
- 2 wooden plugs (8mm)
- Wood glue
- 3x wood screws (4.0mm x 55mm)
- 4 wall plugs (8mm) and screws to match (black if possible, they look more attractive)
- Bosch Uneo Maxx cordless rotary hammer
- Bosch GluePen
1. Plan your organiser
Have the MDF board and laminated wood cut to size in your DIY store. Mark a line on the MDF board where the shelf is to be fixed, leaving enough room for the weekly shopping list above it. Mark three drill holes for wood screws on the line you have drawn, two that are 5cm from each end of the board and one in the middle. Midway between the drill hole marks make two more marks for the wooden plugs. Then transfer these marks to the edge of the laminated wood.
2. Drill the holes
Now drill the holes for the two wood plugs in both the MDF board and the laminated wood, using the Bosch Uneo Maxx cordless rotary hammer. Use a drill bit with a diameter 1 to 2mm less than the size of the plug. It is important not to drill right through the board and that the plug is fixed correctly.
3. Paint with blackboard paint
Before you join the shelf and wall board together, apply blackboard paint to the board and let it dry – this will then provide a surface to write any shopping or to-do lists on.
4. Add shelves and hooks
Insert the wooden plugs with a little glue into the pre-drilled holes on the shelf, run a little glue along the edge, and then push the shelf into the plug holes on the wall board. Provide further support to the shelf by screwing three wood screws into it from behind, using the tiny holes described in step 1 as your guide. Then, use screws to attach three hooks to the lower part of the wall board, which you can use to hang kitchen essentials on, such as tea towels, aprons and shopping bags.
5. Glue on a pinboard
All that remains is to glue the cork pinboard onto the organiser with the Bosch GluePen and then to fix the finished kitchen organiser to the wall with wall plugs and screws.
10. Use a chalkboard wall as decoration
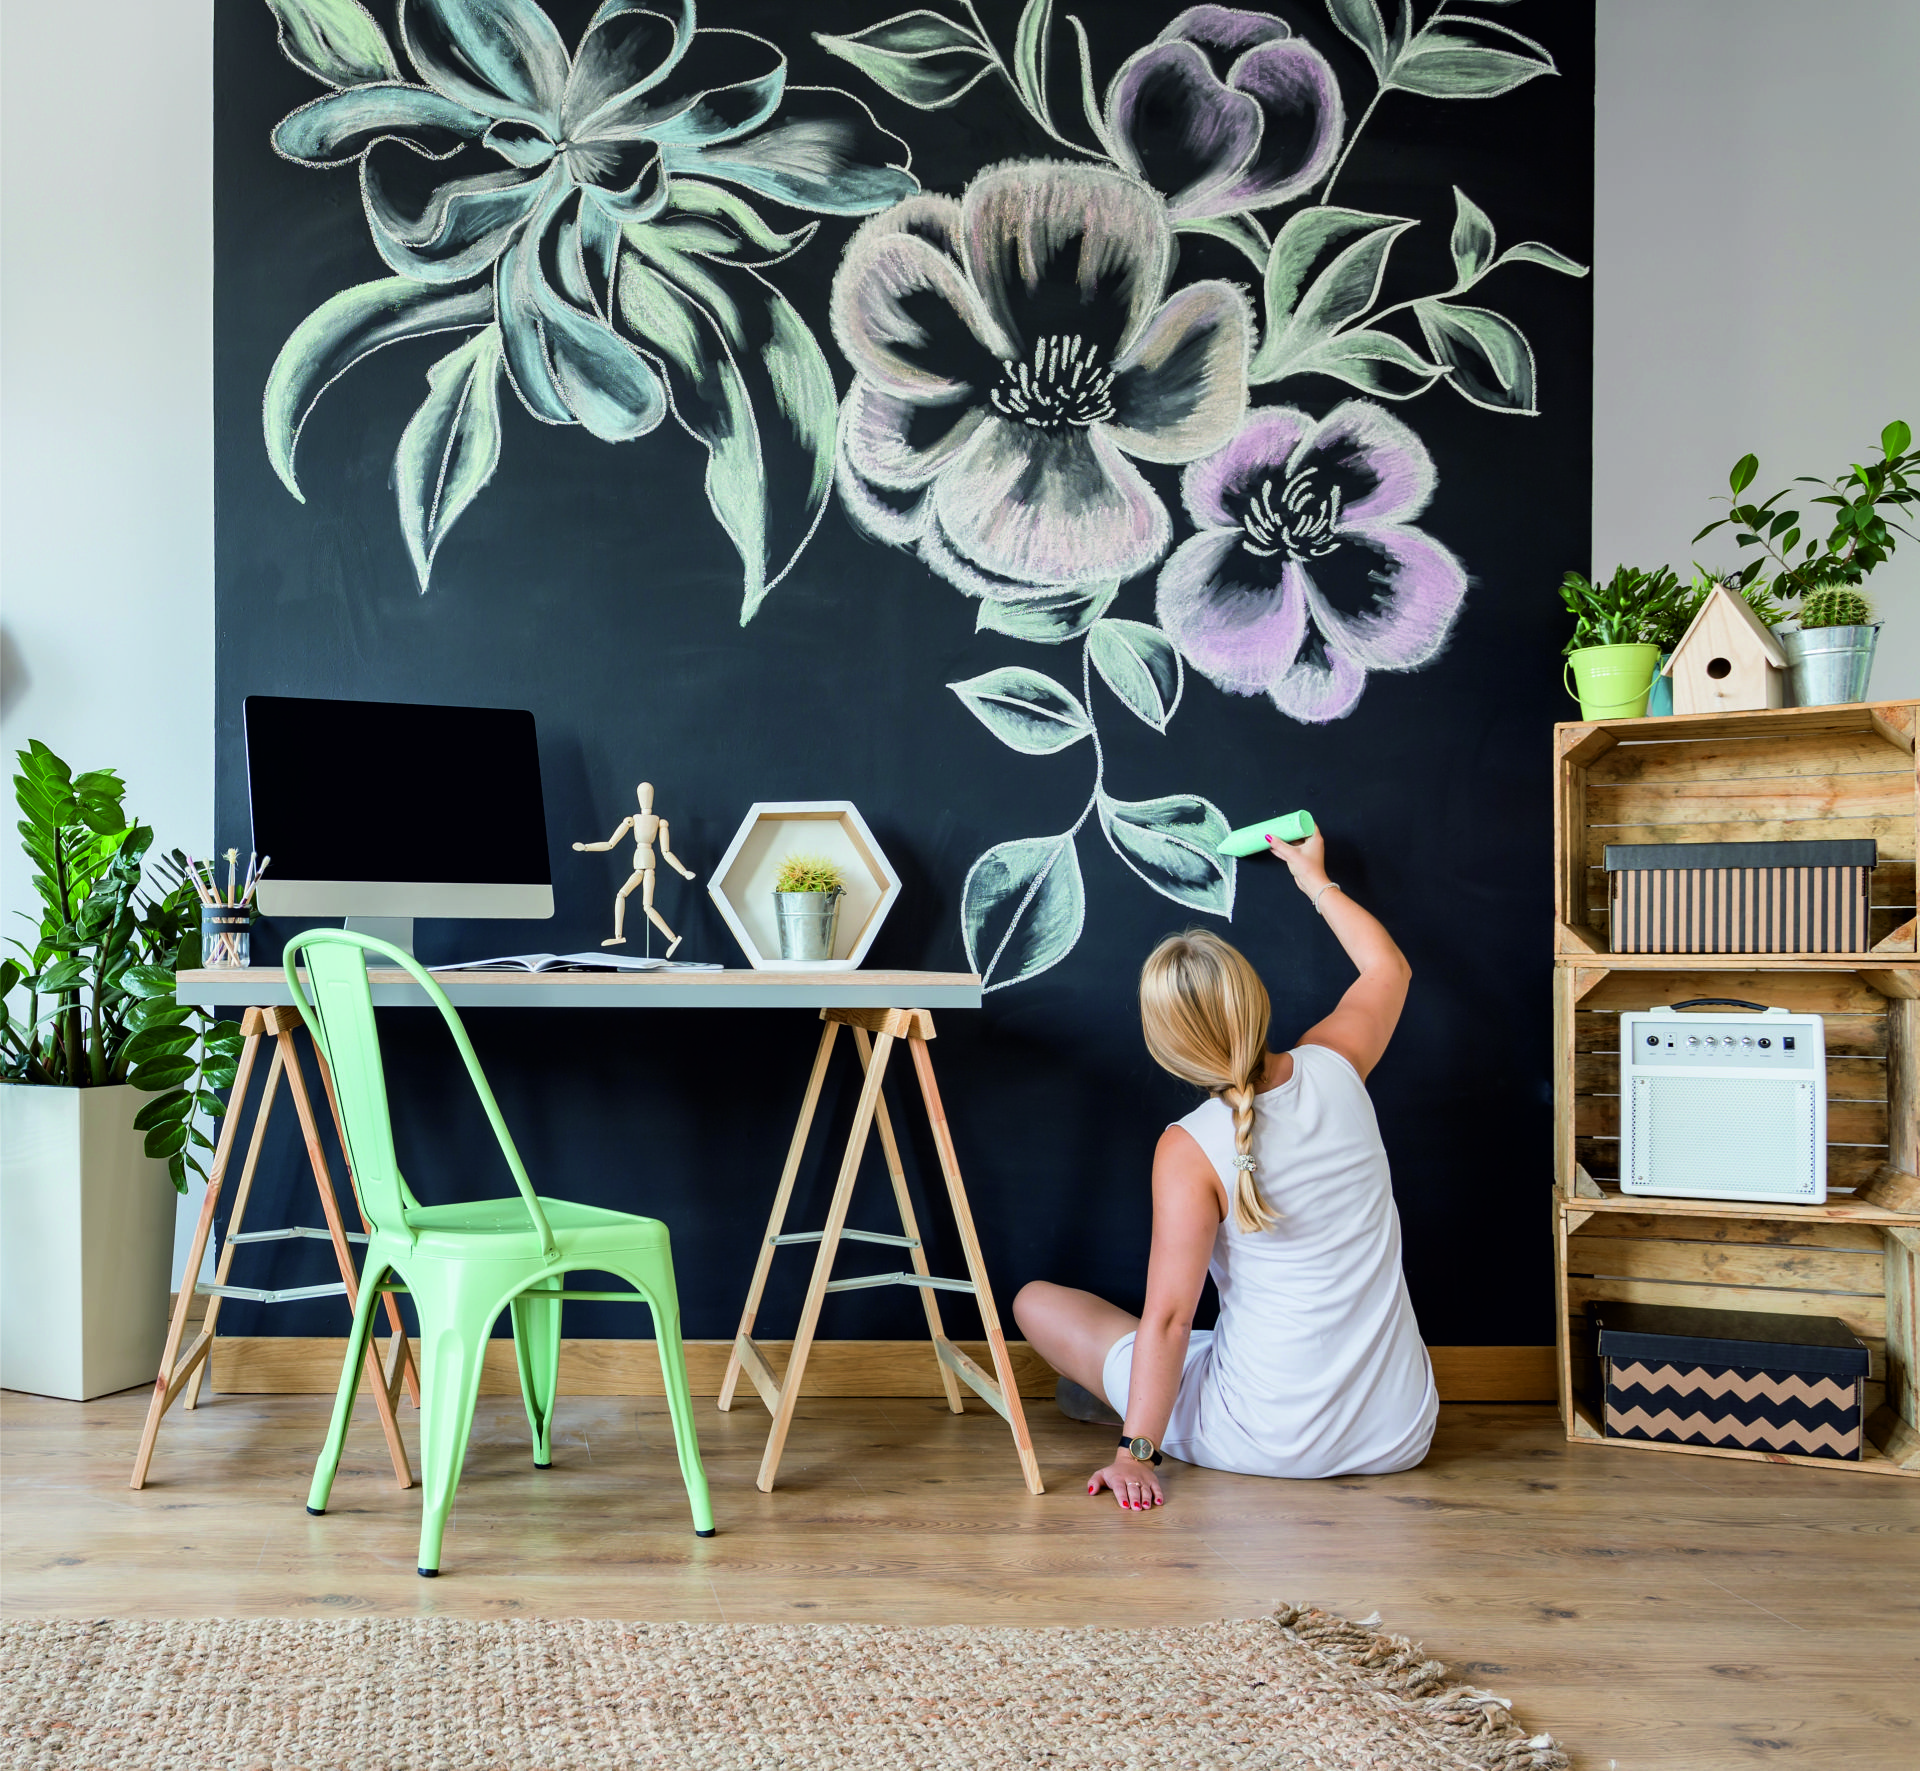
So far all our chalkboard wall ideas have been pretty practical, but they can be purely decorative too. Insta influencer Theresa Gromski, uses the chalkboard wall in her kitchen just to doodle loads of gorgeous illustrations, switching it up every now and then to suit the seasons. We're thinking our very limited drawing skills might not create anything like the masterpiece seen below, but we reckon we could have a crack at creating a decorative chalkboard wall.
Take a full tour of her beautiful home for loads more inspiration.

11. Choose a blackboard film for a temporary chalkboard
Perfect if you're a renter who can't commit to painting a chalkboard wall, as well as for those who are unsure about the trend, a blackboard film offers a non-permanent solution, which can simply be removed when you move or grow tired of it.
This Blackboard Film, available from Purlfrost, is designed to be applied on to smooth, flat, dust free, non porous surfaces like laminates, metal, varnished wood and painted walls. Clever.
Read more:
- Looking for quick updates? Visit our weekend projects section
- Why not make a statement with a gallery wall
- See more wall stickers

Lindsey is Editor of Realhomes.com and Editor in Chief for Home Ecommerce at Future. She is here to give you aspirational, yet attainable ideas for your home and works with her team to help you get the best buys, too. She has written about homes and interiors for the best part of a decade for brands including Homes & Gardens, Ideal Home and Gardeningetc and isn't afraid to take the inspiration she finds at work into her own space – a Victorian terrace which she has been (slowly) remodelling for the last eight years. She is happiest sipping a cup of tea with a cat on her lap (if only she had a cat).