

Exposed brick walls have long been a seen as a holy grail of interiors, the perfect solution for creating a stylish, yet understated feature wall look. For some lucky homeowners, stripping away an ugly drywall is all it takes to reveal a beautiful brick wall that lends itself to a range of interiors styles; from country to industrial.
However, there are of course drawbacks to revealing the literal building blocks of your home and getting the look right takes careful preparation, attention to detail and patience. Our guide talks you through the process of creating a feature with exposed bricks, to ensure you achieve the desired finish.
- See more: DIY projects to do in a day or less.
1. Pick a wall to expose
An exposed brick expanse is a dramatic statement, as whichever wall you choose will become the focus of the room. The easiest wall to strip will be one with no doors or windows, as working around edges will slow you down, plus will need filling and careful repair when you’re finished. Look at how many radiators and sockets are on the wall, too.

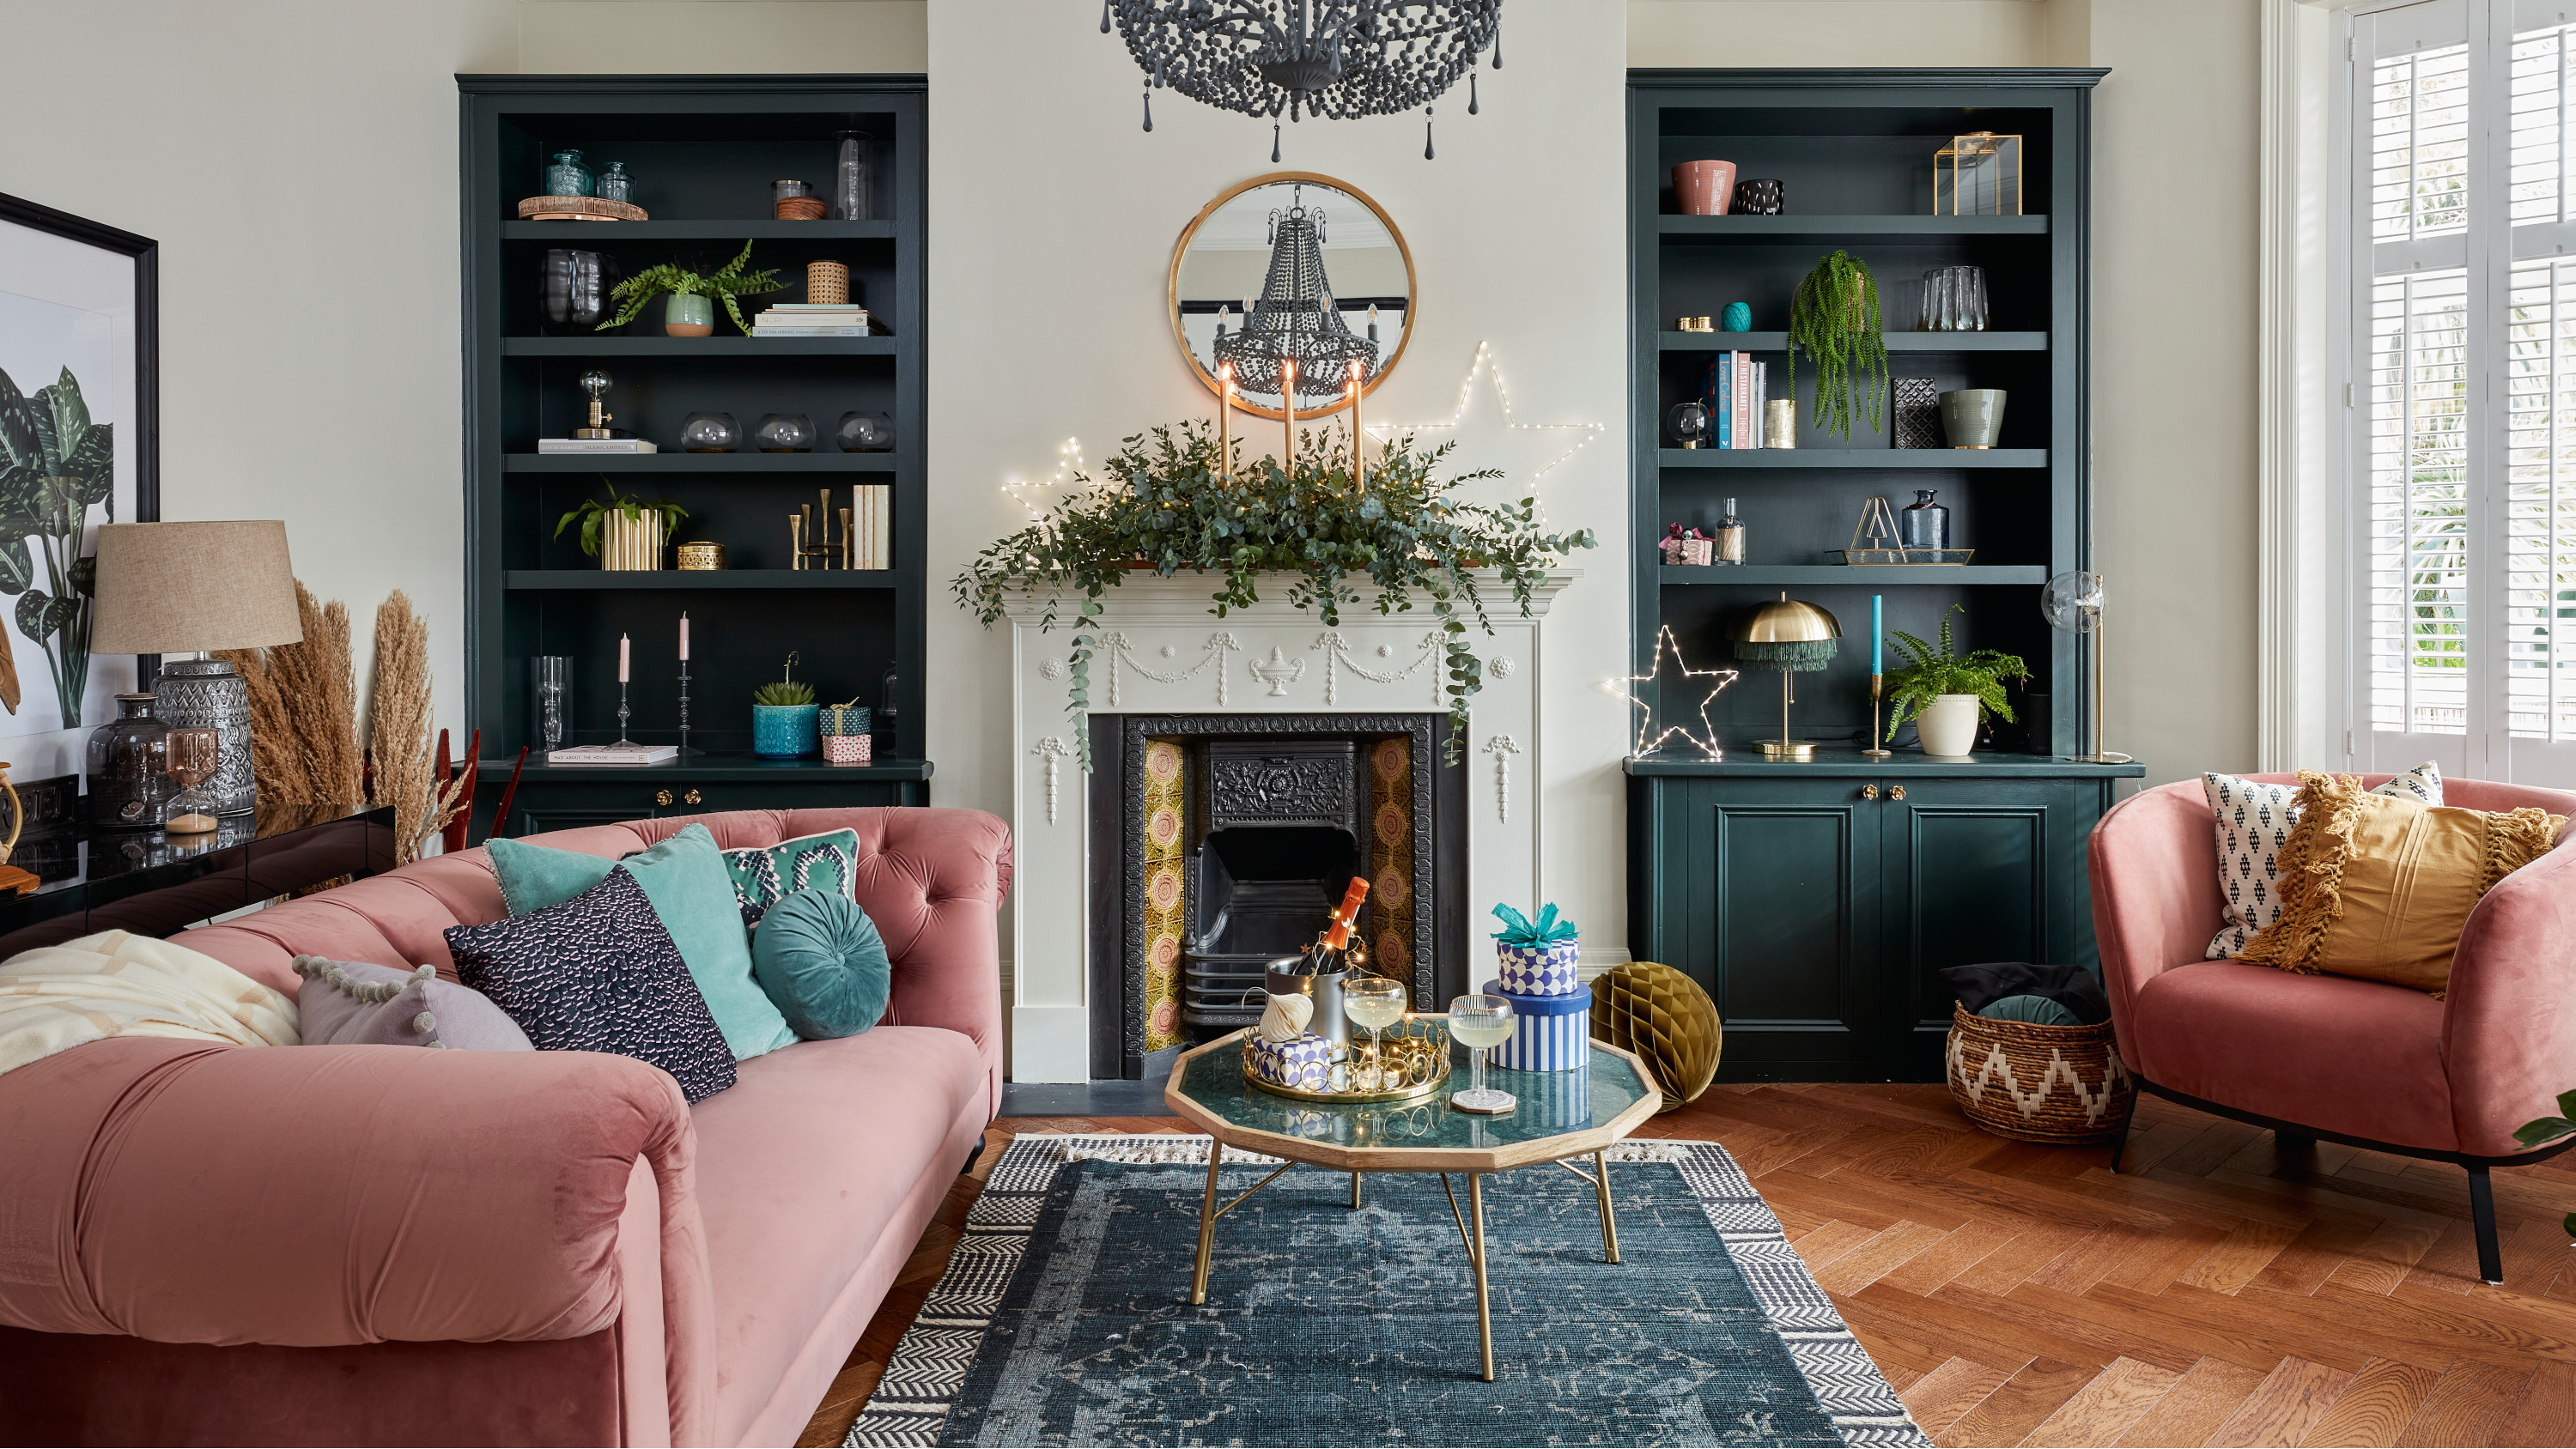
Stove, Warmer Brothers Anglesey. Armchair, Ikea. Mirror, Bramley & White. Rug, La Redoute
If a whole wall is a bit too much of a commitment for you, how about exposing a fireplace instead? We love this cosy little nook (above) from homeowner Jade, who's matched raw brick with dark grey in her living space. Balance out with modern additions like a sleek mirror to stop it looking too traditional, but embrace the hygge with plenty of throws and cushions too.
Have a wander around Jade's home and find out how she extended on a budget.

Bed, Heal's. Cushions in Palmeral linen fabric, House of Hackney
Bare brick works better with a ‘raw’ contemporary look, so we would advise changing the style of any face plates and radiators to metal if they are not already. An exposed brick wall marries itself to an industrial-style interior, so if you go for this look, consider running power cables into some galvanised trunking.
2. Prepare the wall

The scary thing about revealing old brickwork, is there is no real way of telling what the wall will look like until it’s done. If you are the sort of person that will be unhappy with rustic, uneven bricks, cracks and patches then proceed directly to the cheat option (below).
Once you’re ready to take the plunge, first drill a pilot hole to be sure there is actually brick back there. To ensure the bricks are of good enough quality to make a feature in a scheme, uncover a test site (approximately 30 square centimetres), which should give you a good idea of the quality of your bricks. If you are not happy with them, stop there, but if you like the look, get ready to tackle the rest.
3. Protect yourself and your surroundings
You will need goggles, gloves, masks and sensible clothing. Seal off the rest of the room, too, to ensure nothing gets damaged in the process of stripping the wall. Invest in the toughest plastic sheeting you can find and lay all over the room, floor and furniture, and place cardboard directly under your work area. Remember, this project is going to create some serious dust, so it’s wise to have two buckets on the go for removing the old plaster, so you can continually empty them in small loads.
4. Be patient

We can’t lie, stripping a wall back to brick is a hard and dirty job, but one that is worth it once completed. Think of it as more of an archaeology project than a demolition job, one that needs careful, patient attention to get the best finish.
Don’t just go at the wall with a crow bar or hammer away at random spots – this will only create more dust and a bad finish. Starting at your test area, hit the wall with precision across a one foot square radius. Then, pry the plaster off with a putty knife, which will hopefully come off in chunks. Some parts of the wall will be trickier than others to reveal, but be persistent and don’t lose heart – it will look amazing.
5. Clean and finish the exposed brick
Once you have exposed the wall sponge it down to remove as much dust as possible. Then go in and deep clean each brick using a wire brush and a mix of equal parts sugar soap combine with salt and mixed with water the make a paste.
If there is any sections of stubborn plaster, use brick acid or sandblaster to get a smoother finish. Finish the wall with a terracotta sealant.
6. Paint it (black, white, whatever colour you like)

Bar stools, Cox & Cox
Not keen on the colour of exposed brick, but love the raw look? Tie your feature space in with your interior scheme by giving it a few coats of paint. Give the wall a scrub, wipe it down, fill in any cracks with a filler, apply a primer and you're good to go! Use two coats for a full finish. We love the beachy look of this white wall above, but black and dark blue looks equally as good – as do pastel shades like ice-cream pink and green.
- Best mural ideas.
How to cheat the look

Wallpaper, Wallpaper Sales. Bedside table, Nest
Sometimes exposed brick just isn't a practical choice, but there's good news – you can still get the same effect with a wallpaper or mural! With a whole host of colours and styles out there, too, it's easier than ever to get the industrial exposed brick look you want on a budget. Brick-effect wallpaper is particularly good for kids' rooms as a grown-up but inexpensive replacement for their old decor.
Like this? Check out the rest of this transformed Georgian home.

If real exposed brick walls are a far off dream, you can always recreate the look with cladding. Modern brick cladding comes in a wide variety and type of bricks. Try Reclaimed Brick Tile for an authentic aged feel, or Slimbrick or Matclad for brick slips that you apply with specialist adhesive.

-
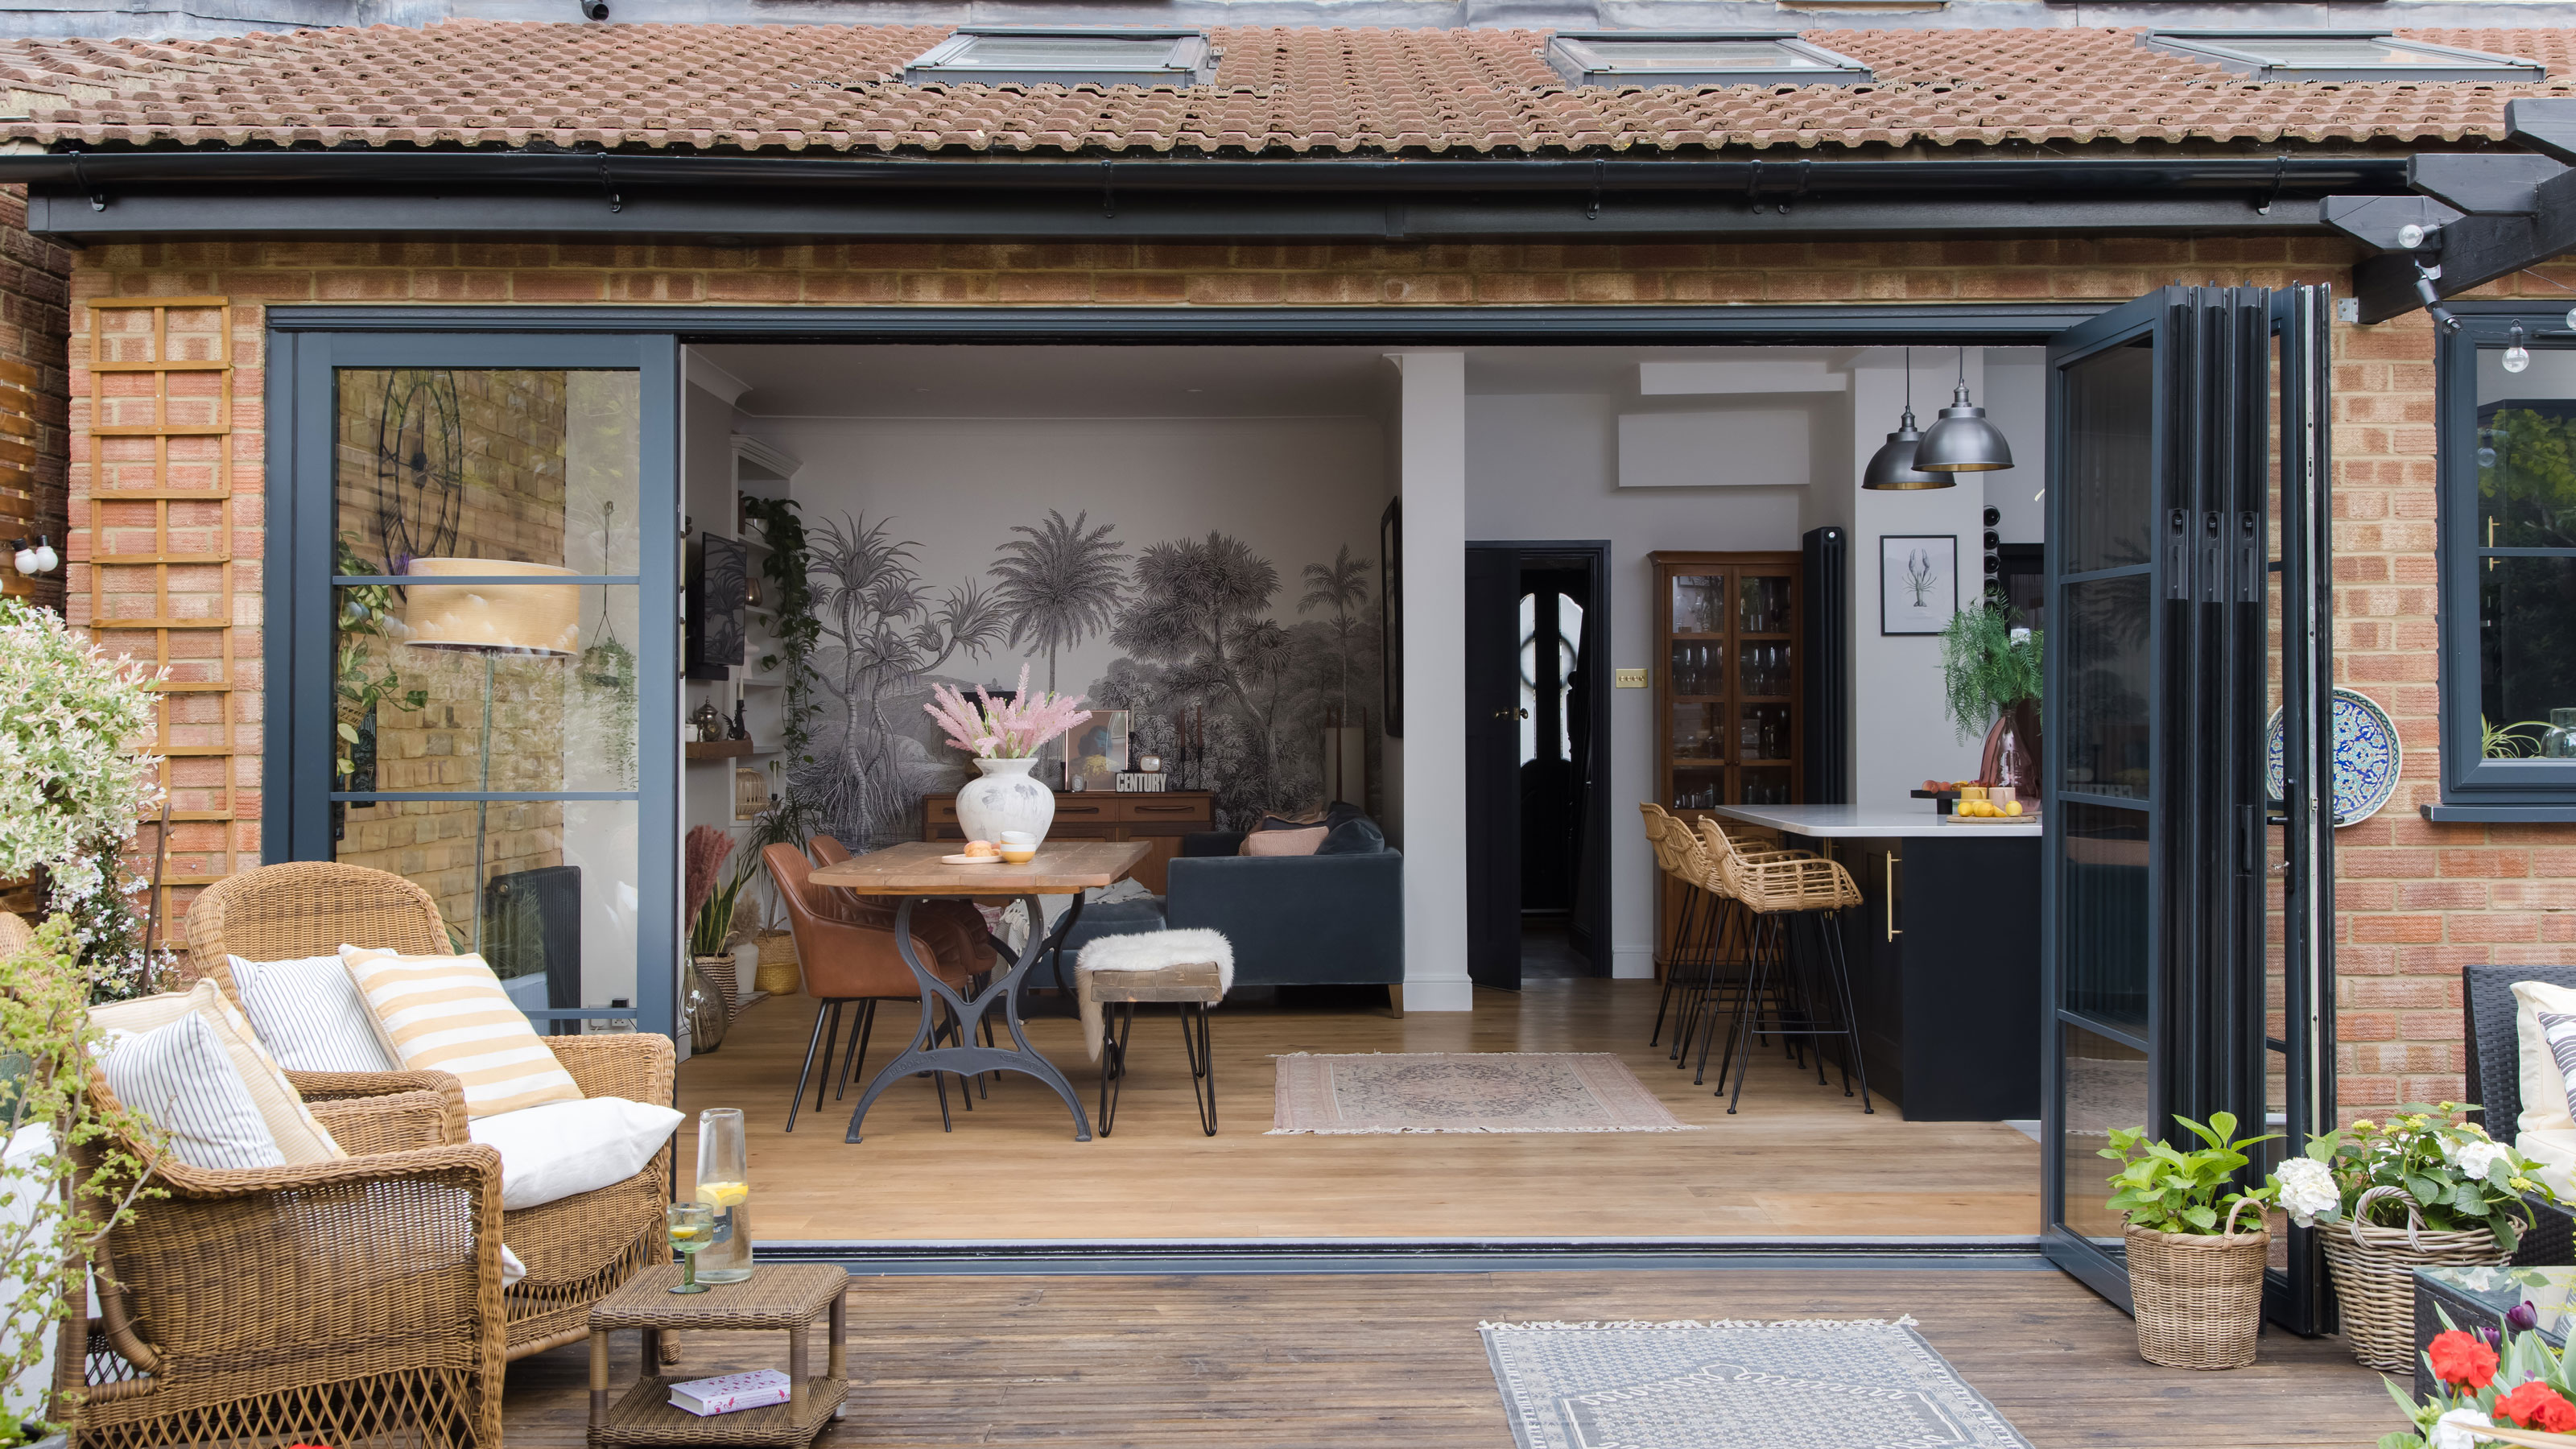
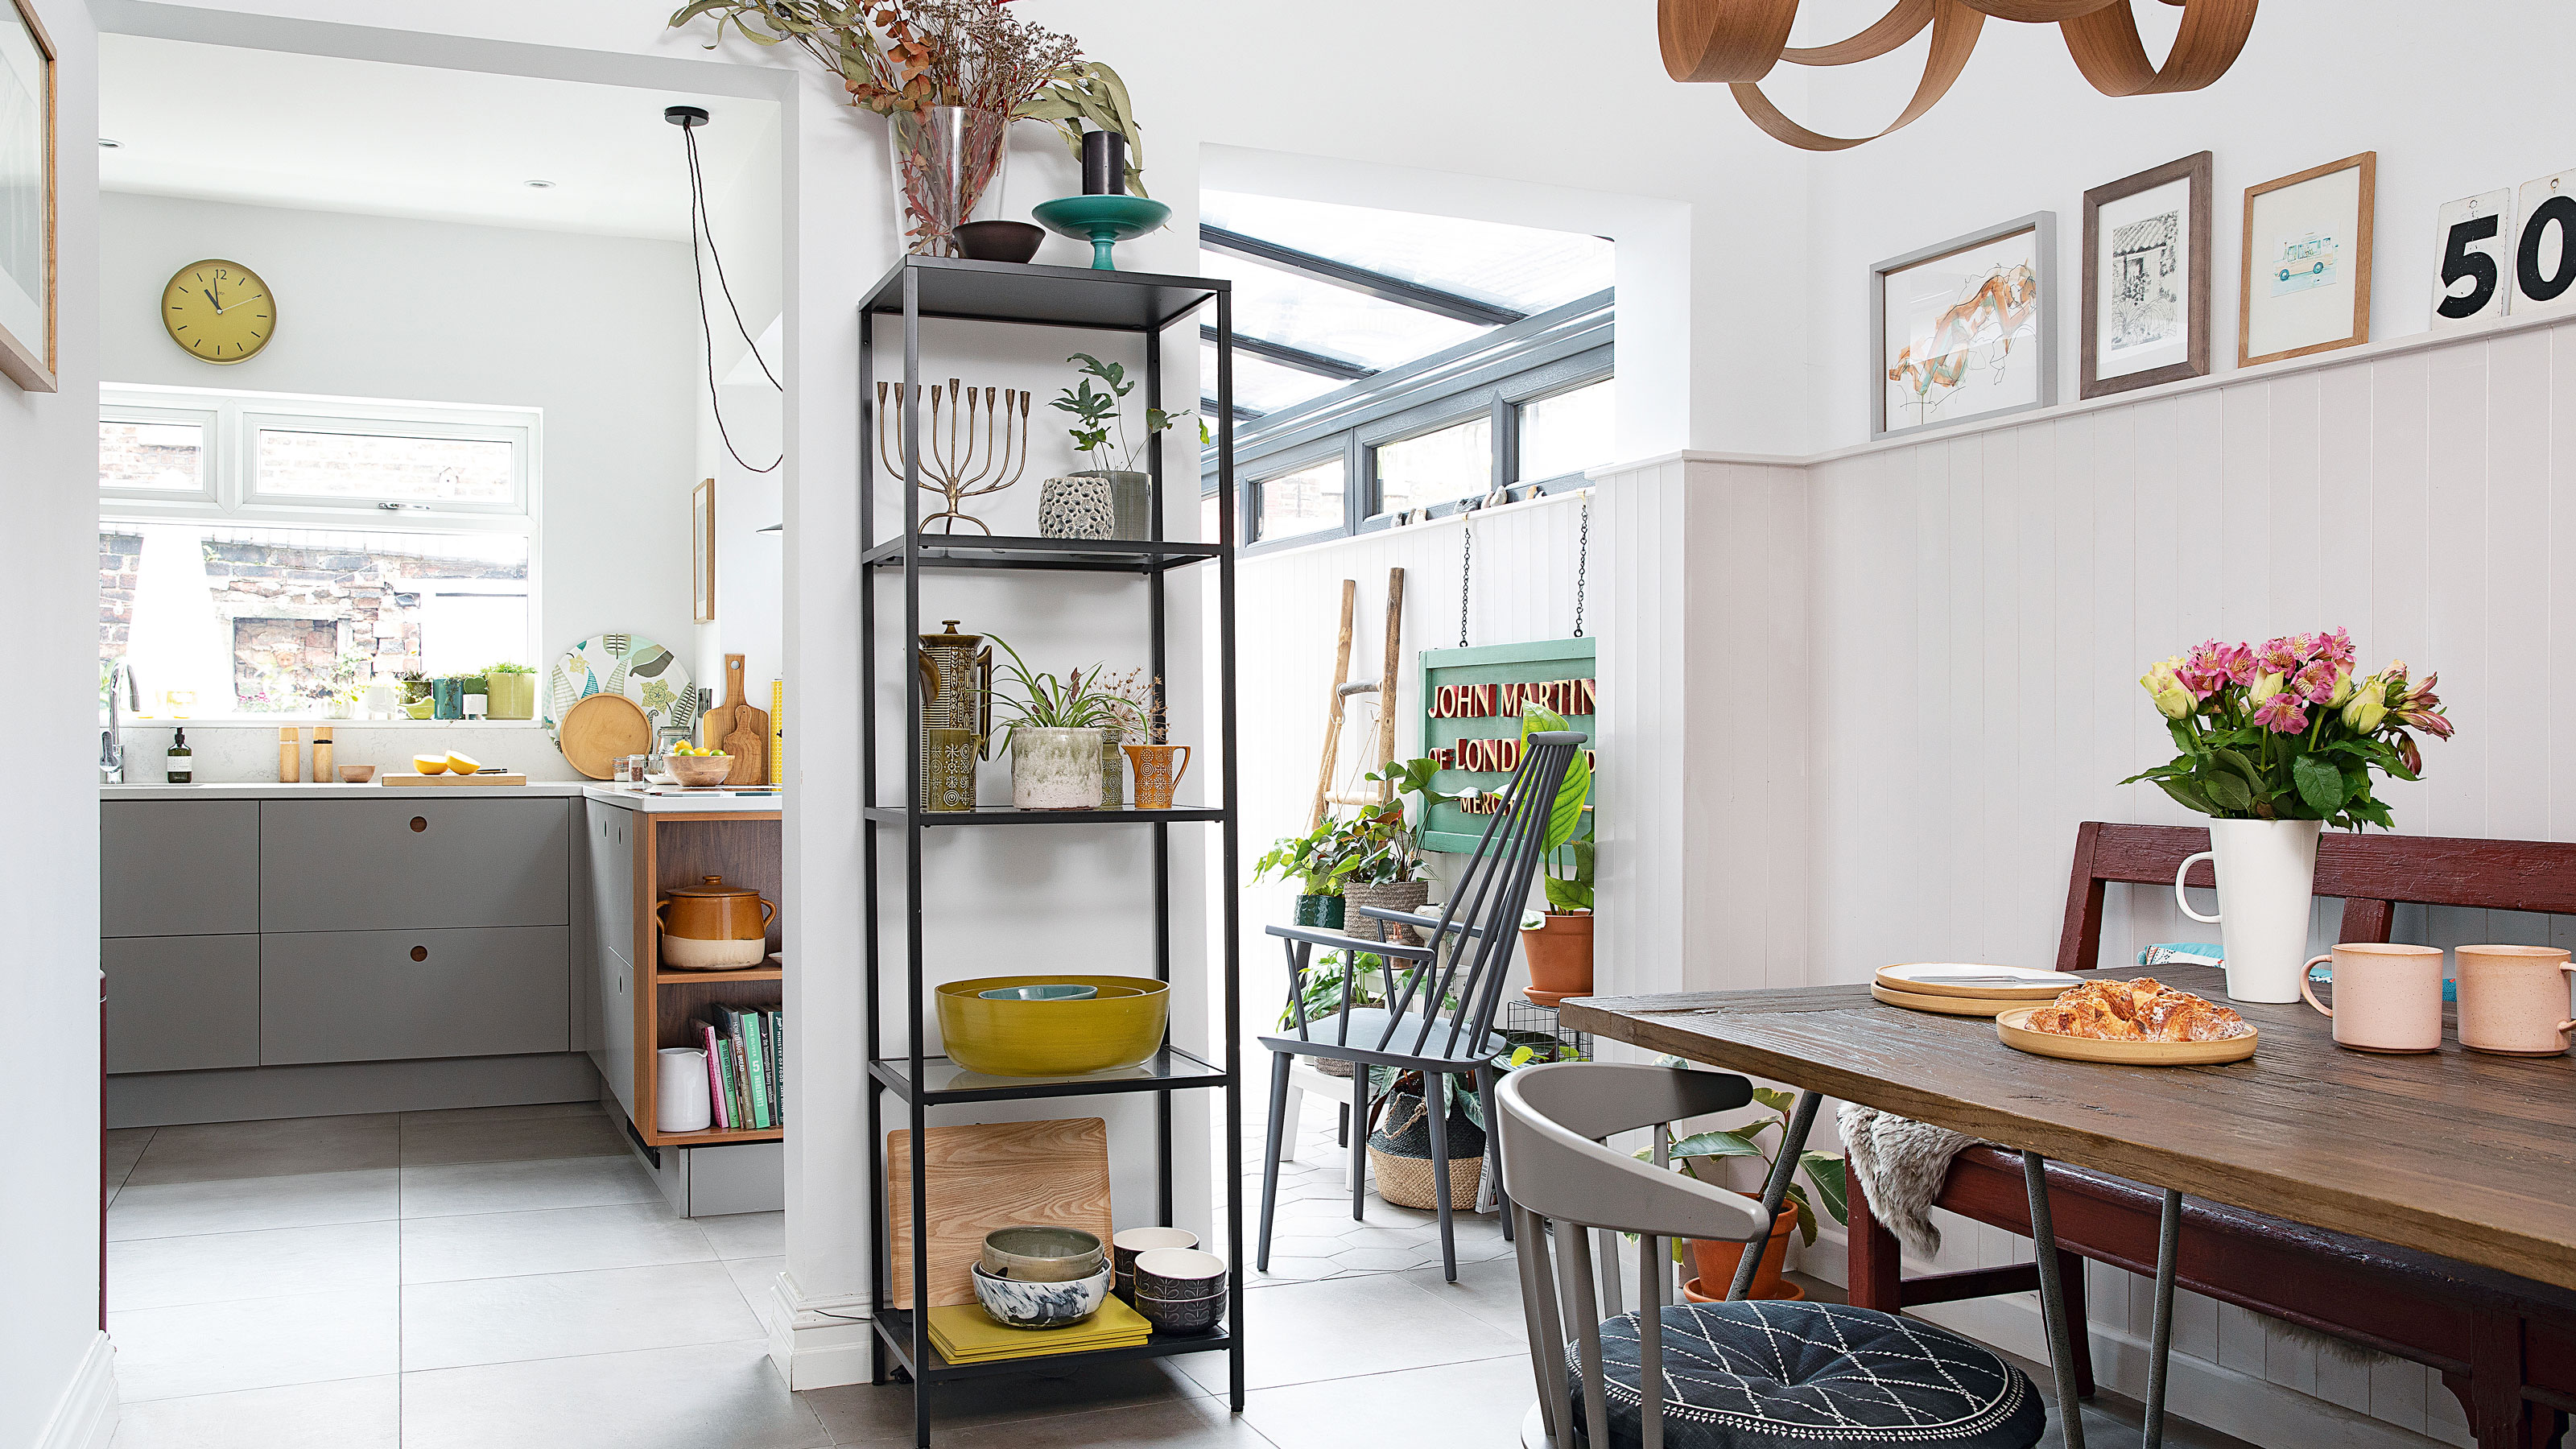
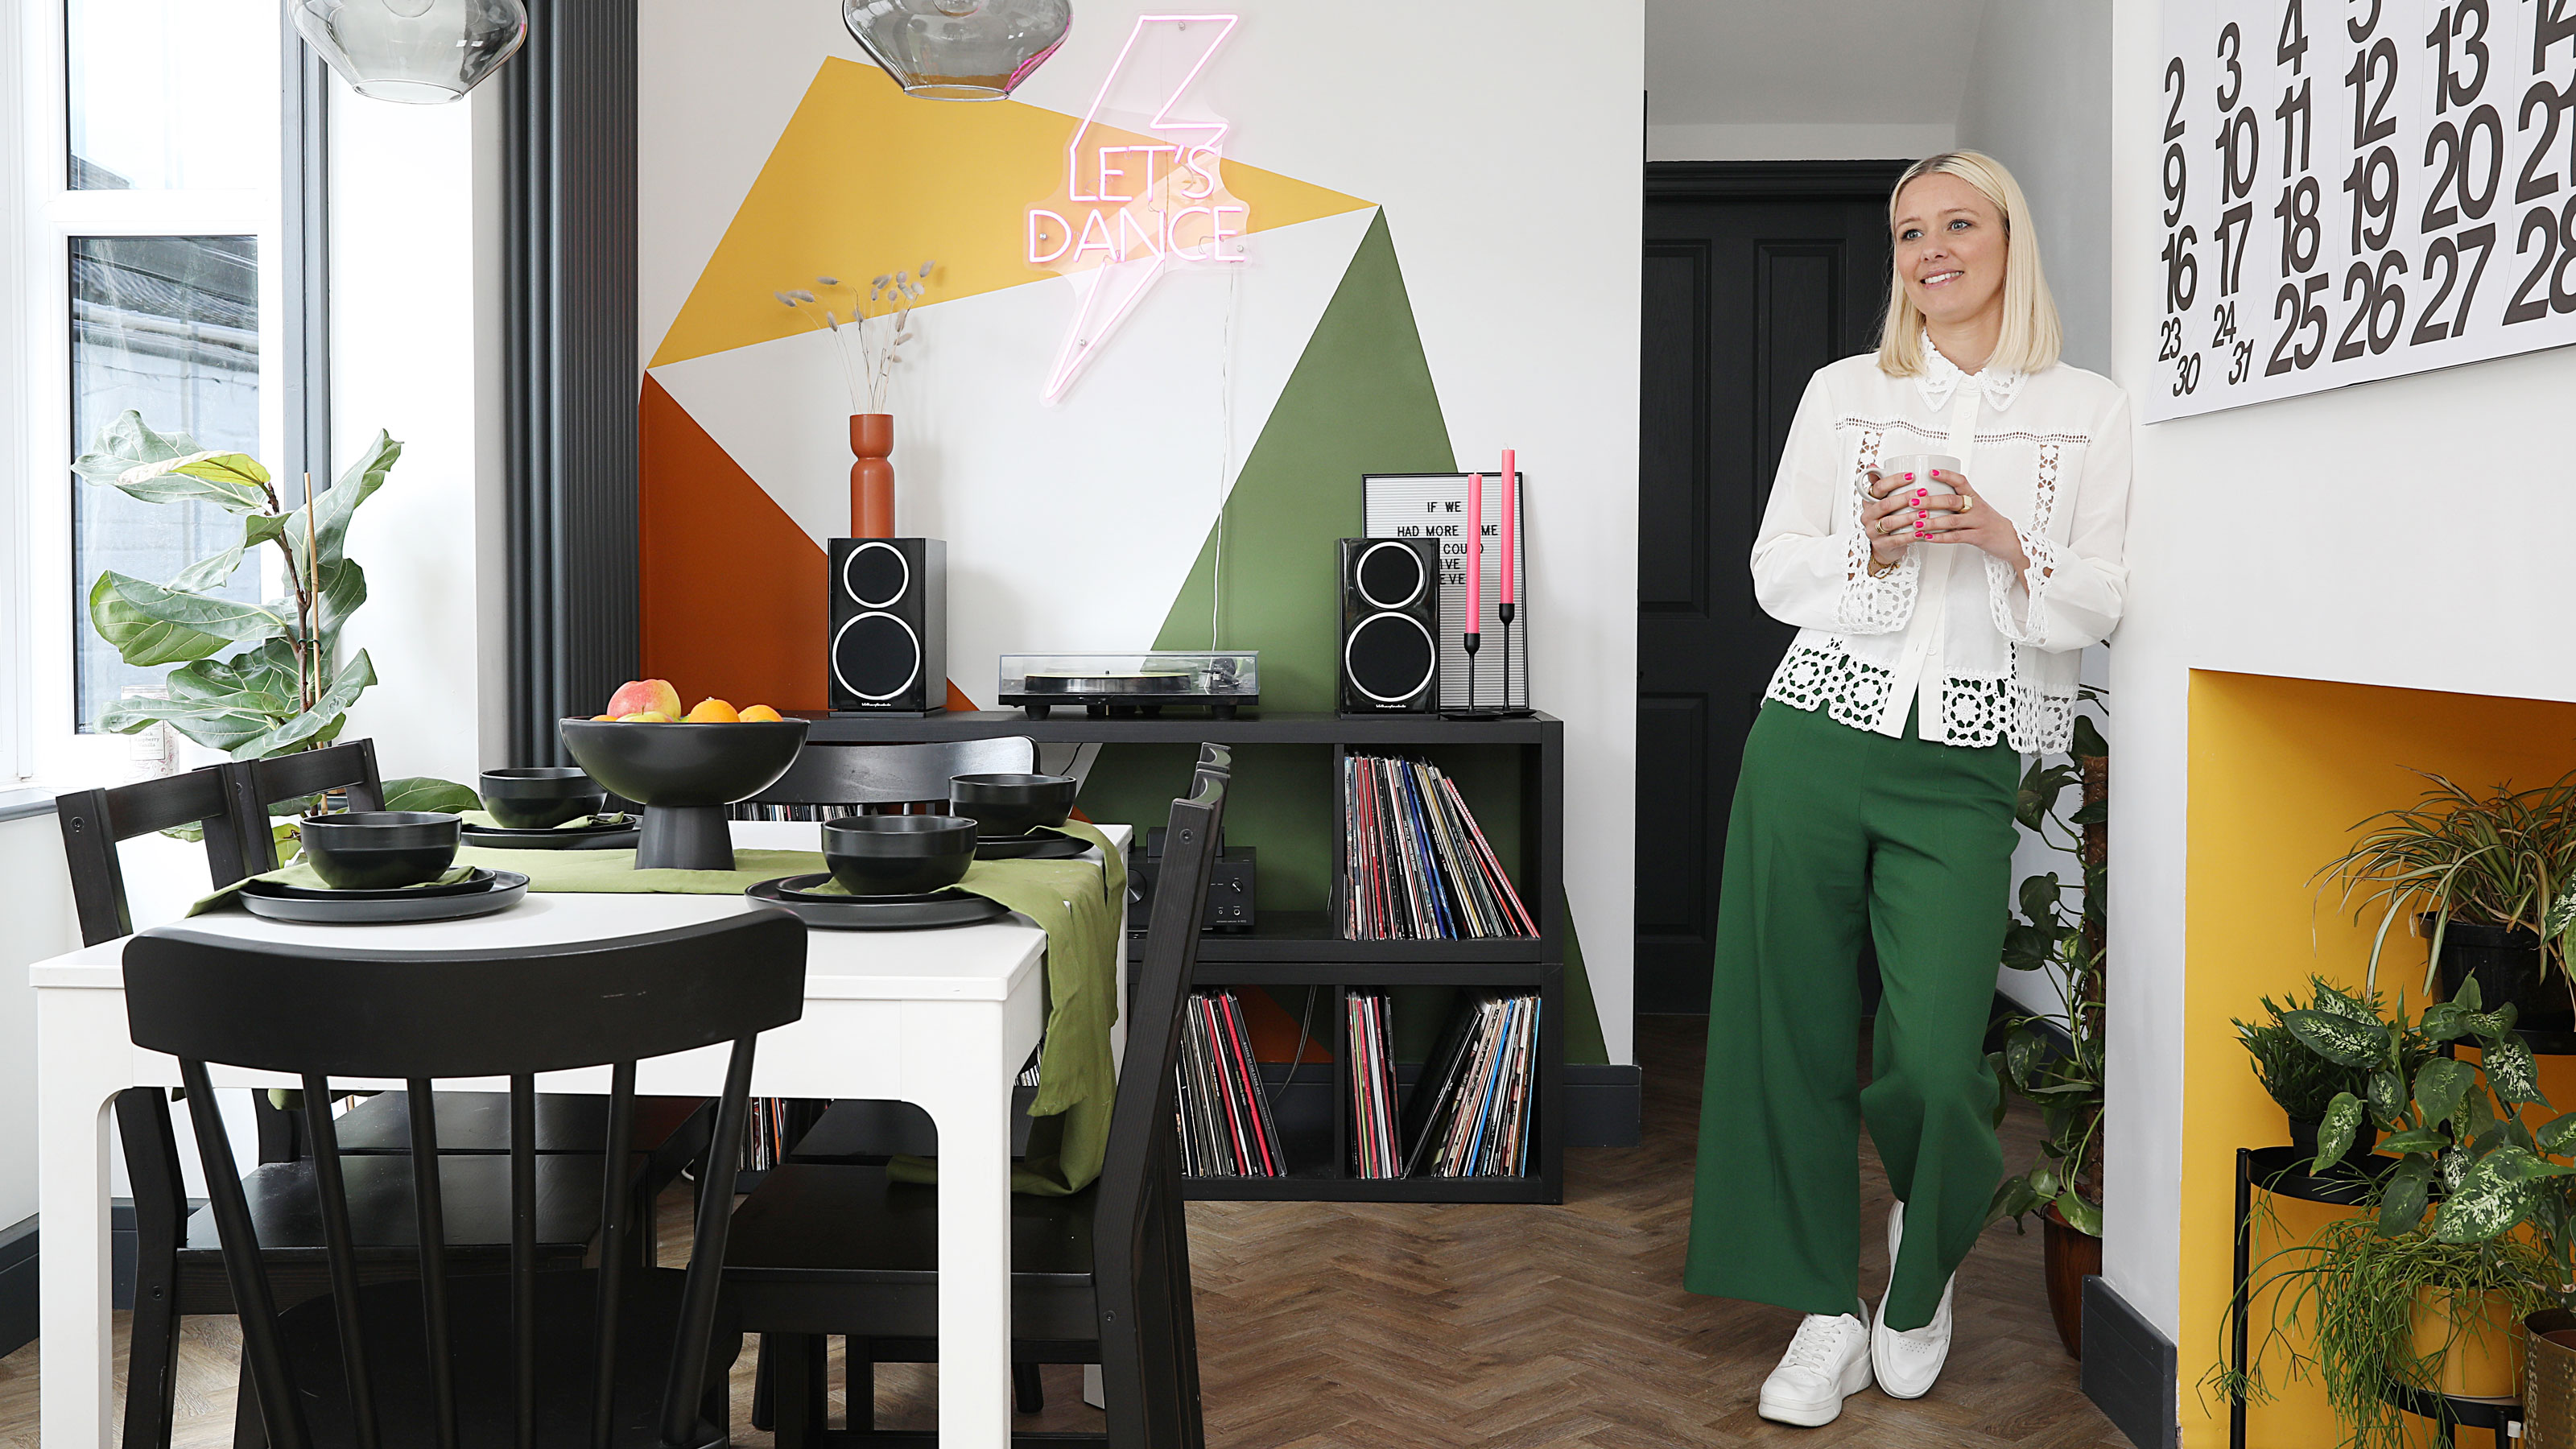 This colourful home makeover has space for kitchen discos
While the front of Leila and Joe's home features dark and moody chill-out spaces, the rest is light and bright and made for socialising
-
 How to paint a door and refresh your home instantly
Painting doors is easy with our expert advice. This is how to get professional results on front and internal doors.
-
 DIY transforms 1930s house into dream home
With several renovations behind them, Mary and Paul had creative expertise to draw on when it came to transforming their 1930s house
-
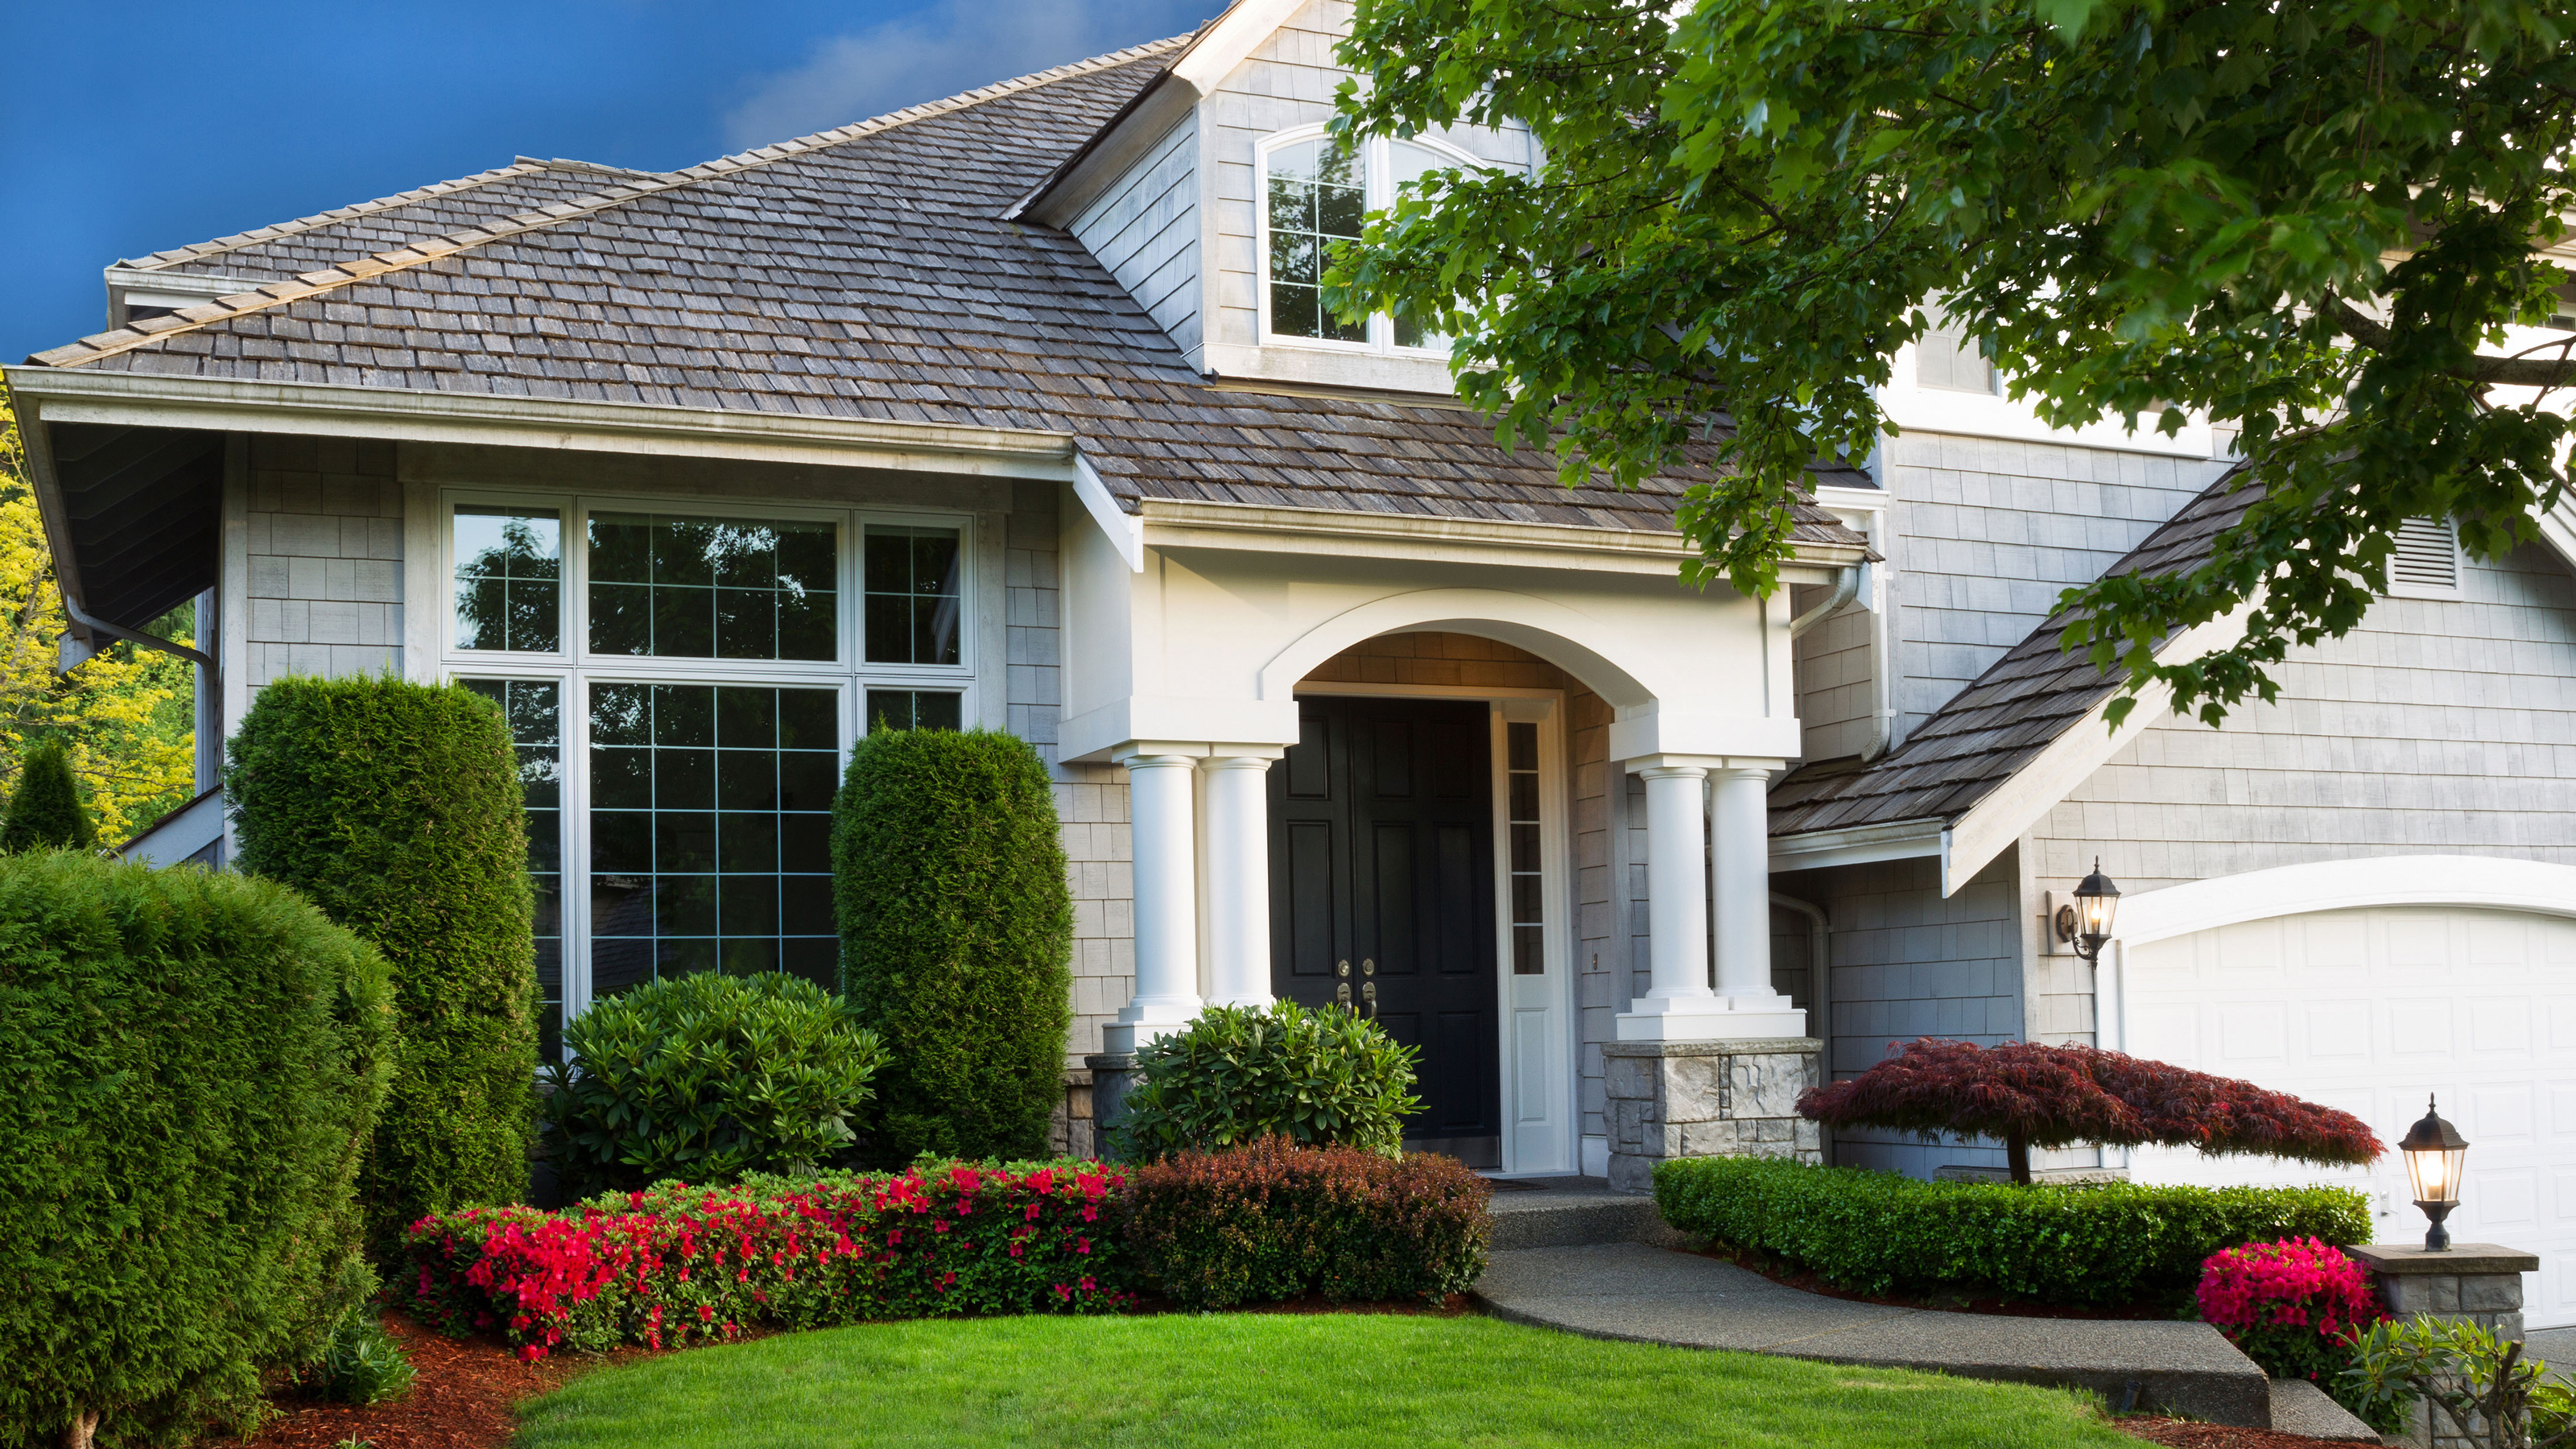 12 easy ways to add curb appeal on a budget with DIY
You can give your home curb appeal at low cost. These are the DIY ways to boost its style
-
 5 invaluable design learnings from a festive Edwardian house renovation
If you're renovating a period property, here are 5 design tips we've picked up from this festive Edwardian renovation
-
 Real home: Glazed side extension creates the perfect garden link
Louise Potter and husband Sean's extension has transformed their Victorian house, now a showcase for their collection of art, vintage finds and Scandinavian pieces
-
 I tried this genius wallpaper hack, and it was perfect for my commitment issues
Beware: once you try this wallpaper hack, you'll never look back.
-
 Drew Barrymore's new FLOWER Home paint collection wants to give your walls a makeover
Drew Barrymore FLOWER drops 27 brand-new paint shades, and every can is made from 100% post-consumer recycled plastic.


