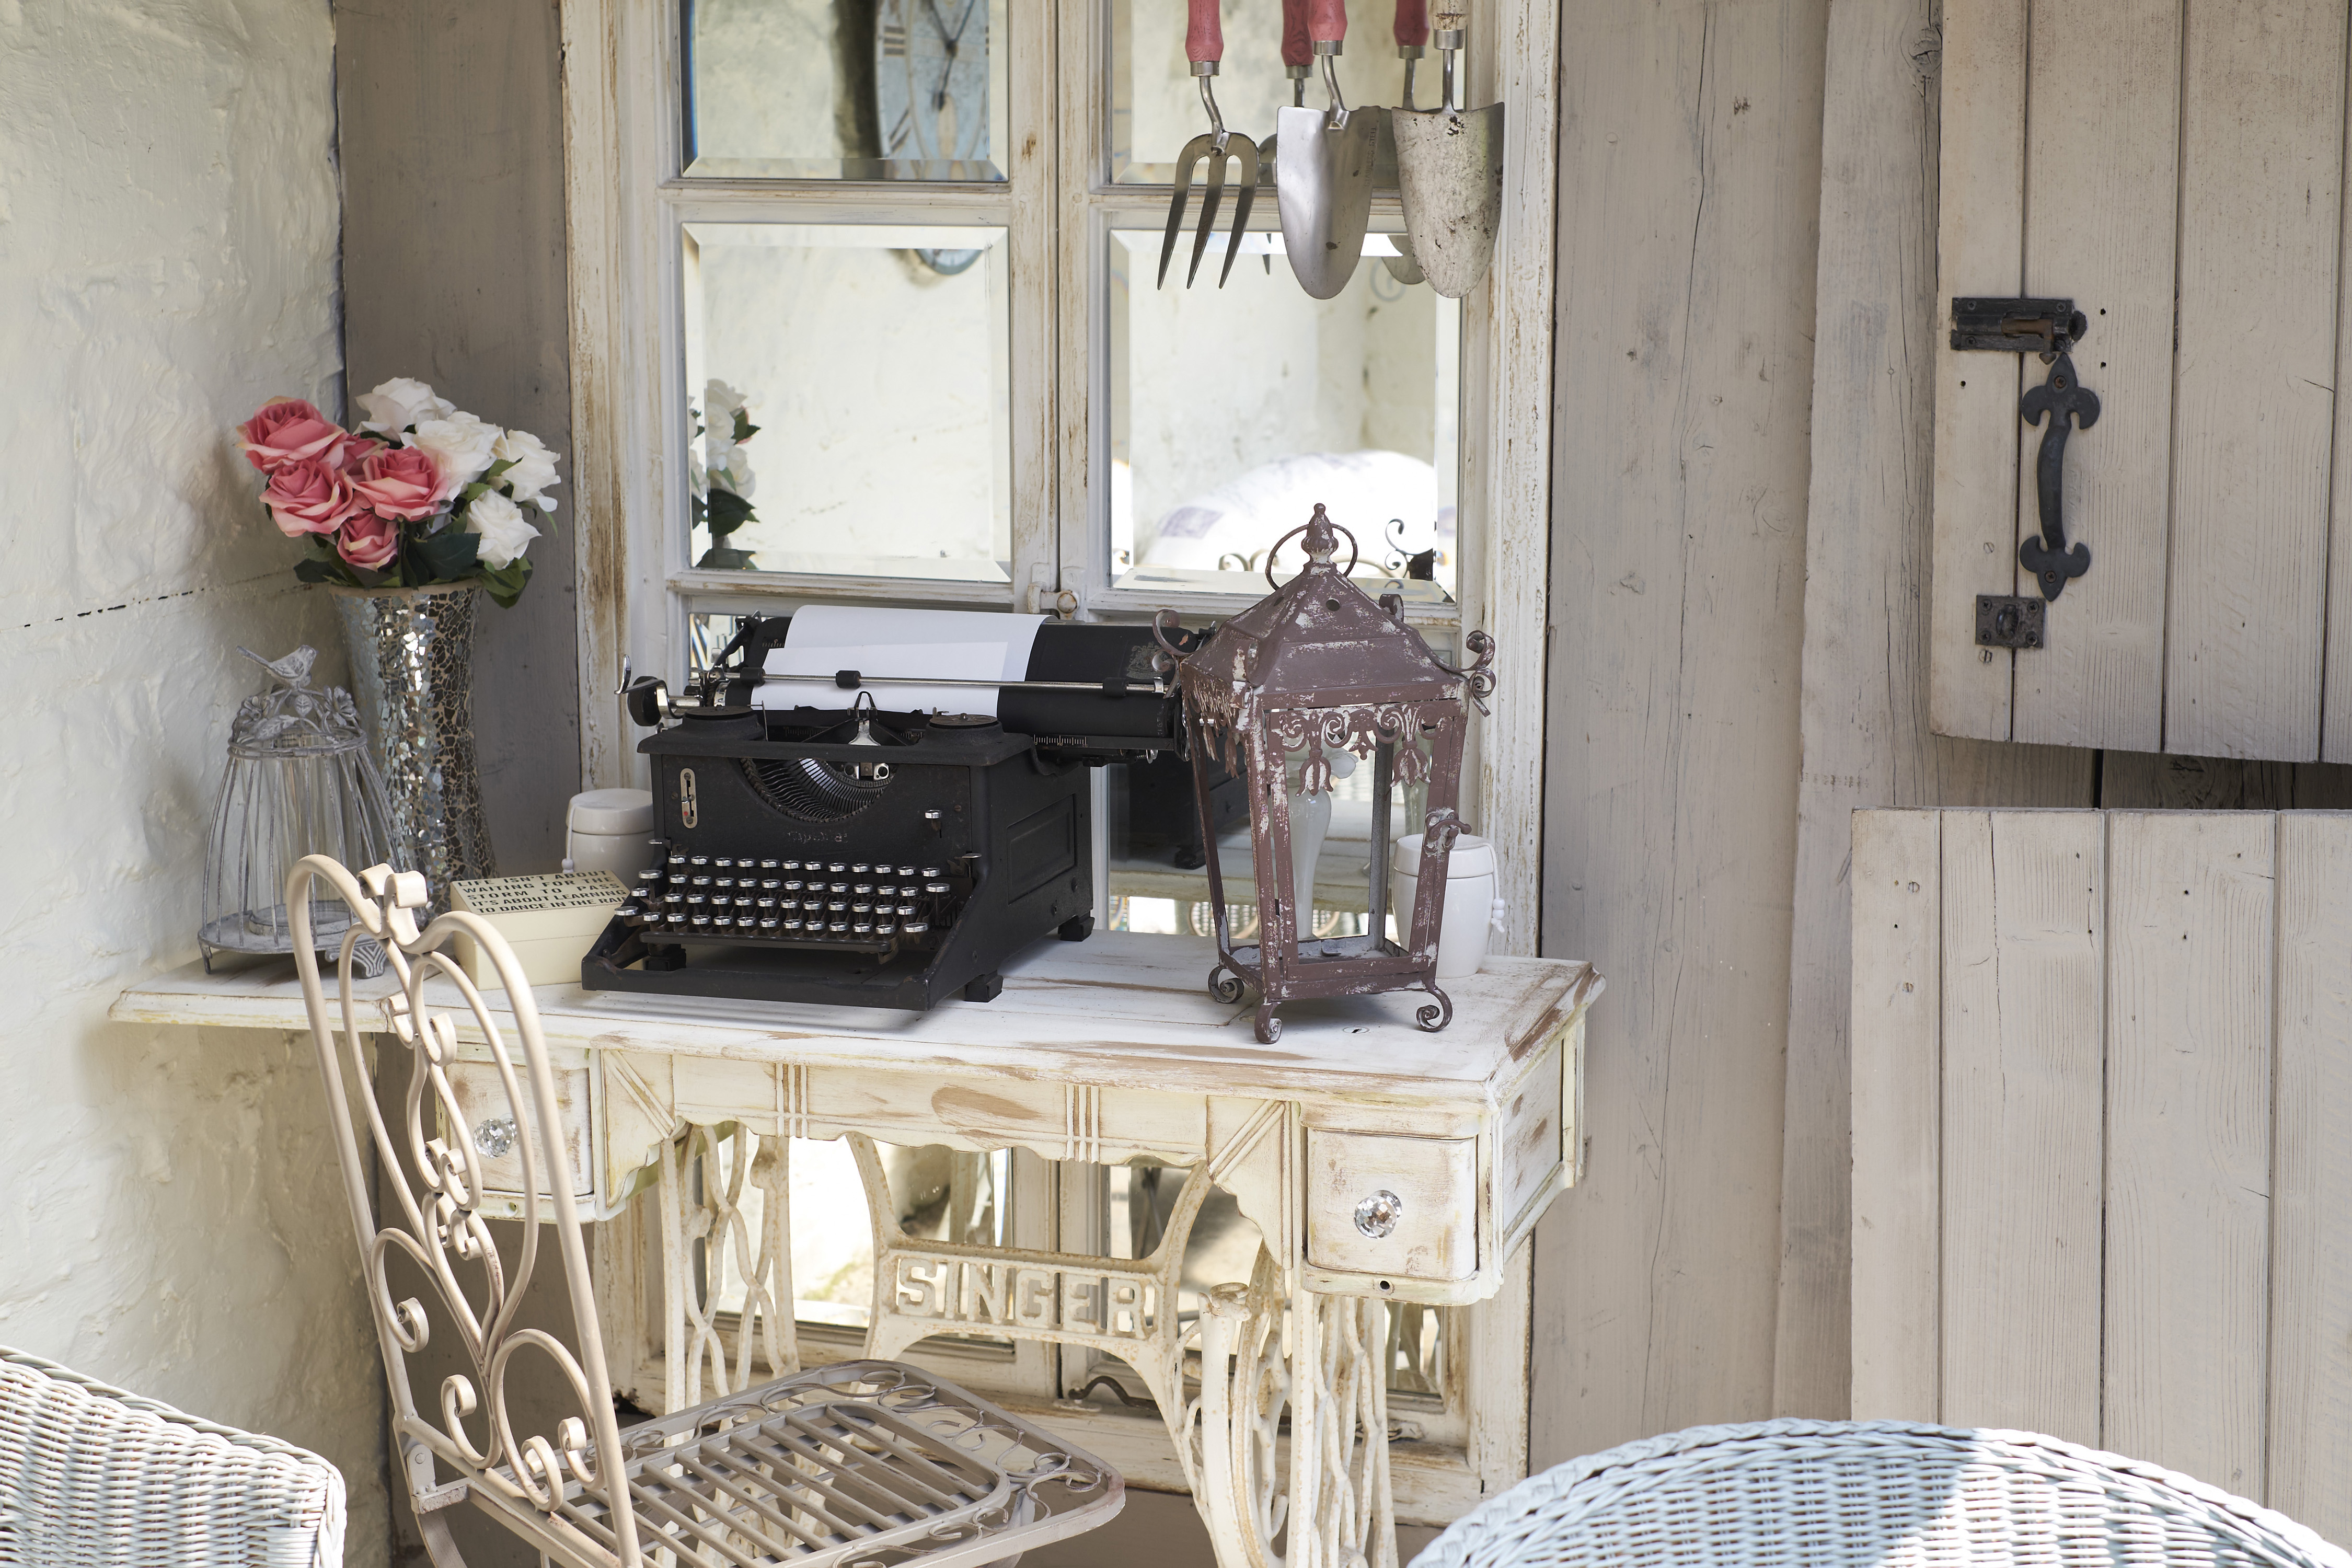

Looking to create vintage paint effects to upcycle old or damaged pieces of furniture? Using paint to turn your old or unwanted furniture into glorious, vintage style treasures is so much easier than you'd think and is a great way to make your home look chic affordably.
Jump straight to the section that interests you
Just think, wouldn't that unloved sideboard you accidentally won on eBay look better with a shabby chic, rustic finish? And that £30 charity shop mirror that has been banished to under the stairs? Well, that's just asking for a touch of gilding. Creating these vintage paint effects is pretty easy, so don your overalls and follow these simple steps to get transforming your furniture...
Looking for more crafty weekend projects? Head over to our craft hub page for loads more inspiration.
How to create vintage paint effects that look distressed
Want to create that distressed painted wood look we are all so obsessed with? Well this technique is probably the easiest way to get that 'I found this dresser buried in a little brocante in the South of France' vibe. Plus, the thing we love most about knowing how to create vintage paint effects, and this one in particular, is that you cant really go wrong: it's supposed to look messy and unfinished...
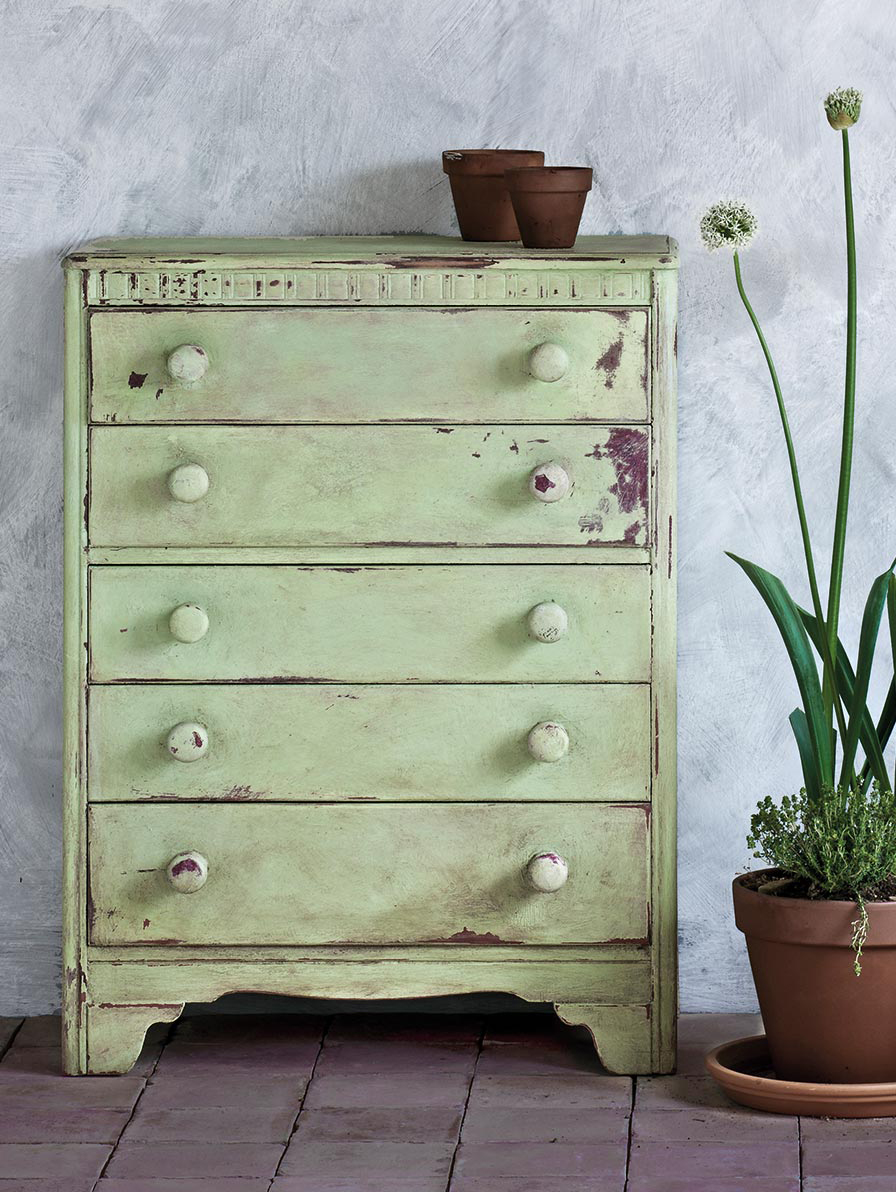
You will need:
- Knotting solution
- Chalk-finish paint (take a look at our pick of the best furniture paint for more options)
- 1.5 inch paint brush
- Fine sanding block
- Fine wire wool
- Medium sand paper
- Clear furniture wax
- Cloth
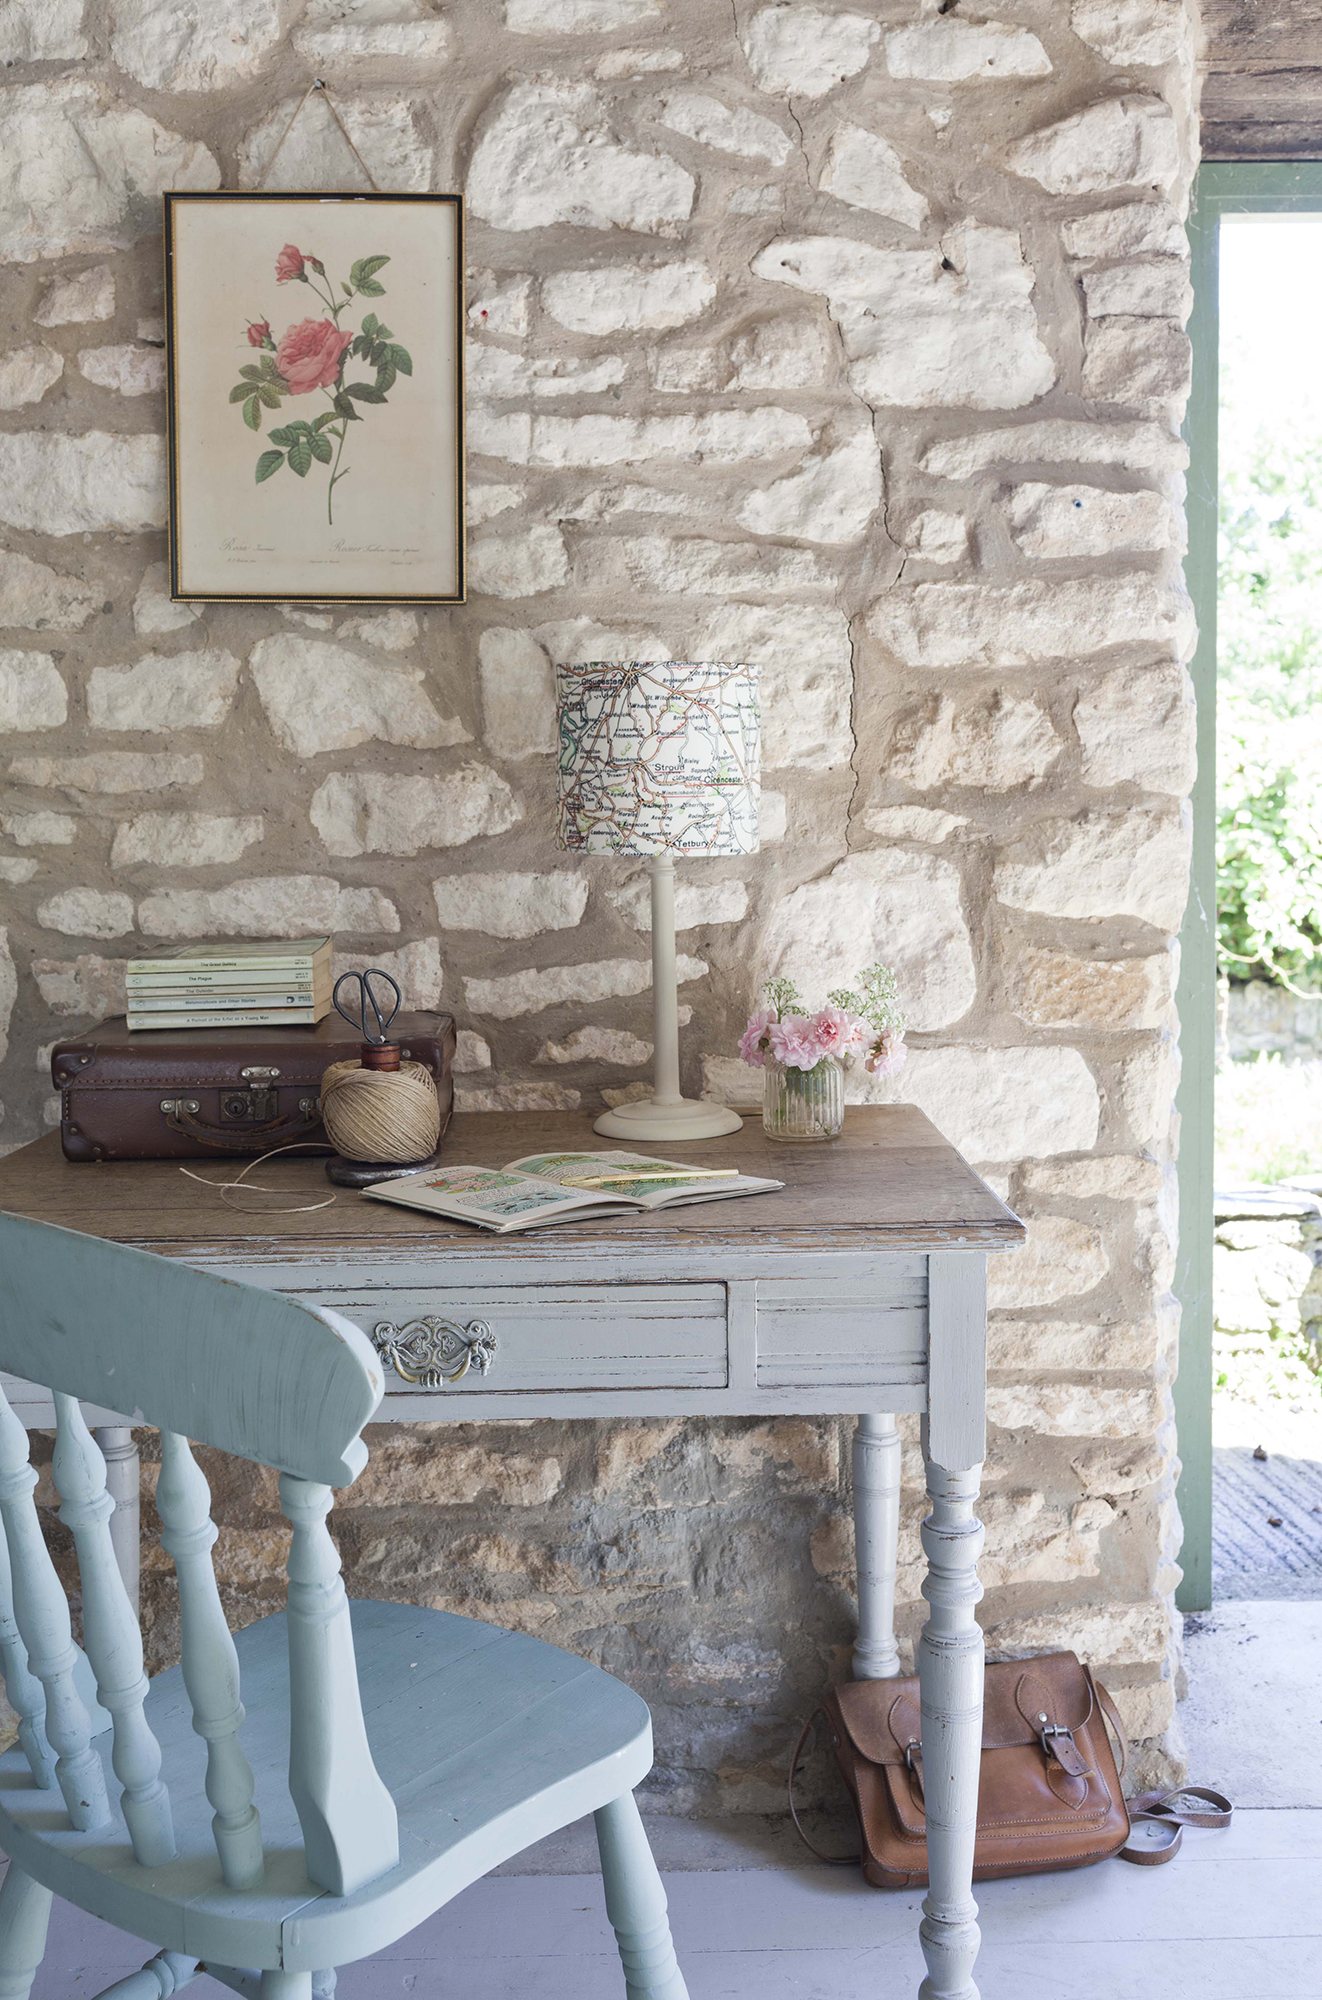
Oak desk updated with a distressed French-style paint effect
Step one: clean the furniture
Before you start creating vintage paint effects with a distressed look, give your furniture a quick clean. Dust it down to remove any bits of debris or dust, and give it a wipe with a cloth if it needs it. Just make sure your furniture is dry before you start painting.
If there is any hardware you don't want painting remove those too if you can, if not cover them in masking tape.
Step two: cover any knots
First make sure you are in a well ventilated room before you start upcycling your furniture. Then use a small brush to cover any knots in the wood with knotting solution, this will stop any sap coming through the paint at a later date. Allow to dry for around five minutes.
Step three: apply the first coat of paint
Using long even strokes, taking care not to over load your brush, paint on your first coat of chalk paint. Watch out for drips, they will look a lot more shabby than chic. We recommend you let your first coat of paint dry for at least 24 hours.
Need some tips on how to to paint furniture? Head over to our guide.
Step four: apply your second coat
Depending on the look you want, you could choose to paint your second coat in a different shade to your first. This will mean when you start to sand away the paint to achieve the vintage look, you will see the first colour come through. If you want to stick will all one colour just paint another coat in the original paint.
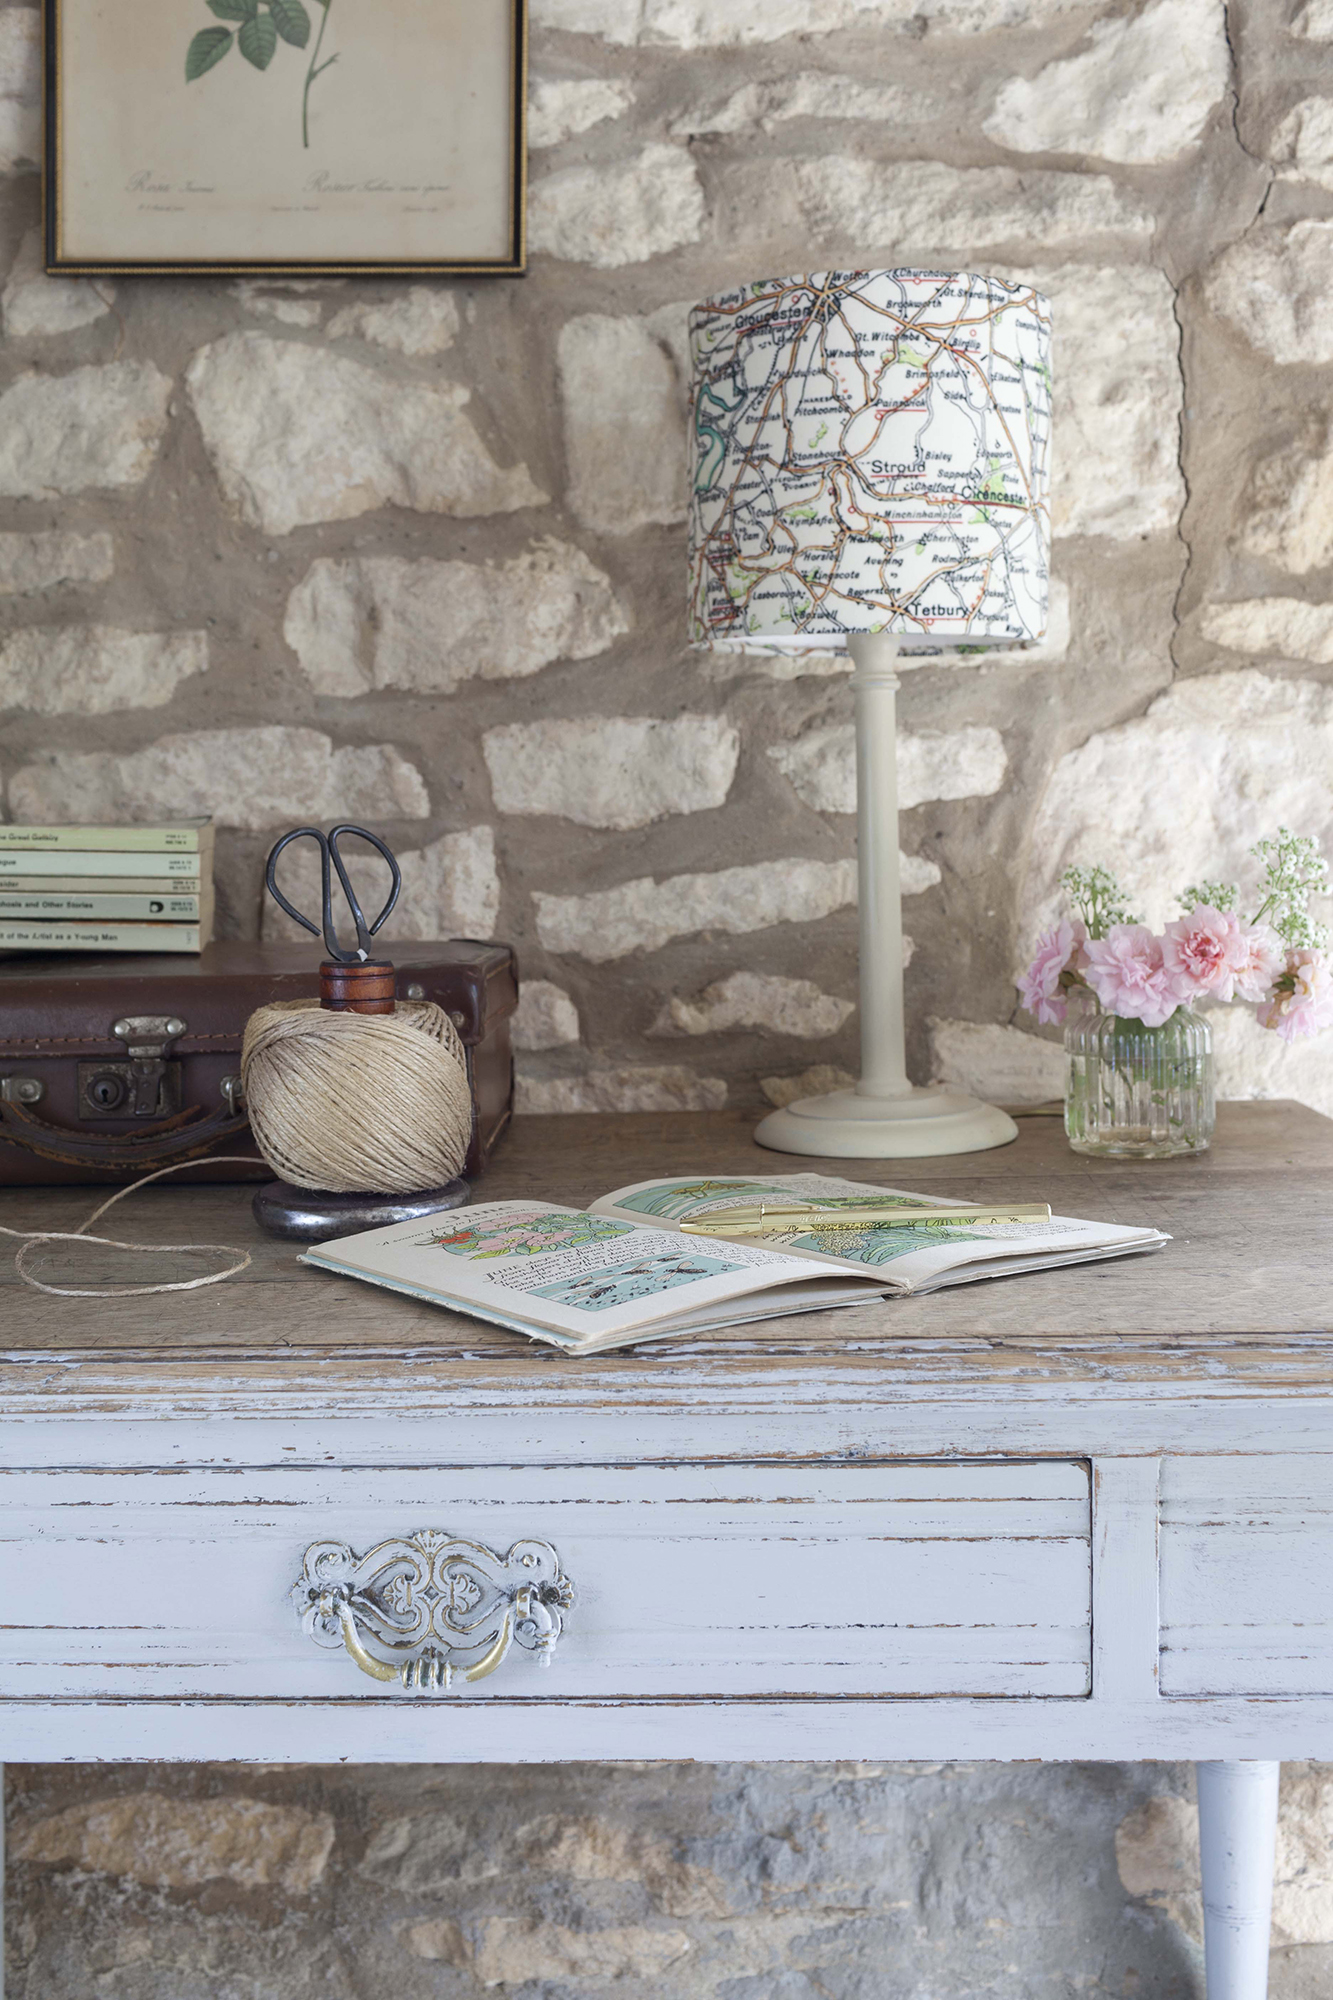
Oak desk updated with a distressed French-style paint effect
Step five: sand away the paint
MORE FROM PERIOD LIVING
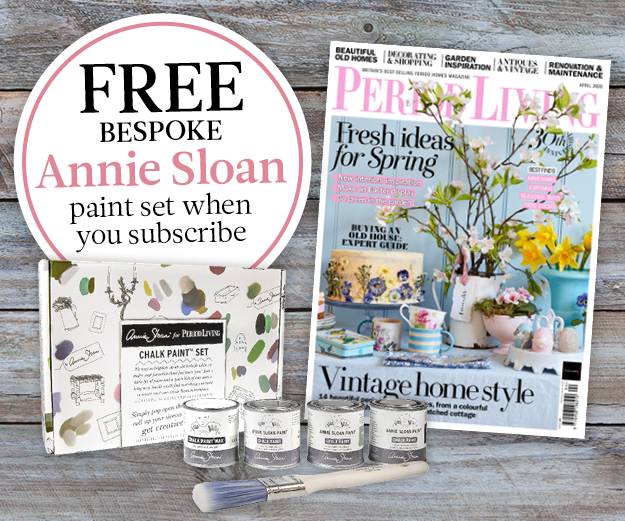
FREE Annie Sloan chalk paint set – perfect for upcycling
Upgrade your upcycling project with this bespoke set of Period Living chalk paints from Annie Sloan, worth £30 – free with a six month subscription to Period Living magazine
Once the second coat of paint is dry you can start creating the distressed, vintage look. Start off with a fine sanding block just to get rid of any obvious brush strokes or drips.
Then take a fine-grade wire wool and rub the painted surface – this will bring out the pigment in the paint and create a sheen. Then get a bit more vigorous with some medium grade sandpaper to expose the wood beneath.
Top tip: For the most authentic vintage look, be strategic with your distressing, think about where your piece of furniture might actually have faced some wear and tear – edges, corners, legs, that sort of thing.
Step six: apply furniture wax
Dust down your piece of furniture to get rid of any bits of dry paint and then using a clean, lint free, cloth apply a soft clear furniture wax to protect your vintage-look furniture.
Now want to create a bedroom to match your glorious new vintage-style furniture? Check out these French-style bedroom ideas...
How to gild furniture
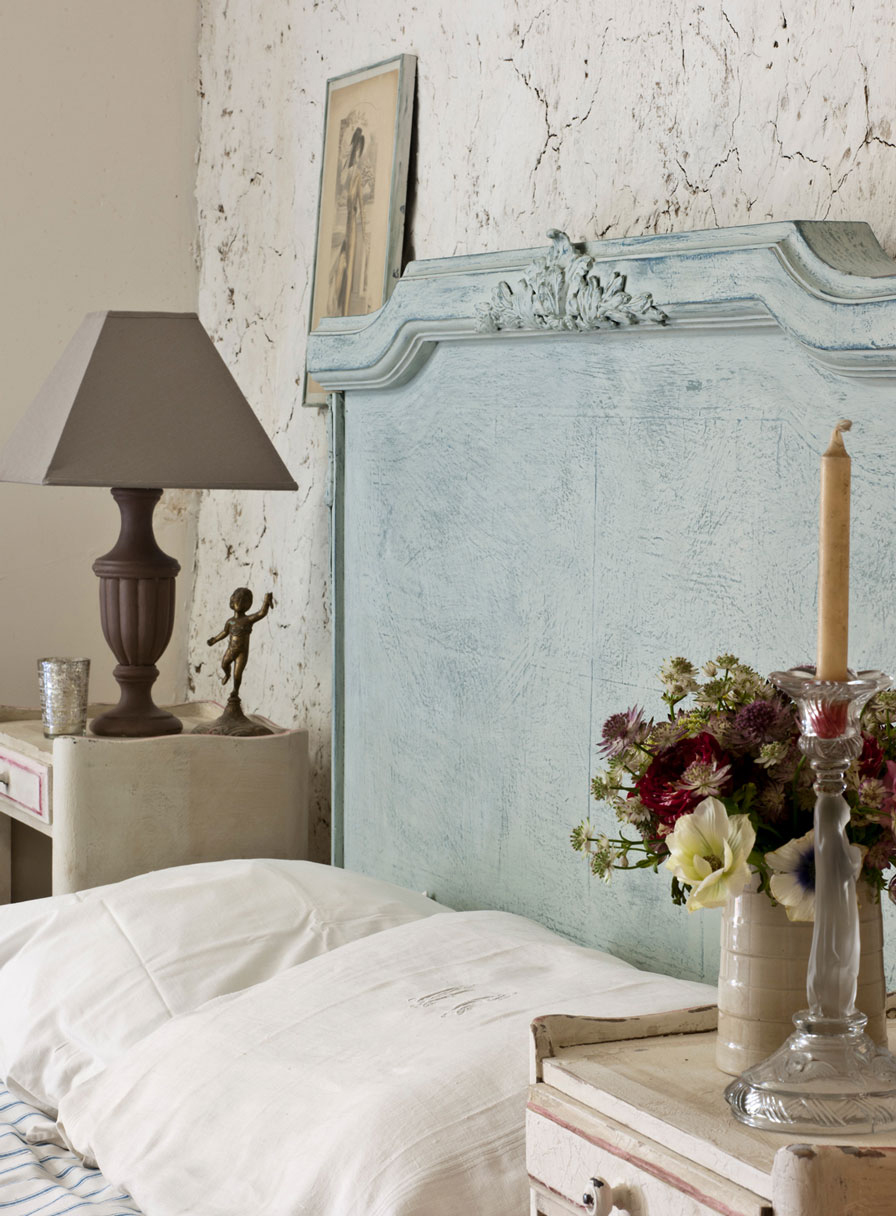
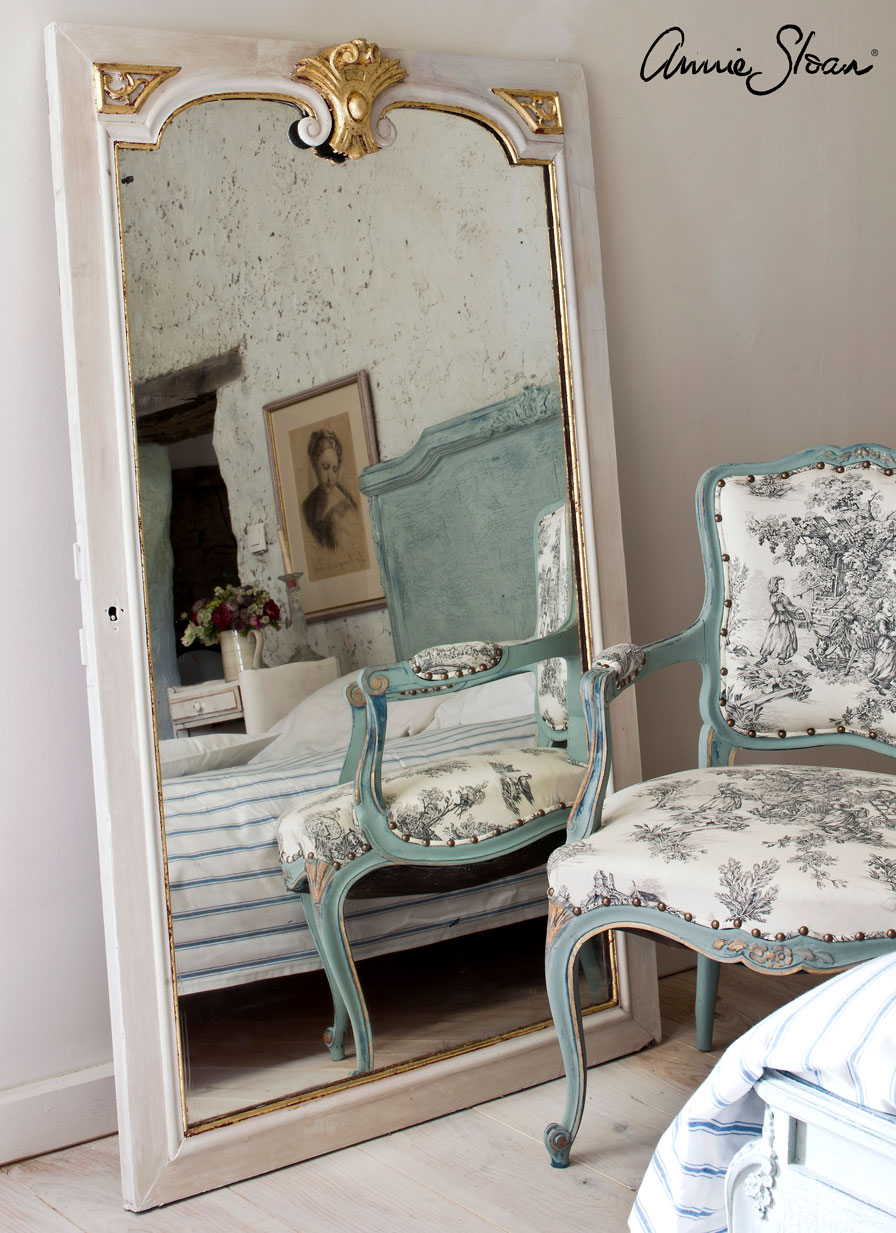
Another way to create vintage paint effects is with gilding. Gilding furniture is admittedly trickier than just rubbing off a few layers of paint but the effect is beautiful and we reckon it's worth the time and effort. Just bear in mind though it is a bit of a fiddly process so usually works better on smaller pieces of furniture.
Top tip: if you want to cheat the look, Annie Sloan make this amazing gilding wax that has a very similar effect.
You will need:
- Chalk-finish paint
- Small brushes
- Acrylic adhesive for metal leaf
- Your choice of gold leaf, silver leaf or copper leaf
- Cloth
- Clear furniture wax (you could use dark furniture wax for an aged look)
- Cotton gloves
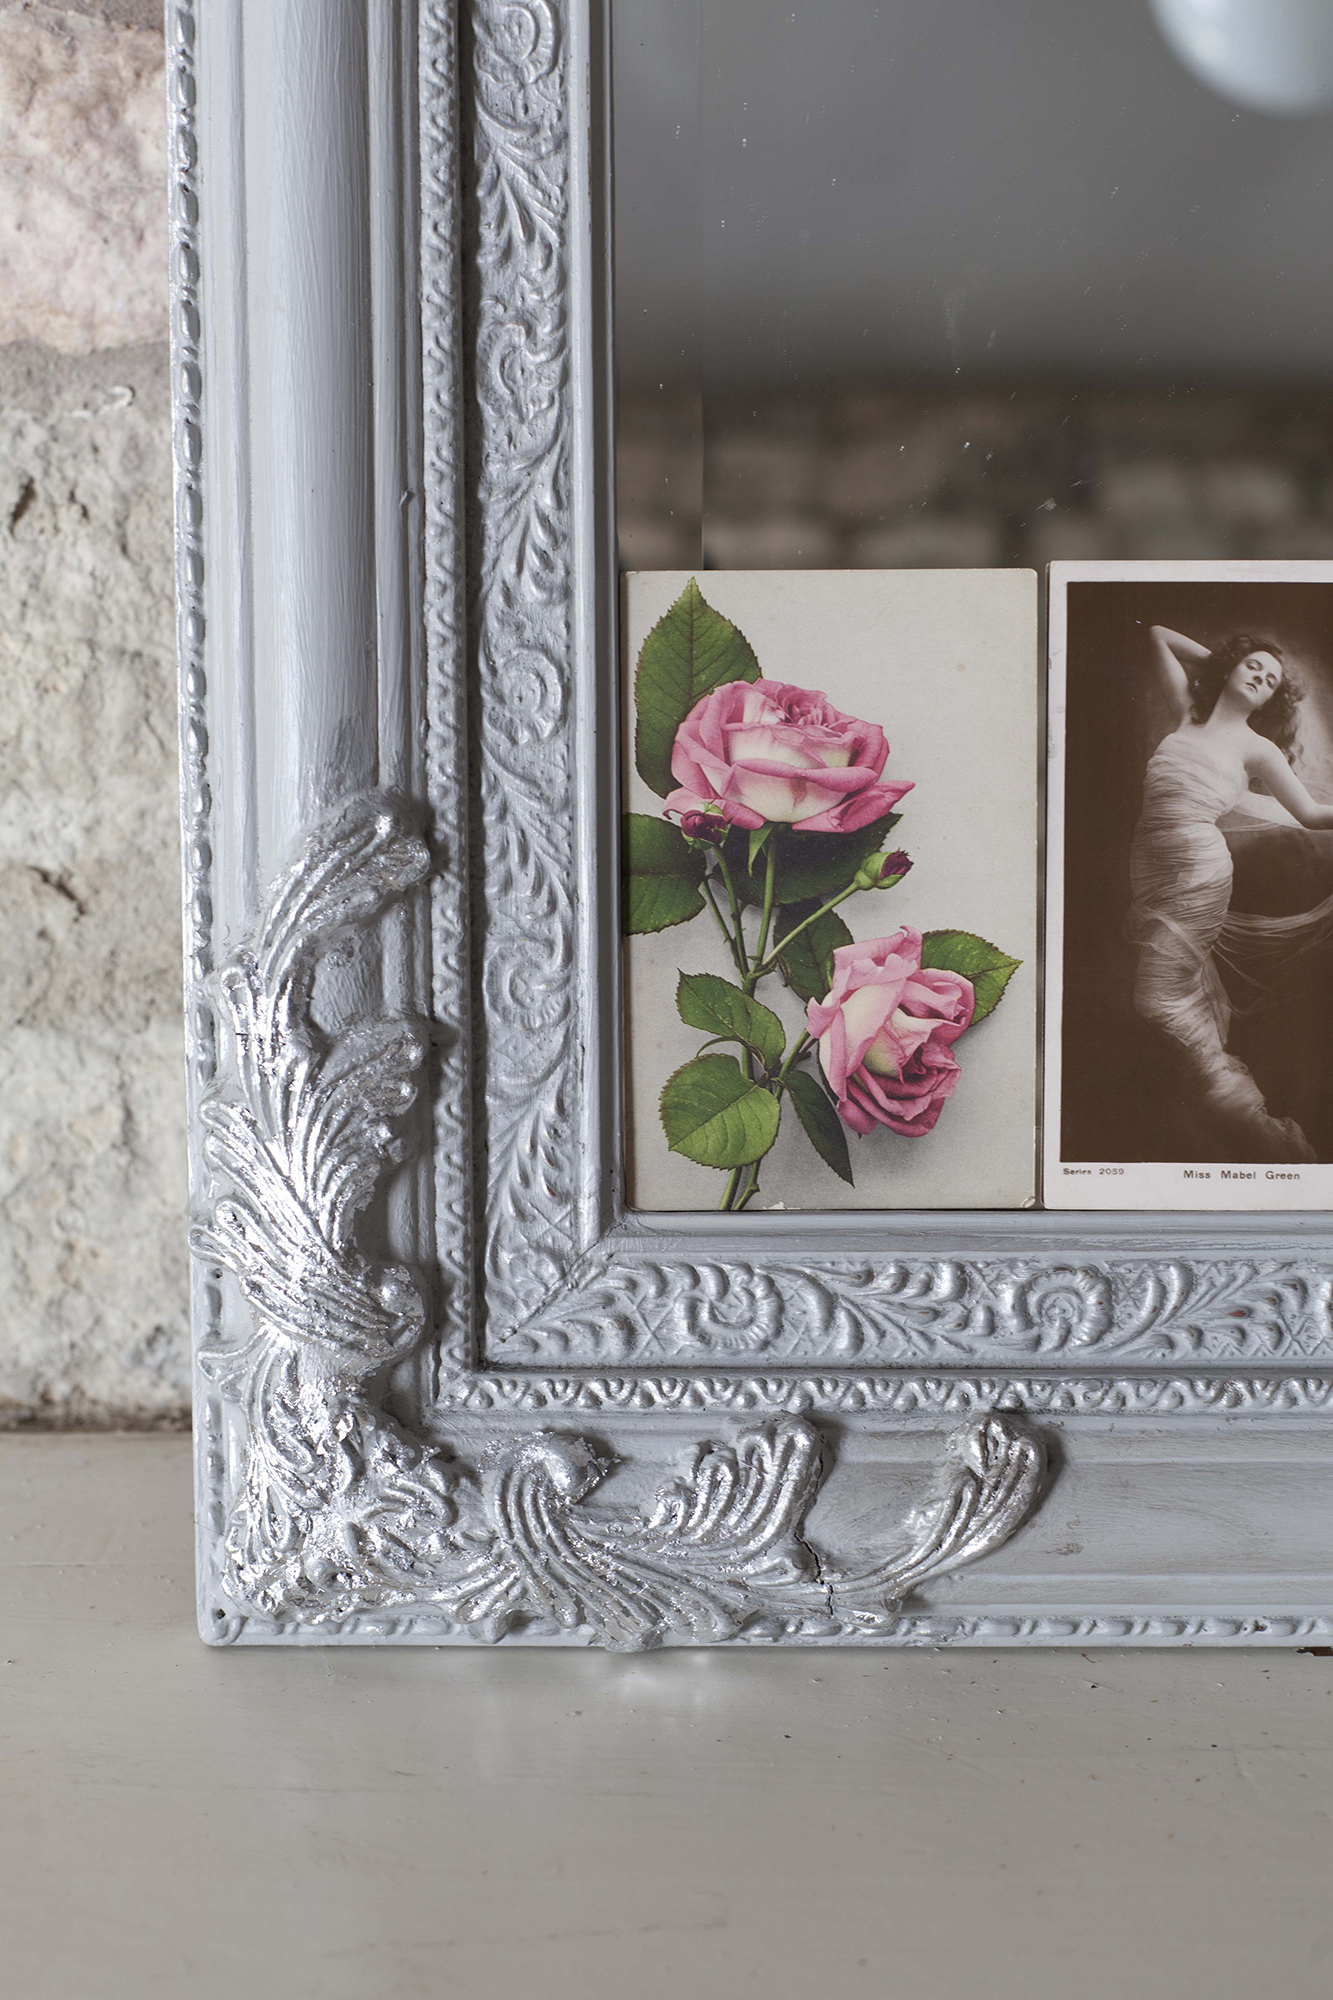
Chalk painted mirror frame updated with silver leaf
Step one: paint your furniture
Give the piece of furniture you want to guild two coats of chalk paint. If you are working with something ornate with intricate carvings make sure you cover all the details. You could of course skip this step if you want to guild straight onto wood.
Step two: apply adhesive
Once your paint has dried, use a small brush to apply the adhesive to the areas you want to guild. After a few minutes the glue will turn clear and become tacky and then you are ready to start applying the metallic leaf.
Step three: apply the gold (or silver or copper) leaf
Gold leaf is super delicate and prone to ripping to be very careful when you are working with it. Most gold leaf comes on a transfer sheet that makes it slightly easier to use.
Wearing cotton gloves, take a sheet of gold leaf and carefully place it over the tacky area. Starting at the highest point, press the leaf into place with a small brush, then slowly peel away the transfer sheet. Keep repeating this one sheet at time until you have covered all the areas you wanted to gild. Allow the gold leaf around six hours to dry.
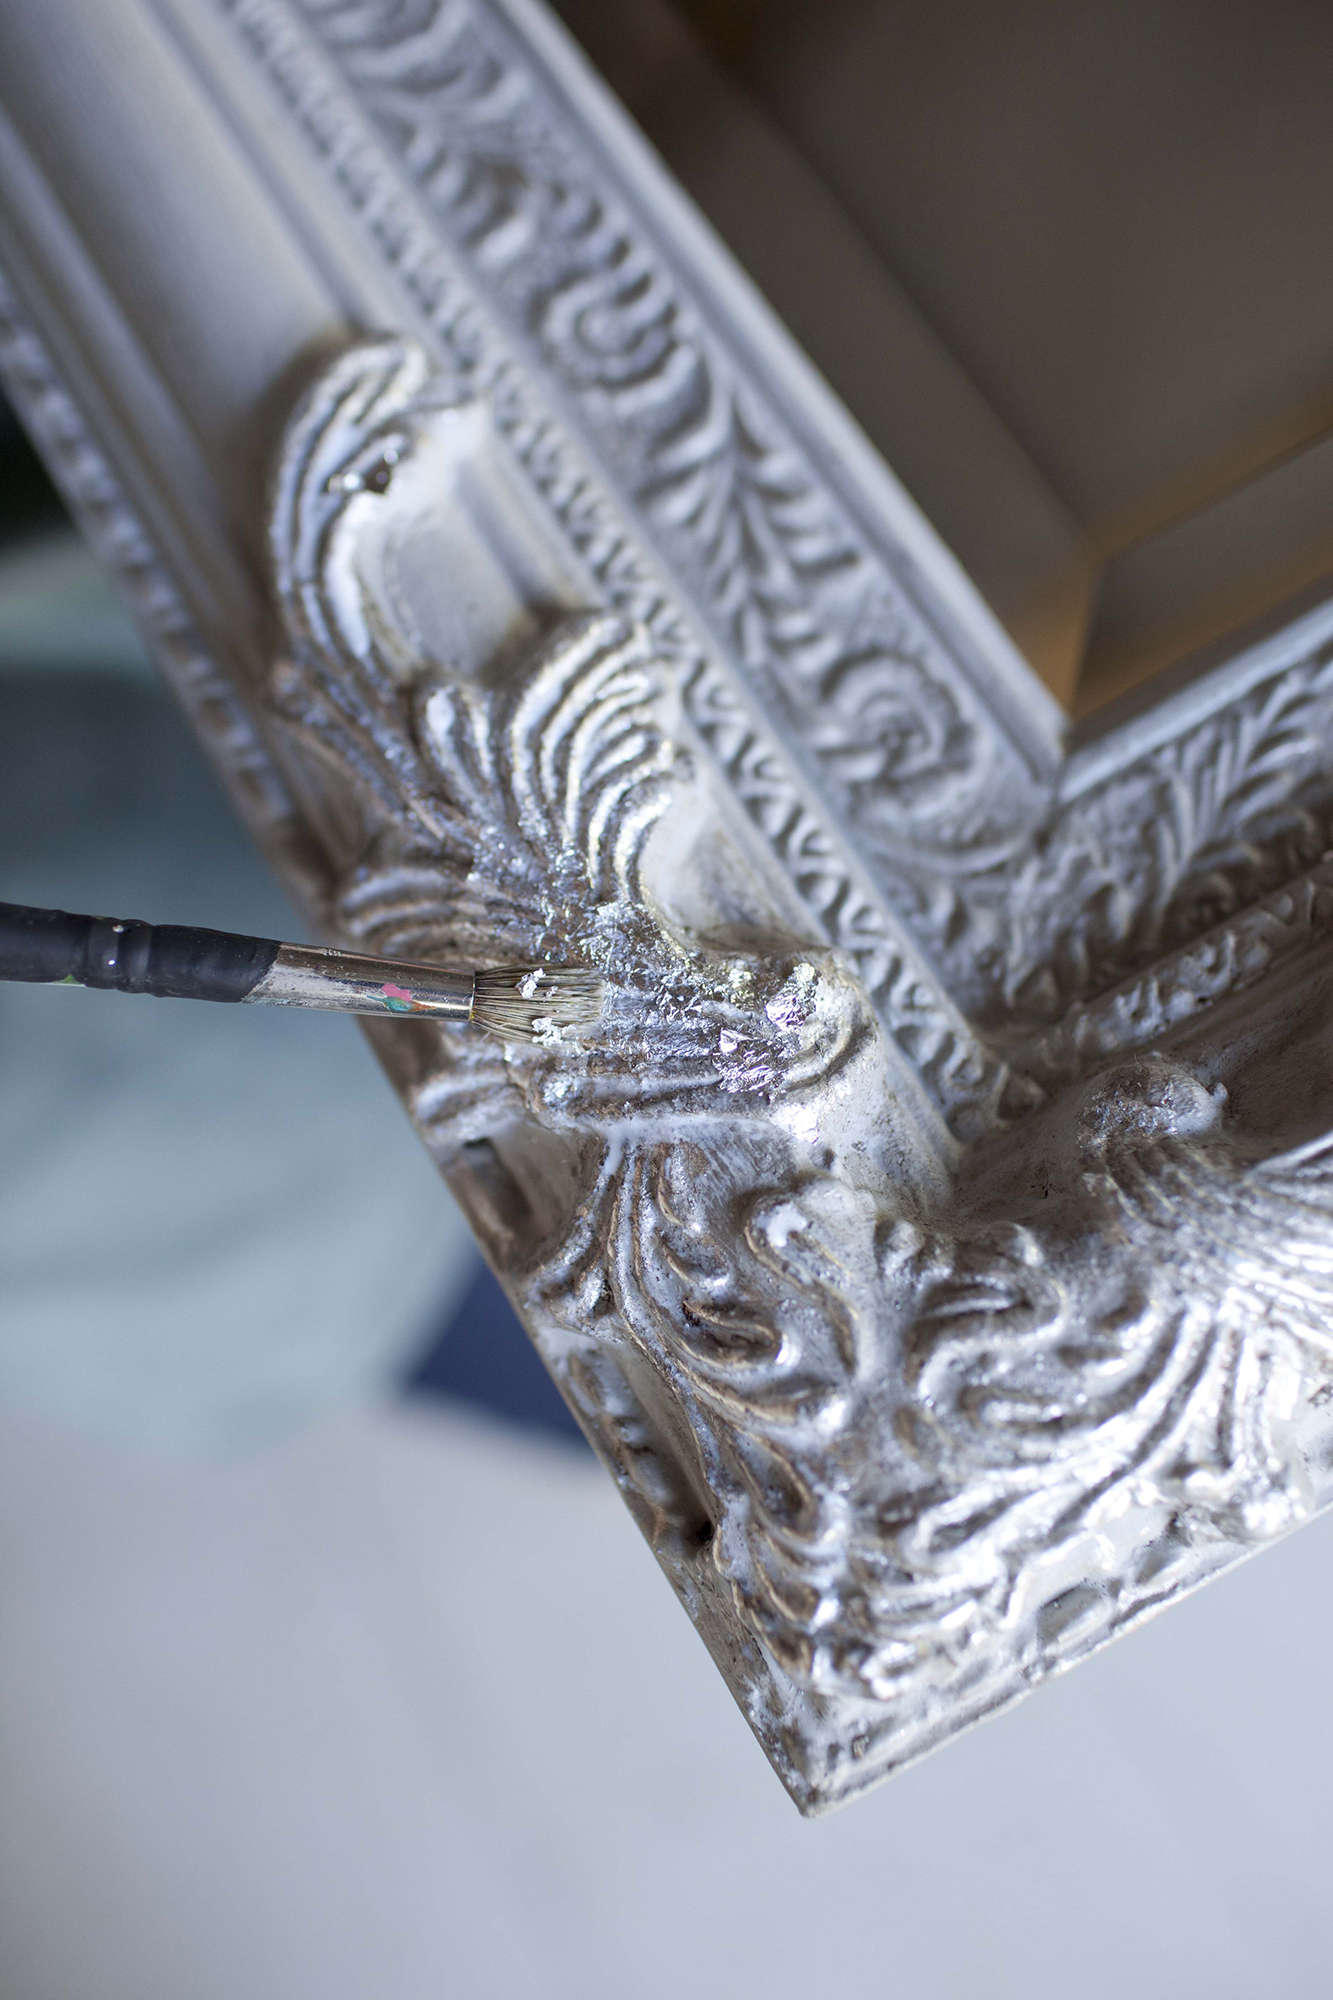
Silver leaf being applied to mirror frame relief
Step four: seal with furniture wax
Once the gold leaf has dried, use a clean cloth to add a layer of clear furniture wax. If you want a more aged look to your gilded furniture could add a layer of dark furniture wax, just make sure you apply a thin layer of clear wax first.
How to get a crackled vintage paint effect
A popular way to create vintage paint effects is with a crackled finish. There are quite a few ways to get this crackled vintage effect, but we found this technique works best and uses the fewest materials. You can also get crackle glaze which you paint over the top of paint or crackle Basecoat paint which goes underneath, but these creates more of an even cracked surface that can look slightly inauthentic.
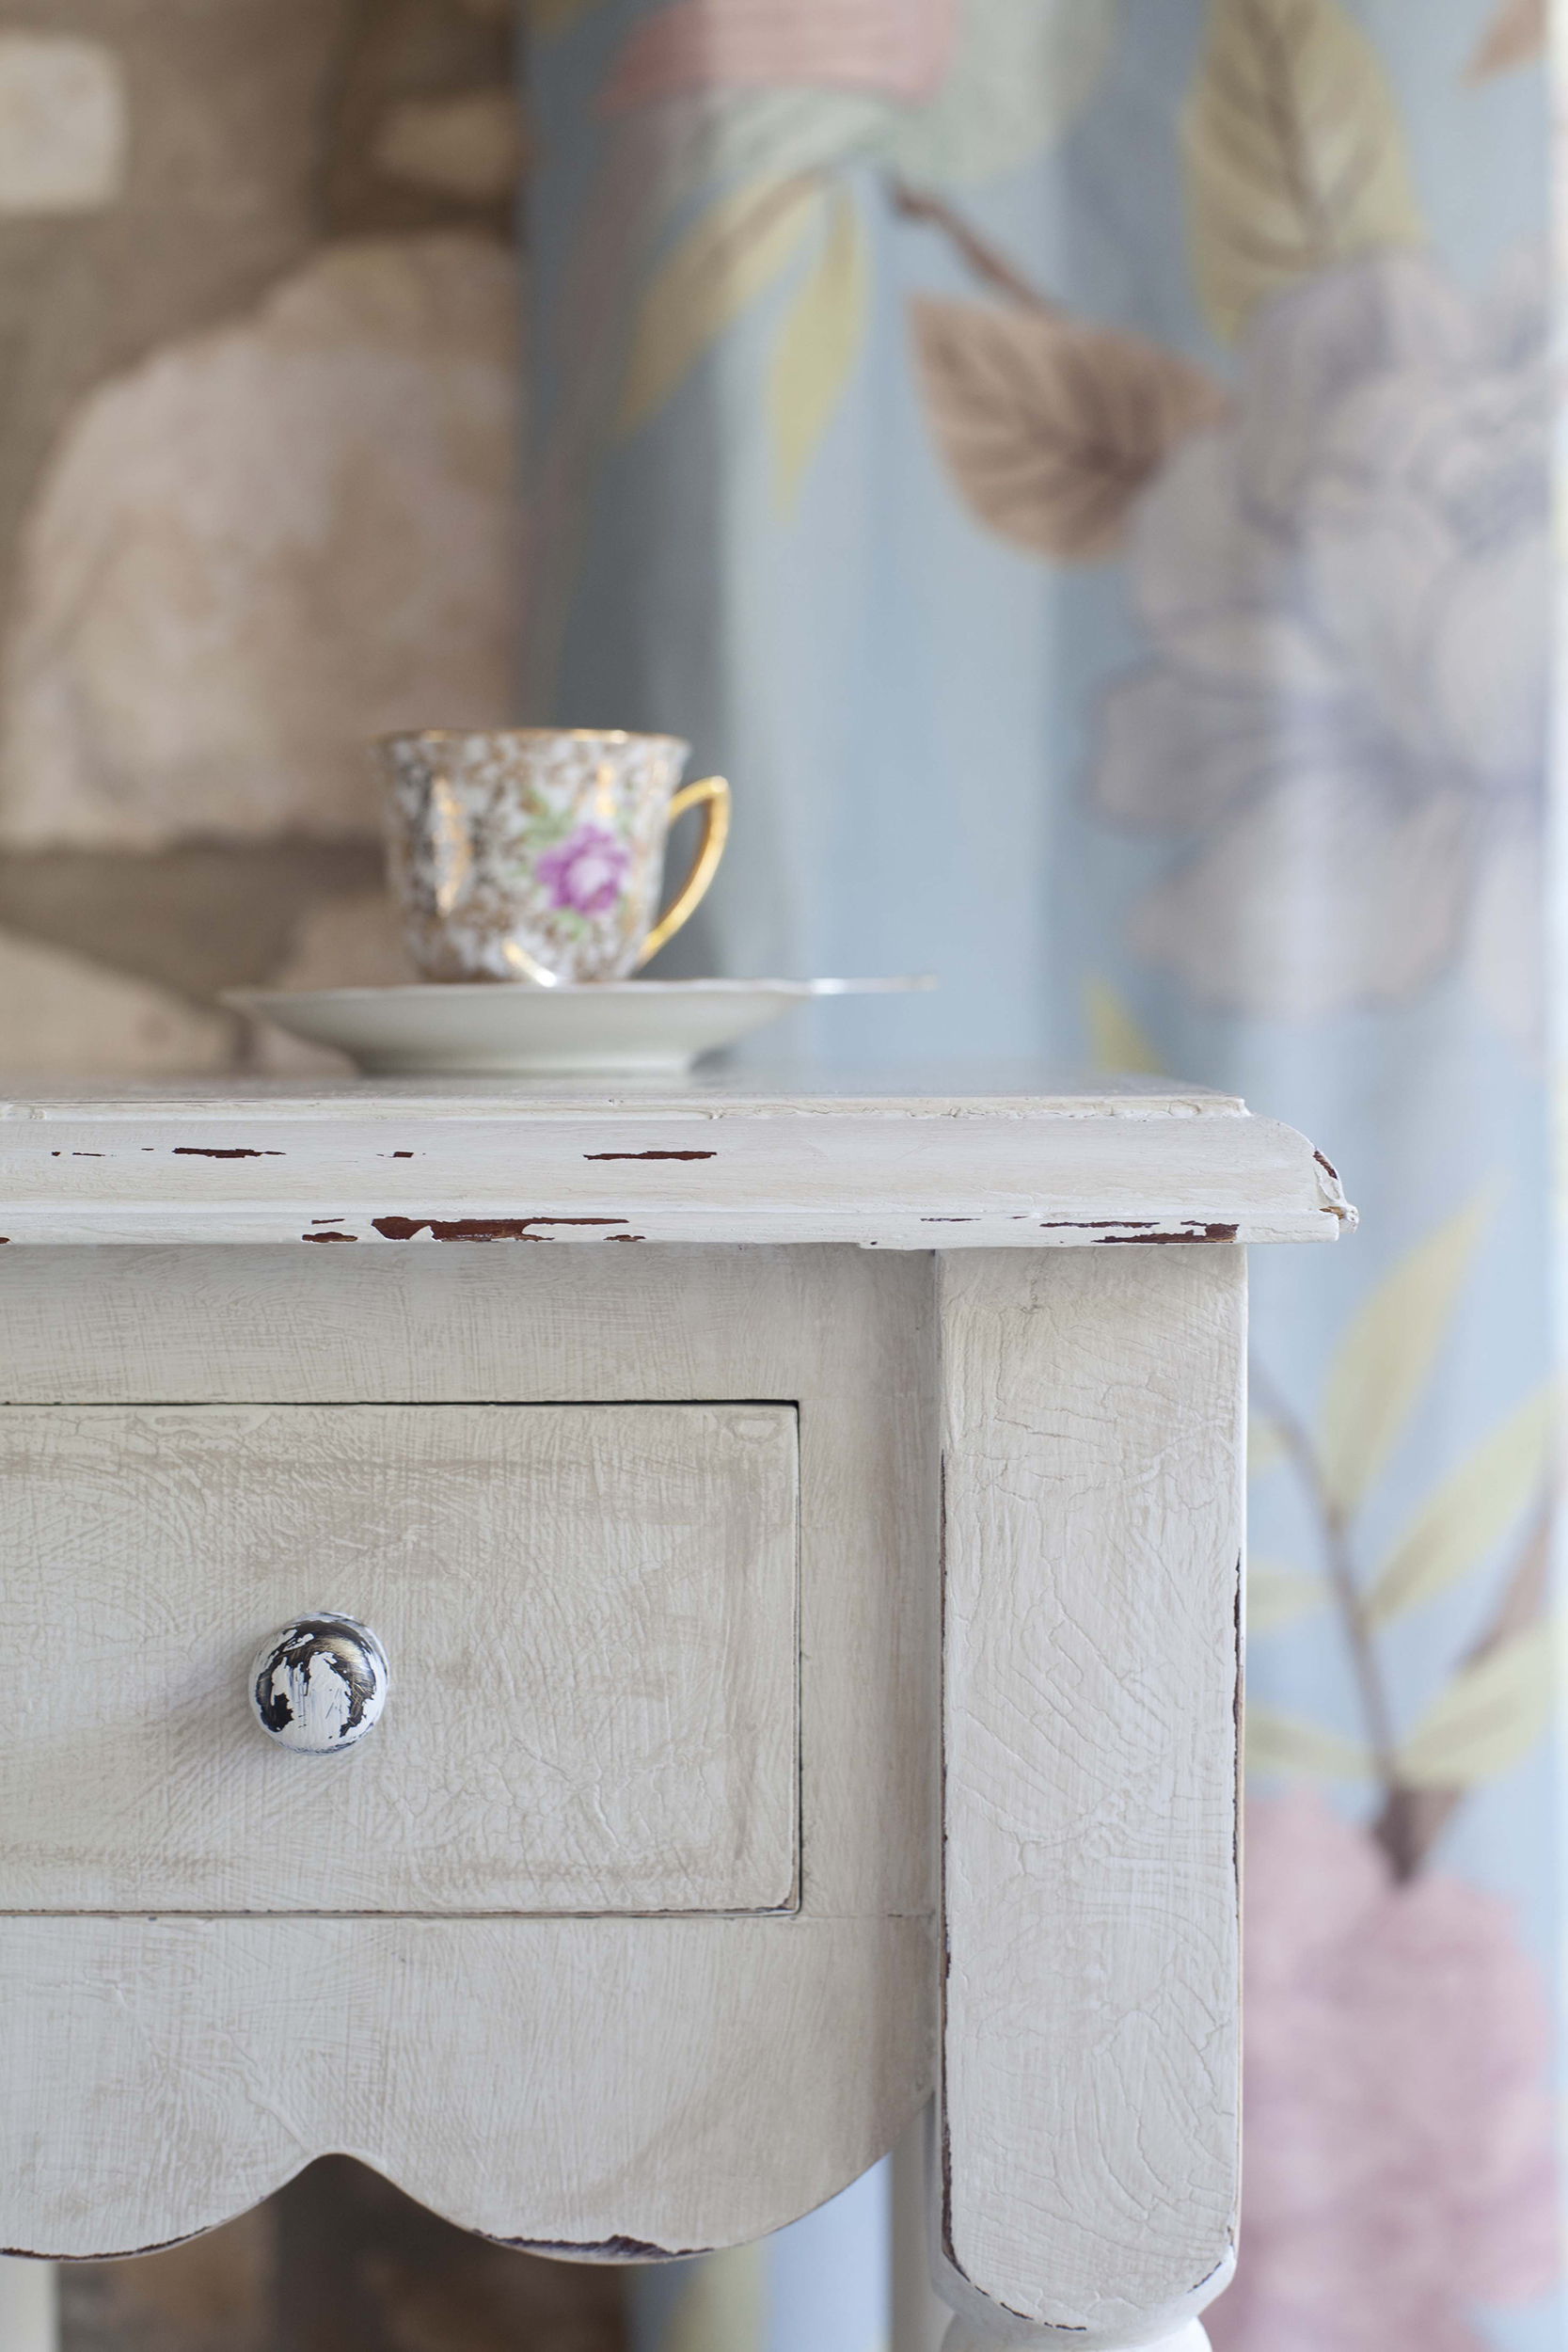
Crackle paint effect
You will need:
Step one: paint your furniture
Apply a thick coat of calk paint, a pale shade tends to work best. Add extra coats where you want there to be more 'cracks'.
Step two: start creating cracks
To create the cracked look, you have to dry the paint as quickly as possibly with a hair dryer. Start with the dryer close to the surface, then move it away when deep cracks start to appear. If you don’t get cracks first time, apply more paint and try again.
Step three: 'age' your furniture
if you want you furniture to have an even more worn, vintage feel, once the paint has dried, use sandpaper to rub down the edges of the furniture. You could create an even more aged look but apply a wash of watered down paint in a slightly darker shade, you could also carefully apply a touch of dark furniture wax.
Step four: seal the furniture
Finish off you new vintage look furniture by using a soft cloth to apply a layer of clear furniture wax.
Get more crafty ideas:
Join our newsletter
Get small space home decor ideas, celeb inspiration, DIY tips and more, straight to your inbox!
Hebe joined the Real Homes team in early 2018 as Staff Writer before moving to the Livingetc team in 2021 where she took on a role as Digital Editor. She loves boho and 70's style and is a big fan of Instagram as a source of interiors inspiration. When she isn't writing about interiors, she is renovating her own spaces – be it wallpapering a hallway, painting kitchen cupboards or converting a van.
-
 A $200 fluted panel transformed my drab kitchen in just one weekend
How to install a fluted kitchen panel: A speedy and achievable DIY tutorial even for DIY novices
By Claire Douglas Published
-
 This colourful home makeover has space for kitchen discos
While the front of Leila and Joe's home features dark and moody chill-out spaces, the rest is light and bright and made for socialising
By Karen Wilson Published
-
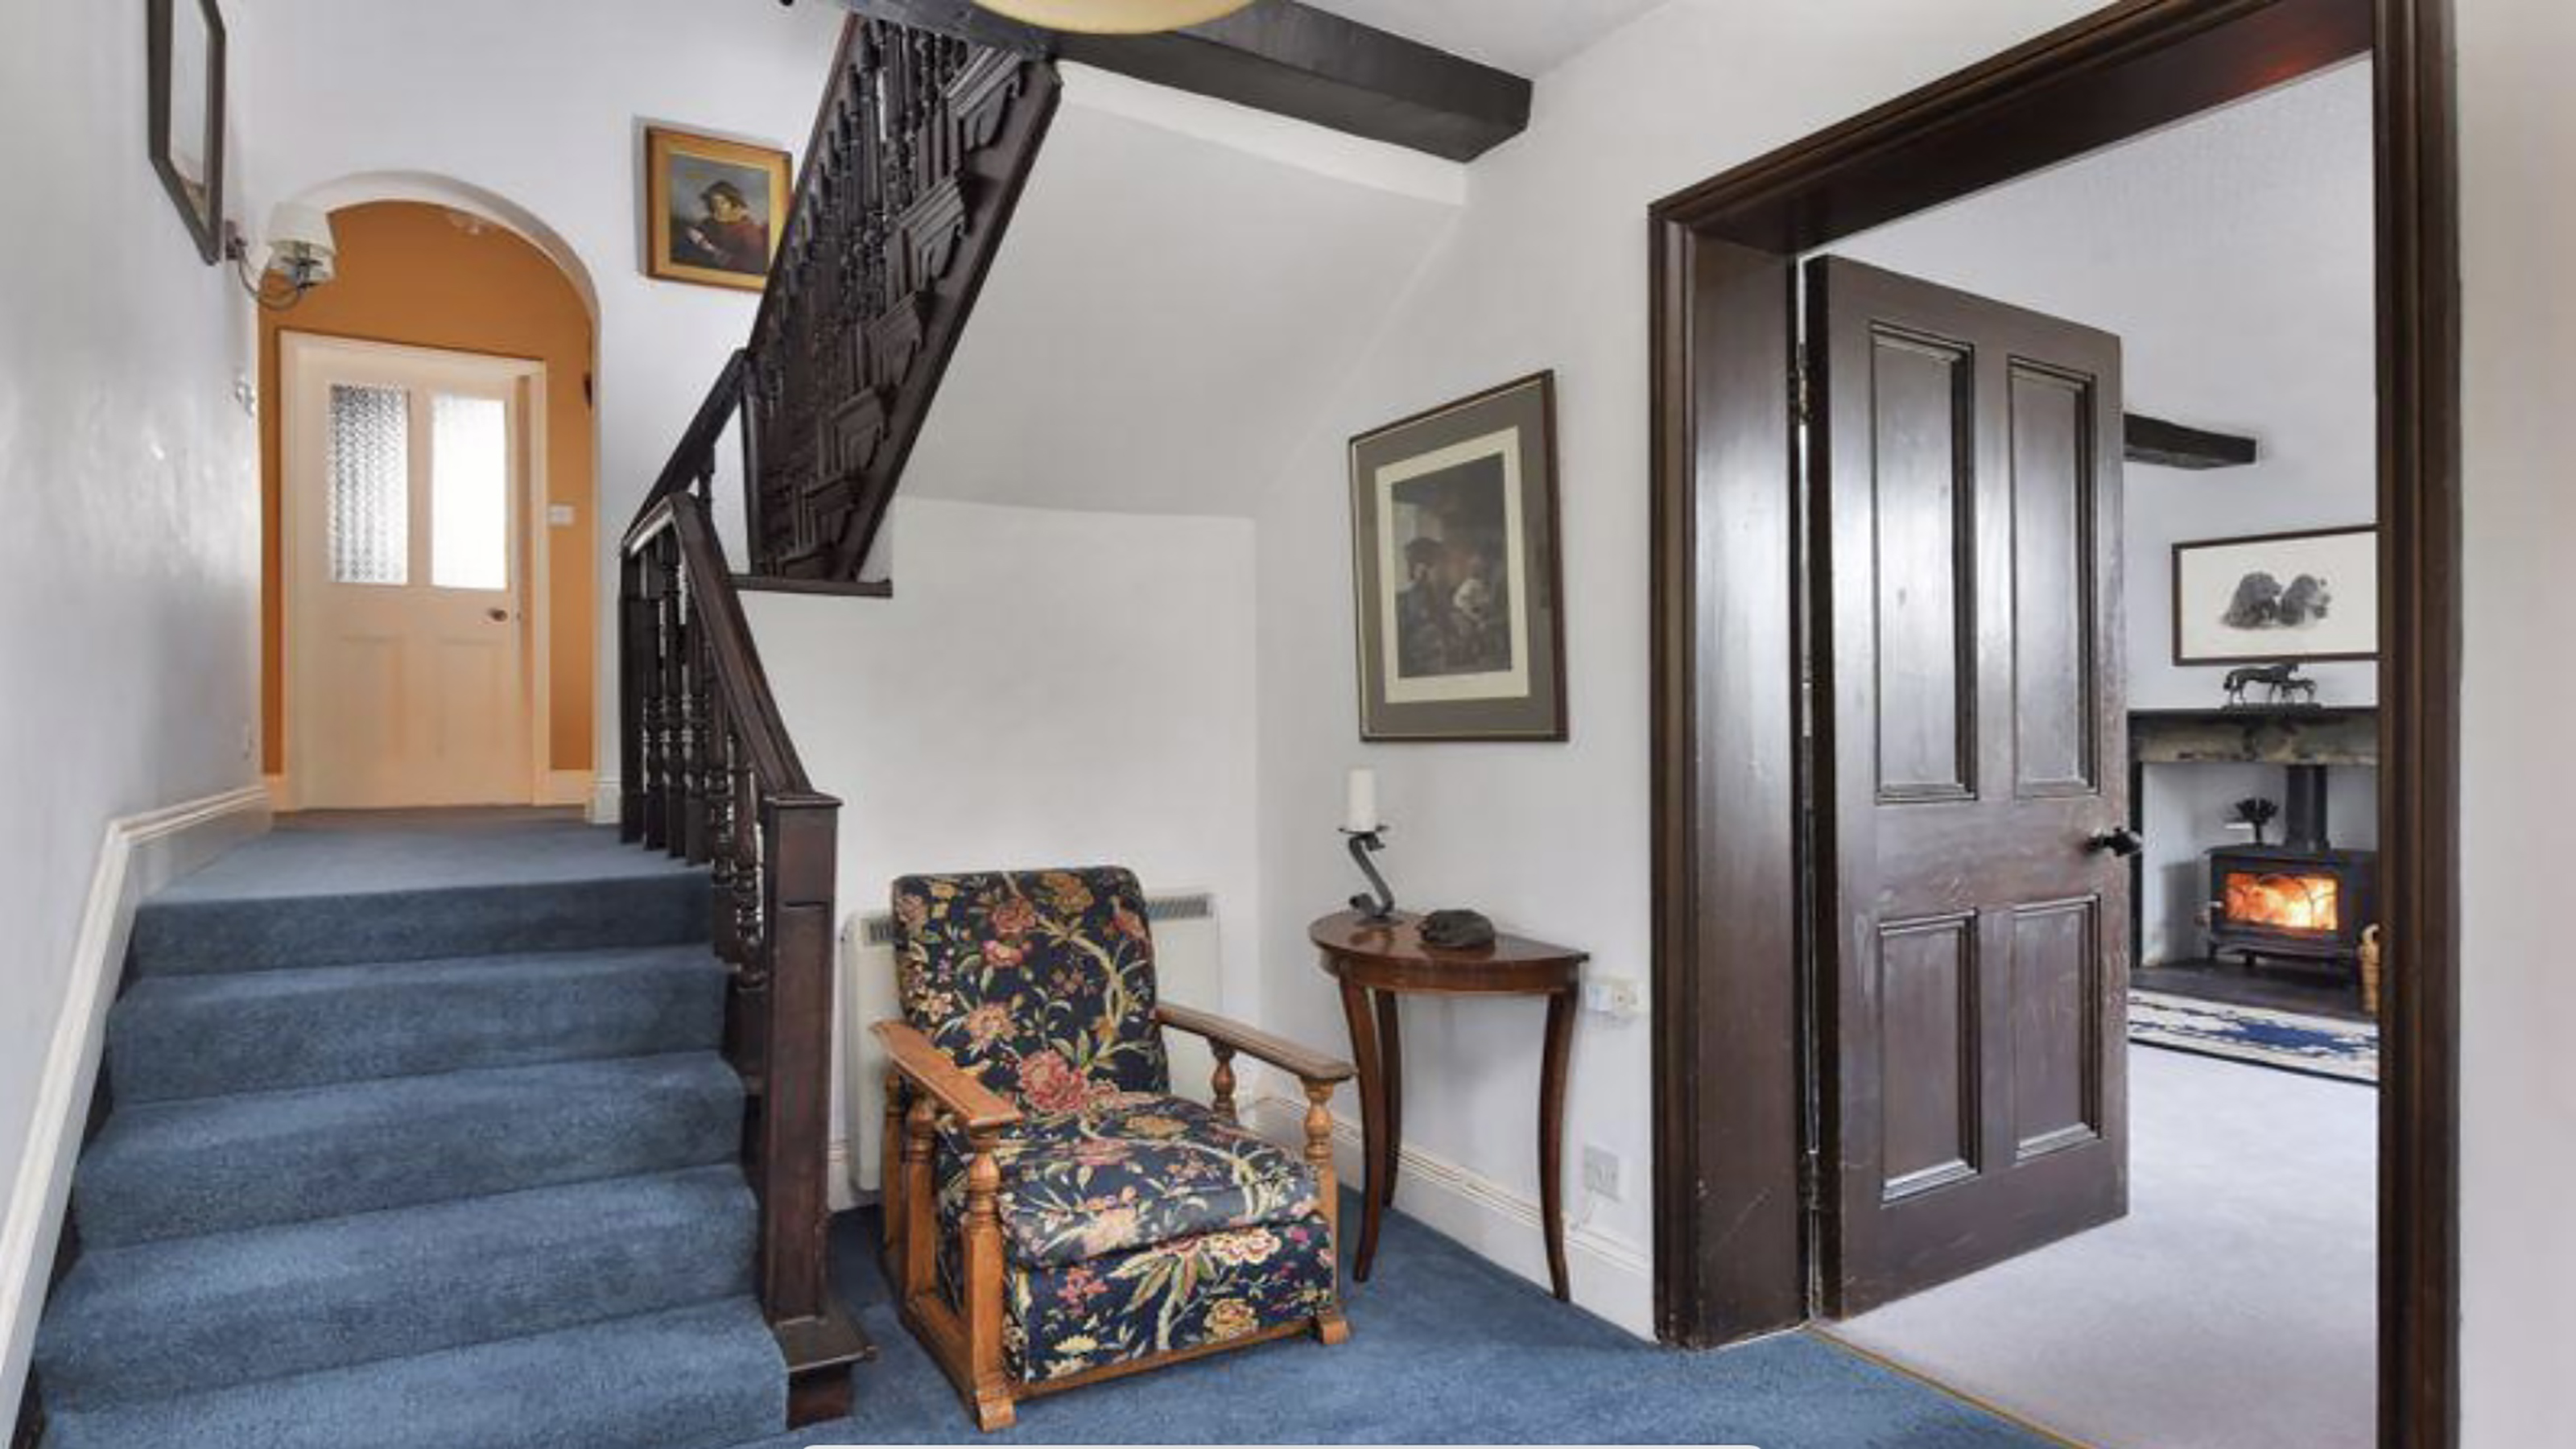 How to replace a broken staircase spindle in 30 minutes flat
A missing or broken spindle on a staircase is not only unsightly, but it can be a real hazard. This is how to fix it in a few quick steps.
By Kate Sandhu Published
-
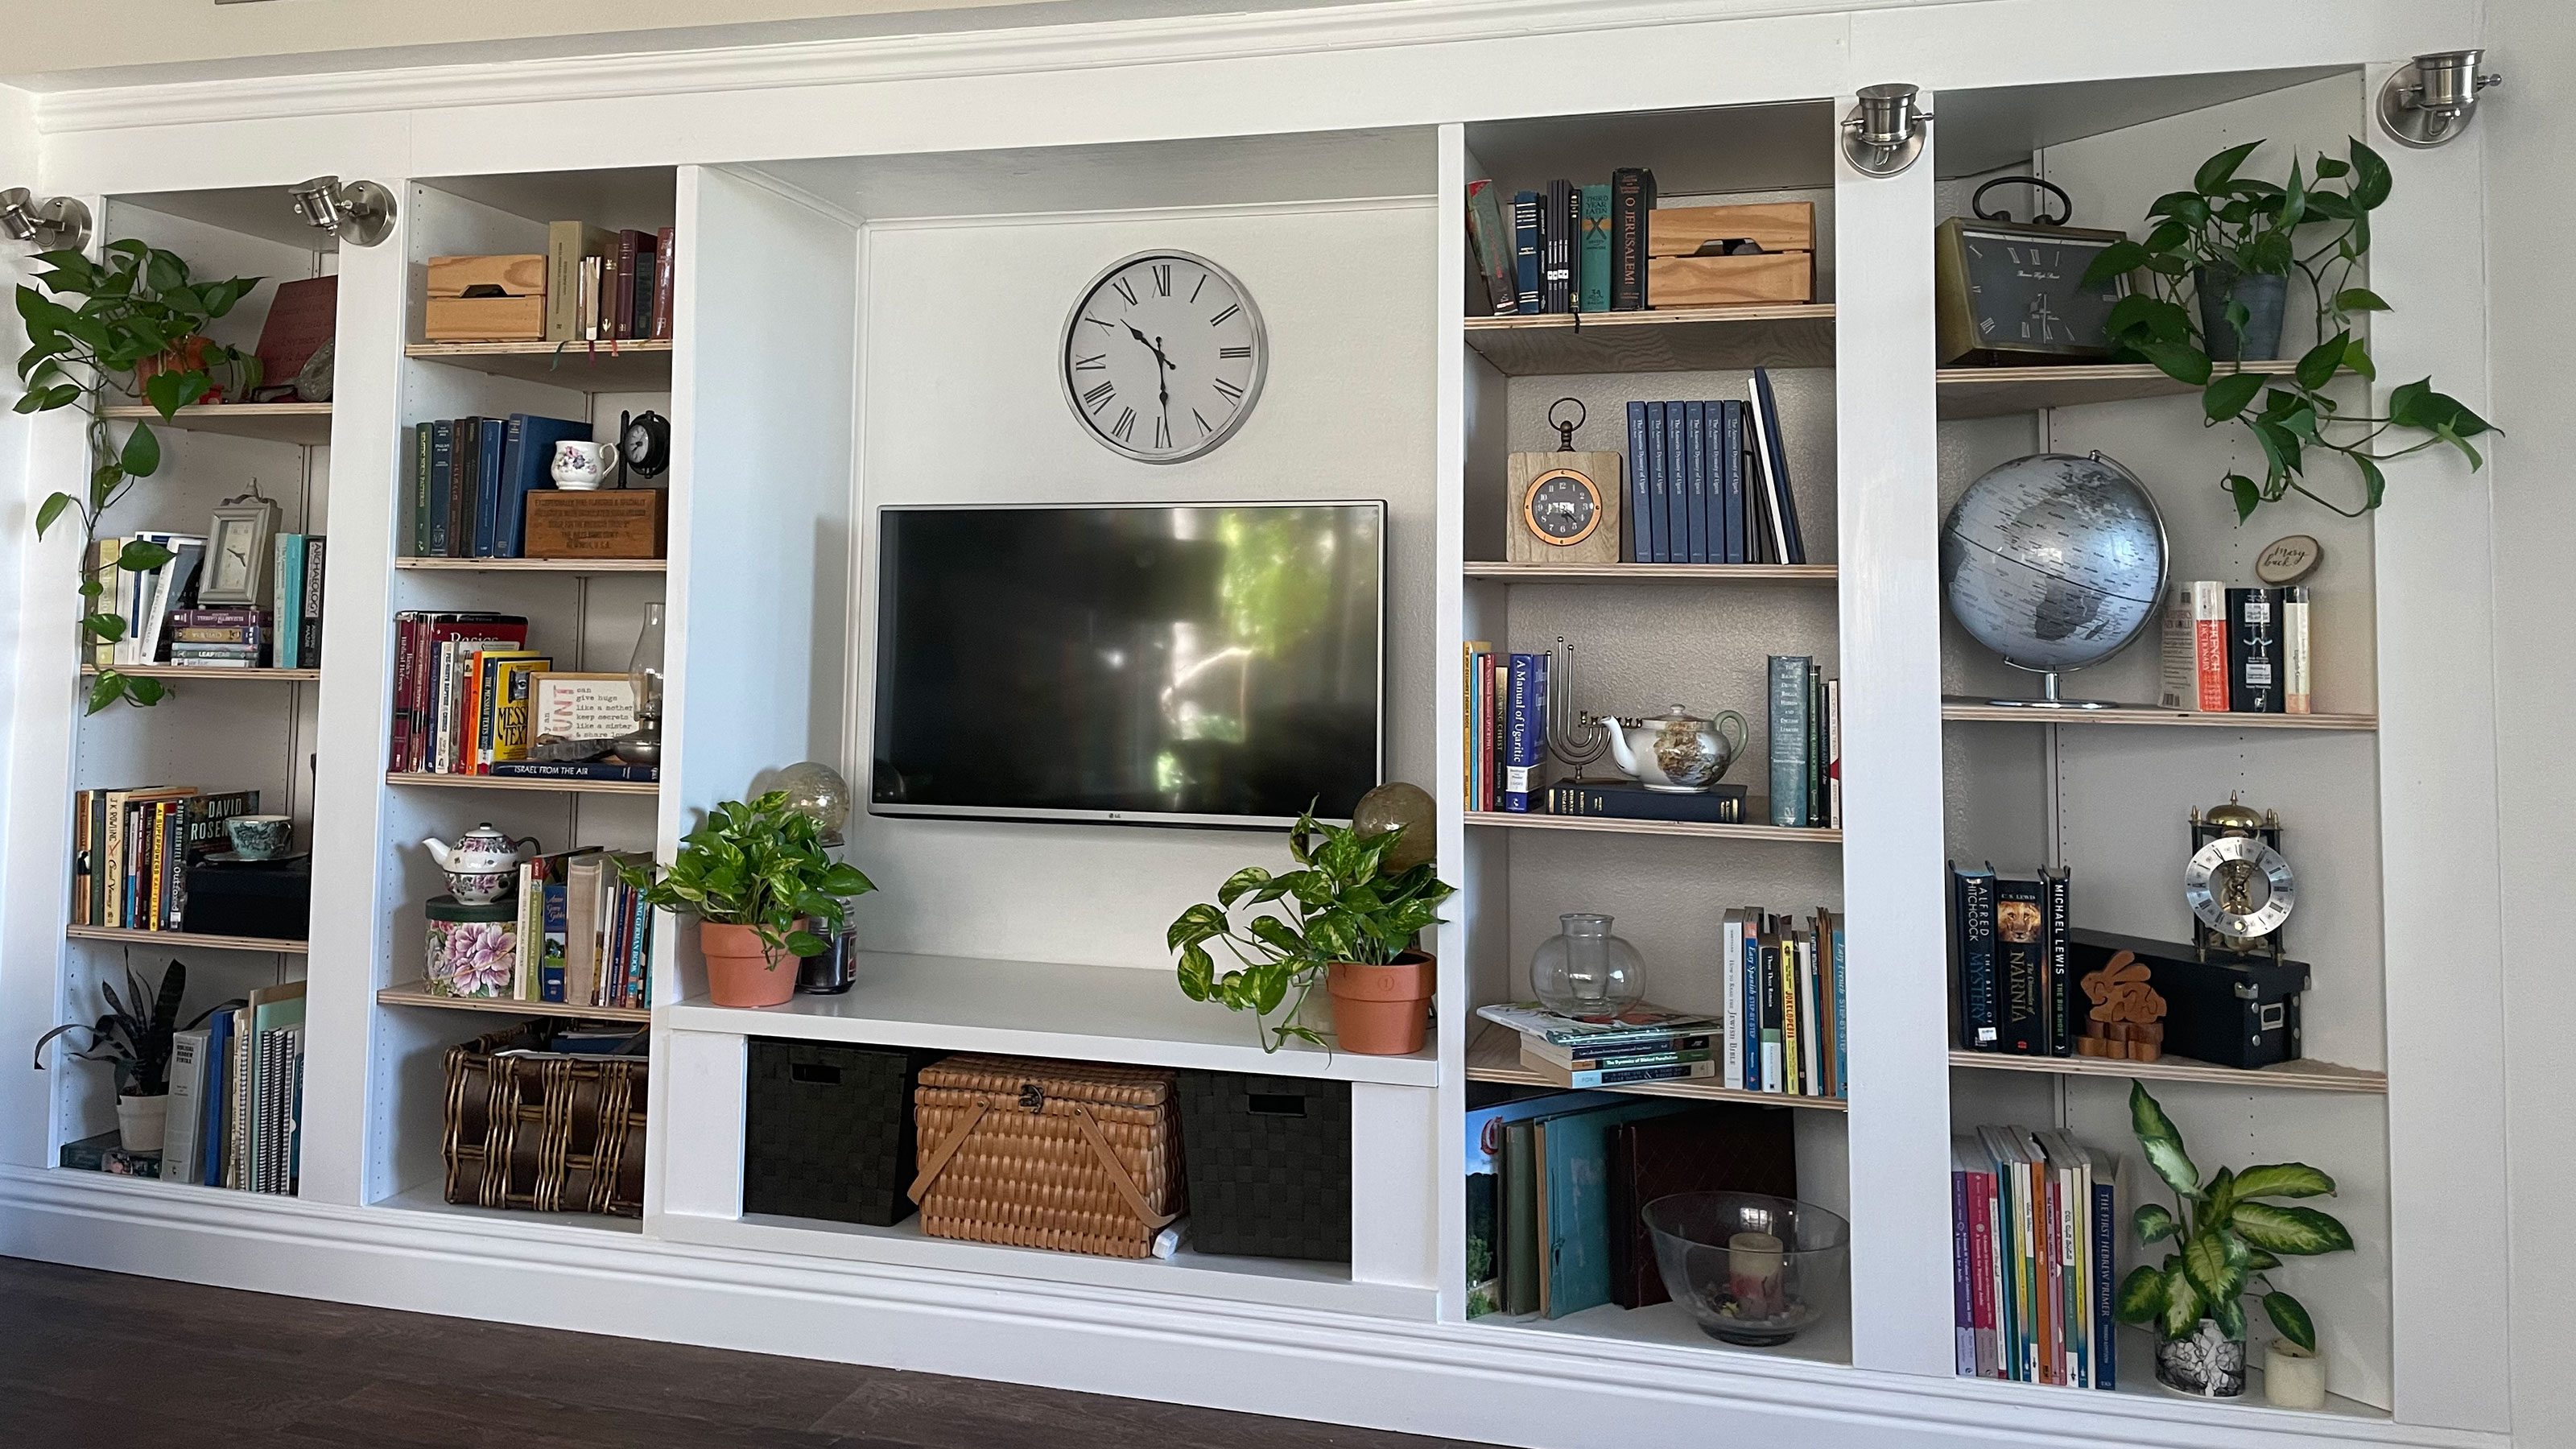 An IKEA Billy bookcase hack inspired this cute media wall DIY
This cute DIY was inspired by an IKEA Billy bookcase hack and brought a ton of symmetry to an otherwise basic media wall space.
By Camille Dubuis-Welch Published
-
 Share your small space glow up to win $150 in the Real Homes competition
Show off your creativity and DIY skills to win $150 and for the chance to be featured exclusively in Real Homes magazine
By Camille Dubuis-Welch Last updated
-
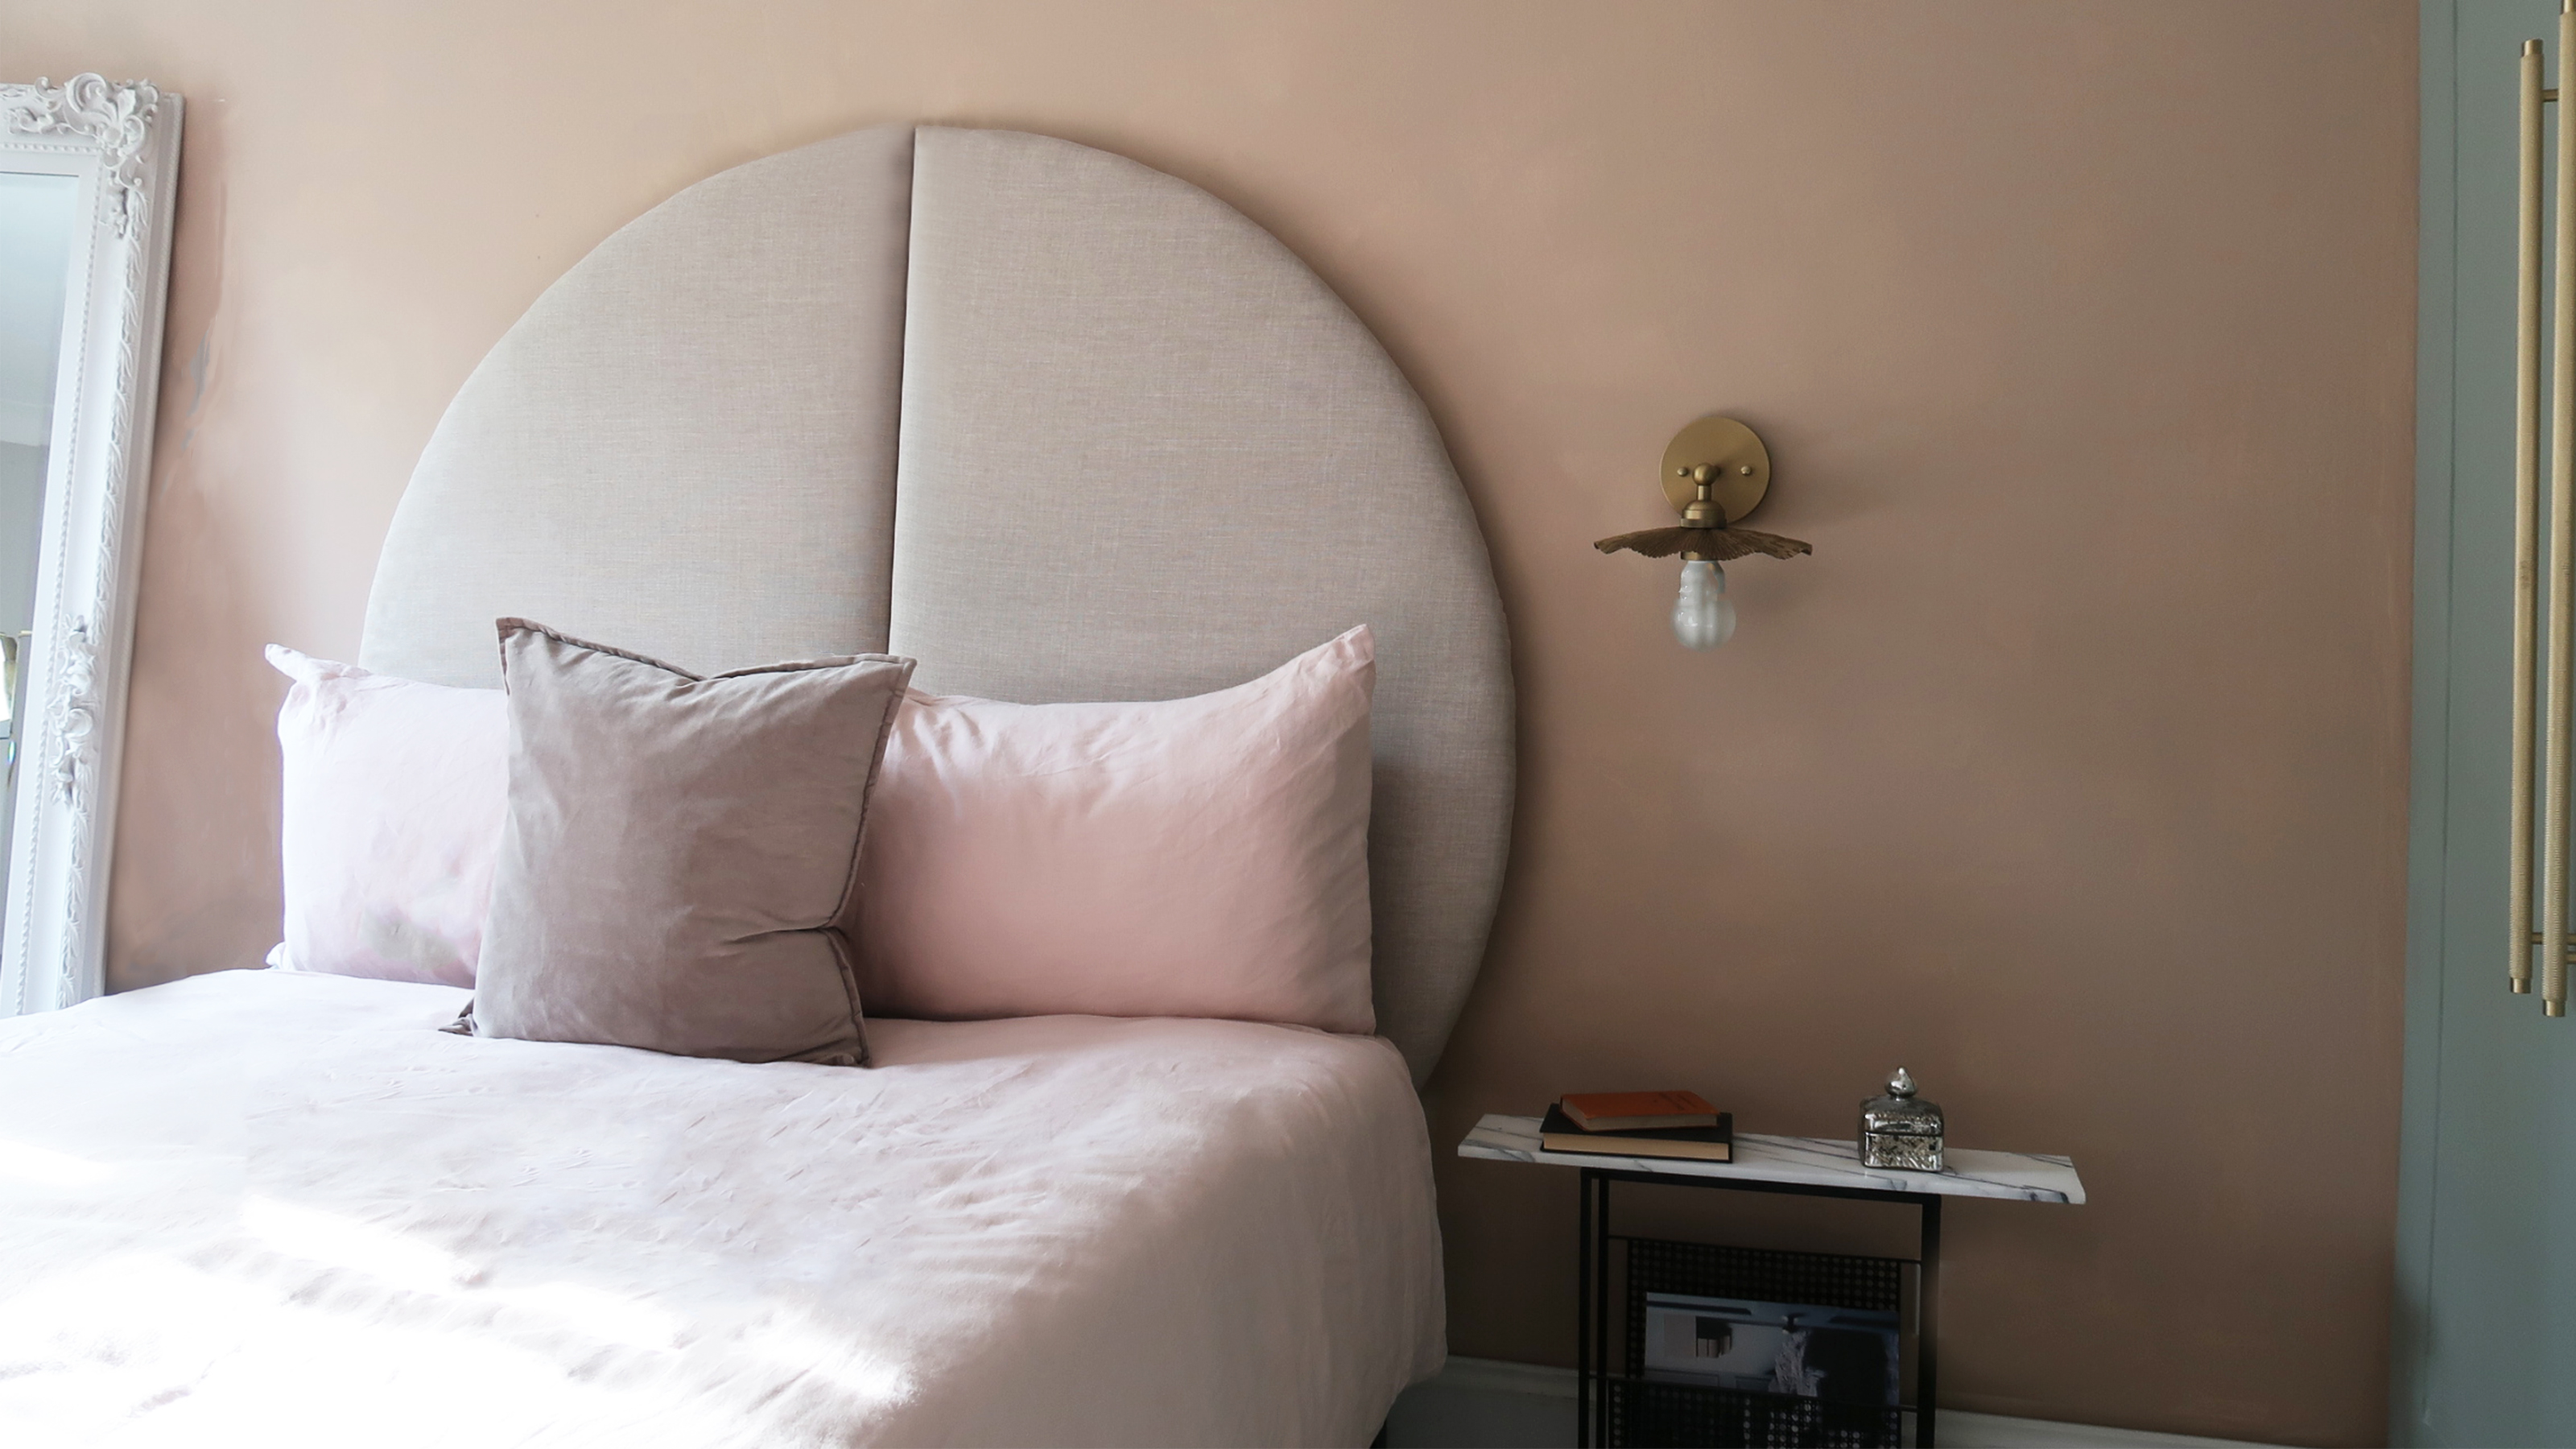 This oversized headboard looks designer, and takes 5 steps to DIY
Super simple to DIY, this oversized headboard will give your bedroom space all the designer vibes you could dream of.
By Claire Douglas Published
-
 How to paint a door and refresh your home instantly
Painting doors is easy with our expert advice. This is how to get professional results on front and internal doors.
By Claire Douglas Published
-
 My DIY range hood and backsplash build gave my kitchen the perfect farmhouse finish
I craved charm in my kitchen space and adding a custom range hood and shelving was the best move.
By Brooke Waite Published
