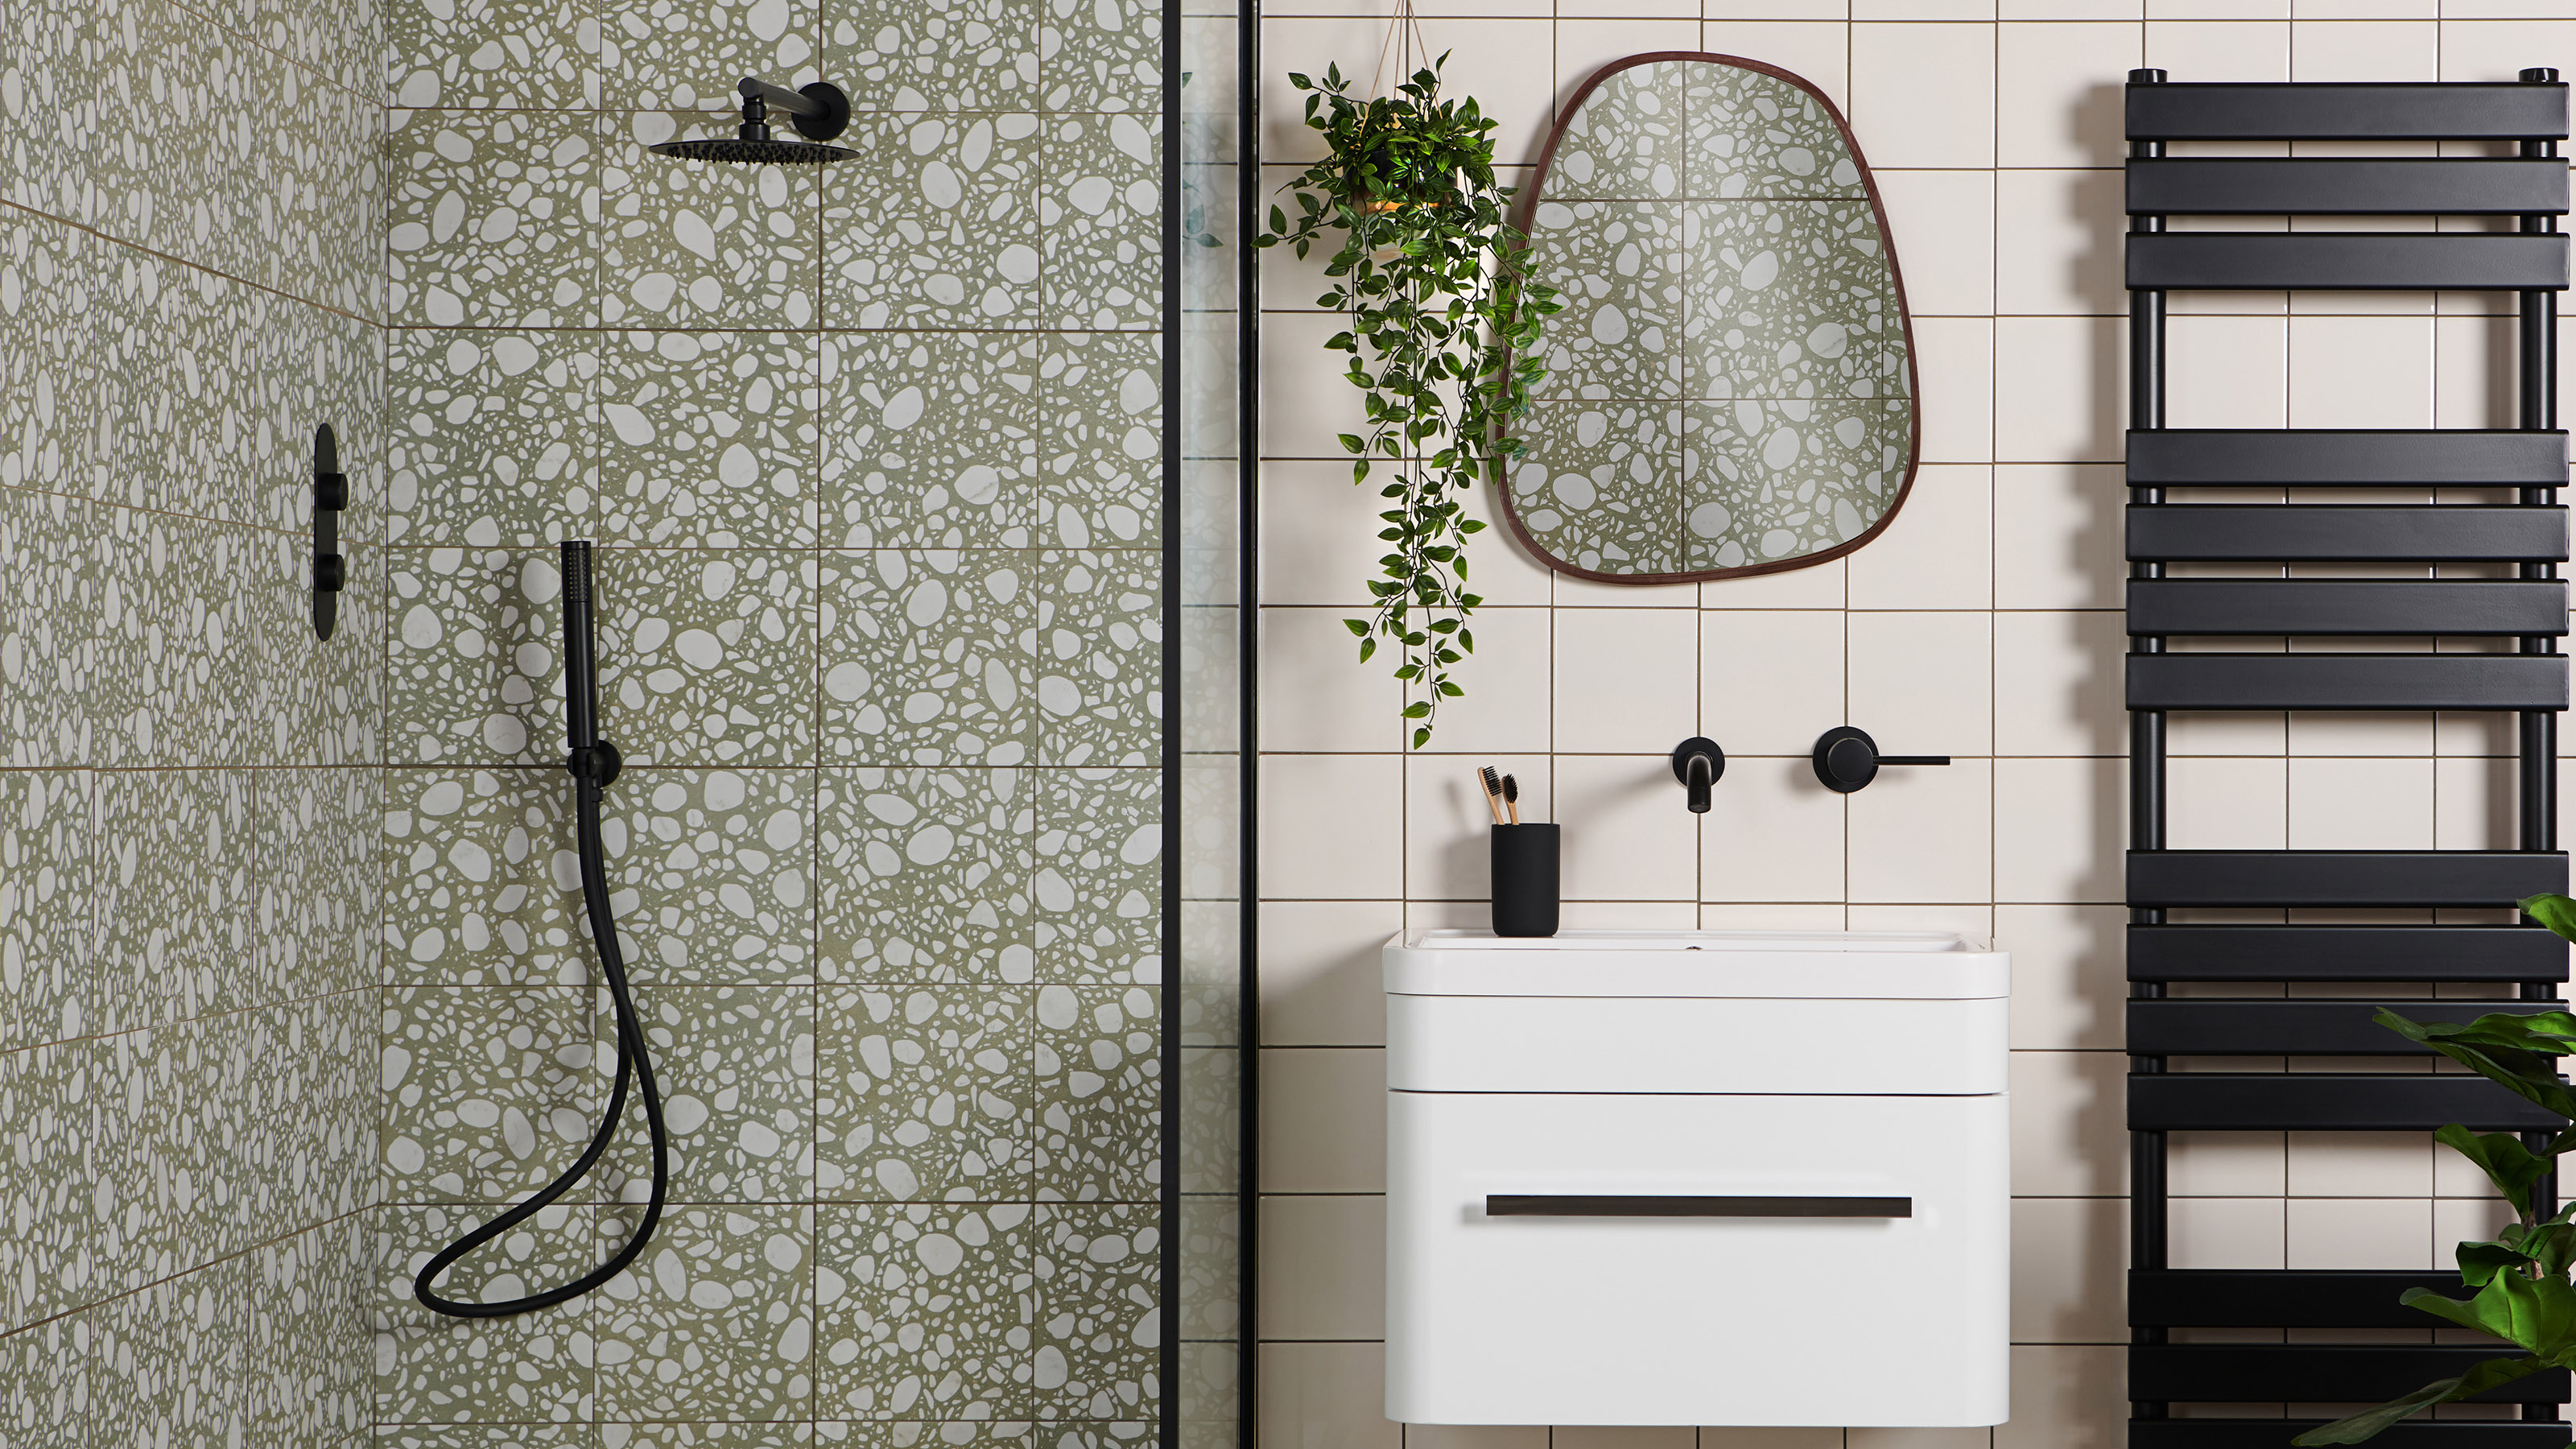
One of the first things you need to know when you start DIYing, is how to find studs on a wall. Whether you’re hanging a mirror, a bathroom cabinet, building shelves or doing anything in fact, studs will provide the strongest hold for anything on your walls.
If you live in an older property, it’s likely to be built with more traditional masonry materials and therefore will not have studs on any exterior walls or load-bearing walls. For these, you just need some masonry rawl plugs as this too is a super-strong surface to mount things onto.
Newer properties, however, are mostly timber-framed stud walls internally and dot dab plasterboard on top of blockwork exterior walls. Plasterboard is not strong enough in many cases to hold heavy objects (unless you use some good plasterboard rawl plugs like Grip Its), so finding the studs should be top of your to-do list.
3 safe ways to find wall studs
Studs are usually 50mm wide so they may be hard to miss but are typically spaced between 400 and 600mm and run vertically with a few noggins horizontally that run midway up the wall.
There are three ways you can find a stud:
1. The Knock Test
On the wall you’re planning to mount your TV or hang a mirror, using your knuckle, tap on the wall from one side of the wall to the other, marking with a pencil where the wall sounds dense. Parts of the wall that don’t have a stud will sound hollow, so you should be able to identify what’s a stud and what’s just empty cavity.
2. Using a Magnet
Plasterboard is connected to studs with screws, which are then plastered over. Where you find screws, you can bet your bottom dollar that there’s a stud behind it. So, this is a super easy method. Using a strong magnet, run it across the wall. If it sticks to a screw, there’s your stud!
3. A stud finder
A classic, failsafe option. Stud finders are great devices that can detect not only studs, but live wires, steel studs and pipes behind plasterboard. When calibrating, they sense the wall’s density and therefore can tell when the wall is hollow and when there’s something behind it.
A stud finder will tell you where the edges of the stud are and tell you where the middle is too.
This is a must-have DIY tool, to use yours, press the power button to the stud setting, then calibrate once it's against the wall. Move it side to side without lifting away from the wall. If you do, you will need to recalibrate, check me out here:
A post shared by Jasmine | DIY for Beginners (@_ohabode)
A photo posted by on
Once you have your studs marked out, you can go ahead and drive screws straight in – no plugs needed. It’s a super strong hold, after all, they’re holding up your house!
Join our newsletter
Get small space home decor ideas, celeb inspiration, DIY tips and more, straight to your inbox!
Jasmine Gurney is a DIY pro, inspiring women with power tools via her home improvement blog Oh Abode and on Realhomes.com.
-
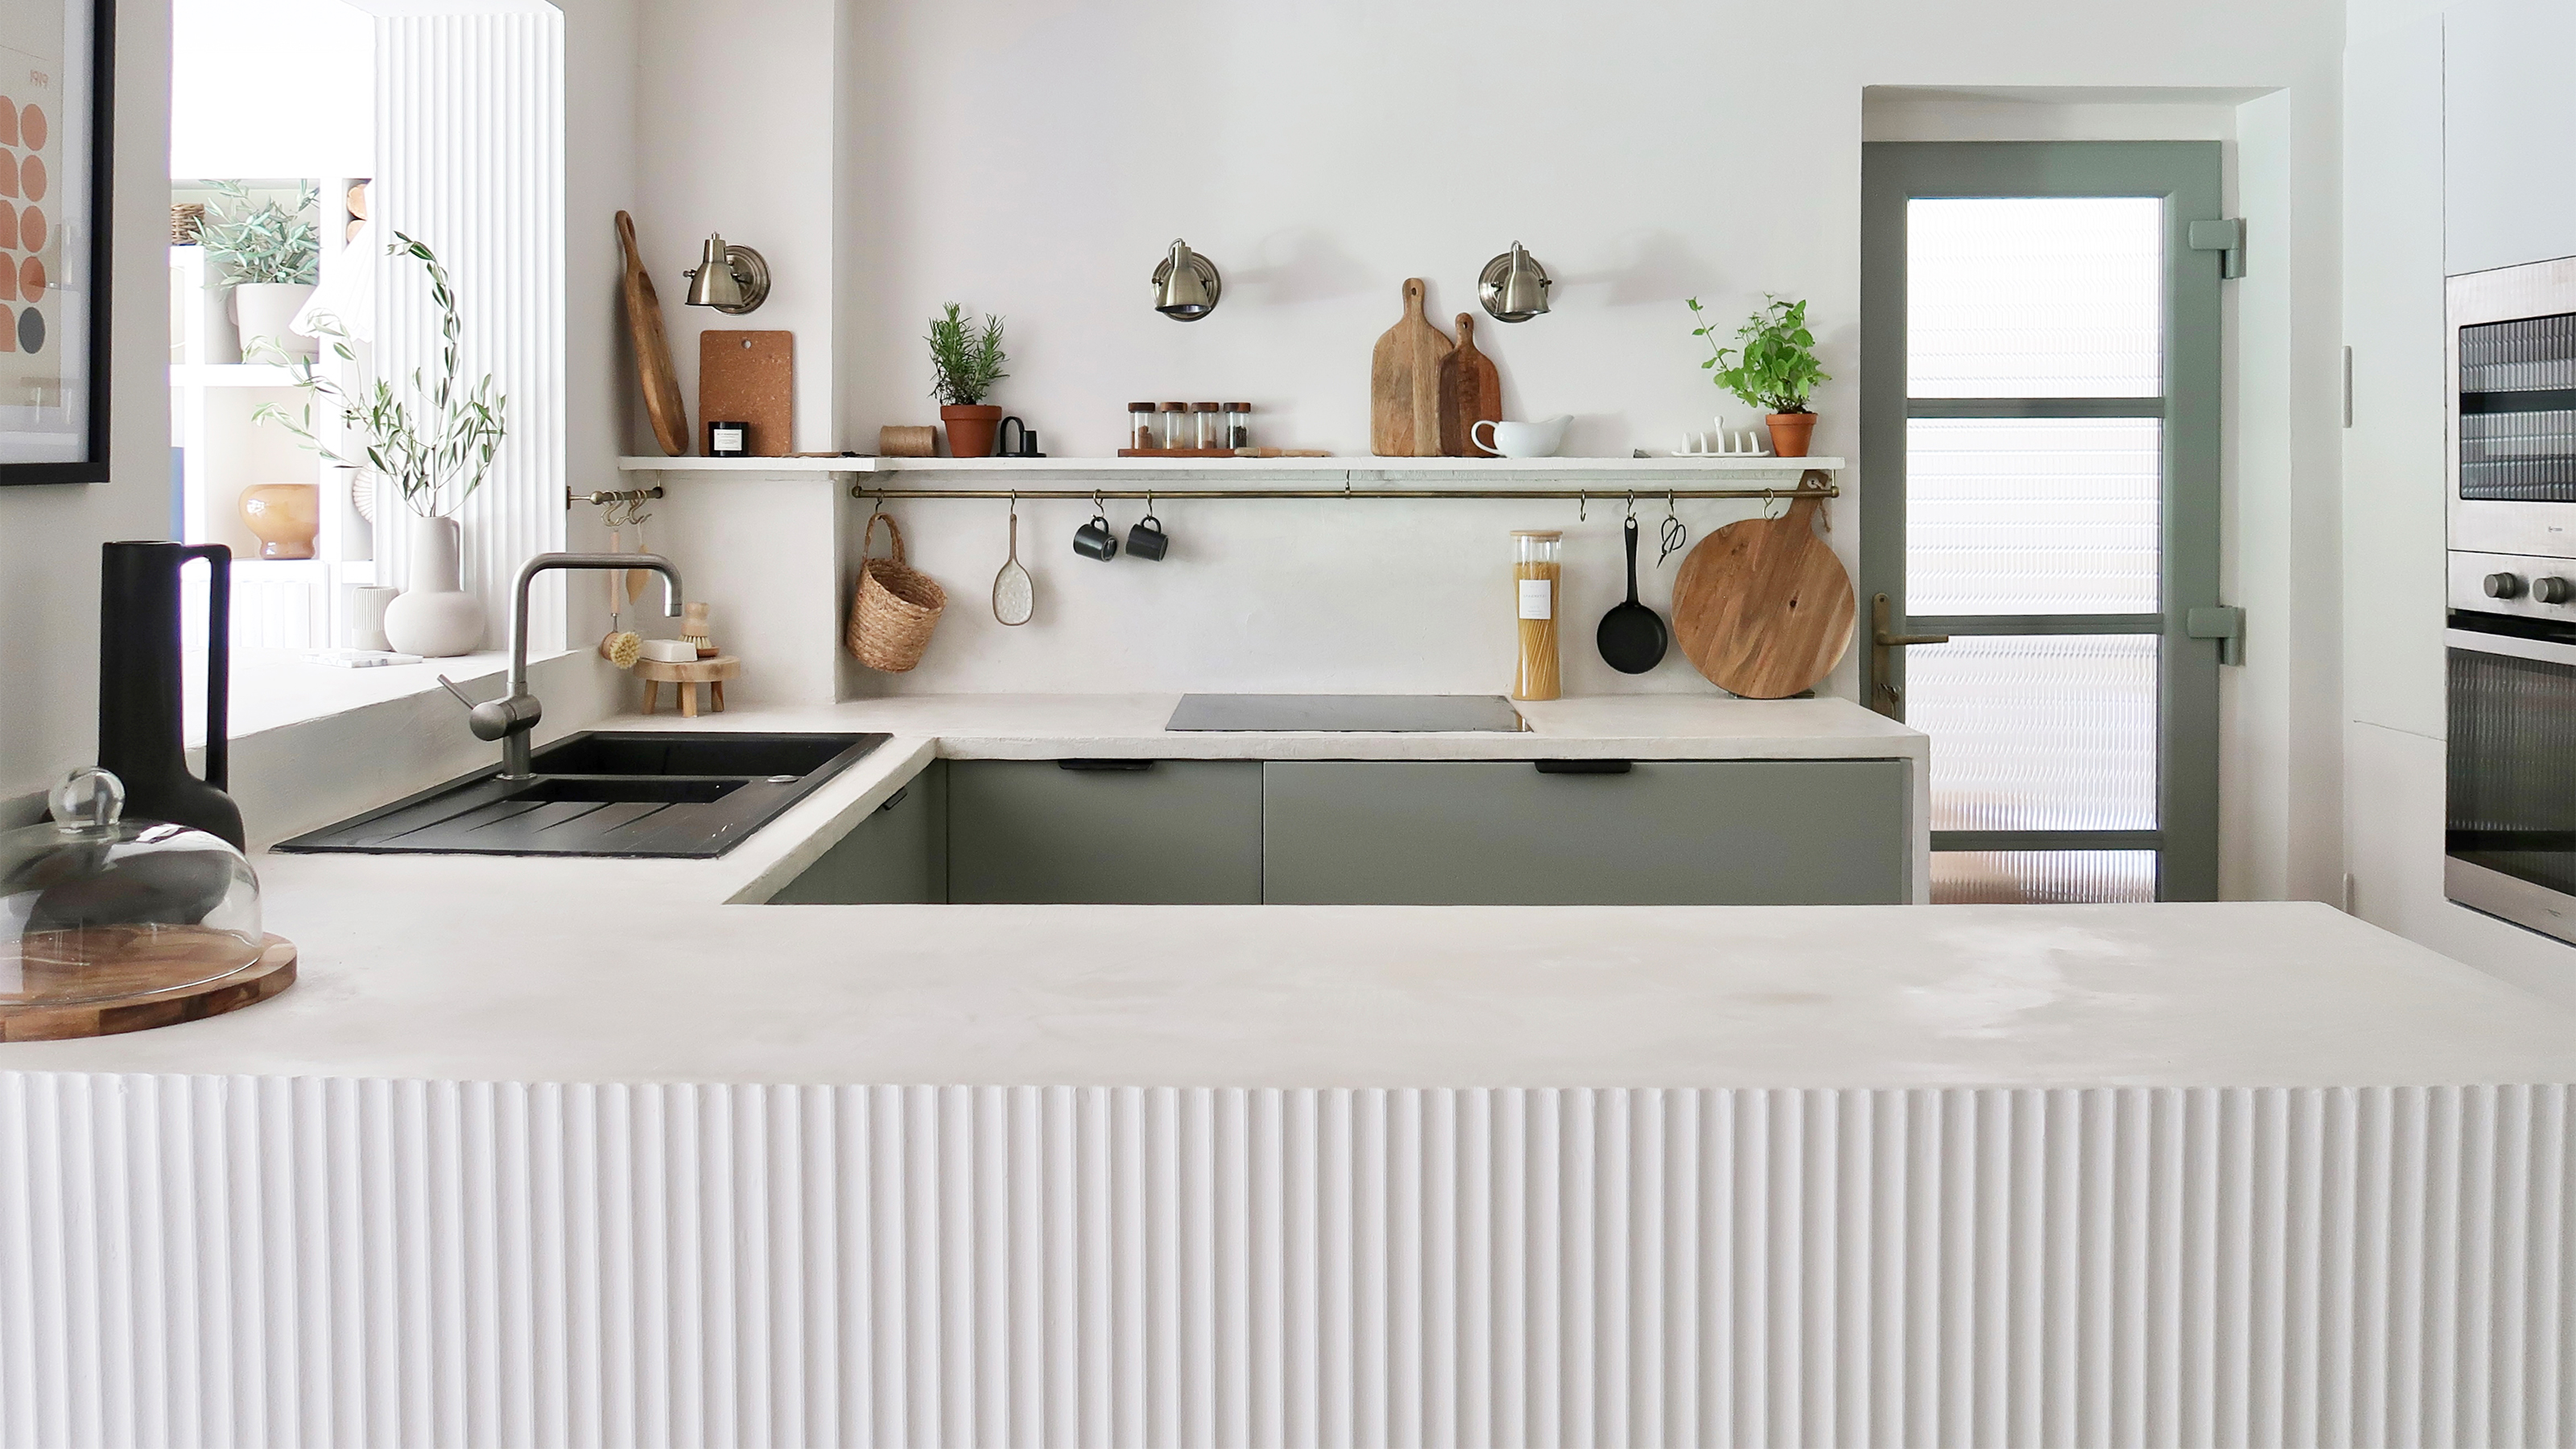 A $200 fluted panel transformed my drab kitchen in just one weekend
How to install a fluted kitchen panel: A speedy and achievable DIY tutorial even for DIY novices
By Claire Douglas
-
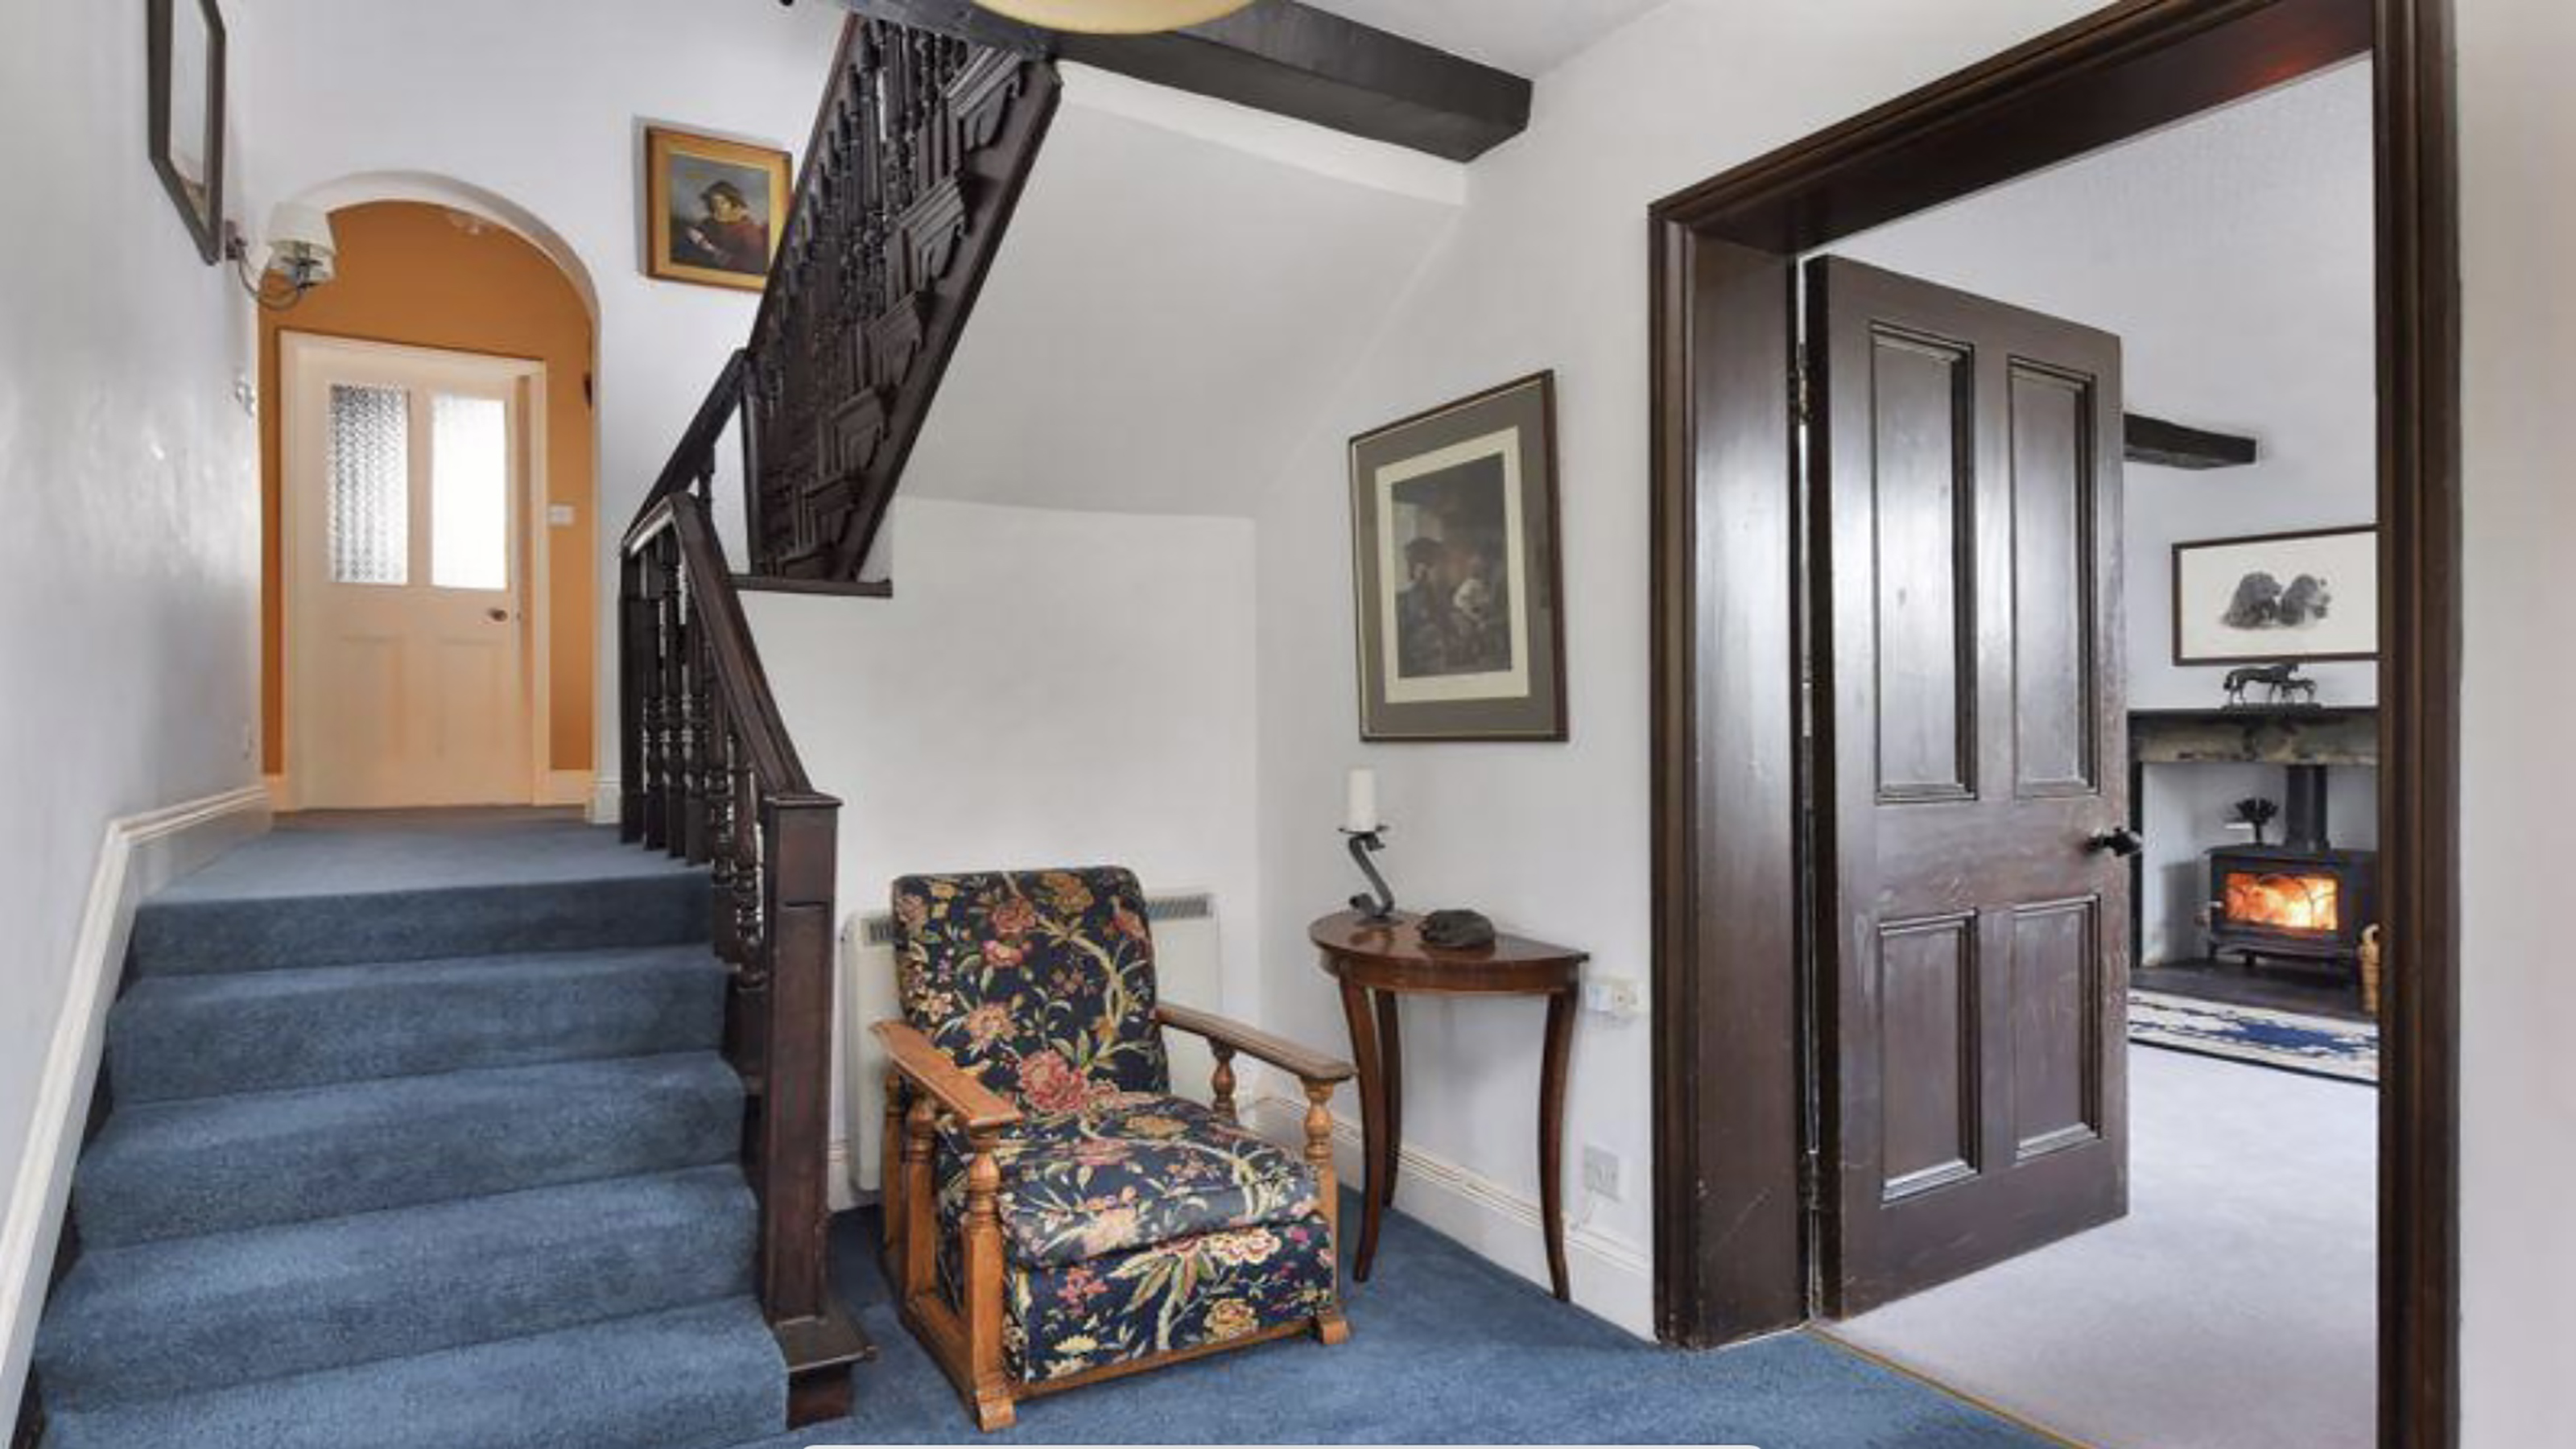 How to replace a broken staircase spindle in 30 minutes flat
A missing or broken spindle on a staircase is not only unsightly, but it can be a real hazard. This is how to fix it in a few quick steps.
By Kate Sandhu
-
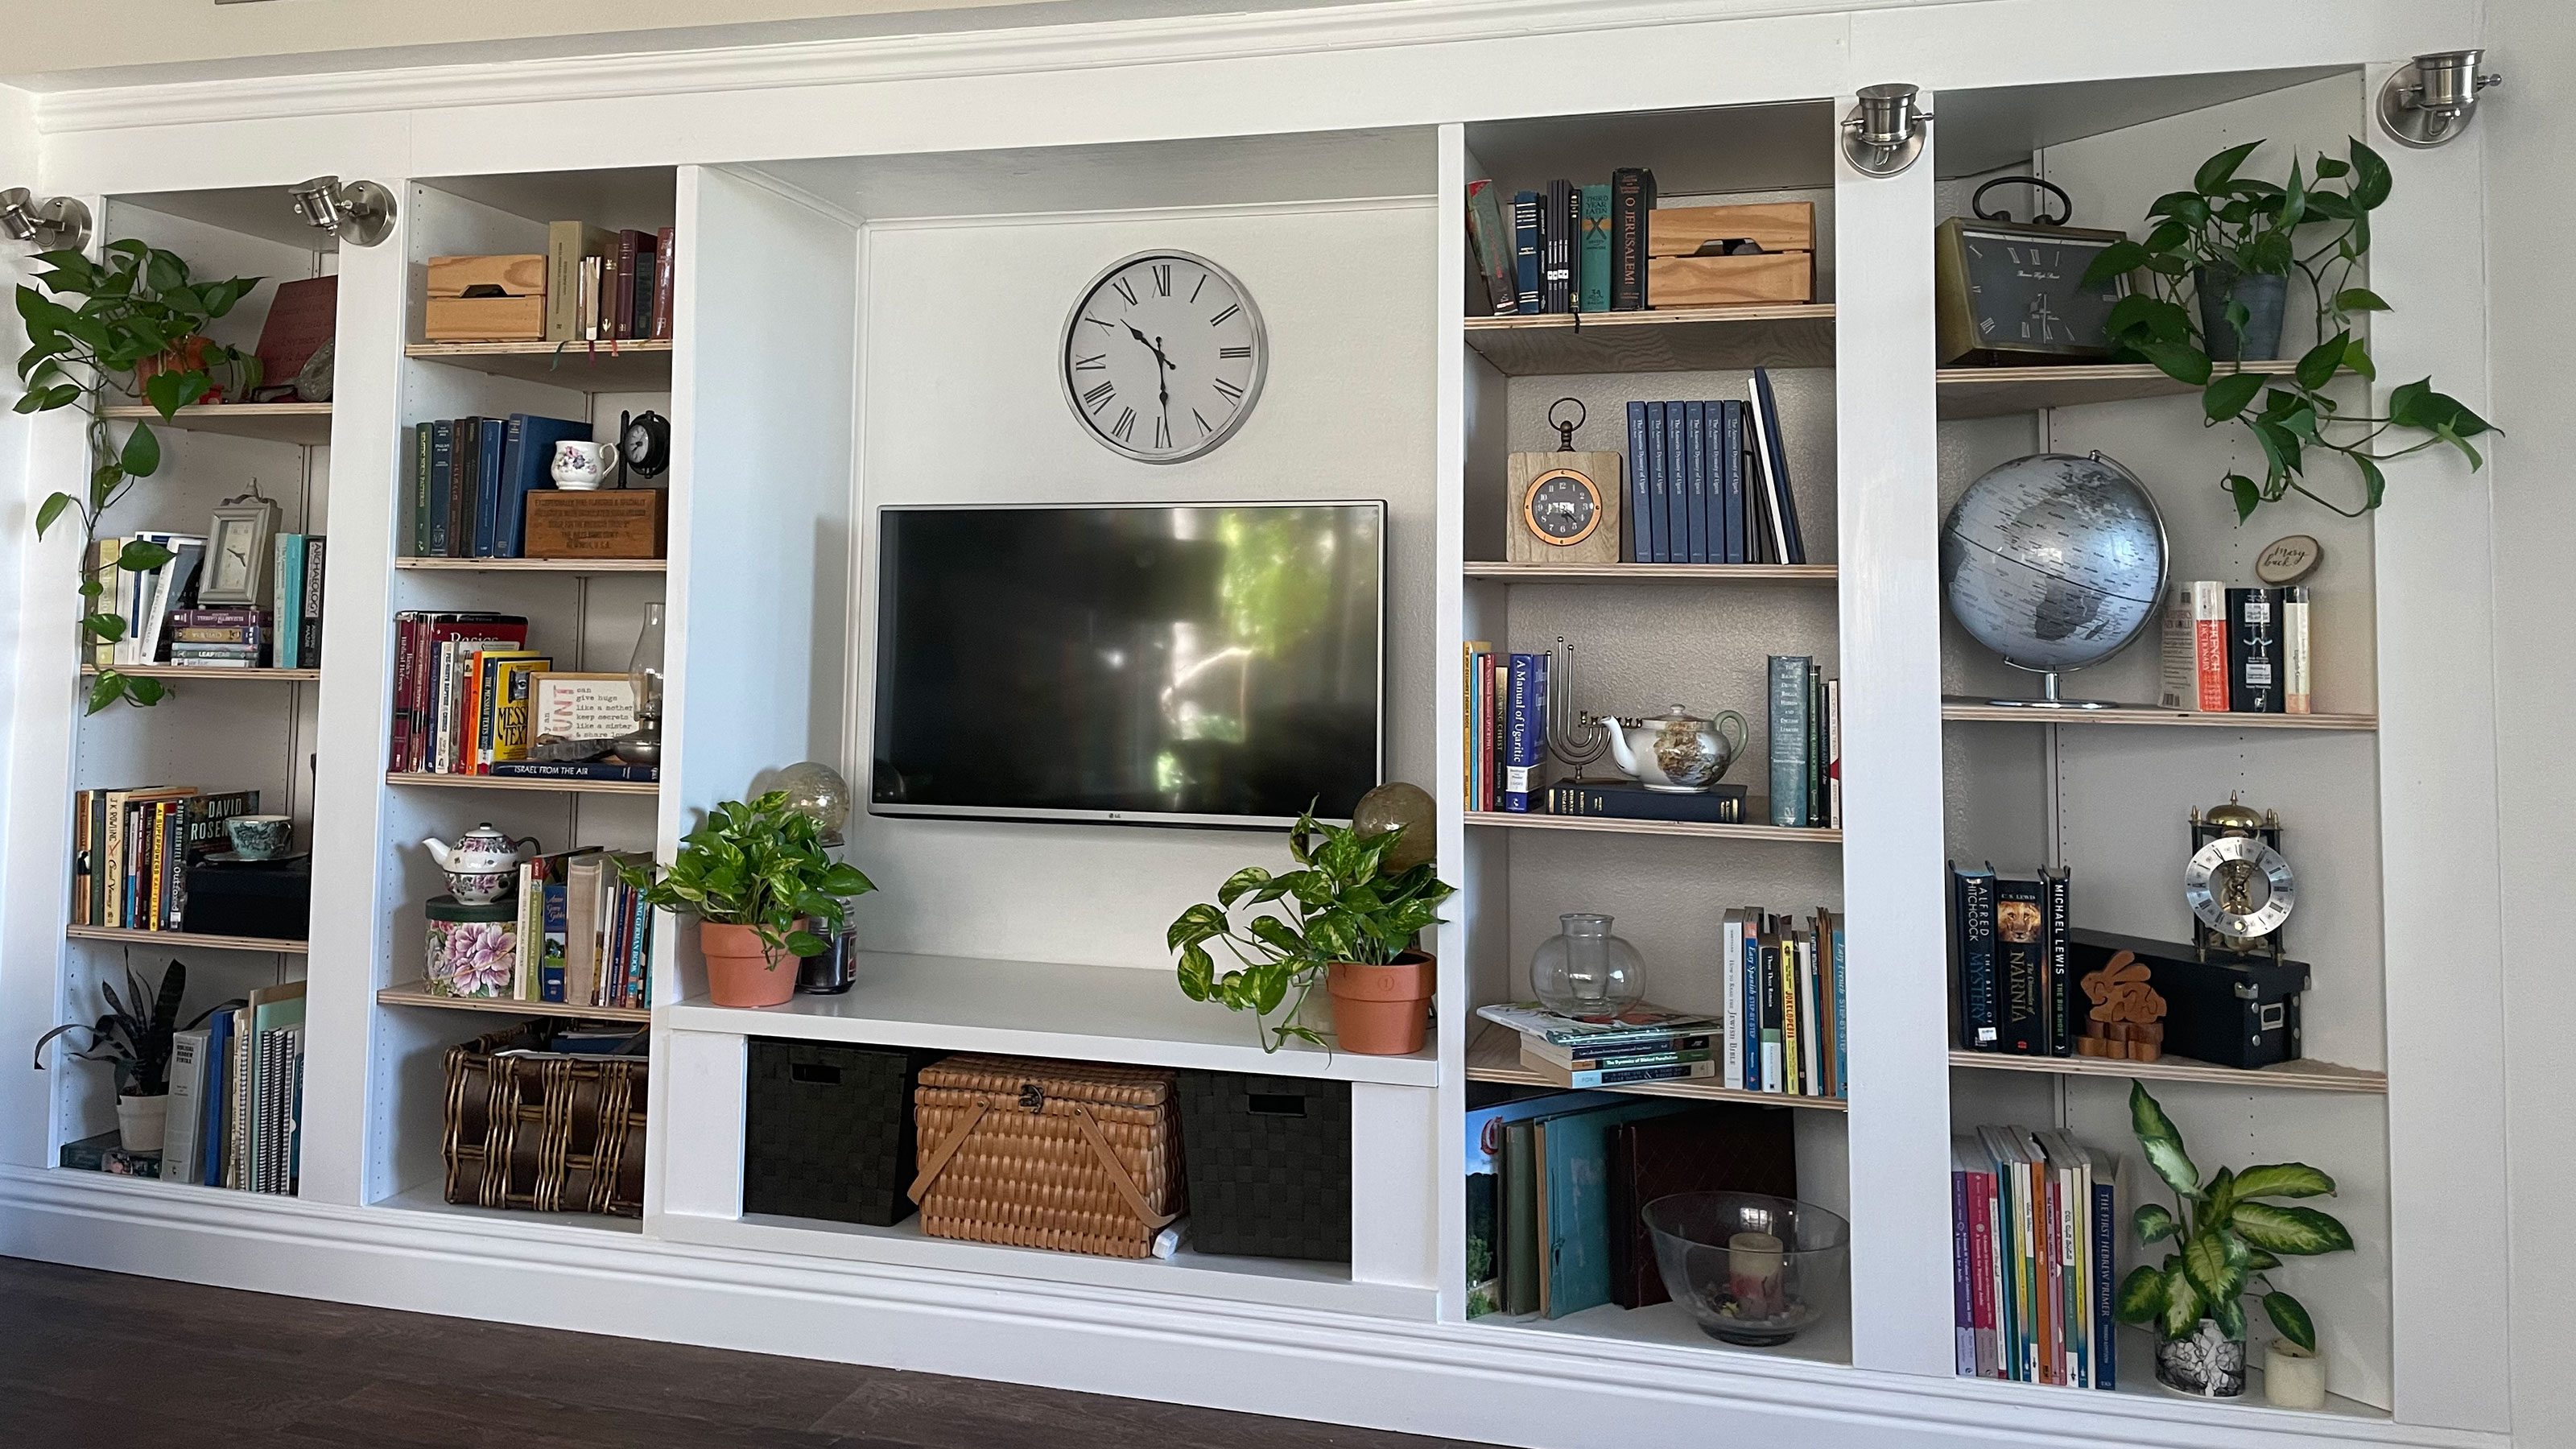 An IKEA Billy bookcase hack inspired this cute media wall DIY
This cute DIY was inspired by an IKEA Billy bookcase hack and brought a ton of symmetry to an otherwise basic media wall space.
By Camille Dubuis-Welch
-
 Share your small space glow up to win $150 in the Real Homes competition
Show off your creativity and DIY skills to win $150 and for the chance to be featured exclusively in Real Homes magazine
By Camille Dubuis-Welch
-
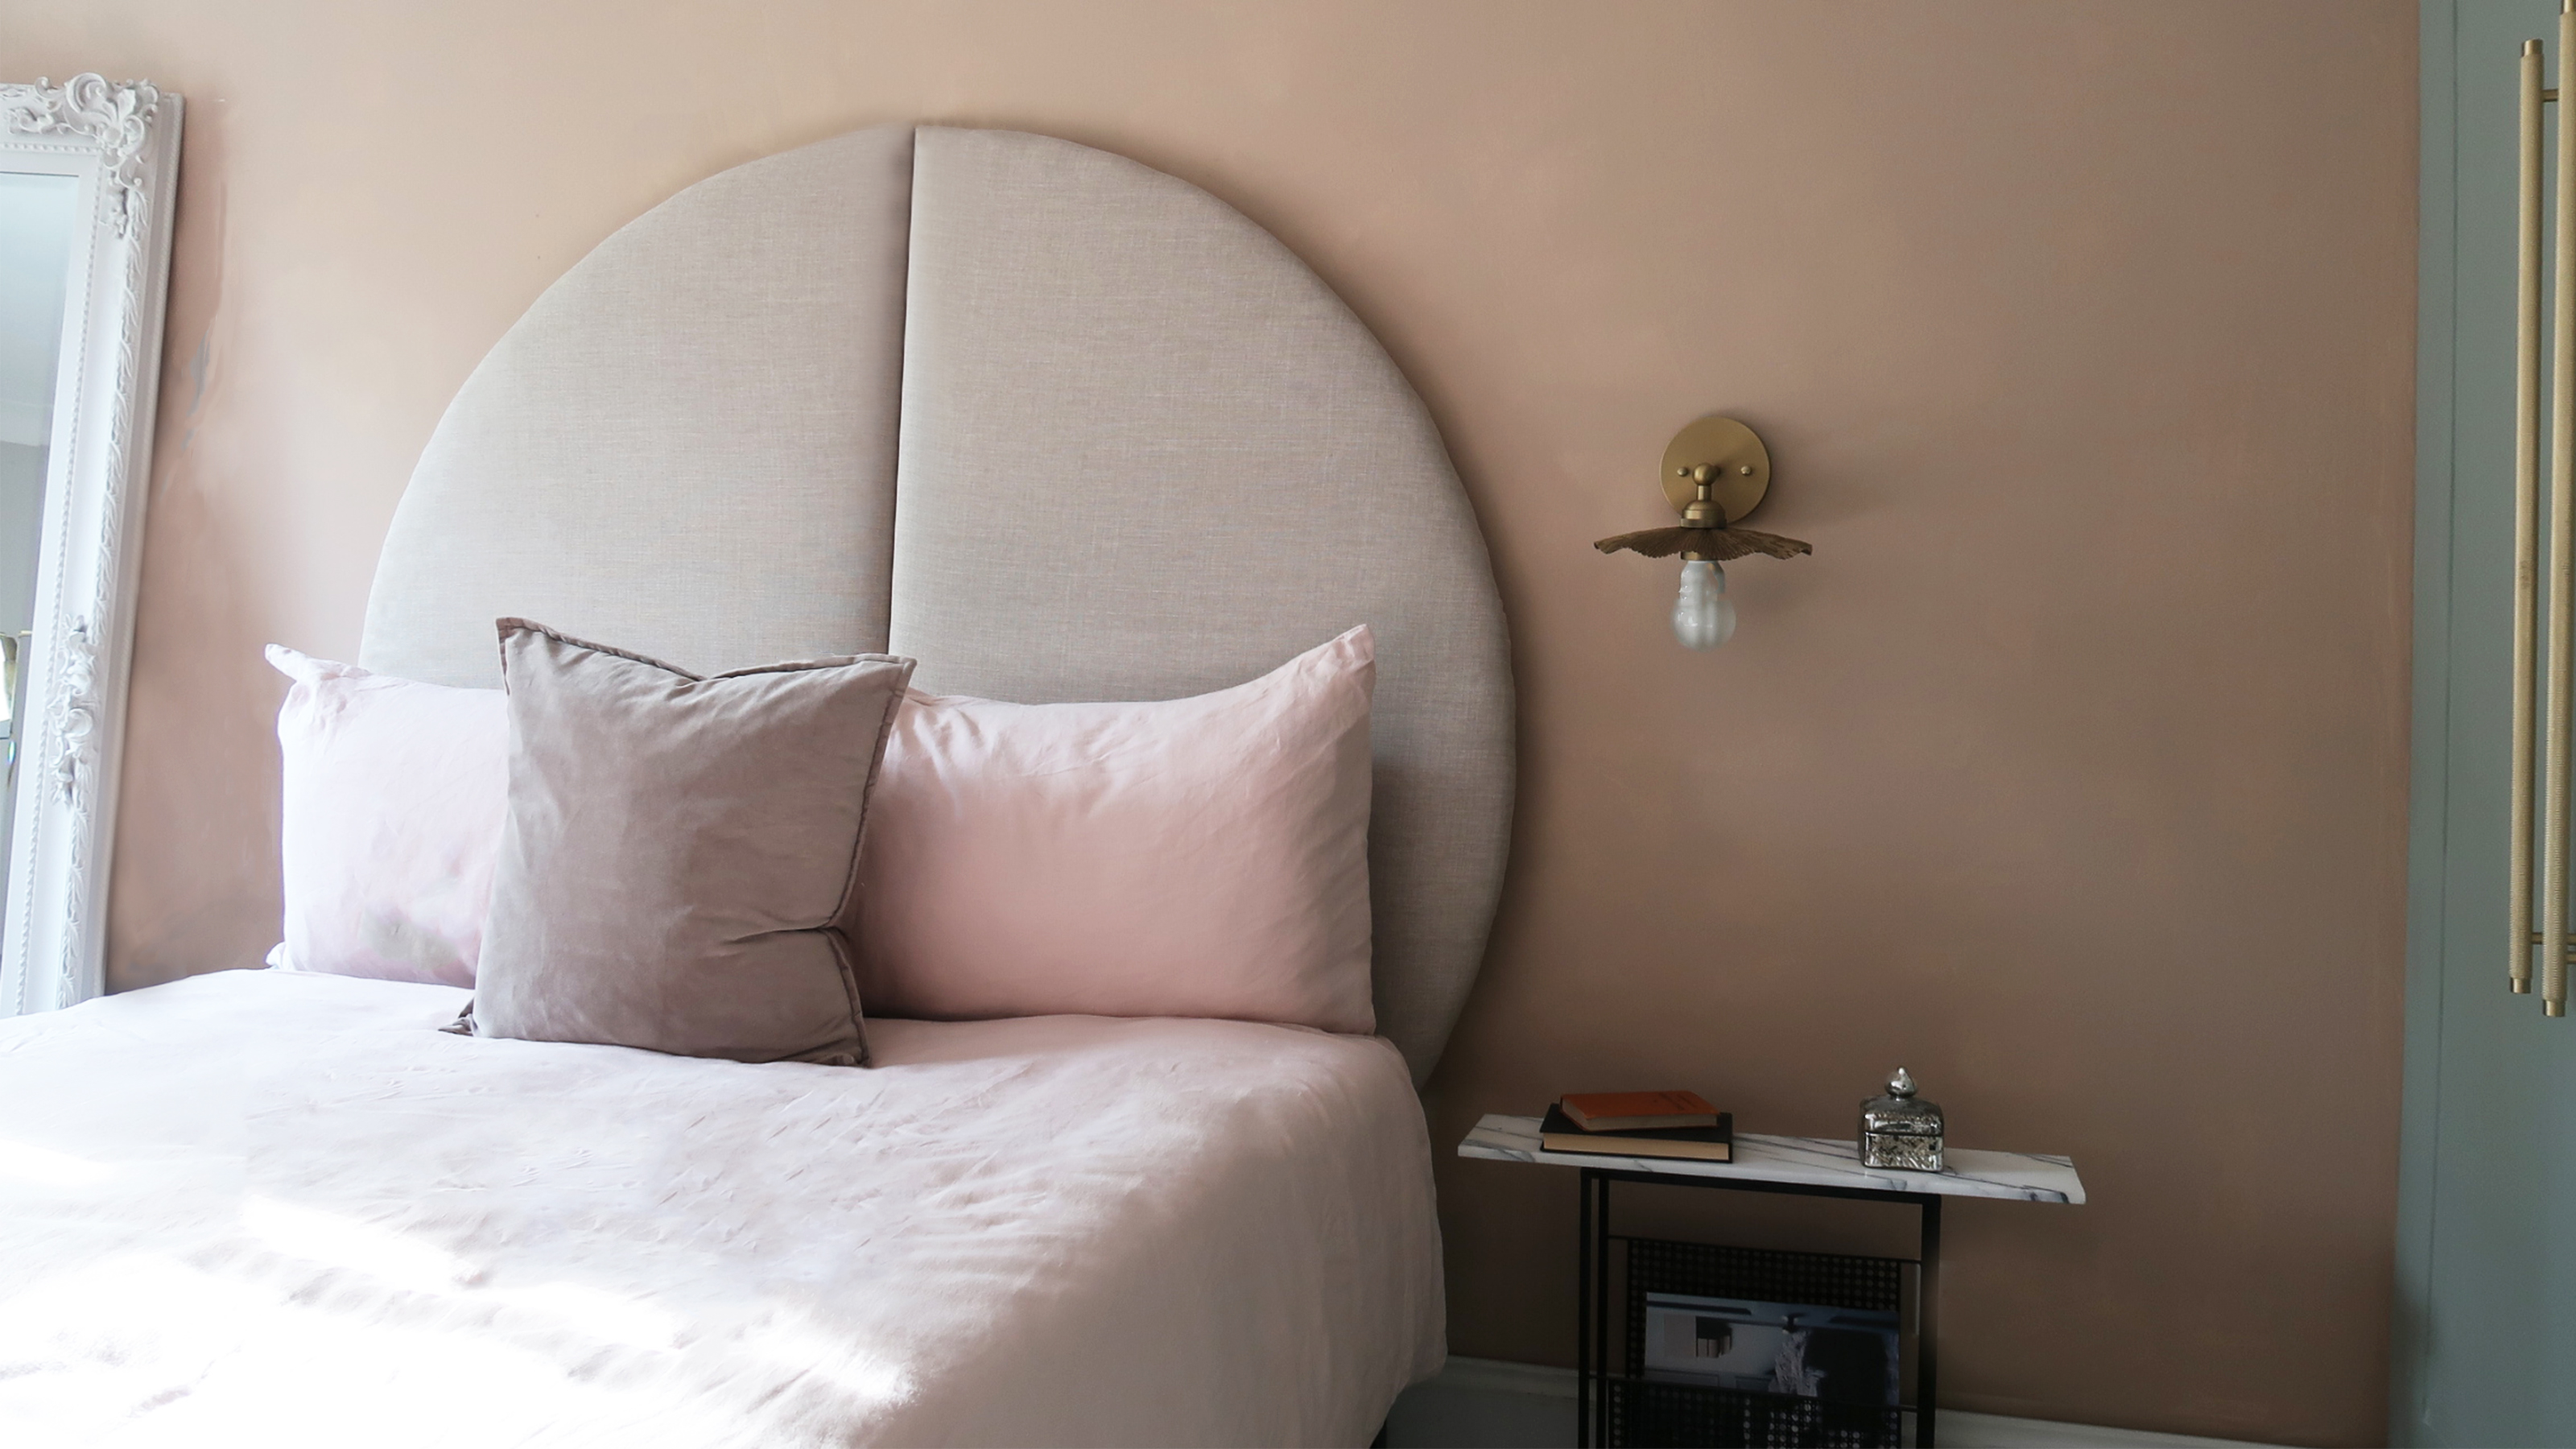 This oversized headboard looks designer, and takes 5 steps to DIY
Super simple to DIY, this oversized headboard will give your bedroom space all the designer vibes you could dream of.
By Claire Douglas
-
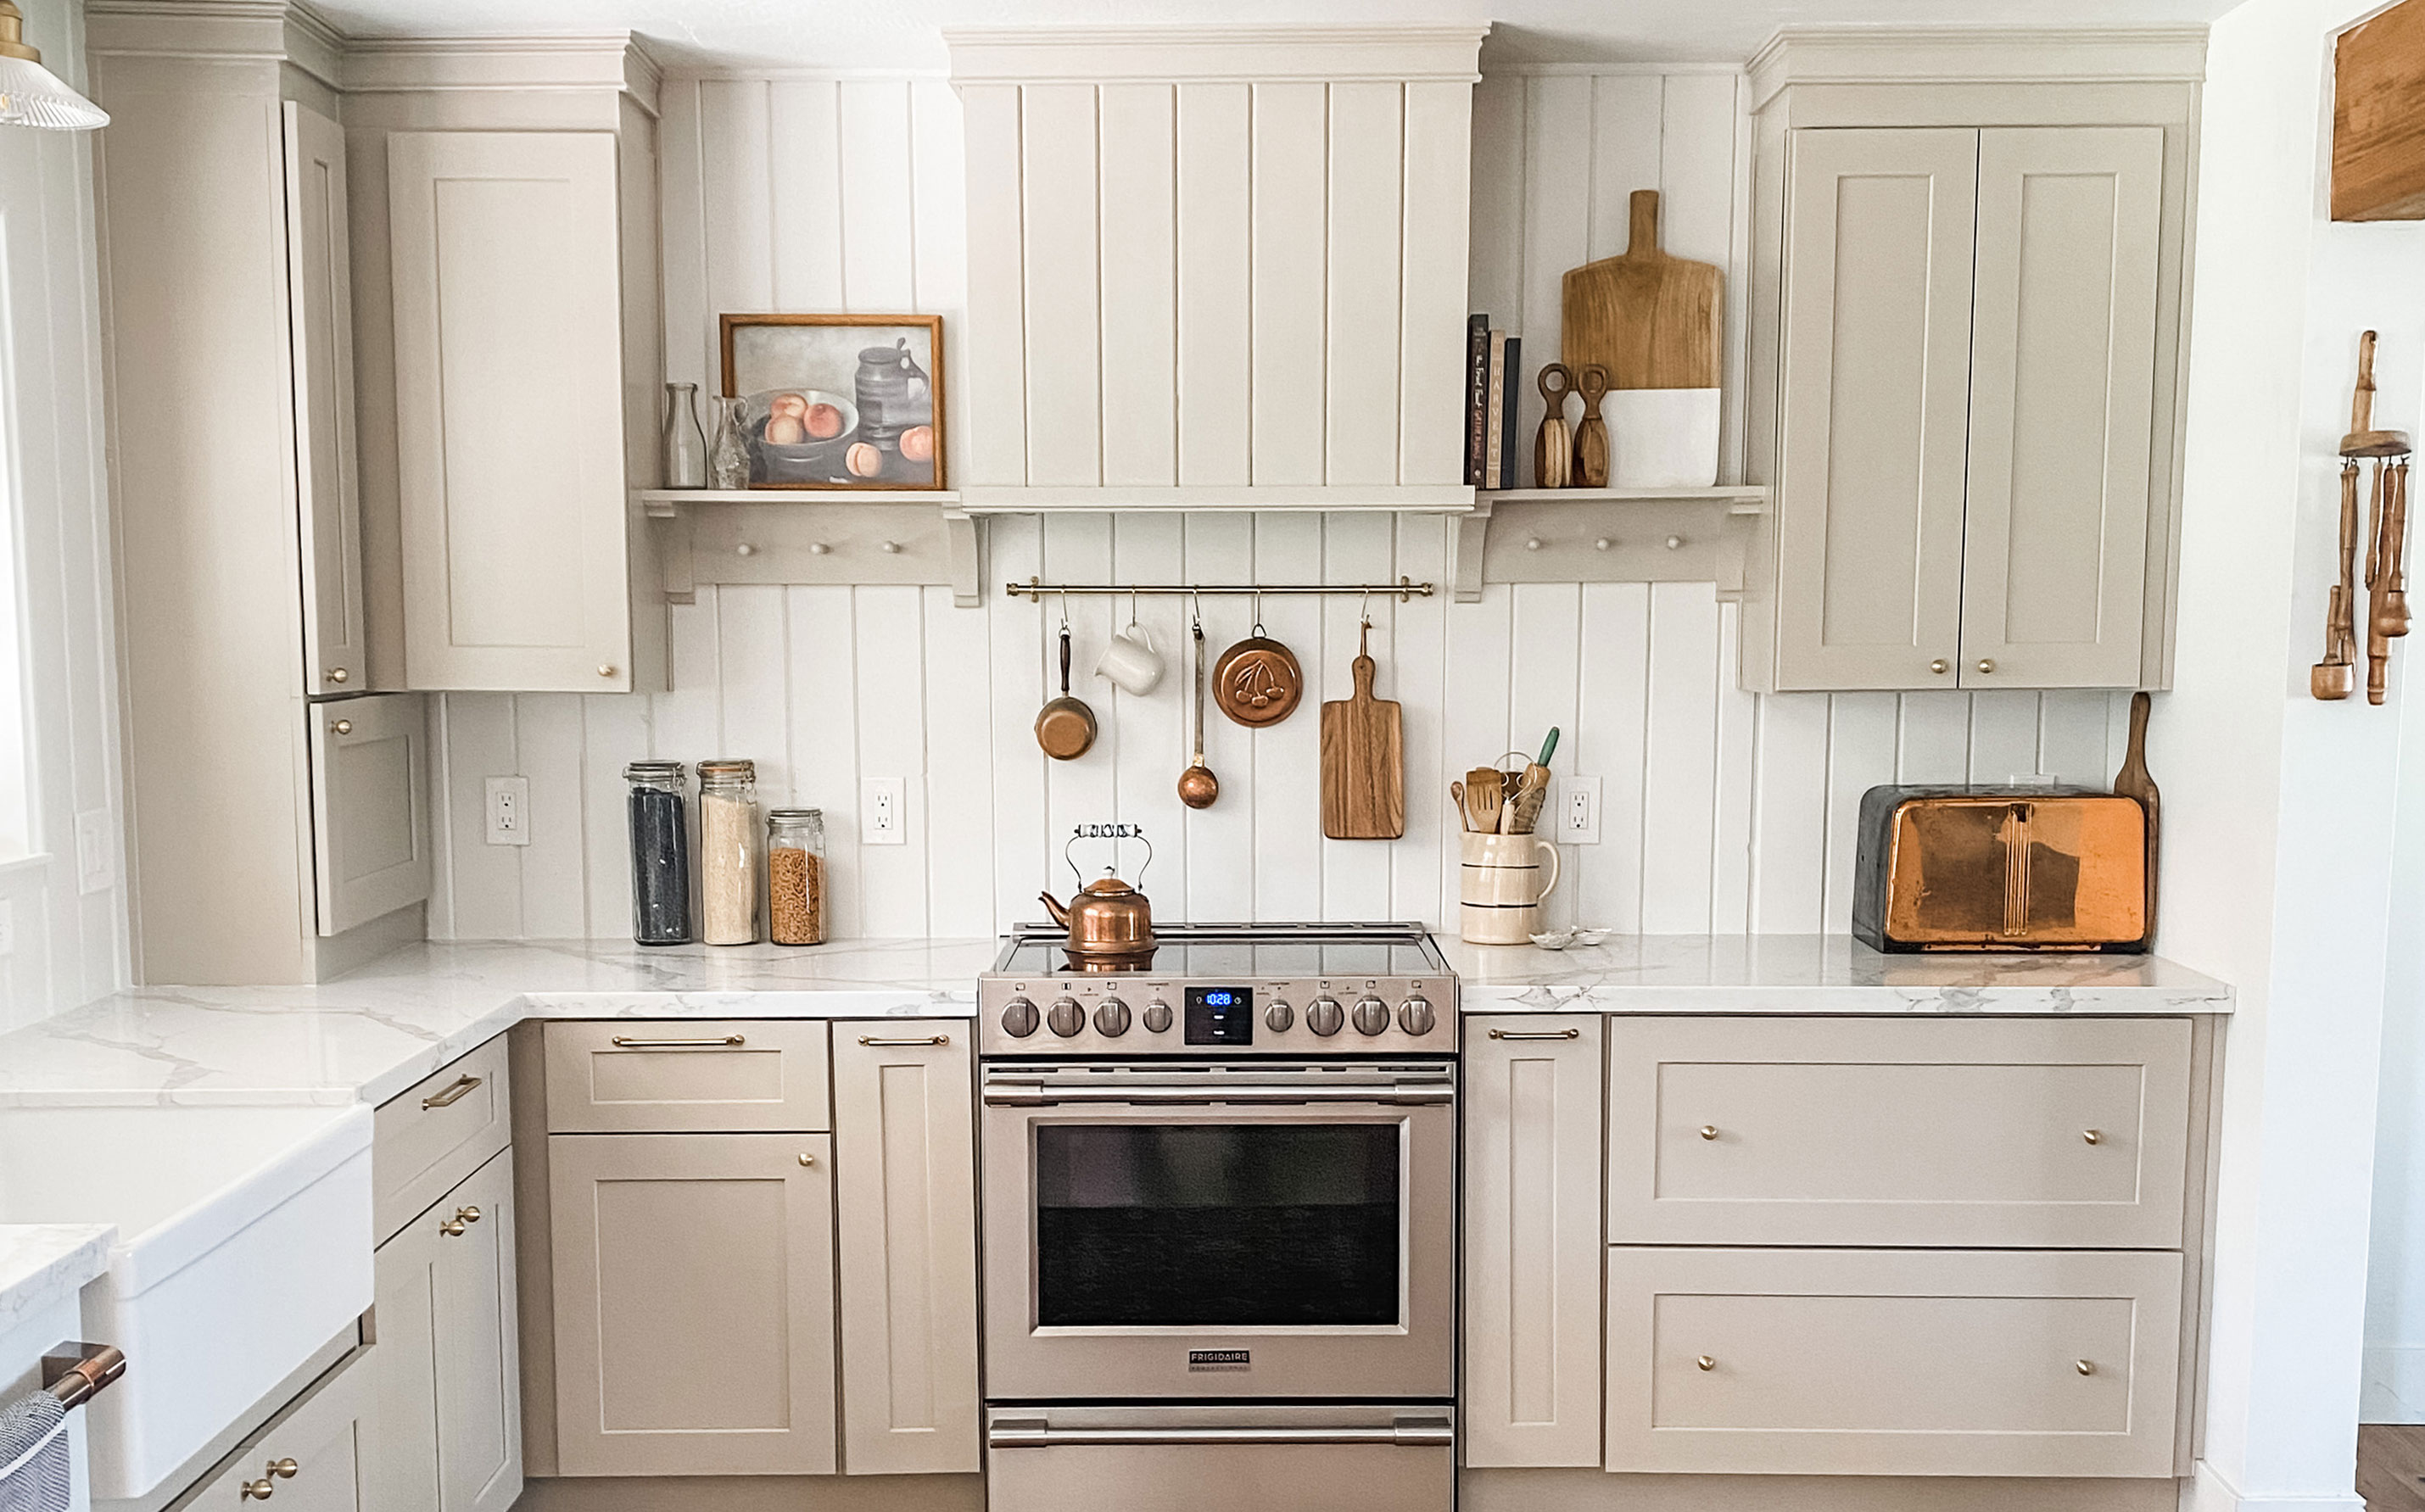 My DIY range hood and backsplash build gave my kitchen the perfect farmhouse finish
I craved charm in my kitchen space and adding a custom range hood and shelving was the best move.
By Brooke Waite
-
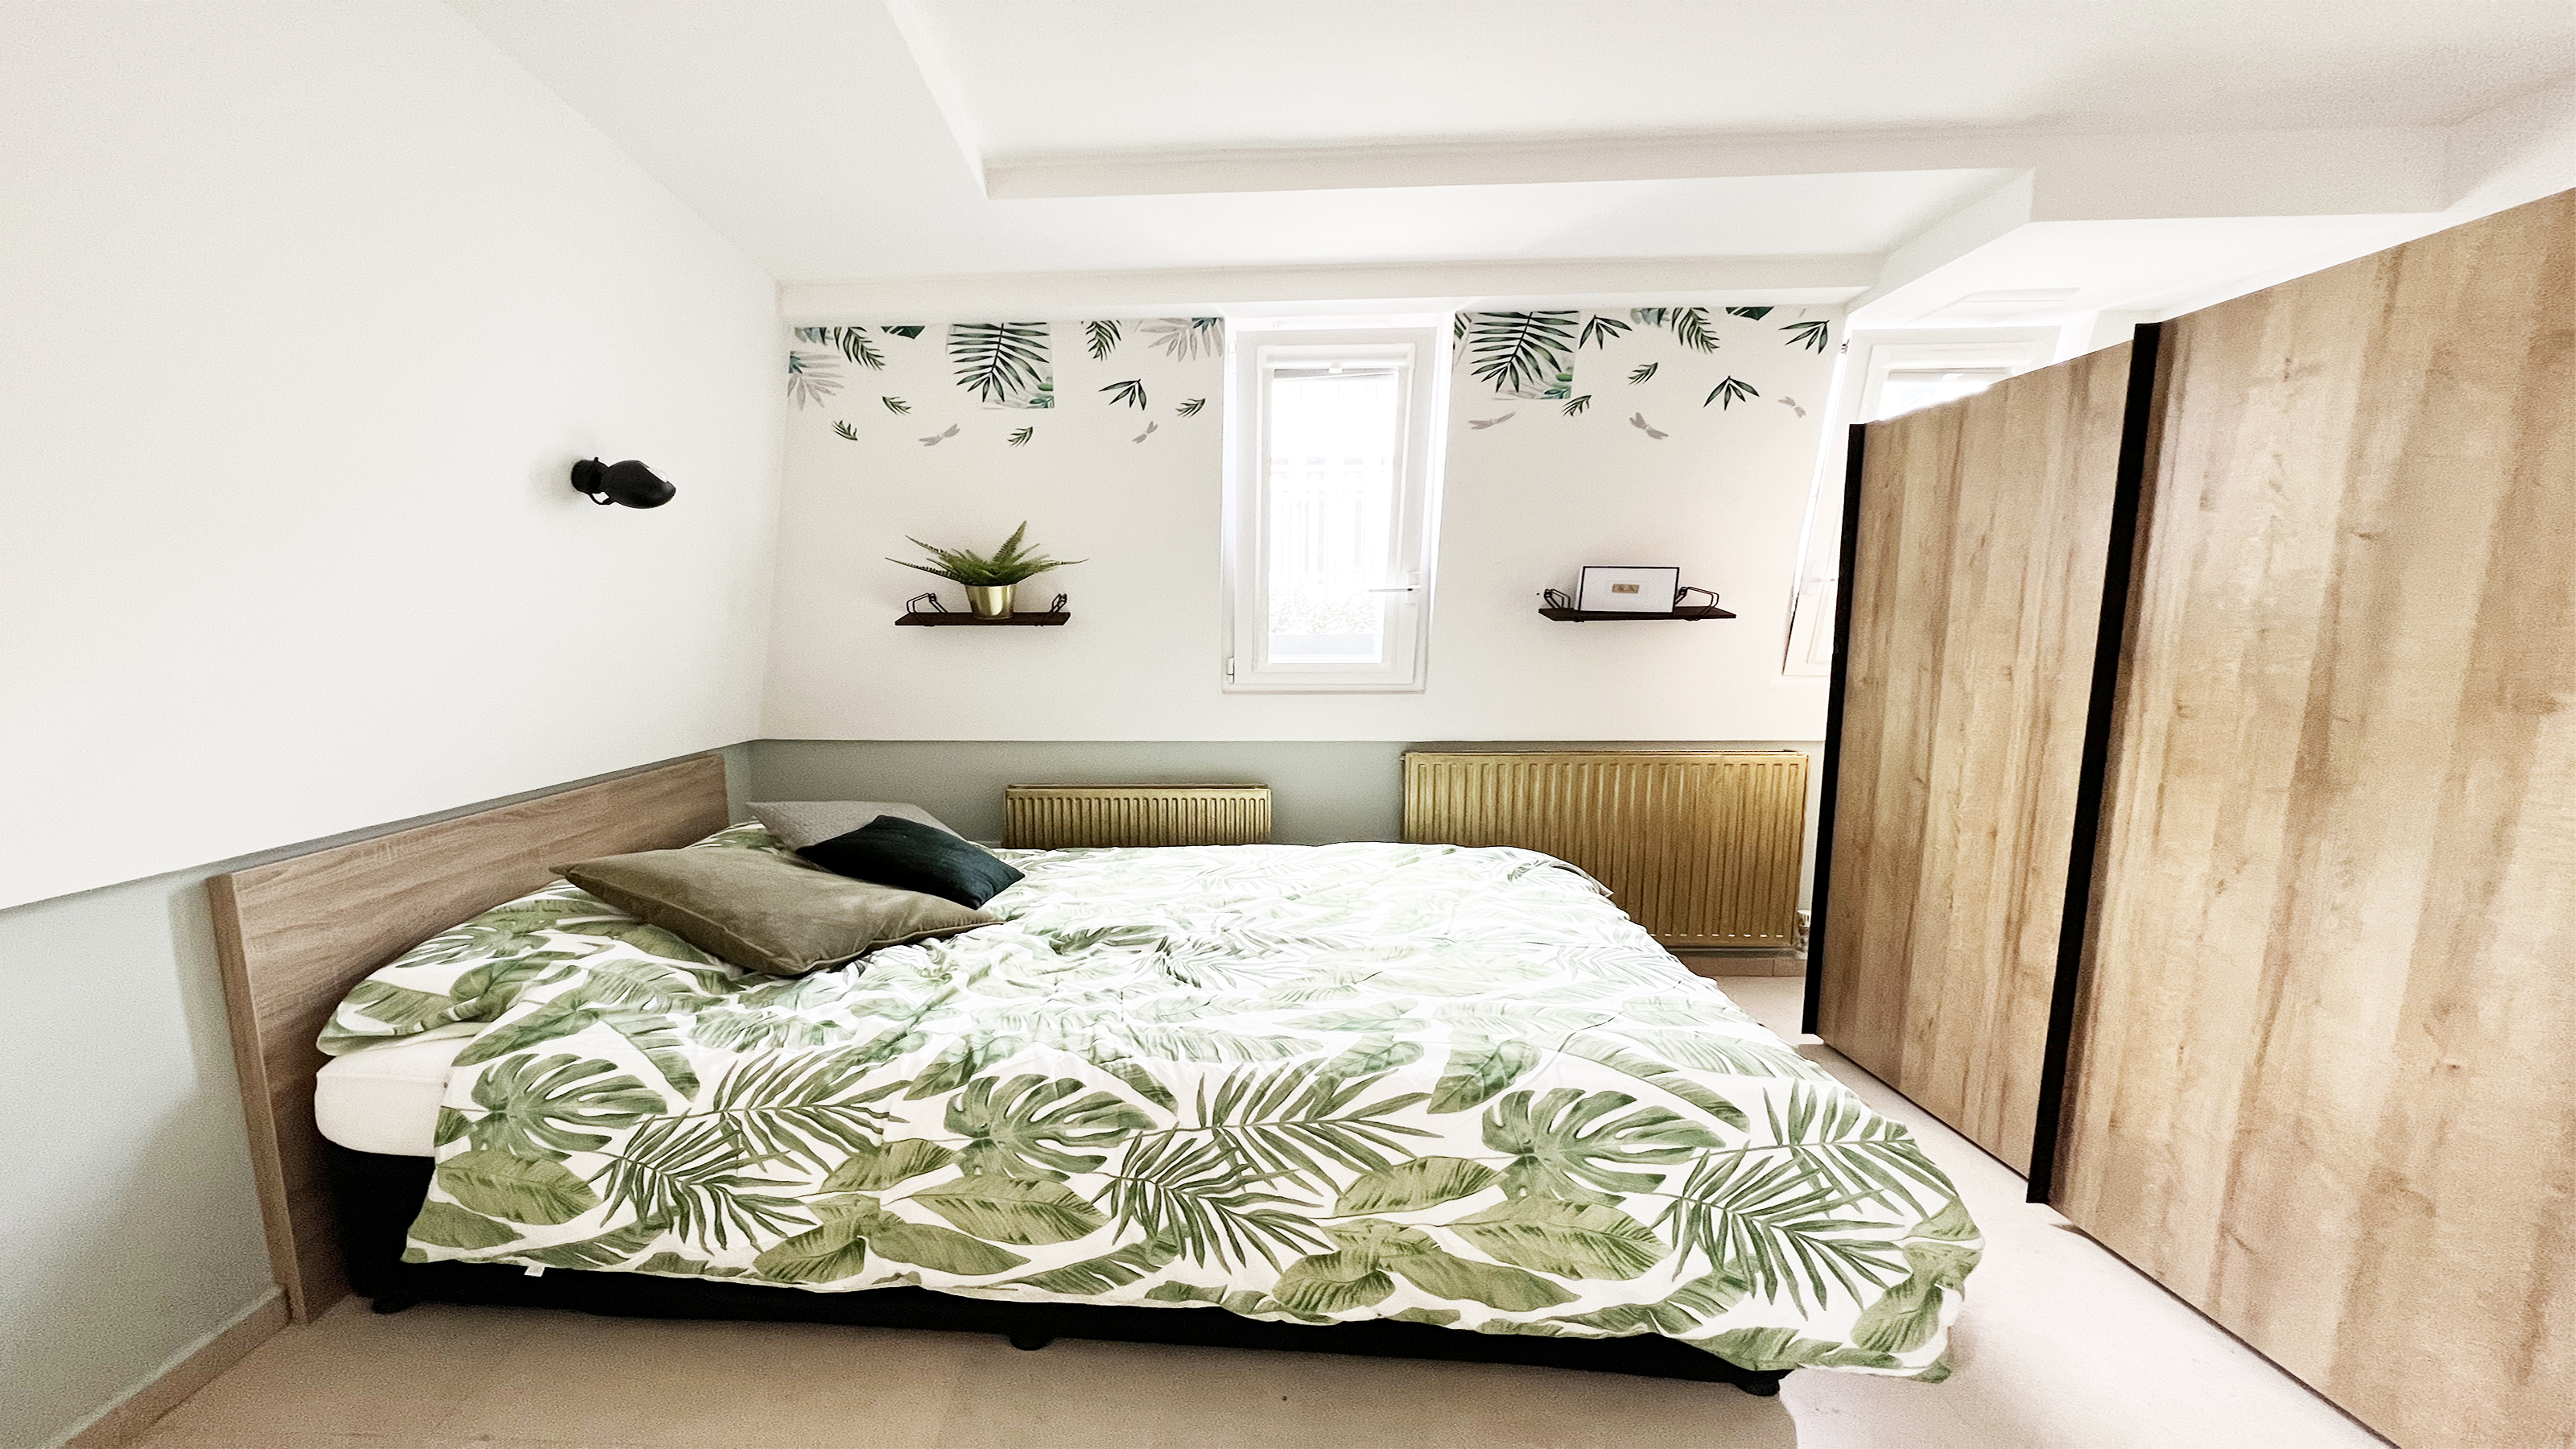 How to paint a radiator in 7 steps
Painting radiators properly is all about choosing the right paint and the best process. Get interior designer-worthy results with our how-to.
By Kate Sandhu
-
 How to install a door knob
Updating your interior and exterior doors can be as easy as changing out the hardware! The best part is that installing a door knob is very DIY friendly. Follow these simple steps and enjoy a fresh look on your doors!
By Dori Turner