How to install baseboards: a simple 10-step DIY
Installing baseboards is an achievable DIY with the right know-how to ensure you get a professional finish, whether you're updating a living room or refining a home addition.
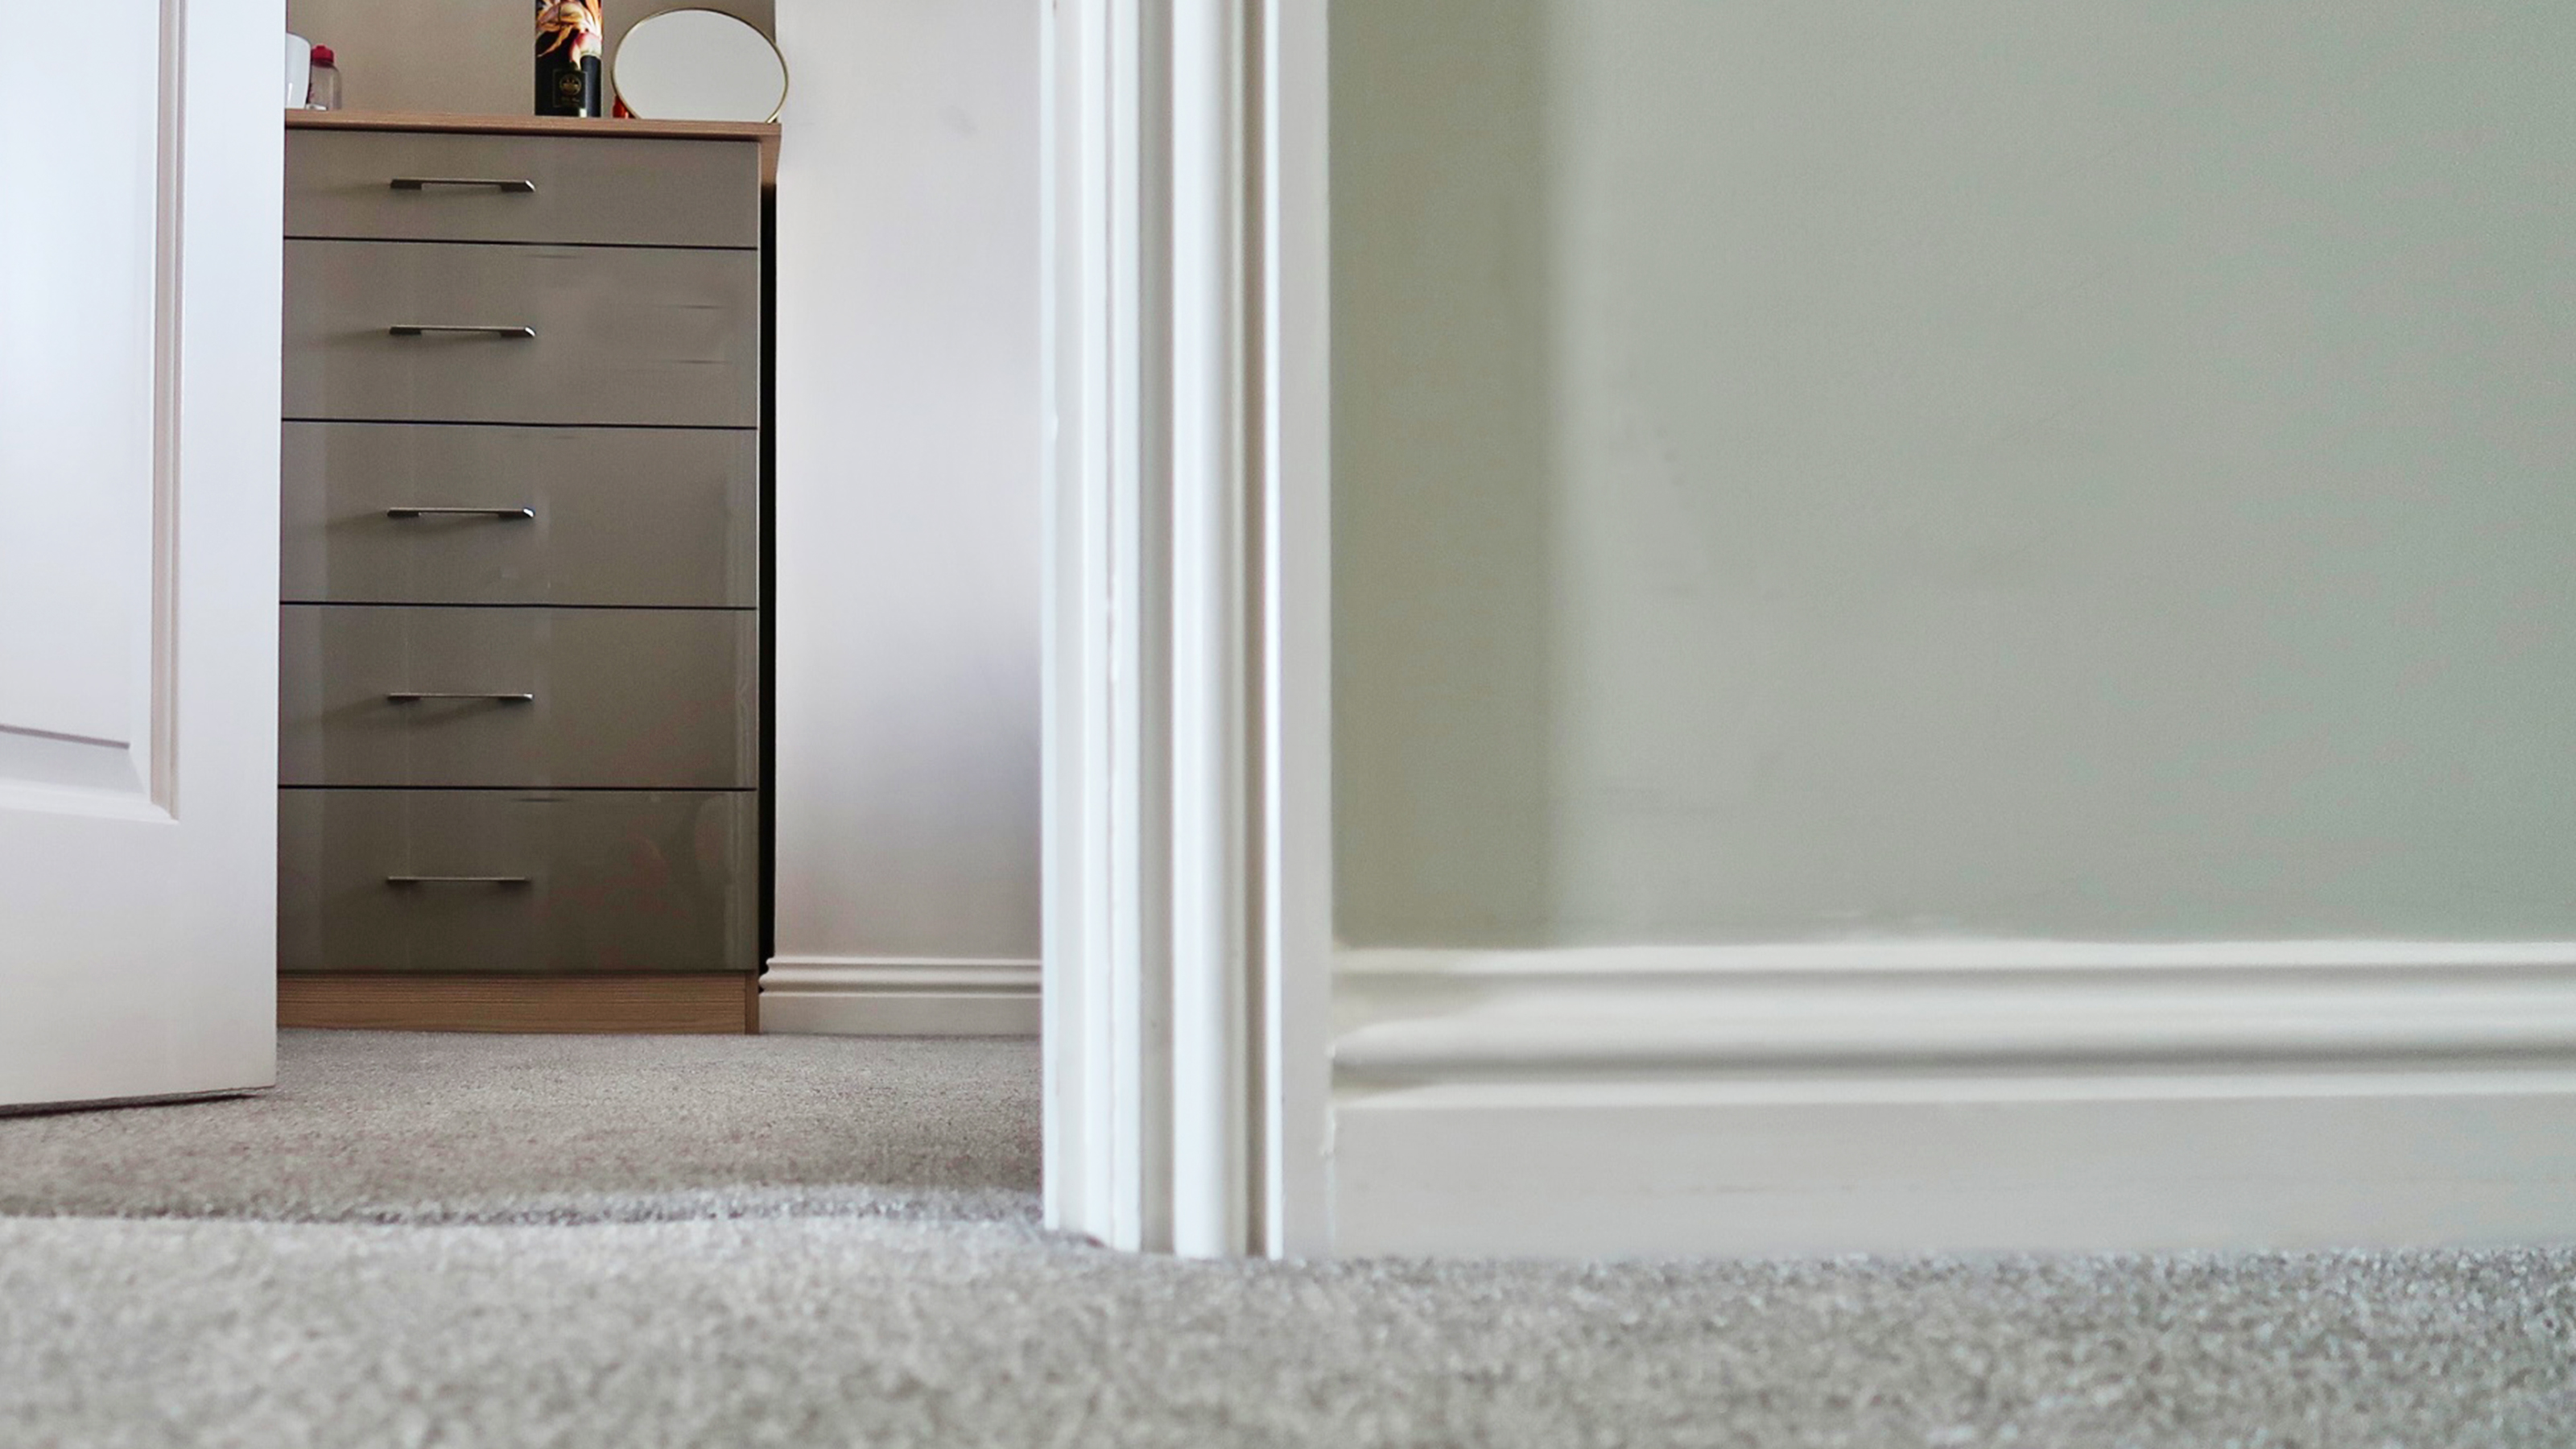
Being able to install baseboards yourself (or skirting boards as they are known in the UK) is such a useful DIY skill to have. It's amazing the impact that new baseboards can have on a room, especially if you plump for a bold decorative board and use paint to enhance the transformation.
Baseboards are there to cover the joint between the wall and the floor. It makes a decorative border while hiding the gaps needed to cope with a house's natural expansion and contraction so it's a worthwhile DIY project to try yourself.
Baseboards come in different heights and styles and are produced in a wide range of materials, you can even buy ready primed boards to save you a job. They endure a lot of wear and are frequently bumped with the vacuum or bashed into with children's toys for example.
You will need
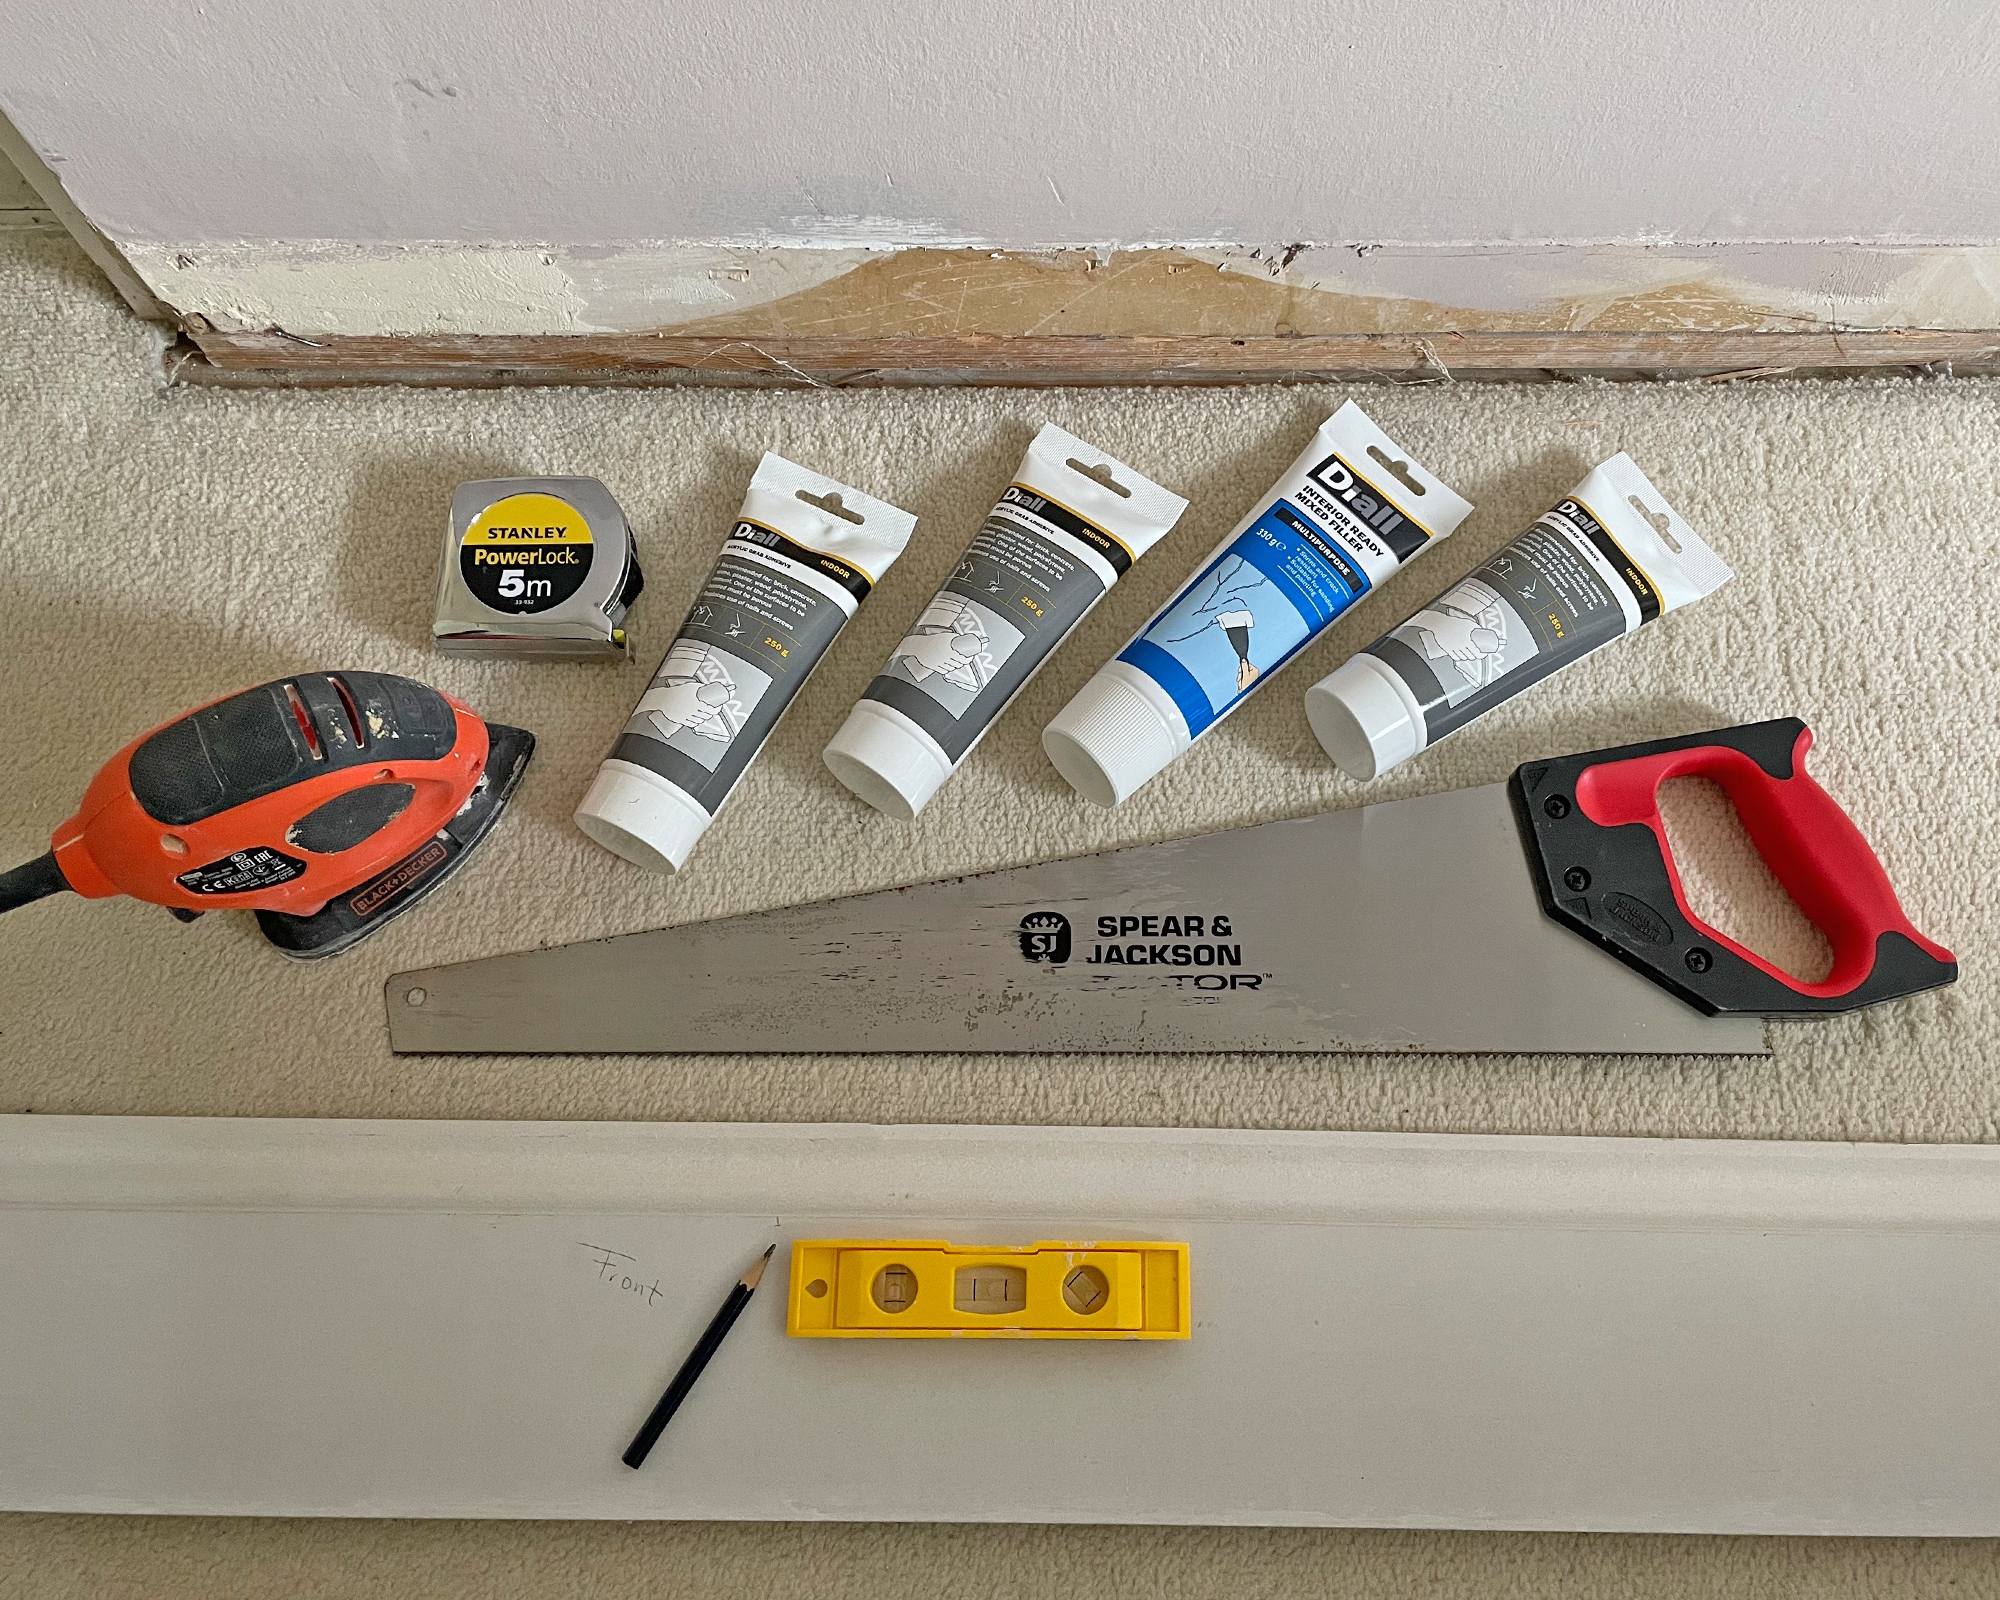
1. Pencil
2. Miter Saw: we like the Ryobi ONE+ Cordless
3. Coping Saw
4. Tape measure
5. Hammer
6. Silicone Gun
7. Baseboards: The Home Depot has a ton of options
8. Screws
9. Instant grab adhesive
11. Nails
12. Your best drill
13. Wood filler
How to fit baseboards
Our guide is here to talk you through the process in 10 simple steps, whether you're decorating one room or renovating a whole house.
1. Measure up
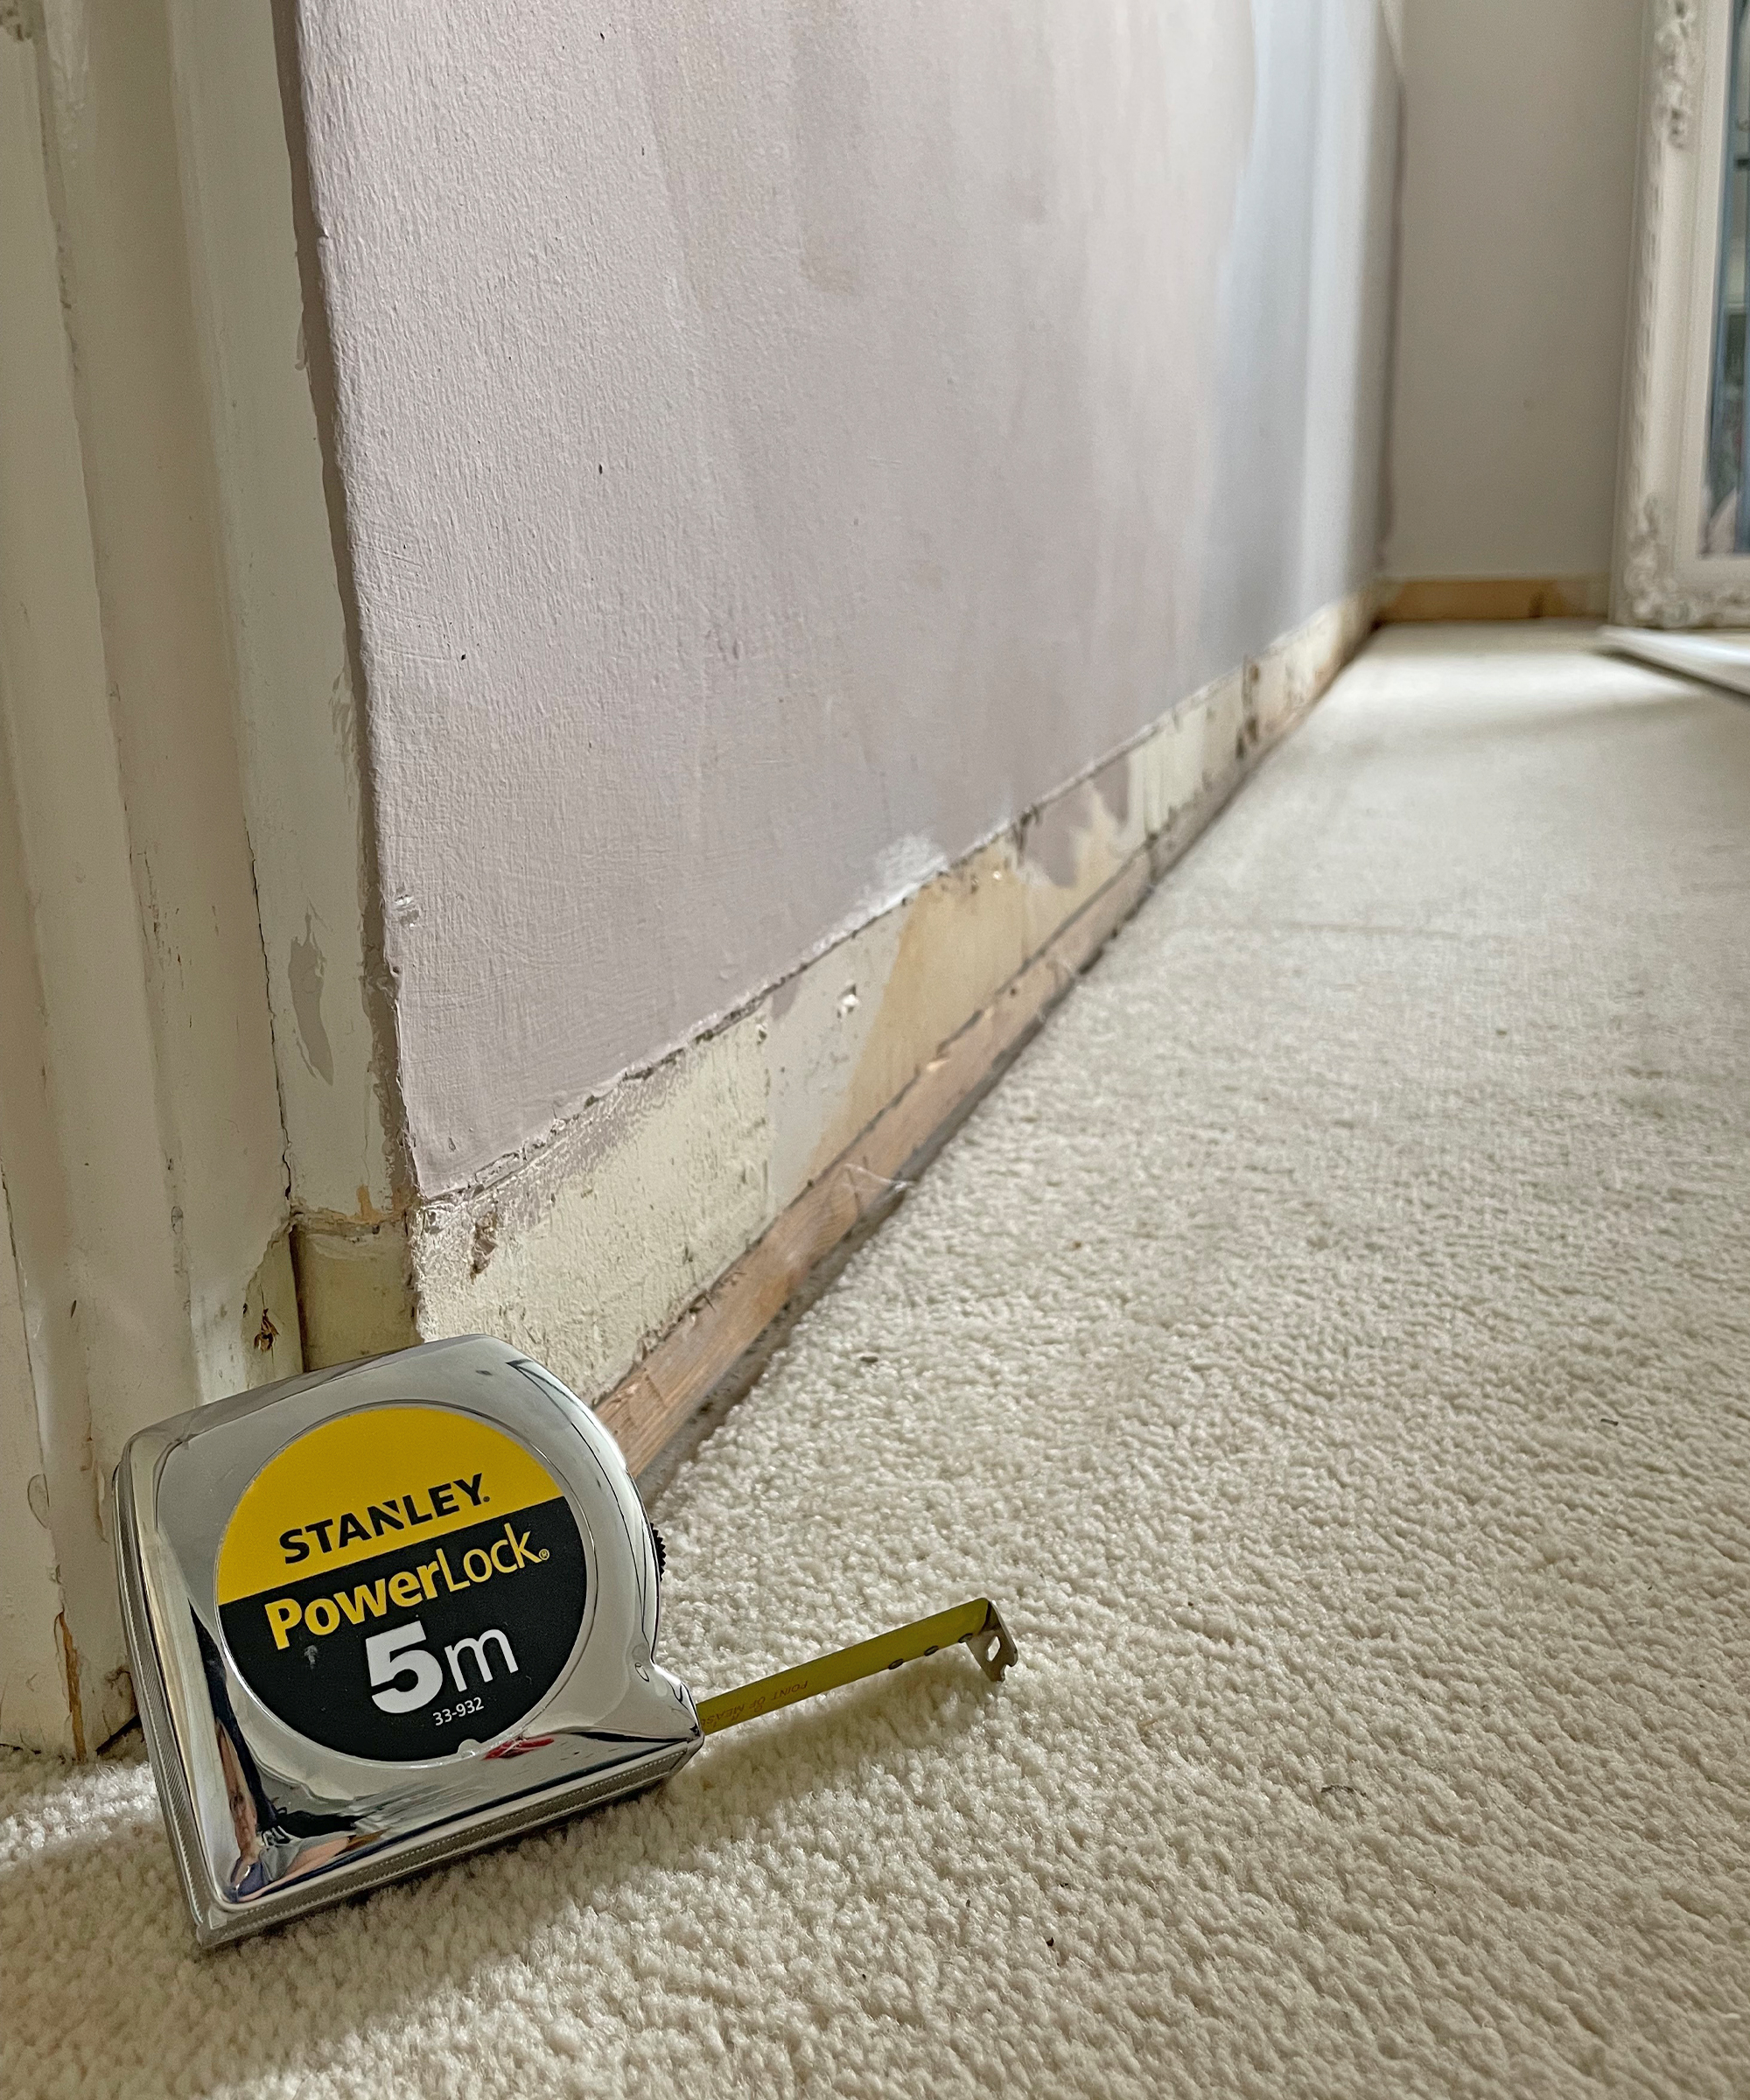
Use a tape measure to work out the length of baseboard you need and then add 20 percent on to the total as a contingency. Baseboards can be ordered in four-plus meter lengths so if you have long walls and would prefer not to have unnecessary joins then bear this in mind when you source your materials.
2. Mark the baseboard
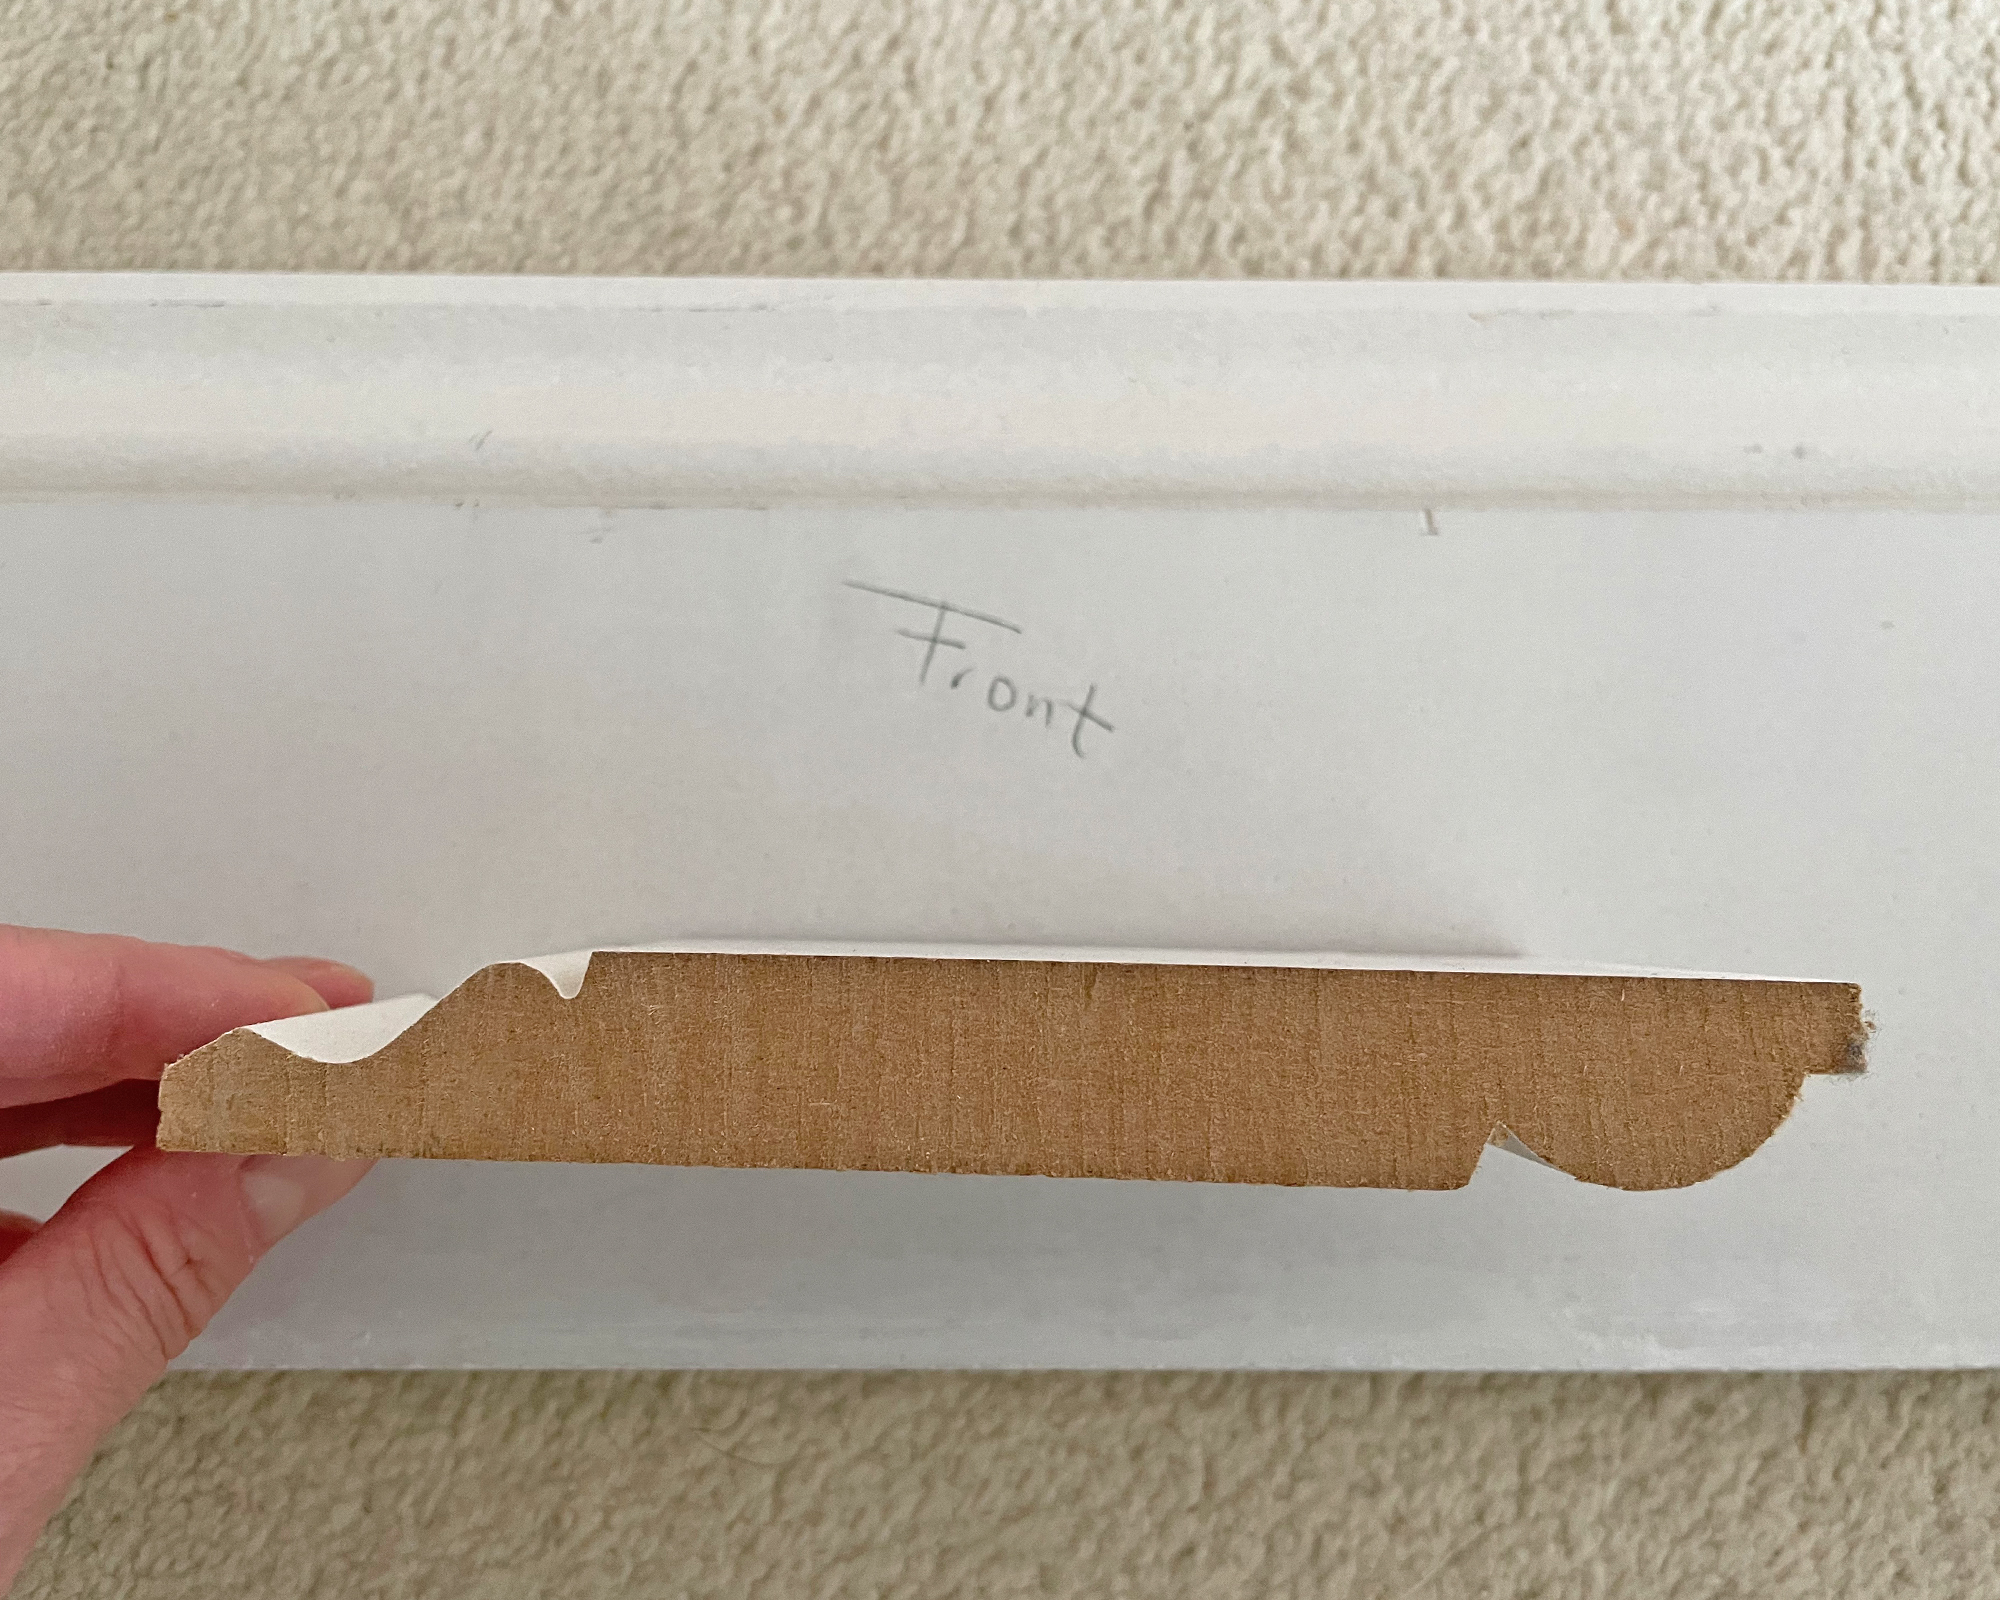
Mark clearly on each piece of baseboard which side you want facing into the room and which way up you want it to avoid any mistakes. This is particularly important when you order dual-sided boards like those shown in the image above. Each side has a different decorative detailing along the top so it's vital that you know which side should be facing into the room when you make your cuts.
3. Start with straight cuts
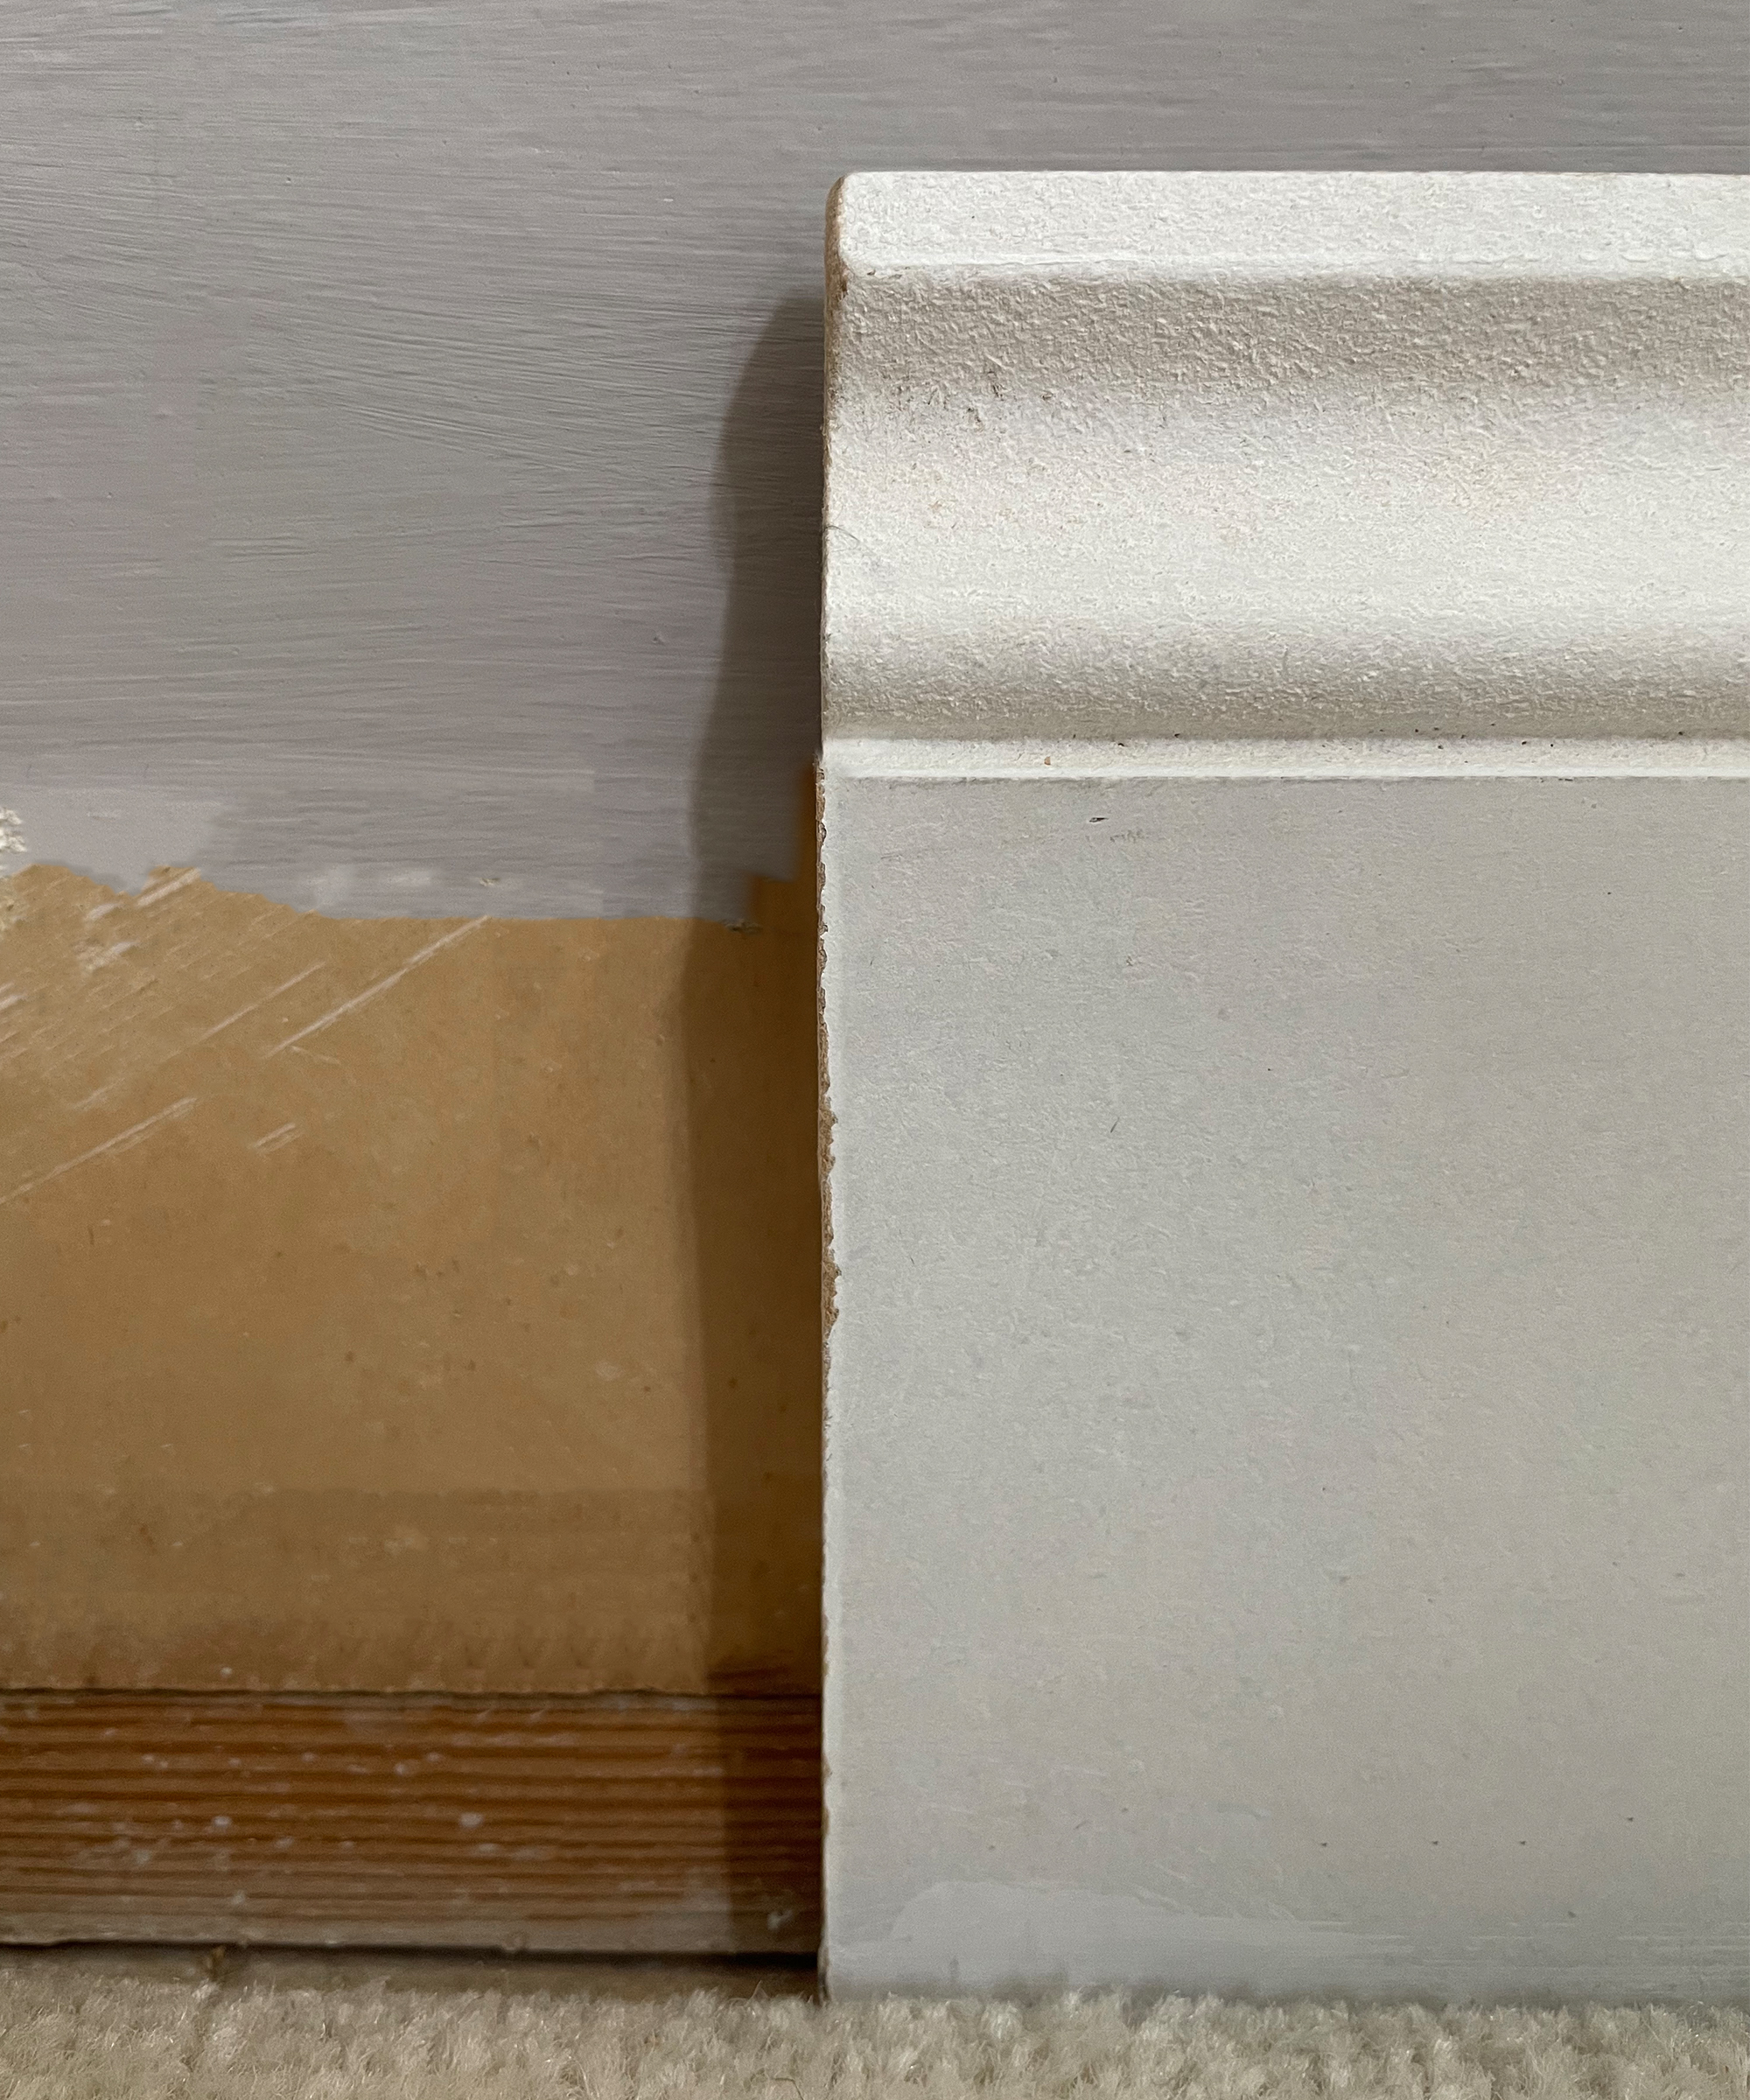
Start with any boards that can go in with square-edged cuts at either end, for example, either side of a chimney breast. Measure and then use a mitre saw or mitre box to give a good, straight cut. If you are using a mitre box, be sure to clamp or screw the box down and clamp the baseboard to the box before you cut. The more sturdy the box is the more accurate and neat your cuts will be.
Get small space home decor ideas, celeb inspiration, DIY tips and more, straight to your inbox!
Lightly sand the cut edges of the baseboards to smooth off any texture from the saw. as this will ensure the joins are as neat and as easy to hide as possible.
4. Attach first baseboard
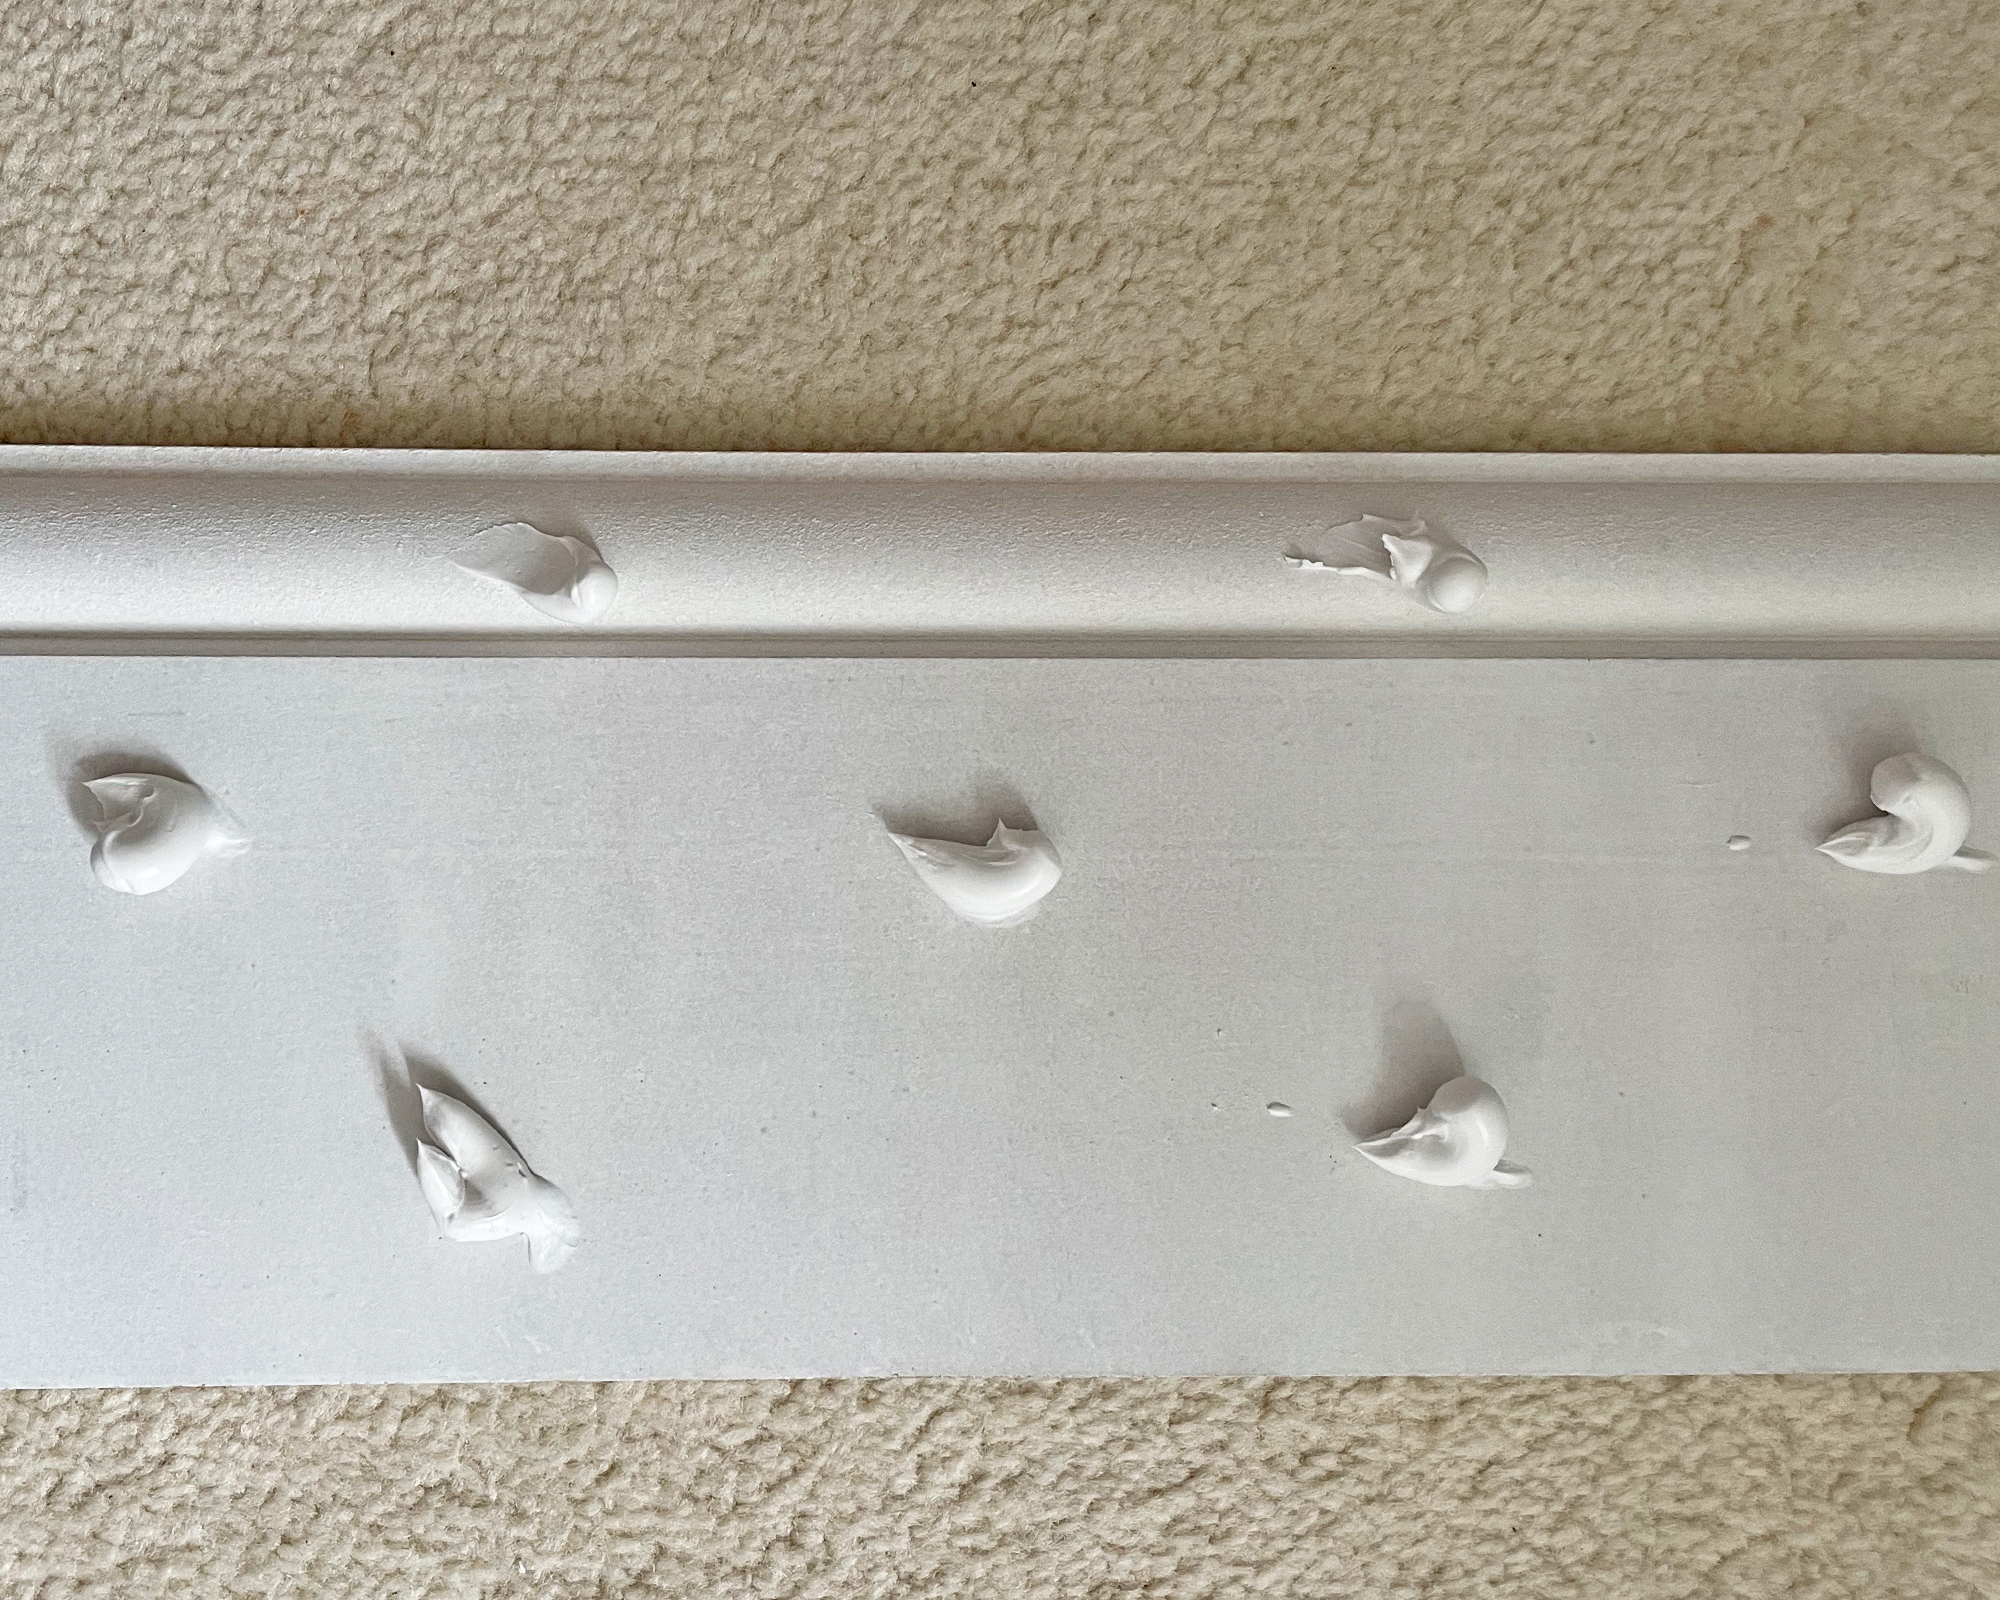
Instant-grab adhesive is the most popular way of fixing boards, particularly in houses with plasterboard walls. Apply blobs and press the board onto the wall so the adhesive makes good contact, then wipe off any excess. If you want to screw the boards to a plasterboard wall, mark the position of the wooden studs and then put a pilot drill through the baseboard and the wall at these points.
If you are fixing them to a solid wall, run a pilot drill through the baseboard to mark the wall every 6cm. Drill and raw plug these holes. Countersink the holes with a larger drill bit so the screw heads will disappear when fixed. Screws should be long enough to go through the board and at least 3cm into the wall or studs behind. Use wood filler to cover the holes before painting baseboards.
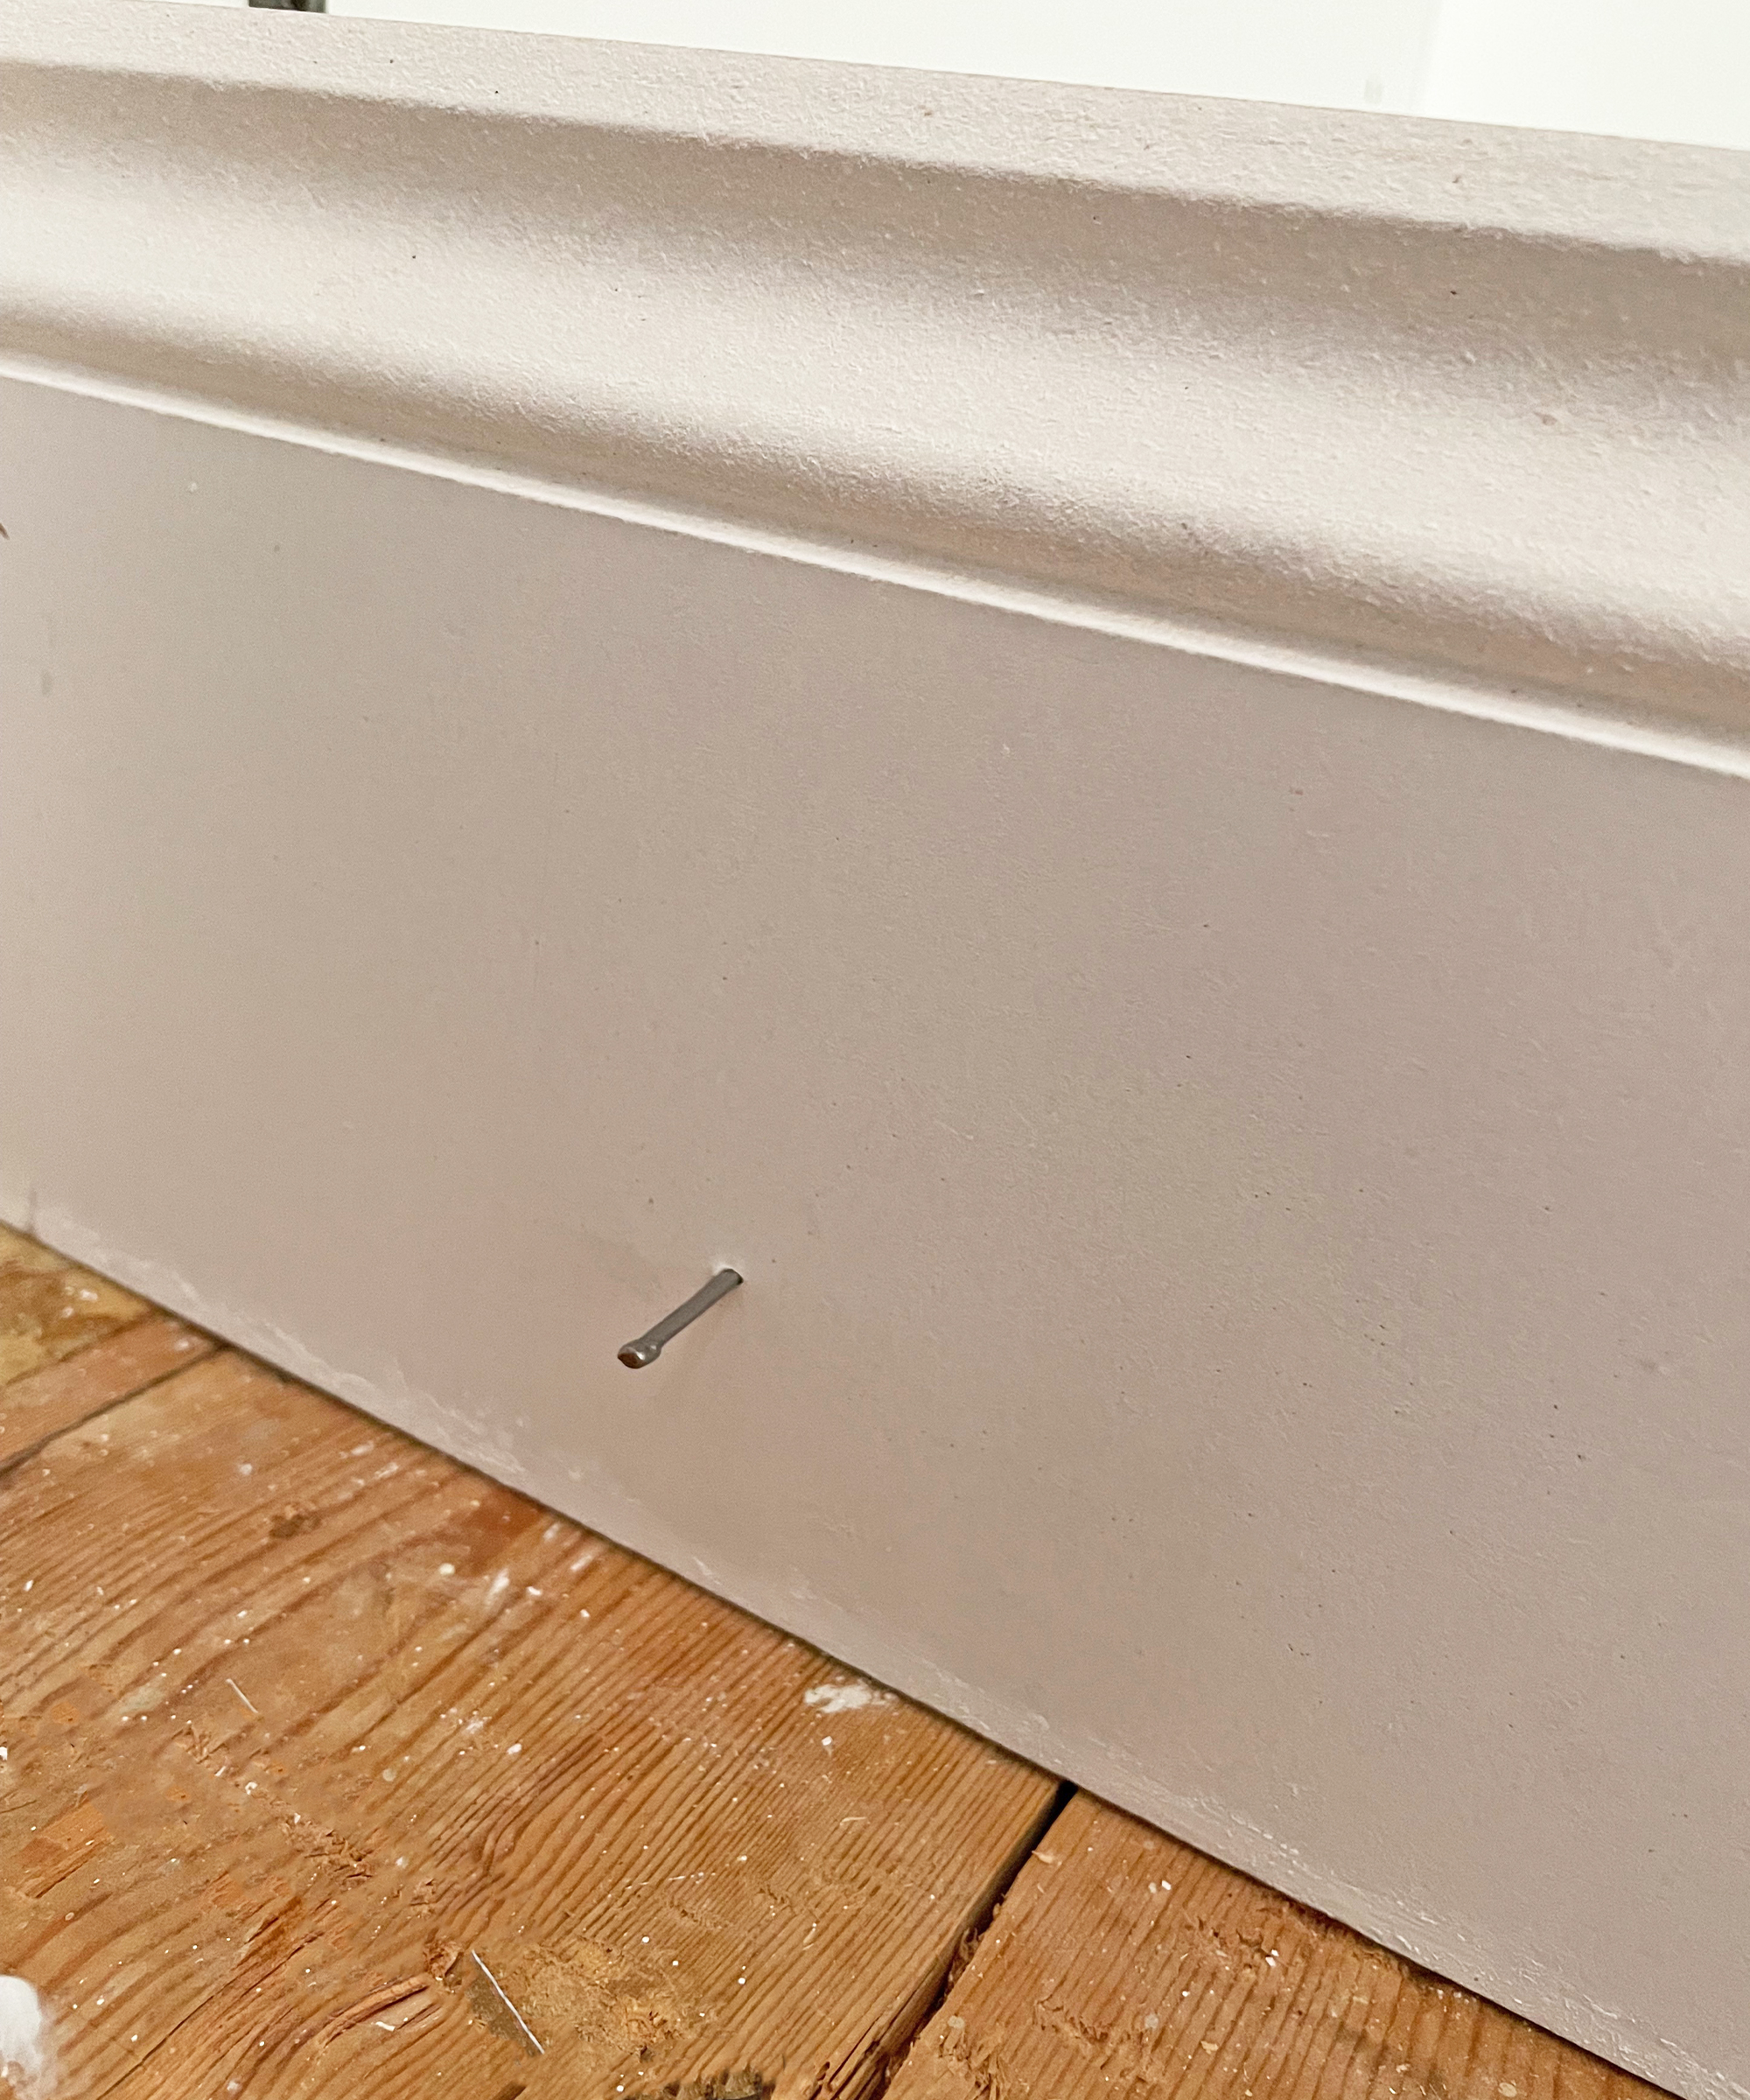
5. Scribing baseboards for internal corners
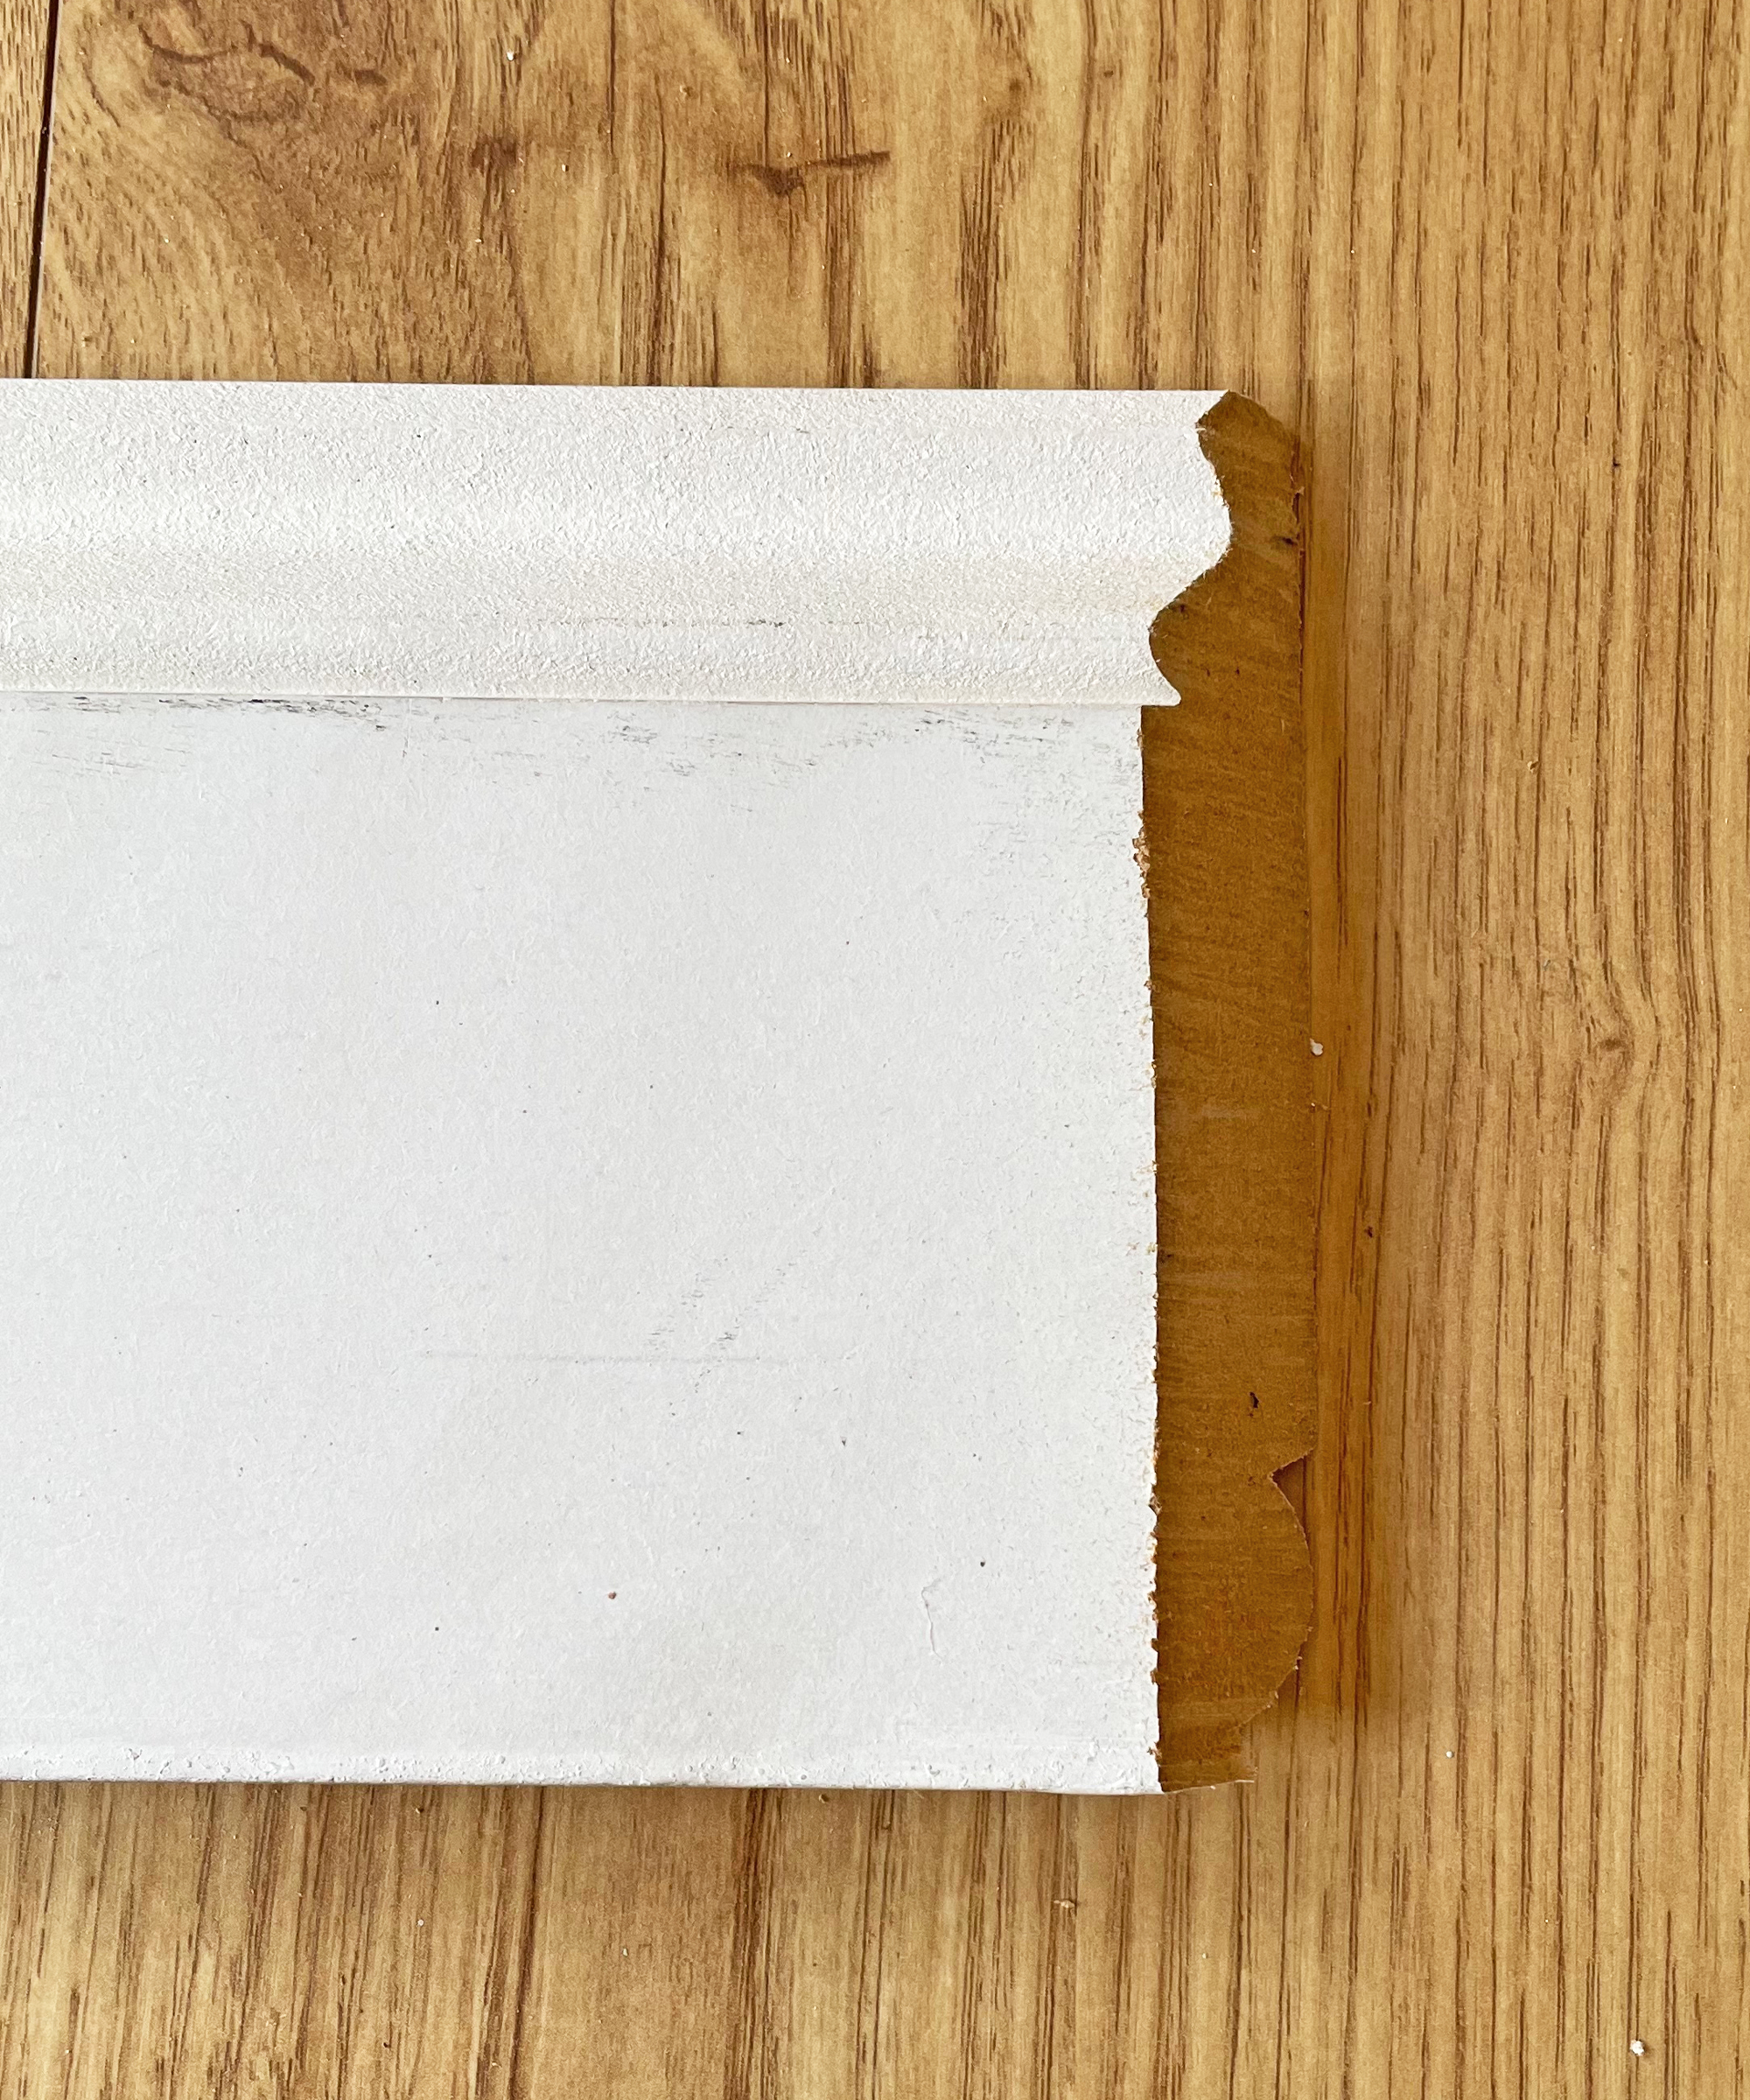
The next board you fit needs to be ‘scribed’ so it slots into the first board you have attached to the wall. To do this, first cut a 45-degree angle in the end of the new piece of board using a miter saw or miter box.
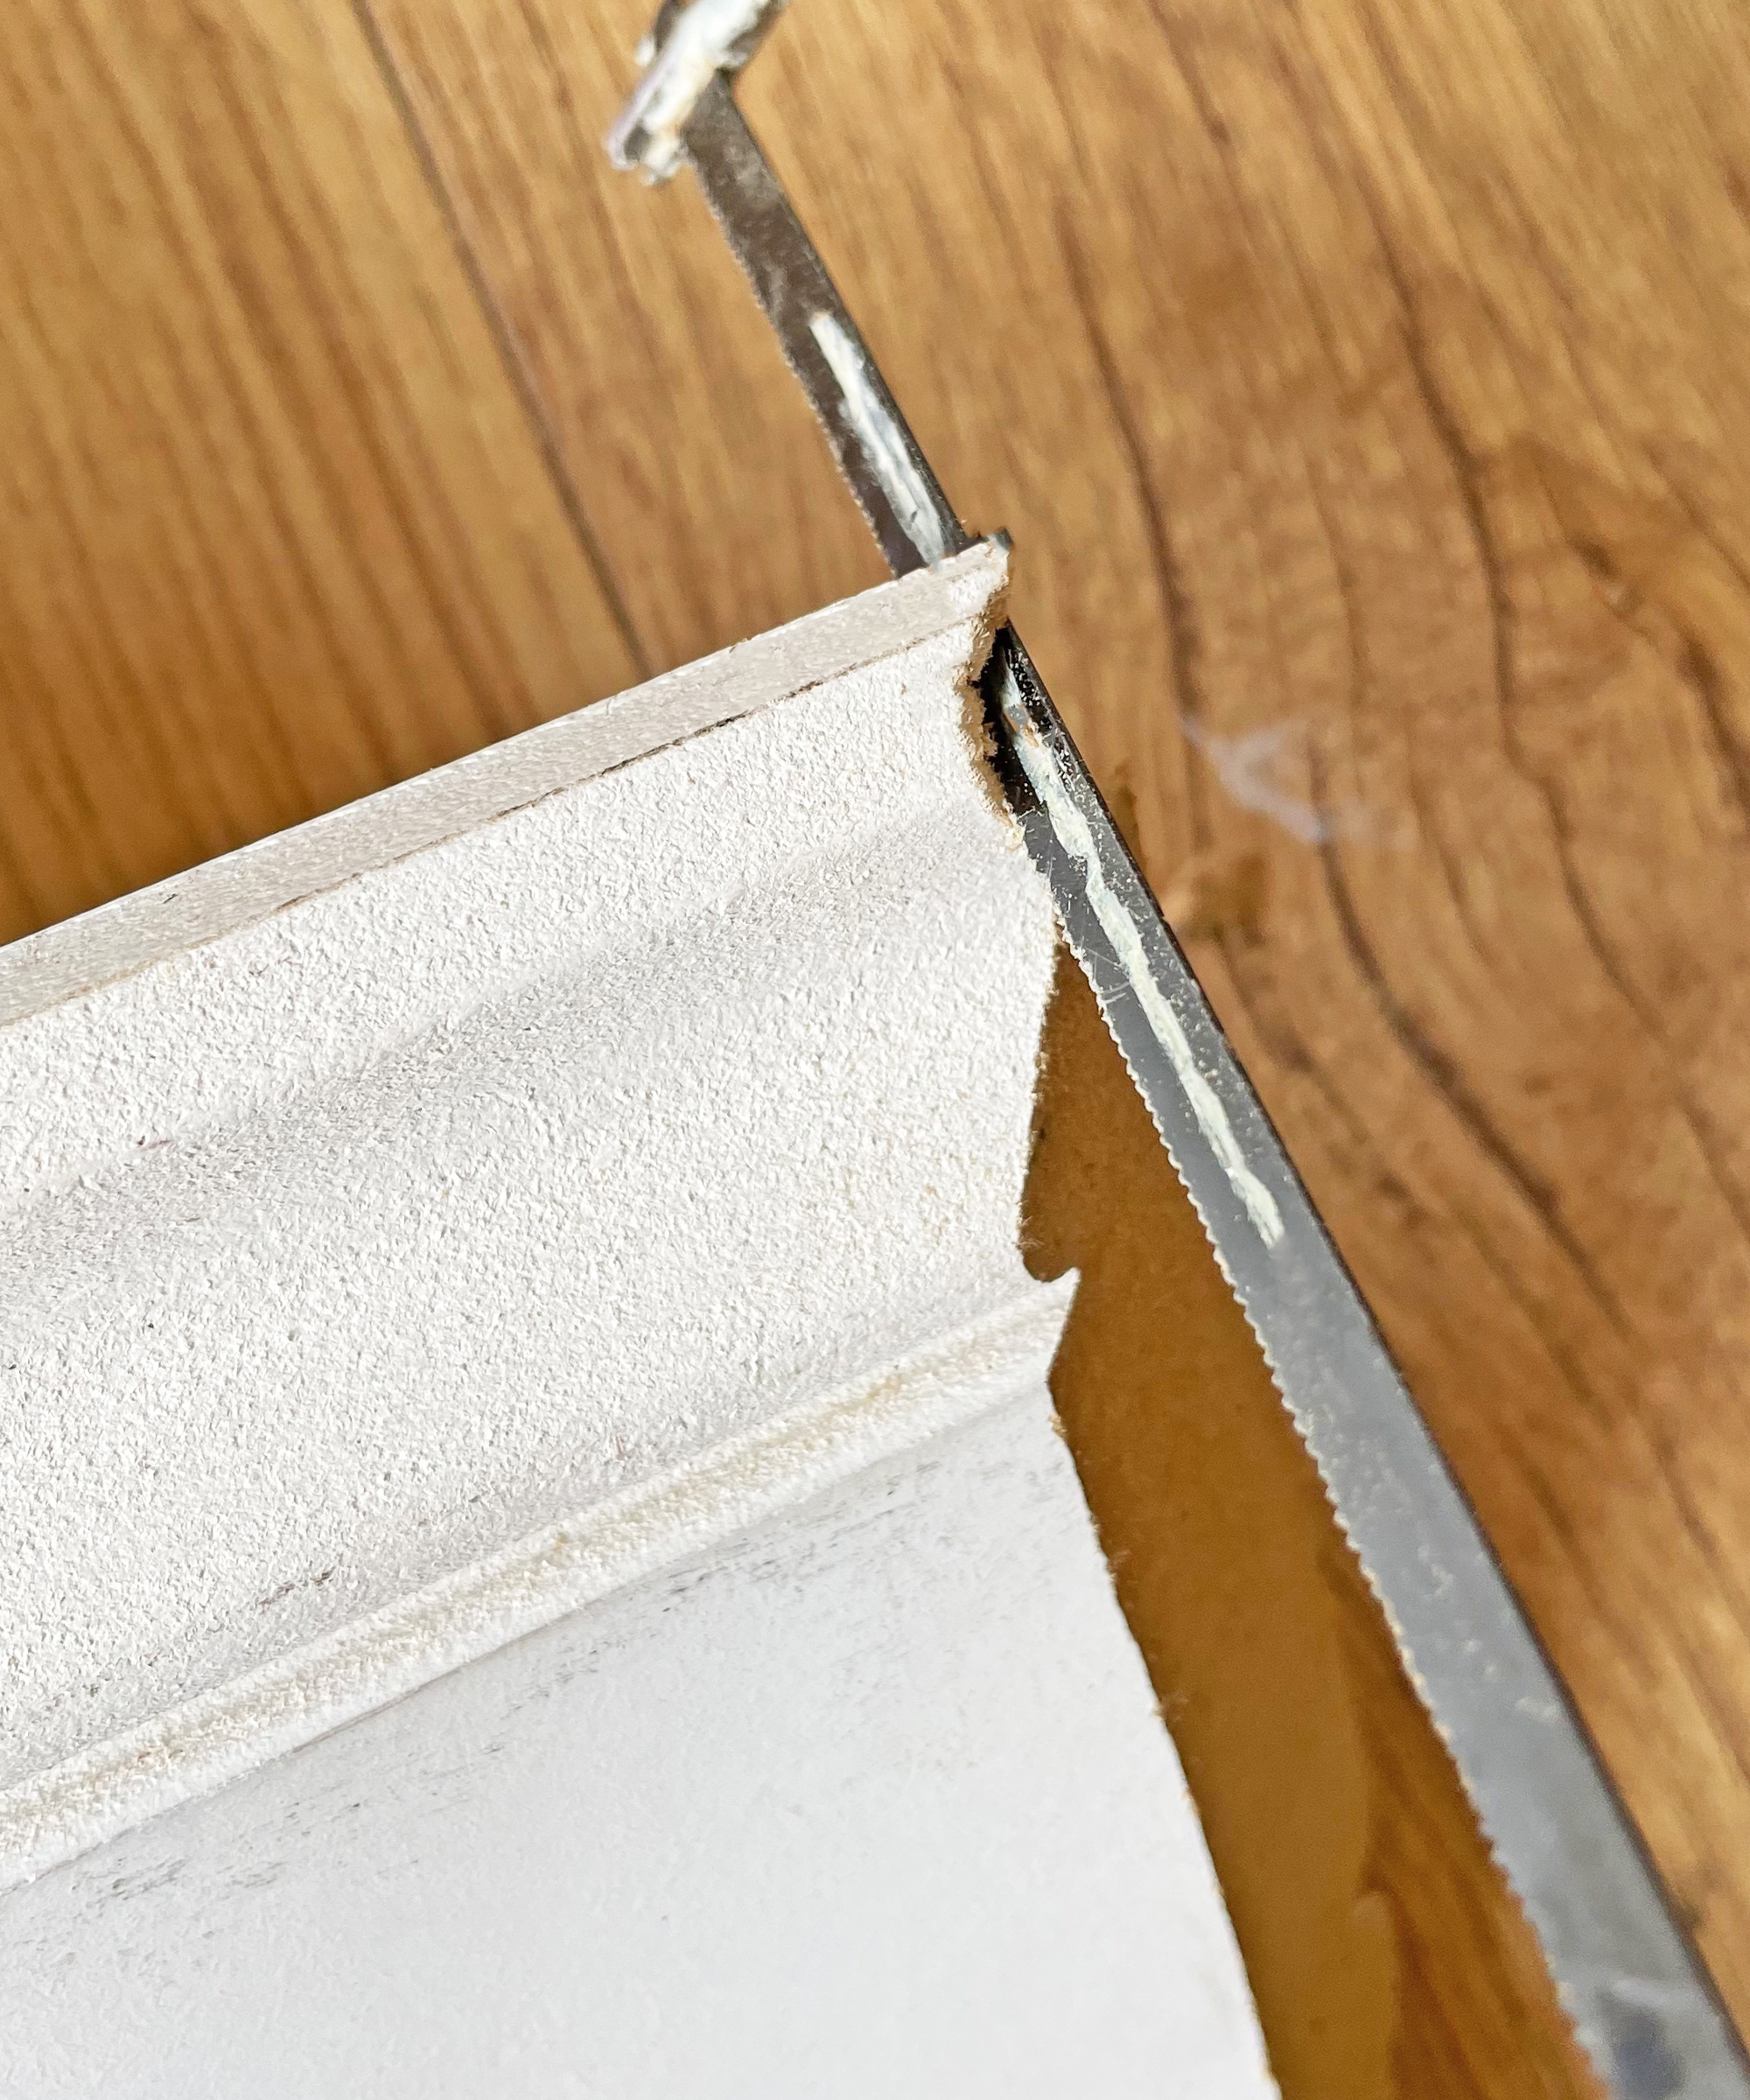
Then, use a coping saw to cut away the waste section. You’ll be left with the profile of the baseboard that will slot onto the section that is already attached to the wall. Practise with an off-cut first. This method is better than relying on two 45-degree cuts which only work when your corners are exactly 90 degrees and your walls are perfectly straight.
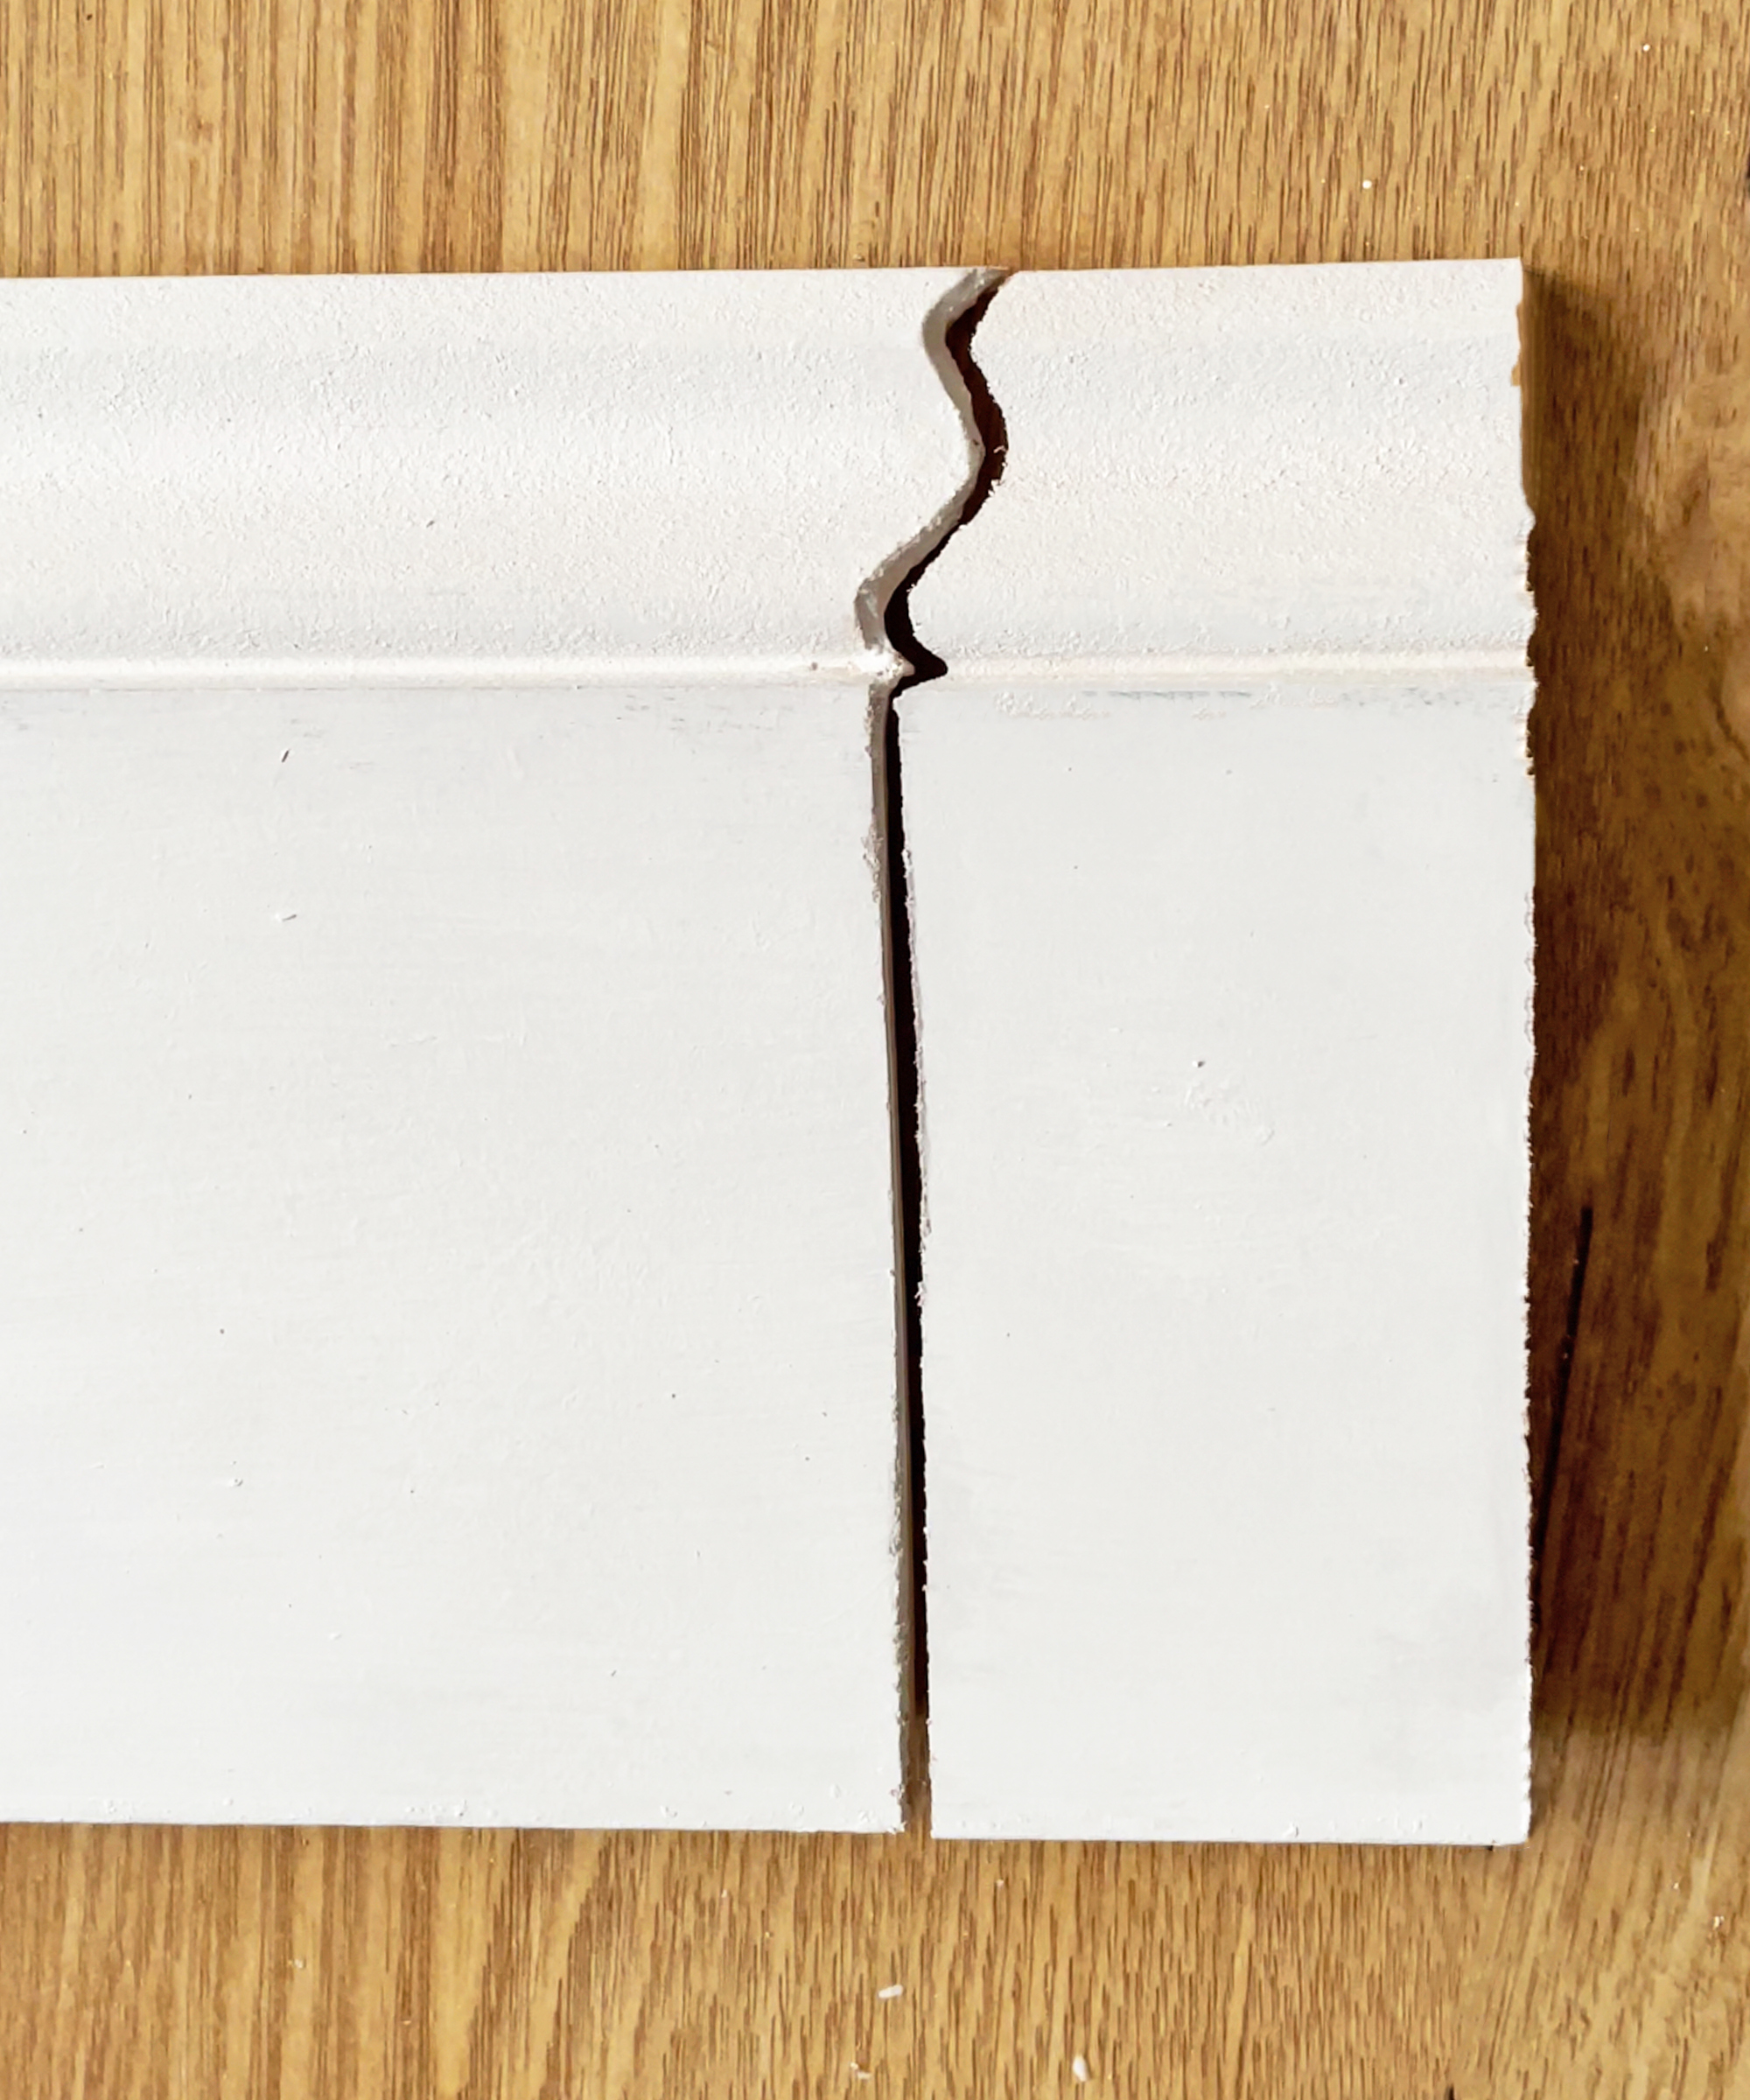
6. Check and fit
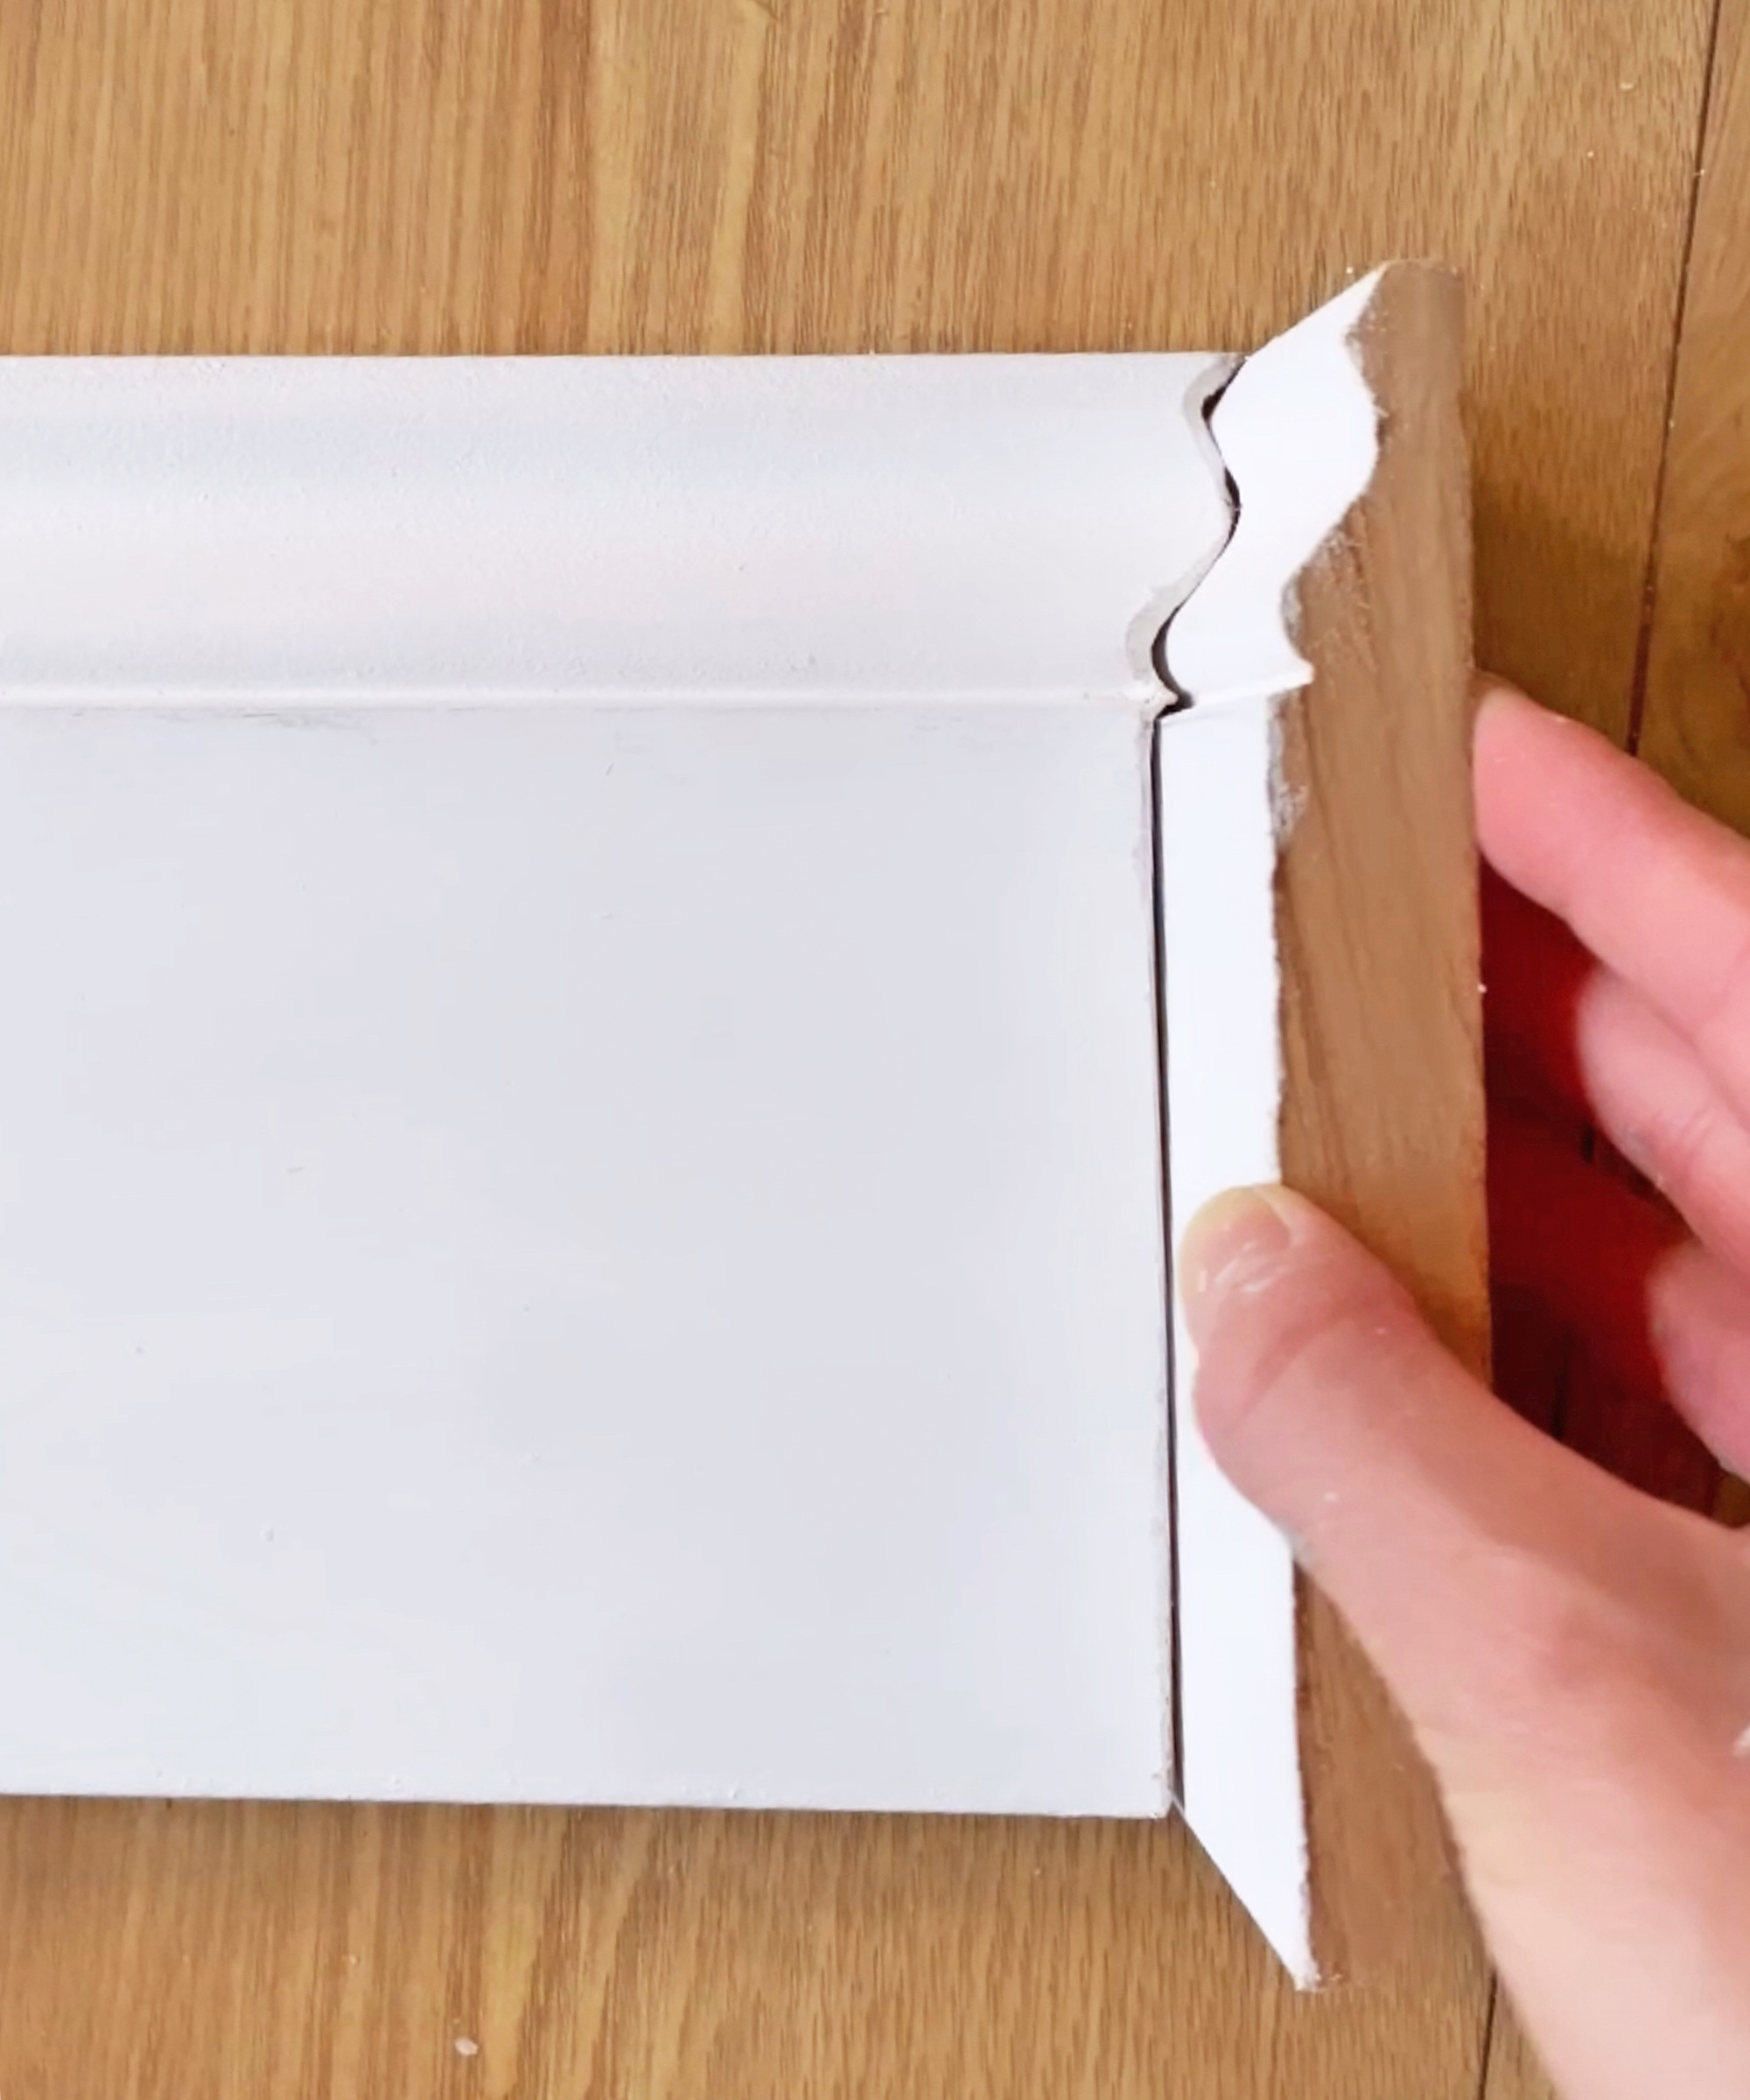
Check the board you’ve just cut fits cleanly with the one you’ve already attached to the wall. If you’re happy, cut or miter the other end of the board and then attach to the wall. Plan the way your boards go in so that you’re always fitting a square end to a scribed end, never scribe both ends.
7. External corners
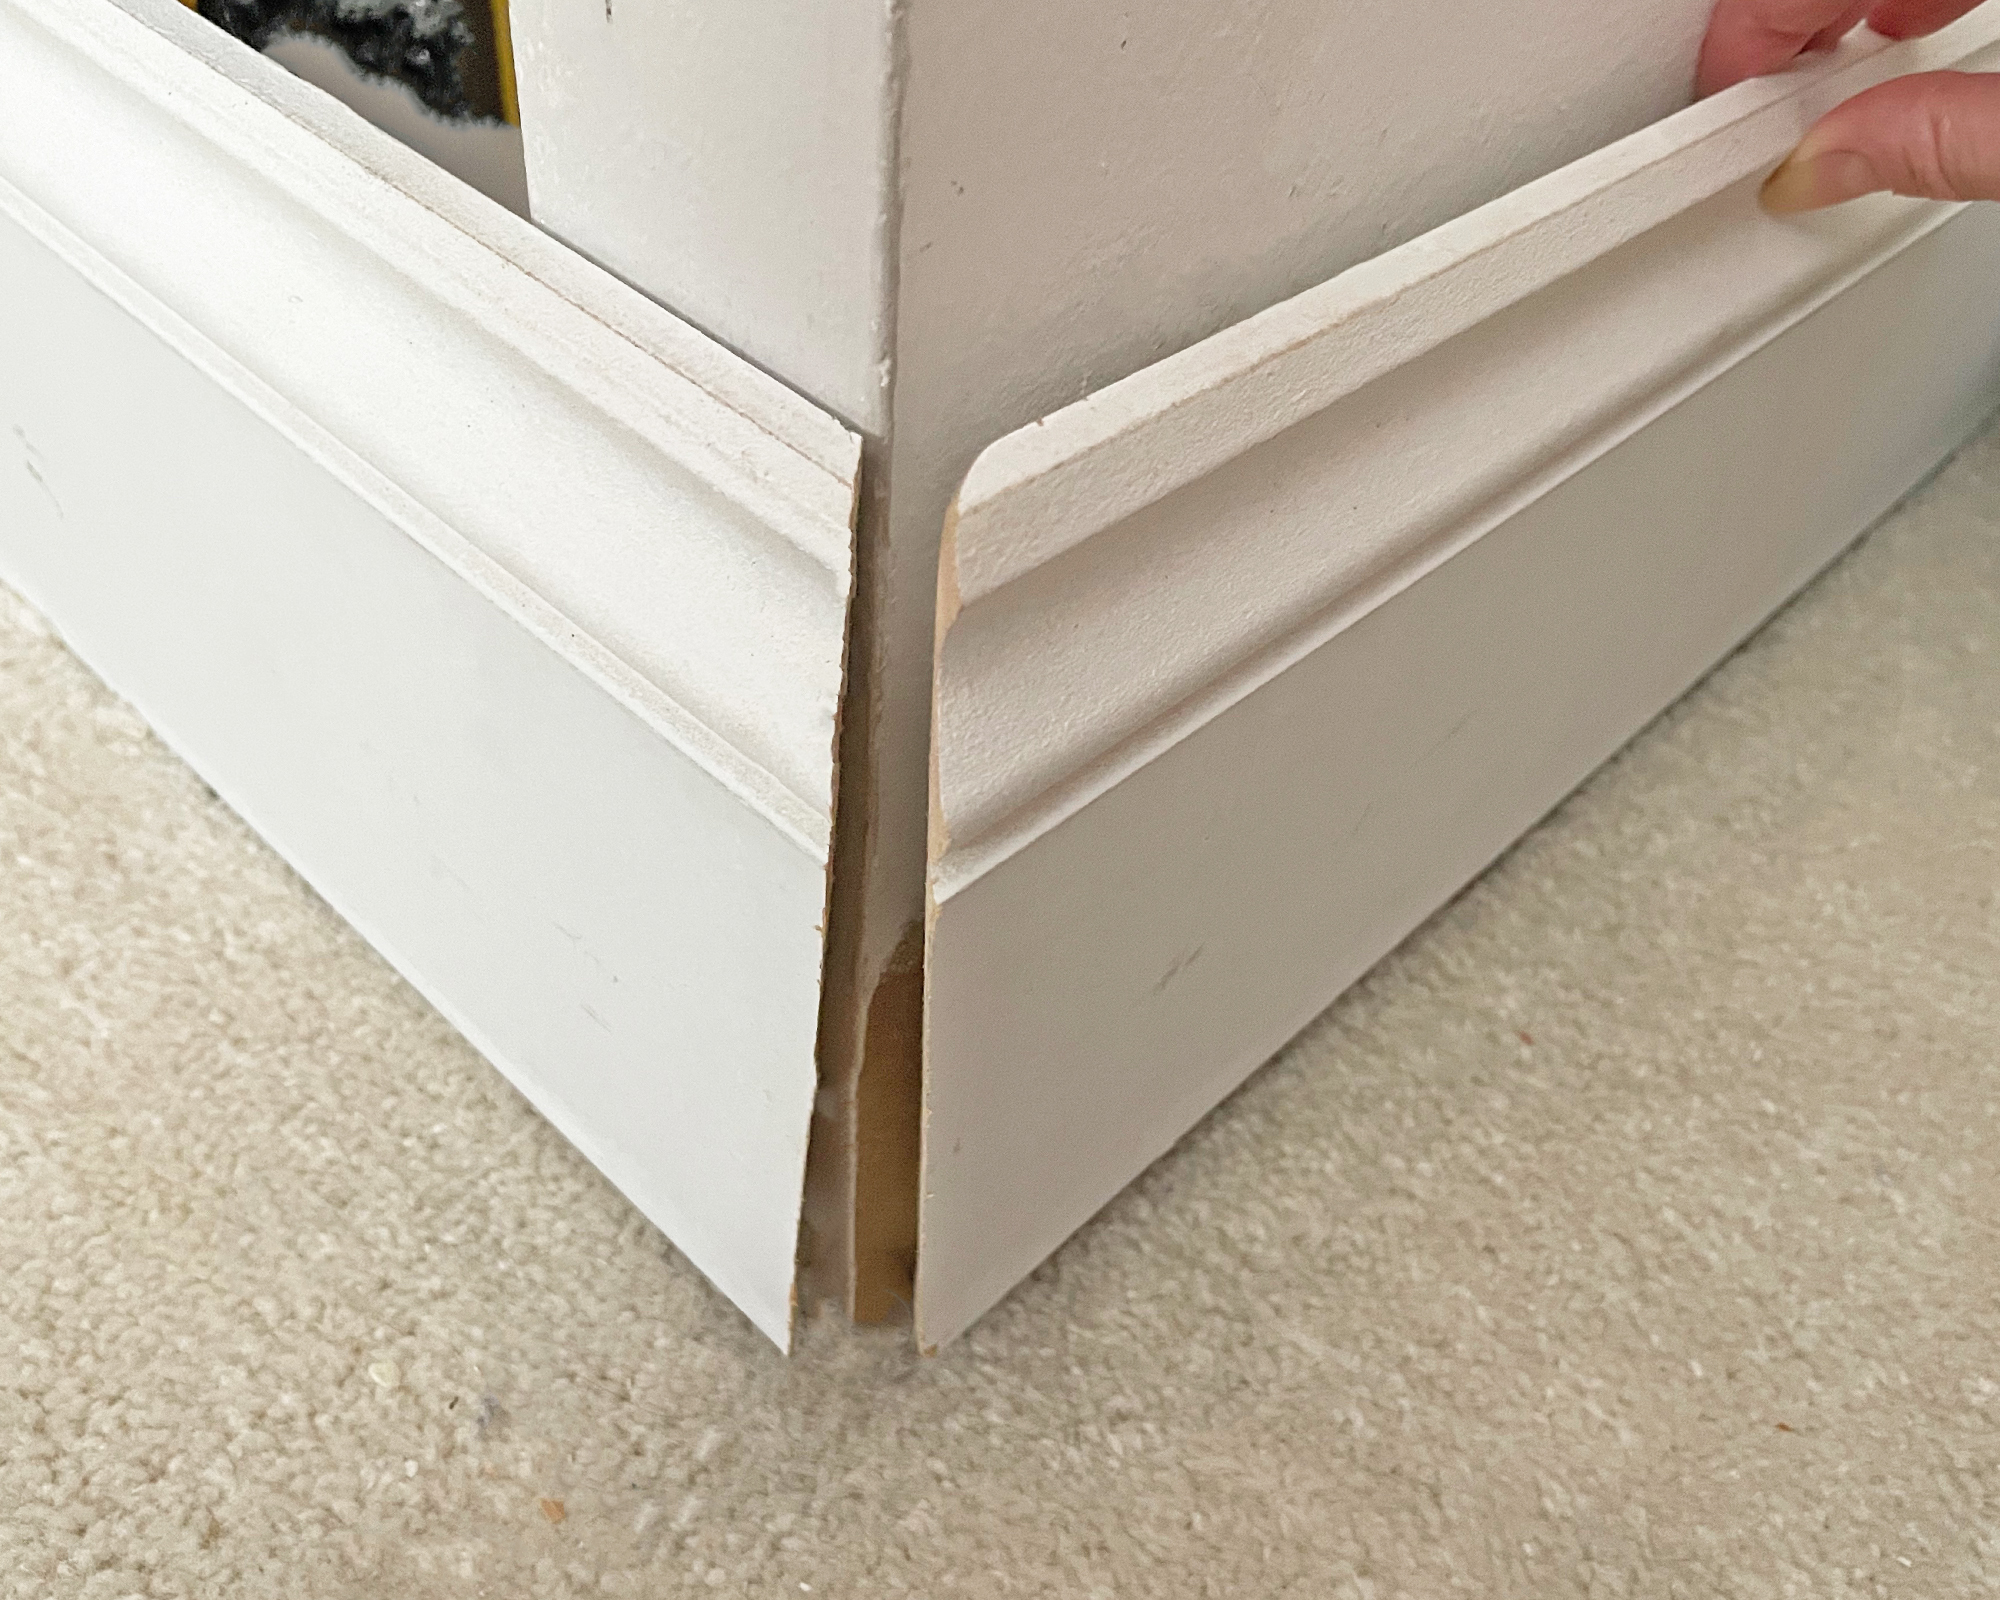
Where the boards meet on an external corner, miter both pieces at a 45-degree angle to create a neat join. Measure both boards to the corner and then mark this length on the back. Place the first board on the miter, line the saw, set at 45 degrees, up with the mark you made, and cut.
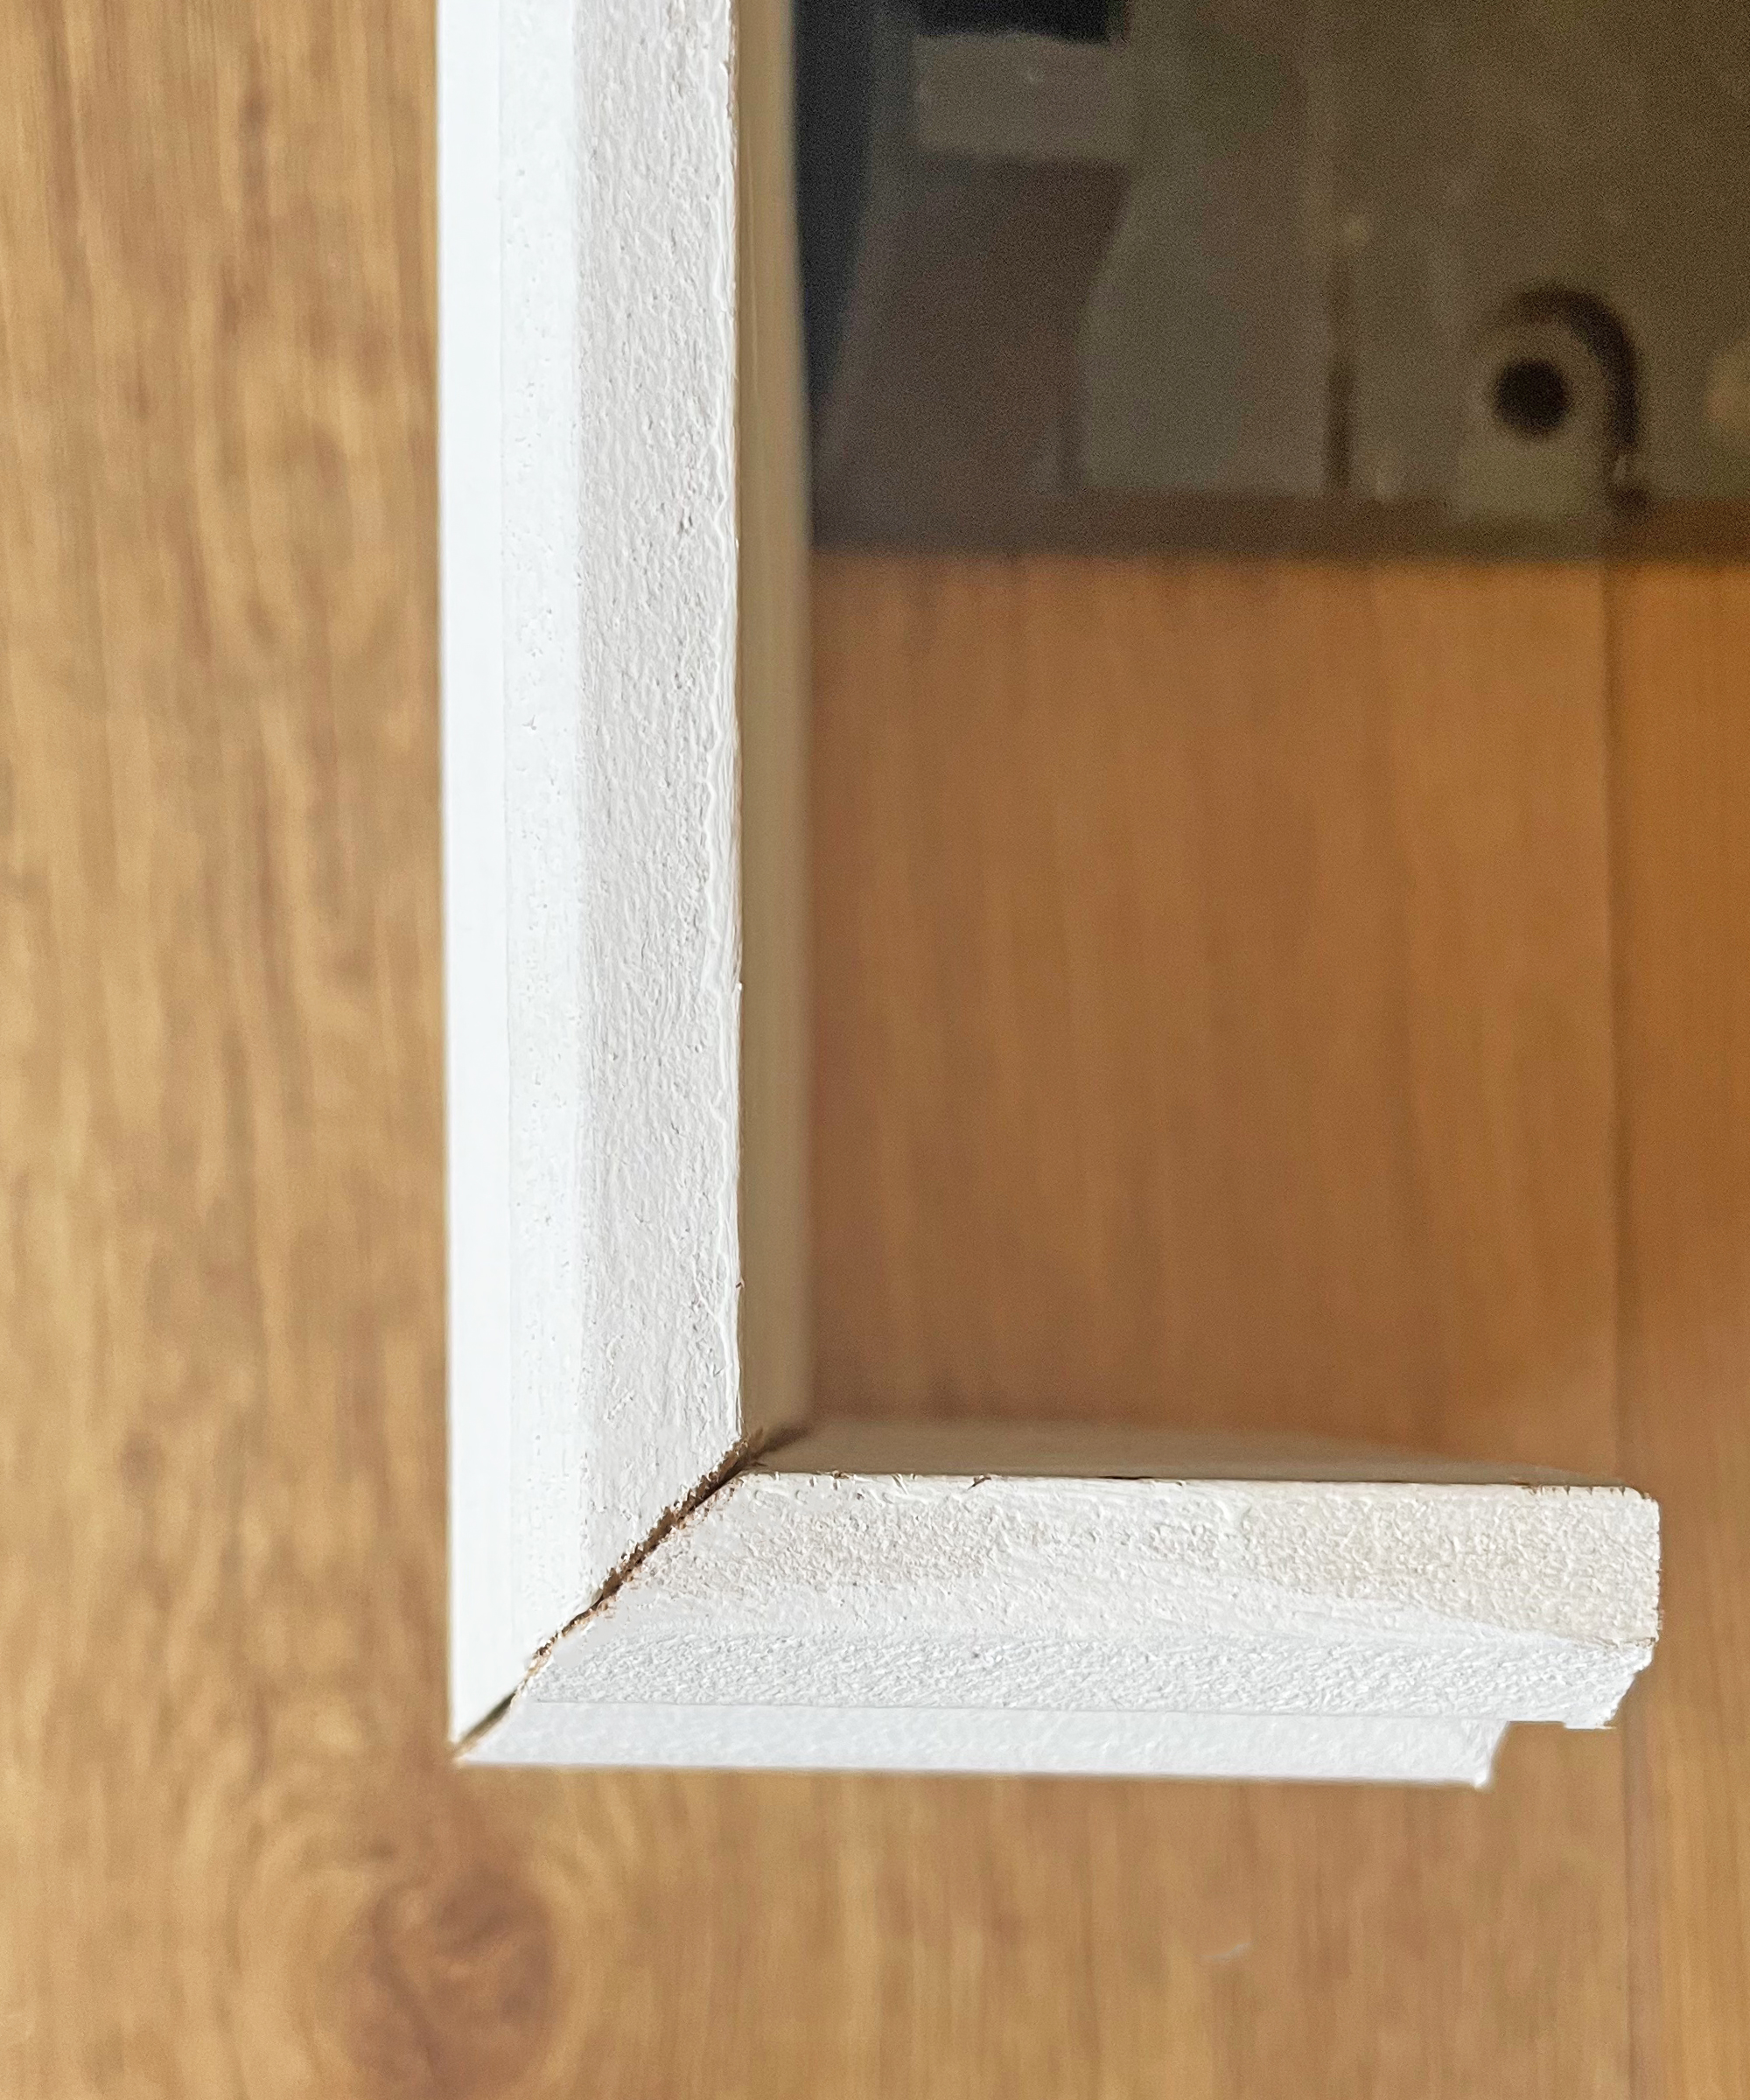
8. Cutting external angle
Make sure you cut the second board so that the 45-degree angle is in the opposite direction so that they meet. Create the opposite cut by moving a miter saw to the other side of its axis.
9. Adjustments
Always fit mitred external corners in pairs so you can adjust them to fit together accurately, rather than attaching one and then trying to cut another to fit.
10. Fill gaps
Once complete, fill any gaps between the wall and the top of the baseboard with decorator’s caulk and then run a damp finger along the join for a neat finish. Allow to dry before painting.
Remember to clean baseboards regularly to enhance your home's decor scheme!
What if my baseboards aren't long enough?
If your baseboards aren't long enough to run from corner to corner you will need to add a join along the wall. Ideally, joins should be positioned so they are hidden from view in the least prominent position possible, behind furniture (like a sofa or bed for example). If you need to join any pieces along a straight wall, the best way to do this is by using what's known as a Scarf Joint, this is where you cut the end of each piece you are joining at 45 degrees (in the same direction) so one piece slides over the other. Add some grab adhesive to the join and wipe off any excess with a damp cloth. You can add a nail or two to secure the seam and prevent the boards from moving out of position. Once the glue has dried, sand the seam of the joint until smooth, remove any dust and the joint will be ready for priming.

Hebe joined the Real Homes team in early 2018 as Staff Writer before moving to the Livingetc team in 2021 where she took on a role as Digital Editor. She loves boho and 70's style and is a big fan of Instagram as a source of interiors inspiration. When she isn't writing about interiors, she is renovating her own spaces – be it wallpapering a hallway, painting kitchen cupboards or converting a van.
