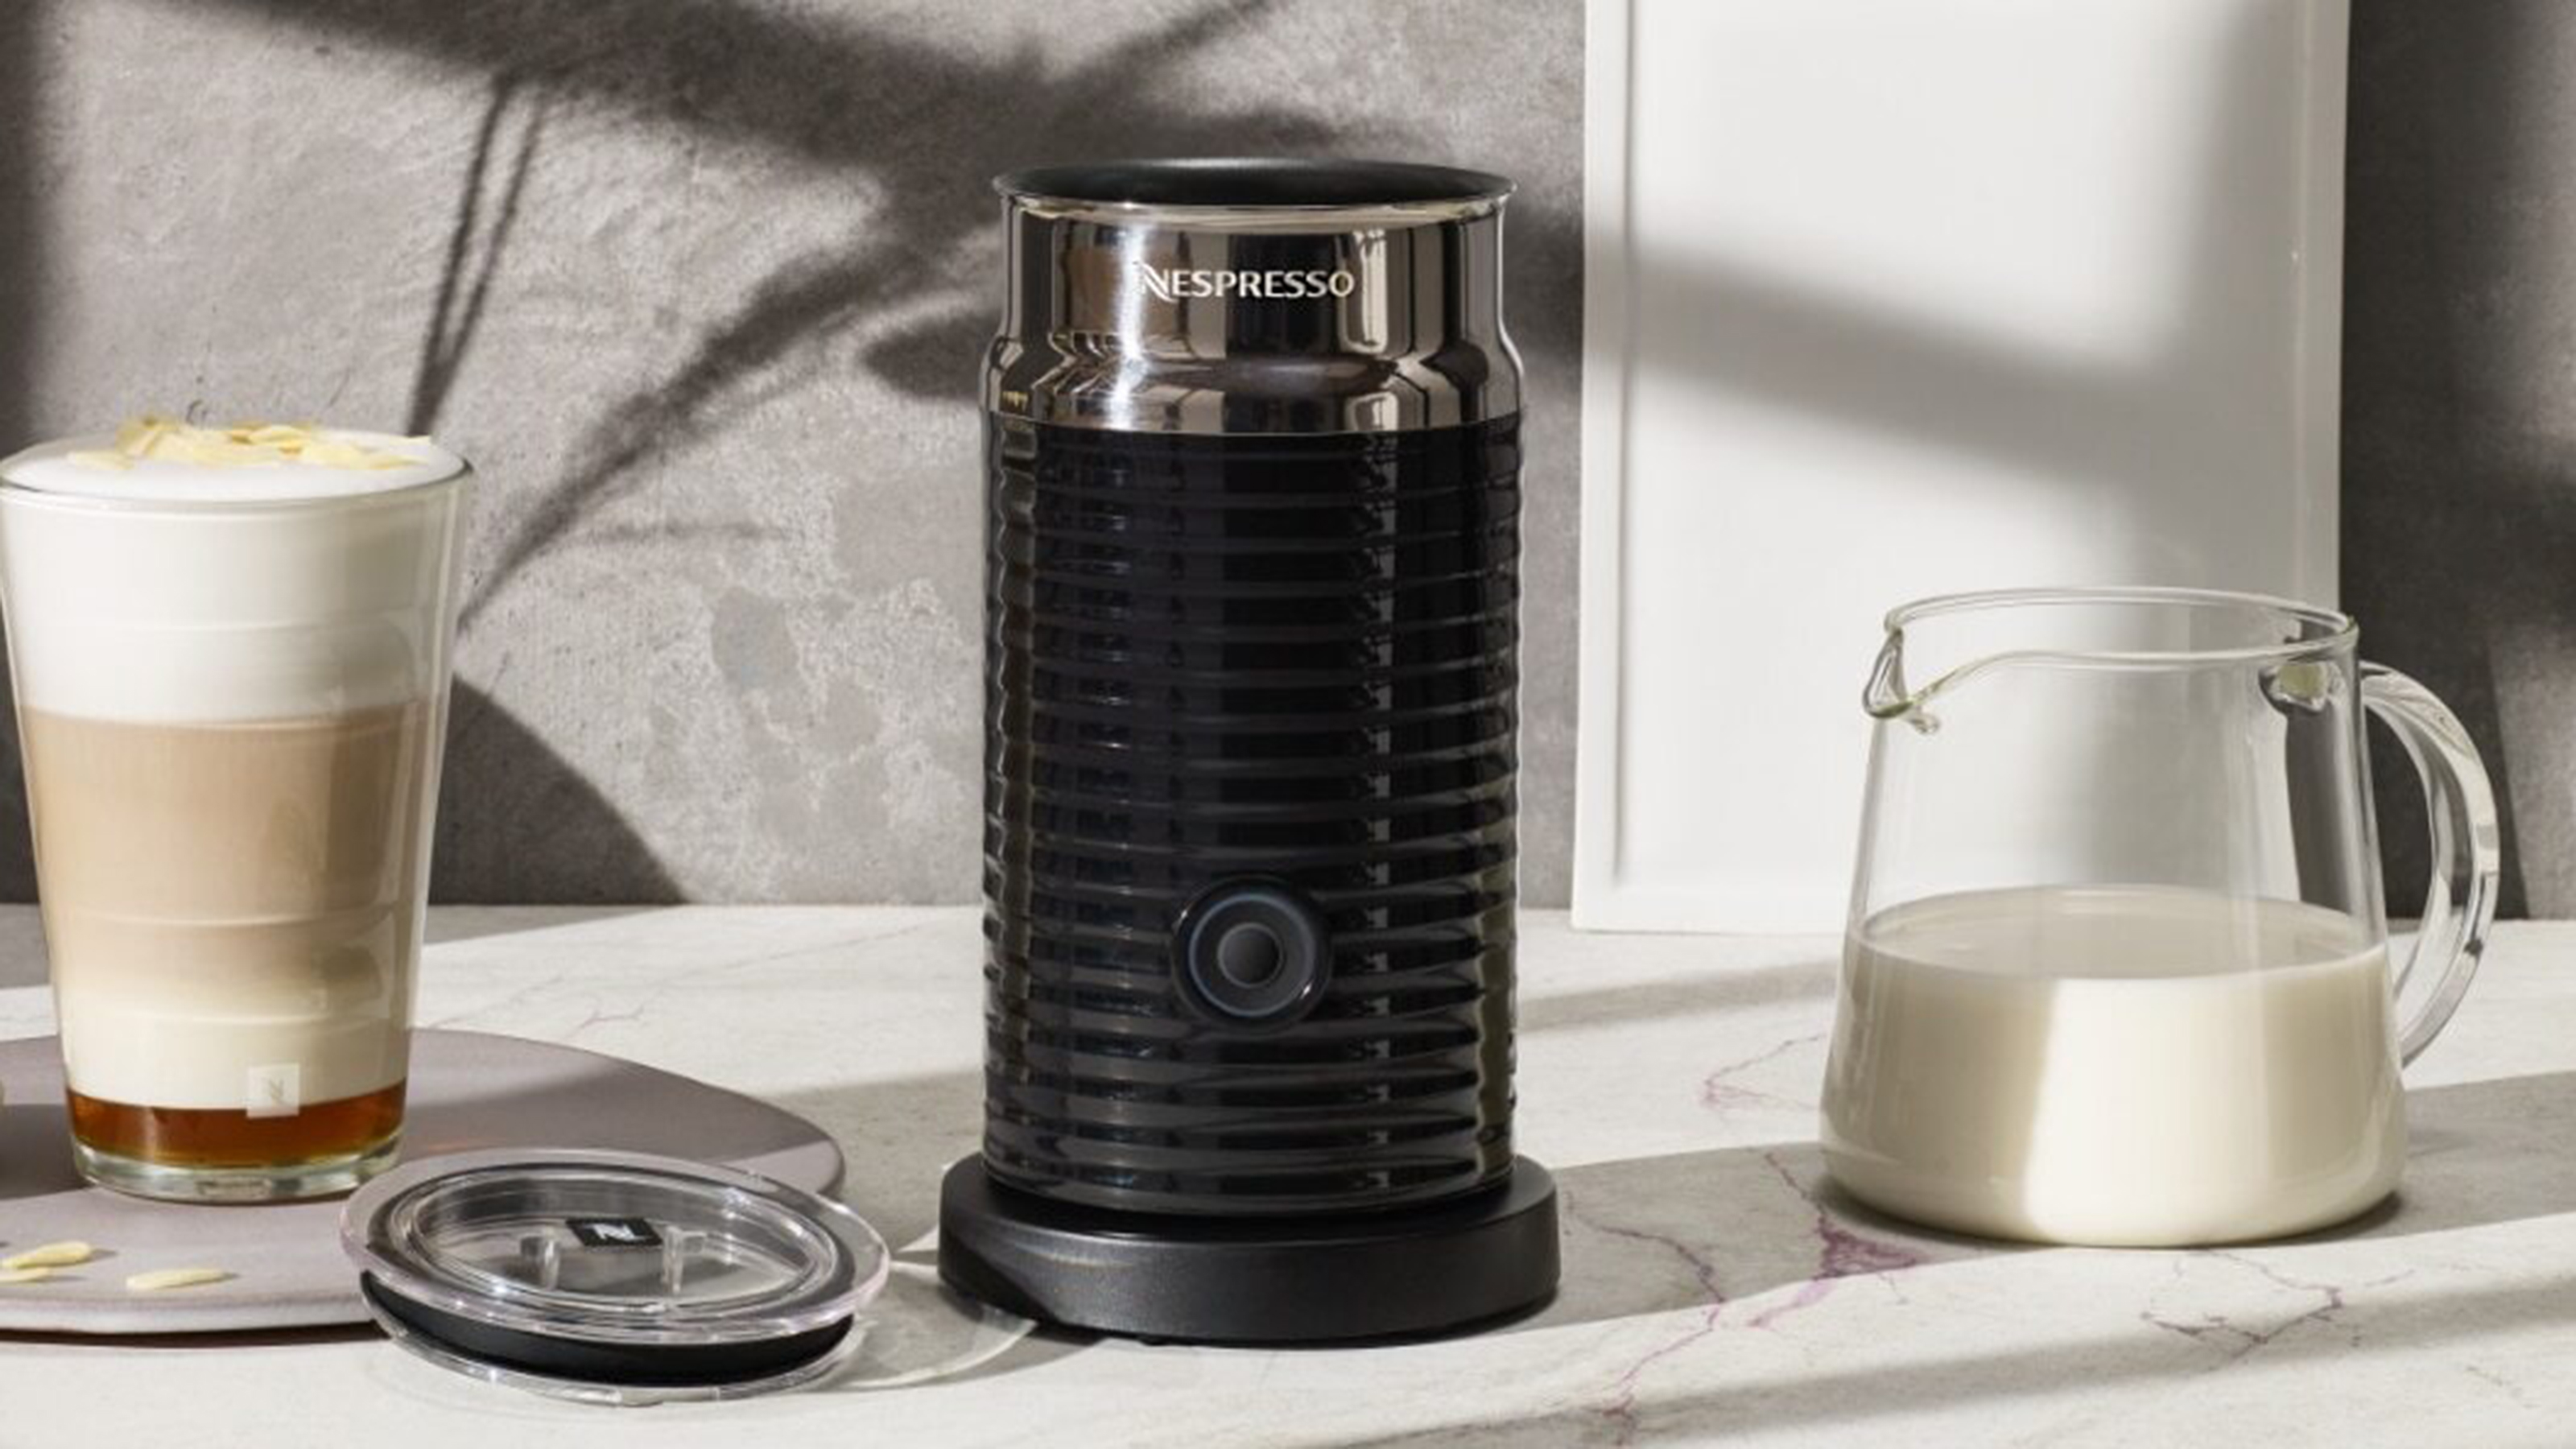

Want to know how to froth milk without paying hundreds or thousands for a professional machine? Let us show you a few budget-friendly hacks for making a fancy-looking, foam-topped drink.
The good news is, you won't have needed to work as a barista at the local java store, nor do you need to have the best coffee maker on the market. And, one of the milk-frothing methods is free... yep, no specialist milk frother needed – it's all in your hands.
Some techniques work better than others (even the type of milk and temperature can determine the quality of the result). But it's worth demonstrating a variety of ways you can make coffee with an attractively aerated look and luxurious mouthfeel for less at home.
Learning how to froth milk without a frother is great for when you go on vacation and can't move your trusty machine with you.
How to froth milk using a coffee maker steam wand
Making a black coffee (be it an espresso or Americano) is step one to a delicious beverage. If you take your coffee with cream or milk, then why not explore the milk-frothing feature on your machine? Not only can you create the creme-de-la-creme of creamy caps, but this function is also great for foaming up milk for coffee art.
'We believe great coffee should be simple.' says Chloe Taylor, resident barista at Breville.
'As people are making coffee at home more than before, we’re enabling them to make café quality coffee with our range of machines, including barista-worthy frothed milk.'
So, if your order is a cappuccino or latte, you will want to read on.
'Creating microfoam for milk-based drinks can be tricky to master, especially without the right equipment, but it couldn’t be simpler with our latest launches, thanks to their inbuilt, cool-touch steam wands.'
So how do you use a steam wand to make that perfect cappuccino?
How to:
- Fill up a metal pitcher jug to the base of the spout with the milk of your choice. Ideally always use milk straight from the fridge and a cold jug, as this is better for producing a good microfoam.
- Purge the steam wand before frothing to remove any impurities from previous use and to ensure the wand is clean and up to the correct temperature.
- Hold the tip of the steam wand just under the surface of the milk to create a whirlpool, holding the jug at a slight angle. This part is called ‘stretching’ and refers to the process where you heat the milk and create your desired amount of microfoam. Ideally, you are looking to replicate the noise of a hushed whisper, if the wand is making a screeching noise, you may need to reposition the wand.
- When the milk reaches temperature, lower the steam wand under the surface whilst maintaining the whirlpool. Keep steaming until the milk reaches 65ºC, or until you can no longer touch the surface of the pitcher
- Bang the jug onto your worktop to break up the larger bubbles, then swirl the milk to achieve the ideal microfoam and silky surface. Let your inner barista shine at this point!
- Tilt the cup with the espresso slightly and pour the milk in the middle, from a 10cm height whilst slowly straightening the cup and lowering the milk jug as it fills.
Though we did mention in our Breville Barista Max review that the milk frother could have been a little more powerful, it's a great entry-level machine for those wanting to show off their skills to guests.
Frothing milk for your favorite classic coffee drinks
'It's the texture and ratio of the milk that differentiates milk-based coffee drinks such as the cappuccino, latte, and flat white, making it (arguably) the most important factor to get right,' says James Gray, founder, Barista & Co.
'Nowadays, most modern coffee machines come fully equipped with a steam wand, making the milk frothing process quick and effective. The exact process for frothing milk varies slightly based on the drink and texture that is desired, but the basic technique is transferable throughout'.
'The aim is to create a vortex in the milk. This motion, as well as moving the milk pitcher up and down on the wand, allows air to be incorporated into the milk, increasing the overall volume – there will be a change in pitch as this process occurs.'
'A latte requires two-thirds of silky, steamed milk with a thin layer of frothed milk on top, creating distinctive layers. The milk for a cappuccino can be referred to as microfoam, meaning it is fluffier and more velvet in texture. This is the thick layer of dry foam that sits on the top of the drink.'
Ways to froth milk without a coffee machine
If you're making coffee without a machine (or have a coffee maker without a steam wand ie: a capsule-based pod machine), you can still have your foamy finish. You might just need a few more pieces of equipment, that you'll find in your kitchen.
'Before we get to frothing we need to heat up milk and we want to do this in as controlled a manner as possible as we want to reach 60–65°C (140–149°F) for cows' milk and 55–60°C (131–140°F) for most milk alternatives,' says Luke Powell, manager, specialty coffee EMEA at Sage.
'I prefer using a microwave as with a little trial and error you can find the perfect time to get to the right temperature, for me 1min 20secs on 900W gets 8oz of alternative milk to 60°C/140°F.'
N.B: If you've done that thing of spinning the dial timer for too long, and the milk has made a mess on the turntable (as it likes to do), you might need some advice on cleaning a micro-oven. We've got a guide on how to clear up the mess and any funky odors so you don't have to cry over spilled milk.
You can also use a saucepan on a hob, with a food thermometer, as Joe Authbert, buying manager, ProCook explains.
He says: 'Frothing milk to add to drinks can add a lovely creamy, airy texture to drinks. If frothing milk for a homemade cappuccino or latte, be sure to heat the milk in a saucepan before frothing as this will provide you with a sweeter taste,'
'The sugars found in milk, are unable to dissolve at colder temperatures, however, when heated, they can dissolve resulting in sweeter milk which is perfect for coffees. Heat it in a small milk pan for 30 – 60 seconds or until it’s simmering (or reached approximately 70°C before frothing for the best results.'
Option 1: use a cafetiere
'If you love coffee you most likely have a cafetiere (or French press). In addition to making beautiful filter coffee, you can use this to froth milk,' says Powell.
'I wouldn’t judge yourself too harshly as although latte art is possible with this method, it will take quite a bit of practice. This is great if you don’t mind getting great latte art and are making a lot of milk-based drinks at once.'
Here he explains how to froth milk with this plunger-based device.
- Firstly, give it a good clean and rinse with hot water.
- Then fill with your desired amount of hot milk (or milk alternative) and churn the filter plunger until the desired level of froth is achieved. This can either be poured into your waiting coffee directly or decanted into a barista-style pouring jug and you can try your hand at latte art.
Option 2: use an electric mini whisk
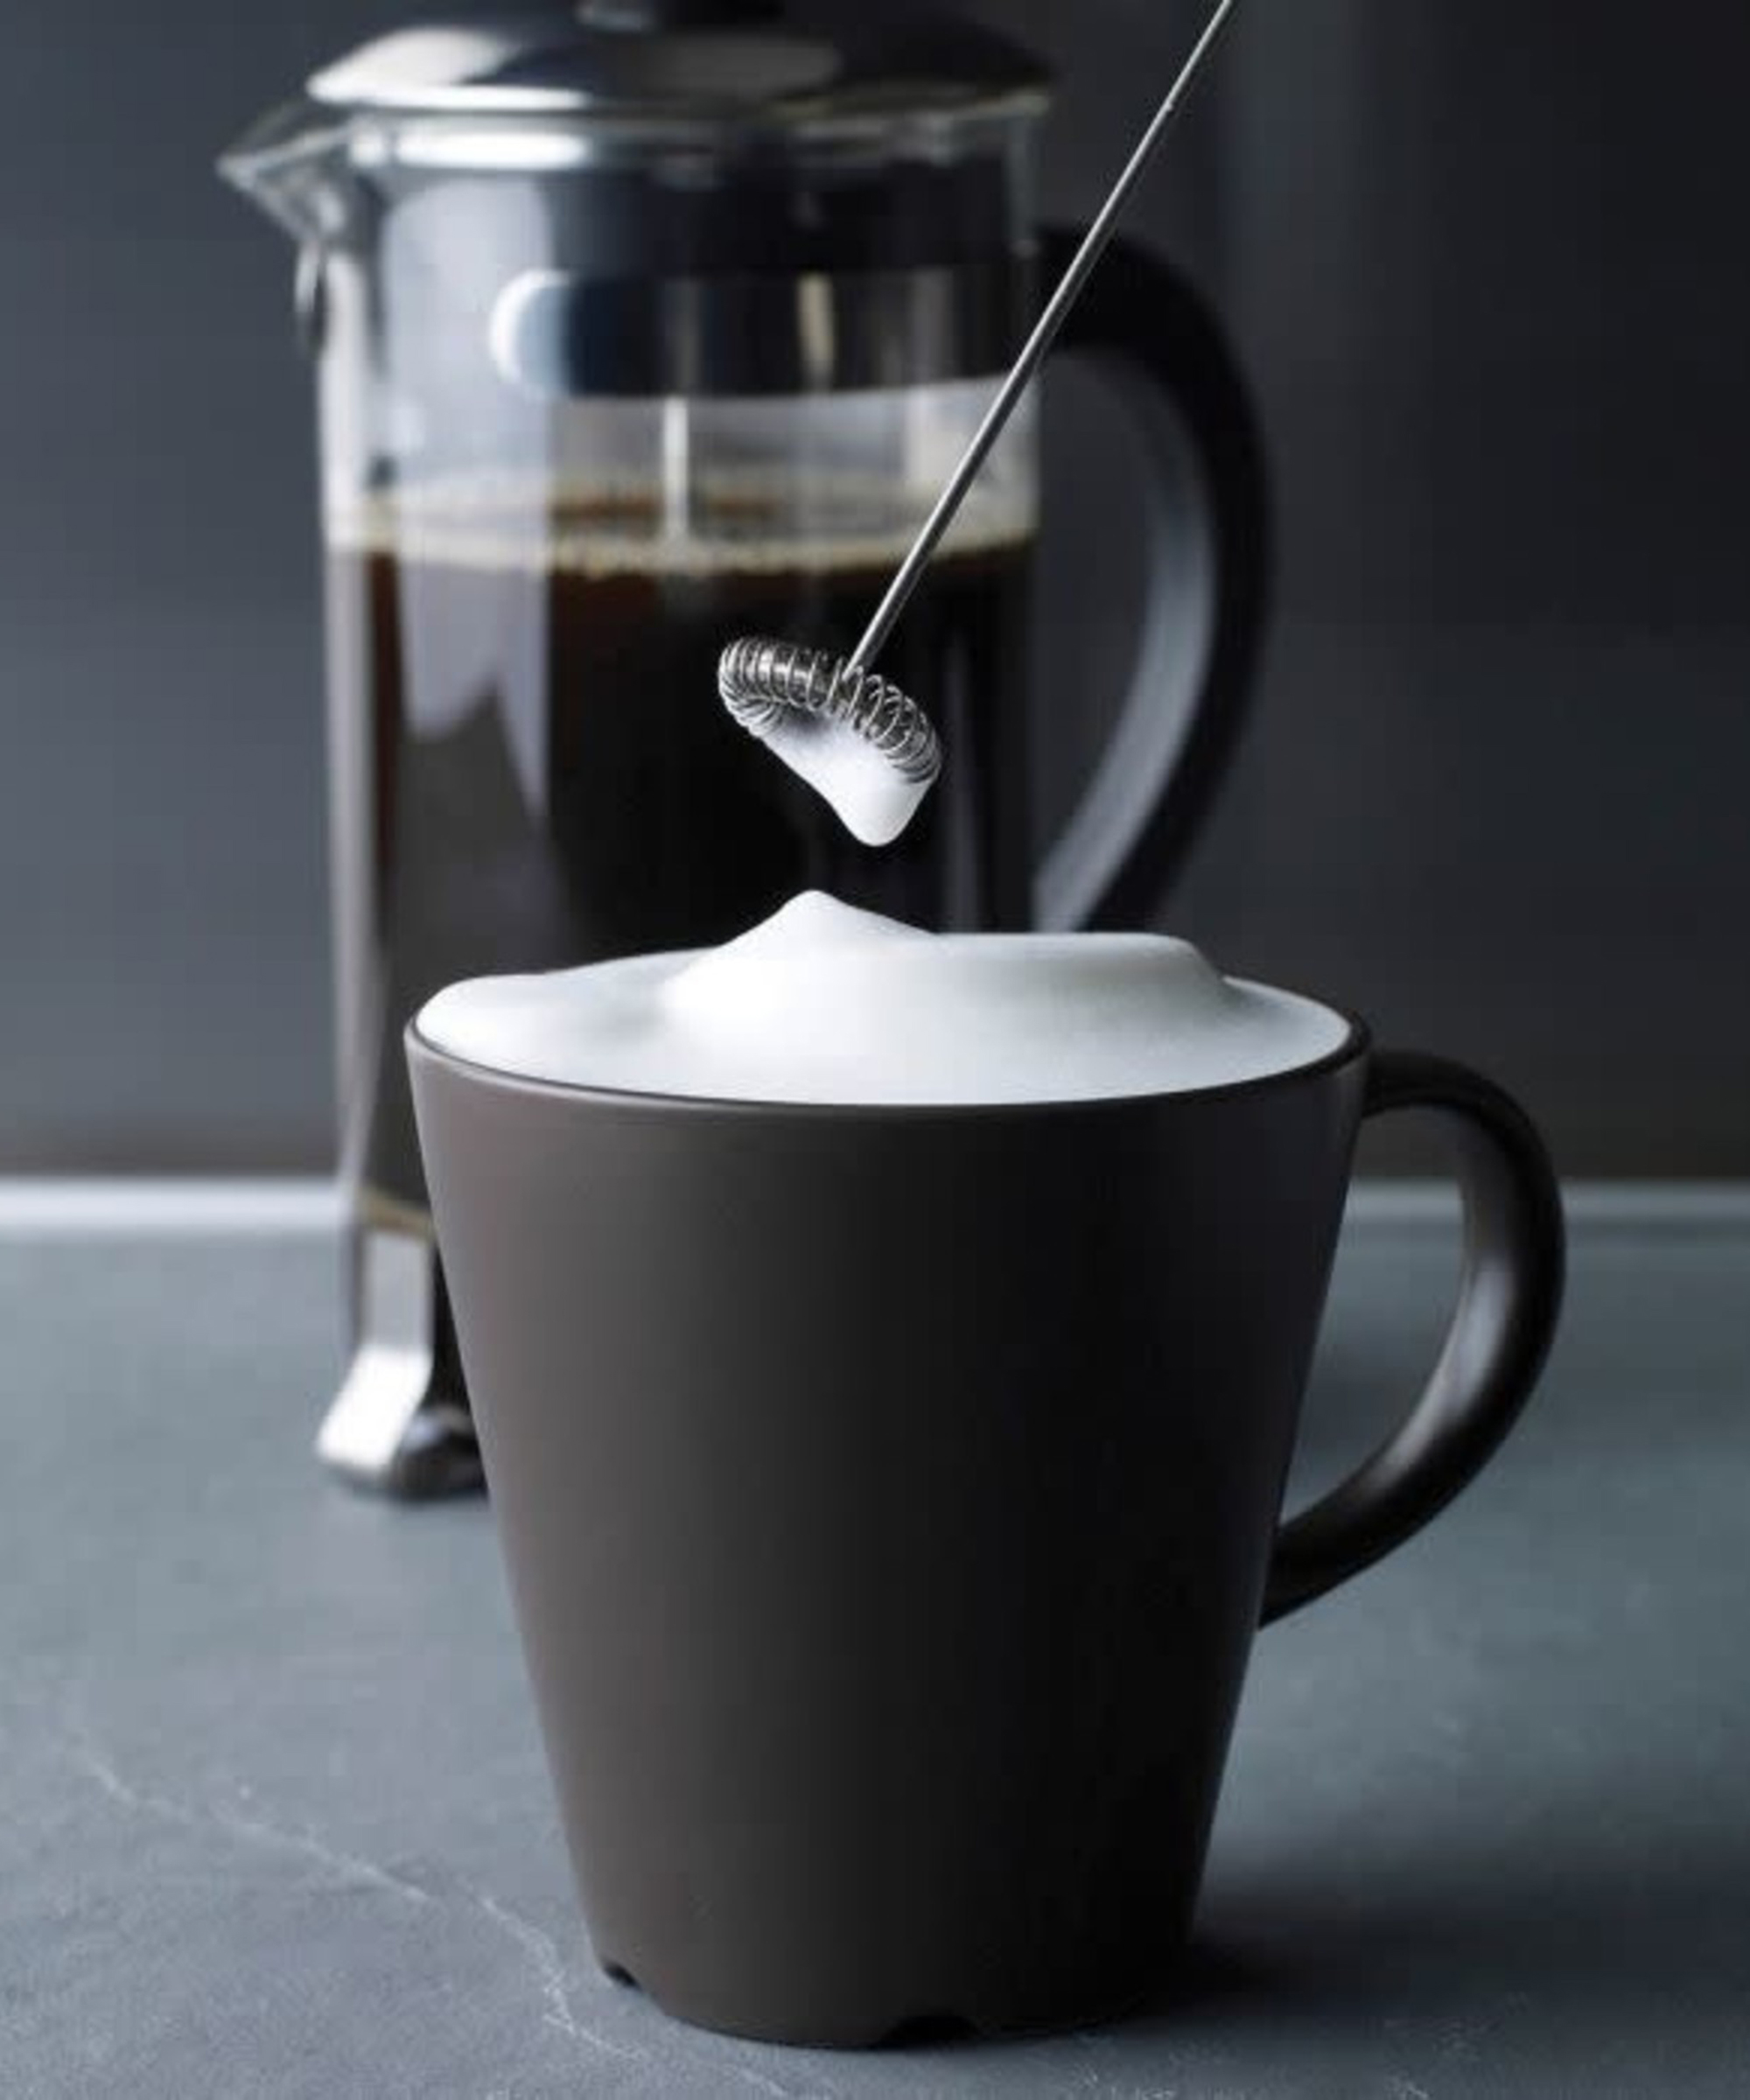
'There are a lot of brands, I’d personally recommend Aerolatte or Nanofoamer, of electric whisk that you simply stick into your heated milk just below the surface until you get your desired milk consistency,' advises Powell.
'This is super easy and can develop a lot nicer milk quality. This is a great method if you’re just making one or two drinks and want to try your hand at some fancy latte art pouring.'
'Between using a cafetiere and this, my preference is the mini whisk as its far more controllable, and although a minor investment means you can create pretty good quality milk foam to explore how much joy a flat white in the morning brings you before you take the plunge and buy a Sage coffee machine.'
They are small and will fit in a utensil draw no problem too.
Option 3: use a countertop electric milk frother
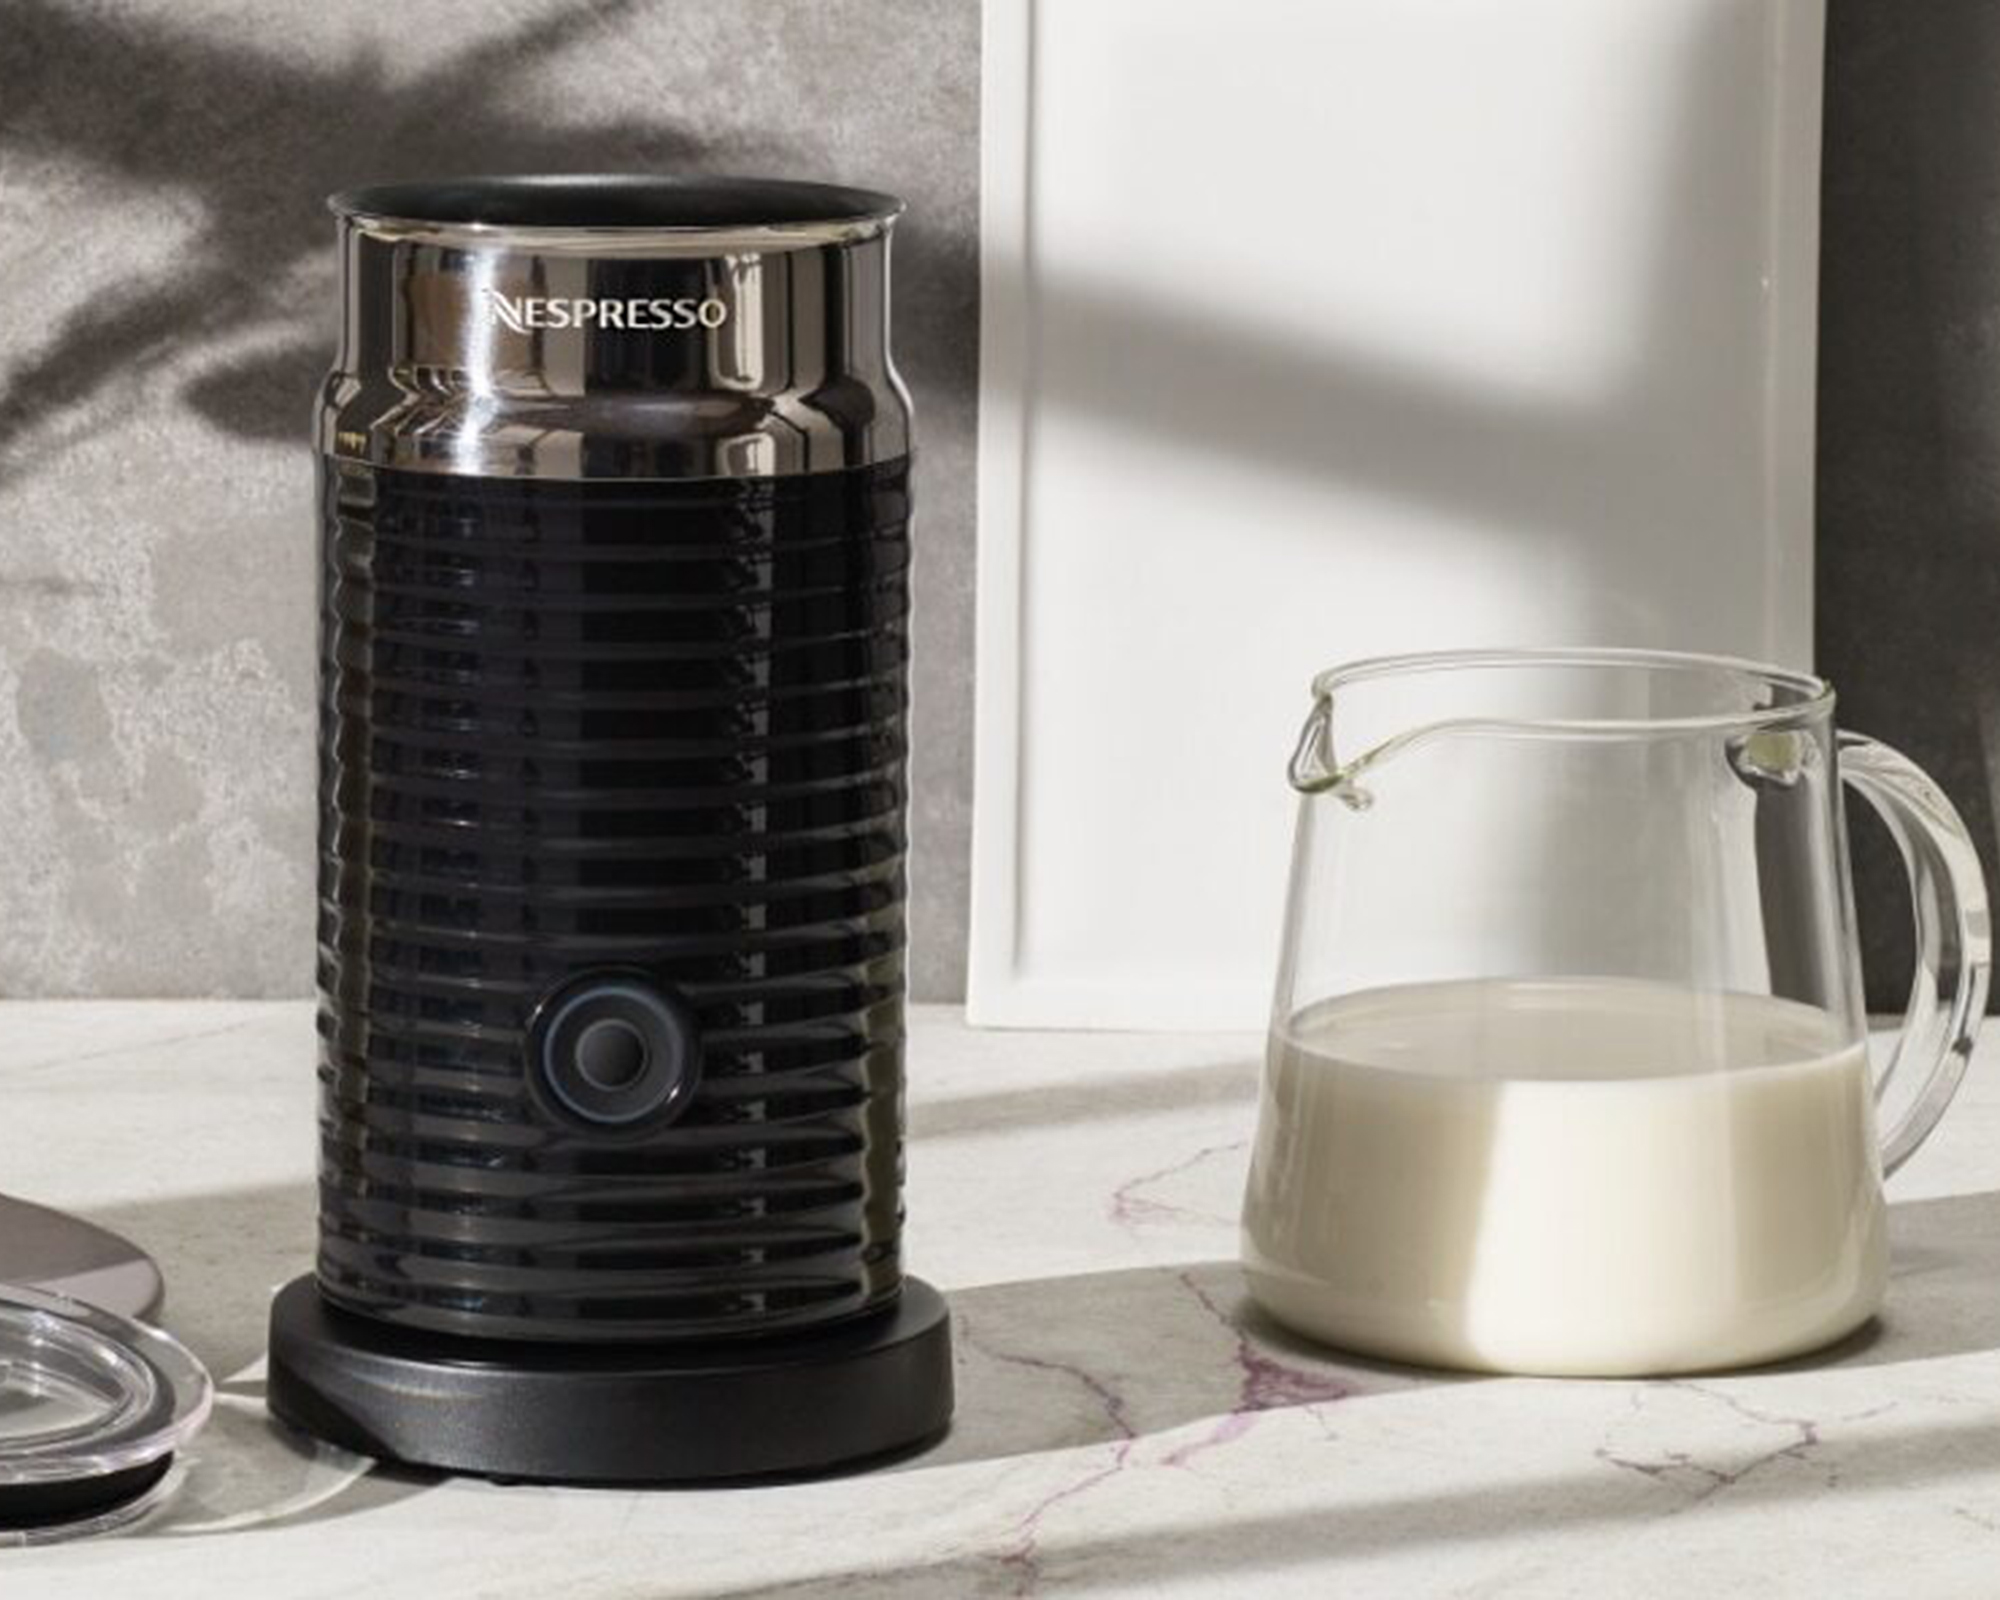
There are many countertop milk frothers available, but one of the most widely recognized is the Nespresso Aeroccino4 milk frother, available on Amazon. With its glam metallic appearance and ribbed silhouette, it's also right up there in terms of aesthetic appeal.
Brian Mulay, specialist product QA/QC, Nespresso says: 'To get started using your Aeroccino, simply attach the relevant whisk, pour the desired amount of milk up to one of the two “max” level indicators, place the milk jug onto the base, and press the button to start (the Aeroccino stops automatically when milk is perfectly frothed).'
'For hot preparations, briefly press the button. For cold milk froth (perfect for iced lattes!), keep the button pressed for approximately two seconds. Voilà, latte-art-ready milk froth is ready for your sipping enjoyment.'
Watch the video below for instructions on how to froth milk perfectly. Once you're done, put everything (but the base) in your dishwasher for easy cleaning.
Option 4: use a manual milk frother
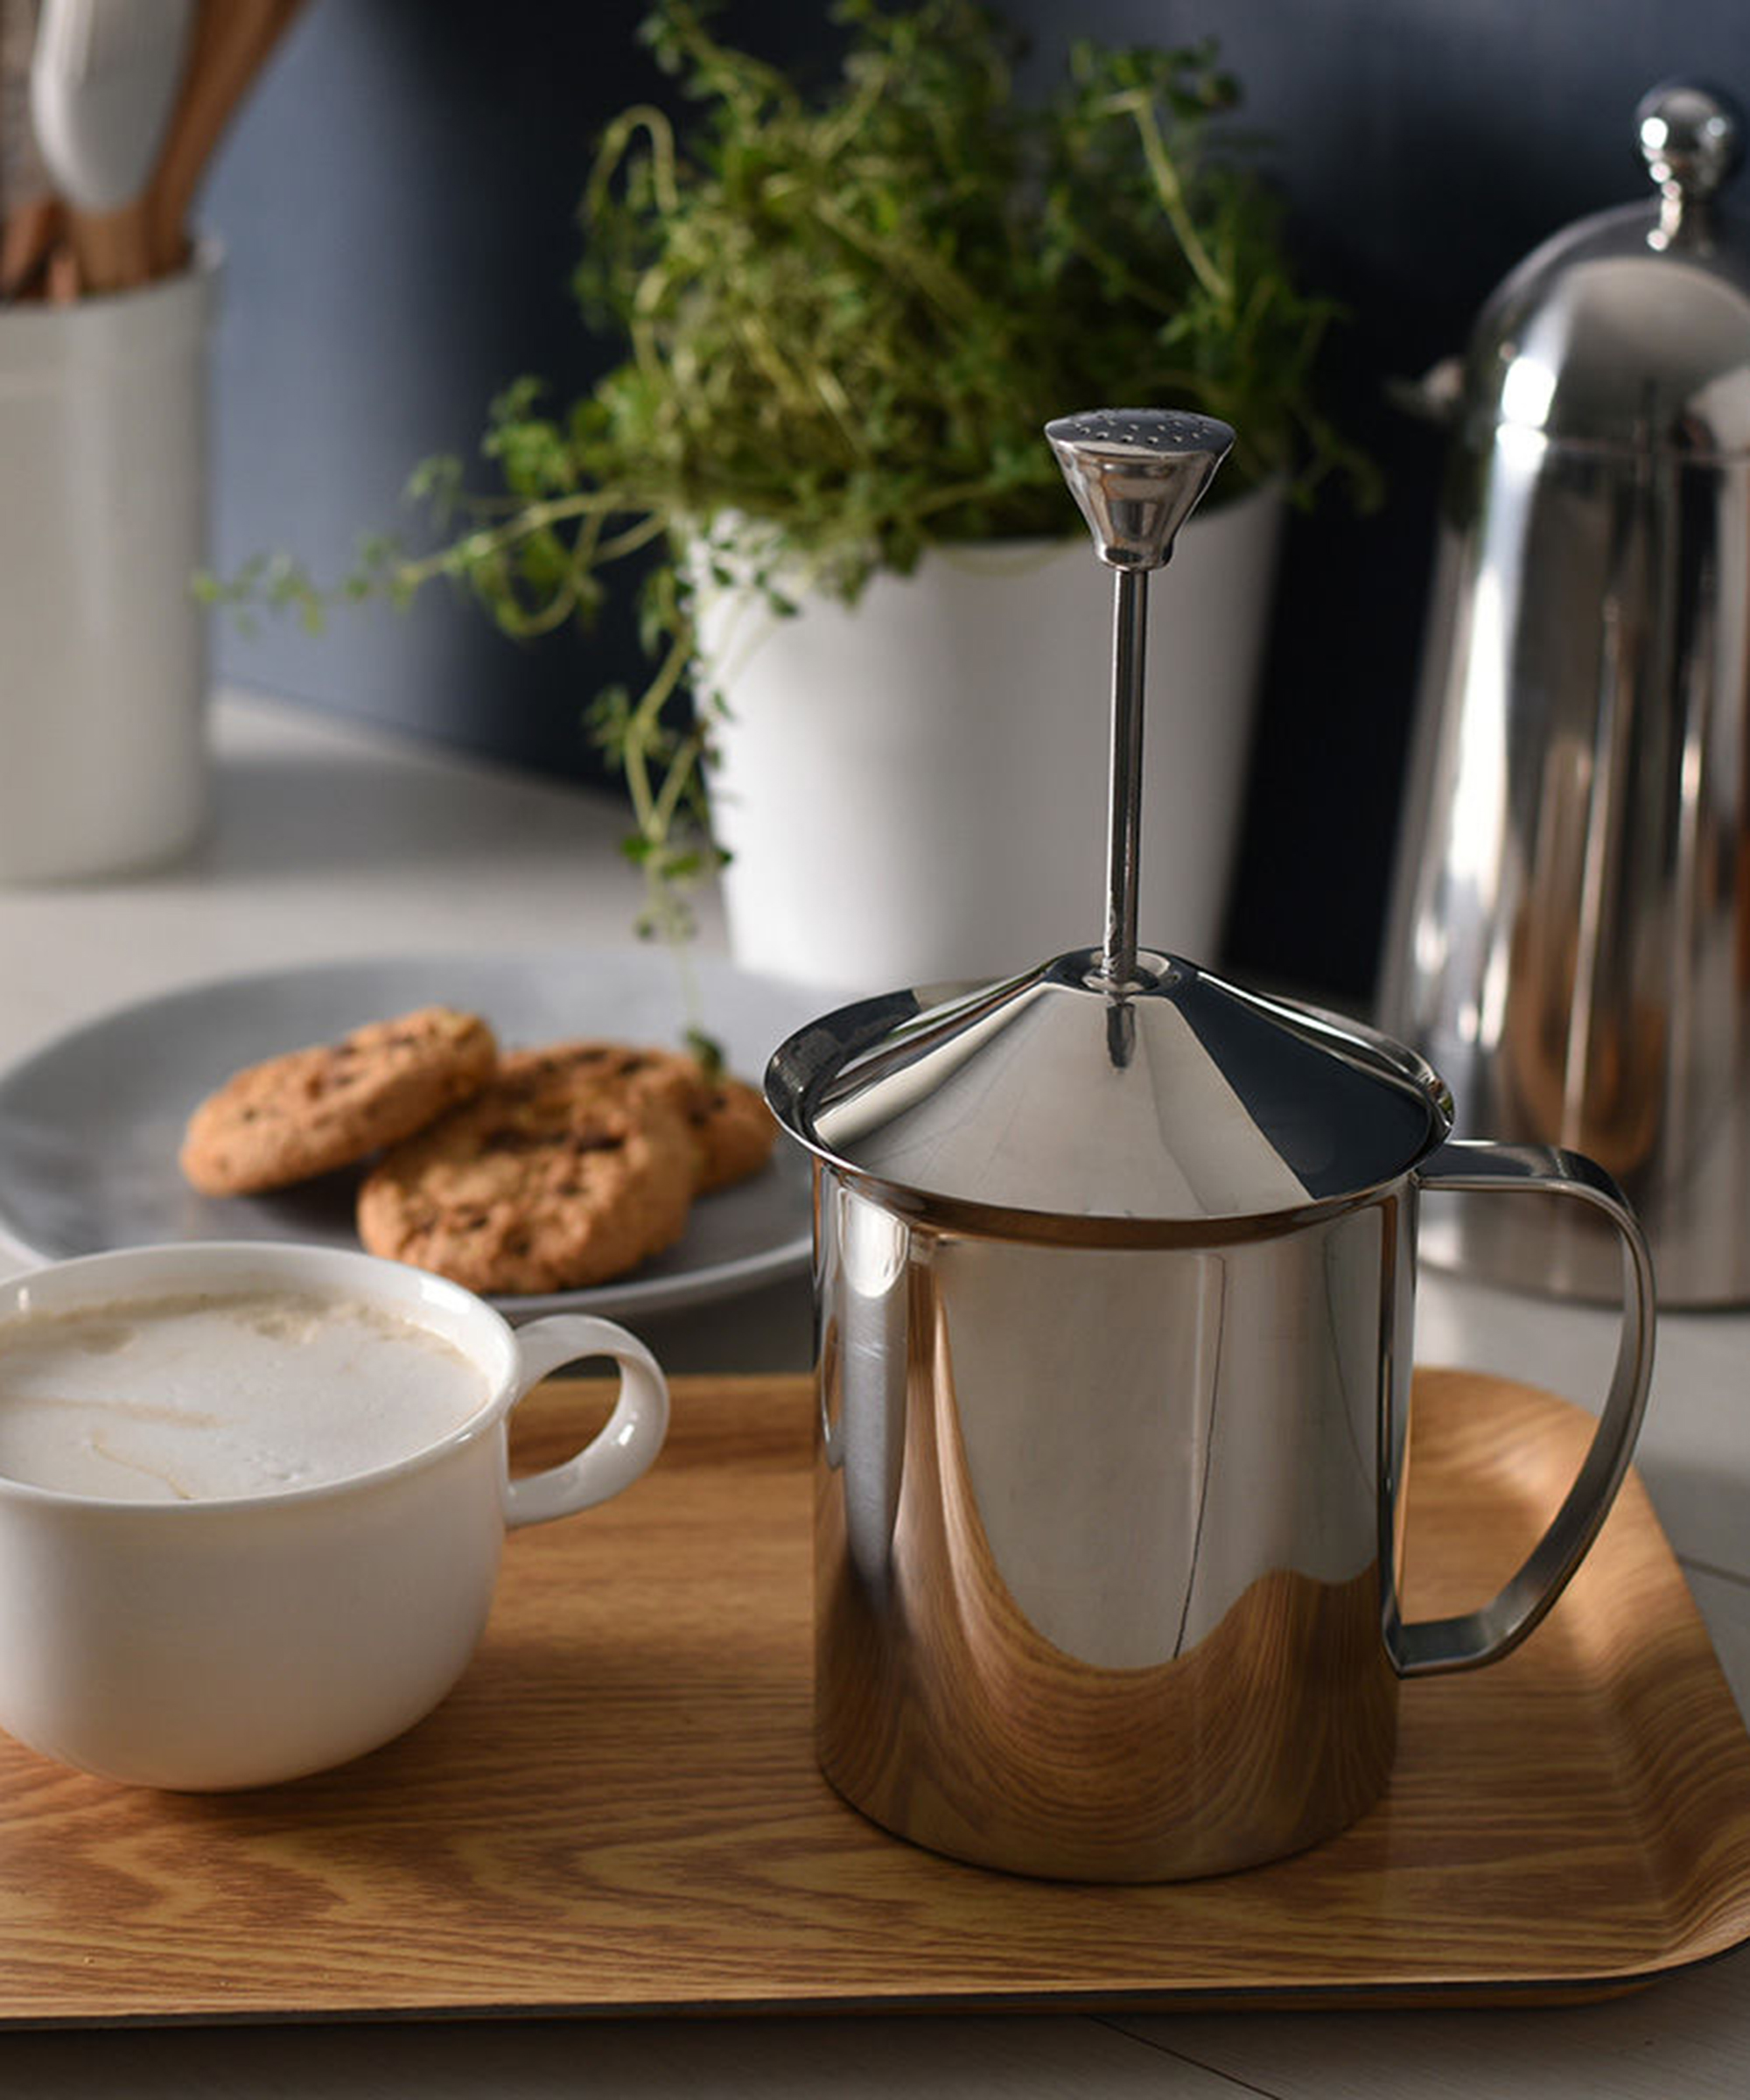
Similar to the aforementioned countertop milk frother, except this, uses no electricity. This ProCook Milk Frother looks like a cafetiere, but instead of plunging ground coffee, this mechanism relies on manual force to froth milk. Made from stainless steel, this modern design-led device makes a great gift for coffee aficionados too.
Option 5: use a specialist product like a Velvetiser
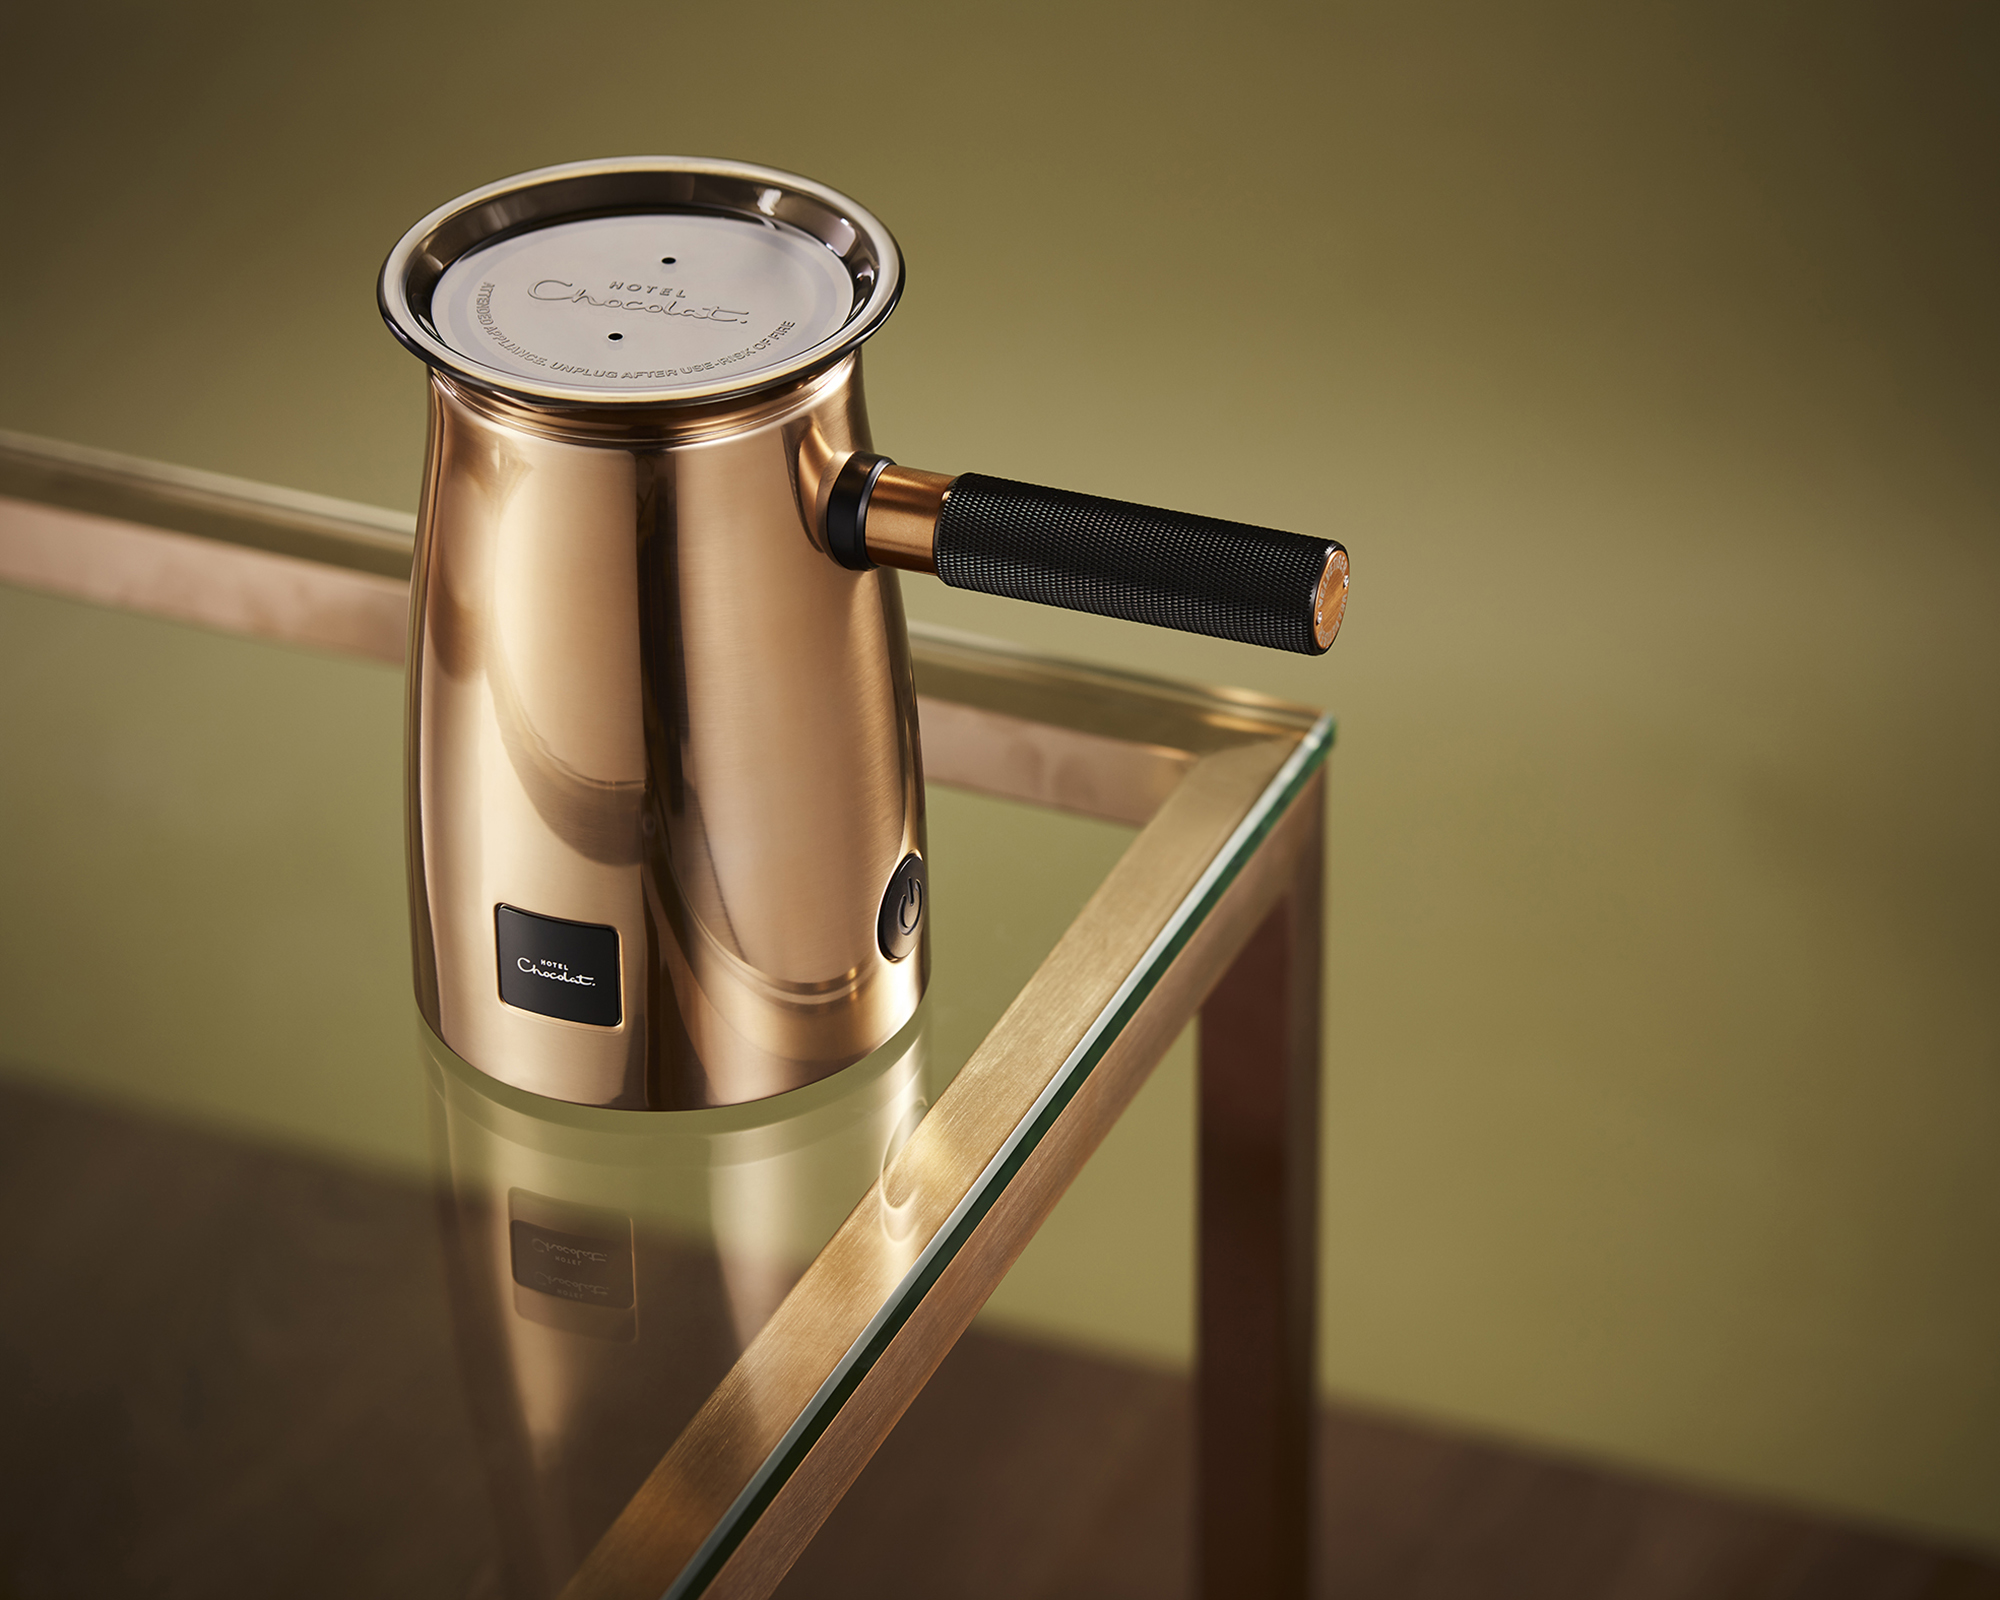
If you're just as obsessed with cocoa as you are with coffee, you may own a Velvetiser. This gorgeous machine, made by Hotel Chocolat and engineered by Dualit creates the most Insta-worthy cold and hot chocolate drinks, but can also be used to froth milk.
'The process is relatively simple and straightforward,' assures David Demaison, development chef, Hotel Chocolat.
'Indeed you can froth milk using the Velvetiser but as the primary goal of the machines is to make the best hot chocolate and we purposely developed the machine to provide this function, there is only one way to froth milk with the Velvetiser, and the result will be something close to latte milk. It’s perfect for lattes as well as flat whites.'
'I recommend that you use fresh chilled milk (the colder, the better) and pre warm your cup if you can with hot water (from your kettle), to keep the coffee hot.'
How to:
- Simply add your milk of your choice into your Velvetiser up to the MAX line, put the lid on press the button ON.
- The Velvetiser will perform its magic and 2.5 minutes later you’ll have milk frothed to the perfect temperature.
Option 6: give your carton a shake
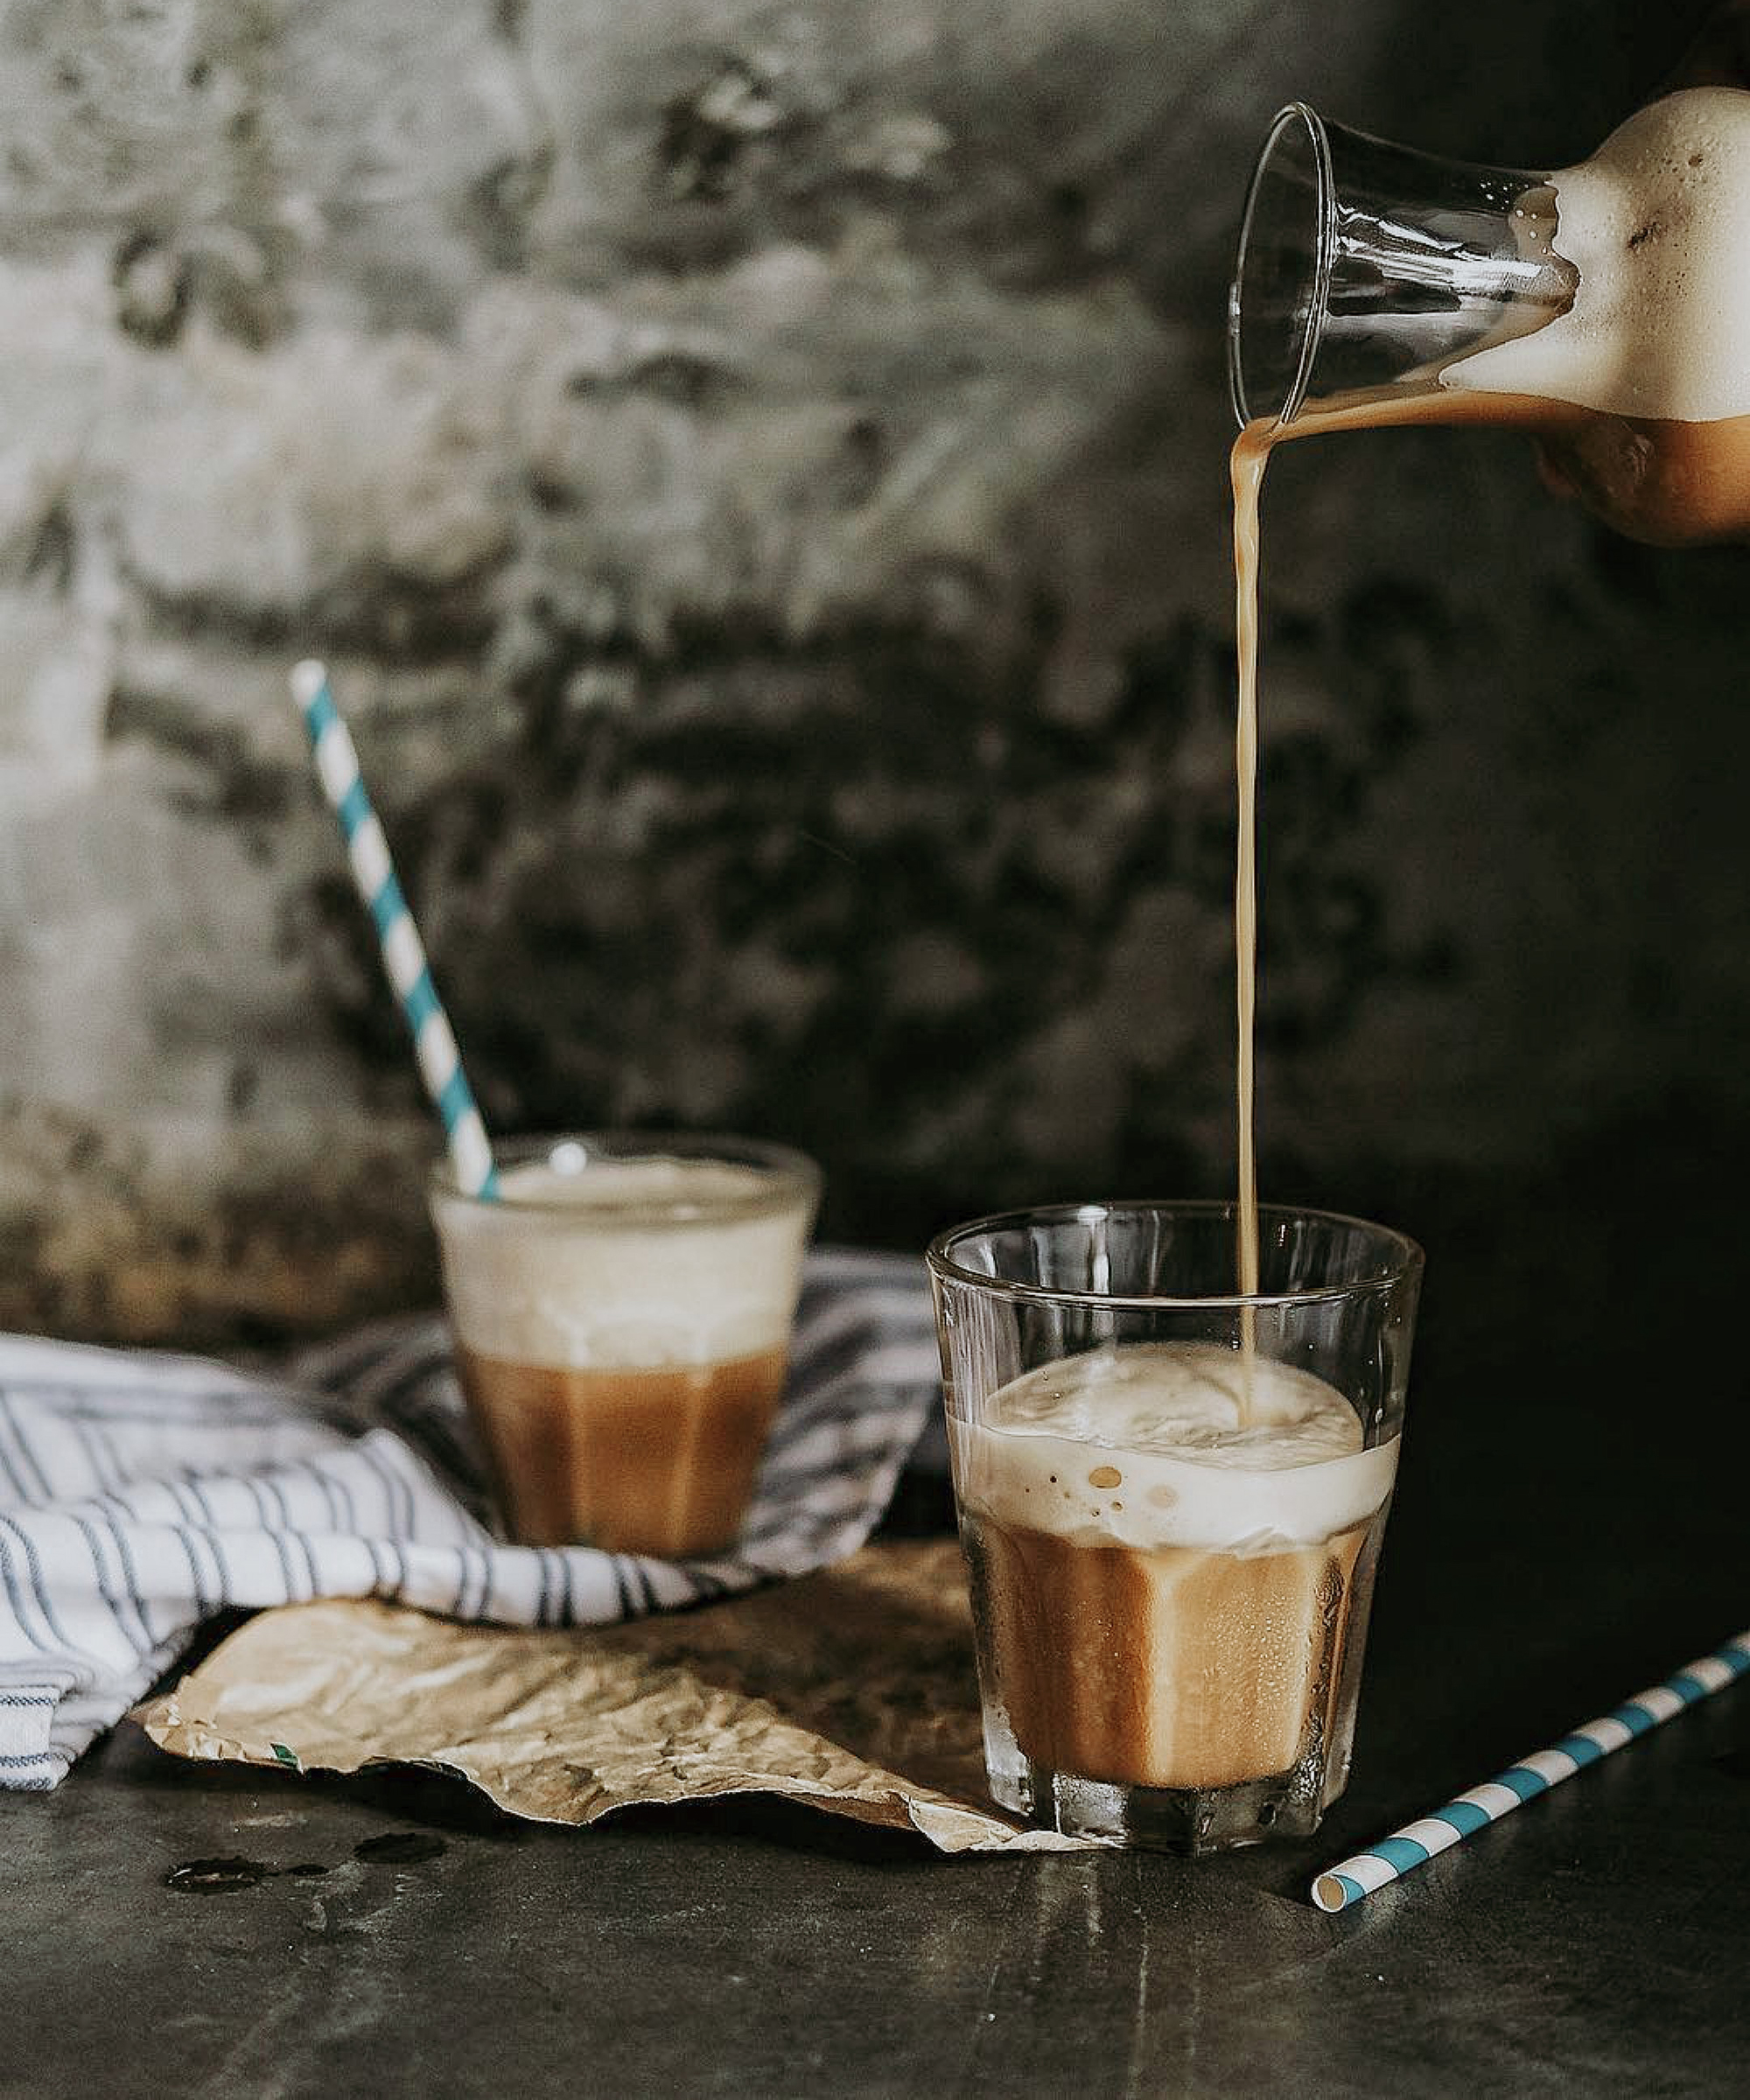
OK, so it's not the most, erm, sophisticated of methods, but by shaking your carton or bottle of milk(not recommended with an old school glass one), the force you're creating is helping to create a foamy product for free.
Note however that the bubbles might not last as long as the aforementioned methods, and it also depends on how much air is in the container. We guess you could decant a little product into a glass mason jar or cocktail shaker and give it your best mixologist-style moves. This works best with warmed milk, but in both instances make sure the lids are secured before your milk goes flying all over the place.
Here, we can imagine it's been done by (carefully) shaking up a glass carafe that has a cork stopper. We found a similar one from Ikea on Amazon
Option 7: use an electric hand mixer
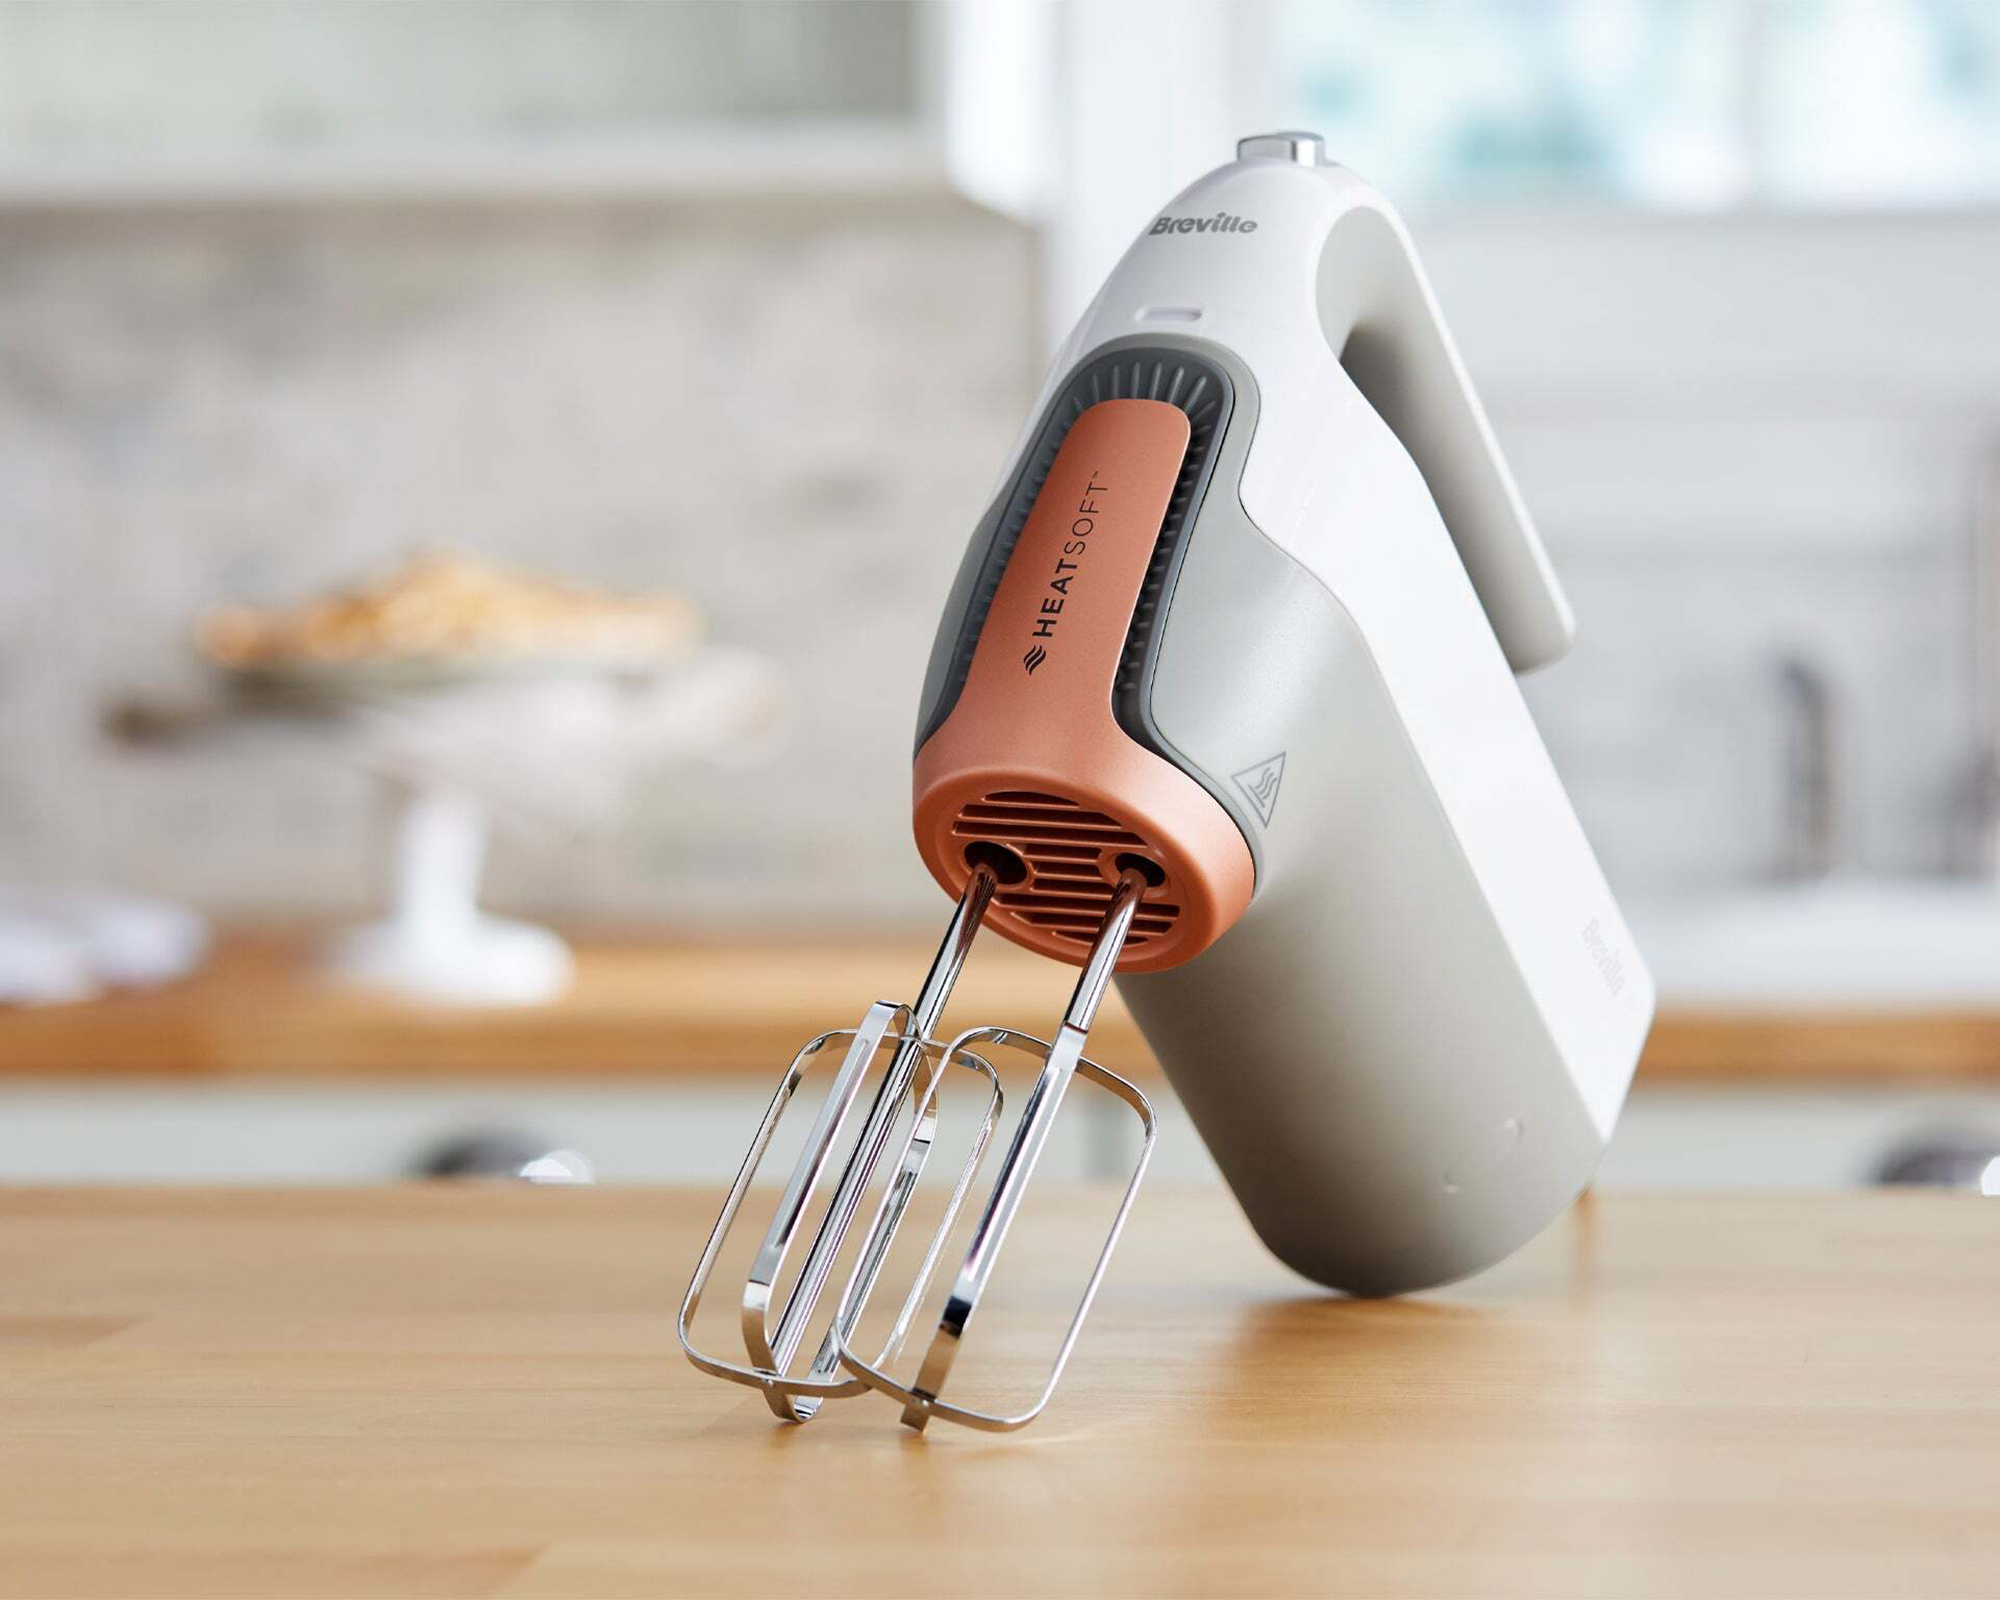
Not just for whipping up cakes and bakes to go alongside your creamy coffee, the best hand mixers are capable of adding air to your milk for fixing a fluffy drink for your guests. This piece of kitchen equipment is best for making large batches of frothed milk in a large glass or ceramic bowl.
Erica Katsner, writer at The Pioneer Woman says: 'Heat milk. Using a hand mixer, whisk the milk until it reaches the desired frothiness. This method creates slightly better foam than just whisking by hand.'
Option 8: use a smoothie or stick blender
If you've made a fruity smoothie in a blender before, you may have noticed the bubbly texture at the top that gives you that signature milk mustache when you take a sip. So it's no surprise that this machine can give your dairy or plant milk a lighter-than-air feel.
But if you've got a small kitchen with limited counter space (and don't have a Nutribullet or single-serve device), a stick, soup, or immersion blender is the better coffee bar idea. Personally, I like making a traditional Greek frappe this way!
What kind of milk is best for frothing?
According to Taylor, the level of froth will depend on the fat content in your milk. For example, full-fat or 'whole' cows' milk will produce barista-worthy wow-factor. On the other hand, you'll need to work harder to 'stretch' (the technical term for aerating) skim or plant-based milks.
Here, she spills the beans on the problems you may face with vegan alternatives:
- Coconut milk: brings an exotic taste to your coffee, but be mindful about not adding too much air when frothing as it creates bigger bubbles than typical cow’s milk.
- Almond milk: has a lovely nutty taste, but be mindful not to overheat as it tends to split.
- Oat milk: perfect for beginners as it is creamier from the start and easier to froth.
- Soy milk: soy is particularly sensitive to heat so keep the temperature to 55-60ºC for a silky result.
Join our newsletter
Get small space home decor ideas, celeb inspiration, DIY tips and more, straight to your inbox!

Hi, I'm the former acting head ecommerce editor at Real Homes. Prior to working for the Future plc family, I've worked on a number of consumer events including the Ideal Home Show, Grand Designs Live, and Good Homes Magazine. With a first class degree from Keele University, and a plethora of experience in digital marketing, editorial, and social media, I have an eye for what should be in your shopping basket and have gone through the internal customer advisor accreditation process.
-
 Ninja Espresso & Coffee Barista System review — bringing together the ease of pods and the ability to brew drip coffee
With the Ninja Espresso & Coffee Barista System, you can brew a full pot of hot, black coffee or make a frothy espresso with a pod, the choice is yours.
By Heather Bien
-
 COSORI dual basket air fryer review — clear viewing windows offer control at a glance
Our acting head ecommerce editor tests the COSORI dual basket air fryer in the Future test kitchen and at home
By Christina Chrysostomou
-
 Gourmia Fry 'N Fold air fryer review — a clear convection oven that collapses for easy storage
Our contributing editor, Heather Bien reviews the Gourmia Fry 'N Fold air fryer; a 7-quart model with a see-through basket
By Heather Bien
-
 Mr. Coffee Prima Latte Luxe review —automate your morning beverage with this tried and tested coffee maker
Our contributing editor, Heather Bien, tests the Mr. Coffee Prima Latte Luxe coffee maker
By Heather Bien
-
 We tracked down Candice King's kitchen appliances — they're helping her survive a kitchen renovation
We found Candice King's kitchen appliances so you can snag the star's favorite buys. See what to have on hand so you don't have to turn the oven on if your kitchen's out of commission
By Emily Lambe
-
 Mr. Coffee single-serve frappe, iced, and hot coffee maker review — frozen drink fun at home
If you can’t get enough of icy, blended drinks, the Mr. Coffee single-serve frappe, iced, and hot coffee maker has the right idea.
By Heather Bien
-
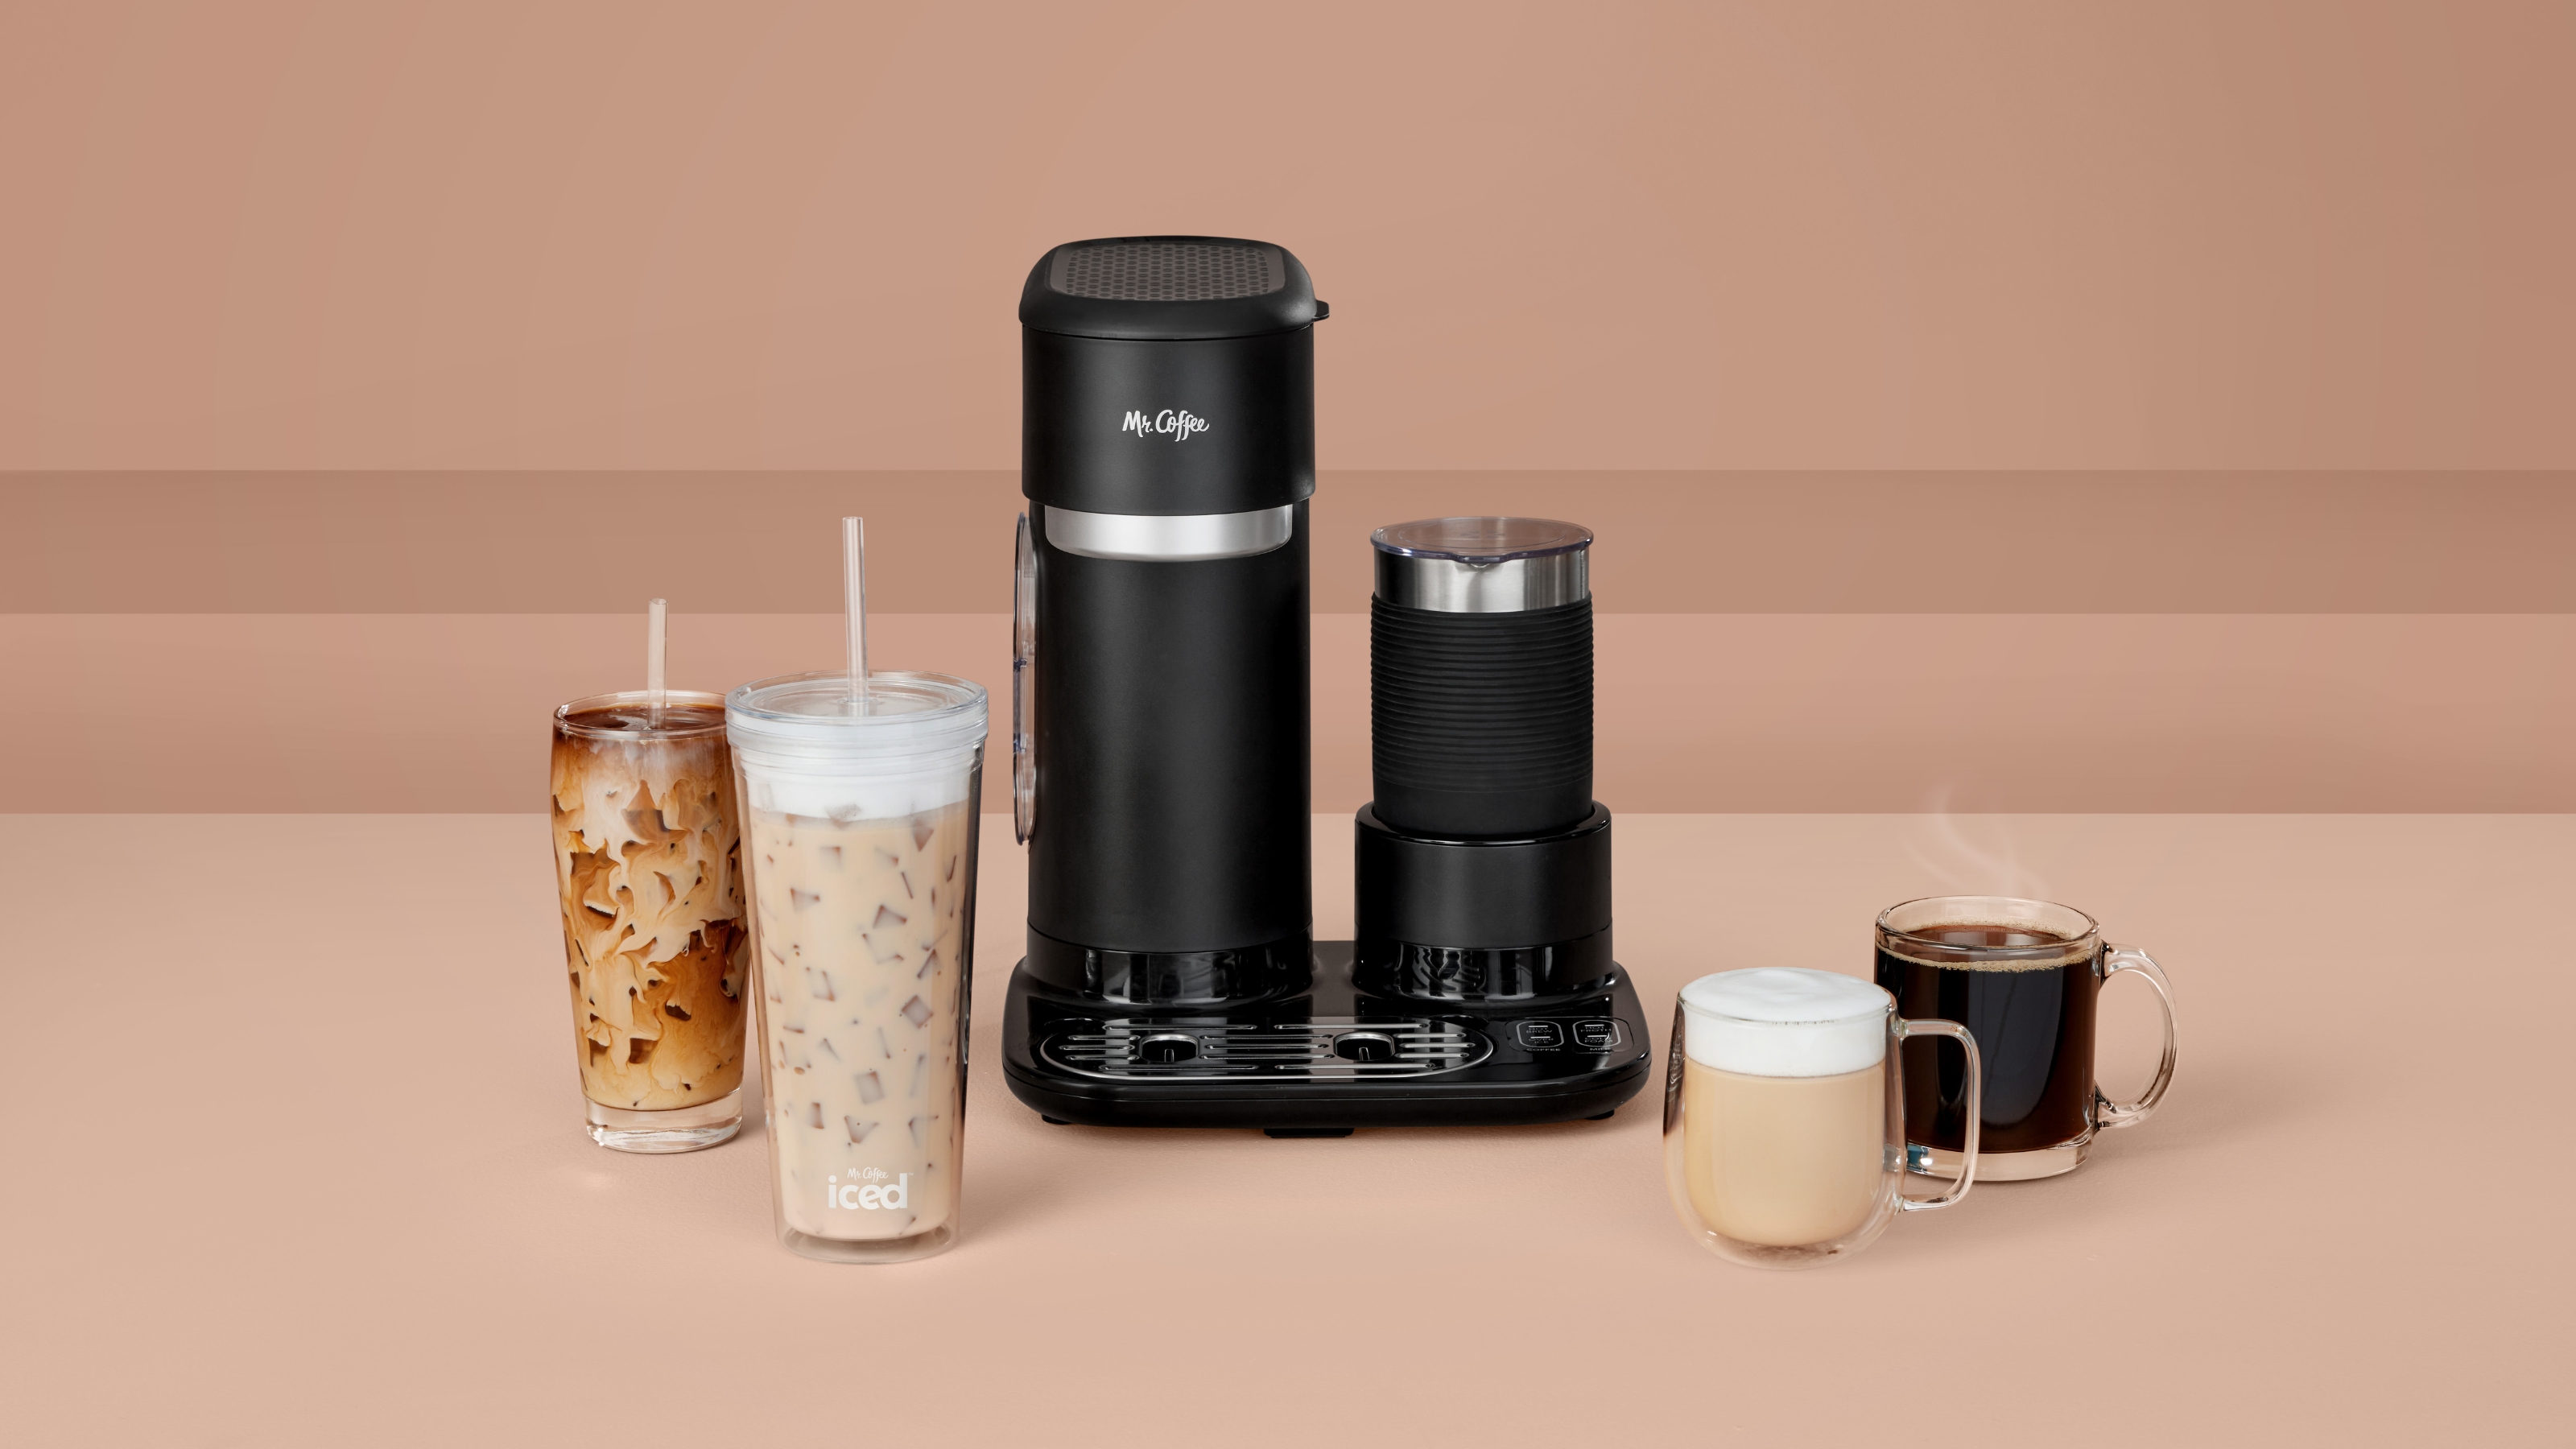
 Mr. Coffee 4-in-1 Single-Serve Coffee Maker review — good enough to quit coffee shops altogether
Our contributing editor's review of the Mr. Coffee 4-in-1 single-serve coffee maker. A multipurpose machine that produces professional-looking and tasting lattes, iced and hot beverages.
By Heather Bien
-
 How to defrost bread — quickly and without it getting soggy!
We share three methods for defrosting bread straight from the freezer
By Christina Chrysostomou