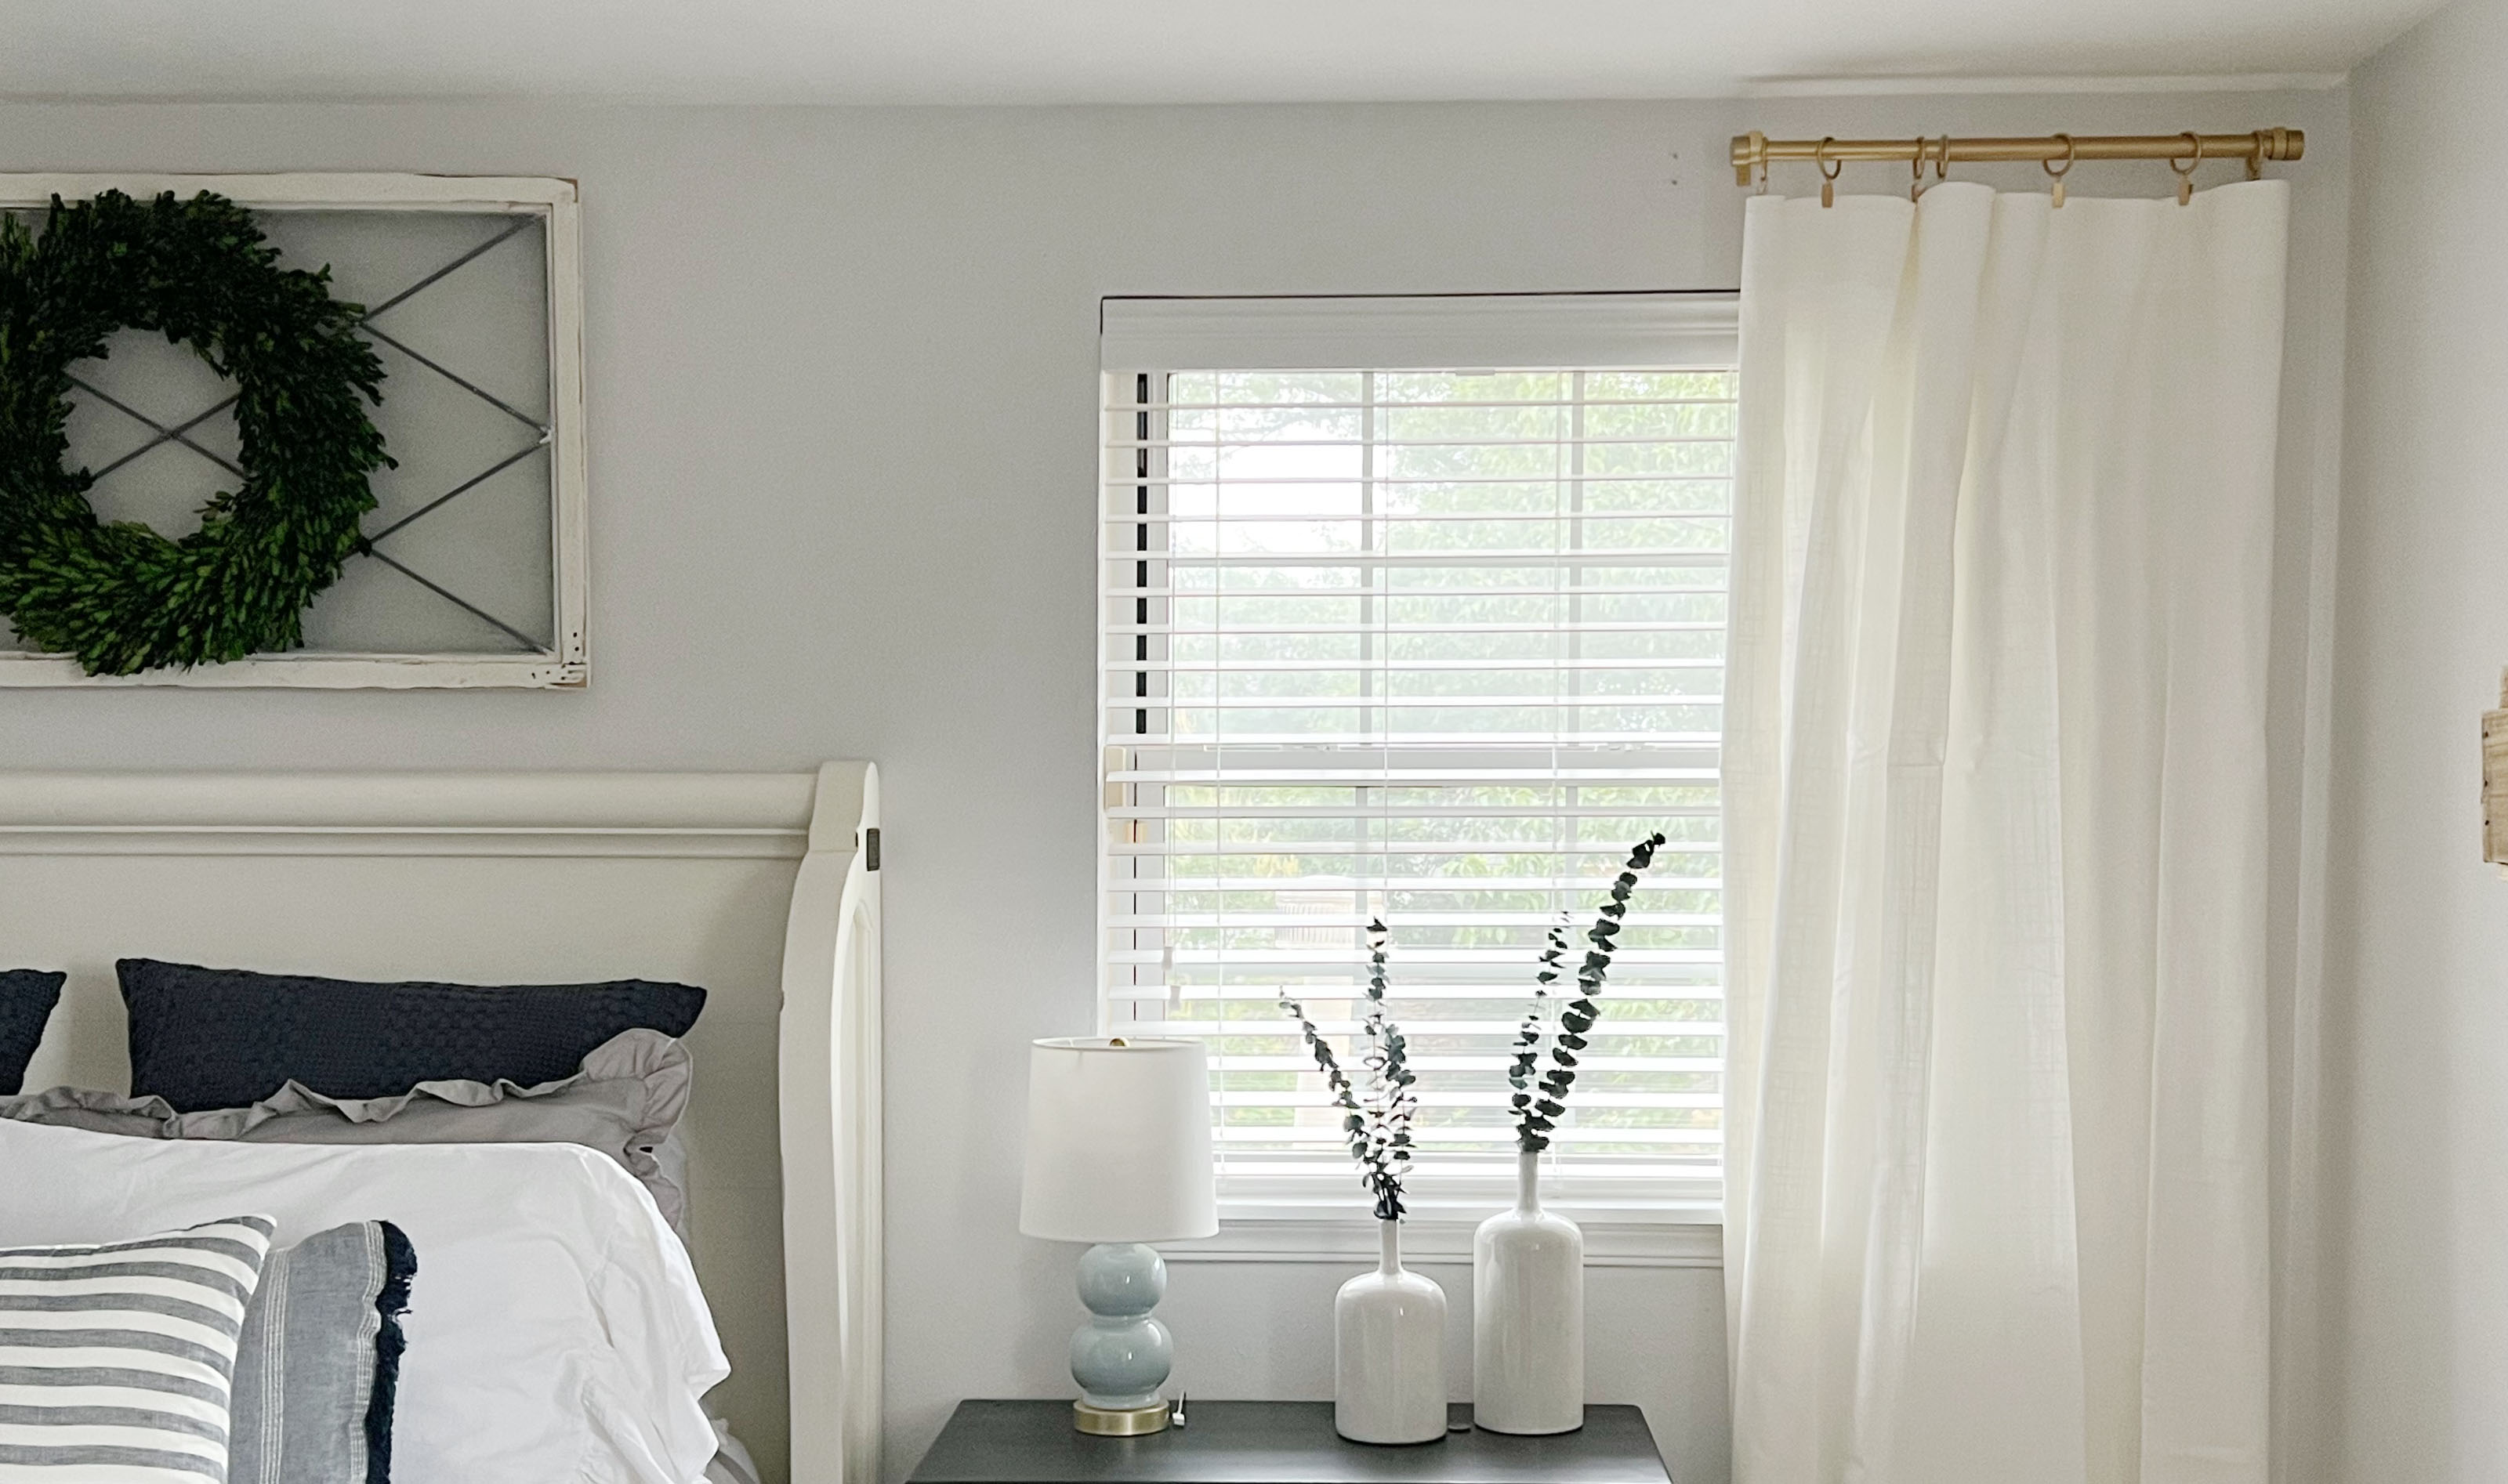

Learning how to hang a curtain rod yourself is so useful because not only are drapes and curtains decorative, but they can be used to block the sun from coming too brightly into a room also. Additionally, they can make ceilings feel taller by hanging them several inches above the window. Room darkening shades come with an extra layer on the back to fully conceal the sun so you can sleep longer.
And to be able to take advantage of all a curtain can offer, you need to know how to install the rod to hang curtains properly. Curtain rods come in different styles, colors, and sizes to fit a variety of window layouts.
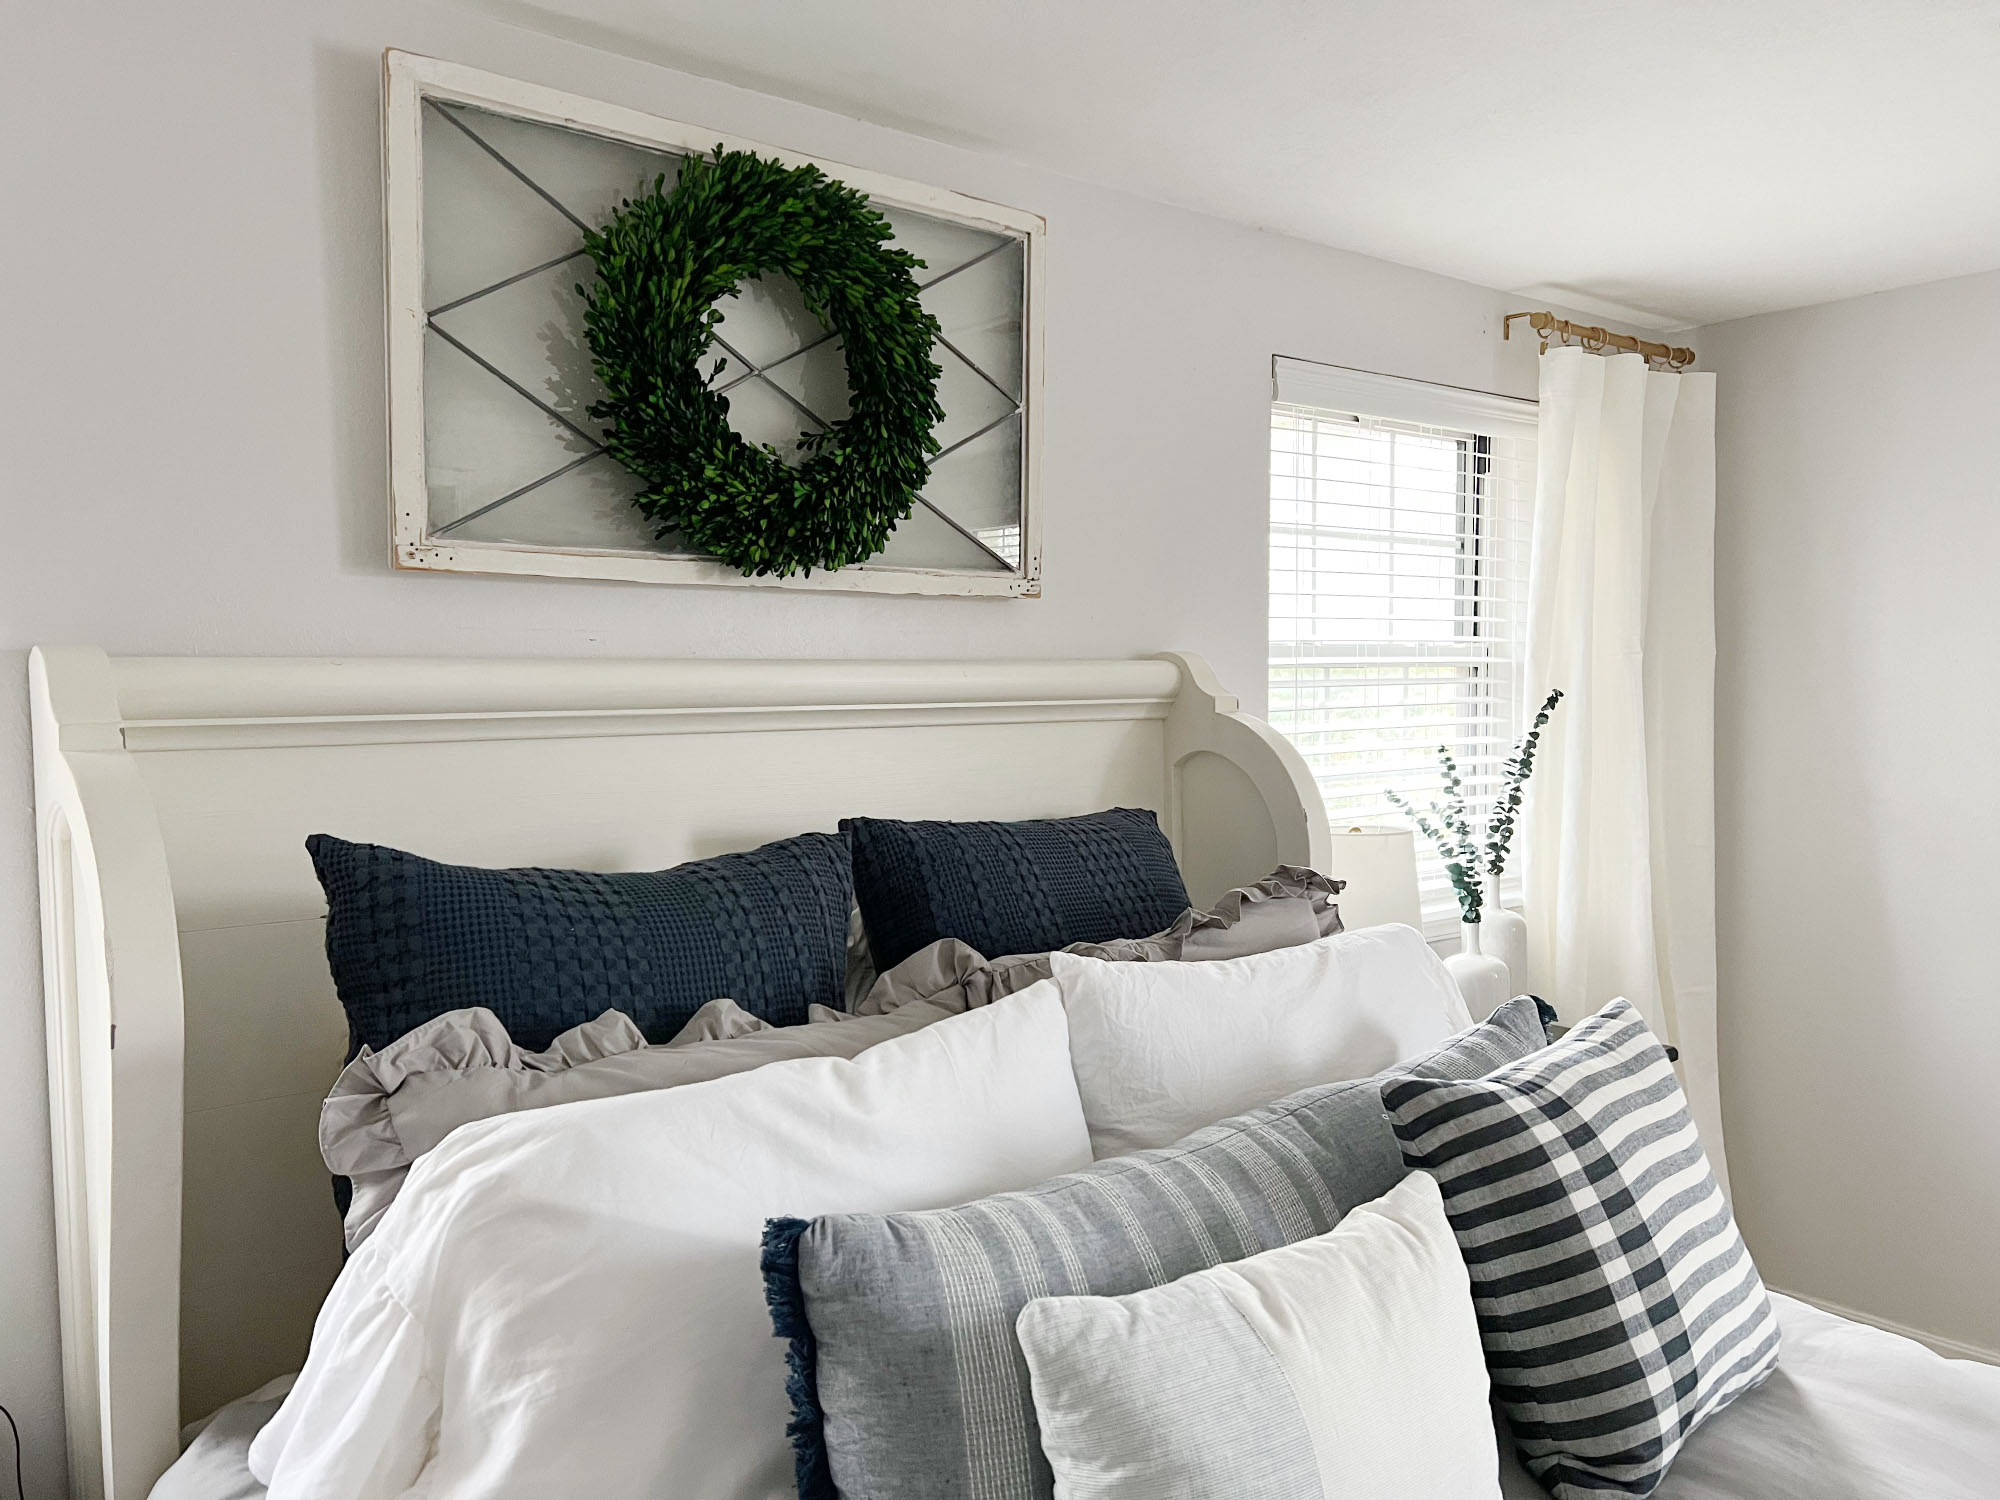
In our master bedroom we had already installed very nice white wood blinds when we first moved in. We didn’t need curtains to block the light, but the windows looked very bare. We decided to dress them up with some additional window treatments. We chose white linen curtains from IKEA and went with gold rods and drapery rings. Before installing the rods, we had to gather the right tools.
Tools Needed:
1. Measure and mark the wall
The first step is to measure and mark where you will hang the brackets. Remember that the end cap, also known as the finial, will attach on either end of the pole extending beyond the bracket so you don’t want to install it too close to the wall. Tip: Install the rod 4-6” beyond the length of the window to make the window seem bigger. You can also install it 6” or more above the window to make the window seem taller and give the illusion of a larger space.
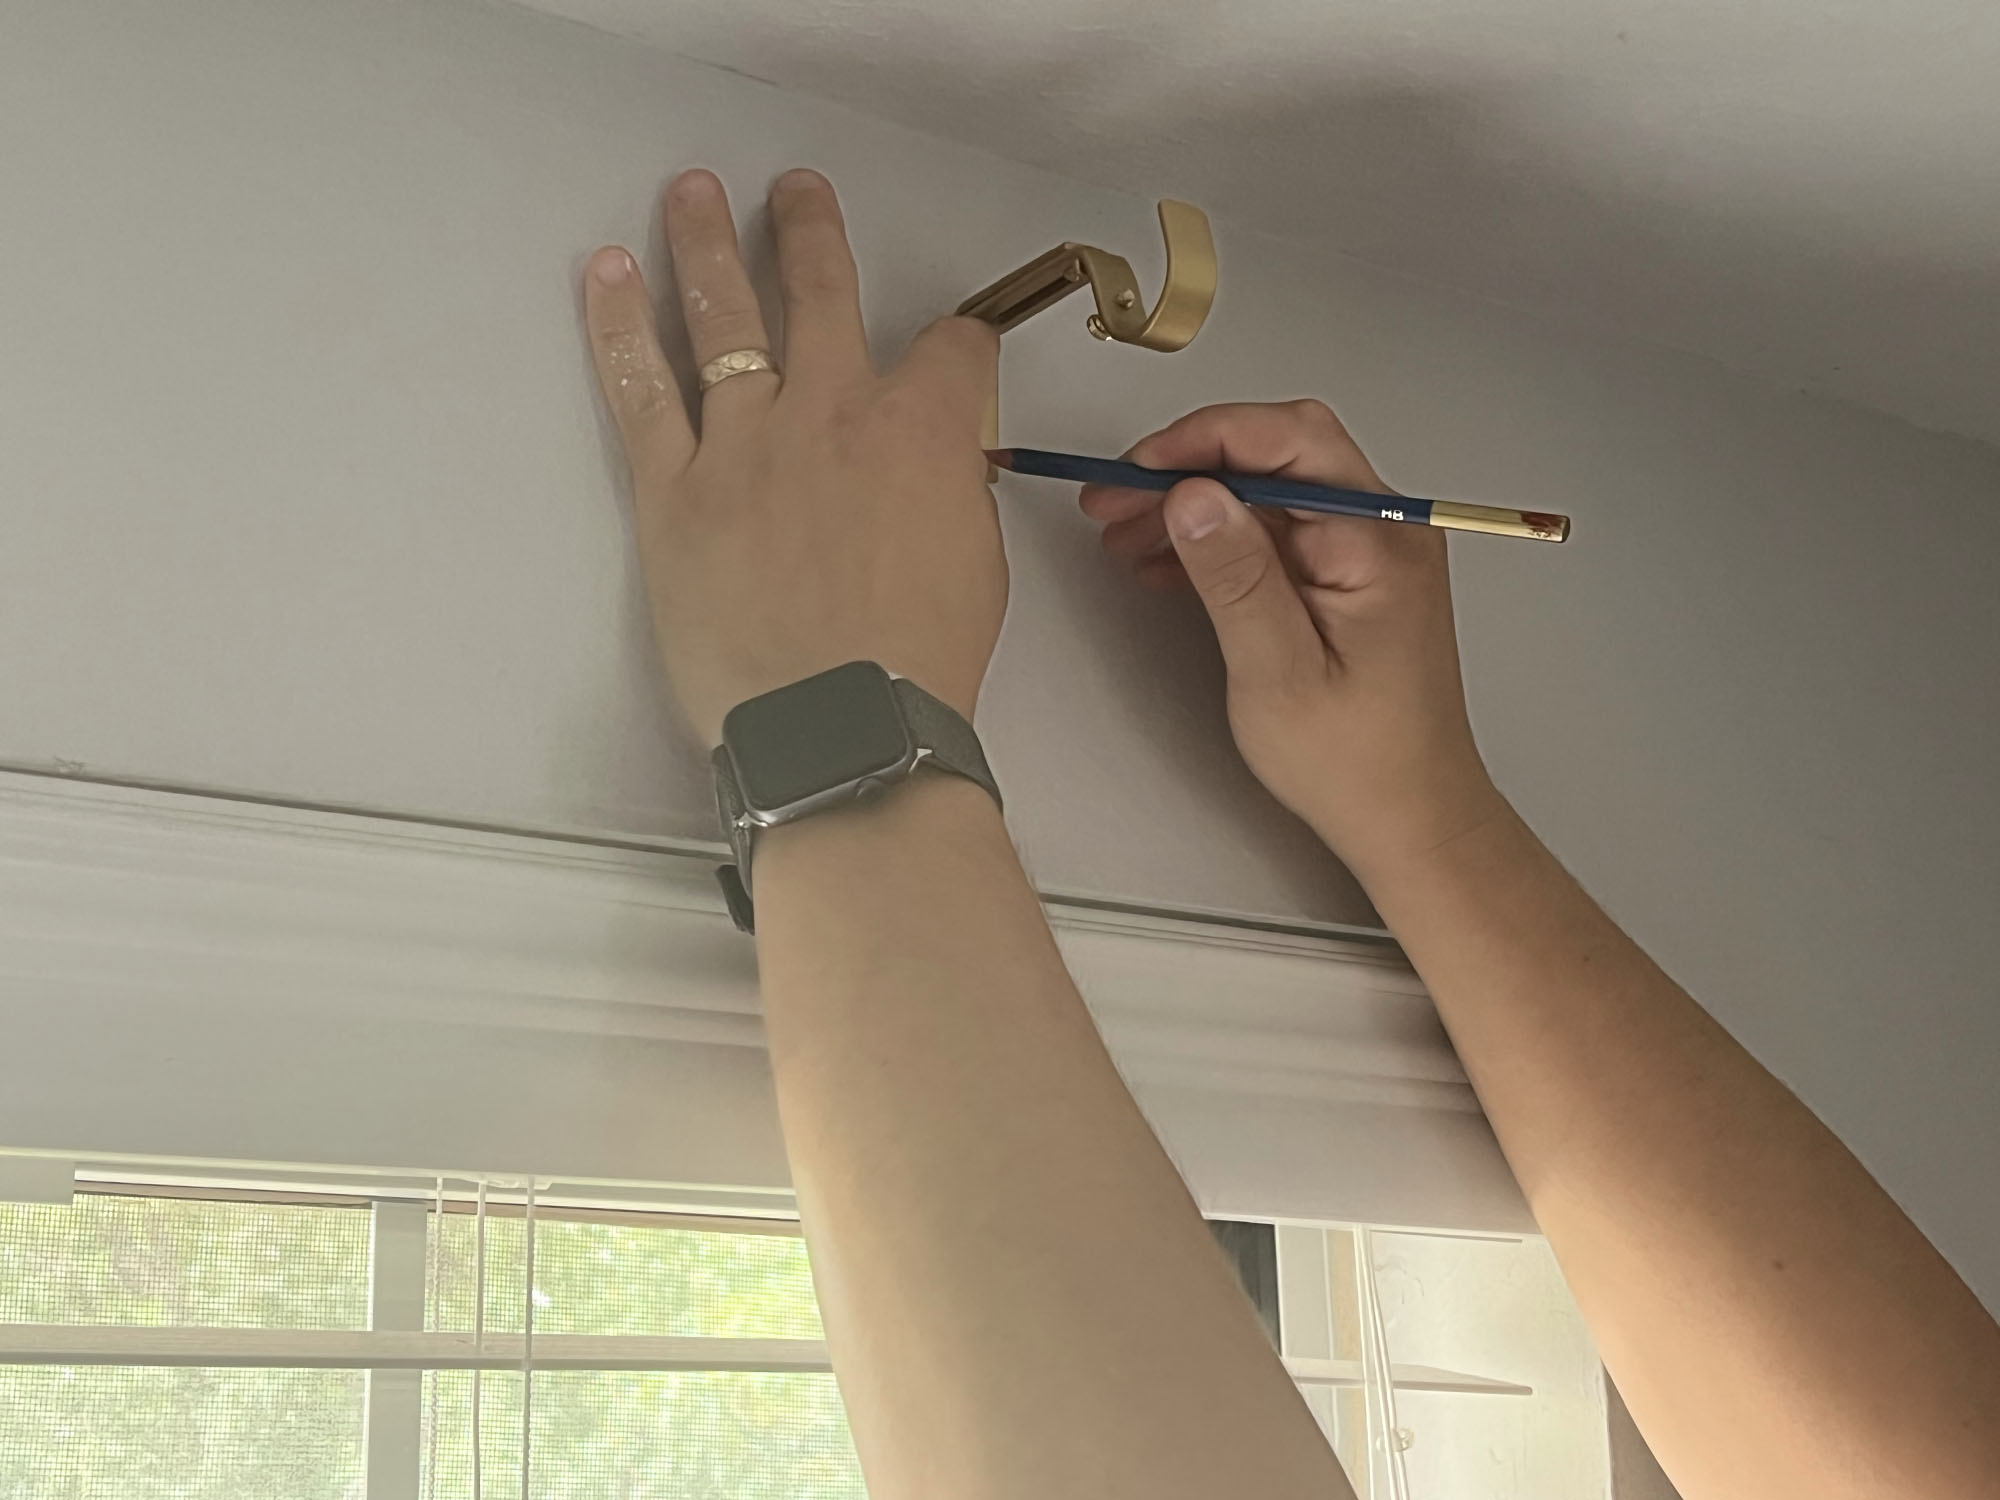
Marking where the anchors and screws go
2. Make sure it’s level
Once you’ve marked where you’ll hang your brackets on either end of the window, use a level to make sure your markings are the same so the rod will be straight when installed.
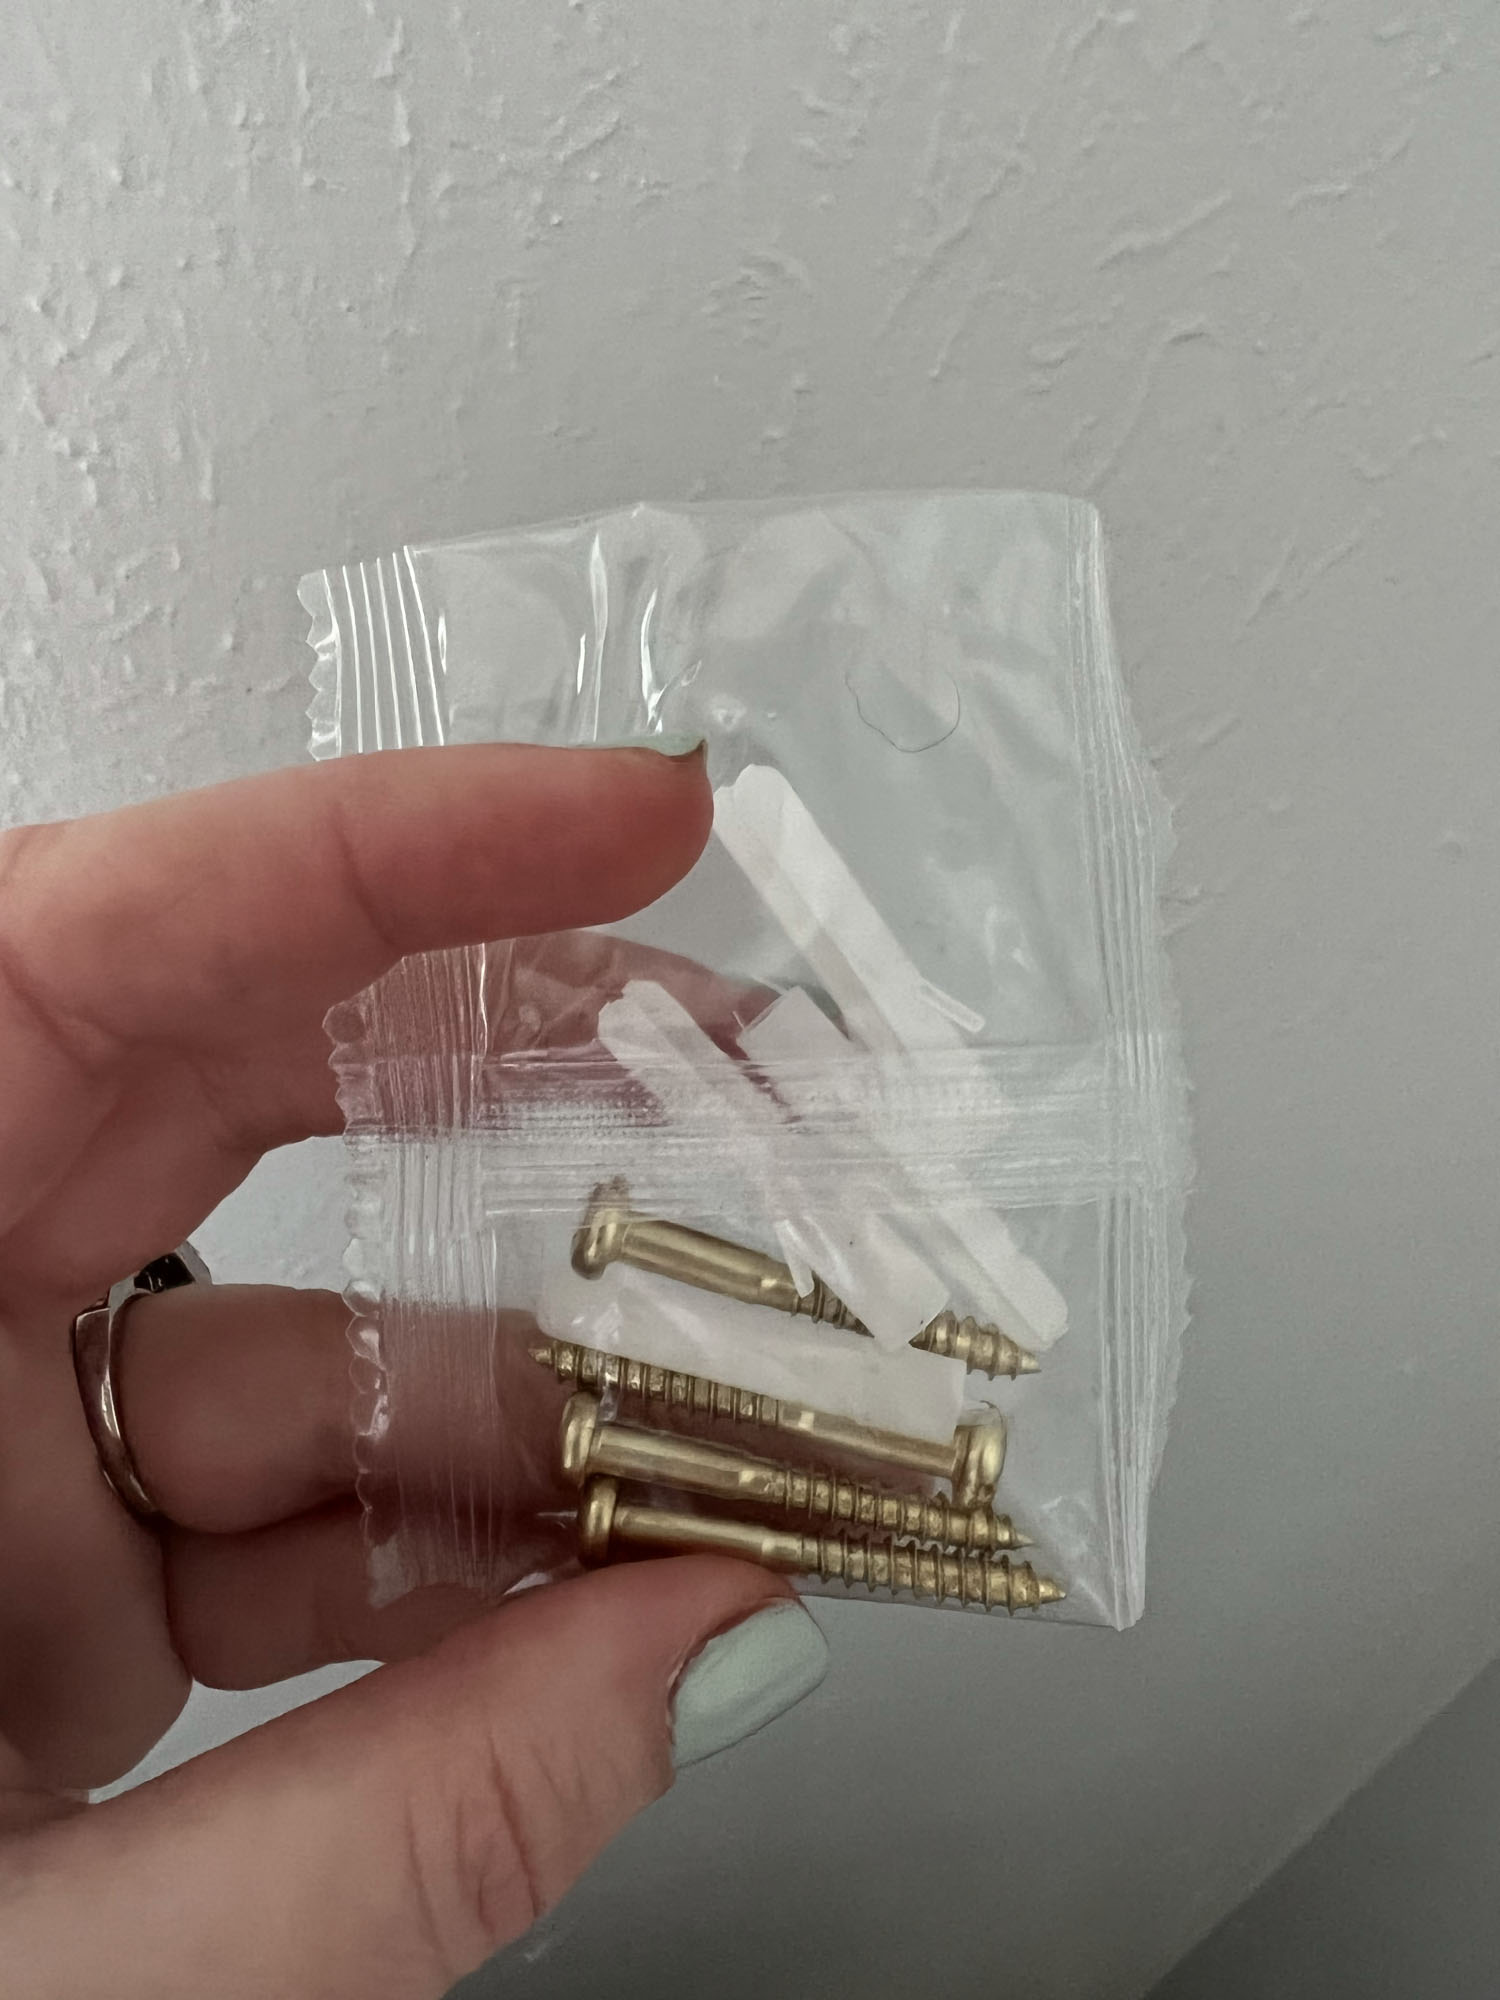
3. Install the anchors
Unless you’re screwing the bracket into a stud, you will want to install anchors to grip the sheetrock and hold the screws in place. There’s nothing more frustrating than installing your rods just to have them pull out from the wall because of a stripped screw in the drywall. Anchors are typically provided along with the screws to the curtain rod. You’ll install them by drilling a pilot hole where you marked the wall and gently tapping them in with a hammer.
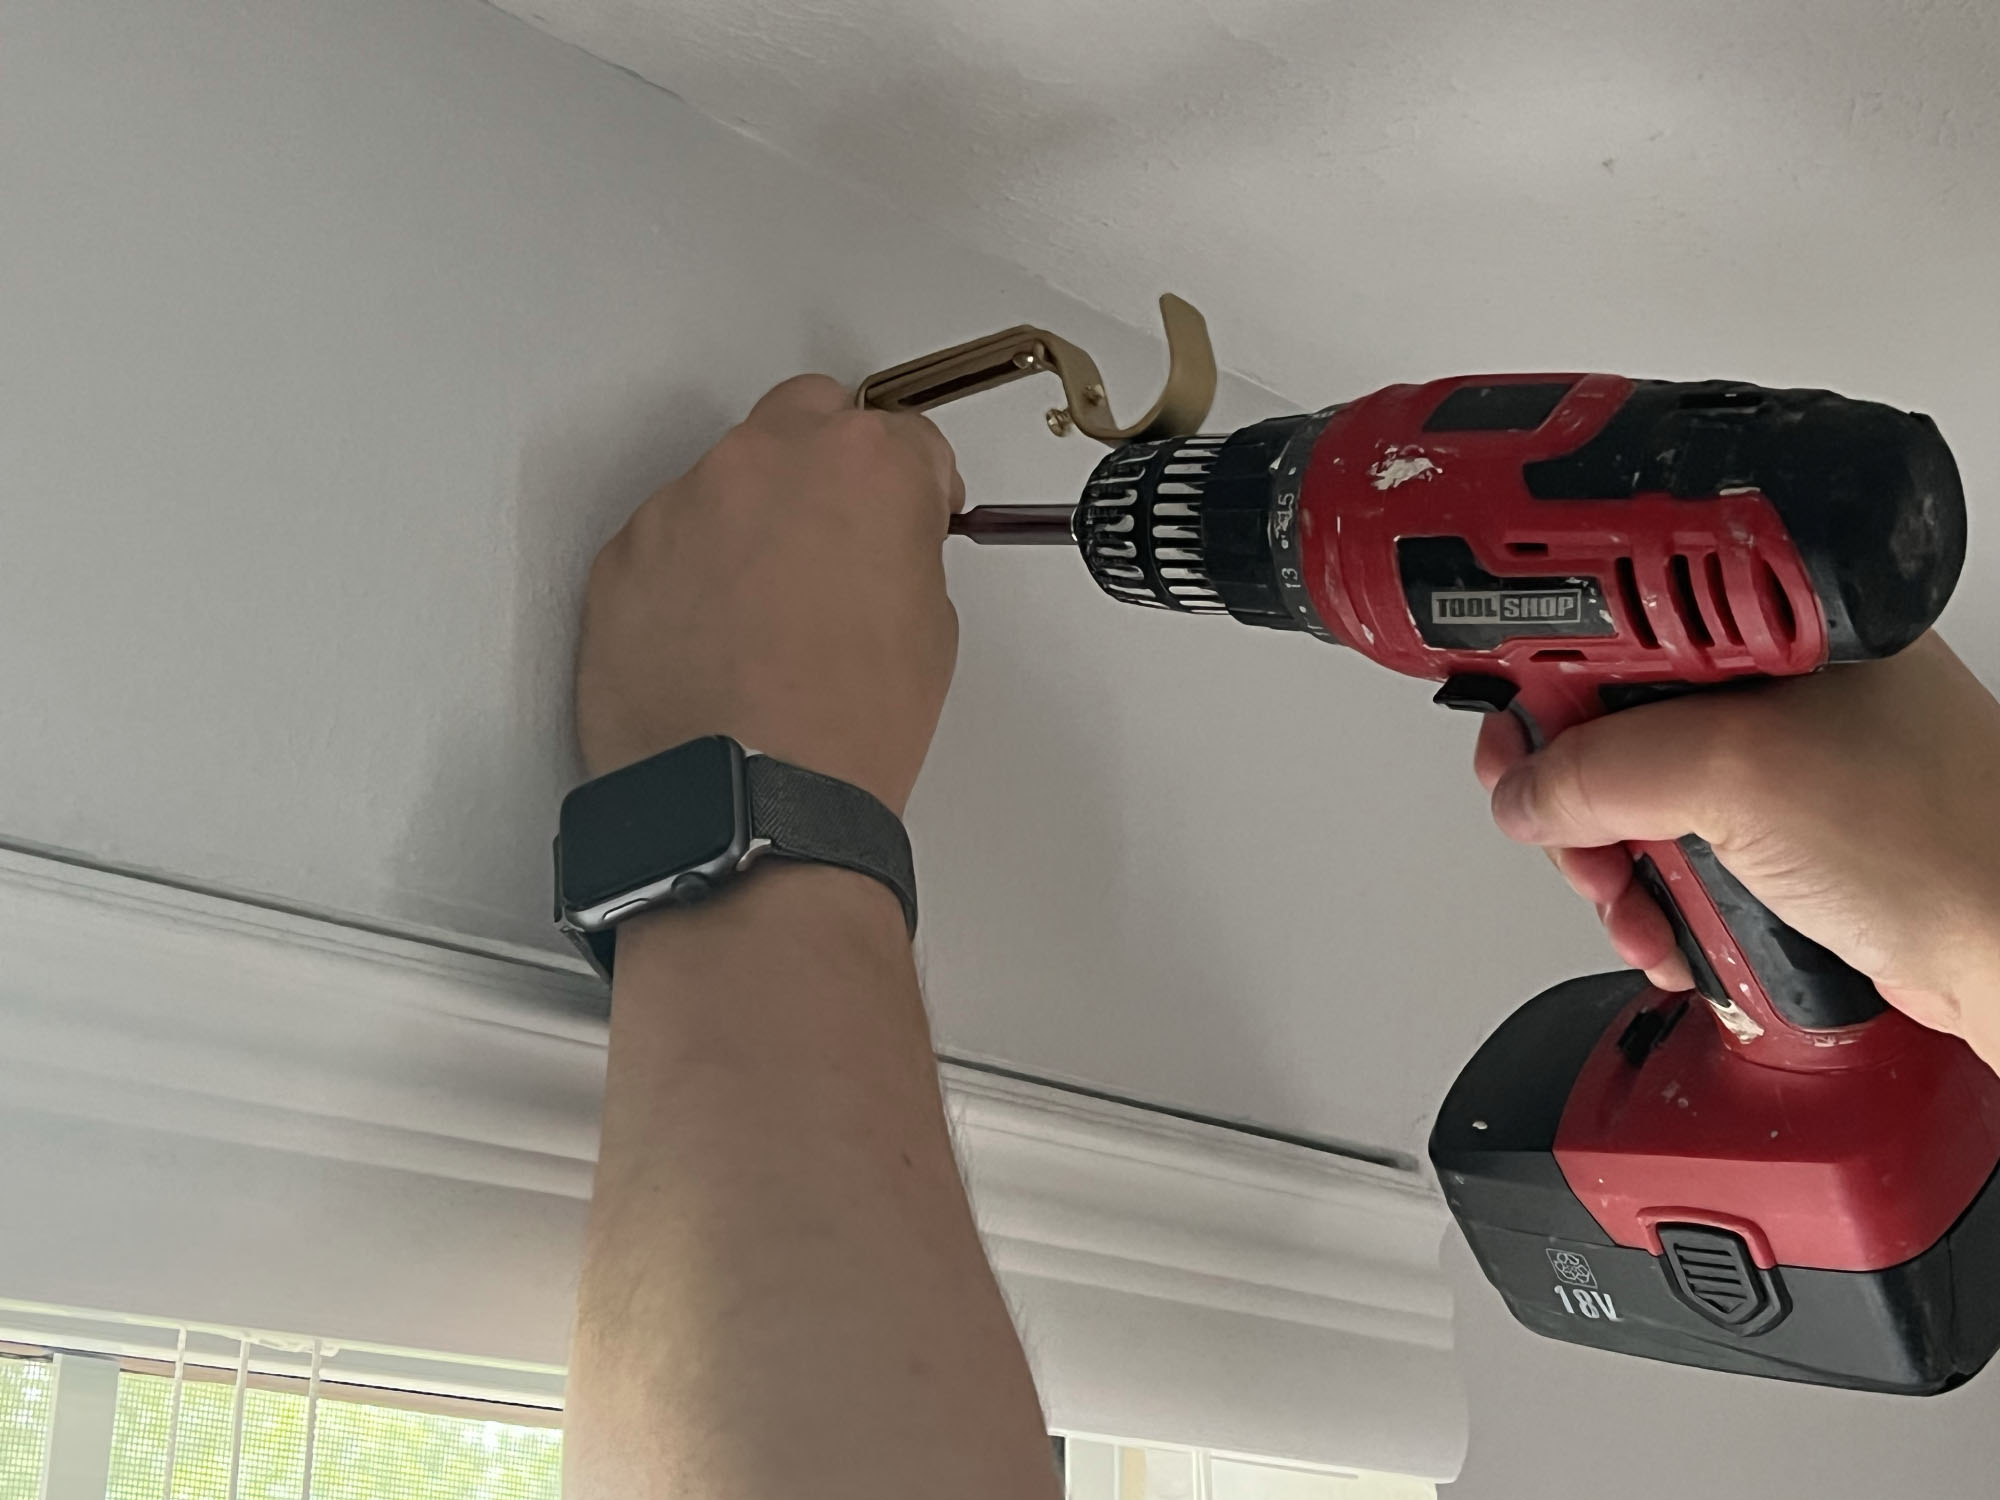
4. Install the brackets and rod
Once your anchors are in place you’re ready to install the brackets. While holding the bracket in place, use a power drill to drive the screws into the anchors on the top and bottom. Screw the finials or end caps into either side of the curtain rod.
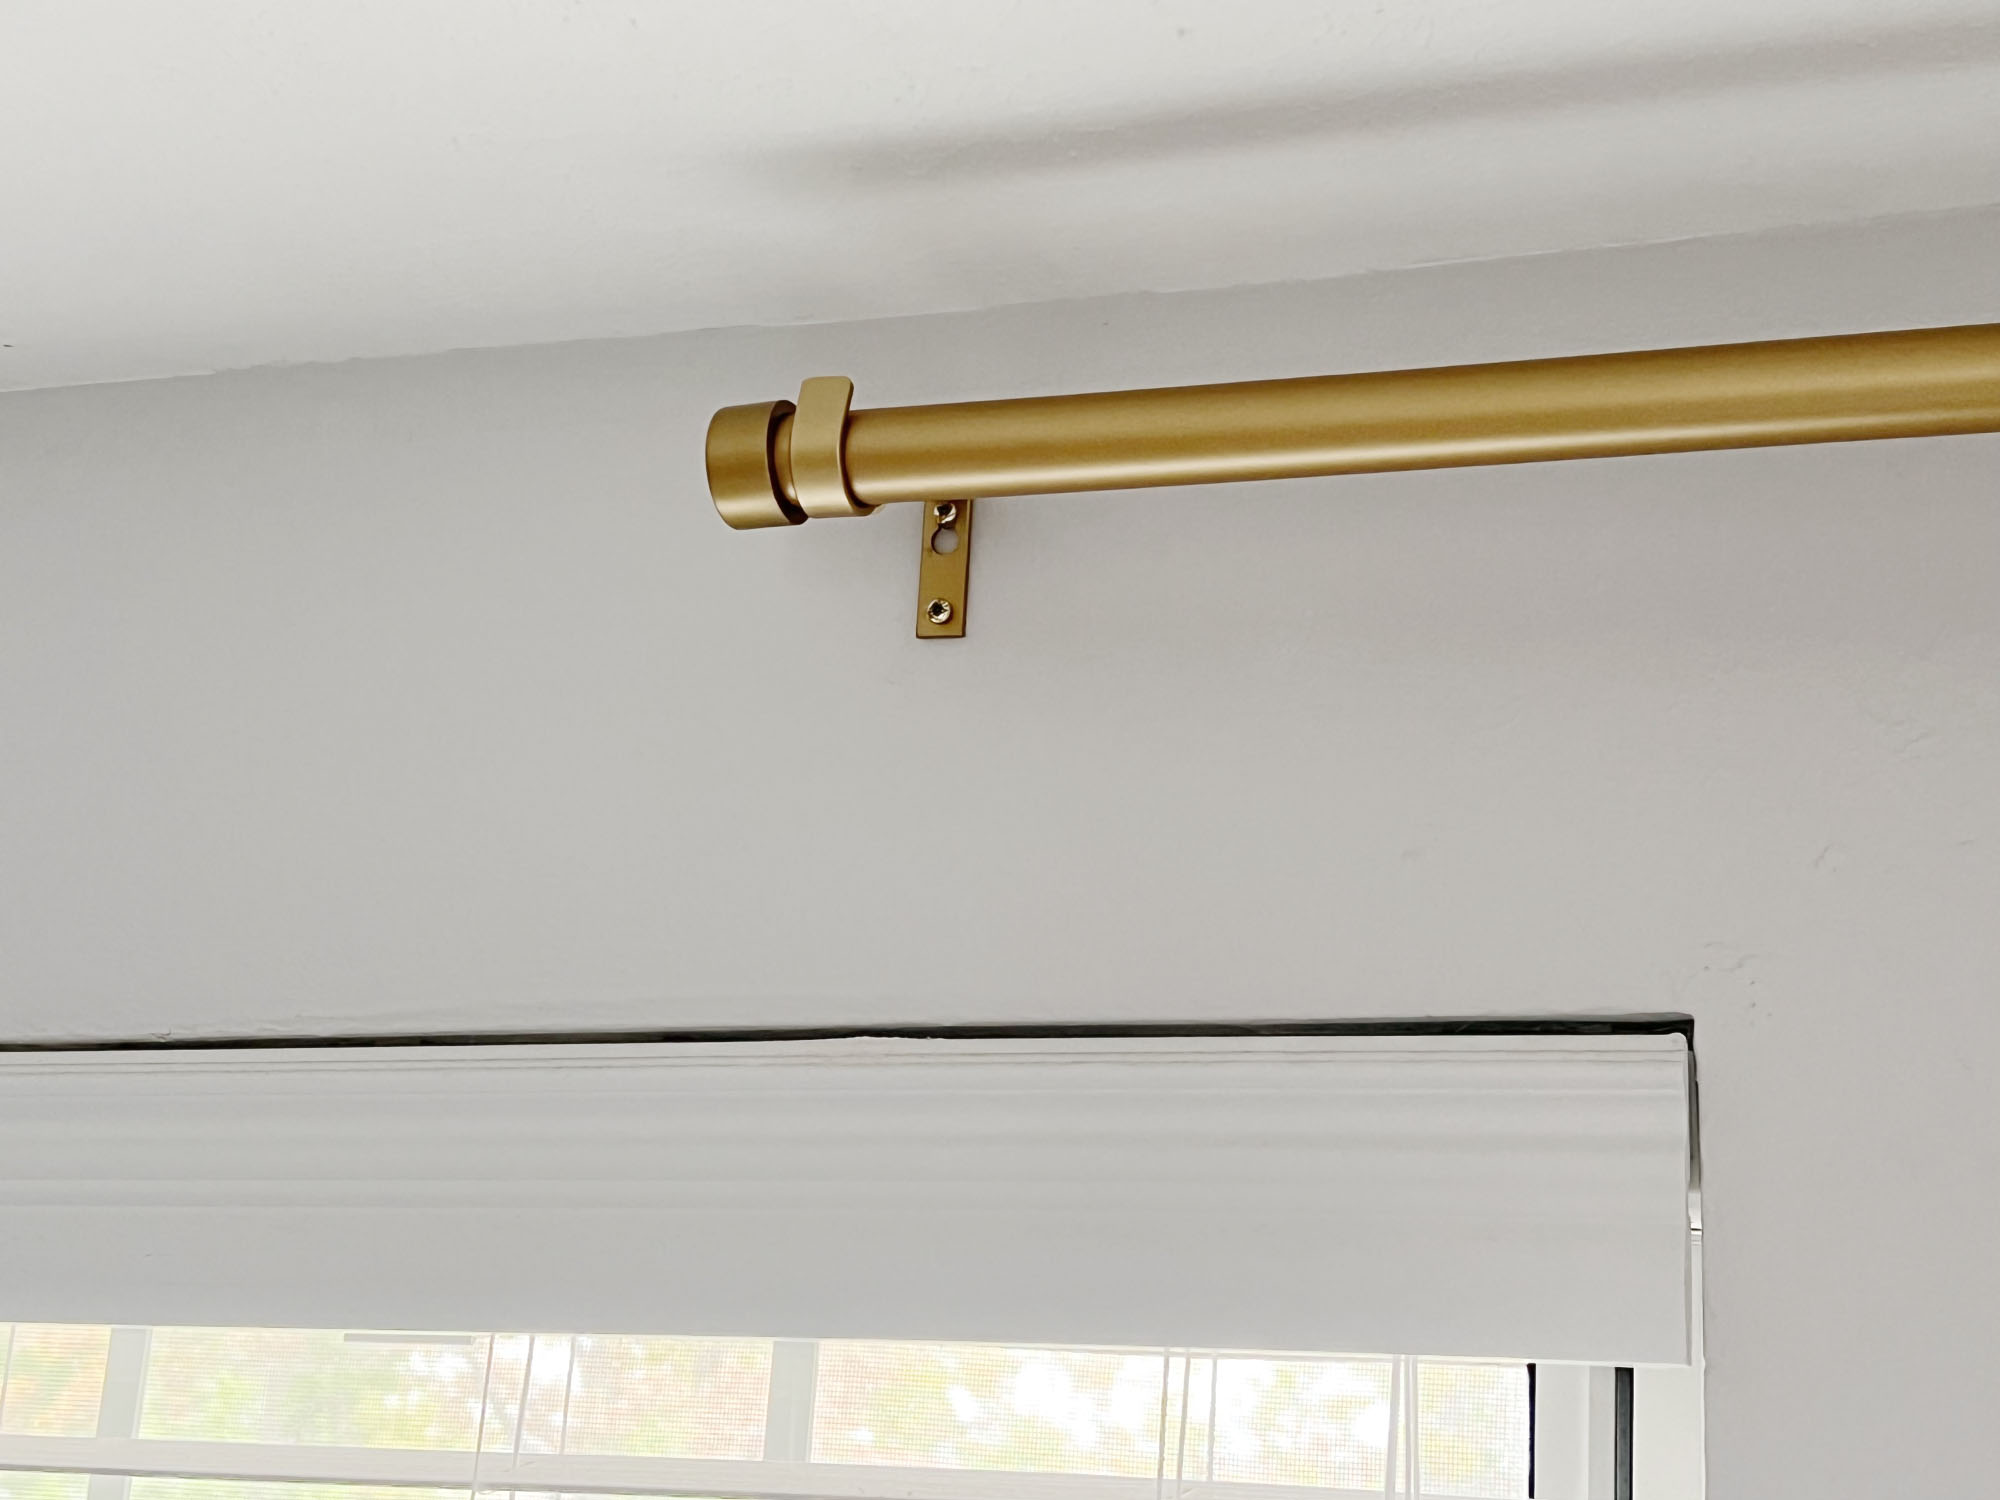
Next you’ll hang your curtains on the rod. We chose to hang the curtains from drapery rings so I clipped the rings evenly across the curtain panel and then slid them onto the curtain rod. Once you’ve placed your curtains on the rod, insert the rod into the brackets. Adjust your curtains to your liking, step back and enjoy your handiwork!
Join our newsletter
Get small space home decor ideas, celeb inspiration, DIY tips and more, straight to your inbox!
Dori Turner writes blog posts and feature articles on affordable design and DIY from her home in the heart of Oklahoma. She has a passion for teaching others how they can transform their home on a budget.
-
 A $200 fluted panel transformed my drab kitchen in just one weekend
How to install a fluted kitchen panel: A speedy and achievable DIY tutorial even for DIY novices
By Claire Douglas
-
 How to replace a broken staircase spindle in 30 minutes flat
A missing or broken spindle on a staircase is not only unsightly, but it can be a real hazard. This is how to fix it in a few quick steps.
By Kate Sandhu
-
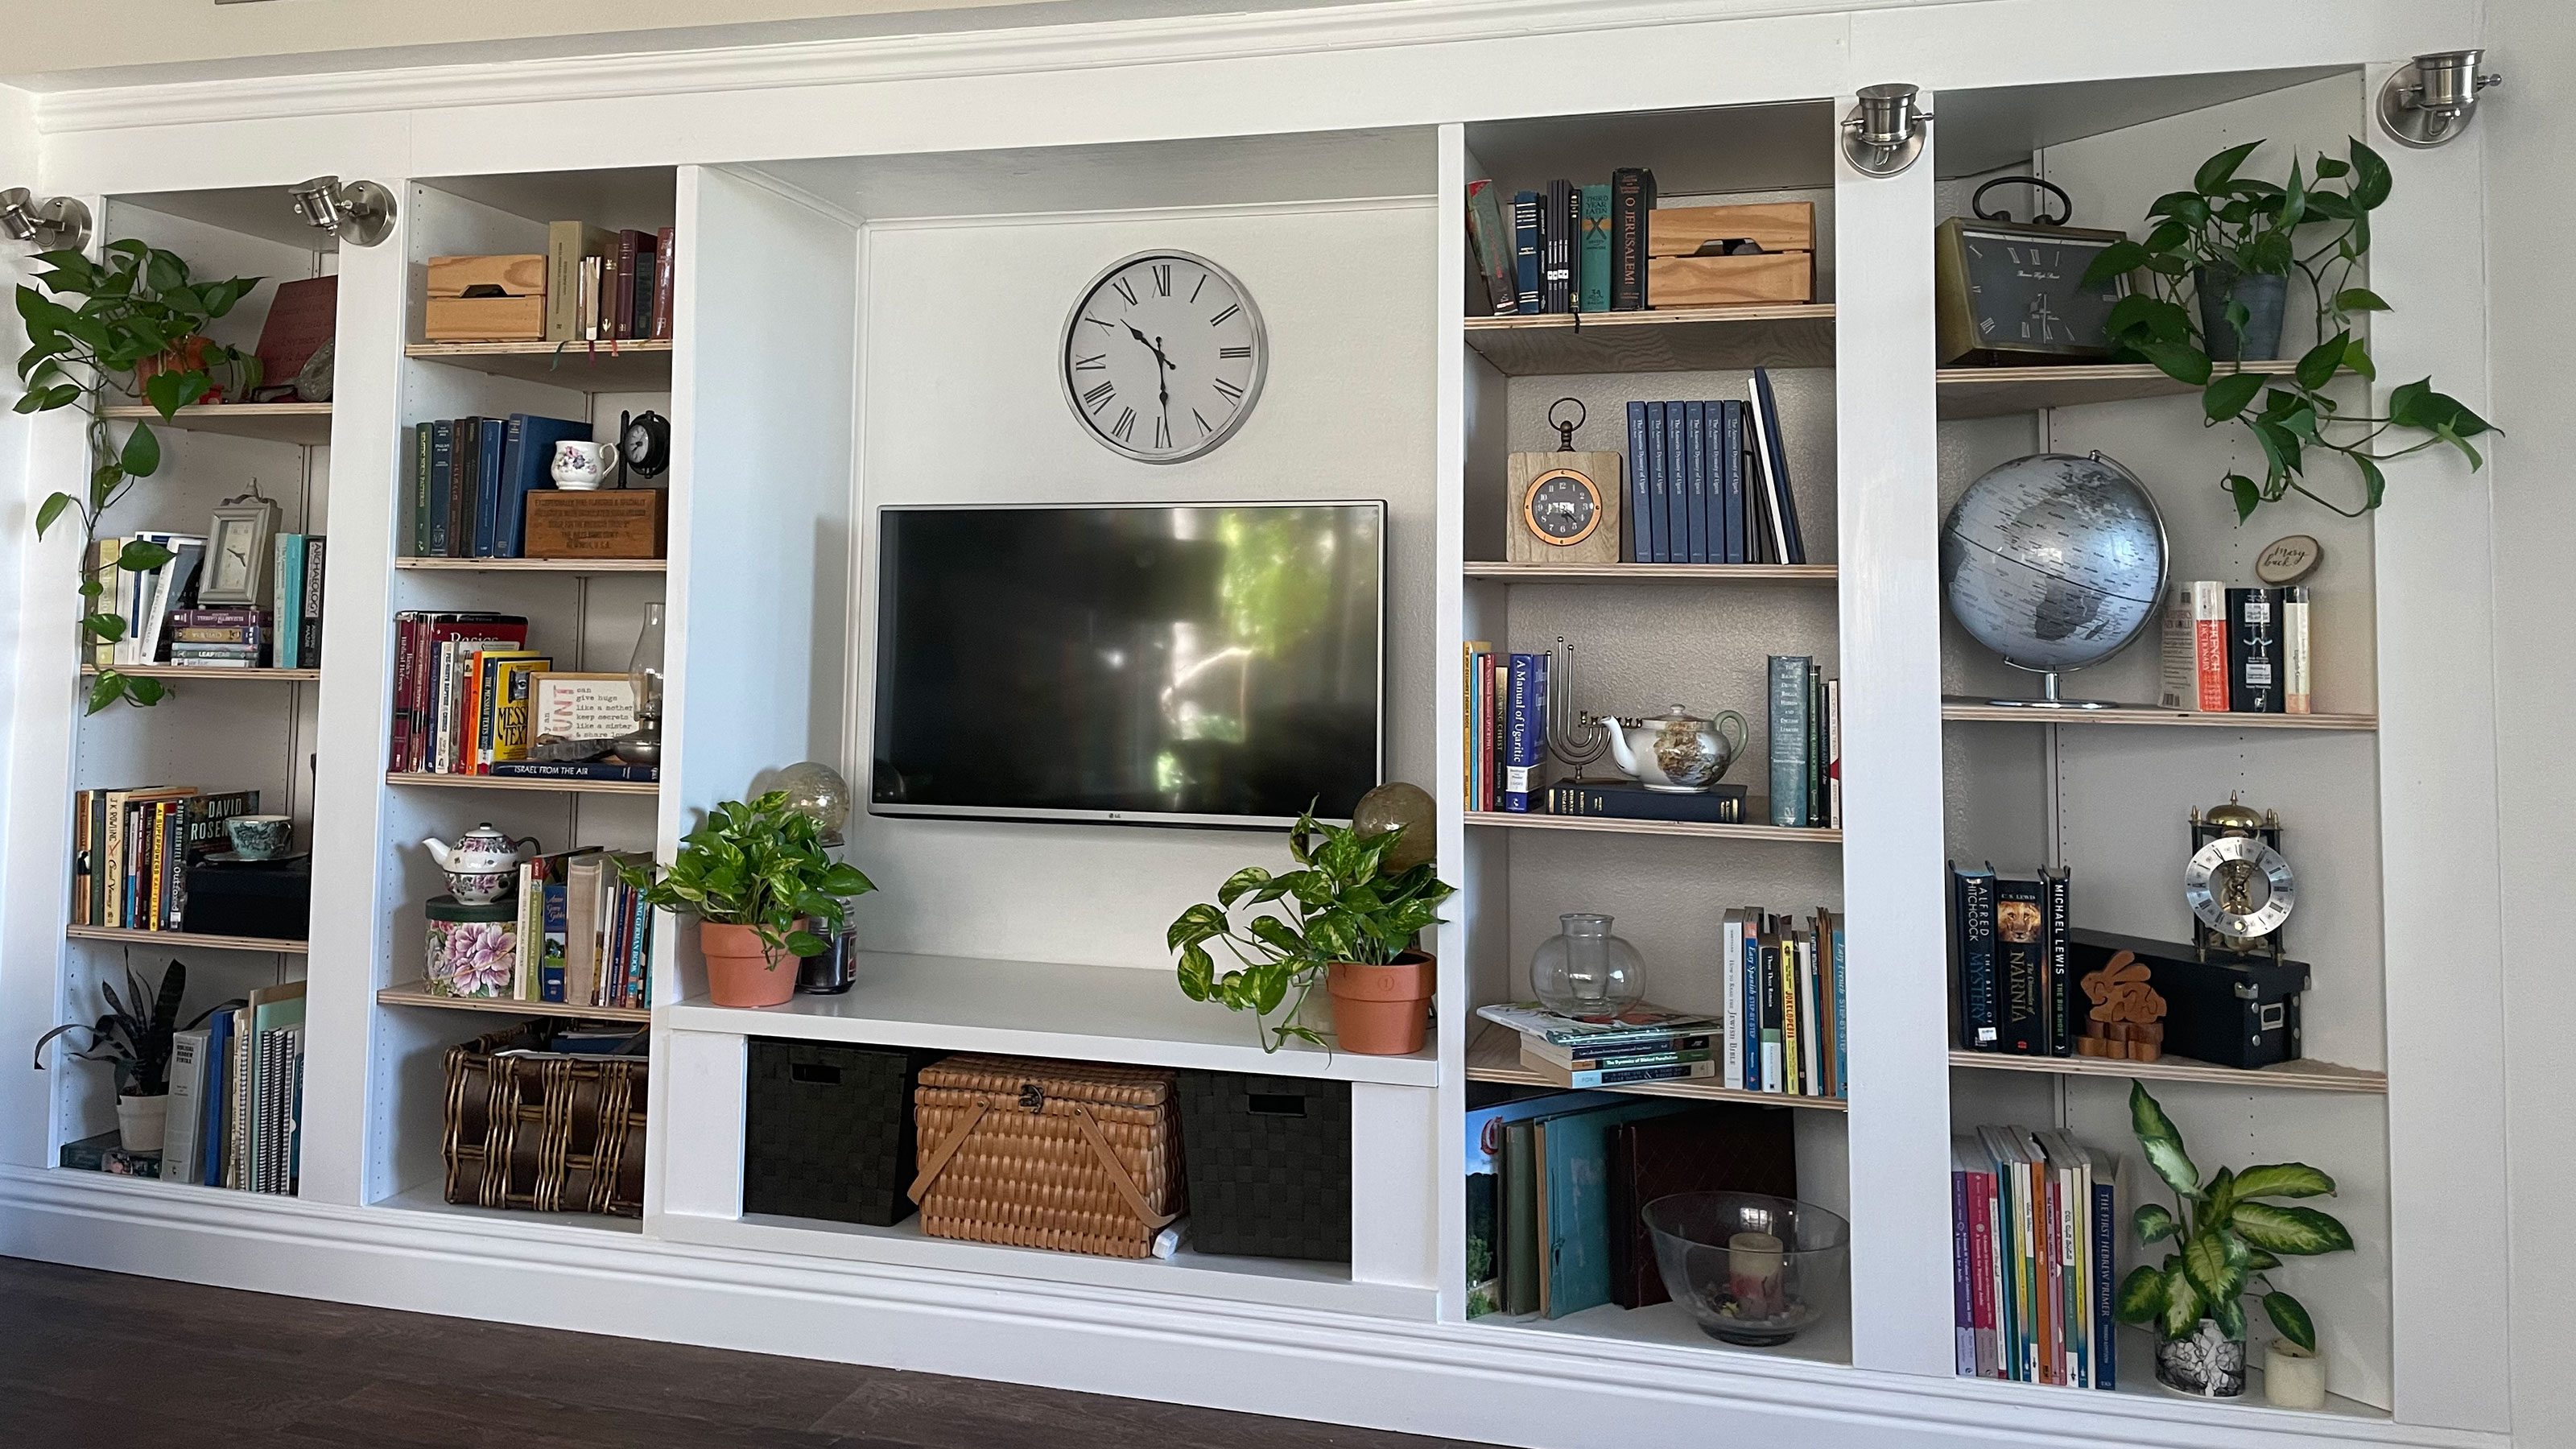 An IKEA Billy bookcase hack inspired this cute media wall DIY
This cute DIY was inspired by an IKEA Billy bookcase hack and brought a ton of symmetry to an otherwise basic media wall space.
By Camille Dubuis-Welch
-
 Share your small space glow up to win $150 in the Real Homes competition
Show off your creativity and DIY skills to win $150 and for the chance to be featured exclusively in Real Homes magazine
By Camille Dubuis-Welch
-
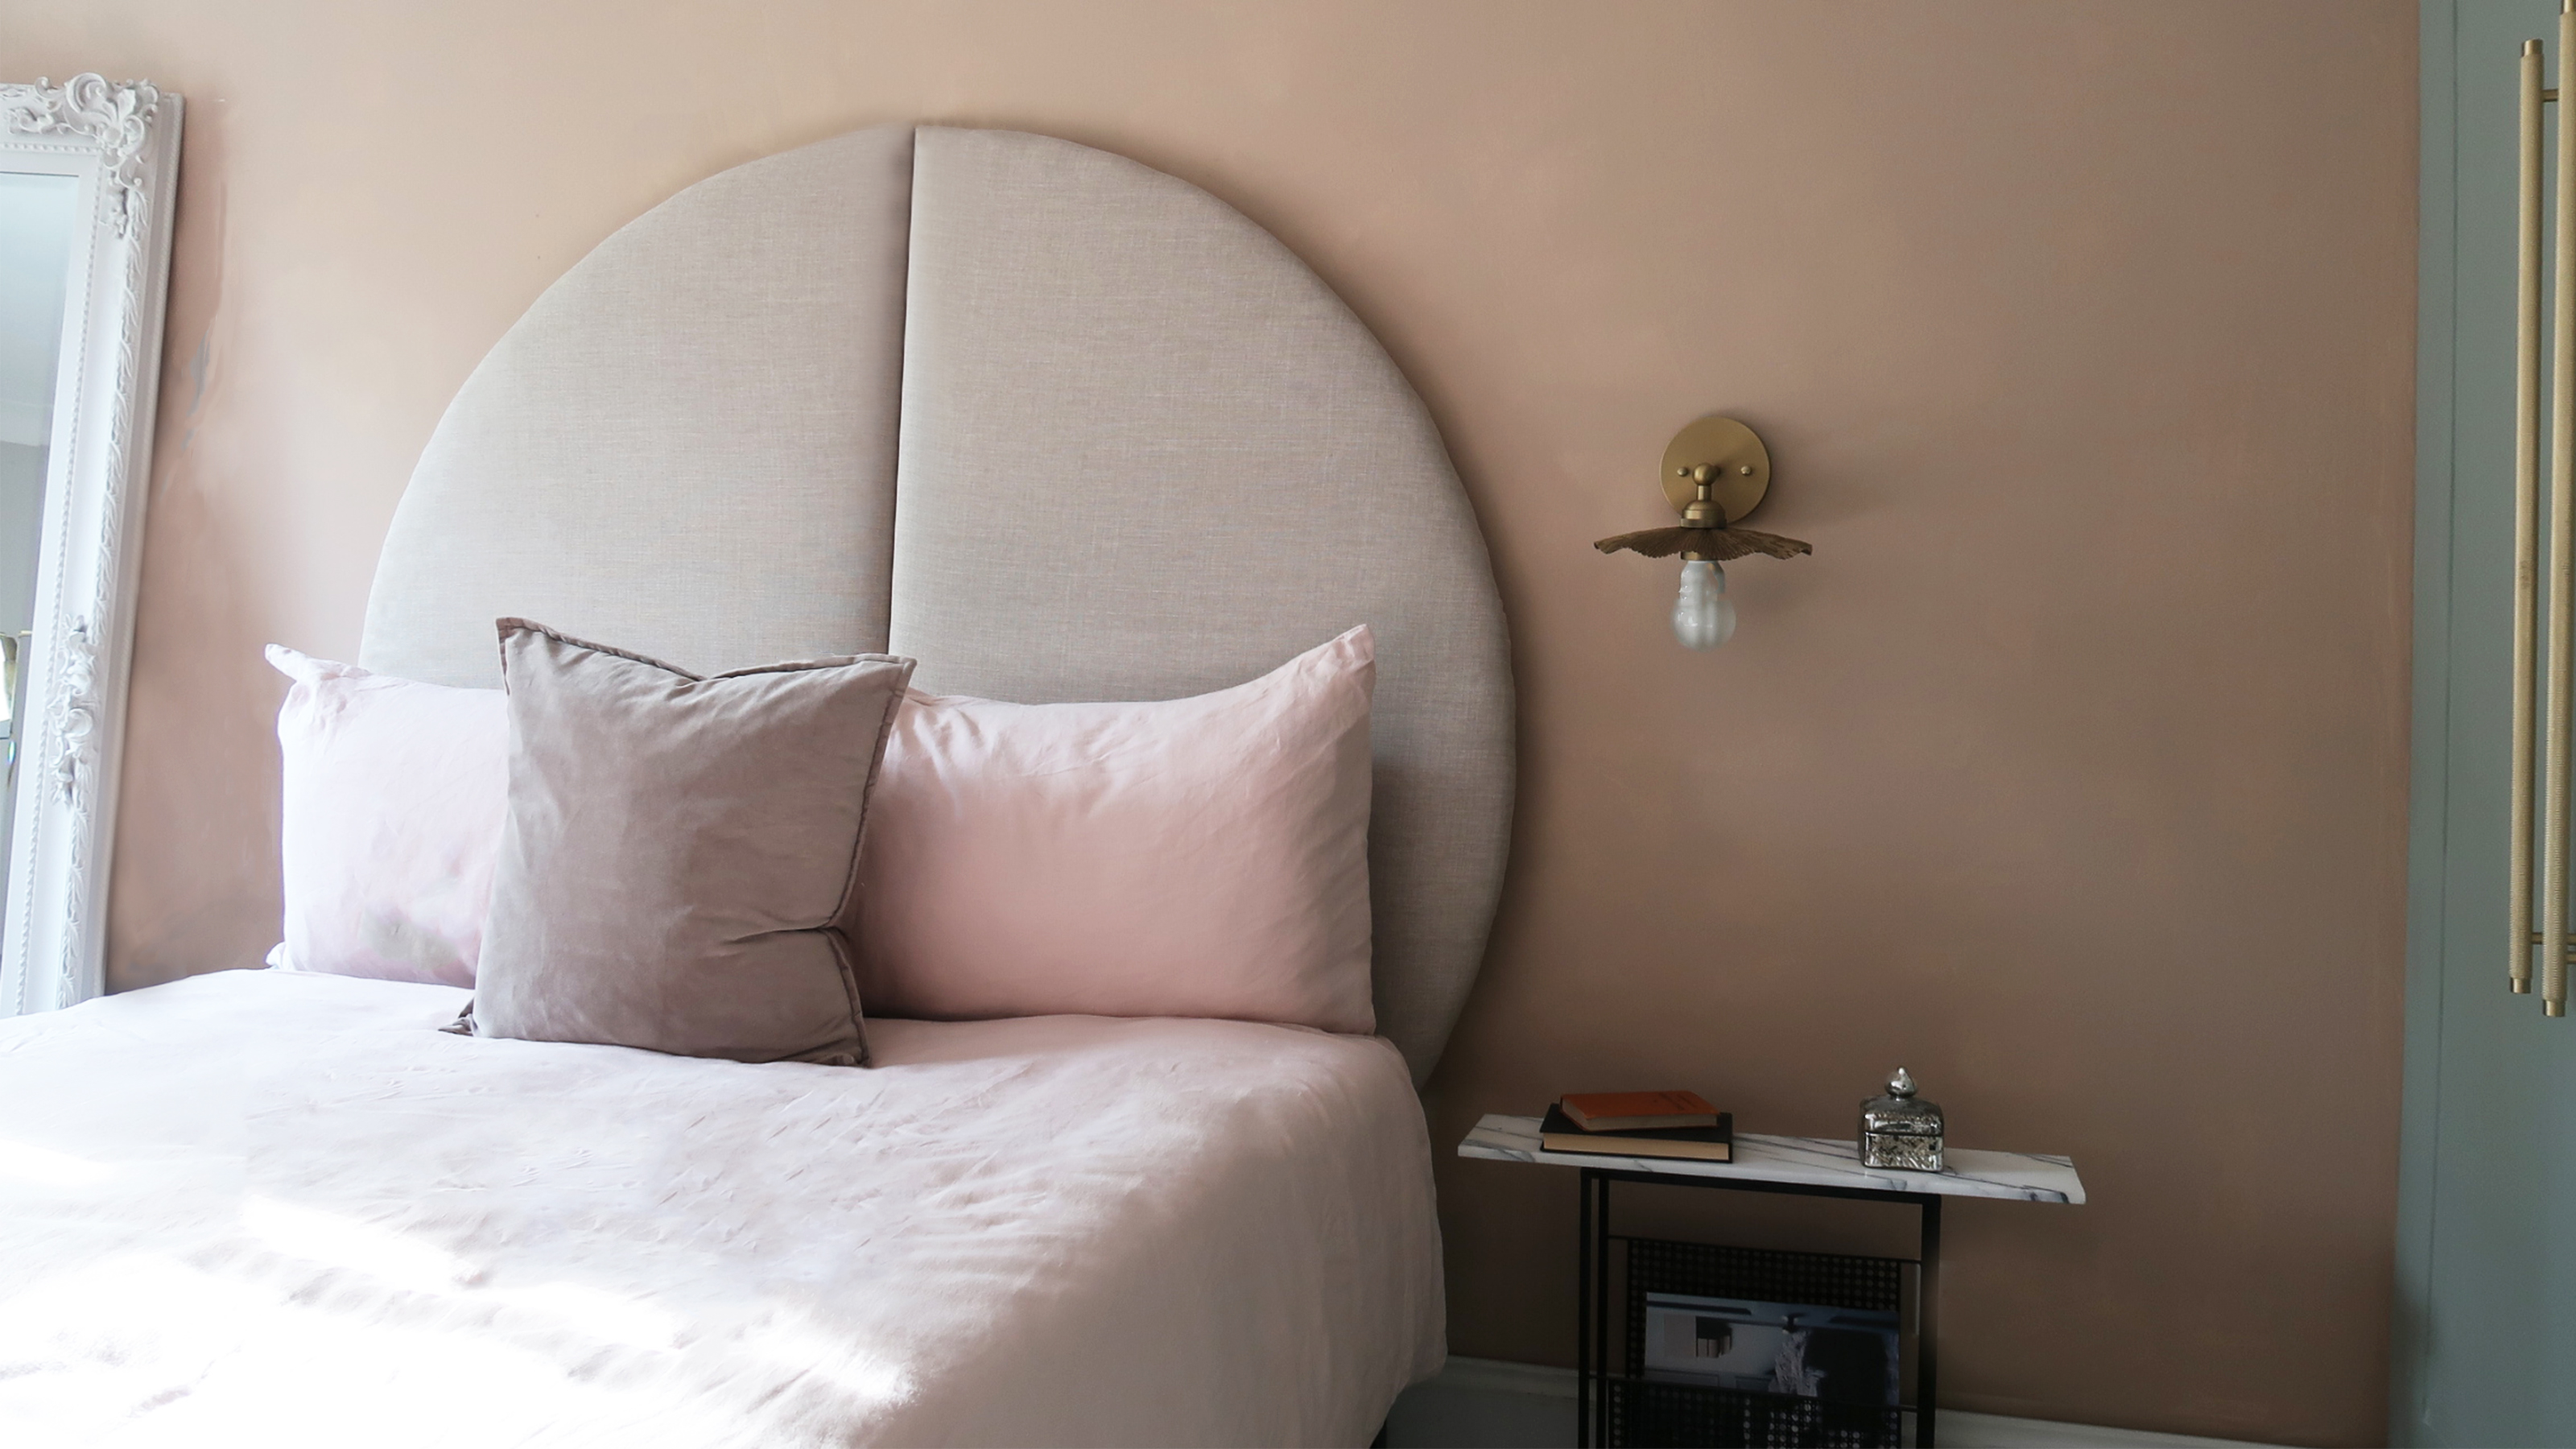 This oversized headboard looks designer, and takes 5 steps to DIY
Super simple to DIY, this oversized headboard will give your bedroom space all the designer vibes you could dream of.
By Claire Douglas
-
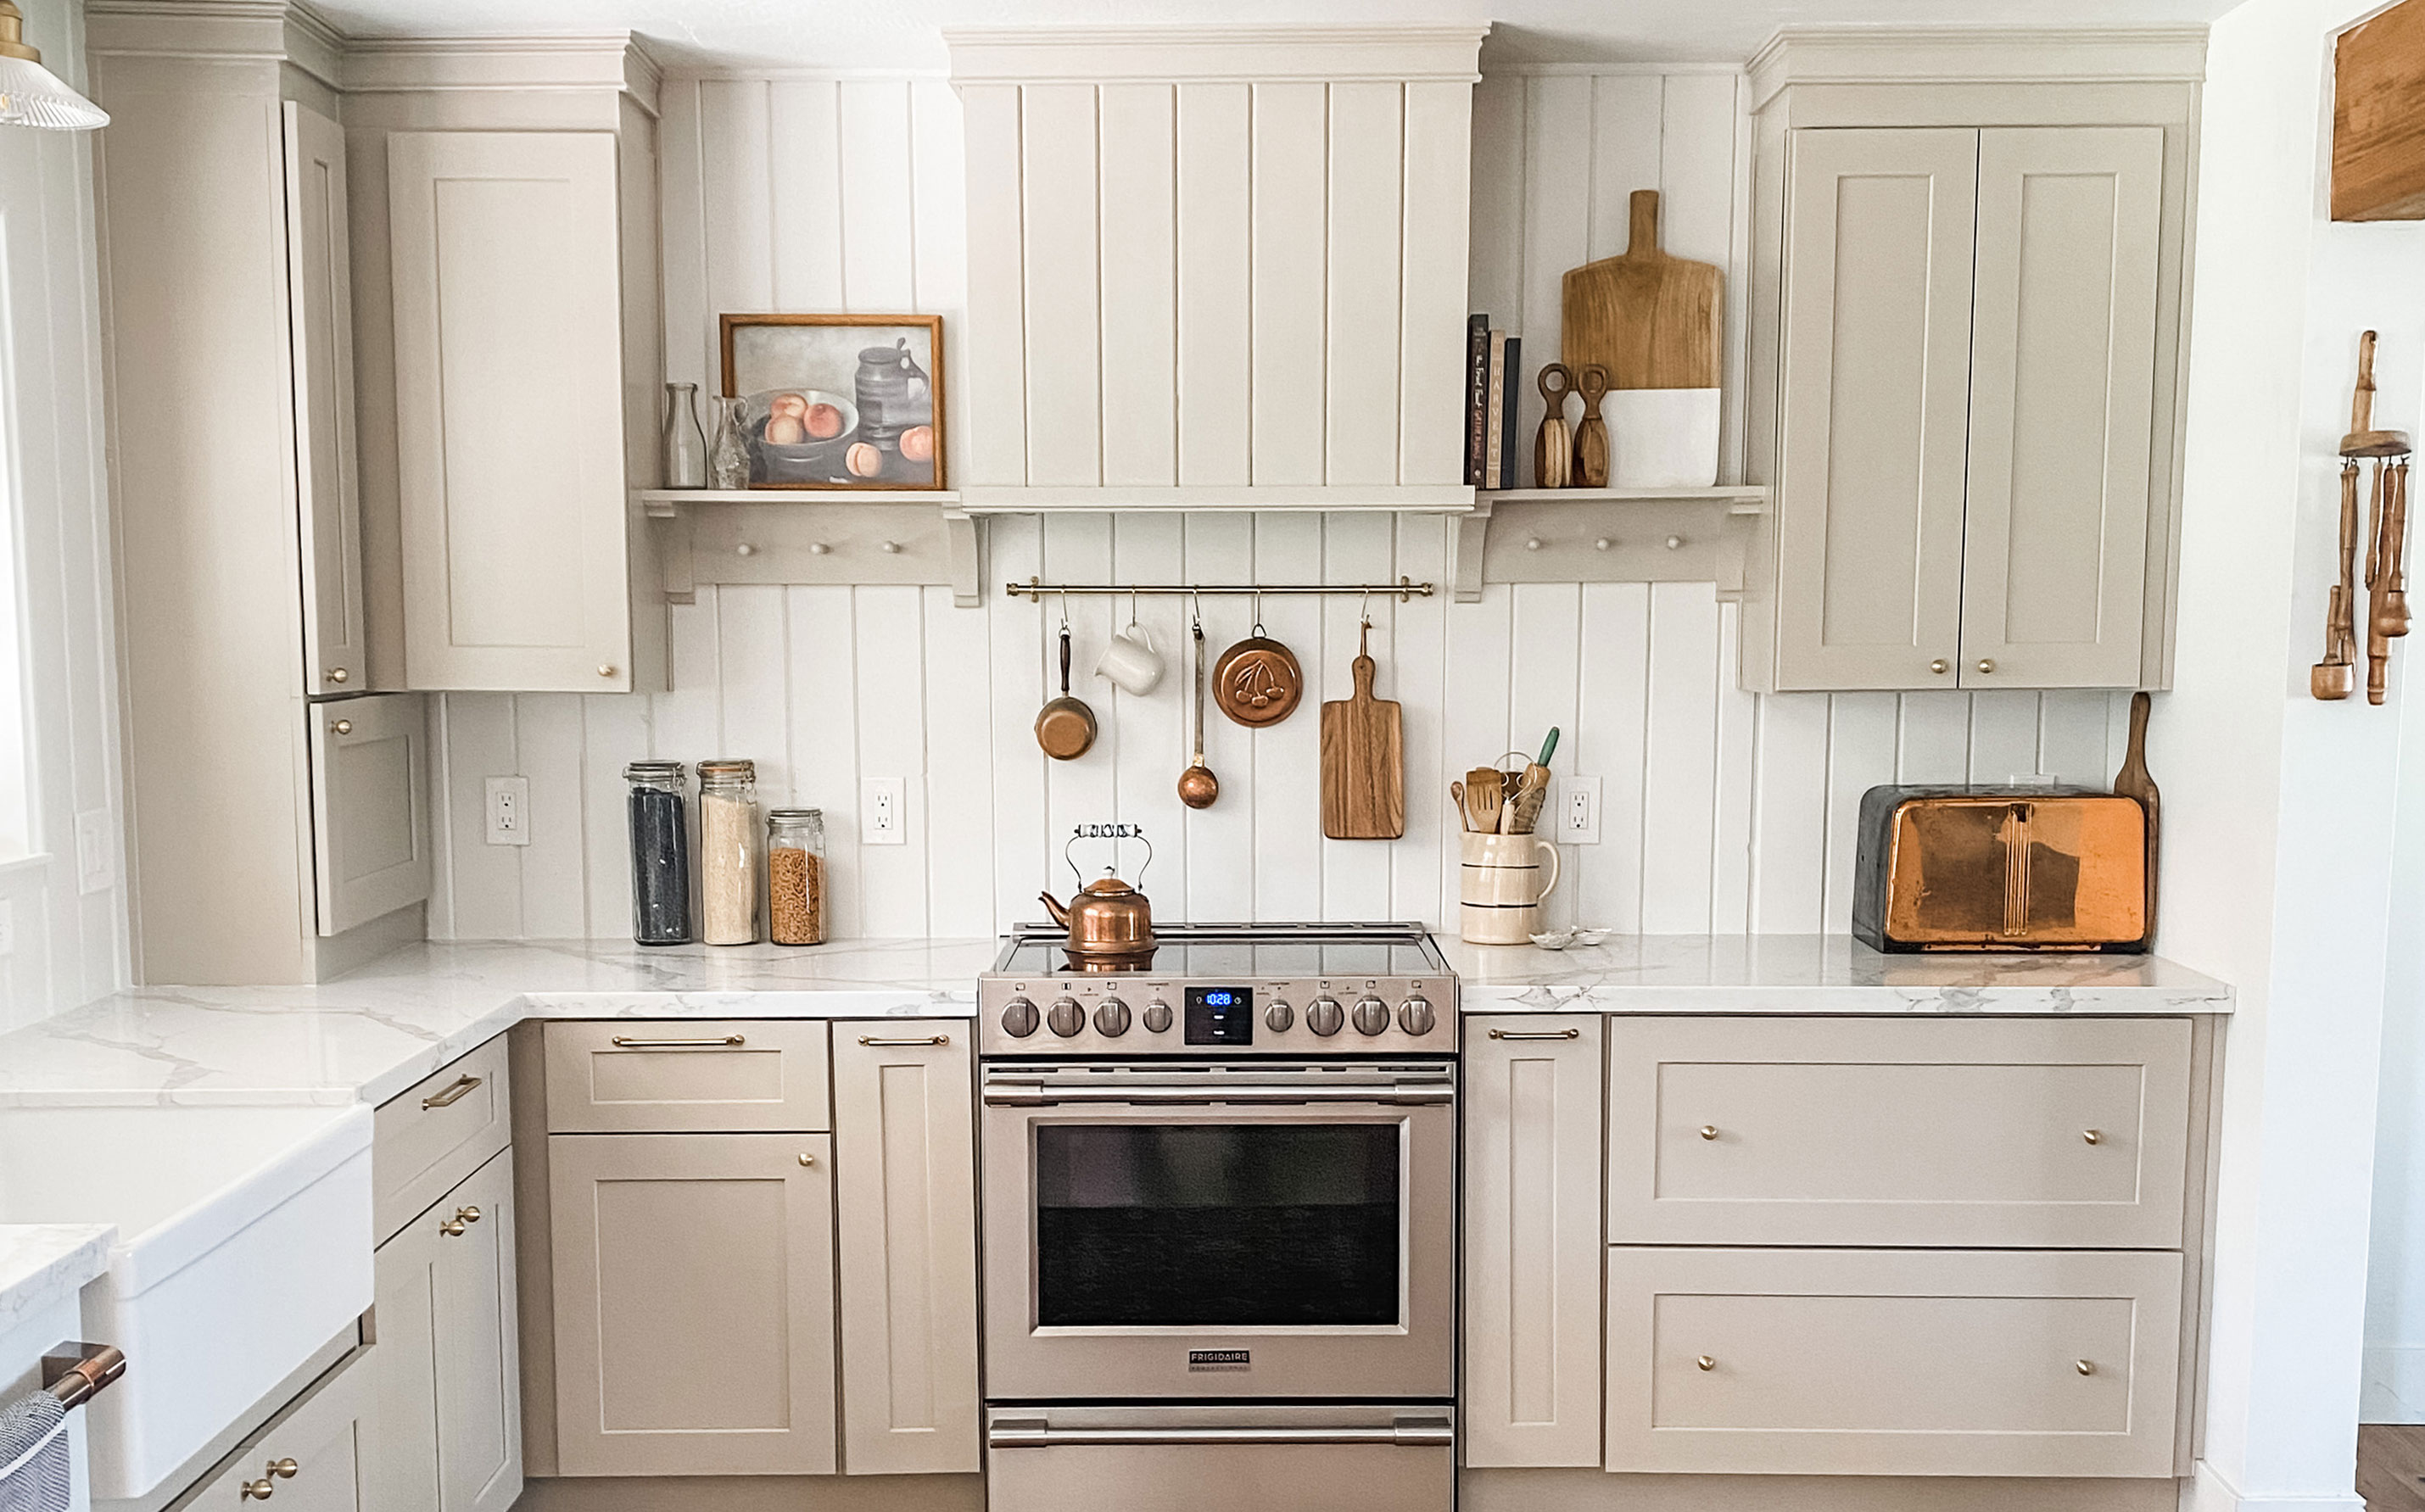 My DIY range hood and backsplash build gave my kitchen the perfect farmhouse finish
I craved charm in my kitchen space and adding a custom range hood and shelving was the best move.
By Brooke Waite
-
 How to paint a radiator in 7 steps
Painting radiators properly is all about choosing the right paint and the best process. Get interior designer-worthy results with our how-to.
By Kate Sandhu
-
 How to install a door knob
Updating your interior and exterior doors can be as easy as changing out the hardware! The best part is that installing a door knob is very DIY friendly. Follow these simple steps and enjoy a fresh look on your doors!
By Dori Turner