Want to know how to hang Christmas lights inside your home as well as outdoors like a pro? Learn from the experts and you can create the best display, and keep yourself, your family, and your home safe.
Dressing the tree, maybe other areas of your home, plus the outside of your house, and seeing the strings light up for the first time in the year is part of the magic of the holidays. But whether you’re experienced in realizing your outdoor Christmas lighting ideas or looking forward to doing so for the first time in your own home, the pros have plenty to teach about optimizing the display, and avoiding potential hazards.
We’ve got the lowdown on how to hang Christmas lights outdoors as well as inside your home in our step-by-step guides, together with pro tricks so you can get the best-ever festive show.
How to hang Christmas lights
There are different techniques, as well as safety considerations, you should be aware of depending on whether you’re hanging outdoor Christmas lights, or in, and these are the steps you should follow.
How to hang Christmas lights outdoors
You will need:
- Measuring tape
- Light strands
- Light clips and hooks
- Ladder
- Timer (optional)
1. Determine how many lights you need
The first step when it comes to how to hang Christmas lights outdoors? Mapping out where you’d like the lights and measuring.
While you could map out the location of the lights in your mind, we recommend snapping a photo of your house from the street, printing it out, and then drawing with a permanent marker the areas you’d like to have lit up. Be sure to consider the areas you’d like to highlight or make a focal point.
Measure where you want to hang lights, whether that be along your roof, driveway, shrubs, pillars, or railings. Make sure to also measure the distance to your power source; it would be depressing to do all the labor and then not have a way to plug your handiwork in. Once you do this, make sure you jot down the measurements so you can recall how much you need to use for future years.
If you plan to wrap strands of lights around trees or shrubs, a good rule of thumb is 100 lights for every 1.5 feet (0.5m) of tree or shrub you want to cover. For example, 6 foot (1.8m) evergreen trees need 900 lights. Another popular option is draping a mesh lighting net over your landscaping for a dramatic effect.
2. Check the lights – and the weather
The most important thing to remember when it comes to Christmas light safety is to only use lights that are labeled for outdoor use, as these can withstand rain and snow and maintain their electrical connections. Choose lighting that is UL certified as well.
It’s also advisable not to mix light types (ie incandescent and LEDs) within the same power outlet.
For the best look, you should ideally use lights from the same maker to make sure they are all the same color.
Plug the lights in to check they’re working before you start hanging them.
‘Making an investment in an articulating ladder will allow you to reach just about any roofline, and have a strong sturdy base,’ advises Ross Harke, co-founder of EverLights.
Be aware of the weather conditions before you start, too. Don’t hang up lights during snowy, icy, or rainy weather.
3. Add clips to the Christmas lights
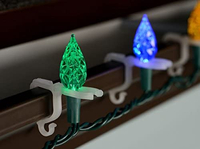
You’ll want to have an abundance of clips on hand. While a staple gun may seem like a quick and easy way to attach lights, it makes for a more difficult disassembly. Additionally, nails are more likely to damage wires. Opt for plastic clips.
Bear in mind that adhesive clips are best for hanging lights on columns or railings while universal clips are best for rooflines.
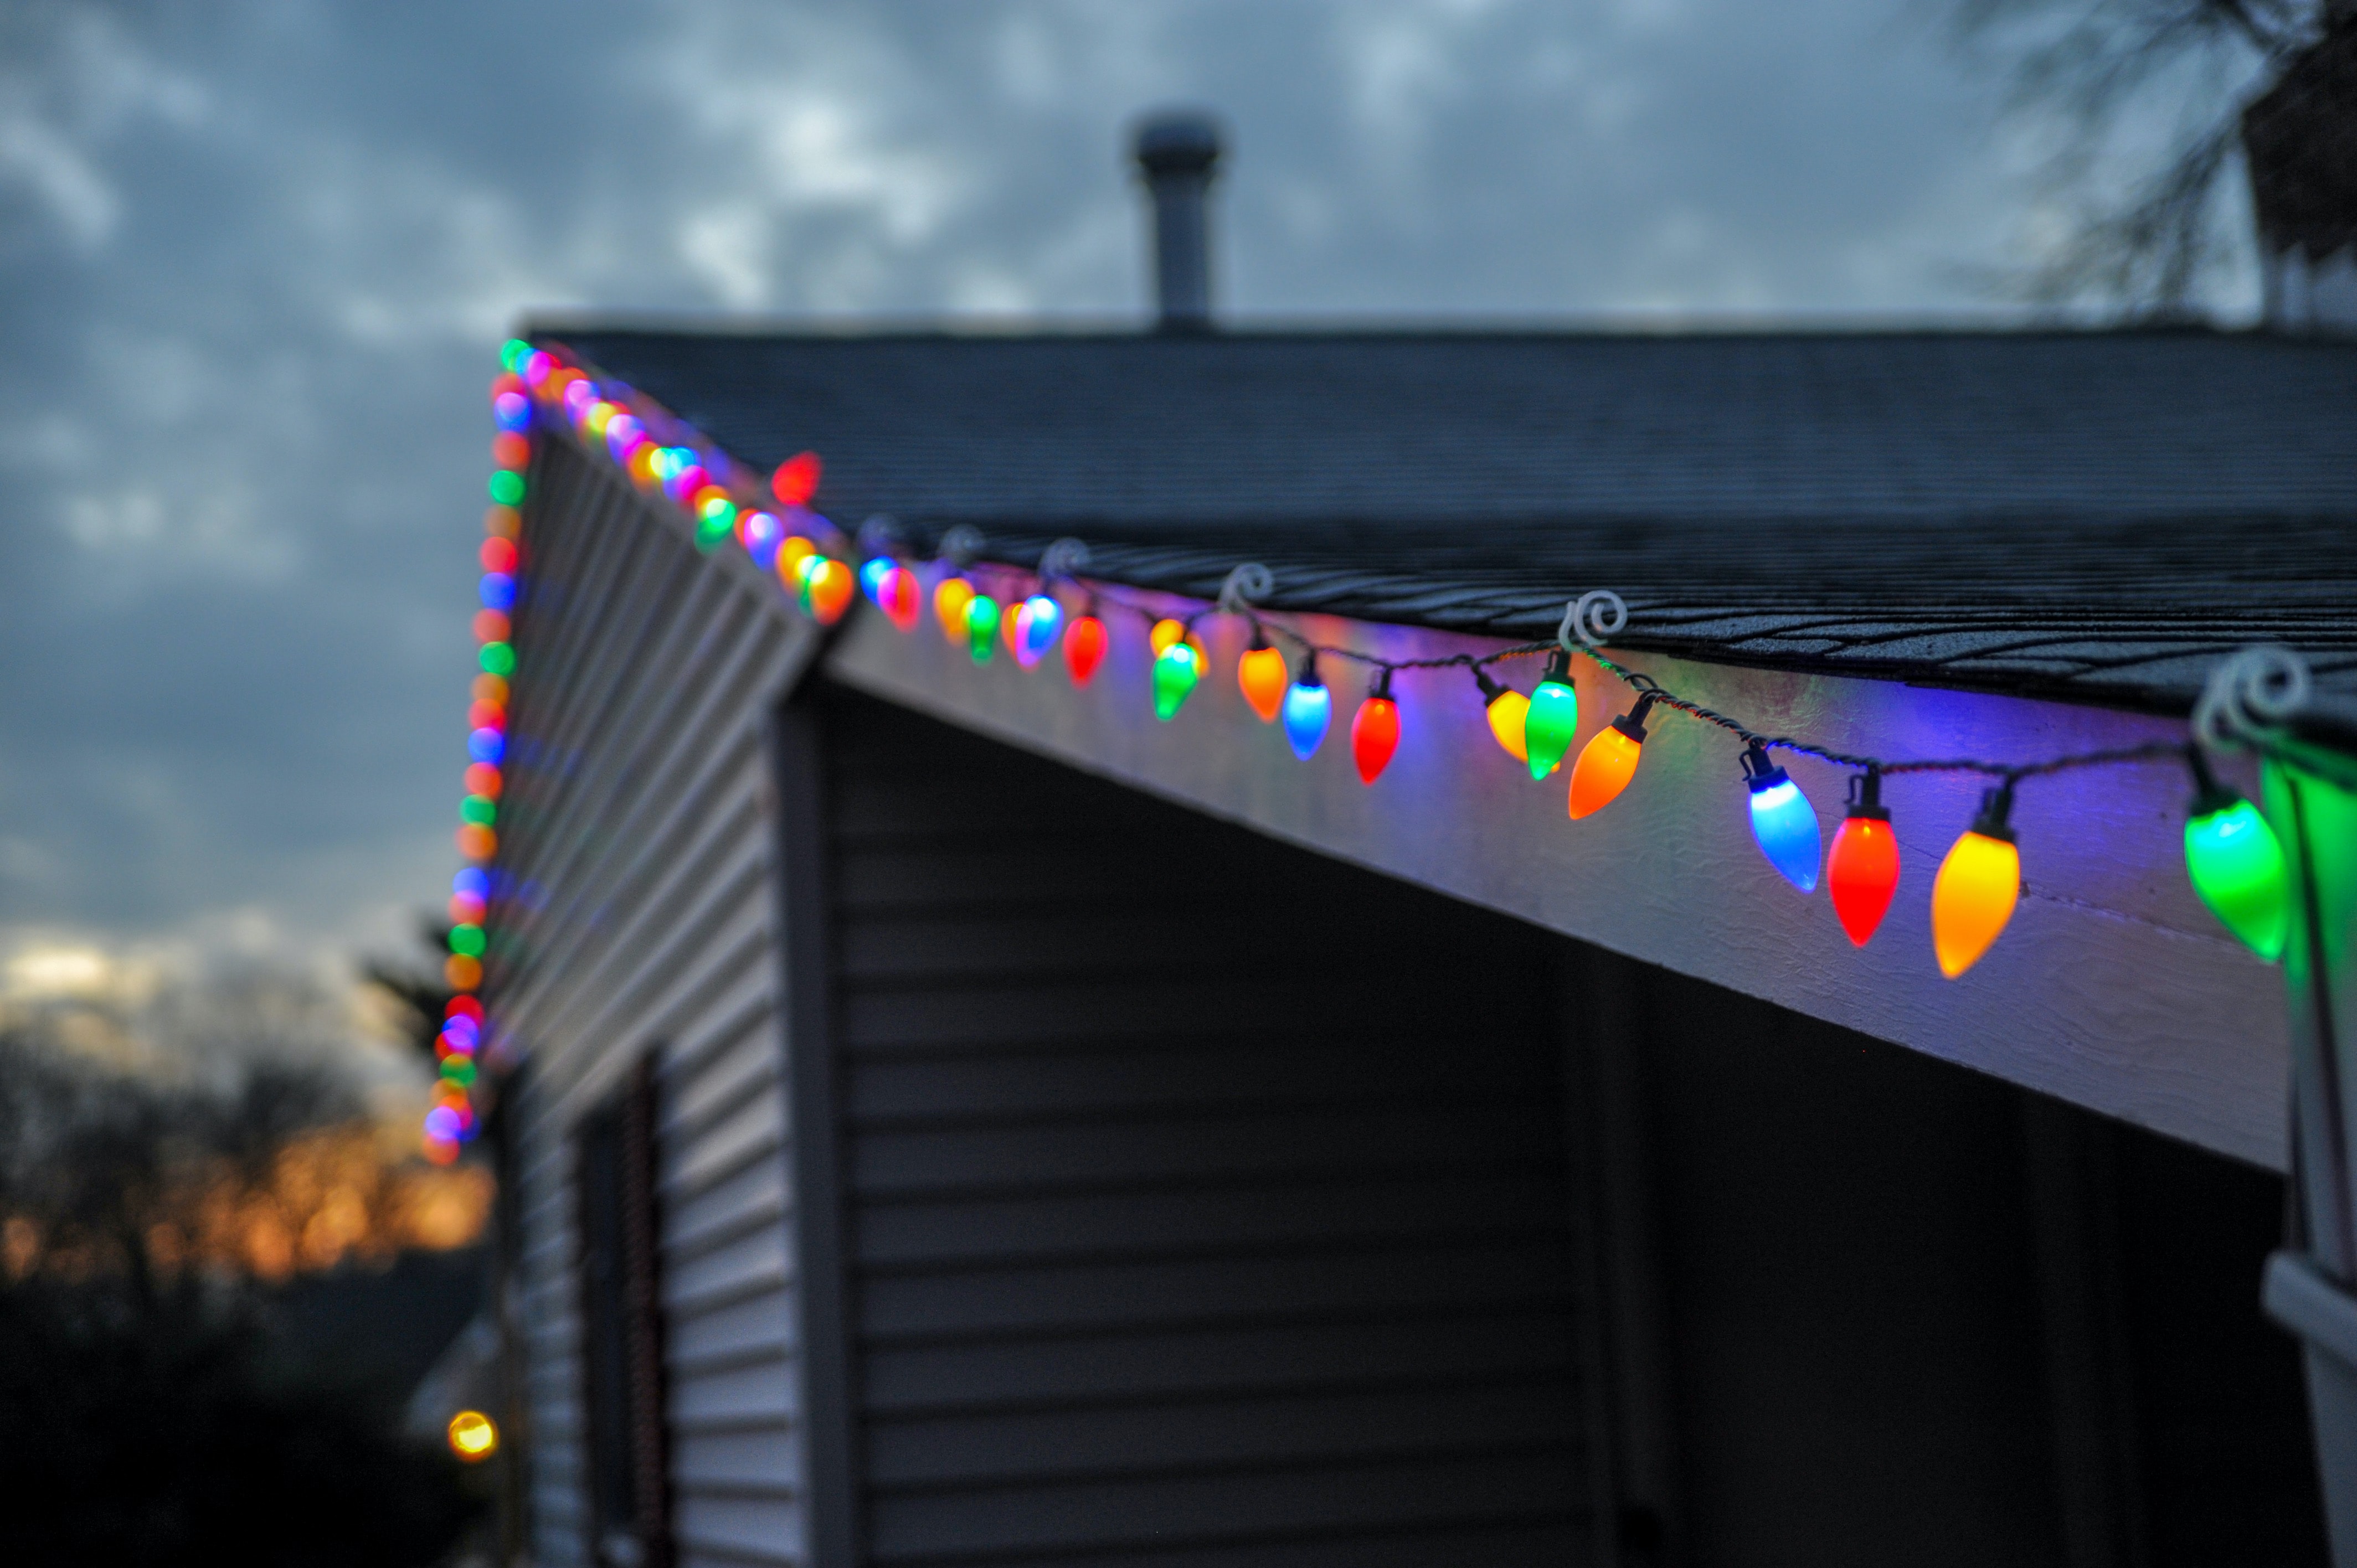
It’s best to add the clips to the string before you string along rooflines so you can slide rooftop lights in place by inserting the clips in the gutter or between the roof and shingles. For adhesive clips, adhere to its designated surface in regular intervals so you can seamlessly attach the string light.
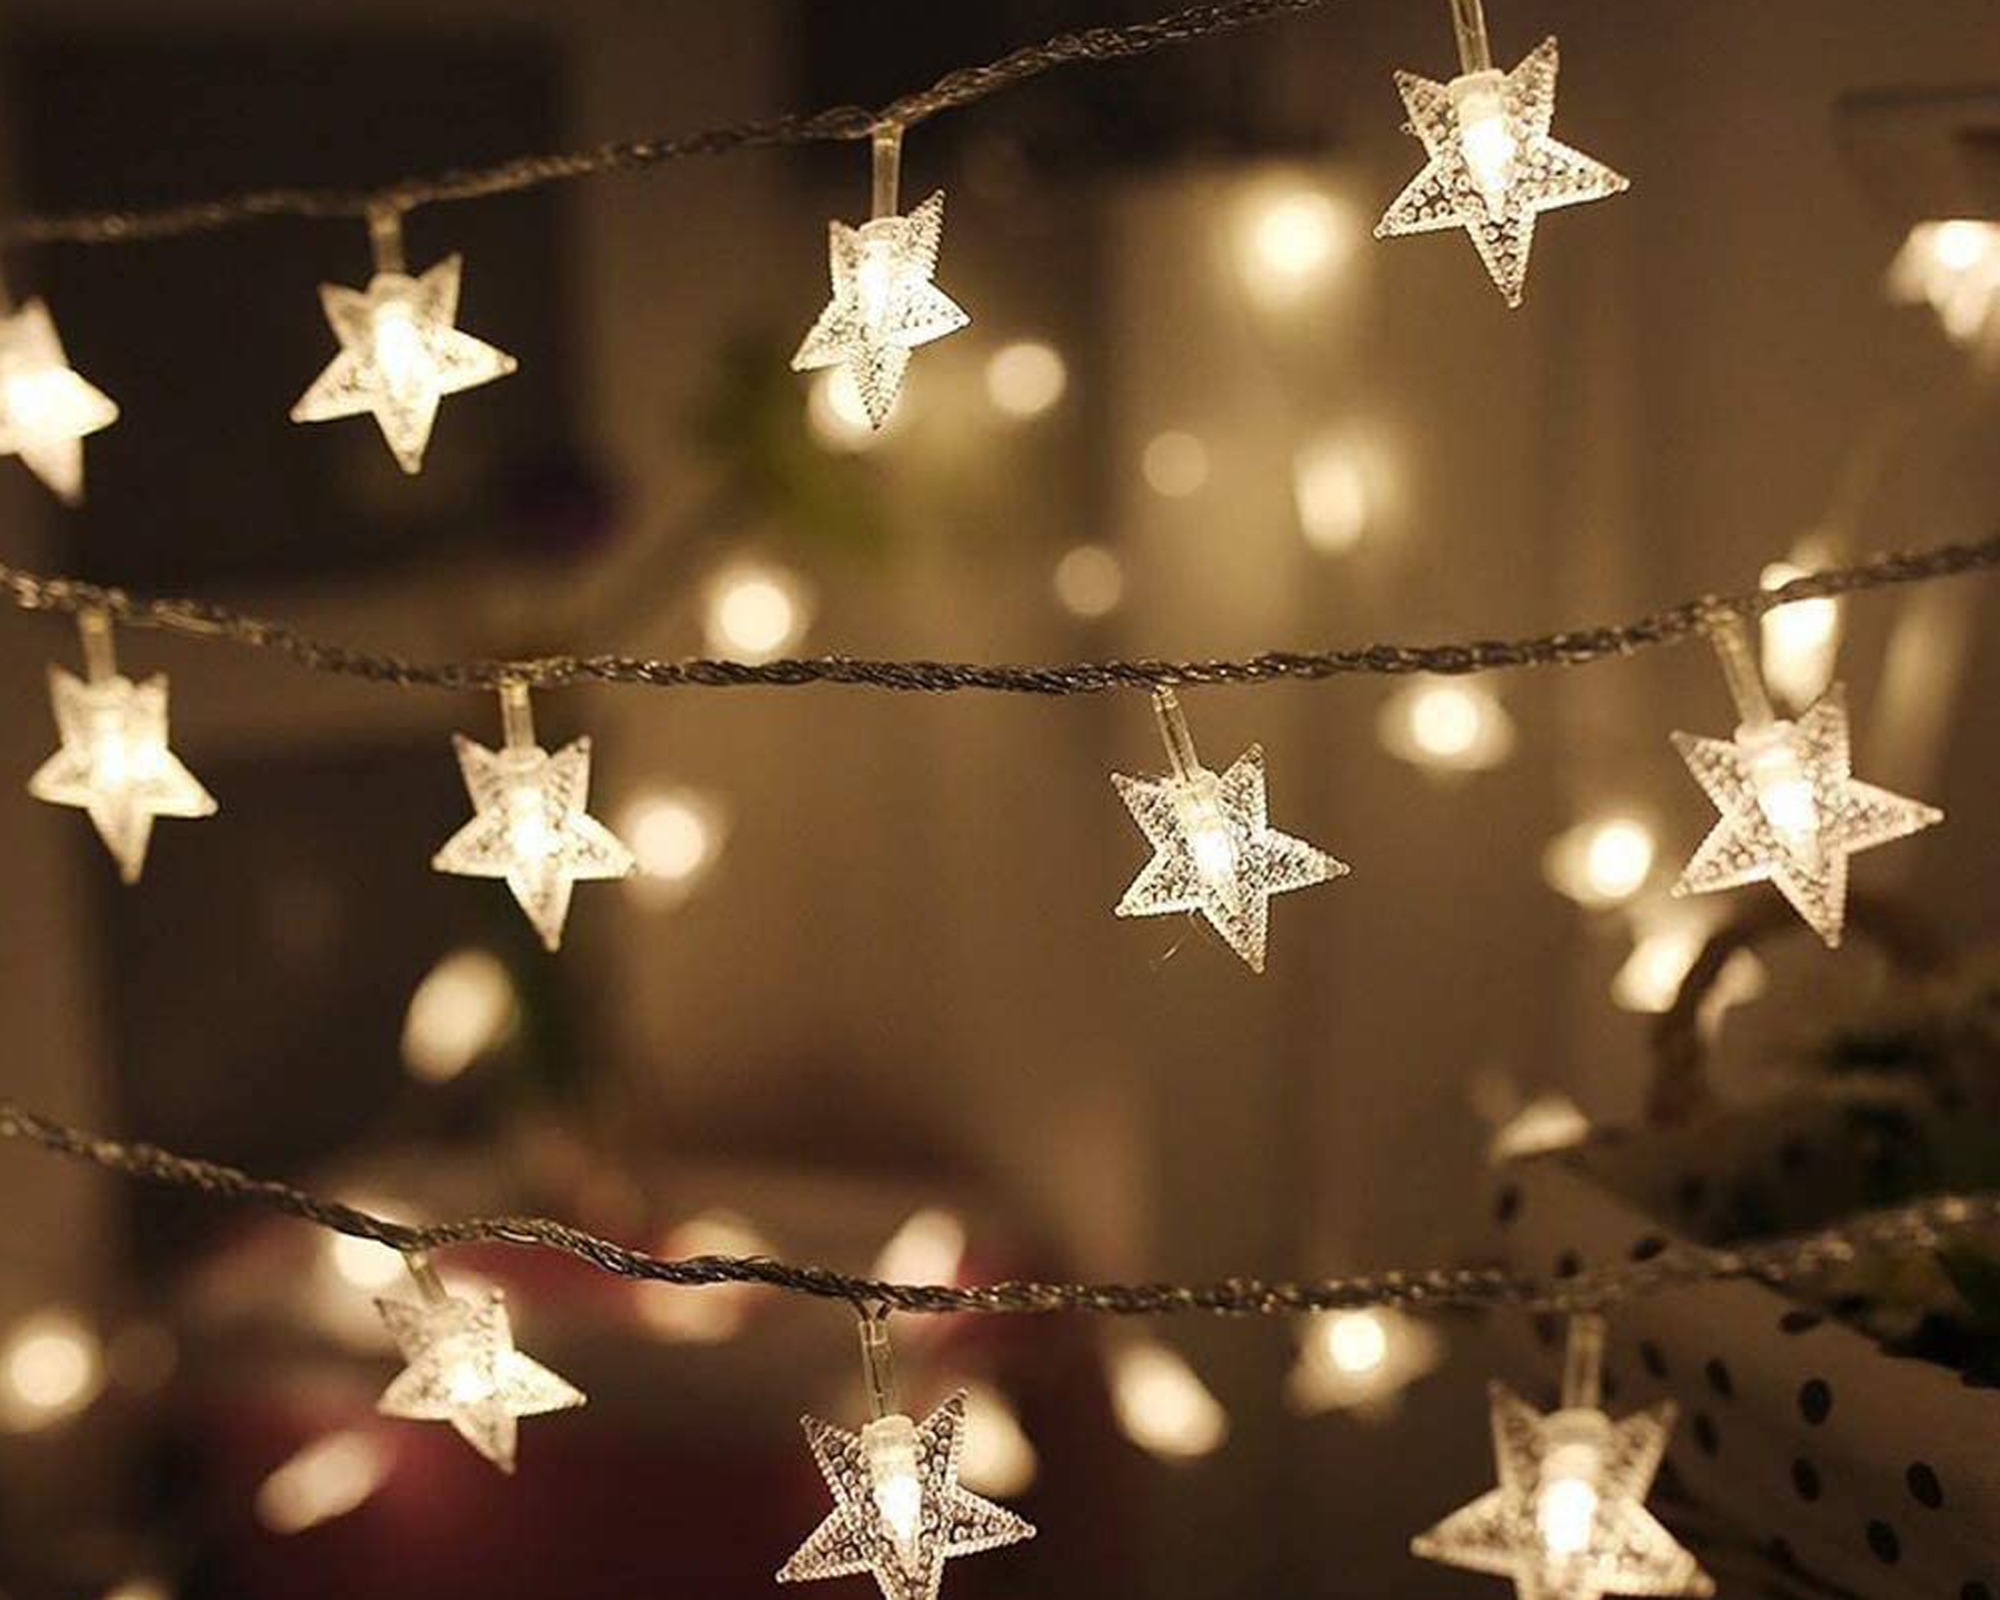
Twinkle Star 100 LED Star String Lights, available on Amazon
4. Hang the lights
When on a ladder, you don’t want to be fumbling with little pieces, so it’s safest and most convenient to have the clips planned out in advance. If you’re up high on a roof, grab a buddy to help stabilize the ladder and keep any lengthy light strings from getting tangled.
5. Switch on the lights
Once your light display is ready to go, flip the switch and check your handiwork. You might want to set it to a timer so it can be scheduled to turn on and off at your chosen time of day, and you don’t have to worry about remembering.
Holiday Joy 200 All Purpose Gutter Hooks for Outdoor Christmas Lights | $14.99 at Amazon
These all-purpose light clips fit almost any gutter, shingle, or roof edge and work with C4, C5, C6, C7, C9, mini, icicle, rope, LED lights, and more. They're easy to install and can even display two strings at once for dual effects.
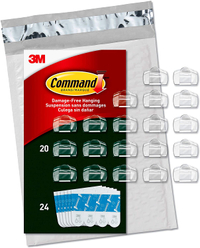
Command Outdoor Light Clips, 24 Clips, | $9.99 at Amazon
Easily hang your outdoor string lights with these adhesive clips that won't damage or leave behind any residue on your railings, walls, or pillars. Using one clip for every 2 feet of lights is recommended.
How to hang Christmas lights indoors
Whether you want to realize your favorite Christmas bedroom lighting ideas or dress your tree in the lounge, all you will need are light strands, then do the following:
1. Check lights
There are fewer complexities when it comes to how to hang Christmas lights indoors, as you don’t need to worry about weather, or working at height.
However, Christmas light safety is still paramount. Always check light strings out visually before plugging them in, then plug them in to check they’re working. If they're not working, here's a troubleshooting guide to how to fix Christmas lights to see if they can be resurrected.
Also make sure you don’t overload sockets and avoid fitting string lights where young children could get tangled or hurt.
2. Calculate how many light strings you need for a tree
Inside your home, it’s preferable to use 100 lights per foot (0.3m) of its height when you’re hanging them on a tree, or 150 per foot if the foliage of the tree is very dense.
3. Hang tree lights in a spiral or zigzag
To hang Christmas tree lights in a zigzag, start from the lowest branches of the tree and lay the first row on the branches, working from one side to the other. Add a second row above the first around 3 inches (8cm) away working from one side to the other in the opposite direction to the first row to create a zigzag. Continue upwards in the same way, zigzagging up the tree to the top.
Want to know how to hang Christmas lights in a spiral? Starting from the bottom, wind the lights around the tree with an upward slant. Continue with a second row around 3 inches (8cm) above the first, and continue spiralling the lights until you reach the top of the tree.
With both methods, rest the rows on the branches rather than wrapping them. You can create the best effect by pushing some of the lights deeper into branches while others are further forward.
4. Check the effect
With the lights in place on the tree, switch them on. If the effect is uneven, adjust the position of the lights as necessary.
Want Christmas lights elsewhere in your home? Be inspired by the ideas below.
What is the easiest way to hang Christmas lights?
The best way to hang Christmas lights on the outside of your home is with clips made for the job. ‘The easiest way to hang Christmas lights outside from gutters is with gutter clips,’ says Melanie Musson, a home design expert with InsuranceProviders. ‘They’re inexpensive and clip securely to your gutter, then the lights slide into the hook, which is the perfect size to hold them.
‘The easiest way to hang Christmas lights from the roof is with roof clips,’ she continues. ‘The nice thing about using clips rather than nails or staples is that clips can be easily removed after you take your lights down after the holidays. Also, clips won’t damage your string of lights like staples could.’
Inside, things are even simpler. ‘When you’re hanging lights on your Christmas tree, the easiest way to hang the lights is to use the tree’s branches for support,’ she says.
How do you attach Christmas lights to the wall?
Attaching Christmas lights to the wall is a really straightforward task. ‘If you’re hanging lights on the wall, perhaps around a doorway or above a window, the easiest way to secure the lights is with 3M hooks made for Christmas lights,’ suggests Melanie Musson.
’These hooks are removable and won’t damage your wall. They hold lights in place and are transparent, so they’re not unsightly.’
How do professionals hang Christmas lights?
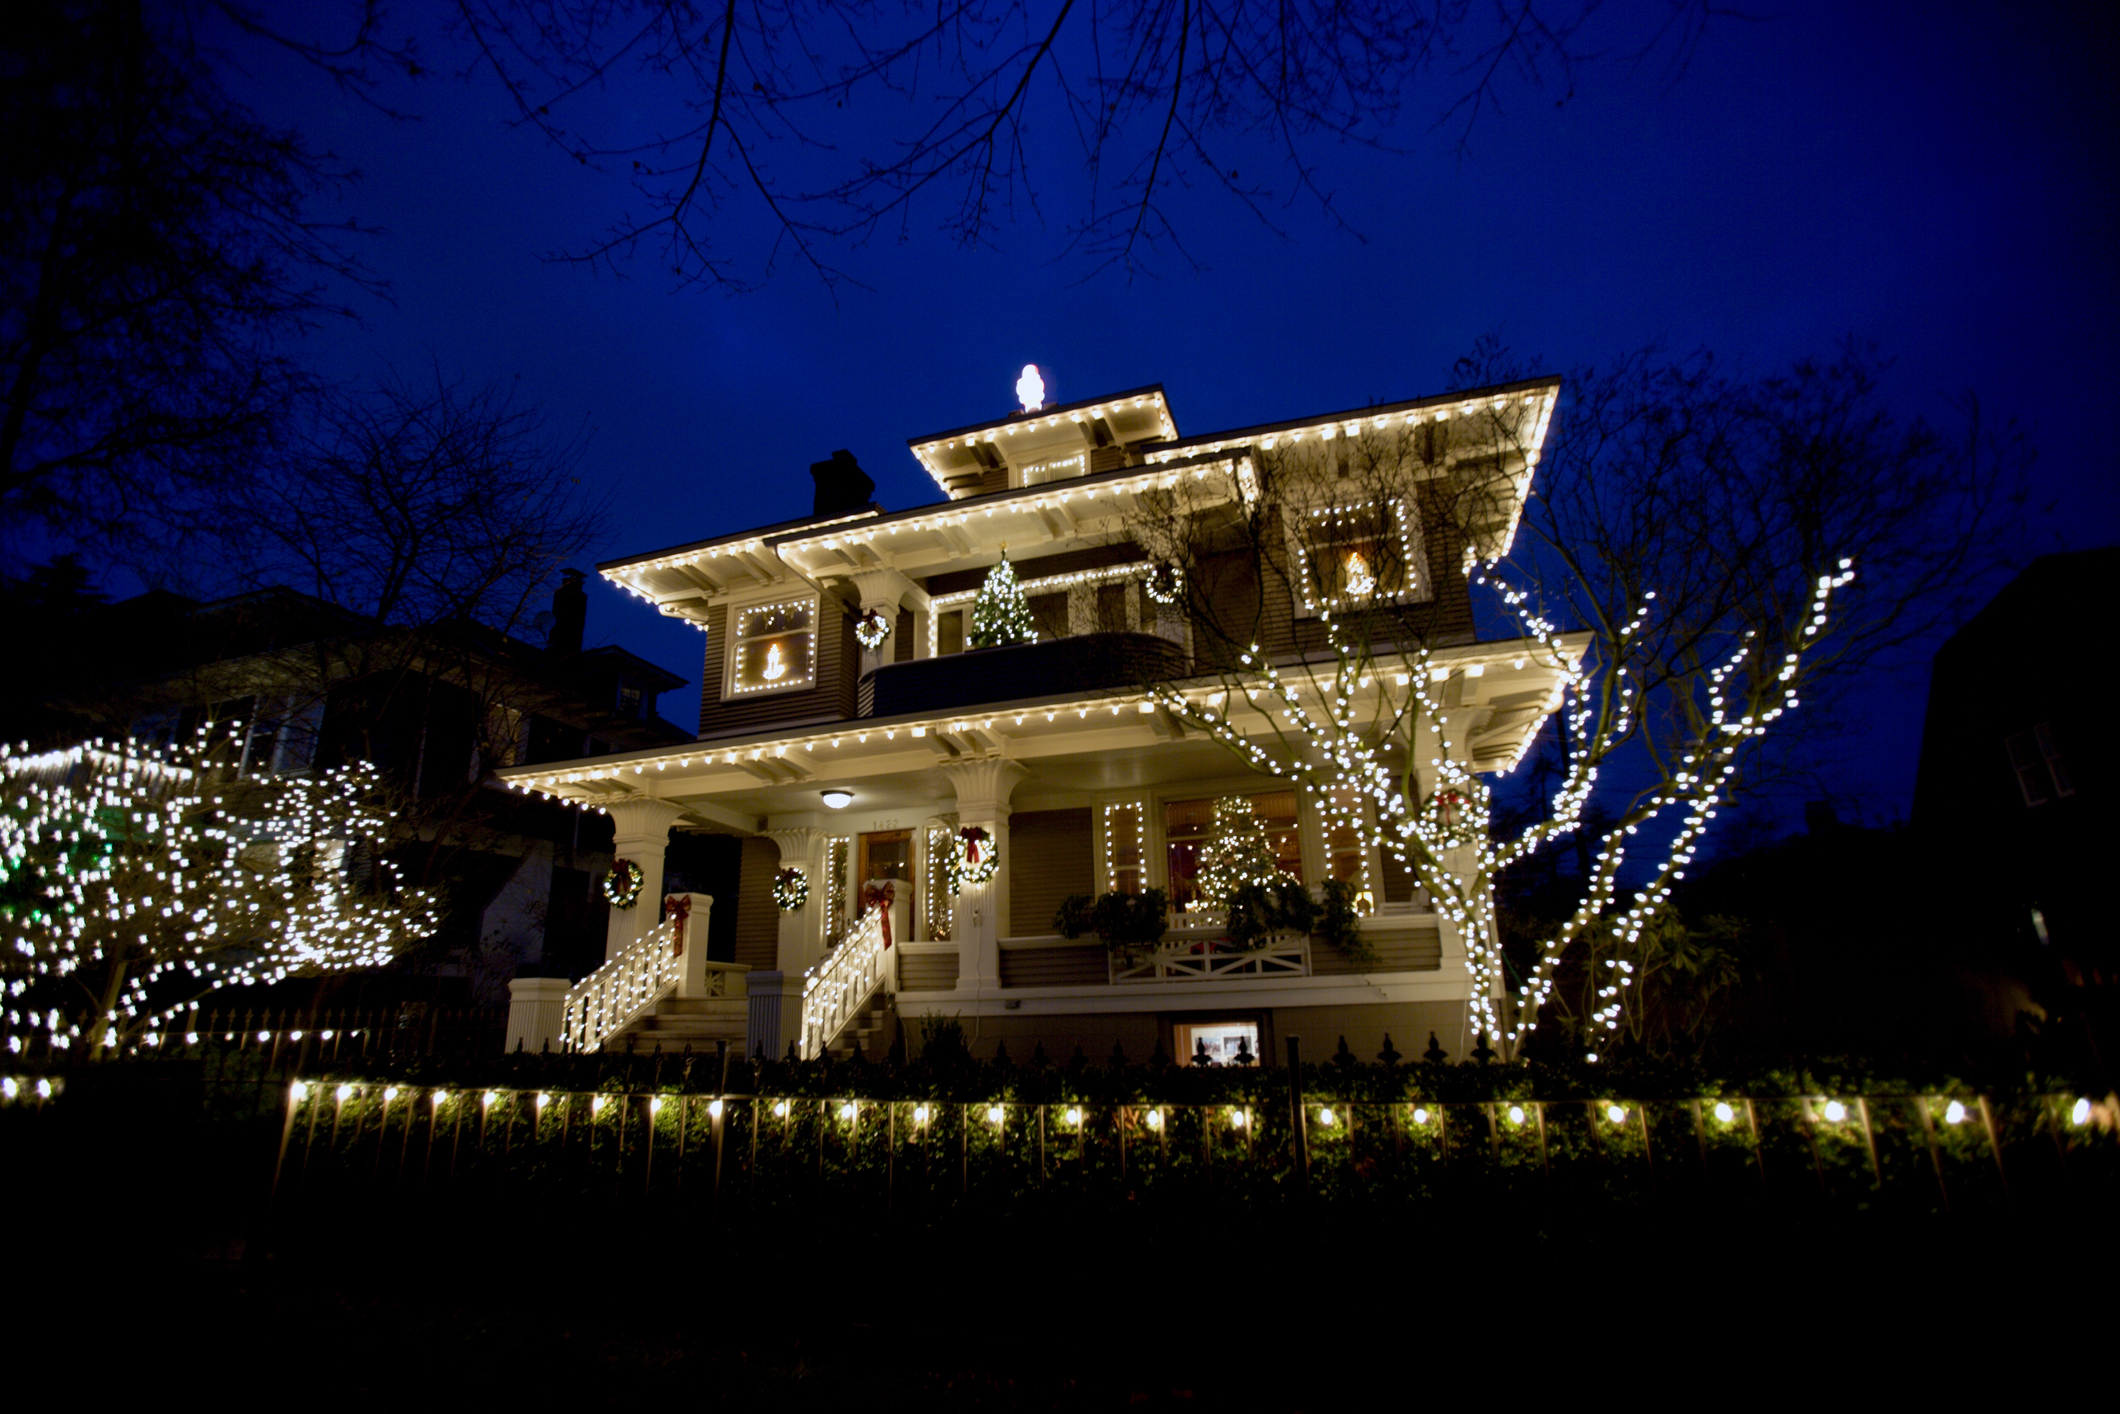
Thinking outdoor lights? ‘Don’t take the easy route on rooflines,’ advises owner of Christmas Lights Toronto Kyle Tobin. ‘A professional look is achieved by straight, consistent lines spaced every 12 inches (30cm). Make sure each line is covered perfectly including side cutbacks (this will ensure your display doesn’t look two dimensional). Spend time to have the lights spaced evenly and symmetrical. Custom fit the lengths to avoid trails of light where no roofline exists. Make sure peaks are also highlighted with a bulb at the top.’
You might also want to create balance for an exterior display with professional style. ‘Frame your beautifully lit house by lighting trees to the left and right, near and far,’ Kyle continues. ‘Pay attention to depth perception by choosing trees closer to the road as well as up against the house. If you have greenery adorning your front doorway or under a dark portico, add mini lights to brighten up the garland and make your entrance inviting. It’s all about balancing out each aspect of your home so it can create a full display.’
As for inside your home, tree wrapping can create a professional look. ‘Most tree wrapping is spiral (wrapping encircles the entire tree) and trunk and branch wrapping (line the main branches to emphasize its structure),’ Kyle says. ‘Mix it up, keep it tight, and make sure you can cover the entire tree. A well wrapped tree could steal the show!’
Join our newsletter
Get small space home decor ideas, celeb inspiration, DIY tips and more, straight to your inbox!

Jaclyn is an eCommerce editor at Future Home Interest, where she oversees sleep content including mattresses and bedding – in fact, she has passed our five-step certification process to become a verified customer advisor on mattresses. She regularly scouts out the best of the best for buying guides to help you fill your home with only the best. She joined the team in January 2021. She has previously worked with sites like Apartment Therapy, The Kitchn, The Spruce, The Spruce Eats, and MyDomaine, but got her start at the trade mag Home Furnishings News, which fueled her excitement for innovation in the home category and seeing the newest launches. When Jaclyn's not working, she loves long strolls through HomeGoods, unwinding with a chilled glass of Rosé, and entertaining her Cavapoo Reese.
-
 Barbie x 1-800-Flowers bring the perfect bouquets and luxe gifts for International Women's Day
Barbie x 1-800-Flowers is the perfect International Women's Day collab — here's what we're shopping
By Danielle Valente Published
-
 How to host Christmas in a small space —7 tips from design pros
We asked designers how to host Christmas in a small space, and they've mapped it all out with these 7 fabulous tips
By Danielle Valente Published
-
 This TikTok Christmas tree hack is perfect for small space dwellers
We spoke to crafter Emma Villaneda about her TikTok Christmas tree hack and how to do it
By Danielle Valente Published
-
 Yikes! A sleep psychologist reveals the Christmas lights to avoid if you want some shut-eye
A sleep psychologist reveals the best and worst Christmas lights for sleep and how to adjust accordingly
By Danielle Valente Published
-
 6 cottagecore Christmas decorating ideas that will give you the warm and fuzzies
Our edit of Cottagecore Christmas decorating ideas will show you how to cozy up your space for the holidays
By Danielle Valente Published
-
 4 white Christmas decor ideas and how to style them to perfection this holiday season
Our edit of white Christmas decor ideas — and tips from interior designers — will make you ditch the red and green
By Danielle Valente Published
-
 How to decorate for Christmas according to your star sign — let the cosmos help find your holiday style
We spoke to the experts about how to decorate for Christmas according to your star sign
By Danielle Valente Published
-
 5 renter-friendly Christmas decorating ideas that are perfect but not permanent — here's how to style them
Renter-friendly Christmas decorating ideas that you'll love and your landlord will appreciate
By Danielle Valente Published

