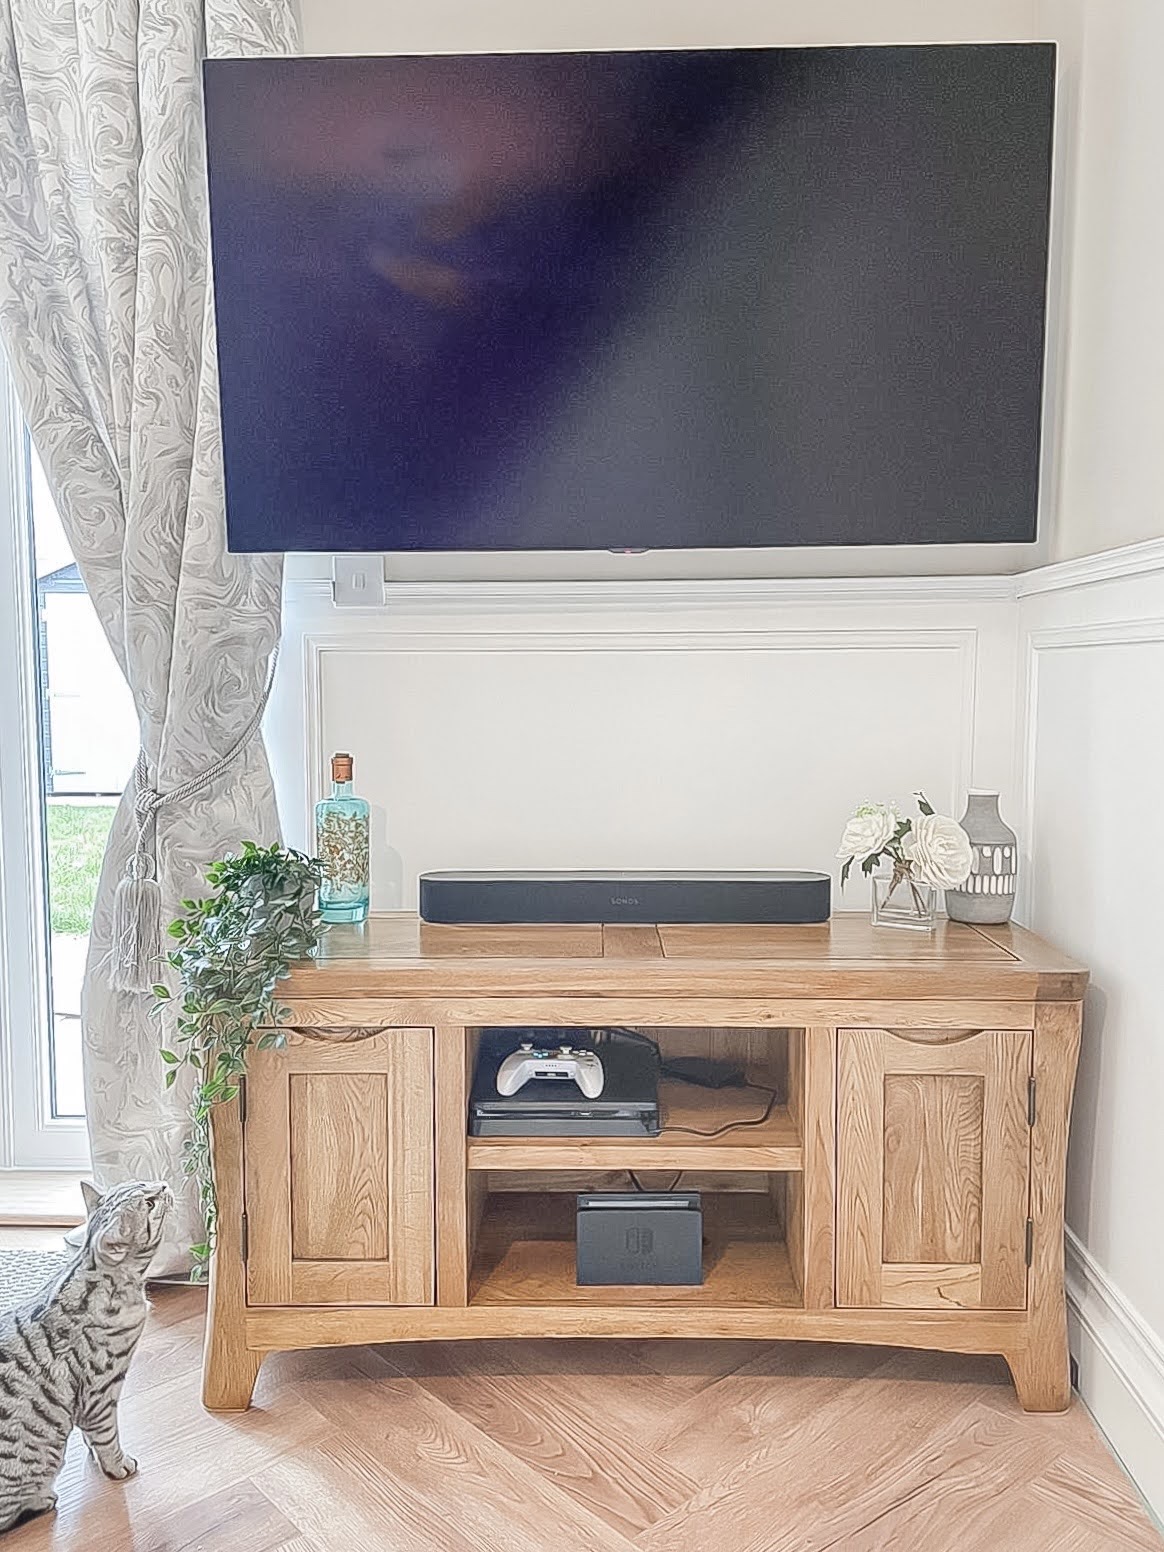
Whether you're mounting a TV or installing some plug-in wall lights but don’t want to see the wire, or need to hide some cabling that trails across the wall, hiding wires in the wall can make the world of difference to your interiors, keep things looking neat and remove any potential hazards for little ones and pets.
When my friends redecorated following a big water leak, they wanted their new tv on the wall but didn't want its many wires trailing down the wall to the sockets below and not knowing how to hide them, they dropped me a message to ask for my DIY help.
- Treat yourself to the best TV too.
Knowing our new-build exterior walls are just plasterboard on top of breeze block and diving walls, with just stud framed and wall insulation behind, I knew it was possible to channel behind the plasterboard and hide the wires in the gap to keep their mounted TV looking seamless and wire free. So I headed round their house with my box of tools and got to work.
Whether you have sockets low down on the wall and want to hide wires that would reach up to a wall mounted TV, or would prefer to conceal wires around the baseboards at floor level instead of them traipsing across the wall, this process is super quick and easy and can take less than one hour, depending on your DIY skill level.
- Find more quick DIY projects to try.
Tools you’ll need to hide wires:
- Stud/ wire detector
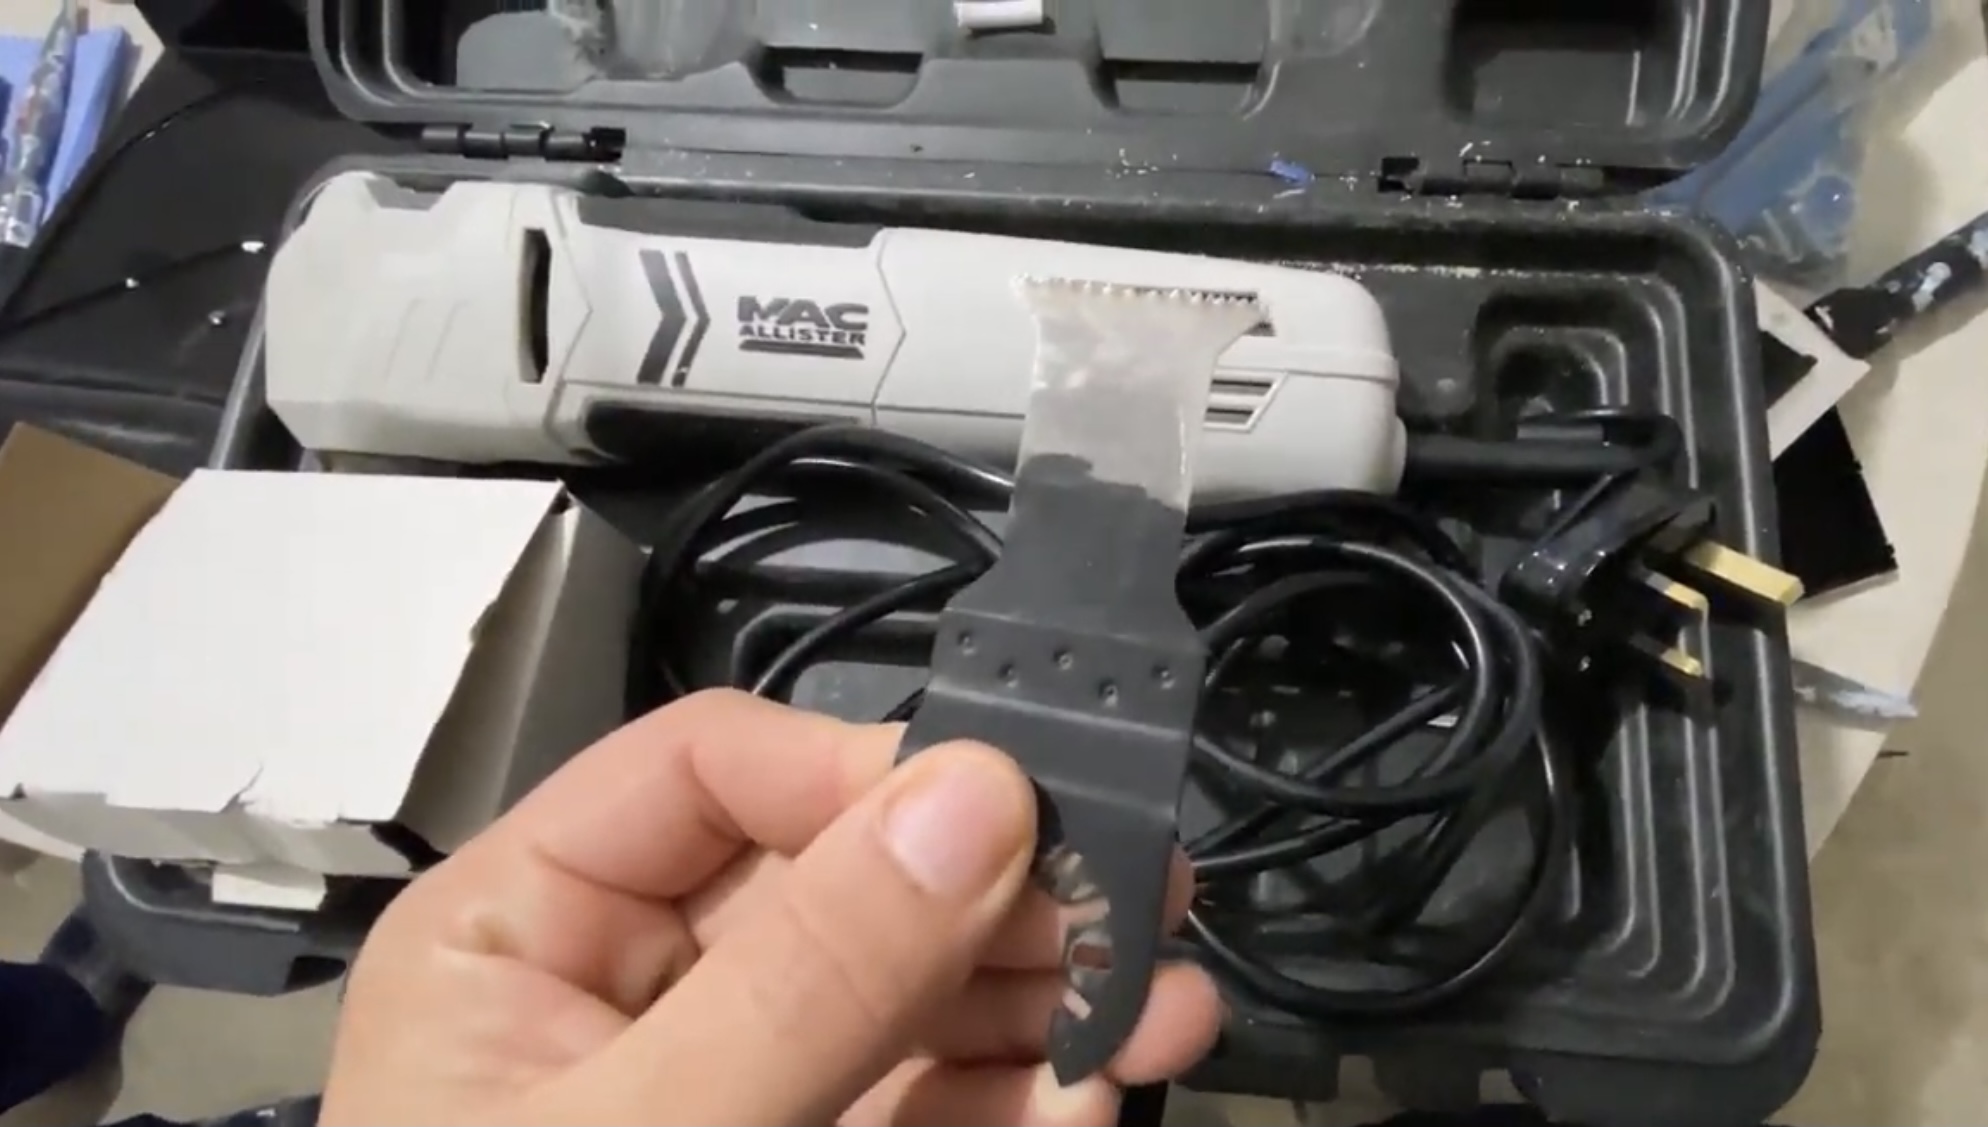
- Multi-tool with flat saw attachment
- Drill and screw bits
- Spirit level
- String
- Tape Measure
- Rawl plugs
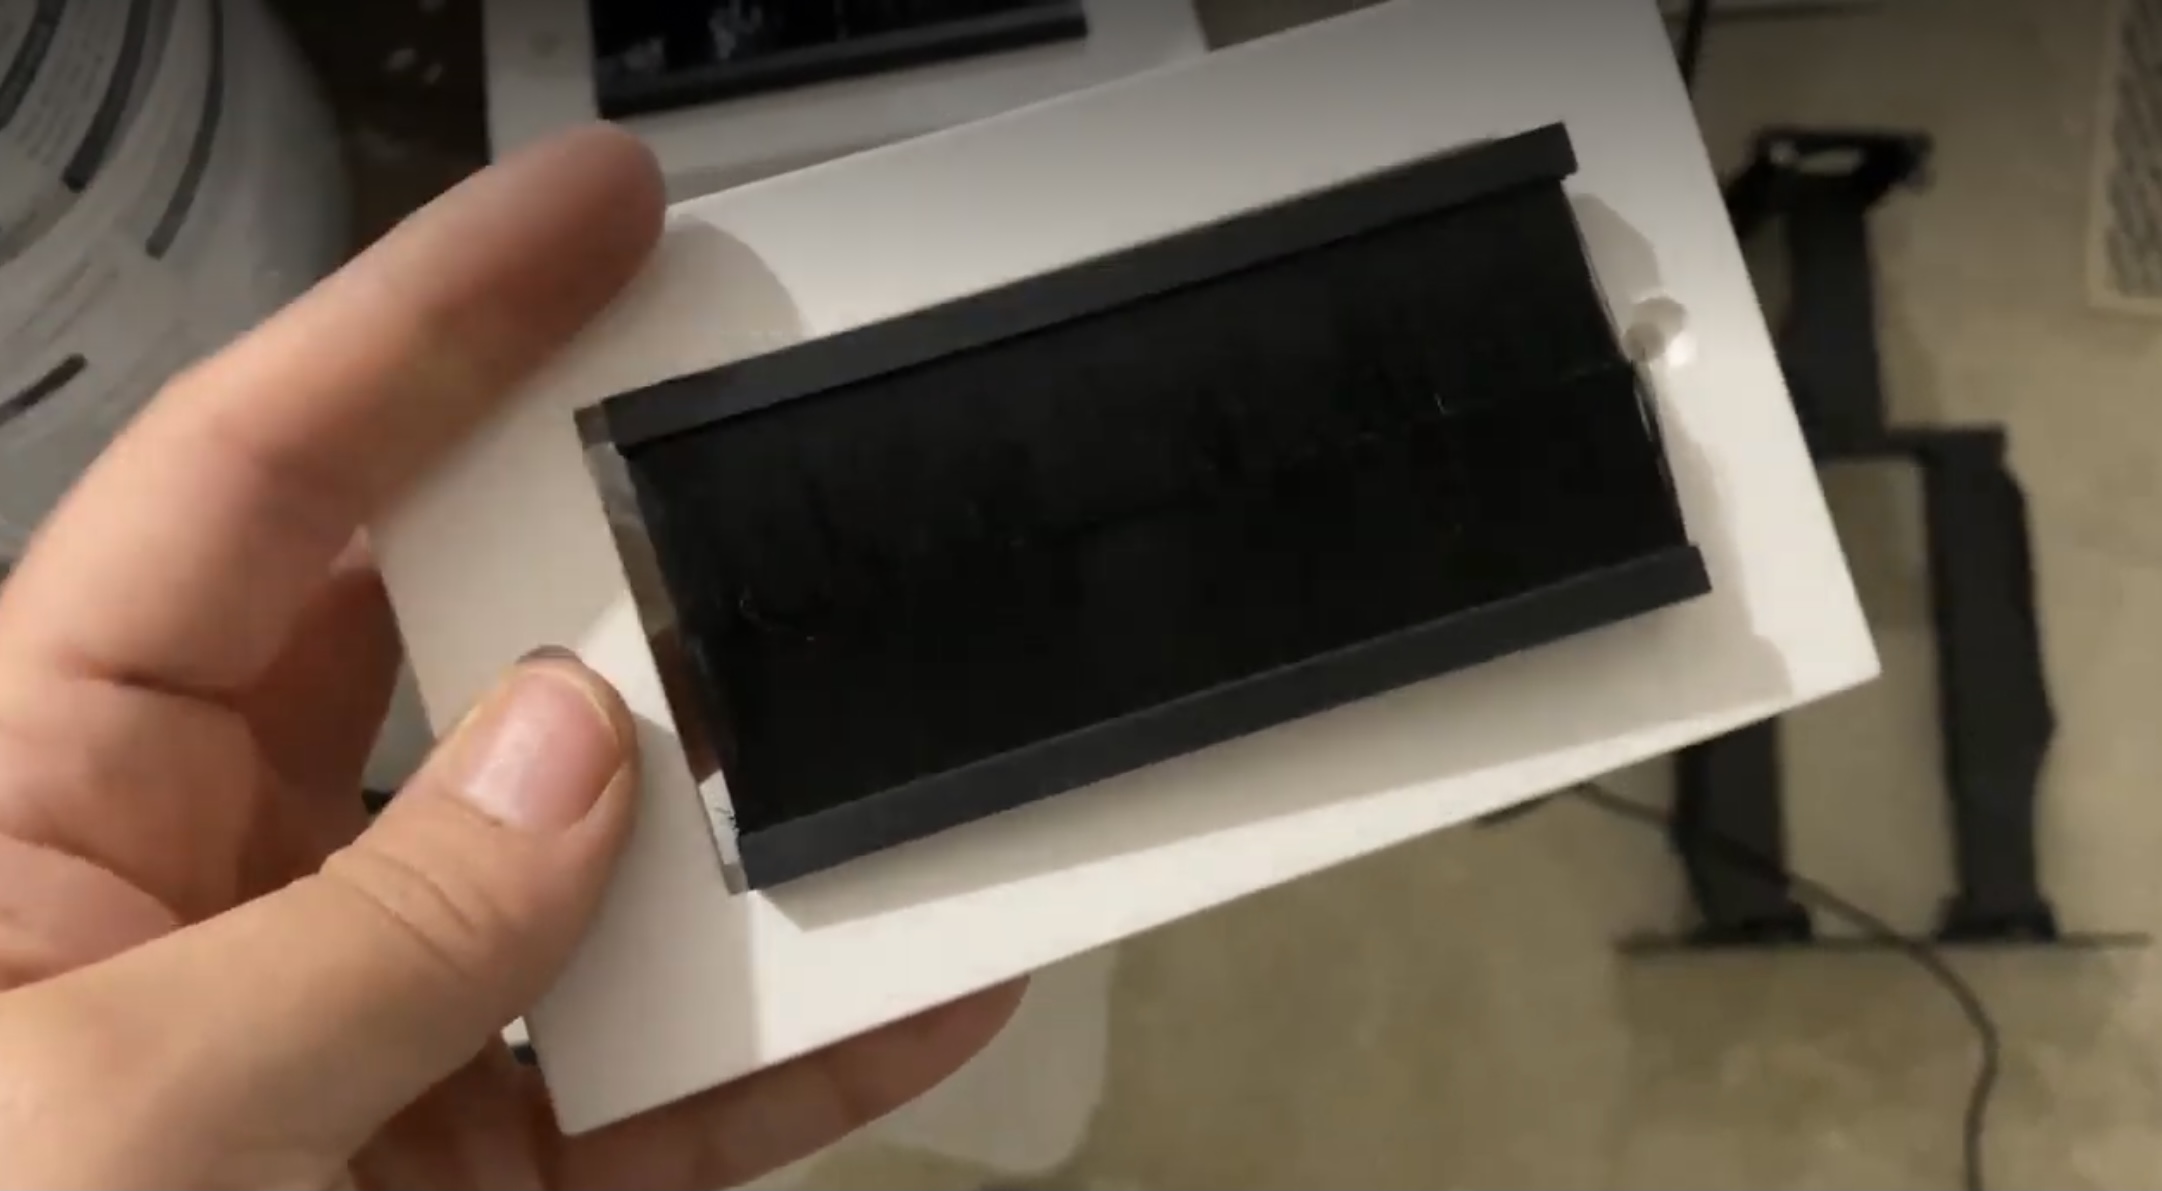
- Brush Wall Plates
How to hide wall mounted TV wires: step-by-step
1. Safety check and mark up the wall
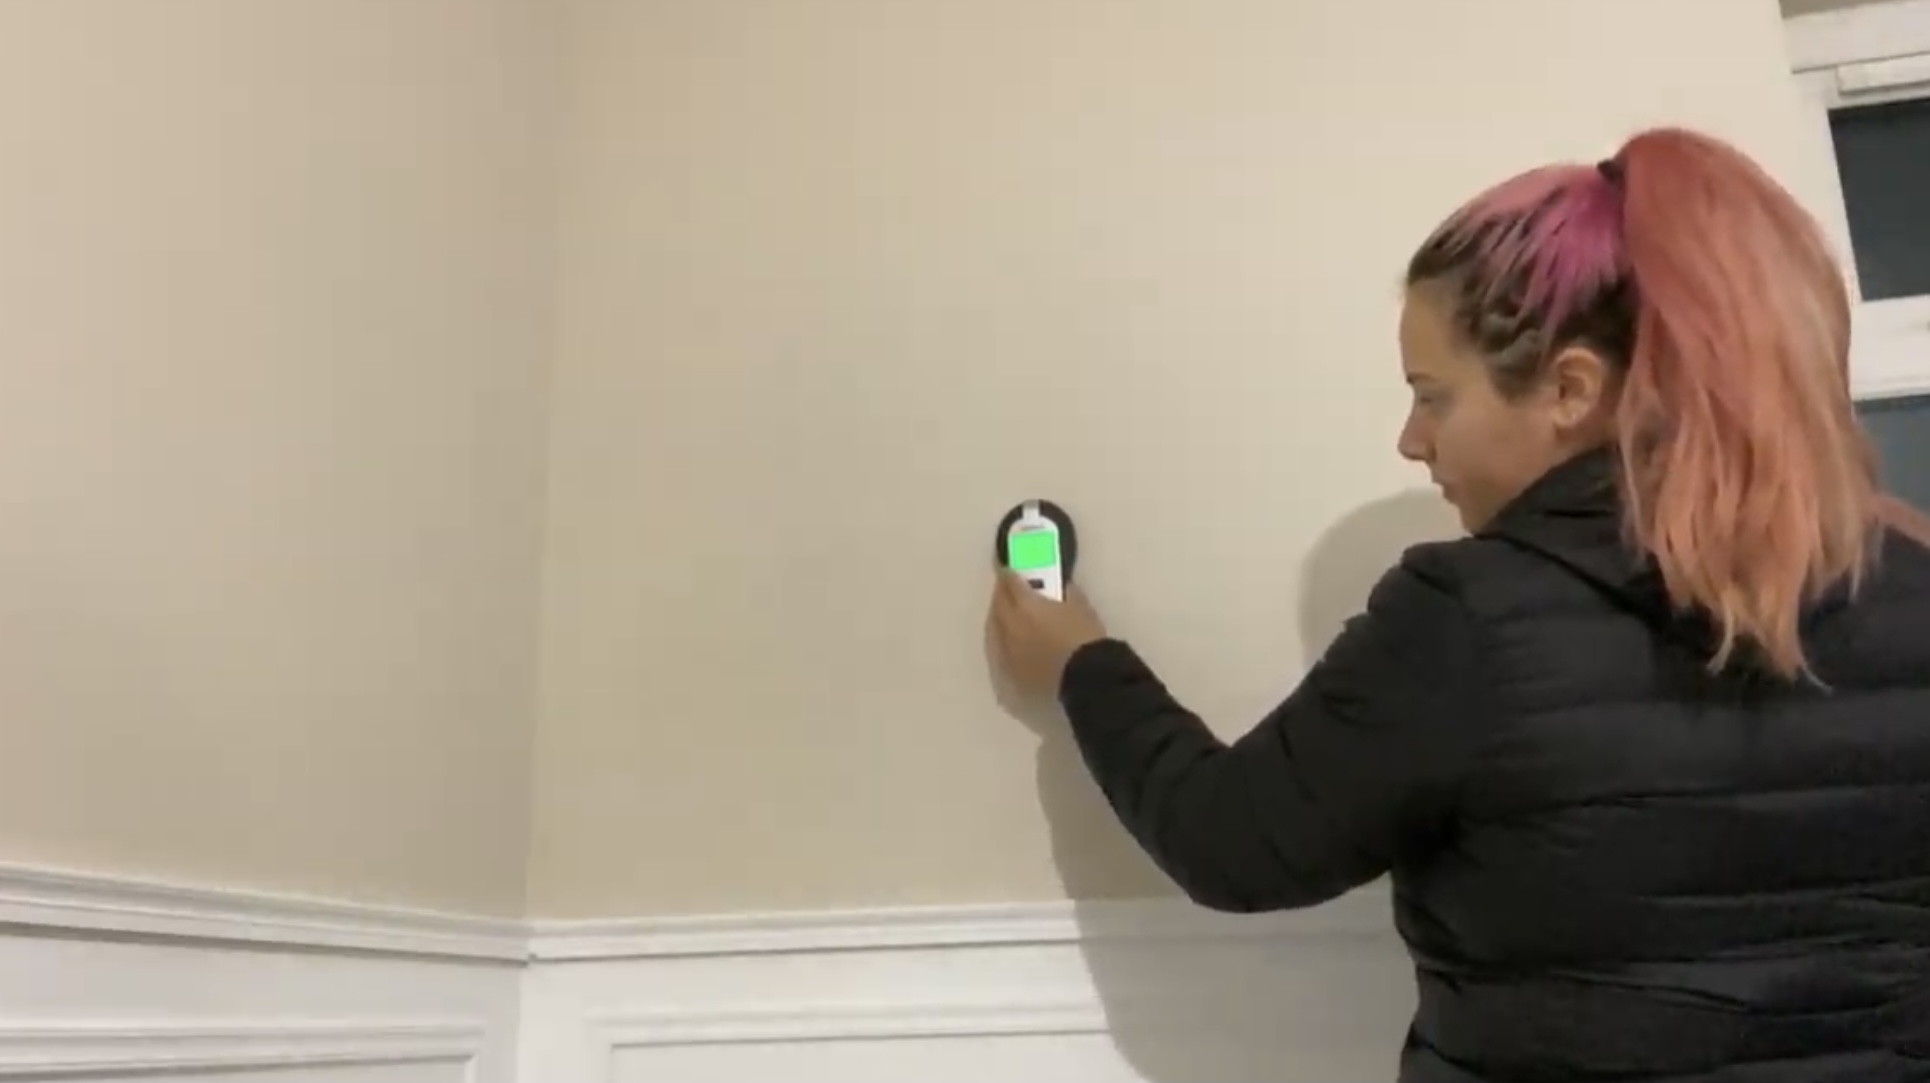
Grab your stud/ live wire detector and check the area you plan to hide the TV wires behind. Mark on the wall in pencil where your wires go and where your studs are (if any) so you have a clear picture of what’s lurking behind the plasterboard.
2. Check the socket area and cable length
If you have some sockets lower down on the wall that you’d like the wire to come out next to, check around this area so you know where is safe to drill and cut. At this point, it’s also worth checking how long the cables are that you’re planning to hide, to help determine where to put the entry and exit points.
3. Decide where the wire openings should go
Once you have your item or TV mounted on the wall and, your wires and obstructions mapped out, decide where you want the two openings to go. It’s best to have them directly above one another to make feeding the wire through easier.
4. Prepare to install the wall plate
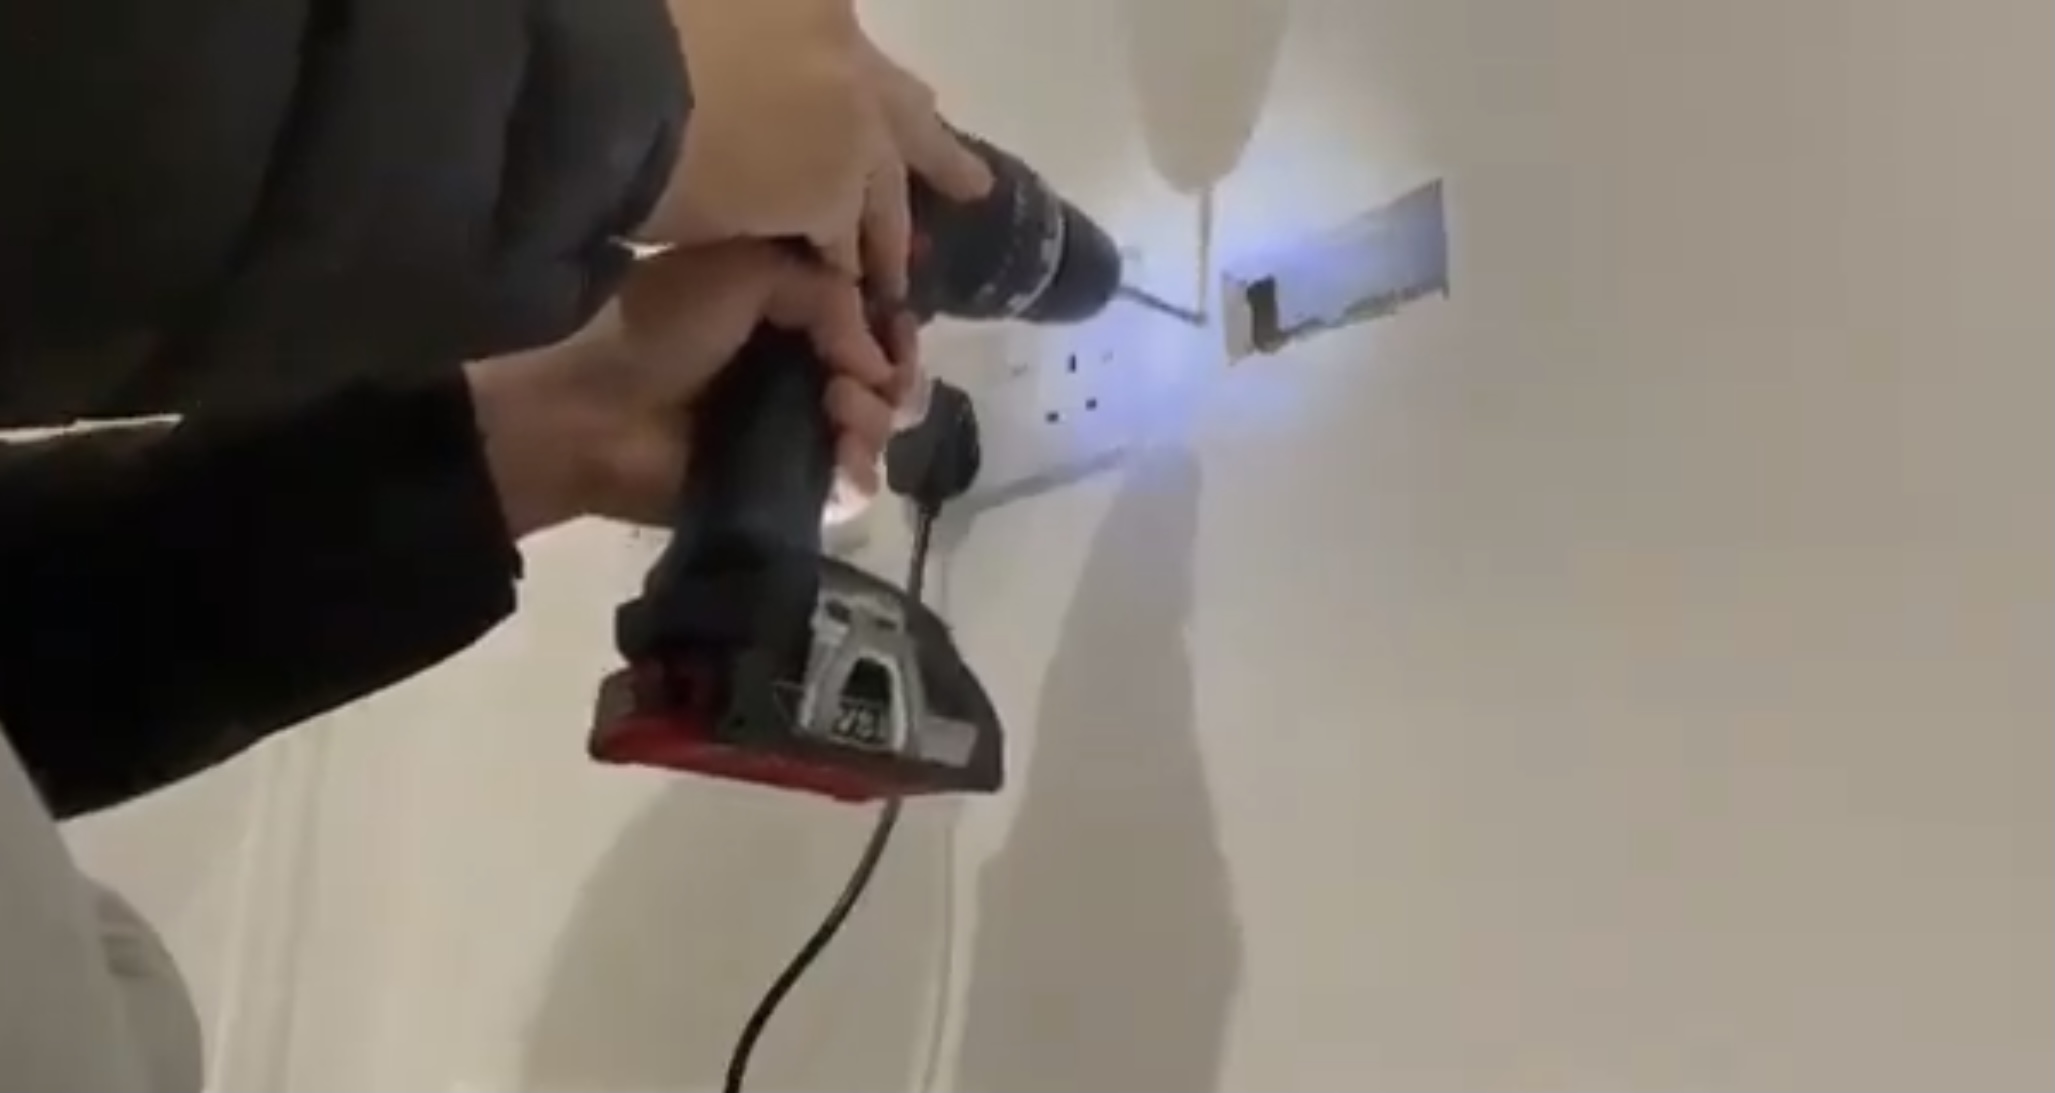
Remove the brush part of the wall plate and using a spirit, mark the internal rectangle/square and screw holes on the wall. I did this right by the TV wall mount so the TV would hide the exit point, and the entry point right beside and in line with the existing wall sockets below.
5. Cut the entry and exit holes
Once the entry and exit have been marked, grab your wire detector and triple check there’s nothing behind there. Then you’re free to cut the hole using the flat wood cutting bit on your multi-tool.
Top tip: If you don’t have a multi-tool, you can drill a hole in all four corners and use a plasterboard knife to cut out the squares.
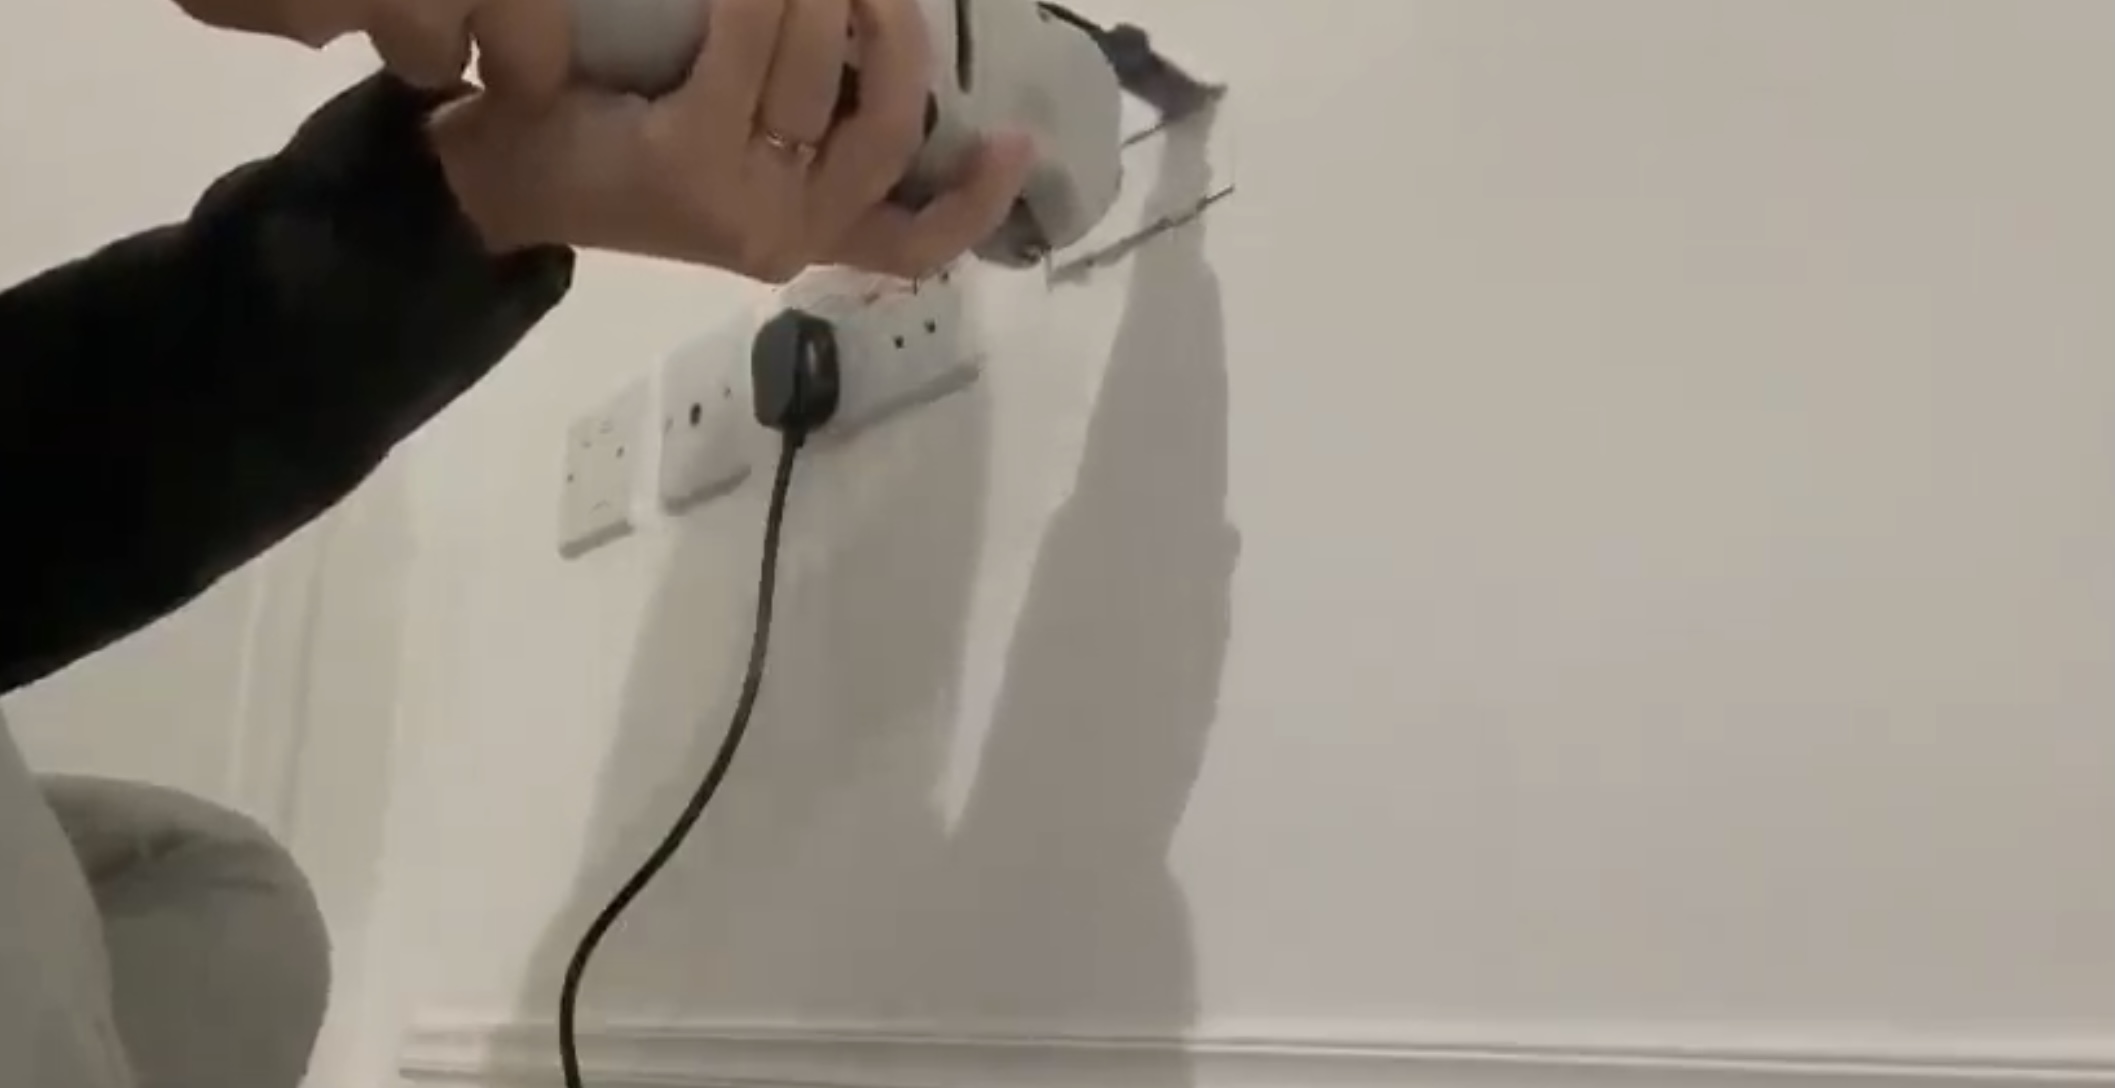
- Find the best drill for the job.
6. Detach the wires from the TV
Detach the wires from your TV and get them ready to feed through. You can either attach the face plates now, or after you feed the wires through the wall.
7. Attach the face plates
To attach the face plates, drill a hole where you marked the screw holes with a wood drill bit. Use the appropriate plasterboard rawl plug and screws to attach the plate. Do this for both the entry and exit points, but don’t add the brush fronts just yet.
8. Feed the wires behind the wall
To feed the wires behind the wall, grab a long piece of string, longer than the gap between your entry and exit points and tie a weight (I used a drill bit) to one end, leaving enough string to tie to the wire, or the knot loose enough to undo.
Drop this weight into the entry point (the top hole) and let gravity take the weight down behind the wall as you feed the string – don’t let go!
Keep feeding down until you see it through the exit point (bottom hole). Grab it and pull through, without letting go of the top of the string.
9. Feed the cable up behind the wall
Tie the bottom end of the string around your cable and start pulling the top end of the string so the cable starts feeding up behind the wall. Once you reach the top, pull enough through needed to plug into the TV and detach the string. Repeat this for any further cables.
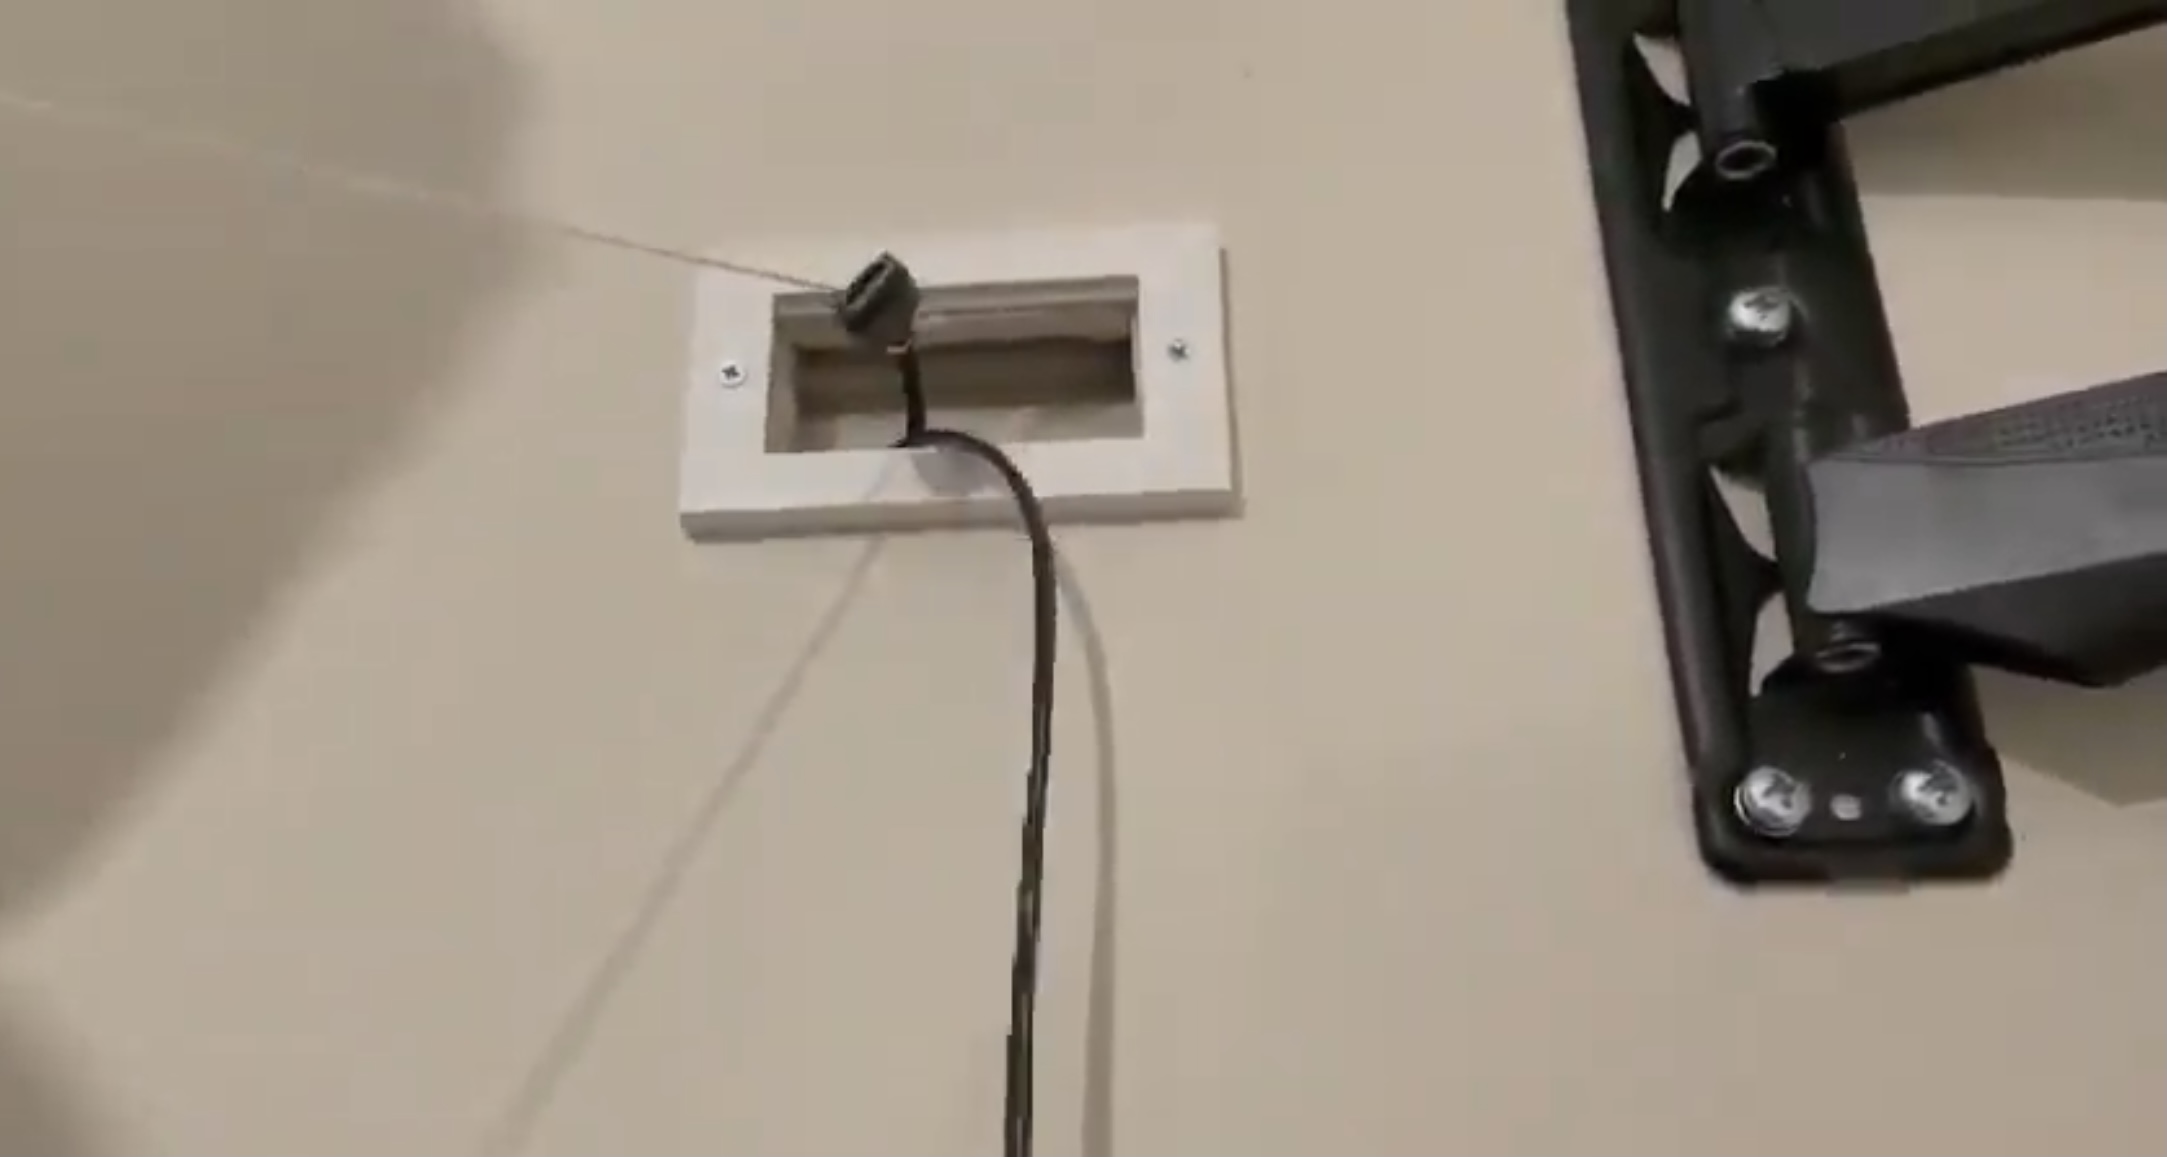
10. Finish up
Once you have all your cables fed through, feed the ends of the cables through the brush and clip it onto the face plate. Plug the cables in at both ends, put your TV on the bracket you’ve installed or push your furniture back in place, because you’re done!
How do you hide unsightly wires?
This simple solution to a wire free wall can completely transform a space and make a TV look seamlessly mounted. This can also work for a wall mounted plug in light if you didn’t want to pay out for an electrician, just use one wall plate at the bottom and cut a smaller entry hole to mount the light on top of, and ensure the wire is long enough to reach a socket below.
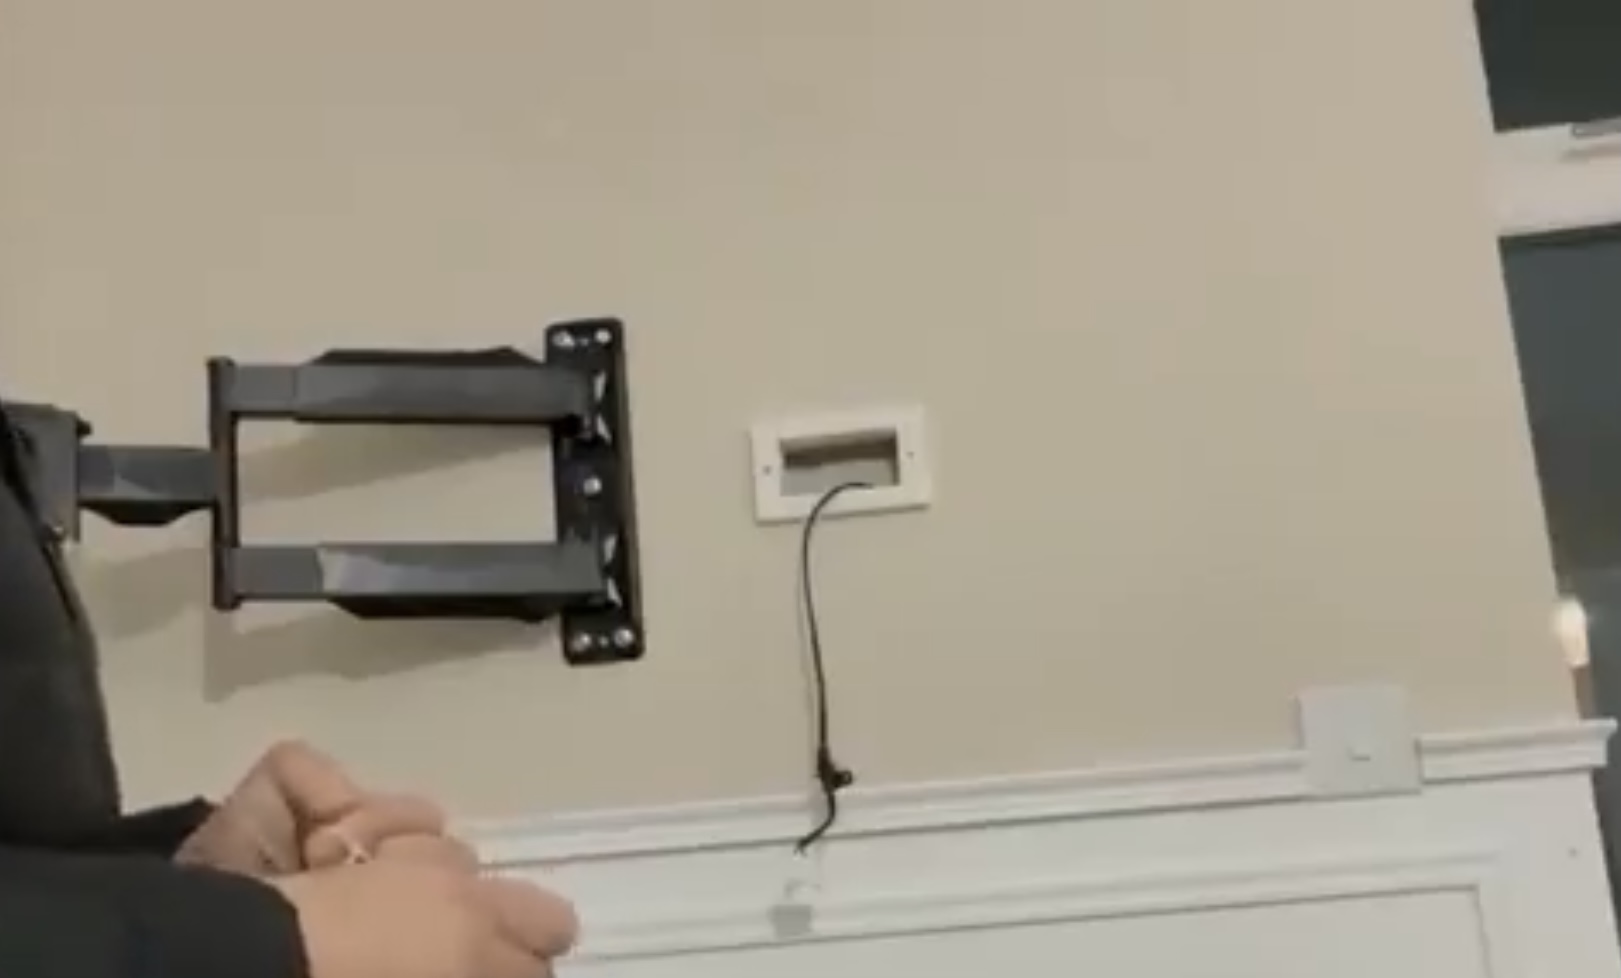
If your entry and exit points aren’t quite in line with each other, you can use a metal wire or unbent hanger with a hook on the end or magnet attached to catch the weight and pull it through the bottom hole, of course checking there is no stud in the way that will prevent you accessing the string.
Join our newsletter
Get small space home decor ideas, celeb inspiration, DIY tips and more, straight to your inbox!
Jasmine Gurney is a DIY pro, inspiring women with power tools via her home improvement blog Oh Abode and on Realhomes.com.
-
 How install a washing machine step–by–step
Here’s how to install a washing machine like a pro, in under an hour.
By Kate Sandhu Published
-
 How to make a coffee table by shopping your home
With this handy guide you'll have a chic and useful coffee table in an hour using left over bits from around your home!
By Kate Sandhu Published
-
 How to make homemade candles: Create DIY scented candles using soy wax
If you'd like to learn how to make homemade candles with soy wax, we've got the perfect DIY scented candle how-to that's super easy to create and takes just one hour
By Jasmine Gurney Last updated
-
 How to get rid of carpet beetles: 13 natural ways to get rid of bugs and larvae
Find out how to get rid of carpet beetles naturally, and without calling out pest control
By Anna K. Cottrell Published
-
 How to reuse a candle jar: 10 ways to upcycle your wax containers
Love candles but not the glass waste? Learn how to reuse a candle jar with these creative DIY home accessories
By Christina Chrysostomou Last updated
-
 7 expert-approved essential oil recipes aromatherapists use in their homes
Discover essential oil recipes that experts approve of to assist with hair growth, concentration, sleep hygiene and much more
By Christina Chrysostomou Published
-
 How to make wax melts: melt and mold these mini DIY scented candles
Always wanted to know how to make wax melts? Together with a candle expert, we show you how to DIY fragranced wax tarts
By Christina Chrysostomou Published
-
 How to make twisted candles – TikTok's must-have candle style
Twisted candles are flaming 'hot' right now. Get in the know and glow with our simple DIY guide.
By Sophie Warren-Smith Published