Replacing an old dishwasher can save big bucks, and it's often something you can finish in a couple of hours.
No matter how you slice it, upgrading appliances in the kitchen is an expensive makeover. While scoring a good deal on a shiny new range or refrigerator is one way to save, you can extend the budget even further by installing appliances yourself — and when you've just invested in the best dishwasher, it's a good place to start.
When it comes to the major appliances in a kitchen, DIYers can’t be blamed for being intimidating. Making a mistake installing a gas stove can lead to catastrophe. And it can be a real headache to find out the water supply line to a refrigerator's ice maker leaks after you’ve pushed it against the wall. But with the right advice, installing a dishwasher is an approachable DIY project.
Part wiring and part plumbing, nestling a new dishwasher underneath a countertop is all about finessing the appliance in place. The most important ability is being comfortable working in tight quarters — usually on the floor.
If you're wondering how much a plumber will charge to install a dishwasher, doing this job yourself saves about $900 – the typical fee for a standard professional installation. So making this a DIY job is a no-brainer to save on the cost of a kitchen remodel or basic appliance refresh.
Can I install a dishwasher myself?
Yes, the tools and materials required to hook up a dishwasher are pretty common, regardless of the manufacturer. Most of the important parts you need to get to are on the front of the appliance, underneath the door. But access is often tight so it might take more time (and patience) than you’d expect to make electrical and water supply connections. With the electrical power and water turned off, there is little risk of making a huge mess, however, there will always be at least some water spilled so keep a towel handy.
How to install a dishwasher step-by-step
An often-overlooked step of the process is protecting the floors, both when you’re sliding the old dishwasher out and slipping the new one in. If you don't have a plan to protect the kitchen floors you might be looking at some serious scratches, especially if you have hardwood flooring. Another flooring-related headache might not even be your fault: If the previous homeowners added wood or tile after the dishwasher was installed, removing the appliance might take a little more care because it's trapped below the level of the flooring. In the most serious cases, the floor would have to be removed to install the new dishwasher. For those scenarios, you might want to consider hiring a professional contractor.
Step 1: Gather your supplies
Lay a blanket or swath of cardboard in front of the old dishwasher. It's also a good idea to have a towel and some sort of shallow pan — a plastic take-out container is perfect — to rest underneath the water connections where it can collect any leftover water in the lines. Then gather the basic tools you'll need to remove the unit, including adjustable or box wrenches, thread seal tape, a multi-bit screwdriver, a flashlight, and pliers. Always read the new dishwasher's instruction manual to make sure you have everything on hand to finish the installation. It's also a good idea to have a voltage tester handy to double-check the power is off before you start working.
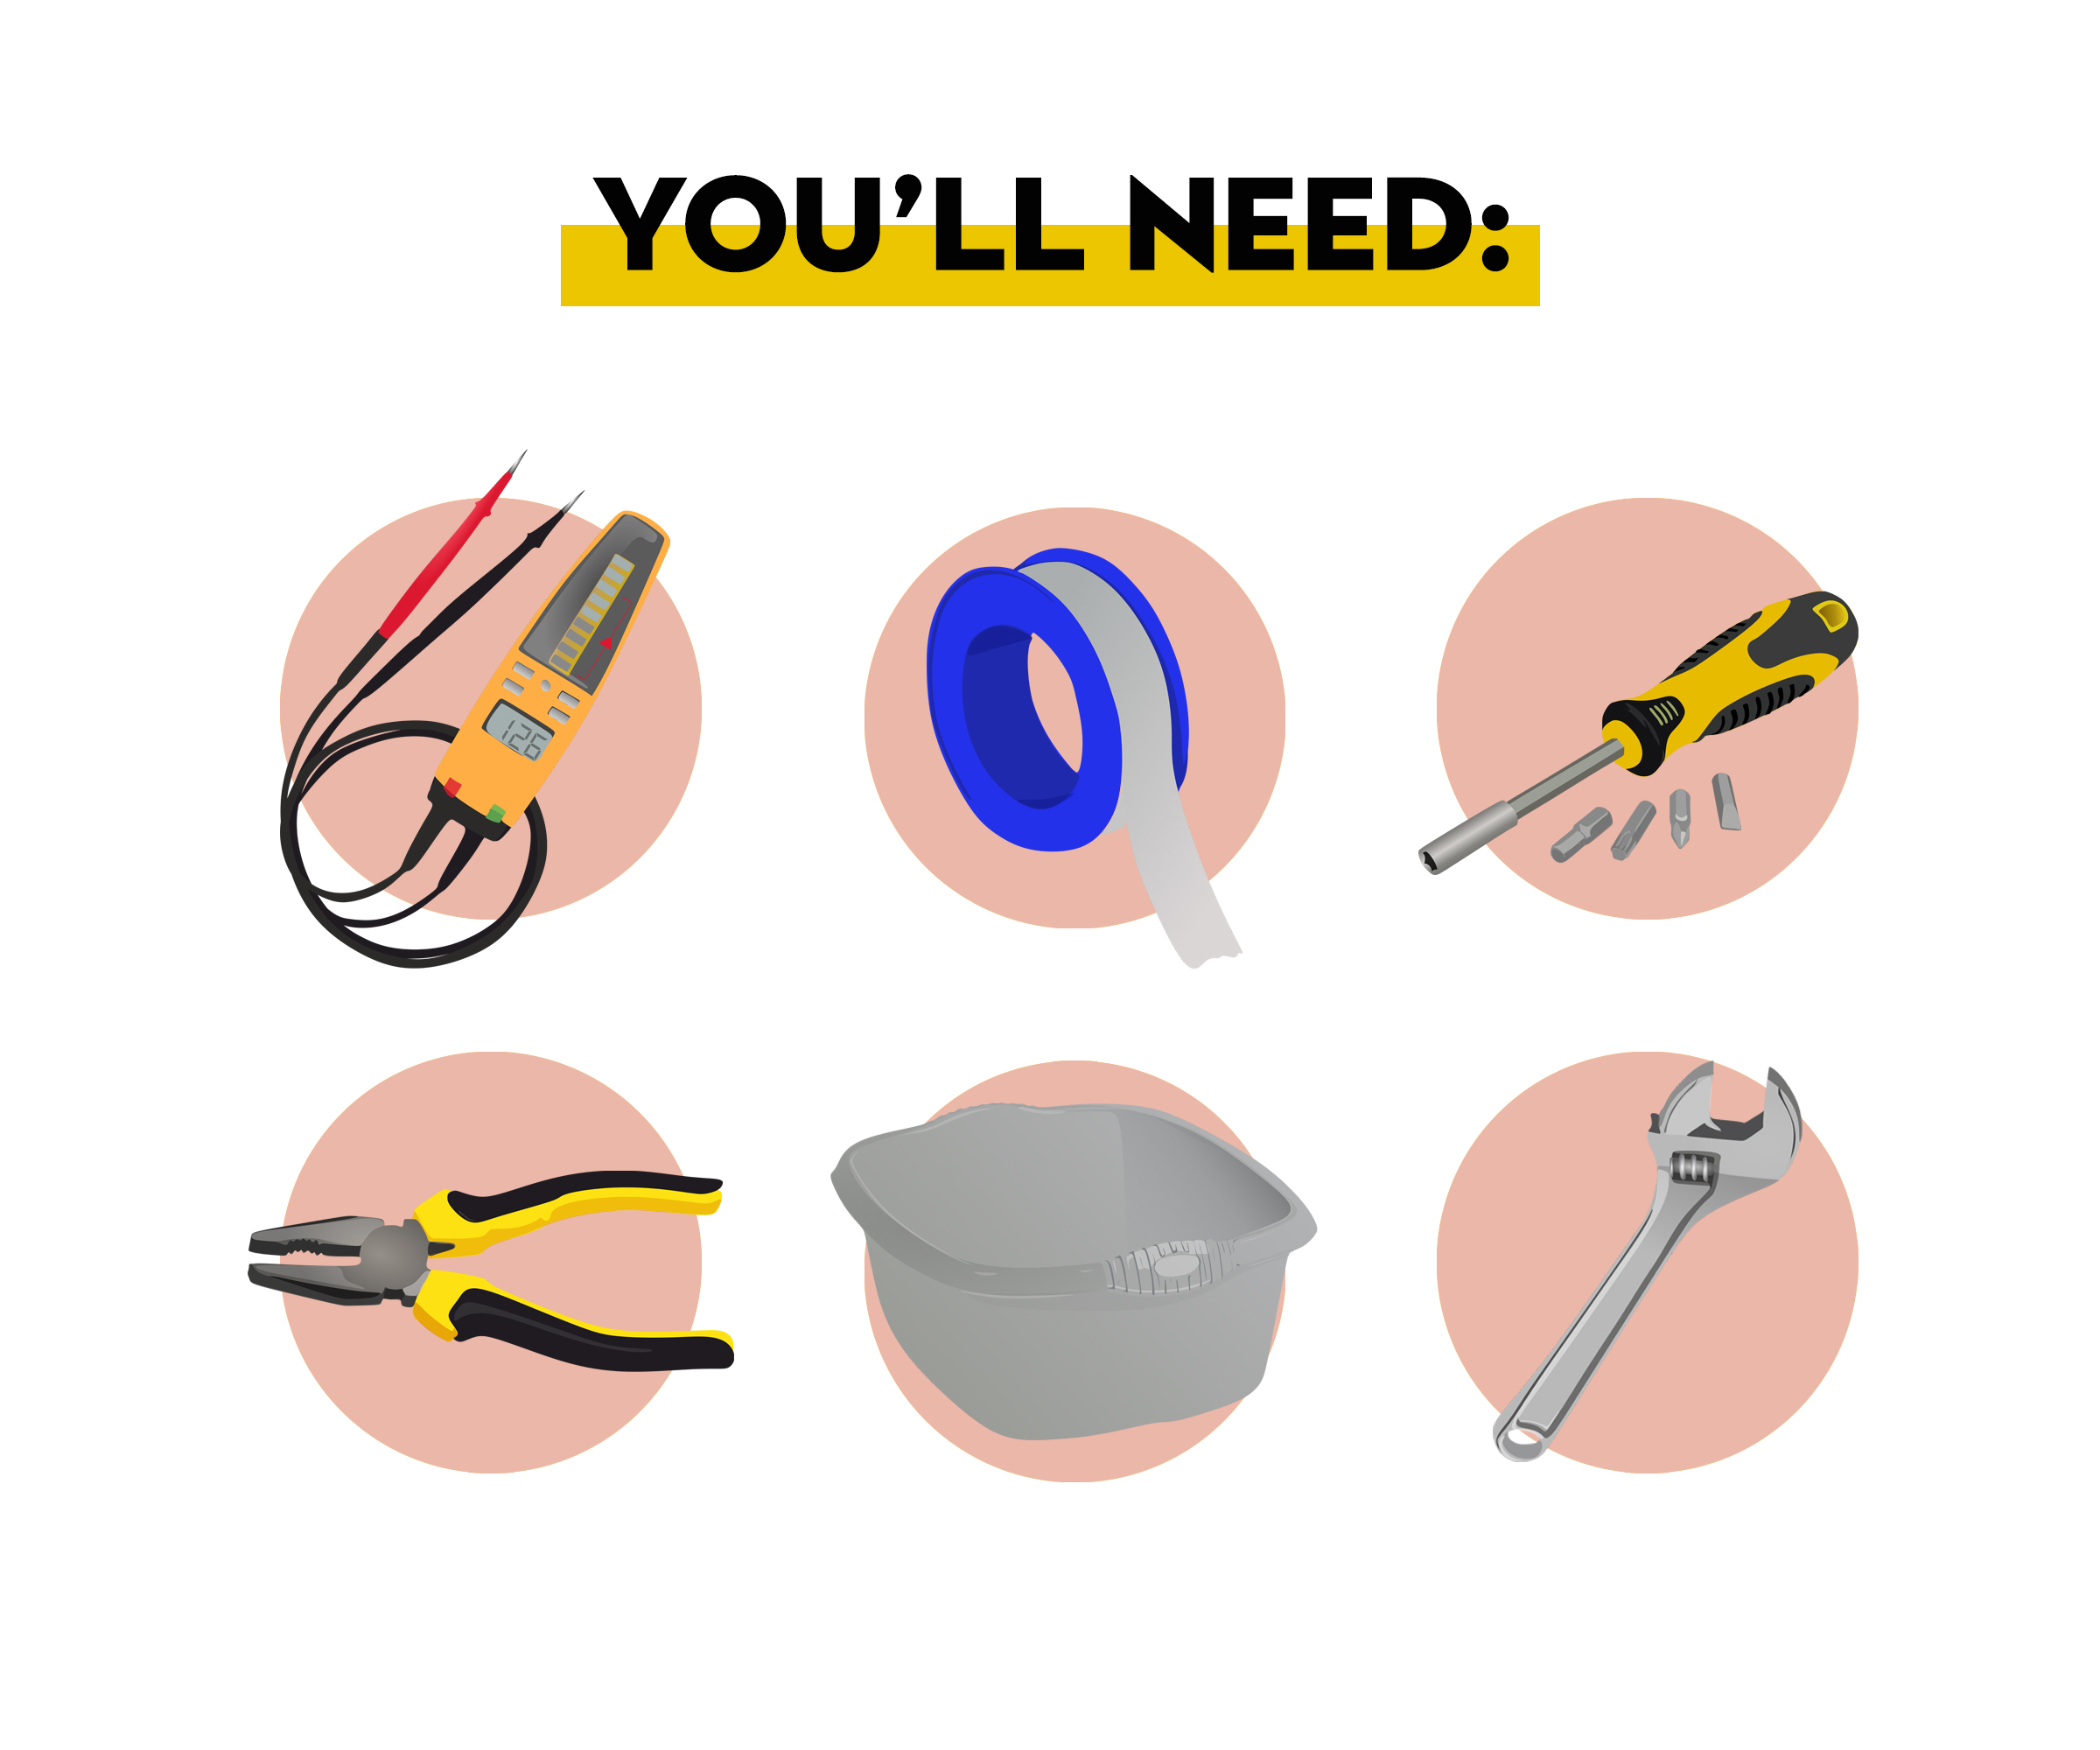
- A blanket/cardboard
- Adjustable or box wrenches easily found on Amazon
- Thread seal tape
- A multi-bit screwdriver
- Pliers
- A flashlight
- Your phone's camera
- A shallow pan
Step 2: Shut off the supplies
At your home's electrical panel, shut the power to the dishwasher. Alternatively, if your dishwasher is powered by an outlet underneath the sink, you could unplug it there.
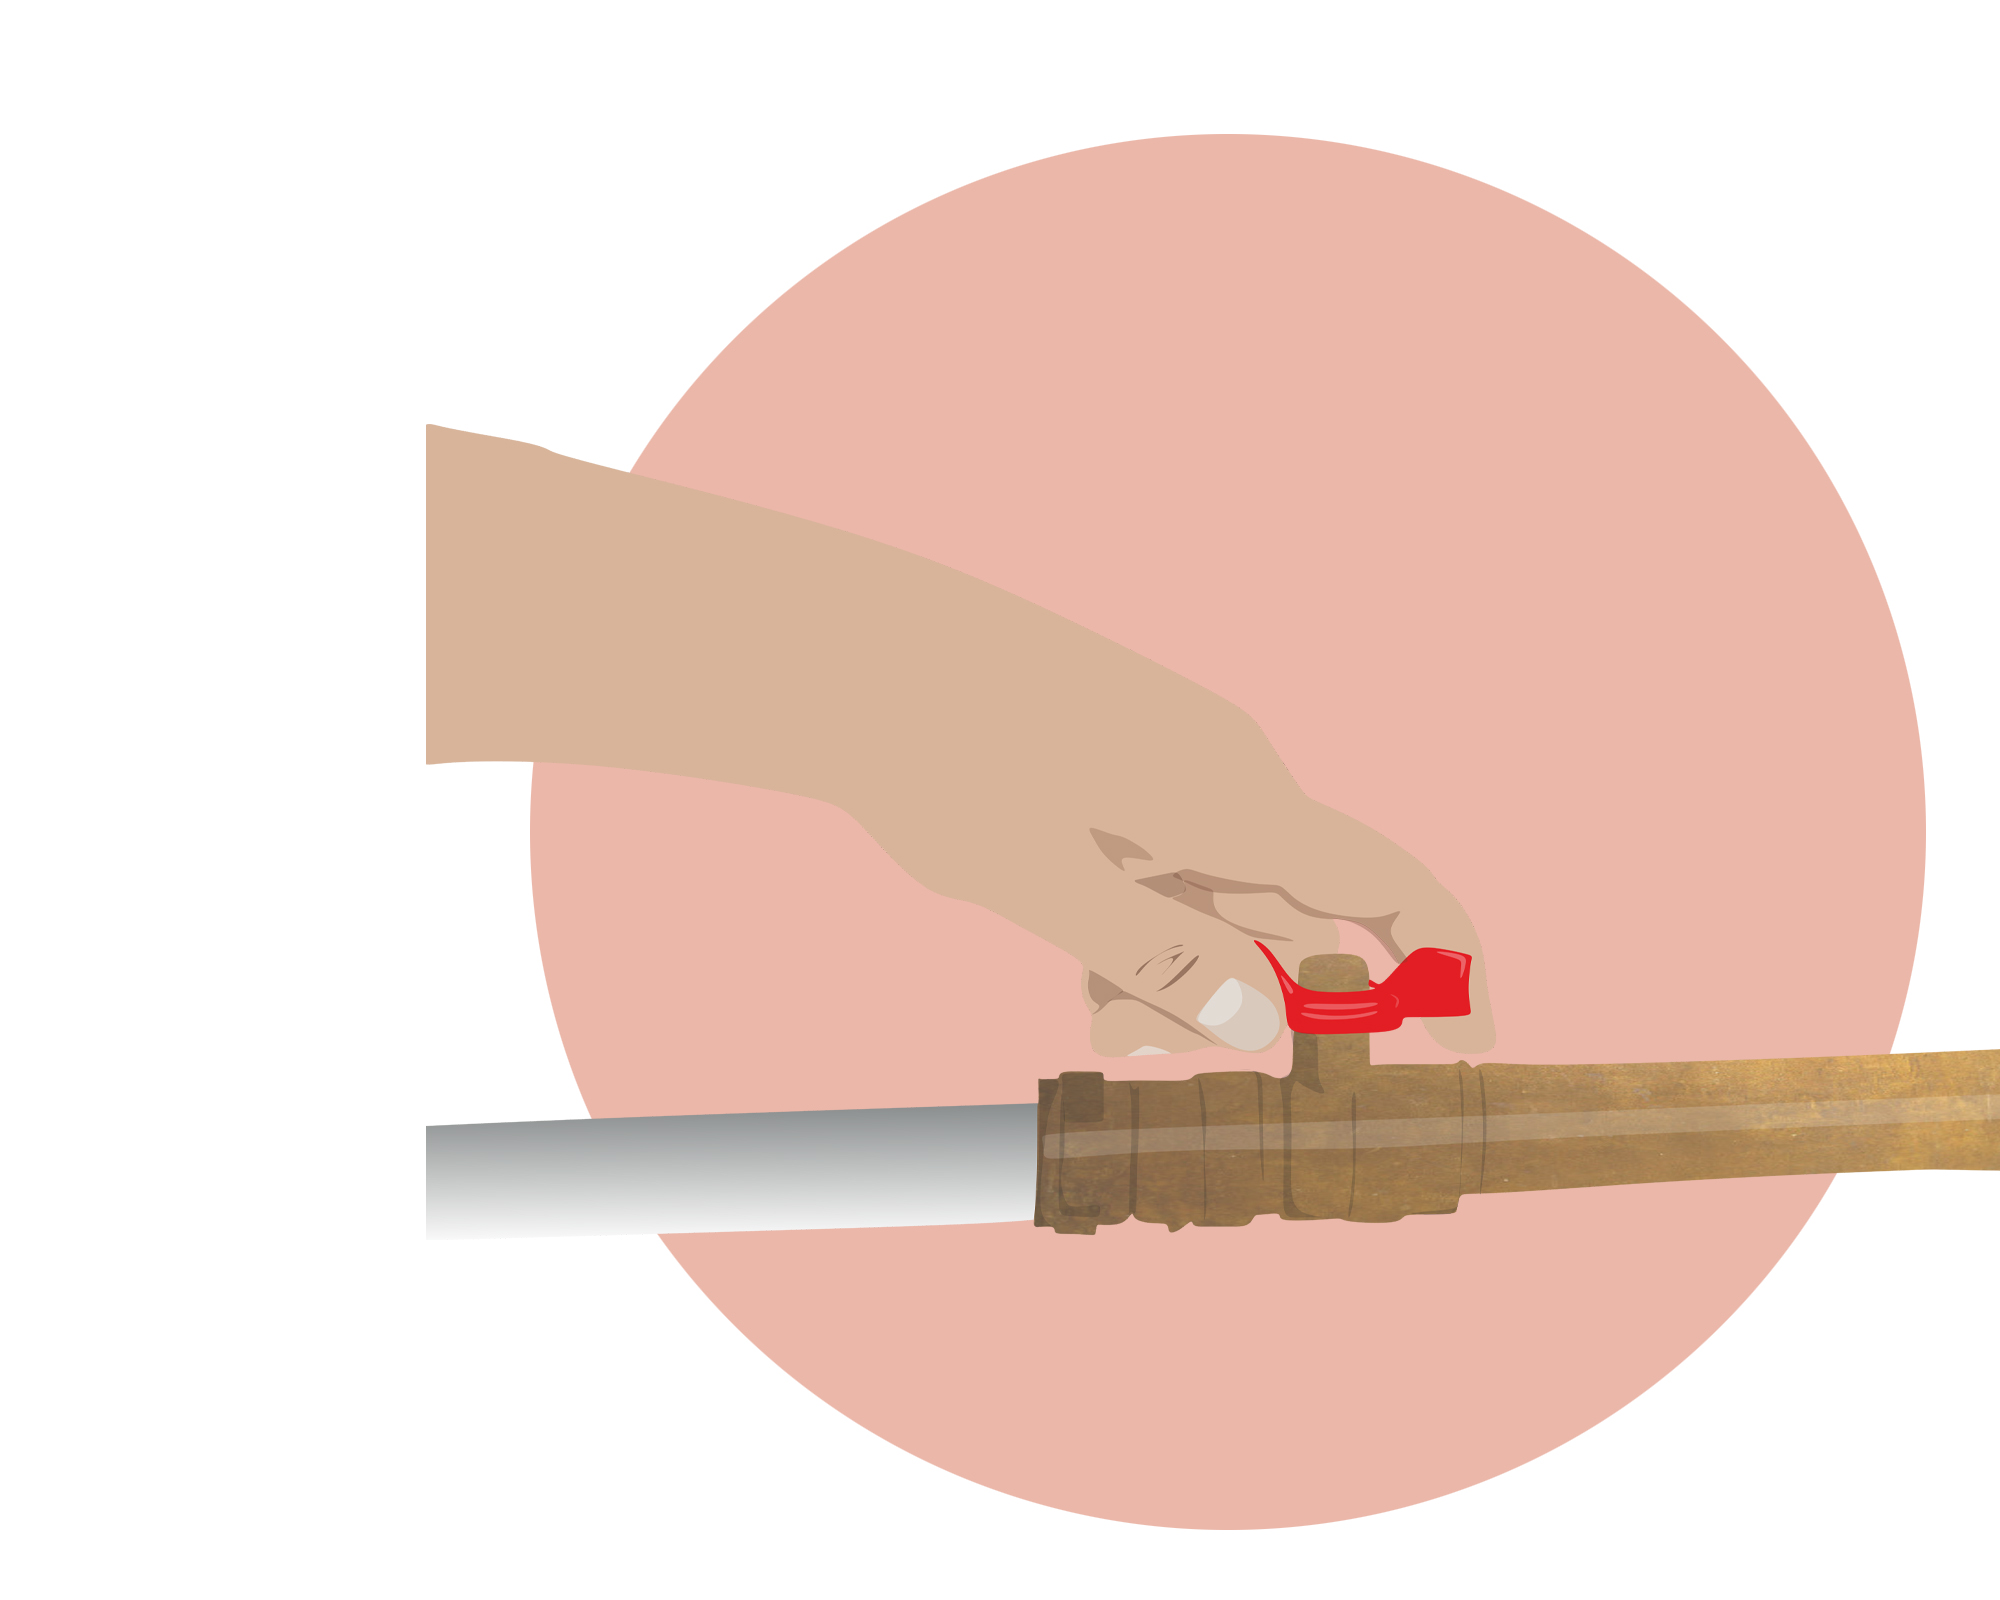
Now ensure no water is running to the appliance by shutting the valve feeding the dishwasher. It's usually under the kitchen sink on the hot water supply line.
Step 3: Make the disconnections
Remove the screws that hold the removable panel to the lower front of the dishwasher; set the cover aside. Start disconnecting the dishwasher with the electrical connections, but first, confirm the power is off with a voltage tester by touching it to the wires in the box usually located on the right-hand side of the dishwasher. Now remove the wire nuts and loosen the connections. Use a flashlight if it's hard to see.
Next, break out a smartphone. Usually, on the front, left-hand side of the dishwasher, you'll find where the water supply feeds the appliance. There is a short, 90-degree fitting — usually brass — that forces the water up. Snap a photo of this connection's orientation so you can mimic it when you slide the new appliance in.
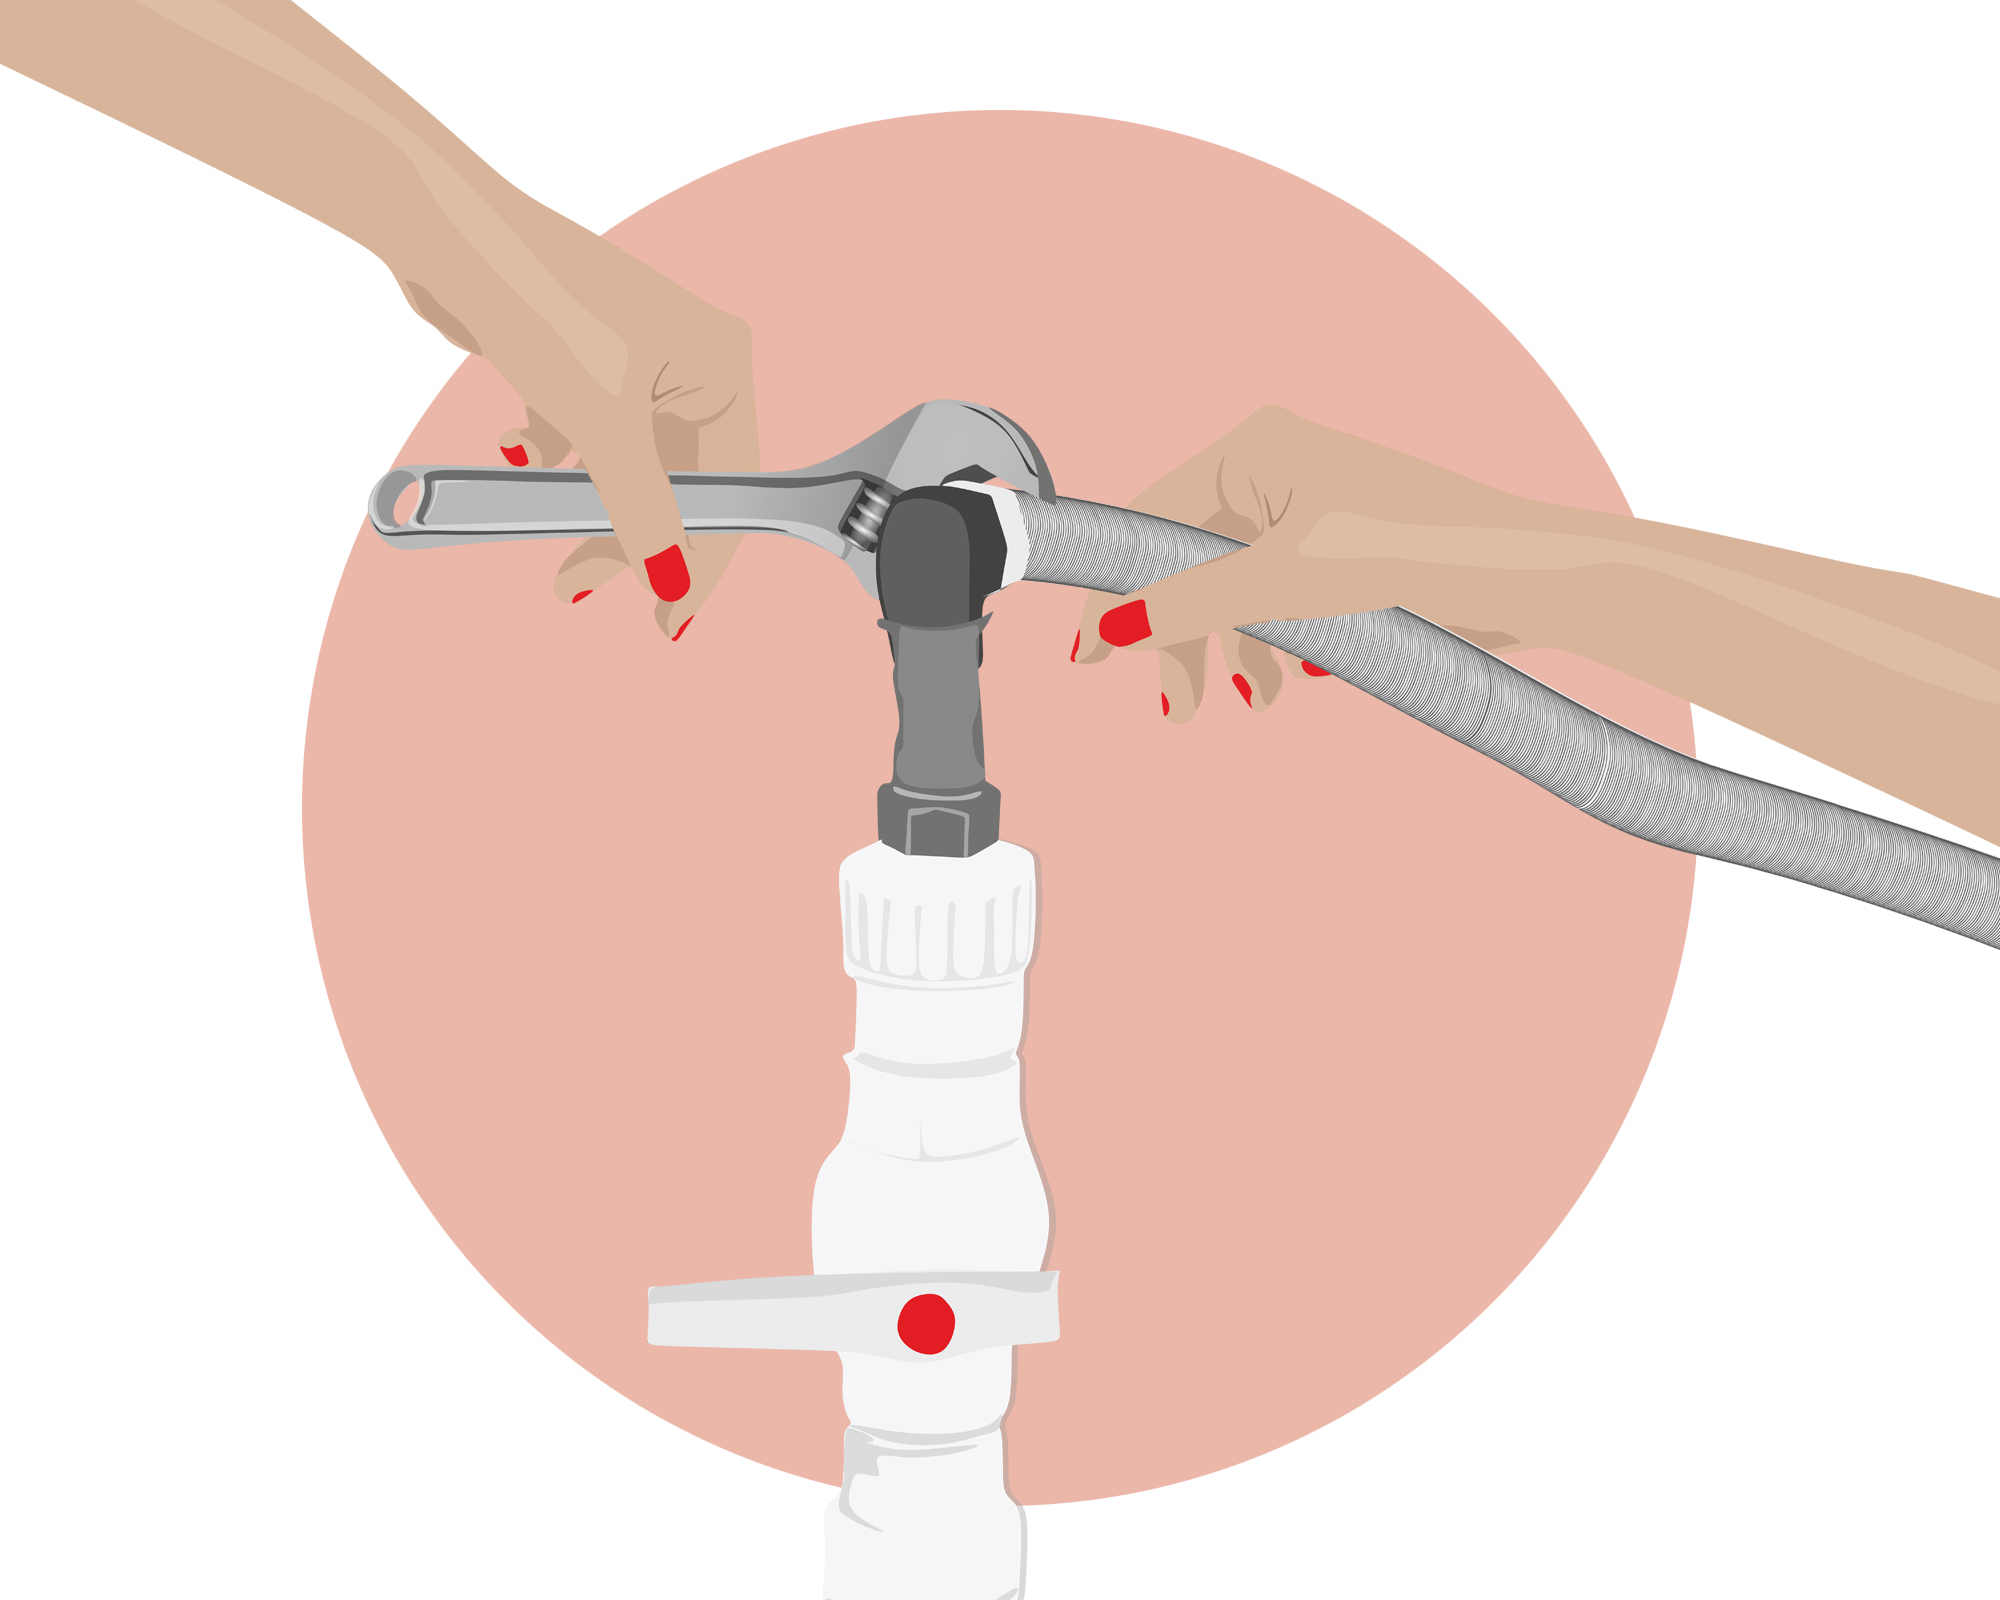
Now slip a shallow pan under the nut holding the water supply line to the elbow. Break this union with a wrench by loosening the nut that holds the copper line or flexible stainless steel to the dishwasher. Water will pour into the pan.
While braided stainless steel will flex easily, take care not to rough up the soft copper as you move it out of the way. If you force it back too hard it might kink, and then you'll have to replace it entirely.
Step 4: Disconnect the drain
The dishwasher drains through a flexible hose that usually connects to the sink's plumbing or the garbage disposal. Remove the clamp holding the tubing to the dishwasher. Keep a pan and rag handy to catch water left in the appliance and the drain. Then remove the drain hose where it connects to the sink. Some connections might have a stainless-steel band clamp that will require a screwdriver to remove.
Step 5: Remove the dishwasher
Most dishwashers are secured in place with screws attached to the underside of the countertop or the adjacent cabinetry. Back those screws out. Now give yourself some wiggle room by retracing the adjustable feet all the way up, which lowers the appliance to the floor and gives you more space between the top of the appliance and the underside of the cabinet.
If the feet won't turn, try spraying on some lubricant. If they are stuck, or you need even more room, use a metal cutting hacksaw to remove the feet. Just take your time cutting through the metal.
Now lift the old dishwasher out and onto the floor covering. Have a helper simultaneously work the drain supply hose through the hole in the sink cabinet as you remove the dishwasher. Now drag the appliance out of the way, tip it on its face. With a wrench, remove the brass 90-degree fitting, which you'll use on the new model.
Step 6: Prep the new dishwasher
Read the installation manual to check where your model's specific instructions deviate from this general guide. Using the cardboard it came in to protect the floors, tip the appliance forward so you can access the underside.
Now check the photo you snapped earlier for the orientation of the brass fitting. Coat the threads of the old brass 90-degree fitting with tape and tighten it onto the new dishwasher in the same orientation. Take your time to not cross the threads as some machines use easy to mangle plastic parts.
Step 7: Adjust the height
It's easier to get the dishwasher at almost the final height before you slip it into the opening. Adjust the feet so they are a few turns away from the perfect height, which minimizes the number of wrench turns you have to make in tight quarters.
Step 8: Slip the new appliance in
Most modern dishwashers have pathways or grooves into the underside to accommodate the water and electrical lines. It’s helpful to tape the water supply and wiring down to the floor to protect them while you slide the new dishwasher in place. Typically, new dishwashers use a plastic zip tie to hold the drain tube up high, behind the appliance. Leave this connection in place. It’s designed to act as a trap and prevent the sink from filling the dishwasher if there was ever a backup.
Lift and push the appliance into position underneath the countertop, take care not to dent any copper supply lines. As you ease it into place, fish the open end of the drain through the hole in the sink cabinet. Push it back until the front of the dishwasher is in line with the face of the cabinet doors nearby.
Step 9: Check the water supply
To prevent a leak, you want a perfect connection between the 90-degree elbow and the water supply line. As you back the dishwasher in place, check how this alignment looks. If it's not perfect, you can pivot the 90-degree elbow with a wrench and/or arc the soft copper supply line so it meets the elbow.
Step 10: Make the connections
Underneath the dishwasher, make the water supply connection with a wrench taking care to not cross the threads. Next, wire the appliance to the electrical supply using the diagram in the instruction manual. Then add the other end of the drain tube to the sink's plumbing and make those connections.
Step 11: Check for leaks
Supply power to the dishwasher and turn the water back on. Run the appliance and, using a flashlight, check for leaks where the supply meets the elbow, where the drain leaves the dishwasher, and where it connects to the sink.
Step 12: Make final adjustments
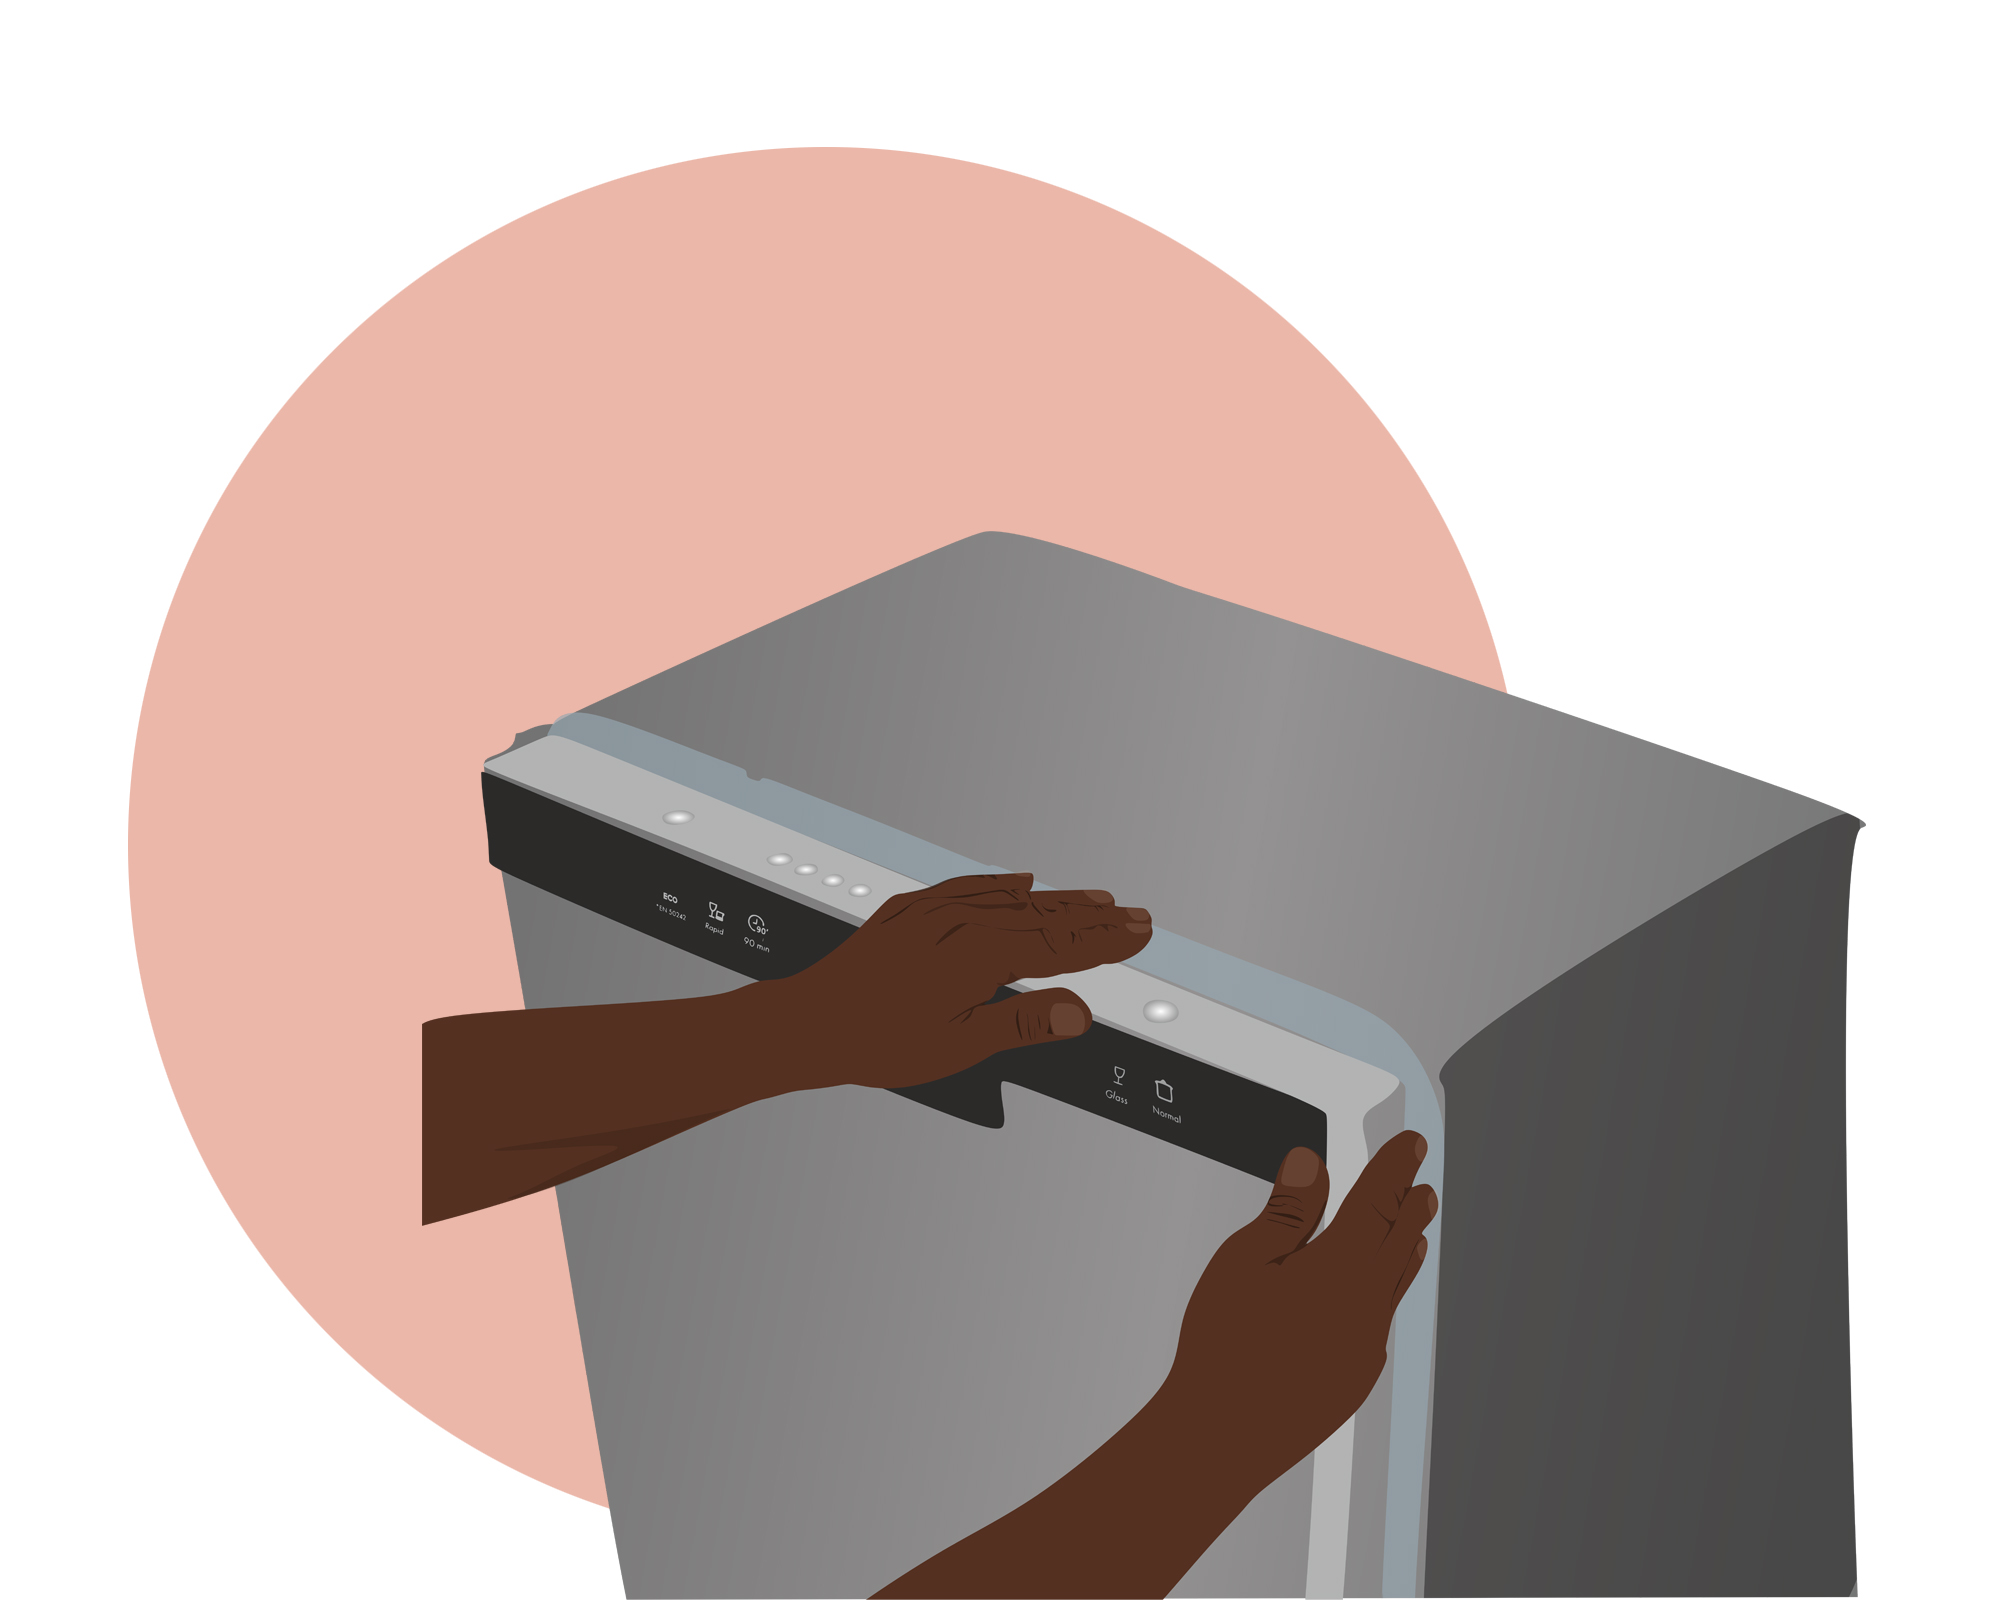
Use a straightedge to check the front of the dishwasher is flush to the cabinet door's edge. Then use a level on the underside of the door to make sure it's level left to right. Dial-in the adjustments by twisting the feet. Then secure the appliance to the countertops or flanking cabinets. Add the cover plate to the bottom of the appliance to cover up the connections.
Join our newsletter
Get small space home decor ideas, celeb inspiration, DIY tips and more, straight to your inbox!
Sal Vaglica has been covering all aspects of home improvement for over 10 years, for publications like The Wall Street Journal, This Old House, and Men's Journal.
-
 A $200 fluted panel transformed my drab kitchen in just one weekend
How to install a fluted kitchen panel: A speedy and achievable DIY tutorial even for DIY novices
By Claire Douglas Published
-
 How to replace a broken staircase spindle in 30 minutes flat
A missing or broken spindle on a staircase is not only unsightly, but it can be a real hazard. This is how to fix it in a few quick steps.
By Kate Sandhu Published
-
 An IKEA Billy bookcase hack inspired this cute media wall DIY
This cute DIY was inspired by an IKEA Billy bookcase hack and brought a ton of symmetry to an otherwise basic media wall space.
By Camille Dubuis-Welch Published
-
 Share your small space glow up to win $150 in the Real Homes competition
Show off your creativity and DIY skills to win $150 and for the chance to be featured exclusively in Real Homes magazine
By Camille Dubuis-Welch Last updated
-
 This oversized headboard looks designer, and takes 5 steps to DIY
Super simple to DIY, this oversized headboard will give your bedroom space all the designer vibes you could dream of.
By Claire Douglas Published
-
 My DIY range hood and backsplash build gave my kitchen the perfect farmhouse finish
I craved charm in my kitchen space and adding a custom range hood and shelving was the best move.
By Brooke Waite Published
-
 How to paint a radiator in 7 steps
Painting radiators properly is all about choosing the right paint and the best process. Get interior designer-worthy results with our how-to.
By Kate Sandhu Published
-
 How to install a door knob
Updating your interior and exterior doors can be as easy as changing out the hardware! The best part is that installing a door knob is very DIY friendly. Follow these simple steps and enjoy a fresh look on your doors!
By Dori Turner Published