

When we moved into our current house, all of the doors – interior and exterior – had tarnished brass door knobs and hinges that had seen better days. One of the first doors we decided to update was the one leading out to our backyard. We started by giving the door a fresh coat of gray paint. Next, it was time to change out the hardware. The process is an easy one, you just need to follow a few simple instructions to complete this DIY project successfully.

1. Remove the old door knob
The first step is to remove the old door knob. Sometimes it’s not immediately obvious how to do this if the screws aren’t on the front base of the knob. If this is the case, look on the bottom of the knob to see if there is a small screw underneath that needs to be removed. Otherwise, unscrew the screws from the base plate of the door knob and pull the knob out. The other side should easily pull out.
2. Select a new door knob
When selecting a new door knob, there are a few things to consider. You’ll need to decide what finish you want for the new knob. They come in a variety of finishes including black, oil-rubbed bronze, gold, and nickel. Once you’ve decided on a finish, you’ll need to choose a style. There are plenty of styles out there, including round, oval, square, and bars.
You’ll also need to select the correct type of door knob depending on whether it'll be an interior or exterior piece of hardware. Then you’ll need to decide whether you want a lock for the door knob or not. Most interior door knob packages are labeled for closets, bedrooms, and bathrooms. For our door, we needed an exterior door knob and the style we chose was round. We decided to go with a black door knob for contrast against the gray door.

3. Install the door knob
Now you’re ready to install the door knob. Start by removing it from the packaging and locating the latch. Insert the latch into the hole in the side of the door. Place the metal latch plate over the part of the latch that is protruding from the side of the door. Screw the metal plate in place using a screwdriver or drill.

Next, take the exterior knob with the tumbler and fit it into the door latch. Like a puzzle piece, there is only one way to insert it so you'll know when it’s right. If your door knob has a face plate that’s not attached to the knob, you may need to install it first before fitting the knob into the latch.

Next, locate the interior knob and fit it into the other side. Using the screws included in the package, place them in the holes on either side of the knob and screw them into the plate.

4. Installing the strike plate
Now you’re ready to install the strike plate into the door frame. Holding the plate in place, insert the top screw and use a drill or screwdriver to drive it in place. Repeat with the bottom screw.

Exterior door dead bolt
If you’re installing an exterior door knob, you’ll also need to install the dead bolt. The process looks much the same. First you will insert the latch in the door and install the latch plate. You’ll locate the exterior keyway and fit it into the latch. Next, you will locate the interior bolt and fit it to the other side of the door. Use the provided screws to screw it into place. Finally, install the strike plate into the door frame.
Installing a door knob is definitely a job you can do yourself with just a few steps and a screwdriver or drill. You’ll be amazed at how great your doors look by simply adding some new hardware. Go ahead and give your doors the update they need and enjoy a fresh new look by following the steps above! If they need a total refresh, I'd recommend you painted your doors first and then swapped out the hardware.

-
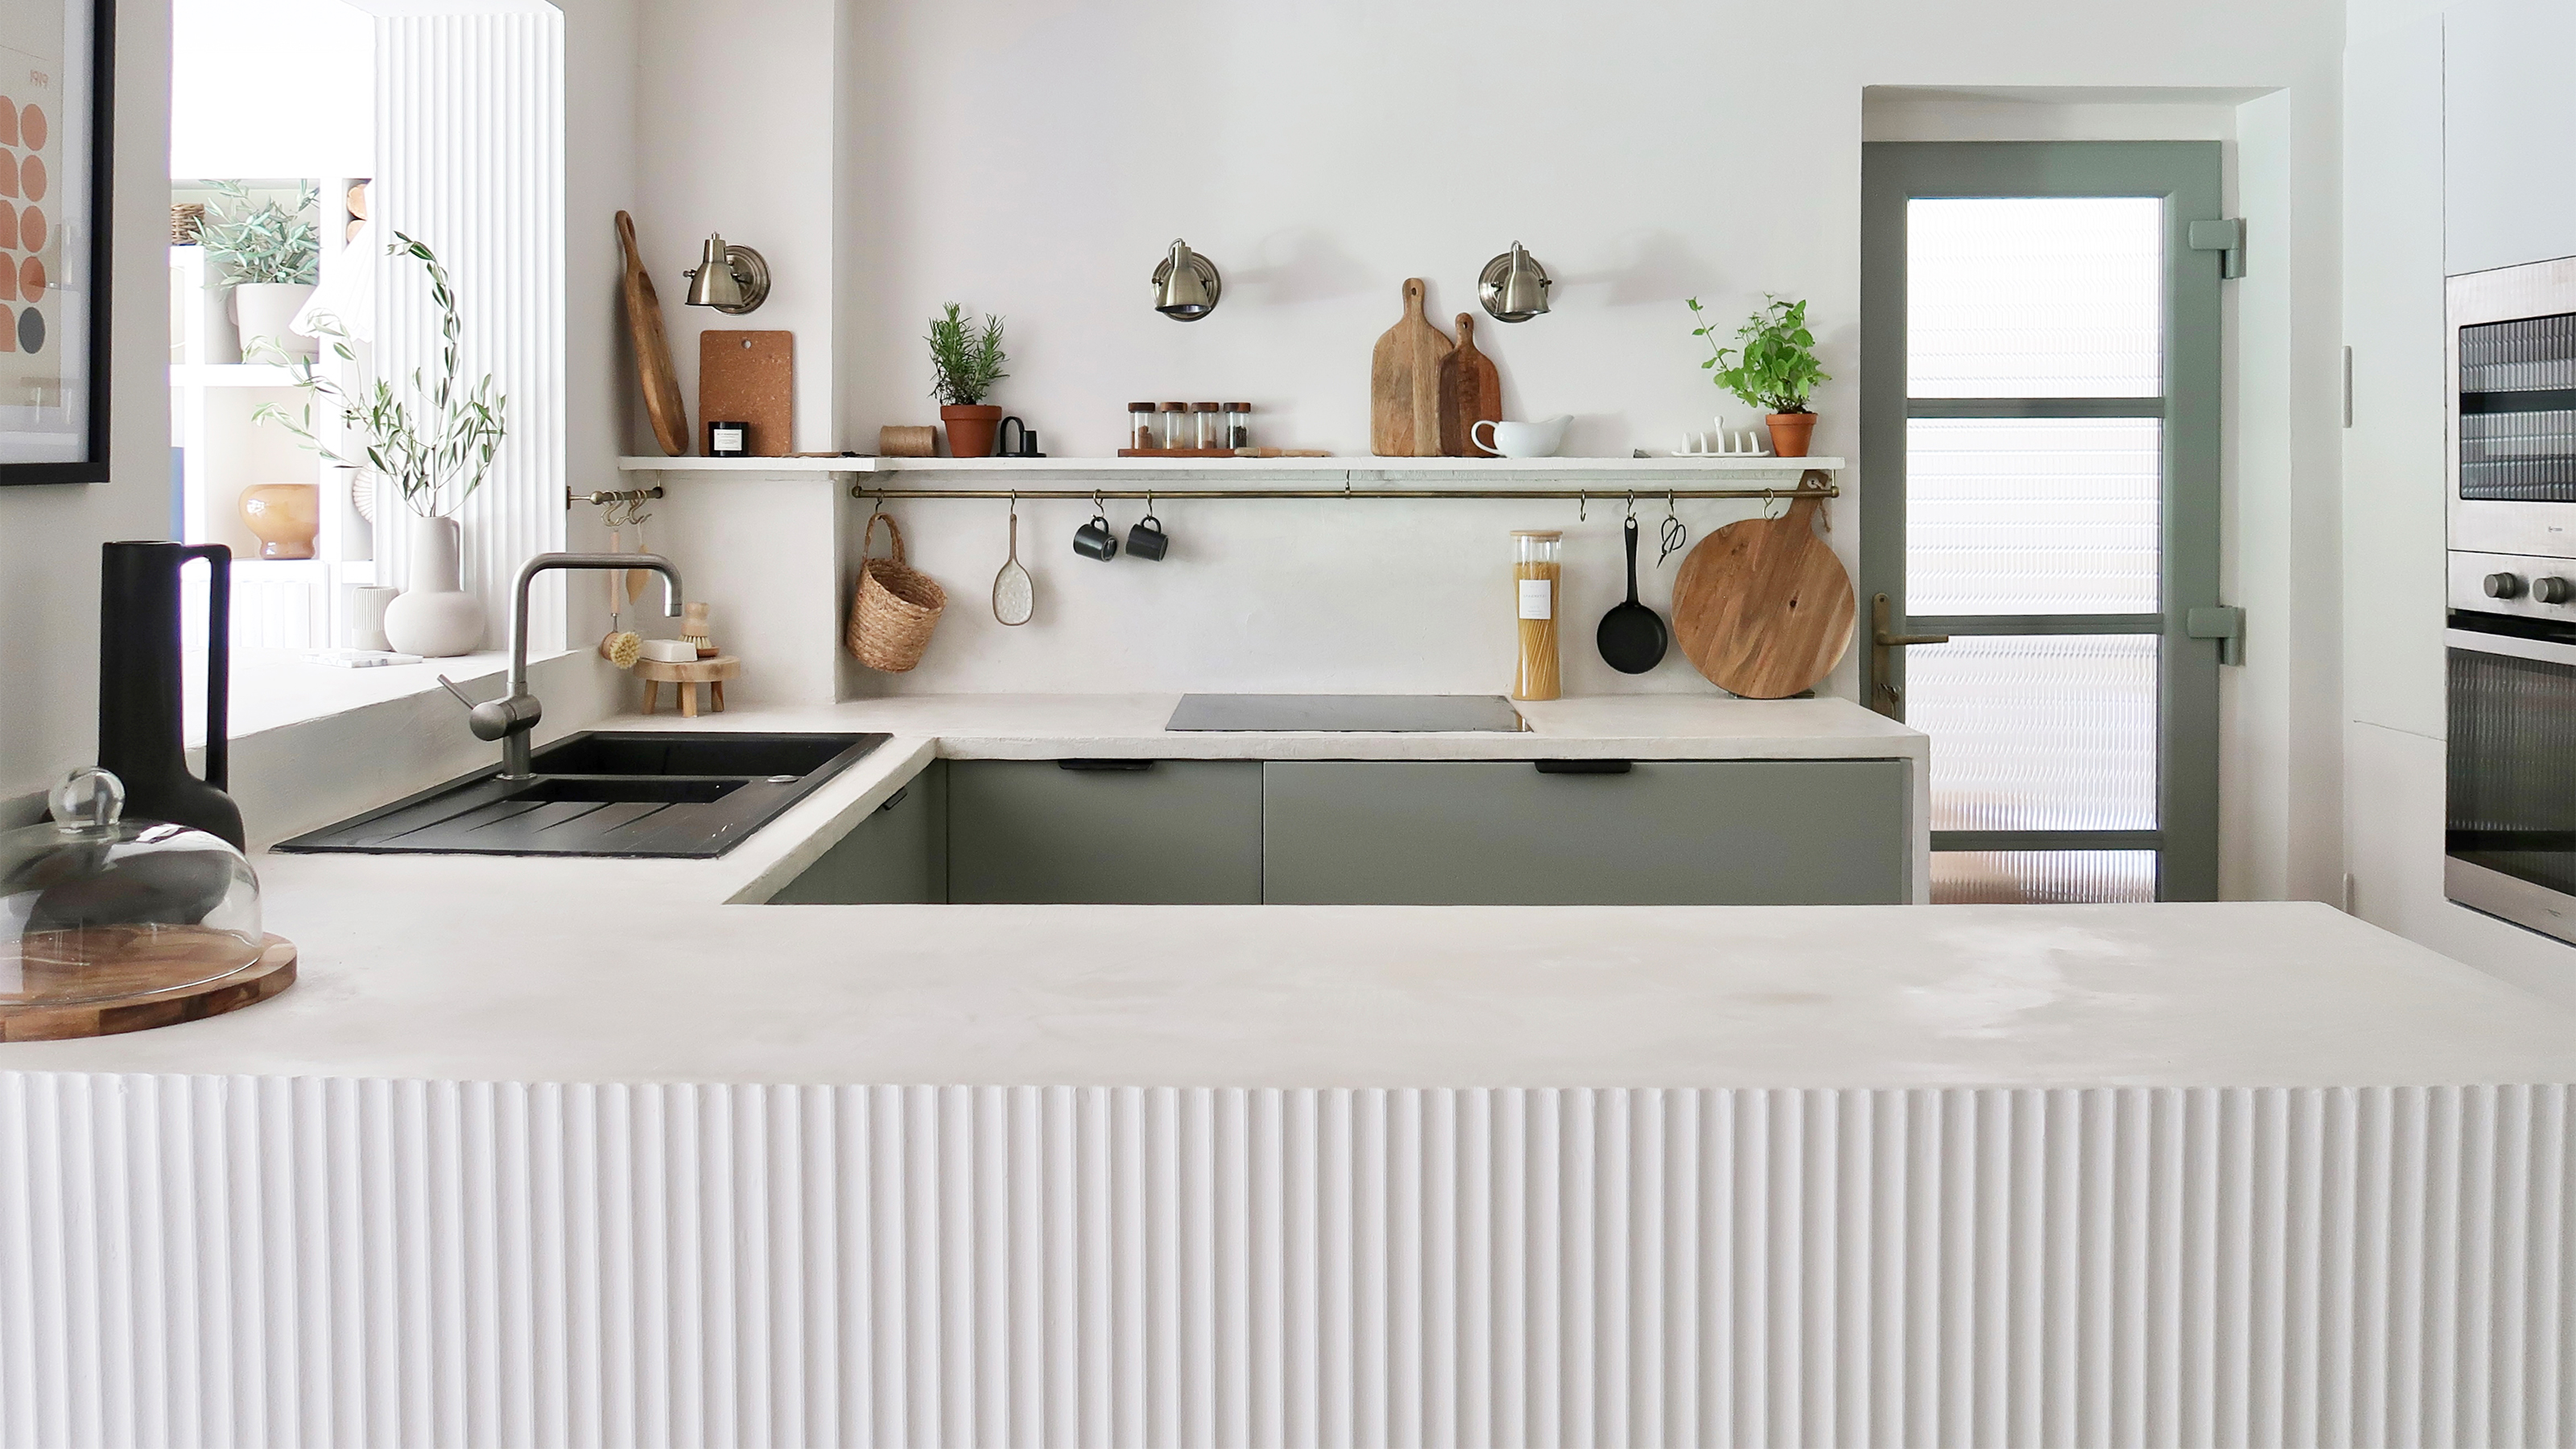 A $200 fluted panel transformed my drab kitchen in just one weekend
How to install a fluted kitchen panel: A speedy and achievable DIY tutorial even for DIY novices
-
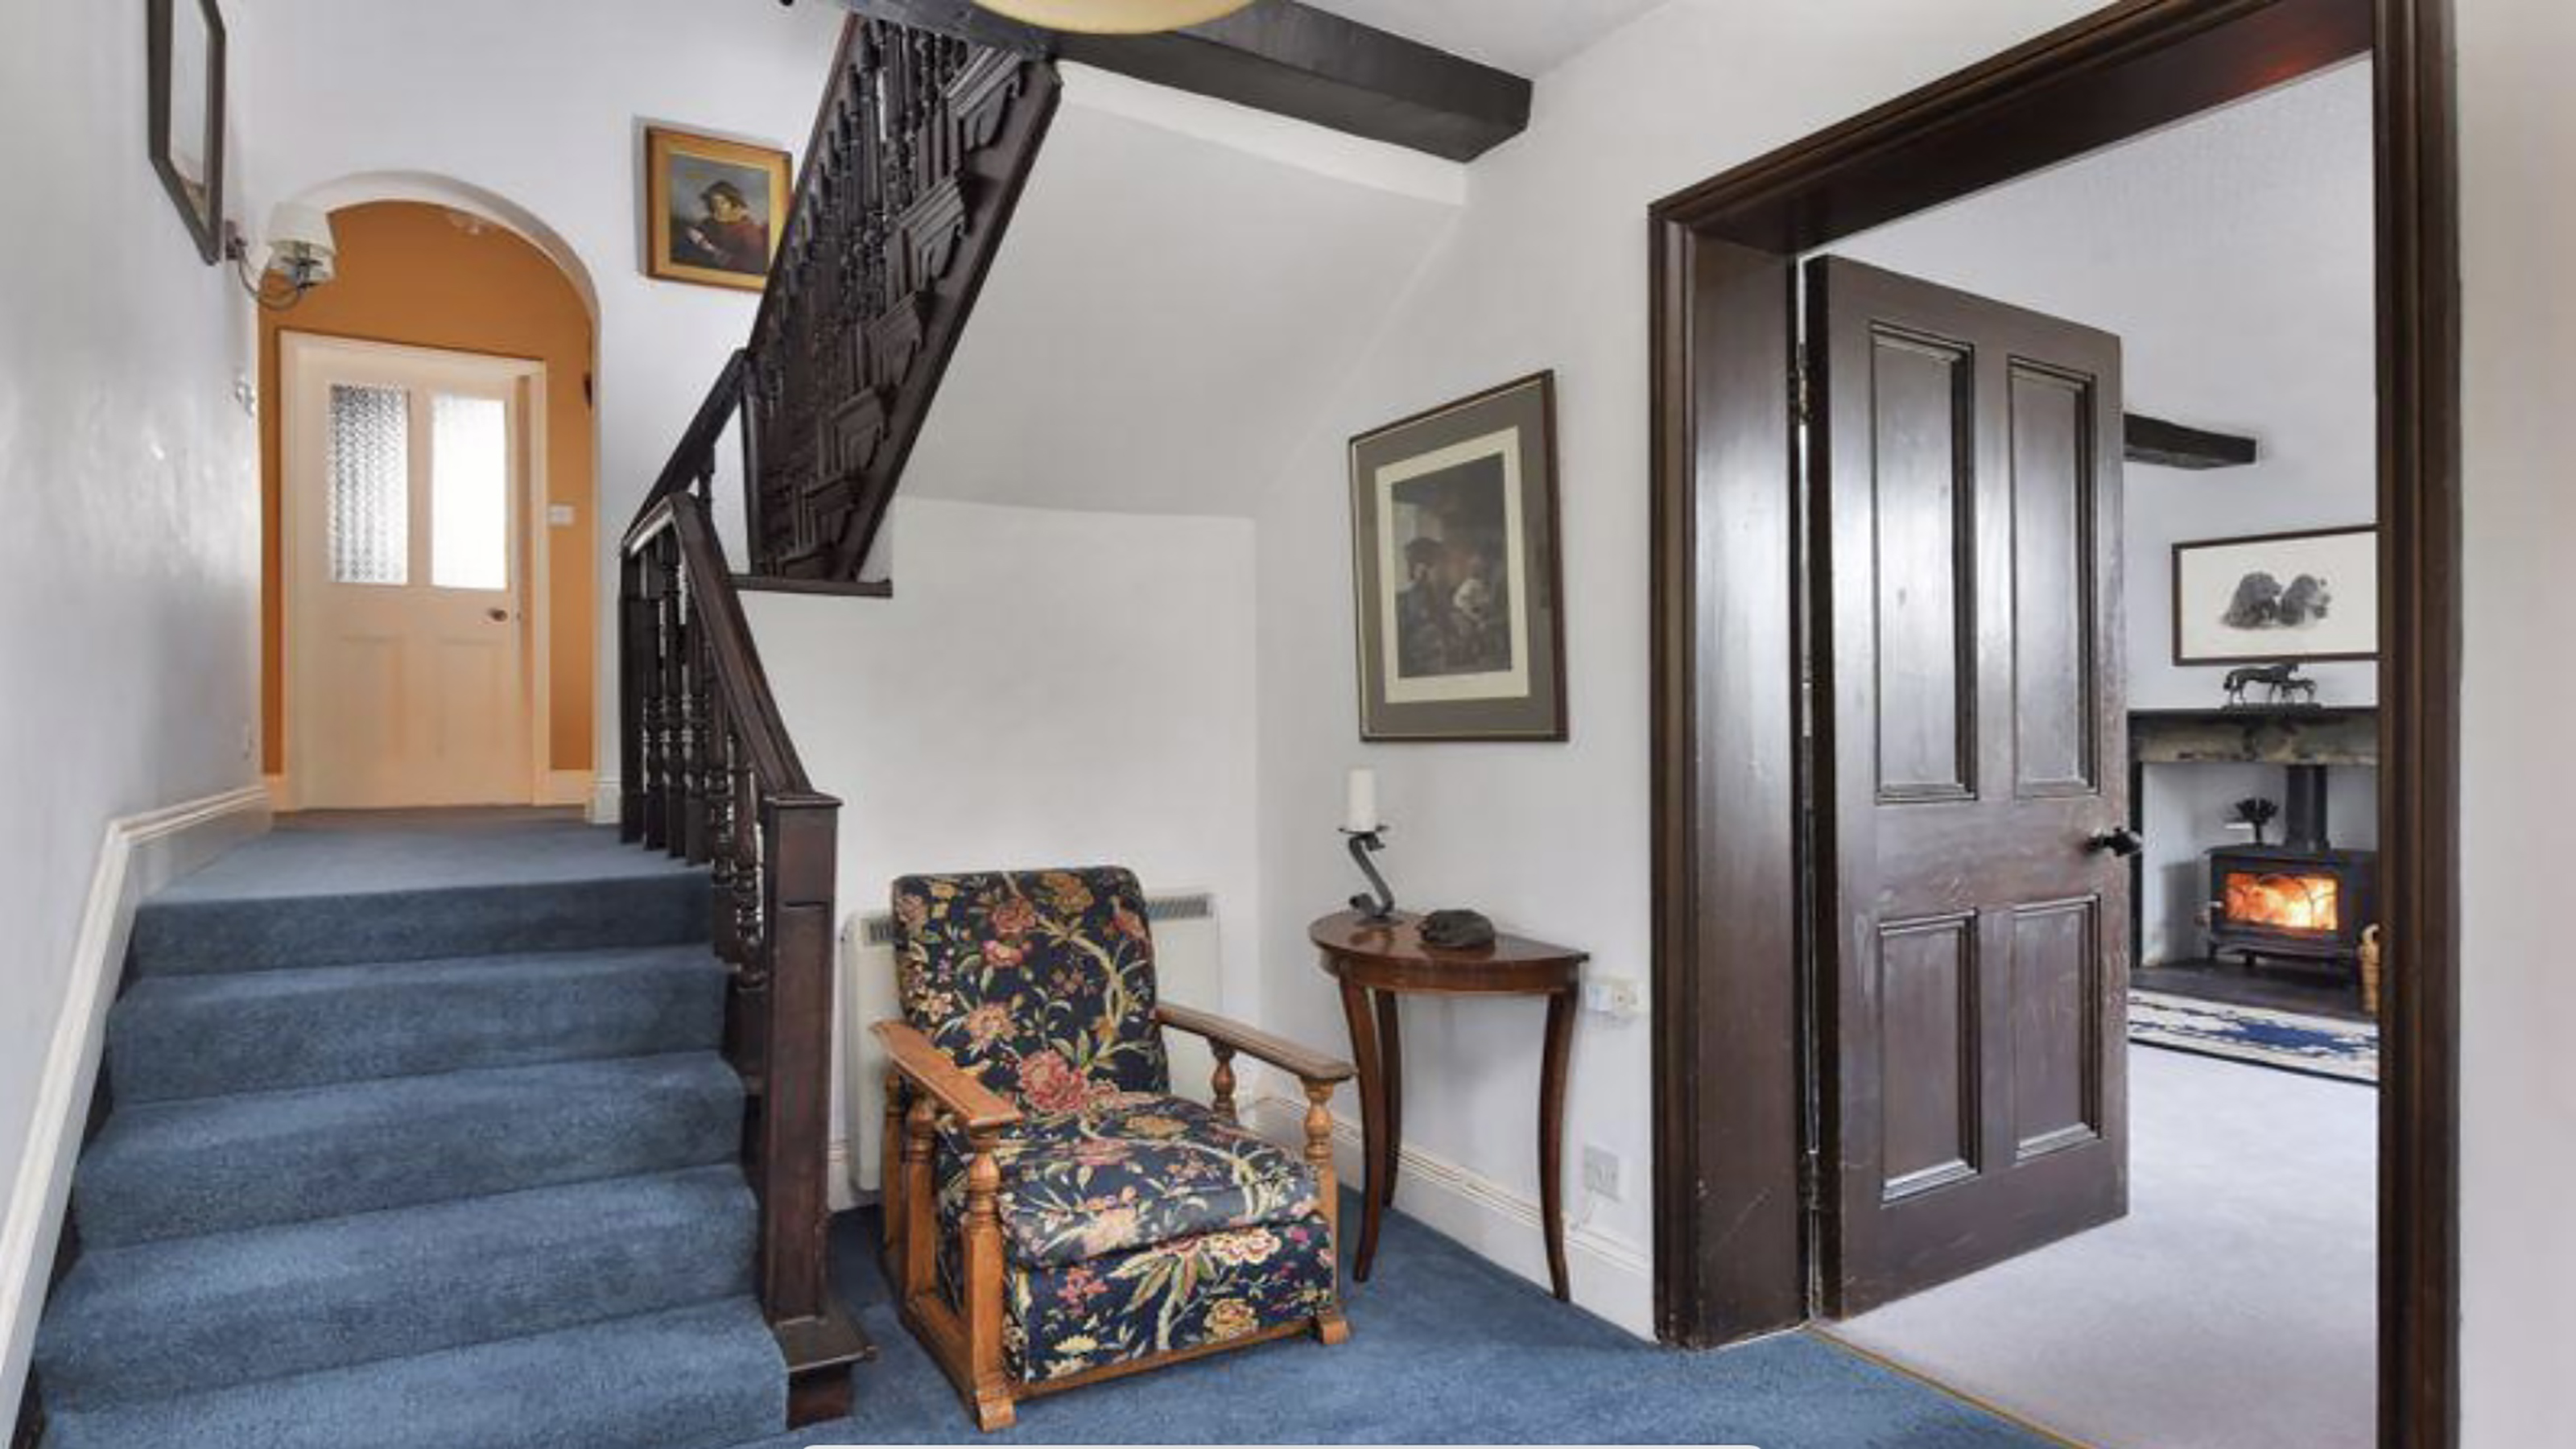 How to replace a broken staircase spindle in 30 minutes flat
A missing or broken spindle on a staircase is not only unsightly, but it can be a real hazard. This is how to fix it in a few quick steps.
-
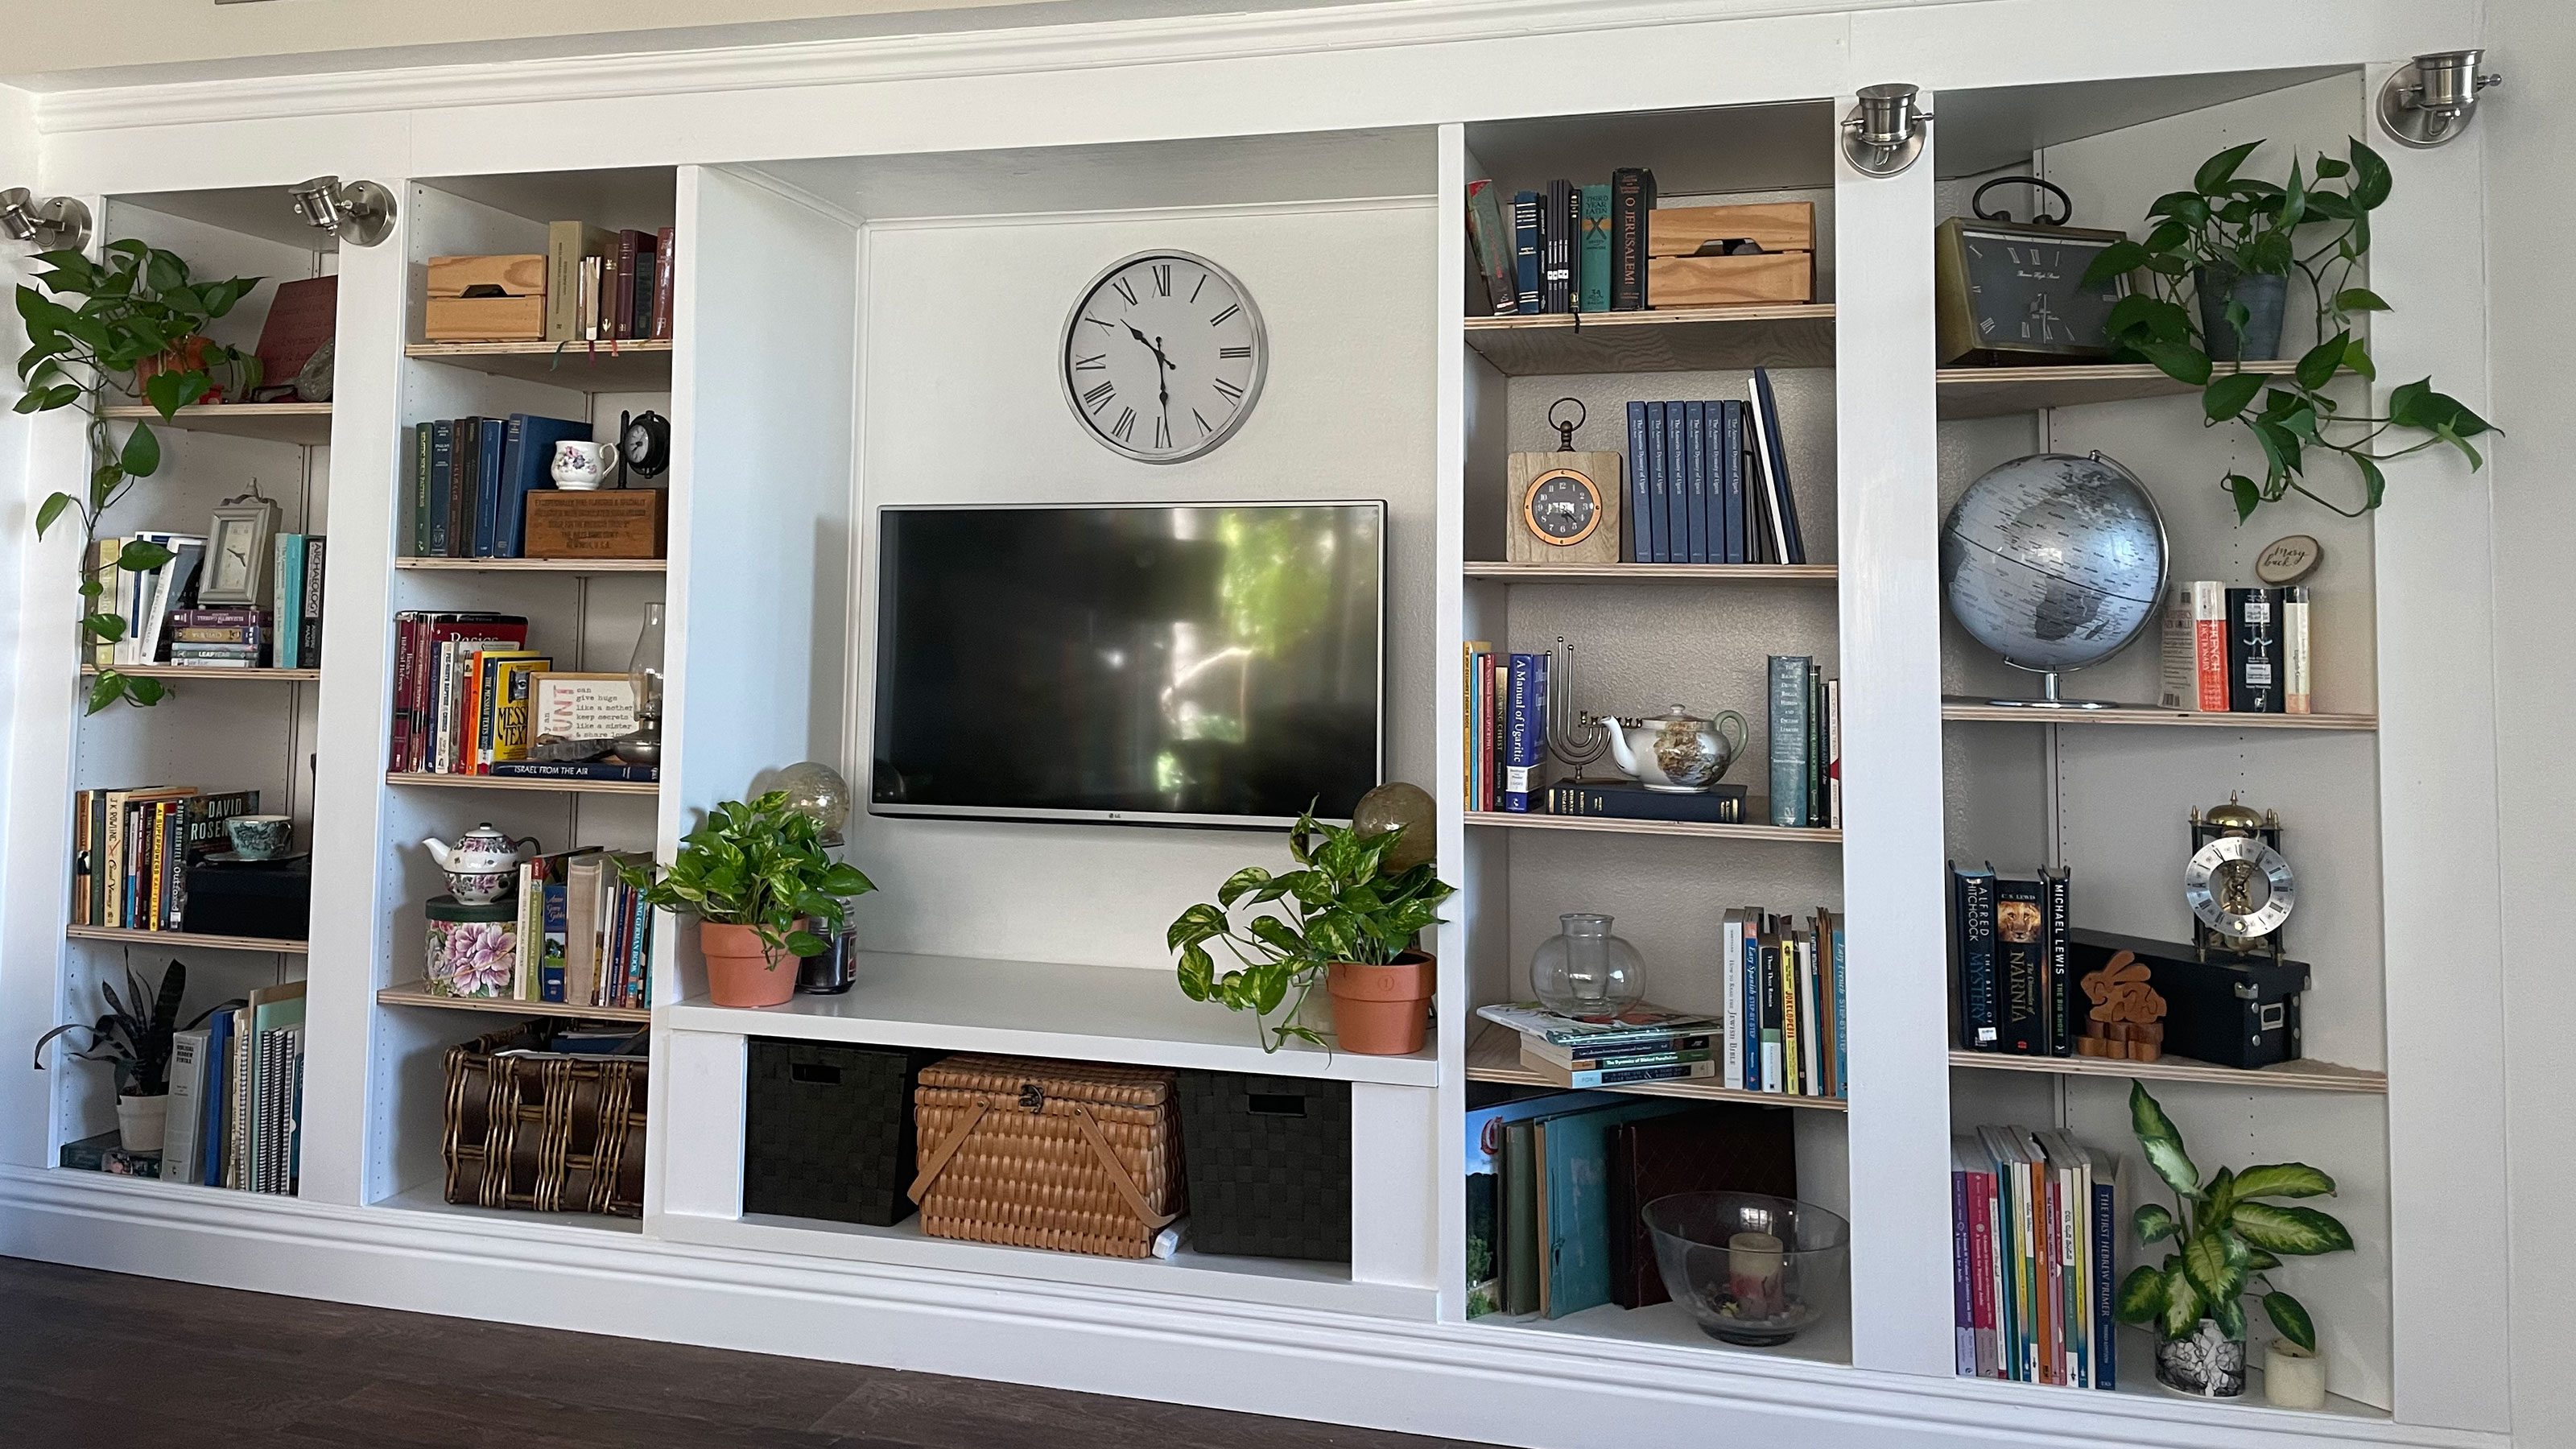 An IKEA Billy bookcase hack inspired this cute media wall DIY
This cute DIY was inspired by an IKEA Billy bookcase hack and brought a ton of symmetry to an otherwise basic media wall space.
-
 Share your small space glow up to win $150 in the Real Homes competition
Show off your creativity and DIY skills to win $150 and for the chance to be featured exclusively in Real Homes magazine
-
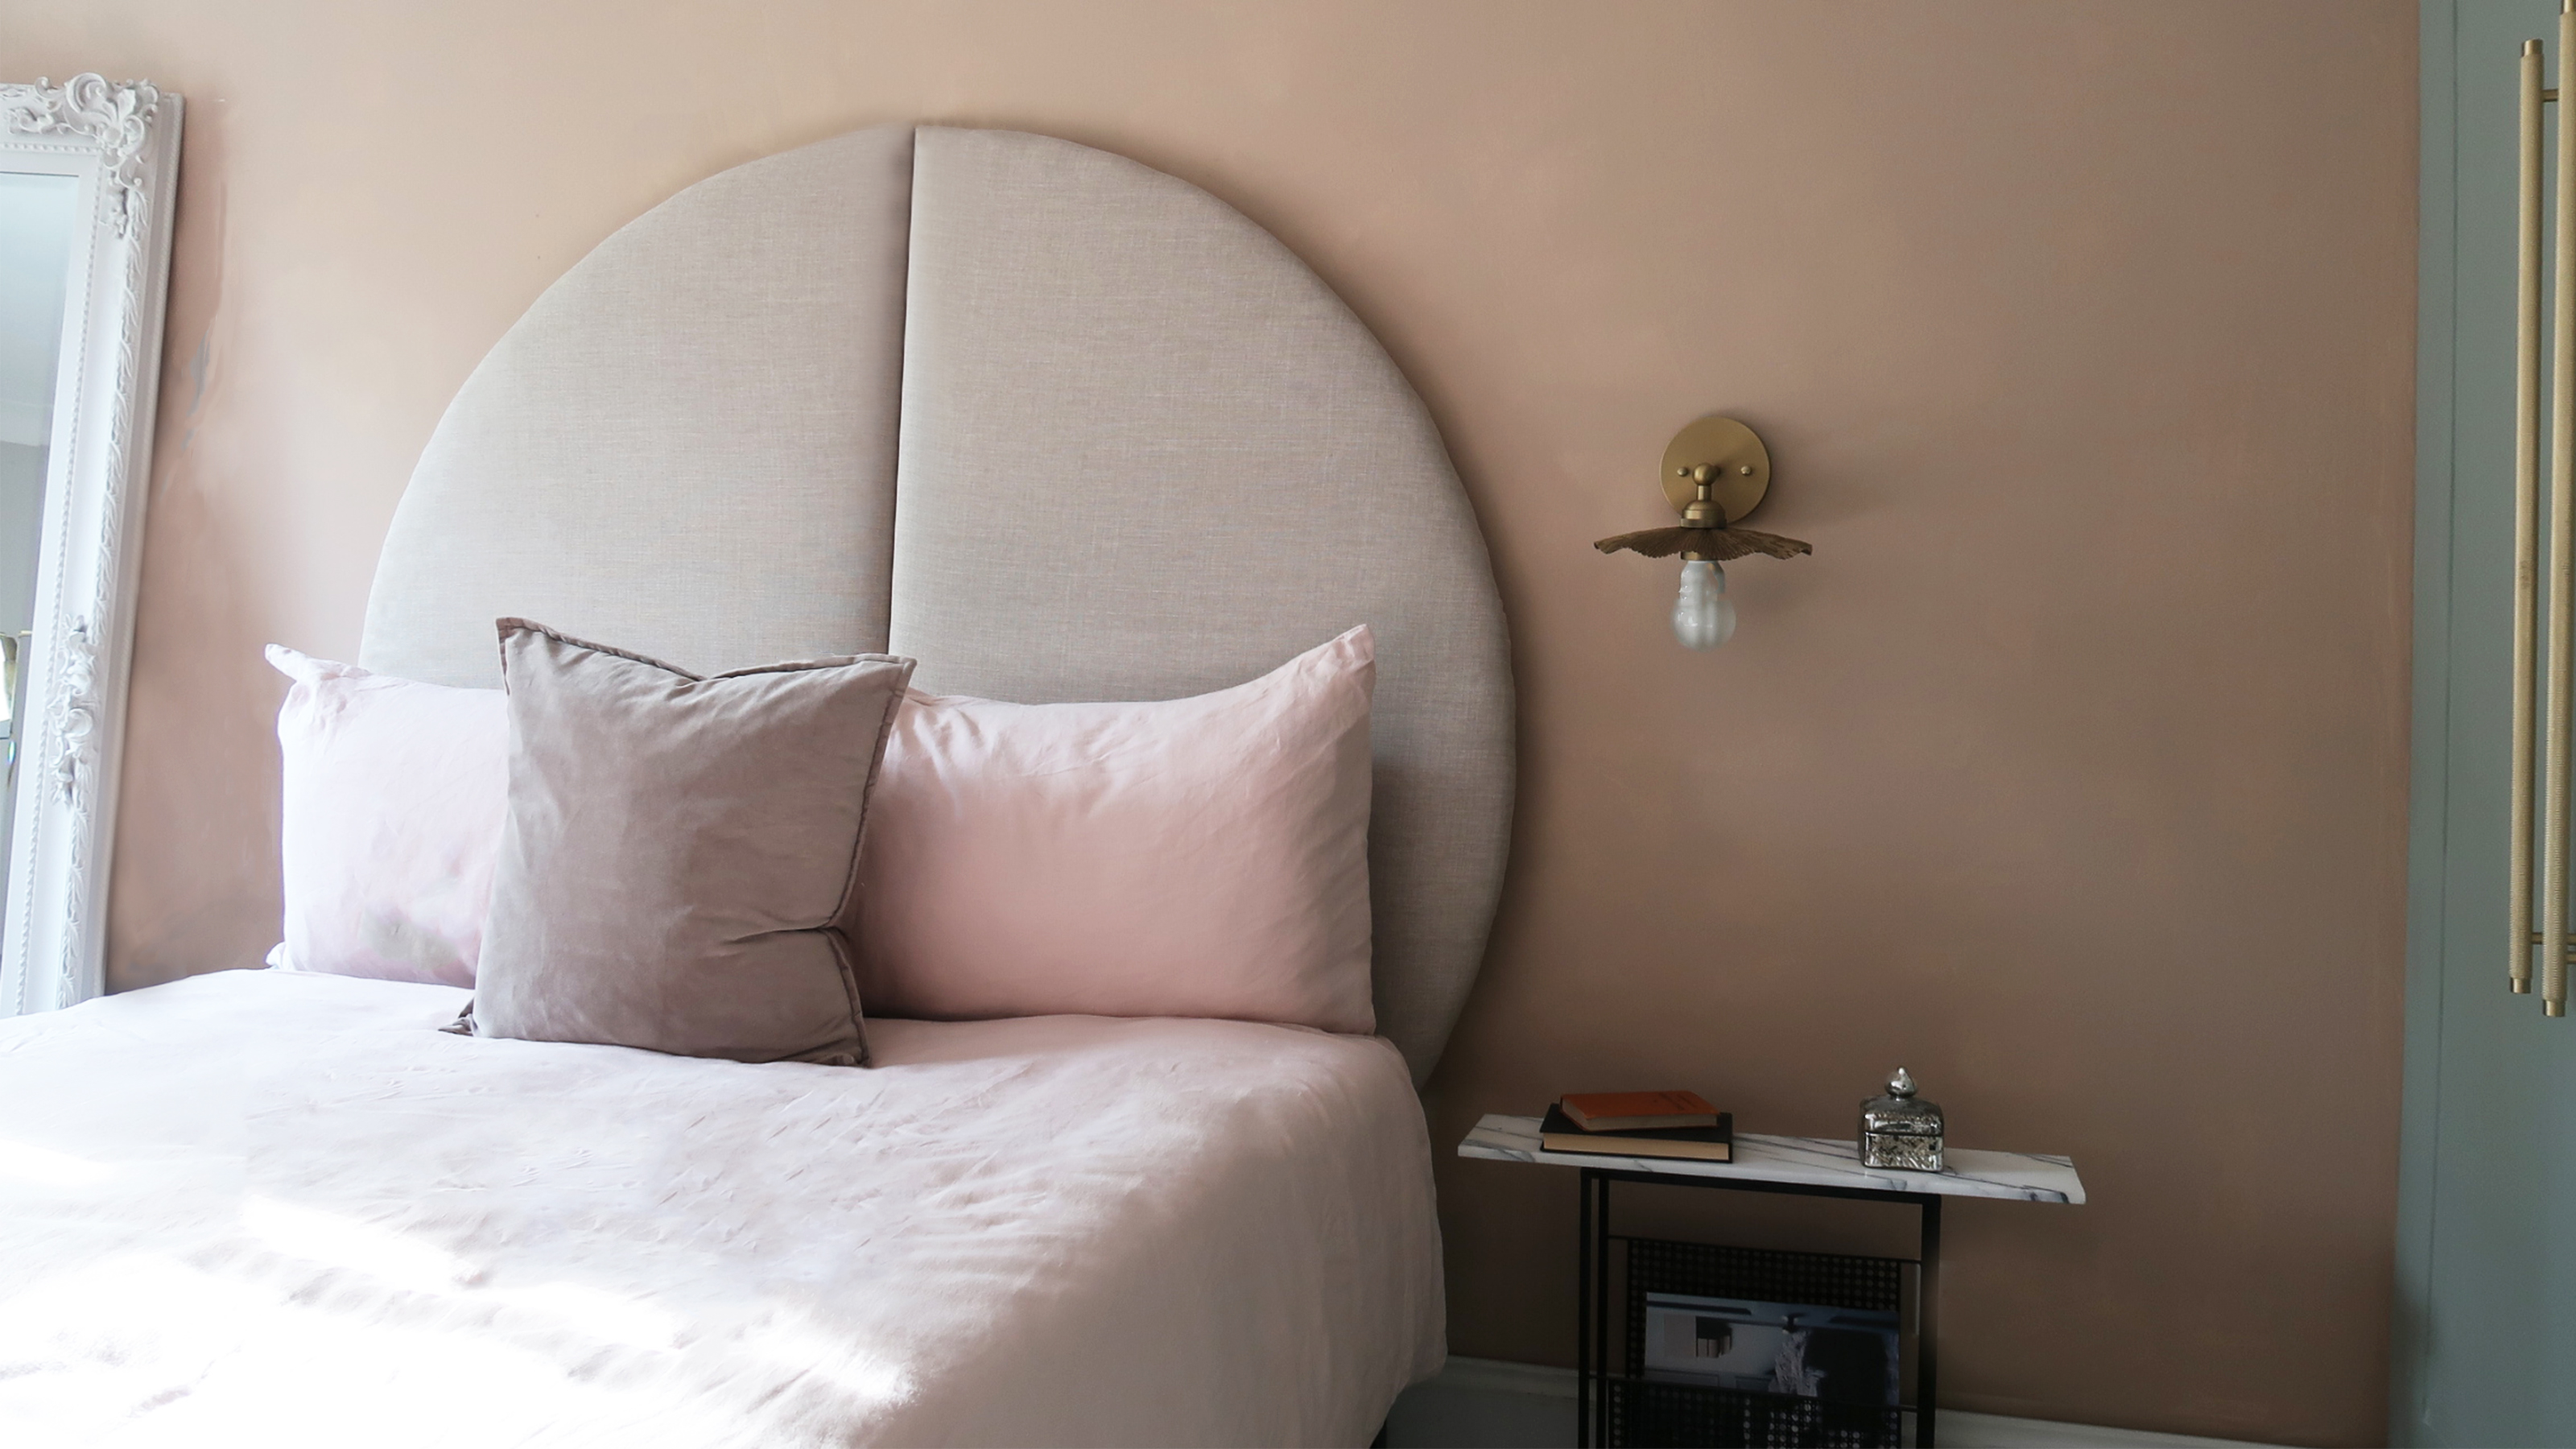 This oversized headboard looks designer, and takes 5 steps to DIY
Super simple to DIY, this oversized headboard will give your bedroom space all the designer vibes you could dream of.
-
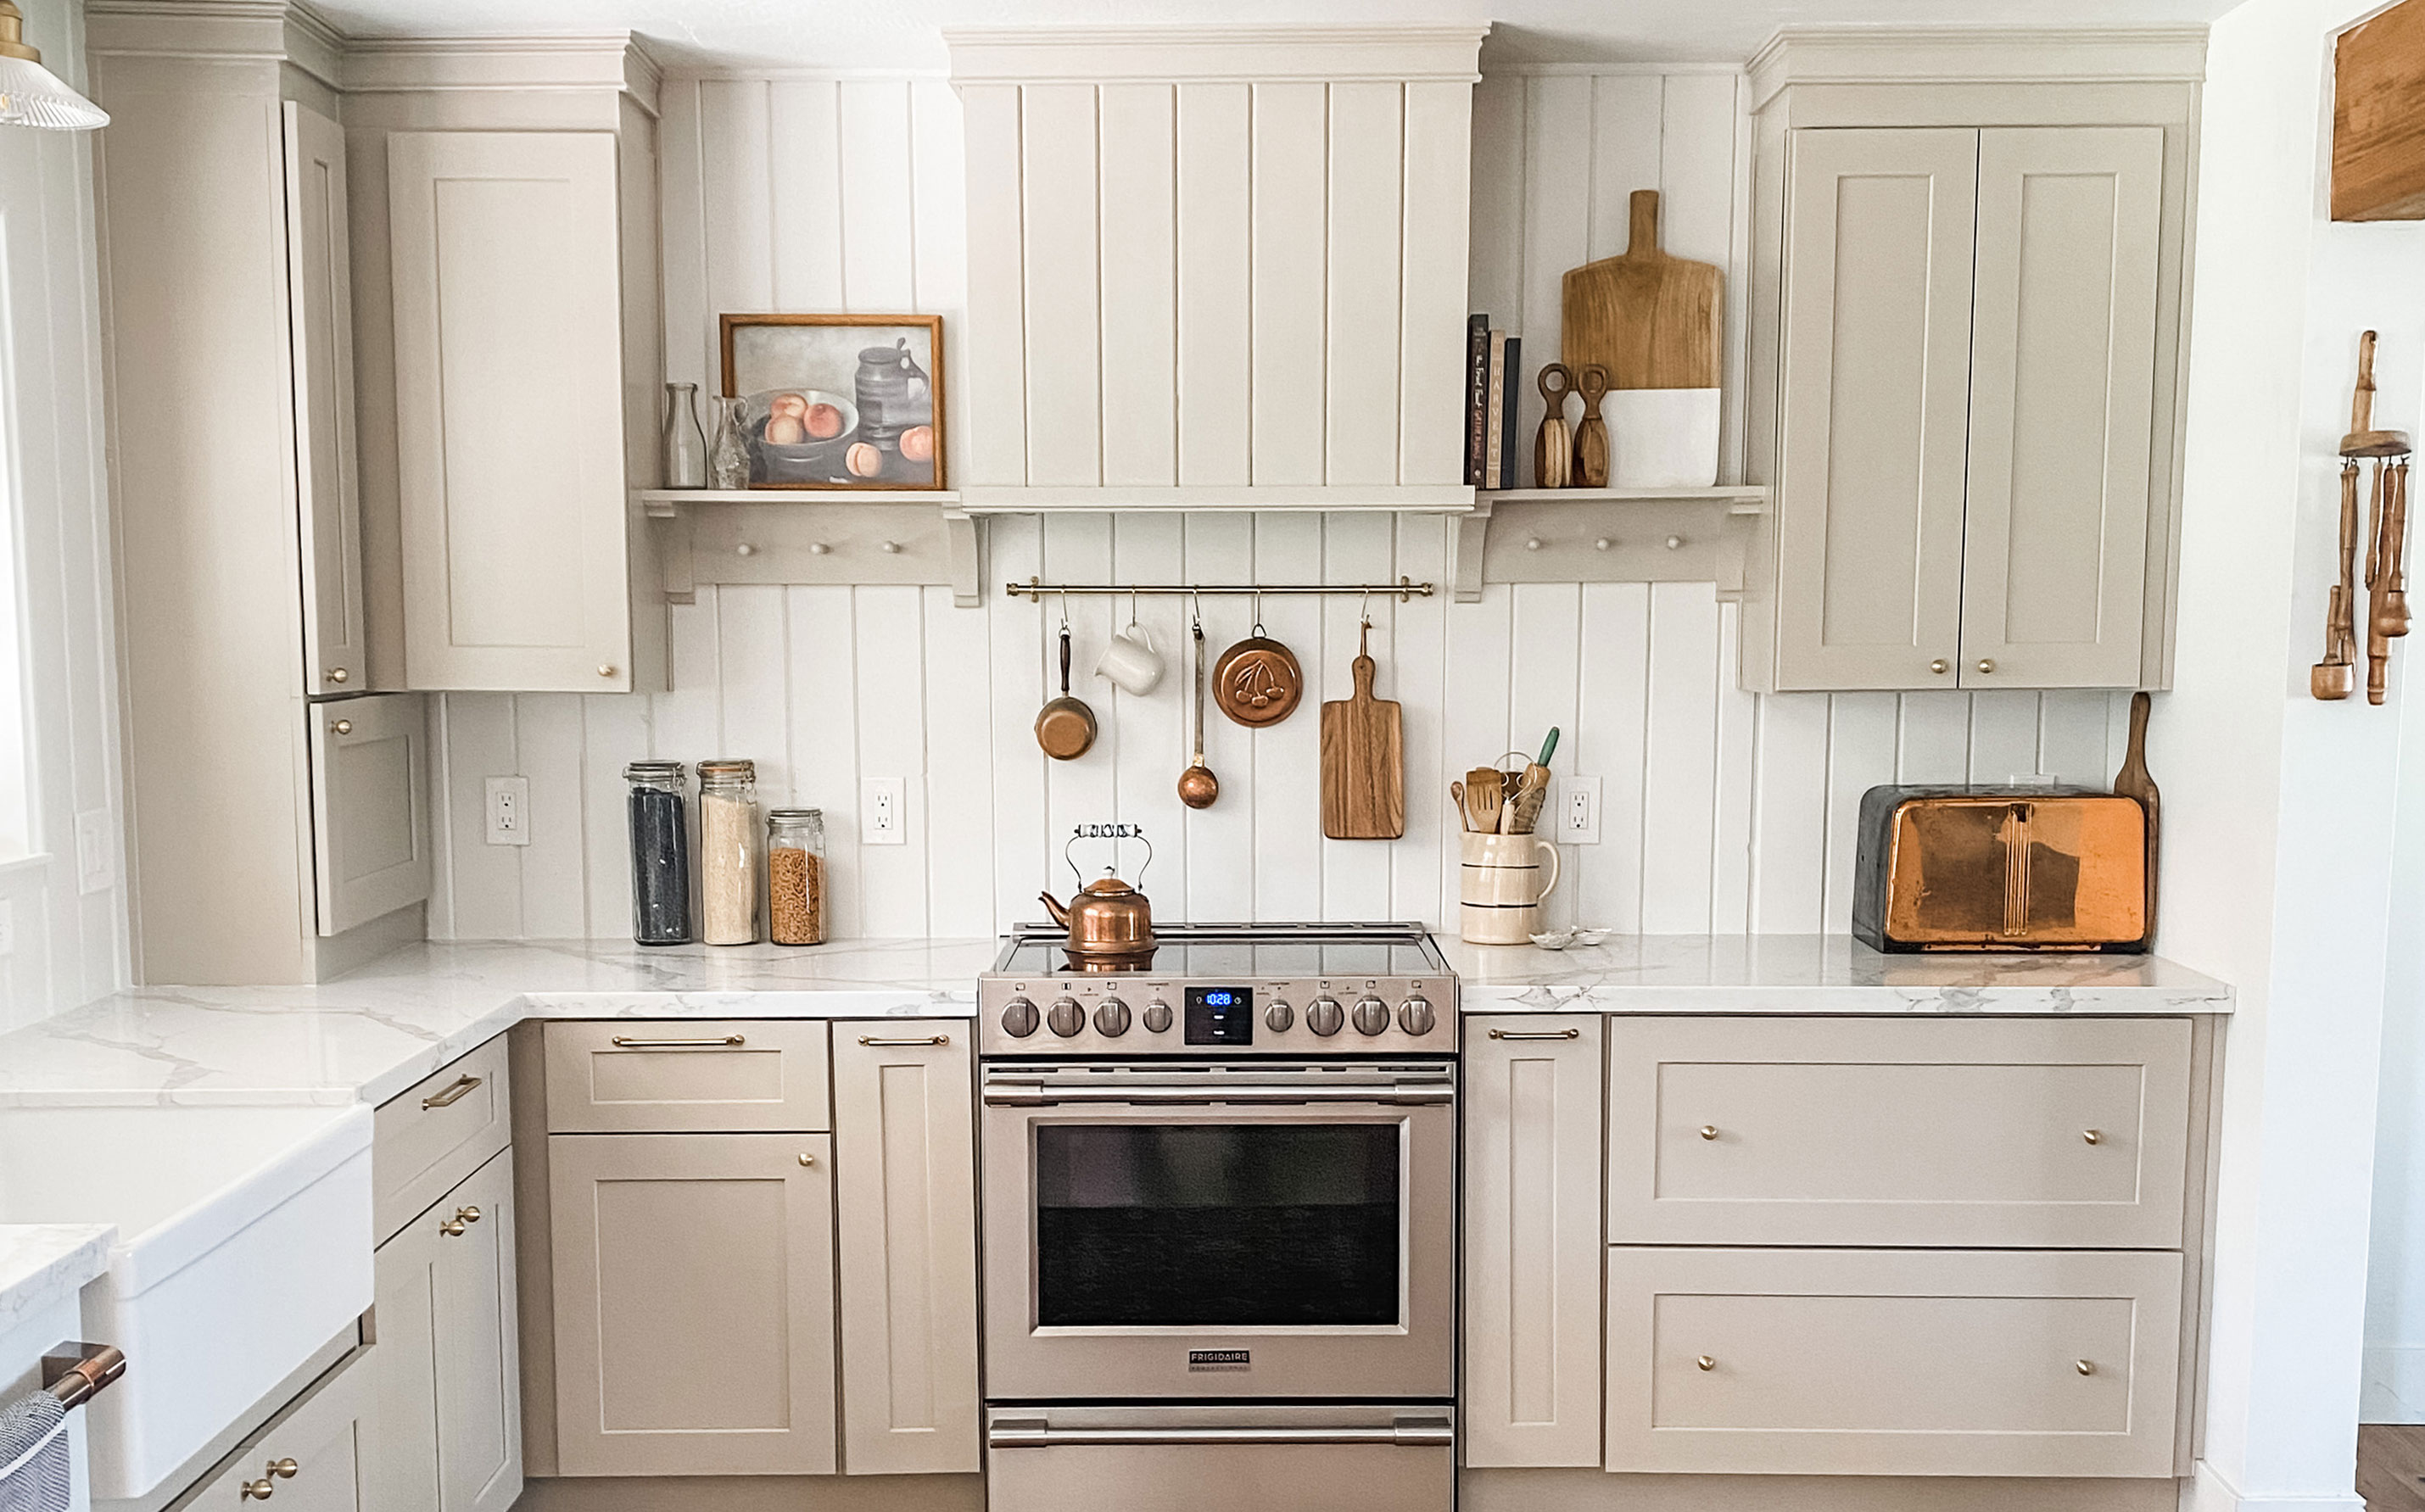 My DIY range hood and backsplash build gave my kitchen the perfect farmhouse finish
I craved charm in my kitchen space and adding a custom range hood and shelving was the best move.
-
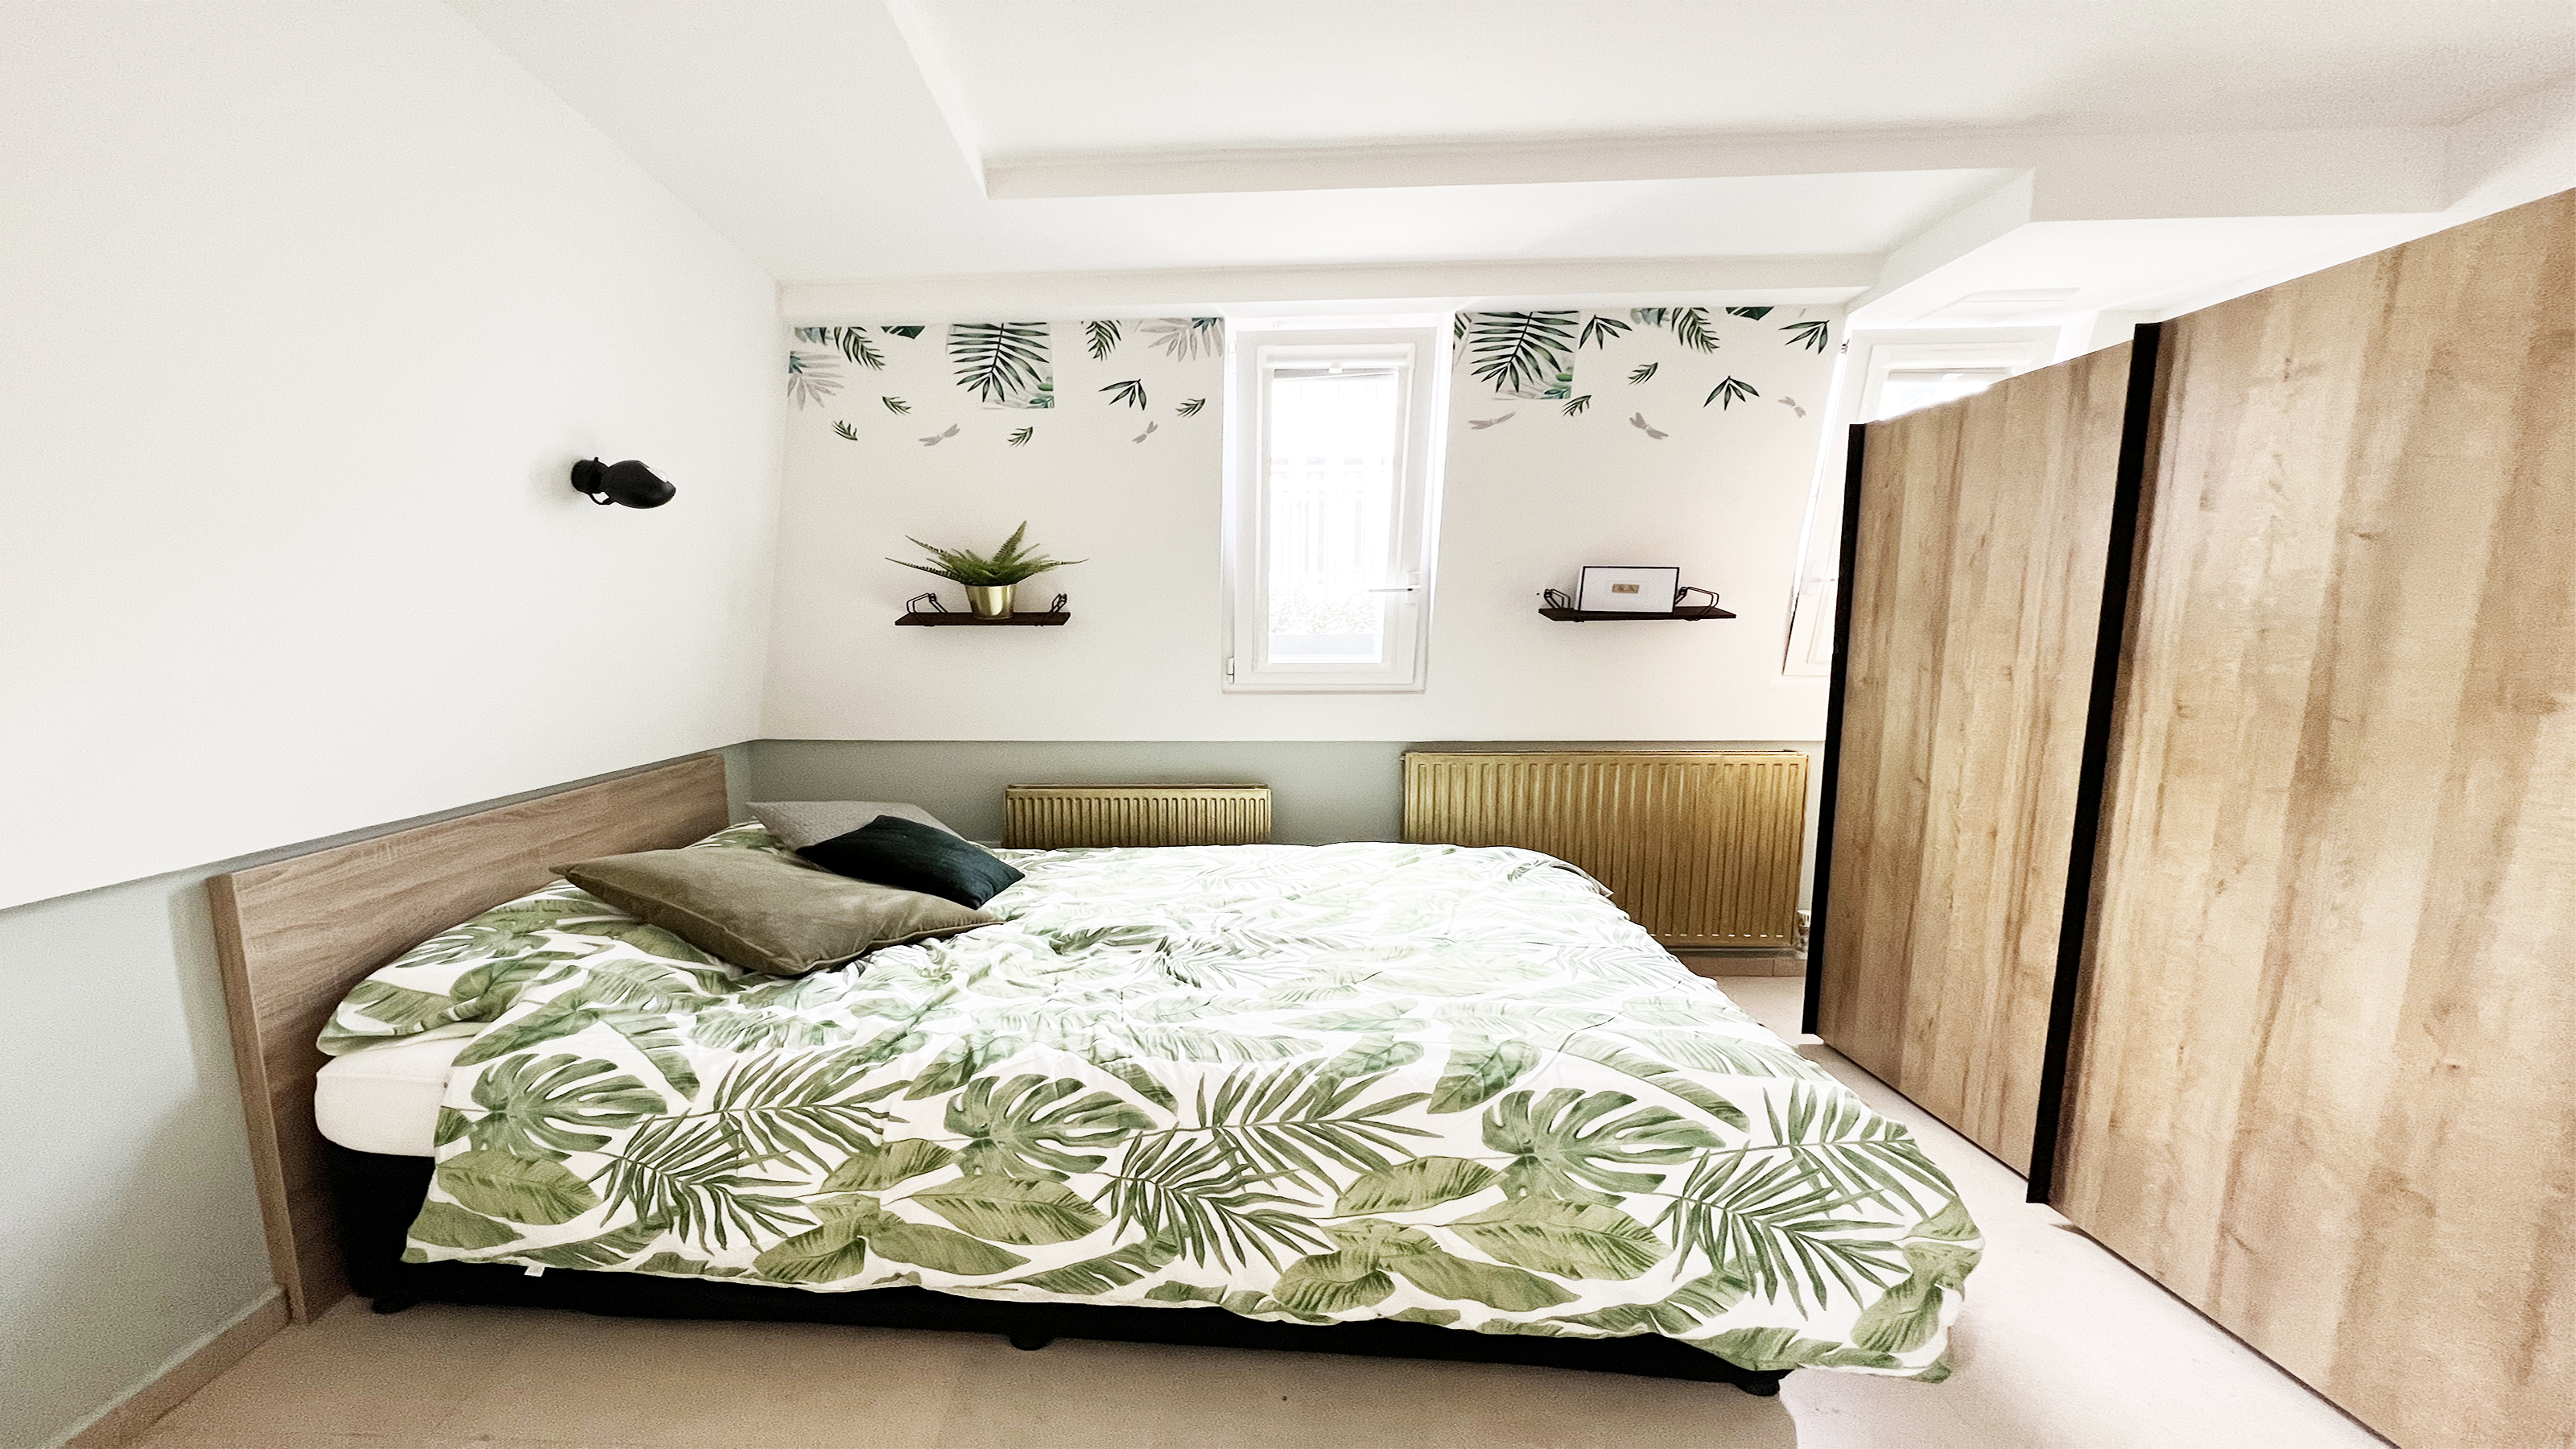 How to paint a radiator in 7 steps
Painting radiators properly is all about choosing the right paint and the best process. Get interior designer-worthy results with our how-to.
-
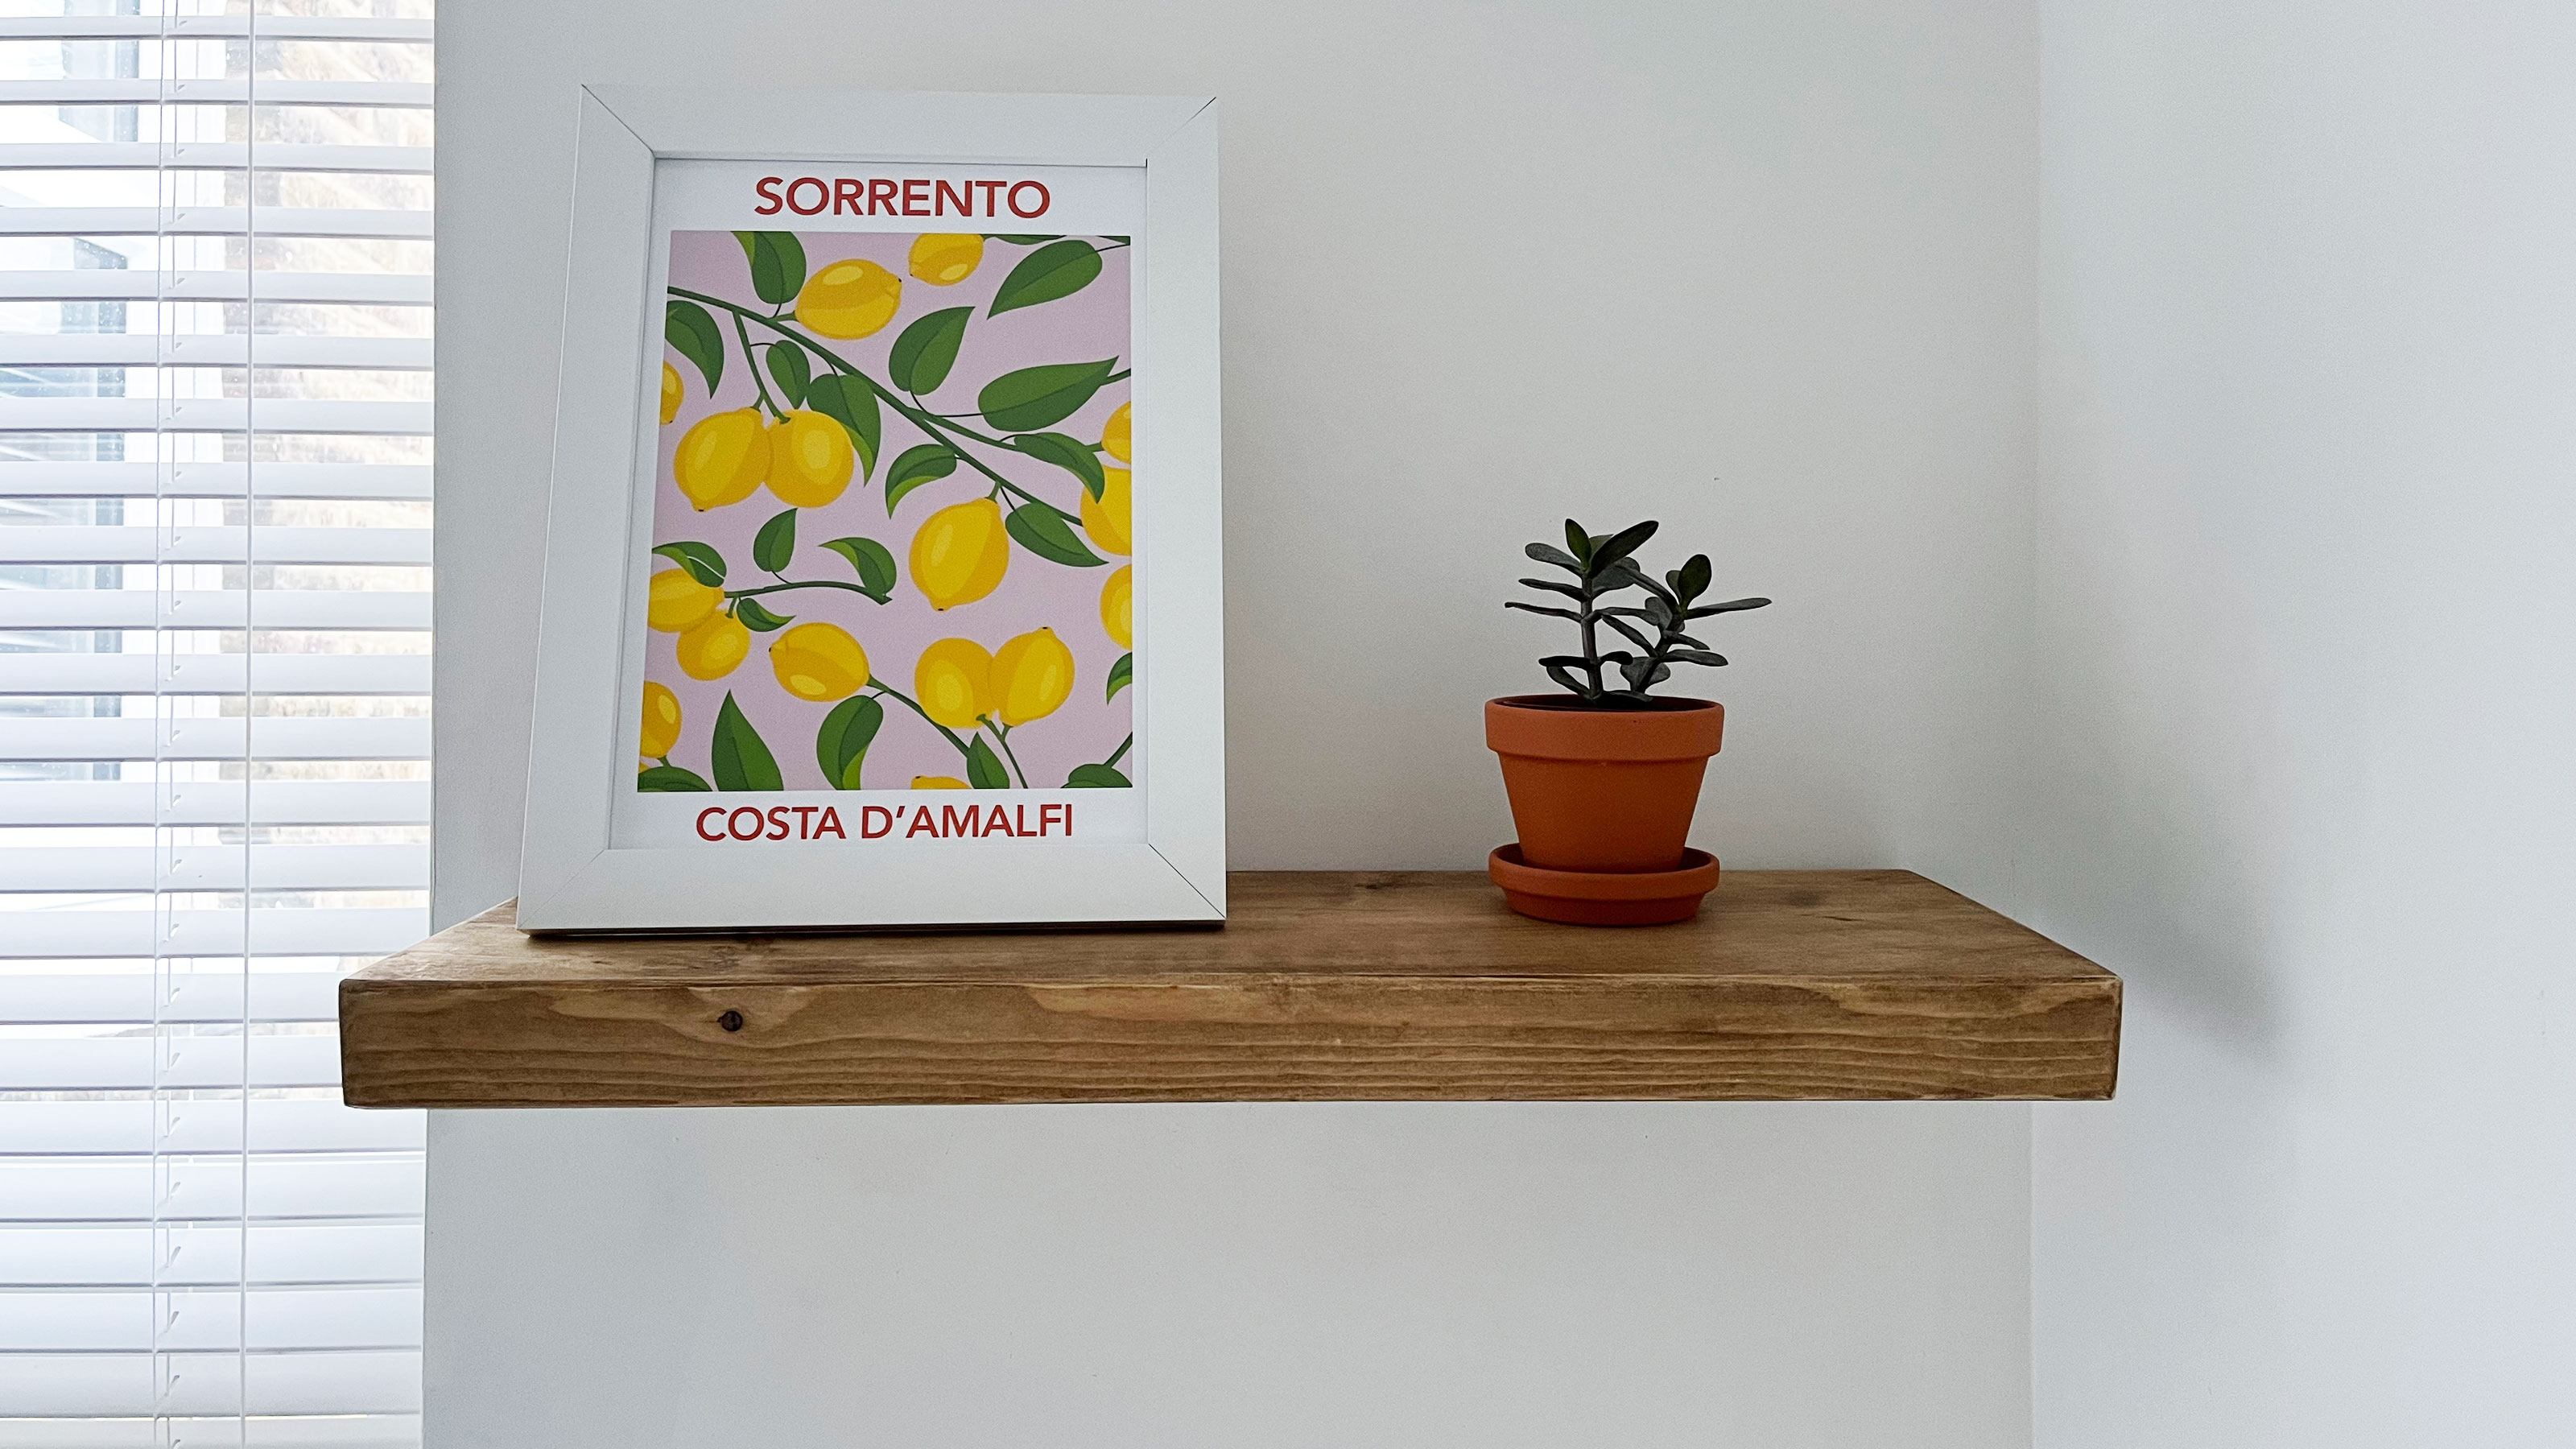 How to install and style a floating shelf
Installing a floating shelf can add instant design interest to your home. Dress yours with artwork, houseplants, and books for the perfect finish.


