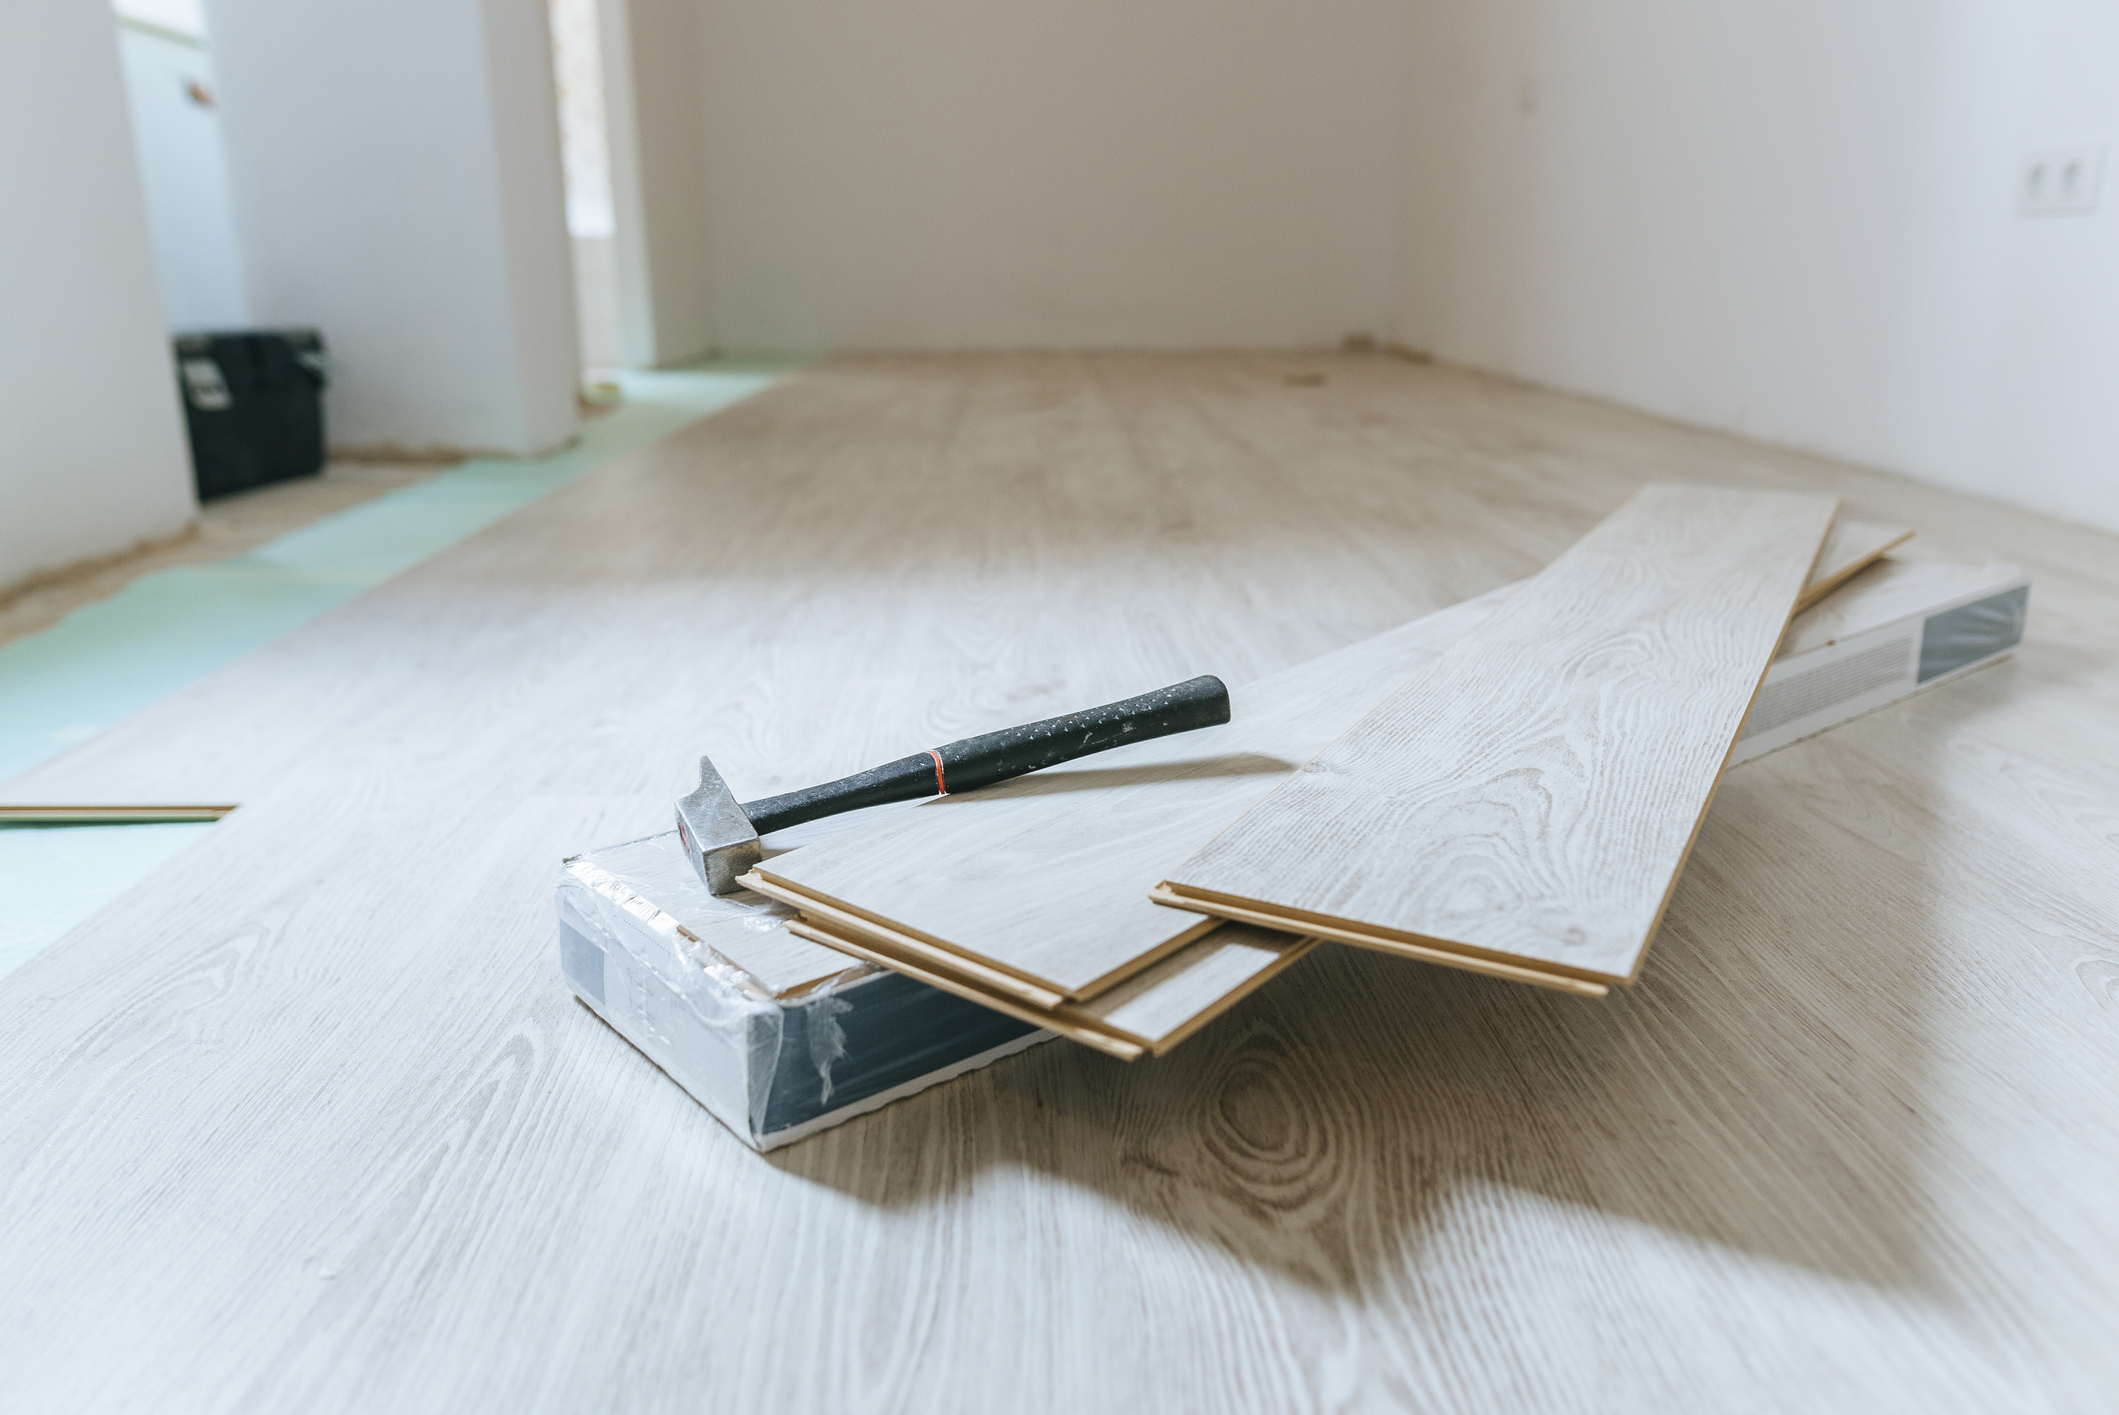

Laminate flooring is now simpler than ever to lay yourself with easy click-lock and rapid fit tongue and groove options out there. So, save some cash and see how to install laminate flooring yourself.
As one of the most popular types of flooring materials around because of its super budget-friendly price – considering how well it holds up in busy (aka children-filled) households – laminate is often the way forward when you need a decent and functional room upgrade.
From why you need underlay to where and how to start laying laminate for the best results, expert renovator Michael Holmes talks us through a simple six-step process. We've included tons of tips from industry experts also to ensure you get that pro finish – whether you're installing laminate flooring in your kitchen, living room or bathroom.
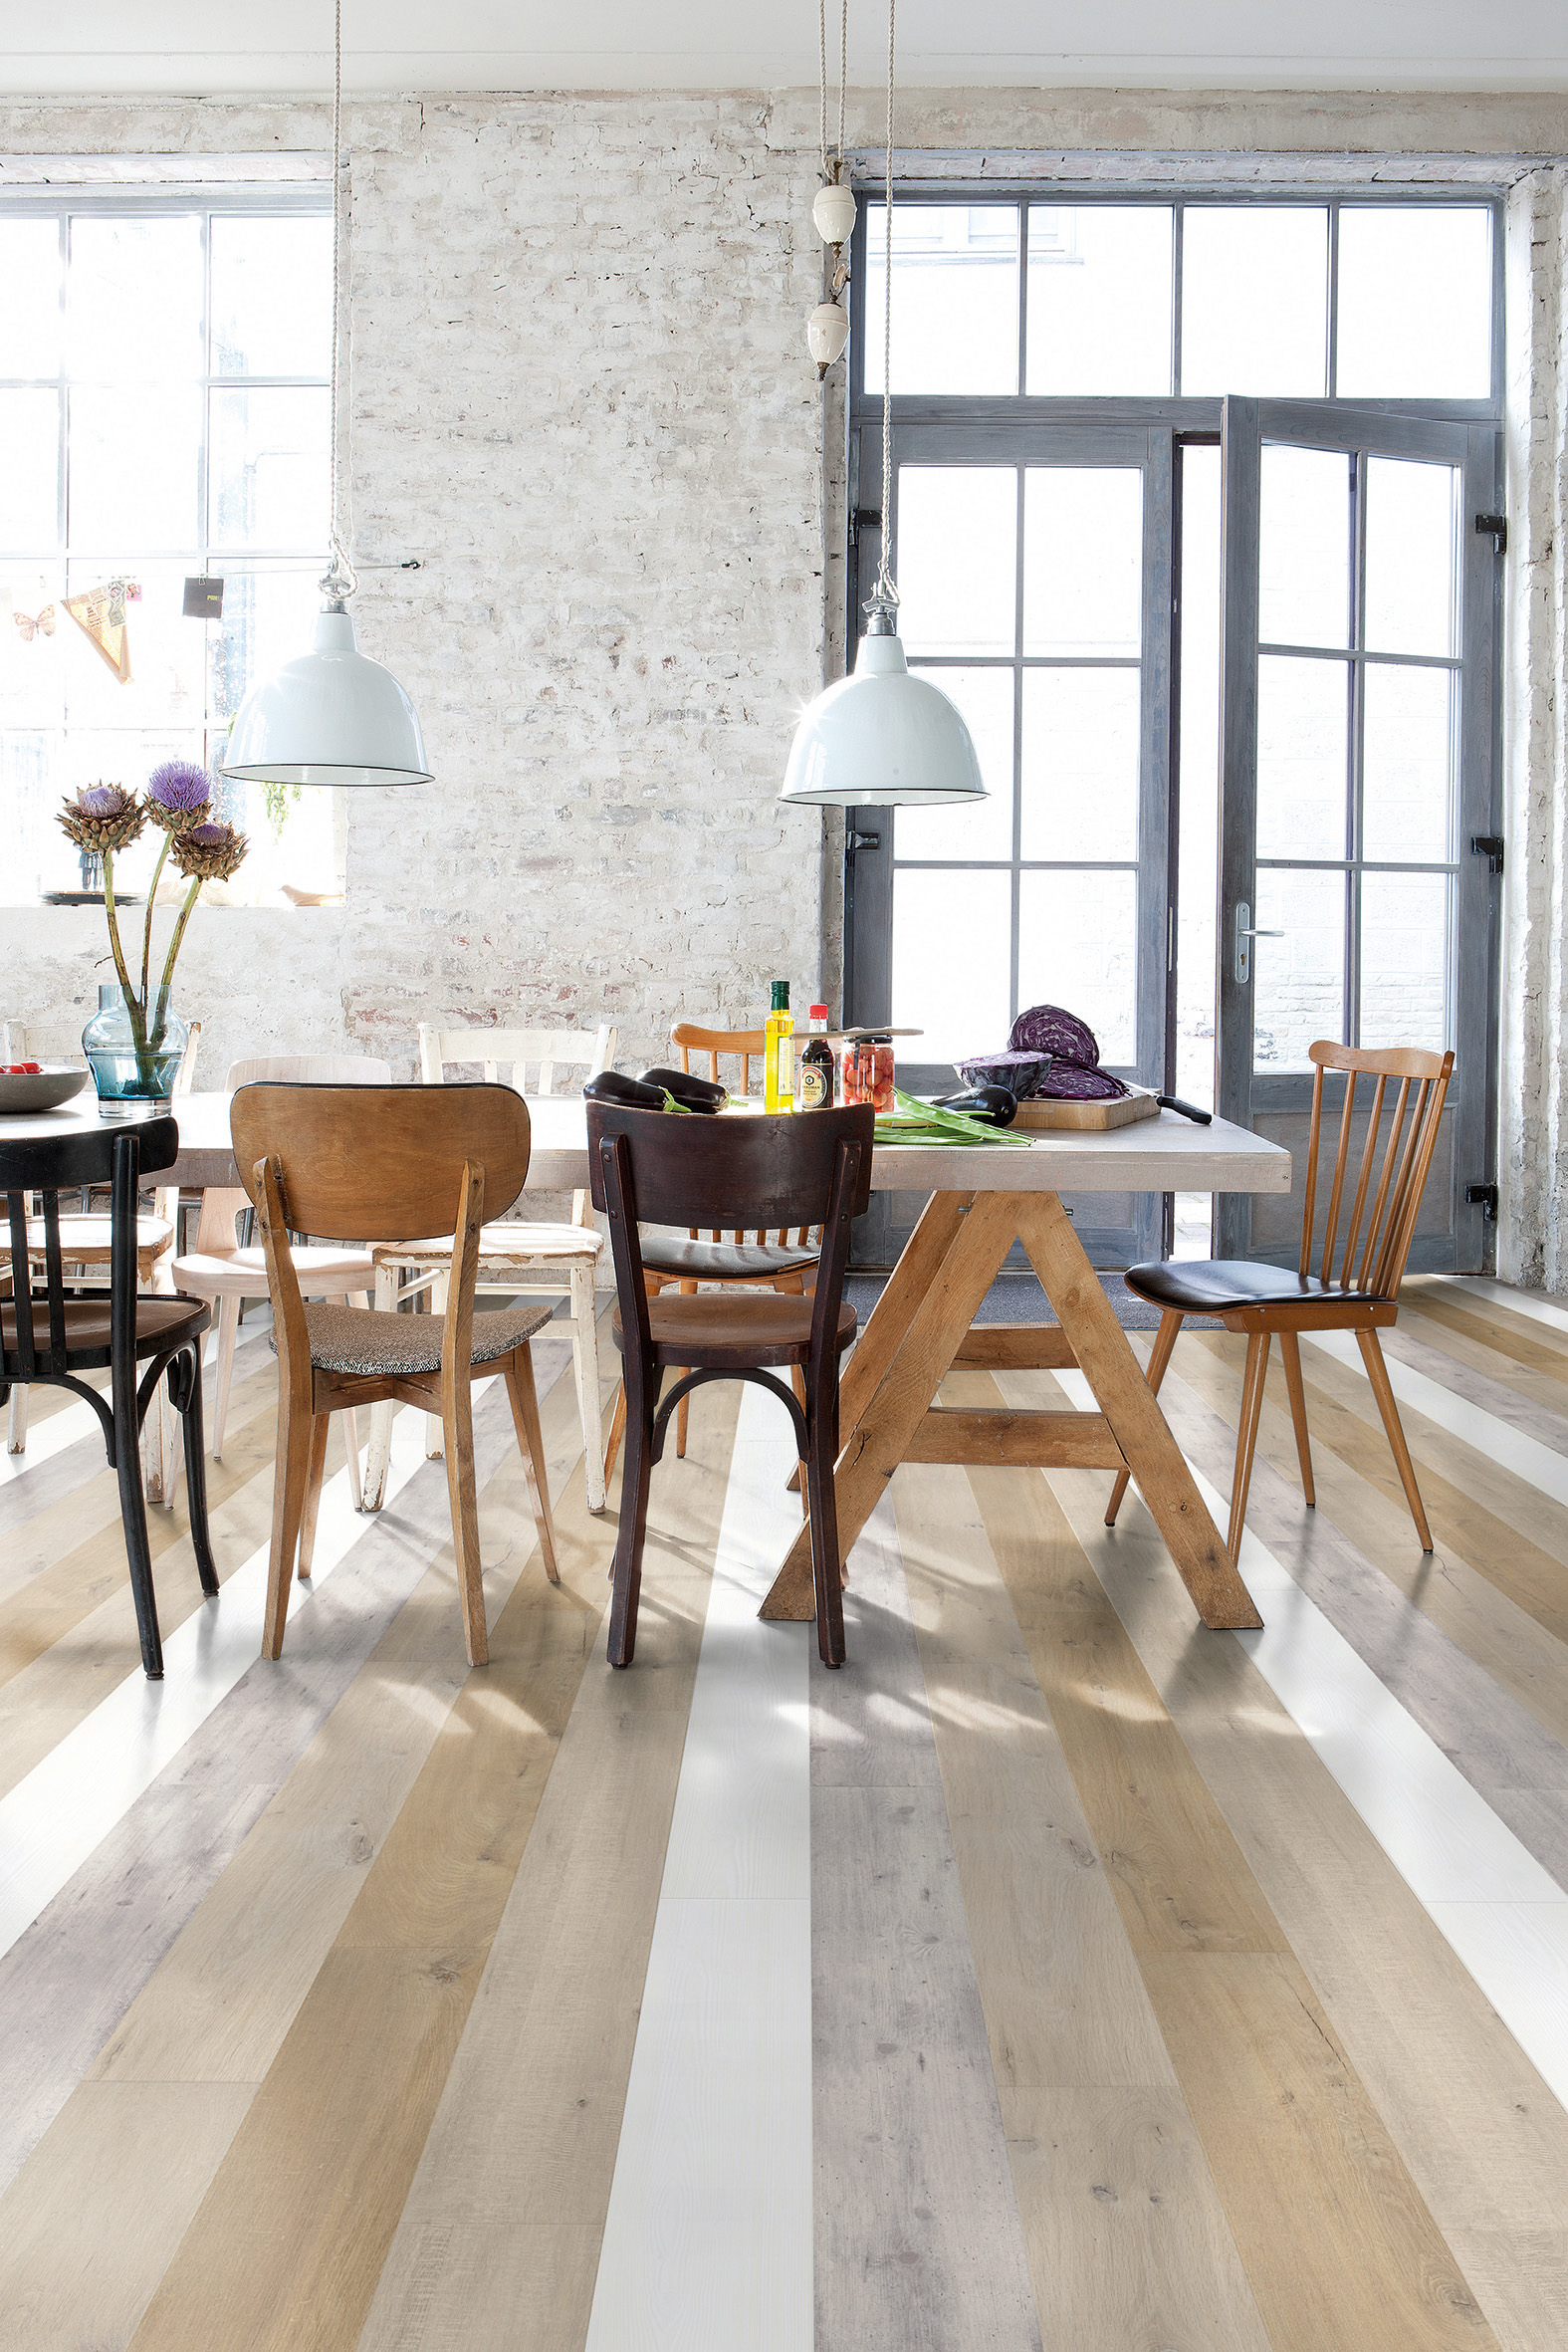
Do you need to put anything under laminate flooring?
It is essential to use underlay, even with the best laminate flooring, as this will provide better insulation and more comfort. We've accounted for 3mm of underlay and you need to ensure that you pick the right product, depending on the type of laminate you're using and the surface which you'll be laying it on.
'An underlayment is required before installing laminate flooring. Some laminate is manufactured with this underlayment attached, allowing this step to be skipped. The underlayment is necessary to help protect the floor against moisture, dampen noise, and insulate.' Recommends Ralph Severson, owner of FlooringMasters.com.
'Without underlay laminate panels are more likely to come apart when receiving a high amount of footfall. Laminate flooring without underlay will also be very loud when walked on, and this sound will cause the whole house to vibrate. If you live in an area with high humidity I'd also recommend adding a vapor barrier between the concrete floor and the underlay (under the underlay, in essence) to prevent damp.' Says Volodymyr Barabakh, Co-founder & Project Director of Fortress Home.
Where do you start when laying laminate flooring?
Ideally, you'll want to reflect how the flooring is laid out in surrounding rooms.
'Which direction you install your flooring will largely depend on personal preference and the flow of your home. Layout several different laminate planks in opposing directions prior to installation to see which direction you like best.' Recommends Jeff Shipwash, renovator and founder of Shipwash Properties LLC. Go with your home's style, 'Determine which direction you want your flooring to go. Sometimes, this is easily determined by the layout or entry way of your home. For example, laminate must be installed horizontally on steps, so if you encounter a set of steps immediately after entering your home, you will need to install your flooring horizontally to the steps.'
'Planks should alway be laid left to right meaning you should start laying down planks in the top right corner of your room.' Adds Barabakh.
'The floor usually runs parallel with the longest walls of the room, but it is possible to direct it however you like. However, this will require much more work. It is always best to lay the first, and last rows of laminate click lock and then work your way back row by row until they are joined.' Adds Severson.
How to install laminate flooring
You will need:
- Hard-edged saw
- Shears for the underlay
- Bradawl
- Hammer
- Door trimmer
Safety: Ensure you wear a dust mask and safety goggles when doing any sanding, sawing or drilling and open windows where possible.
1. Prepare your floor
First, remove any existing skirting/baseboards, or use a door trimmer to cut a slot at the bottom of the skirting to create room for an expansion gap around your new flooring – with a trimmer you’ll only have to remove skirting on the wall where you’ll be fitting the last row of boards.
Doors can be trimmed in situ to avoid having to remove and rehang them. Trim to allow for the depth of the new flooring, plus an 18mm plywood layer, 3mm underlay and 1mm to 2mm tolerance for the slot.
Fit a scotia trim strip at the end if you don’t want to trim and remove skirting/baseboards.
Are you laying over a timber floor?
If laying over a timber floor, fix down all boards and countersink nail heads. Replace damaged or missing boards and fill major gaps before laying the laminate. It’s worth sanding the floor level, using coarse grade sandpaper. If there are small changes in level between rooms, build them up to level; or have a seam and cover with a matching threshold strip where the rooms join.
Are you laying over a concrete floor?
If laying over a concrete floor, you need to grind it down to remove bumps or high points, or build up dips using a self-levelling latex screed. It’s worth fixing a layer of 18mm plywood, glued and nailed down (use masonry nails for concrete). Fit a plastic damp-proof course over any concrete screed beneath the plywood. Choose which way you want the boards to run, usually in the direction the light shines into the room or that of the longest wall. It will take a day to prepare and level the floor plus a day to lay the laminate flooring in an average size living room.
2. Set the boards out
Set the boards out before laying to avoid narrow cuts at doorways. Make sure the threshold between different floor finishes (e.g. laminate and carpet) is directly beneath the door, so you can only see one floor finish in each room when the door is closed.
Lay from left to right, with the tongue facing the wall. Start in the left corner of the wall – usually where the door is. Or, you can start with a prominently visible board in the centre and work outward if your room isn't square. Use offcuts to start the next row to stagger the joints.
'You need to start out correctly in order to finish correctly! Once you have determined which direction you want to run the flooring in, begin by ripping down one side of several pieces in order to create a straight edge.' Says Shipwash.
3. Tackling corners and difficult spaces
For a neat finish around radiator pipes, clamp two boards end on end on a piece of scrap timber and mark the pipe position centred on the join. Then drill out, leaving room for expansion, about 8-12 mm around the edges which will help avoid any warping or delaminating. Separate and lay around the pipe.
4. Lay your laminate
Laying laminate or engineered wood flooring with tongue-and-groove edges involves much the same process, with the boards laid over a felt underlay as a floating floor, fixed only to each other (either glued or using a clip fix system). Cheaper boards are only 7-10mm thick, so the key to a good finish is a level and solid substrate, otherwise the edges won’t fit flush.
'You will not need the locking tongue on your starting row that will be against the wall.' Says Shipwash, noting that spacers are also critical around the walls. 'Laminate flooring expands and you need to make sure you are providing adequate room for the flooring to expand. Most manufacturers recommend at least 3/8". For your second row, start with a piece that has already been cut. This breaks up the joints, giving the flooring a more appealing look.'
5. Fitting the last row
Fit the last row (which will be tight against the wall) as one piece by joining the planks’ short end to end and then sliding them into place, starting at a 45° angle.
6. Seal any gaps
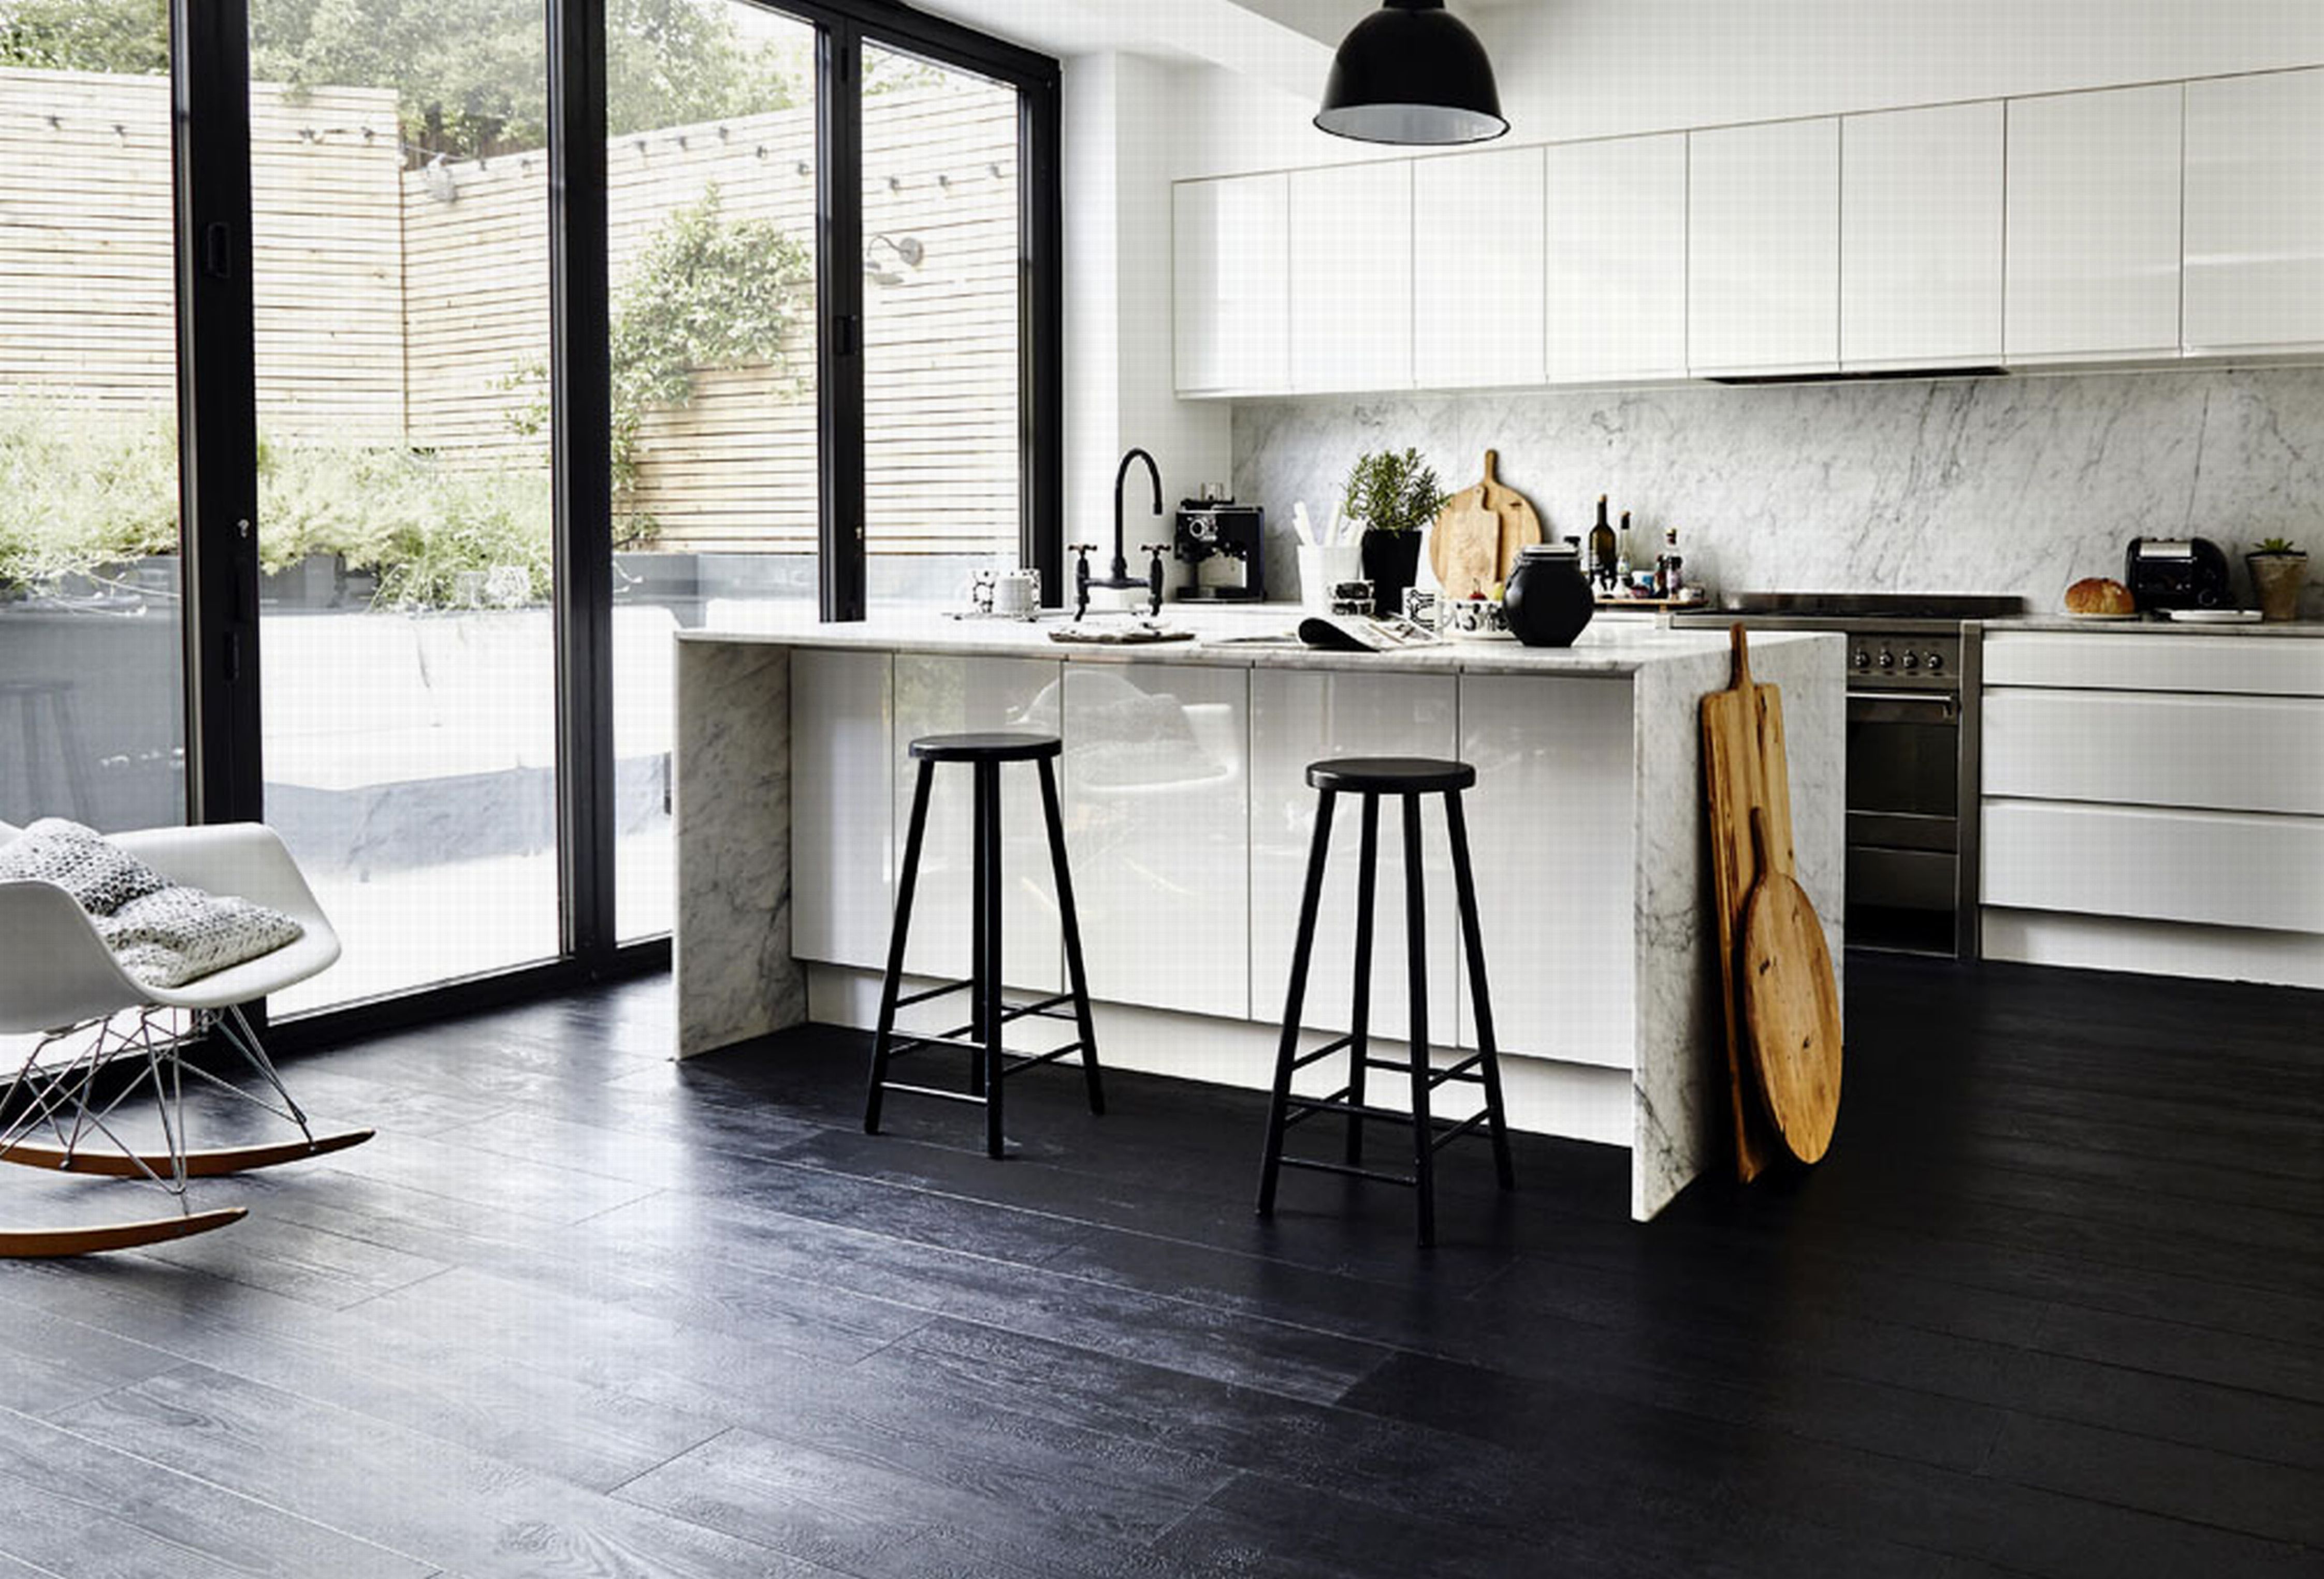
Shipwash also recommends.'Once you have installed all of your flooring, use a sealant around the edges next to the wall to provide a waterproof seal. If you have existing baseboards, I recommend installing quarter-round trim to cover any gaps between the flooring and baseboards in order to create a uniform look. If you are installing baseboard after the installation of the floor, this step may not be necessary.'
Expert tips for beginners installing laminate
Total novice? Do not fear, here are some more top tips from the pros:
Take the simplest route: 'If this is your first time installing laminate flooring, I always recommend purchasing laminate flooring that is click-lock, and has the underlayment already installed to the planks. If you purchase flooring that does not have an underlayment, you must first purchase the padding separately, and install prior to laying your floor.' Adds Shipwash.
Prepare the room: Andrew Barker, Founder of Homeowner costs says 'You can install laminate floors anytime you want. However, you have to prepare the floor where you will install the material 48 hours before the process because you should adjust to the temperature and humidity of the room. You should clean the floor first before anything else. Lay down the moisture barrier and padding before placing the actual laminate boards. These extra protection will give you a more pro looking work.'
Have all your tools: 'Ensure you have the appropriate tools prior to starting your project. I recommend having the following at a minimum: Jigsaw, oscillating saw, tape measure, caulk gun, level, hammer with rubber head, spacers, manufacturer's suggested glue/sealant.' Says Shipwash.
Join our newsletter
Get small space home decor ideas, celeb inspiration, DIY tips and more, straight to your inbox!
Michael is Director of Content & Product Development for Future Homes. Prior to this he was Editor in Chief of Real Homes magazine, Period Living and Homebuilding & Renovating and he also served as Editor of Homebuiling & Renovating for several years. As well as being an expert in renovation, having presented multiple property TV shows and authoring Renovating for Profit (Ebury, 2008), Michael has a personal and professional interest in self build and helps others achieve their dreams of building a unique home. He is also Deputy Chair of NaCSBA and has campaigned for the self-build sector for many years, regularly sitting with government parties to advise on the industry.
-
 This colourful home makeover has space for kitchen discos
While the front of Leila and Joe's home features dark and moody chill-out spaces, the rest is light and bright and made for socialising
By Karen Wilson Published
-
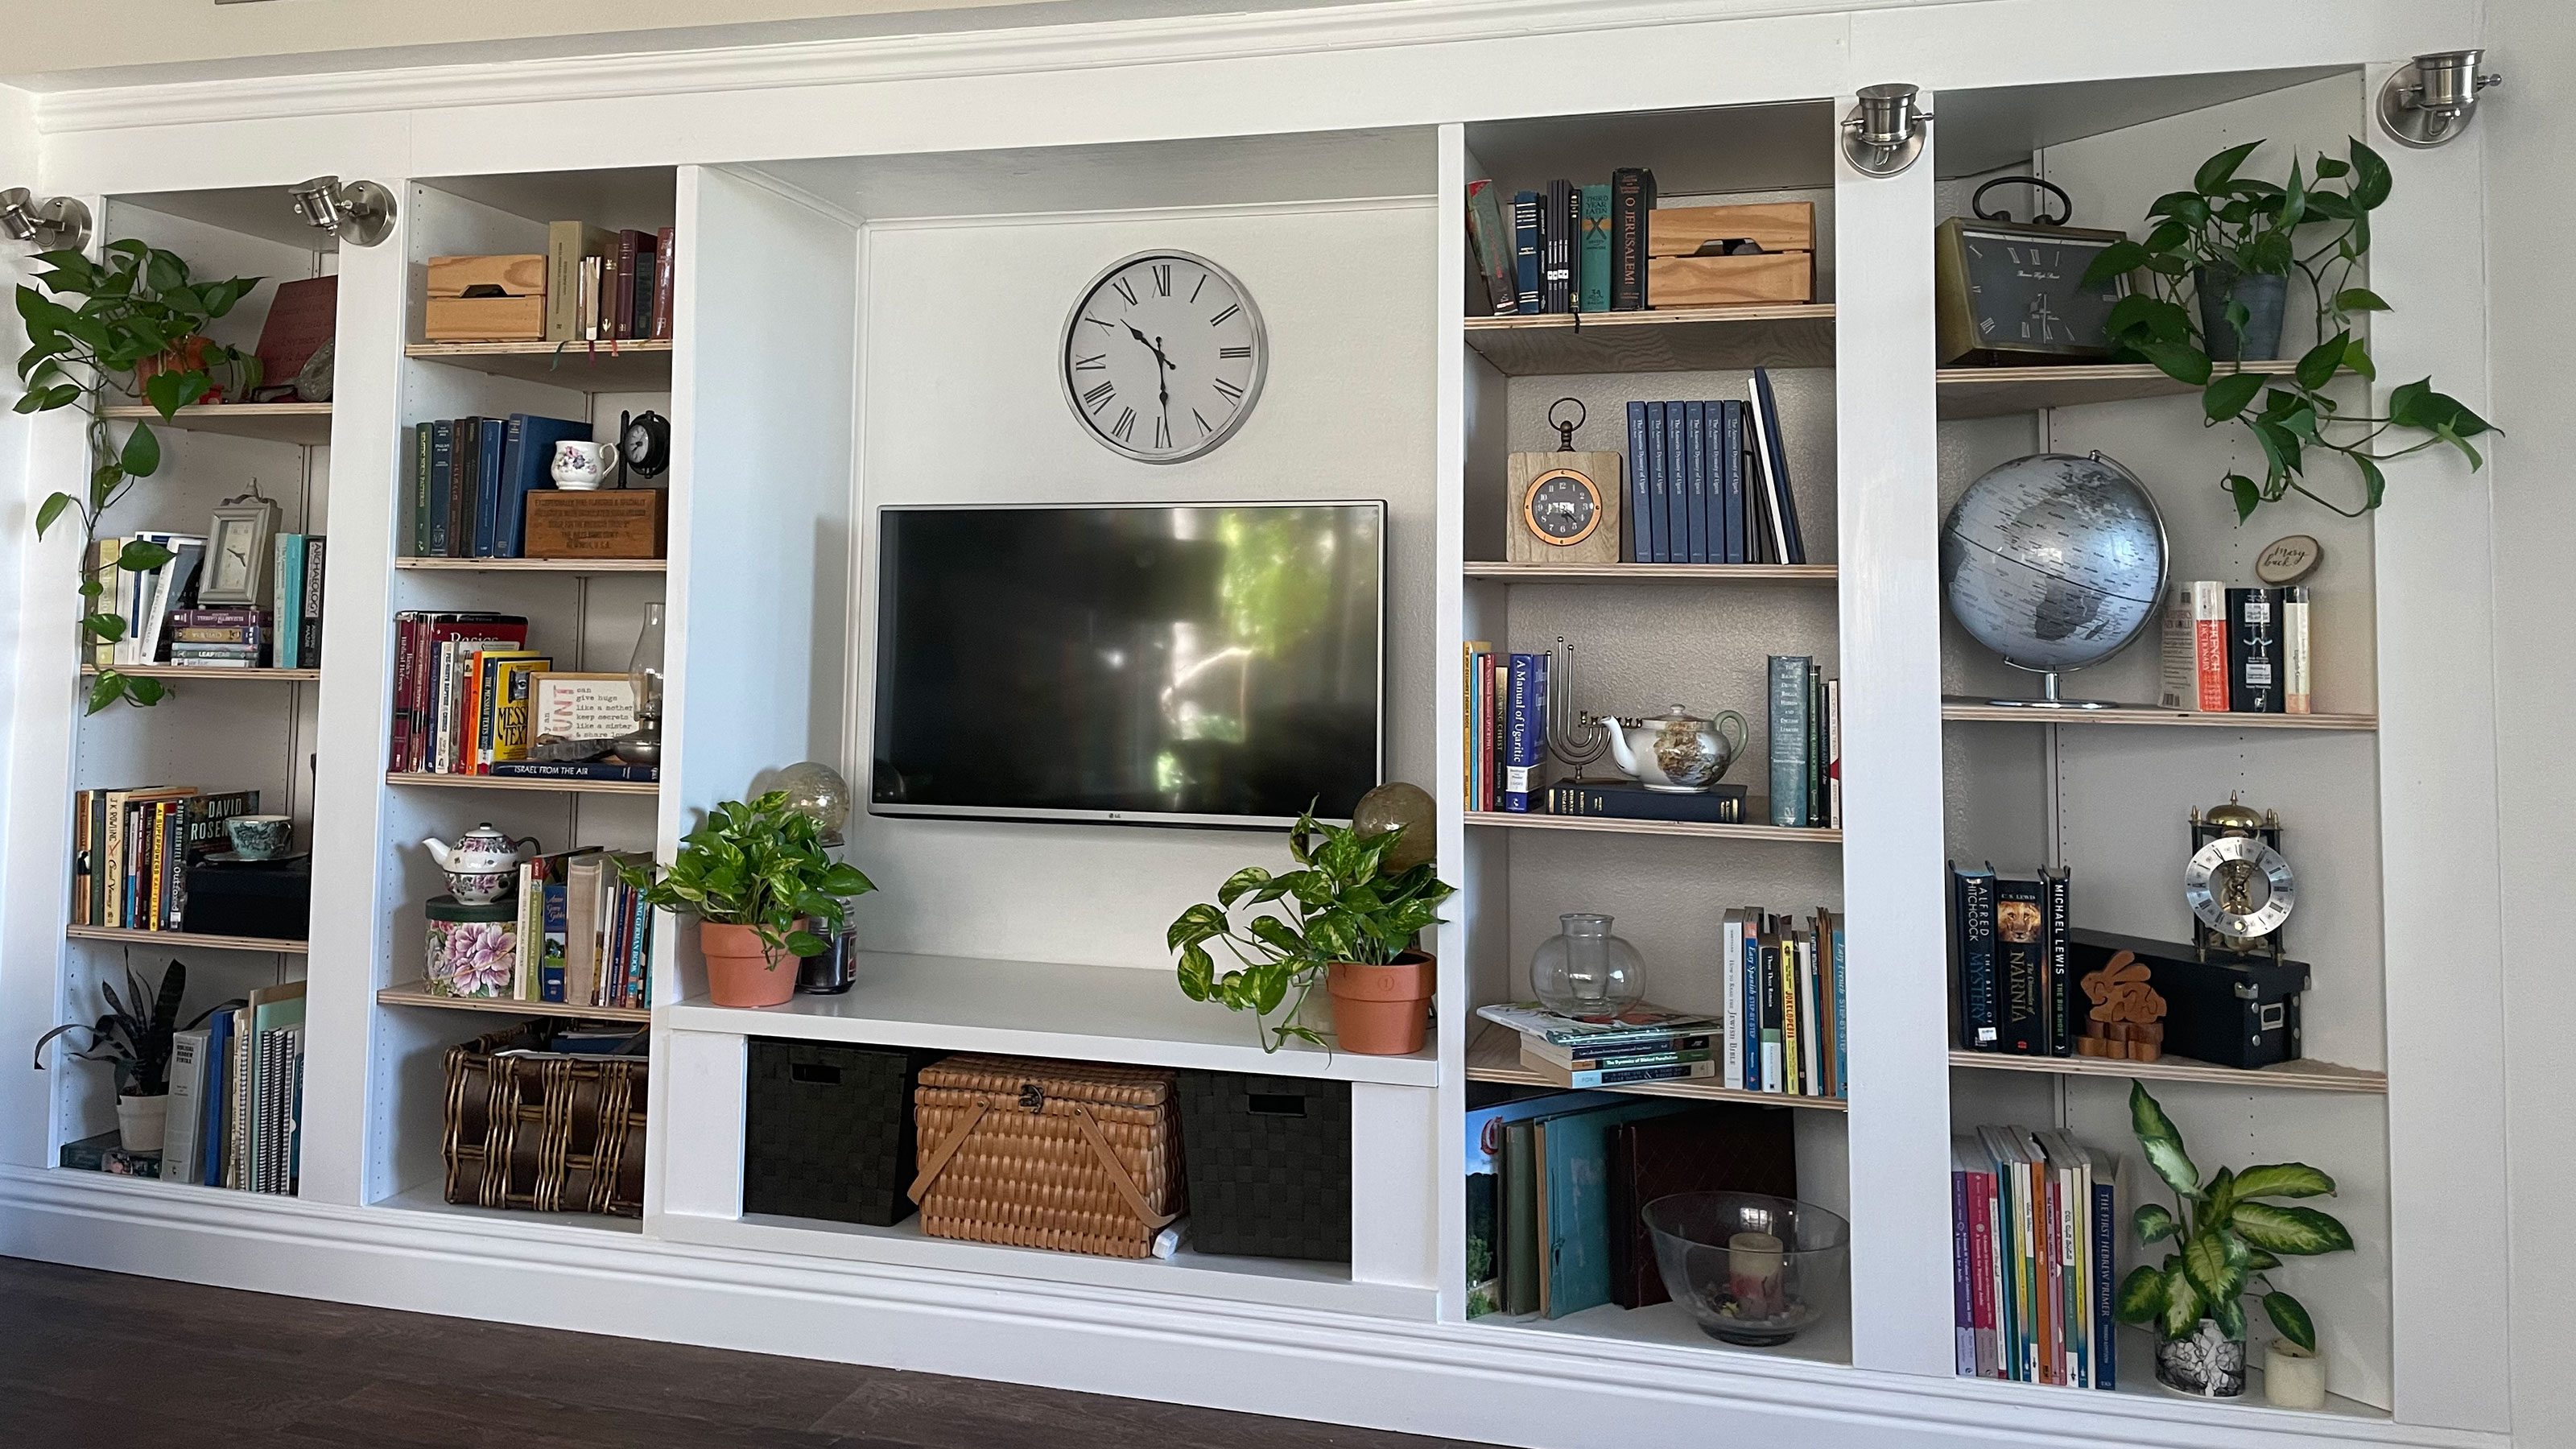 An IKEA Billy bookcase hack inspired this cute media wall DIY
This cute DIY was inspired by an IKEA Billy bookcase hack and brought a ton of symmetry to an otherwise basic media wall space.
By Camille Dubuis-Welch Published
-
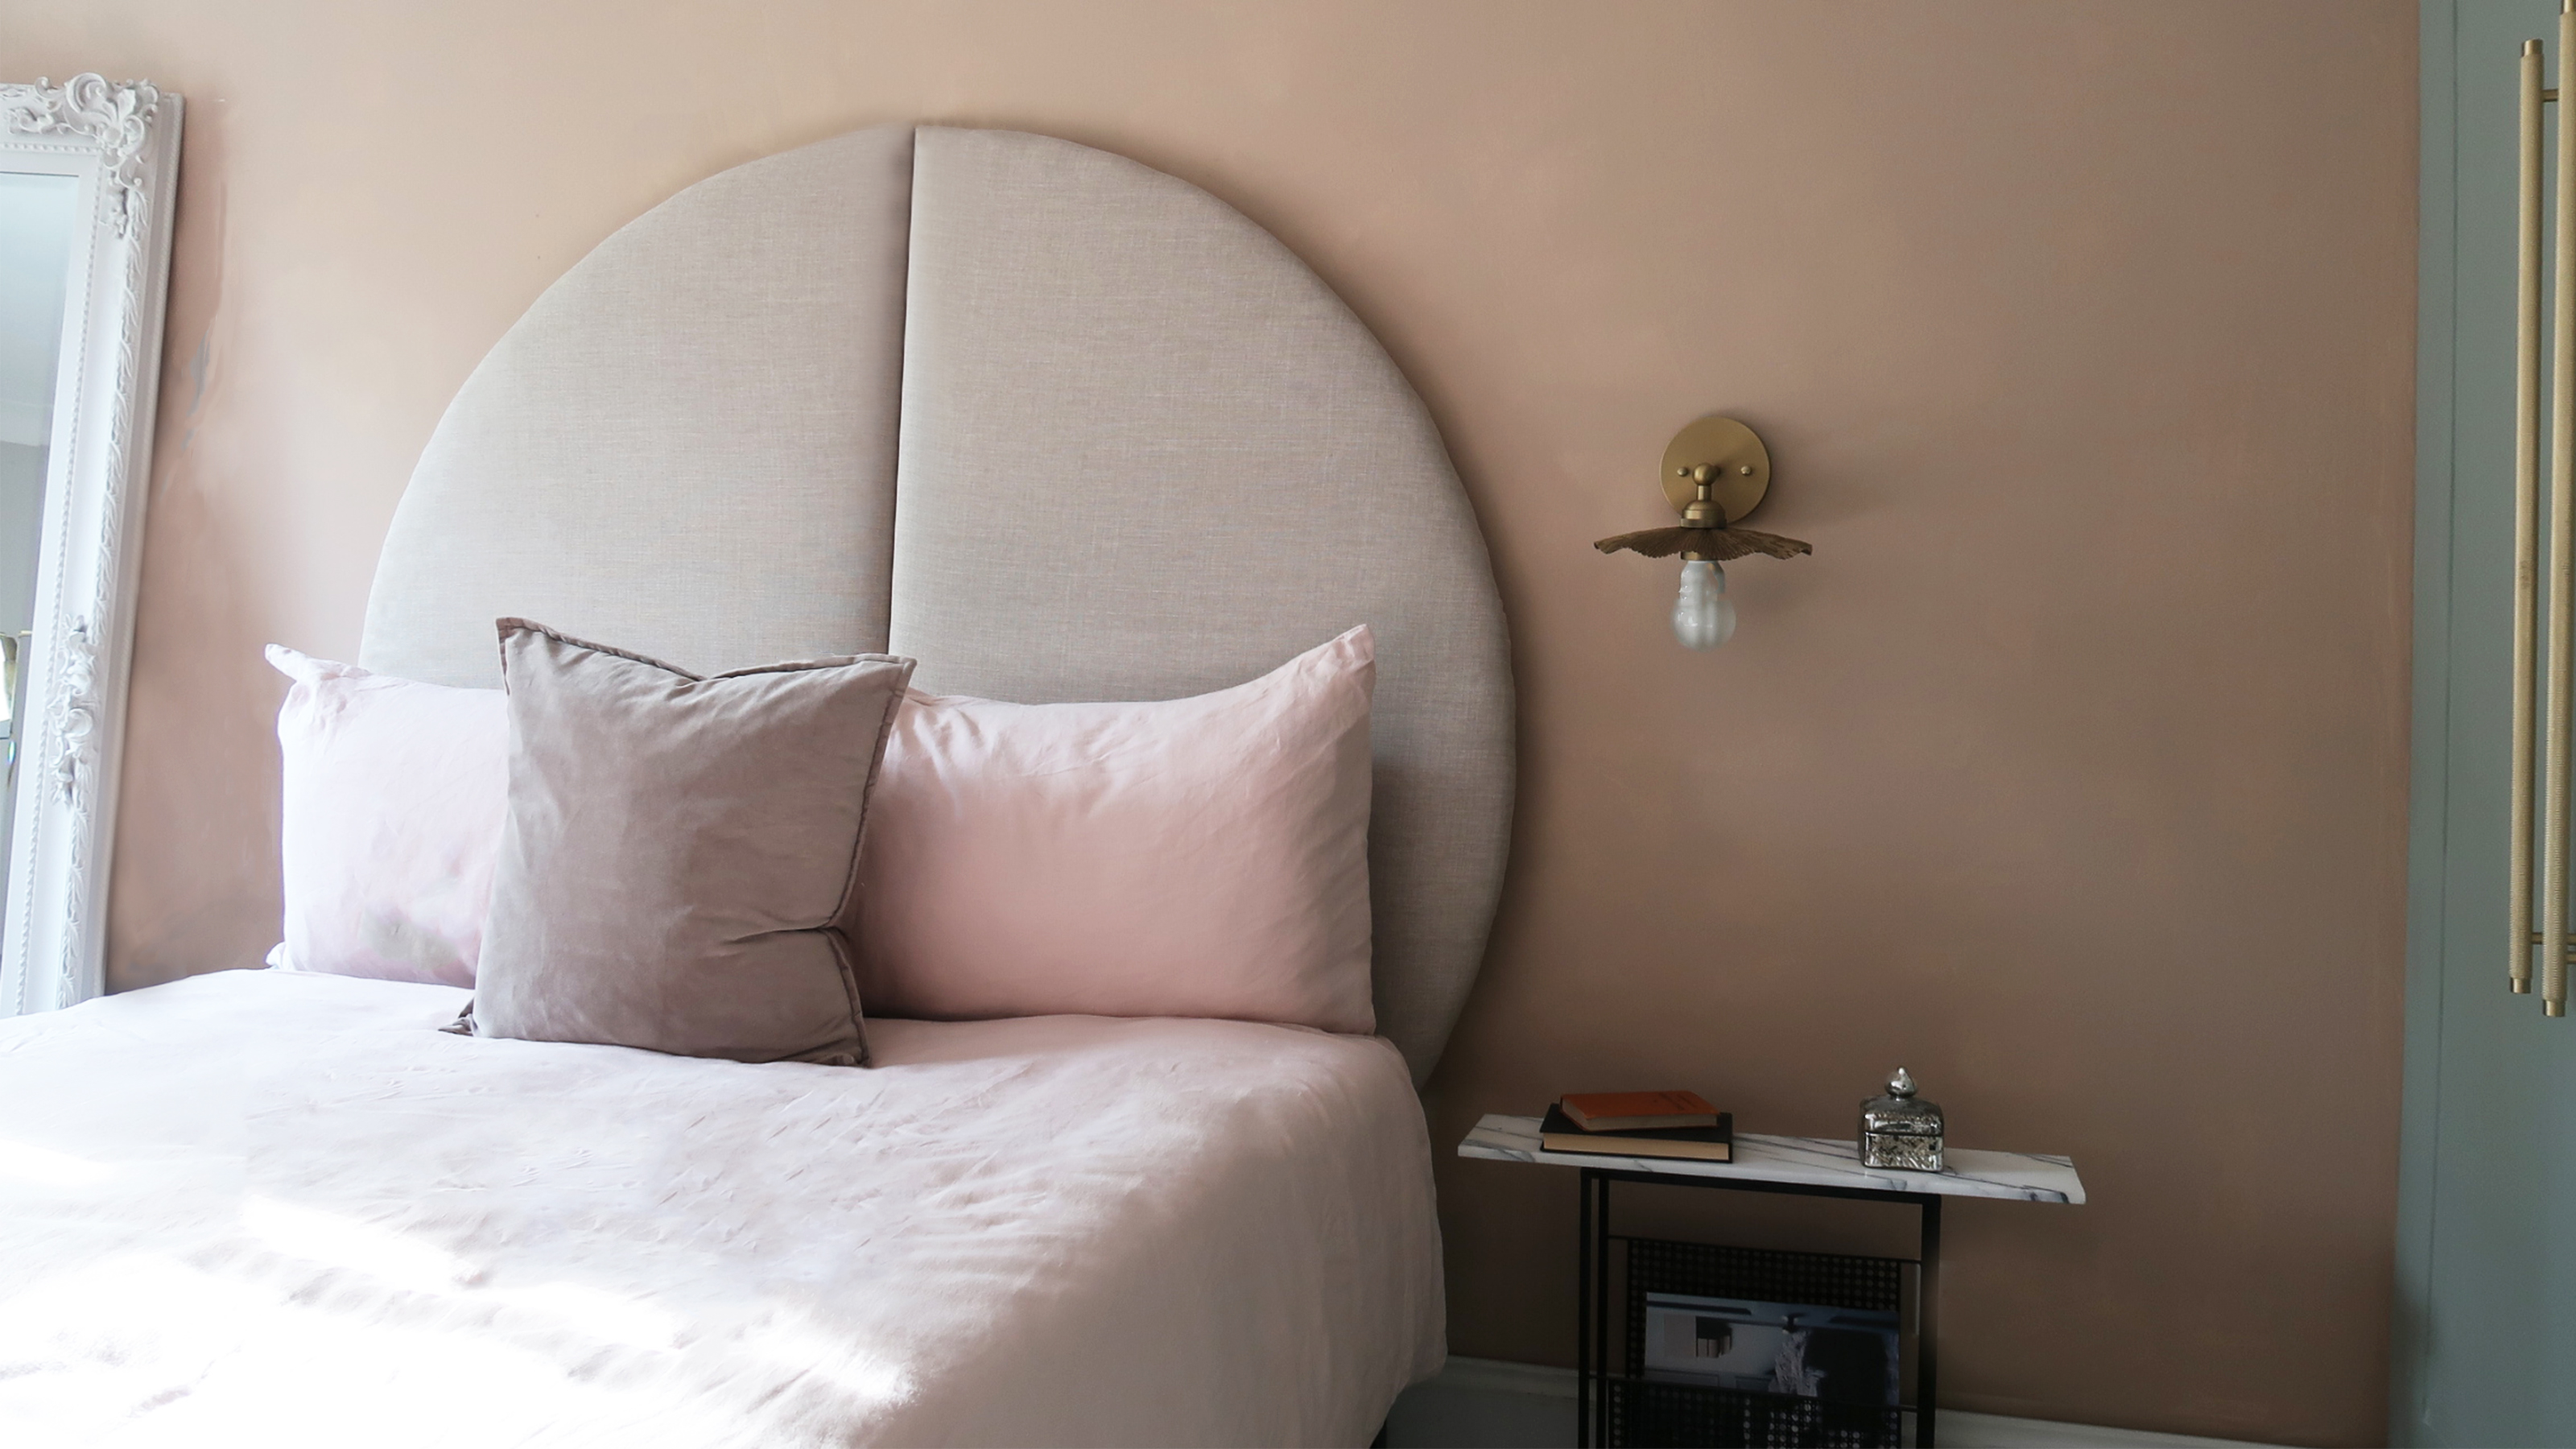 This oversized headboard looks designer, and takes 5 steps to DIY
Super simple to DIY, this oversized headboard will give your bedroom space all the designer vibes you could dream of.
By Claire Douglas Published
-
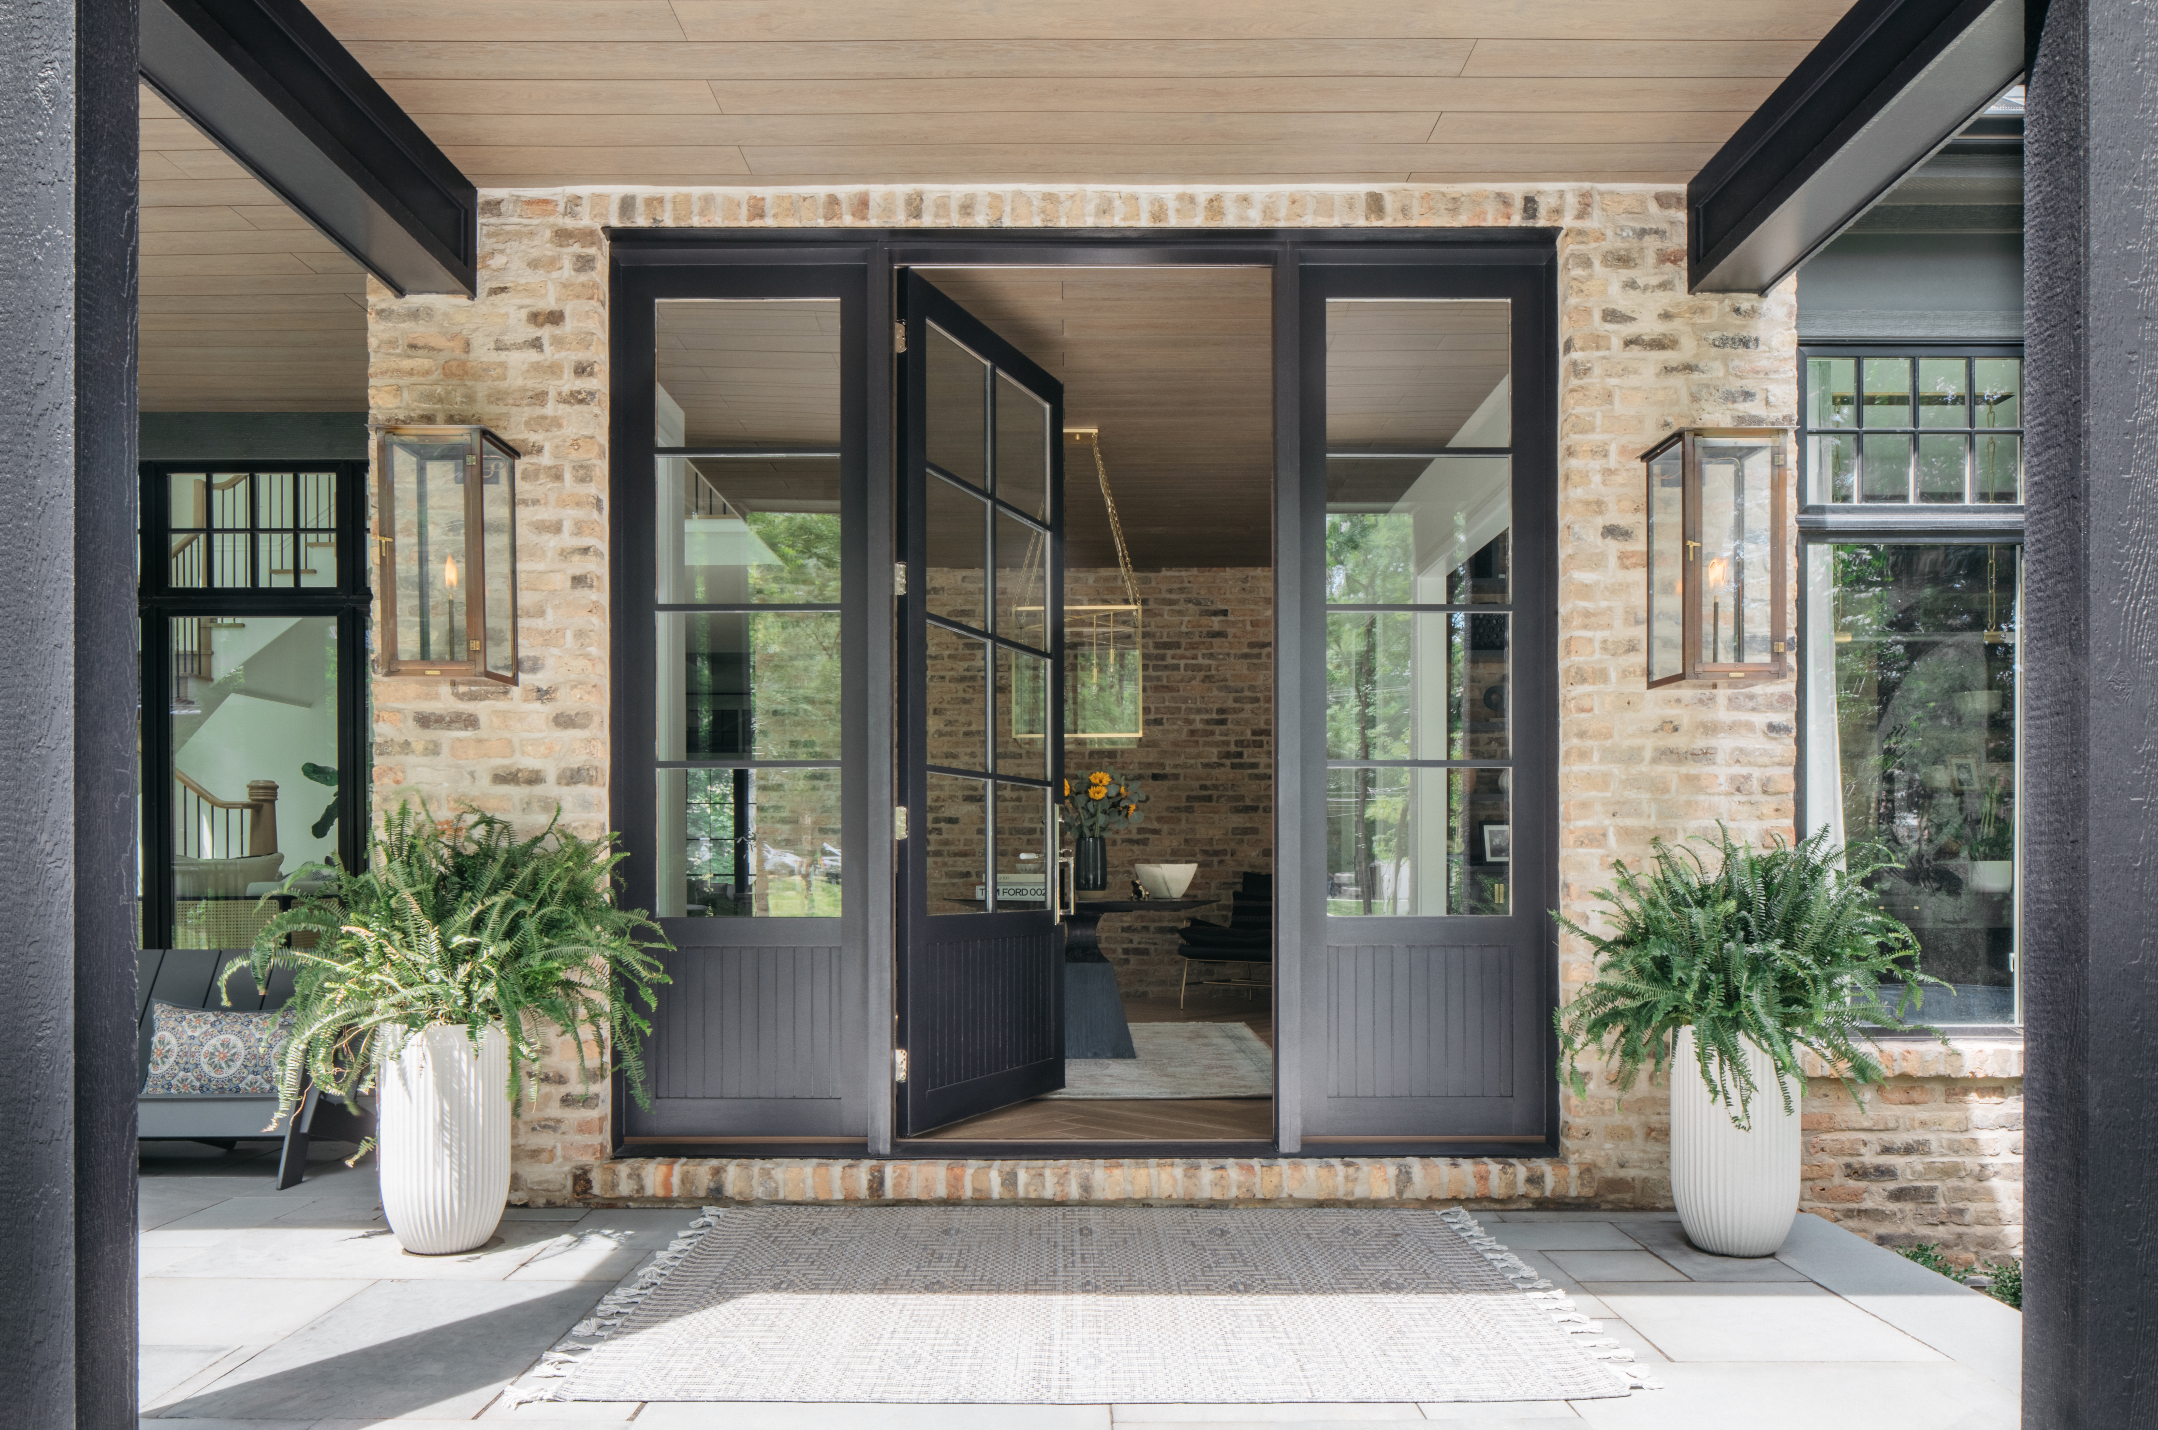 How to paint a door and refresh your home instantly
Painting doors is easy with our expert advice. This is how to get professional results on front and internal doors.
By Claire Douglas Published
-
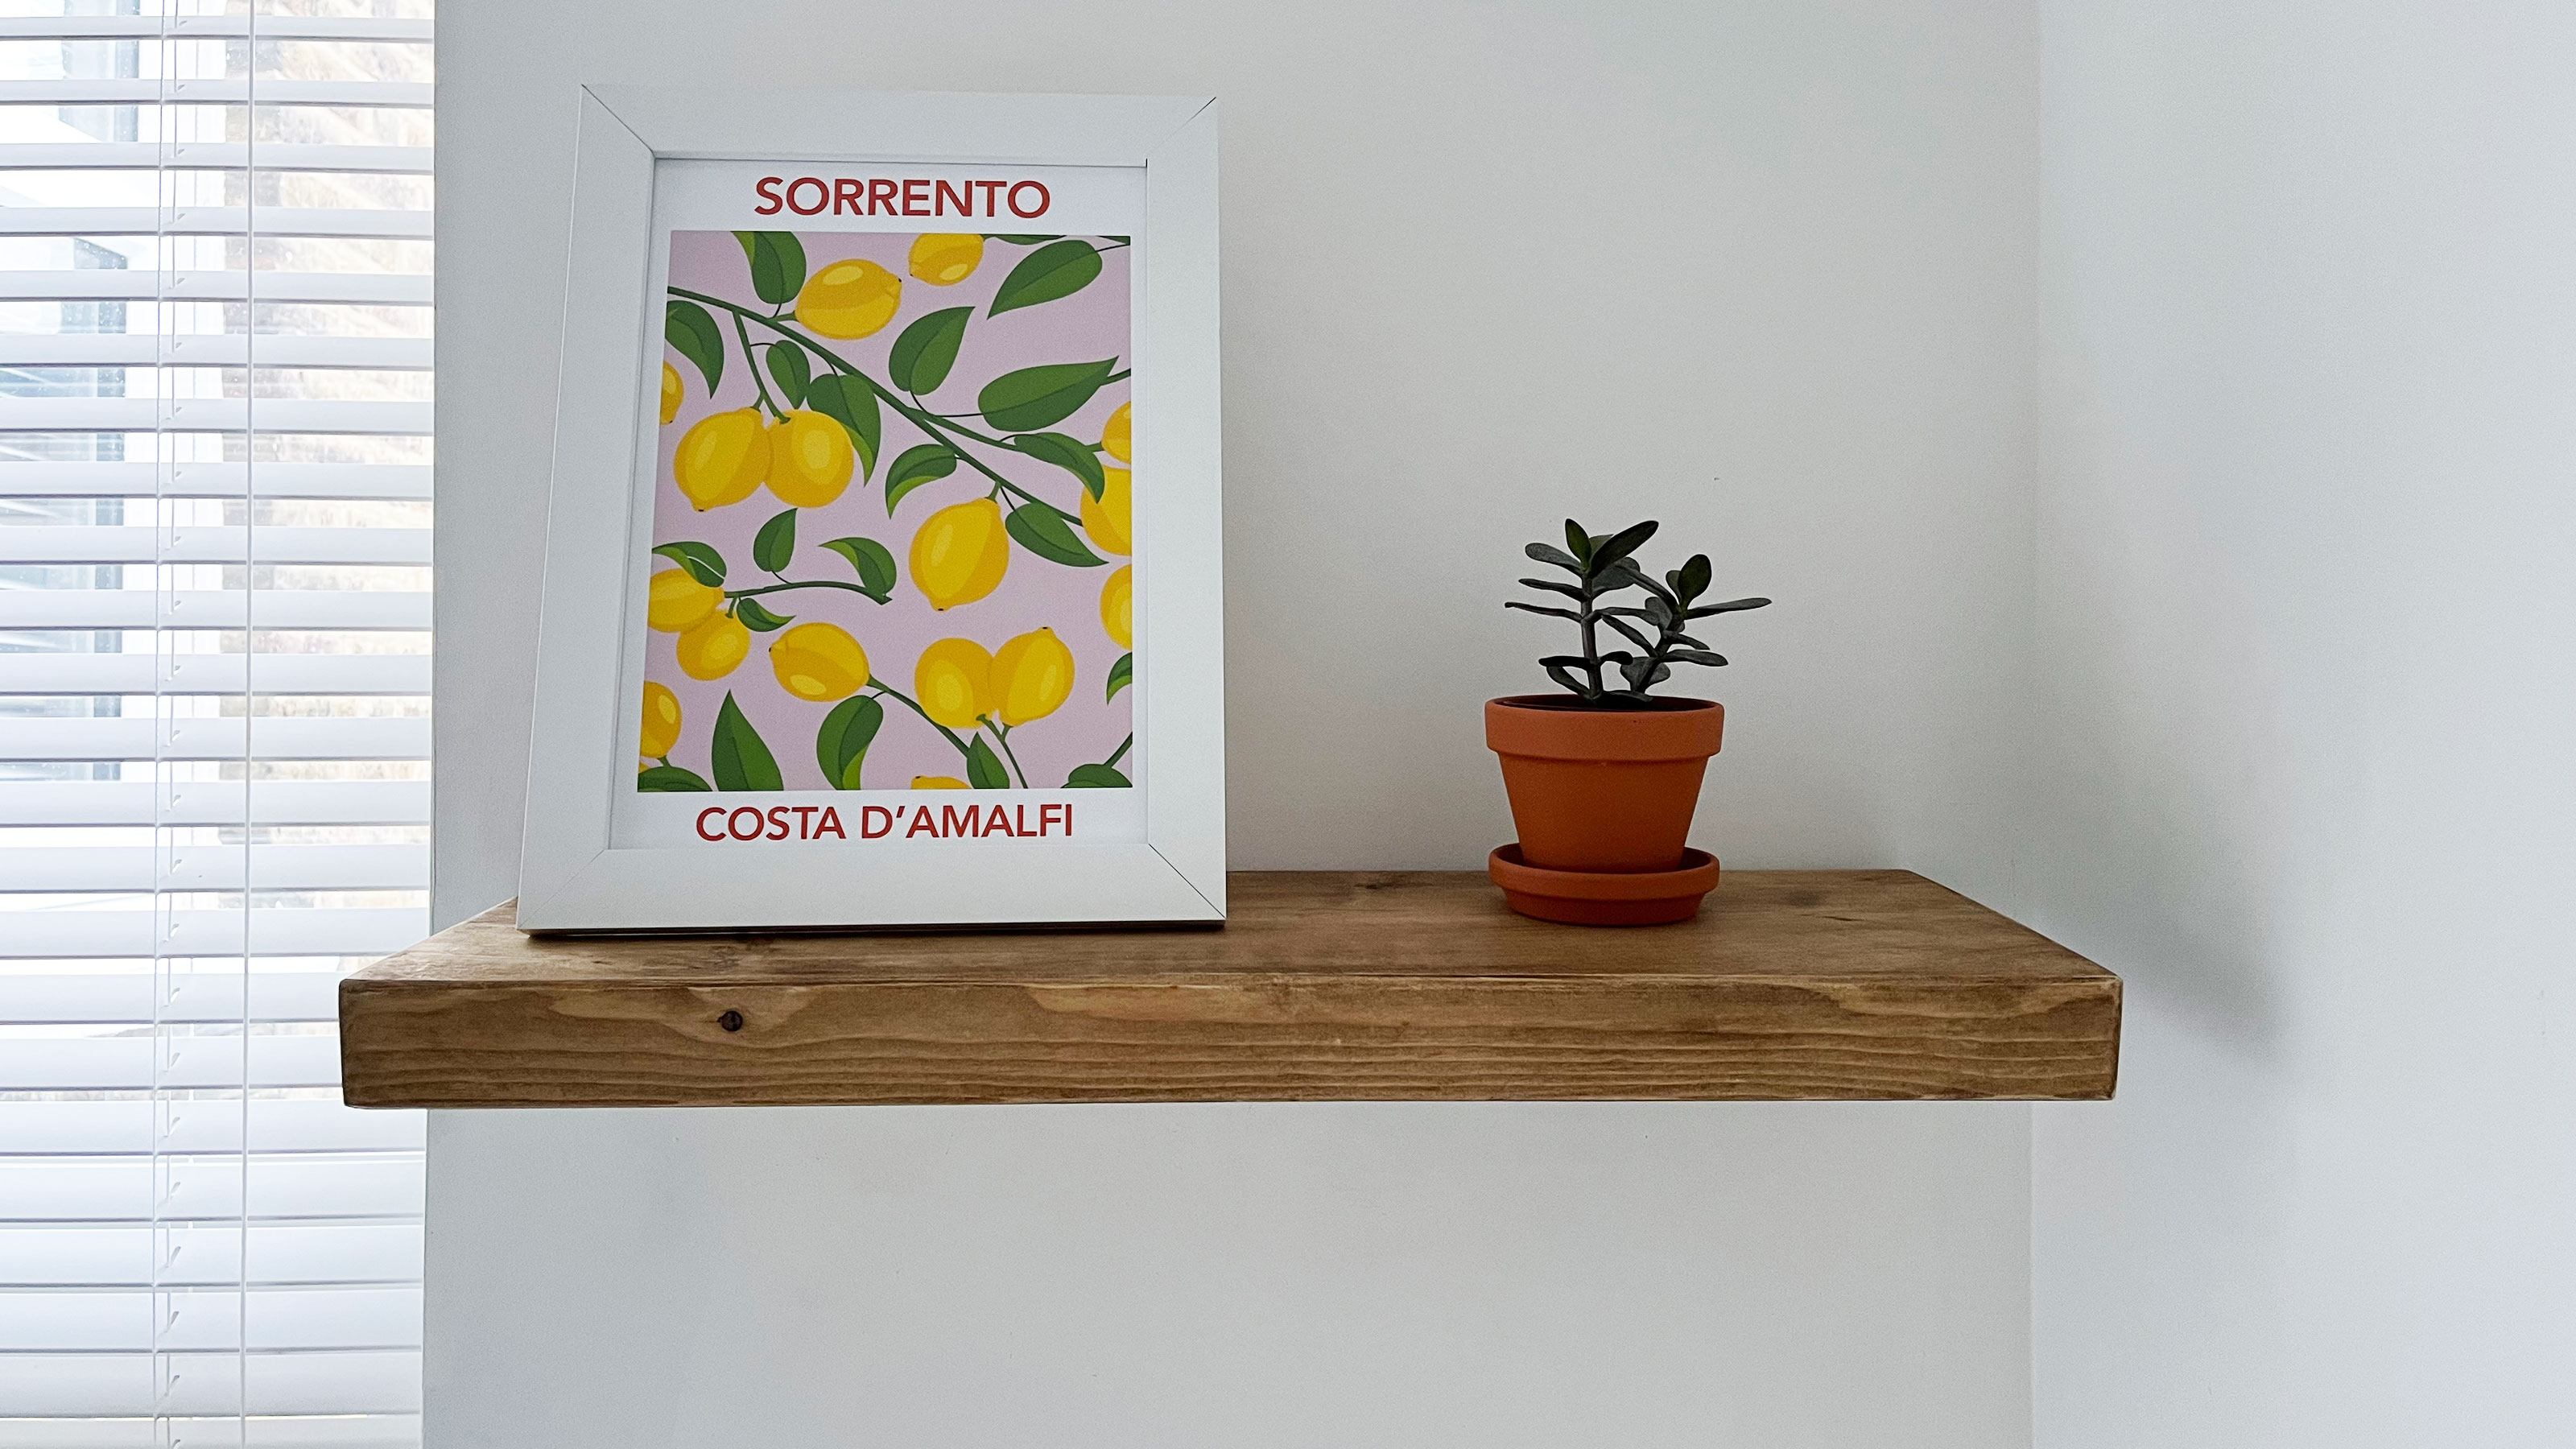 How to install and style a floating shelf
Installing a floating shelf can add instant design interest to your home. Dress yours with artwork, houseplants, and books for the perfect finish.
By Camille Dubuis-Welch Last updated
-
 DIY transforms 1930s house into dream home
With several renovations behind them, Mary and Paul had creative expertise to draw on when it came to transforming their 1930s house
By Alison Jones Published
-
 How to tile a backsplash: a DIY guide for beginners
Knowing how to tile a backsplash will make a big difference to the look and function of your kitchen. DIY to save on the cost of calling in a professional.
By Emily Shaw Published
-
 Get free tickets to the London Homebuilding & Renovating Show at the ExCeL
Get FREE tickets worth £36* to the London Homebuilding & Renovating Show, ExCeL, 30 September - 2 October 2022.
By Camille Dubuis-Welch Published