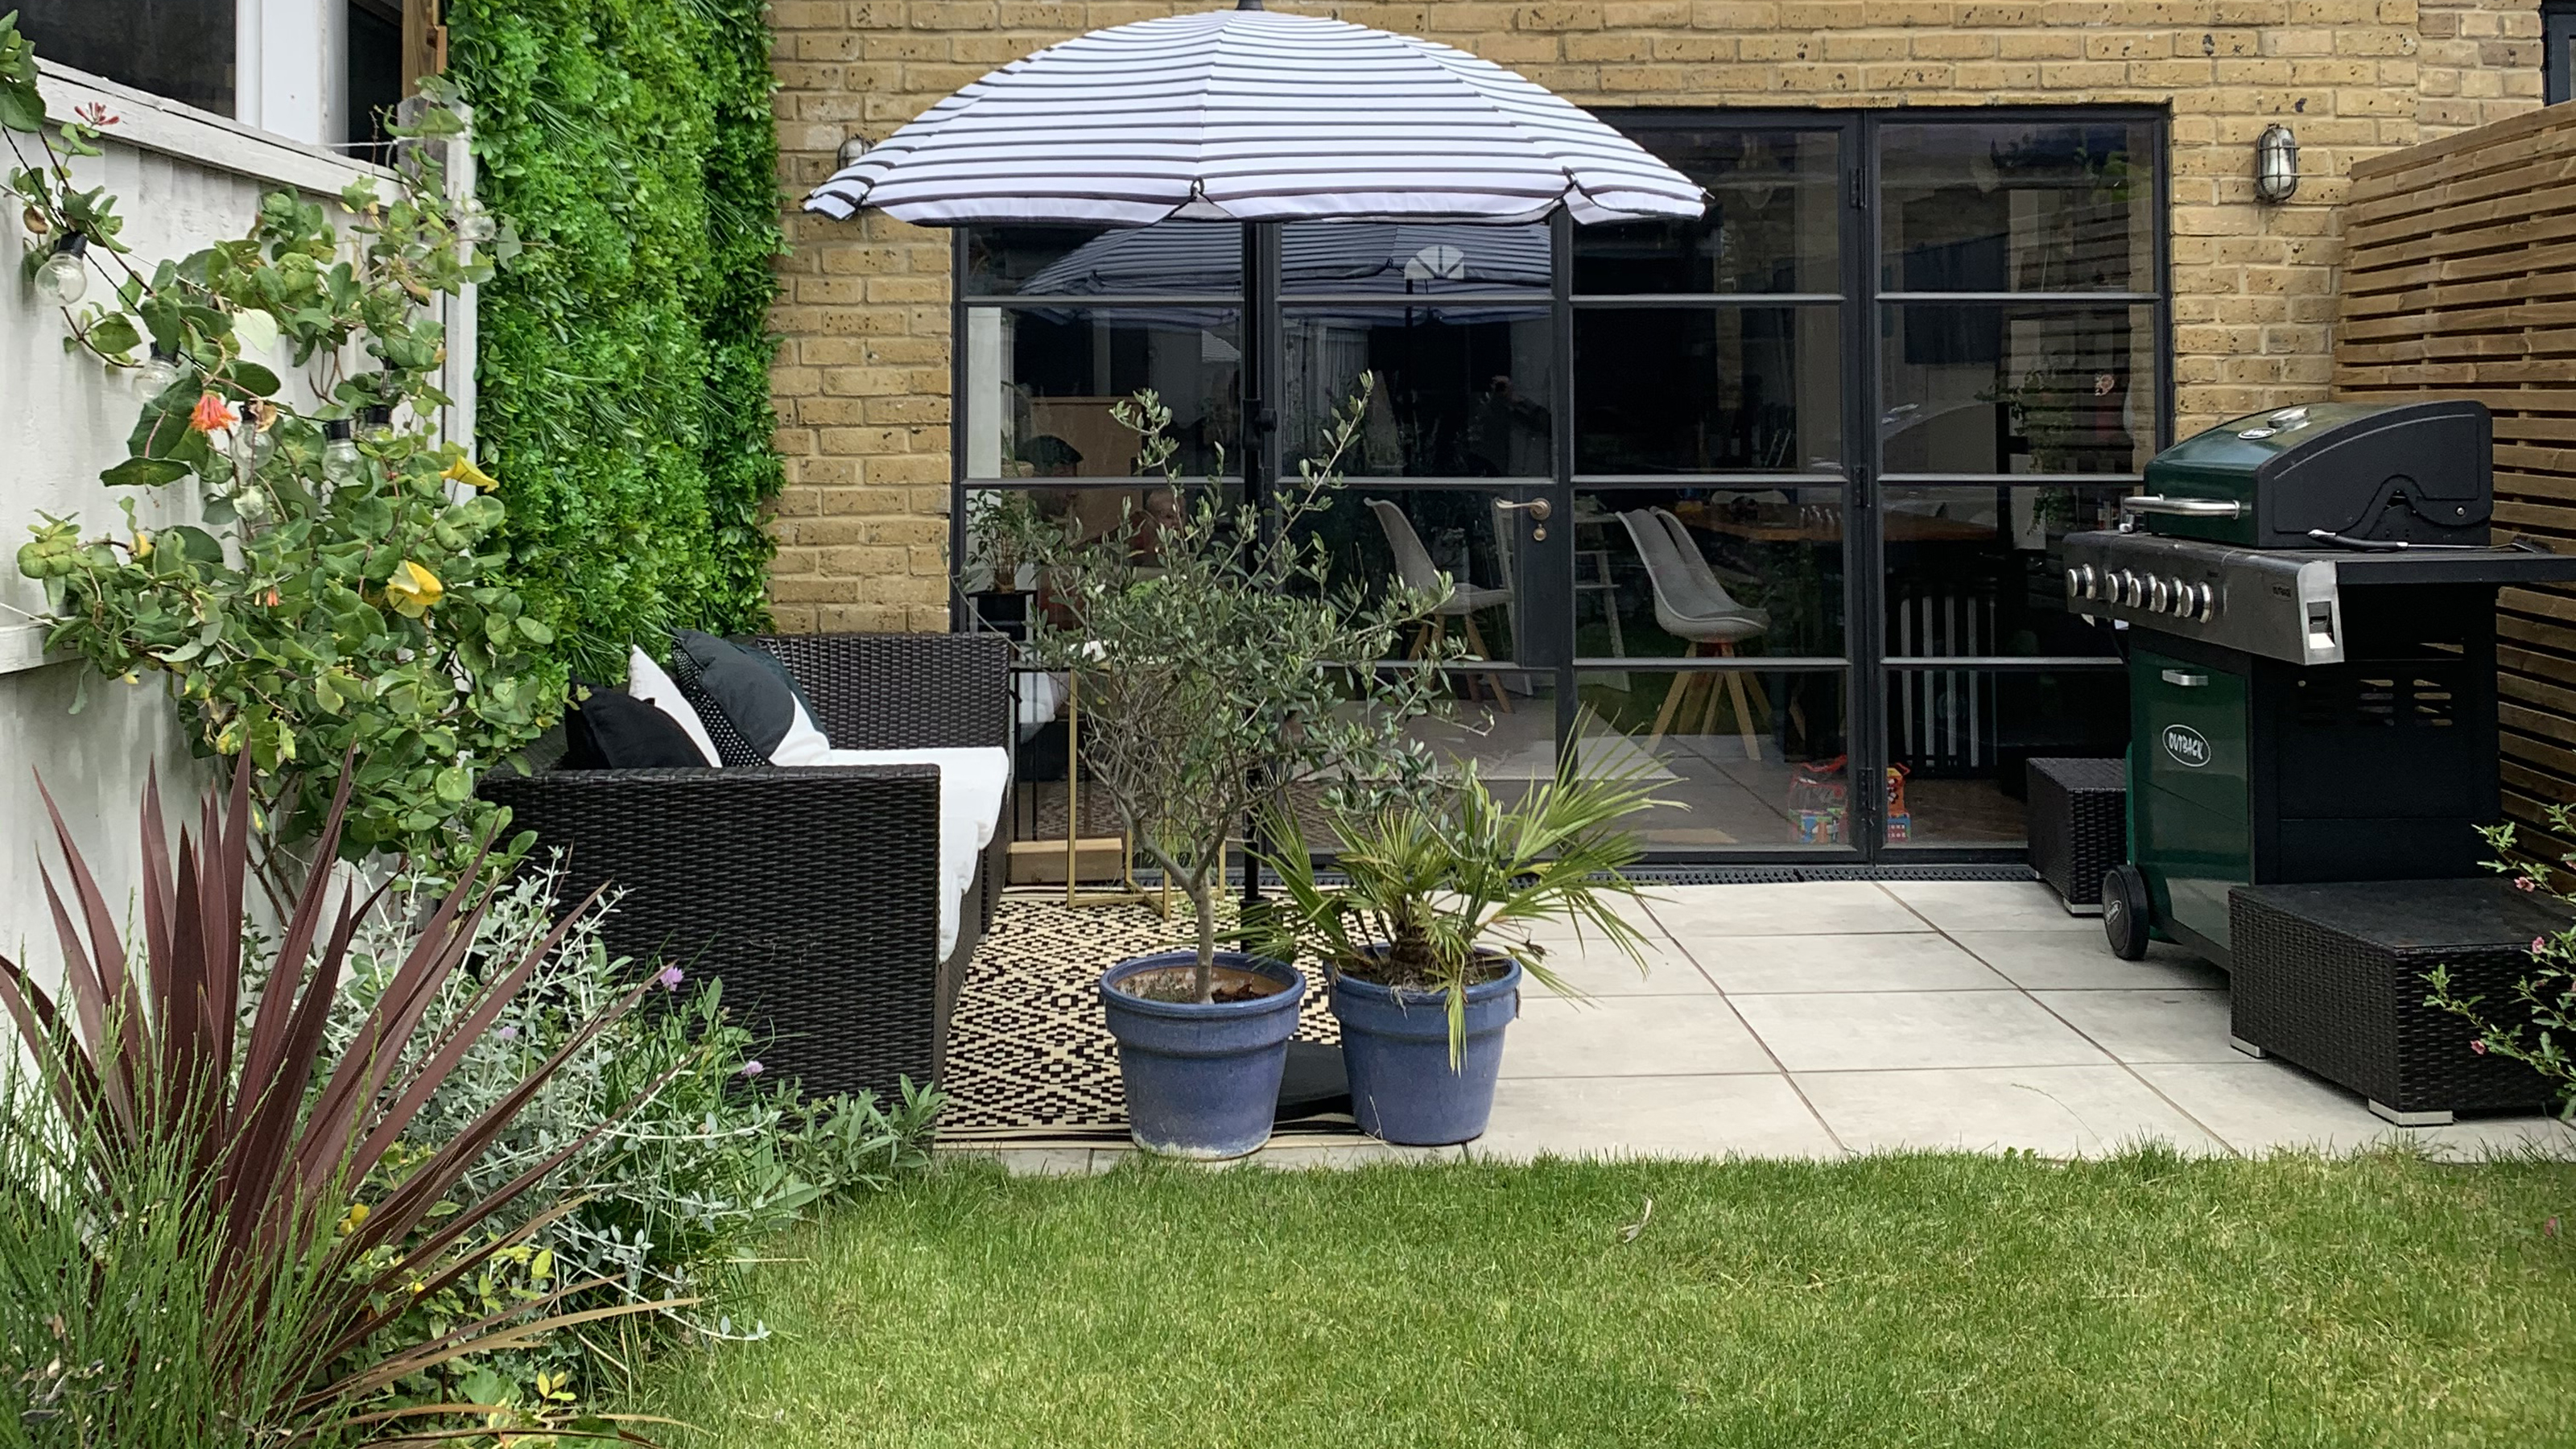

If your backyard needs a facelift as part of a big or small home improvement project, learning how to lay turf will help finish off the look of your space, and save you some of your budget too.
Laying turf yourself is actually a quick and relatively simple DIY with big results – when you've properly prepped and know what you're doing of course. Get it right and you'll be able to transform your space, giving way to luscious grass that you can use your best lawnmower on to admire all summer long.
Difficulty rating: Easy, once you know how
Approximate cost: around £15 per square meter/$5–7 per square foot
Time: An afternoon plus an hour or two prep a couple of weeks before.
Preparing to lay the turf
Turf is grass that is purposely grown for sale and cut from the ground with a chunk of topsoil so that you can lay it and it will re-root.
The best time to lay turf is during spring or fall; this is because the rain at this time will help the grass get established and grow strong roots, protecting it against frost or strong sun. You can lay it at other times if you need to as long as the ground isn’t frozen or waterlogged.
Turf is usually sold in rolls by the square yard; to work out how much you need, measure the area you want to lay the turf and multiply the length by the width to give you the number of square meters you need. You should then add 10% to account for any wastage or cutting.
Top tip: Be careful not to buy the turf too far in advance, we’d recommend doing all of the prep work before the turf arrives and laying it within 24 hours of its arrival. Leave it in a cool area, out of the sun. If for some reason you’re delayed in laying it then unroll it to keep it as fresh as possible.
You will need:
- Turf
- Spade
- Lawn roller (optional)
- Topsoil
- Rake
- Garden hose or watering can
- Fertilizer
- Garden knife
- Garden gloves
- Non residual weed killer (optional)
Step 1: Prepare the area
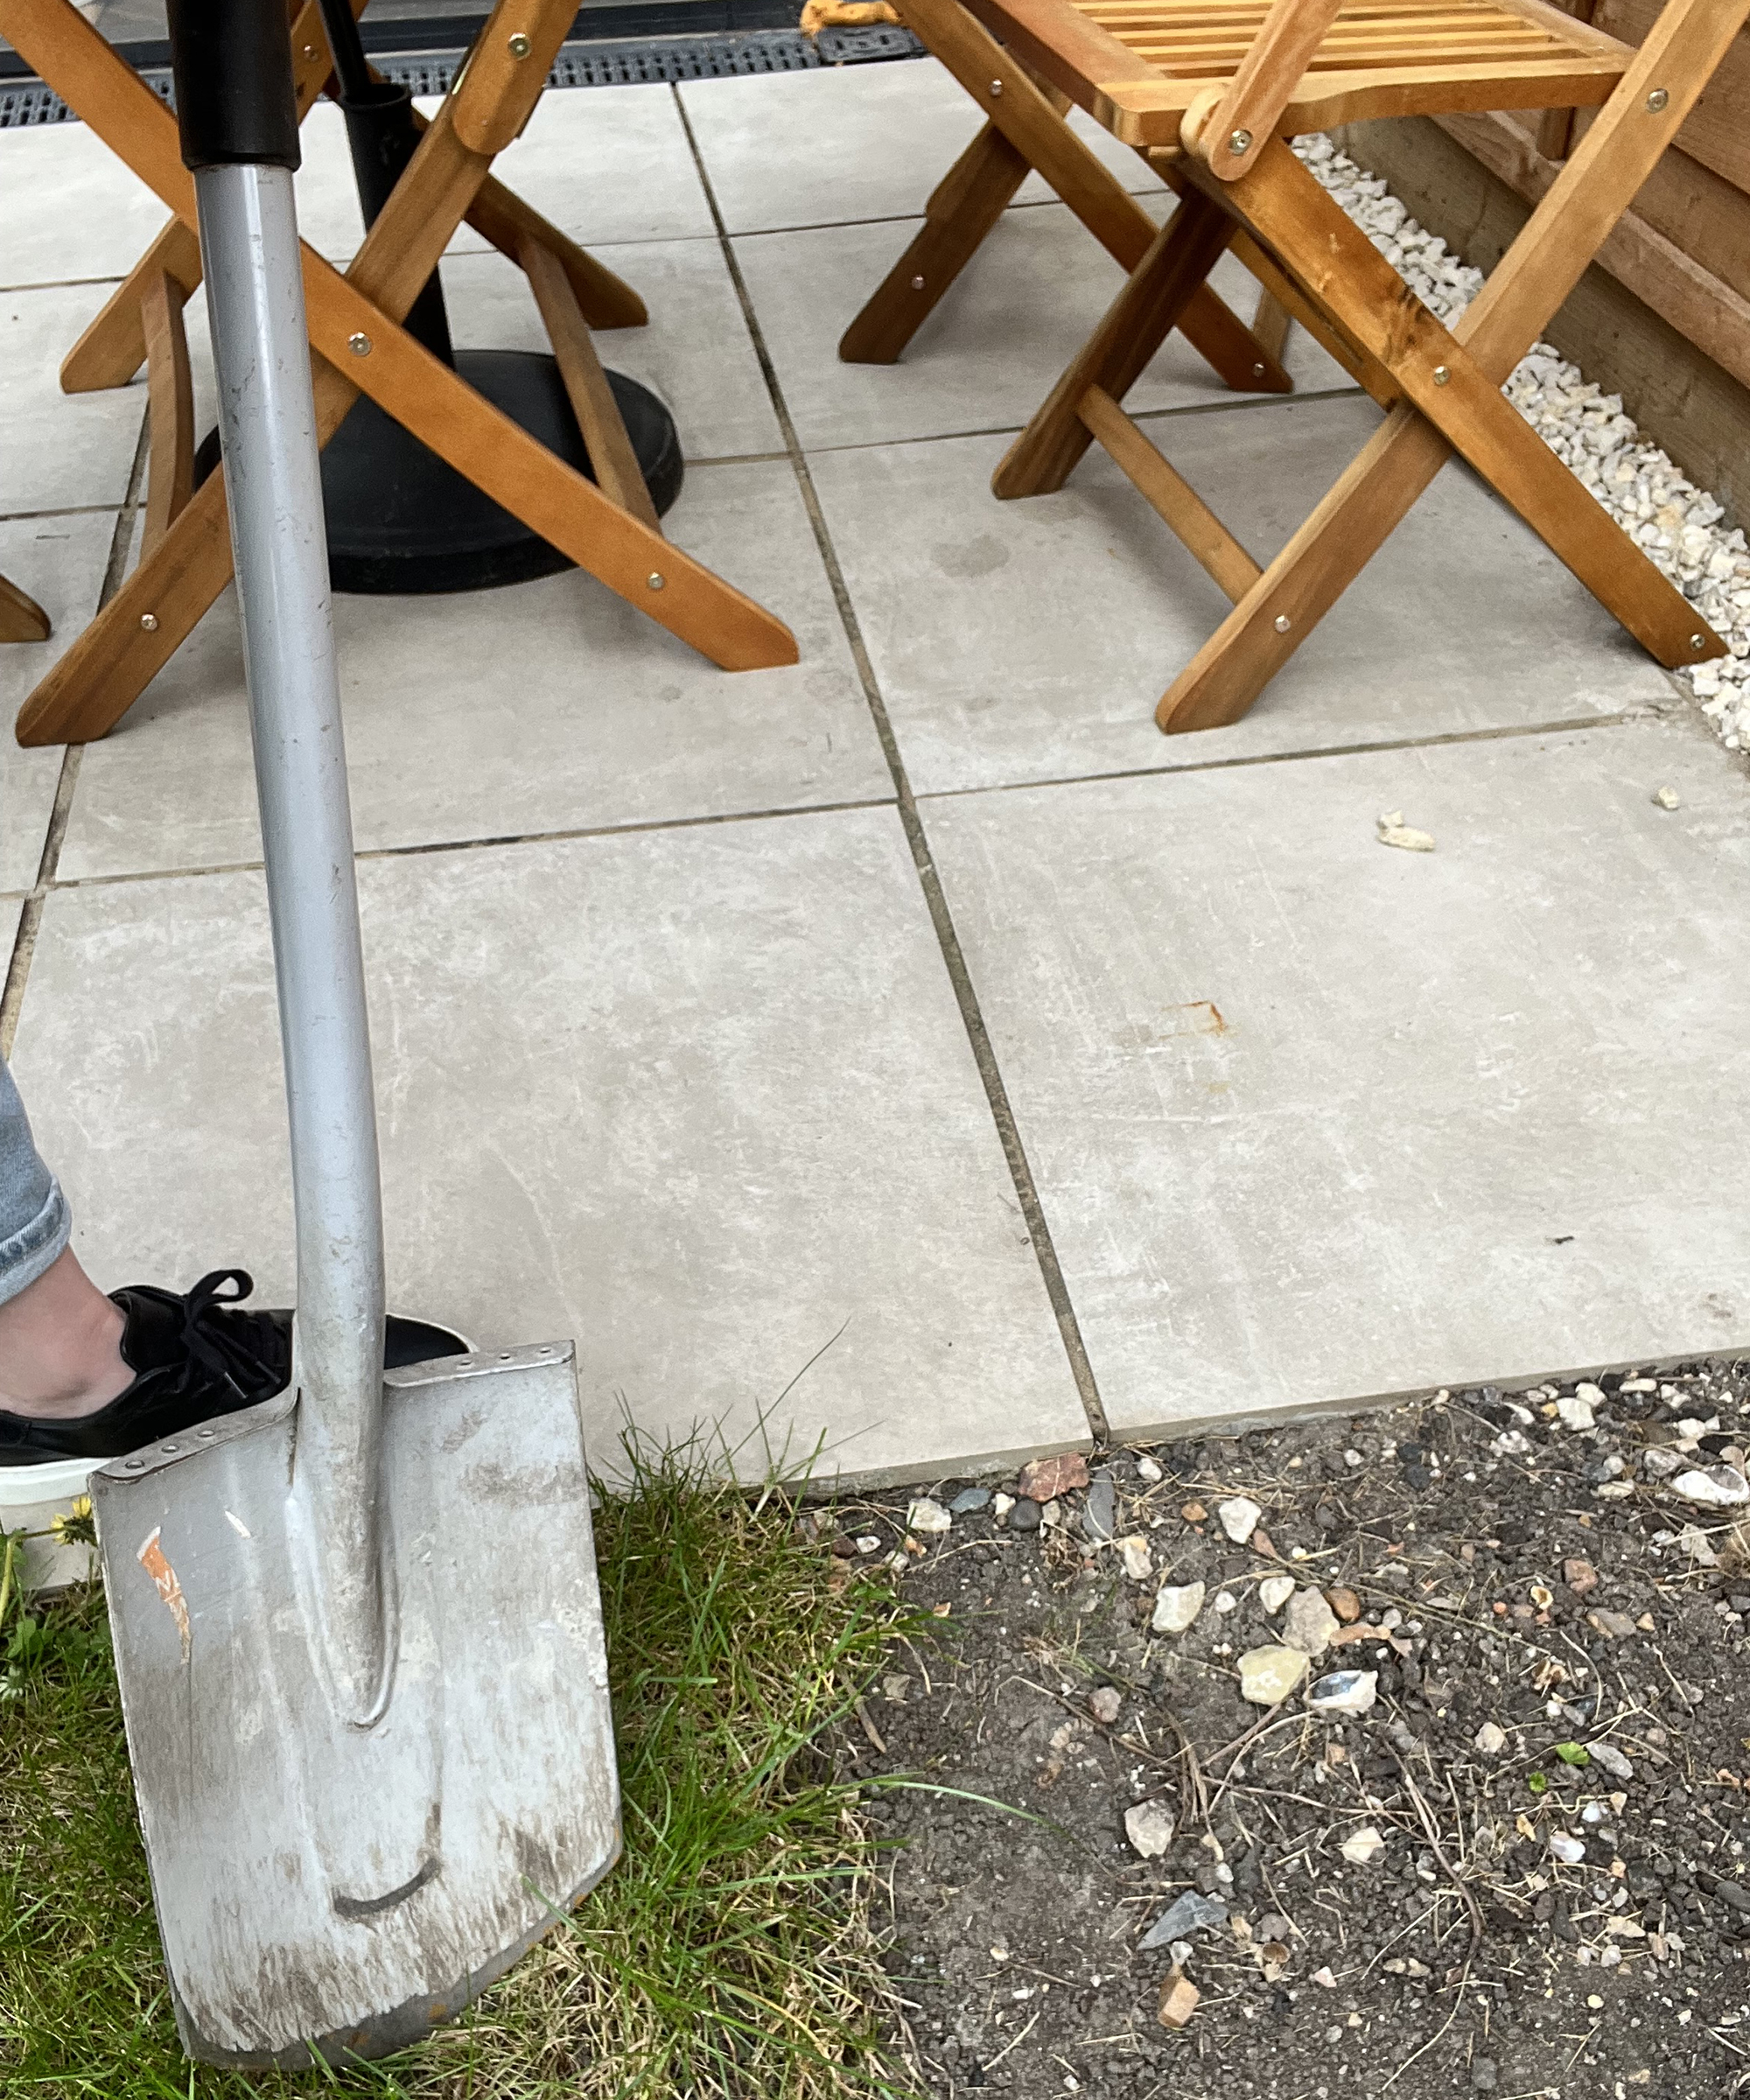
Prepare the area that you’re laying the turf in, removing any existing turf by cutting it out with a spade. Once you’ve done this, level the ground, removing any rubble or big stones then raking to smooth.
It’s also a good idea to weed the area to avoid weeds growing on your newly laid turf, if weeds are a problem then you can use a non-residual weed killer on the space; residual weed killers can impact the success of the lawn establishing.
Step 2: Pack the soil down
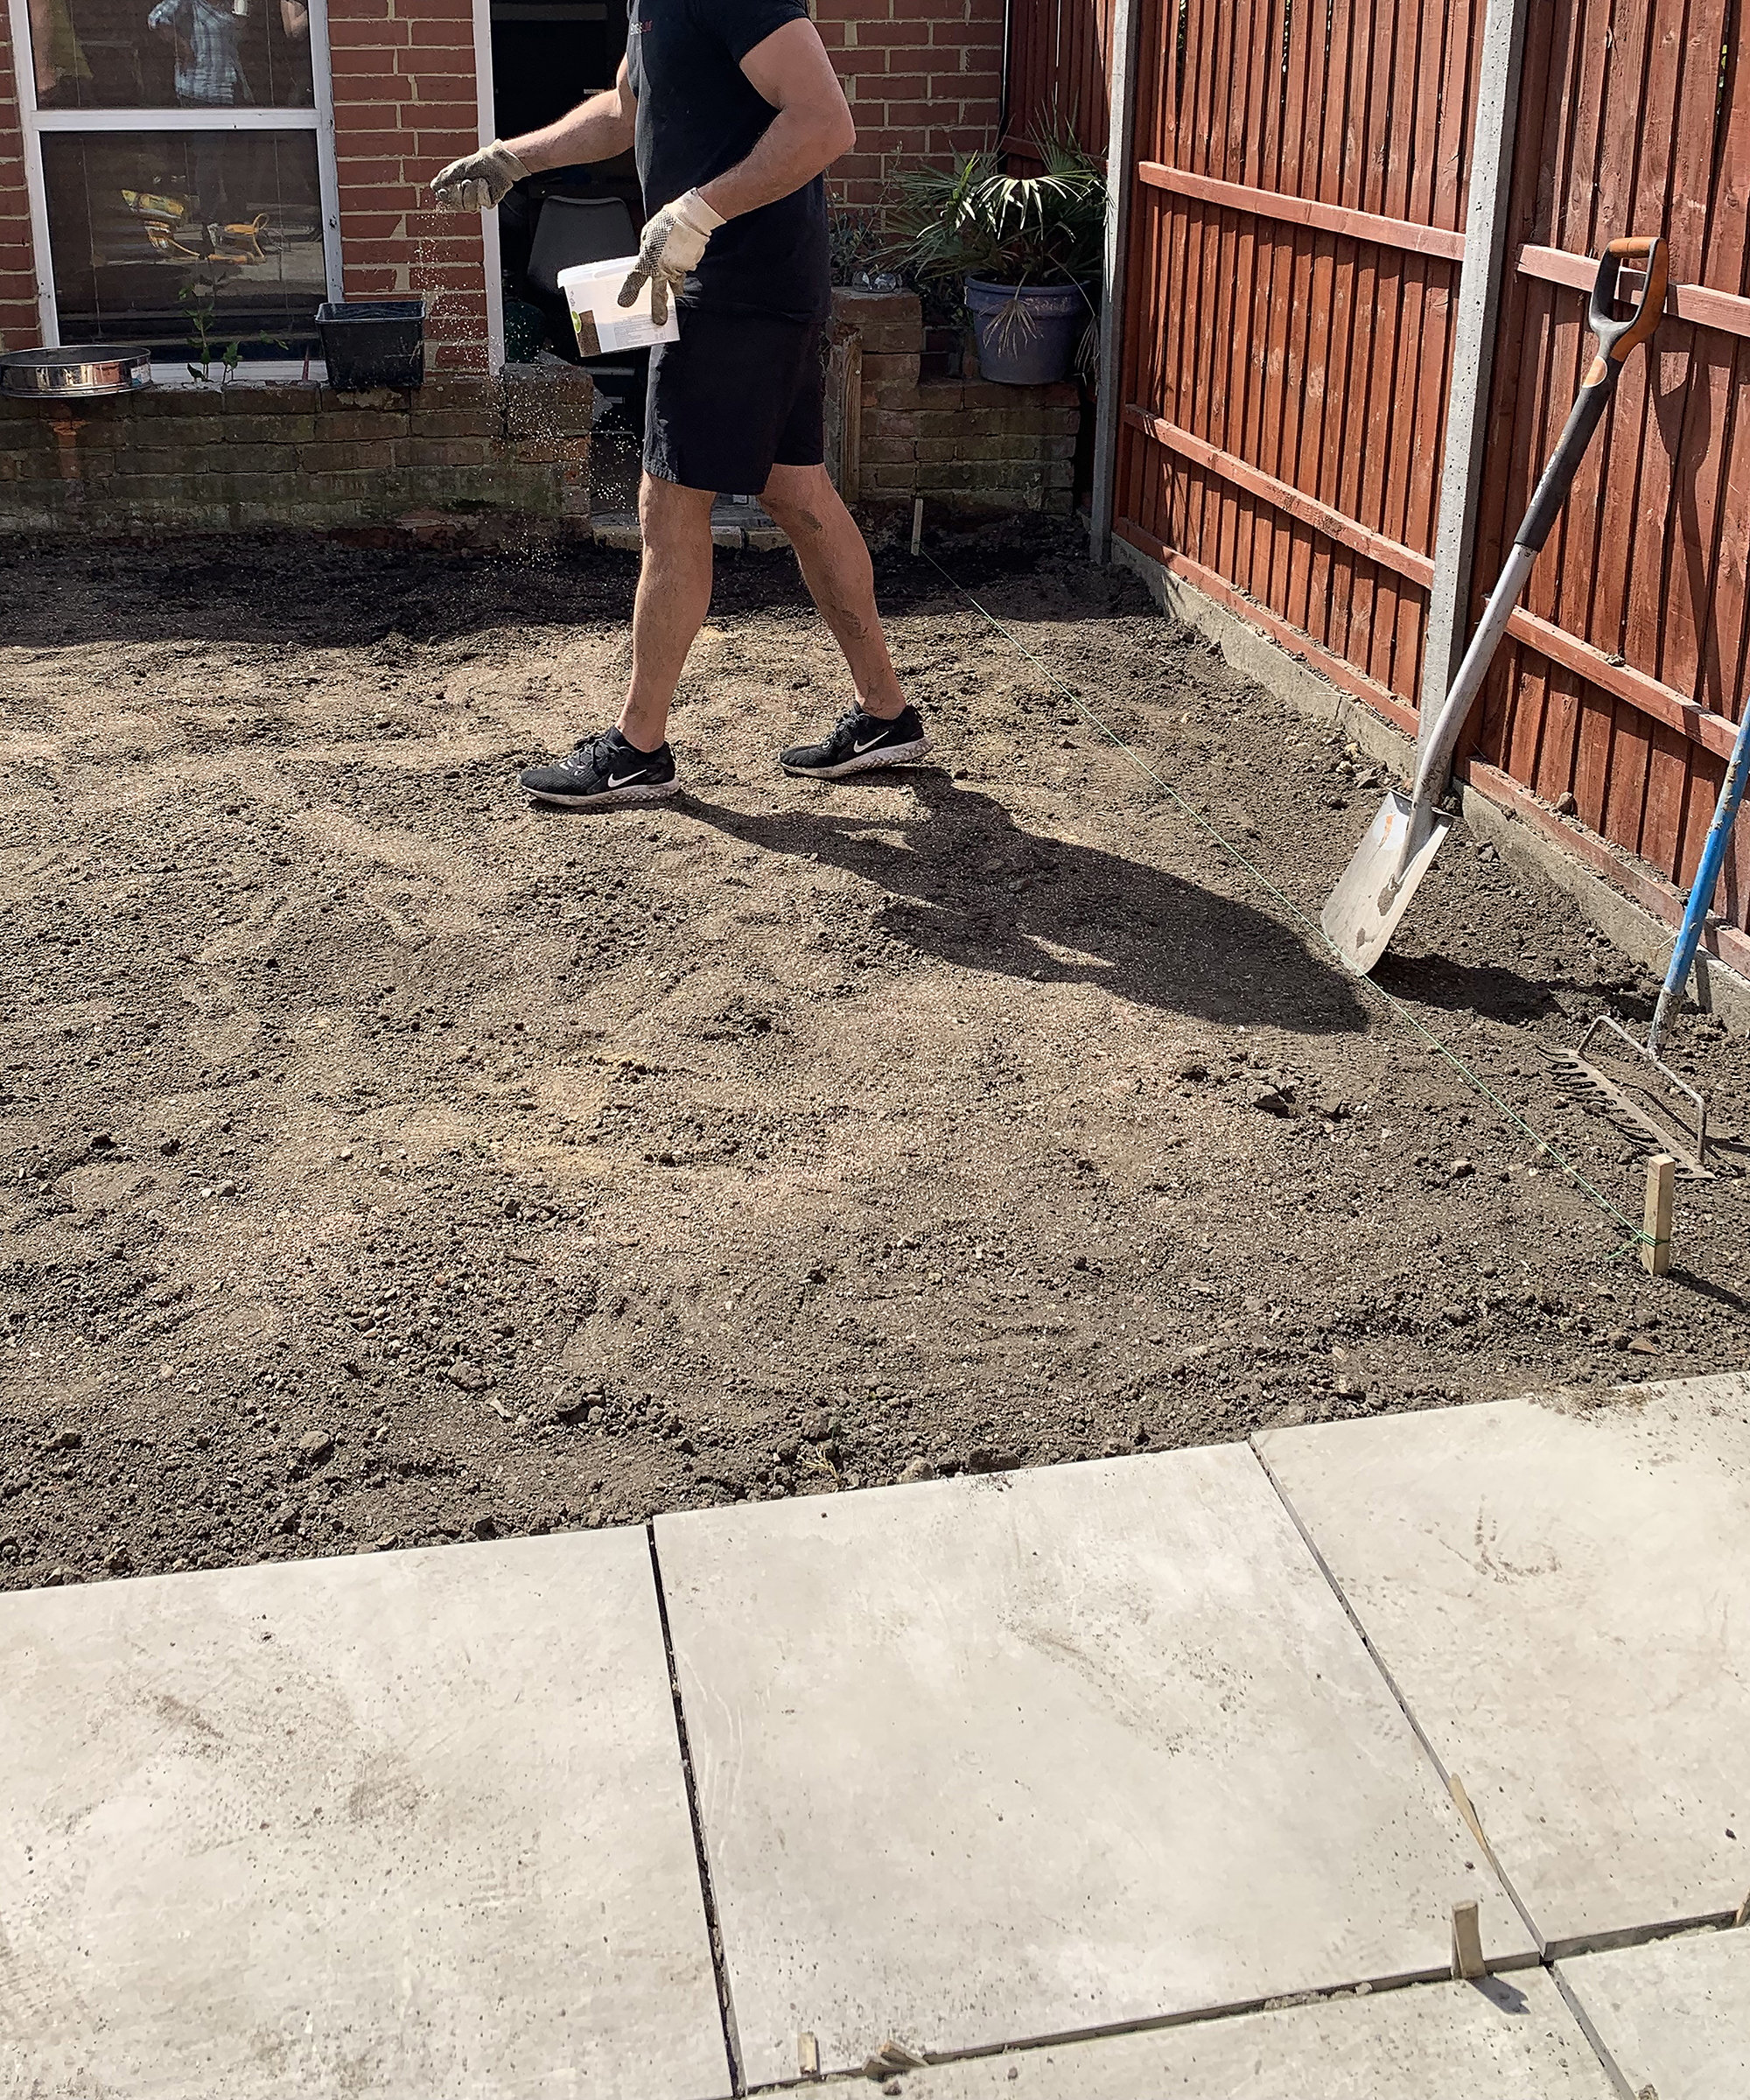
Before you lay the turf, either use a garden roller or walk across the space to pack the soil together and get rid of any air pockets so it’s firm. As you go, check whether there are any dips and if so, level out with topsoil and pack down with your feet. Give the area a final, light rake to ensure it is smooth. If possible, leave the area for a couple of weeks to allow the ground to settle before you lay the turf. A week before you plan to lay it, spread a basic all-purpose fertilizer you can find on Amazon across the area which will help the turf take root once it’s down.
Step 3: Start laying the turf
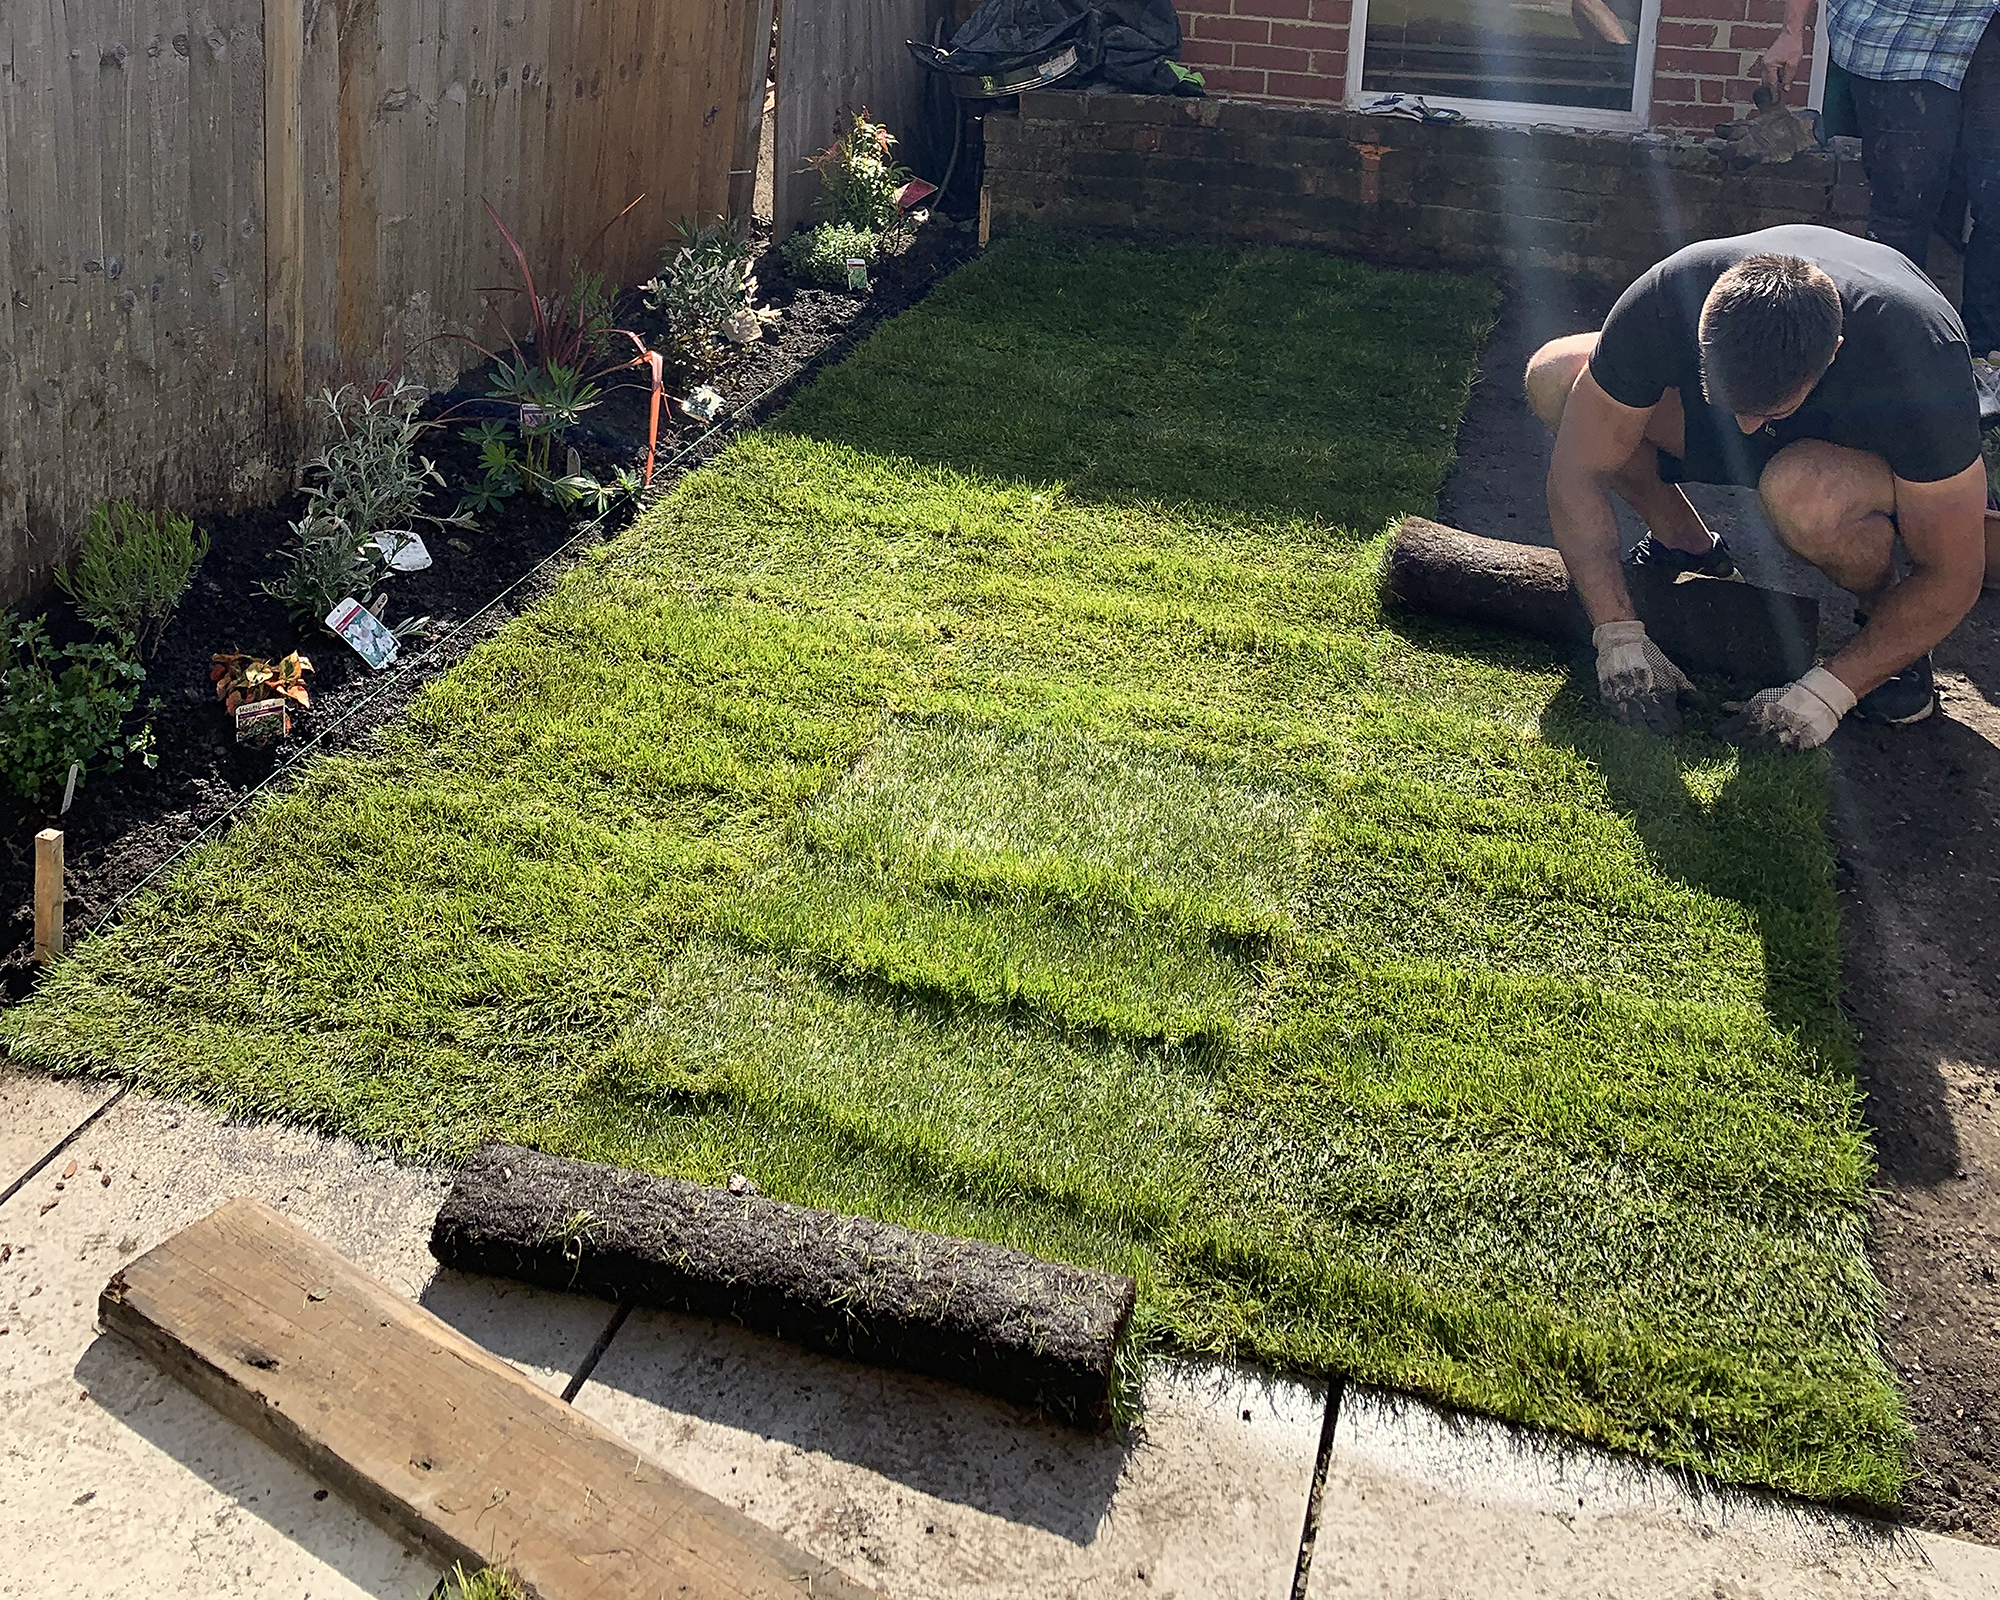
Once you’re ready to lay the turf, begin at an edge, laying the turf all of the way along in lines, parallel to the edge of your chosen lawn area. You can cut off any excess with your knife; it’s advisable to wear gloves and cut away from your hand to avoid catching yourself with the knife. When laying your turf, lay turf strips in rows (for example, left to right) along the space, staggering the joints like brickwork and overlapping them to avoid visible joins. If it’s a large space, use a plank of wood that spans either end of the space as a platform to work from, to avoid standing on the turf.
Step 4: Smooth it out
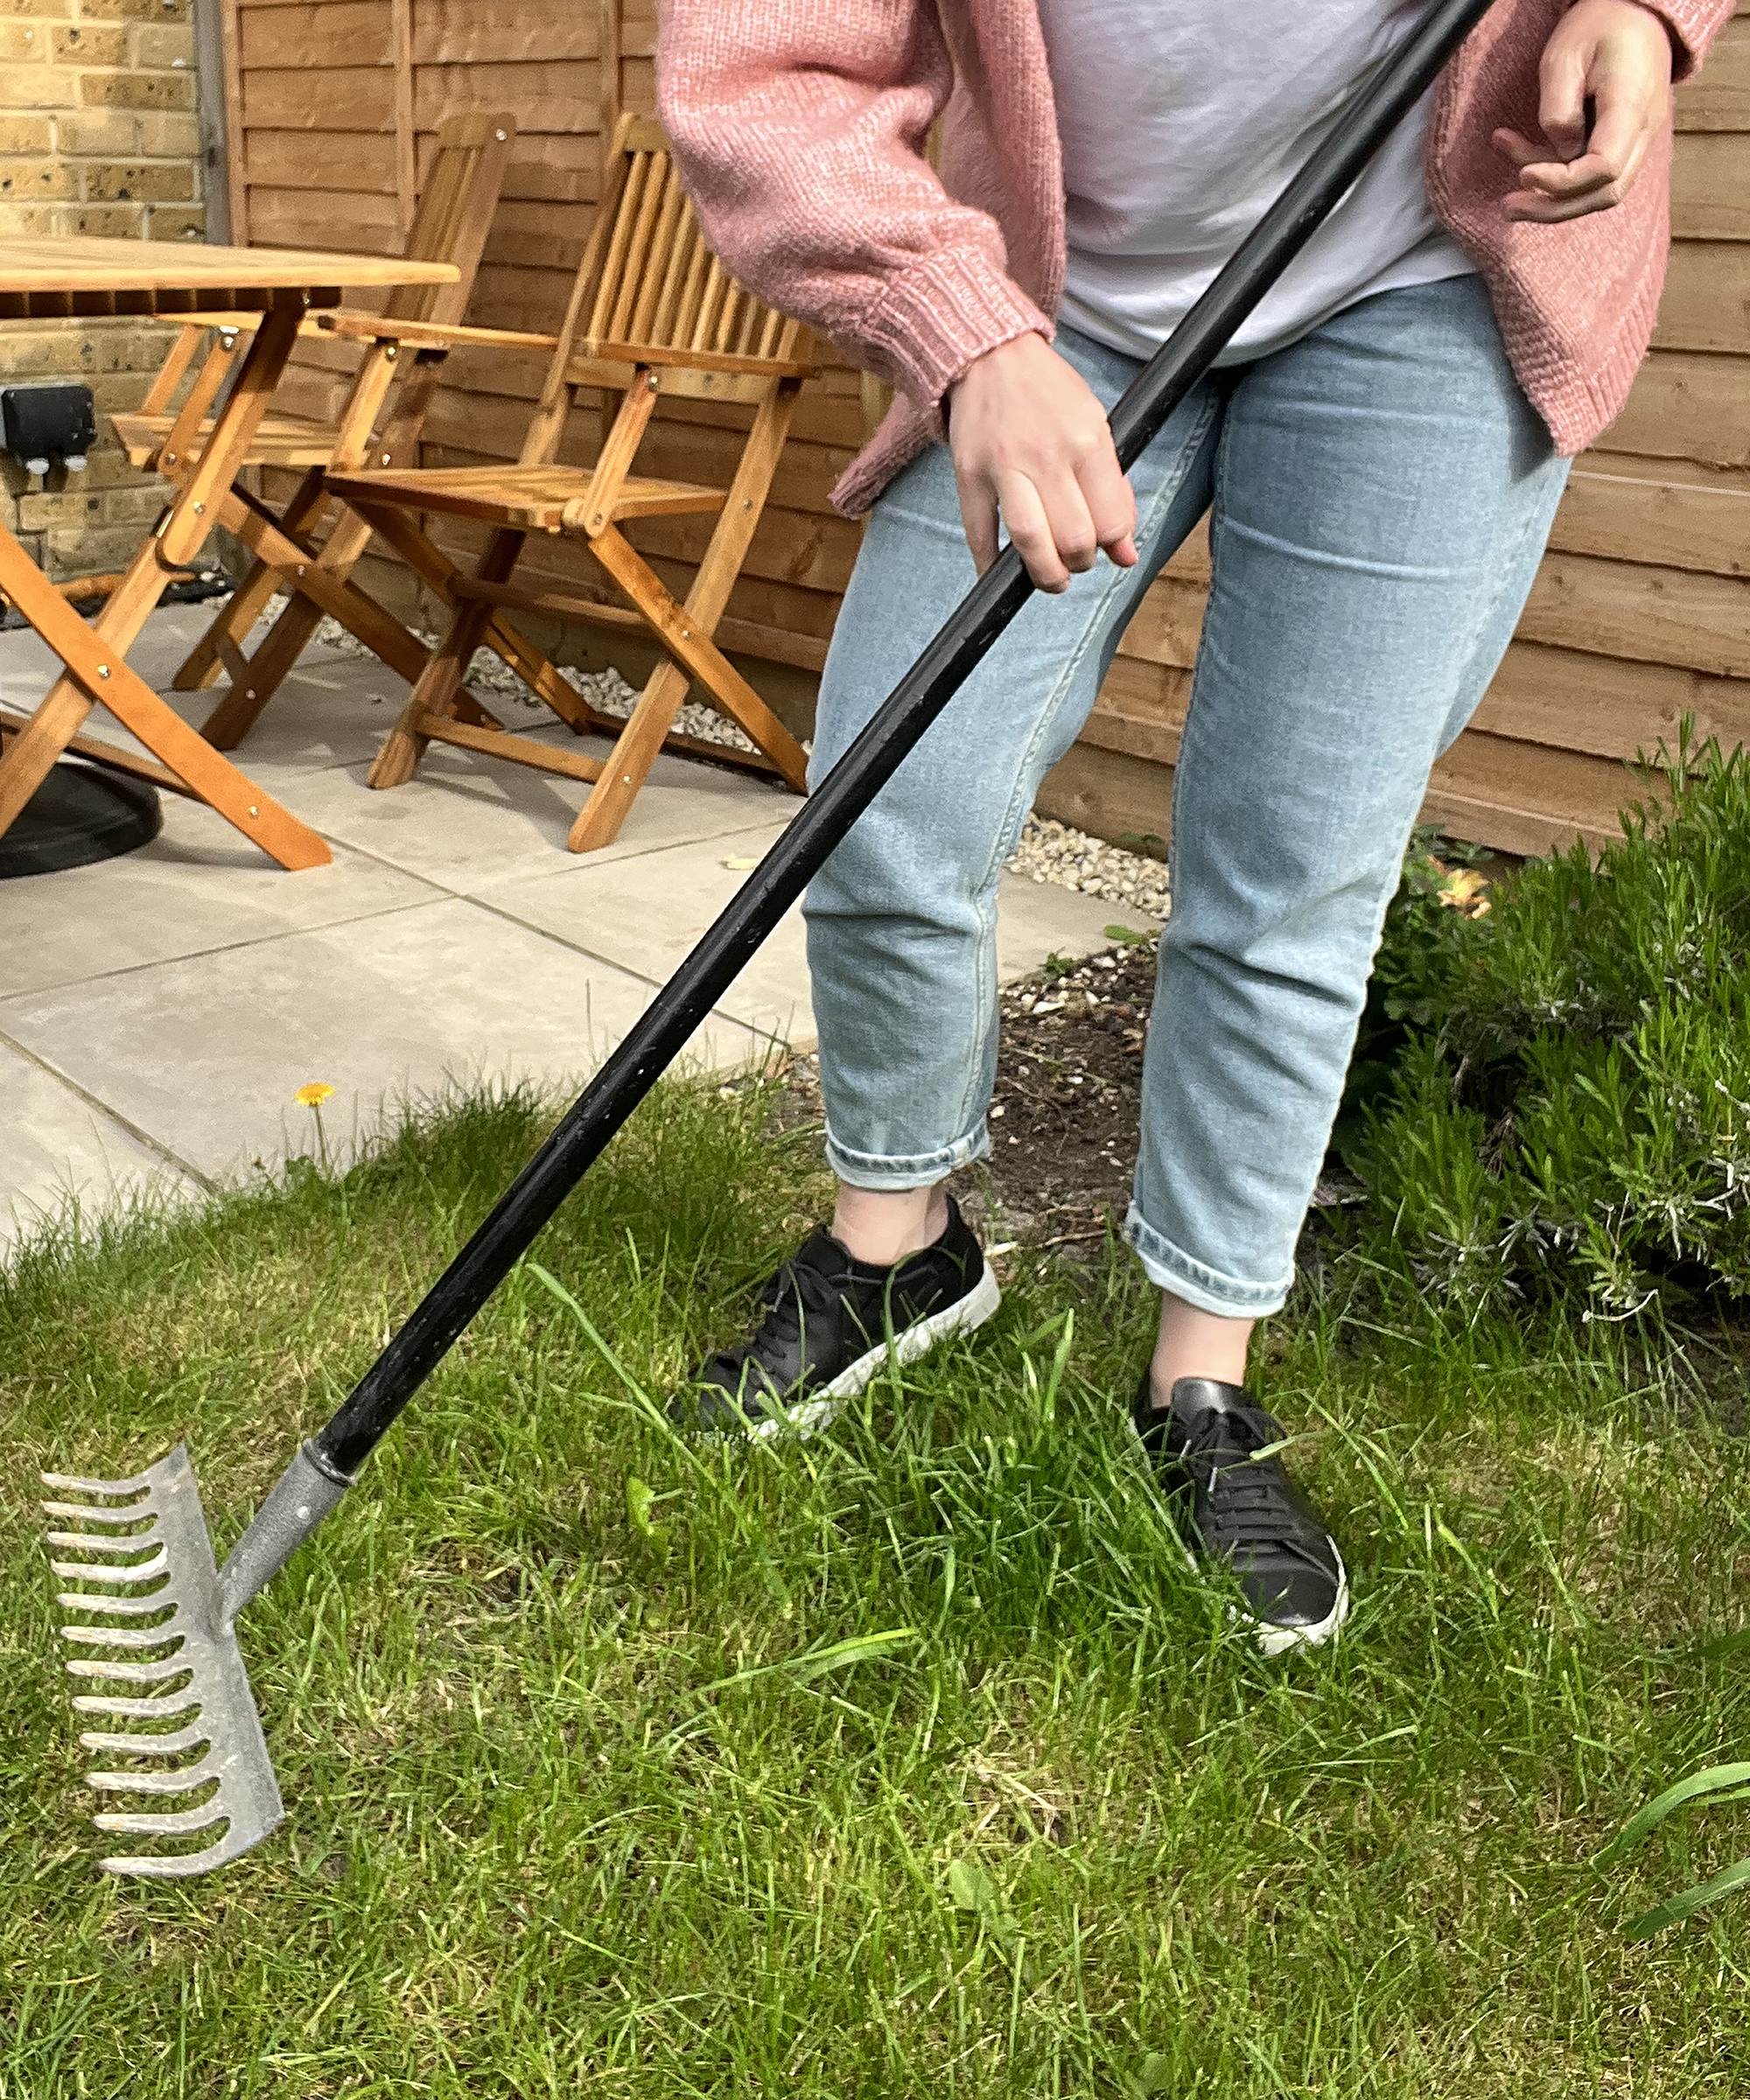
If there are dips, pull back the turf and sprinkle with topsoil to fill the dip before replacing it. Once your turf is laid, bang all of the turf with the back of the rake to ensure it makes contact with the soil, paying particular attention to edges and joins, this will help make sure it takes root.
Step 5: Water and care for your lawn
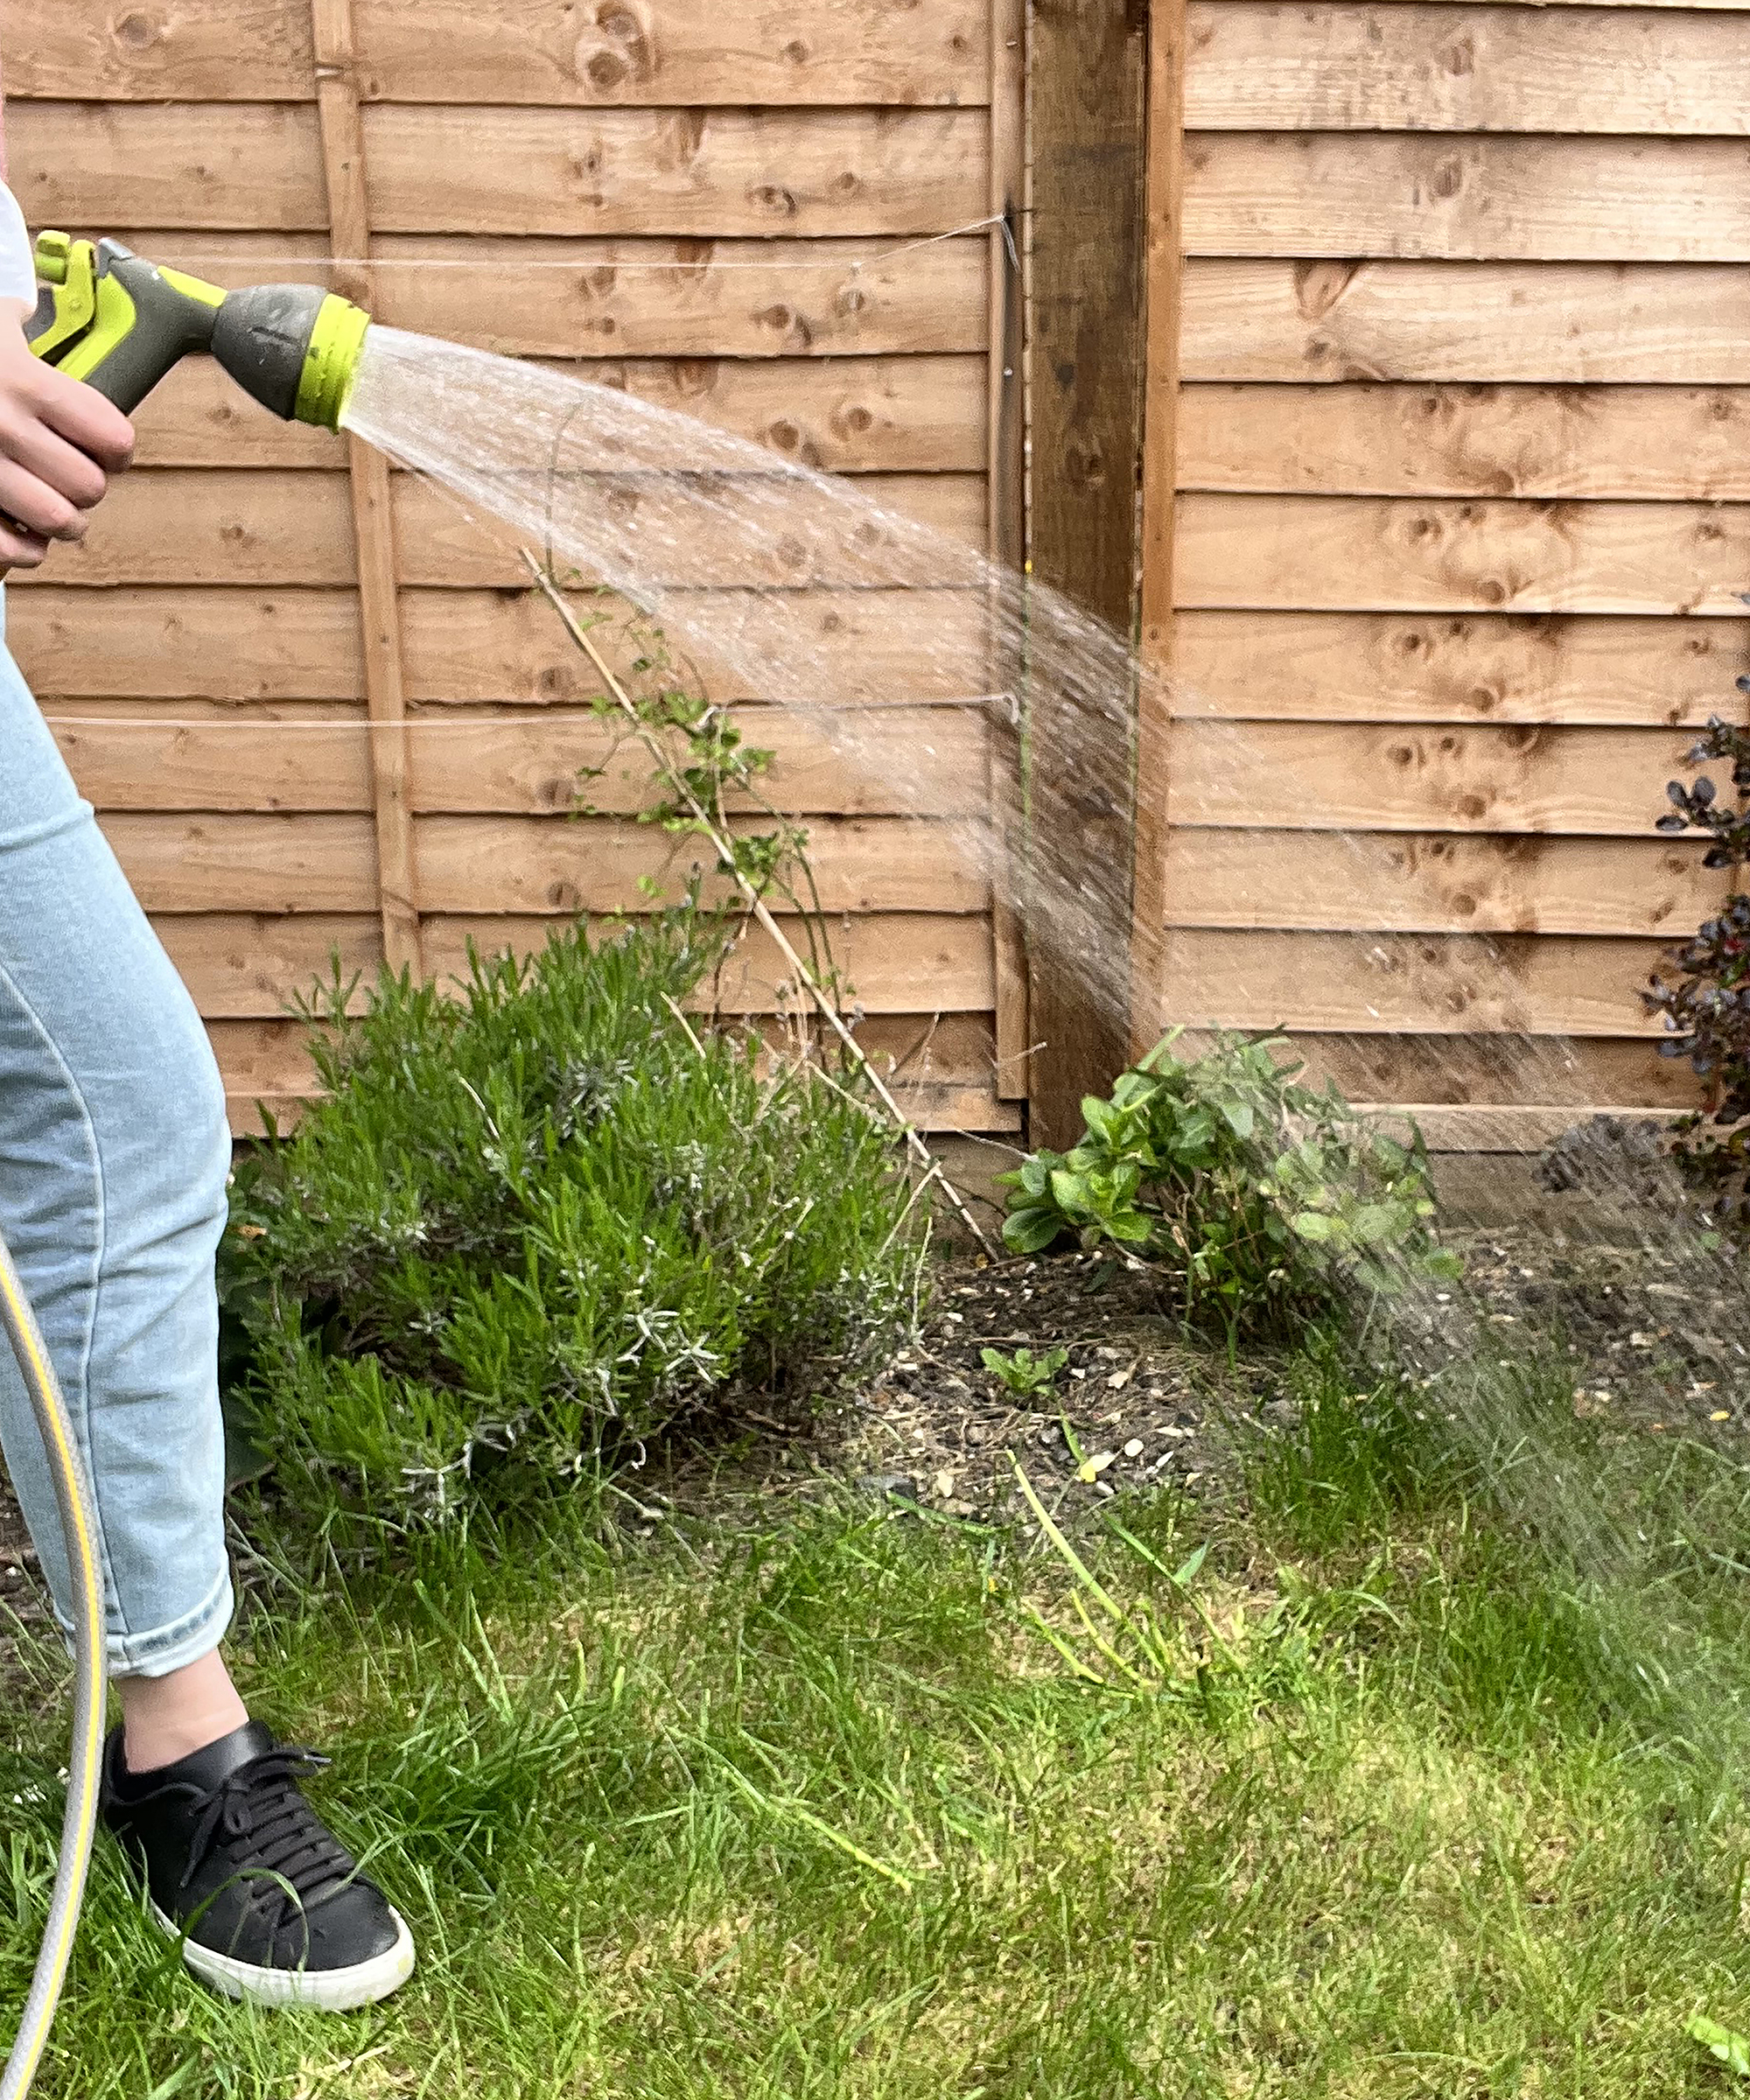
Water the newly laid turf well and continue to do so until it’s established to ensure it doesn’t dry out. In summer this could mean watering twice a day so a sprinkler may be handy to ensure you get good coverage. The Wisdomwell sprinker is pretty good. Avoid walking on the lawn for a few weeks until it’s rooted.
Step 6: Mow once rooted
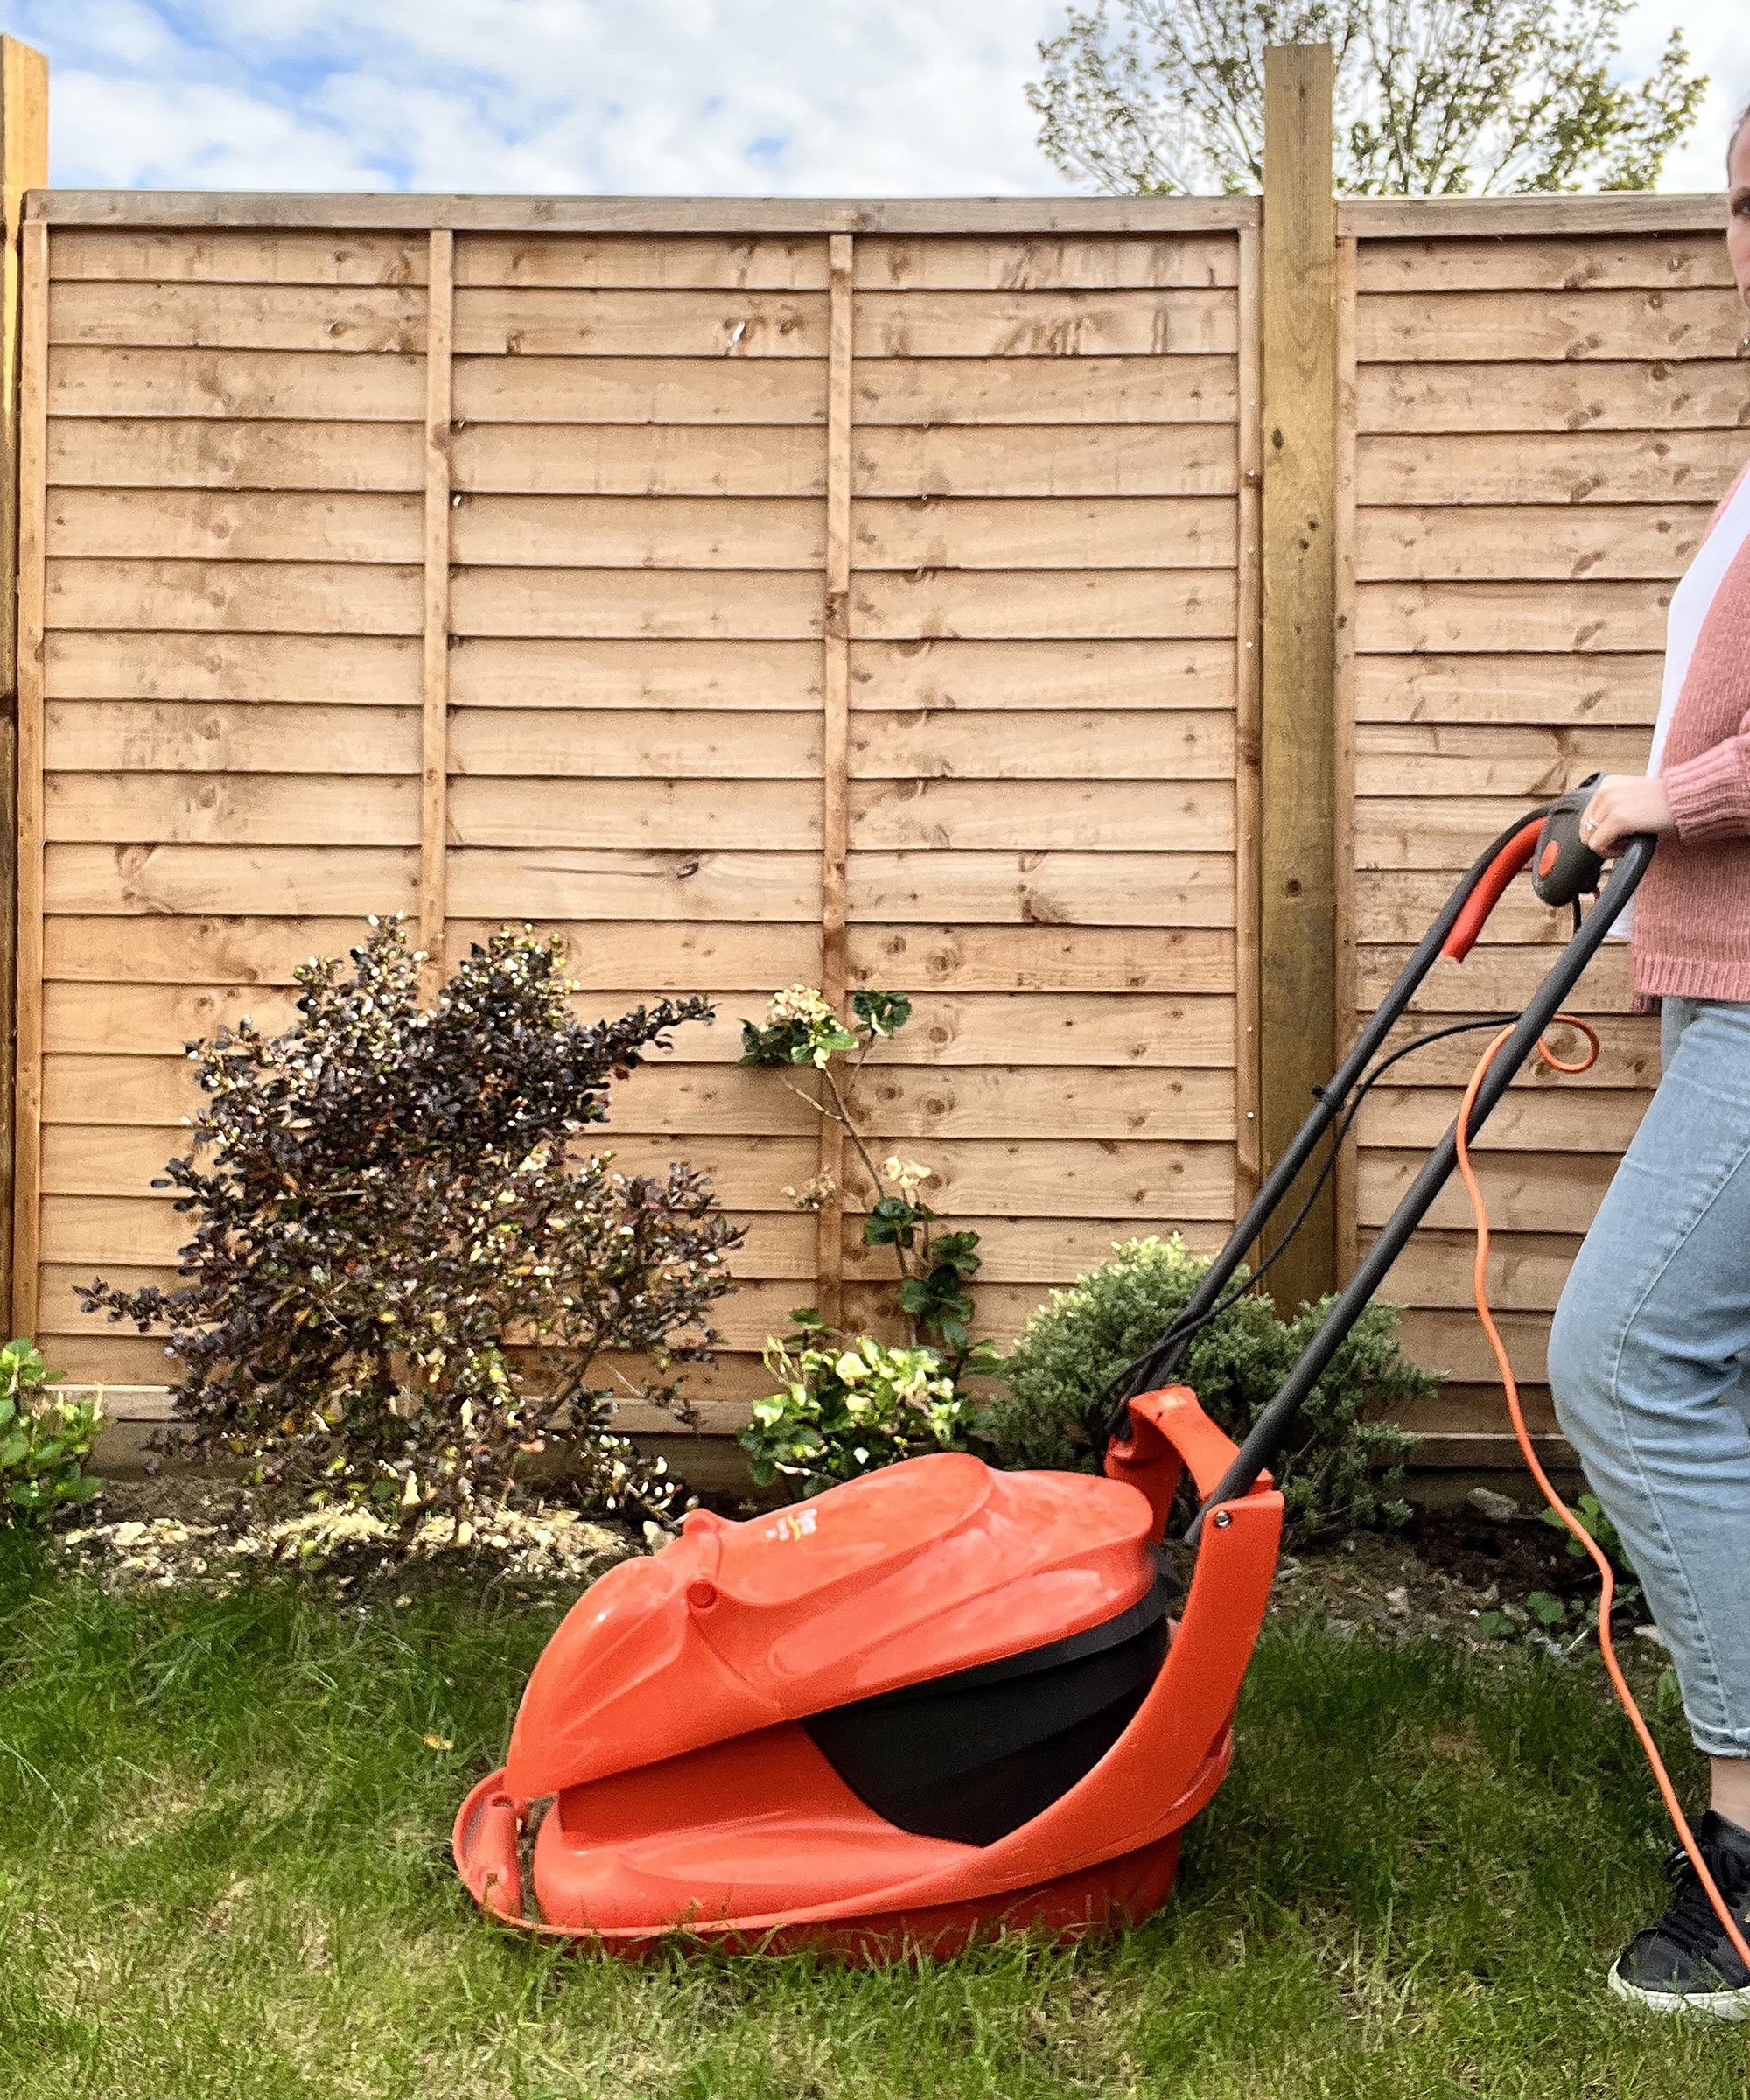
Only mow the lawn once the turf has rooted, find out if it's rooted by gently trying to lift an edge: if it won't come up, it's taken root. You can start mowing the lawn when the grass is between 2.5 to 5cm high, you should never mow more than one third of the total grass height at one time so ensure you alter your big or small lawn mower settings, started on the highest setting (removing the minimal amount possible) and then increasing the next time you mow if needed. If you lay your lawn in spring you should begin using a lawn feeder on a regular basis.
Top tips:
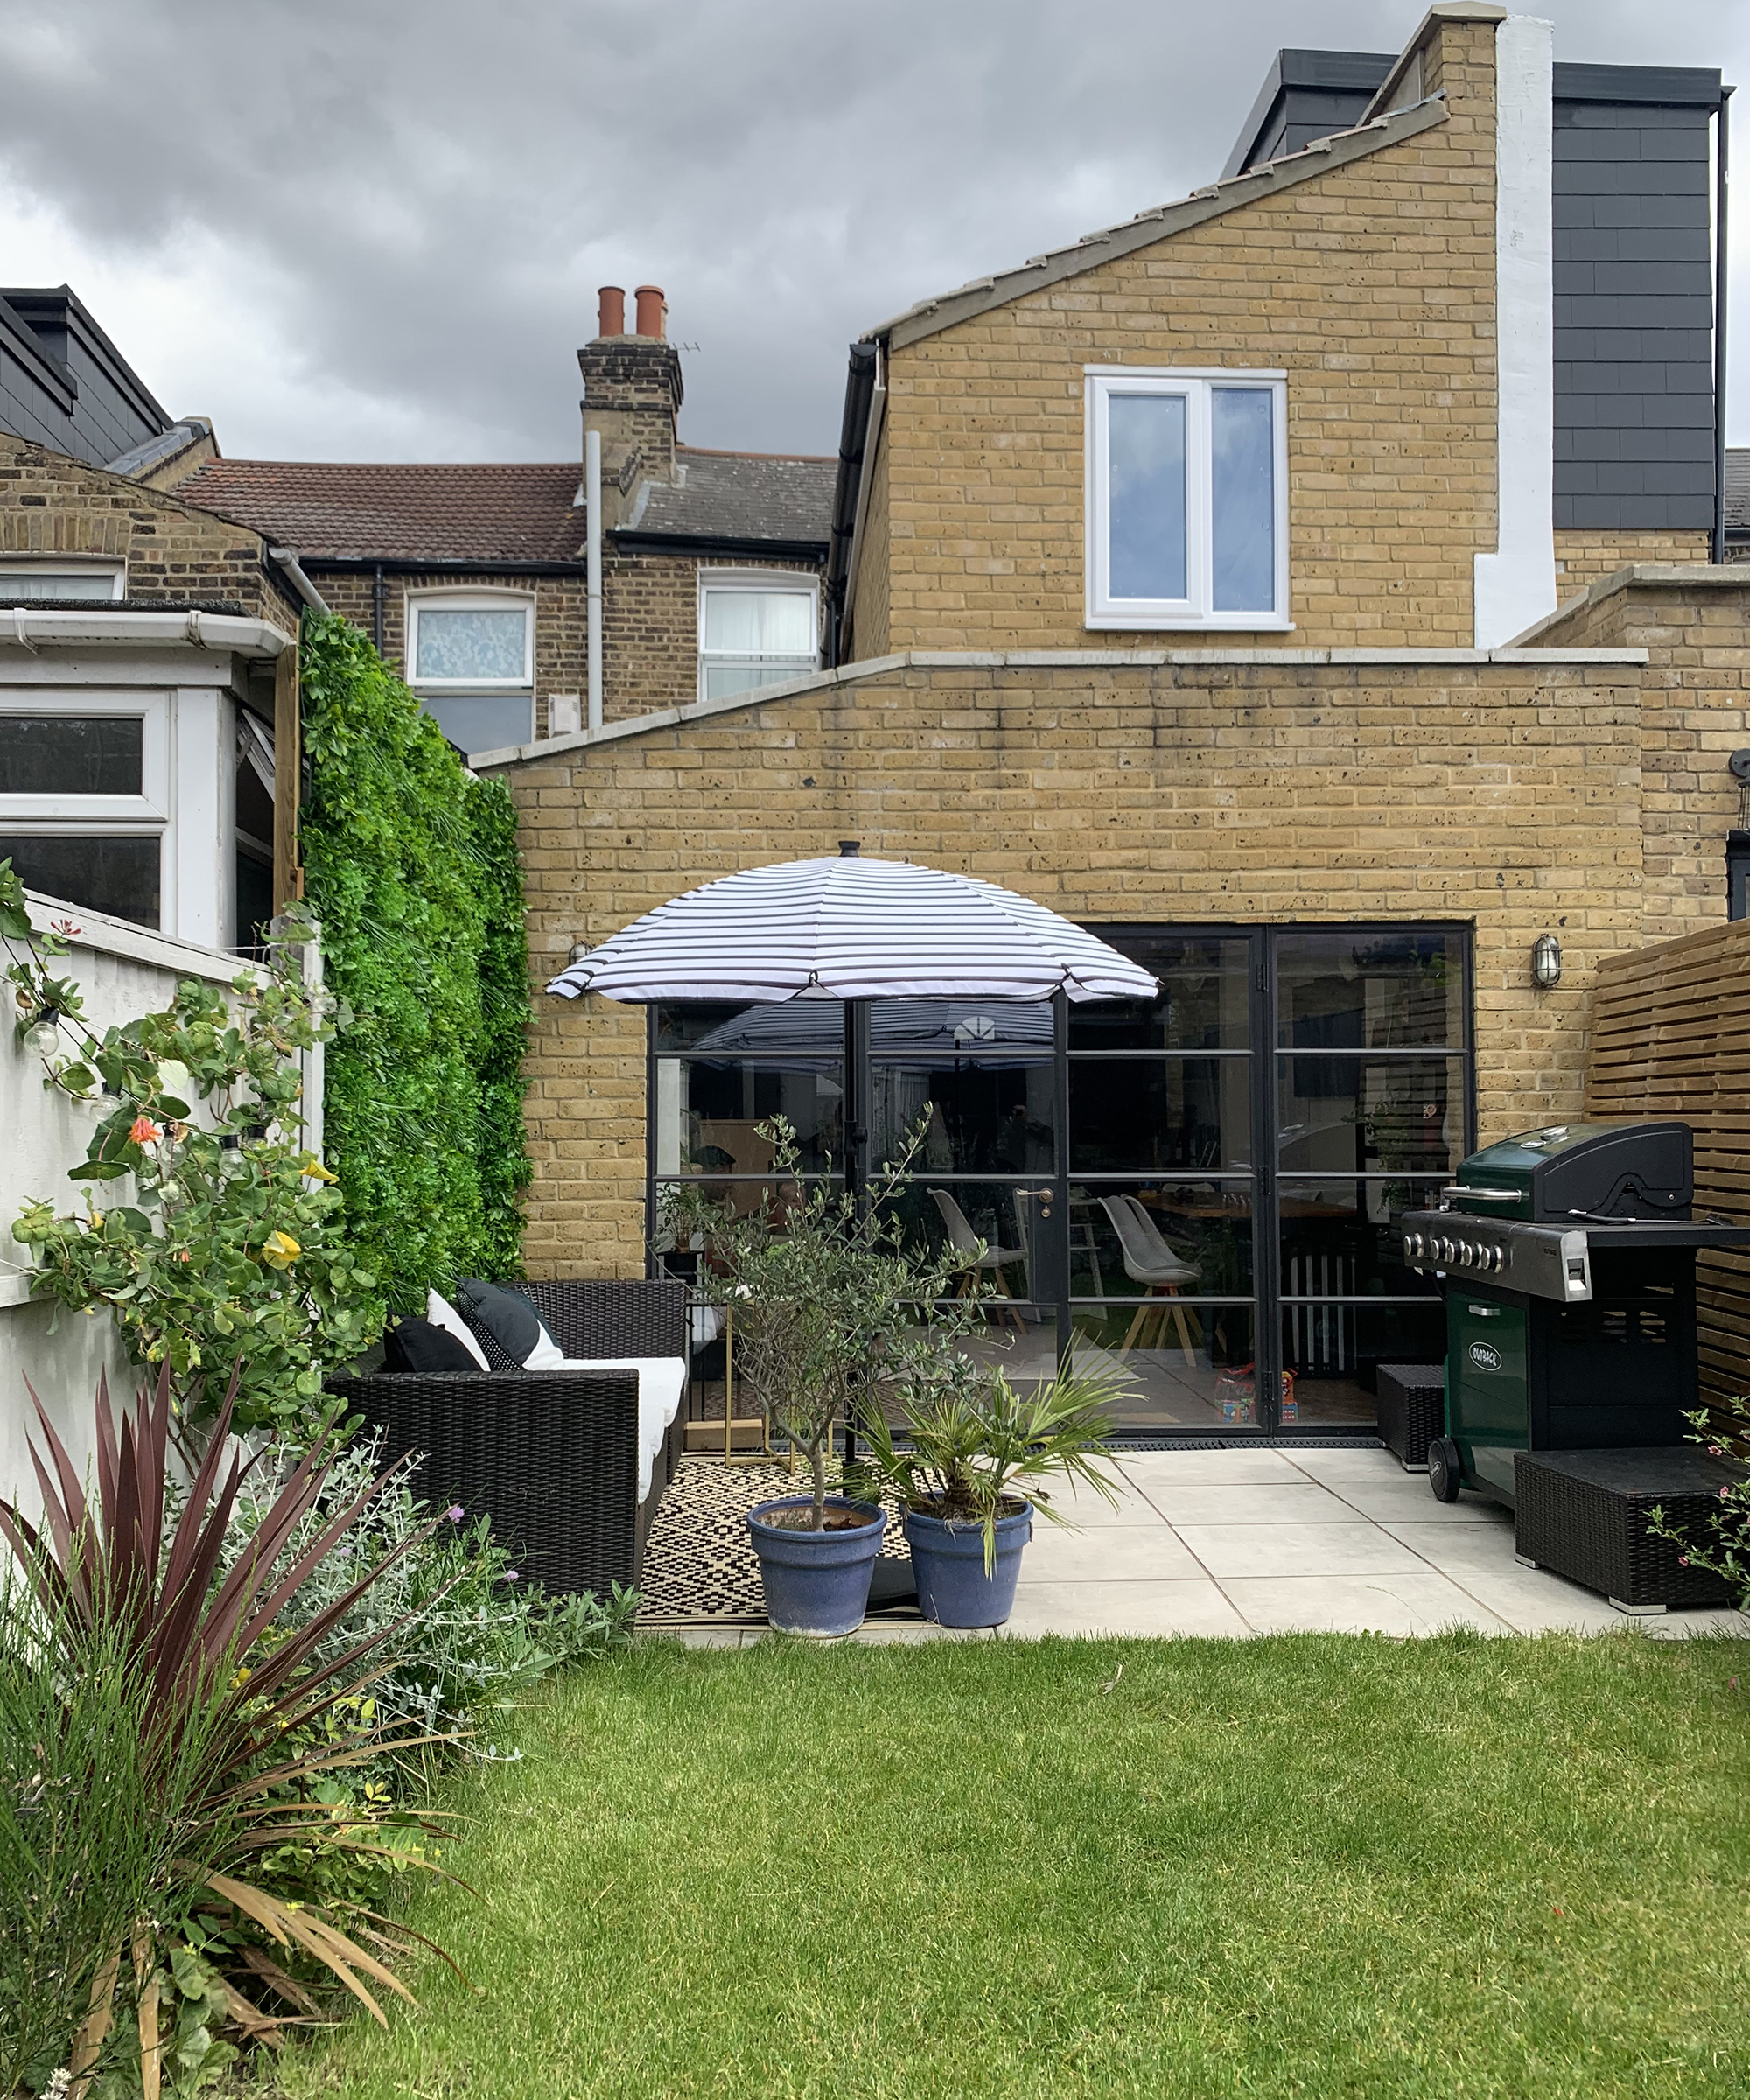
When you are laying turf next to any paving or stones check that the topsoil is level with the edge and even out as needed; this will mean your lawn sits slightly higher than the paving which will enable you to mow right up to the edge.
Join our newsletter
Get small space home decor ideas, celeb inspiration, DIY tips and more, straight to your inbox!

I’m a DIY and renovation expert from a family of renovators; it's in my blood! Renovation is my passion and I love sharing my knowledge, either through my Instagram renovation tips or my renovation course. I love seeing how it helps others build the confidence to create their dream home without it costing the earth!
-
 Backyard inspiration: interior designers reveal the four things you need for summer 2024, starting at just $40
Our edit of backyard inspiration according to interior designers will help you perfect your space for summer. Here's what the professionals are shopping this year.
By Danielle Valente Published
-
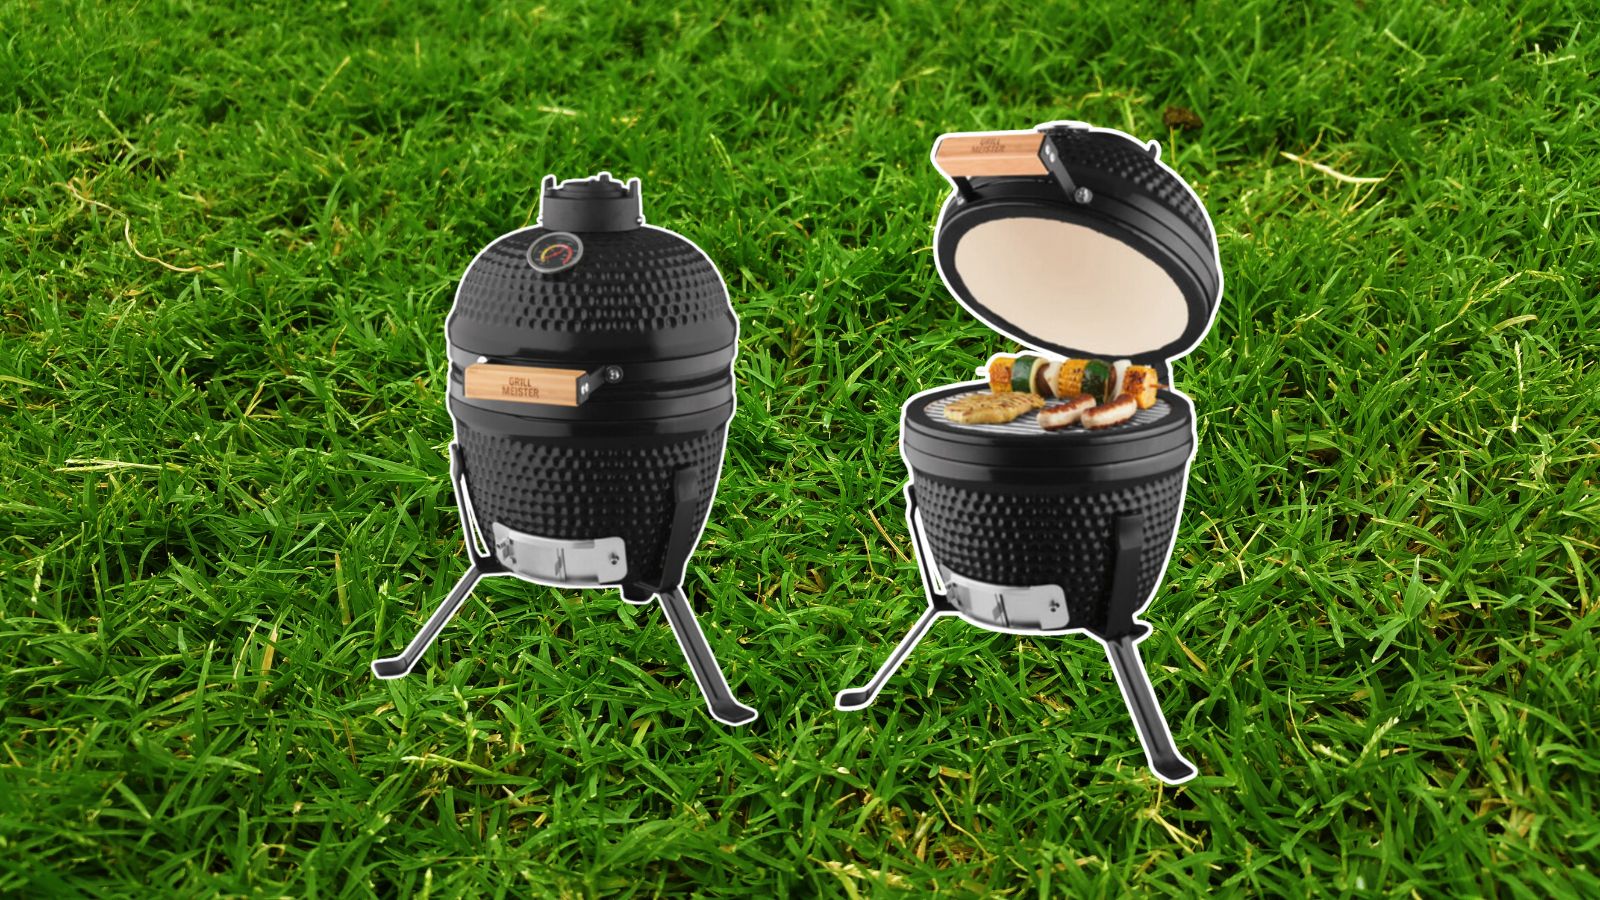 There's a kamado-style Grill Meister at Lidl for less than $100, and it's a small space steal
There's a kamado-style Grill Meister, Lidl's recent popular buy, that clocks in at just $75. Here's why it works so well and why you need it in your backyard
By Danielle Valente Published
-
 Our favorite Wayfair patio furniture picks for small spaces that make a big impact
We scoped out Wayfair patio furniture — some of which is up to 60% off this Way Day — and found perfect fits for small spaces
By Danielle Valente Published
-
 Anthropologie's outdoor egg chair is a boho delight, but we found swaps for $800+ less
The outdoor egg chair from Terrain, available at Anthropologie, is a cute boho, buy, but expensive. Check out these hanging egg basket swaps that are over $800 less
By Danielle Valente Published
-
 Target outdoor furniture that perfectly captures 2024's best backyard trends
Dining sets, love seats, umbrellas — Target outdoor furniture offerings are as abundant as they are stylish. See what trendy pieces to snag this year
By Danielle Valente Published
-
 Walmart backyard furniture picks from just $25 that will keep out nosy neighbors
We round up Walmart backyard furniture picks from just $25 that are stylish, seclusive, and eye-catching. If you want to make a statement, particularly one neighbors can't see, shop these deals.
By Danielle Valente Published
-
 Tan France tips us off on the must-have "chic" backyard accessory of the season, and it's only $10
Tan France tips us off on the backyard buy not to do without: plastic glassware. It's a chic way to host outdoors, particularly with kids in tow.
By Danielle Valente Published
-
 The latest Pottery Barn sale will help you create the backyard oasis of your dreams with up to 30% off
The latest Pottery Barn sale offers up to 30% off outdoor buys including furniture and decor. Here's what to shop for the spring and summer seasons.
By Danielle Valente Published