
Exposed oak beams are part of the charm of living in an old timber framed house. But, with chocolate box cottages generally having smaller, fewer windows and lower ceilings than their modern counterparts, it is not uncommon for them to feel darker than is desirable.
In a bid to overcome this, DIY expert Helaine Clare offers step-by-step advice on how to lighten oak beams, along with tips on the tools and equipment you'll require to complete the job.
If you're planning more renovations, our house renovation suppliers sourcebook is a must read. Plus, you'll find more advice and handy step-by-step guides over on our renovations hub page.
How to strip paint from oak beams
One way to lighten oak beams is to strip off the layers of paint. Companies such as Renaissance Beams offer this service, though it is possible to do it yourself.
It's important, if you opt to do it yourself, to be aware of the fact that lead could be present if any of the layers of paint are pre mid-1960s and that sensible precautions should be taken.
It's also worth considering that you might find, having removed the paint, that a wood stain has penetrated into the timber making it impossible to remove entirely. Similarly, you may find that the wood beneath the paint is unattractive or damaged by woodworm.
While there's little that can be done to reverse the damage caused by woodworm, the steps in our guide to how to get rid of woodworm are still important to implement.
If none of these problems are present, however, stripping paint from oak beams can be an easy way to lighten oak beams.

How to paint on oak beams
Another option to effectively lighten oak beams is to paint them. In addition to making a room feel larger and lighter, painting has the benefit of being easily scrubbed off at a later point, should tastes change.
Everything you will need to lighten oak beams
- Step ladder
- Hot water, bucket, sugar soap, bristle scrubbing brush, green kitchen scourer
- Paint scraper
; and dustpan and brush
- Owatrol ESP Easy Surface Prep
- Paintbrush and paint tray
- Clean cloths
- Farrow & Ball casein distemper ‘White Tie’
How to lighten oak beams
It's important to use the right products and to test before you start to lighten the oak beams in your home. Harsh paint removal methods, such as sandblasting, will spoil the look of oak beams while wire brushing will give it an unattractive finish. Similarly, choosing an inferior or unsuitable paint removal product could damage the wood or result in an unsatisfactory finish. Use our guide below to get it right.
1. Test a small sample area first
Choose a discreet area on an oak beam to test the ESP undercoat and casein distemper before tackling the whole ceiling.
There’s no way of knowing what finishes have been applied to the oak beams in the past and if they might leach into the distemper. Possible past finishes range from wood stain and creosote to paint.

2. Remove flaking paint from beams
Once satisfied, use a scraper to go over the beams and remove any loose or flaking paint. Hold a dustpan in the other hand to make cleaning up easier.
Ceilings can be a pain in the neck quite literally: use a stool, step ladder or hop-up so you can work at a comfortable height and work for short periods at a time.
3. Scrub away dirt and grim
Using a bucket of hot water, sugar soap and a bristle scrubbing brush, scrub away at the beams to remove all traces of dirt and grease. On beams where gloss paint or varnish has been applied, rub vigorously with a green kitchen scourer after cleaning to create a roughened key for the distemper coats.

4. Allow beams to dry slowly
Using clean hot water and cloths, rinse away the suds, grime and dissolved grease. To reduce drying time use an old T-shirt to wipe over the beams to mop up the surface water. Don’t apply artificial heat to the beams – it’s better to open doors and windows to allow them to dry slowly and naturally.

5. Apply ESP to help bonding
Once the wood is completely dry apply ESP with a brush or cloth. This will create a barrier between the old and new finishes which will help the distemper to bond and reduce the migration of stains from the original applications. Pour some fluid into a tray and hold it beneath as you coat the beams.
6. Dilute casein distemper
Stir the can of casein distemper thoroughly. To ensure a good flow as you apply it, dilute it with water by up to 10%. A greater dilution is ill advised as it will become messy to apply and further coats will be necessary to provide good coverage. Stir well to mix it before use, then occasionally during use.
7. Apply distemper in several coats
Do not use casein distemper when temperatures are below 10ºC or above 30ºC. Don’t expect the first coat to cover the black; at least two coats will be needed. Don’t apply too thickly as the paint will sag and may crack once dried. When the first coat is dry – around two hours – apply the second. If necessary, apply a third.

8. Maintain beams regularly
Store unused casein distemper in a frost free place, so it can be used for any touching up. Spring clean the beams with a feather duster to flick away dust and spider webs. Wipe gently with a damp soft cotton cloth or sponge if required. Casein distemper has a very matt finish and will mark or scuff if washed.
Looking for more renovation advice?
-
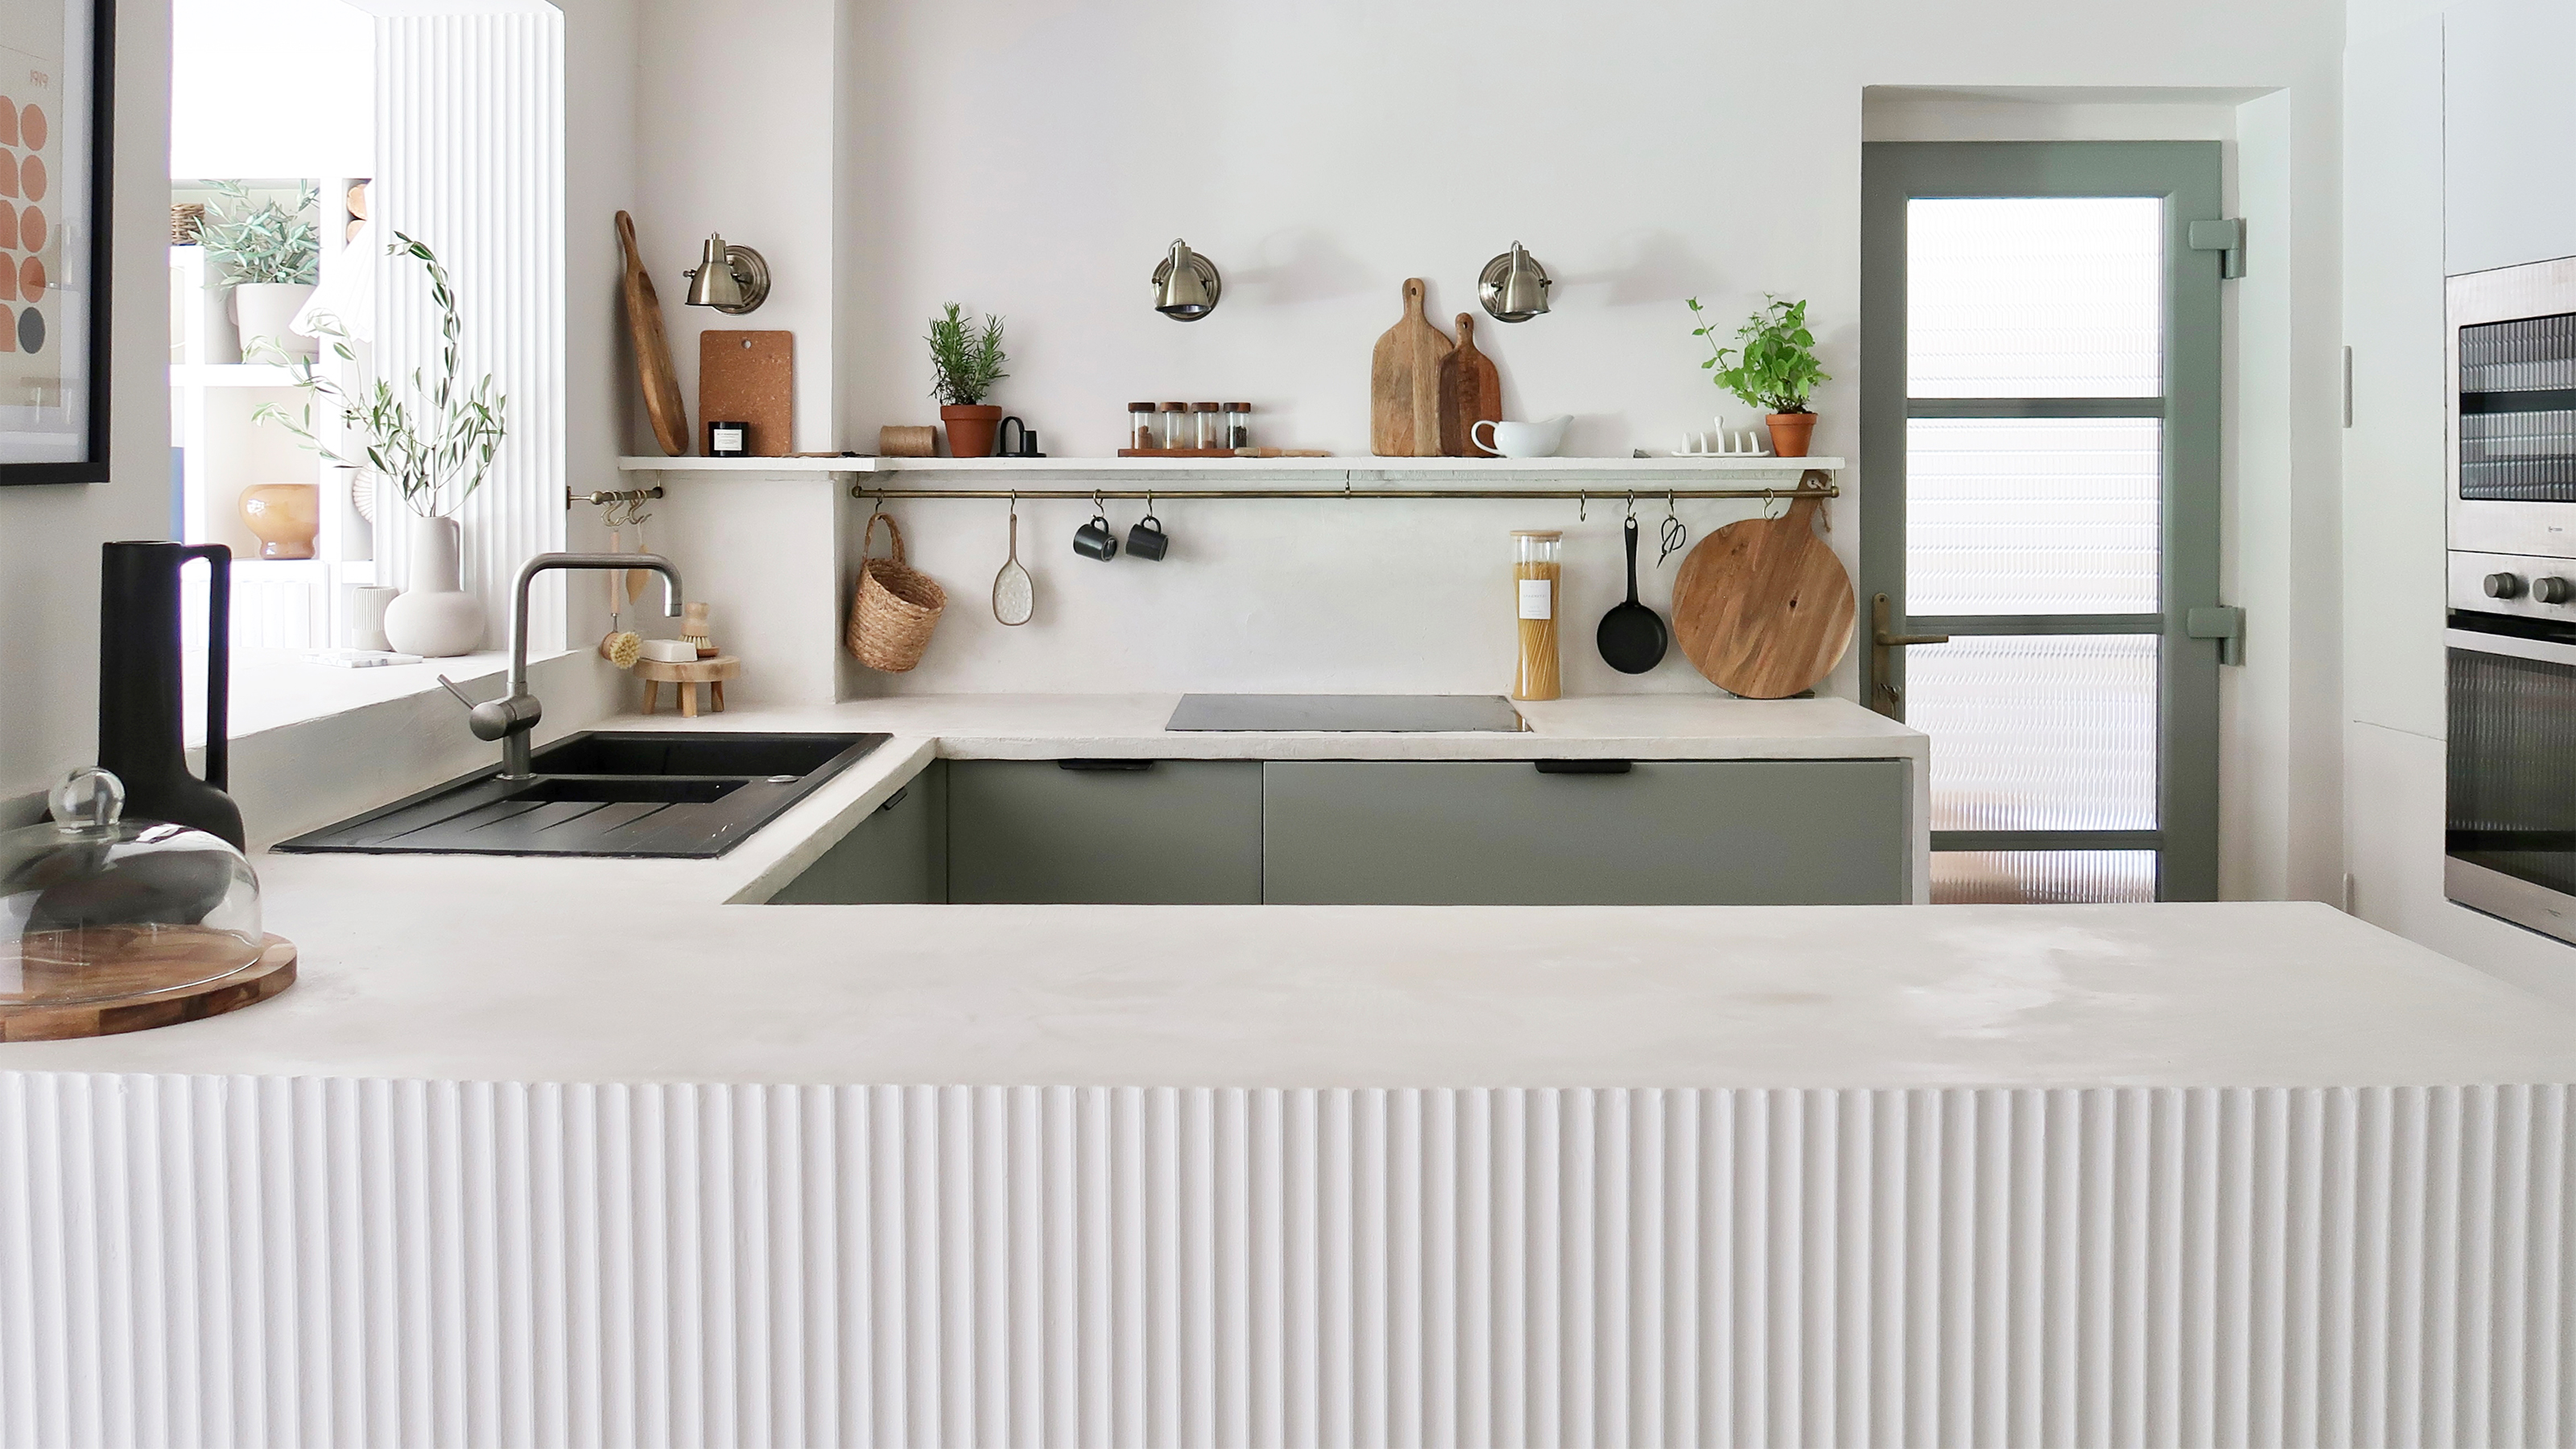 A $200 fluted panel transformed my drab kitchen in just one weekend
How to install a fluted kitchen panel: A speedy and achievable DIY tutorial even for DIY novices
-
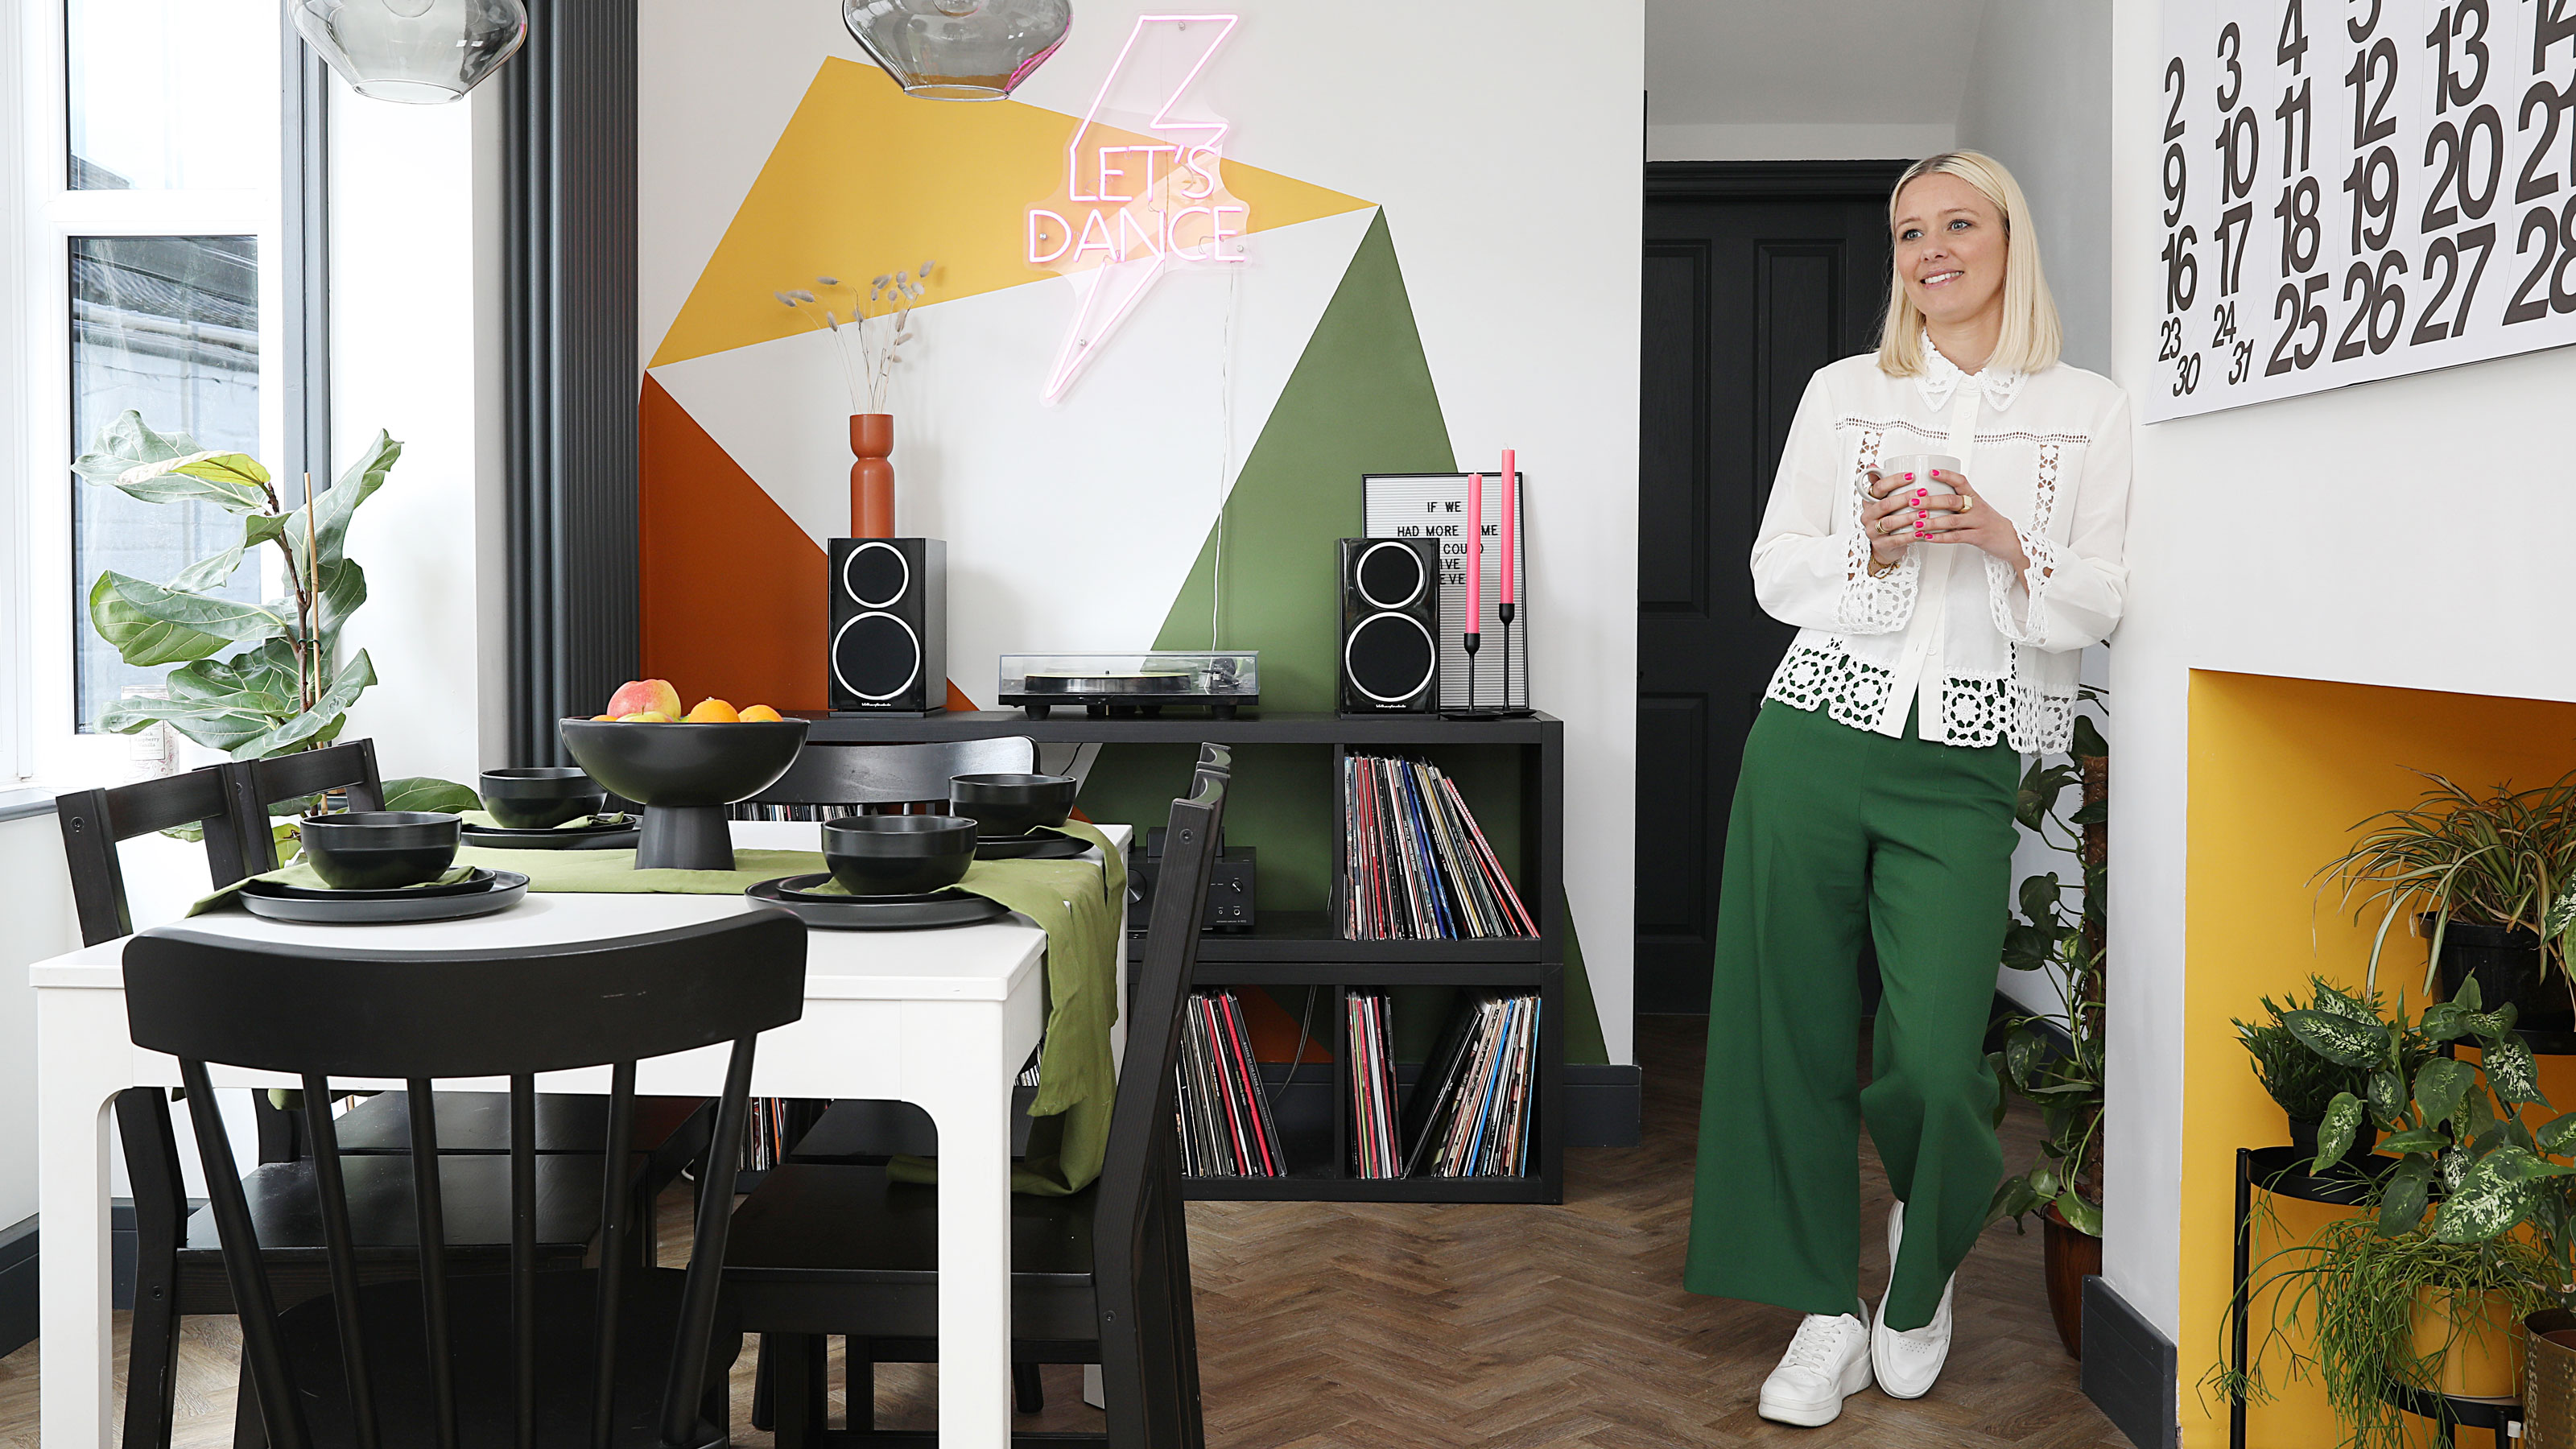 This colourful home makeover has space for kitchen discos
While the front of Leila and Joe's home features dark and moody chill-out spaces, the rest is light and bright and made for socialising
-
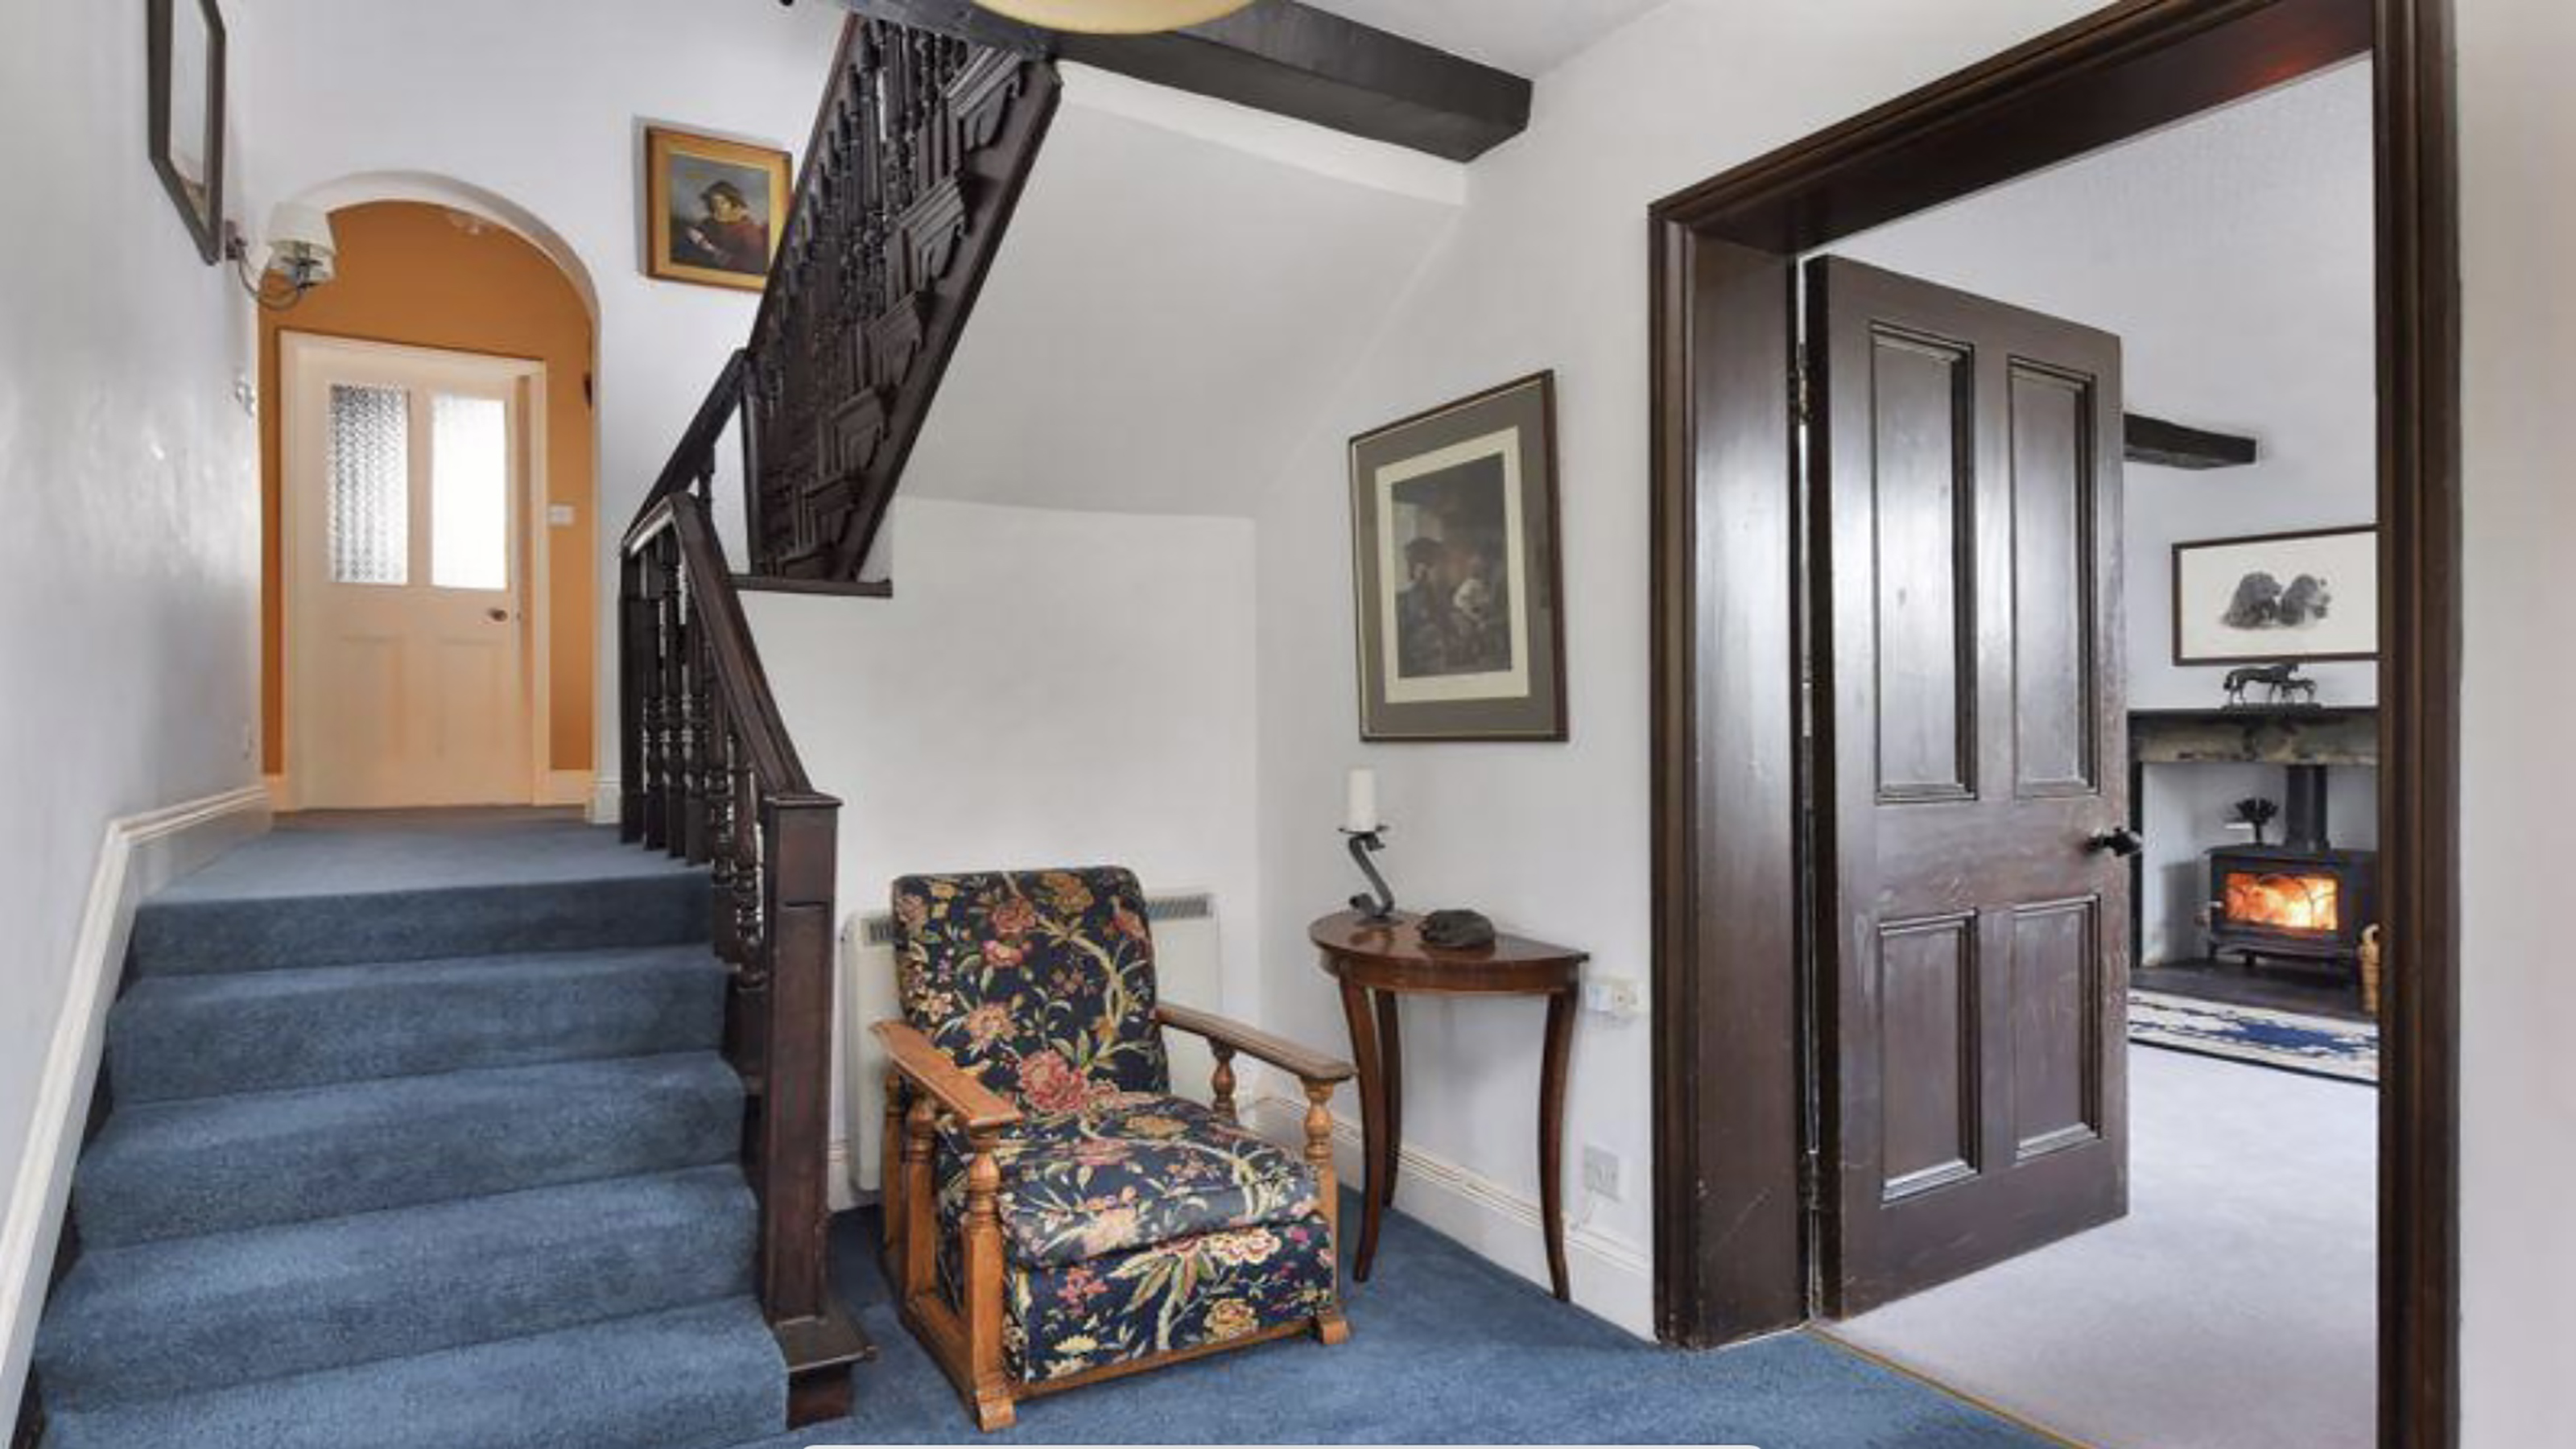 How to replace a broken staircase spindle in 30 minutes flat
A missing or broken spindle on a staircase is not only unsightly, but it can be a real hazard. This is how to fix it in a few quick steps.
-
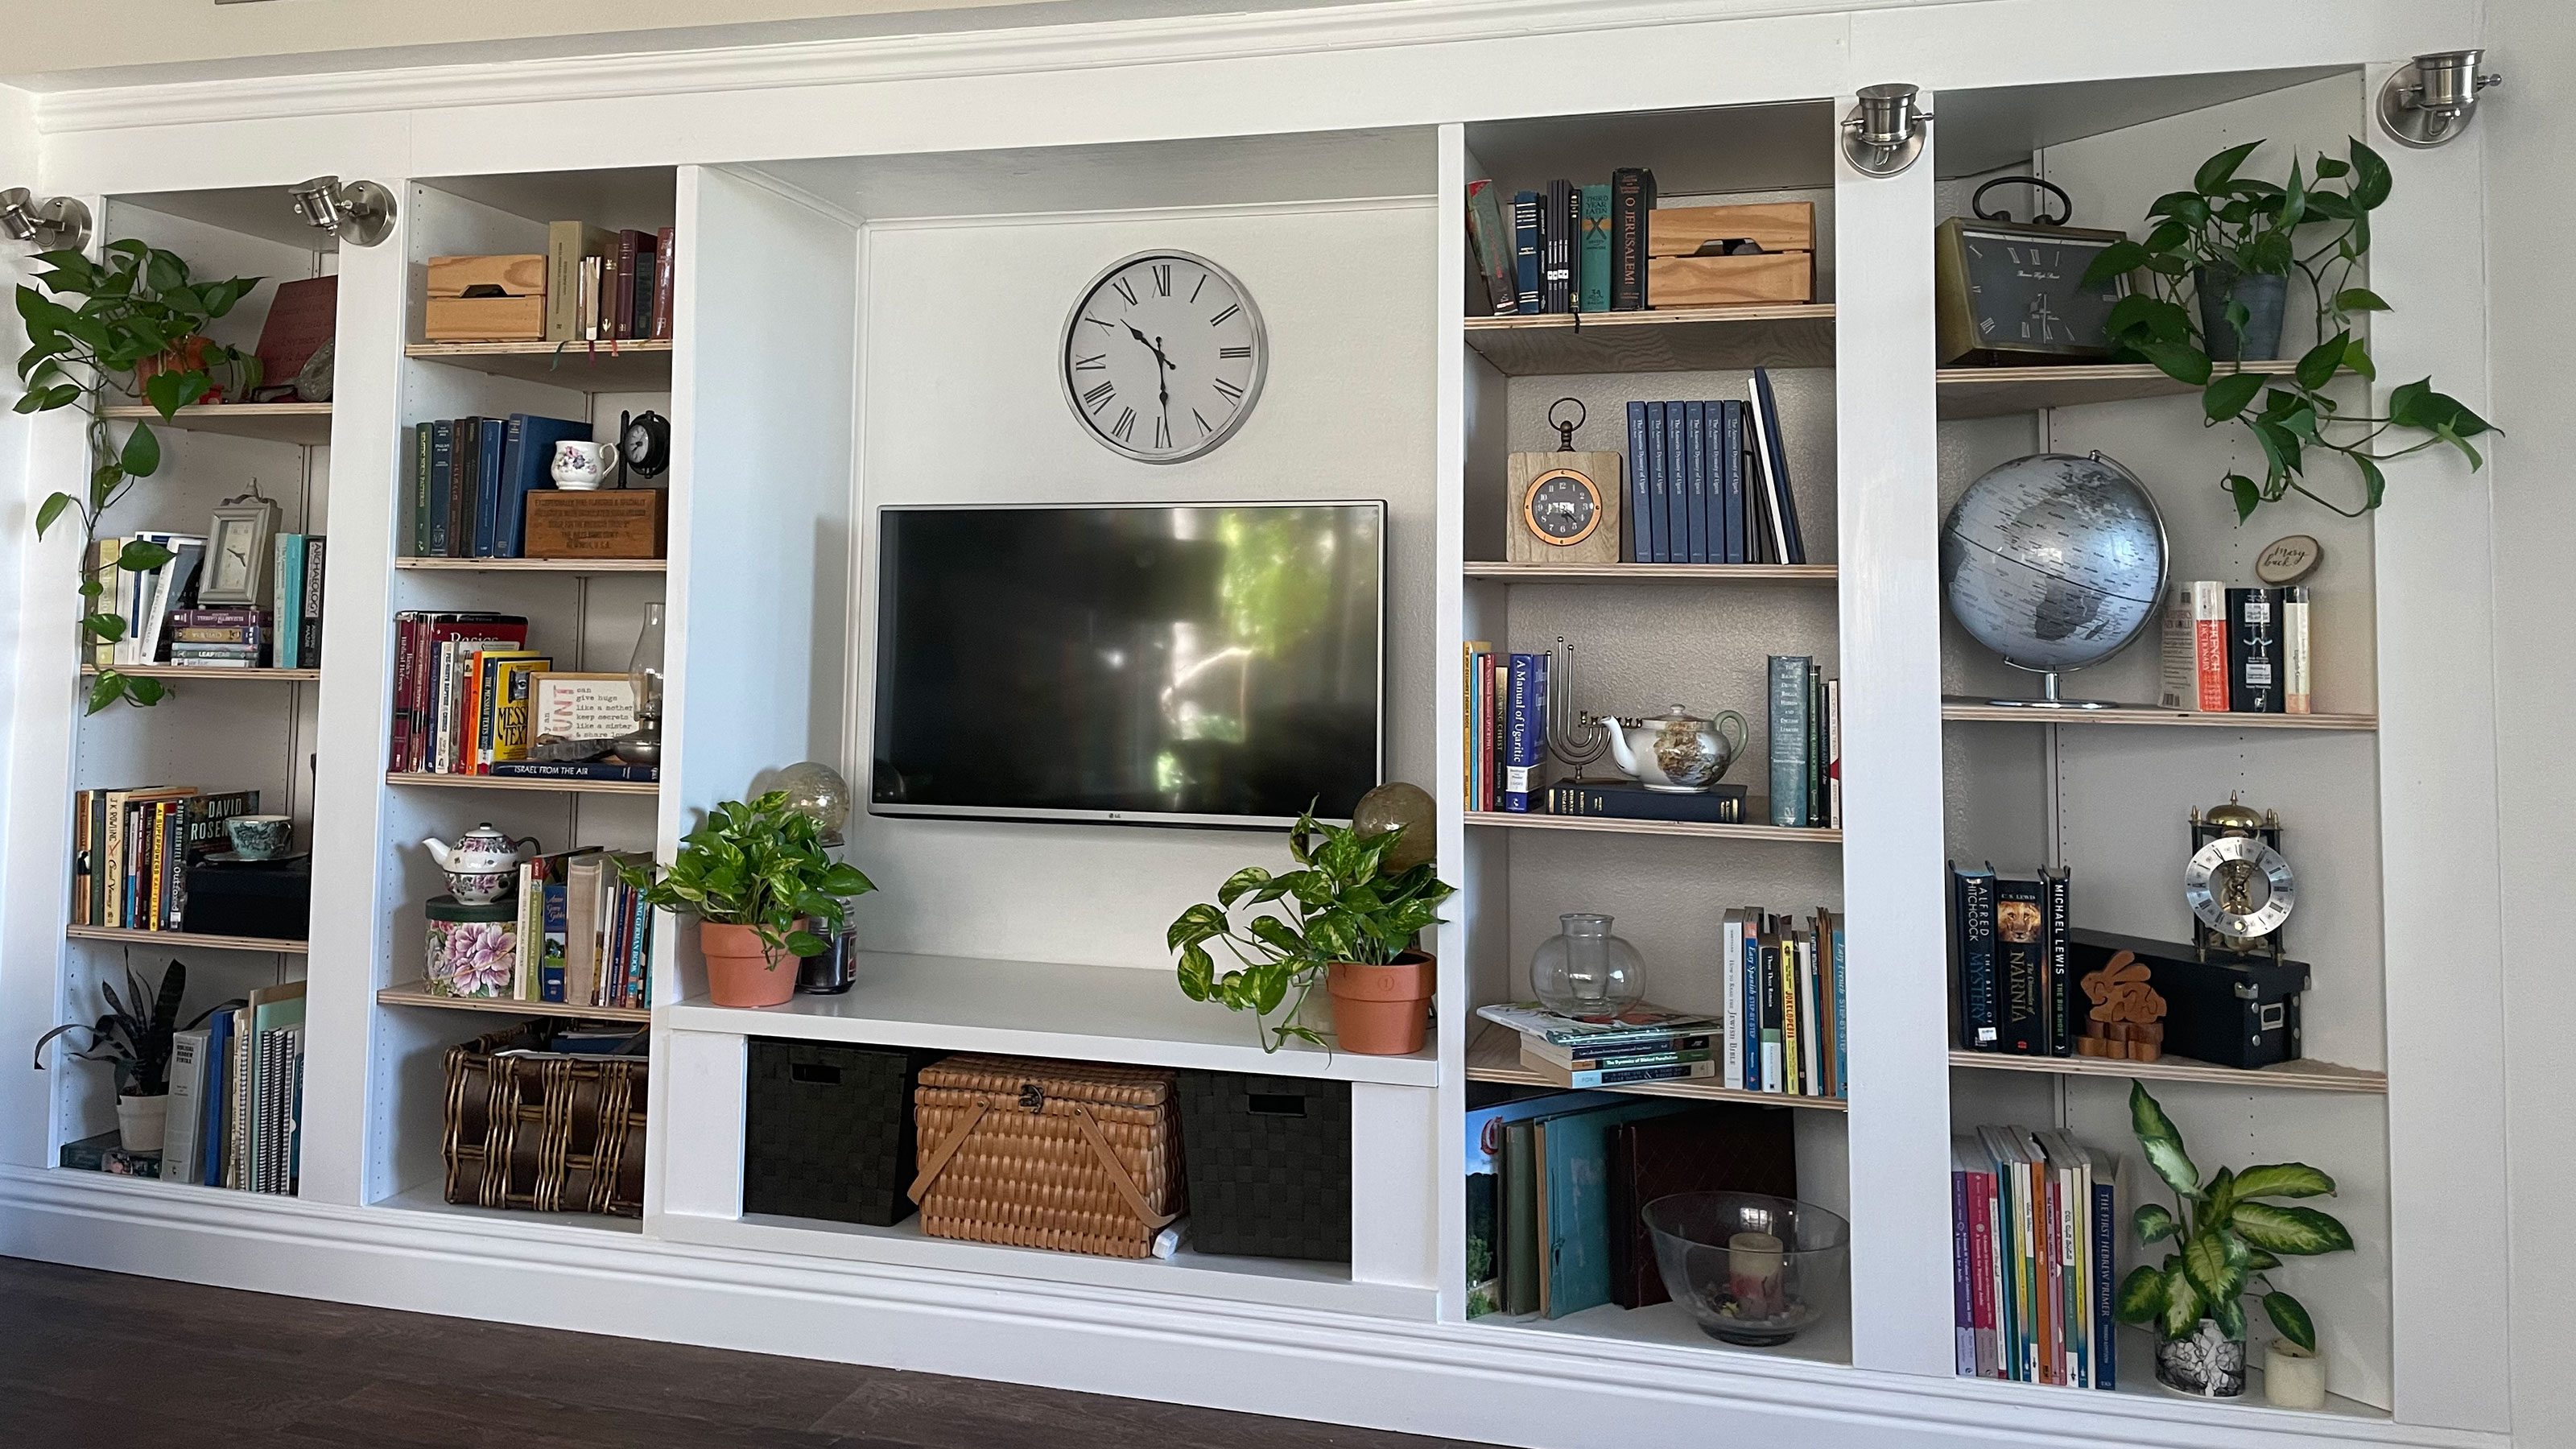 An IKEA Billy bookcase hack inspired this cute media wall DIY
This cute DIY was inspired by an IKEA Billy bookcase hack and brought a ton of symmetry to an otherwise basic media wall space.
-
 Share your small space glow up to win $150 in the Real Homes competition
Show off your creativity and DIY skills to win $150 and for the chance to be featured exclusively in Real Homes magazine
-
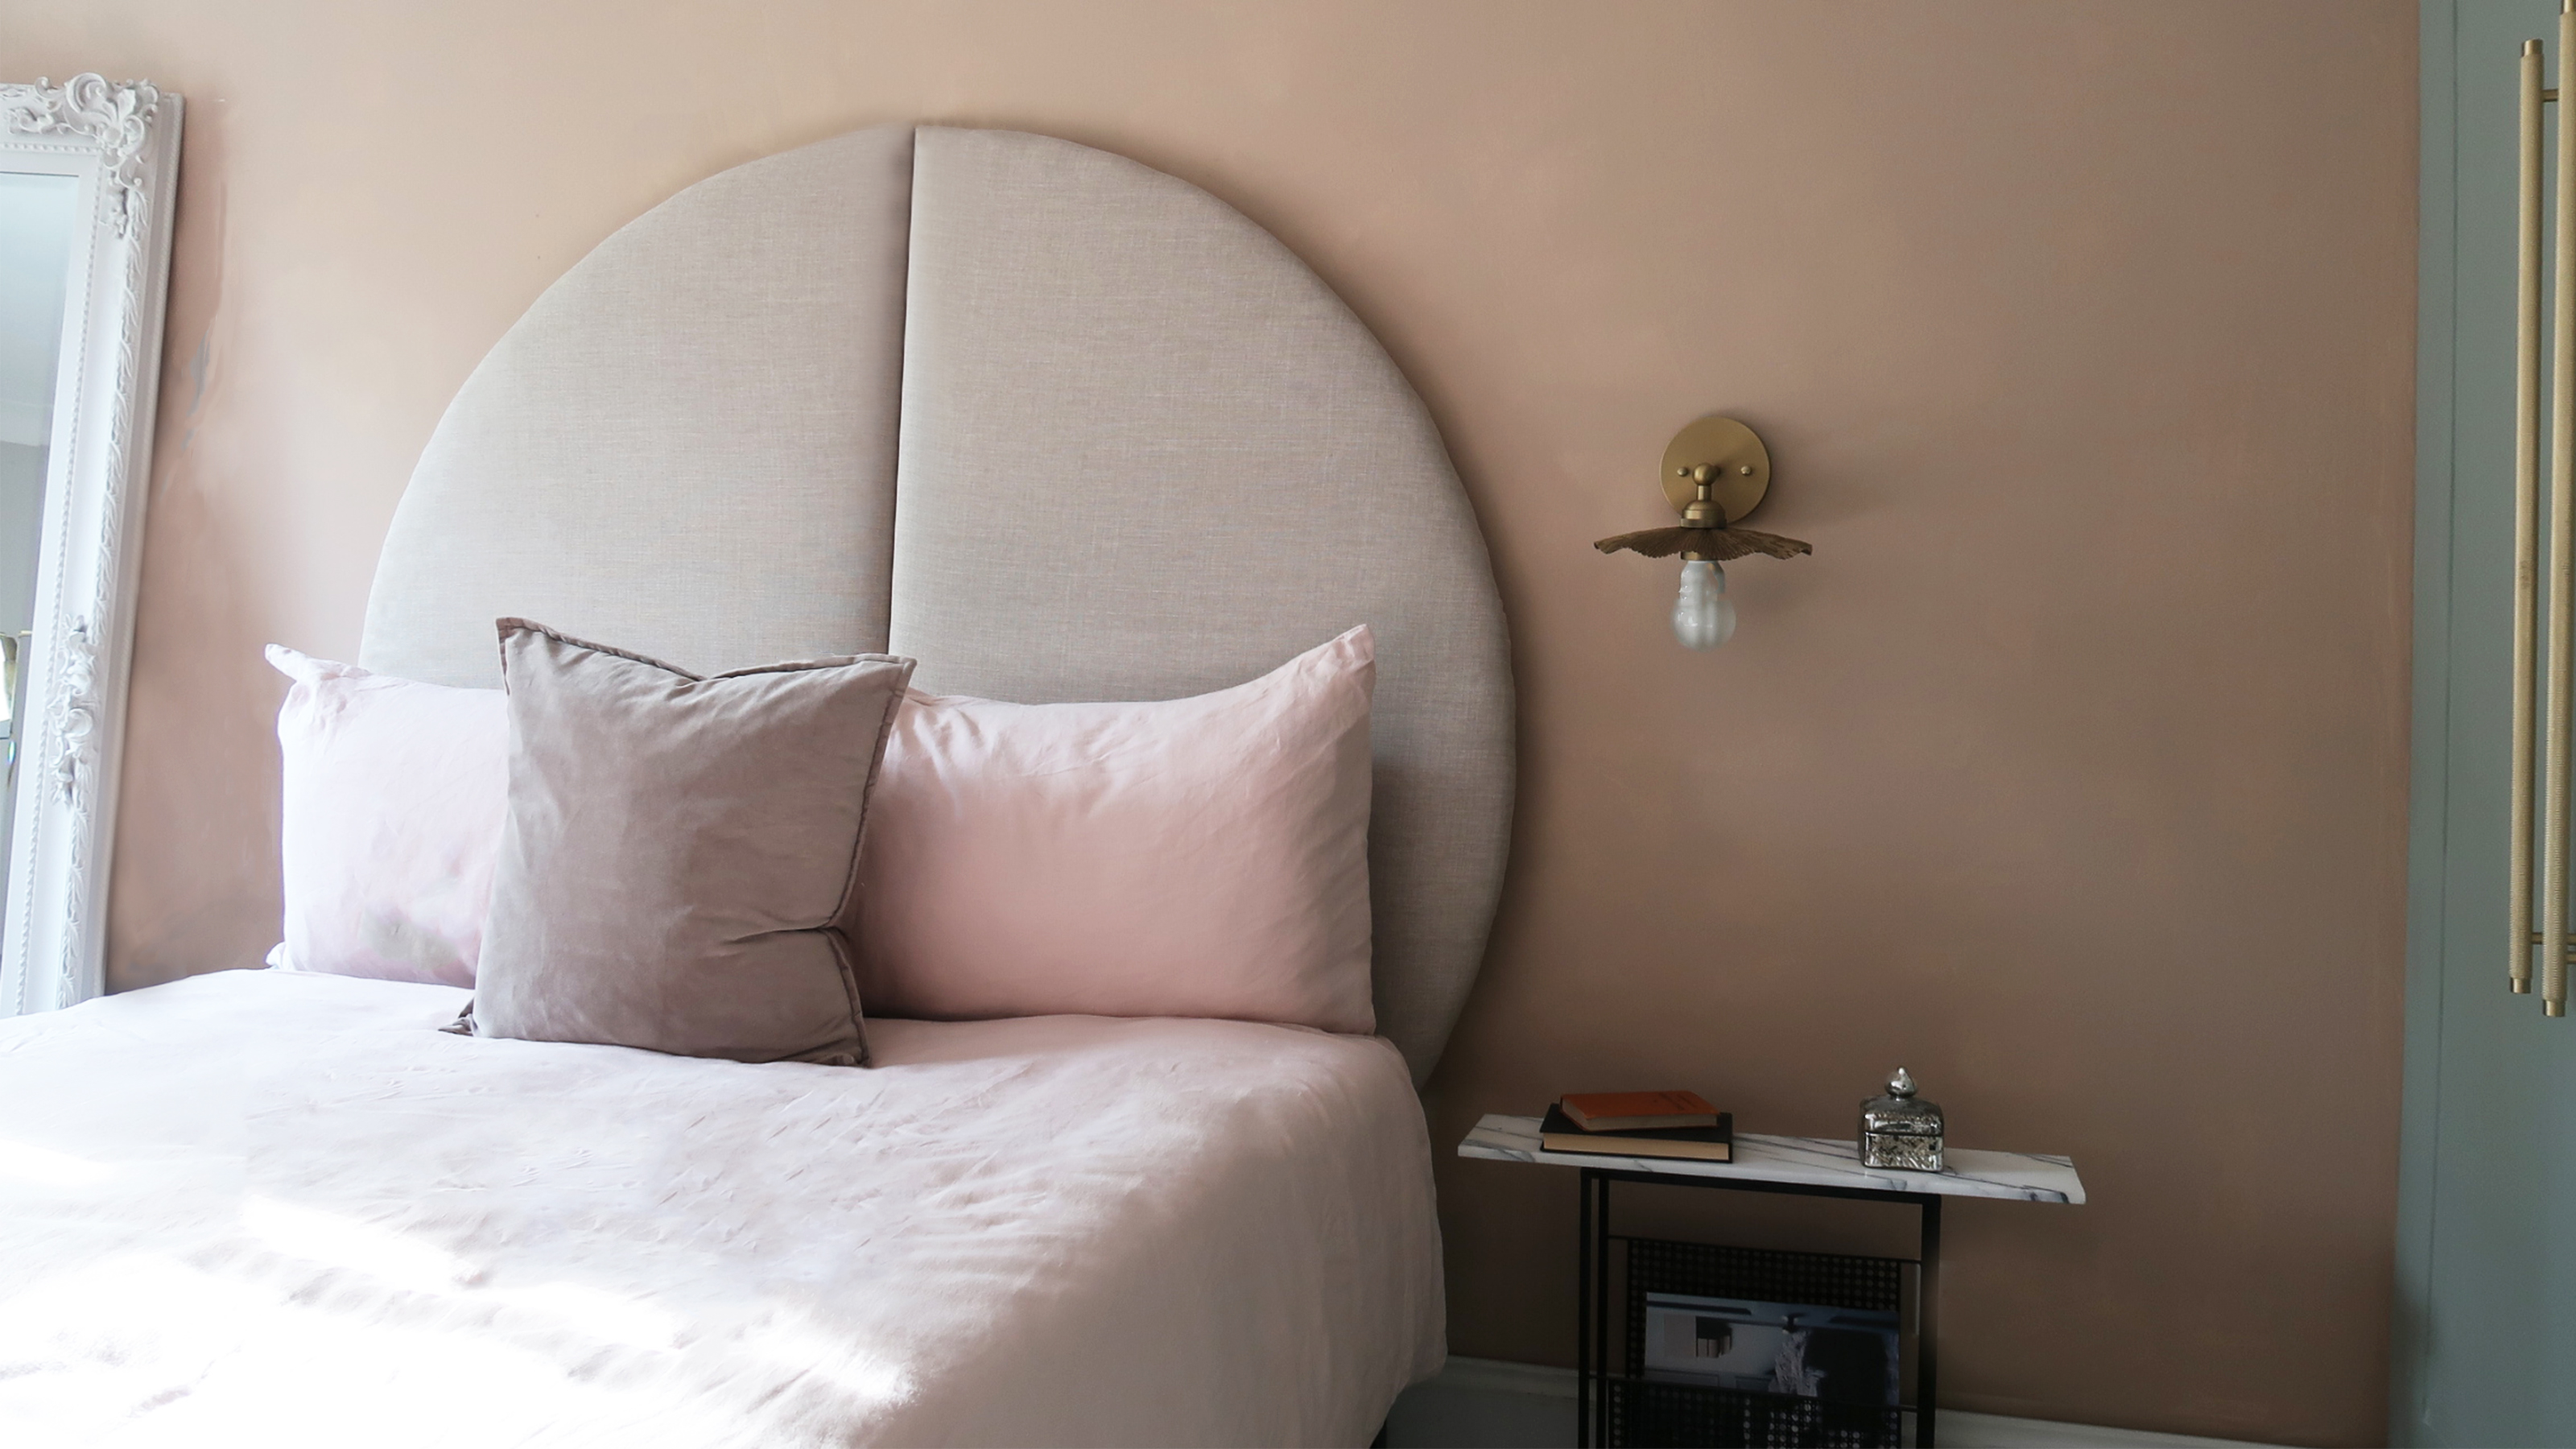 This oversized headboard looks designer, and takes 5 steps to DIY
Super simple to DIY, this oversized headboard will give your bedroom space all the designer vibes you could dream of.
-
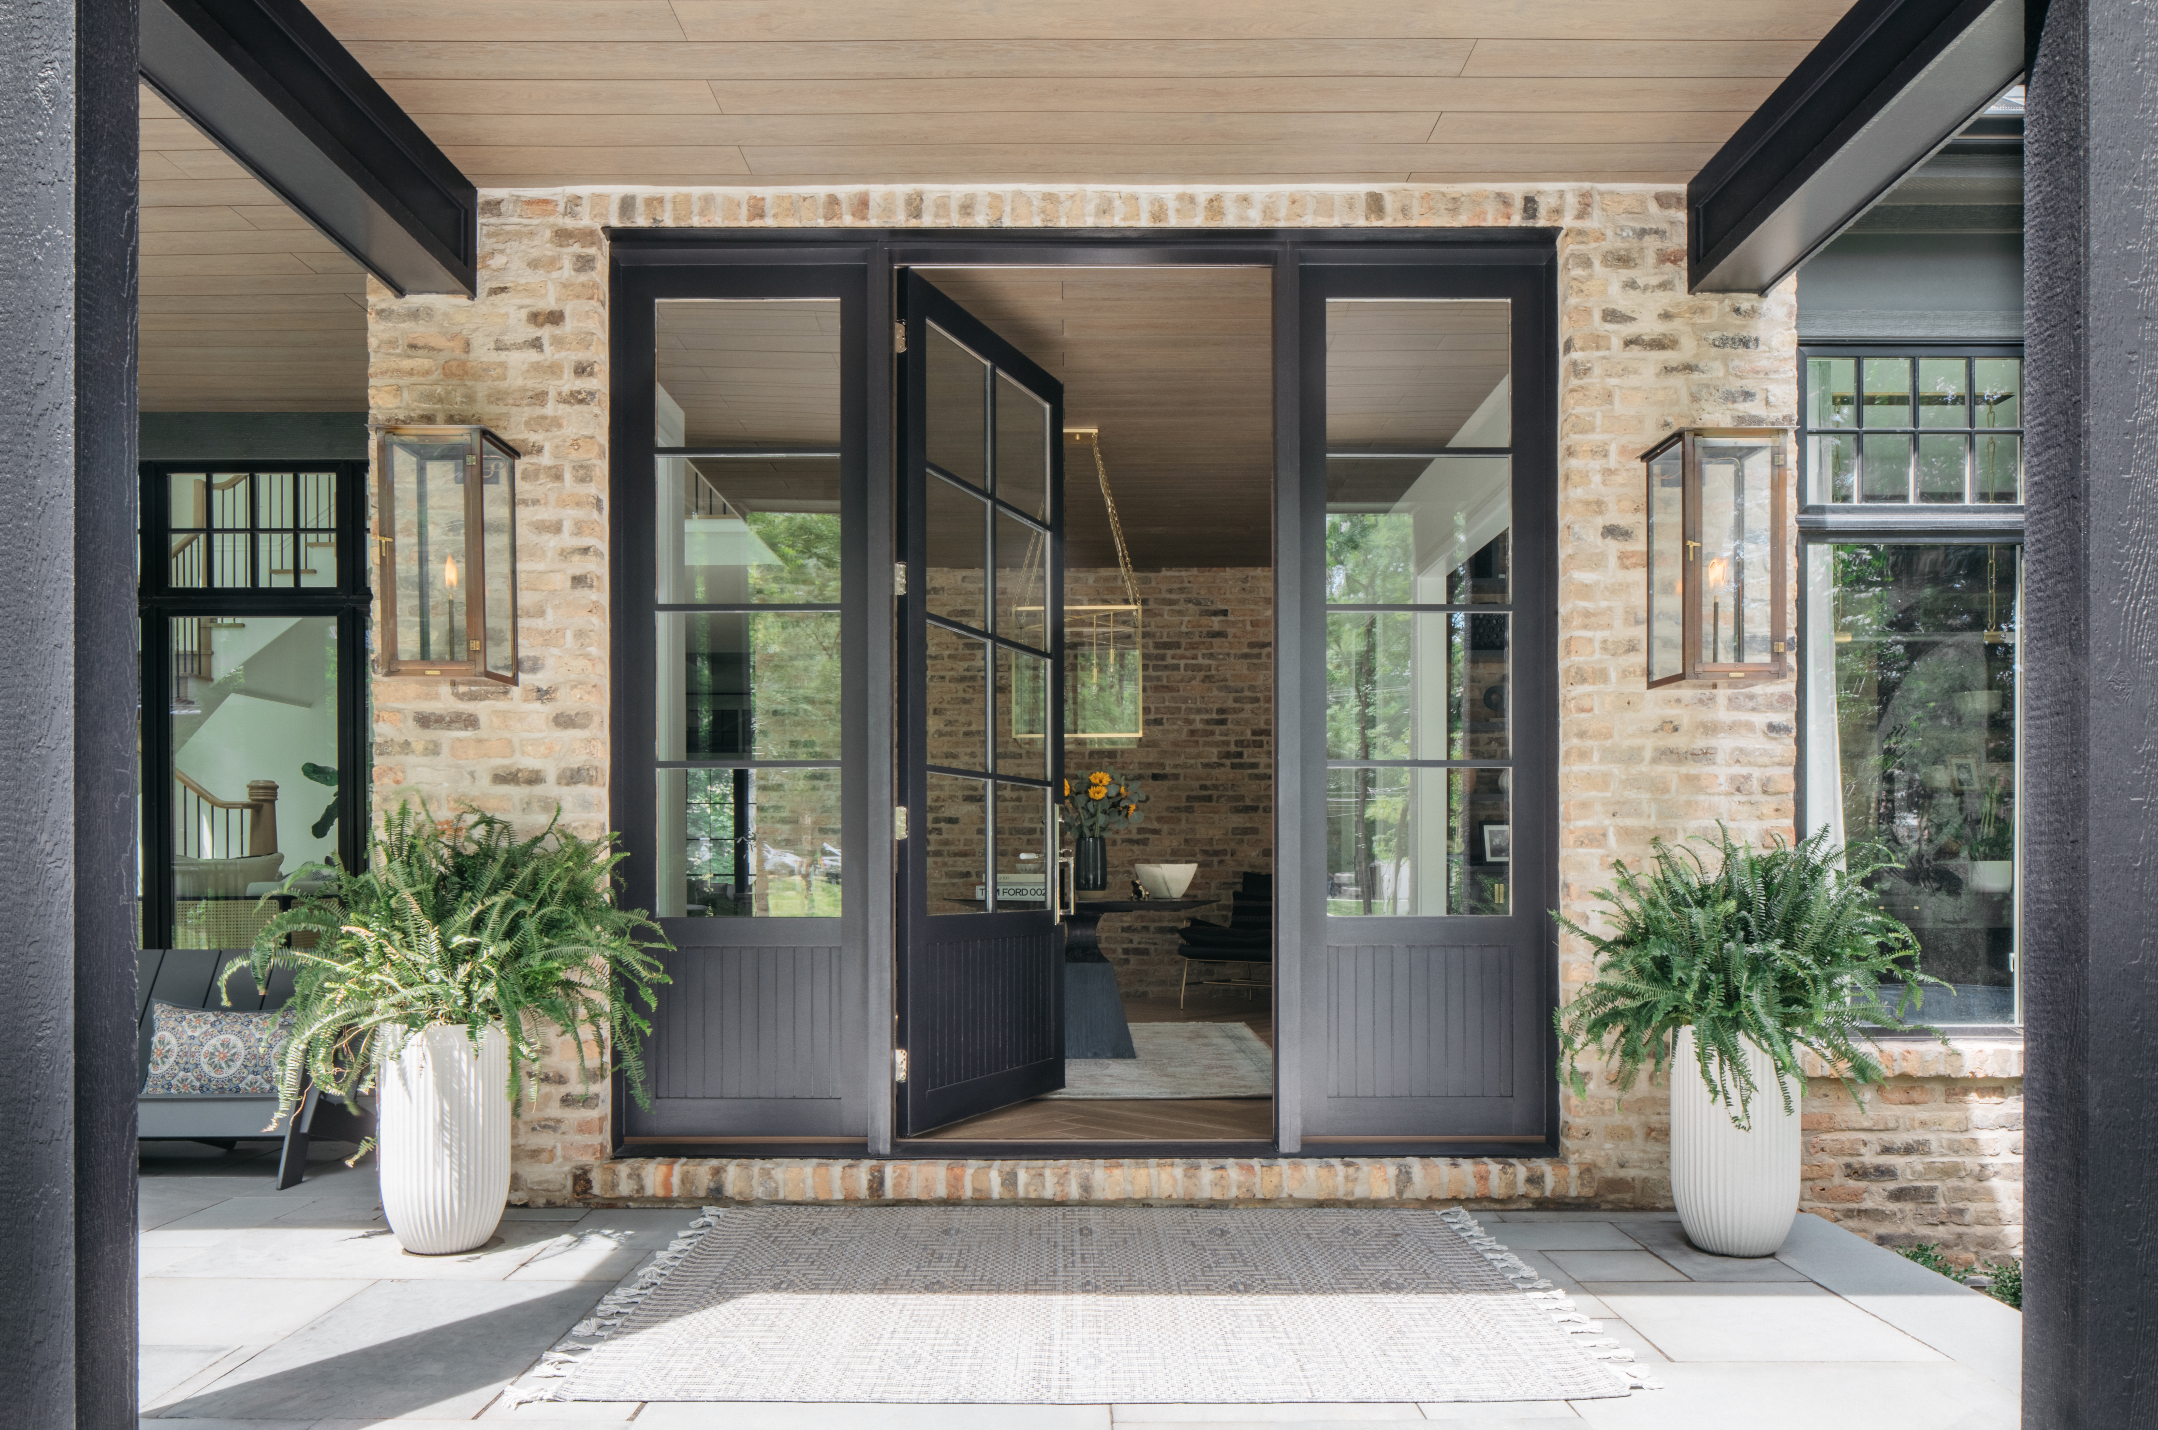 How to paint a door and refresh your home instantly
Painting doors is easy with our expert advice. This is how to get professional results on front and internal doors.
-
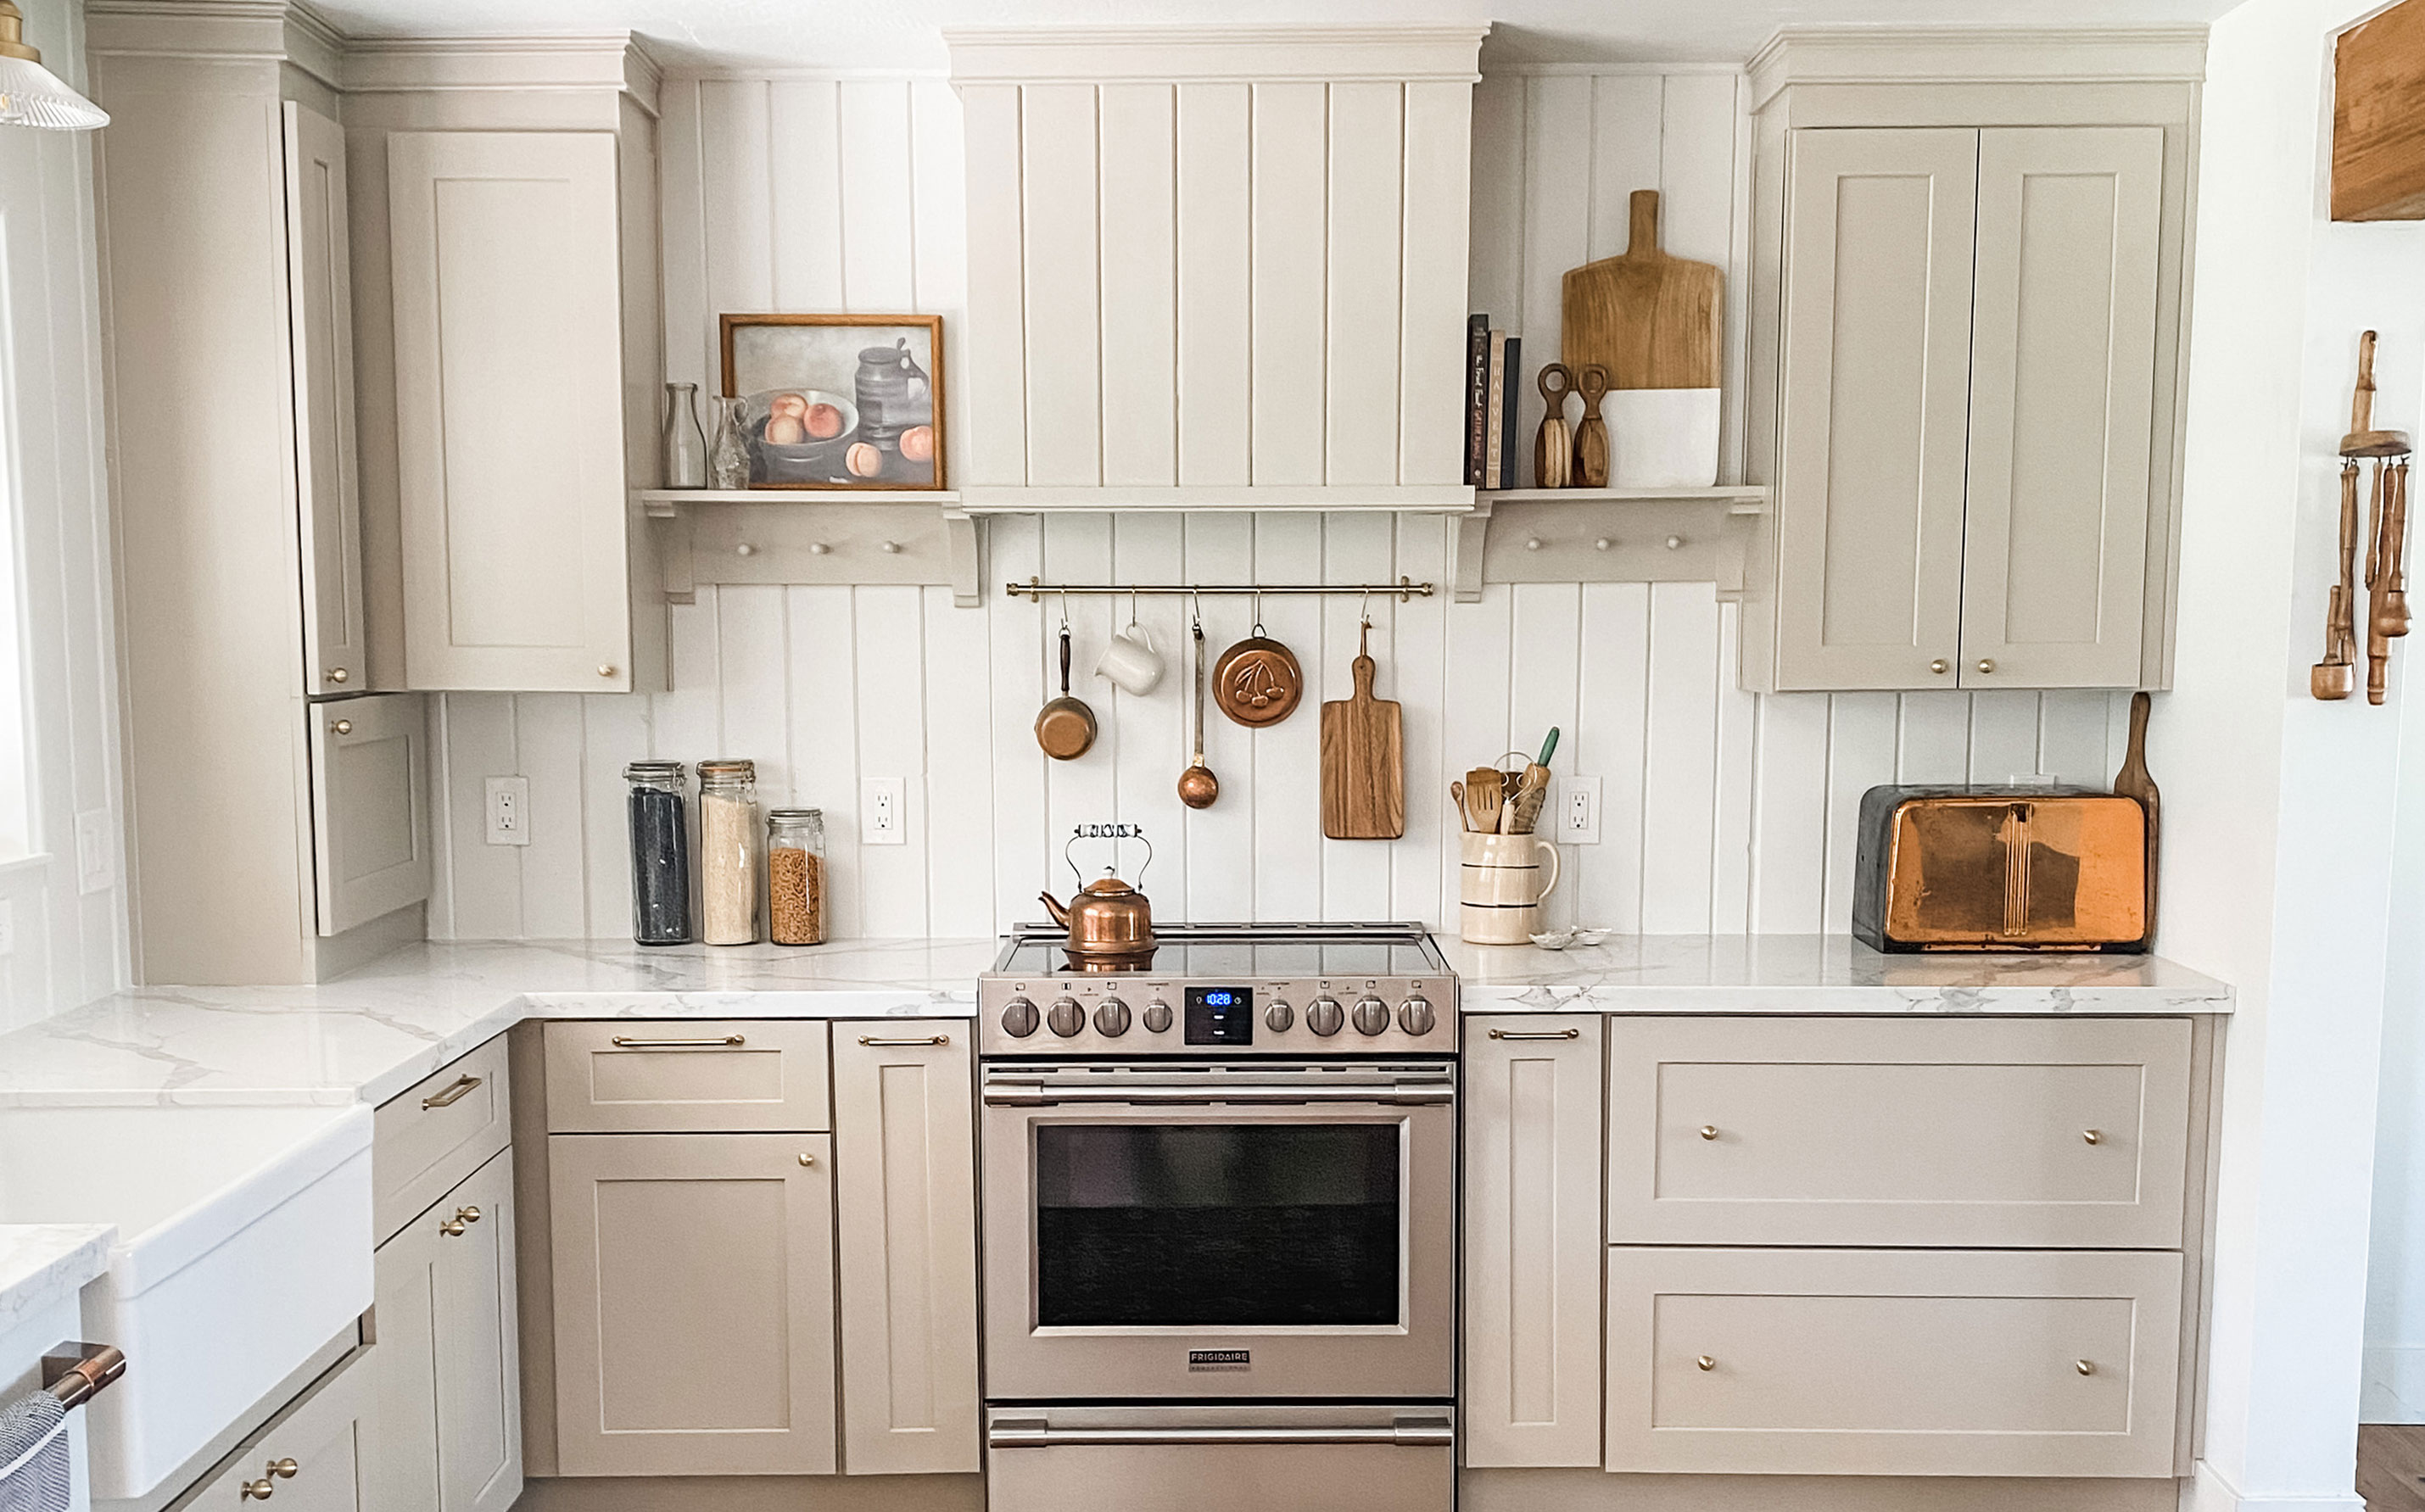 My DIY range hood and backsplash build gave my kitchen the perfect farmhouse finish
I craved charm in my kitchen space and adding a custom range hood and shelving was the best move.


