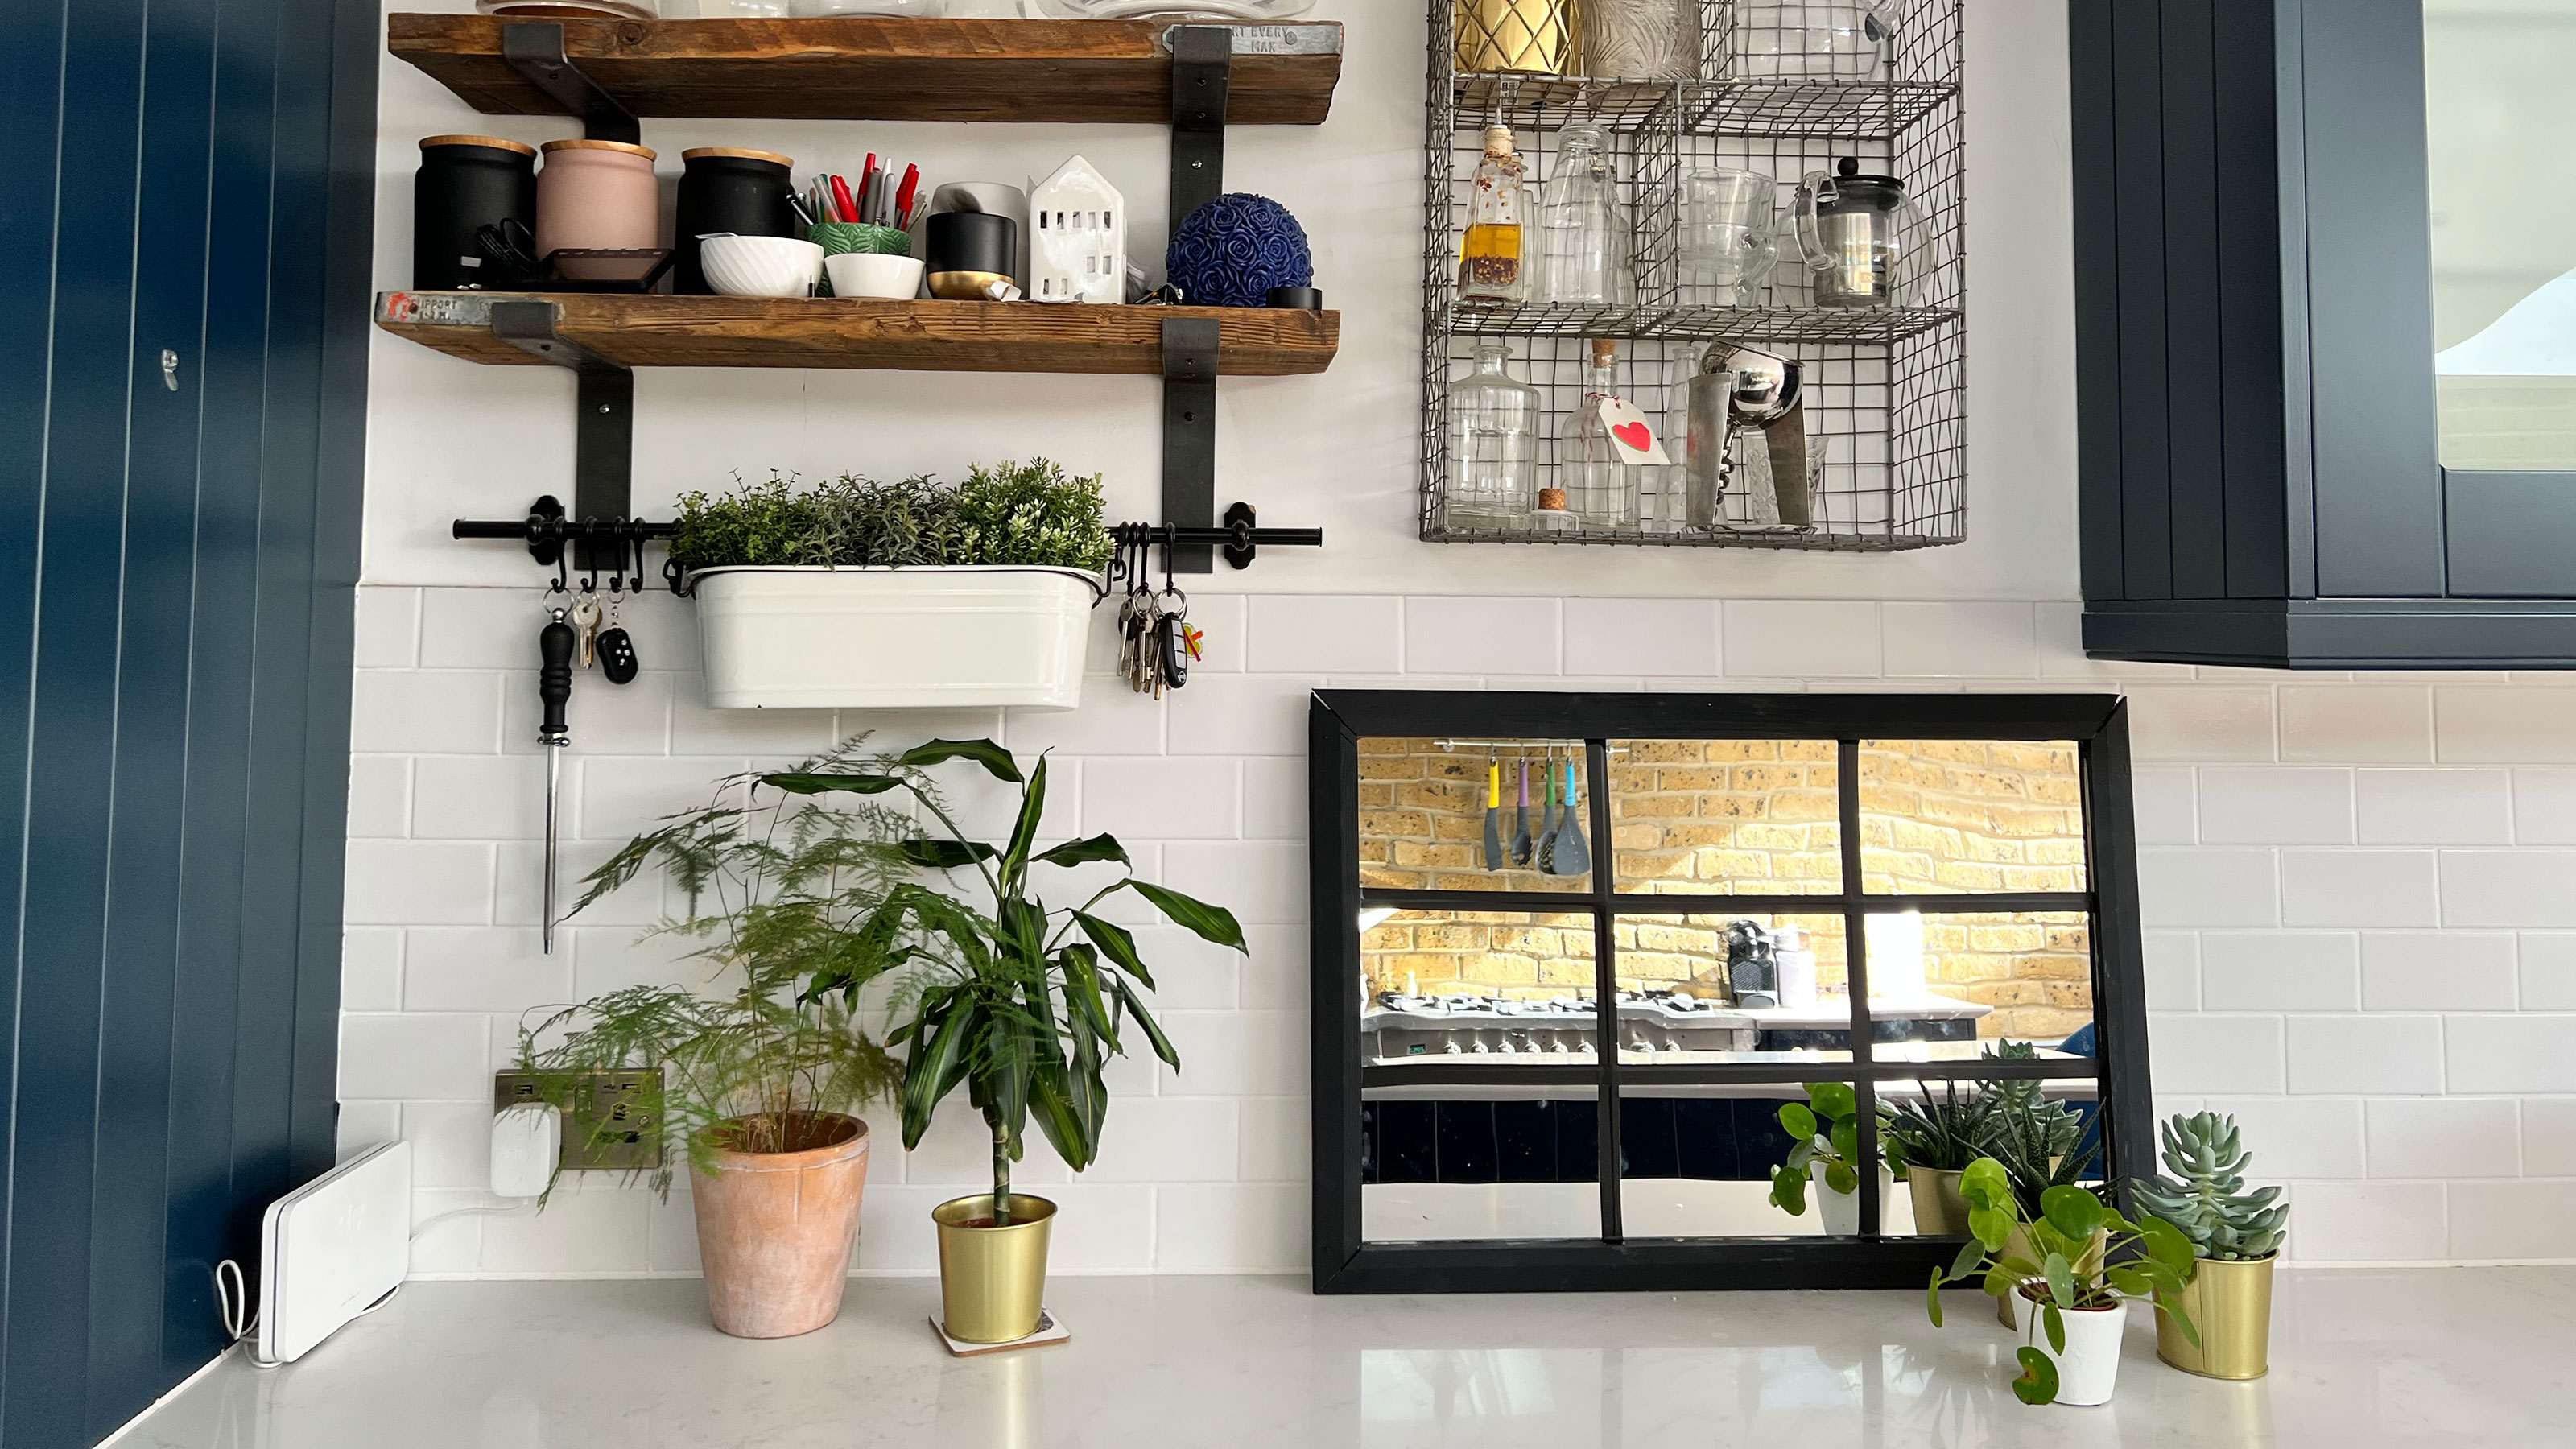

Follow this guide for a cheap and quick way to make a Crittall-style mirror for your home or garden that will have your buddies green with envy!
Crittall has been making a comeback for a fair few years and while it can look pretty lush, it's also a little bit on the expensive side and these days, we’ve all got to reign in that spending haven’t we? But does that mean we have to sacrifice style? Absolutely not! Making this the perfect budget DIY project.
Difficulty rating: Easy to medium, cutting the wood can be a little tricky, you can go for straight edges rather than angles to make it simpler
Time taken: two hours or so
Cost: If you’re anything like me you will have a bunch of off cuts and old wood and paint lying around. If you do then this will cost around $10 to $20 as you just need to buy the mirror tiles. If you need the other bits then you can go to a timber yard or recycling center for the wood and use a tester pot of paint as you only need a little so you should be able to do this for around $40 compared to the $200 or so they cost to buy!
How to make a Crittall-style mirror step-by-step
First off, what's Crittall?
Classic, Chic, timeless is what! Crittall Windows are steel-framed windows, originating in Essex, England in the 1800s. These days, although officially only windows made by Crittall themselves can be called Crittall, we use it to refer to any black framed window and the style has even made a foray into shower screens and of course, mirrors! So, why is the style so popular? Because it looks so stylish! The black on glass and mirror contrast is a surefire way to add some style to any home or garden. There are different ways to do it for less, you can even DIY Crittal-style windows using electrical tape... So, let’s get to it and learn how to add a little Crittall into your life, without the price!
You will need
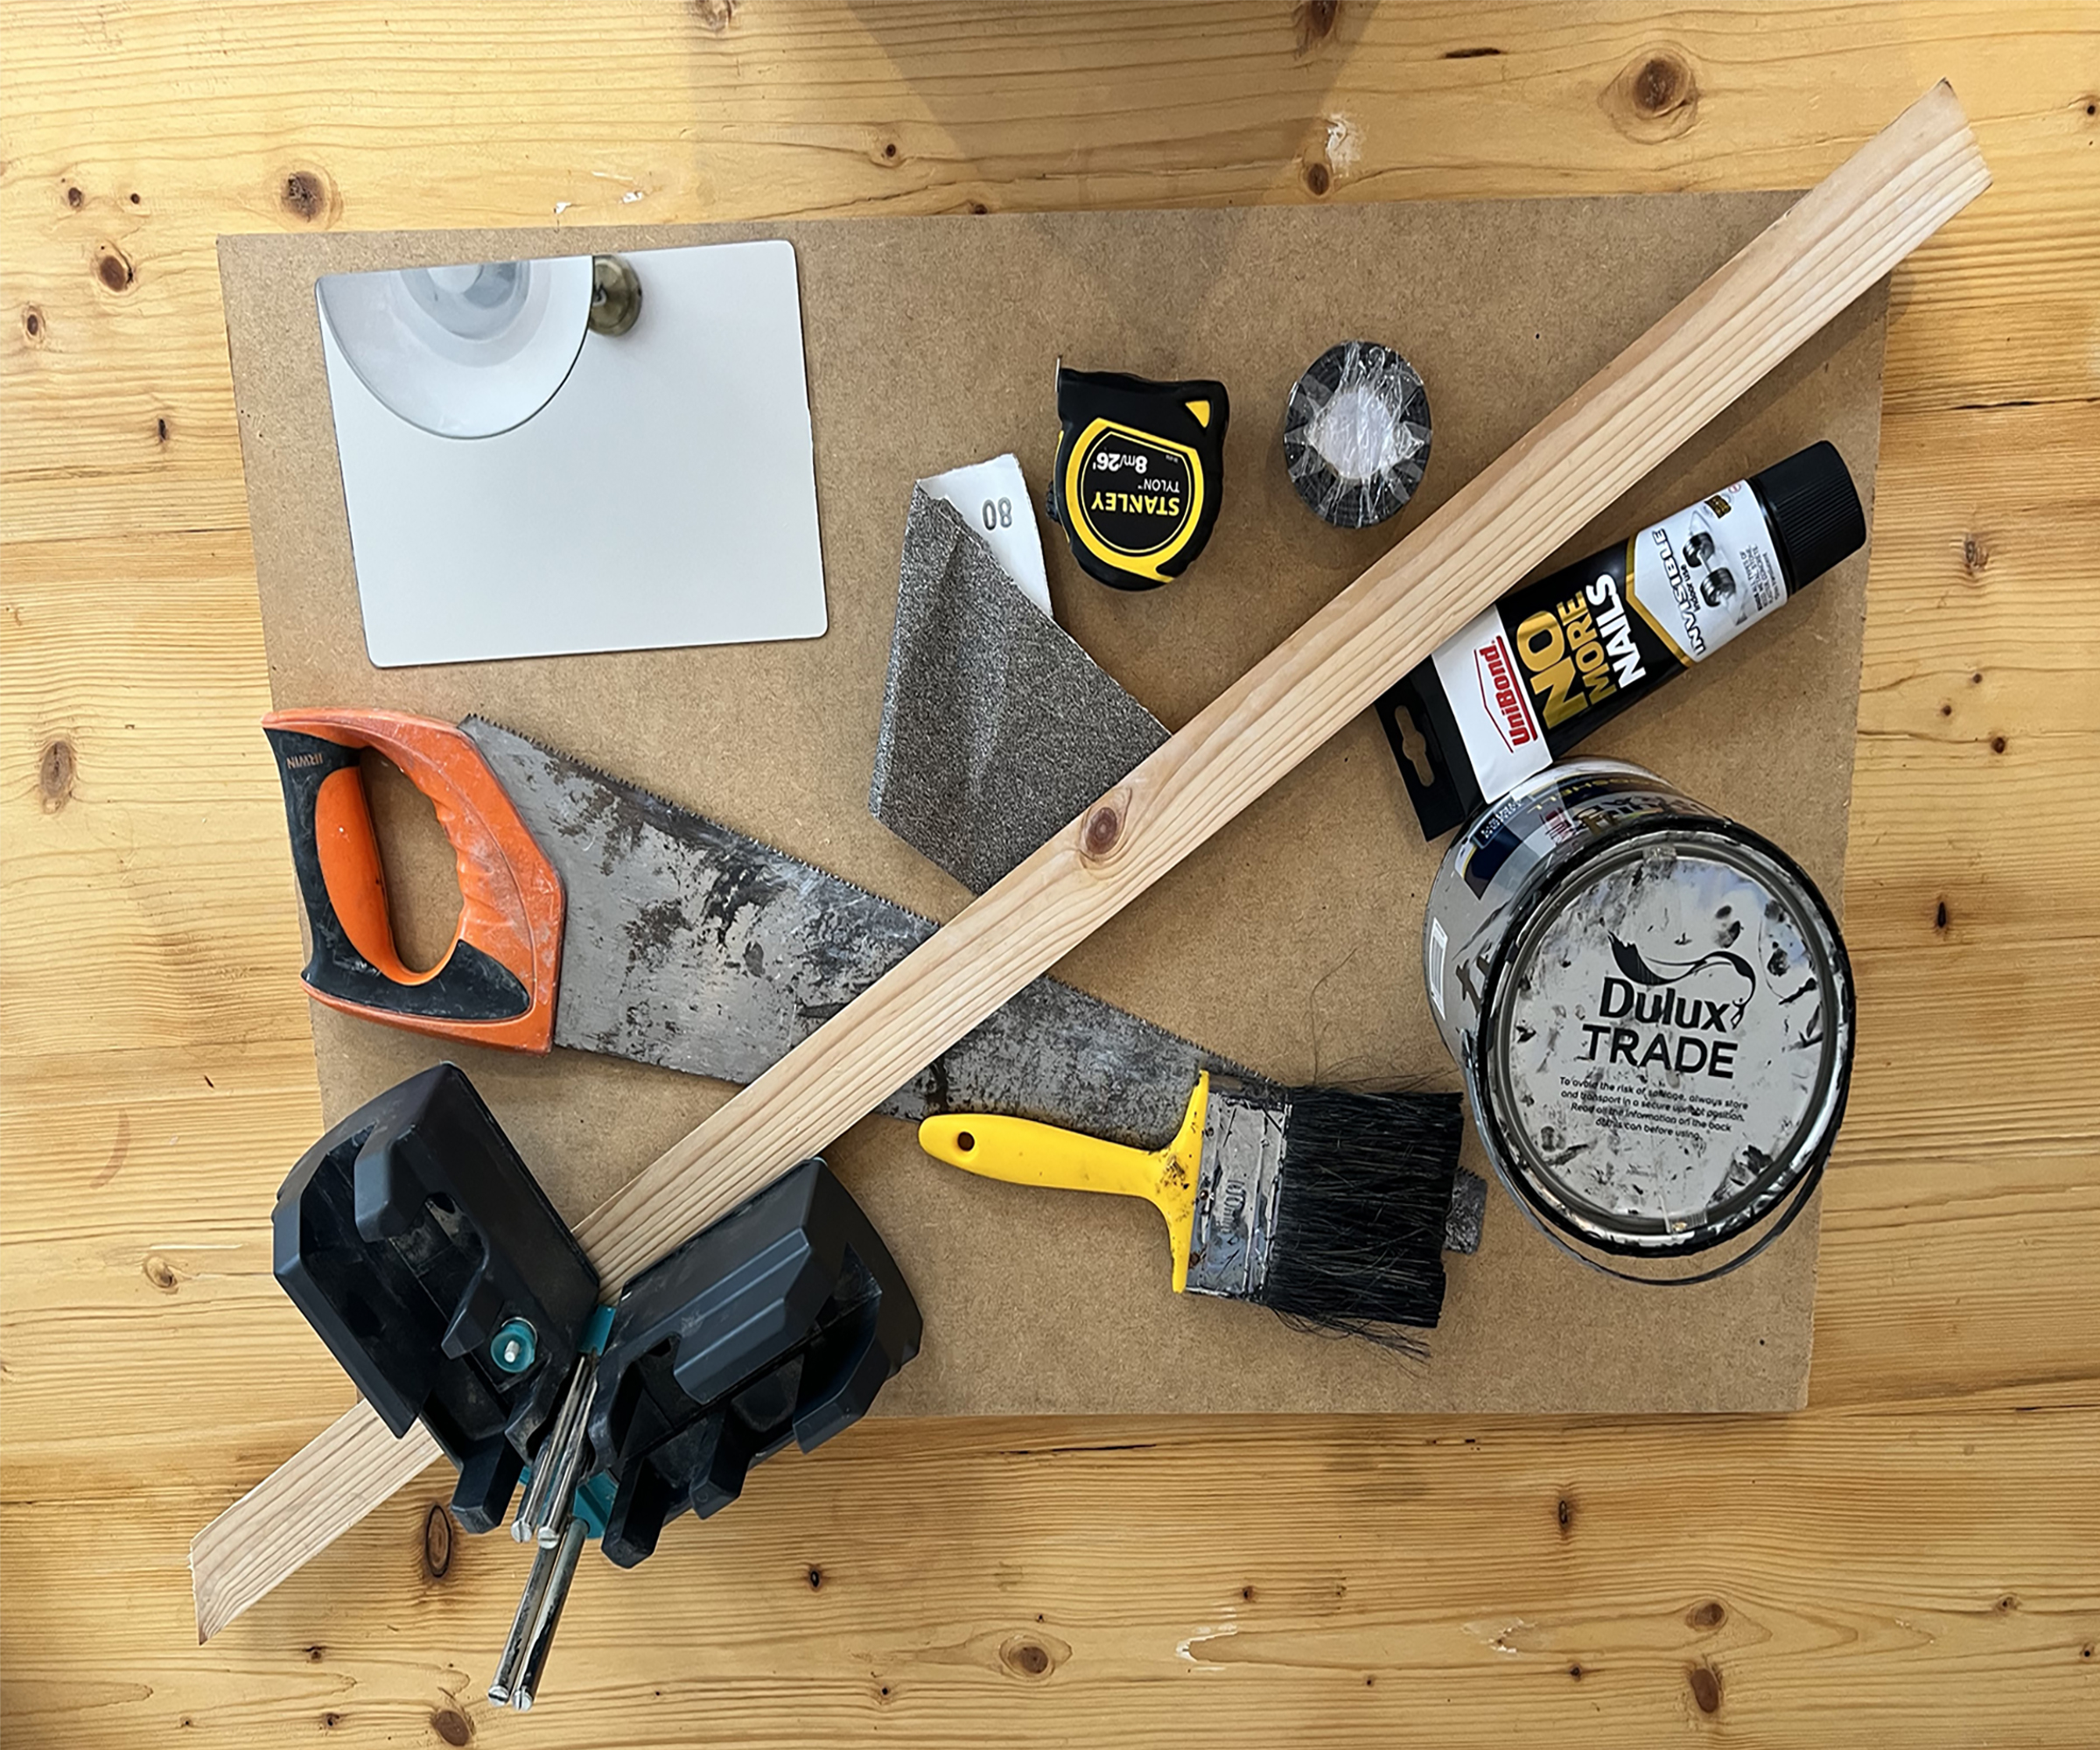
1. MDF or hardwood cut to size
2. Black paint
3. Electrical tape or lead tape, lead tape will look more like Crittal but electrical tape will do just fine and is cheaper
4. Tape measure
5. Hand saw
6. EONAZE Self Adhesive mirror tiles from Amazon
7. Right angle cutter (optional)
8. Hammer
9. Nails
10. Pencil
11. Sandpaper
12. A good Paintbrush
13. Frog tape
14. Glue
Optional: seal the wood with waterproof sealant and use outdoor paint if you’d like to keep the mirror outdoors
1. Prep to make your mirror
Decide on the size of the mirror that you would like as this will determine the amount of wood that you need. This is totally up to you and depends on the space available of course. For blank walls you may want to opt for a larger mirror for a bold statement piece; larger mirrors on walls can also make a room look bigger (especially in those smaller spaces) as the reflection gives an illusion that the room is larger in size.
To help to plan out the size of your piece, you may want to map it out on the wall, like for when you go to hang your mirror.
To do this, grab some plain paper, cut it to the size of the mirror you are considering (or a or a range of size options if you want to compare a few) and stick it to the wall with Blue-Tak so that you can see whether the size works in the space. Take some pictures so that you can reflect (excuse the pun) and compare options before you take a final call.
If you are going for an outdoor mirror then make sure that you select the correct materials for outdoor use, outlined in the ‘You will need’ section above. You will want to select an outdoor sealant to protect the wood from the elements as well as an outdoor paint (fence or outdoor furniture paint will work).
2. Measure your wood
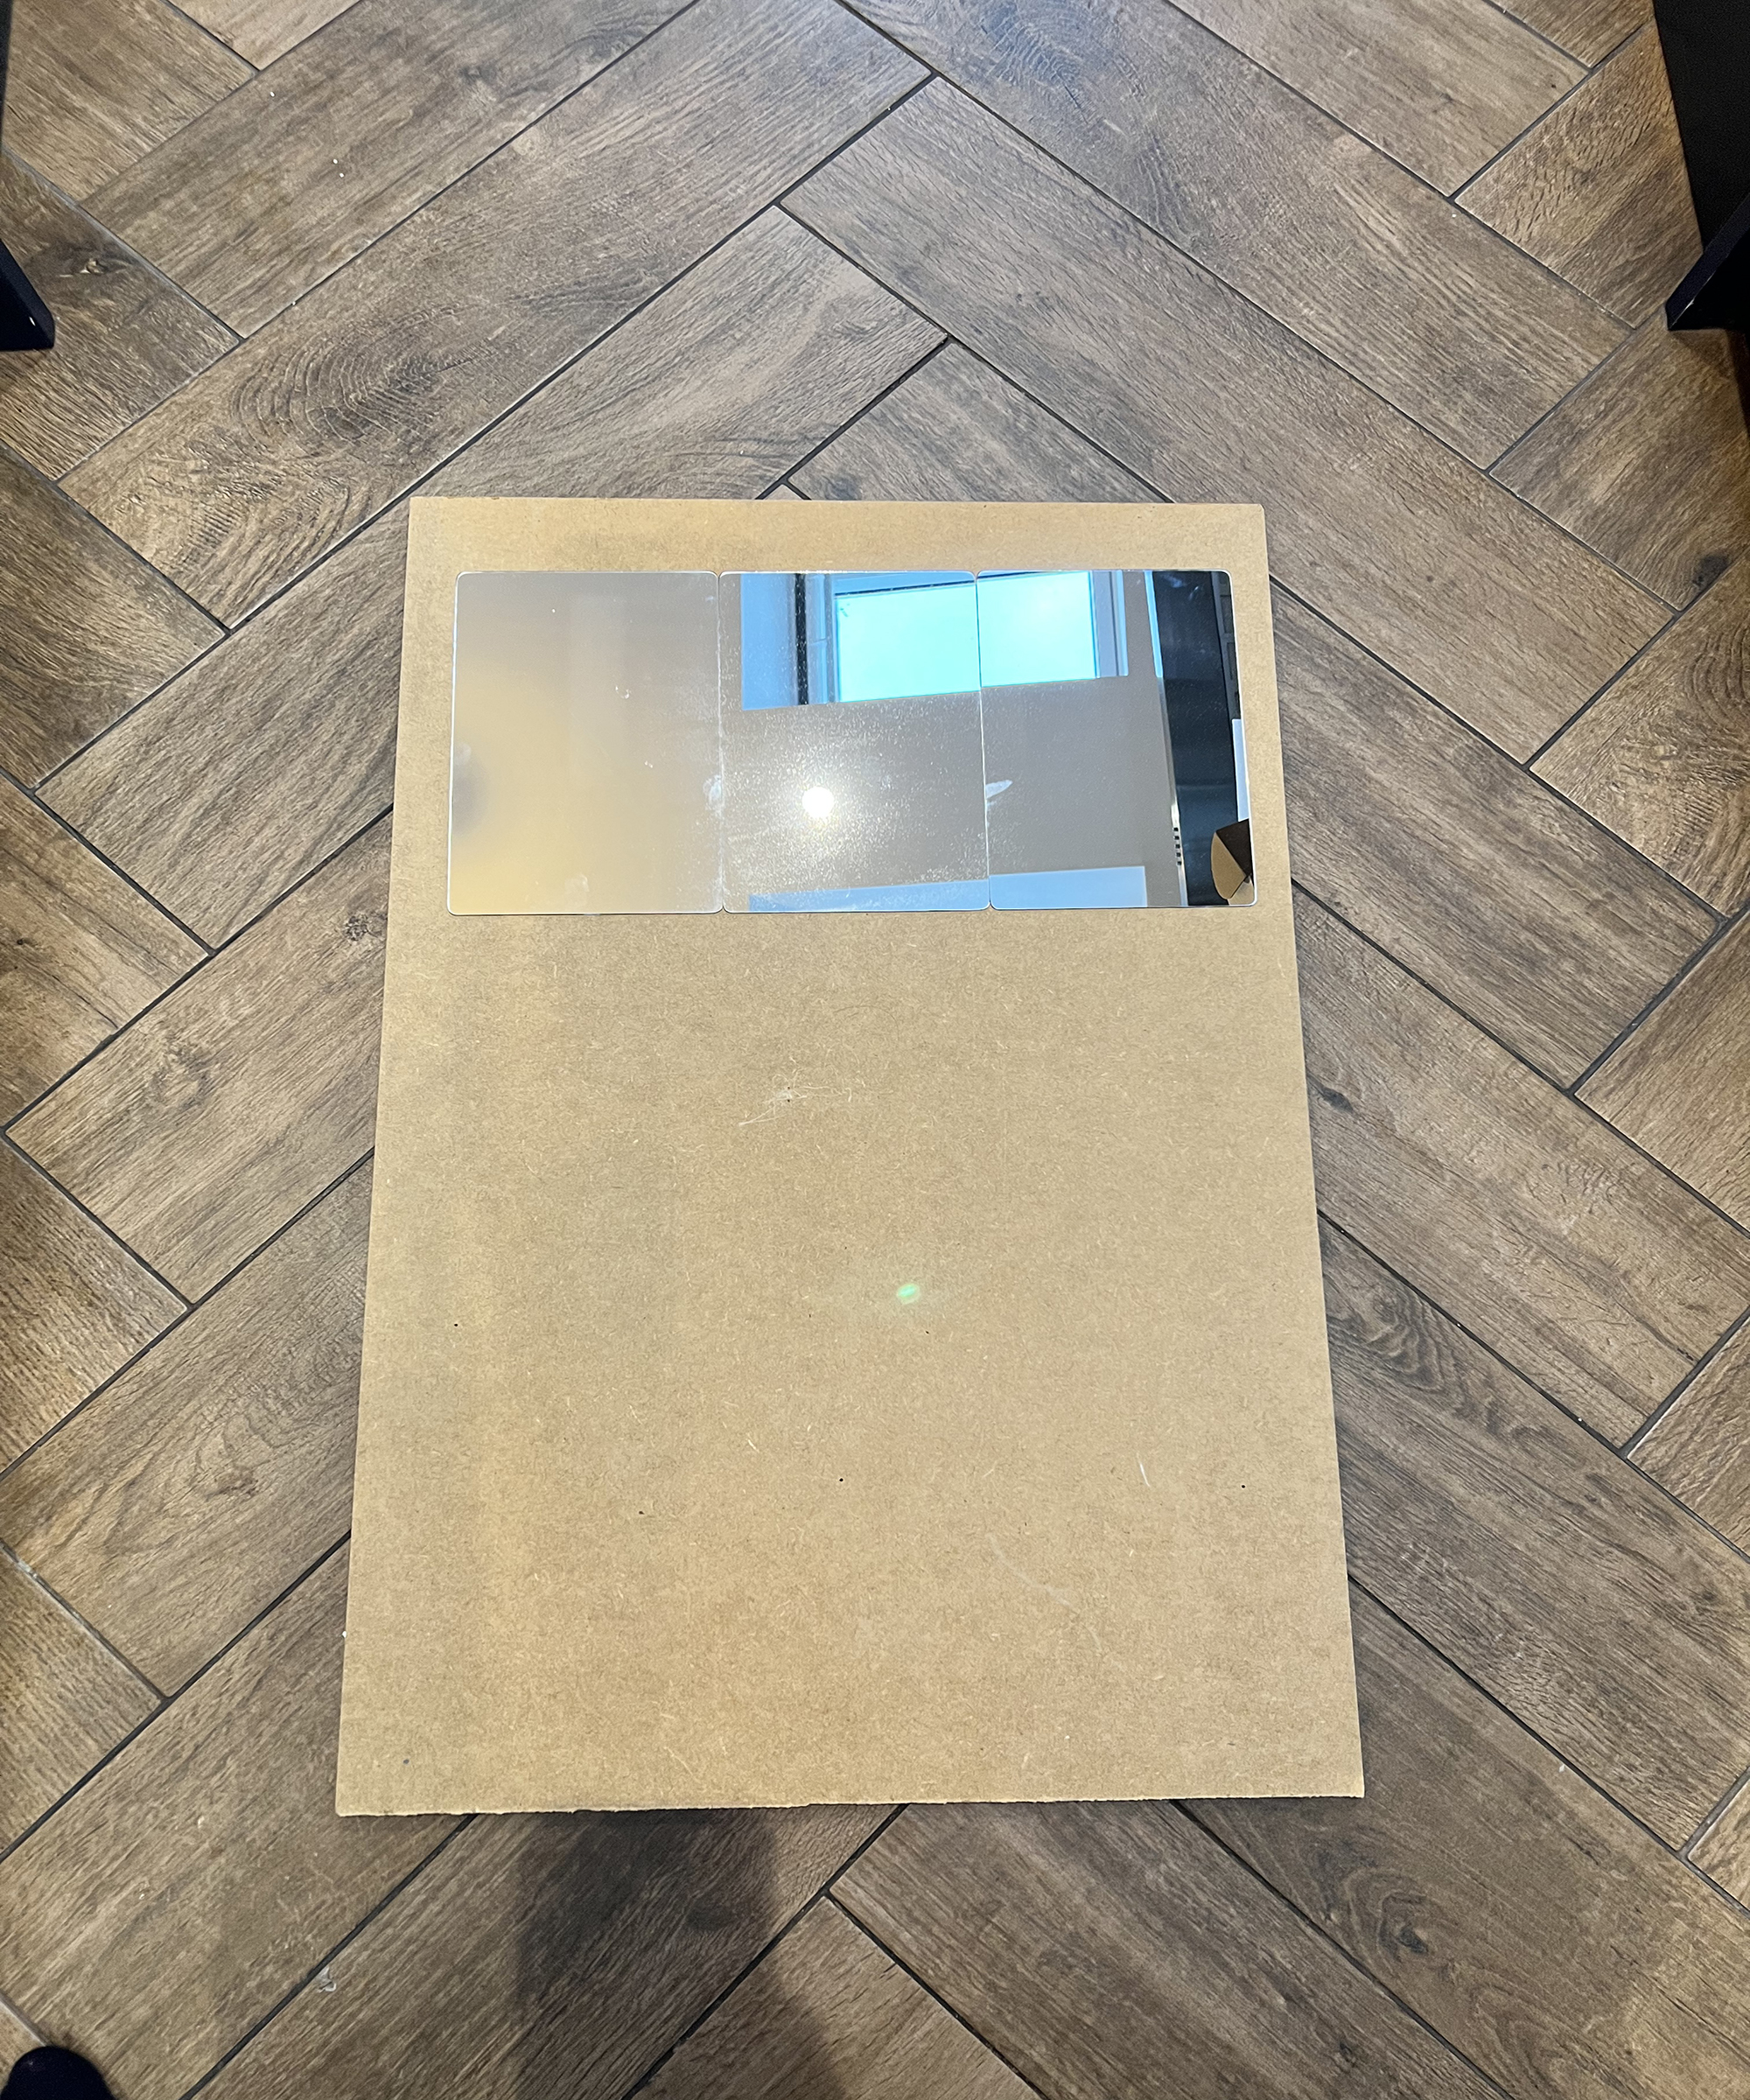
You are going to use a flat piece of wood to act as the back of the mirror; once the mirror is finished you won’t be able to see this wood and so as long as it is strong enough to hold the other materials, it doesn't matter what it looks like. This means that you can use an off-cut if you have one lying around at home or if not, you can select whatever is cheapest at the local hardware store. Go for a wood that is around 1 to 2 centimeters thick as a minimum to make sure it can hold the other materials, MDF or fibreboard would work well. Here, I have used fibreboard.
First, work out the size of wood that you need. This will depend on a few things, the number of mirror tiles that you are using, the wood you are using for the mirror's frame and the dimensions of both. For example, here, I have used these EONAZE Self Adhesive mirror tiles from Amazon that measure 15 centimeters by 23 centimeters. I have gone for three tiles horizontally and three tiles vertically and so the backing wood needs to be at least 45 centimeters x 69 centimeters as well as leaving space for the border. The border I used was 5 centimeters wide and so I added this on to each side and cut my wood to 50 x 74 centimeters.
It's key to have your calculations correct before you cut the wood!
2. Cut the wood to size
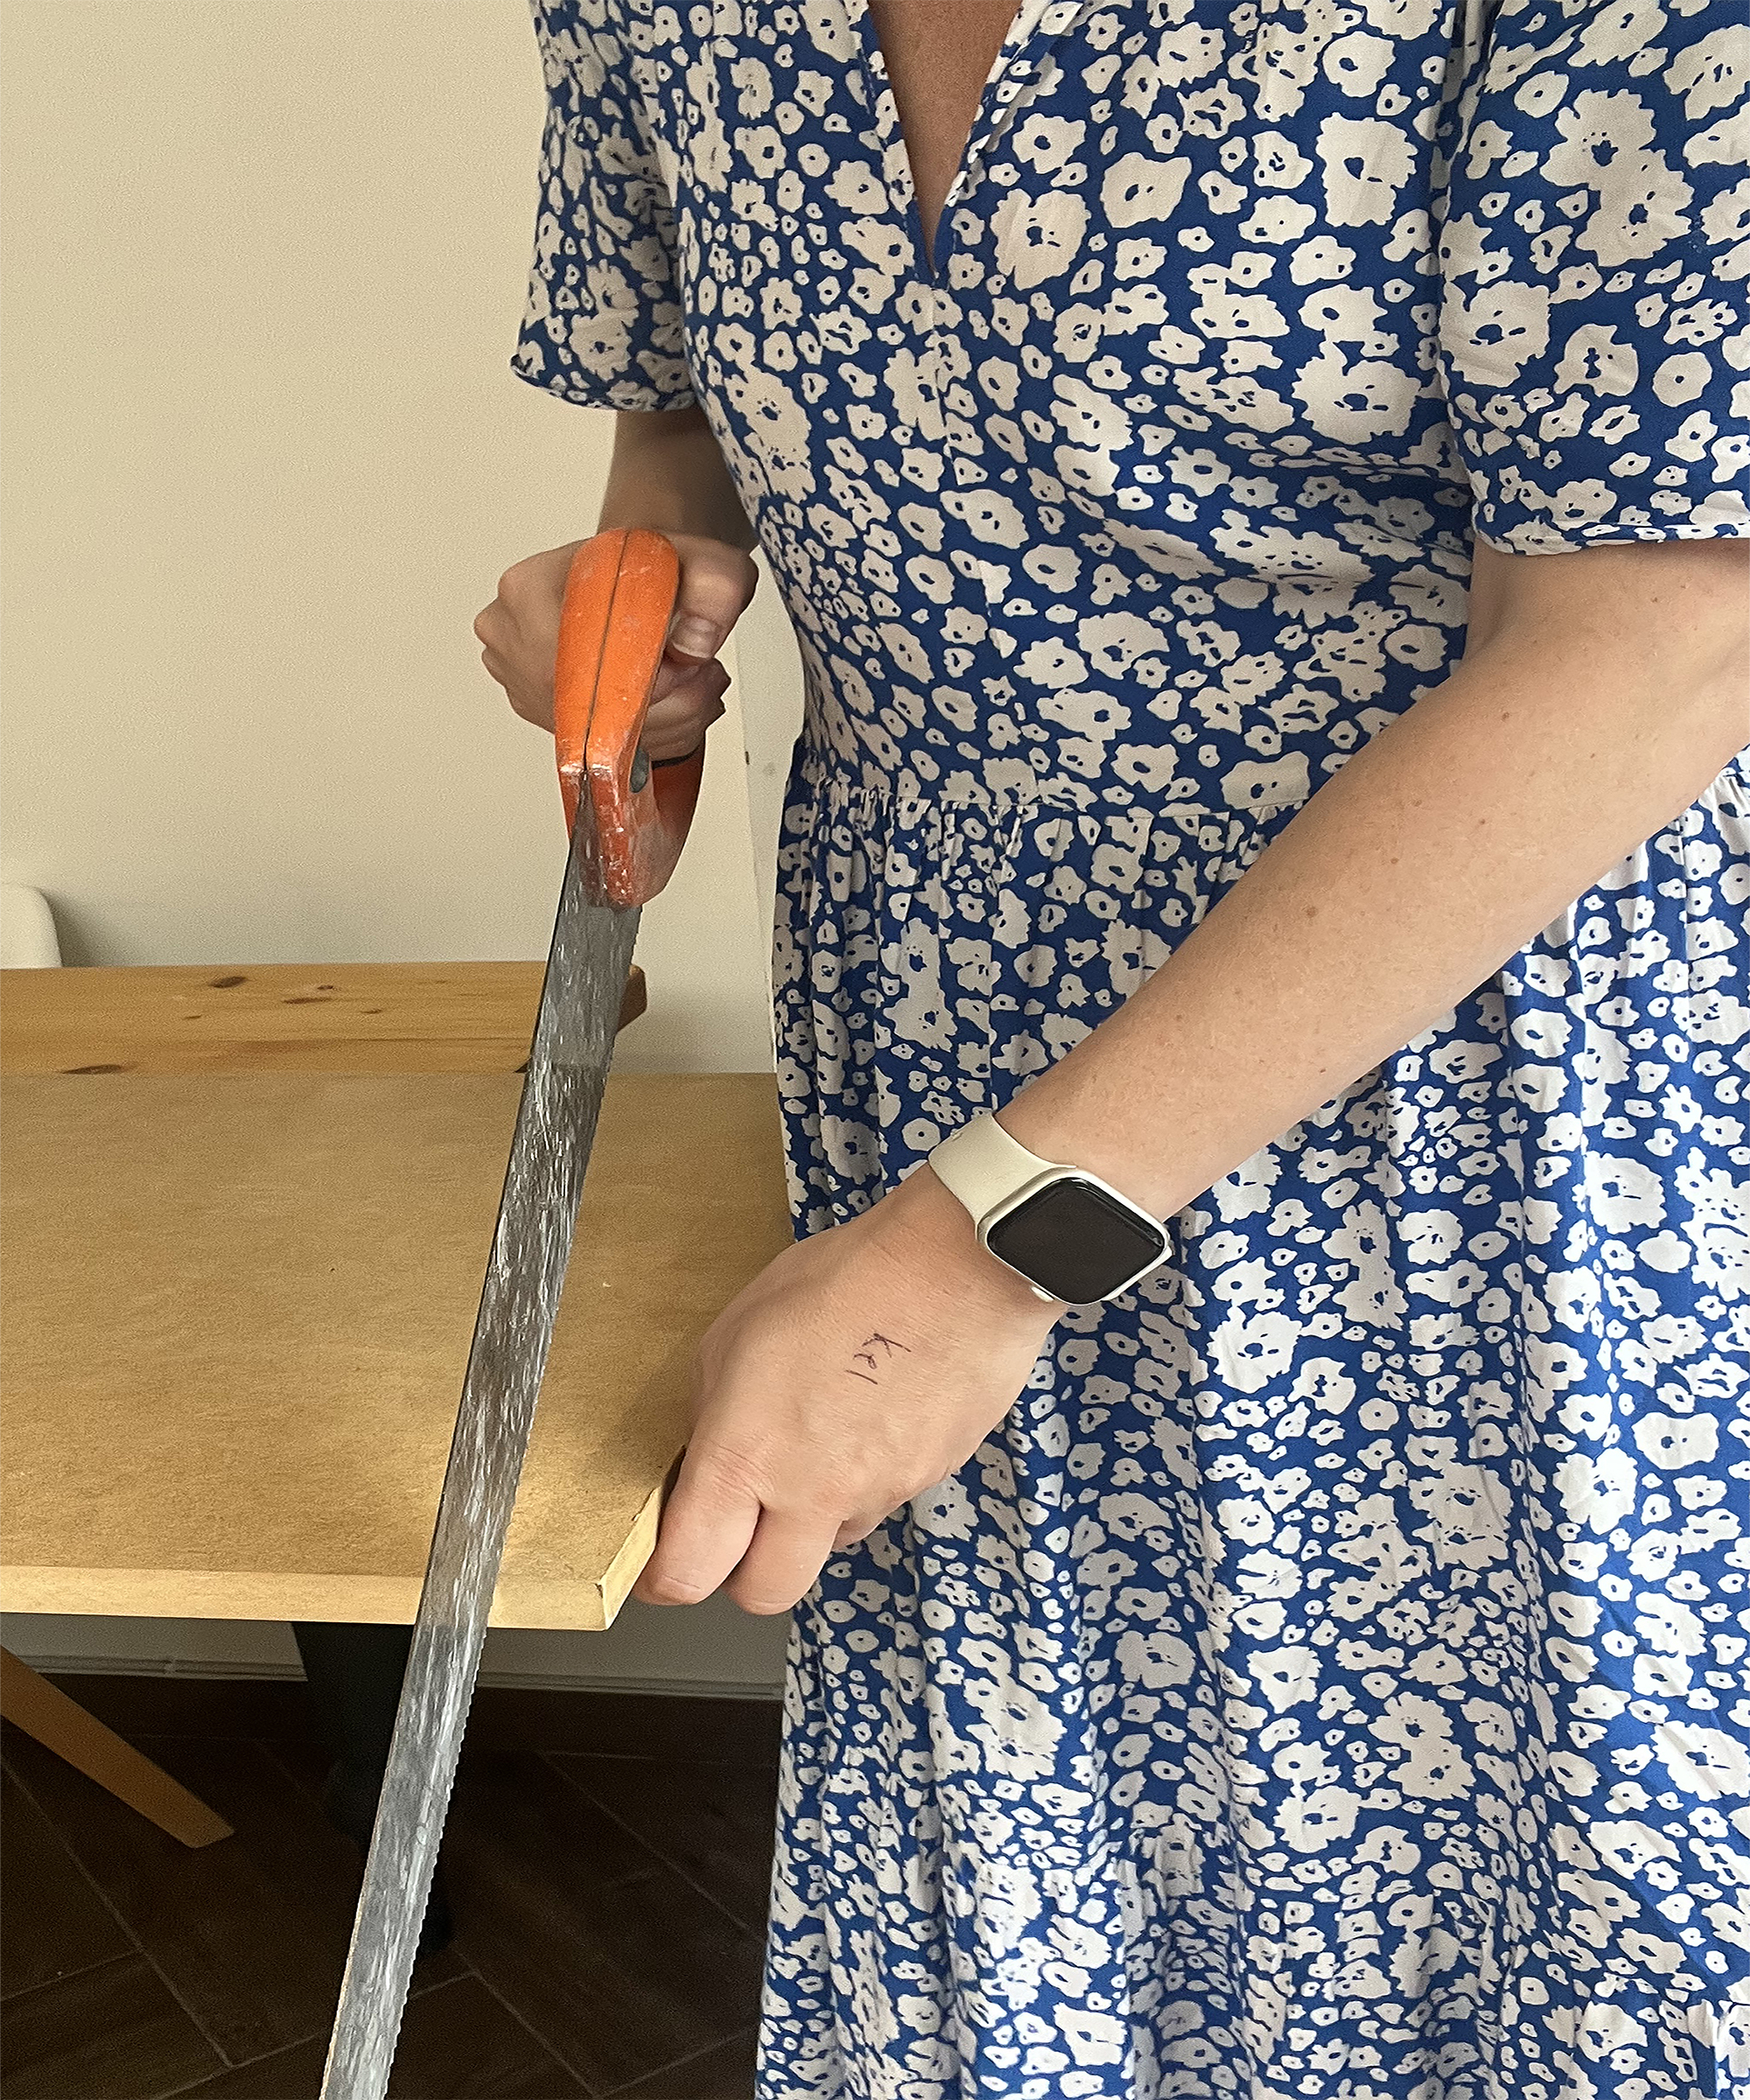
Once you are comfortable with your measurements, cut the wood to size. To do this you can use a handsaw like this one from Irwin. Make sure that you are sawing on a flat surface, holding the wood steady to make sure that it doesn’t move and that it is safe. When using a saw you should use protective goggles like these from Bison.
3. Measure and cut your frame
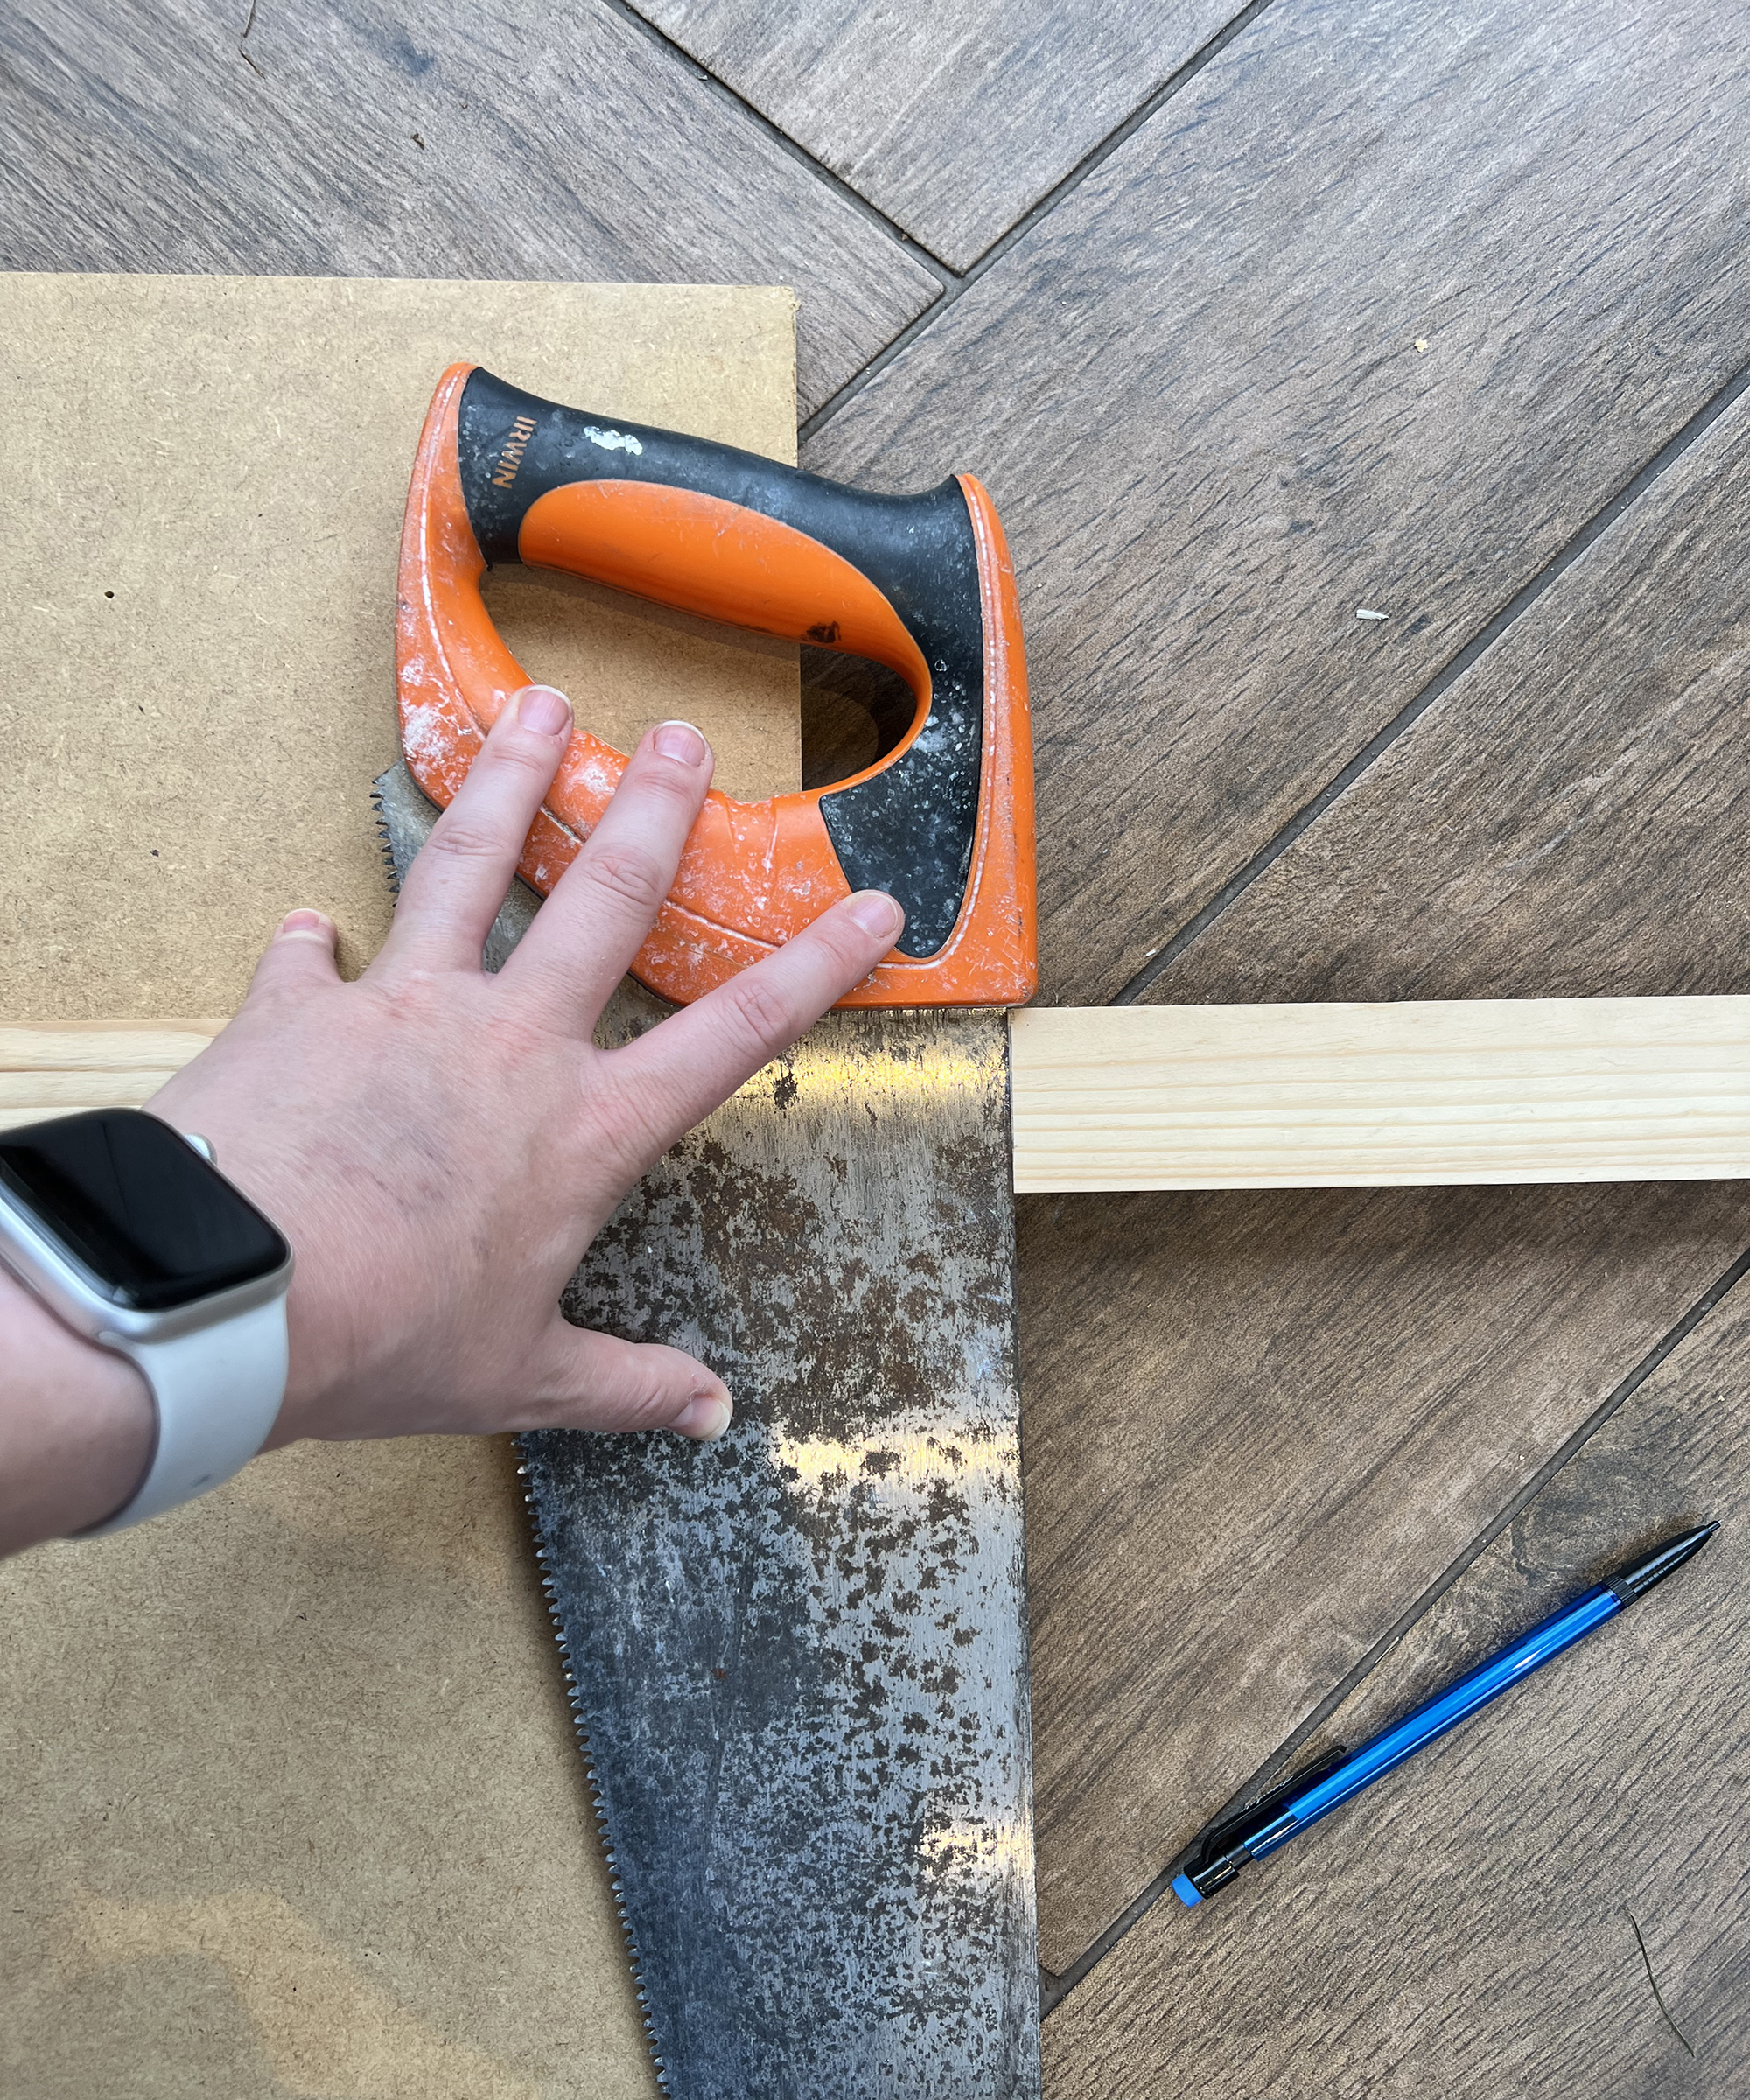
For your frame, again you can use any off-cut if you have it available as you are going to cut and paint the wood. As it is framing the mirror, I’d recommend using wood that is around 5 centimeters across and around one to two centimeters thick. It can be beveled (or sloped) if you would like it to be, to add some extra character but that isn't necessary. If it is beveled, when you measure, cut and attach it, be that the bevel is the correct way.
Use the wood for the back of the mirror as a guide for your mirror frame sizes. To work out the size that you need, measure the length of the mirror and then cut the same length piece of wood. You can check your measurements before you cut by lying the frame for the wood on top of the back of the mirror to make sure the lengths align. Cut the wood and repeat this for the other three pieces, remembering to measure the lengths you need as you go. You can use the handle of the saw to check that you are drawing a straight line. Remember that if you are using beveled wood you need to ensure that the bevels or slopes are all facing the same correct way before you make any cuts.
If you choose to, you can also use a right-angle cutter if you would like to cut the corners of the wood at an angle. This is a little more complicated in terms of measurements and so if this is your first time you may want to stick with straight edges.
4. Check your layout to ensure everything fits
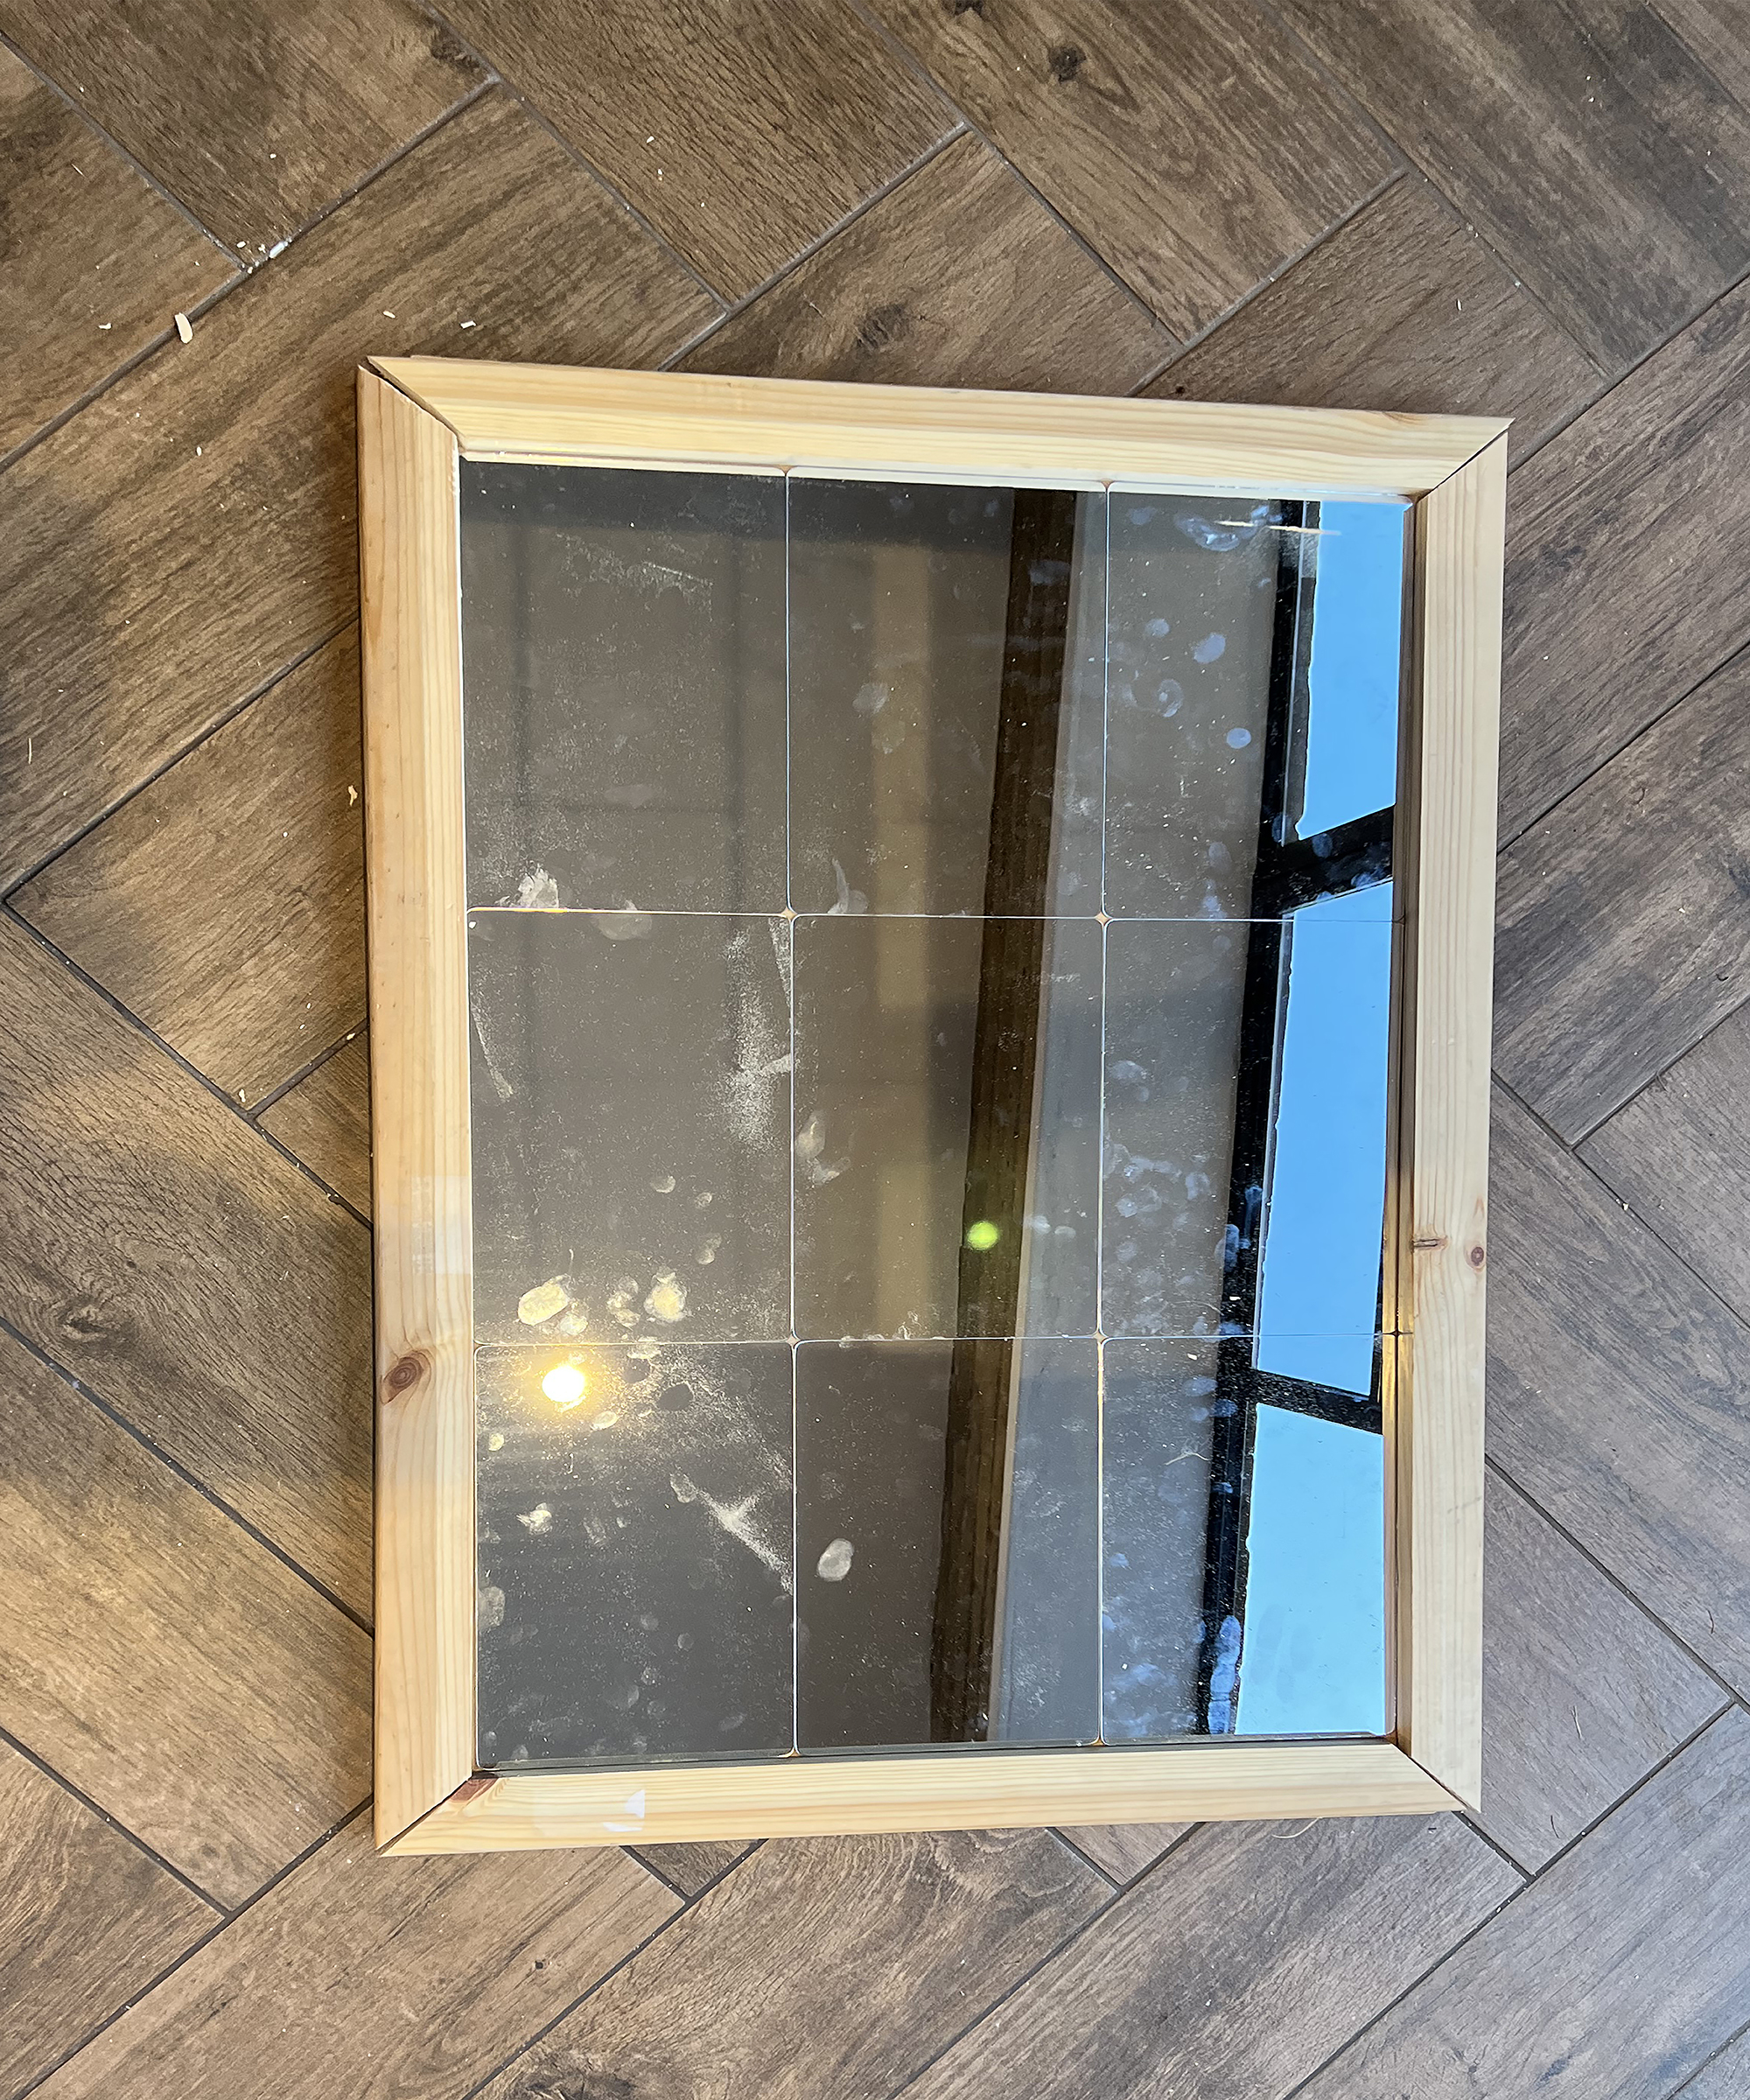
Lay out the edges of your frame as well as your tiles on the back of the mirror in your desired pattern to ensure that everything fits before you attach anything to the base. Once you are happy with the design, mark with a pencil like this one from Ox tools, where each part of the frame should go. Now you can begin to assemble.
5. Assemble your frame
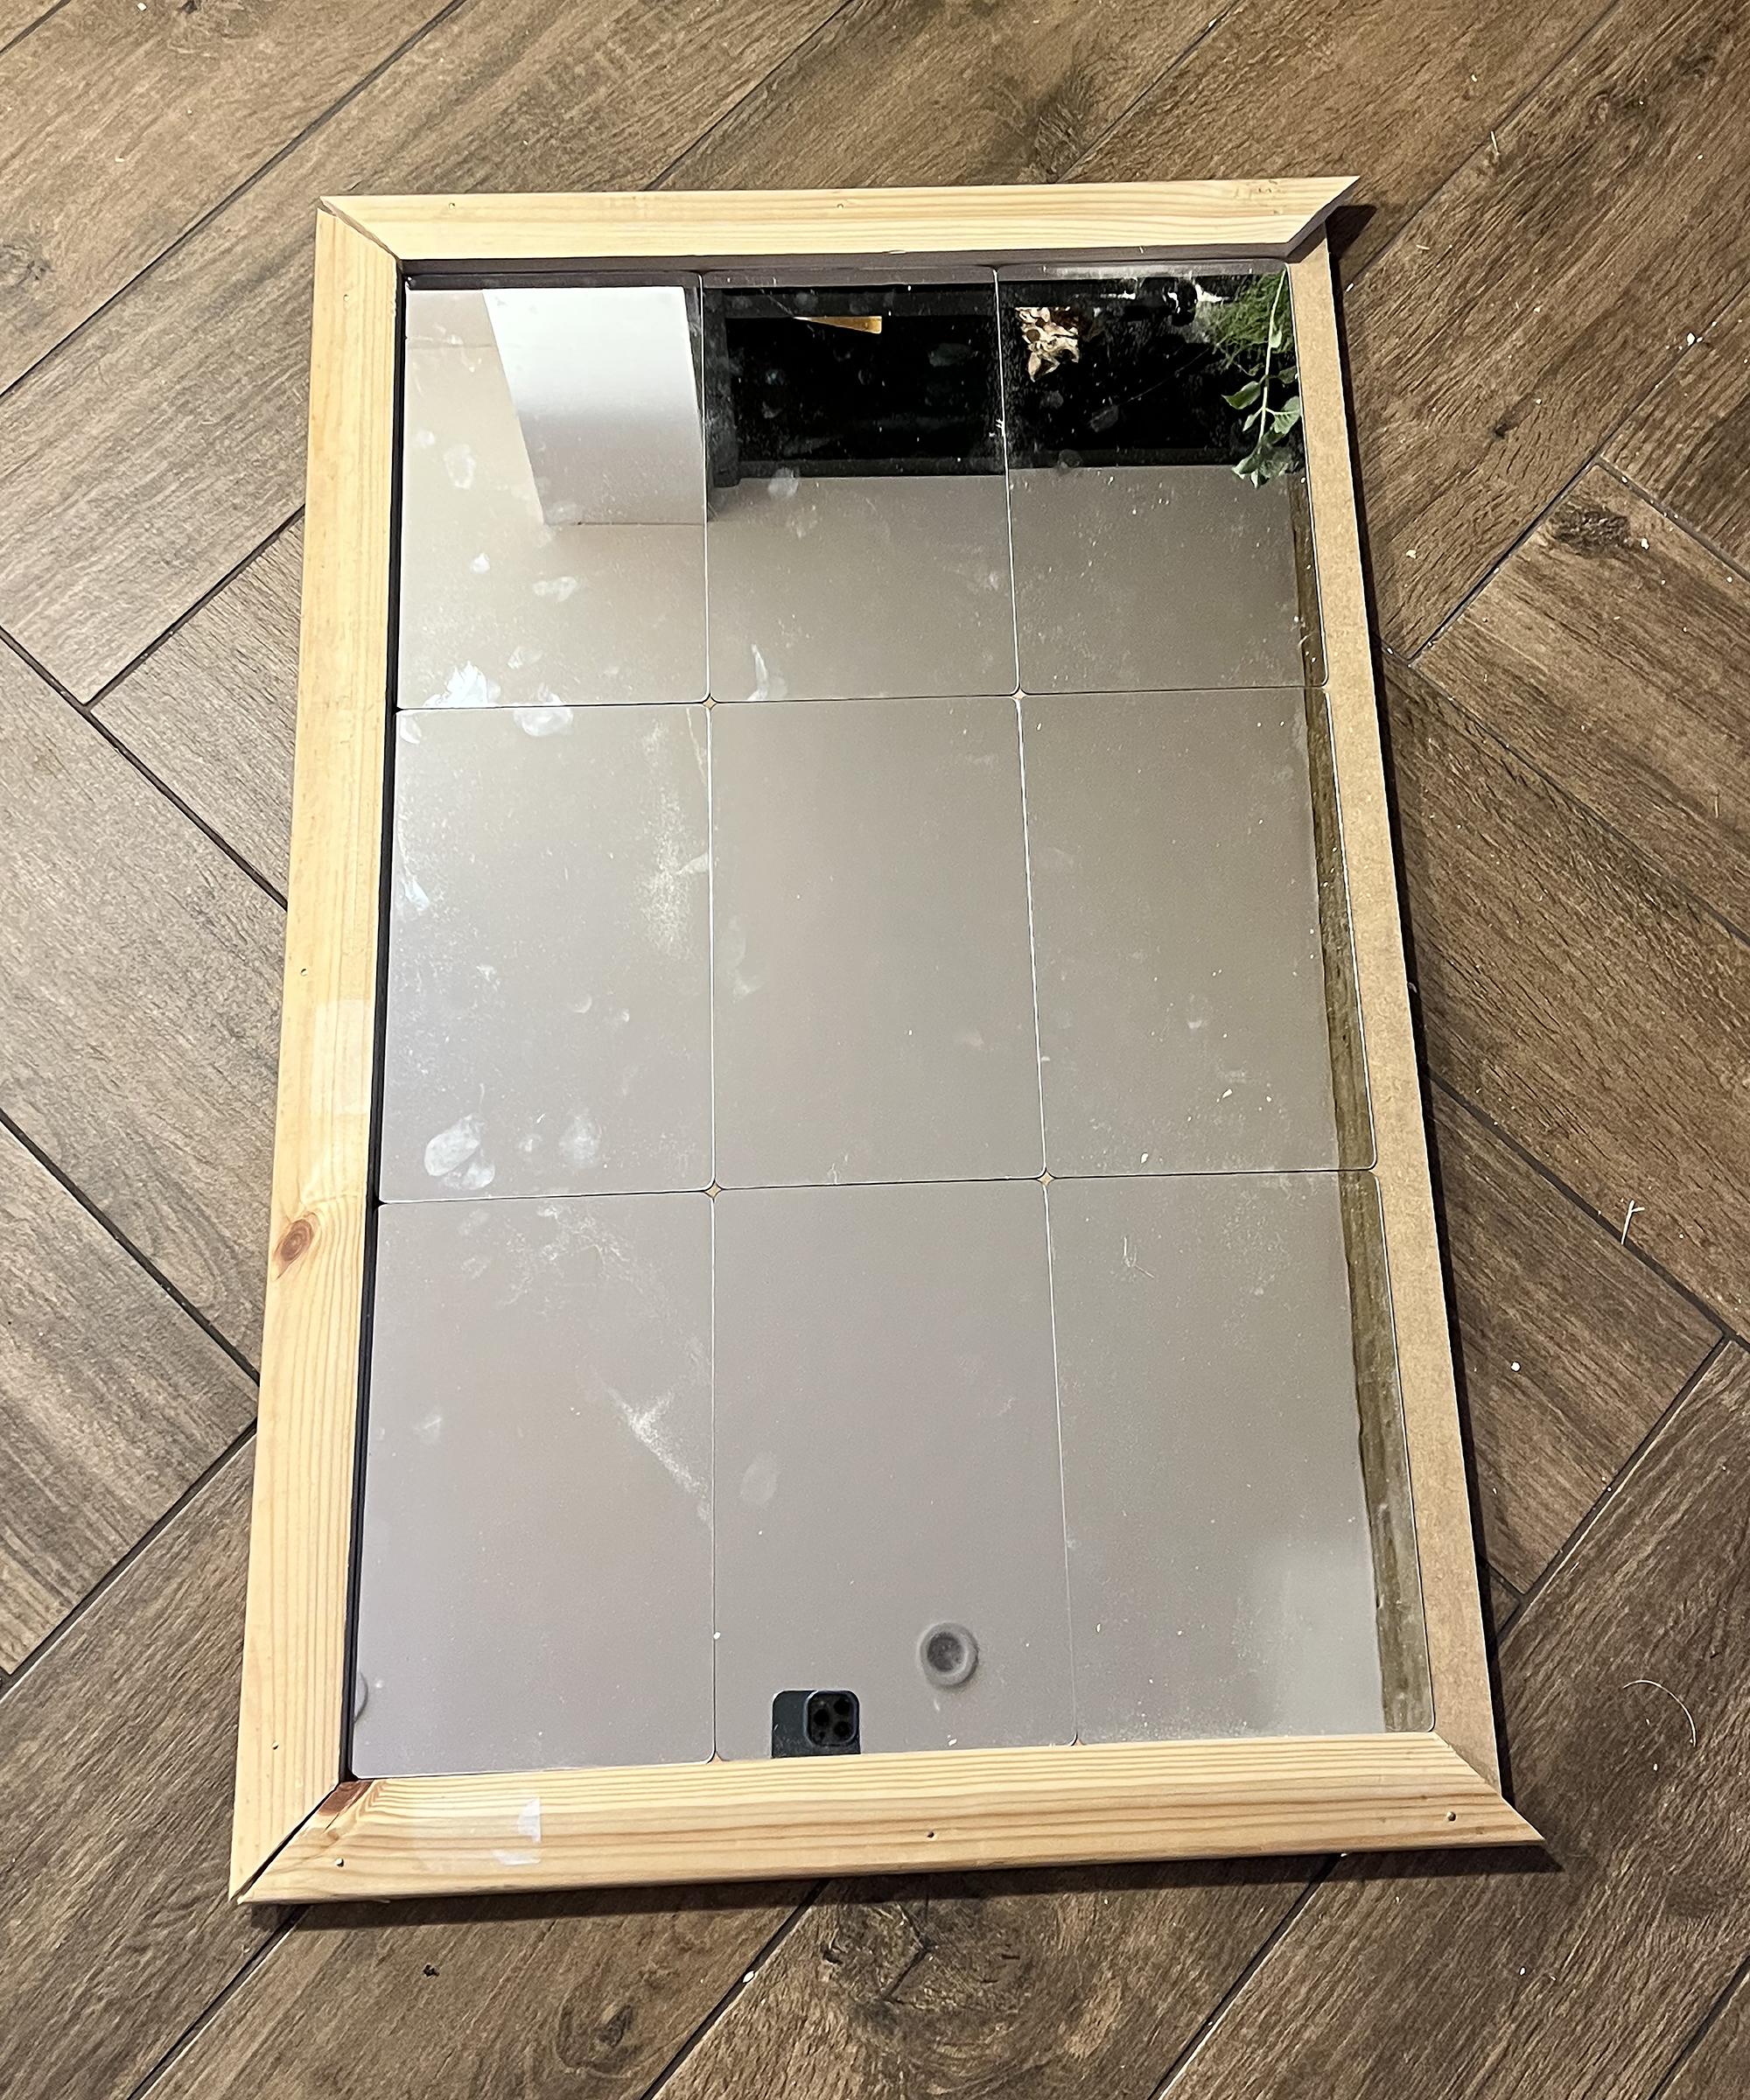
Begin by assembling three sides of your frame, this is so that you can insert the mirror tiles (we used some like these from Edgewood) into a steady border before totally fixing them down. To fix the frame to the base you can use glue, nails or screws. We used nails like these from Stuhad, as they are more secure than glue but smaller than screws and easier to paint. Nail each of the three sides of the frame to the back, ensuring they are straight as you fix each one in.
6. Assemble the mirror tiles
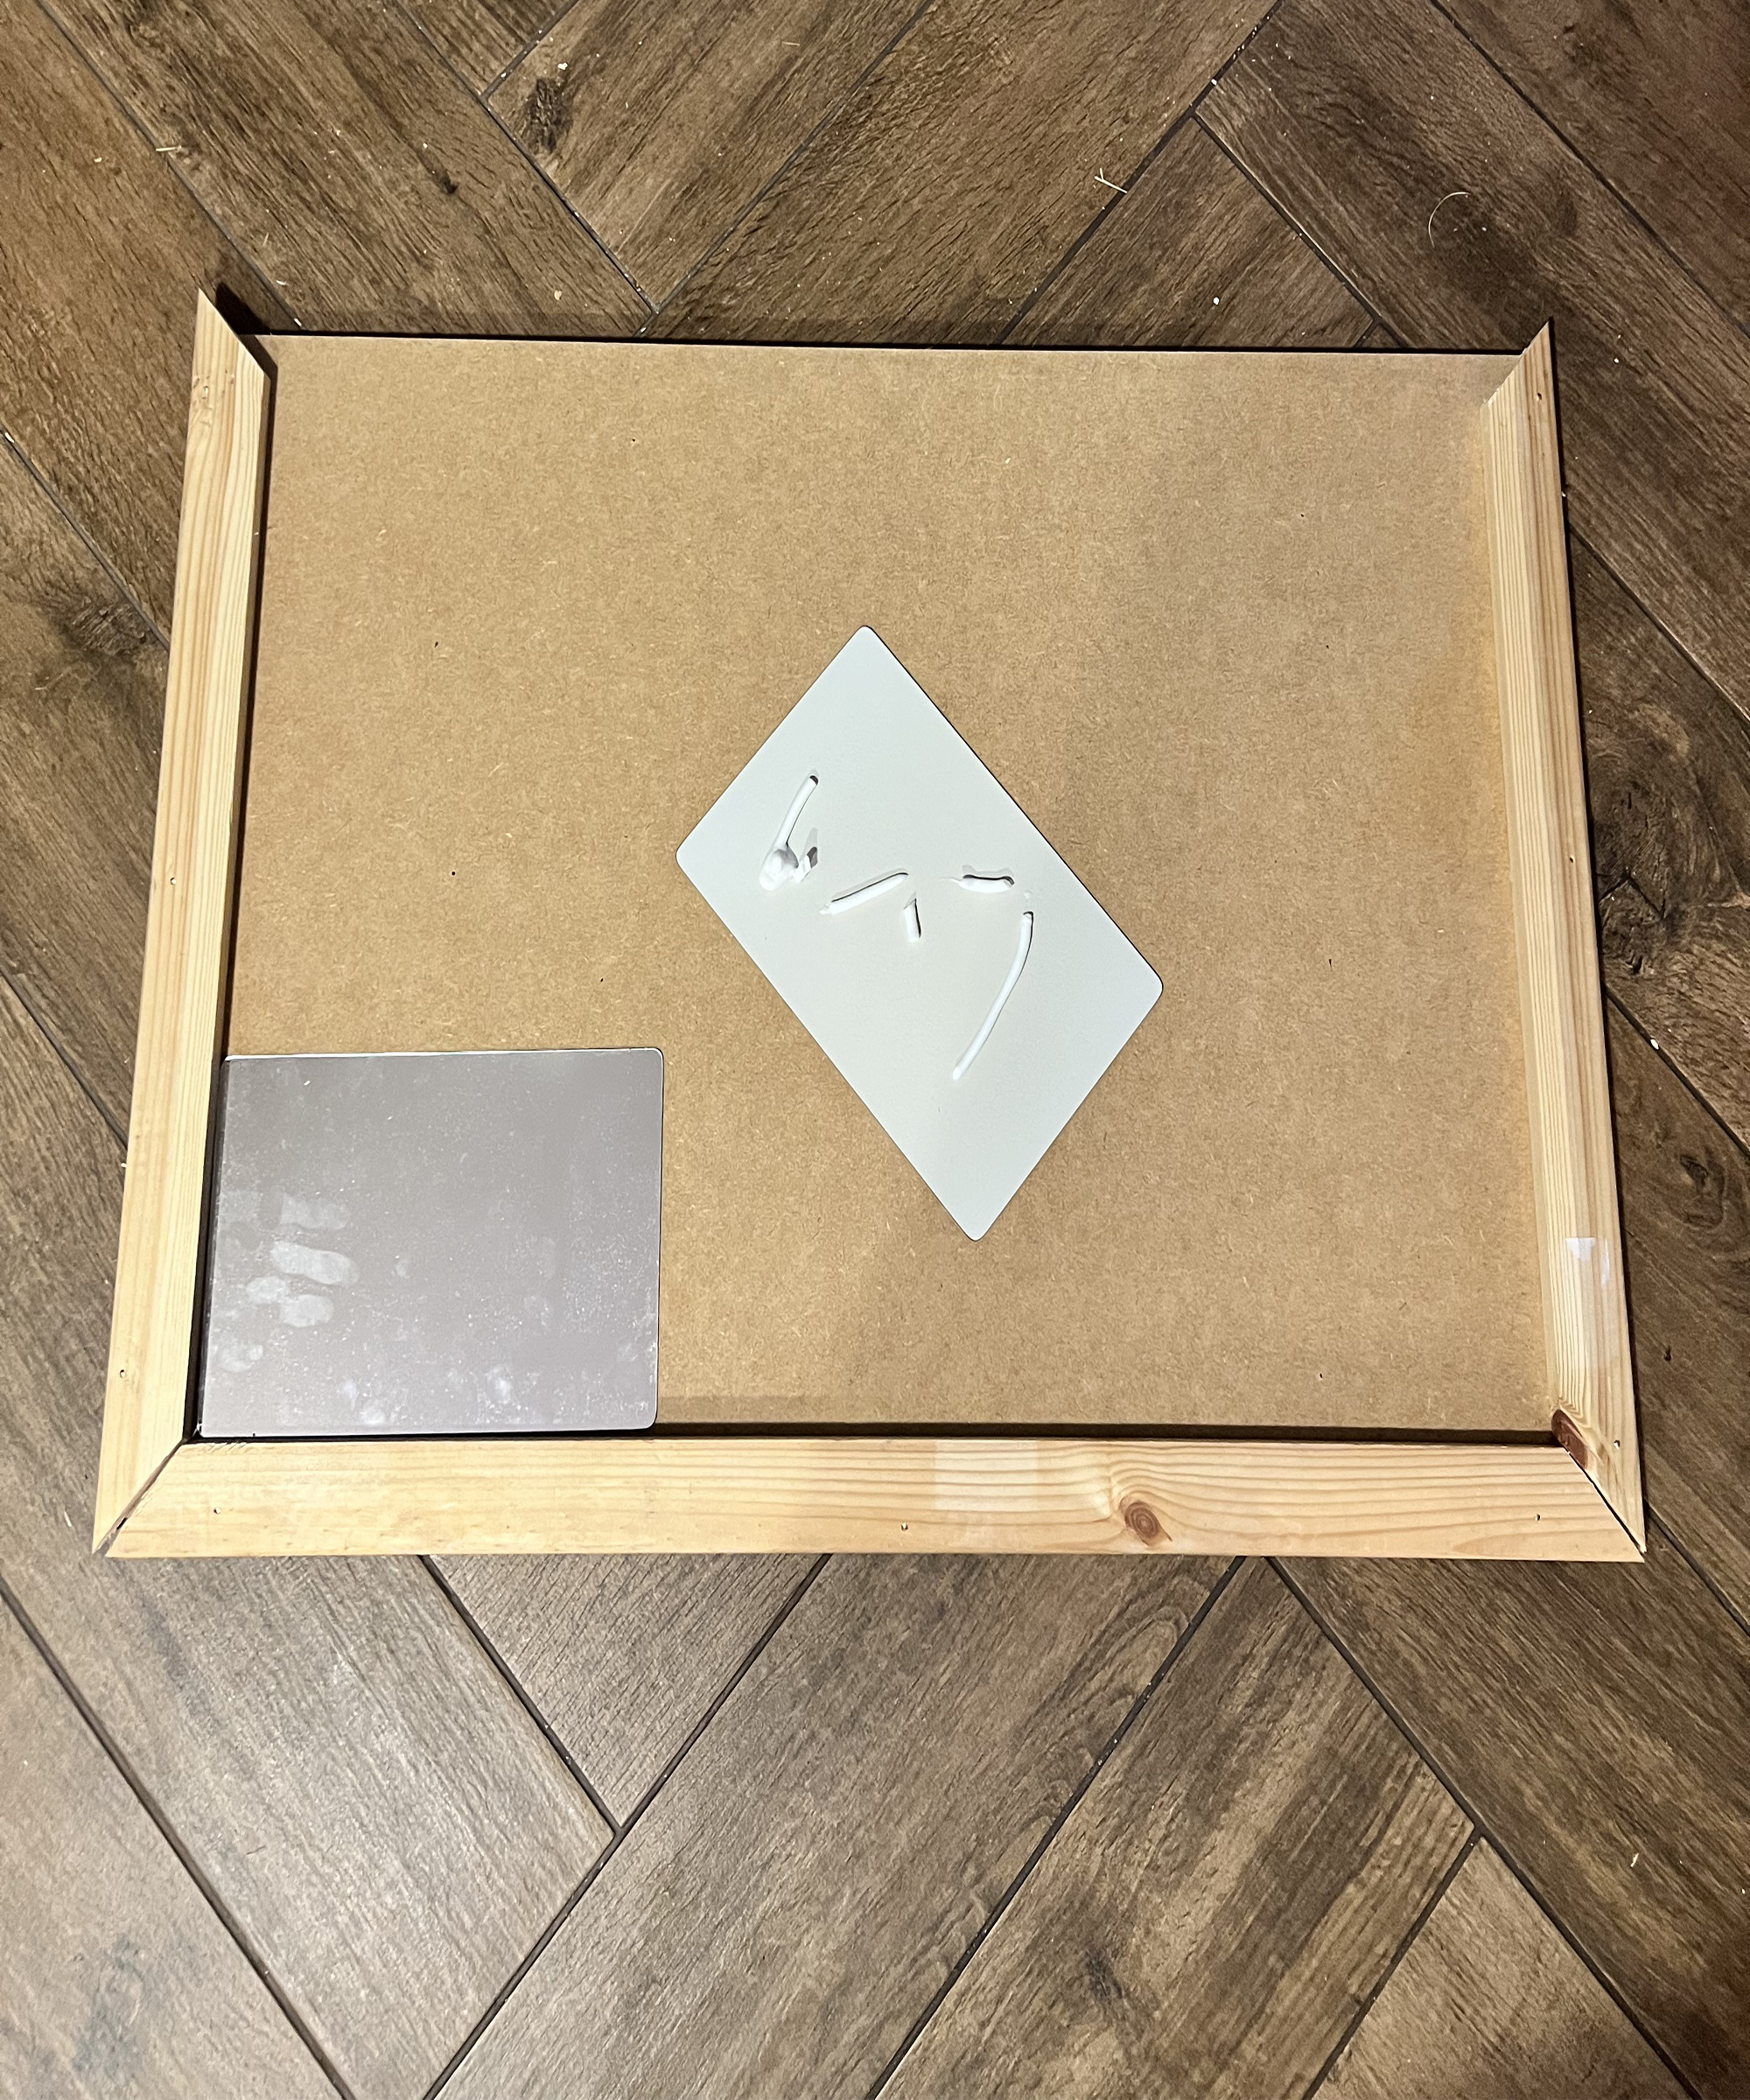
Once you have your frame in place, assemble and glue down your mirror tiles using glue like No More Nails from Amazon. Go from left to right or top to bottom, ensuring you push them up against each other as tightly as possible. Once you have glued all of the mirror tiles down, fix the last piece of the frame into place with nails.
7. Paint your mirror
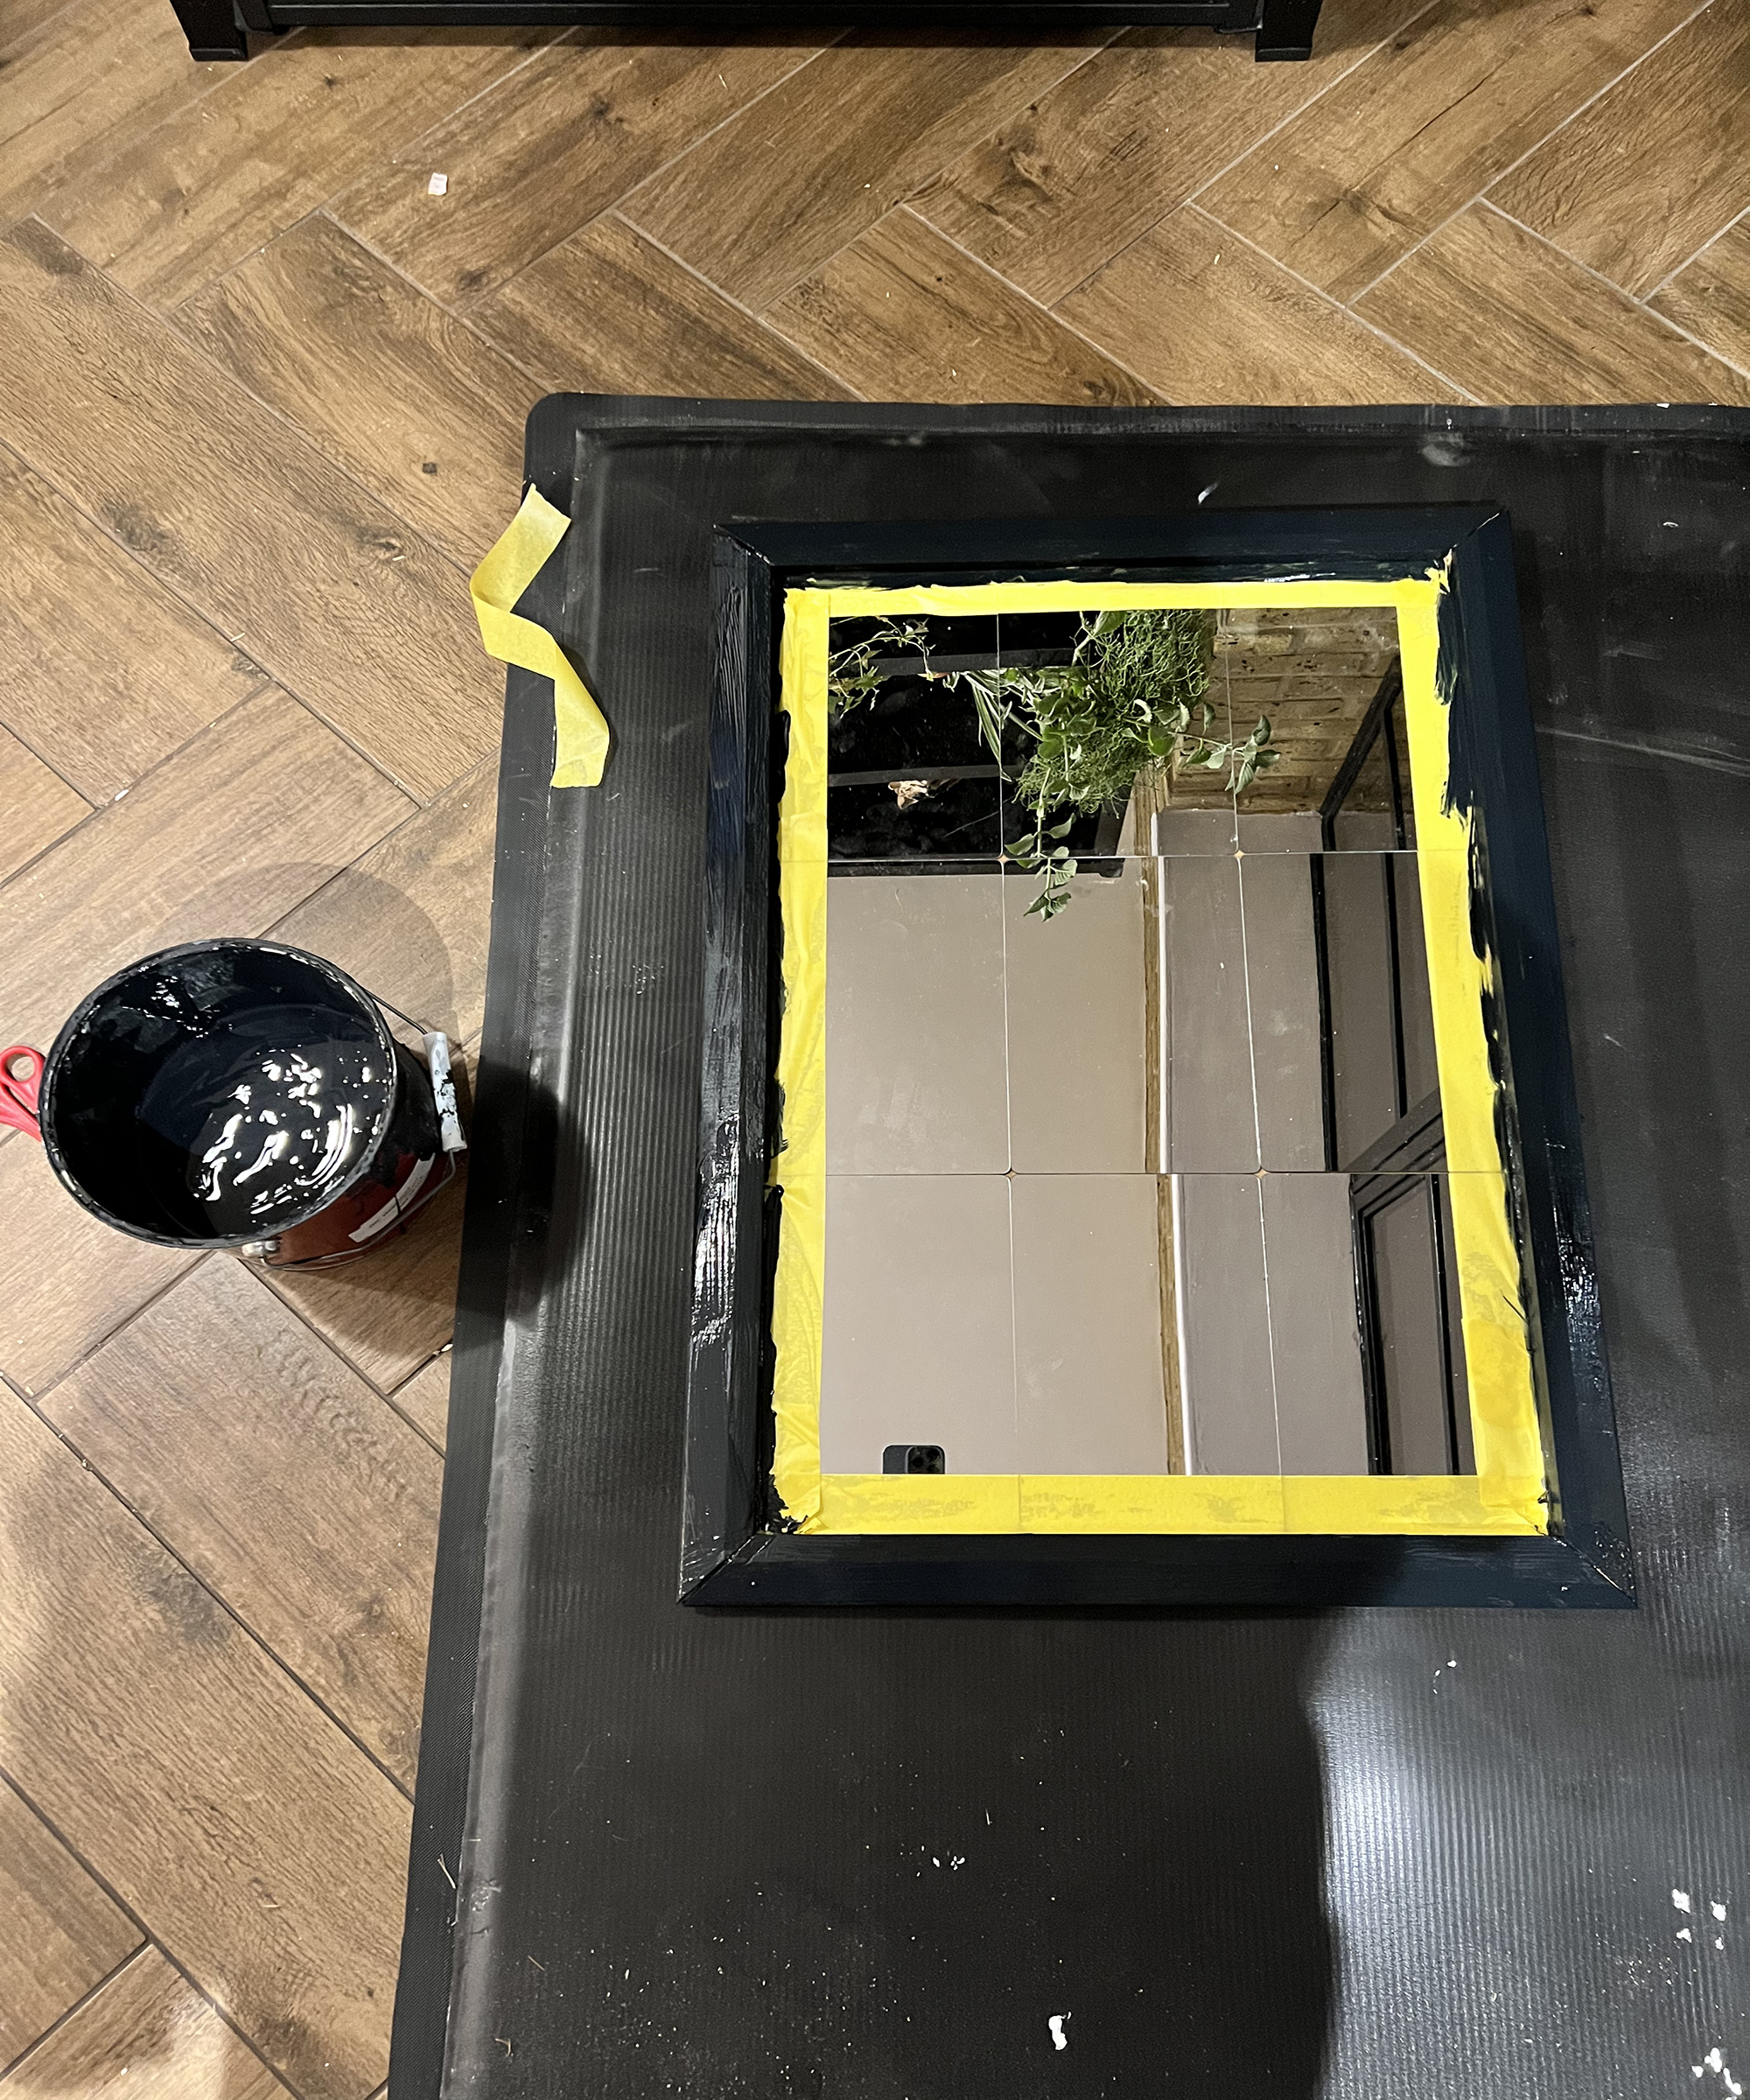
You should use an eggshell wood paint or, for outdoor use a fence or furniture paint. You may also want to paint the outer edges of the back of the mirror just in case there are any small gaps. You may need two coats, depending upon the paint you use. If the mirror is for outdoors then you will want to use a sealant like this one by Roxil. Be sure to frog tape the mirror before painting and remove the tape as soon as you have finished.
8. Attach your tape
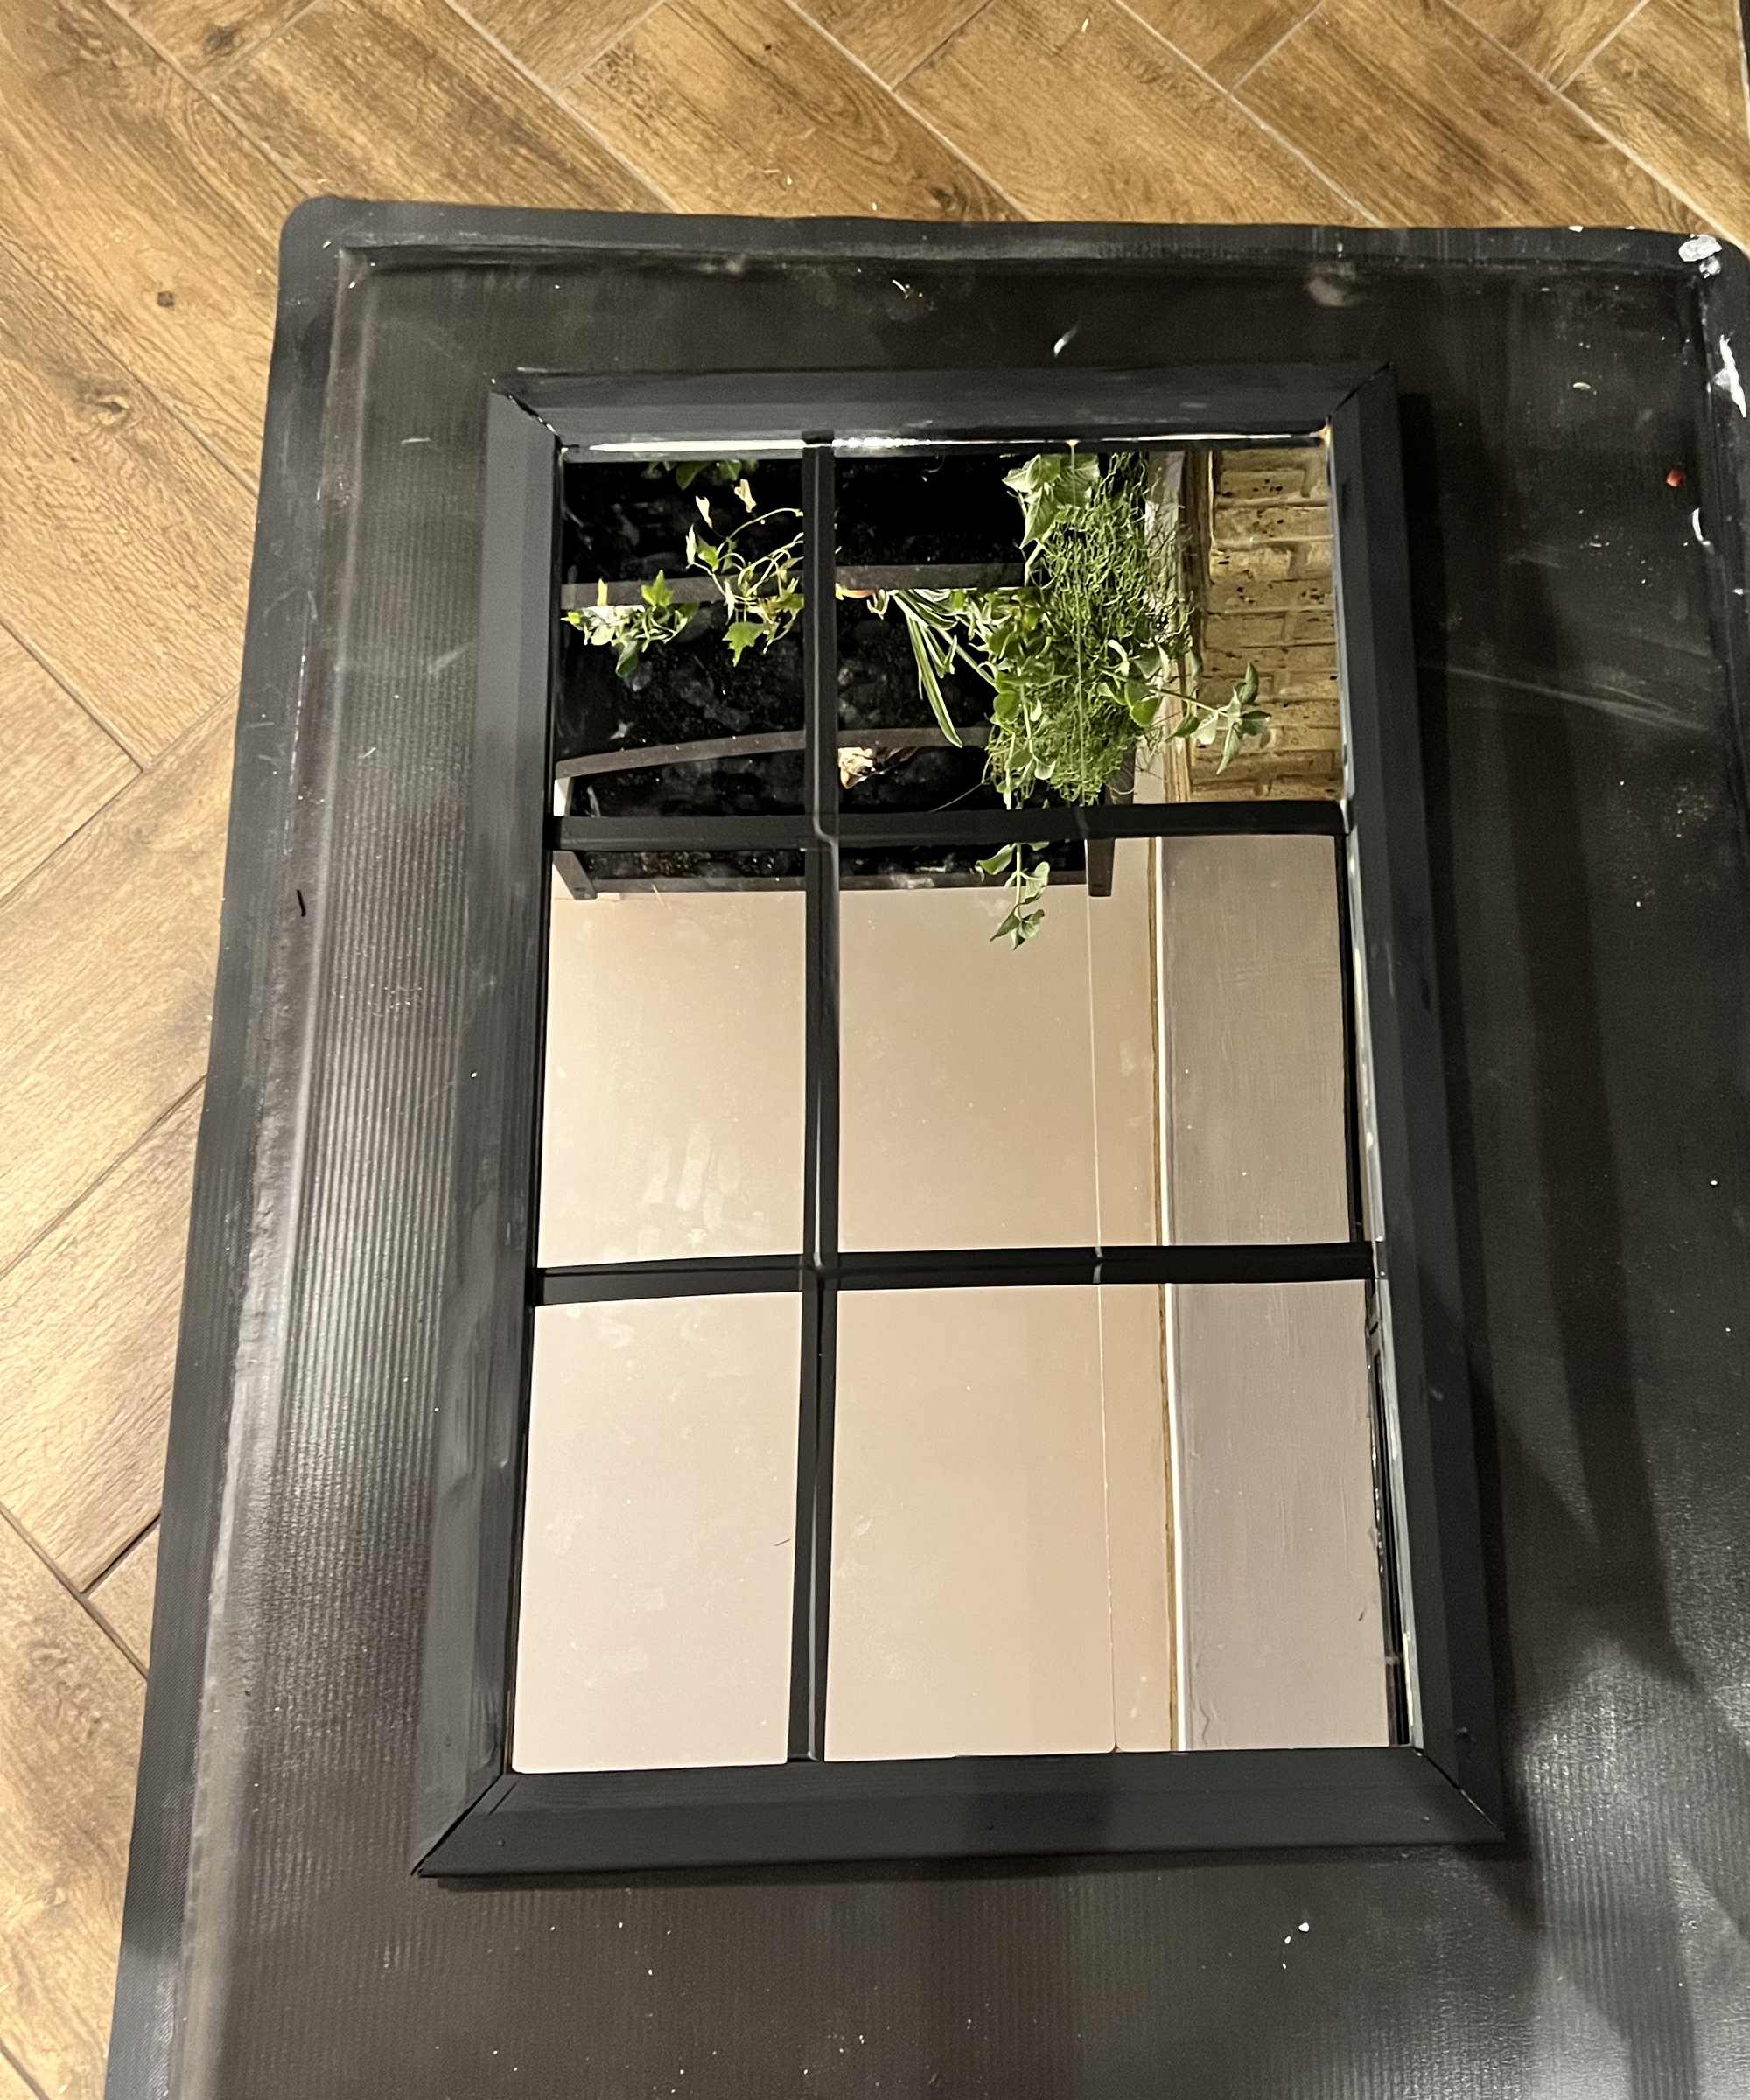
Now to make the Crittall effect! You can use either black electrical tape like this one from Scotch, depending on your budget. You need to lay the tape along the line of the mirrors where they join. Start from left to right and lay the vertical strips first, followed by the horizontal strips. If you follow the line of the mirrors this should be straight because you already lined this up when building your frame but if for any reason it isn’t, you can peel off the tape and start again.
The results:
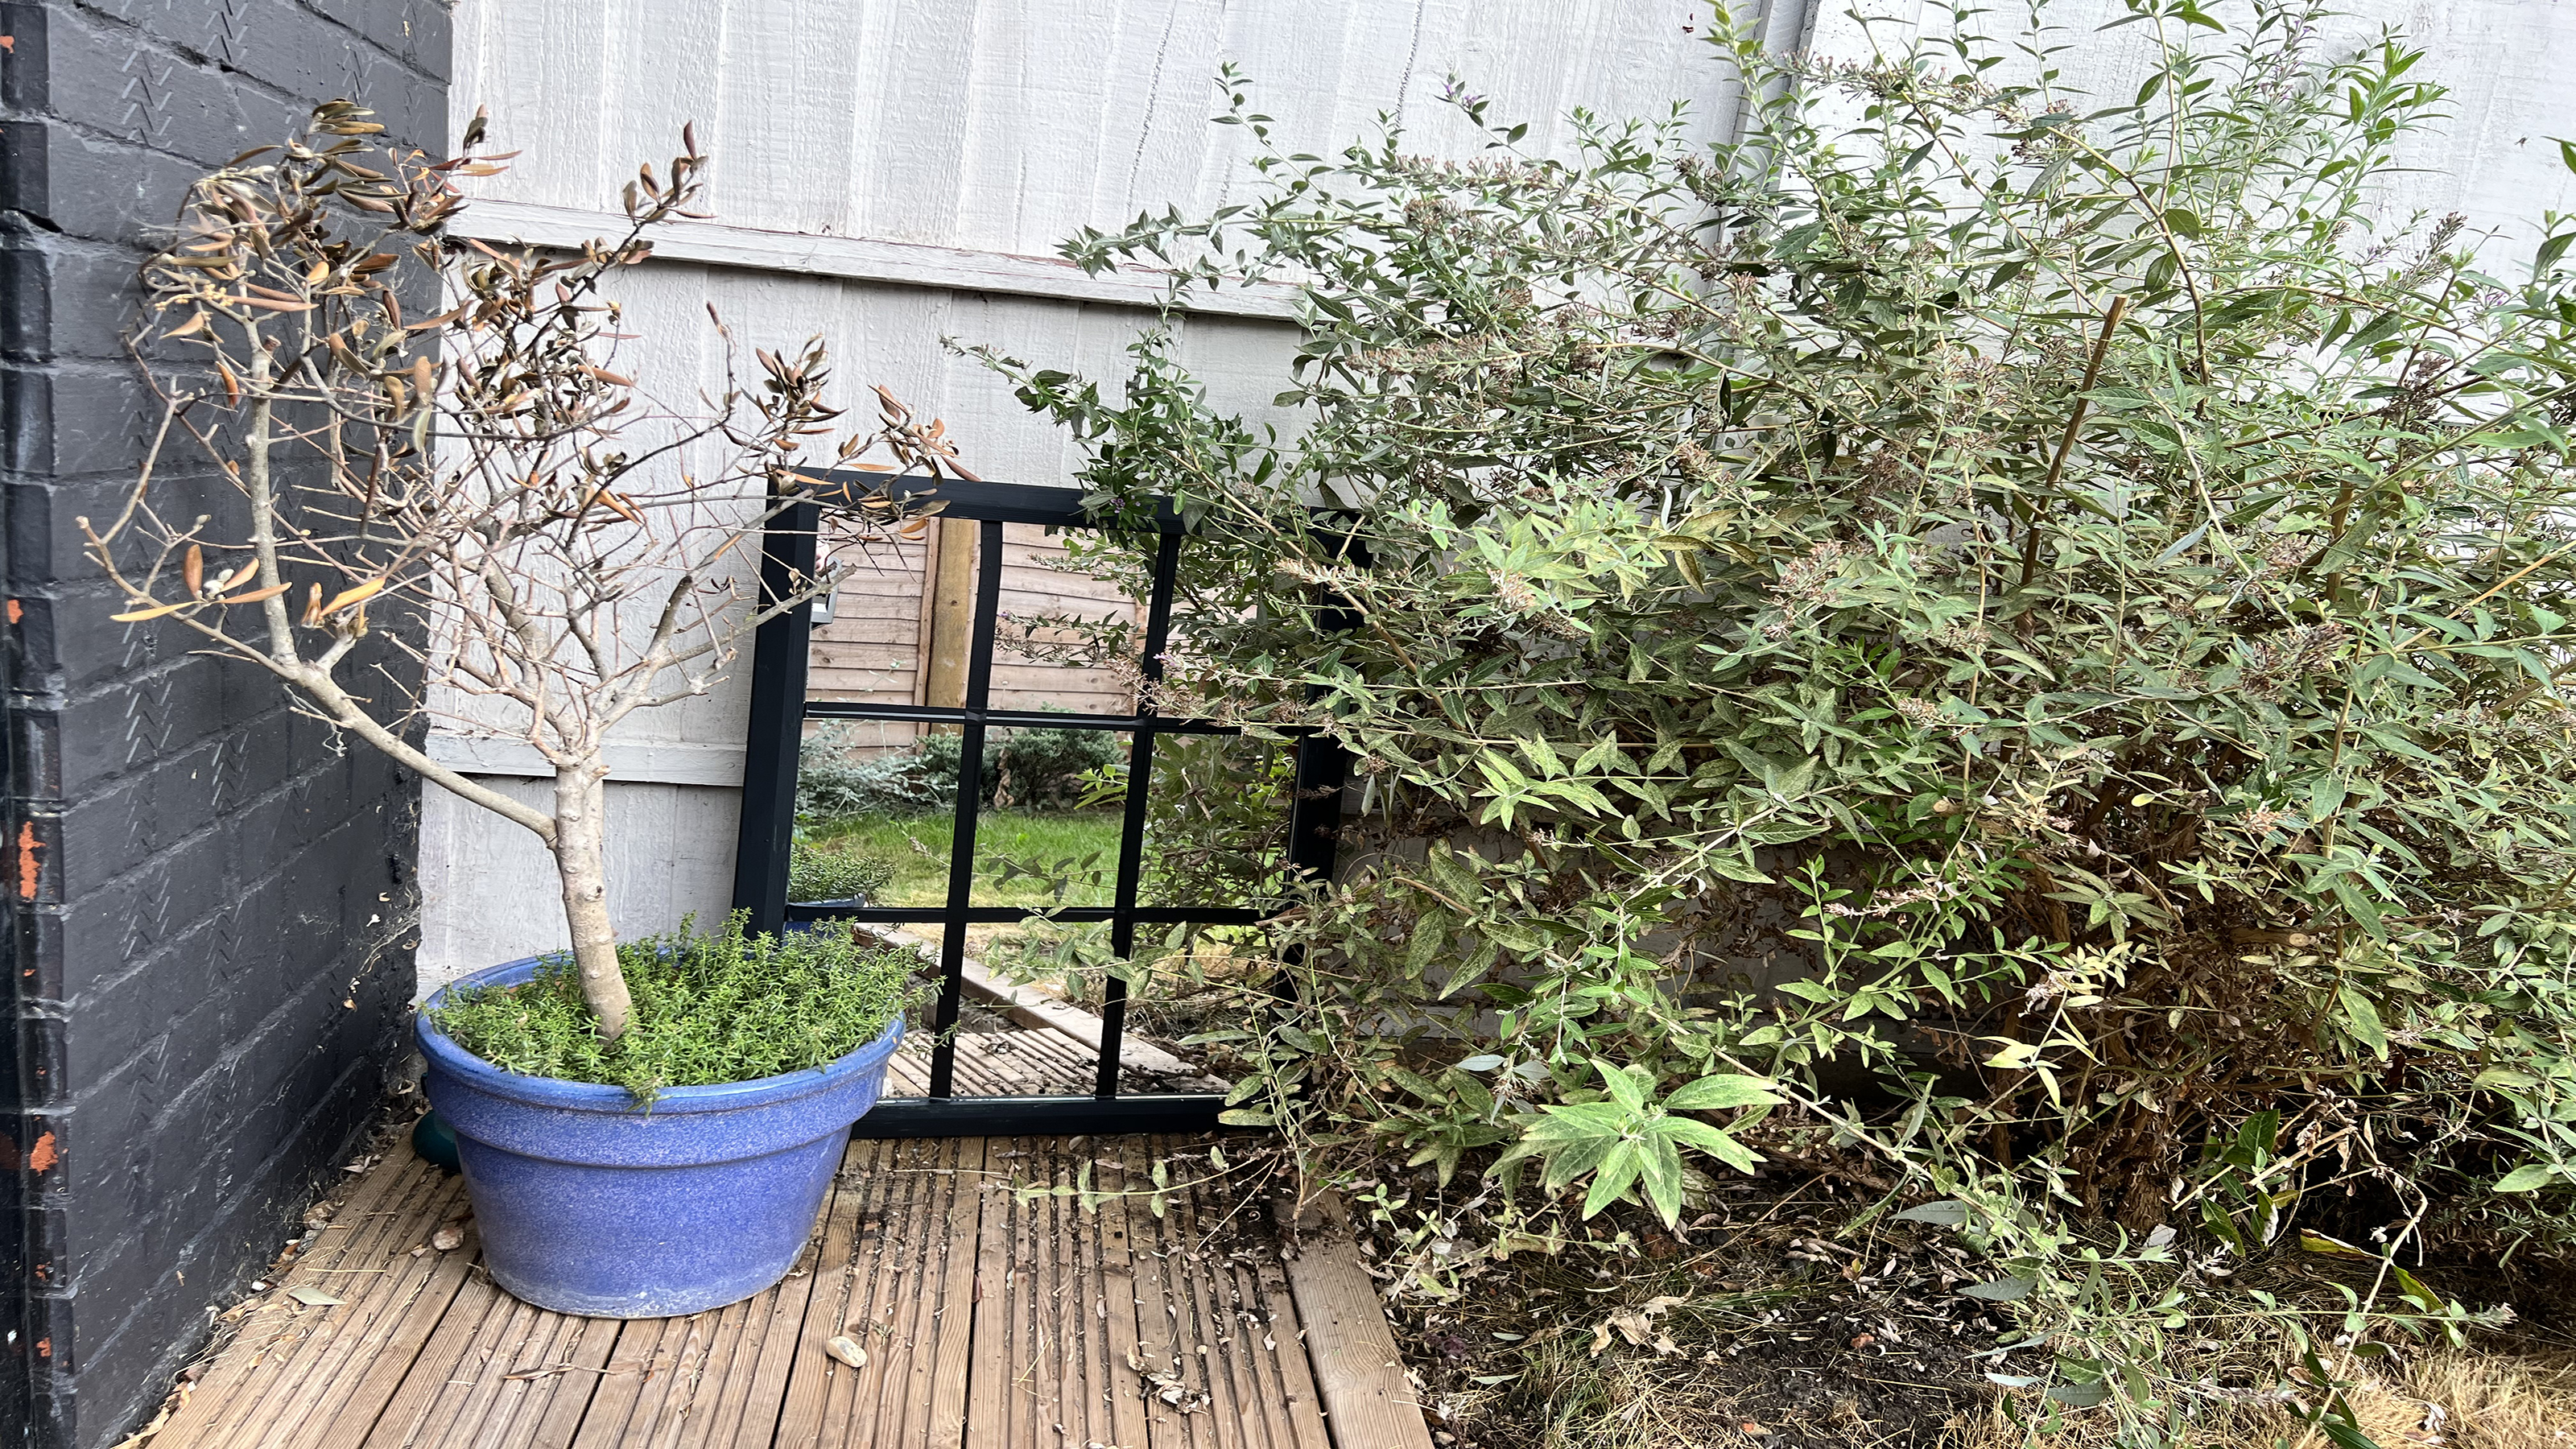
Once you are done, there are so many mirror ideas to help you choose the best home for your swanky new make. Invite your pals over and enjoy watching their envious faces as you show off your new creation! Make sure you hang this on a stud in the wall as it's on the heavy side, and if you're not sure how to use a stud finder properly, we can help you do that too!
Join our newsletter
Get small space home decor ideas, celeb inspiration, DIY tips and more, straight to your inbox!

I’m a DIY and renovation expert from a family of renovators; it's in my blood! Renovation is my passion and I love sharing my knowledge, either through my Instagram renovation tips or my renovation course. I love seeing how it helps others build the confidence to create their dream home without it costing the earth!
-
 A $200 fluted panel transformed my drab kitchen in just one weekend
How to install a fluted kitchen panel: A speedy and achievable DIY tutorial even for DIY novices
By Claire Douglas Published
-
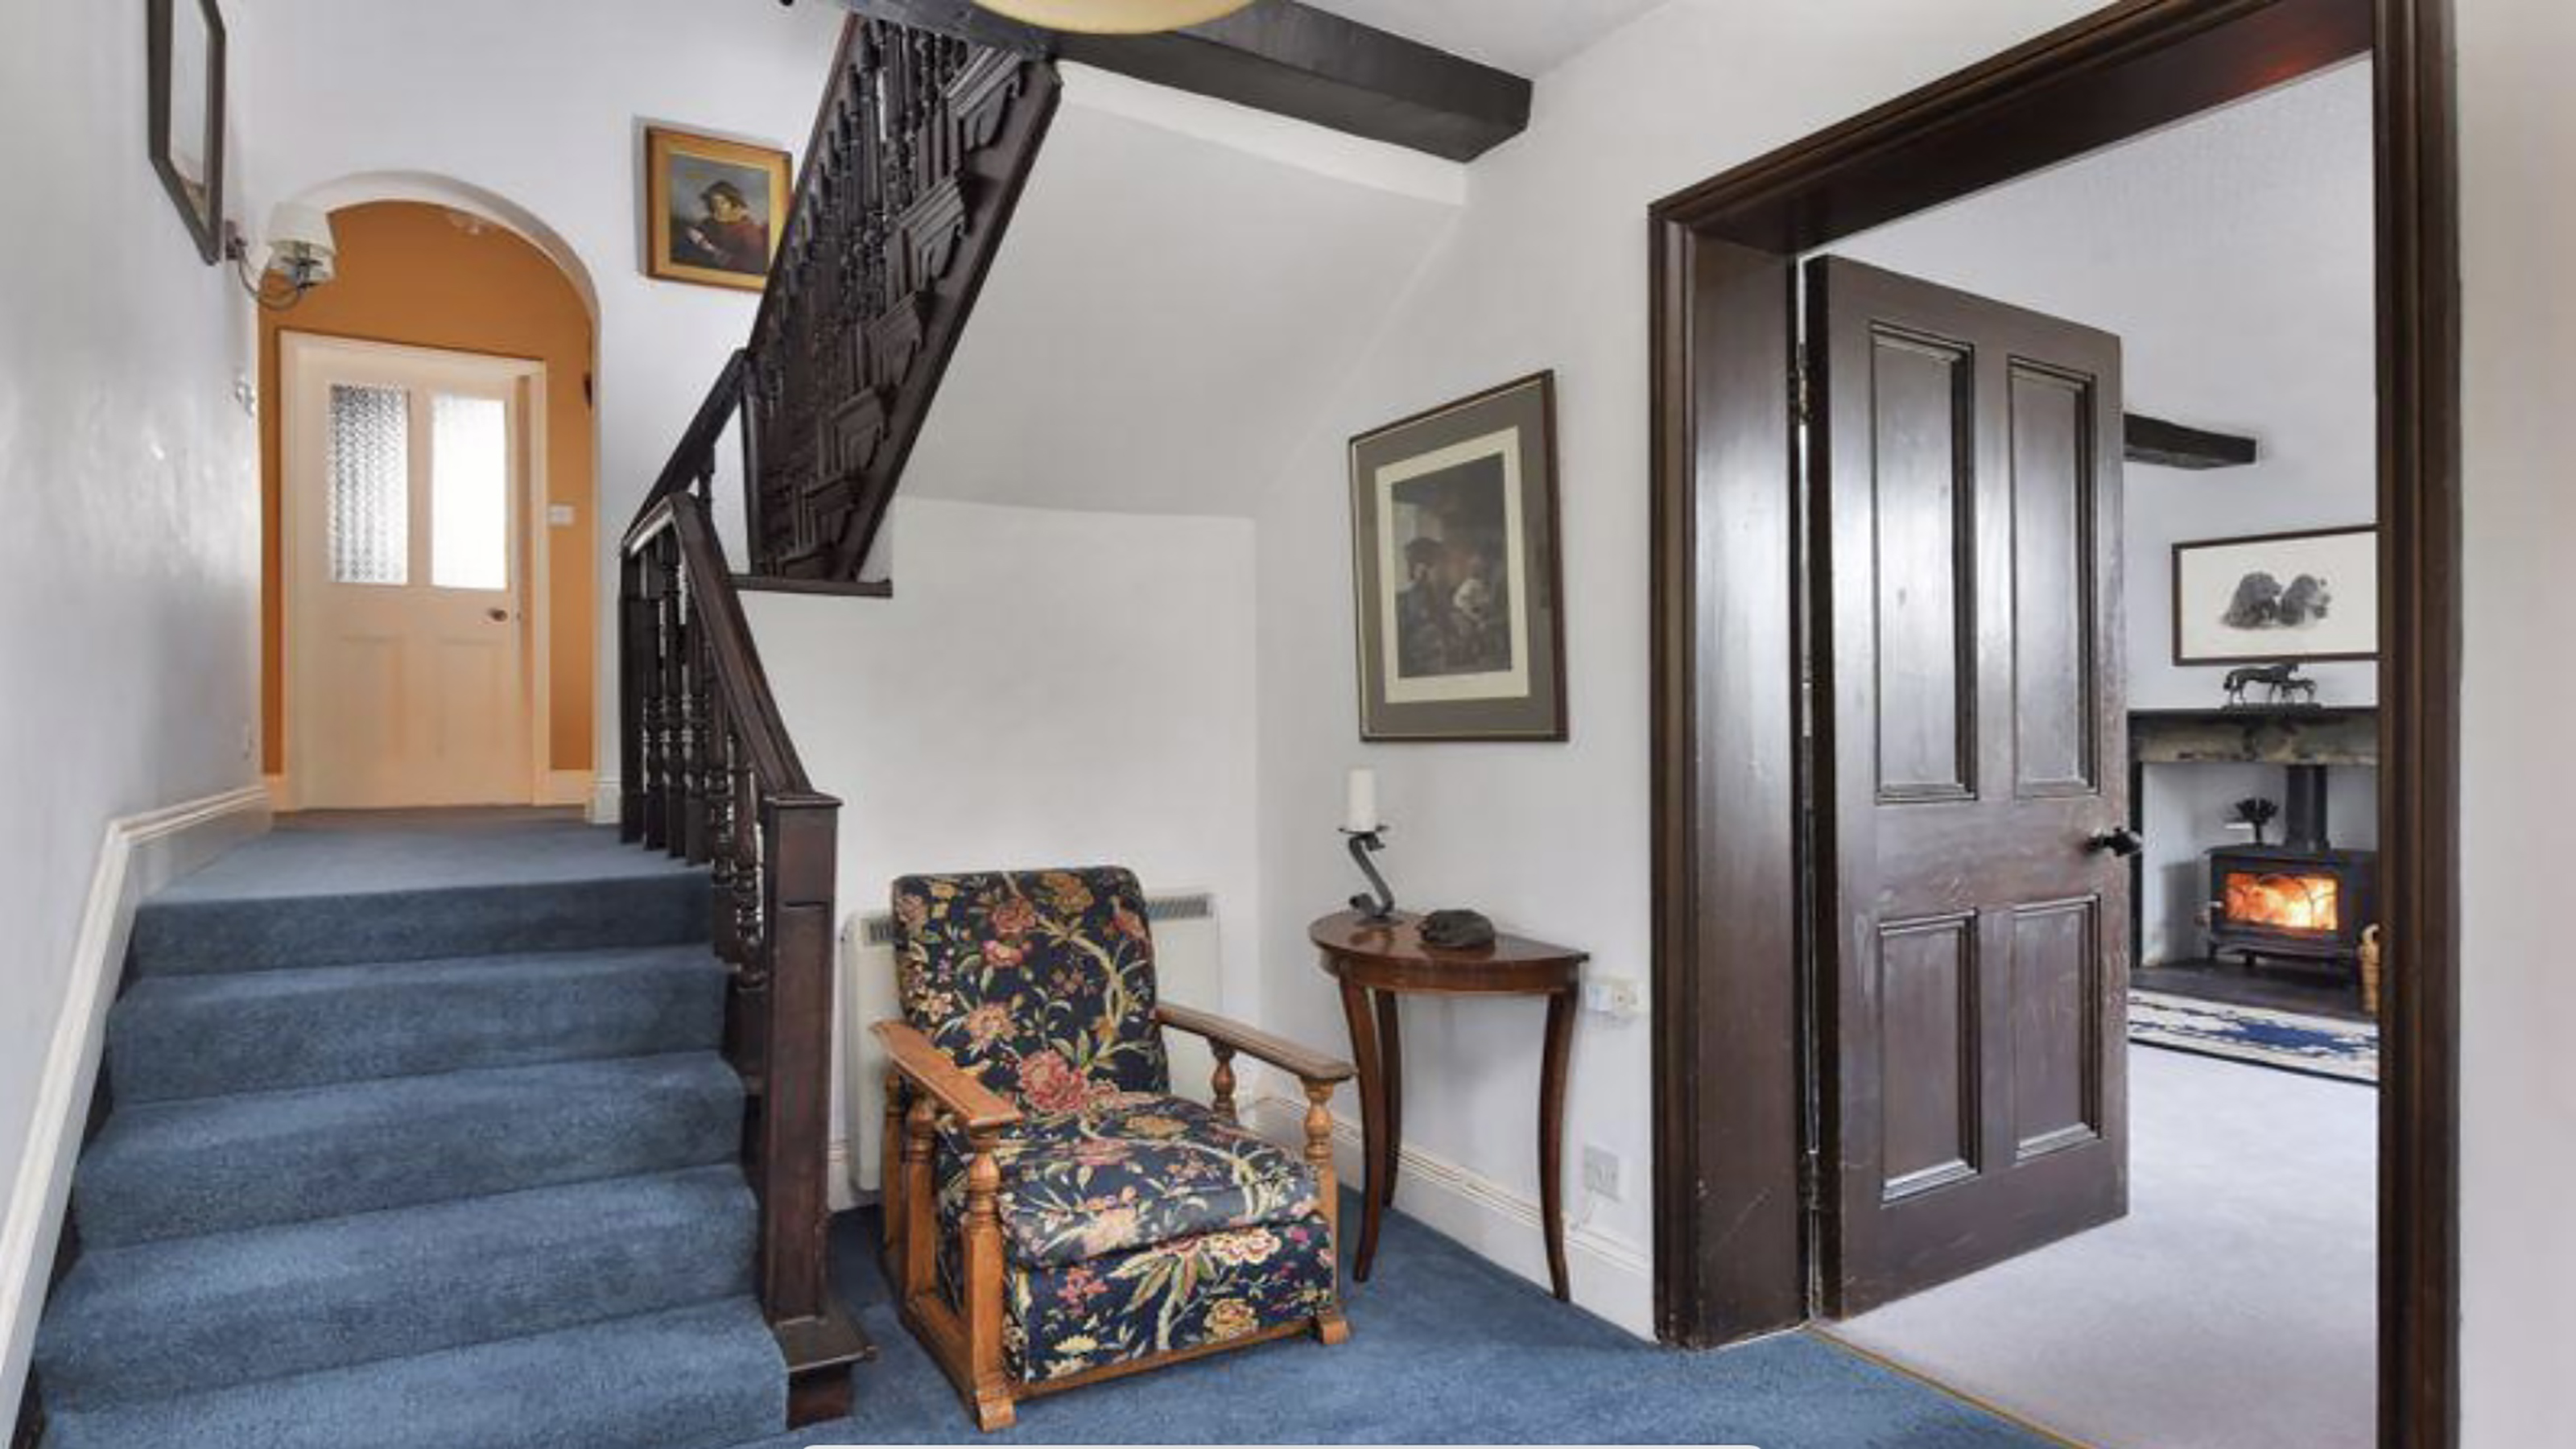 How to replace a broken staircase spindle in 30 minutes flat
A missing or broken spindle on a staircase is not only unsightly, but it can be a real hazard. This is how to fix it in a few quick steps.
By Kate Sandhu Published
-
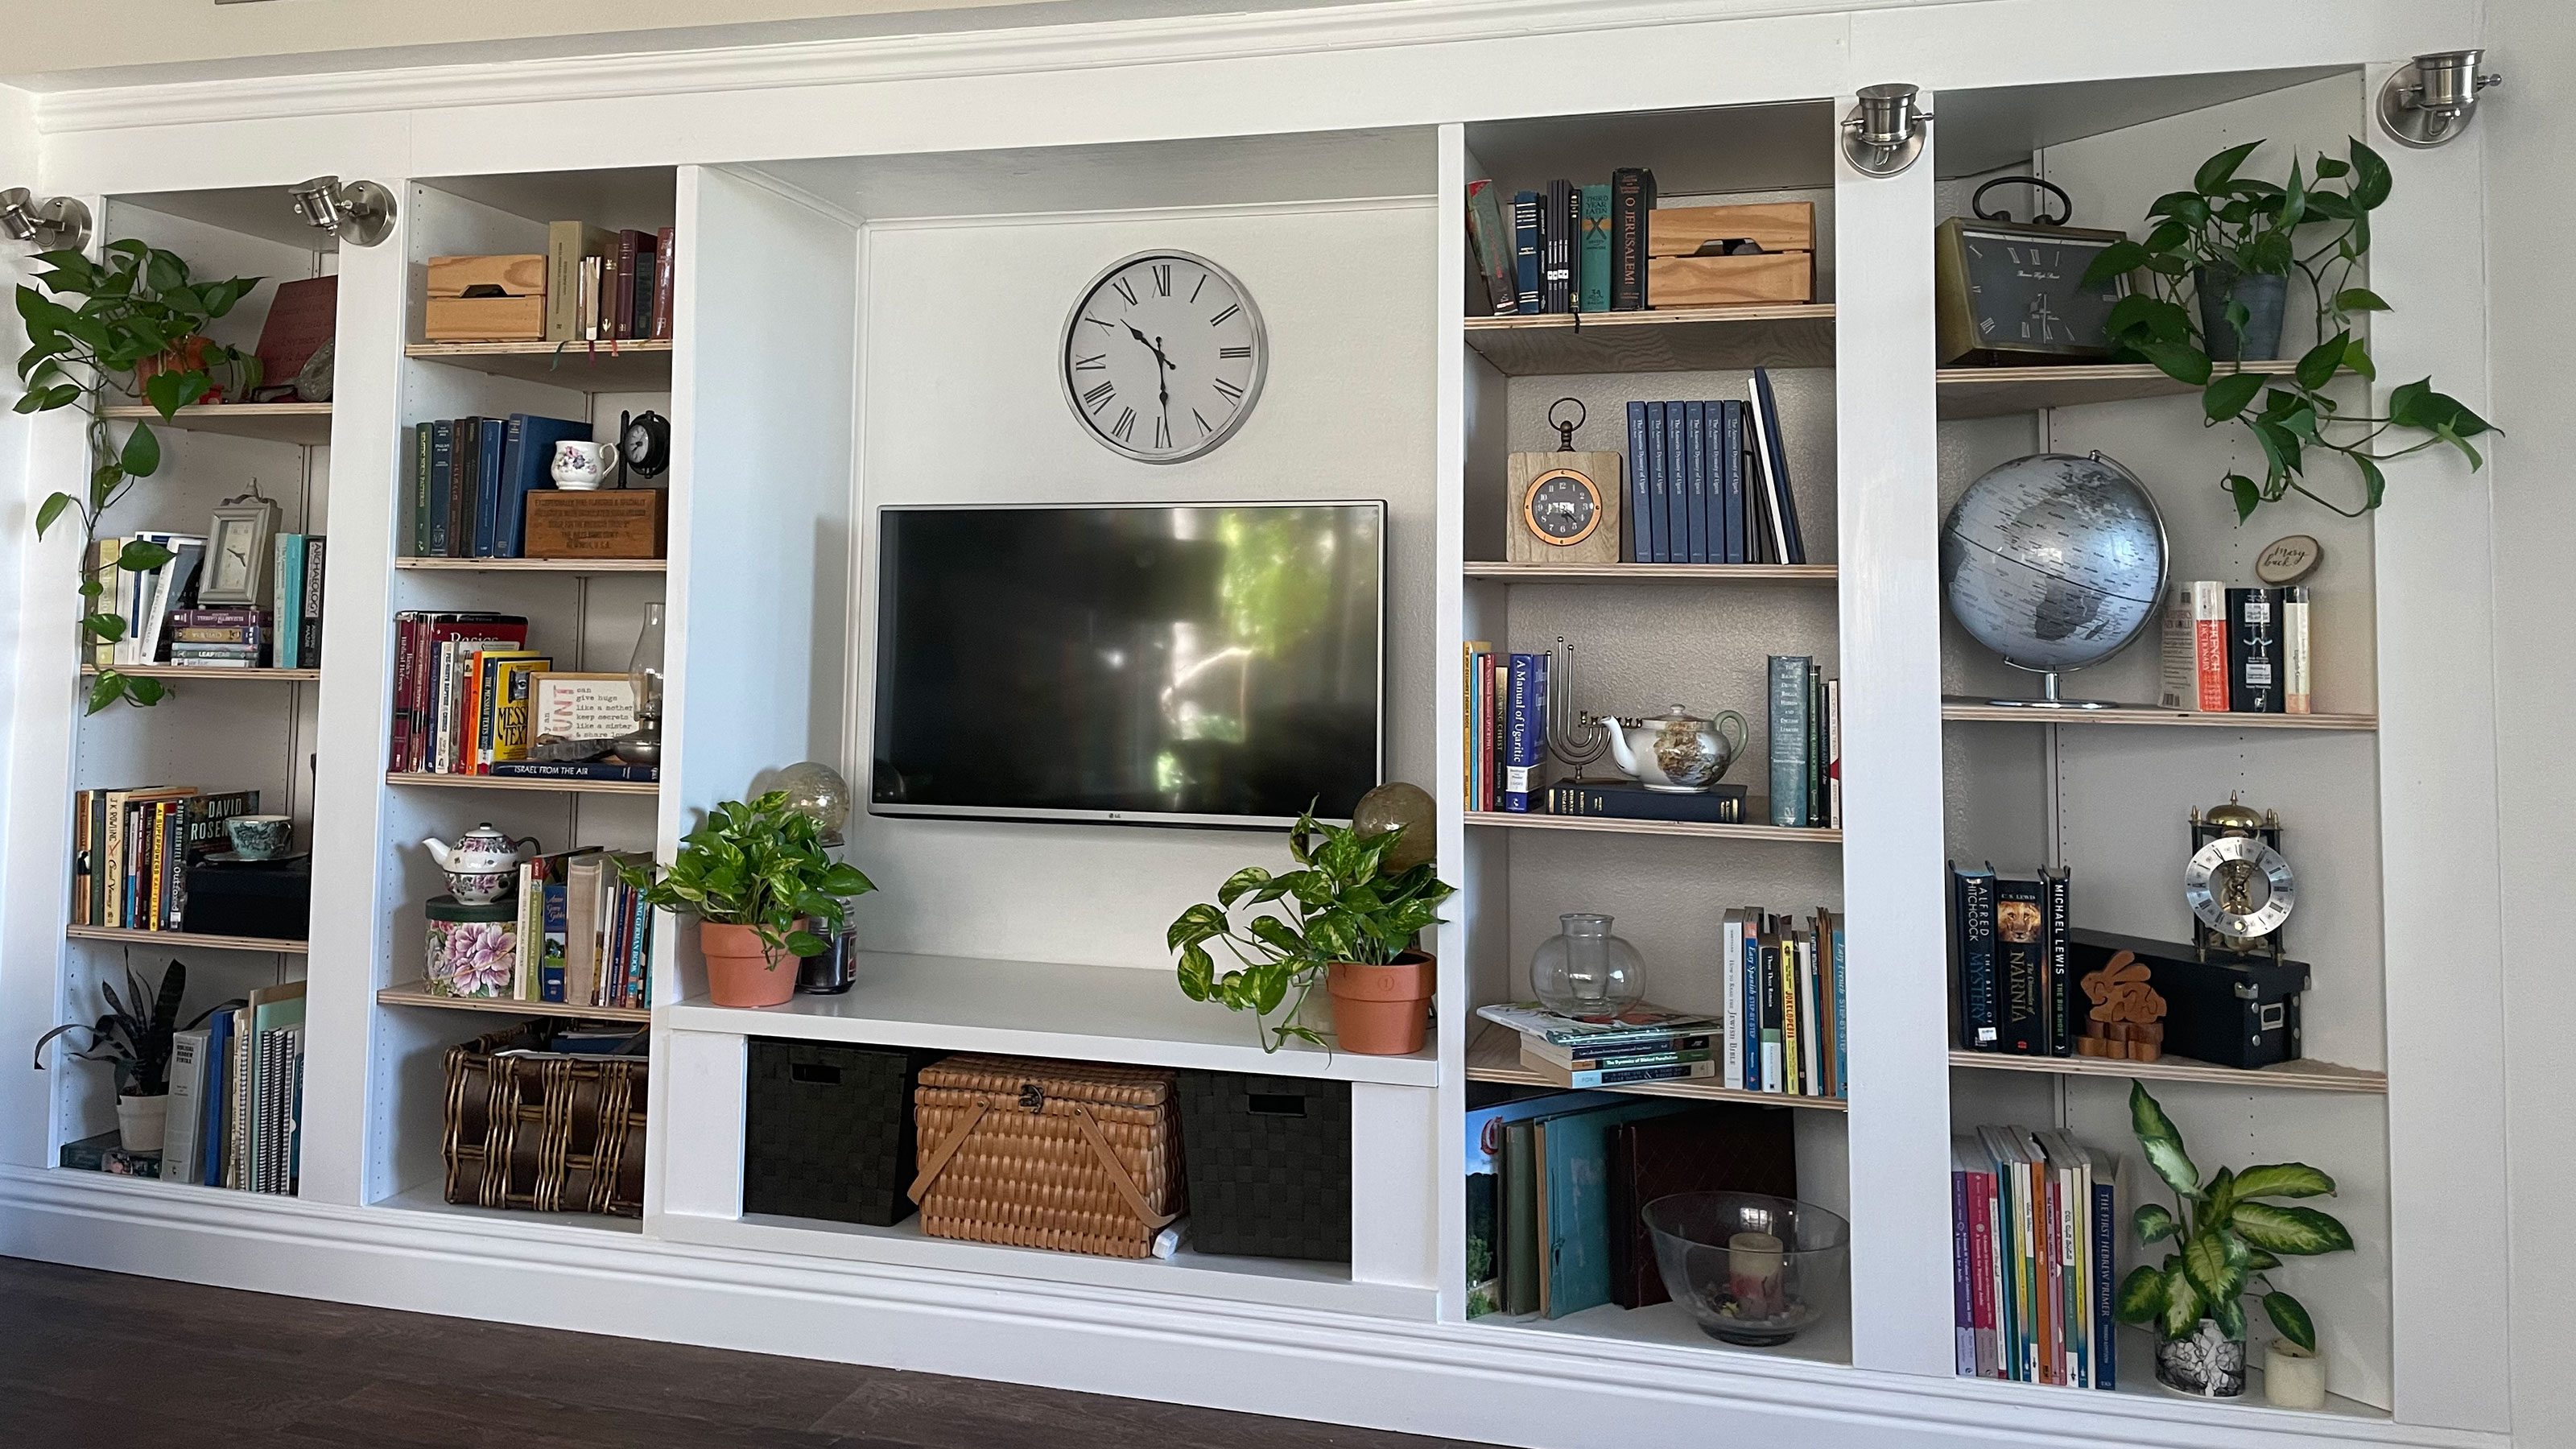 An IKEA Billy bookcase hack inspired this cute media wall DIY
This cute DIY was inspired by an IKEA Billy bookcase hack and brought a ton of symmetry to an otherwise basic media wall space.
By Camille Dubuis-Welch Published
-
 Share your small space glow up to win $150 in the Real Homes competition
Show off your creativity and DIY skills to win $150 and for the chance to be featured exclusively in Real Homes magazine
By Camille Dubuis-Welch Last updated
-
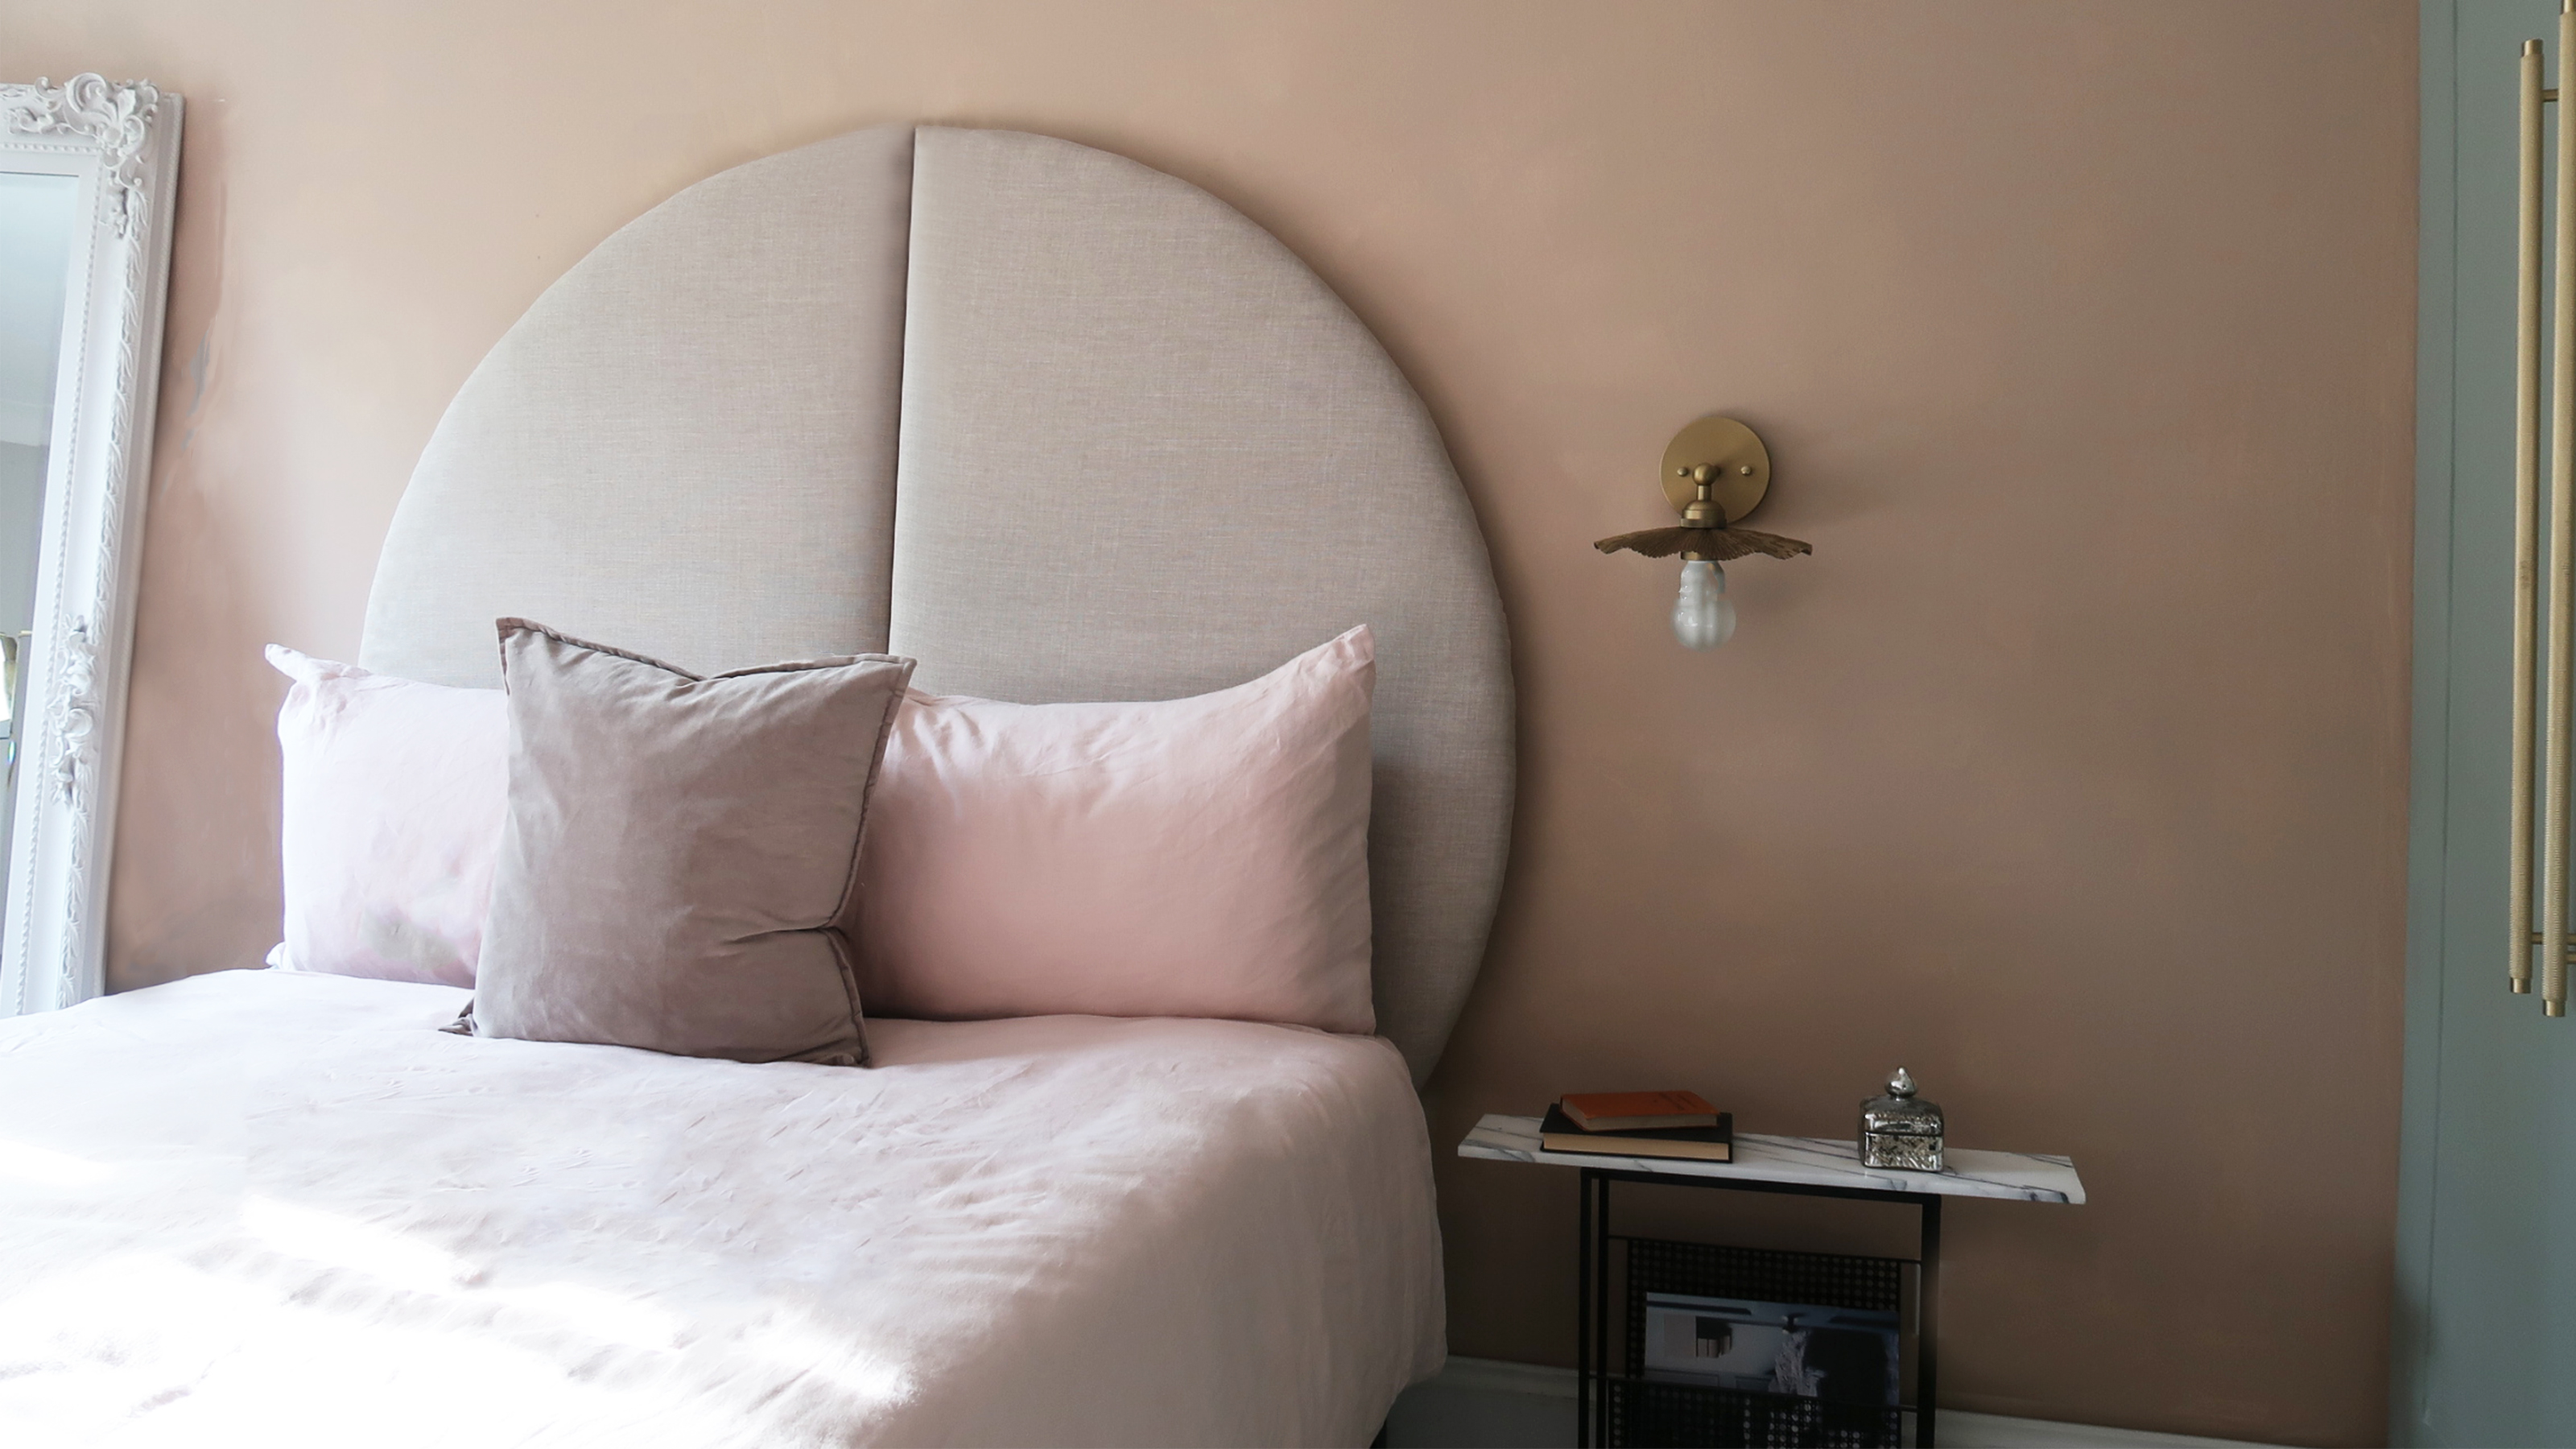 This oversized headboard looks designer, and takes 5 steps to DIY
Super simple to DIY, this oversized headboard will give your bedroom space all the designer vibes you could dream of.
By Claire Douglas Published
-
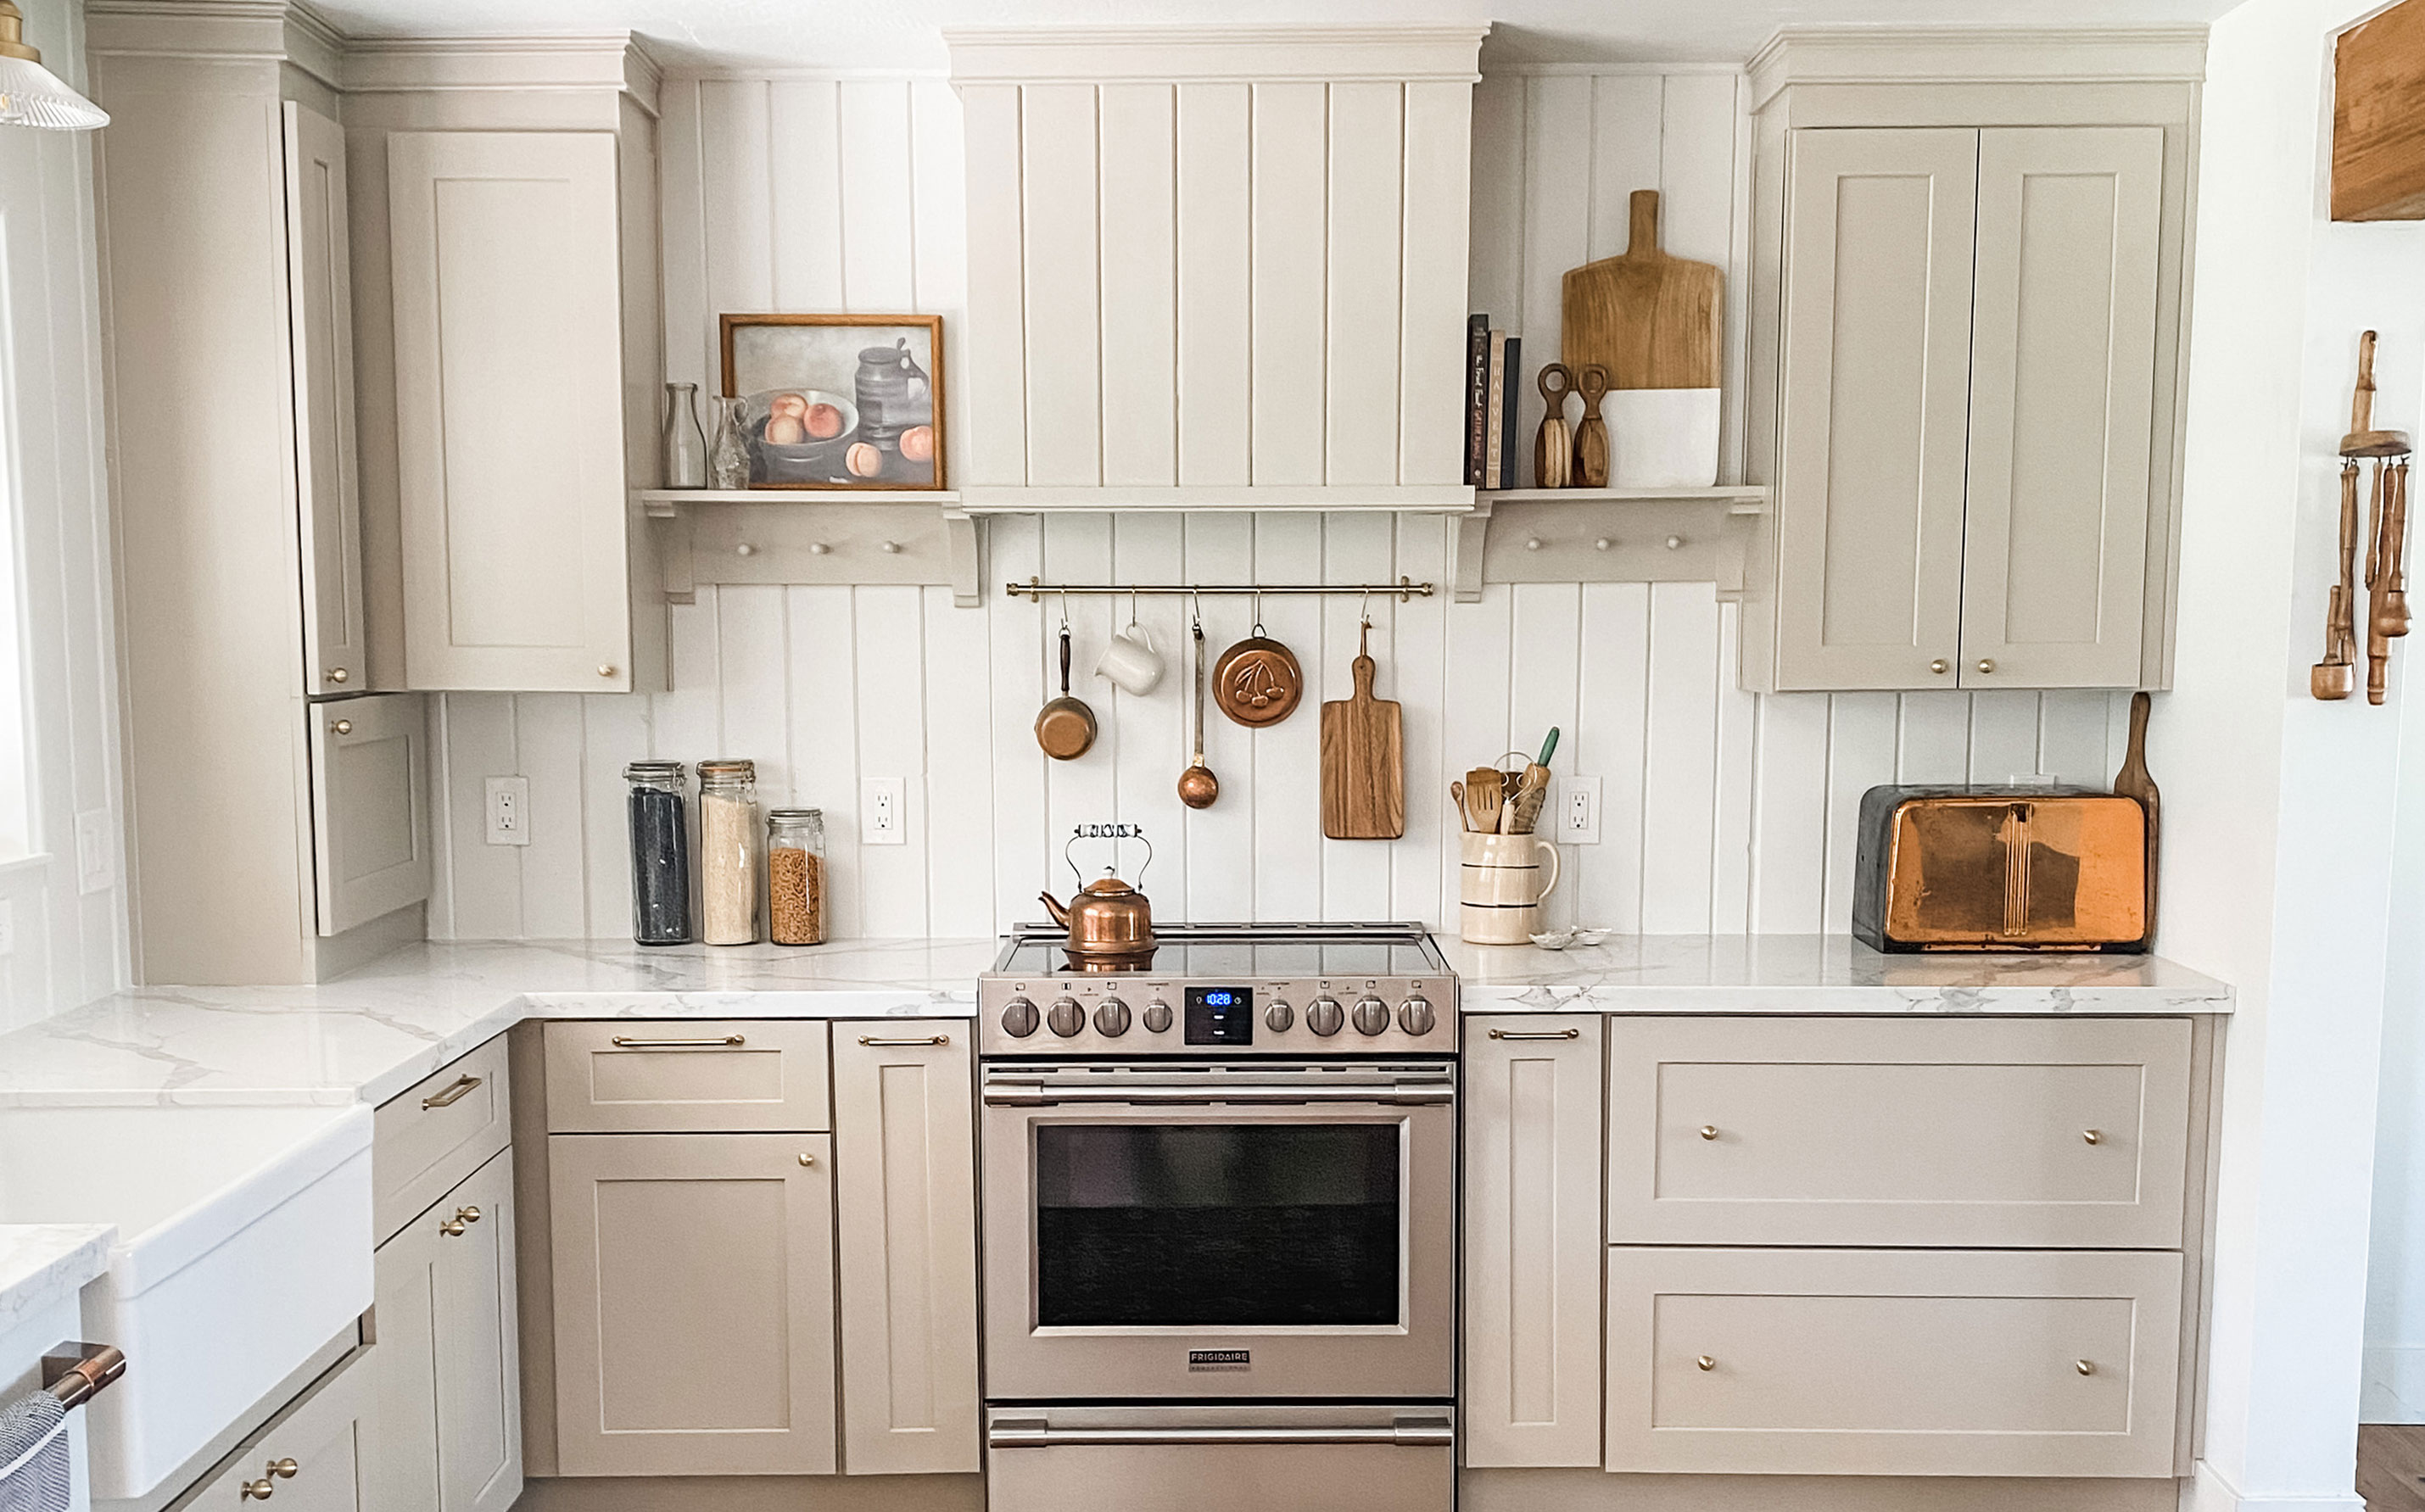 My DIY range hood and backsplash build gave my kitchen the perfect farmhouse finish
I craved charm in my kitchen space and adding a custom range hood and shelving was the best move.
By Brooke Waite Published
-
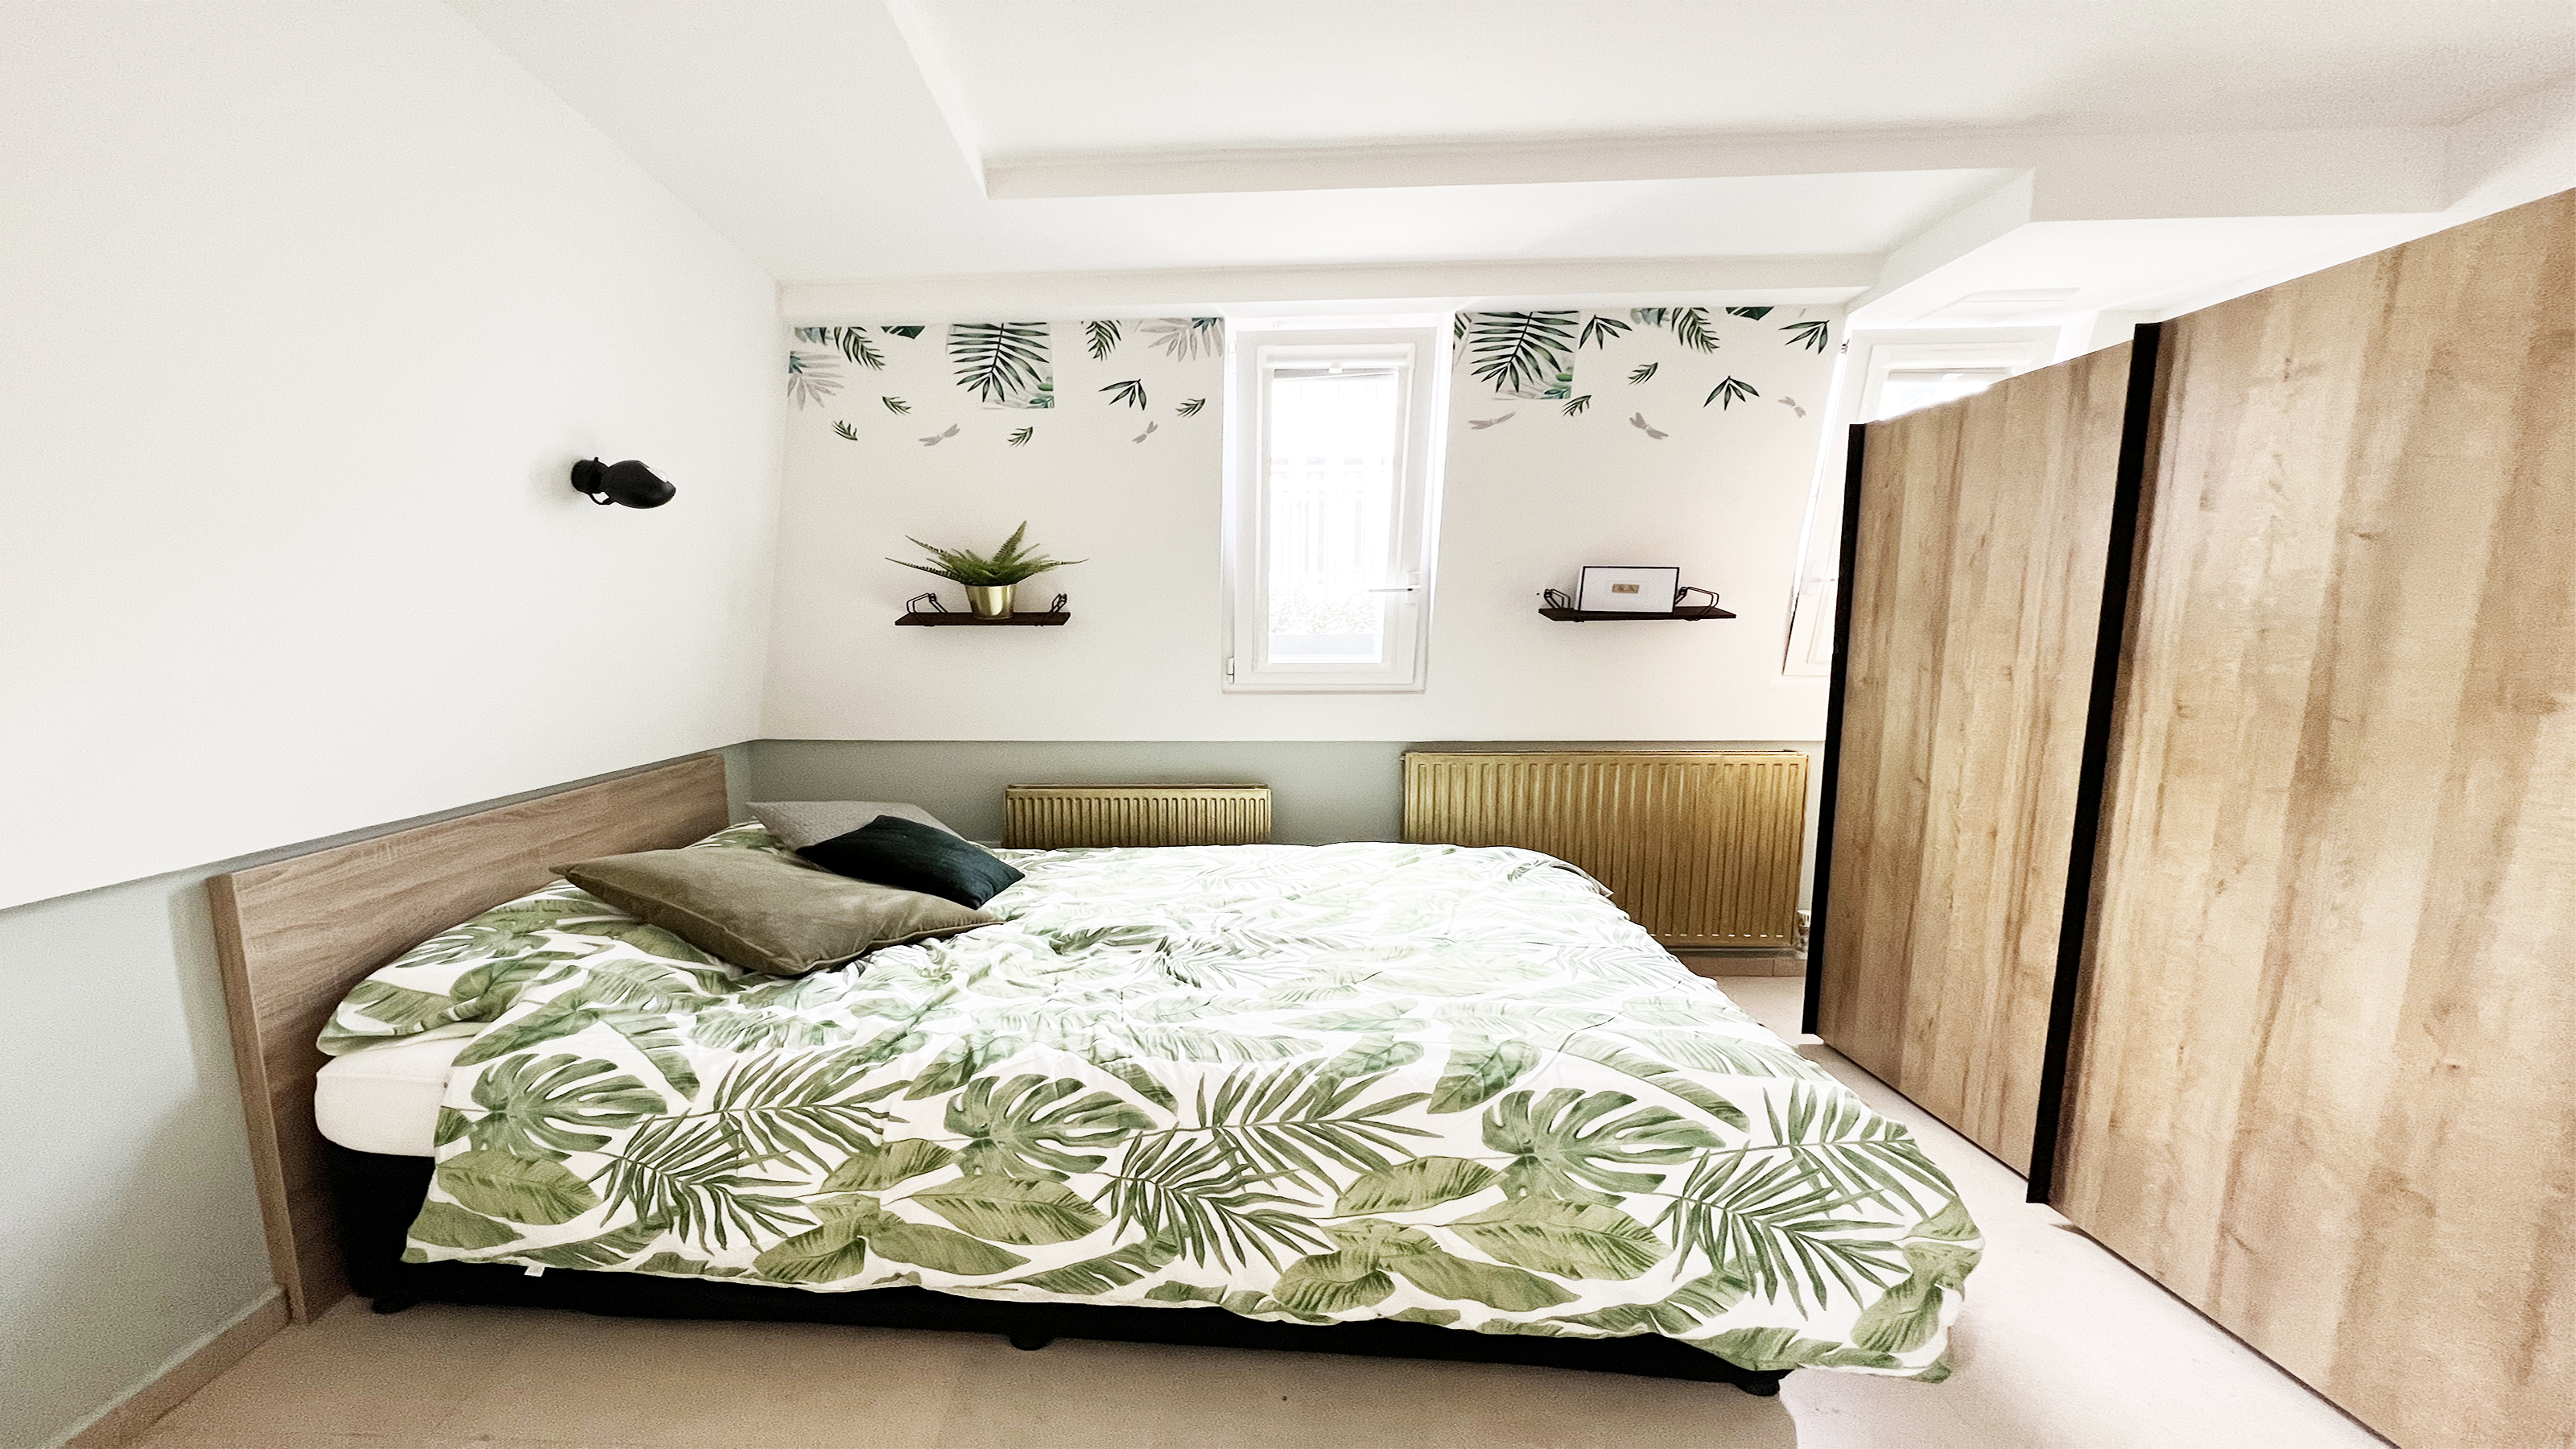 How to paint a radiator in 7 steps
Painting radiators properly is all about choosing the right paint and the best process. Get interior designer-worthy results with our how-to.
By Kate Sandhu Published
-
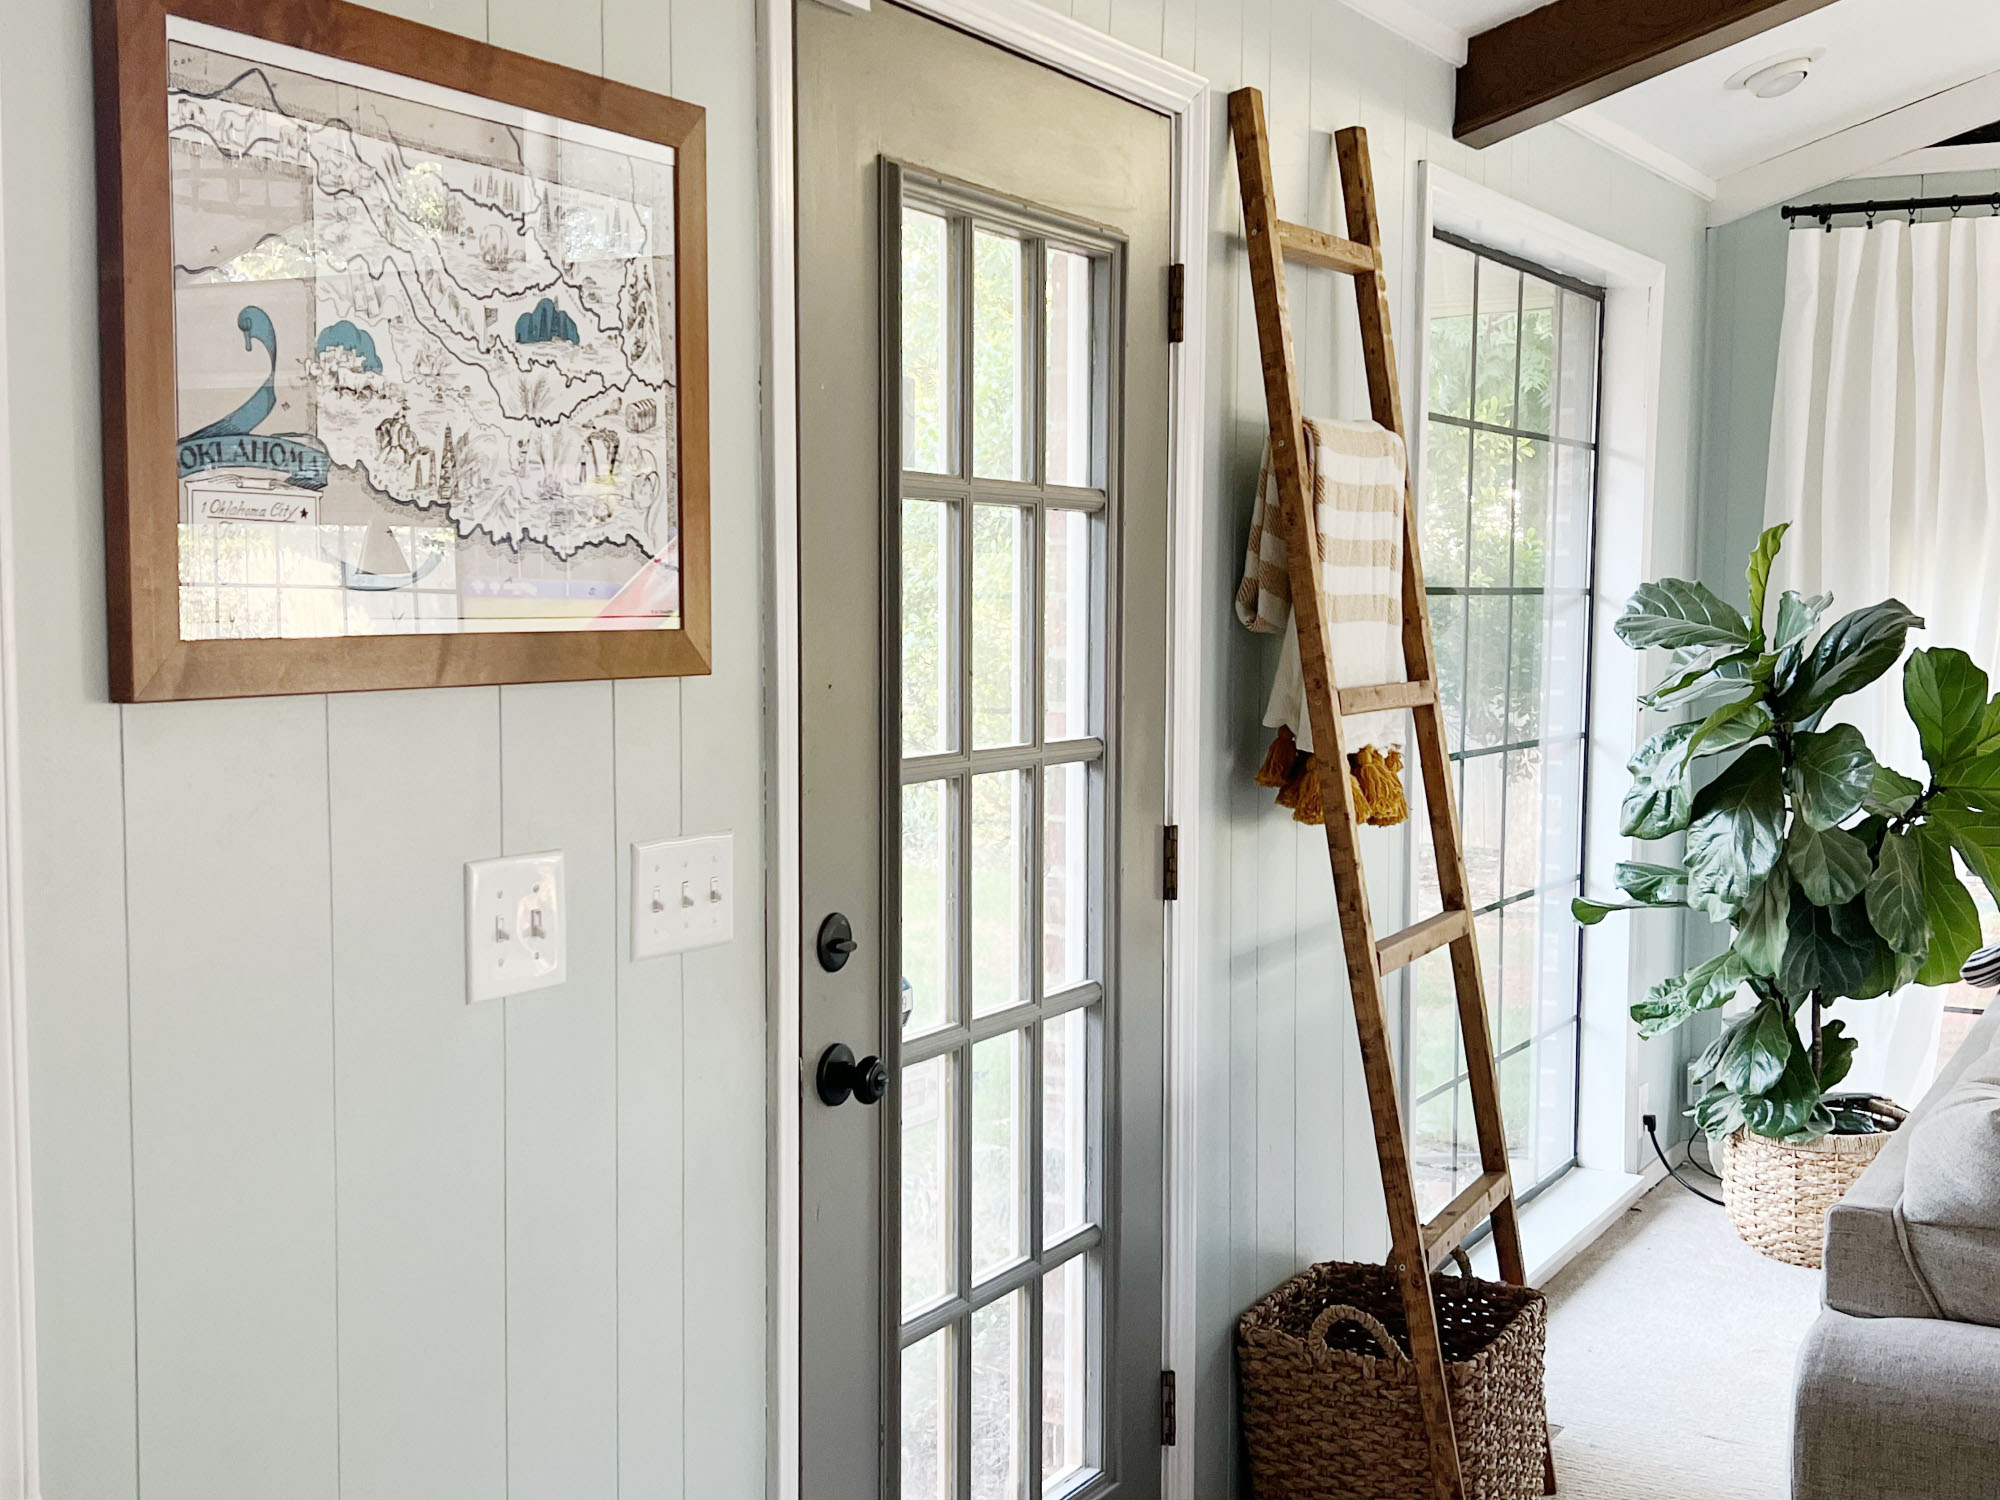 How to install a door knob
Updating your interior and exterior doors can be as easy as changing out the hardware! The best part is that installing a door knob is very DIY friendly. Follow these simple steps and enjoy a fresh look on your doors!
By Dori Turner Published