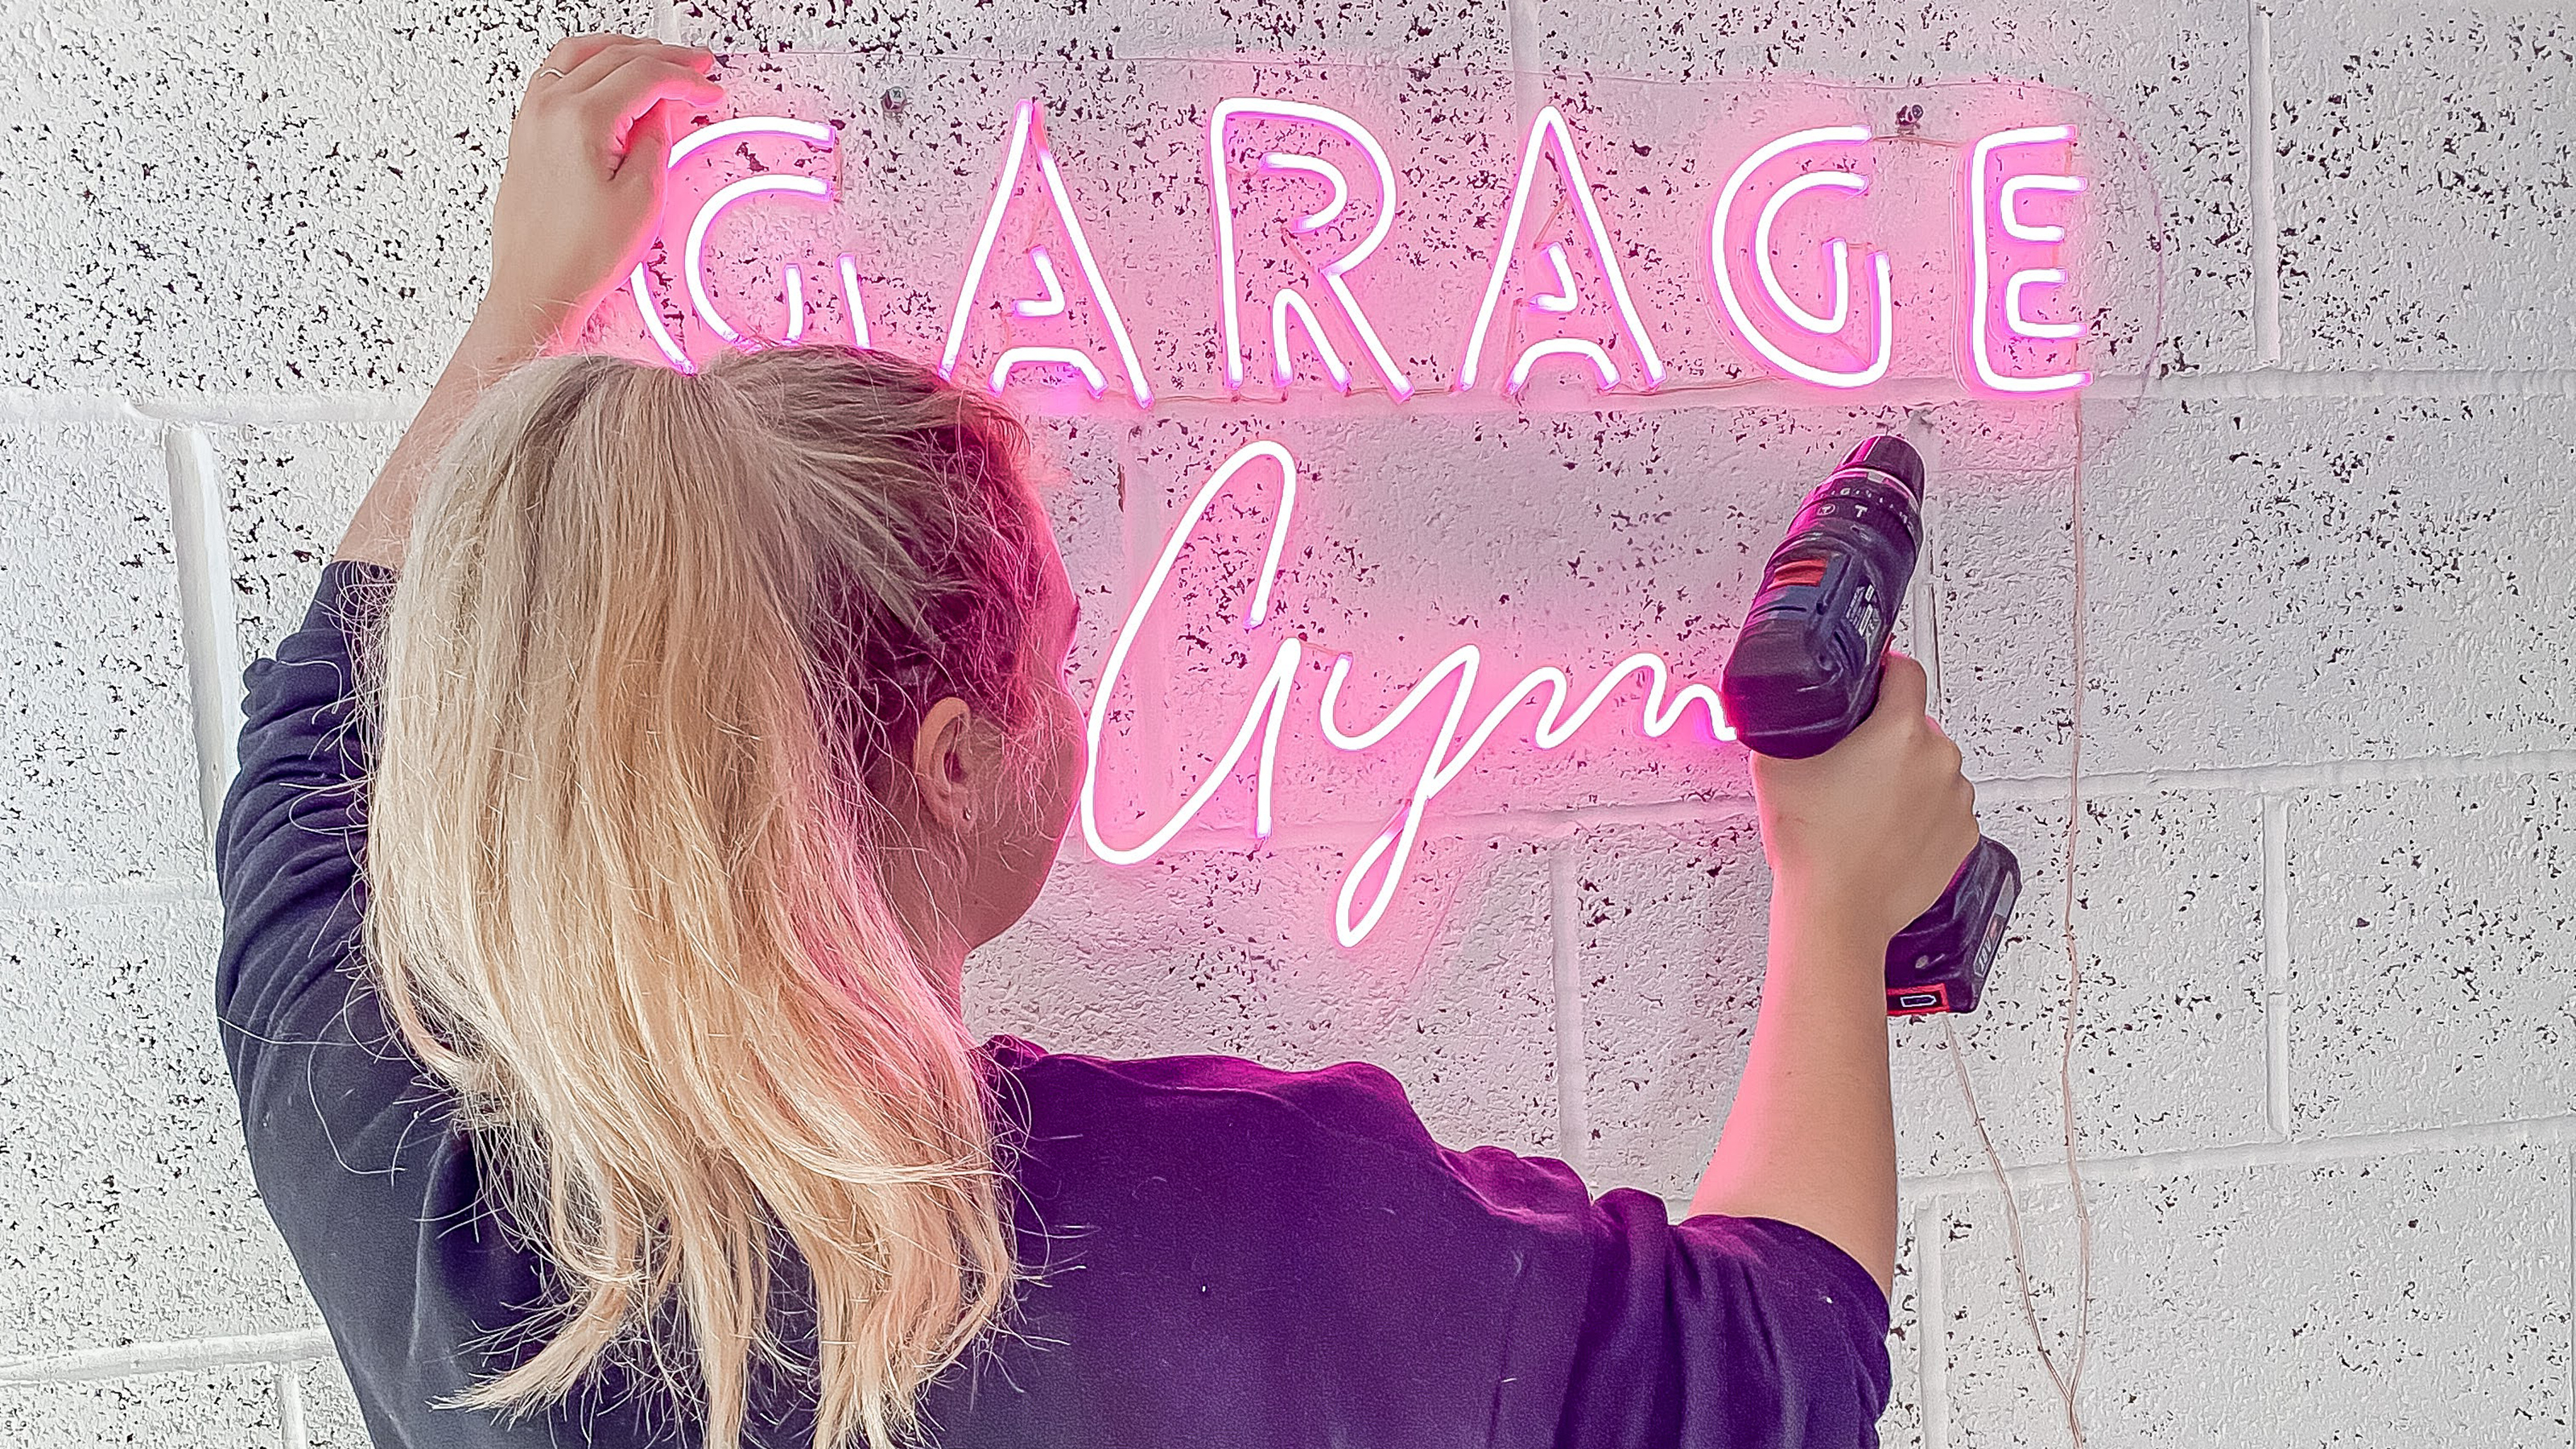
During the first lockdown, my friend was converting her garage into a home gym and wanted help finding a neon sign to complete the makeover. Seeing how much custom signs were going for online, I decided to do some research into how to make a neon sign yourself.
I watched video after video but none were that helpful for someone without fancy equipment like a laser cutter, so I had to draw on my year 7 electronics class and make it up as I went along, recording it all so you can all make one too. You are welcome.
What you’ll need:
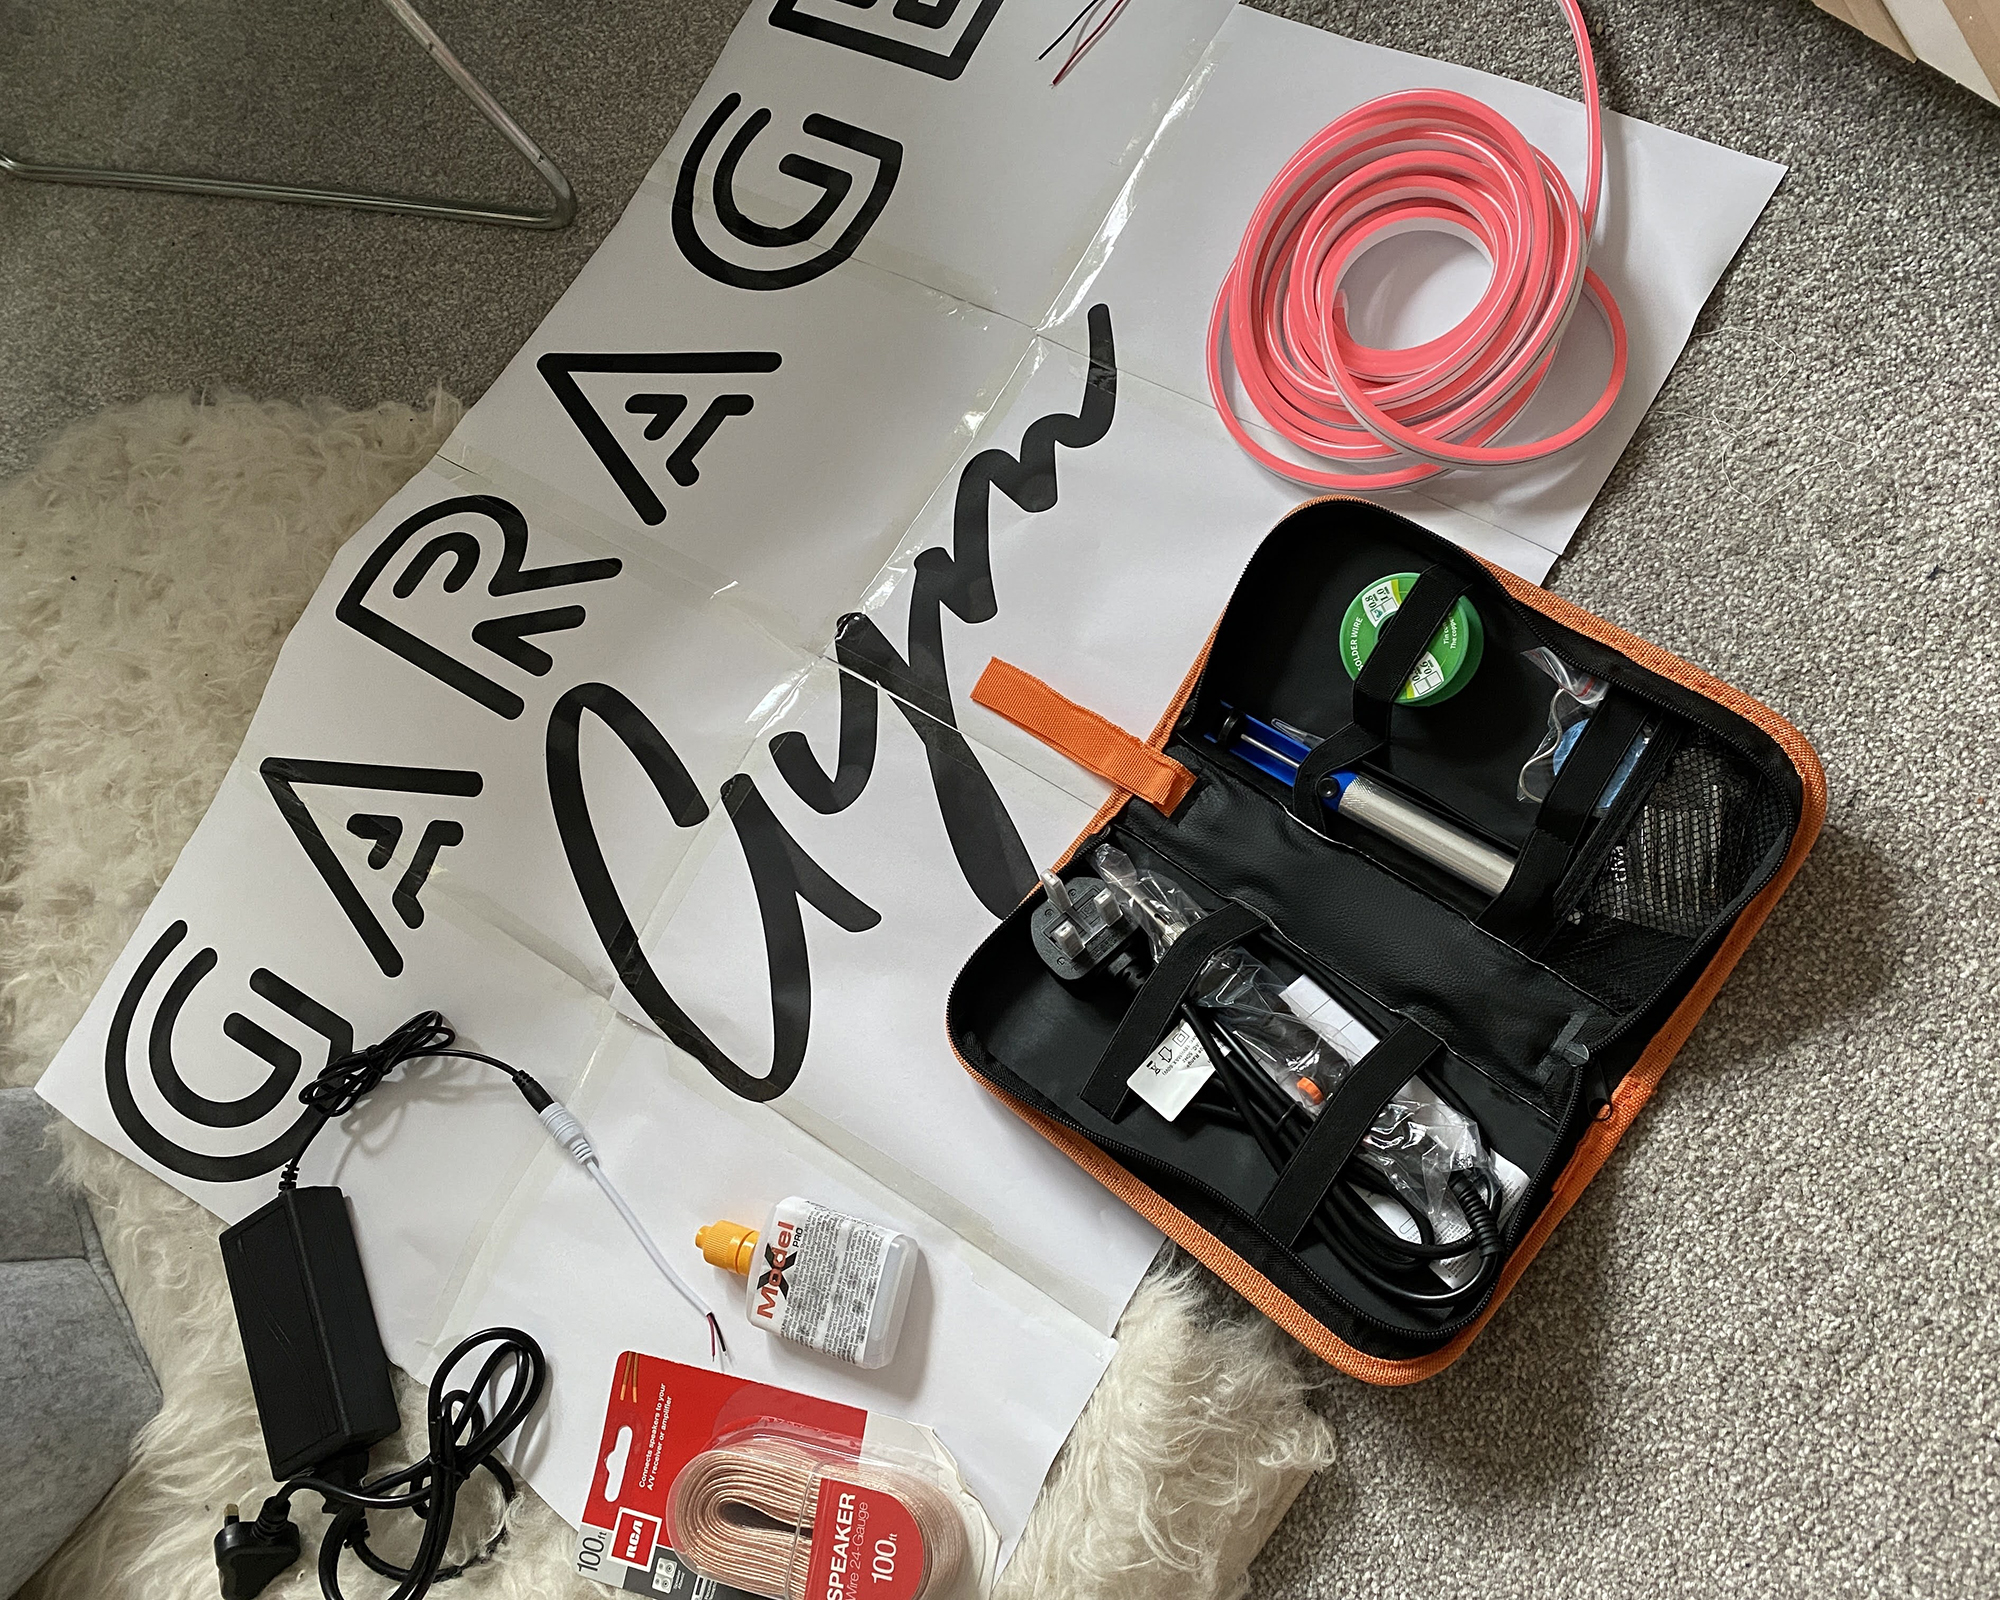
- Drill with 4mm HSS drill bit
- Soldering Iron Kit from Amazon
- AC to DC 12V Power Cable & DC 12/24V Connector
- 2-hole end caps
- Wire Strippers
- Superglue
- Stanley Knife
- Masking Tape
- 24-gauge Speaker Wire
- Neon Rope Light in your choice of colour (I used 5m of rope from eBay for this sign)
- Arcylic Sheet in your choice of size
how to make a neon sign with rope step-by-step
First up for this DIY project, you need to make a template for your light out of paper, in the size you want it. Have you decided what you want your sign to say? Or did you want a light shaped like a heart for example? Source your design or make your own on your computer. I used a free font website to find a font I liked, imported it and used a word document to save it as a PDF. Alternatively, you can make an image using websites such as Canva to make your template.
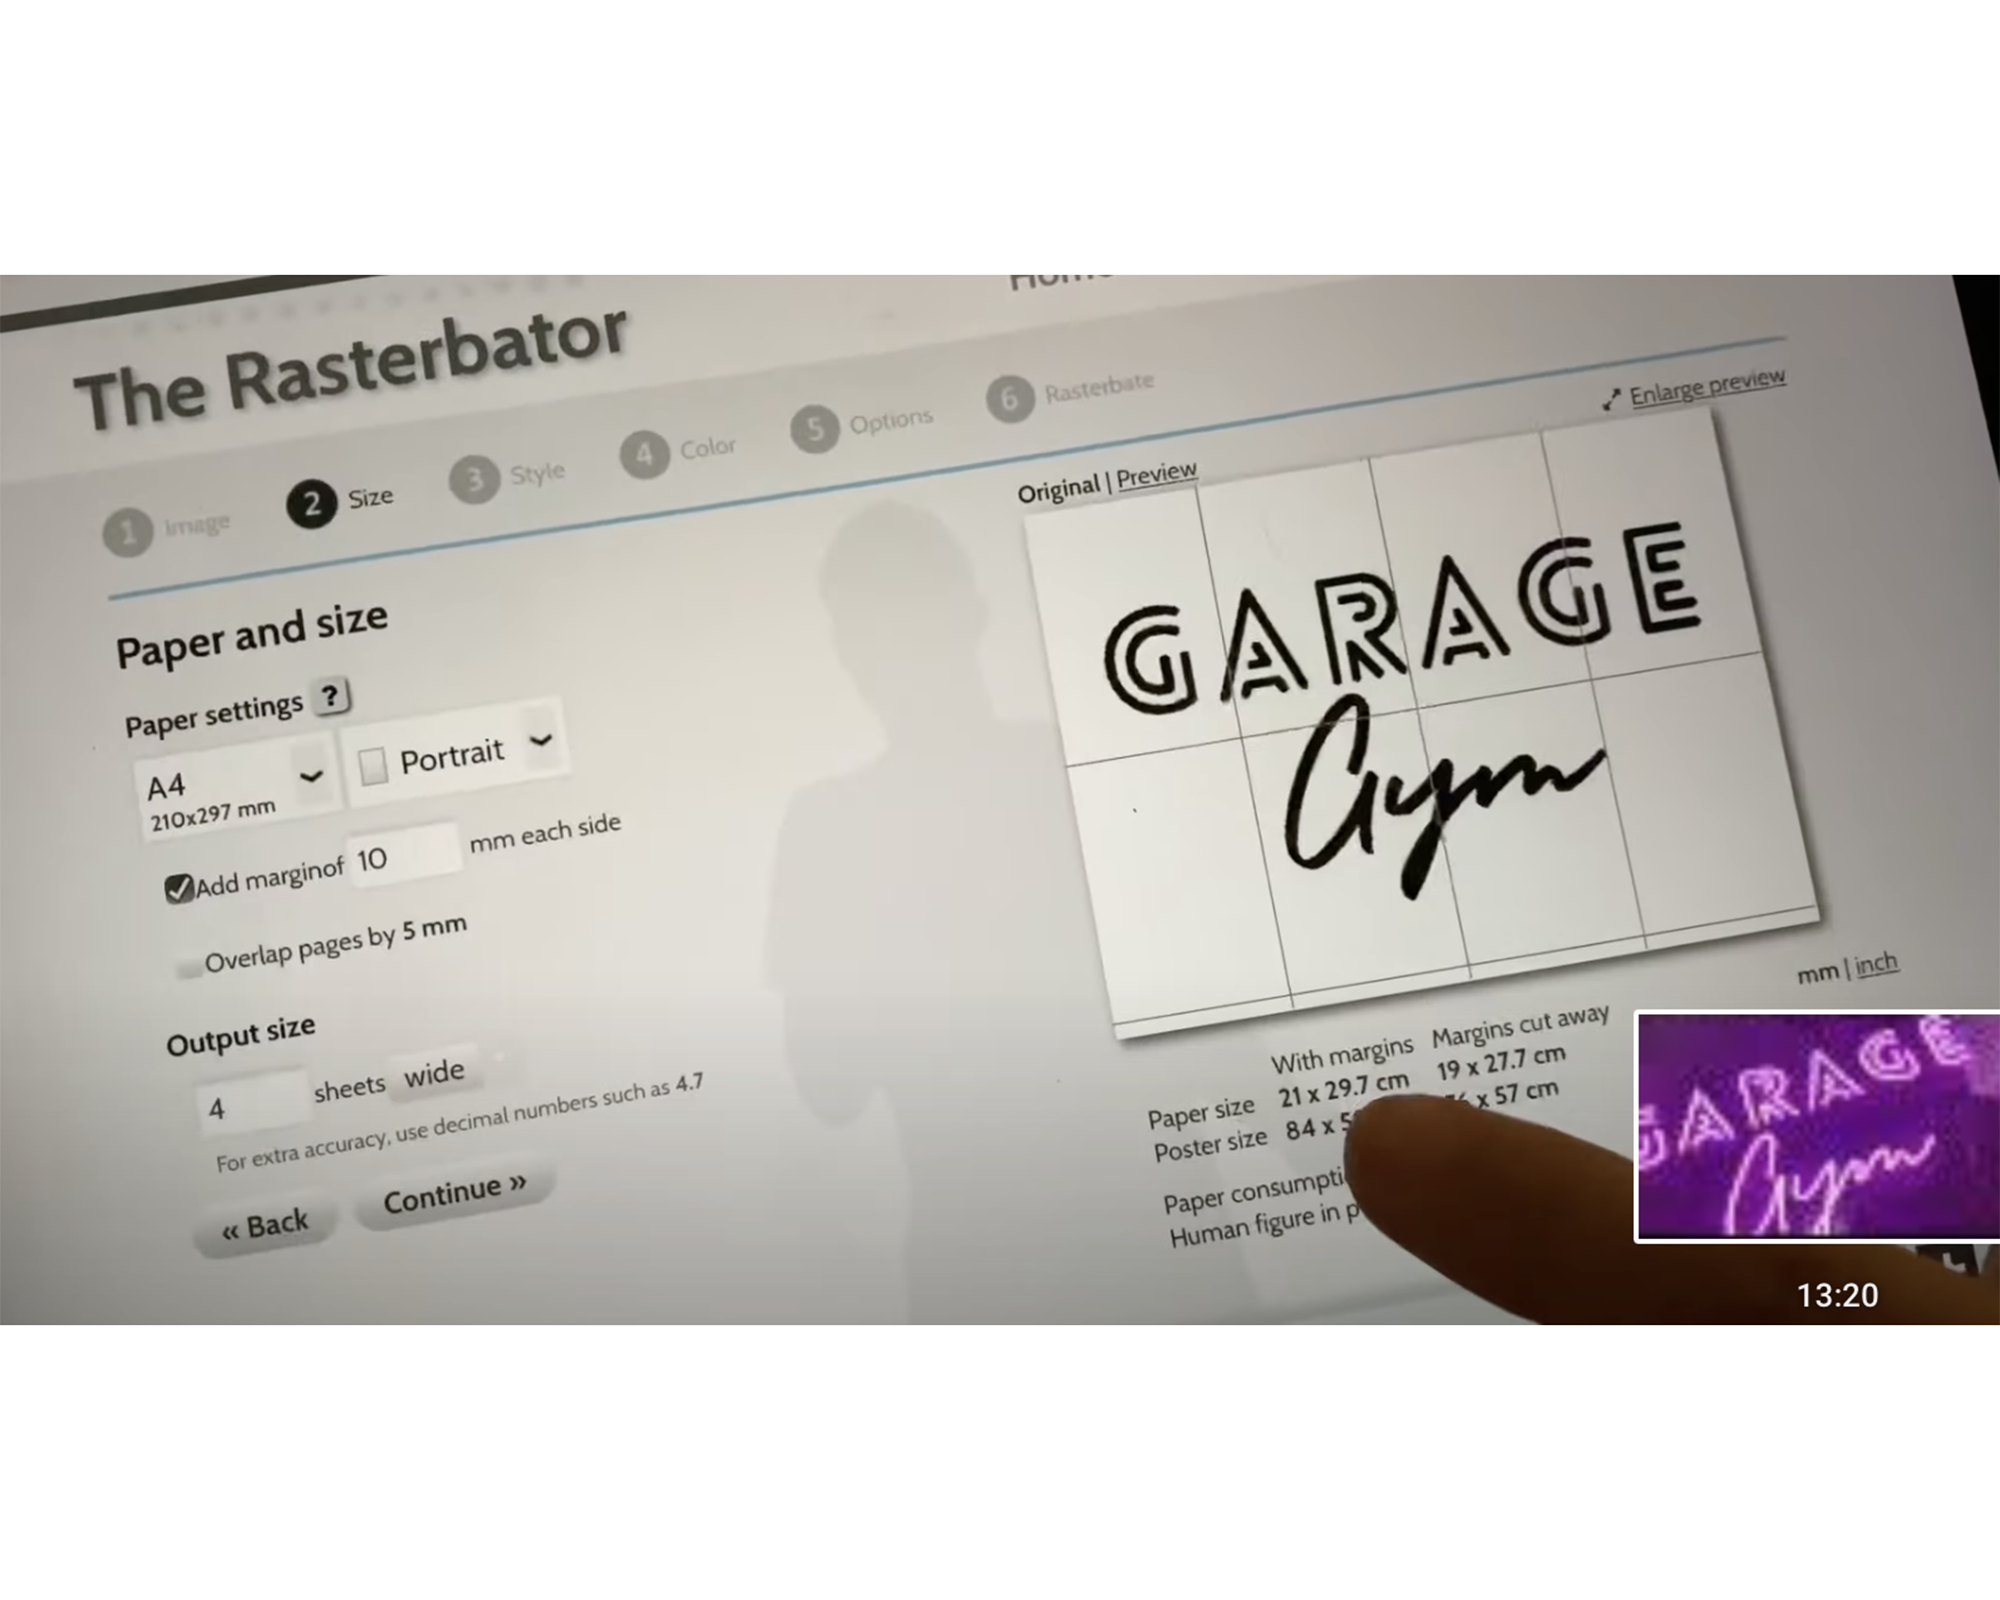
Tip: I found calligraphy-style fonts much easier to do as it requires fewer connections (in most cases), so bear in mind how each letter will flow to the next and how all the pieces of rope light will all join up when choosing your font.
I then used a site called Rasterbator.net to convert my image into a scaled-up, printable PDF to get it the size I wanted. It splits your design over multiple A4 pieces of paper you can print out and stick together.
Choose your backing
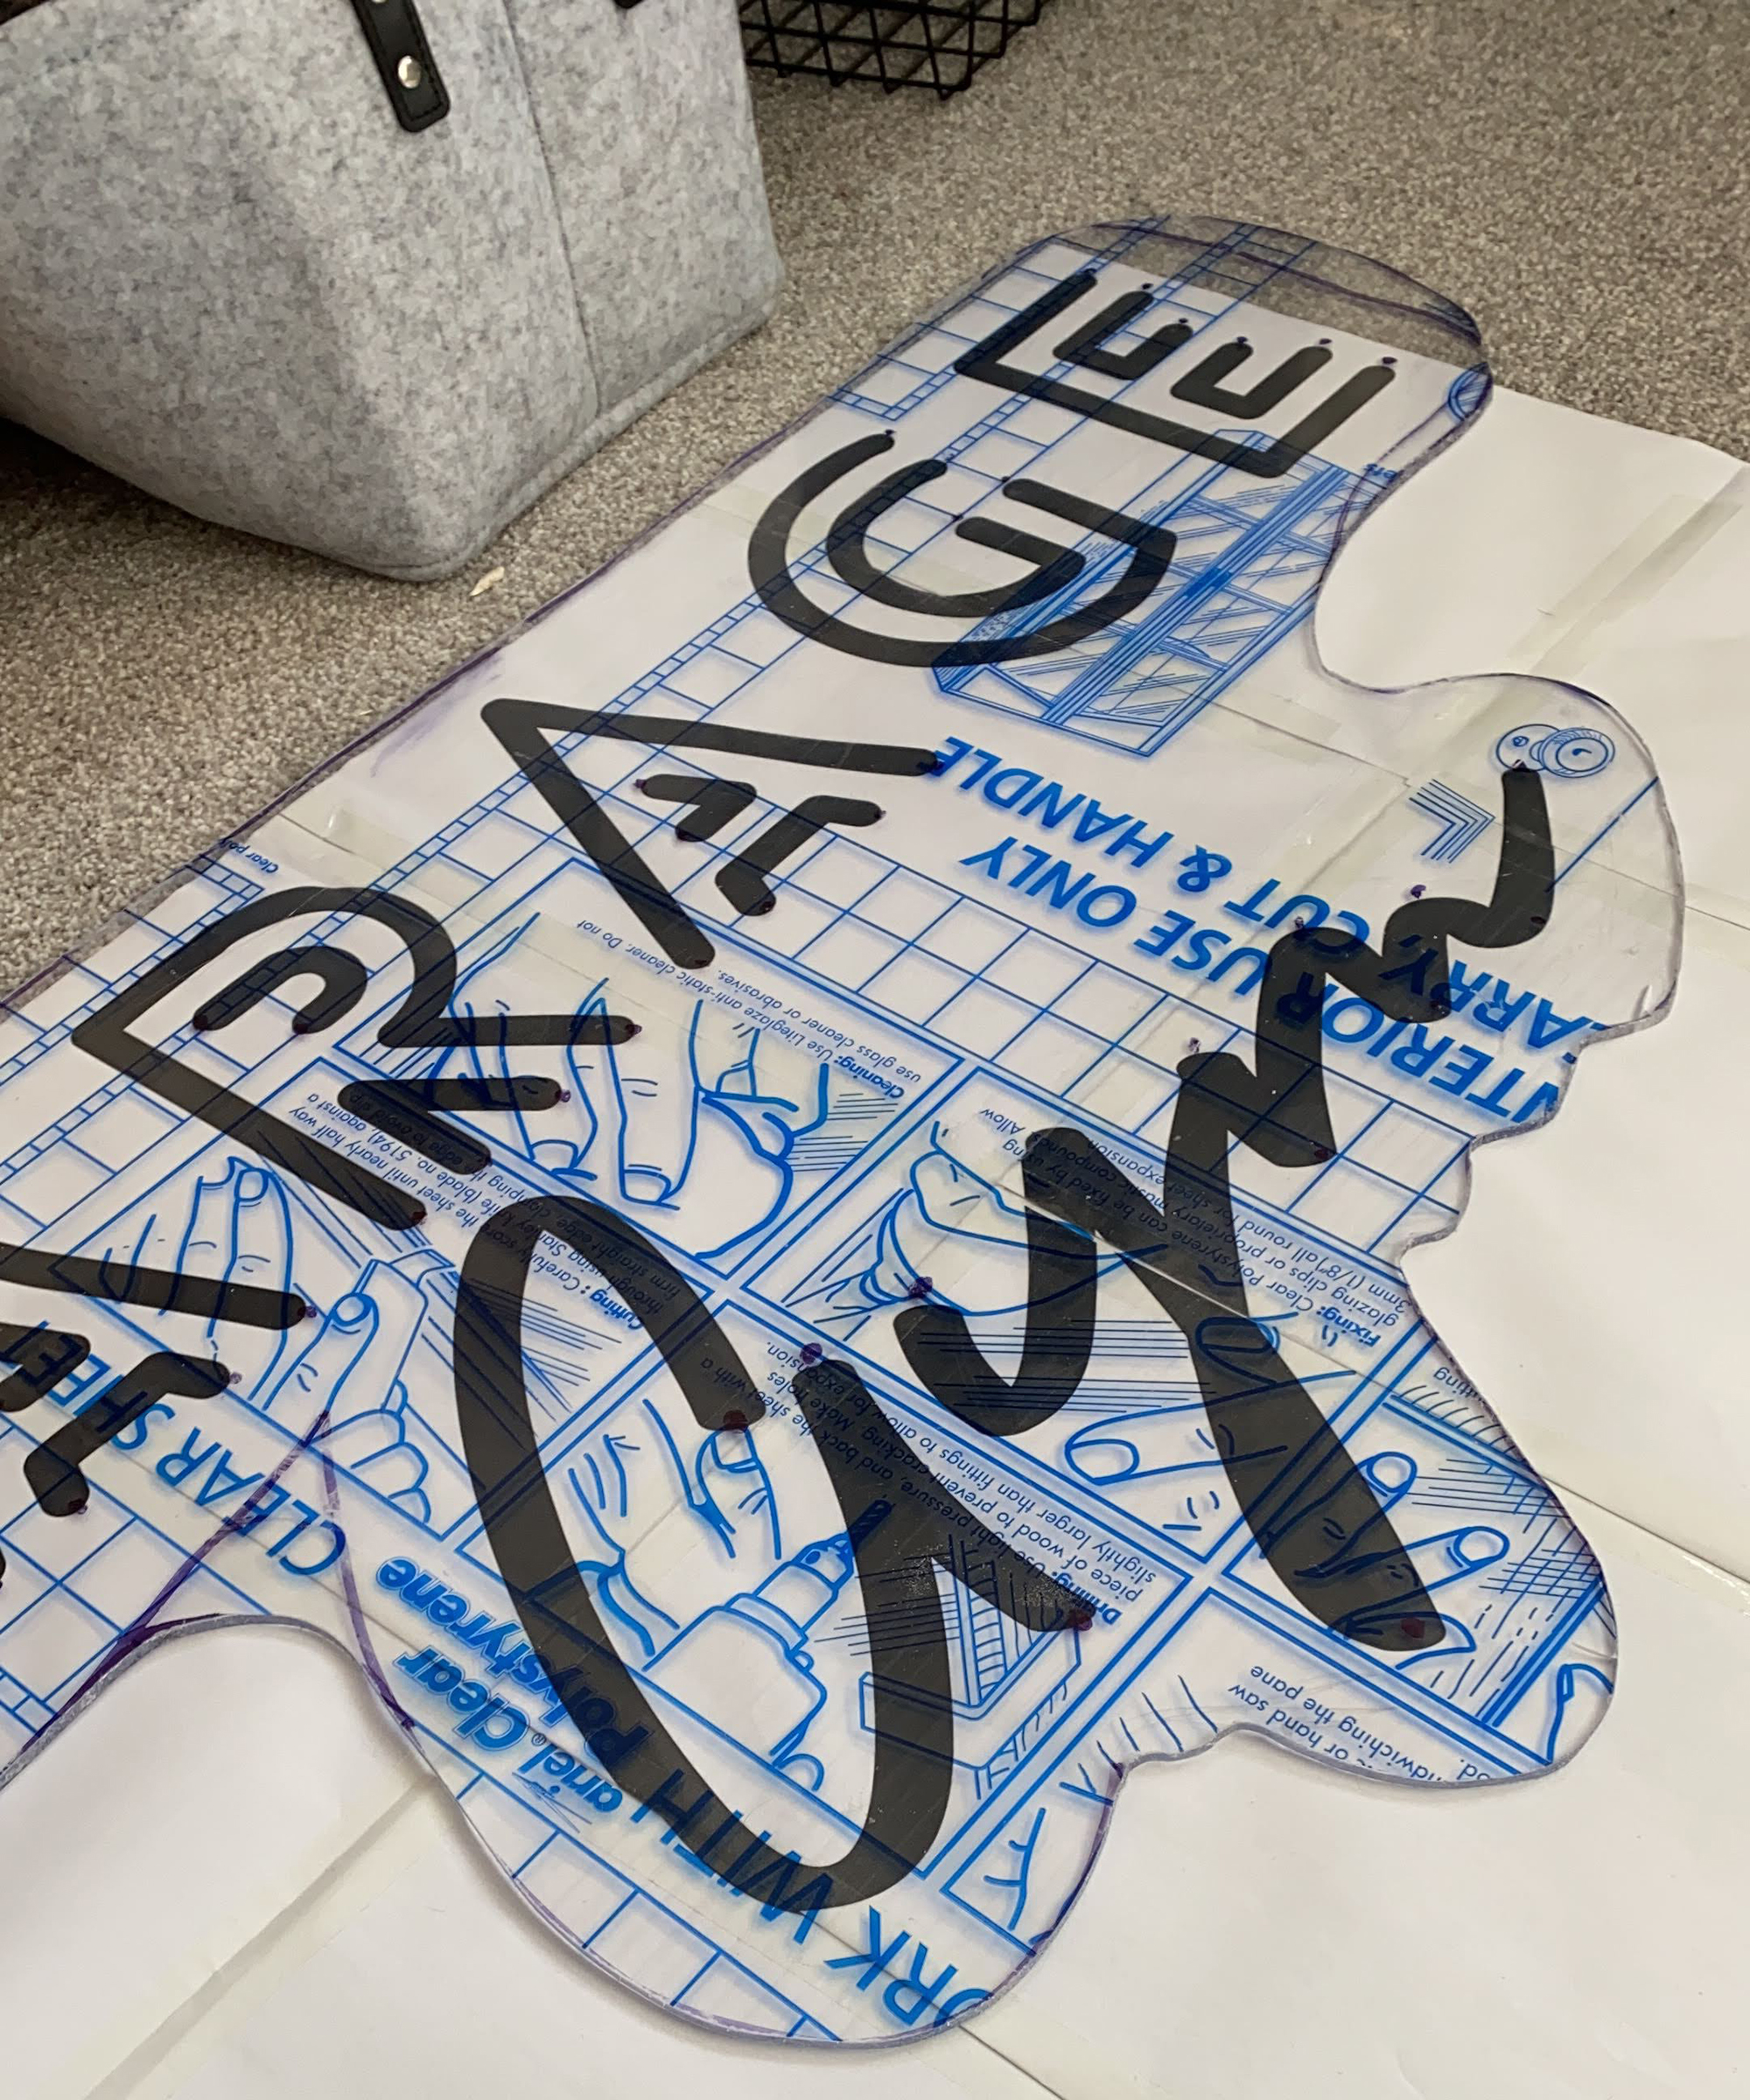
You can mount rope light on pretty much anything using superglue – wood, metal, plastic, whatever your design requires. I chose to mount mine on clear Perspex/sheet acrylic. I also cut mine to shape around my design and used a jigsaw, clamping the sheet between wood to prevent it shaking and cracking. You can file the edges smooth to give it a clean finish.
1. Wiring the lights
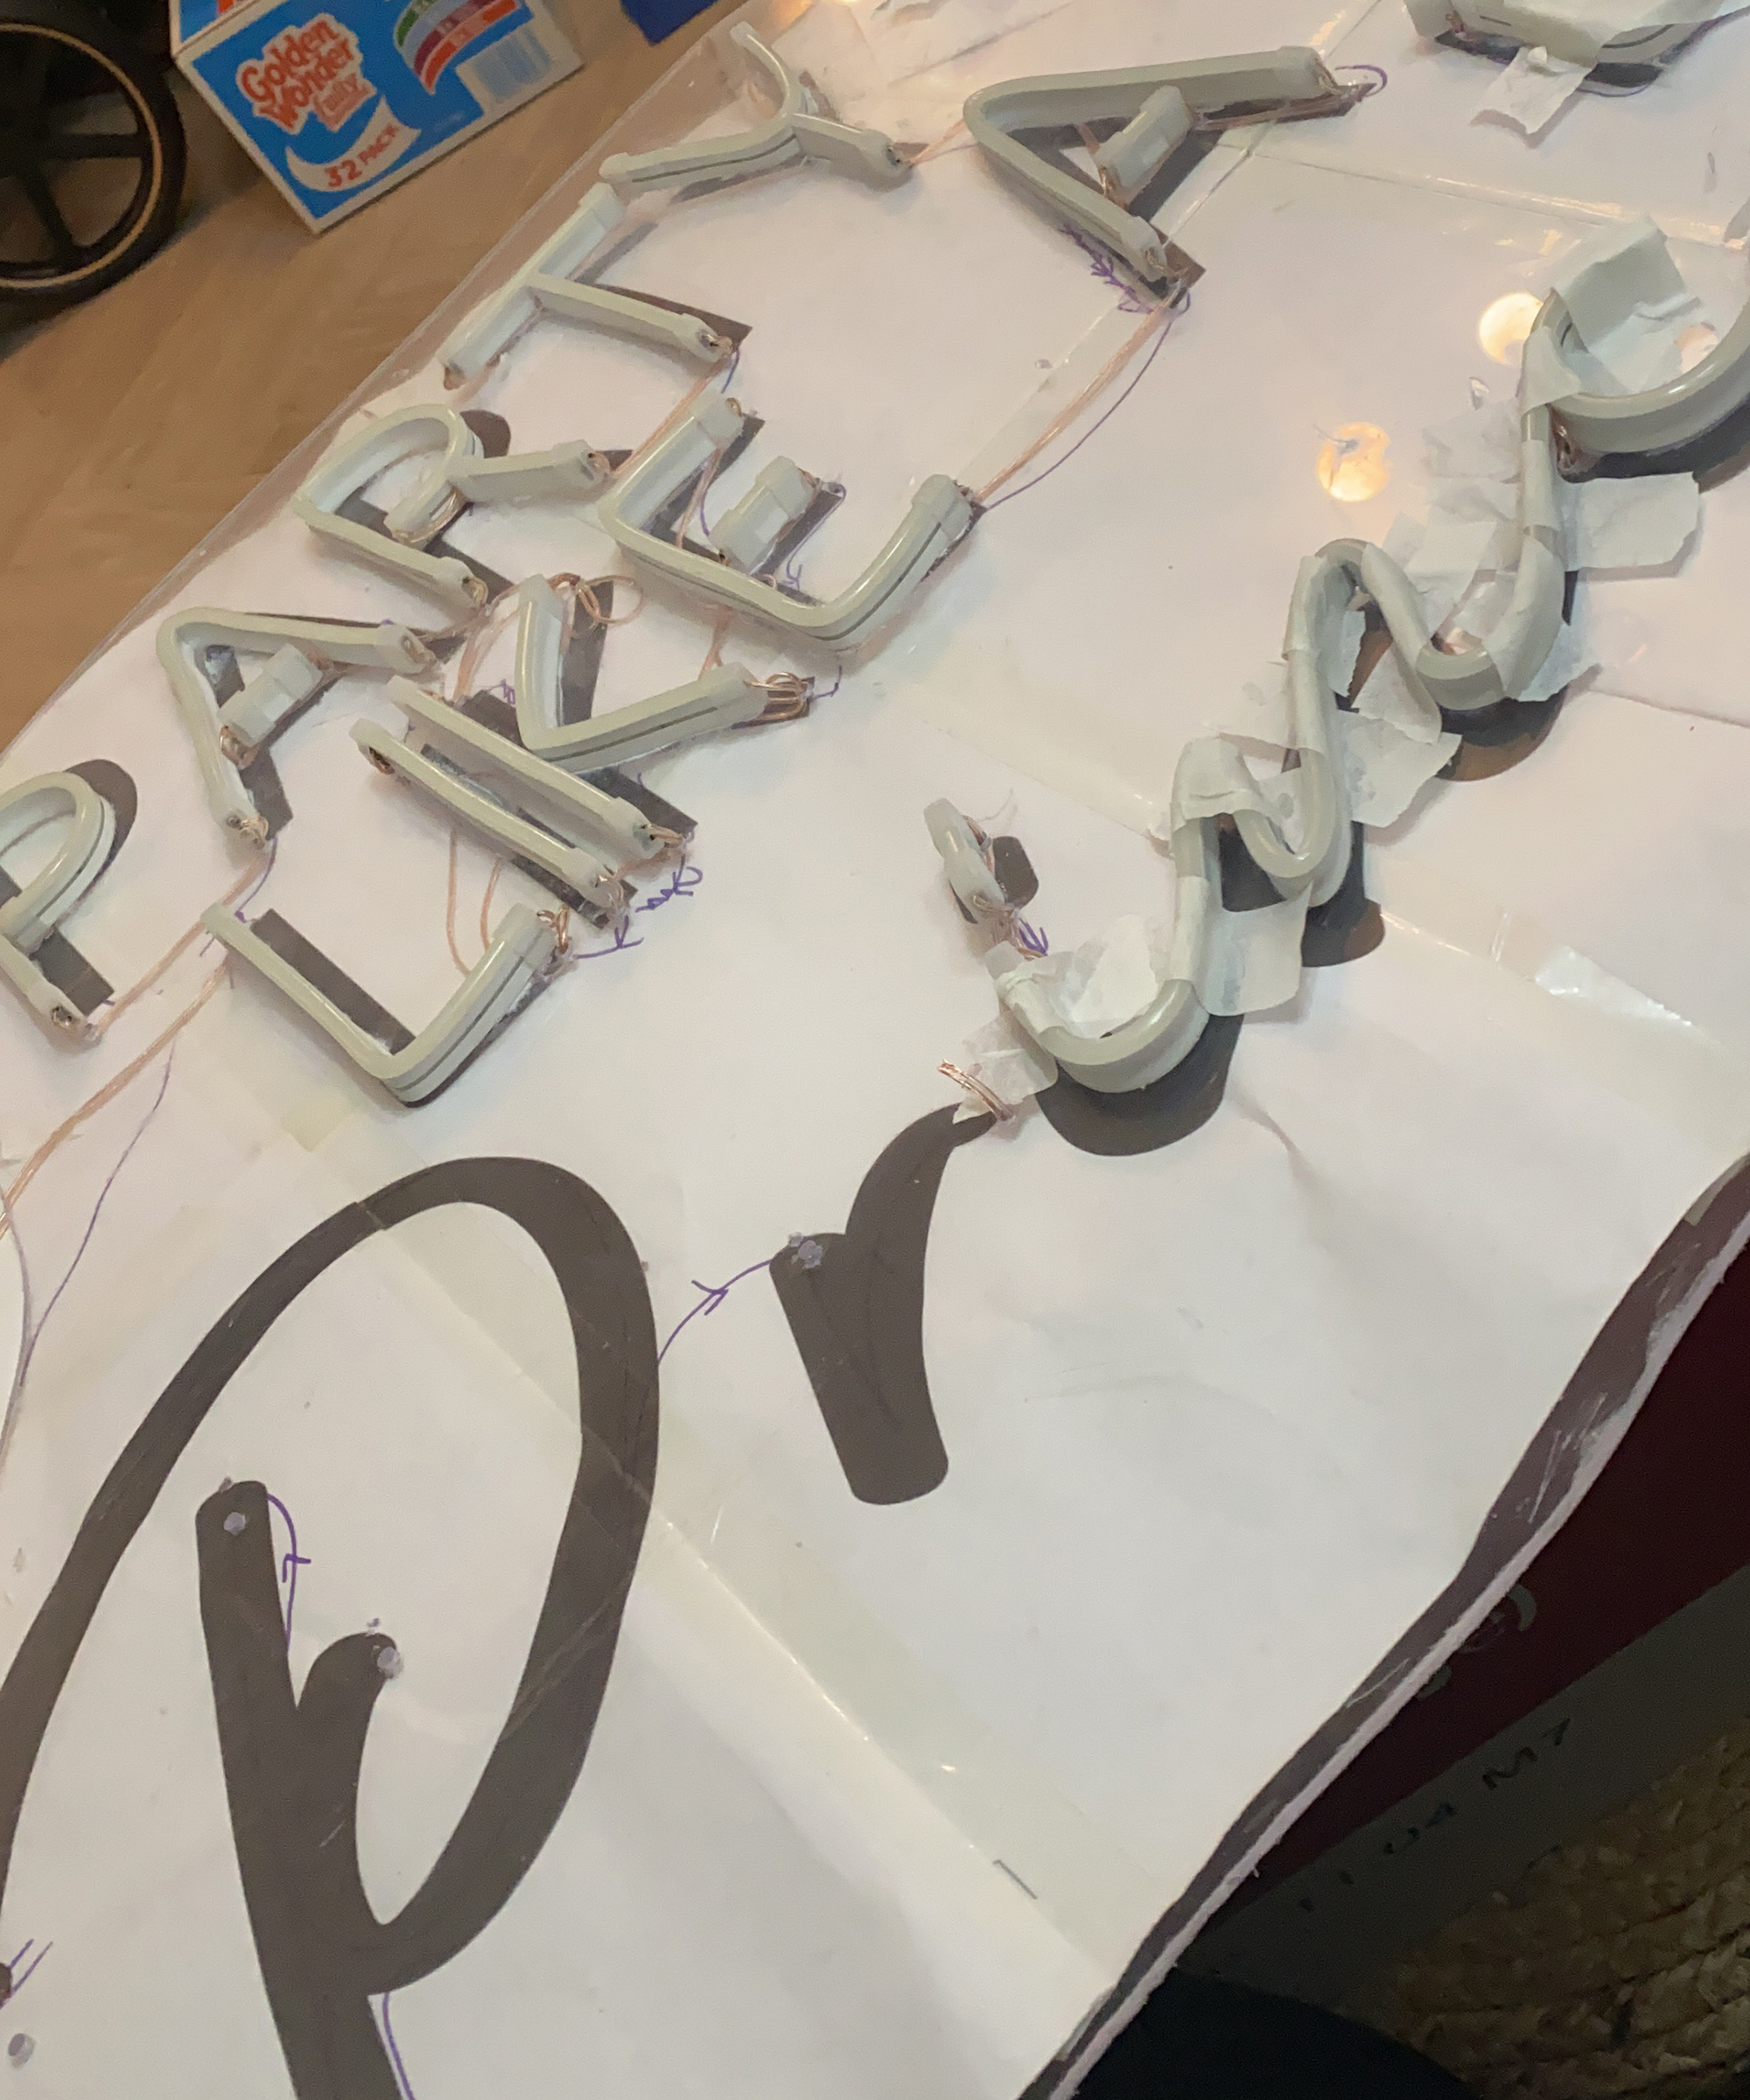
The first step in wiring the lights is to think of it like a long string, even though you need to cut the rope light to make each letter, there must not be any breaks in the circuit. Using your template, use your pen to draw this ‘string’ from the first letter to the last, thinking about how the wire will be hidden behind the letters and at what point they will join onto the next letter.
Once you have this all planned, it’s time to start using your template. If you’ve chosen a solid colour backing, you’ll want to cut out the letters and place the template on top. If using a clear acrylic, you can place the template behind it. Where the ends of the letters are (your entry and exit points for the wires), you’ll want to drill holes with your 4mm drill bit.
2. Cutting your letters
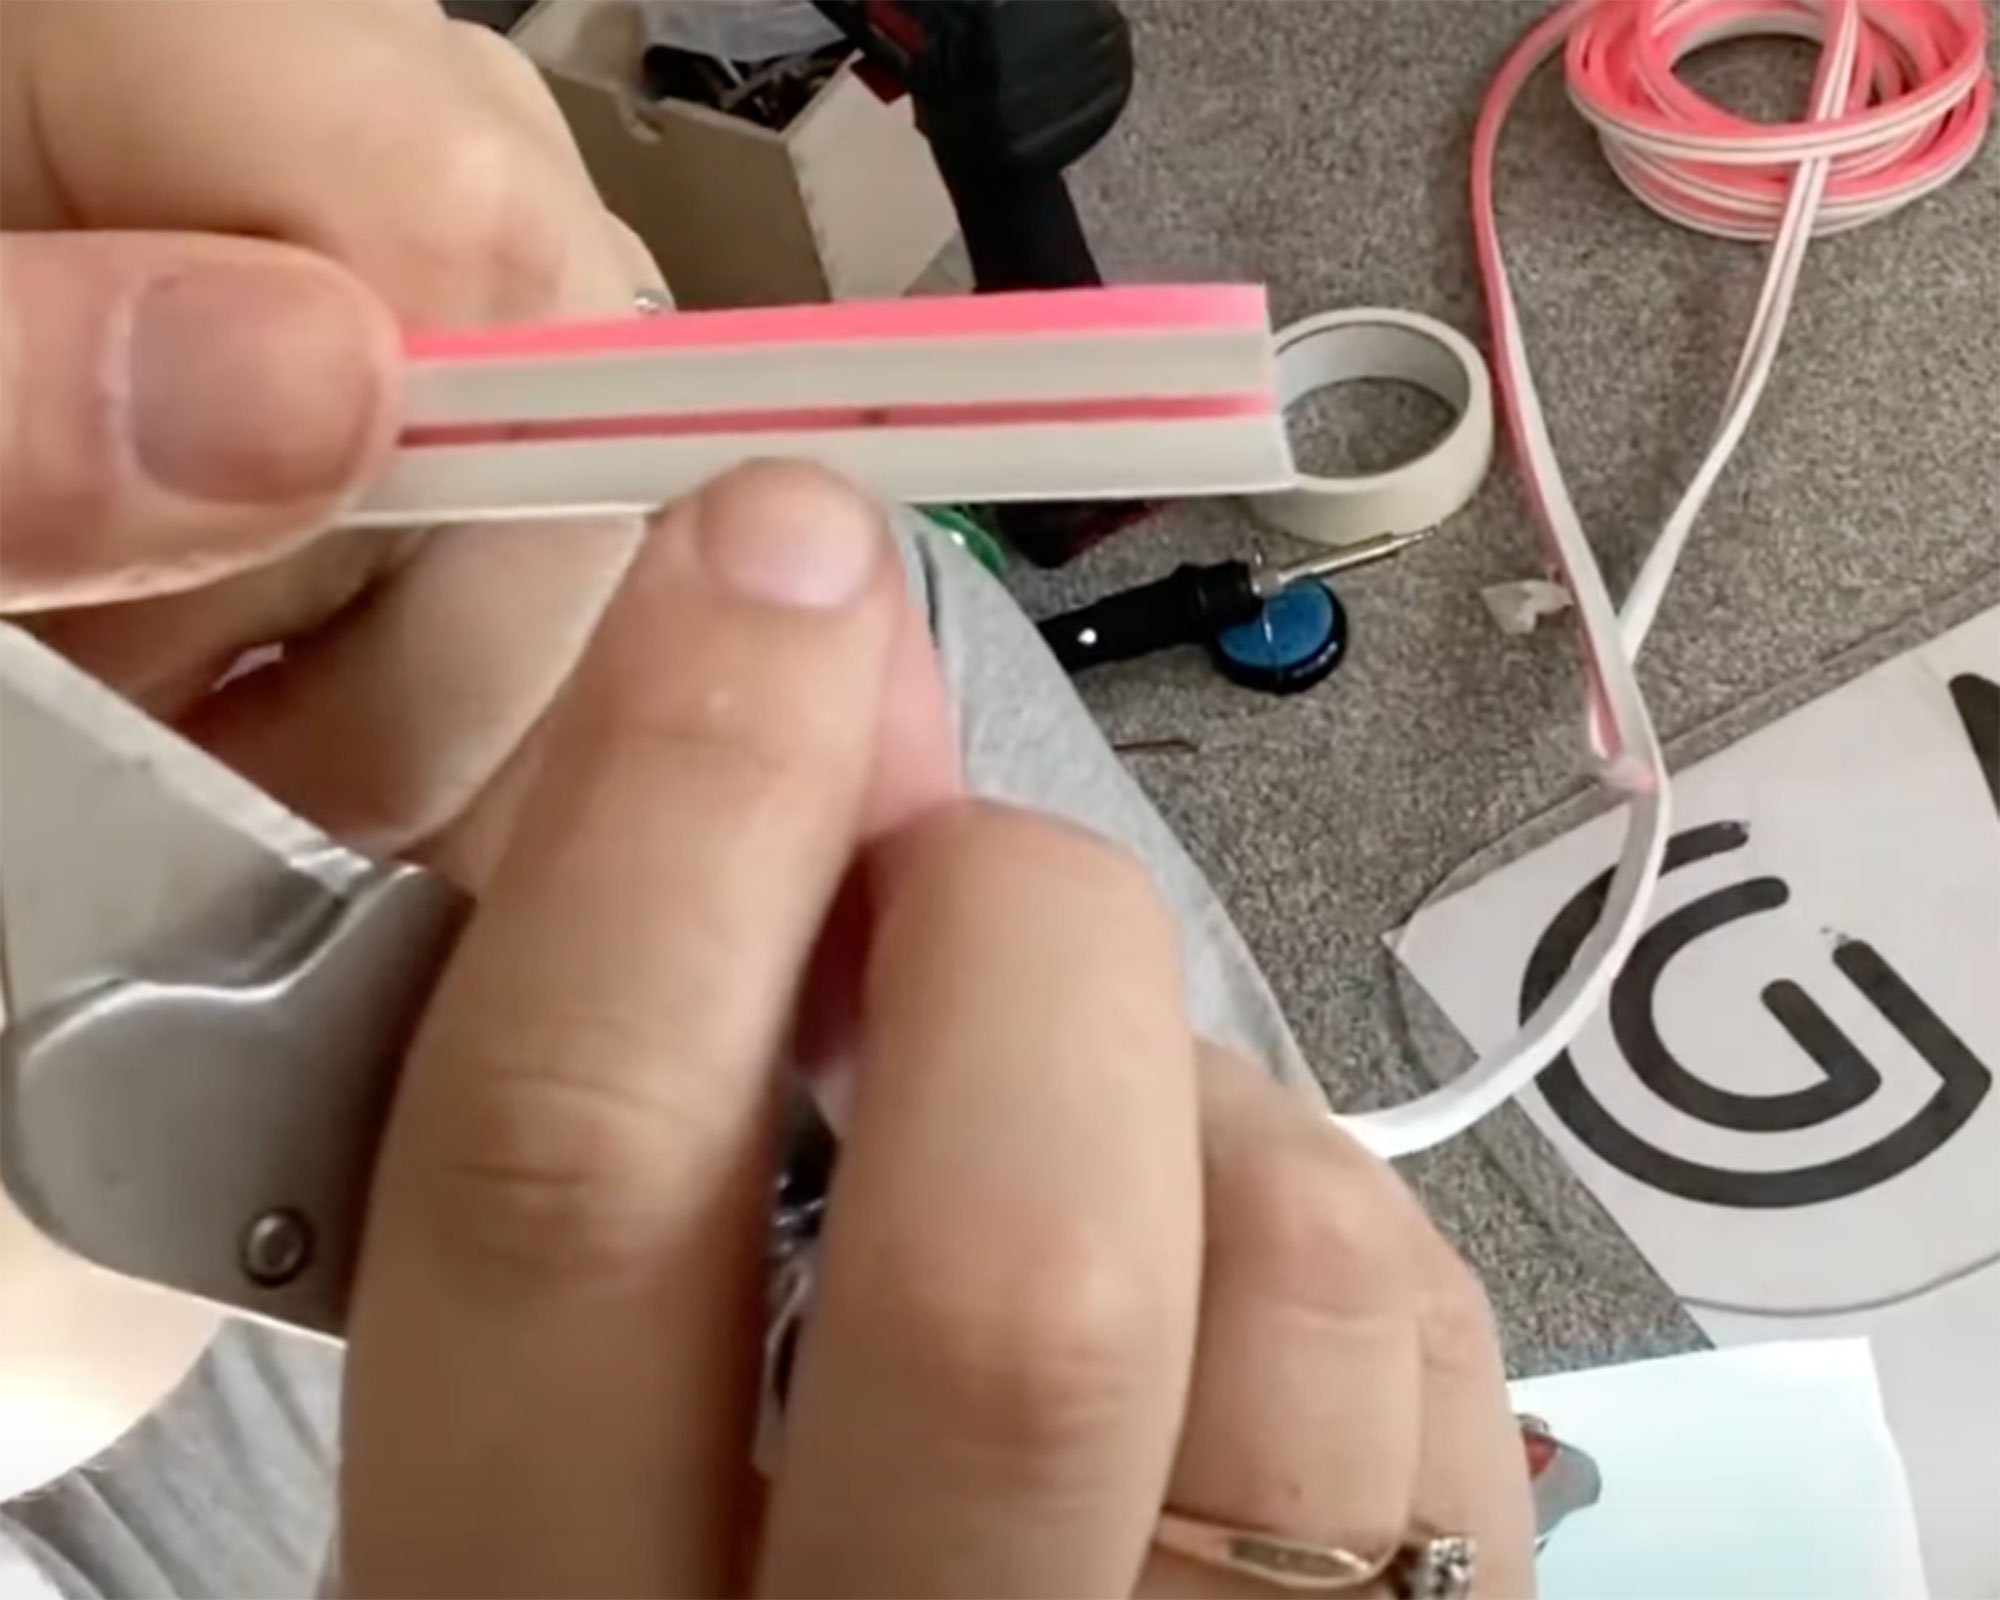
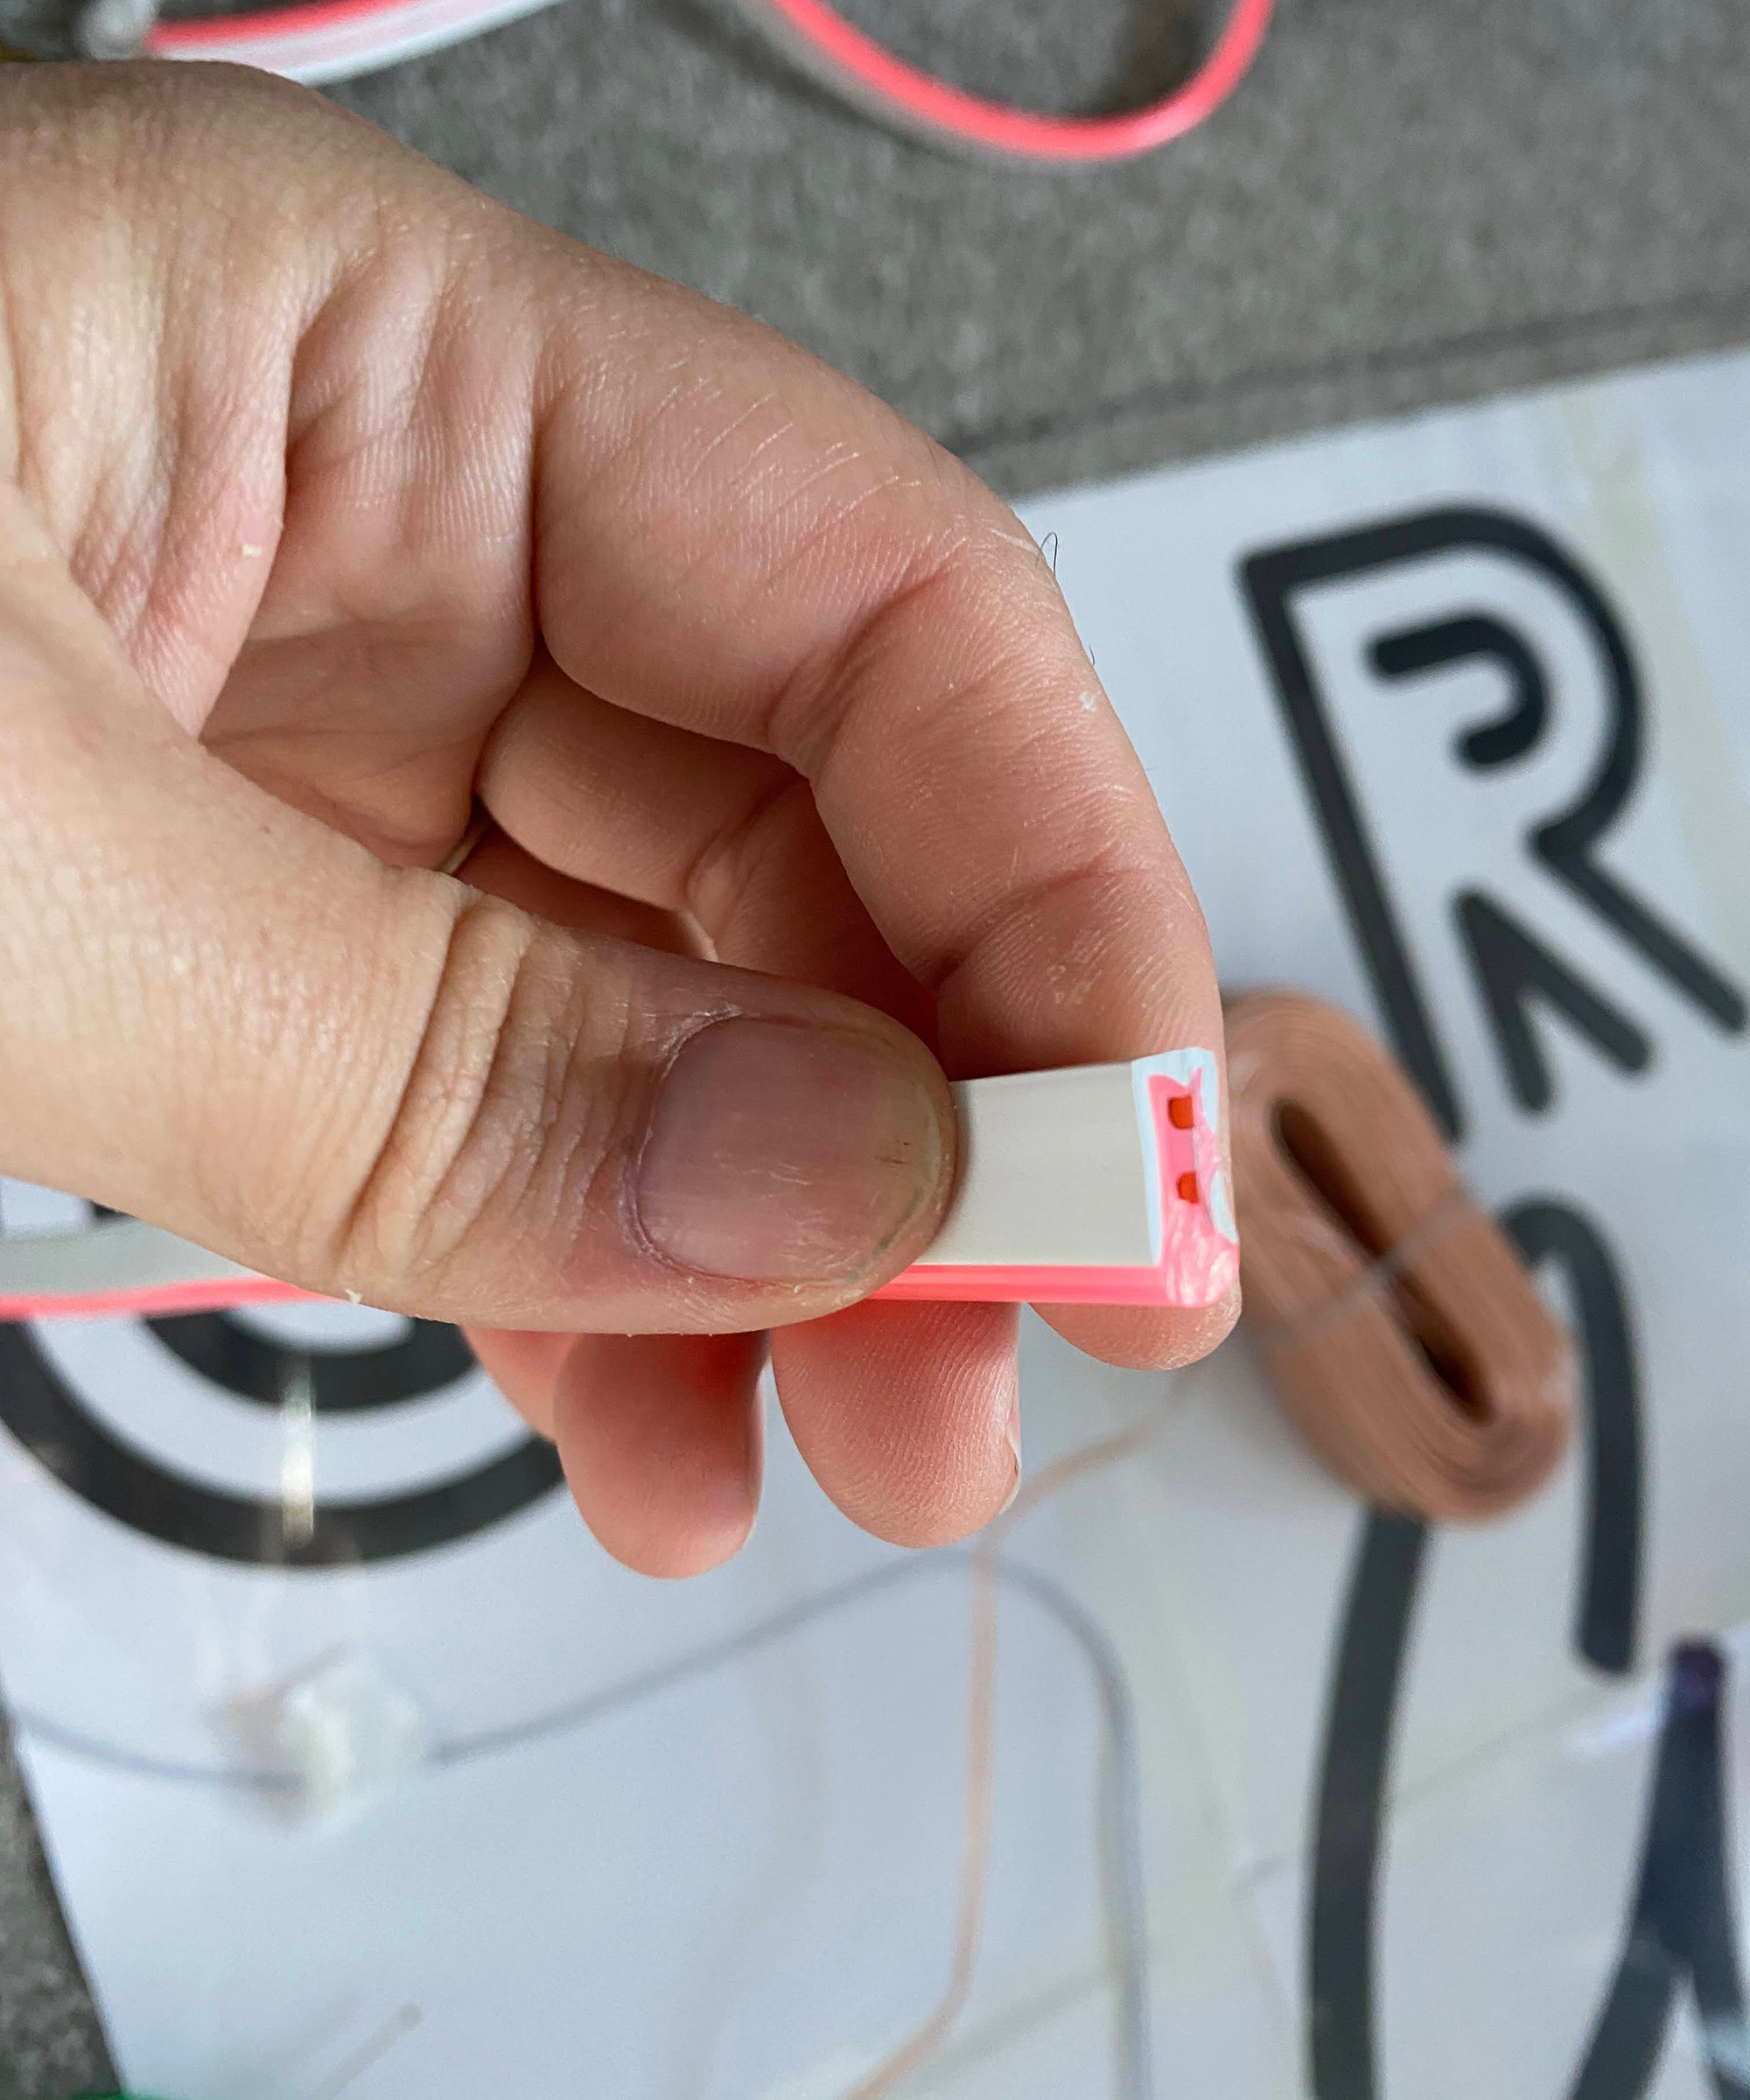
One end of your LED rope light doesn’t need to be wired, so your first letter, or part of a letter will only need wiring one side. To cut your first letter, line the rope up against your template. Look on the side of the rope light – one side should have a line and every so often you should see a little dark mark - this is your cut guide. Choose the closest mark to where your letter ends and cut with a Stanley knife. Be careful not to cut anywhere other than these points. Inside the cut, you will see two little copper contact points. These is your positive and negative points where you need to solder the corresponding wires to. The positive is the bottom (by the flat base of the light) and the negative is the top (the coloured light side).
3. Wiring up your first light
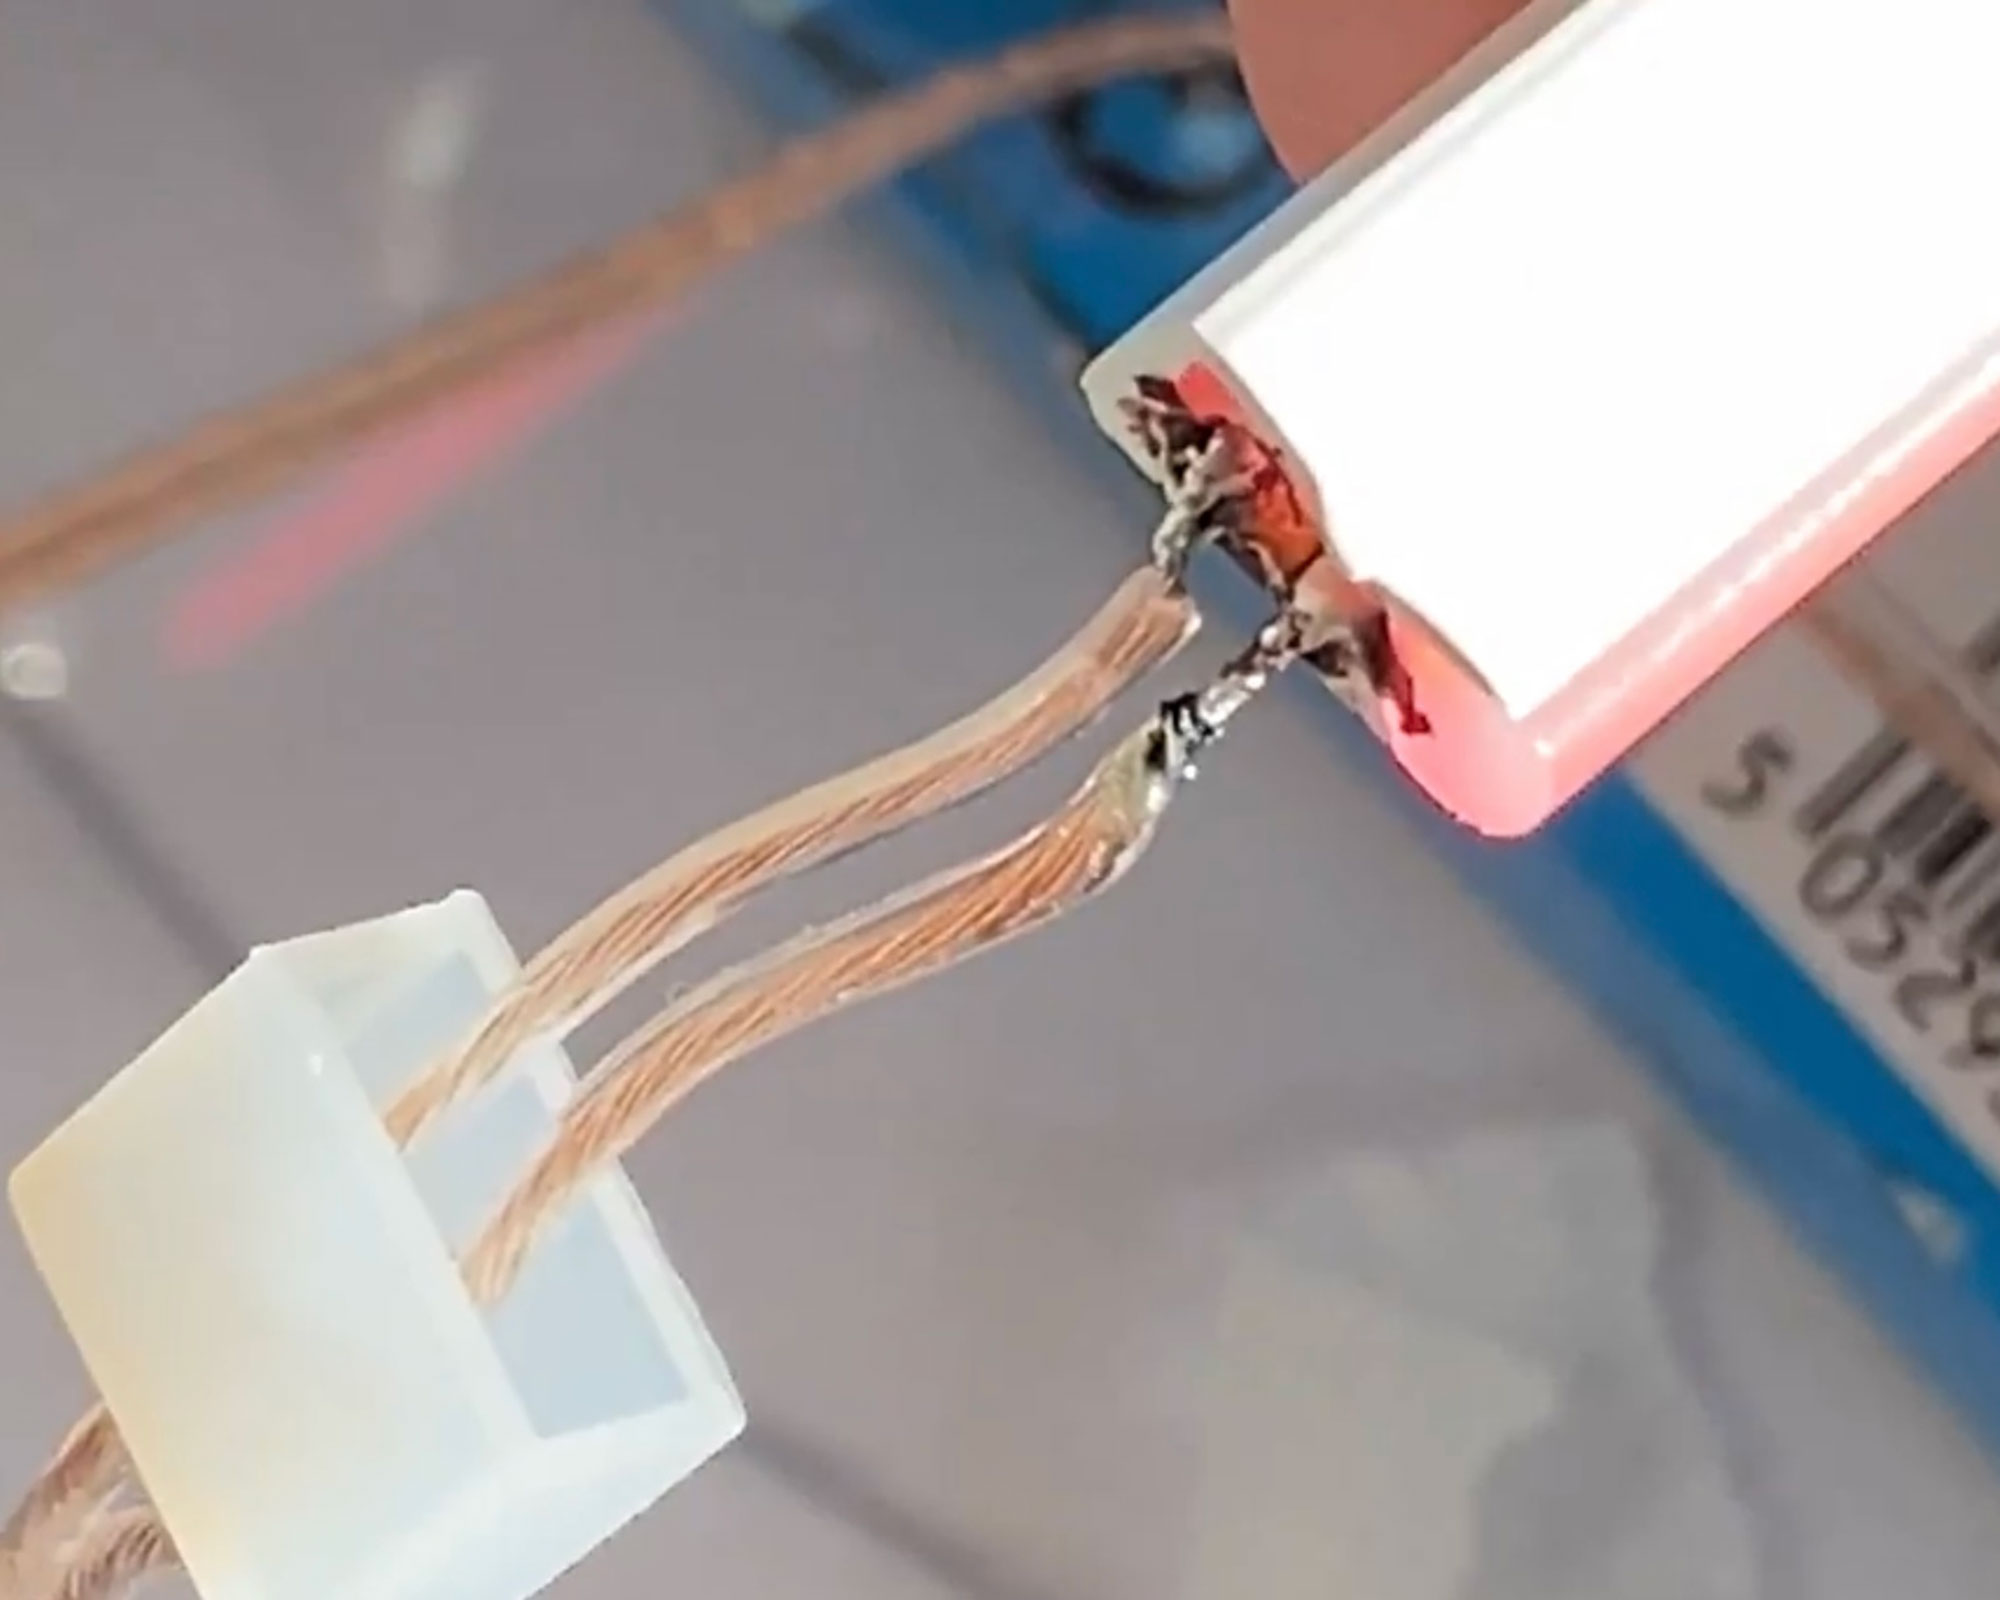
Grab your wire strippers and Stanley knife and separate the positive and negative wires. The positive will have a white stripe. If you have coloured wire, positive is red. Strip the ends to expose a centimetre of bare wire and twist the ends so all the little wires are intertwined. Using the holes you drilled, work out how much wire your first light will need to connect to the second, allowing about 5-10cm of wire extra to come up through the holes.
** warning, soldering irons are very hot and melted solder can also burn skin**
Turn on your soldering iron on. Once hot, dab a bit of solder on the end of each of the wires. To do this, hold the tip hold your iron against the solder to melt off a small bead of metal, then hold it on the end of your wire to transfer the solder. It will set solid very quickly. Do this for both the positive and negative wires and add your end cap to the wire before you attach it to the light.
Position your wires on top of the corresponding contact points, remembering which way round the wires go from earlier. By re-melting the solder you put on the wire earlier, it will very quickly connect to the light. Just make sure the positive and negative don’t touch and the solder connecting the circuit aren’t melted into each other to prevent the light from shorting. You can then feed the rest of the wire through the backing and back up ready for the next strip of light.
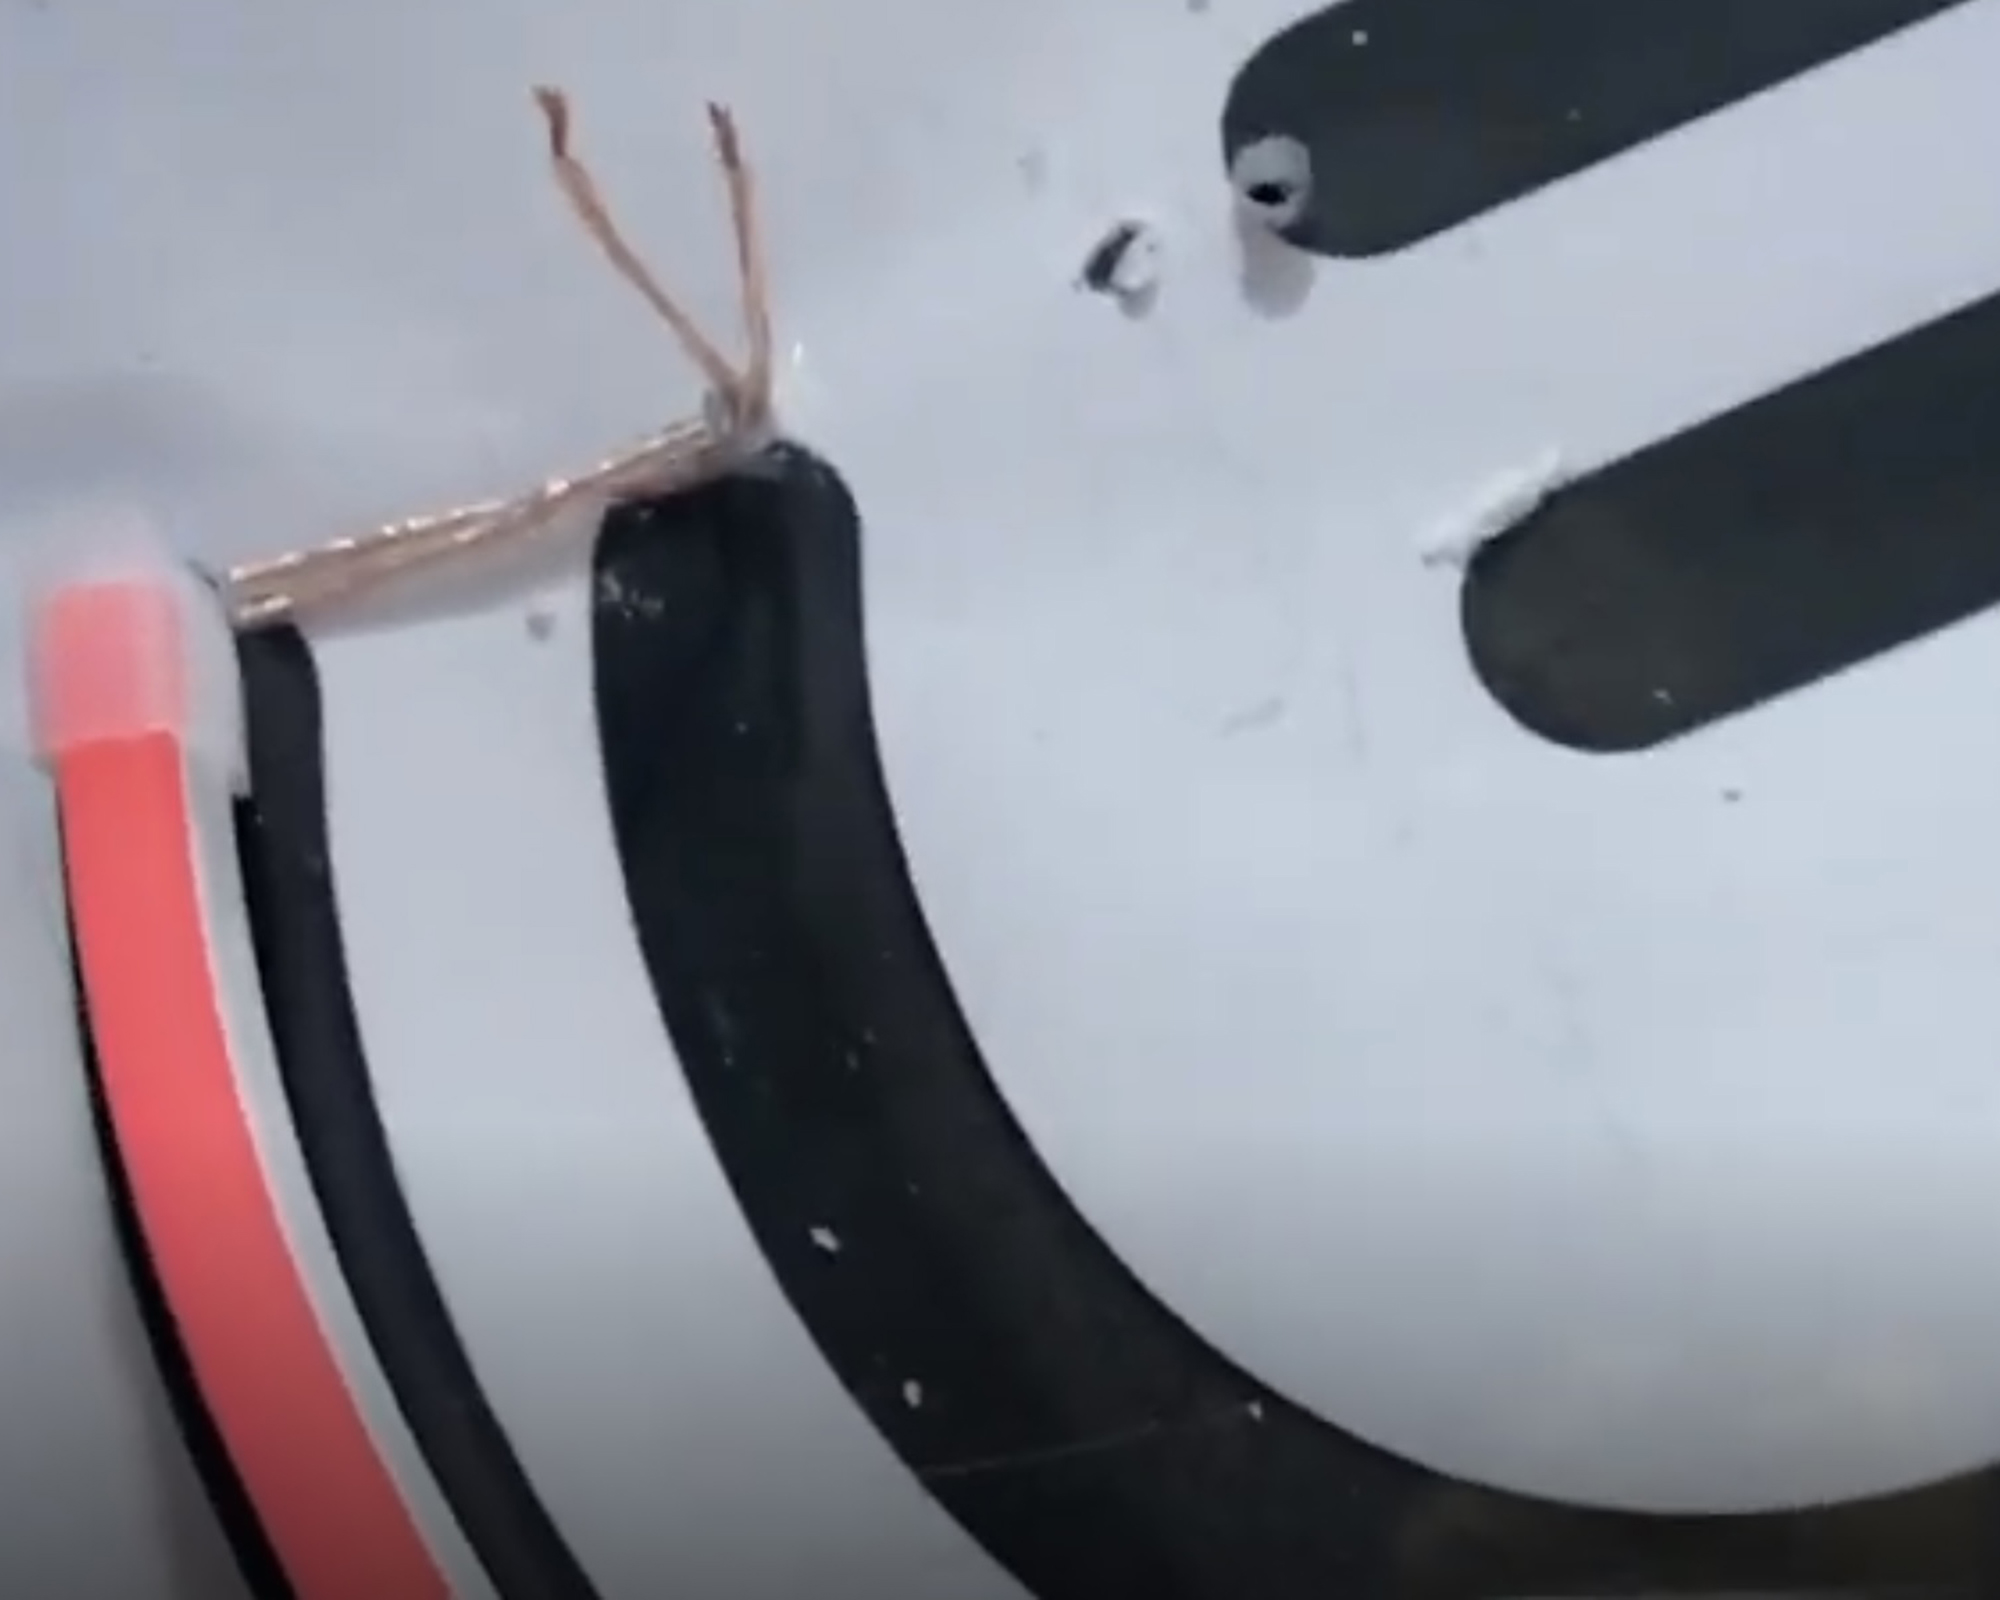
You can now use your superglue to stick the strip down. Apply some glue to the flat white base of the strip and hold it in place using your template as guidance. Be careful not to get glue anywhere else as it is practically impossible to get off acrylic cleanly. If your first piece has a sharp bend, you can use masking tape to hold it in place whilst the glue dries.
Repeat the above steps for each letter, using your string diagram to know where the wire is to go, adding end caps and feeding the wire through the holes as you go, using your power cable and adapter to check the connection for each one. You can do this by holding the red wire against the positive and black wire against the black. If it doesn’t light up, check your connections.
4. Dealing with sharp corners
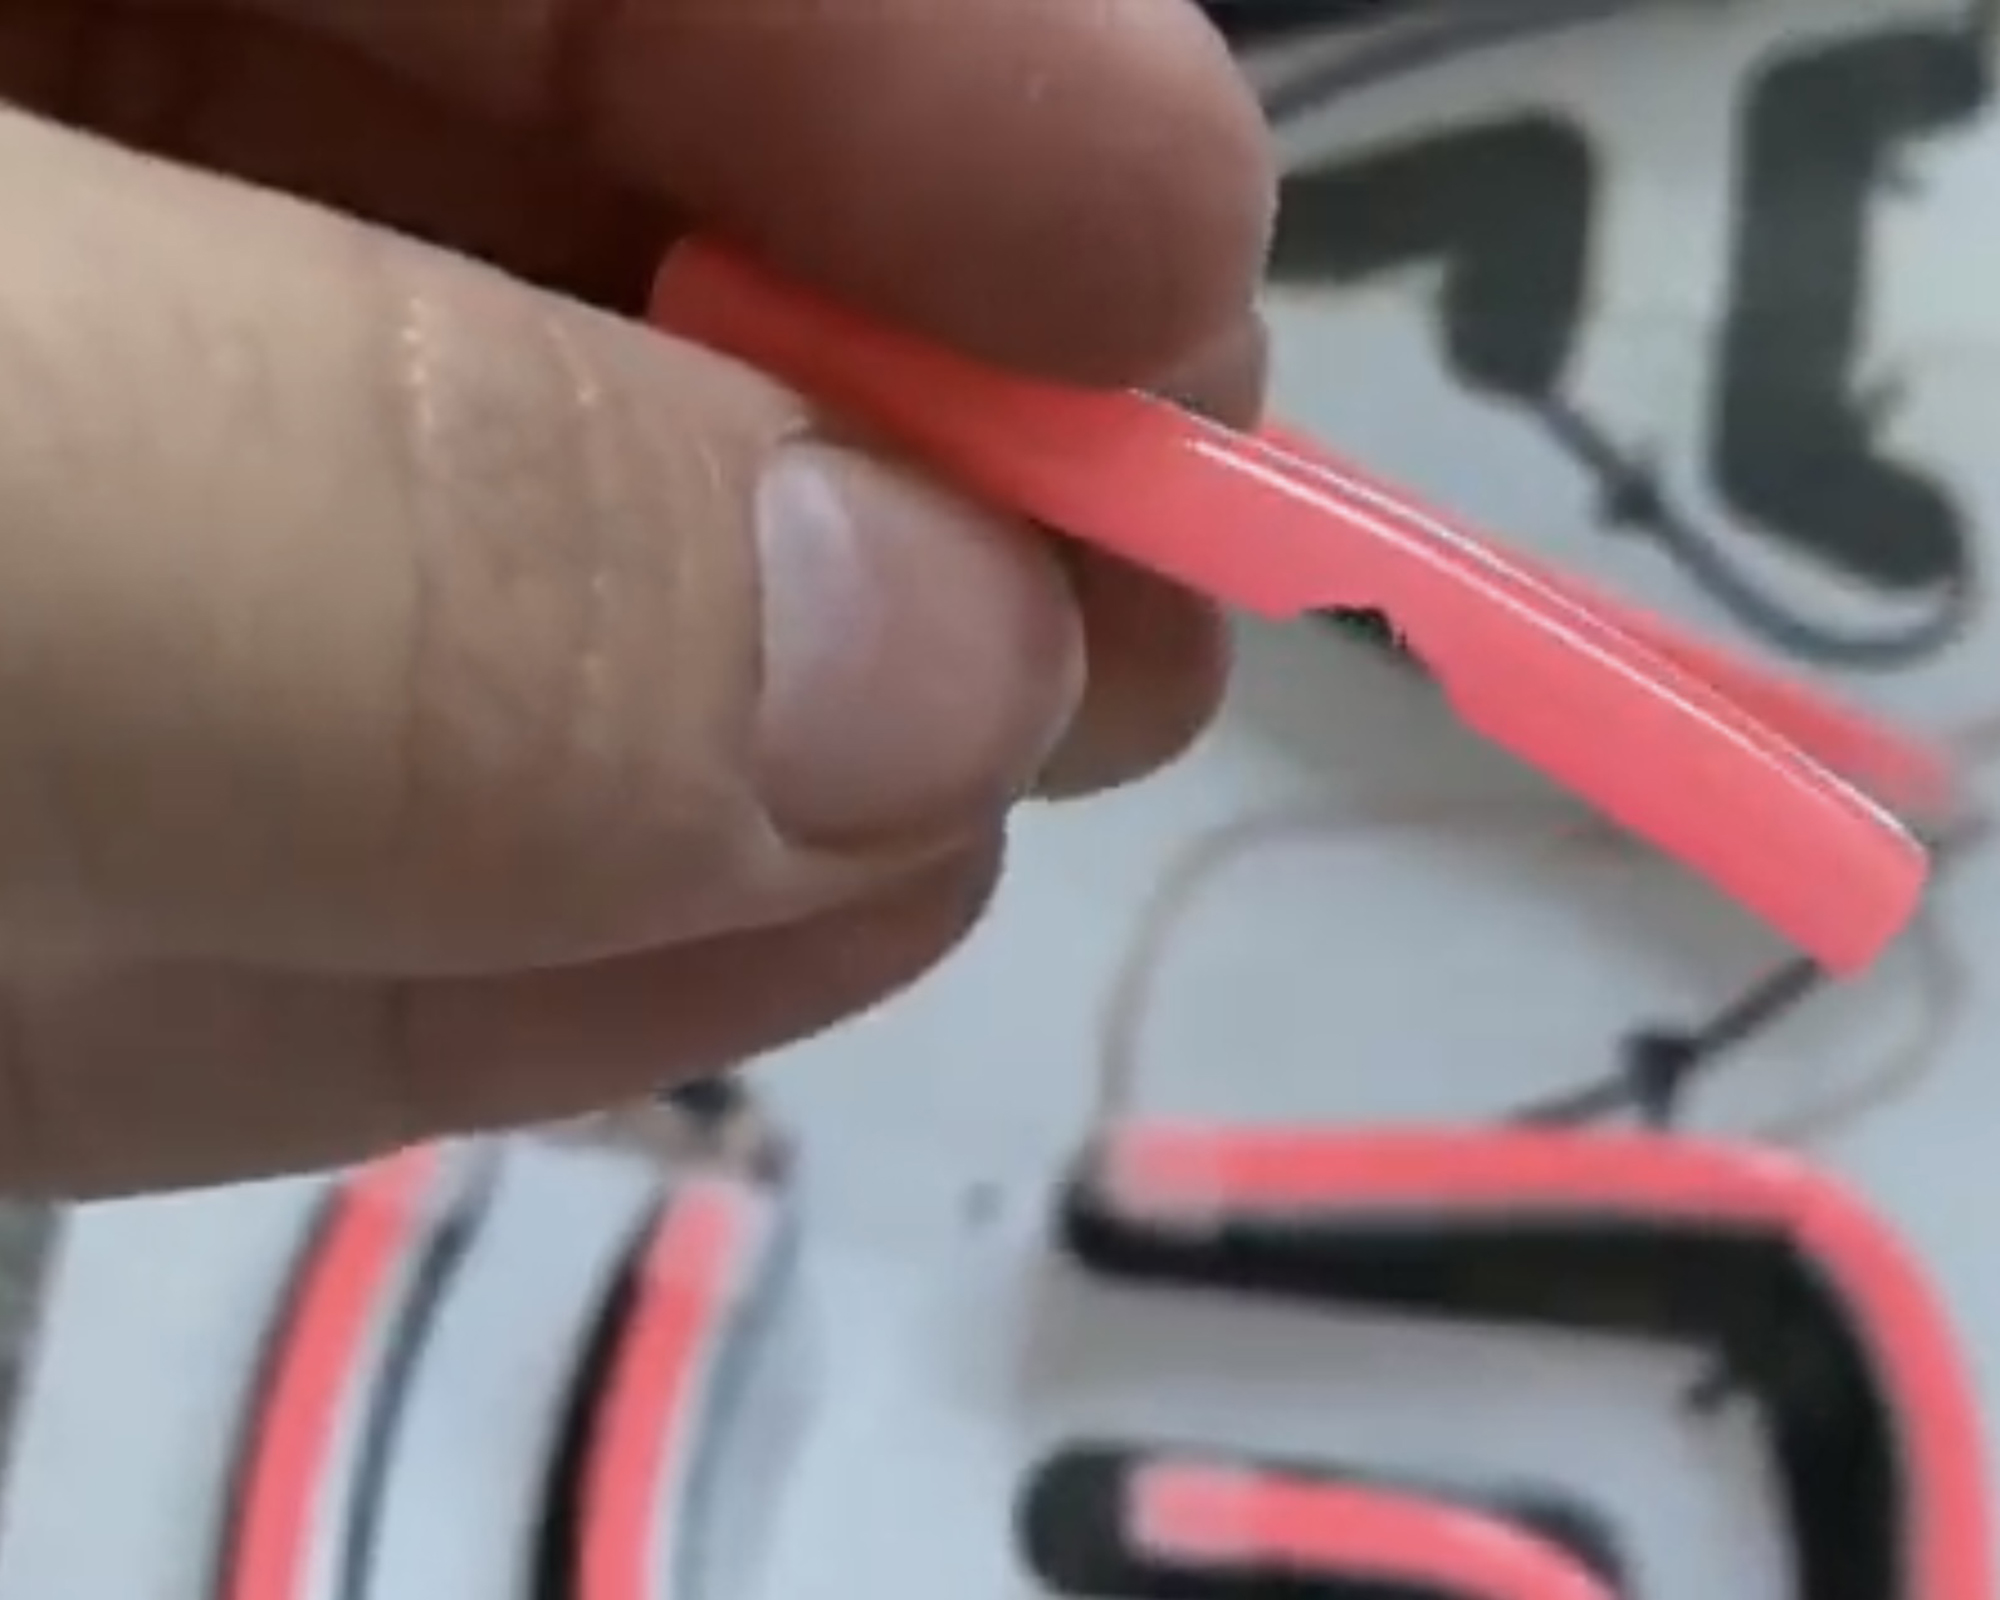
If you have a letter with a sharp corner like an E or a T for example and the rope won’t bend easily, you can cut out a small triangle on the blank side of the rope (not the side that shows you where to cut) to allow it to bend.
5. Final Test & Neaten Wires
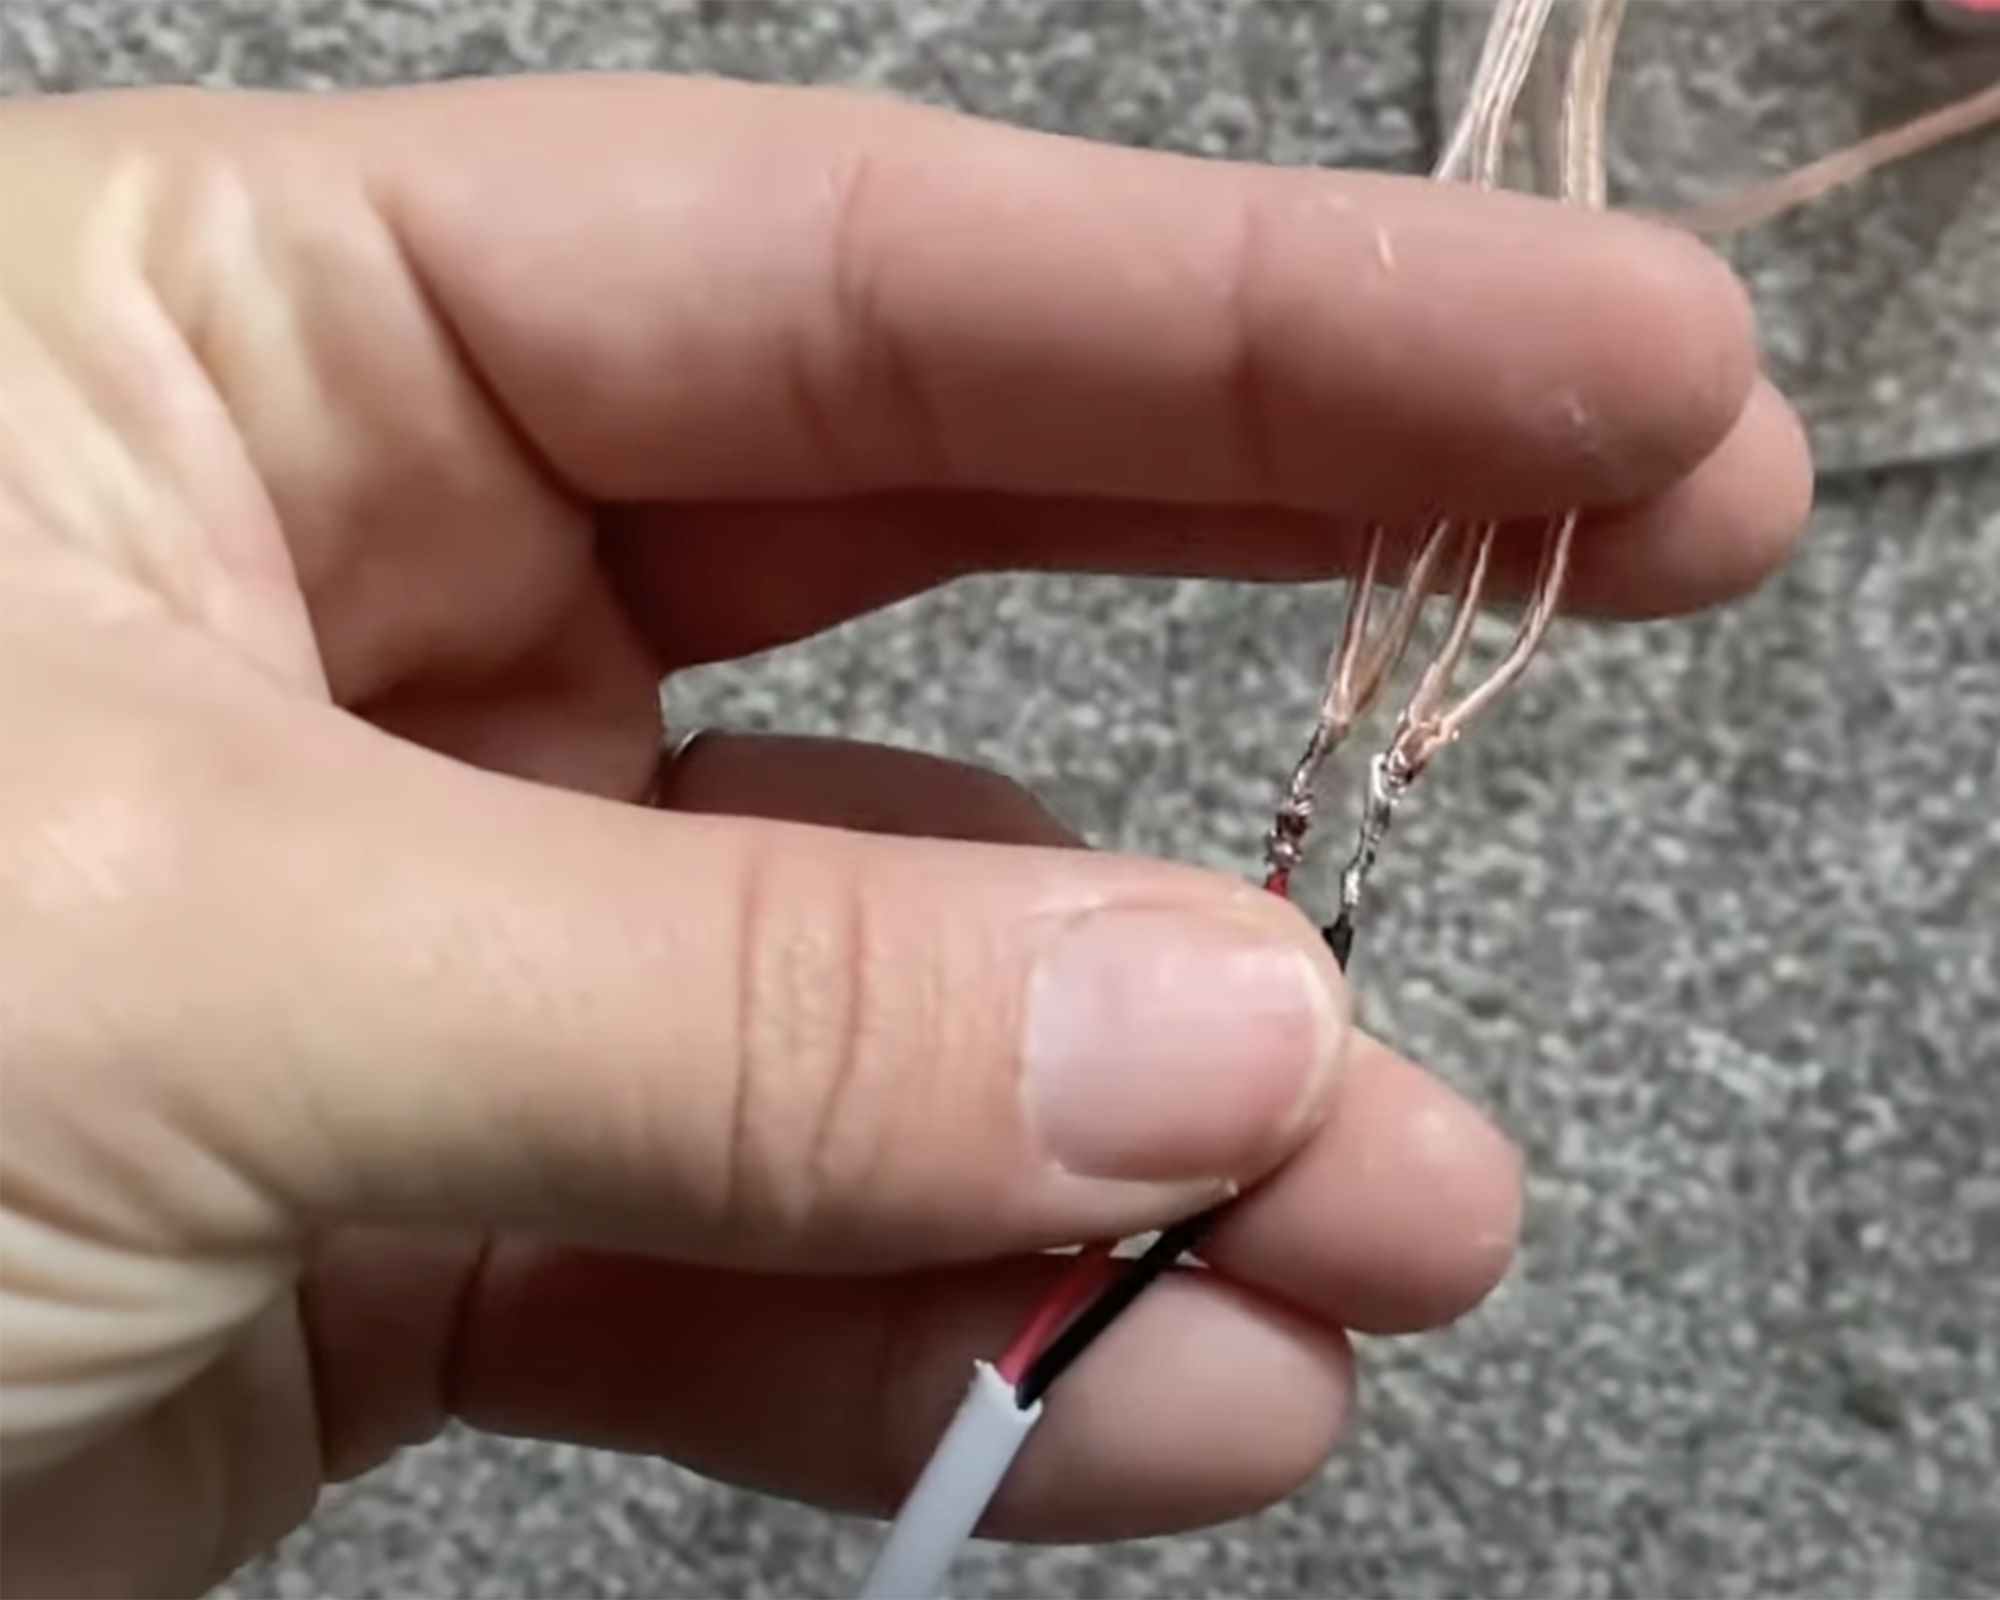
If you've done two or more lines of text on separate wires, you can finish each line with a metre or two long pieces of wire, depending on how far away your plug is from where your light will hang. To connect your light up to the adapter, you'll need to connect all the positives and all the negatives together. You can do this by soldering them together – connecting the positives to the red wire and the negatives to the black wire of the adaptor. Wrap each set of wire in electrical tape or a shrink-wrap sleeve and ensure they don’t touch.
Turn the sign over and start gluing down the wires behind where the light rope is so you can’t see them from the front.
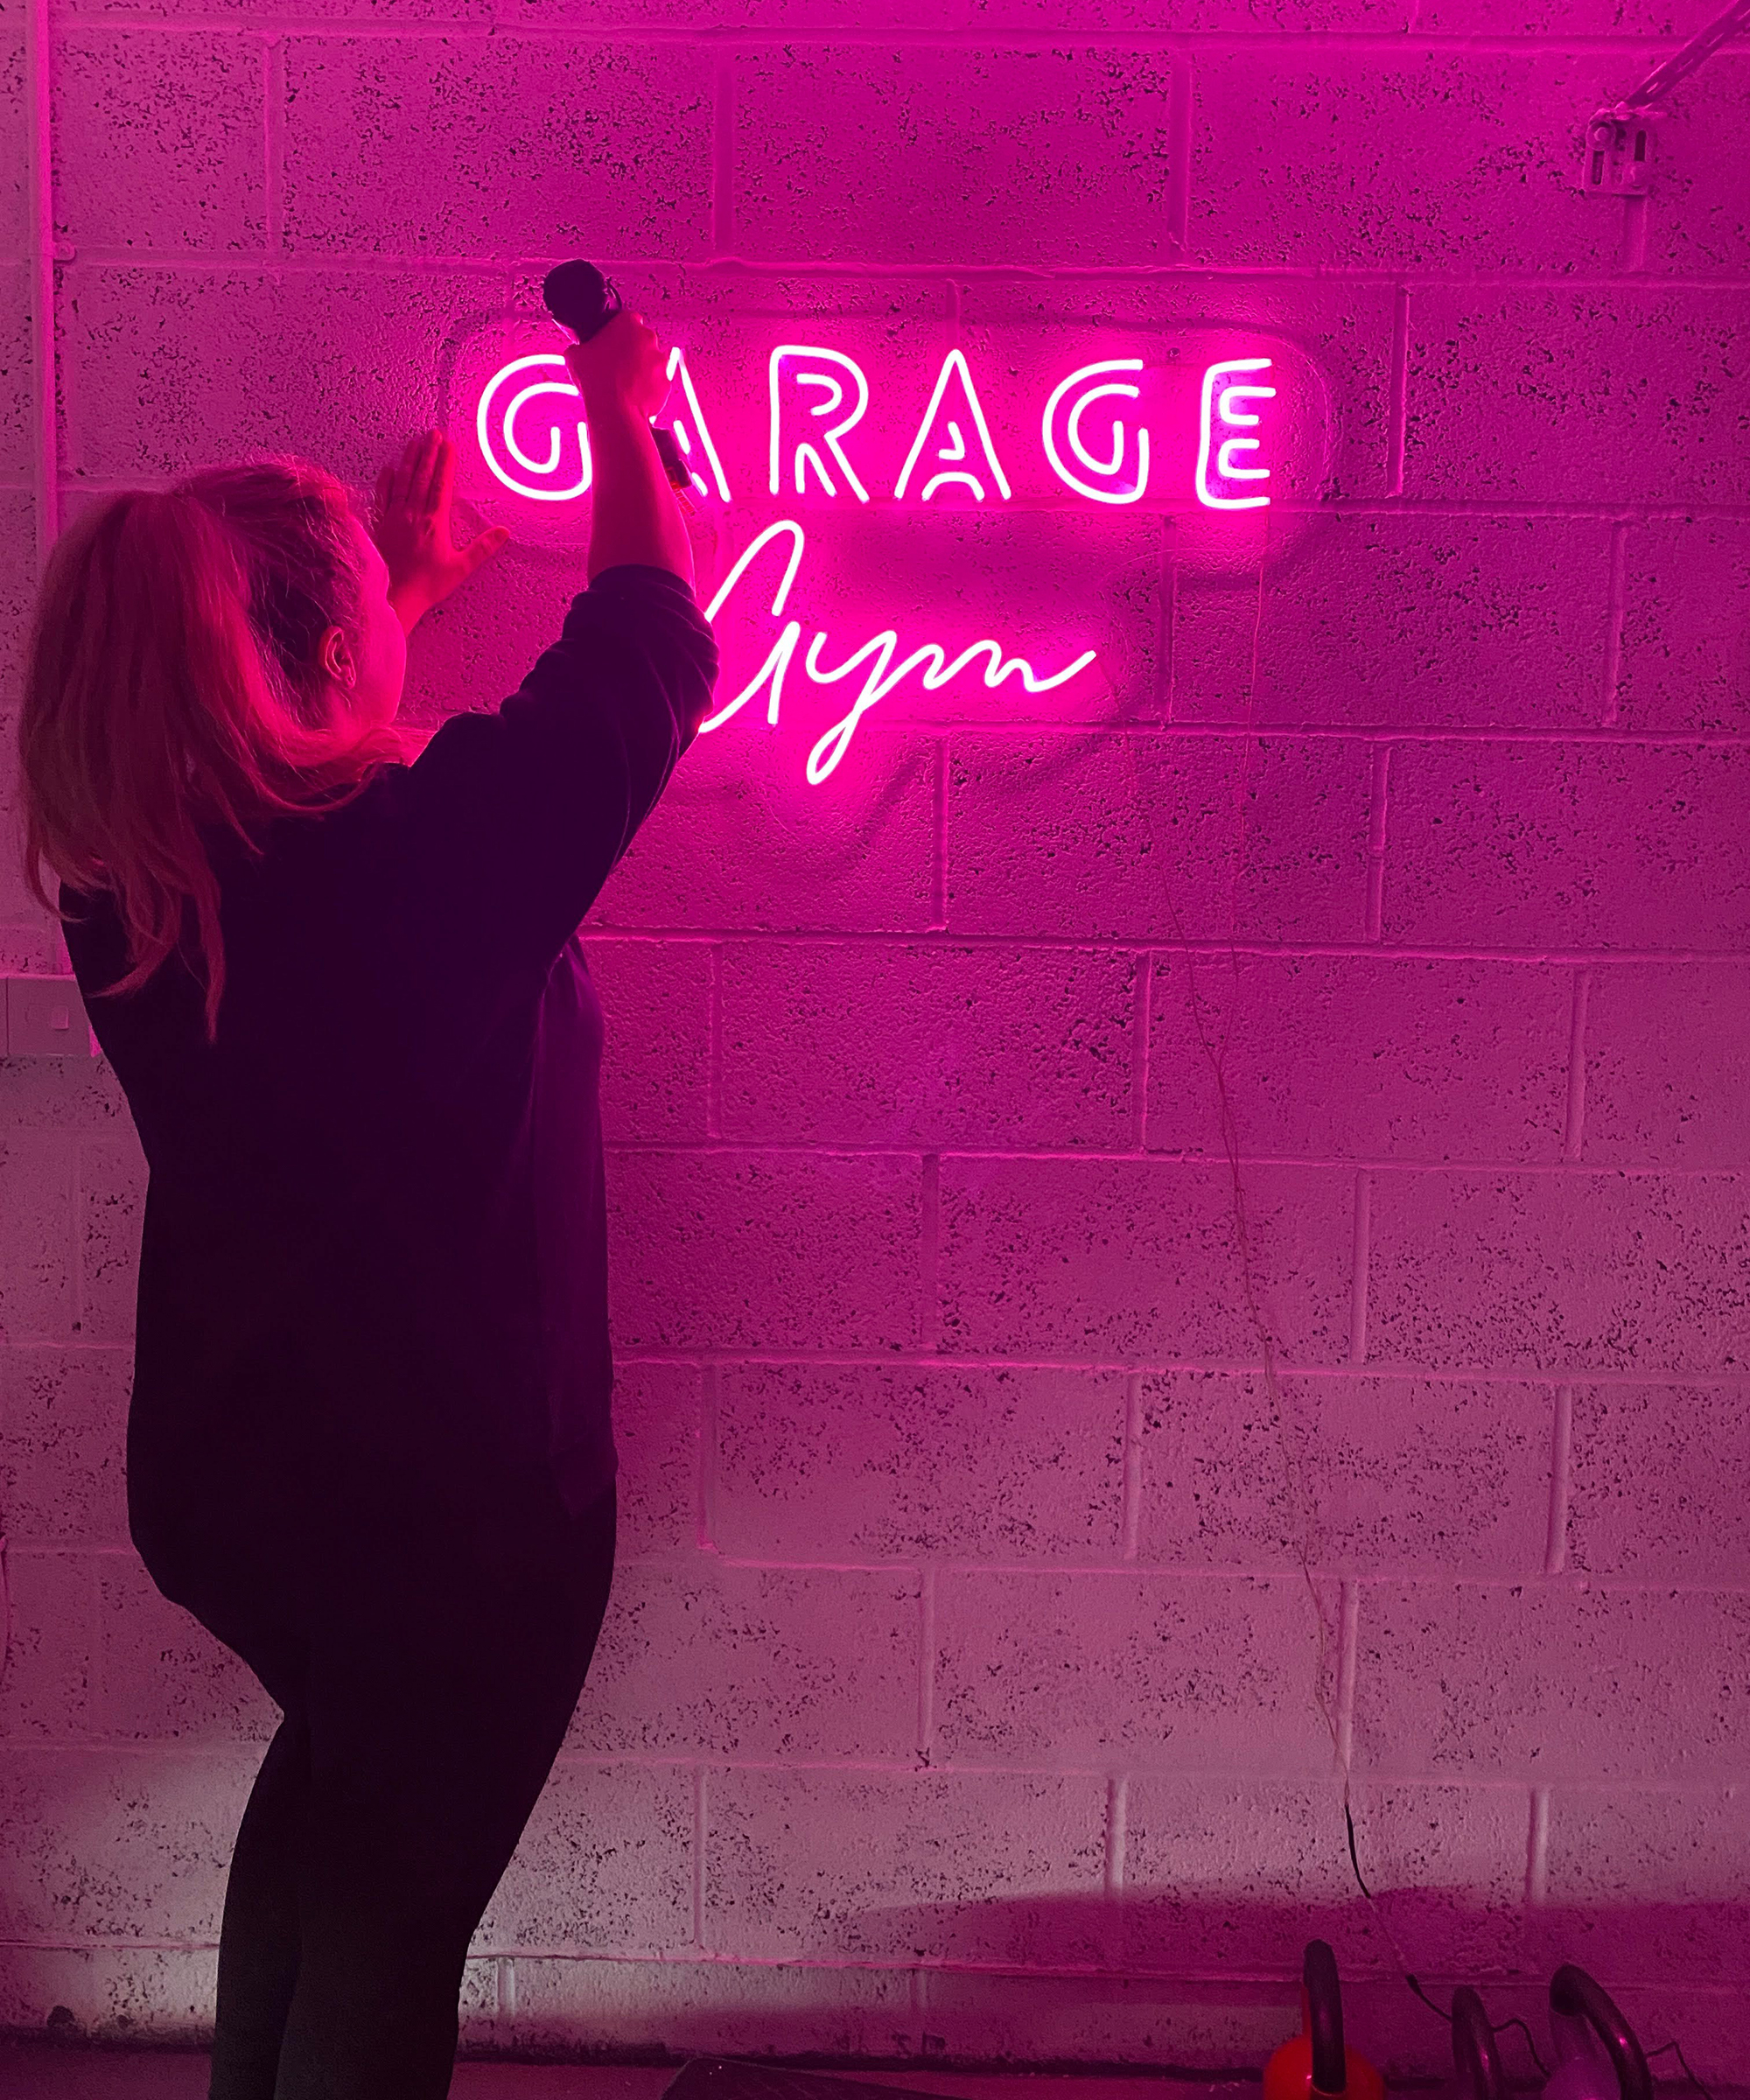
Do your final power check and drill your holes to hang your sign, give your sign a clean with glass cleaner and hang it in place. You can use screws or standoff mounts for this. Stand back and admire the sign you've just successfully made!
Join our newsletter
Get small space home decor ideas, celeb inspiration, DIY tips and more, straight to your inbox!
Jasmine Gurney is a DIY pro, inspiring women with power tools via her home improvement blog Oh Abode and on Realhomes.com.
-
 How one trash can thrifter brought a vintage footstool back to life, for free
See how an innovative NYC-based trash can thrifter brought a vintage bamboo footstool back to life for free
By Camille Dubuis-Welch Published
-
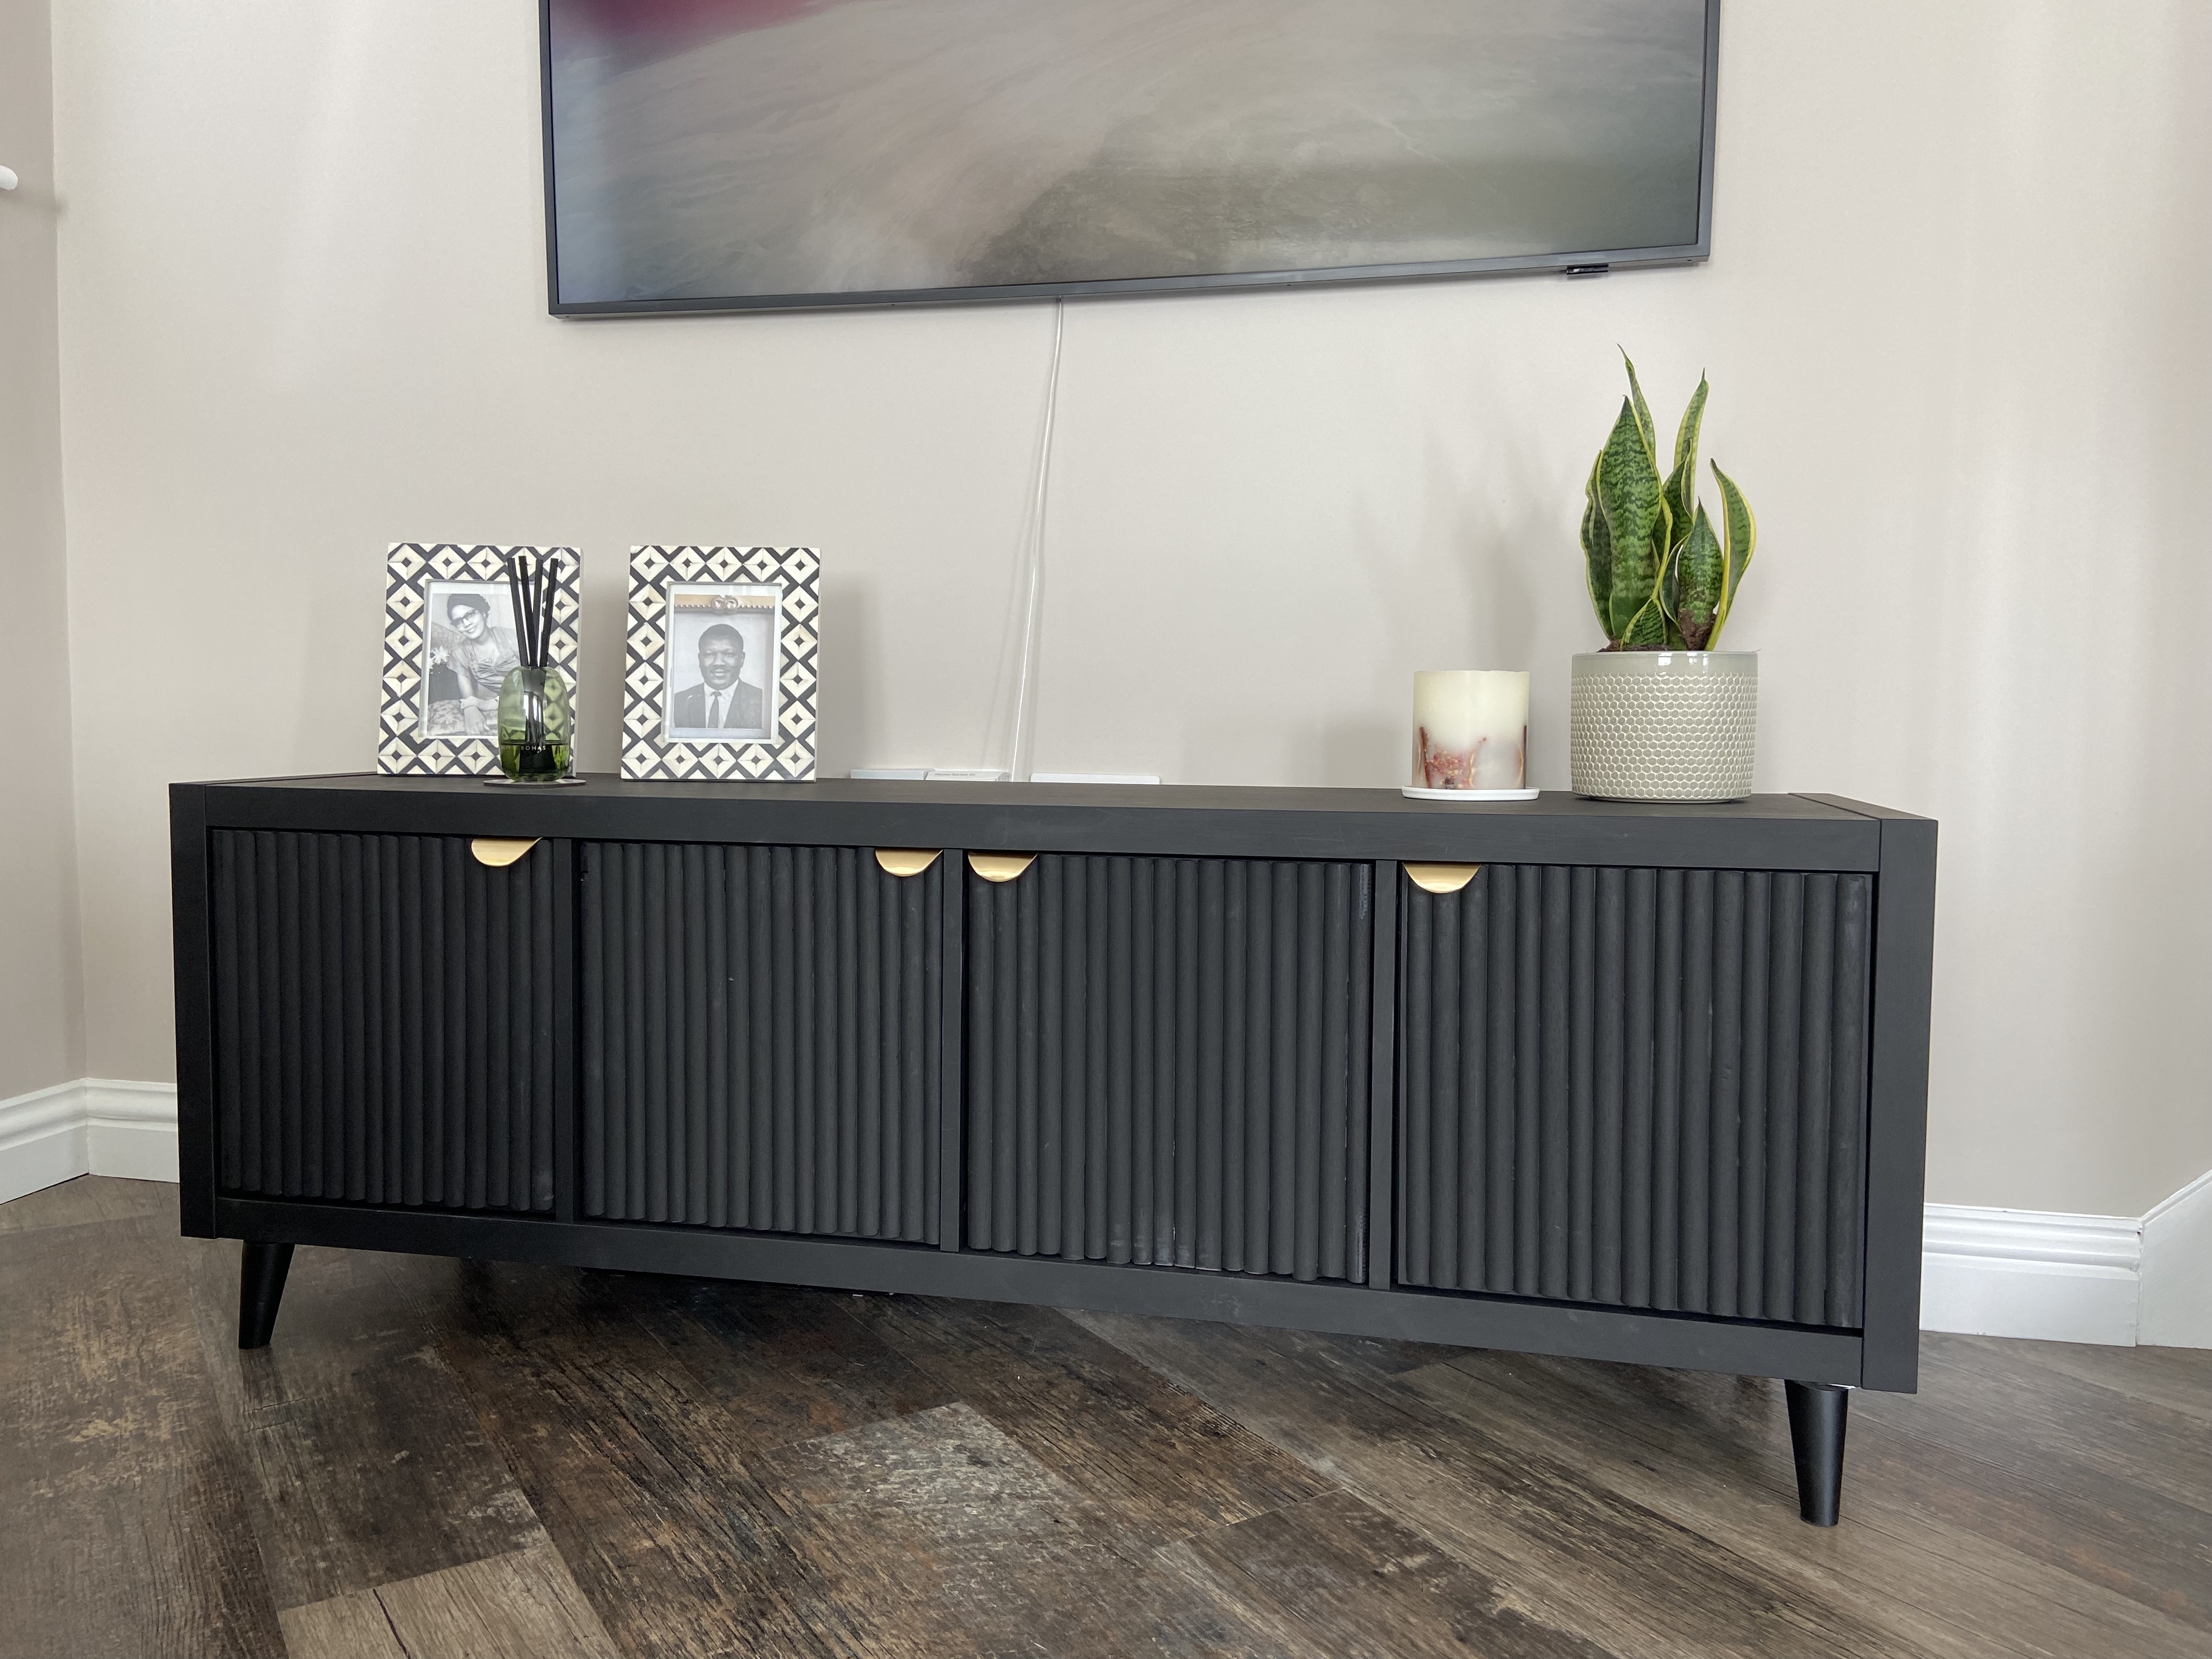 I transformed my IKEA Kallax unit into a stunning media cabinet
I took a weekend out to transform a basic IKEA Kallax shelving unit into the media cabinet of dreams. Here's how.
By Becks Shepherd Published
-
 How to arrange flowers like a pro: expert advice on creating stunning floral displays
Arrange flowers like a pro with our expert advice. The days of placing your shop-bought flowers in a vase and hoping for the best are over
By Hebe Hatton Last updated
-
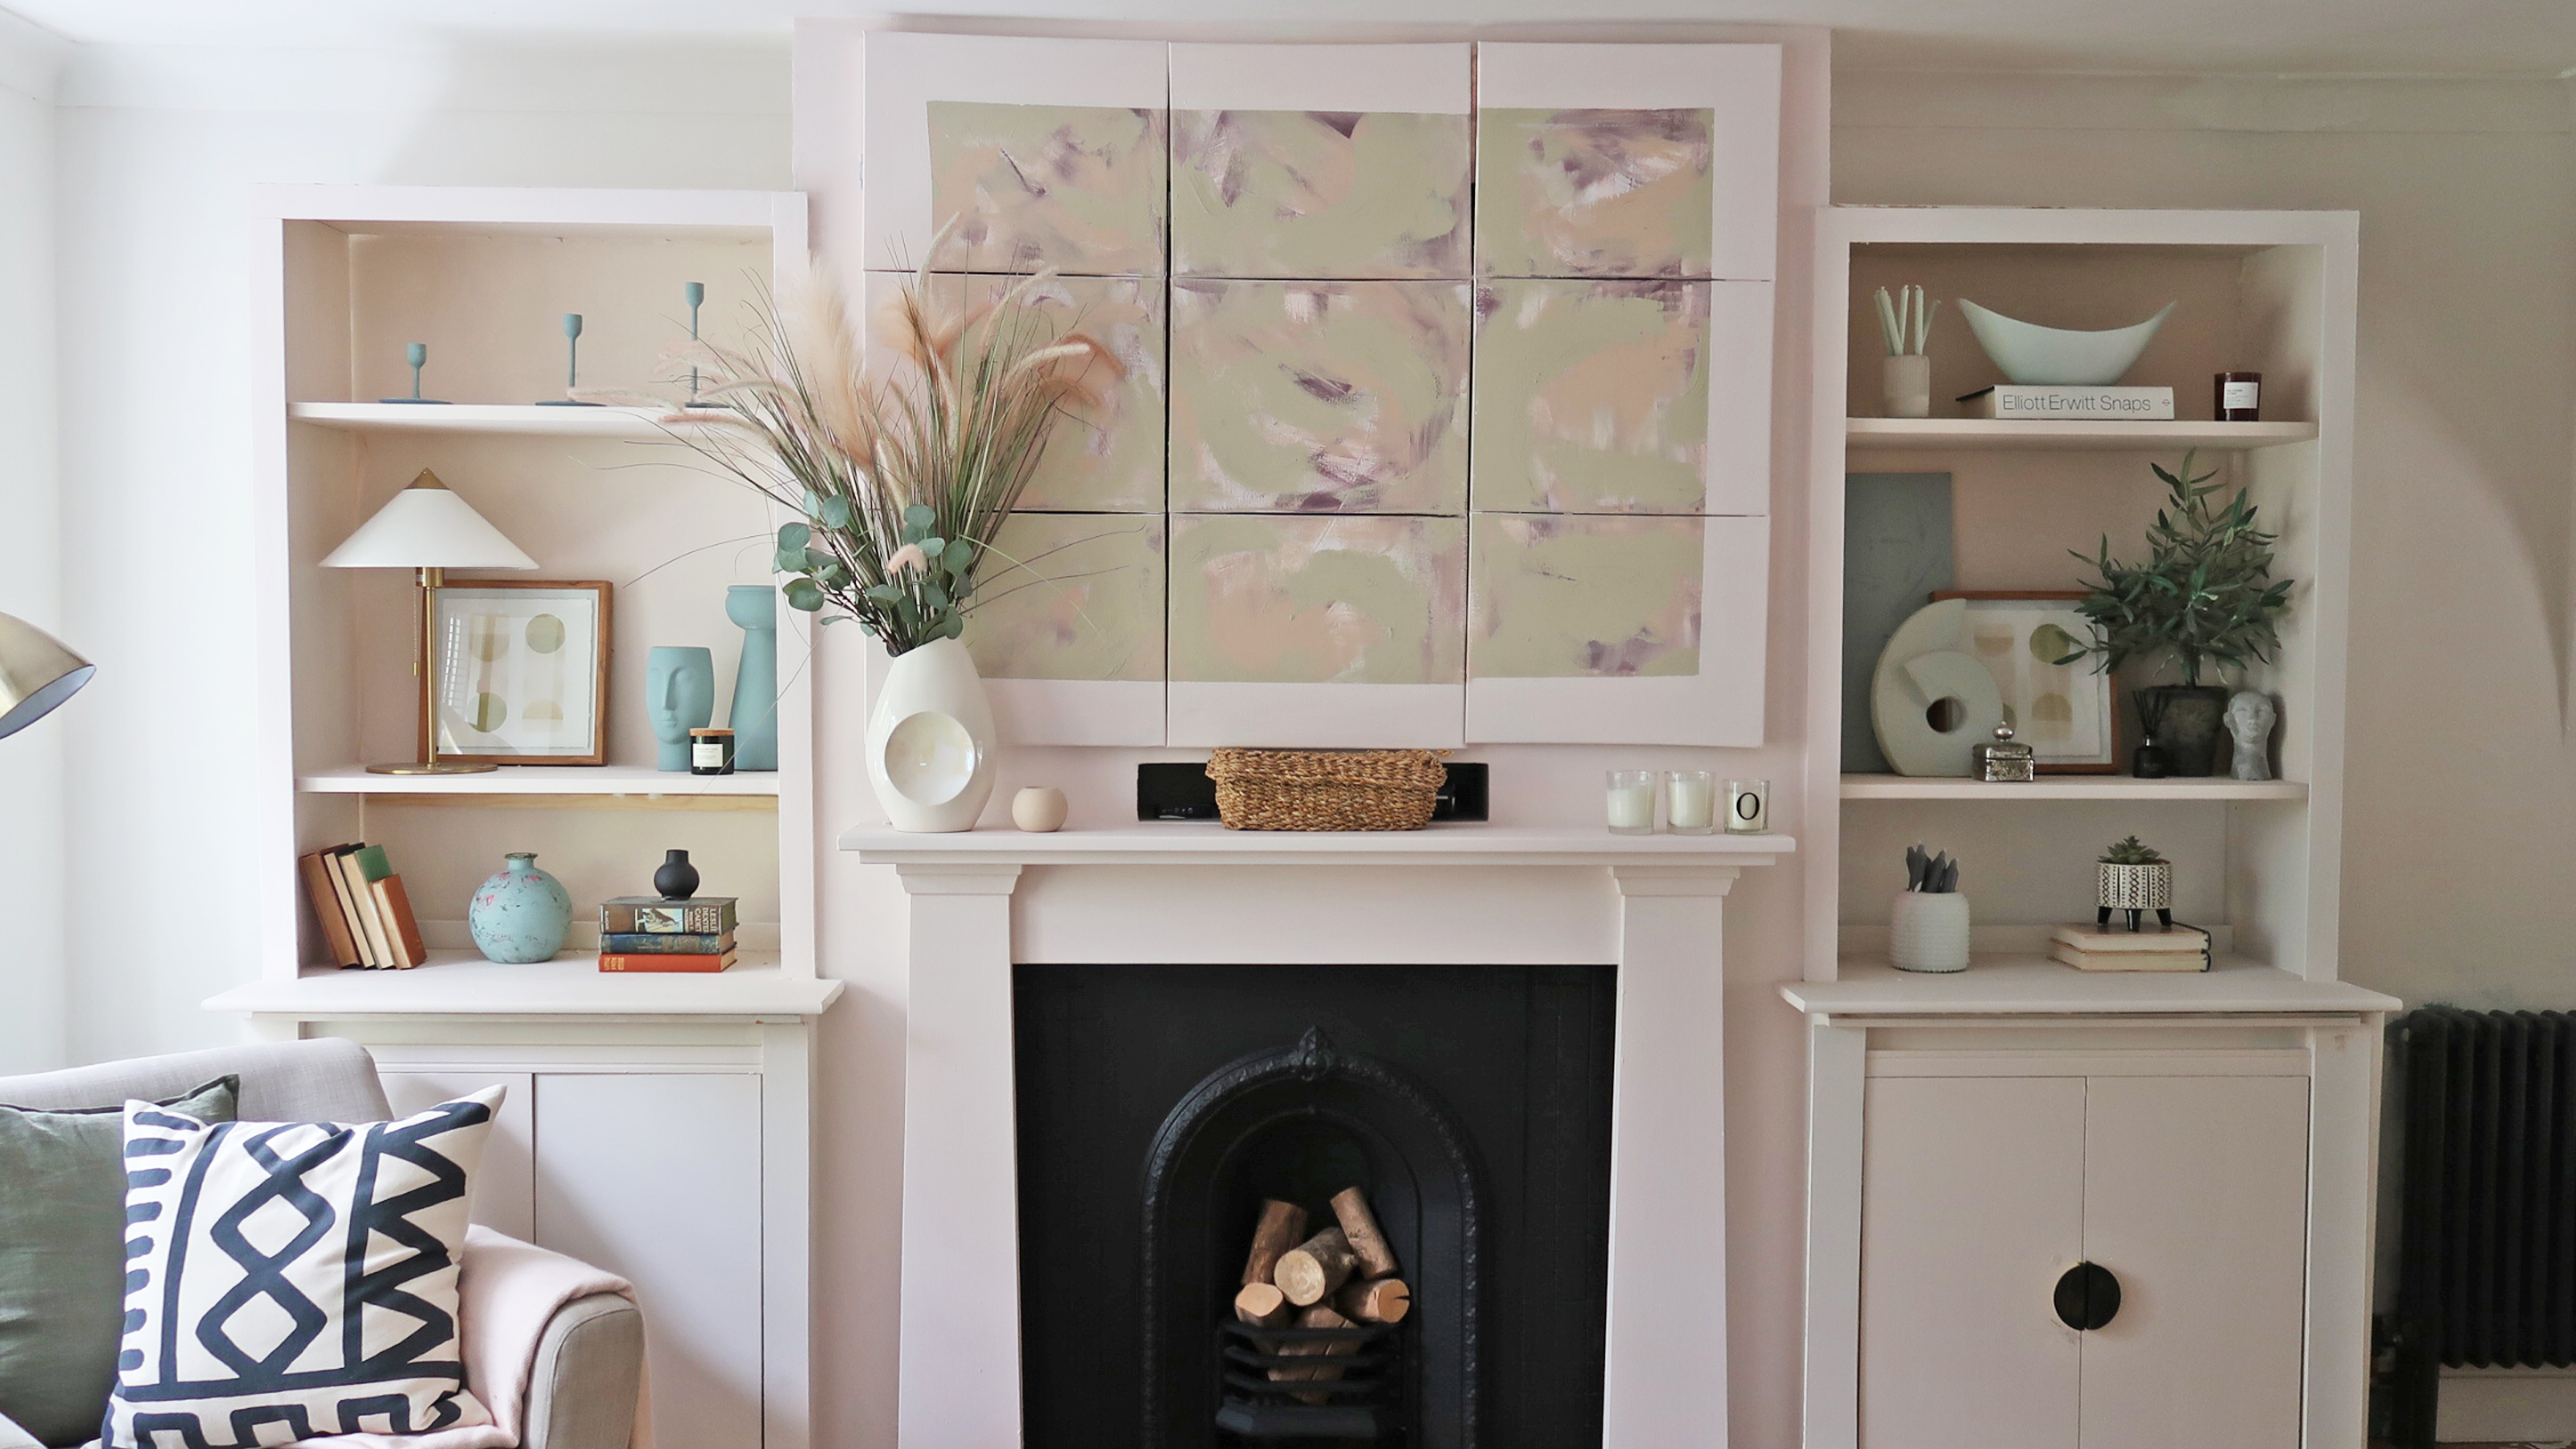 How to hide a TV on the wall: a DIY disguise with art
DIY a disguise for your TV on the wall with art and turn heads in your front room, for all the right reasons
By Claire Douglas Published
-
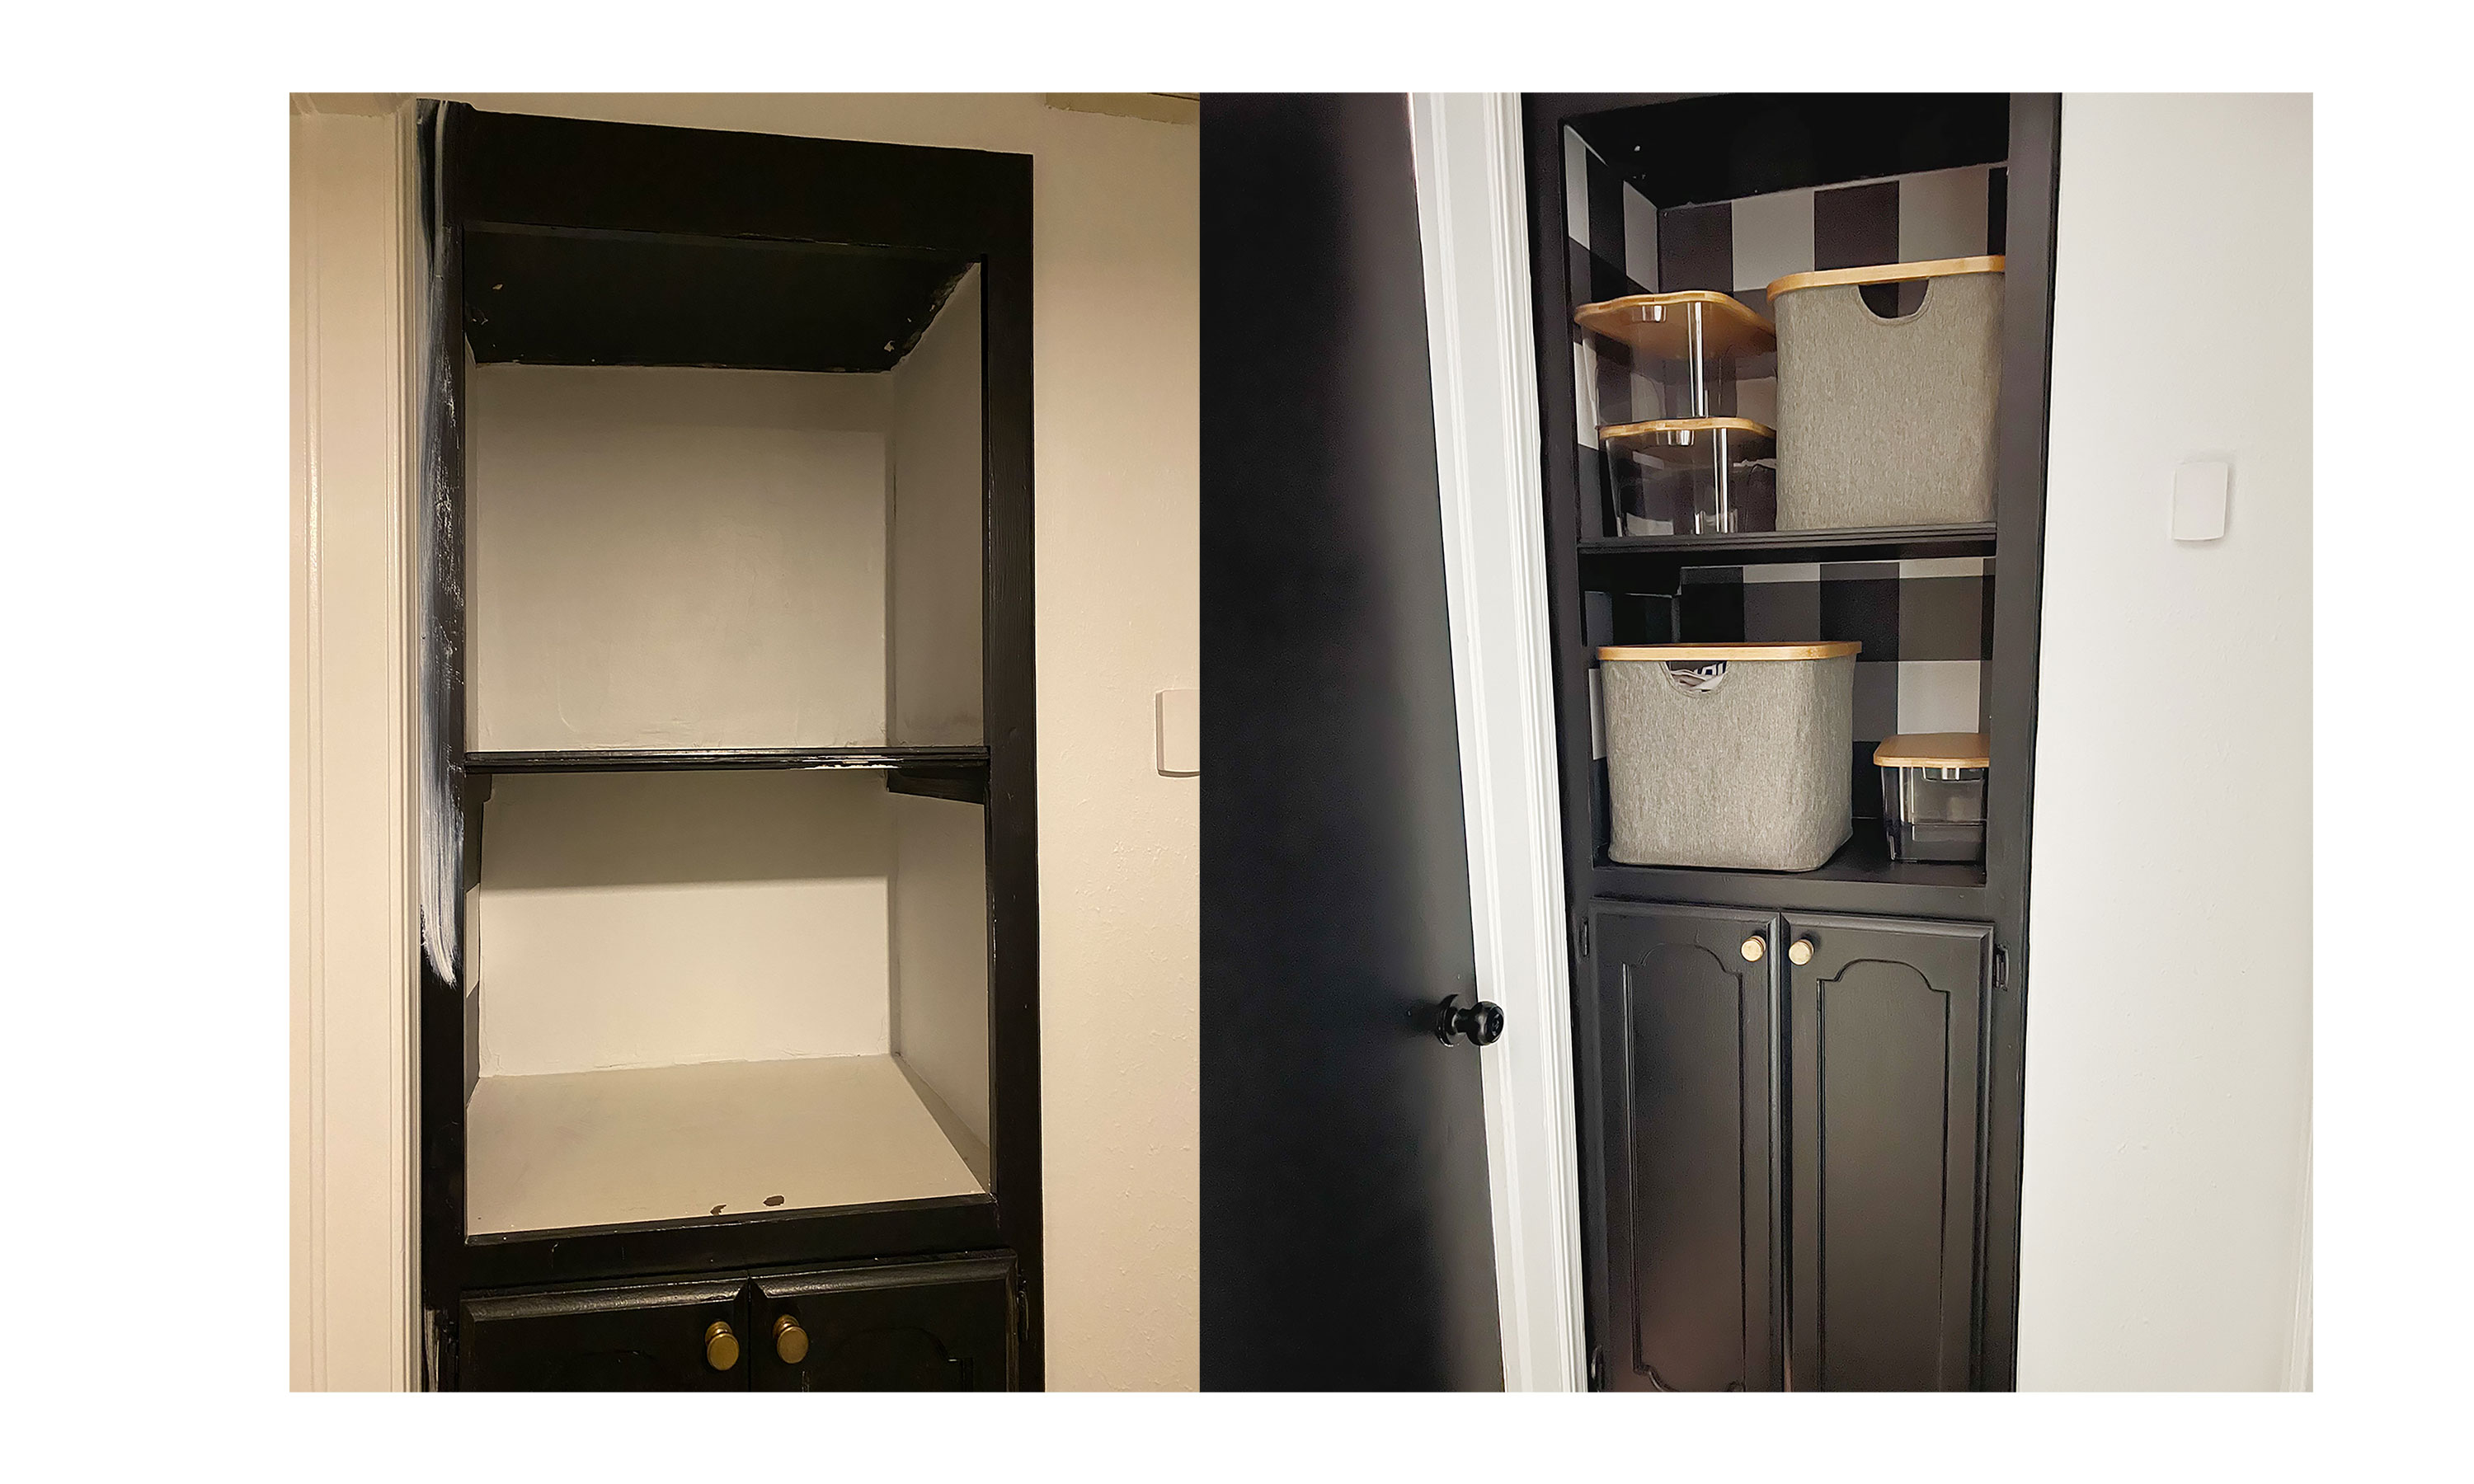 How to use peel and stick wallpaper for a major furniture upgrade
Elevate your interiors by using peel and stick wallpaper on furniture for a majorly beautiful, simple and budget-friendly upgrade.
By Dori Turner Published
-
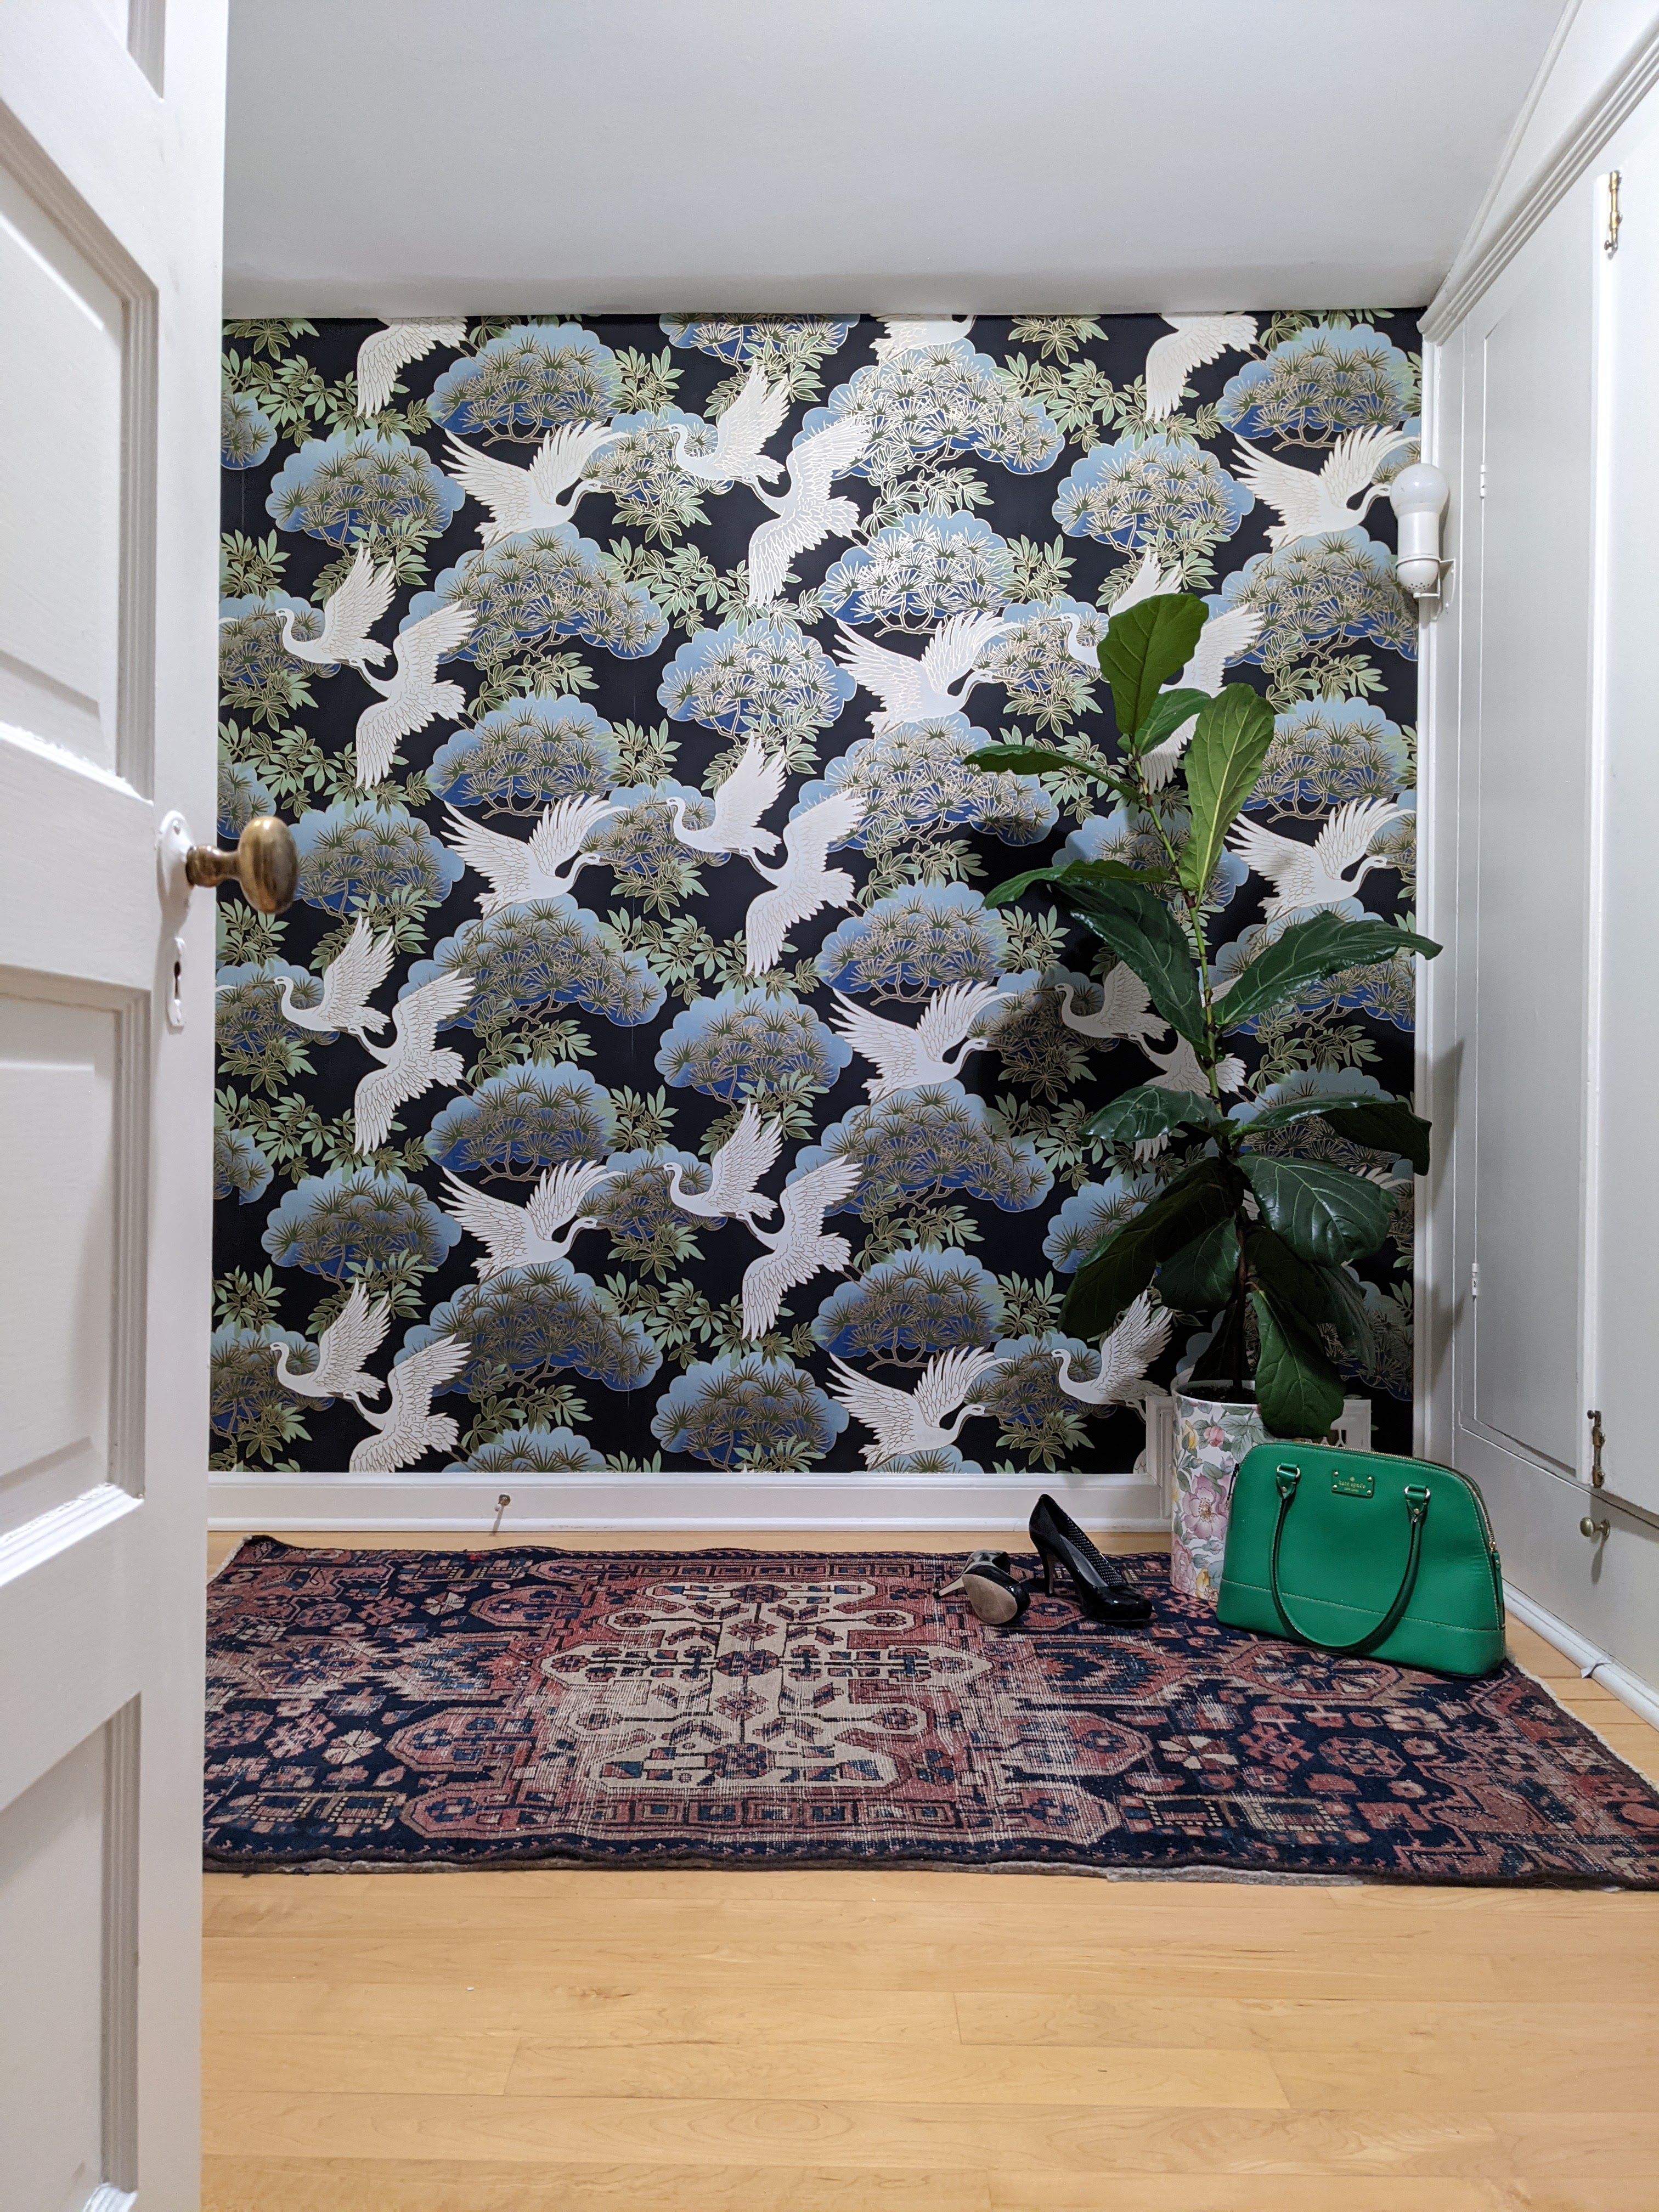 11 wallpaper project ideas to freshen up your home in under 2 hours
One roll, regular or peel-and-stick wallpaper projects for an impactful but budget-friendly refresh
By Ruth Jackson Last updated
-
 18 wall painting ideas – how to use paint, tape and creativity to DIY new looks
Refresh your living room, bedroom and the rest of your home with the best DIY wall paint ideas. You need tape, paint and a little creative thinking.
By Hebe Hatton Last updated
-
 The best IKEA hacks – 21 creative ways to update your furniture
Looking for the best IKEA hacks? We've rounded up some of the easiest ones out there...
By Emily Shaw Last updated