

Emily Shaw
Learning how to make a reed diffuser is actually a lot simpler than you think.
Shopping list
You will need:
1. Reed diffuser containers: we found these on Amazon
2. Neutral base oil: eg sweet almond, grapeseed, safflower or fractionated coconut, also on Amazon
3. Essential oils: browse a selection
4. Reed diffuser sticks: we like these black ones but you could also use bamboo skewers
5. Kitchen or craft scissors: to cut the sticks
Natural reed diffusers made with essential oils tick all the sensory-pleasing boxes, and they will save money and reduce waste in the long run too – bonus.
In addition to all of this, when it comes to the best home fragrances, our recommended ingredients are all-natural, reducing exposure to the harsh chemicals that can be found in some reed diffusers and artificial air fresheners; in fact, most of the materials needed are likely already laying around your house.
If you're looking for easy craft ideas to try at home, follow our simple, step-by-step instructions to find out how to make a DIY reed diffuser and have your home filled with your desired fragrance before you know it. It requires a few affordable items to put together in no time. Alternatively, if you wanted a kit that contains all of the aforementioned materials, Hobbycraft has a kit dedicated to handcrafting your own DIY reed diffuser. Be aware, however, that you'll still need to source an essential oil.
1. Mix your carrier and essential oil together
Using the basic ratio of approximately 70 per cent base oil to 30 per cent essential (or blending) oils as a guide, experiment with scent combinations until you've achieved your desired home fragrance. If you like yours a little weaker/stronger, feel free to tweak the formula.
Popular scents include pine, eucalyptus, and peppermint if you prefer fresh scents; lavender or patchouli if you're looking for something calming; or lemon and bergamot for a more uplifting addition to your home.
You can either choose one oil for a distinct scent or a pre-made essential oil from your favorite blend, or have fun creating your own essential oil recipes for a bespoke concoction. (Take a look at our essential oils for headaches guide if you want to really relish the aromatherapeutic benefits of your herb and fruit extracts.)
This is your scent solution.
2. Pour your scent solution into your container
Once you've experimented with base to blending oil ratios and have found a scent that suits the mood of your home – add your fragrance blend to your container.
Top tip: you'll want to ensure that the inside of your container is glazed, otherwise you might encounter leaks at a later date.
3. Add your reeds
If you're using bamboo skewers, take the time to carefully remove any sharp ends using a pair of kitchen scissors. Then, insert enough skewers into your container so that they sit comfortably – they don't want to be packed in – and leave to soak up the essential oils for a day or so.
We suspect you'll need 5–8 wooden reeds, depending on the size of your vessel and how strong you'd like the end result to be.
4. Rotate your reeds
Once you've allowed your reeds to soak up your fragrance for a day or so, rotate the reeds and enjoy a fragrant addition to your home. From there on, rotate reeds on a weekly basis.
If your nose is craving more, check out the best essential oil diffusers to elevate each and every space, as tested by our deputy ecommerce editor.
Do you need a carrier oil for reed diffuser?
Surprisingly not, according to Jasmine Hemsley, co-founder of Hemsley + Hemsley and bestselling author. In lieu of a carrier oil, Hemsley uses vodka in her DIY reed diffuser recipe. But don't go using your favorite spirit – cheap alcohol on offer from your local liquor store or Smirnoff (available on Amazon) will do!
She says: 'I love a reed diffuser to scent a room. The reeds draw up the liquid and allow it to diffuse into a room – no electricity or heat needed so altogether safer than candles too. There are so many natural options out there and they require zero effort, but did you know they’re also super easy to DIY?'

Ways to personalize your DIY reed diffuser
Whether you want to indulge in some self-care, or are looking for a cheap, homemade gift for a loved one, there are loads of ways to put your stamp on a DIY reed diffuser to make it feel bespoke.
'Homemade diffusers are lovely around your home or as a gift for anyone in your life – along with an essential oil blend and a fancy ribbon.' says Hemsley.
But, if you want your DIY reed diffuser to look uber chic and rival more expensive reed diffusers, why not invest in a Cricut machine and some sticker paper (both available from Amazon) to create sophisticated labels. They are the perfect finishing touch for a minimalist or modern living room idea.
What is a reed diffuser used for?
Reed diffusers are designed to refresh your home with favorite aromatherapy scents and essential oils. Reed diffusers offer a gentler way to scent your space, making them a great choice for people with sensitivities to strong smells.
If you decide a DIY diffuser isn't for you, there's no shame in buying one, and our pick of the best reed diffusers is here to help you pick the right option for your home.
Whether you make your own, or go down the store-bought route, be sure to keep them out of reach of children or curious pets. Aside from knocking over glass jars and having to clean up an oily mess, essential oils shouldn't be ingested. Just in case you were wondering: 'are essential oils safe?'. Play it safe by positioning them on a shelf, away from small hands and paws and pets' tails – because cats love to knock things over.
What can you do with old reed diffuser bottles?
Recycle glass reed diffuser bottles, reuse them with a DIY reed diffuser idea, or wash them thoroughly and repurpose as bud vases for fresh, single stems.
Unlike electric essential oil diffusers, you shouldn't be scratching your head over how to clean a diffuser as it's much simpler to clean a DIY reed diffuser than one that's battery or mains-operated.
You'll just need to rinse your vase or glass jars with dish soap (ideally the best eco-friendly washing-up liquid if we're keeping in line with the natural / eco-friendly vibes).
What type of container can you use for a reed diffuser?
Ideally, you'd want something short and wide, with enough space for your reeds. If you've already bought a reed diffuser from a retailer, you could use this, or a glass canning jar or an old jelly/jam pot.
During the holidays, we love making DIY reed diffusers as a Christmas mason jar idea, because you can personalize your present to each person. So while grandma's is scented with lavender and rose, dad can have a spicy, woody smell or his home office.
Join our newsletter
Get small space home decor ideas, celeb inspiration, DIY tips and more, straight to your inbox!
Holly is a Content Editor at Real Homes, and has previously worked at Future Homes brands including Country Homes & Interiors and Livingetc. She has a background in interior and event styling spanning a decade, which previously took her from coast to city and beyond to Australia.
Holly loves working with creative minds and discovering fresh, indie brands, and is a firm believer that no home can have too many cushions, unruly blooms or decorative details of happy
-
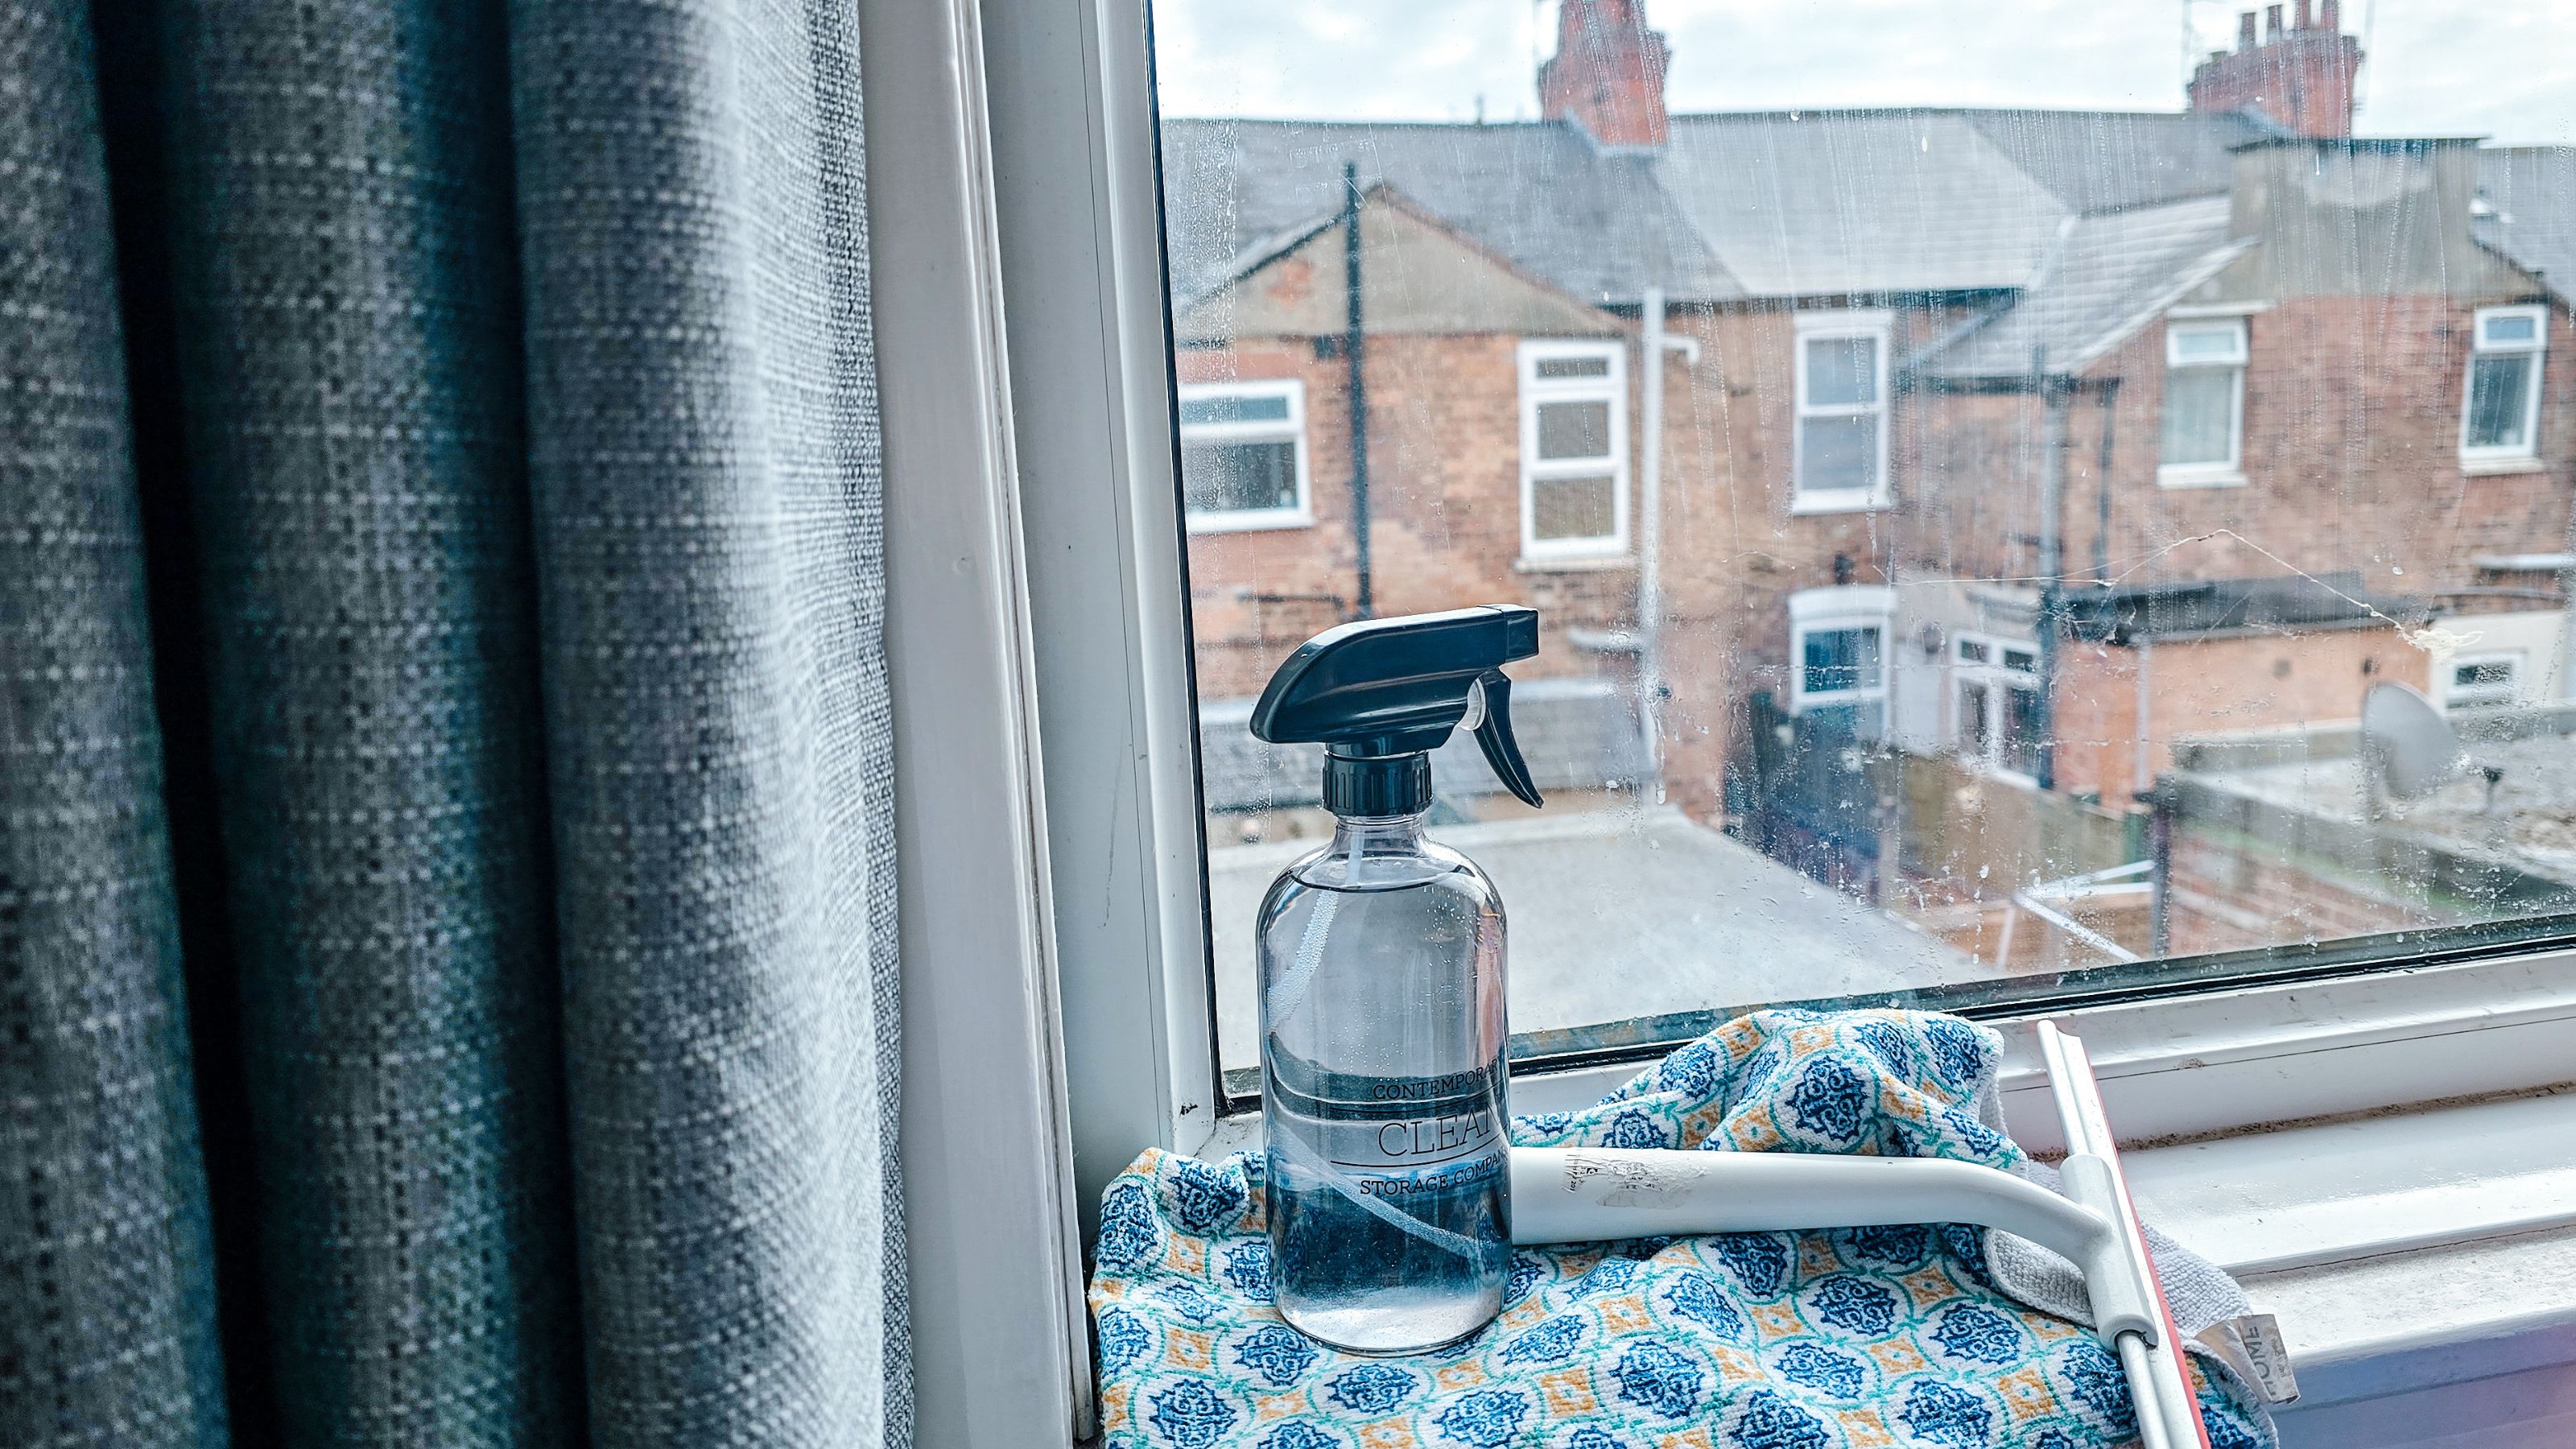 How to clean windows without streaks — 5 easy steps that cleaning pros always follow
This method on how to clean windows is favored by professional cleaners. We've asked them for the steps you should follow, plus picked cleaning buys
By Eve Smallman Last updated
-
 The latest Shark sale deals are perfect for pollen-proofing your home — with up to $150 off our favorite vacuums
We found the latest Shark sale deals on vacuums that are sure to be swooped up, especially as spring blooms trigger pollen allergies and we're in need of extra cleaning
By Danielle Valente Published
-
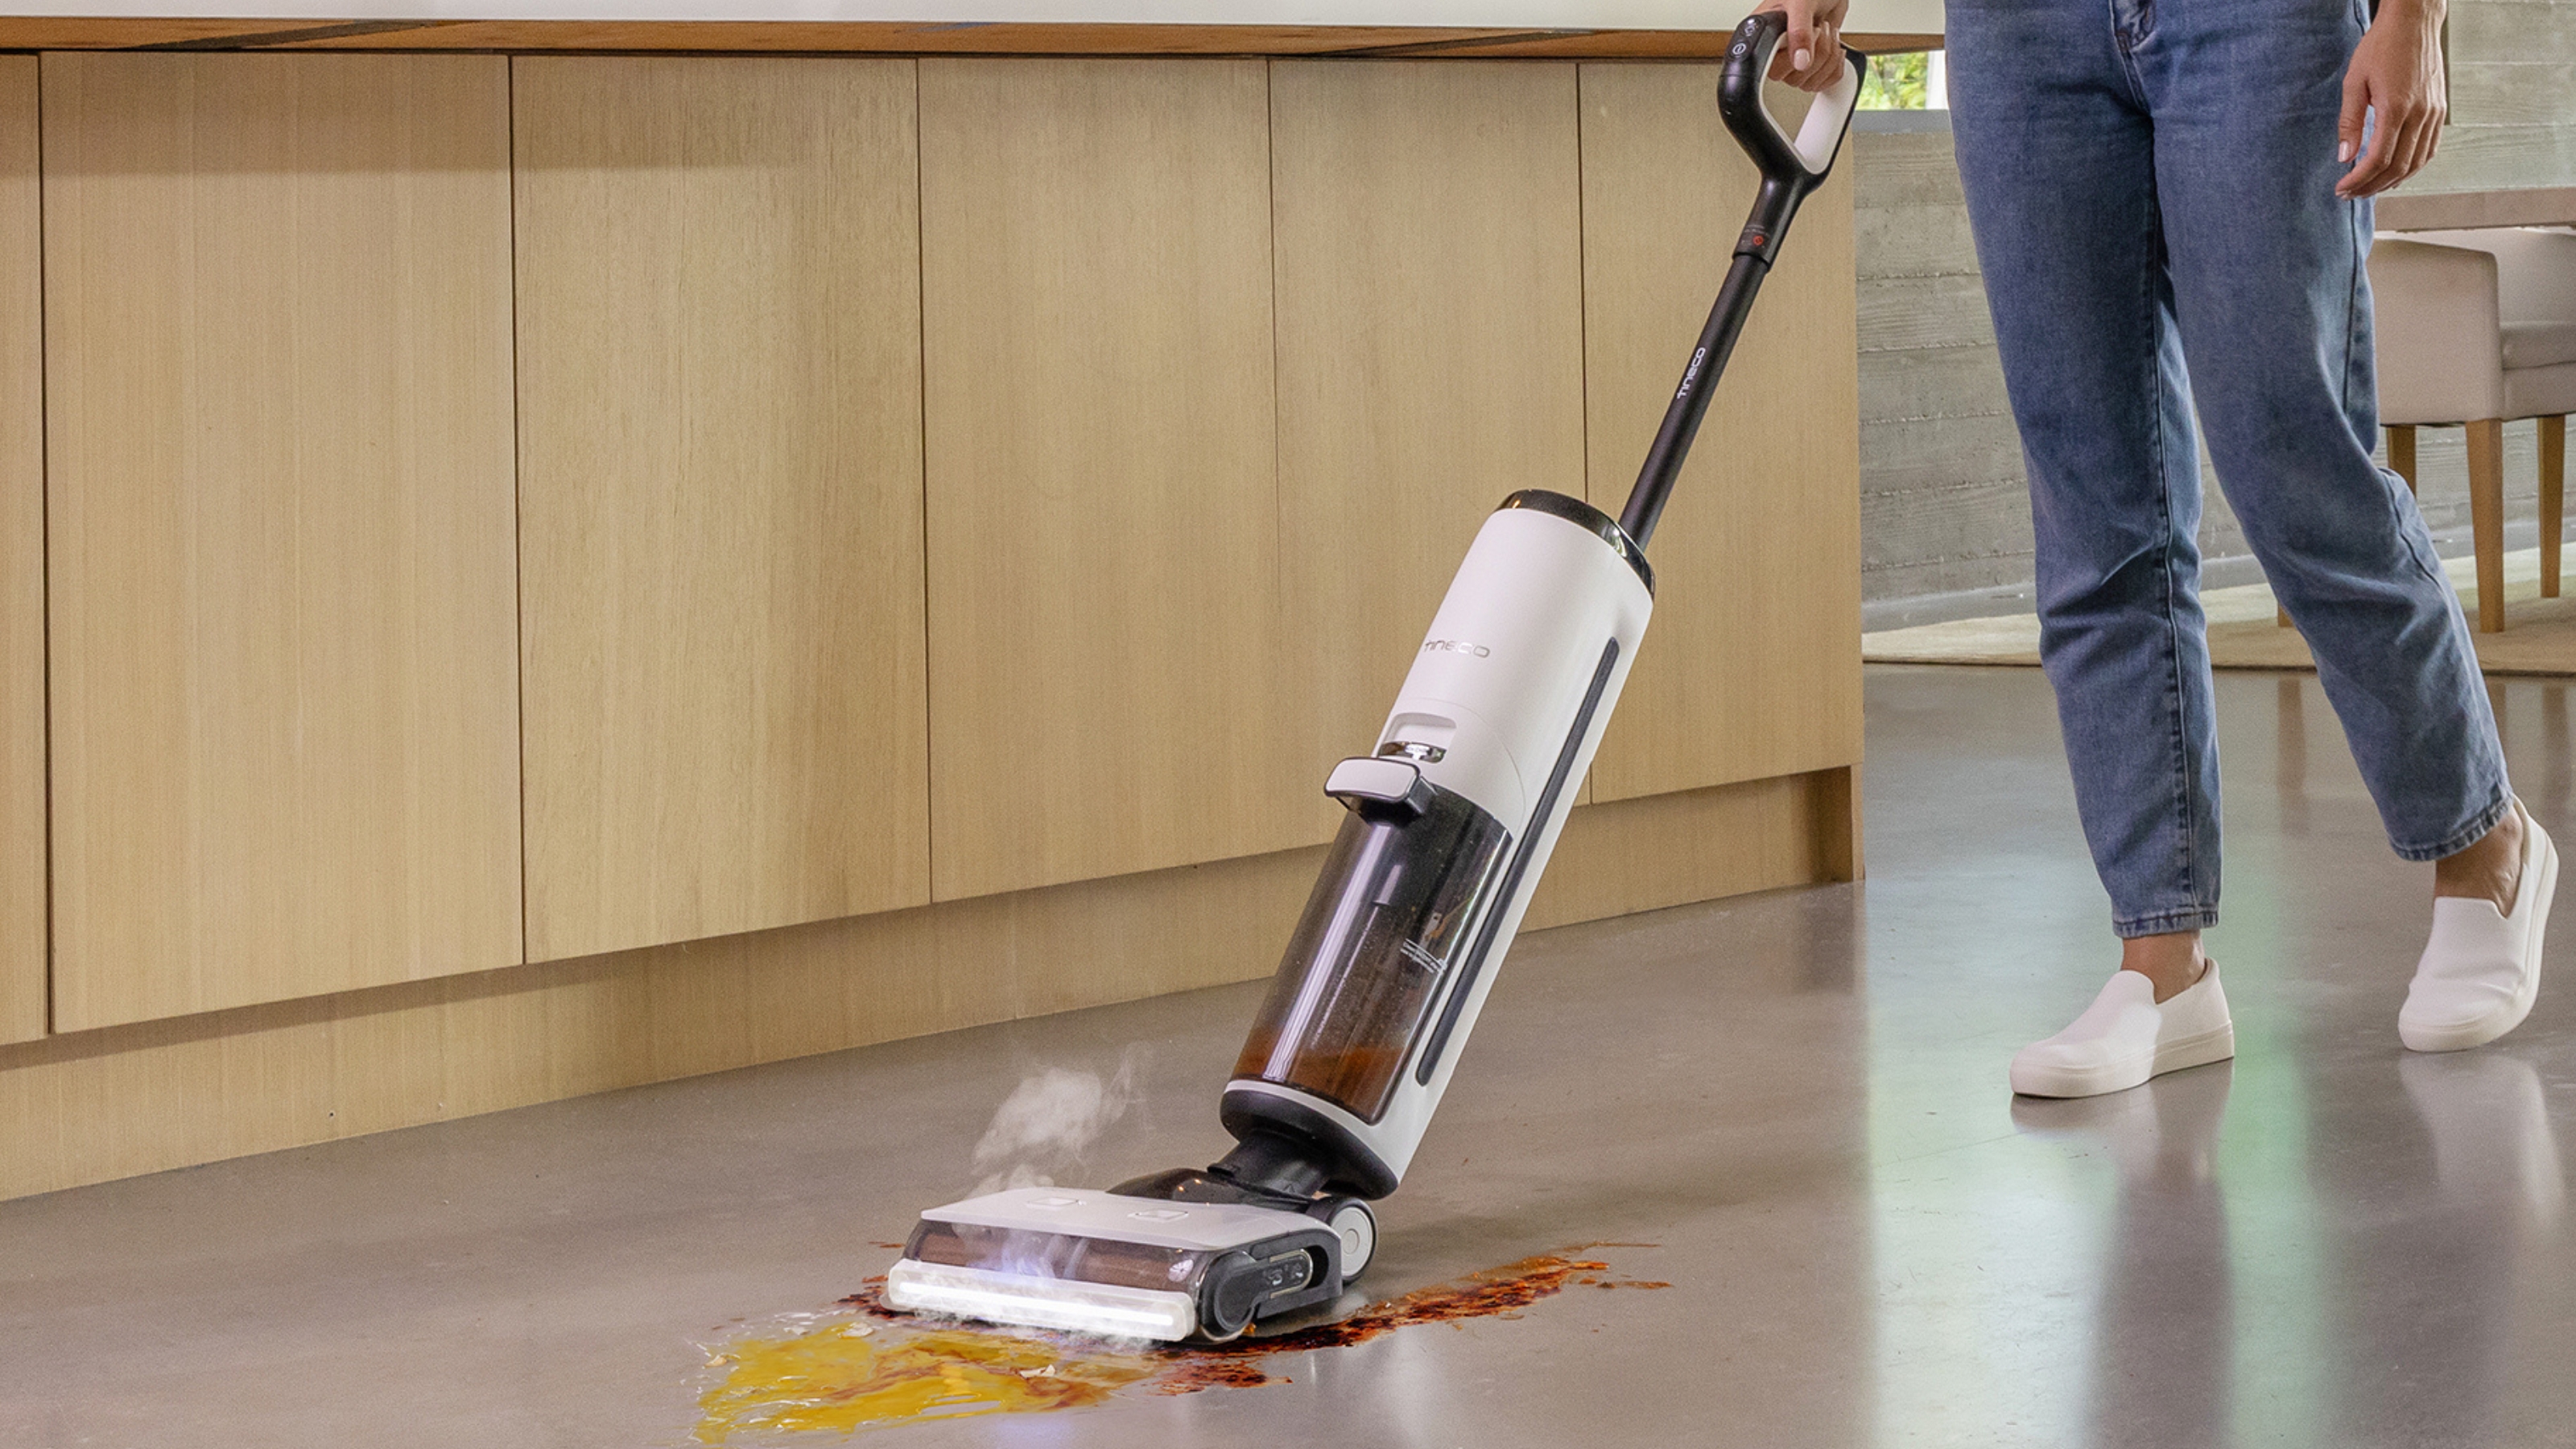
 Tineco Floor One S7 steam wet-dry vacuum review — spotless floors with minimal effort
Our contributing editor, Camryn Rabideau, tests the Tineco Floor One S7 steam wet-dry vacuum in her New England homestead property
By Camryn Rabideau Published
-
 Amazon vacuum cleaners to nab during the retailer's Big Spring Sale — save up to 60% off our go-to small-space finds
Checking out the savings on Amazon? Vacuum cleaners are a must-buy during their first Big Spring Sale — here are our favorites up to 60% off
By Danielle Valente Published
-
 The Home Edit Walmart cleaning collection has just debuted with finds from $3
Spring cleaning, anyone? The Home Edit Walmart cleaning collection has hit shelves with picks from $3
By Danielle Valente Published
-
 How to clean carpet on stairs — 3 simple steps to a spruced up staircase
Want to know how to clean carpet on stairs? Our experts explain the simple steps to a sparkling stairway without too much elbow grease
By Andy van Terheyden Published
-
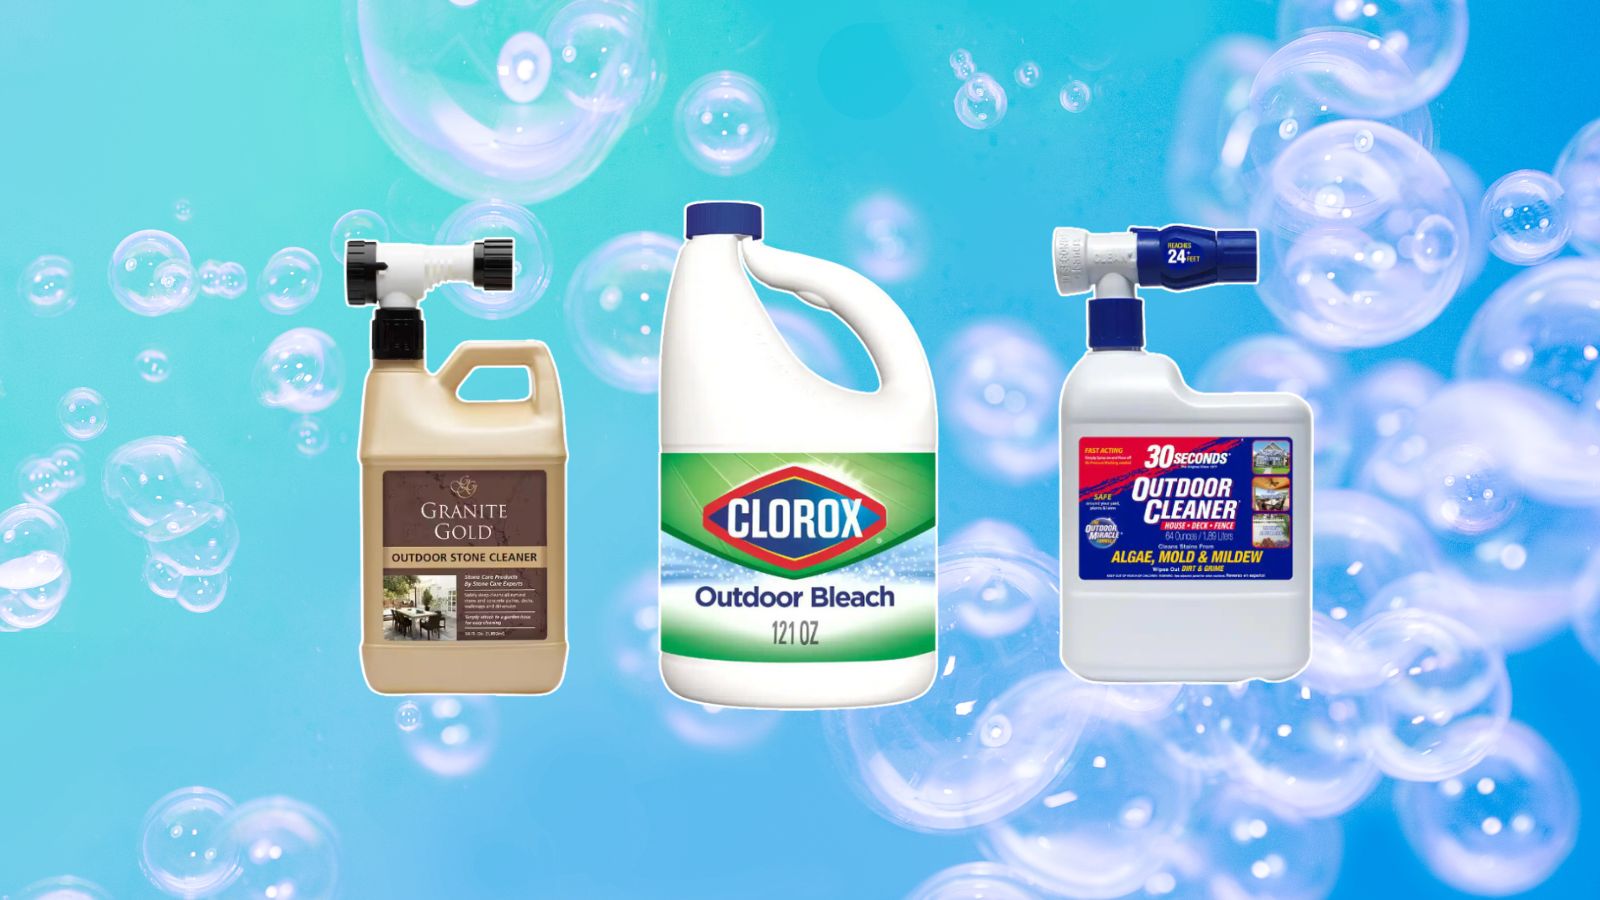 The Home Depot backyard and patio cleaning supplies we're stocking up on before spring
Don't forget the outdoors when spring cleaning — The Home Depot backyard and patio cleaning buys from $11 will assist with tidying up
By Danielle Valente Published
-
 The Shark Detect Pro vacuum and other models are on sale for St Patrick's Day — perfect picks for your spring clean
Whether you're eyeing the Shark Detect Pro Vacuum or Shark Pet Cordless Stick Vacuum, shop the St. Patty's Day sale for a discount on the best vacuums on shelves
By Danielle Valente Published