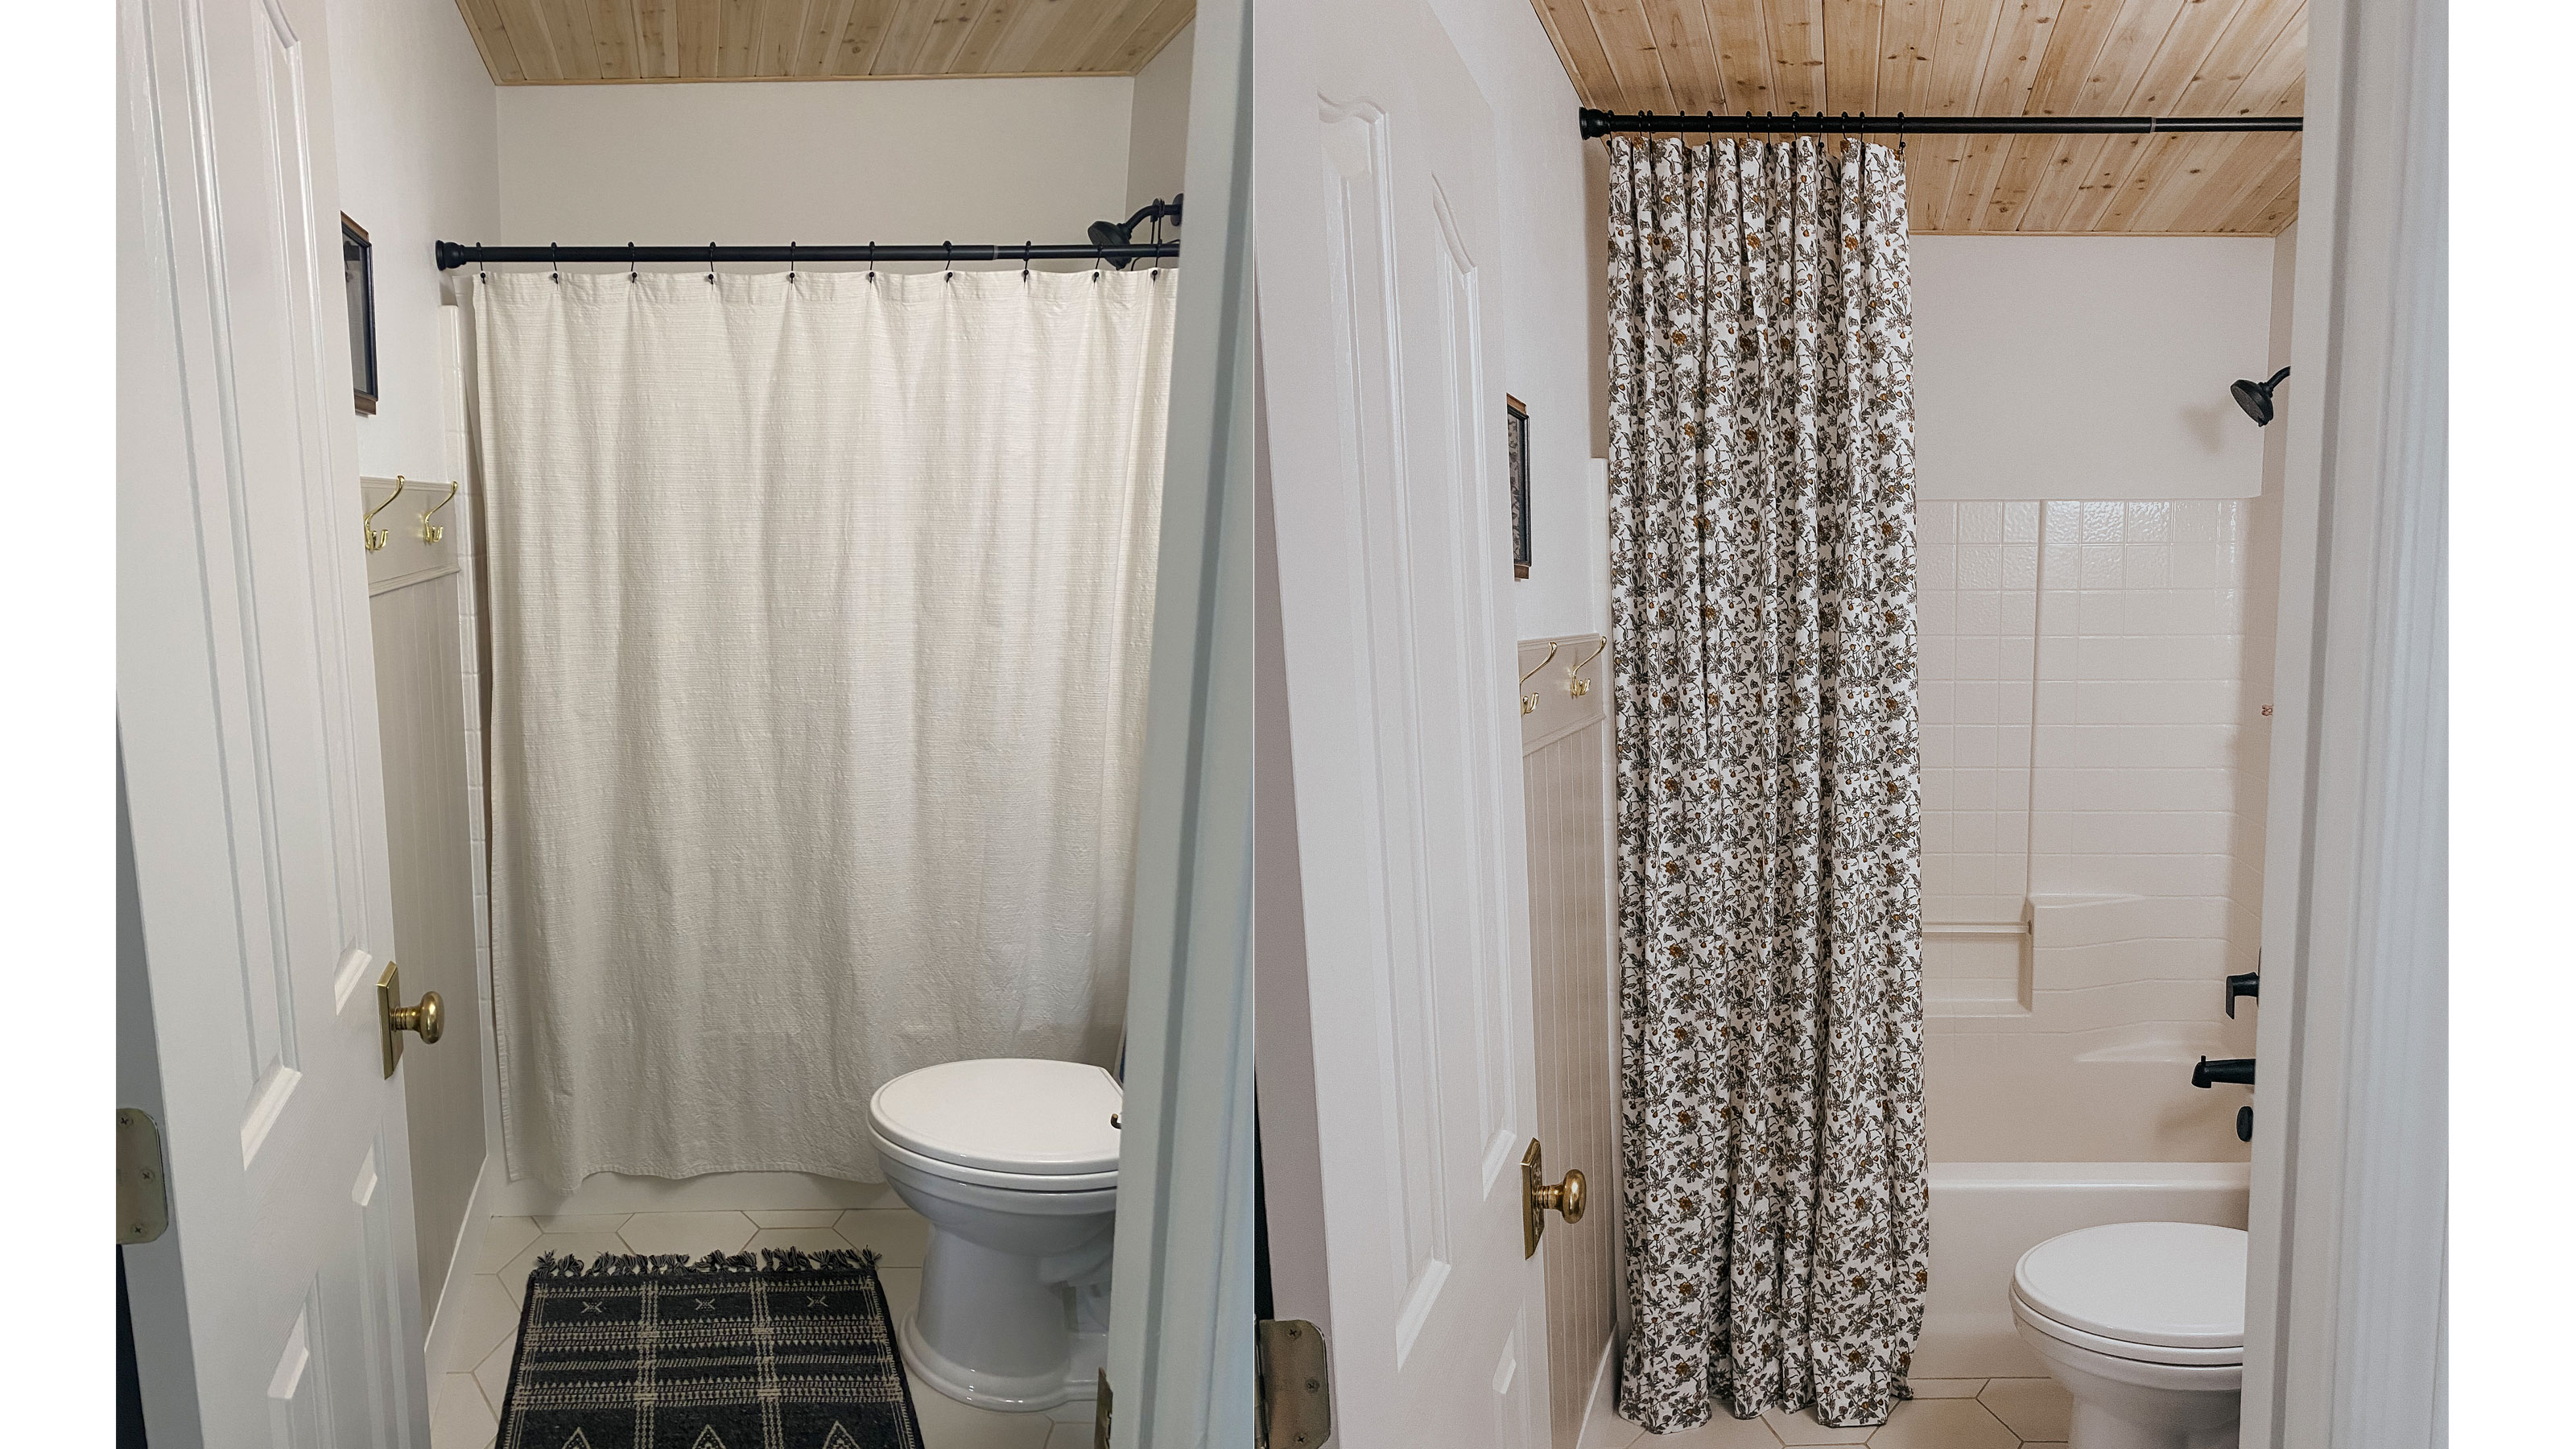

Whether you rent or own a home, bathroom upgrades are always welcome; and giving your space a mini makeover can be as simple as switching up your shower curtain. There are lots of designs to choose from out there but, it is actually very difficult to find an extra-long shower curtain in a non-neutral color.
My DIY shower curtain
I wanted this bathroom to have some personality and play off the green vanity. And I wanted it to feel dramatic with the new paneled ceiling. I came across an idea online about using a flat bed sheet for window curtains so I thought why not for a shower curtain?
- Skill Level: Beginner
- Cost: $62
Materials
1. A patterned flat sheet (mine is from Target)
2. Liners you can find on Amazon from $3.99
3. Curtain rings from Target or Amazon
4. Sewing machine
5. Thread
6. Scissors
7. Pen
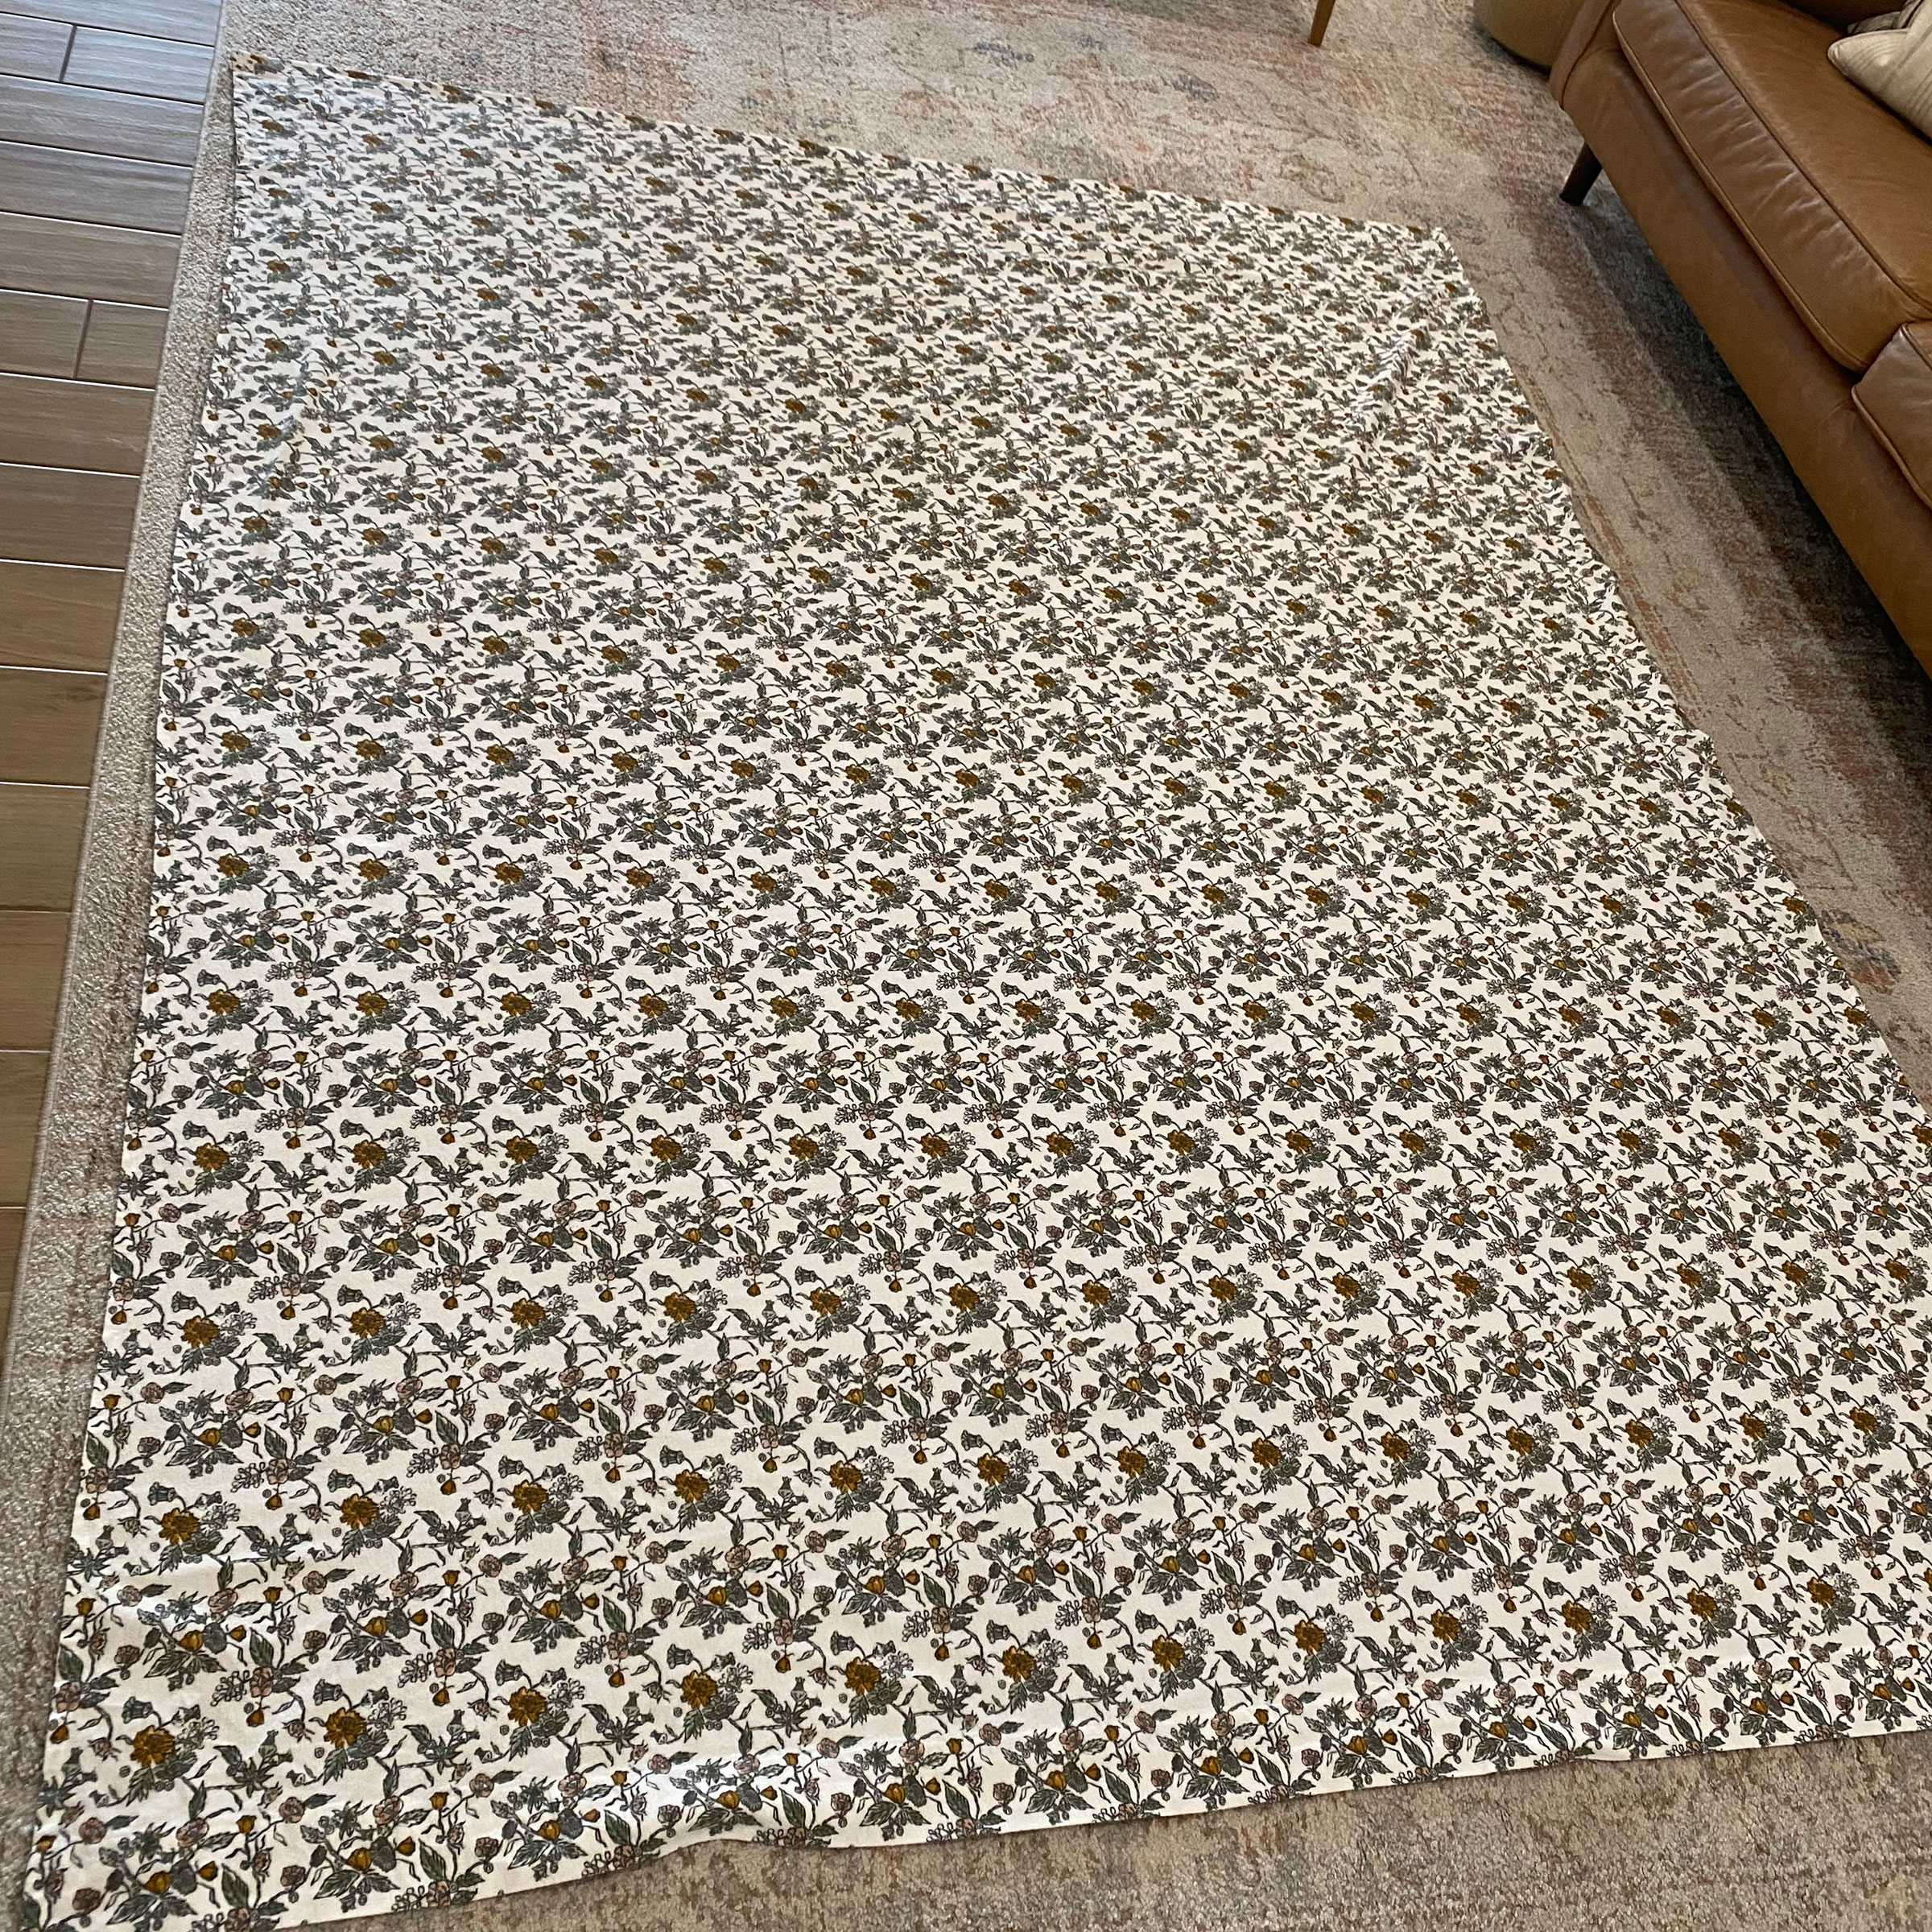
I’m using a queen flat sheet from Target for this project. The measurements of the queen sheet were the closest option of any size sheet but still needed a slight hemming.
Hand-stitching this would be super hard so try to borrow or rent a sewing machine if you don't own one.
Hemming the flat sheet
A queen flat sheet is approximately 96x102. I wanted the curtain to hang from an 8’ ceiling. In order to account for the curtain hooks, I hemmed the bottom of the sheet to 94” and the sides to 72” which is the traditional width of a shower curtain.
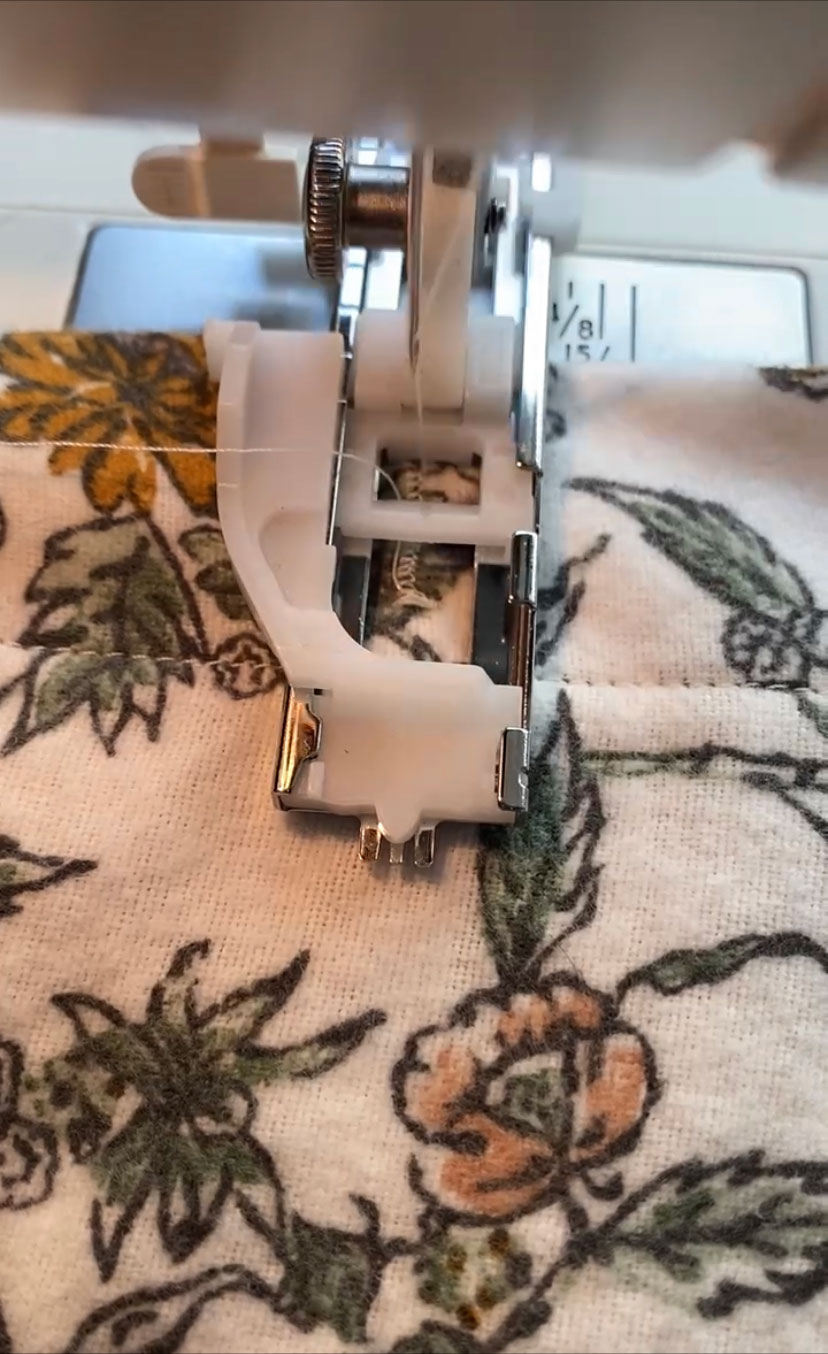
I allowed for an extra inch onto both side and bottom and hemmed a 1” seam by folding ½” and ironing and then folding another ½” and sewing flat. I left the top of the sheet alone, using the hem that was already there.
Matching up the curtain and liner
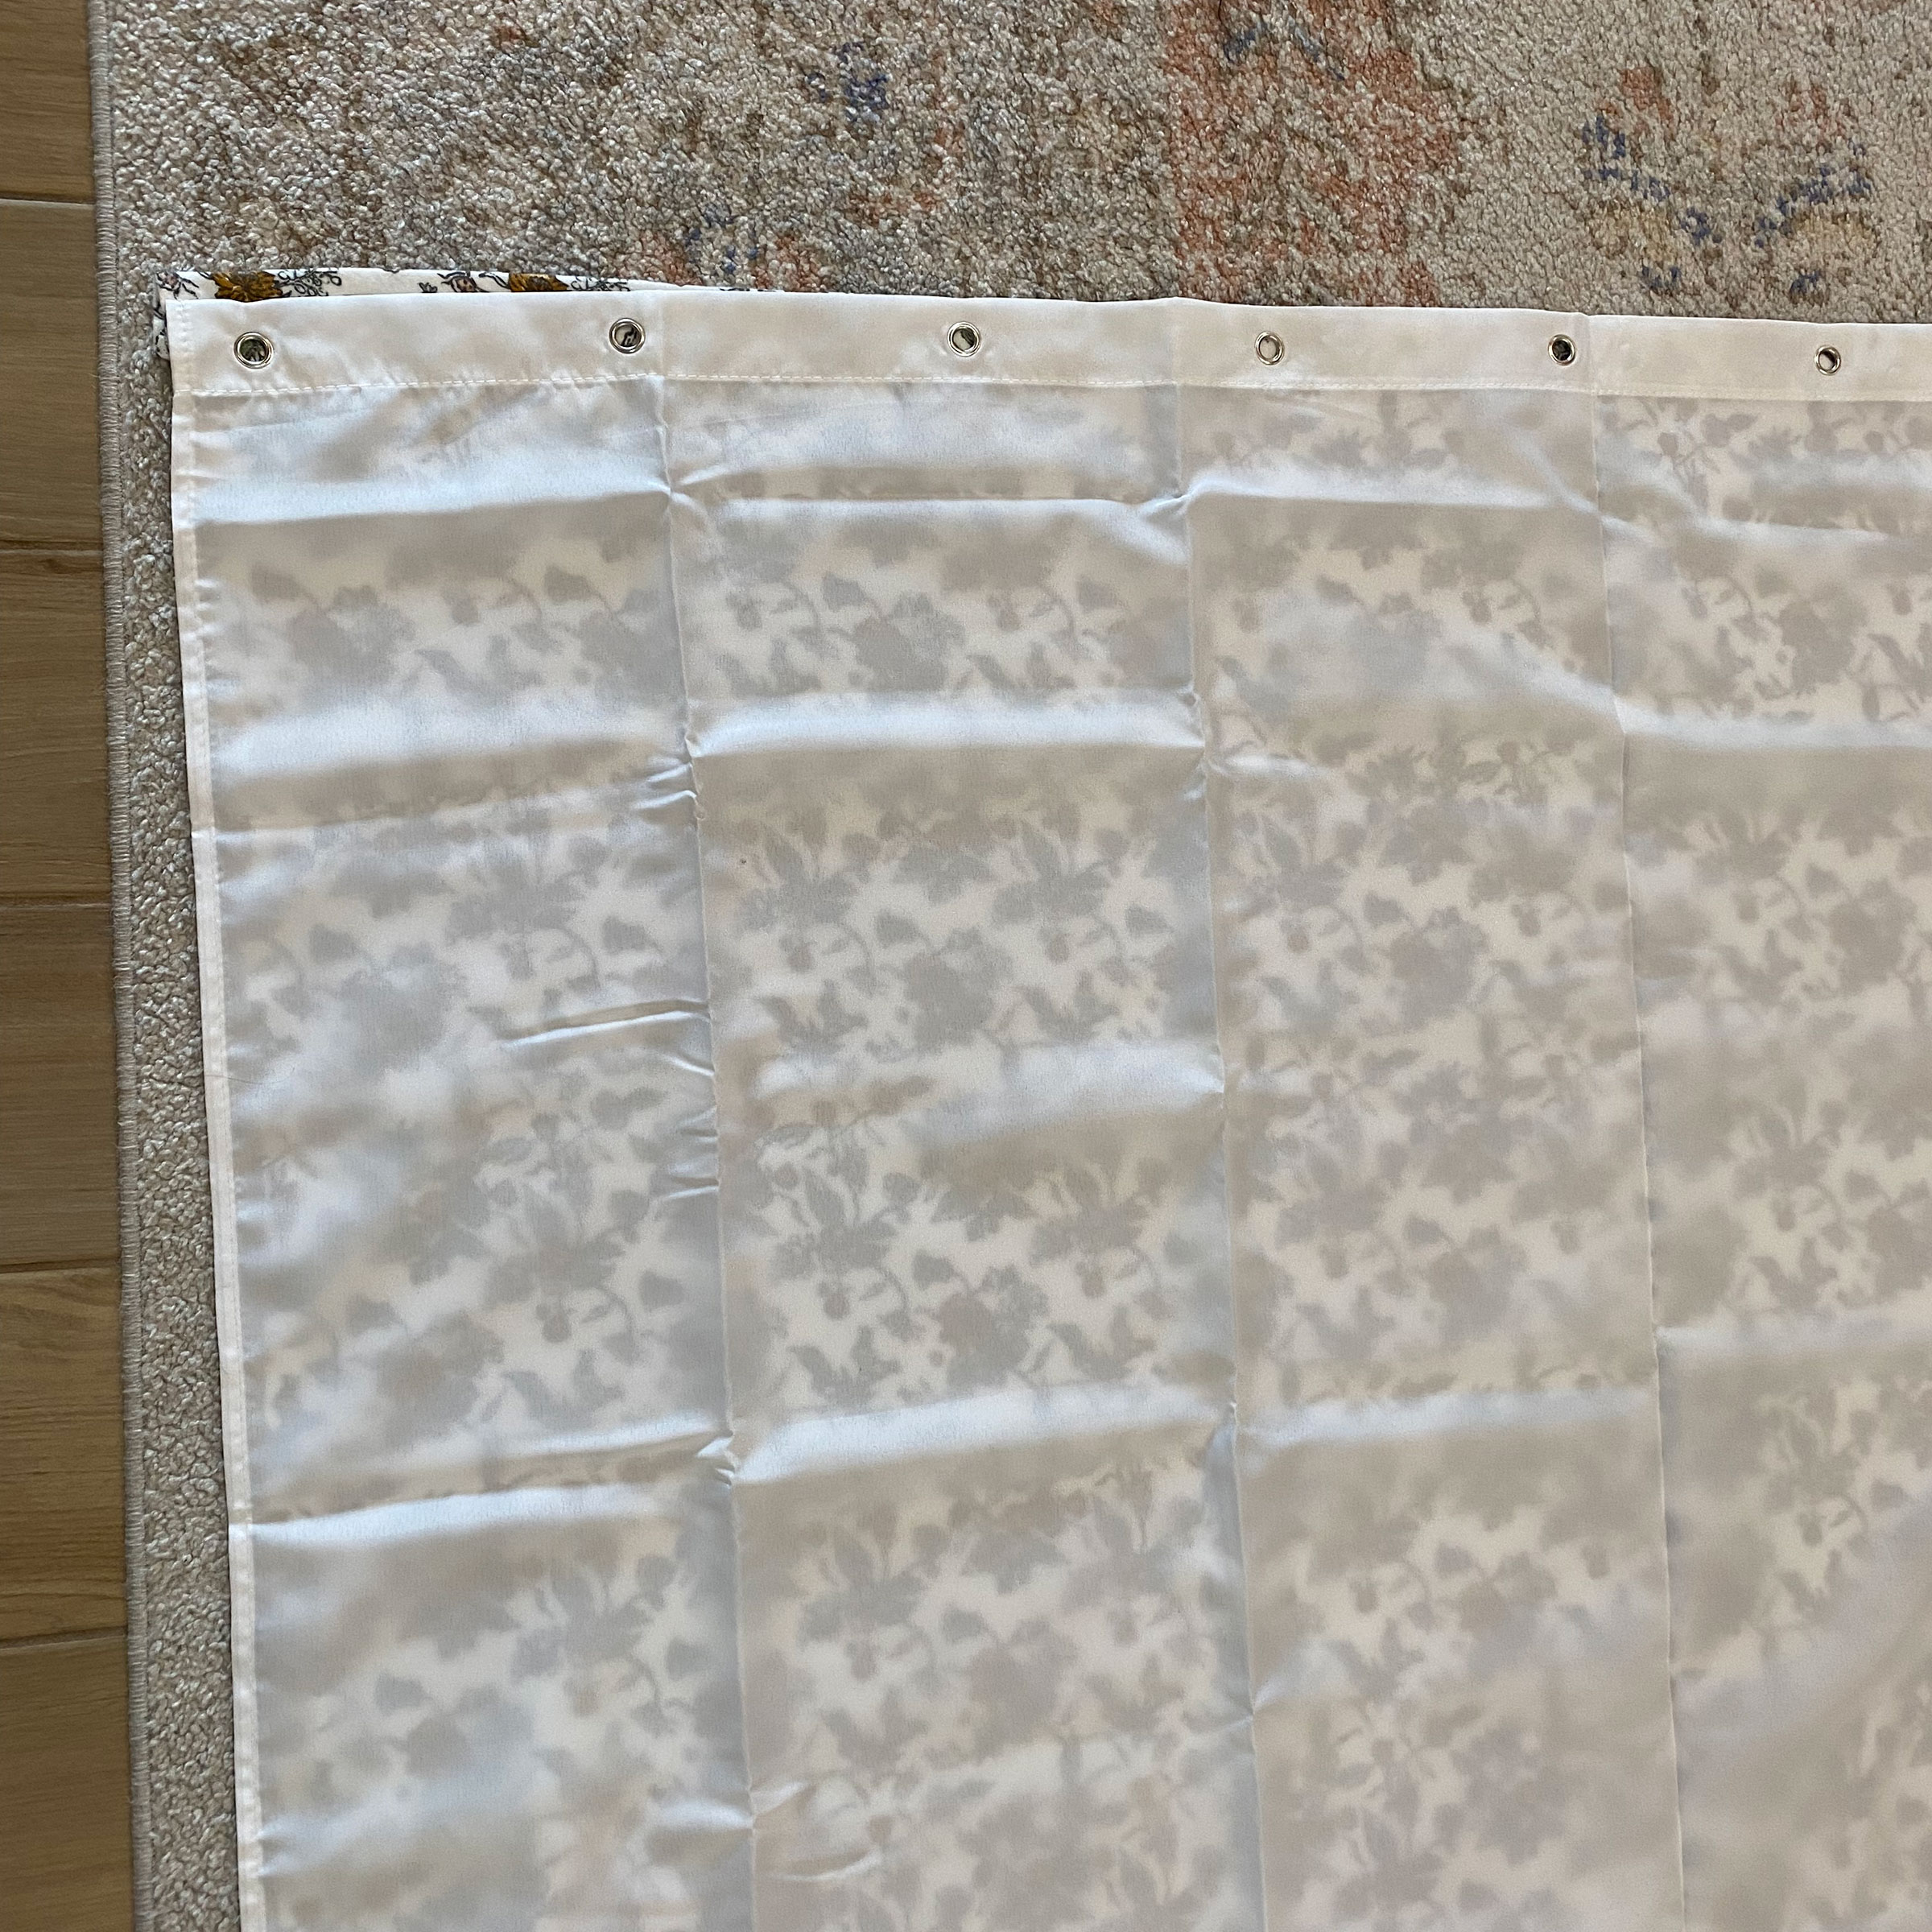
Once I had the sides and bottom hemmed, I laid the curtain out on a flat surface and lined it up with the shower liner underneath in order to mark where the holes for the curtain rings would go. I am using an extra long shower curtain. I was actually amazed that this particular curtain comes in so many sizes!
Creating the button holes
Using a pen, I marked where the holes would line up with the liner in the sheet. I decided to use a buttonhole stitch to create the holes. This is a very reinforced stitch and will be able to hold the weight of the sheet without ripping the fabric.
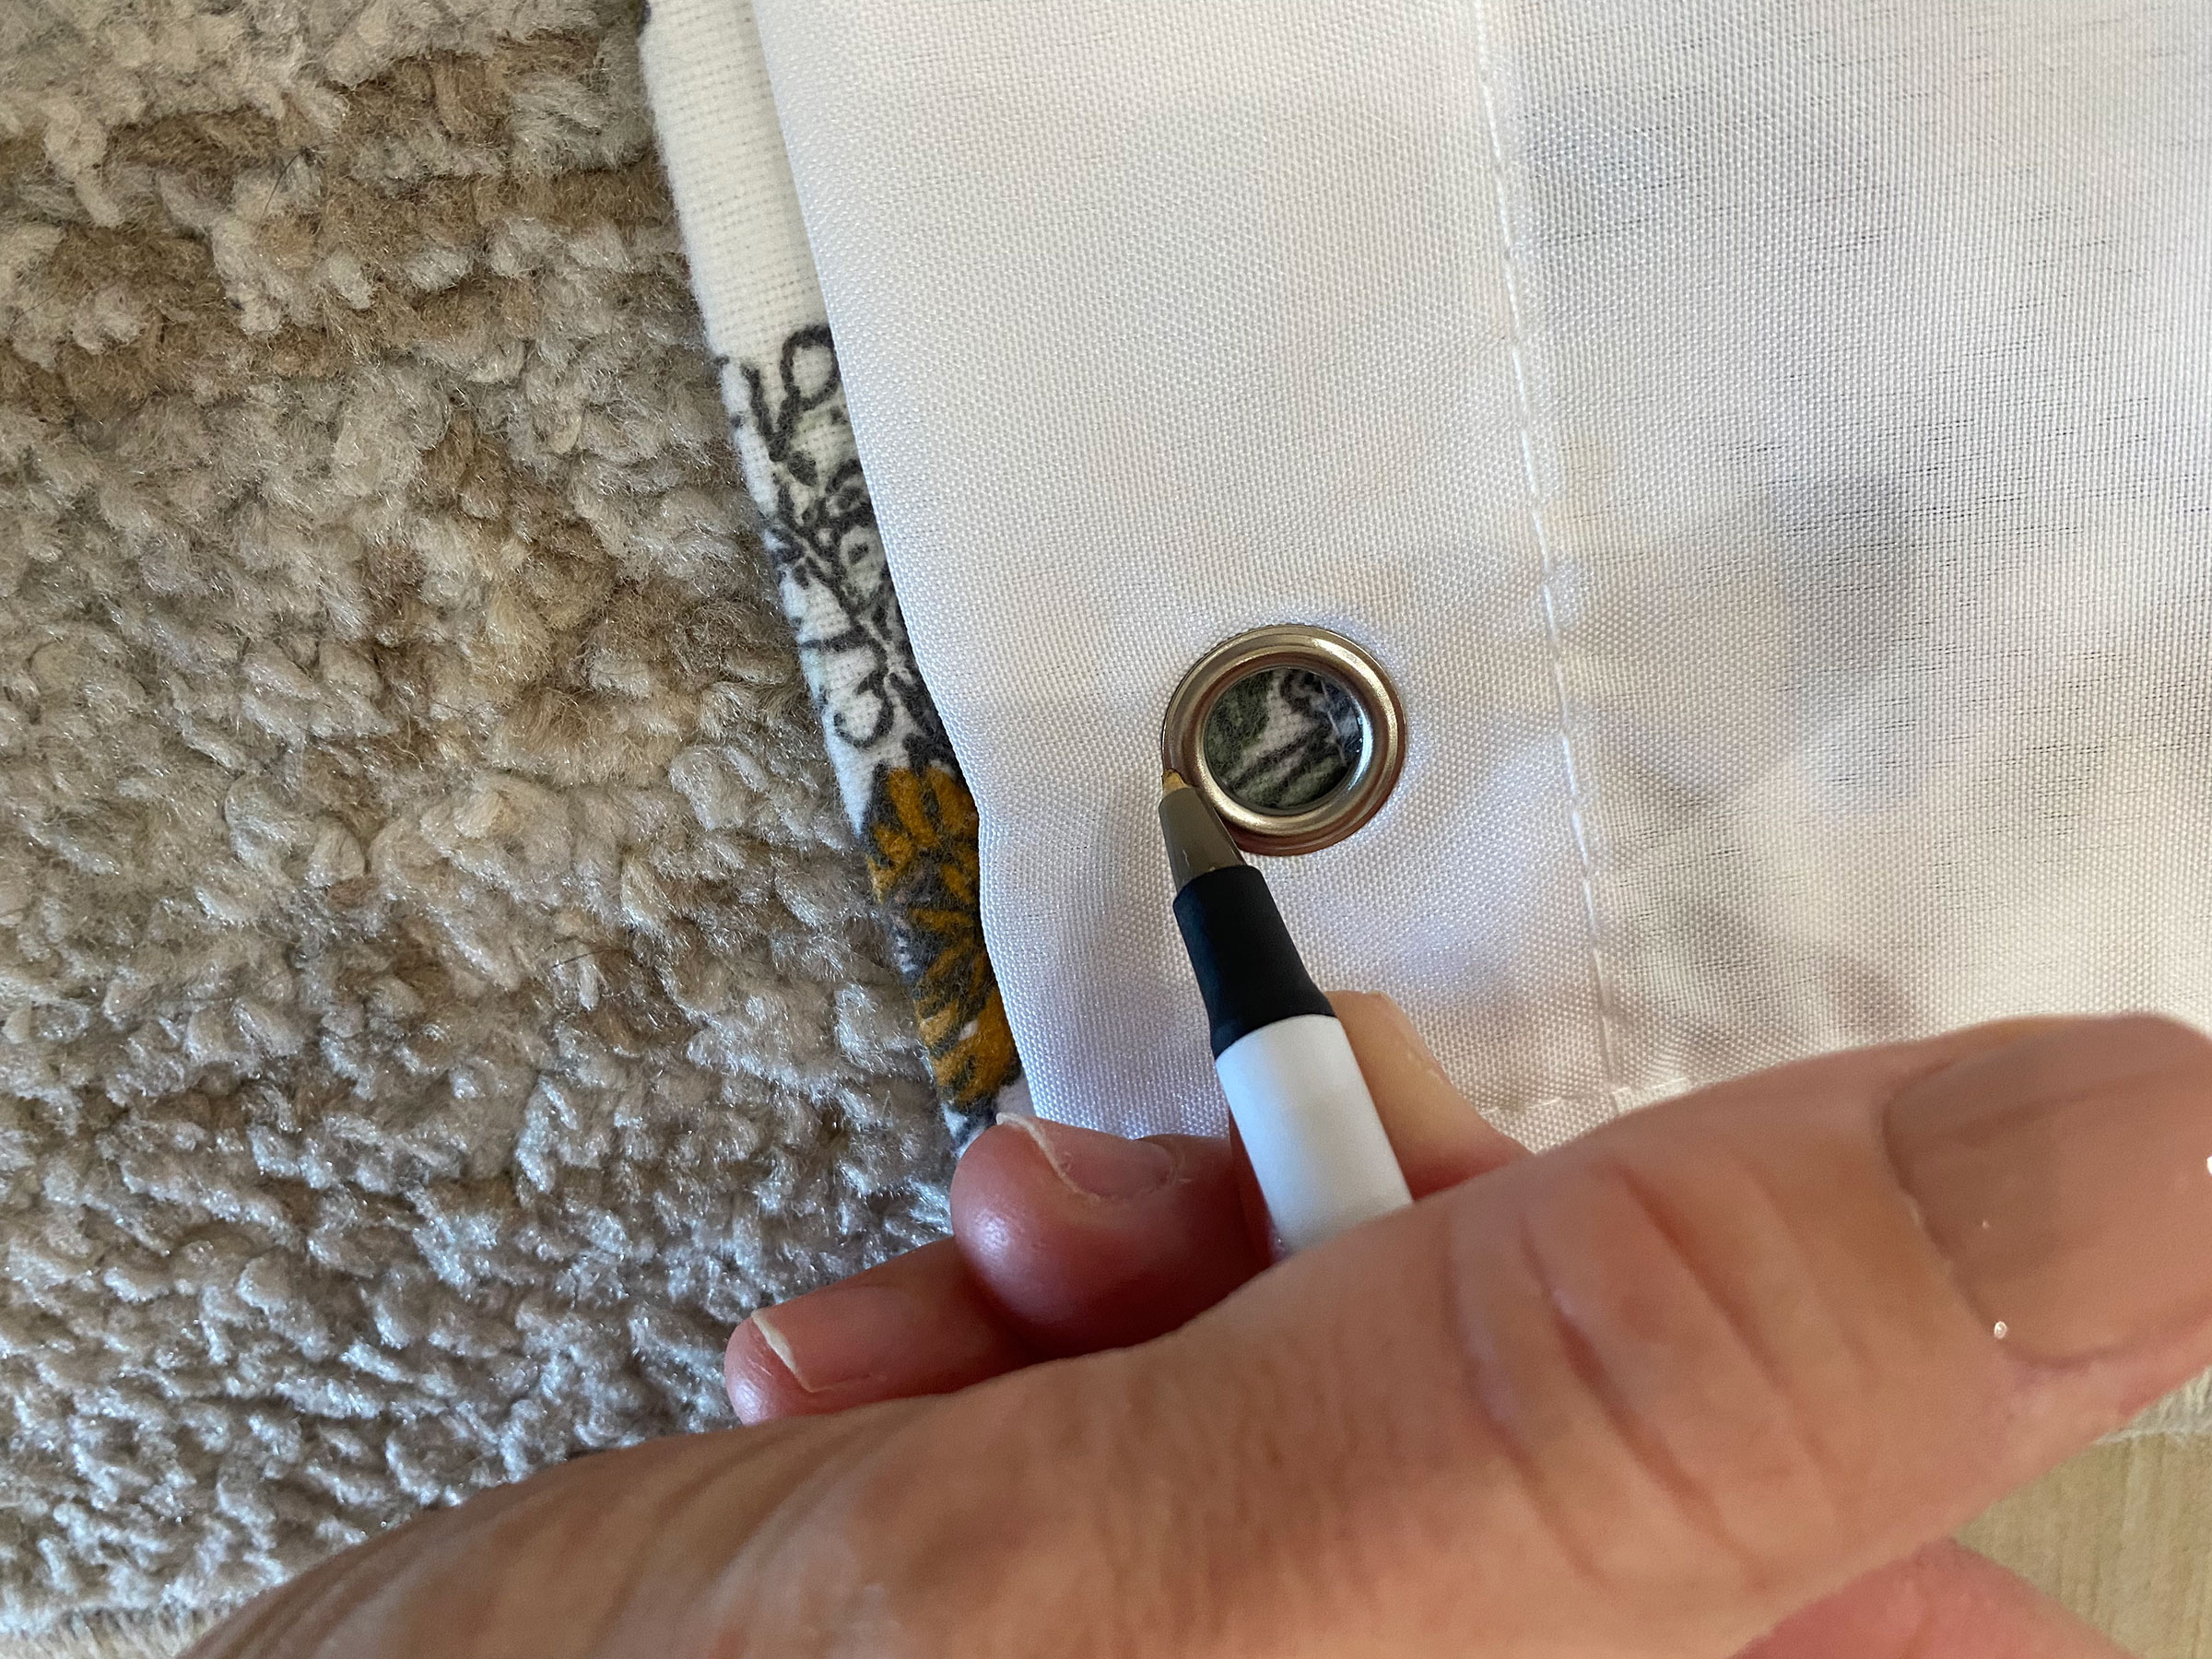
Once the button holes were stitched I used my scissors to cut a small hole inside the button stitch, just large enough for the curtain rings to fit through.
Re-hanging the shower curtain rod
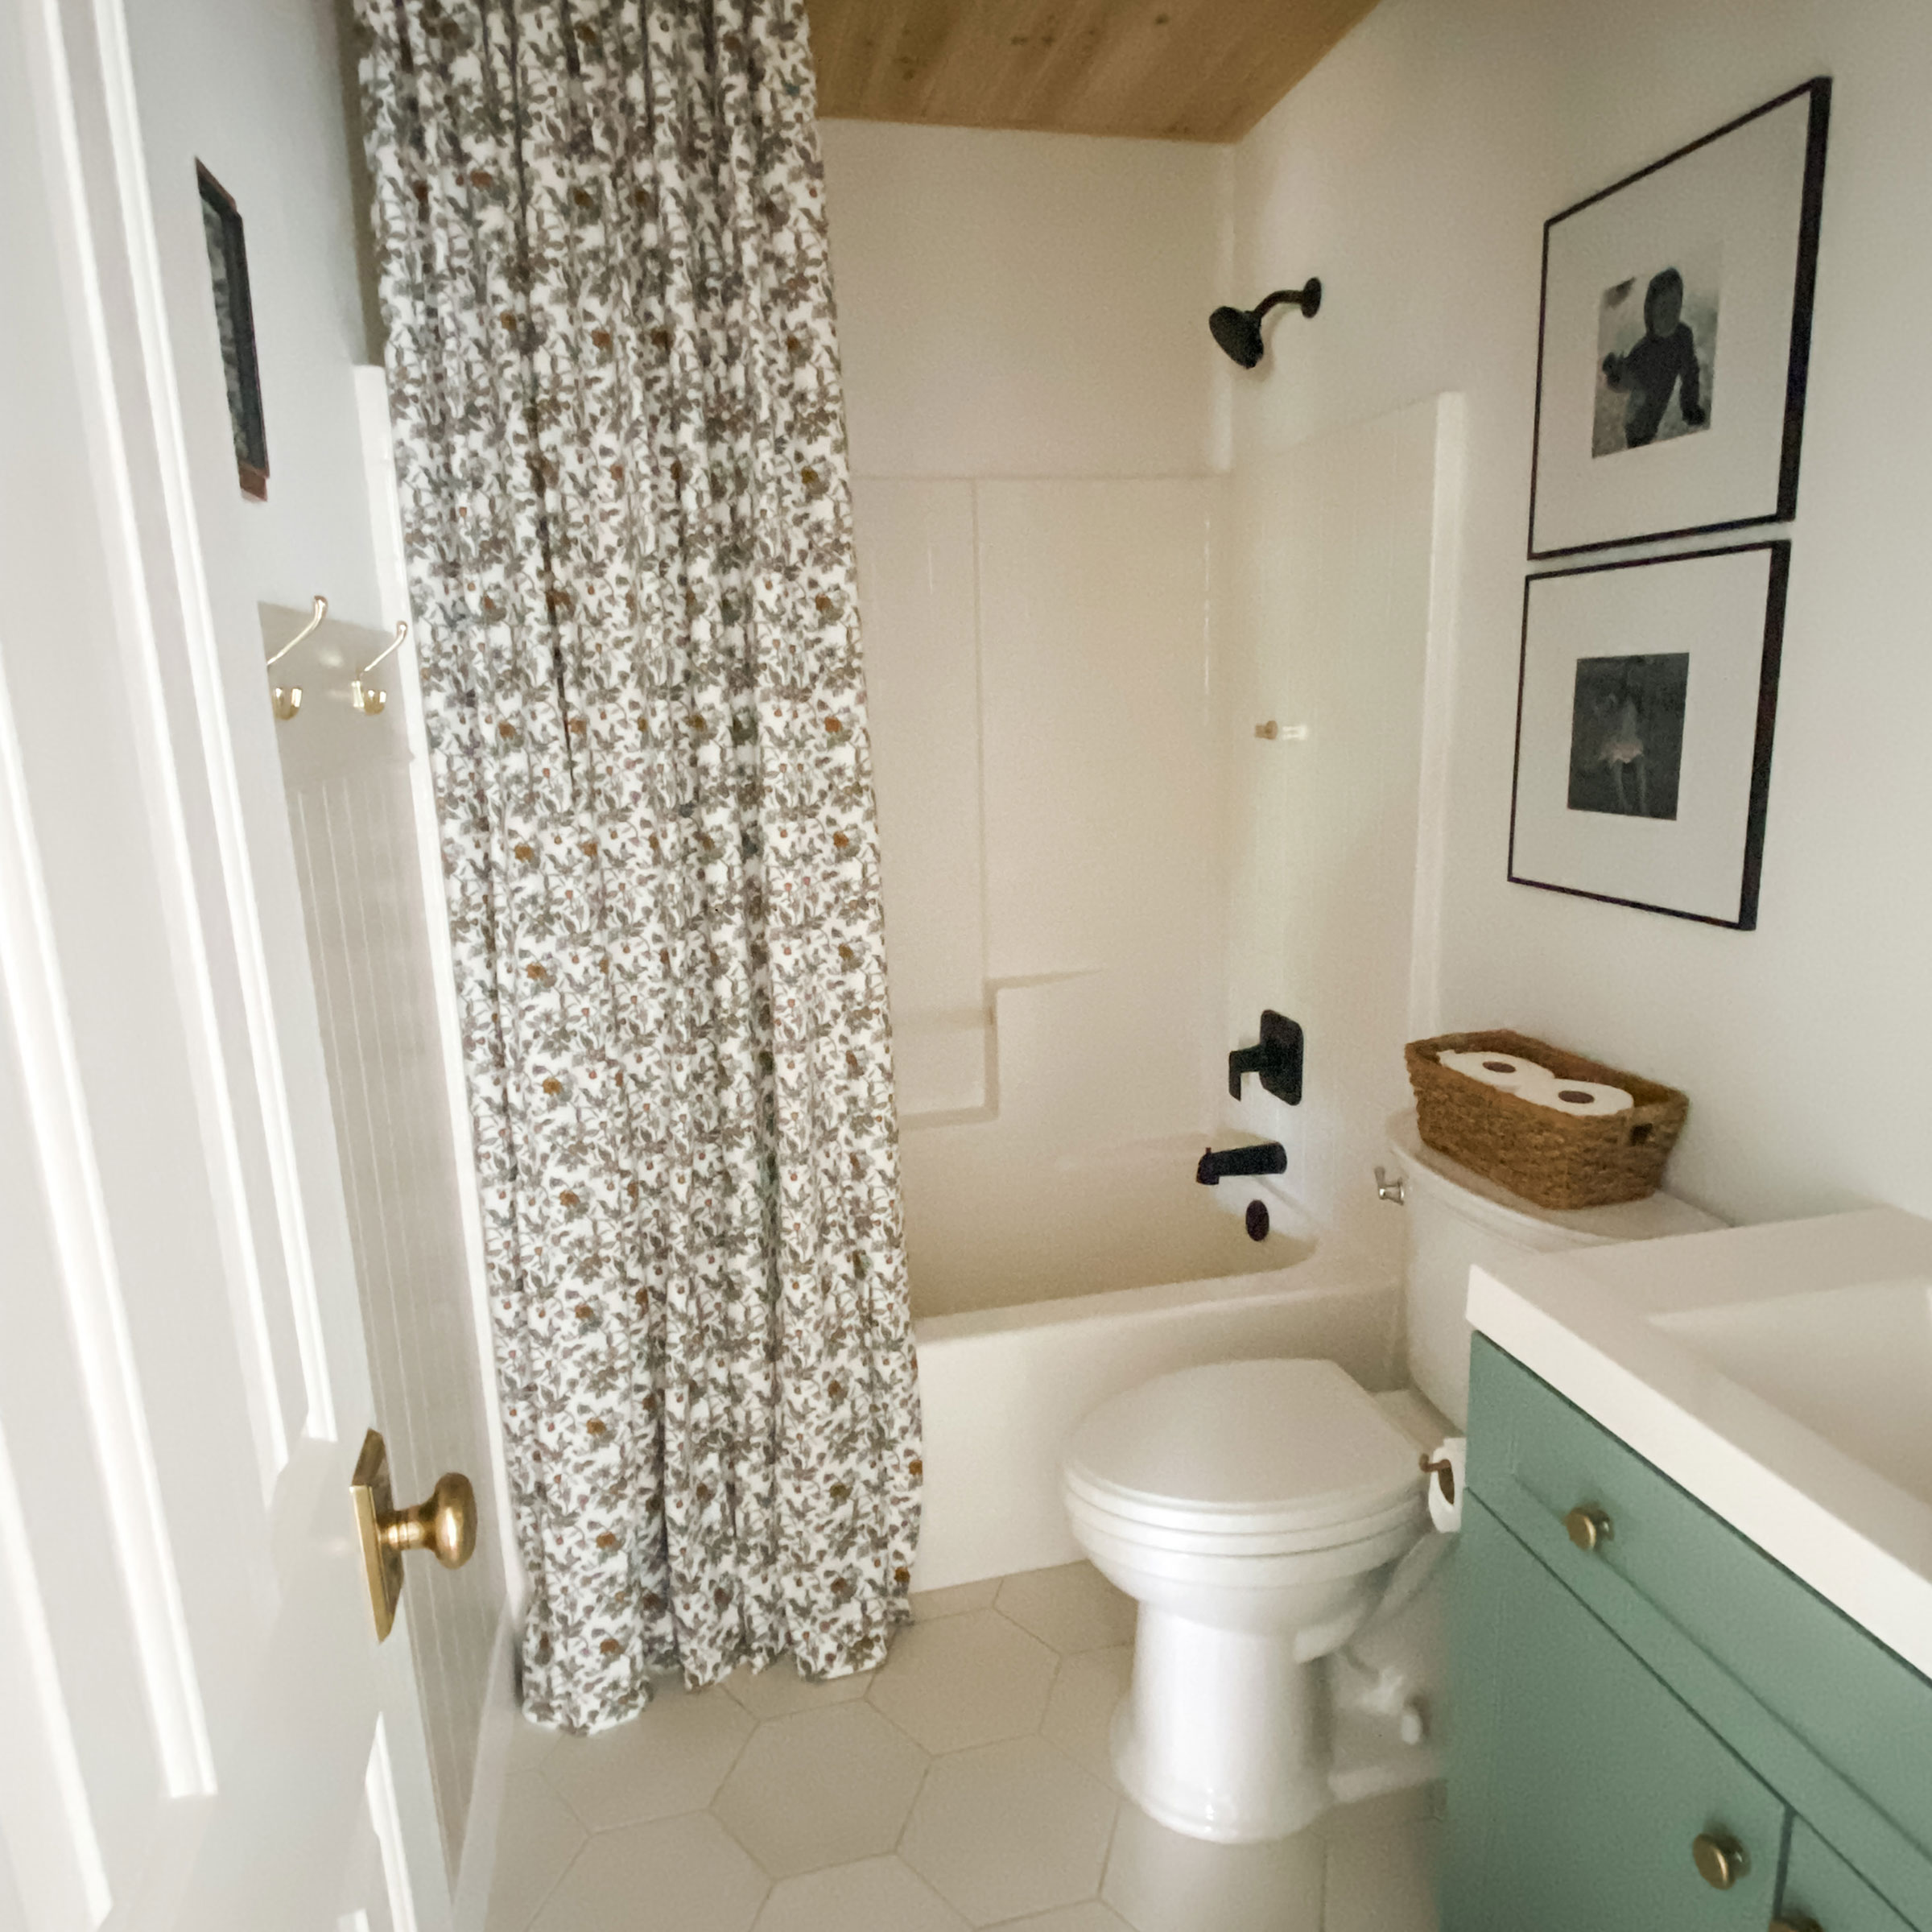
I re-hung the curtain rod as close to the ceiling as I could and hung using standard curtain rings.
The finish
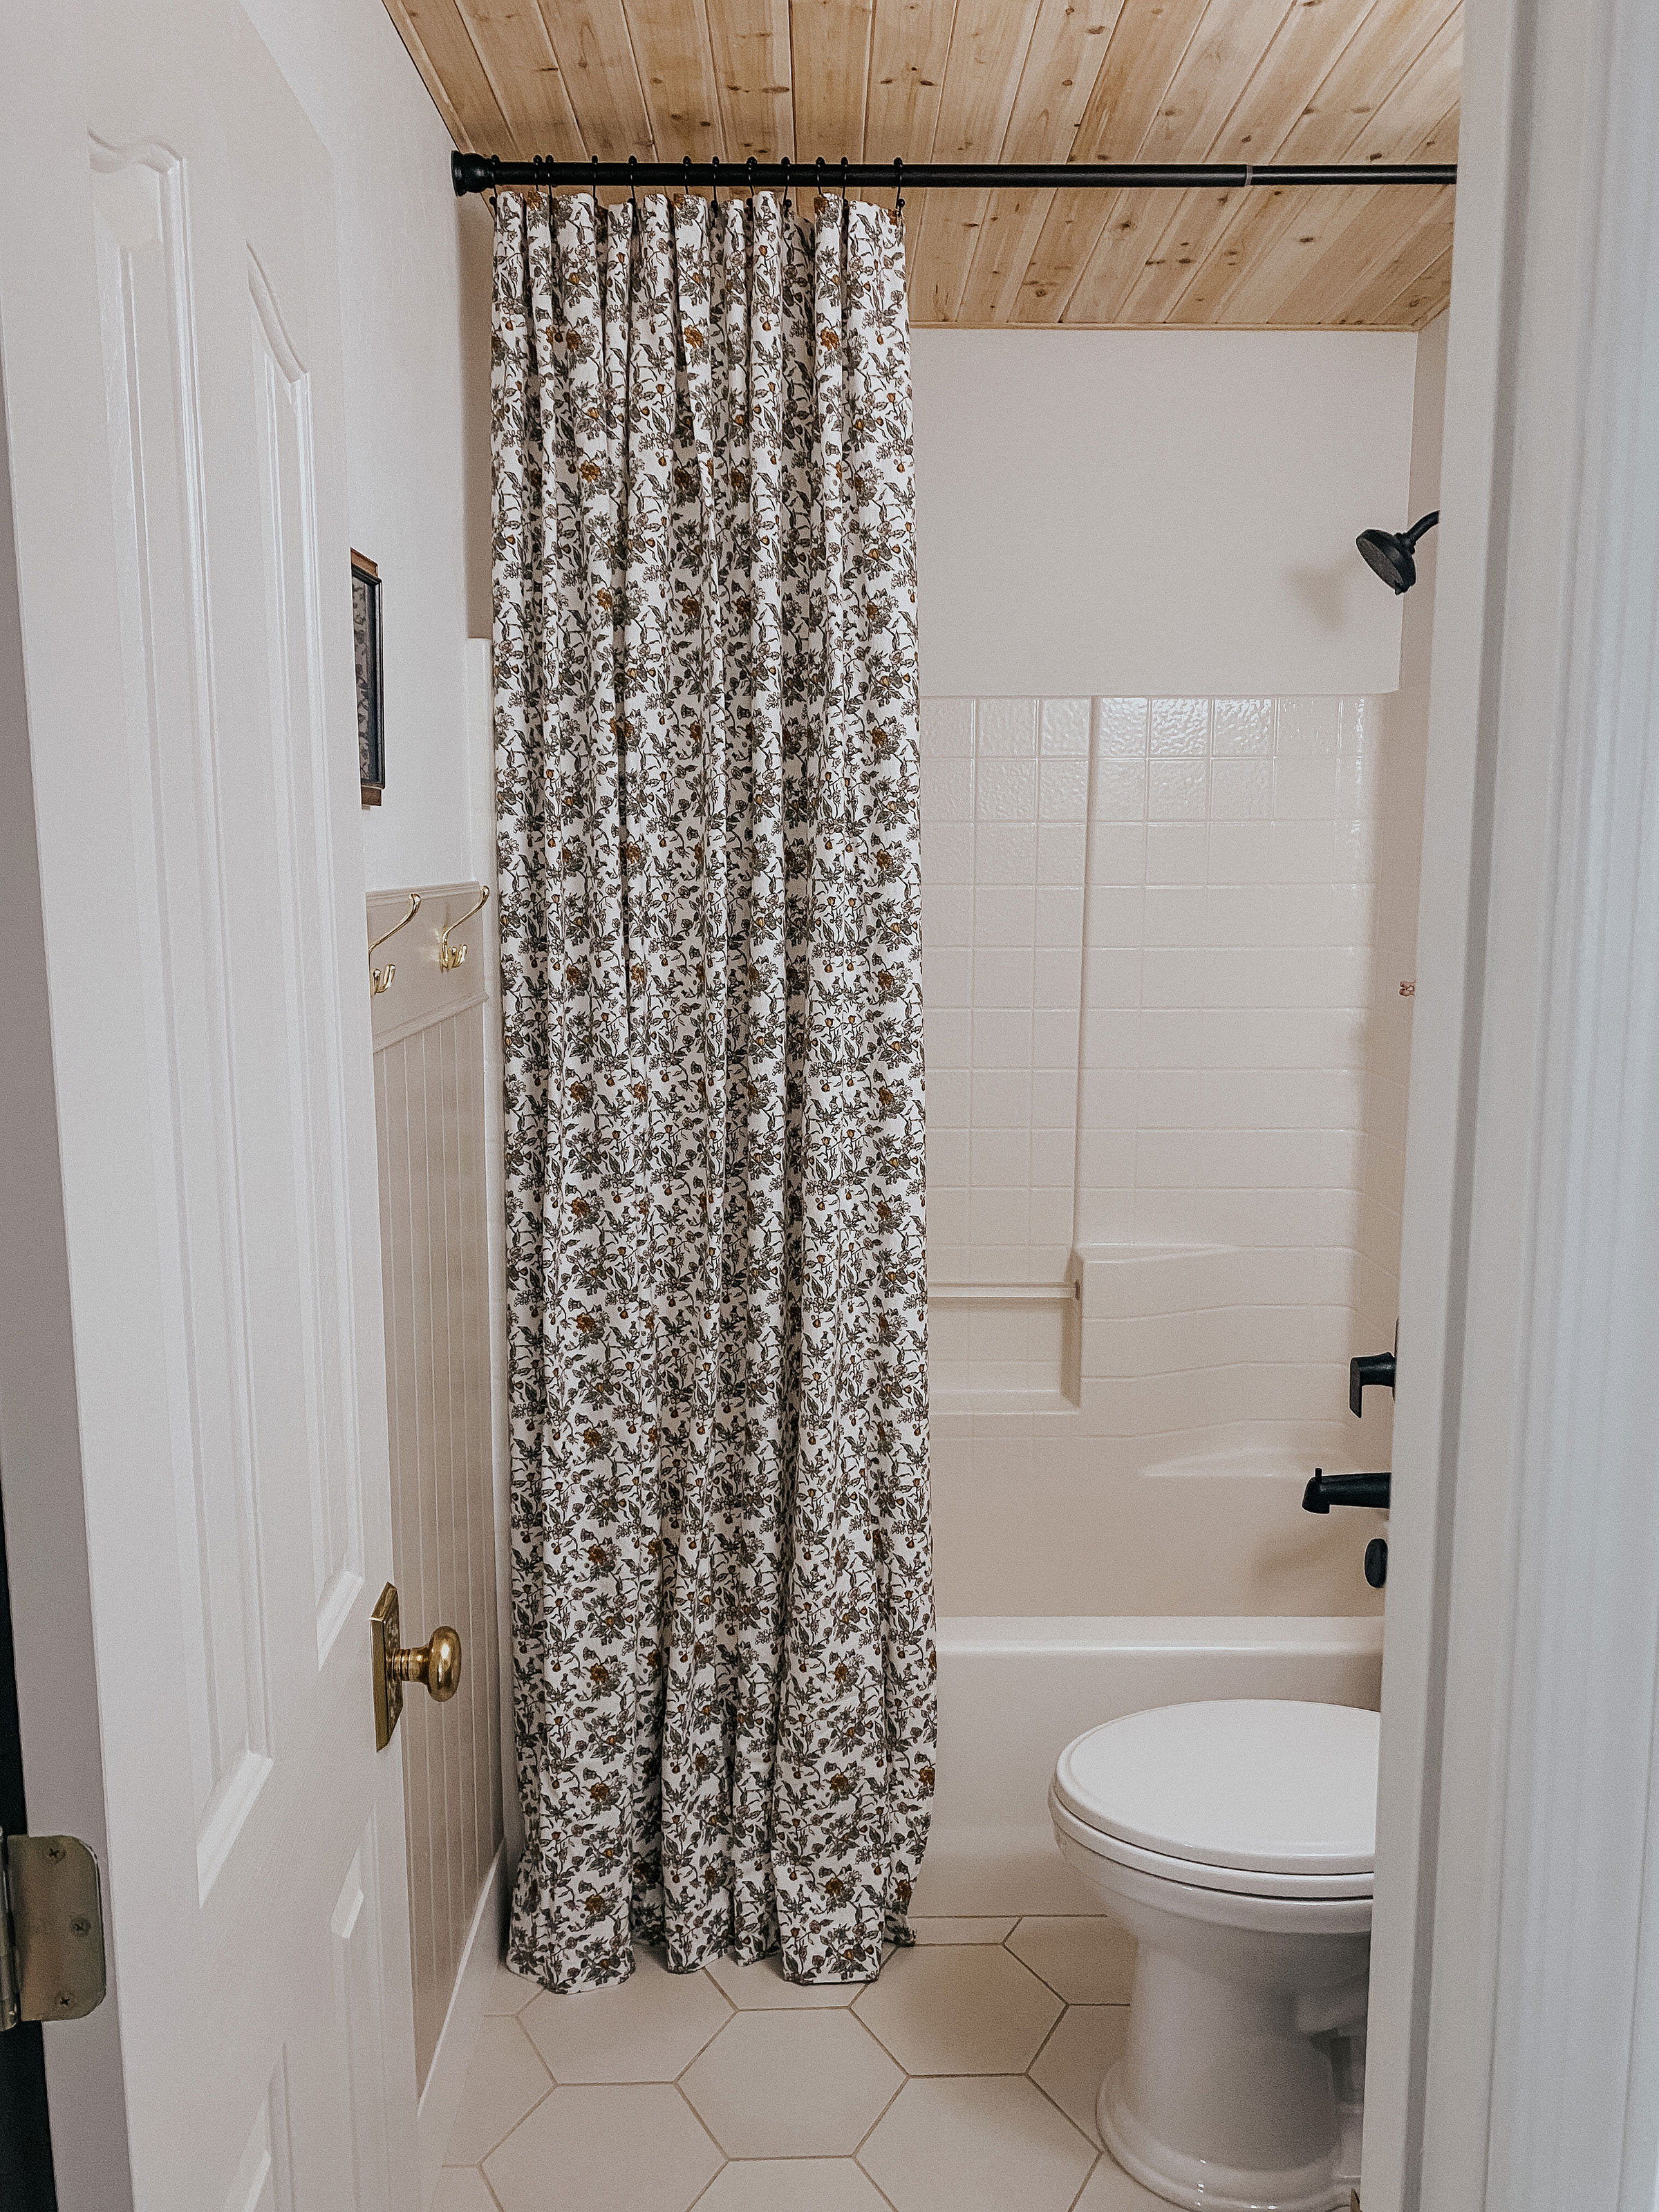
I love that this curtain now extends to the ceiling! It is a more dramatic statement and I am so into how the fun pattern complements the simplicity of the room.
Honestly, this DIY shower curtain would work with brighter colored sheets too if you have a more maximalist bathroom. For just a few hours of crafting and less than 100 bucks, it's a pretty neat home upgrade.
Cost breakdown:
- Flat queen sheet $35
- Shower curtain liner $17
- Curtain rings $10
- Total: $62
Join our newsletter
Get small space home decor ideas, celeb inspiration, DIY tips and more, straight to your inbox!
I'm a mom of three with a passion for interior design and DIY! I am currently renovating a farmhouse along with my husband and running an Airbnb in our hometown. I would define my style as loving clean lines with a good mixture of old and new. I love a modern cottage look and have been very interested in vintage pieces as of late. When I’m not spending time with my family or dreaming up another home project, I love to read, eat good food, and binge-watch crime shows on Netflix!
-
 DIYer upcycles old kitchen table into marble-top bathroom vanity, on a budget
This gorgeously upcycled bathroom vanity would have cost $1,000s to buy
By Camille Dubuis-Welch Last updated
-
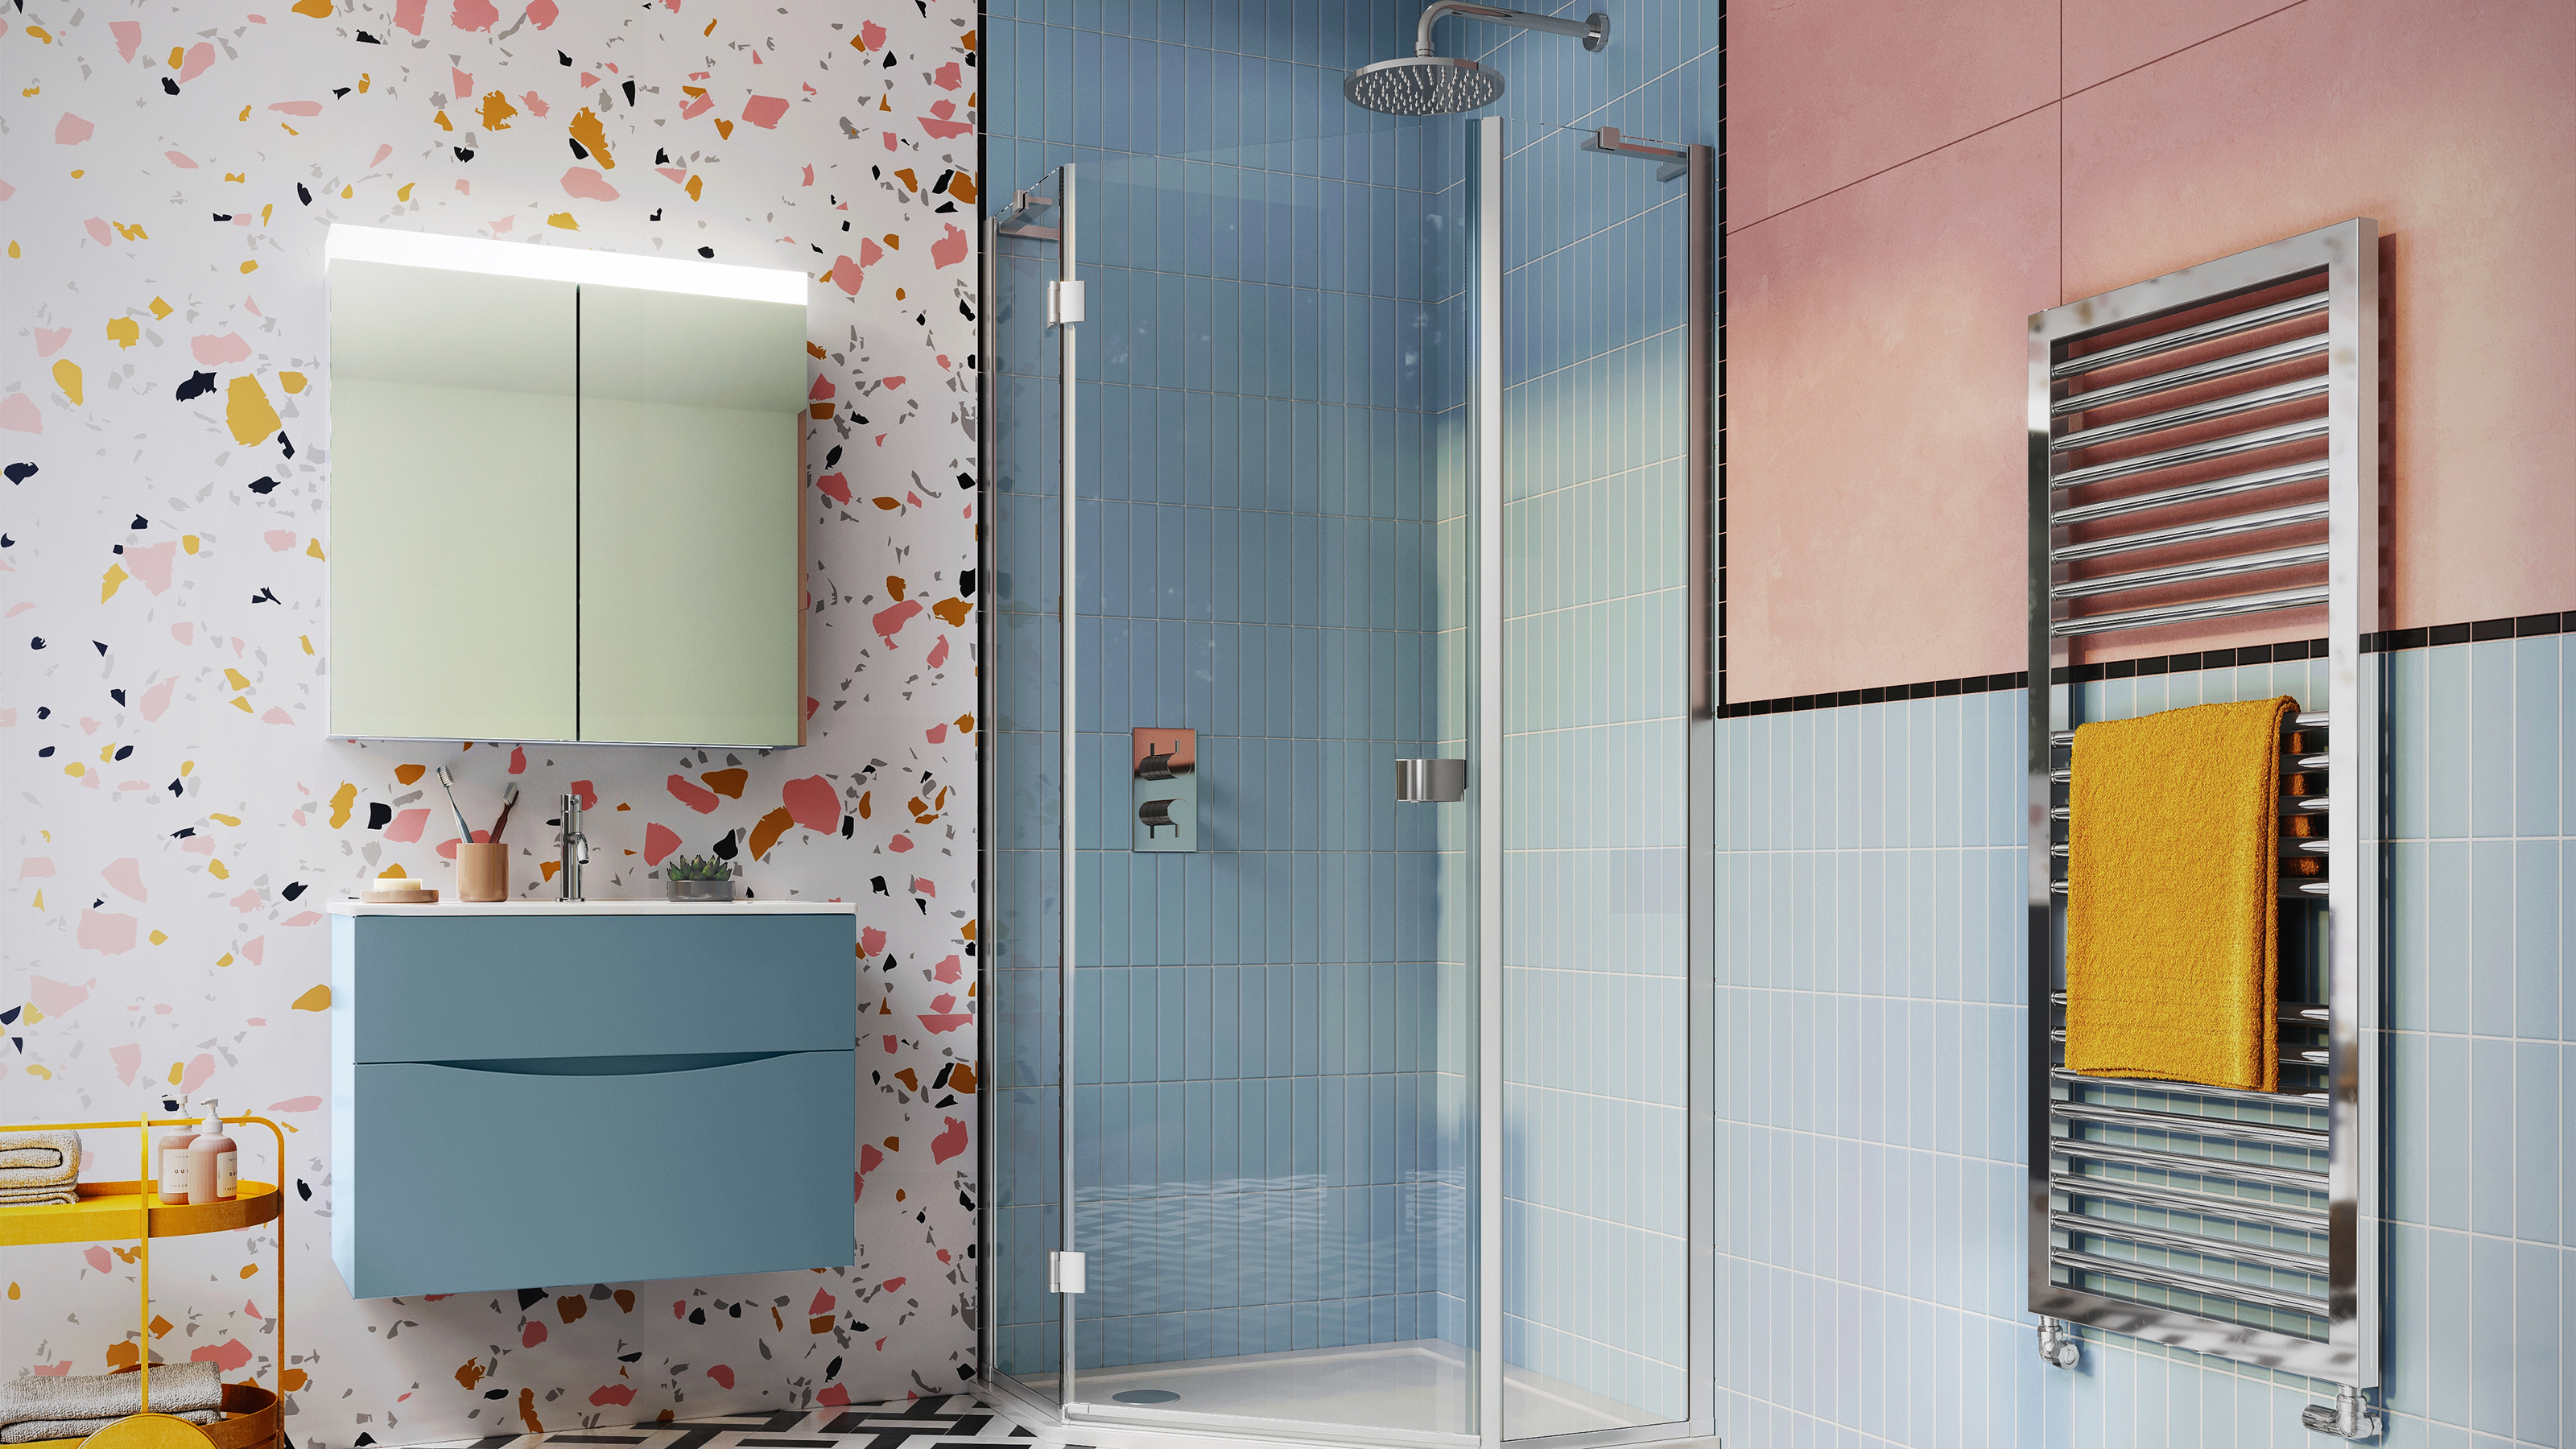 Installing a shower tray: how to fit a height-adjustable or low profile base
Wash away those bathroom DIY woes with this guide on installing a shower tray, whether its raised or low level
By Christina Chrysostomou Published
-
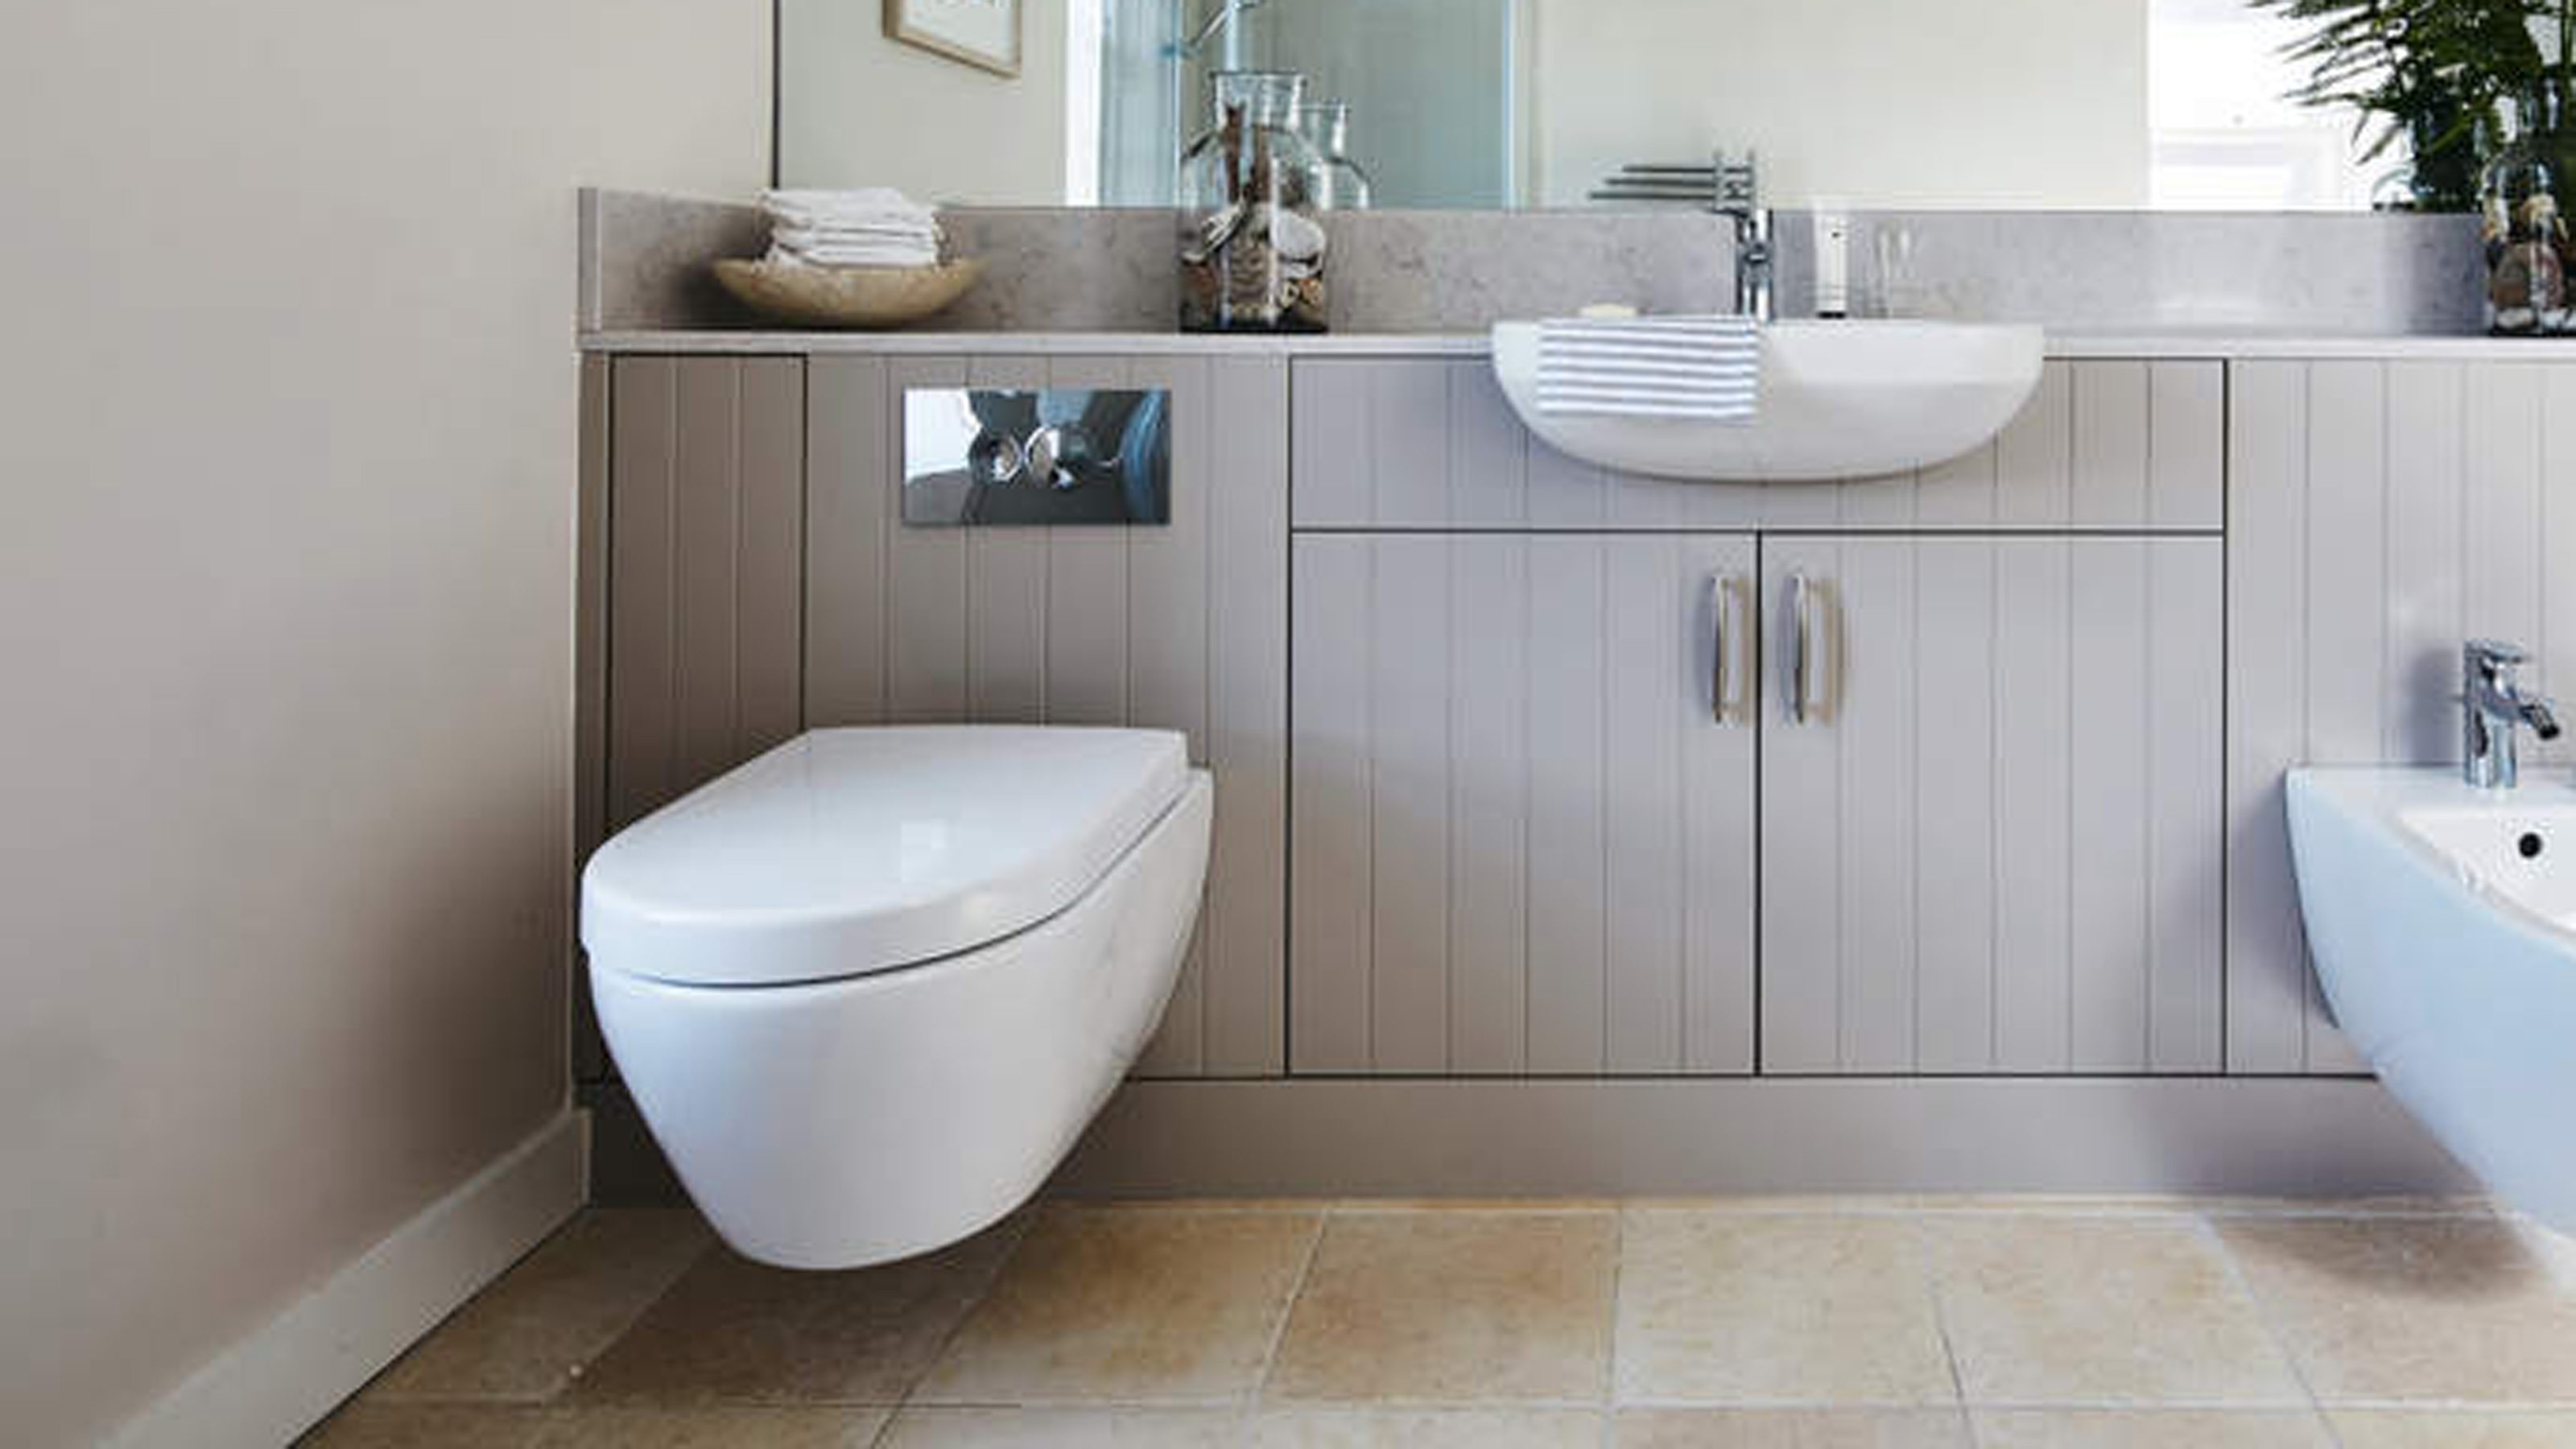 How to fix a toilet that won't flush – ASAP and without making more mess
Learn how to fix a toilet that won't flush, without calling the plumber
By Anna Cottrell Published
-
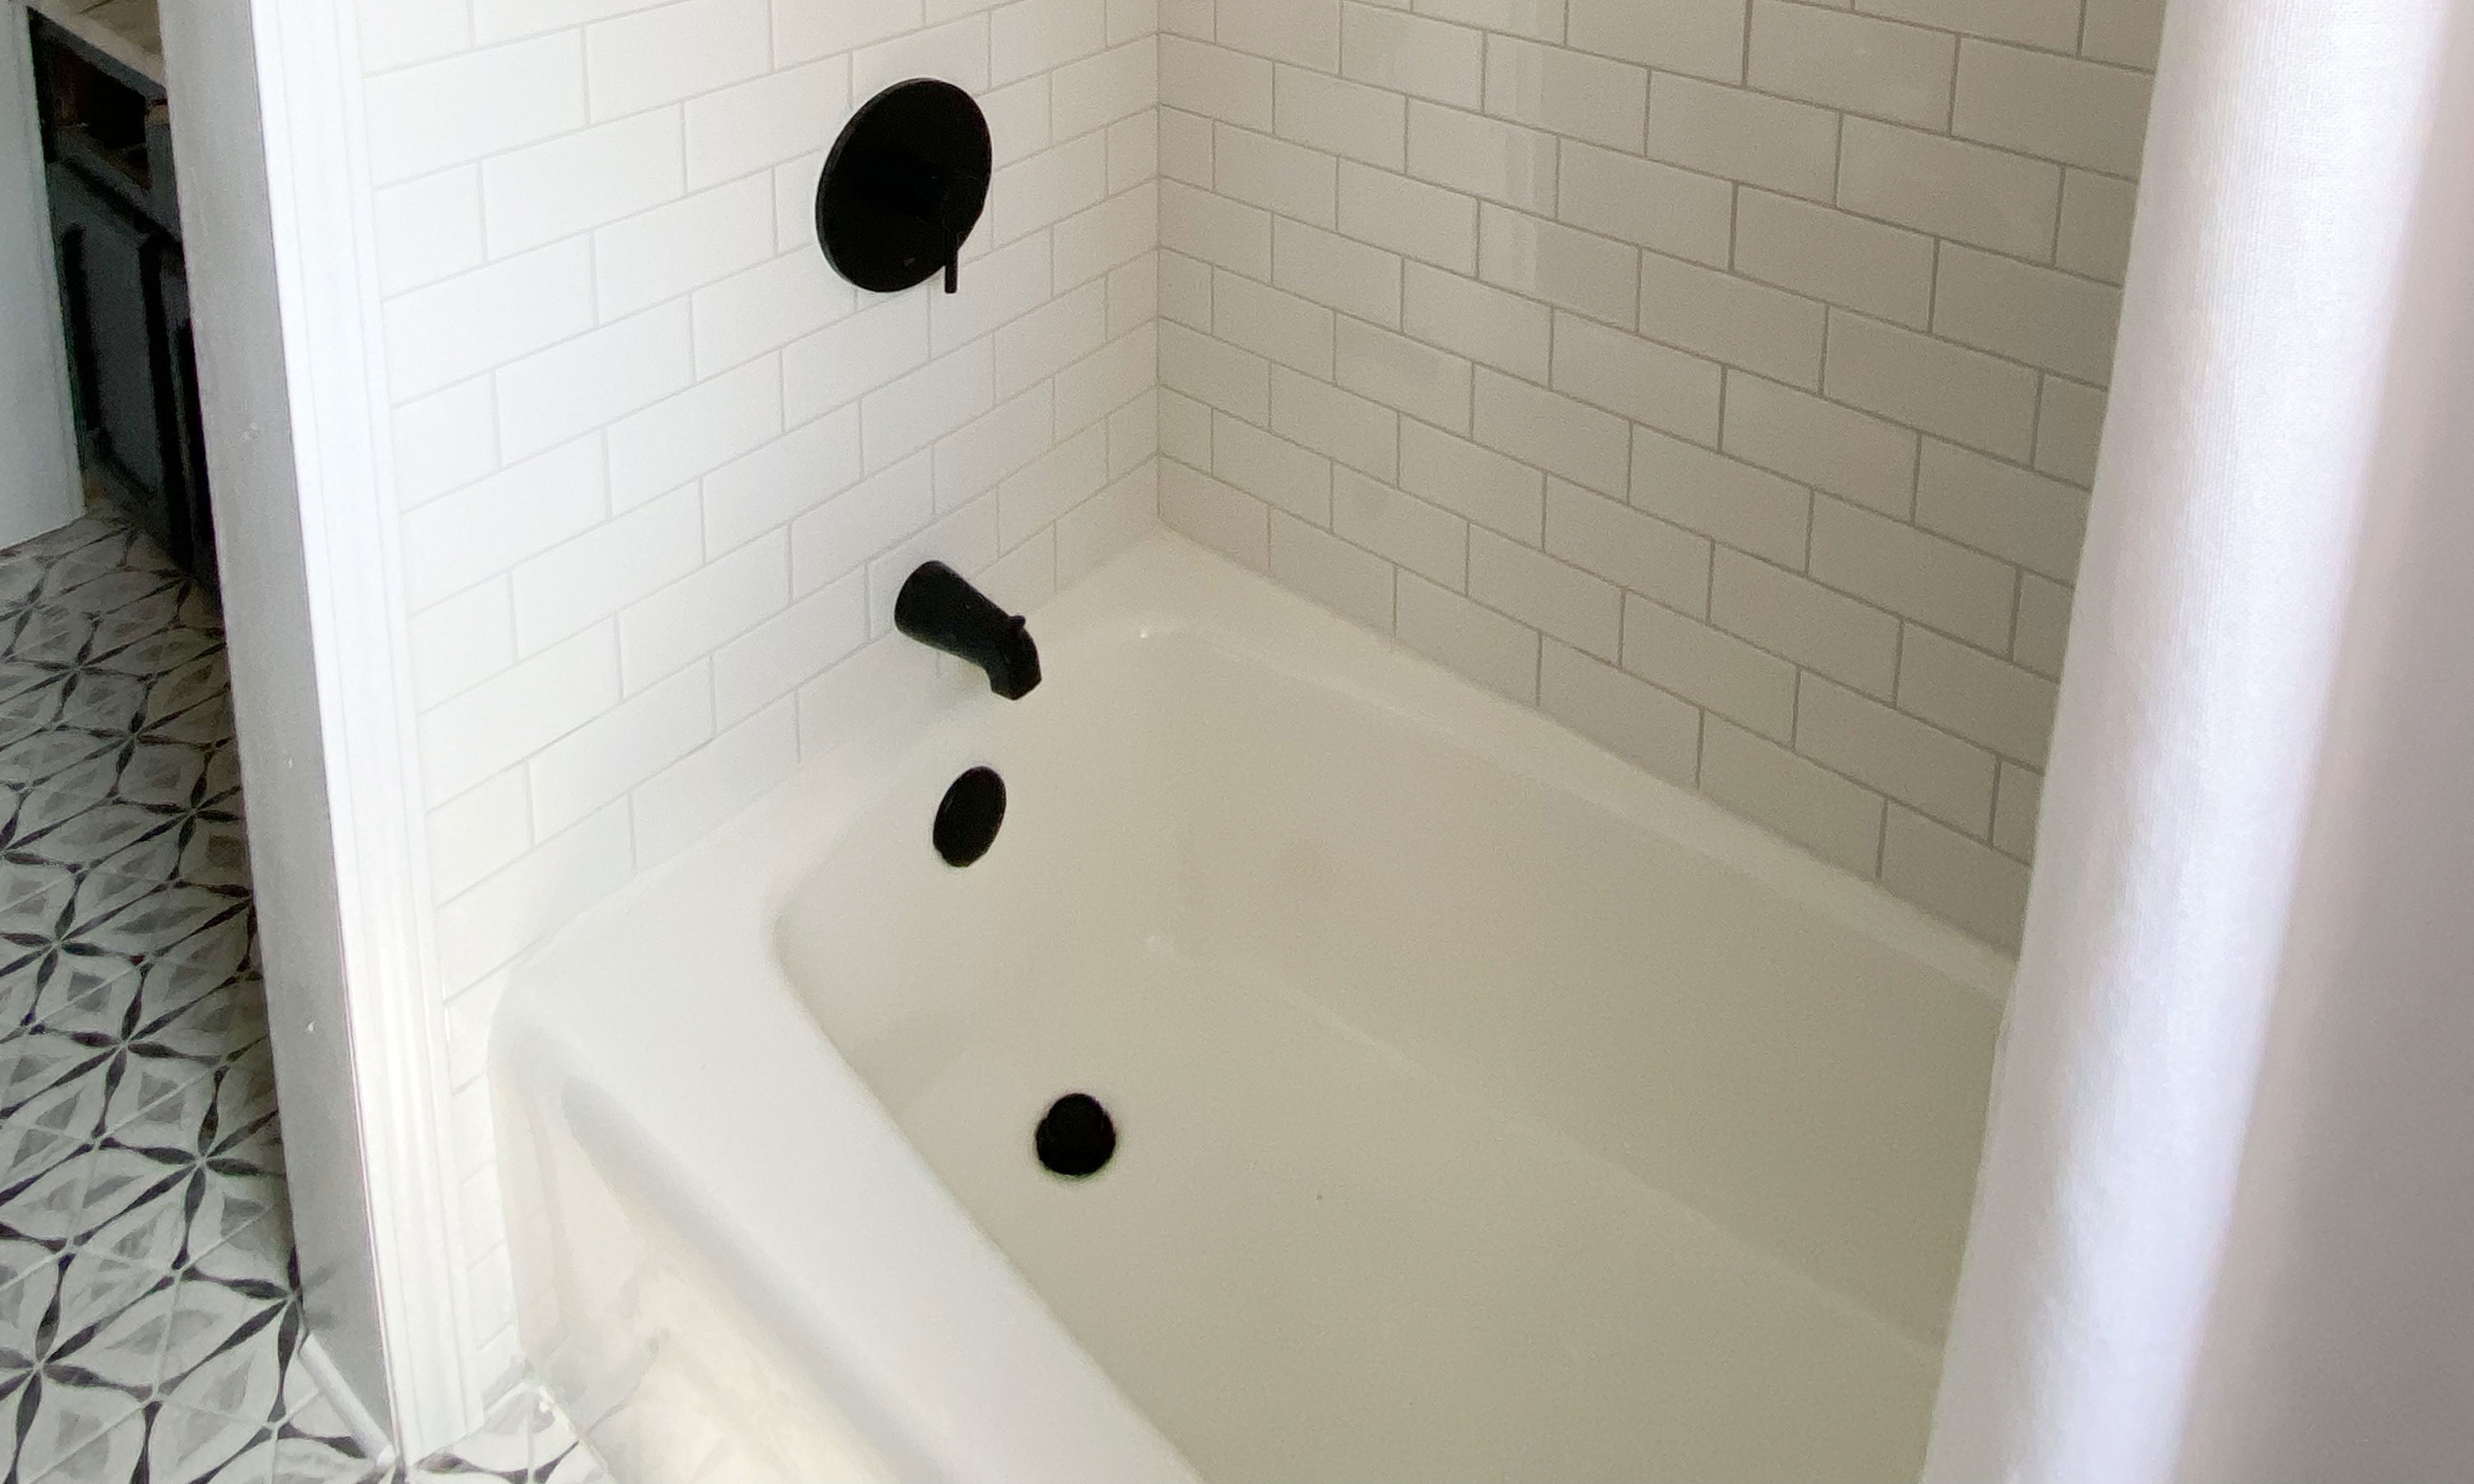 How to refinish a cast iron tub yourself (for less than $50)
Refinishing a cast iron tub yourself with a kit will keep your bathroom looking gorgeous without going over budget.
By Dori Turner Last updated
-
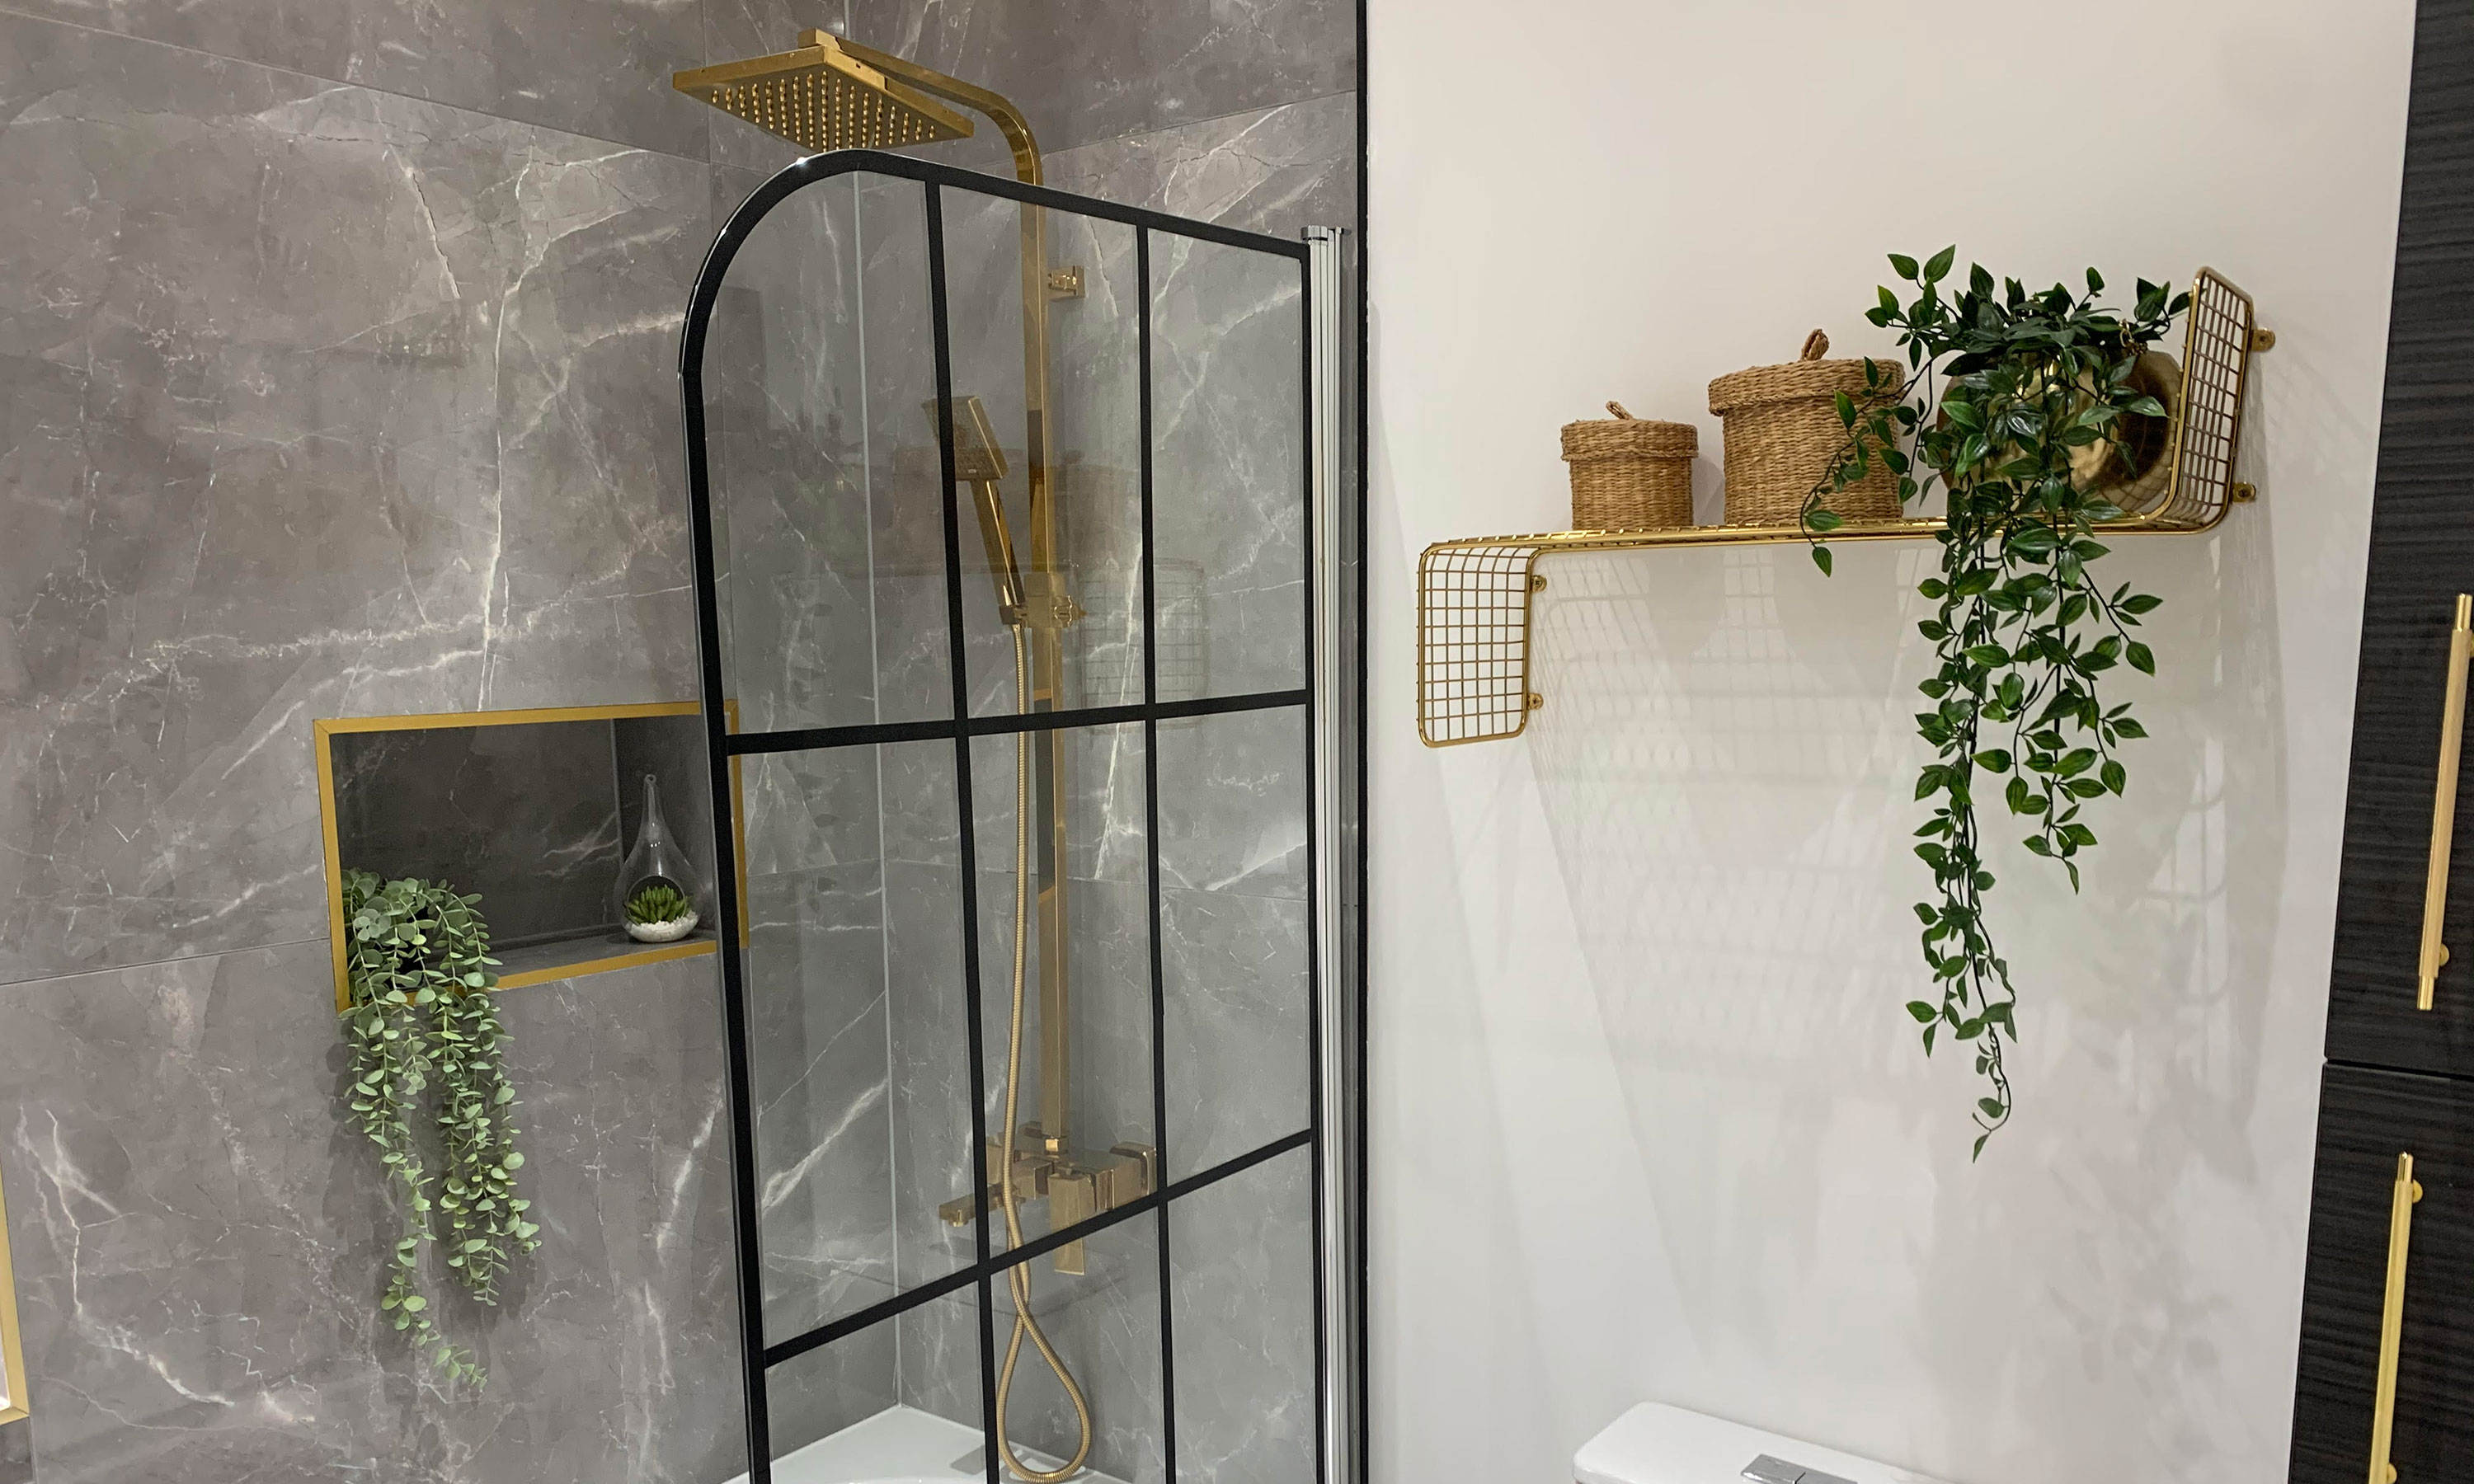 Real Costs: This luxe bathroom started as a botched renovation job...
A DIY crittall-style shower screen and clever layout made this bathroom space beautiful after a reno job gone wrong. It cost this much.
By Alimah-Shadia Sitta Published
-
 Shower remodel costs 2021 – walk-in and bathtub shower combinations
Need to know shower remodel costs? We’ve got the lowdown on what you should budget
By Sarah Warwick Published
-
 How to tile a shower: Get a pro finish from this straightforward DIY job
Tiling a shower yourself can save big money and give your bathroom a whole new look. Here's how to do it.
By Sal Vaglica Published
-
 Breegan Jane says this is the most important room to get right - do you agree?
She also shares the one simple bathroom tip she gives all the single dads she knows
By Millie Hurst Last updated