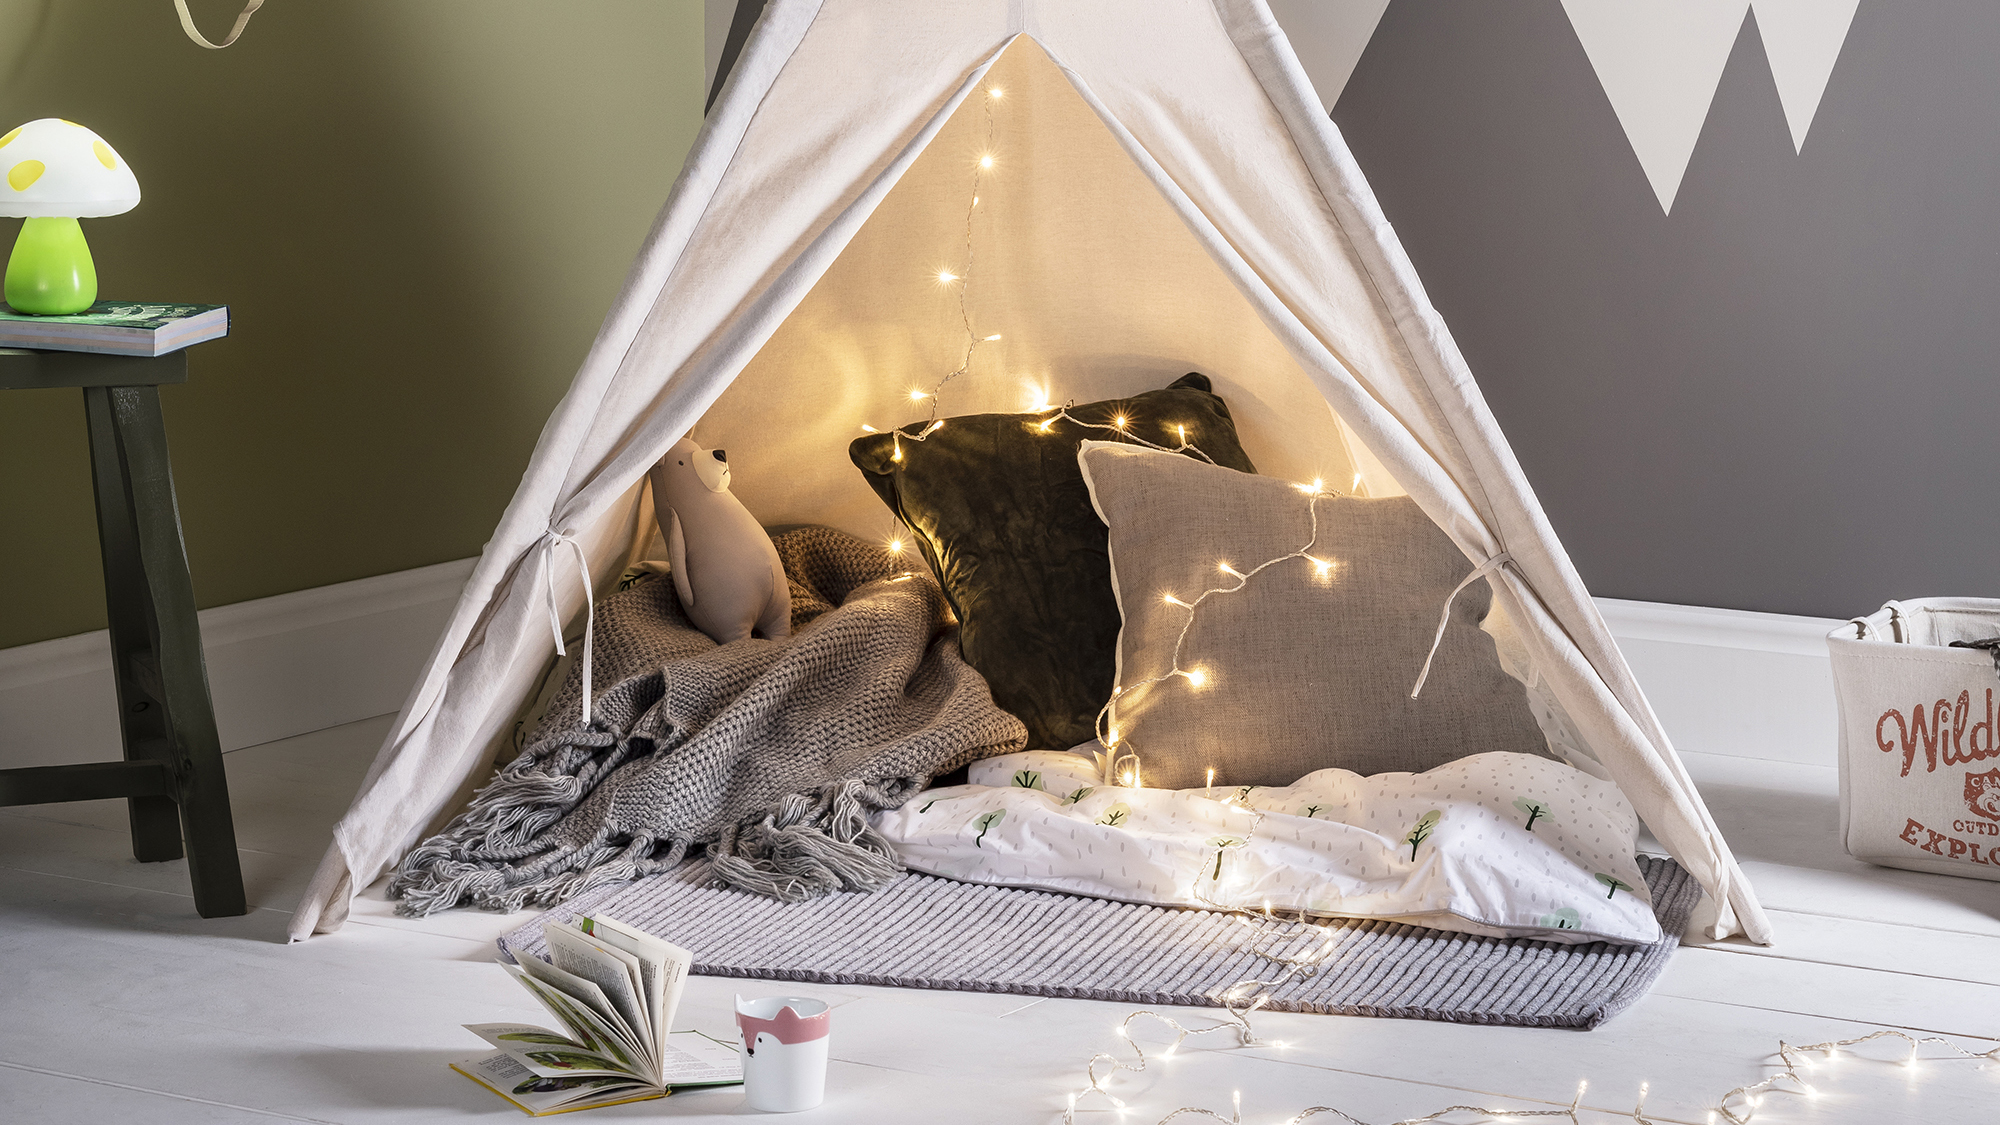
Want to learn how to make a teepee? We've been seeing these all over Instagram recently and despite being made with kids (or pets) in mind we actually think they make a super stylish (grown-up approved) addition to a playroom, bedroom or even as a living room idea.
Plus, you can use it as a giant toy storage idea to quickly hide away toy clutter at the end of the day.
You can actually DIY your own tipi, too, or get the kids involved and make it a weekend project. Figuring out how to build a teepee is super easy, inexpensive and it means you can pick out a fabric that perfectly suits your space.
Jasmine Gurney's no-sew teepee tent
'Becoming a mum has filled my head with all the baby-related DIYs I can get started with as my son grows. From wooden activity gyms, to walkers, climbing walls and busy boards, I love the idea of him playing with something that mummy has built,' explains Gurney.
'After seeing loads of teepee tents in shops around Christmas last year, I immediately knew a DIY tepee was the next thing on my list to make. It would be the perfect little sensory tent for him and can be a reading nook for when he’s older. It’s suitable for all ages and can be made using any fabric, and in any color. I loved the idea of him being able to ‘decorate’ it when he’s a toddler with colorful drawings and scribbles too, so I made mine with natural cotton.'
You will need:
- a few meters of fabric
- an iron (take a peek at some of the best steam irons out there)
- hemming tape from Amazon
- sharp pair of scissors like these Singer scissors
- 4 x 1.2m (48 inch) wooden broom handles (like these Superio brand handles from Amazon)
- rope
- a tape measure
- pencil
Though hemming tape is strong, if you do want to make it more secure and sew it, you’ll need a needle and thread or sewing machine, and a great drill with a wood bit slightly bigger than the rope thickness to keep the broom handles sturdy.
1. Measure out your fabric
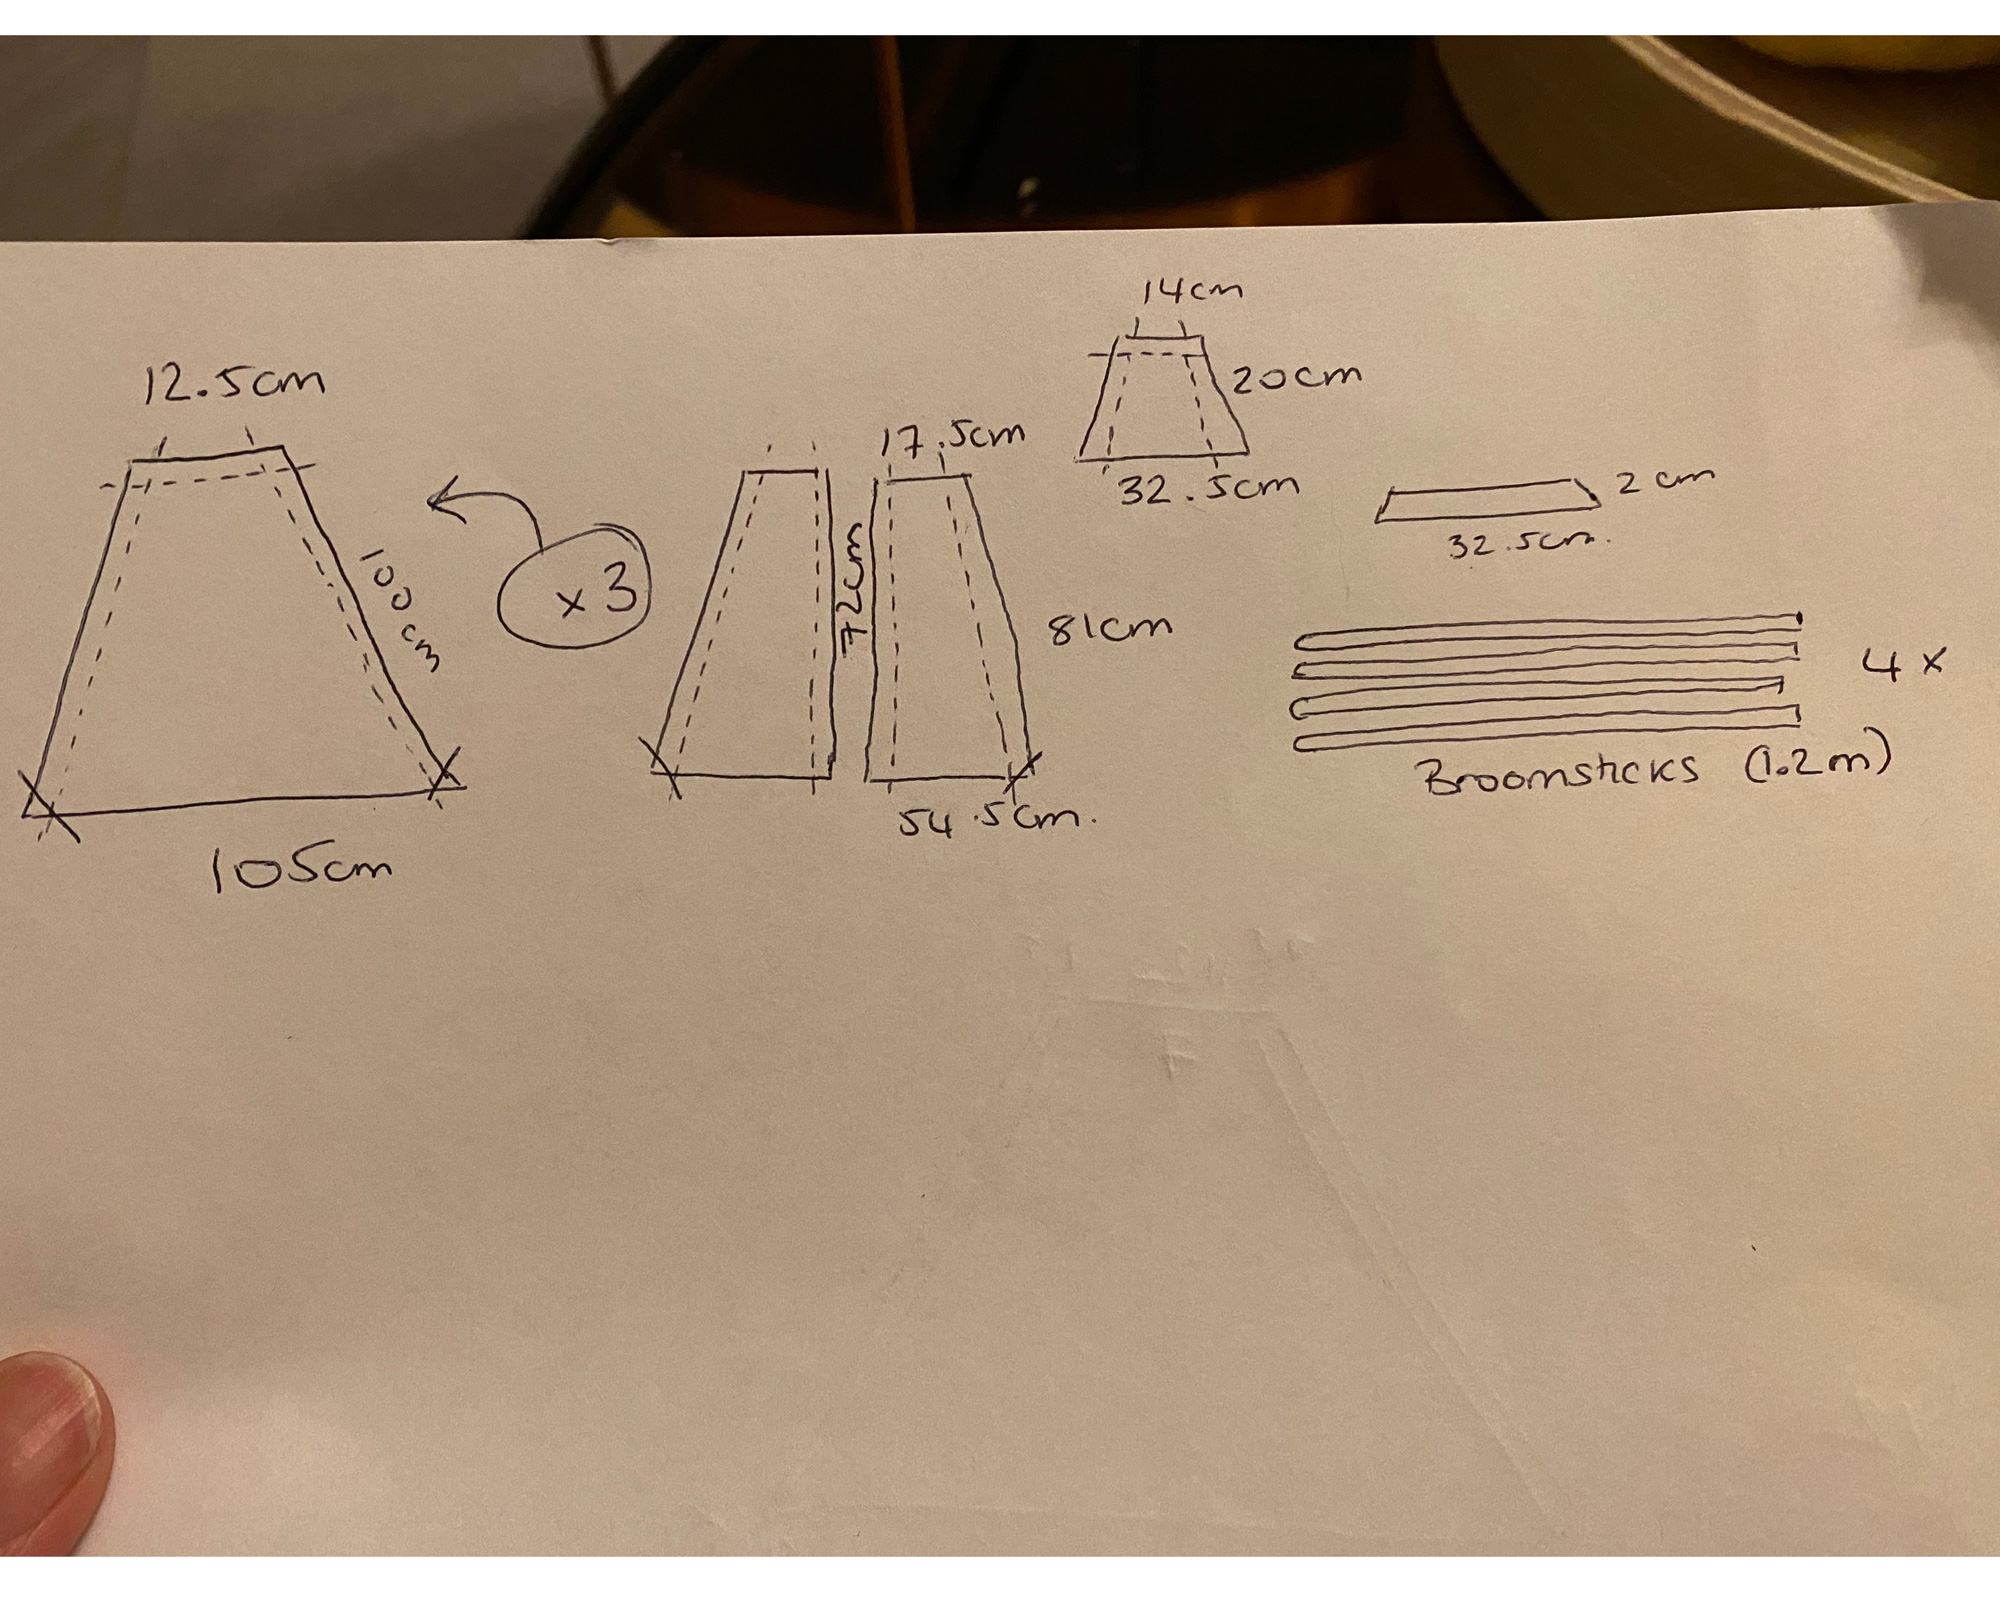
Lay your fabric out on the floor and using a straight edge, tape measure and pencil or pen, mark out the shapes ready to be cut out.
You’ll need three of the large triangles with the flat top (trapeziums), and one set of the half triangles, which will make the door, one small piece to make the top of the door panel, and finally a thin strip to reinforce the join between the doors and the panel connecting them.
The dashed lines represent where you’ll need to fold and hem/join, and the lines across the bottom corners are where you’ll need to trim once they’re joined.
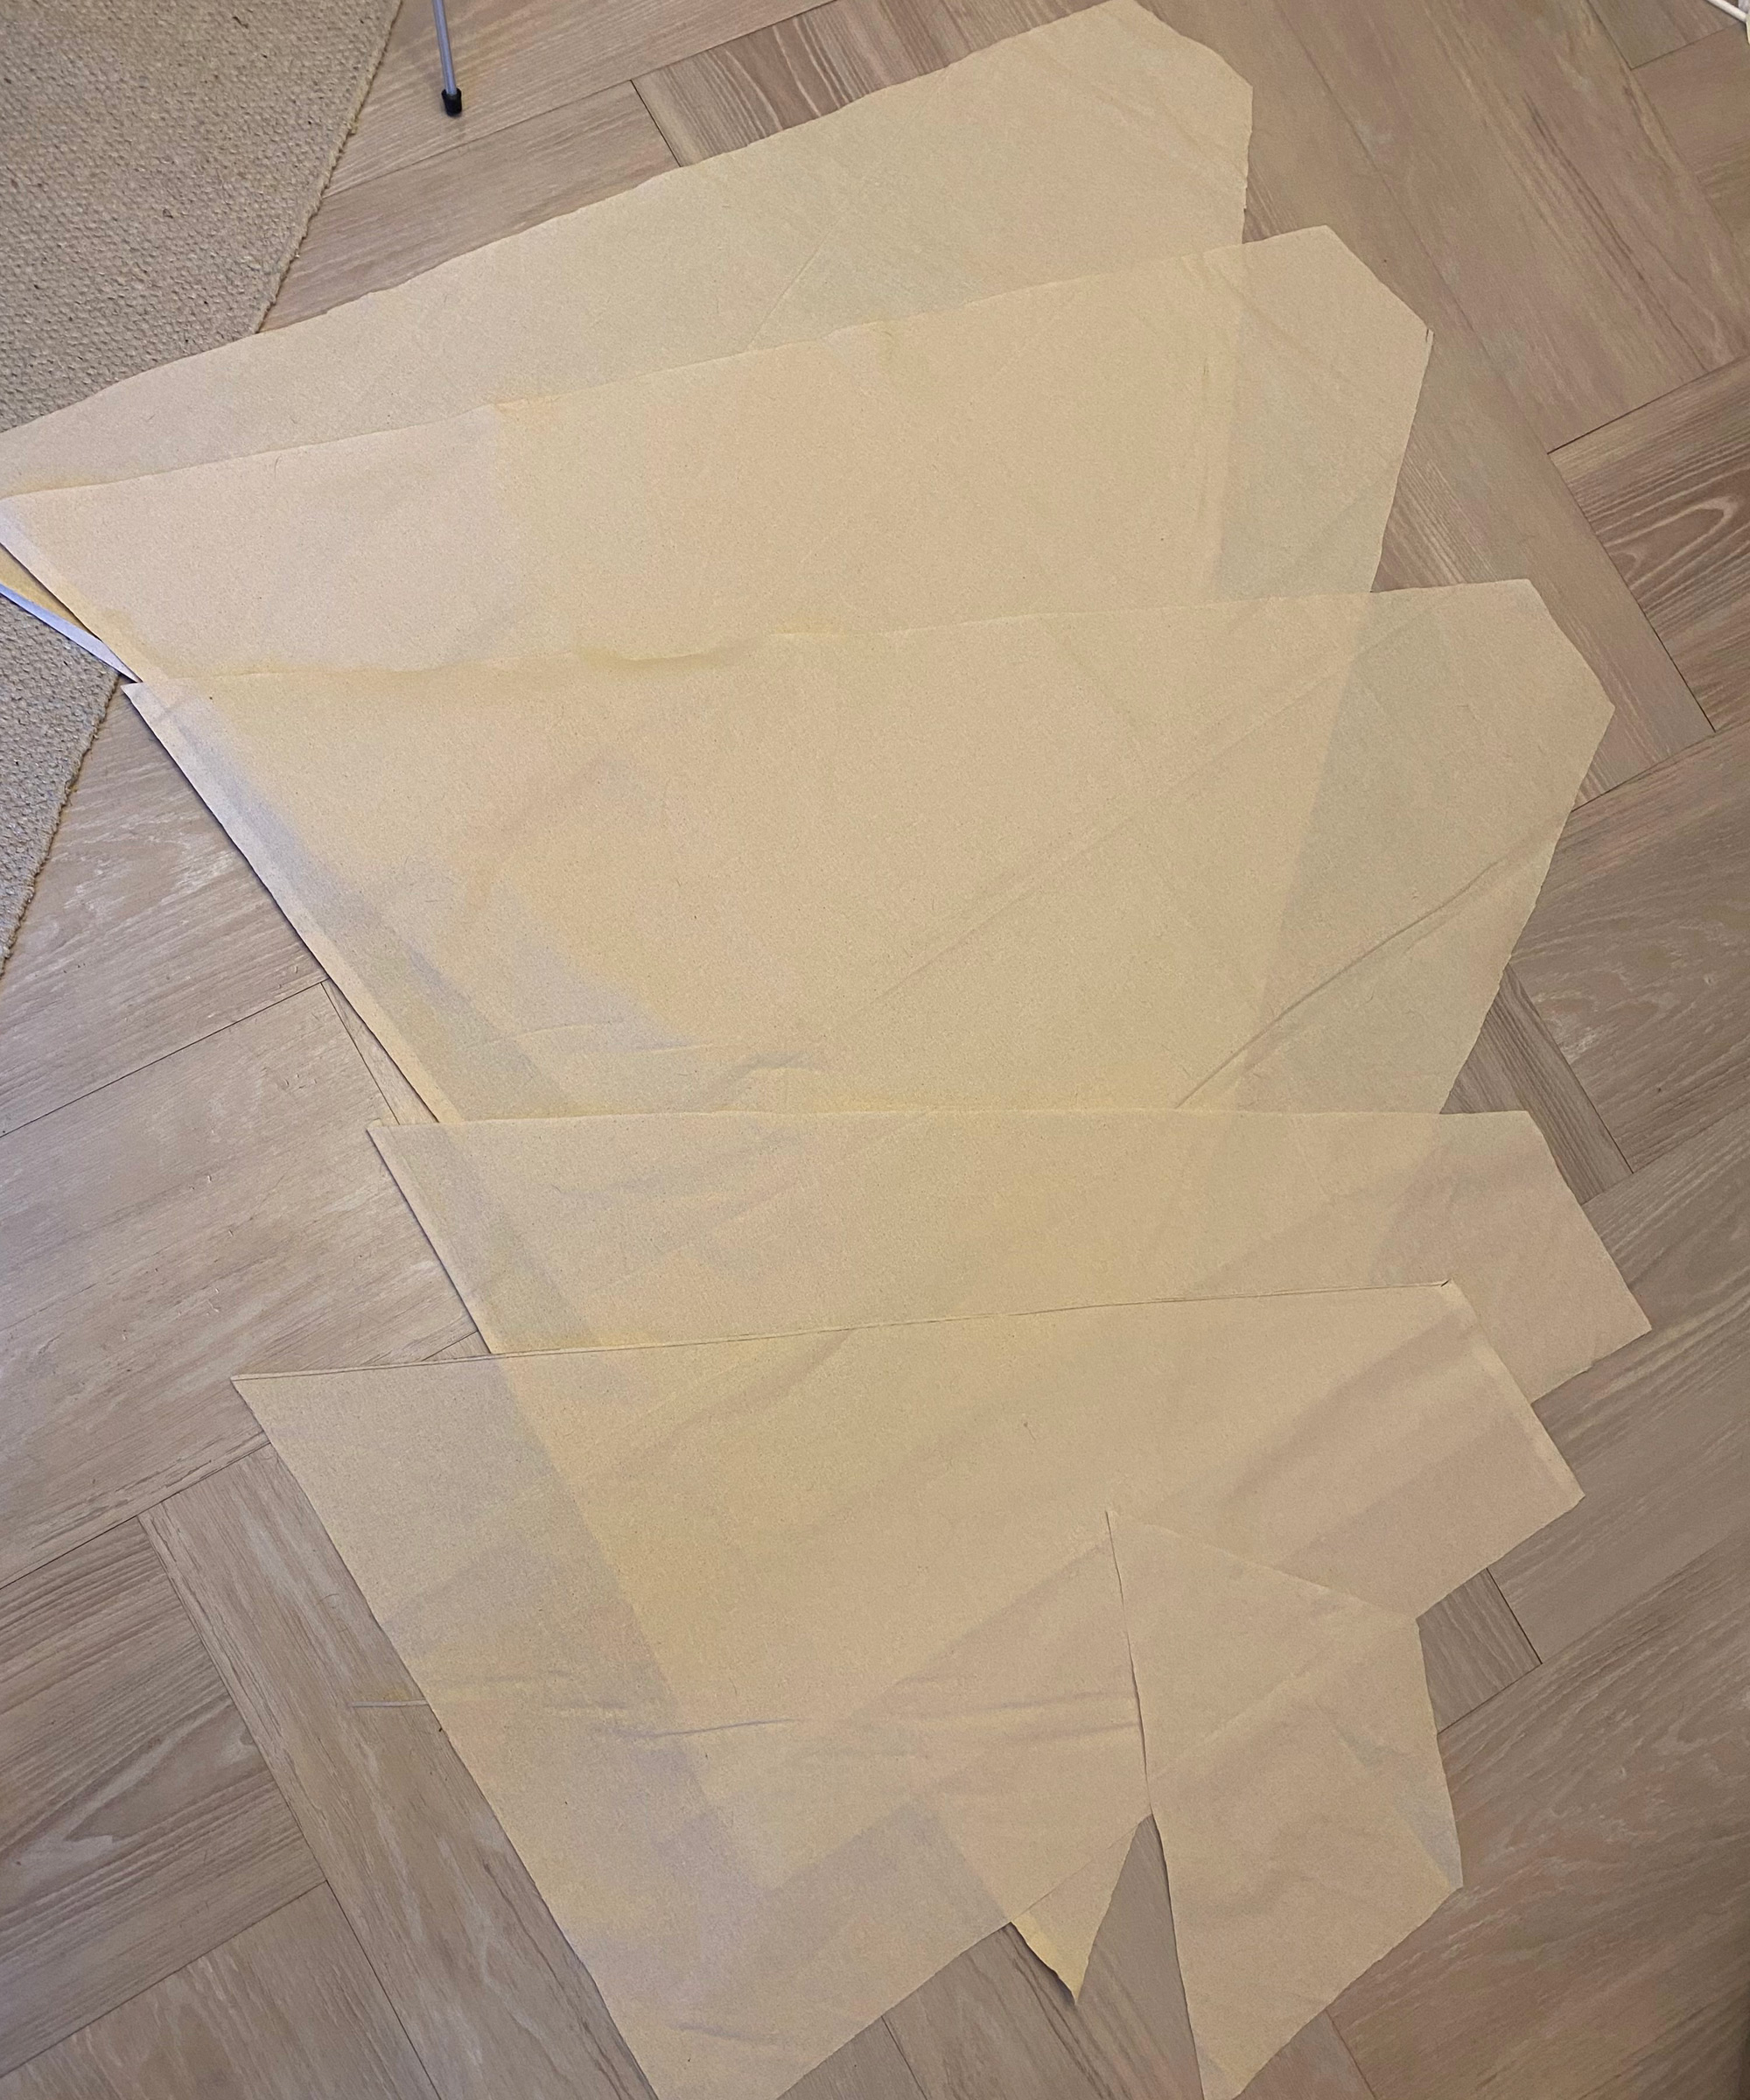
2. Cut the fabric
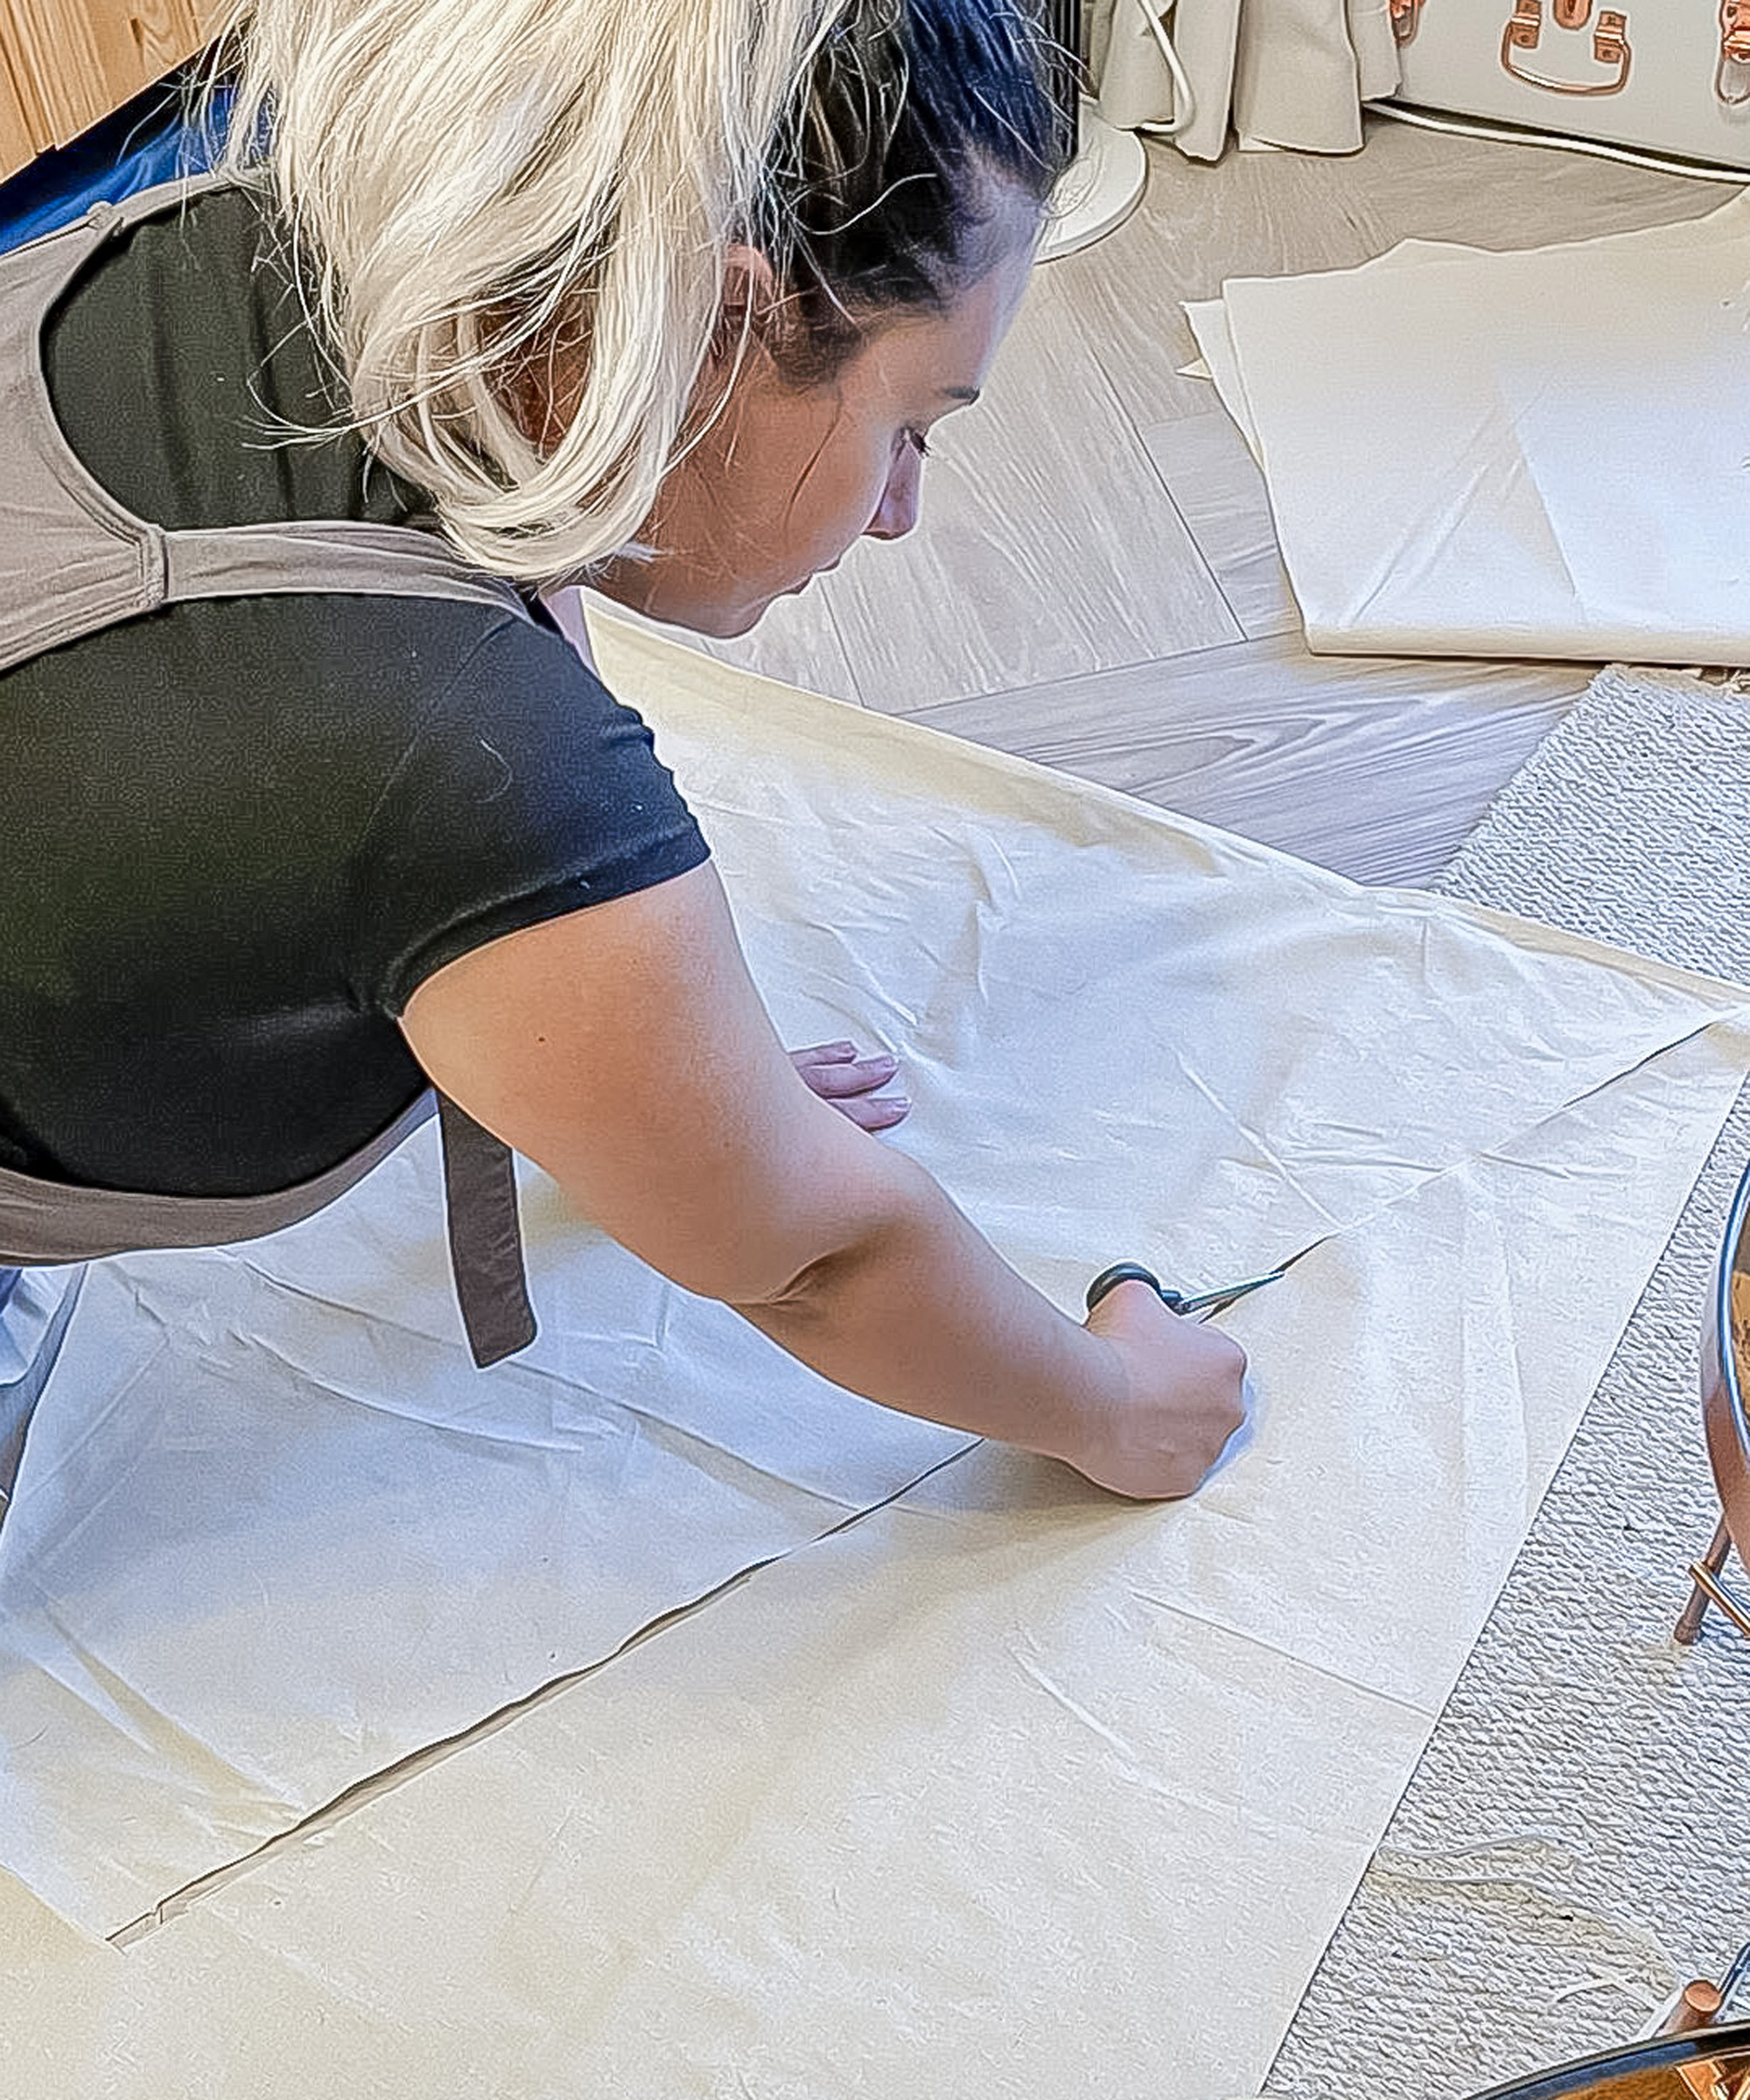
Cut out your first full panel using a sharp pair of scissors and lay it out to use as a template for the next two.
I found this easier than drawing all three out, as it meant I could place it on the fabric and see how many I could squeeze in to make for the least wastage. I then tried to get the smaller pieces out of the scraps.
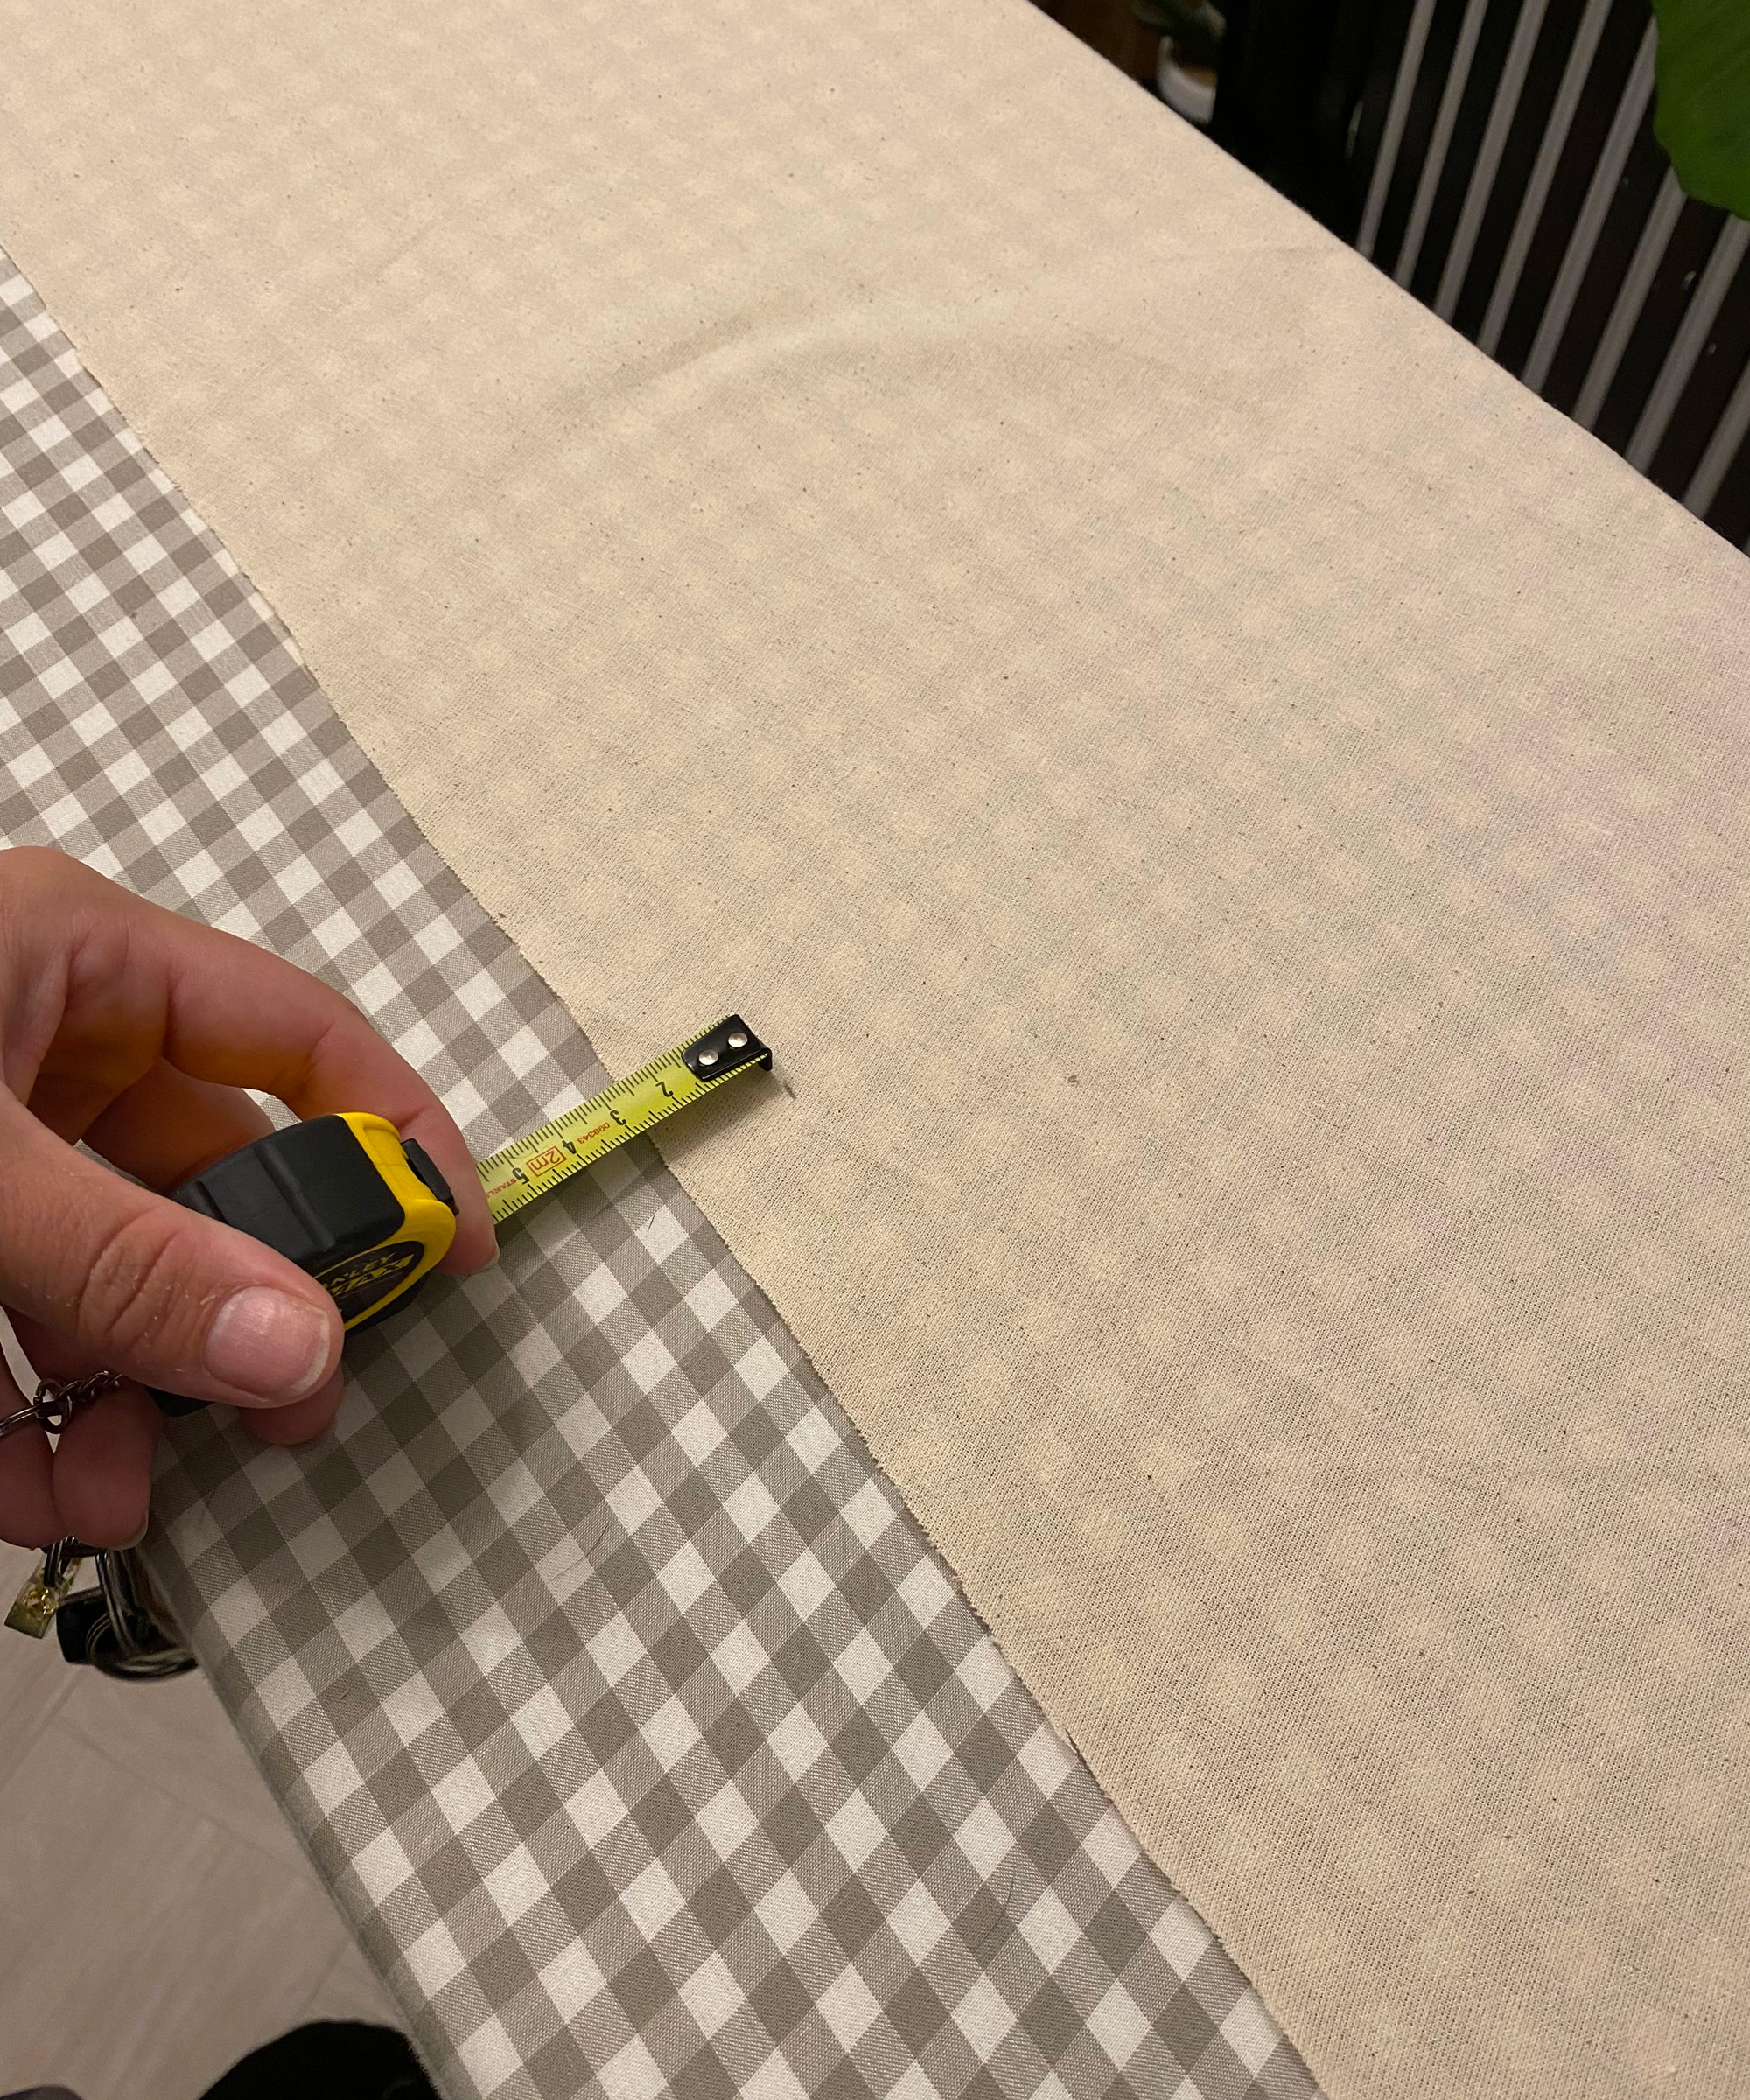
3. Iron the fabric
Once you have all your pieces cut, it’s time to set up your ironing board and bring your iron up to temperature. Along the edges indicated by the dashed line on the diagram, measure 2.5cm in from the side edges and top (small edge) and mark it all the way along.
Pre-fold and crease the fabric ready for hemming. Do this to all your pieces and iron the flaps to create a firm fold.
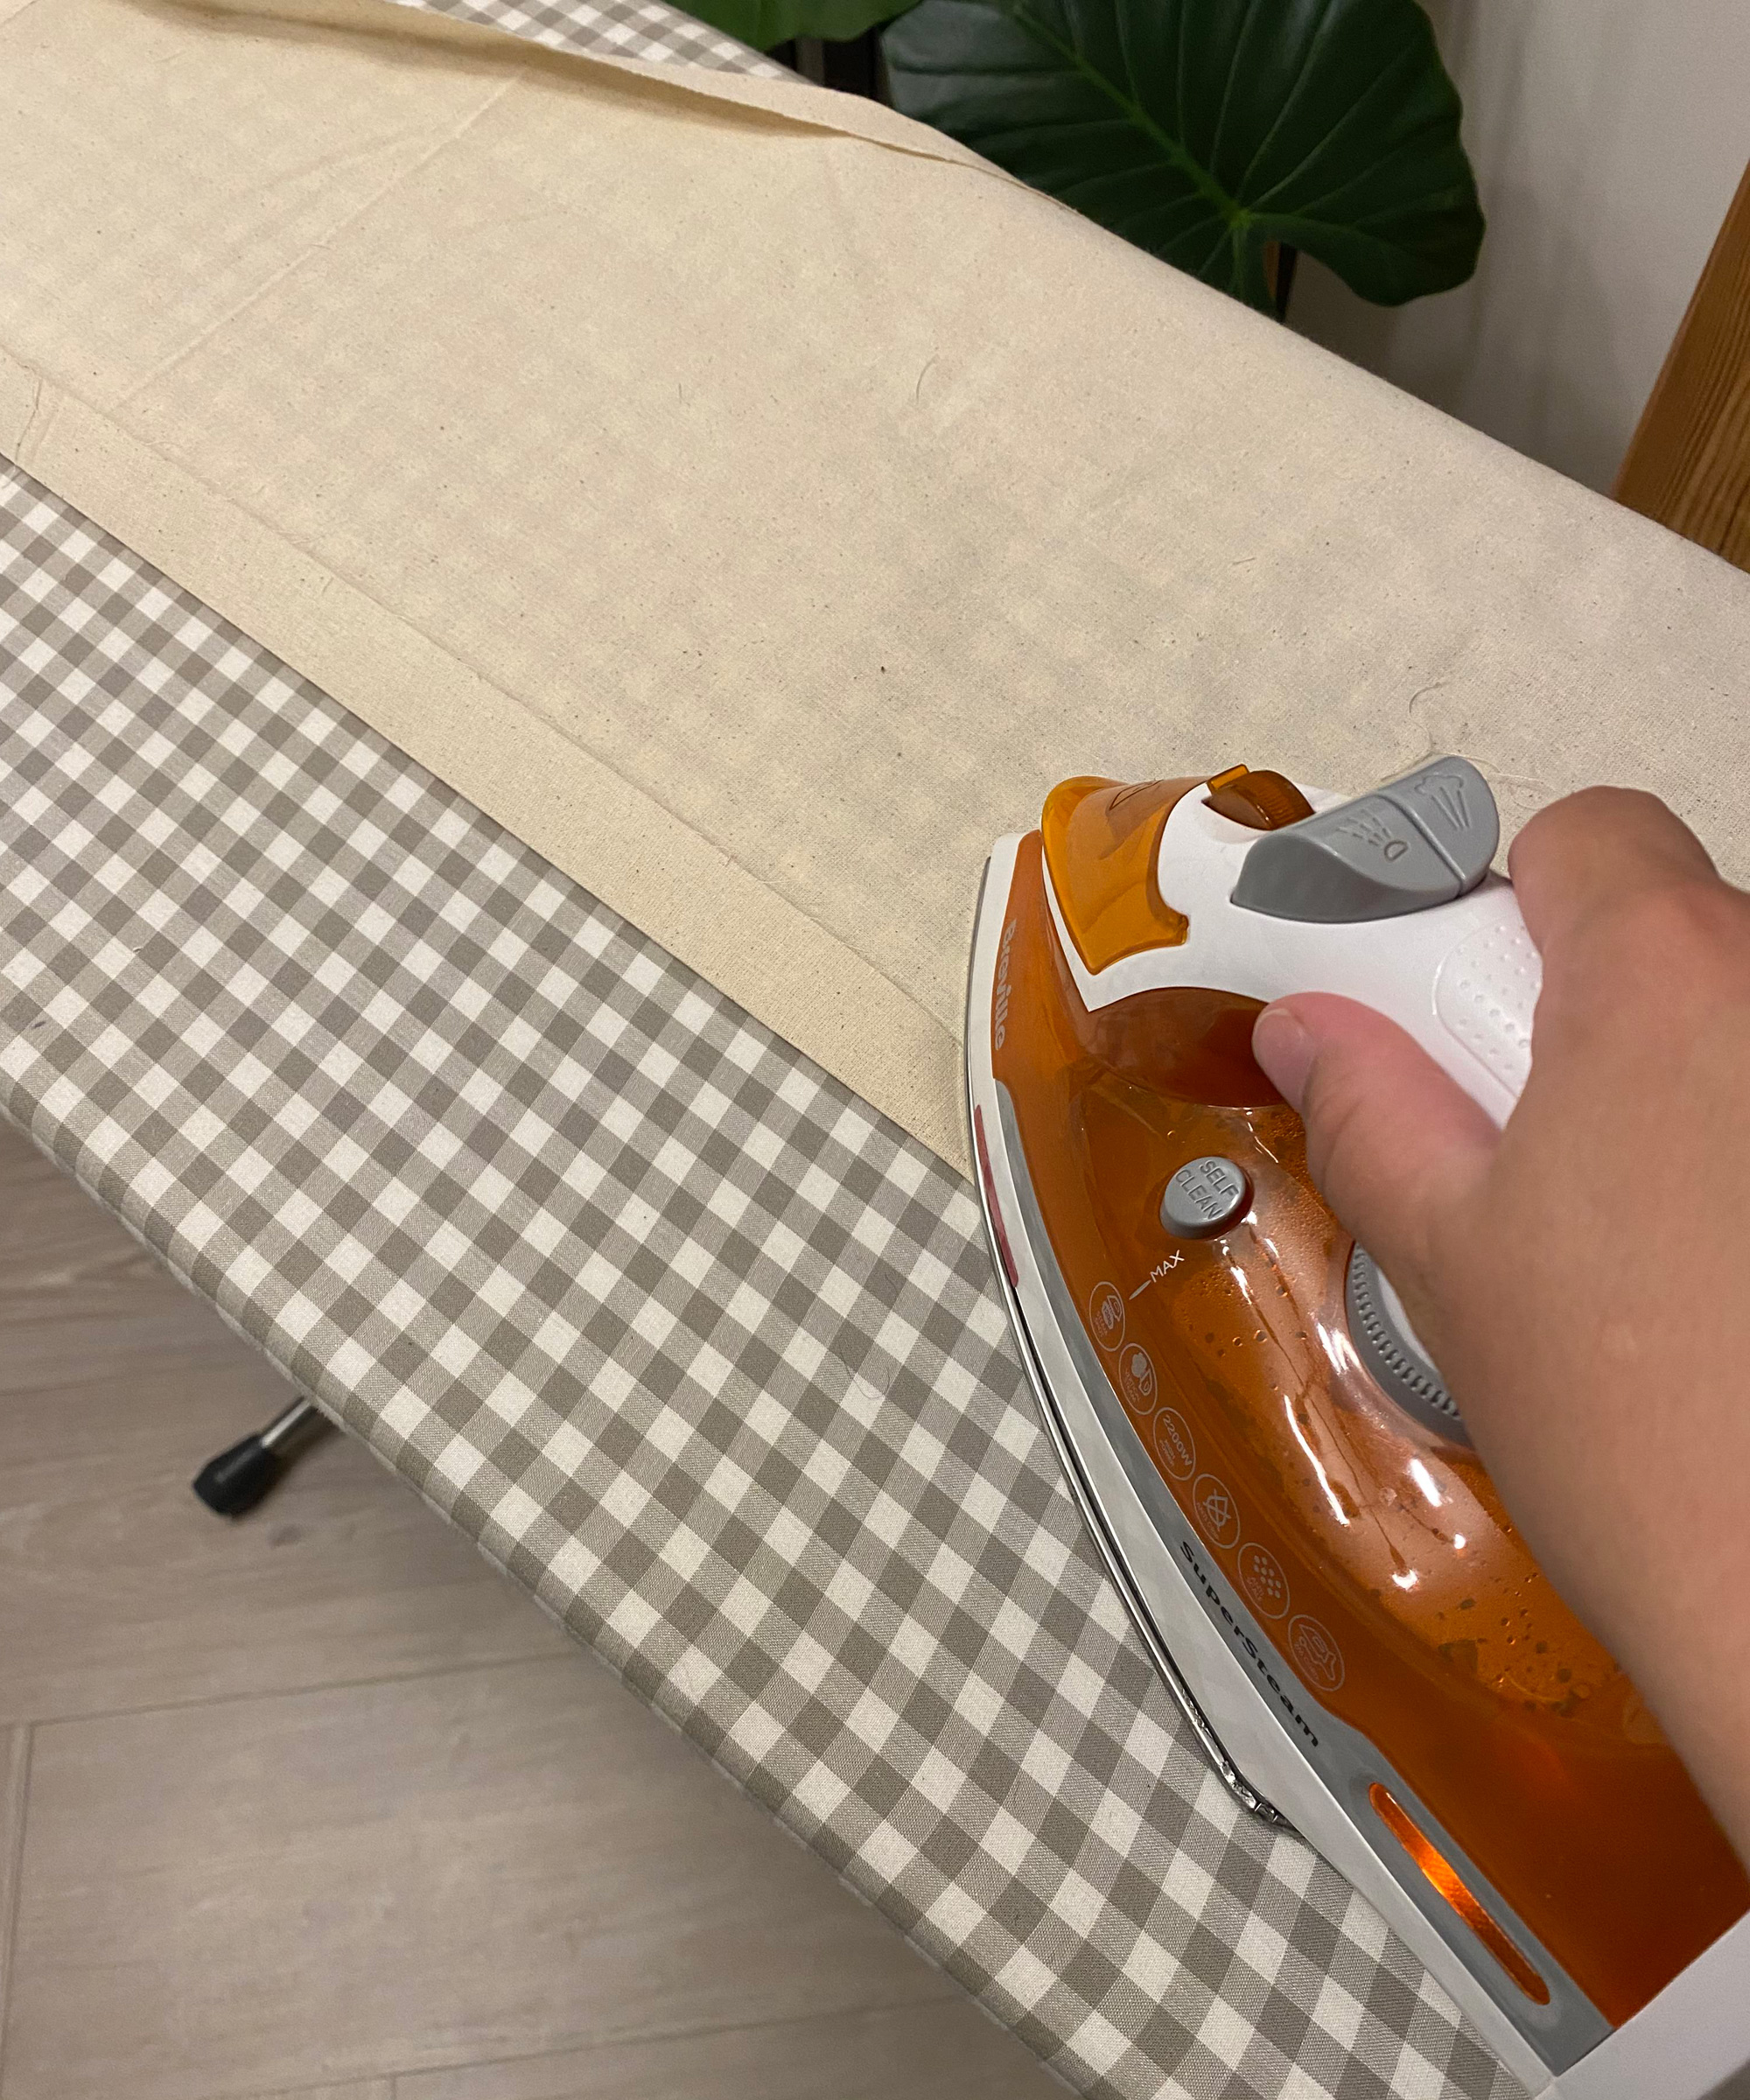
4. Start hemming the fabric
When using the hemming tape, start with the door pieces. You’ll want to hem the straight edge that makes up the door split, not the side edge that connects to the rest of the tent.
Lay the hemming tape inside the flap you’ve created and iron it to melt the glue and fuse the fabric together. This hem gives the door some strength and stops edges from fraying. Hem the tops of all the panels, again to give that added thickness and strength for when it's being stretched around the tent poles.
5. Connect the fabric
To connect the door to the top connecting piece, lay the doors’ hemmed side facing down (this is the outside), so the doors’ straight, hemmed edges are touching. Place the small trapezium shape with the long bottom edge on top of the doors, to create the front panel of the tent.
Ensure the overall height is the same as the whole panels by reducing or increasing the amount of overlap and place a piece of hemming tape between them - ironing to join them. Use the thin strip you cut earlier on top to give the inside a stronger join using hemming tape to fix it down.
6. Assemble the tent
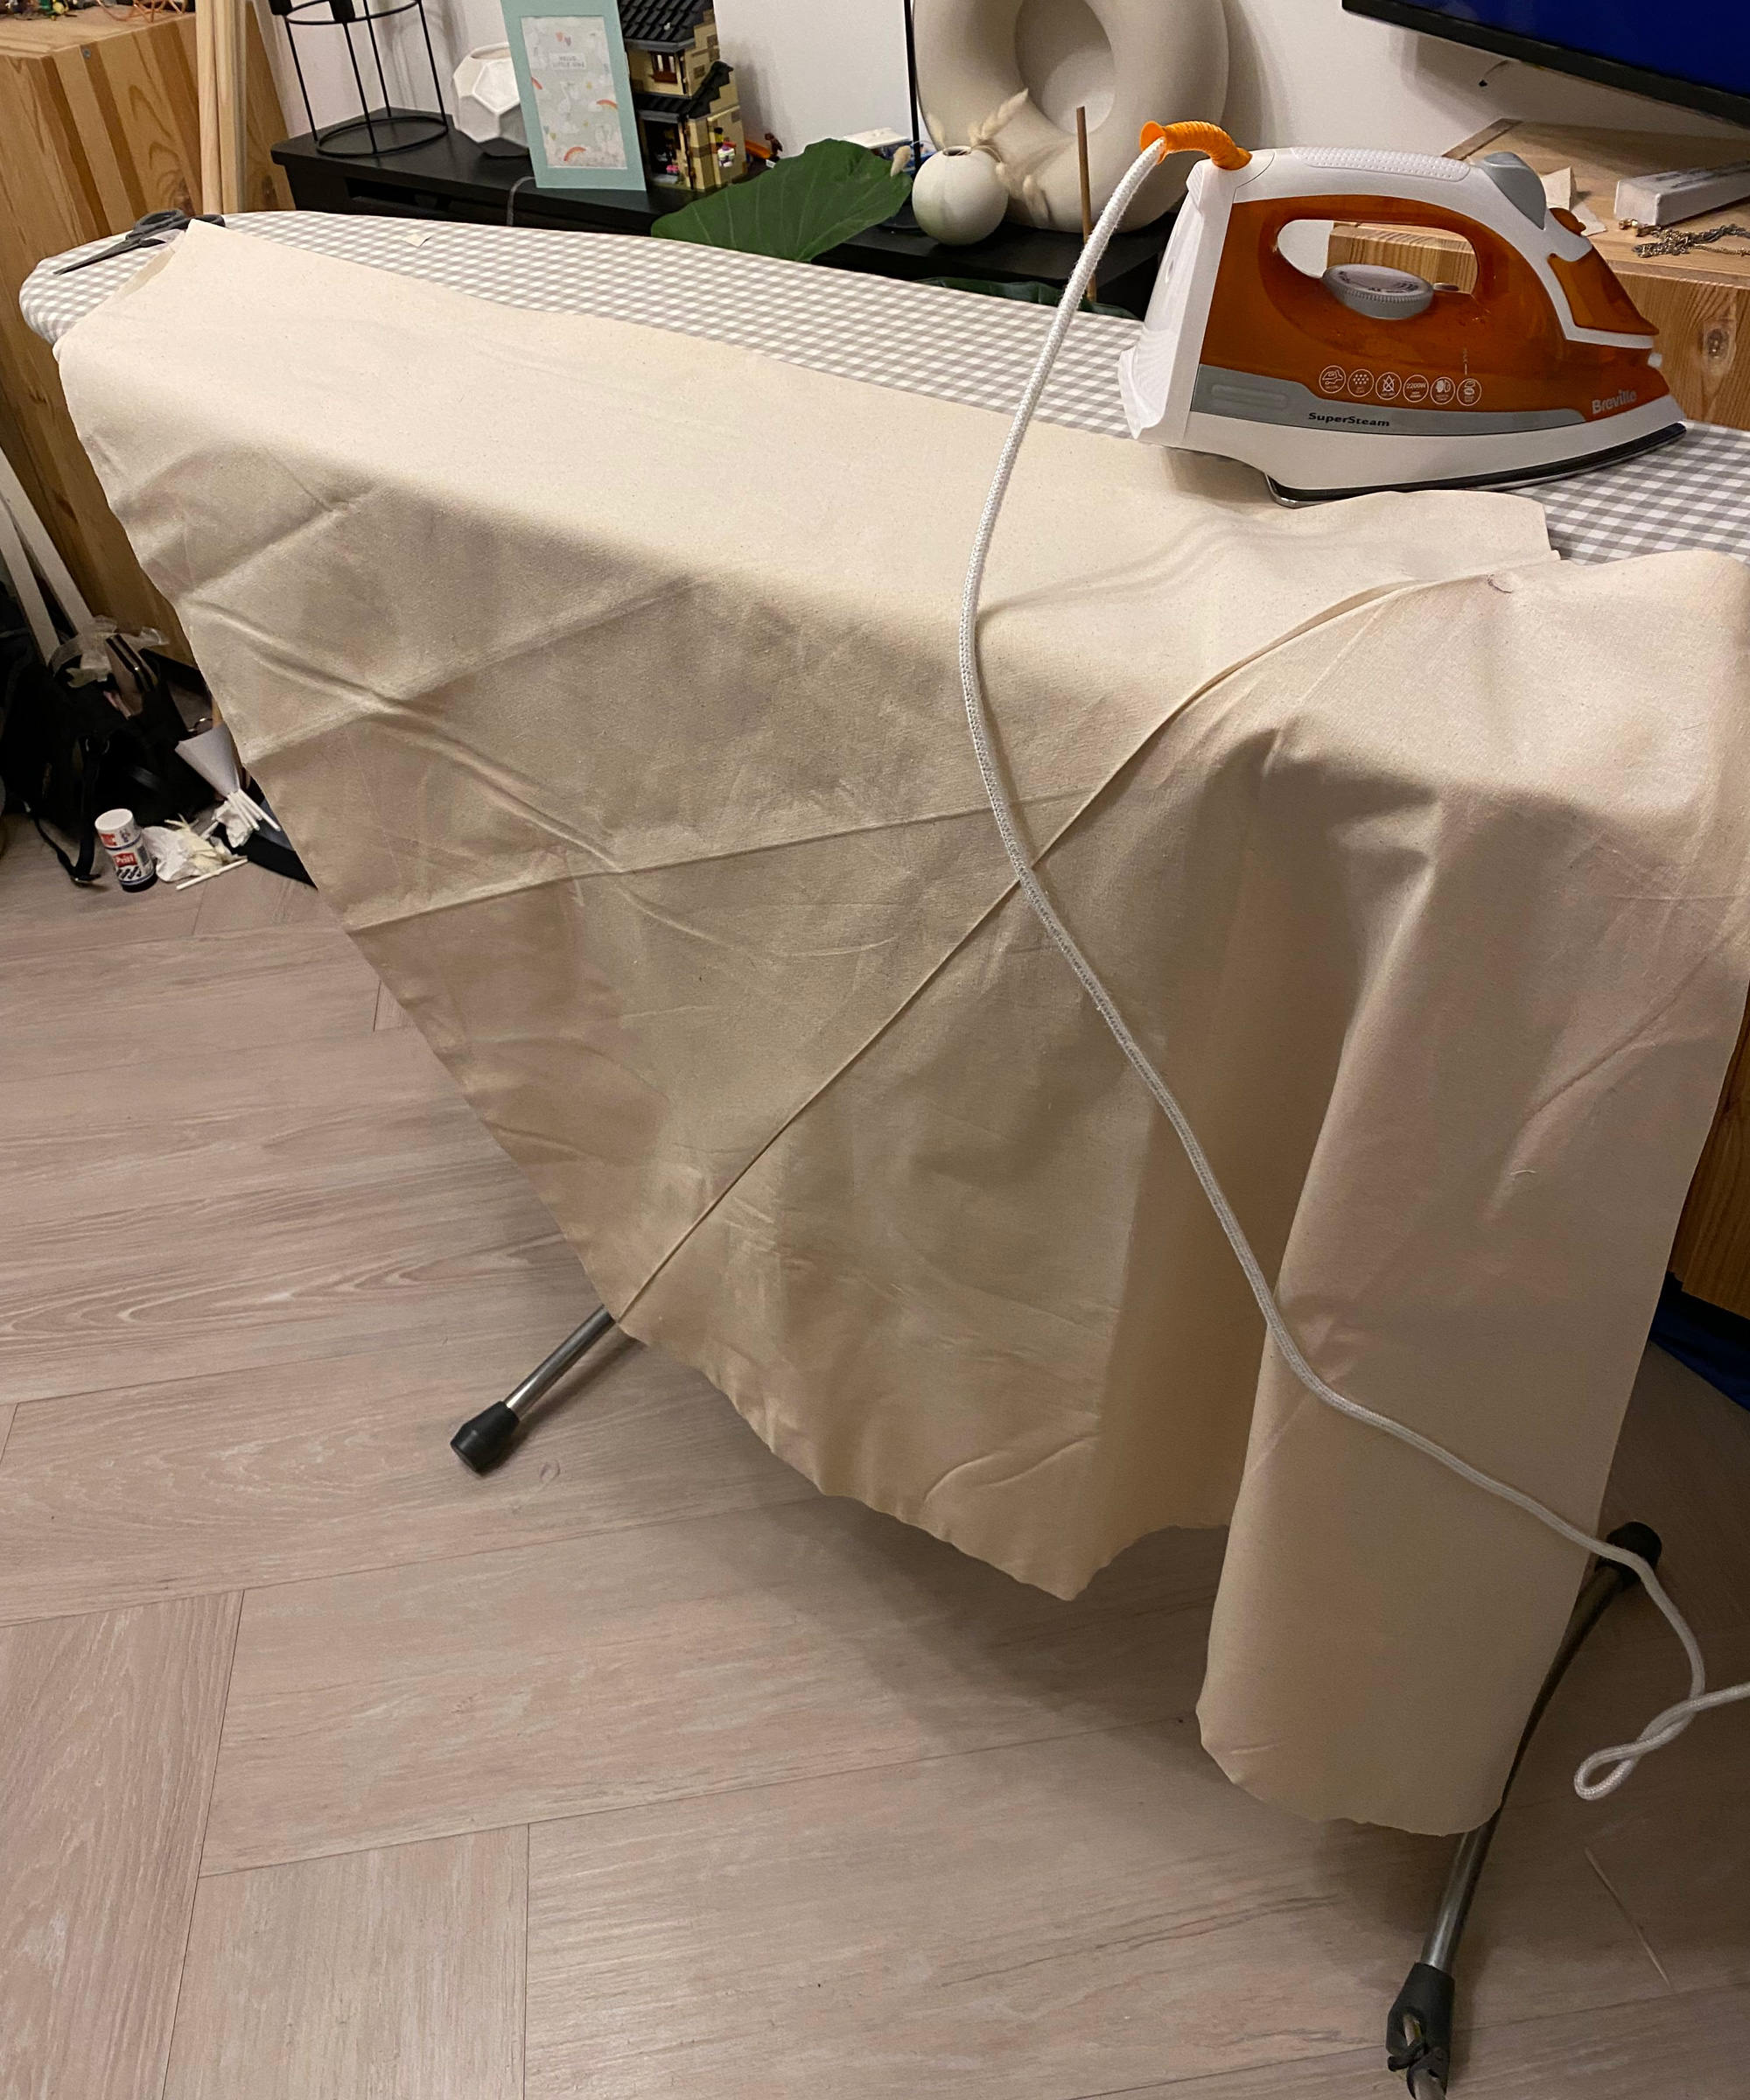
Next you can start assembling the whole tent. This time, with the creased flaps facing up. Line the pieces up so the short edges are at the top and long edges are at the bottom. Place some hemming tape between them and iron together by opening one flap over the other and sandwiching the tape between them.
Trim the corners as indicated on the diagram, as they will poke out the bottom of the tent otherwise. When it comes to the last panel, you’ll want to flip the lot over and iron it from the outside, again sandwiching the tape between the two flaps.
7. Tie up the broom handles
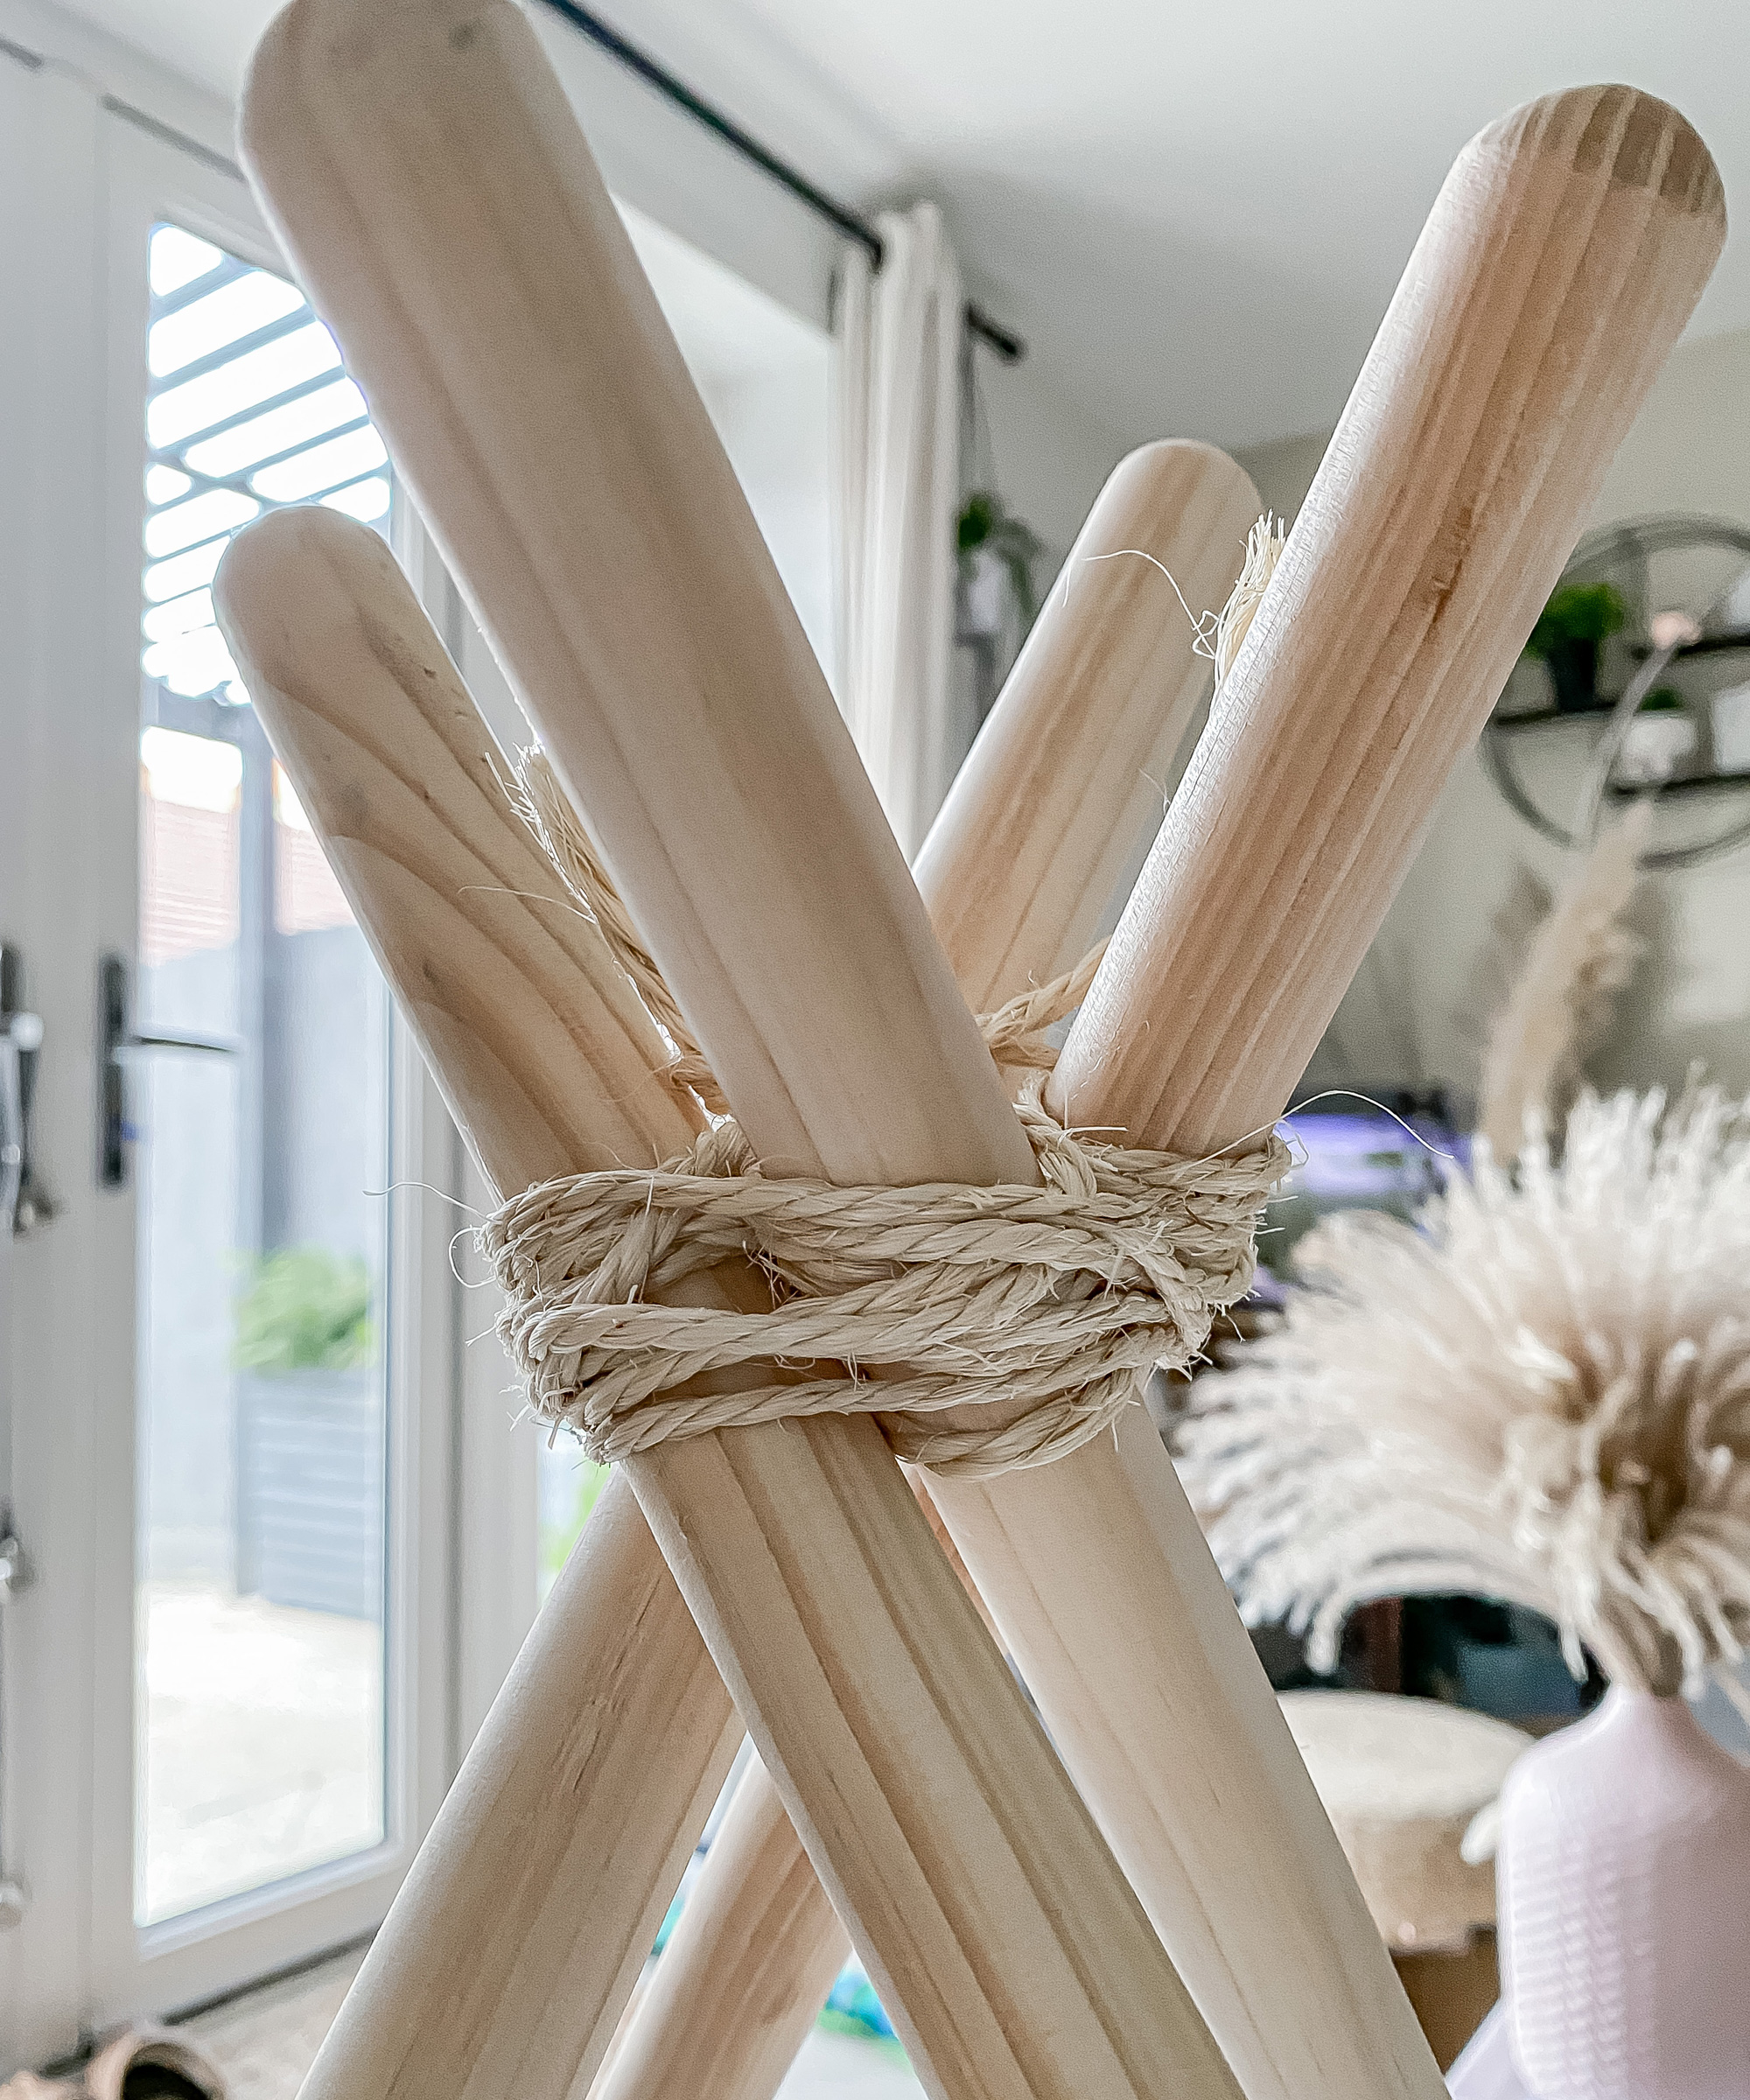
For the broom handles, they don’t need anything doing to them, unless you want a bit more security when tying them together. You can wrap a rope around each stick and bind them all together like the picture, or you can drill a hole about 10cm down from the curved top end using a wooden dowel bit.
Keep the stick steady by clamping it with your foot while you drill through the middle. Feed the rope through them, tie a knot in one end, and then use the rest to wrap around and bind them together. This keeps them all level and is easier to set the tent up and collapse it.
8. Drape the tent structure
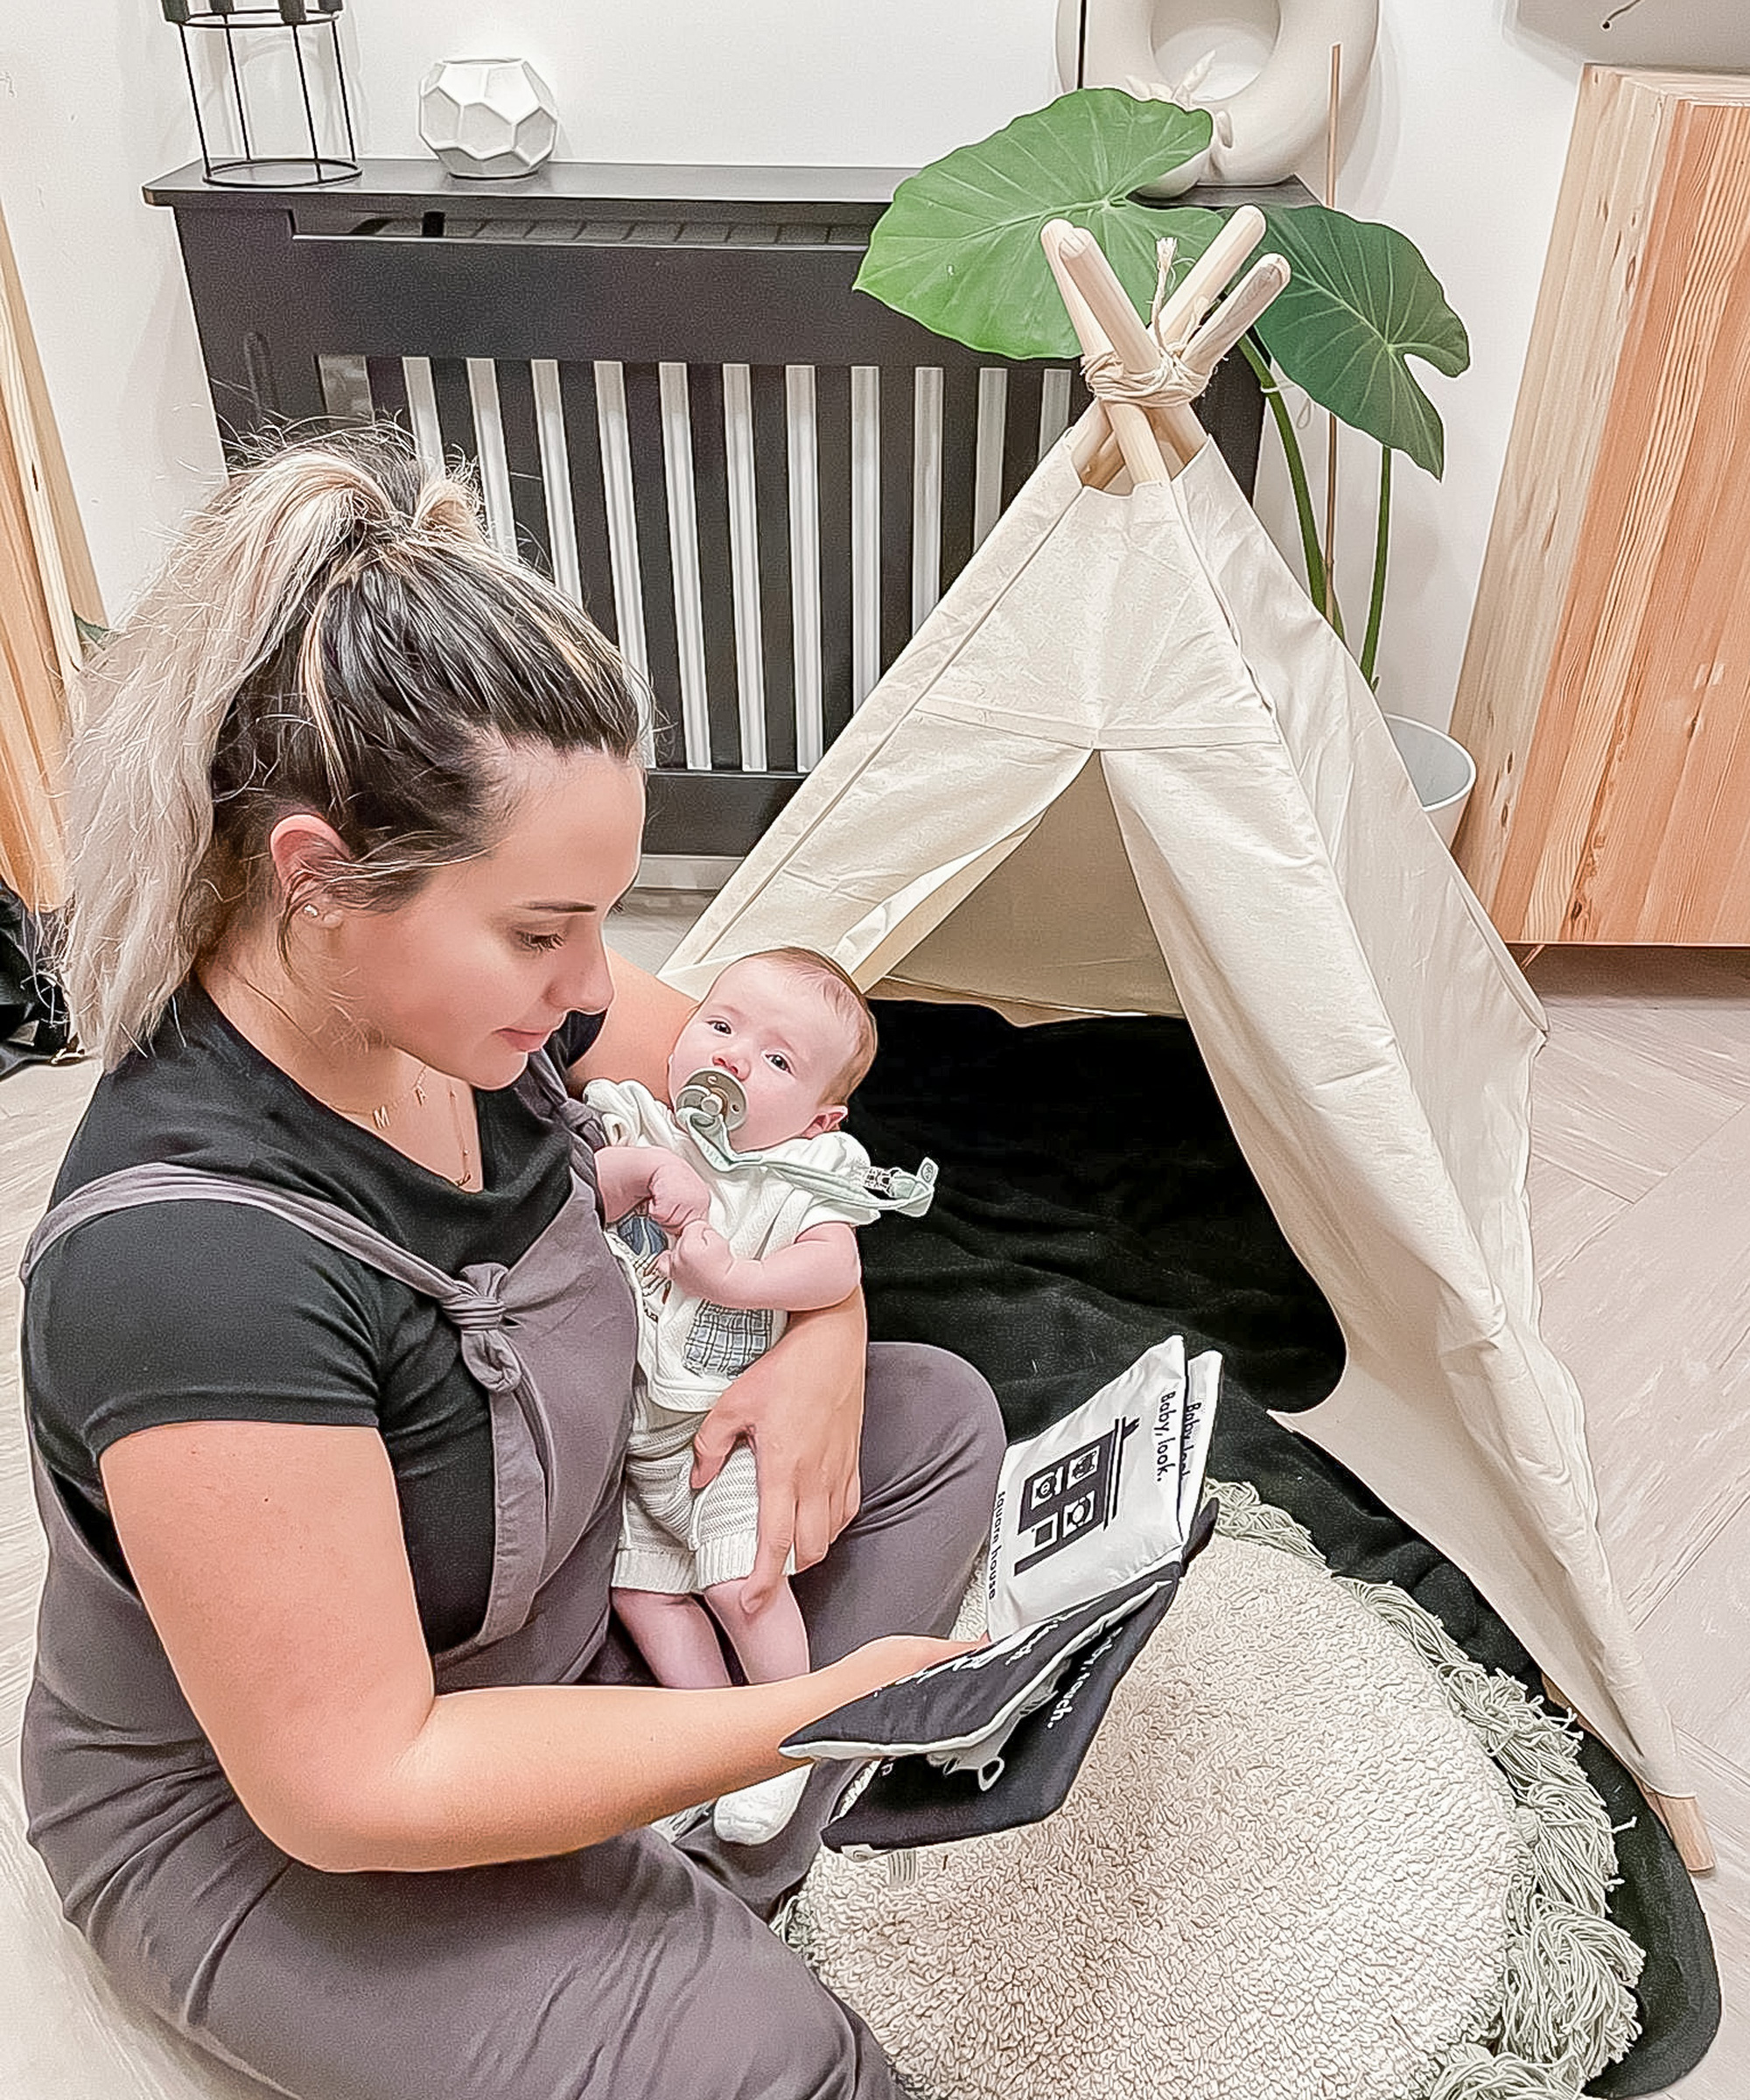
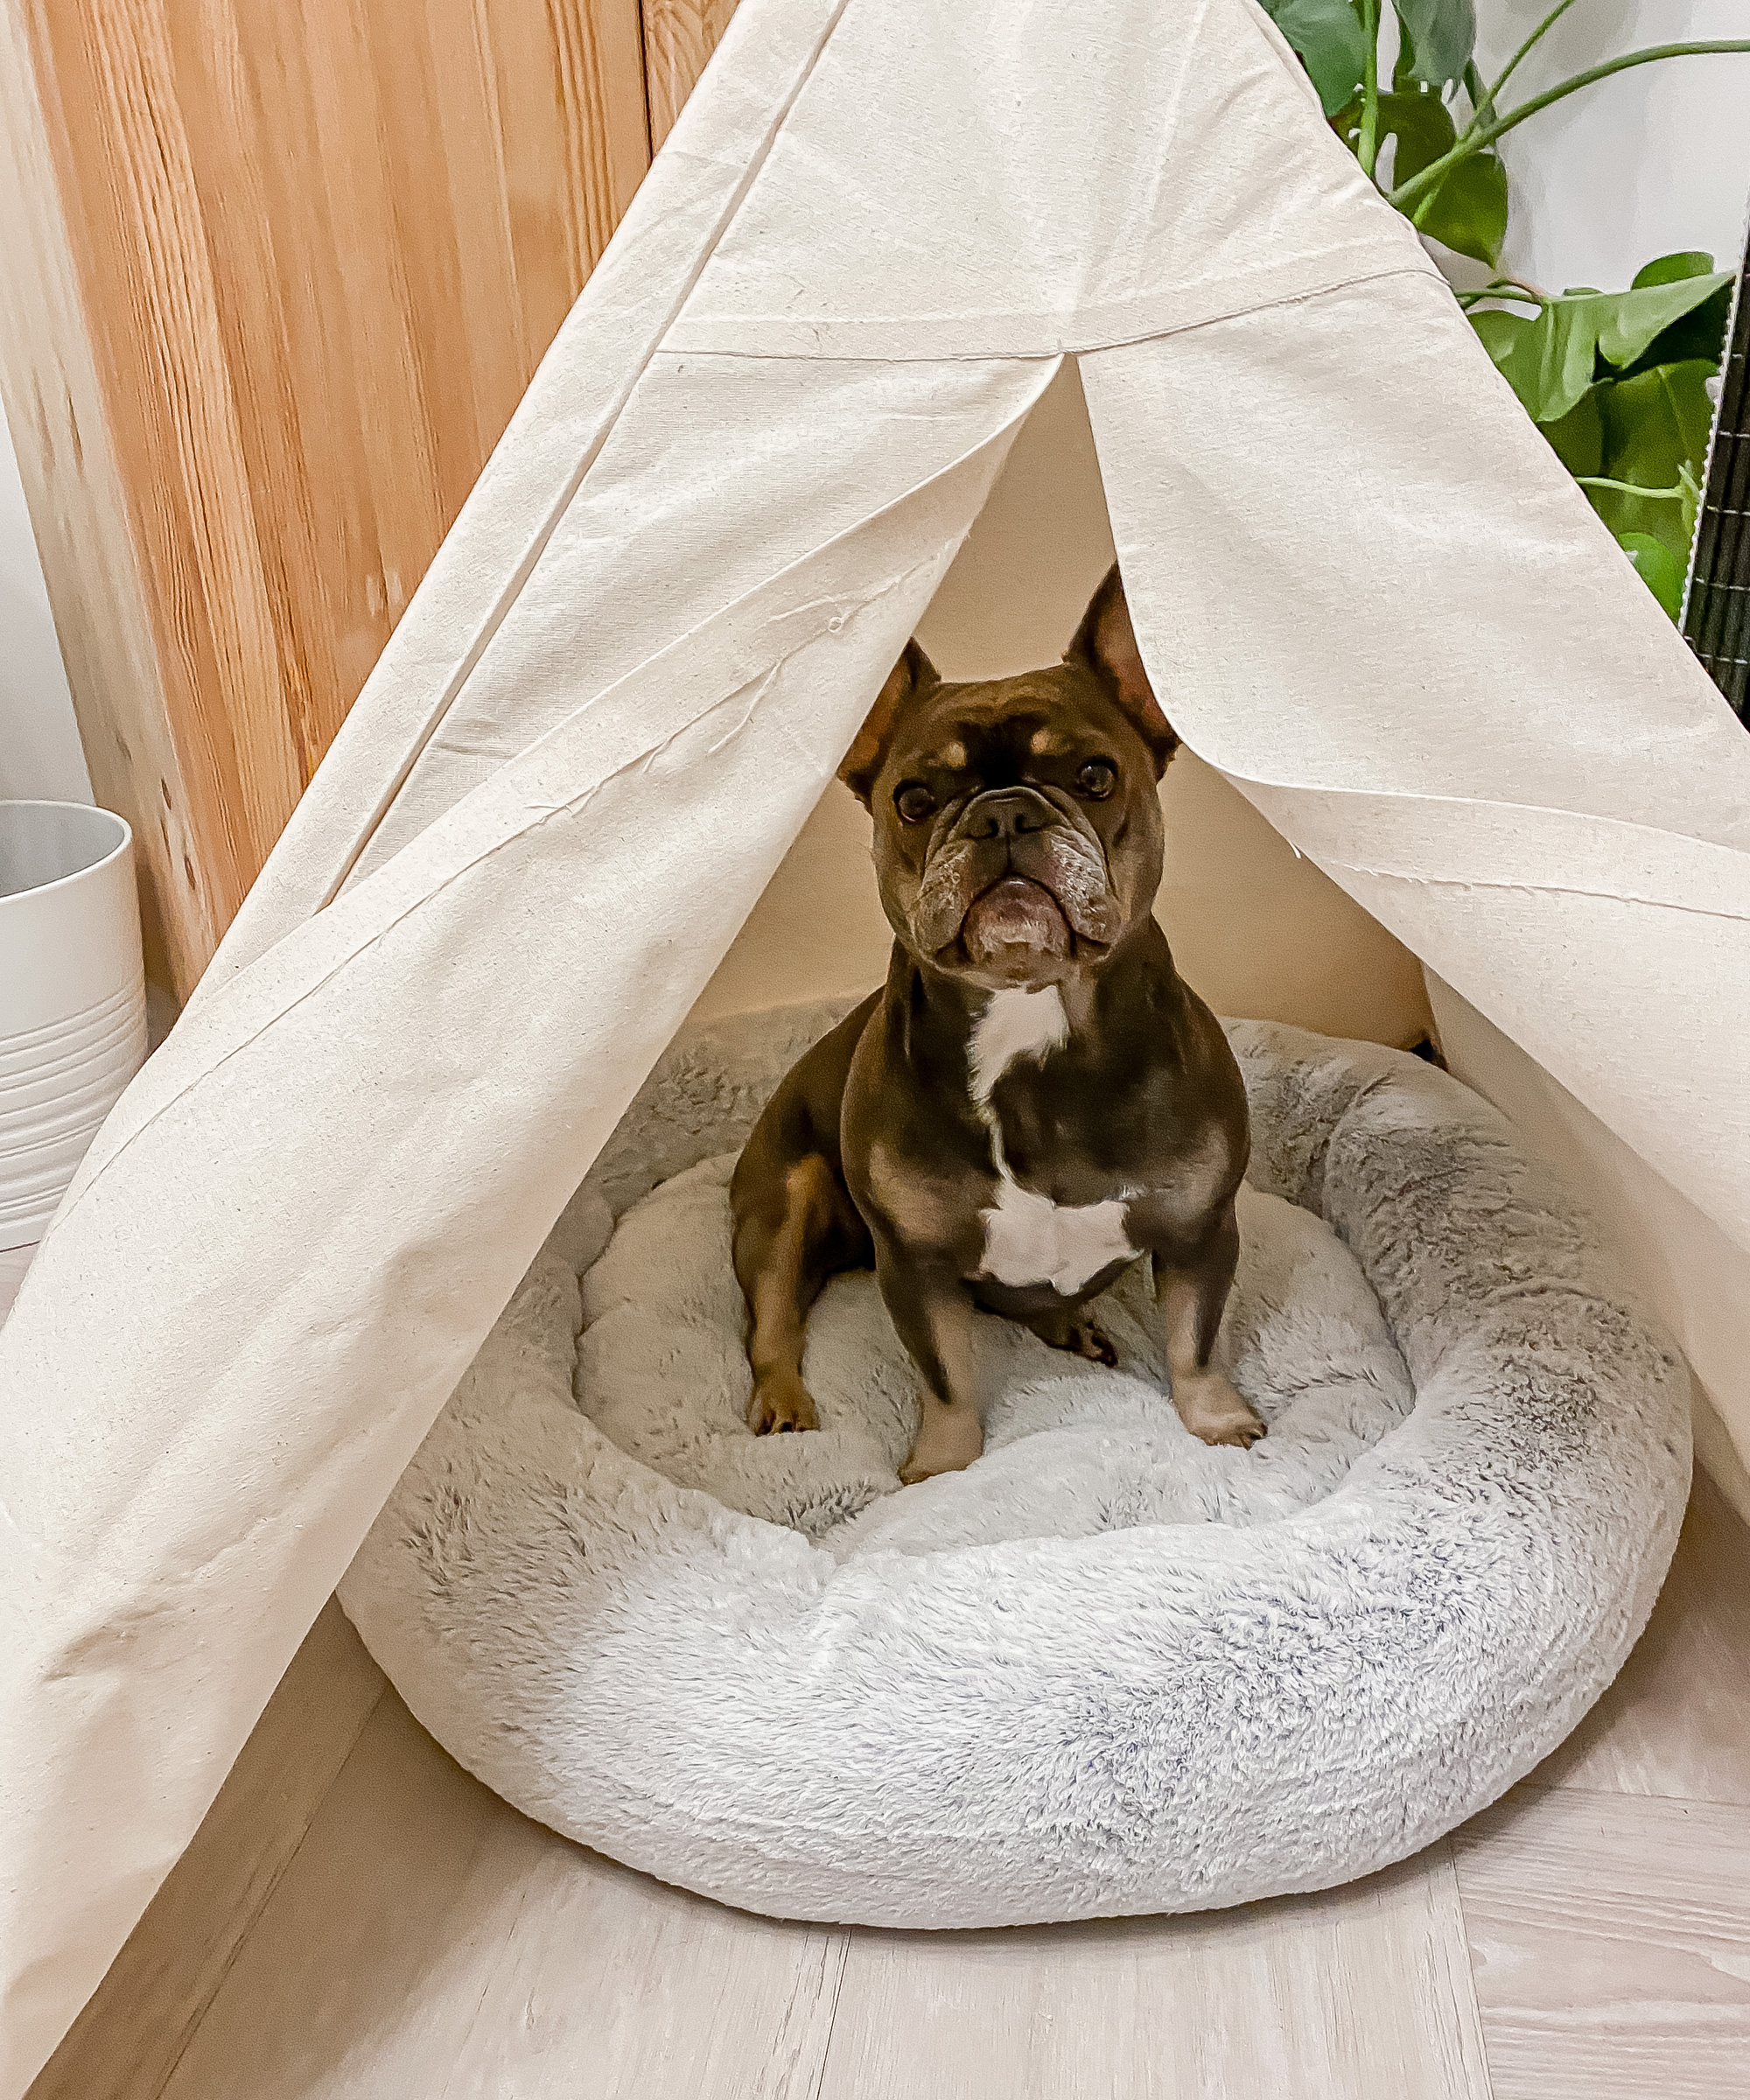
Once you’ve tied the sticks together, it’s time to drape the tent over them, ensuring the connected seams line up with each stick so it sits perfectly in place. Hey presto, you’ve got your own little tepee tent. My dogs also loved it, so they got to sleep in it for a few days too.
8. Sew ties and seams (optional)
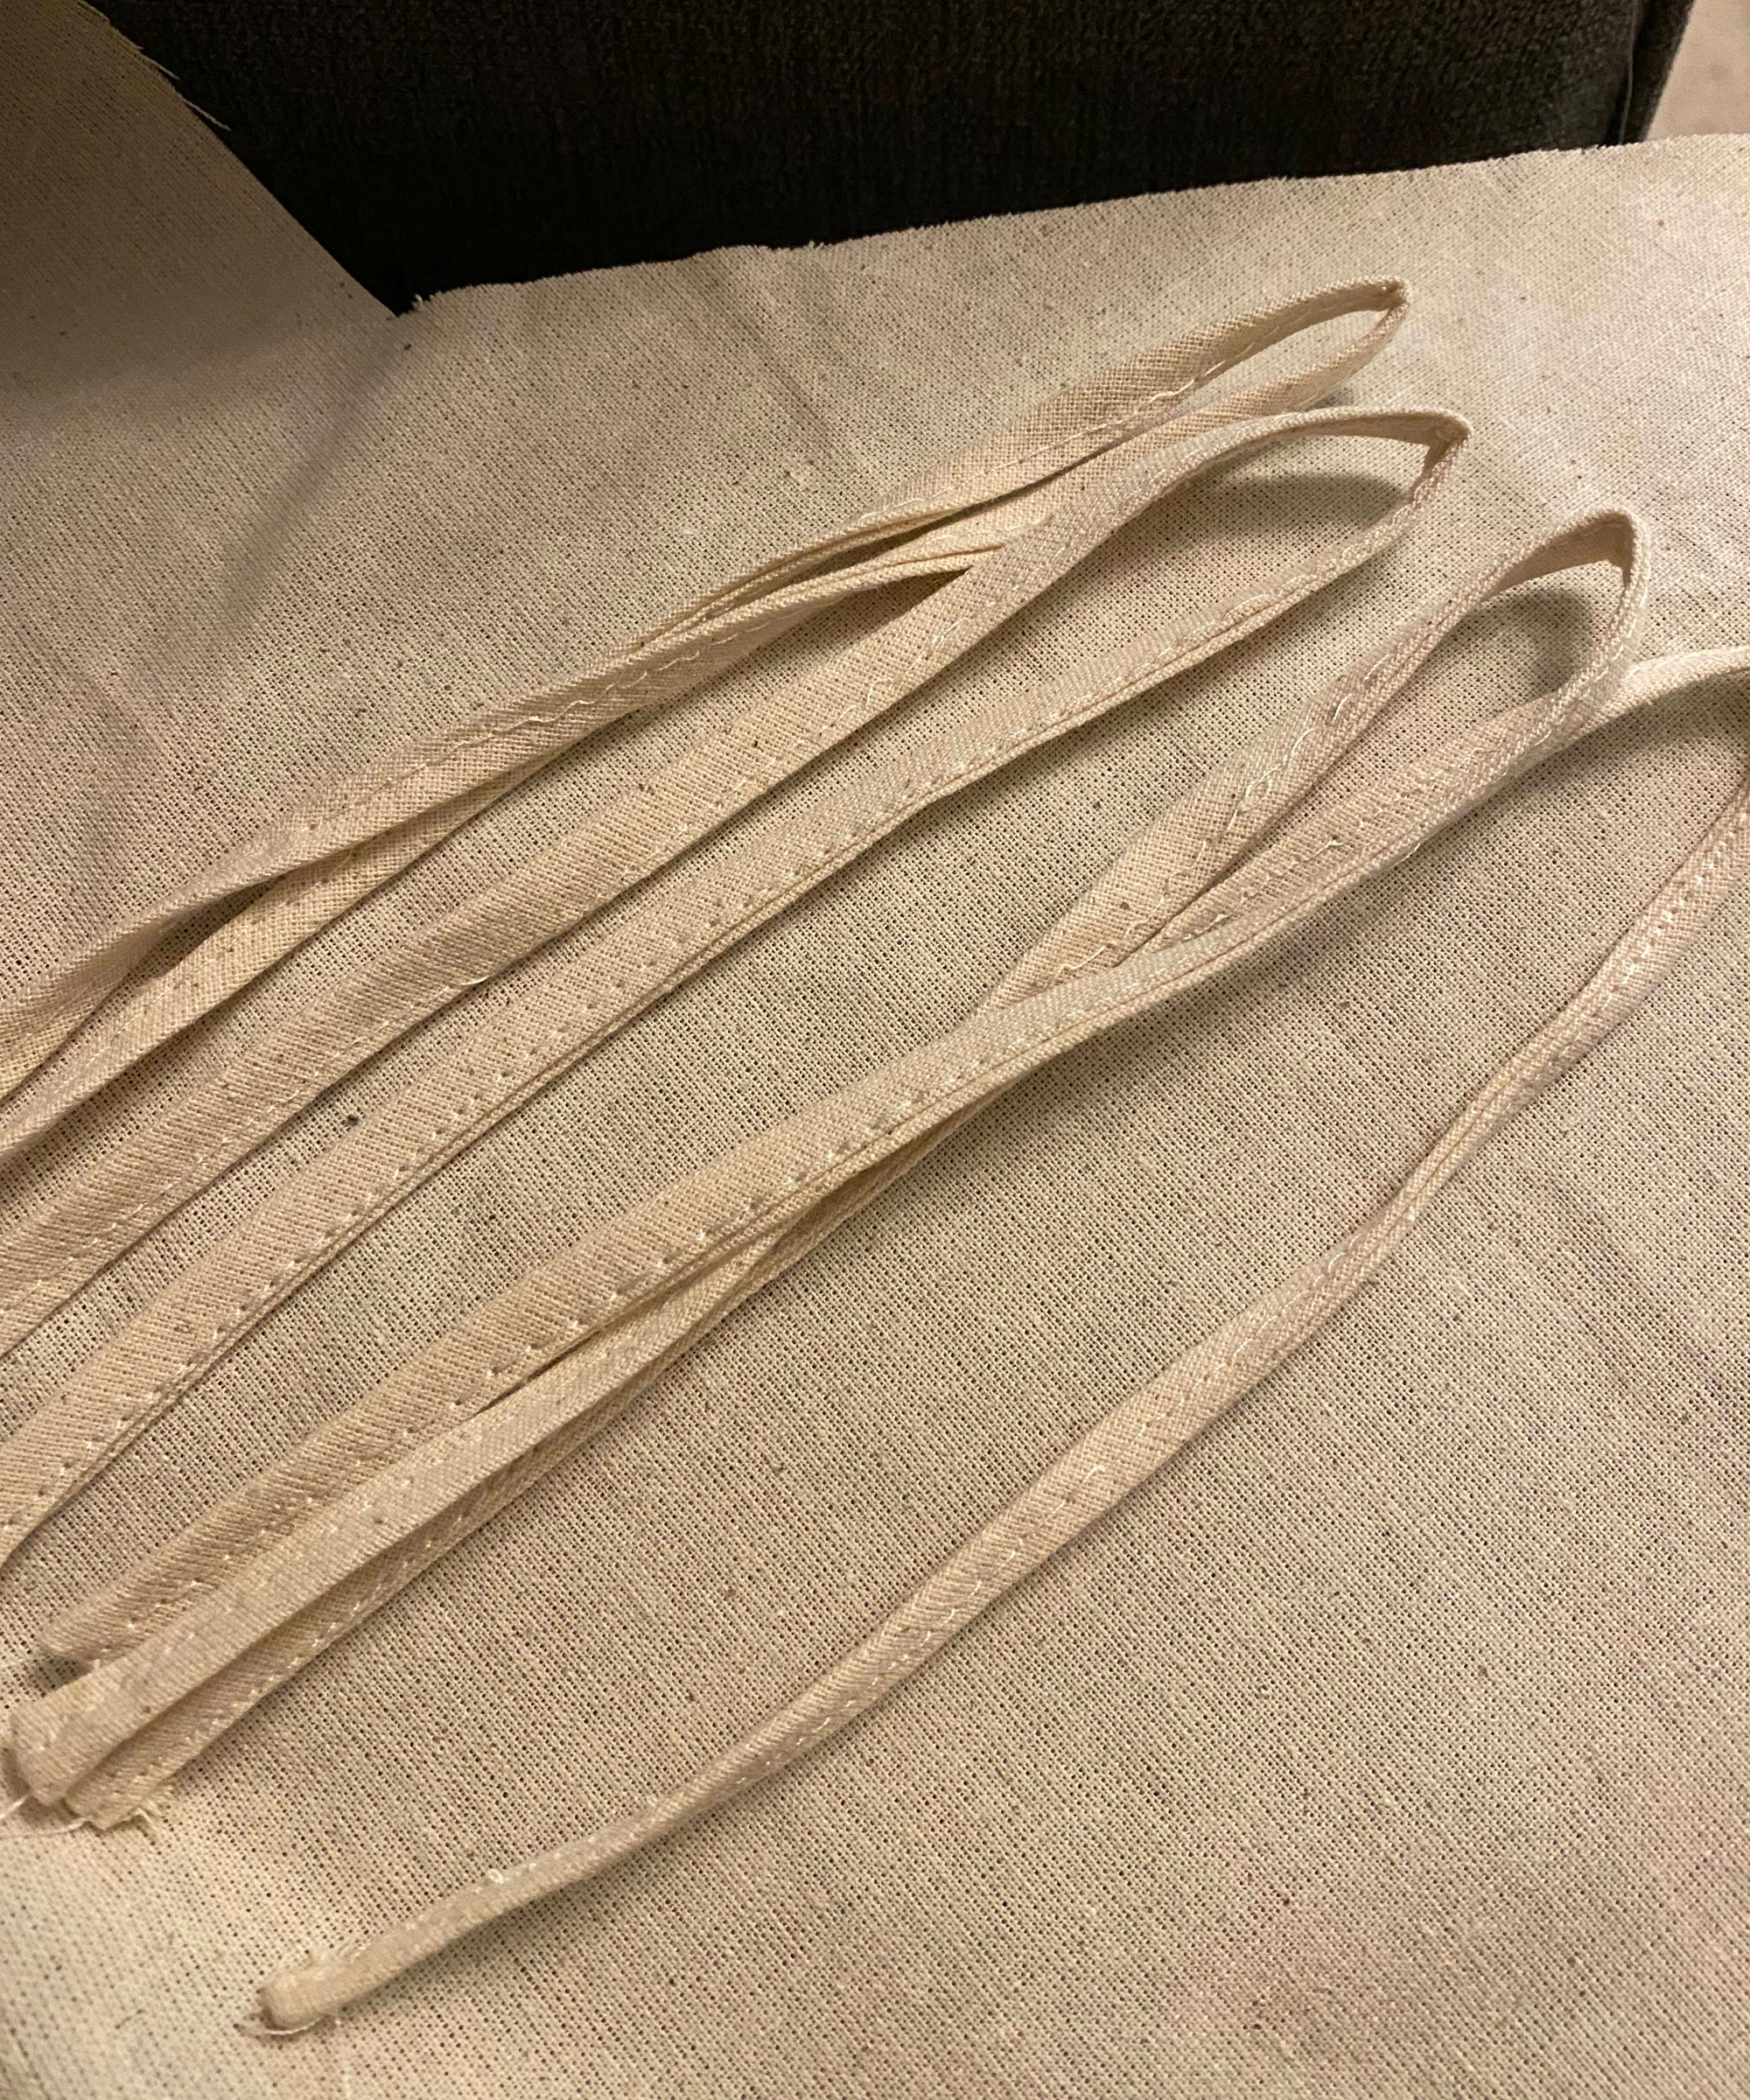
For the sewn version, to make it indestructible (I foresaw my dogs barrelling into it!), I used my small little sewing machine (try a reasonably priced sewing machine like this Singer sewing machine on Amazon) to run a stitch-up each join and seam to secure it.
I then used the offcuts to make 6 ties, folding a long piece of cotton fabric in half to crease it, and then folded it in on itself again, securing it with a running stitch down the length and across the ends.
I then sewed them to each corner join flap, about 10cm up from the bottom so the tent could be tied to each stick. I also made some for the doors so it could be tied shut. This helps keep the material in place and gives it that added little finish.
You can use a fun colored light projector in a dark room to play pretend like you’re outside camping or give some bright sensory time for your small baby.
Or you can create a little Montessori bed or reading nook with it, or even use it outside as shelter in the summer at a picnic, or have a little tea party or sleepover – the possibilities are endless and will be the perfect handmade gift for your little one, whether you iron it or sew it together.
For Jasmine's full video tutorial, head over to her Instagram highlights – and check back soon for her next DIY tutorial on Real Homes.
Join our newsletter
Get small space home decor ideas, celeb inspiration, DIY tips and more, straight to your inbox!
Jasmine Gurney is a DIY pro, inspiring women with power tools via her home improvement blog Oh Abode and on Realhomes.com.
-
 An IKEA Billy bookcase hack inspired this cute media wall DIY
This cute DIY was inspired by an IKEA Billy bookcase hack and brought a ton of symmetry to an otherwise basic media wall space.
By Camille Dubuis-Welch Published
-
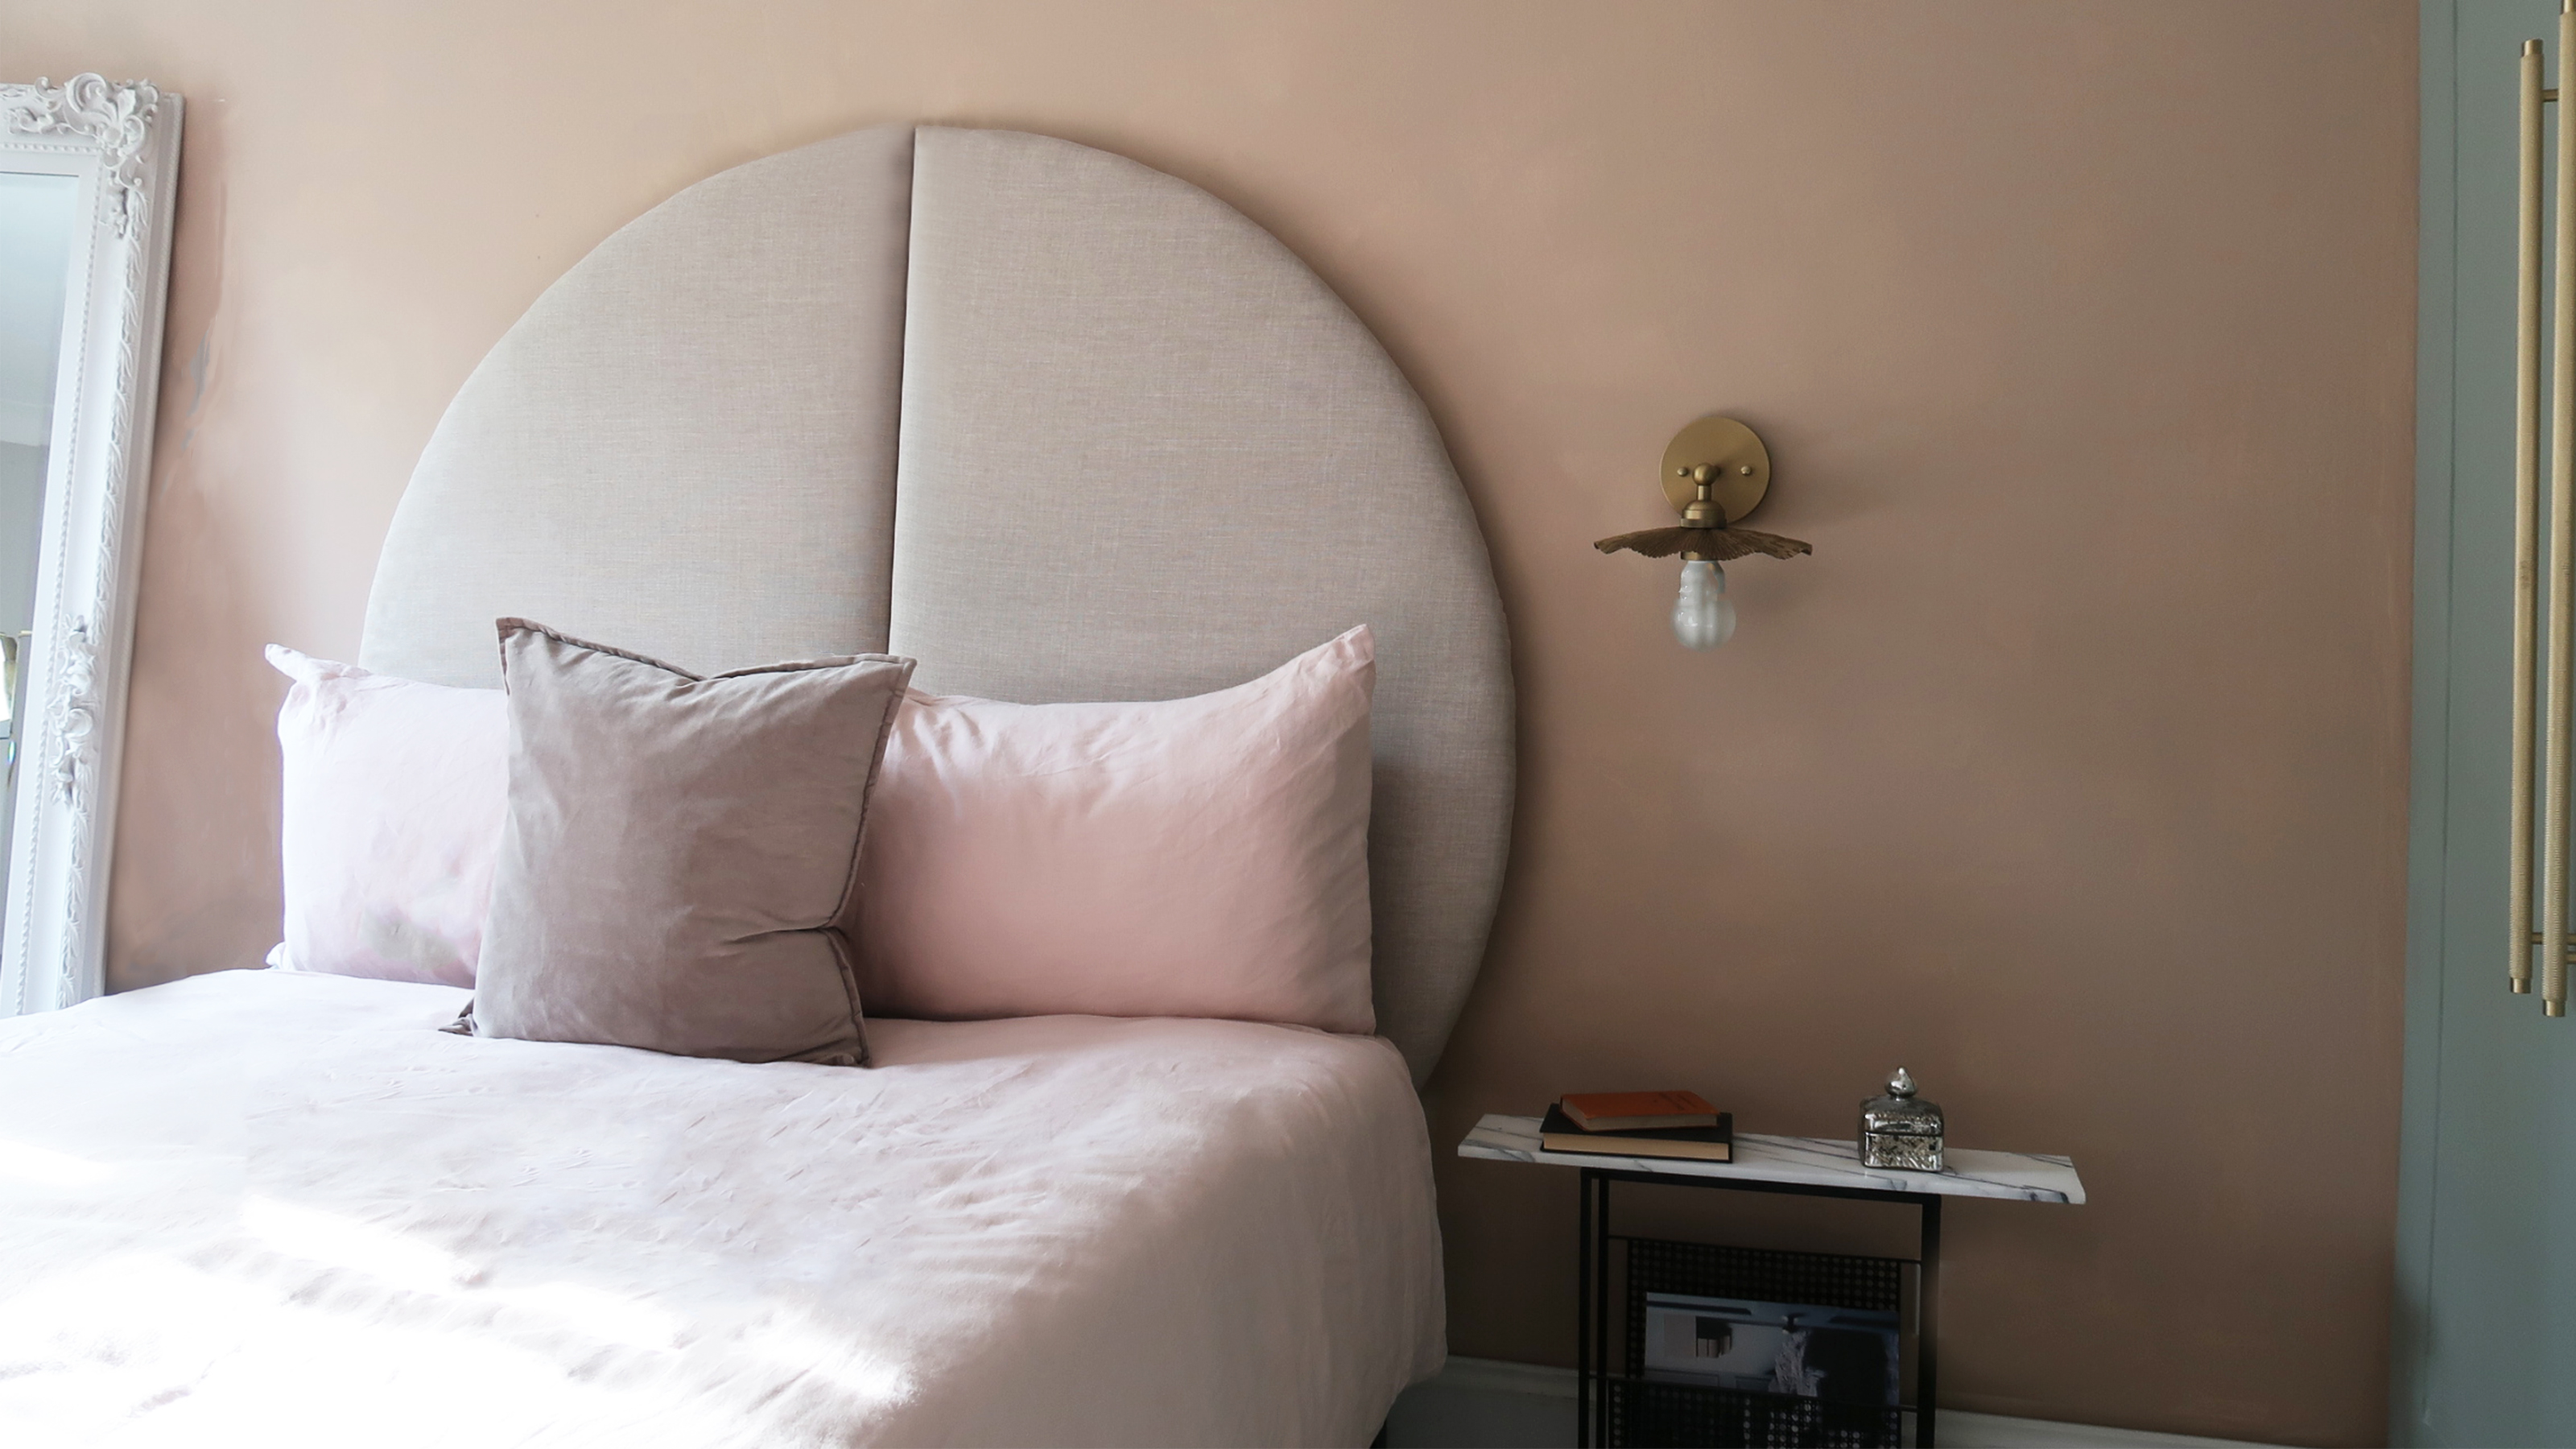 This oversized headboard looks designer, and takes 5 steps to DIY
Super simple to DIY, this oversized headboard will give your bedroom space all the designer vibes you could dream of.
By Claire Douglas Published
-
 How to paint a door and refresh your home instantly
Painting doors is easy with our expert advice. This is how to get professional results on front and internal doors.
By Claire Douglas Published
-
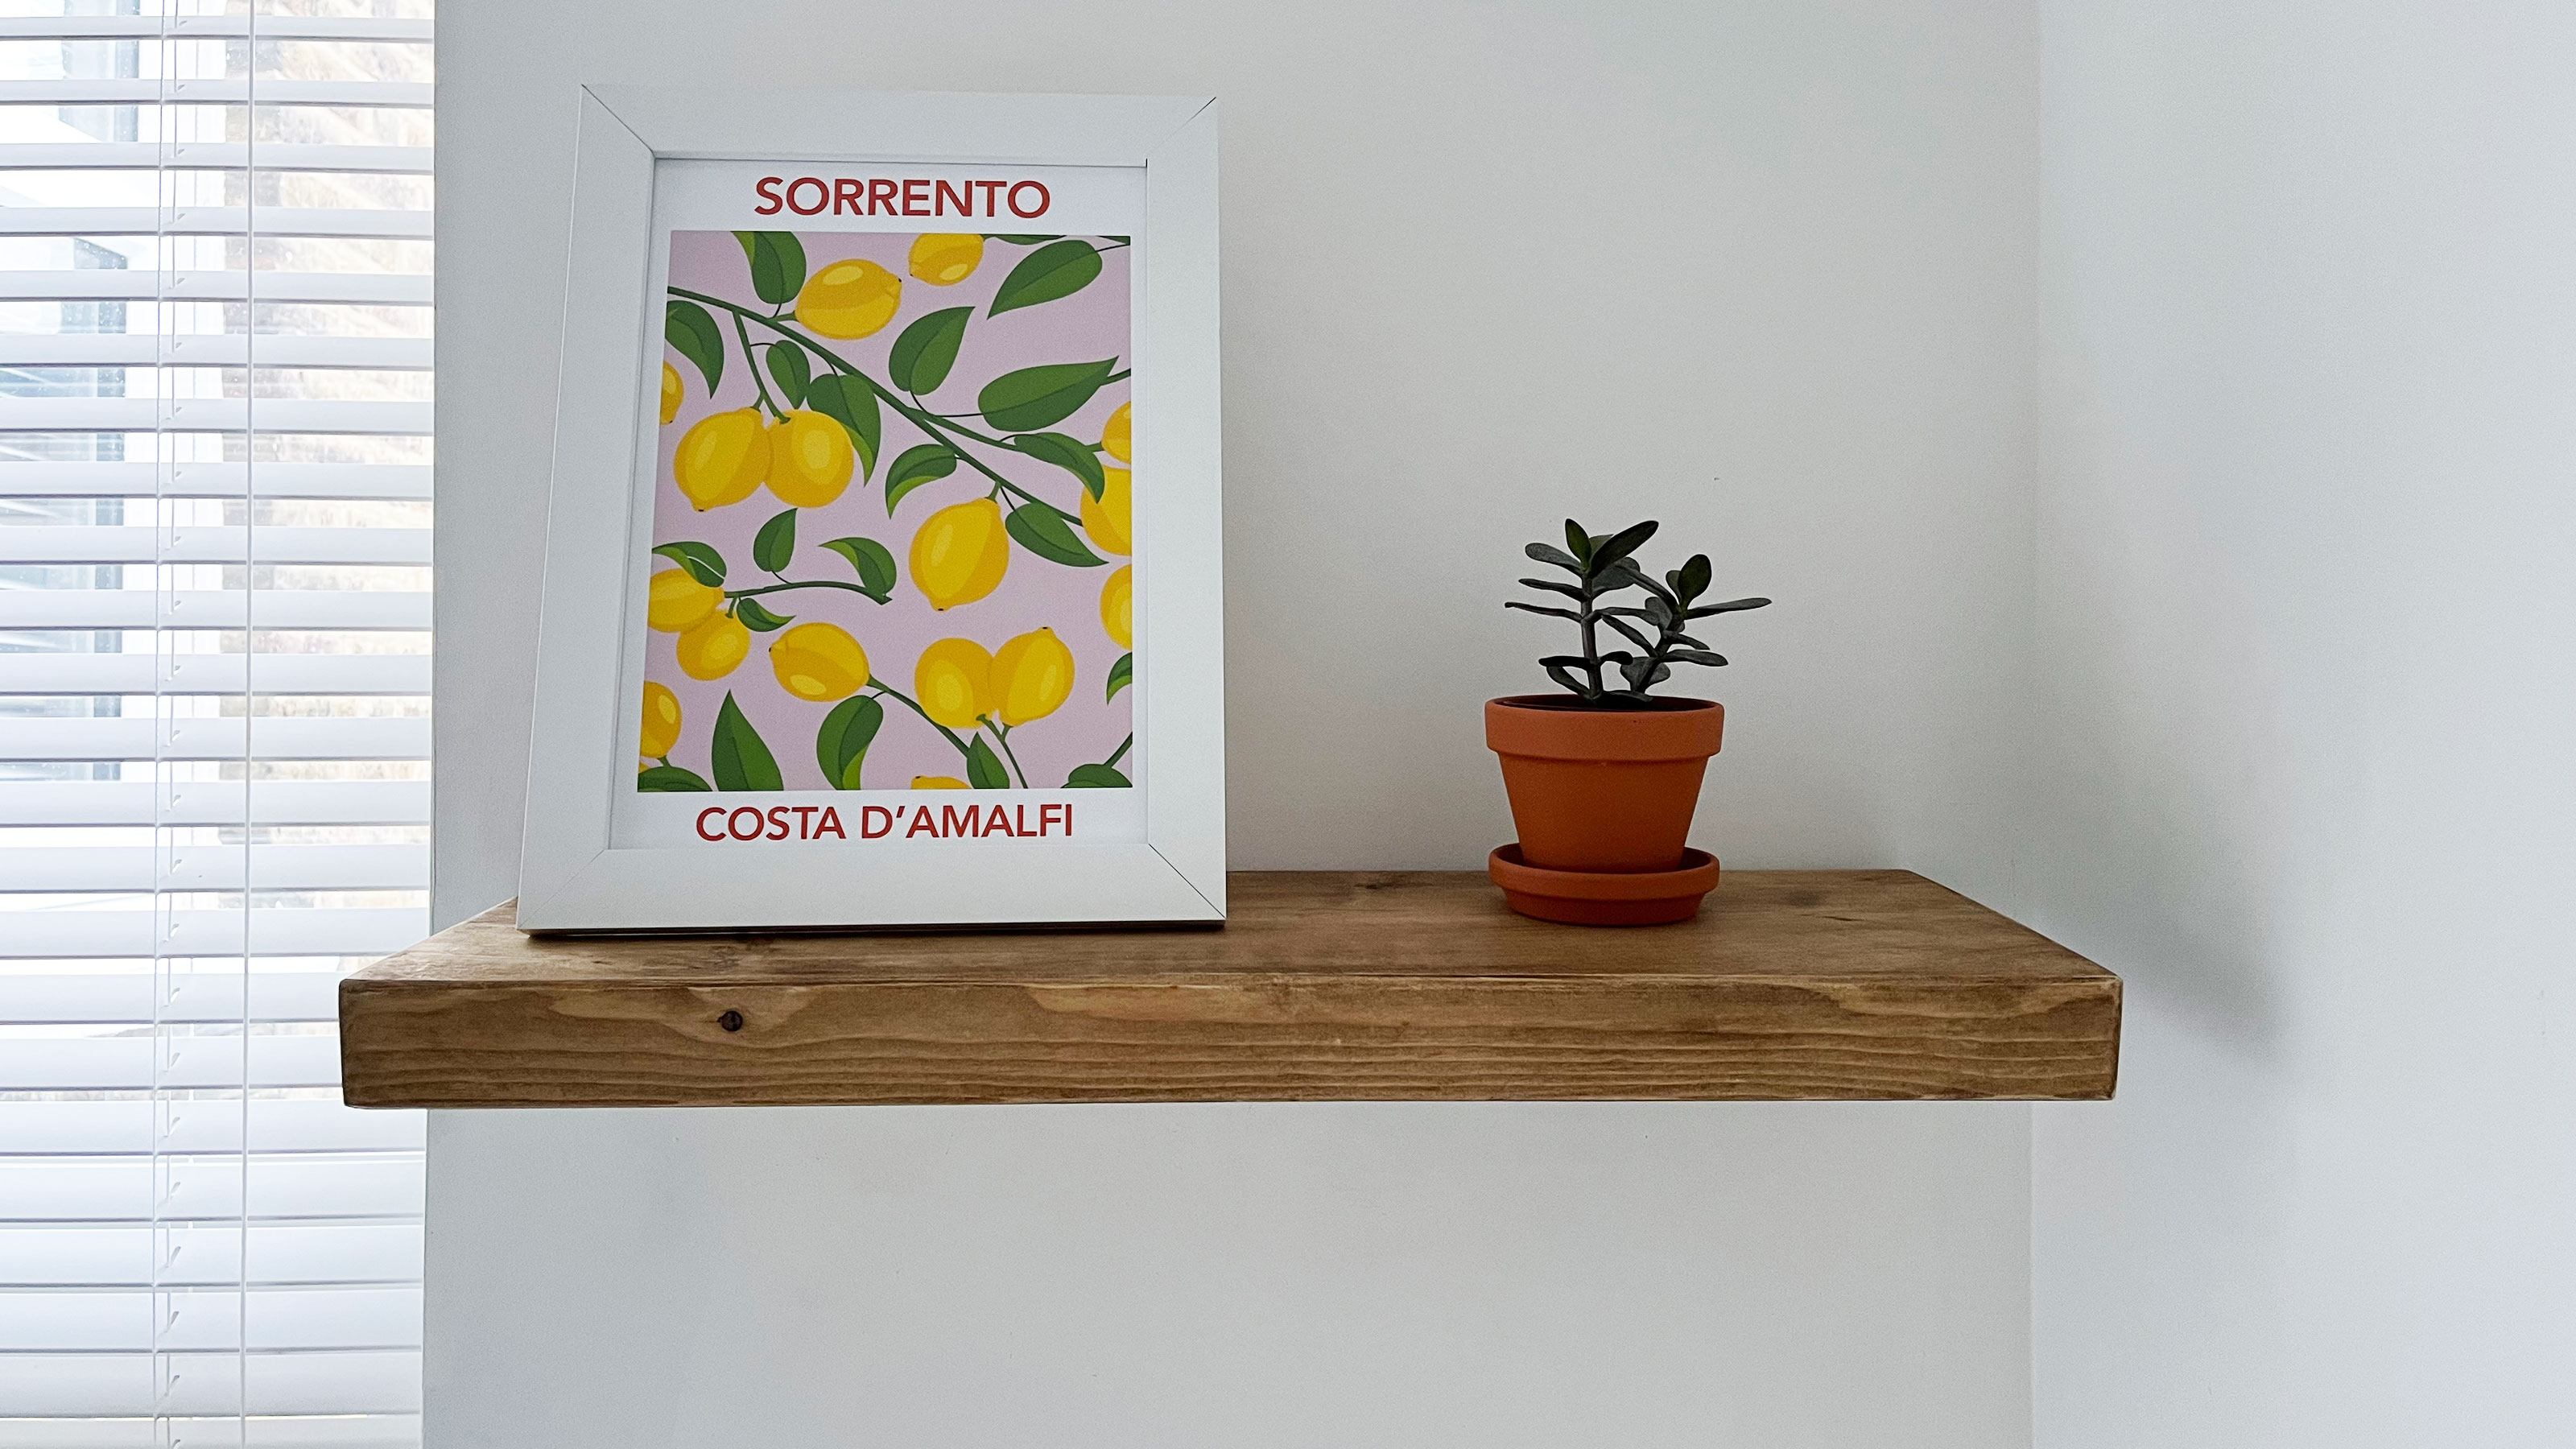 How to install and style a floating shelf
Installing a floating shelf can add instant design interest to your home. Dress yours with artwork, houseplants, and books for the perfect finish.
By Camille Dubuis-Welch Last updated
-
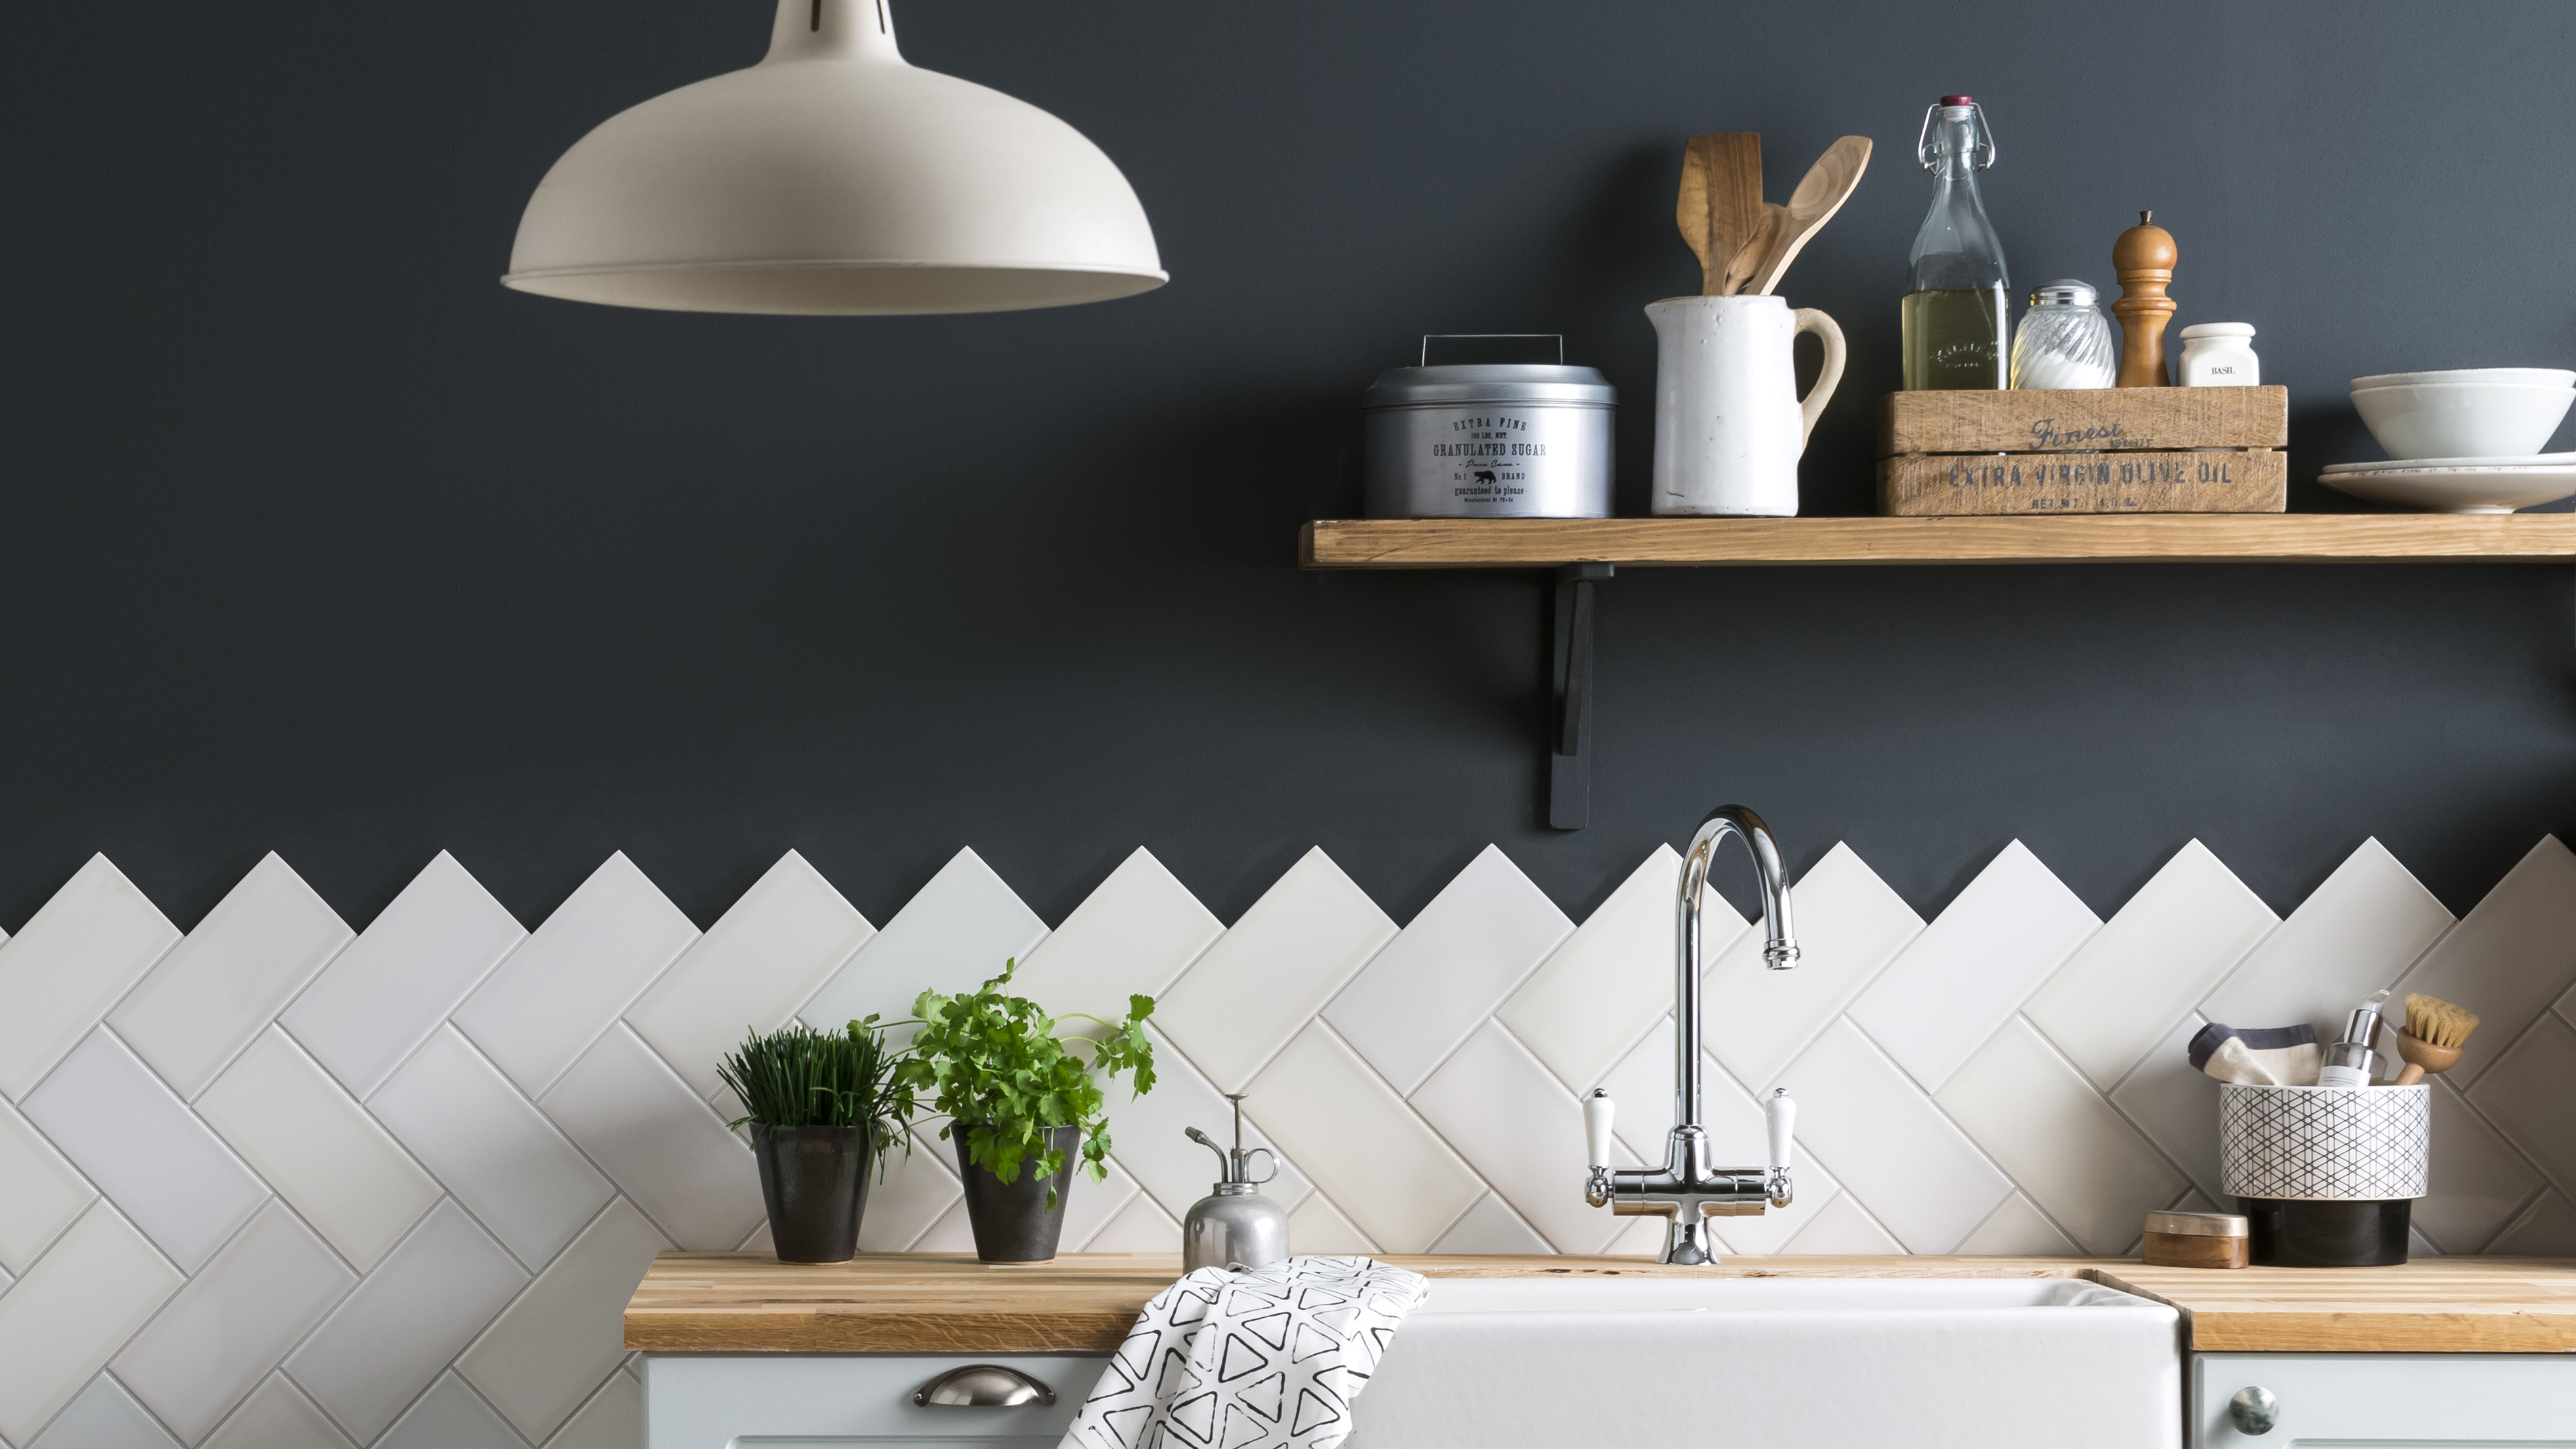 How to tile a backsplash: a DIY guide for beginners
Knowing how to tile a backsplash will make a big difference to the look and function of your kitchen. DIY to save on the cost of calling in a professional.
By Emily Shaw Published
-
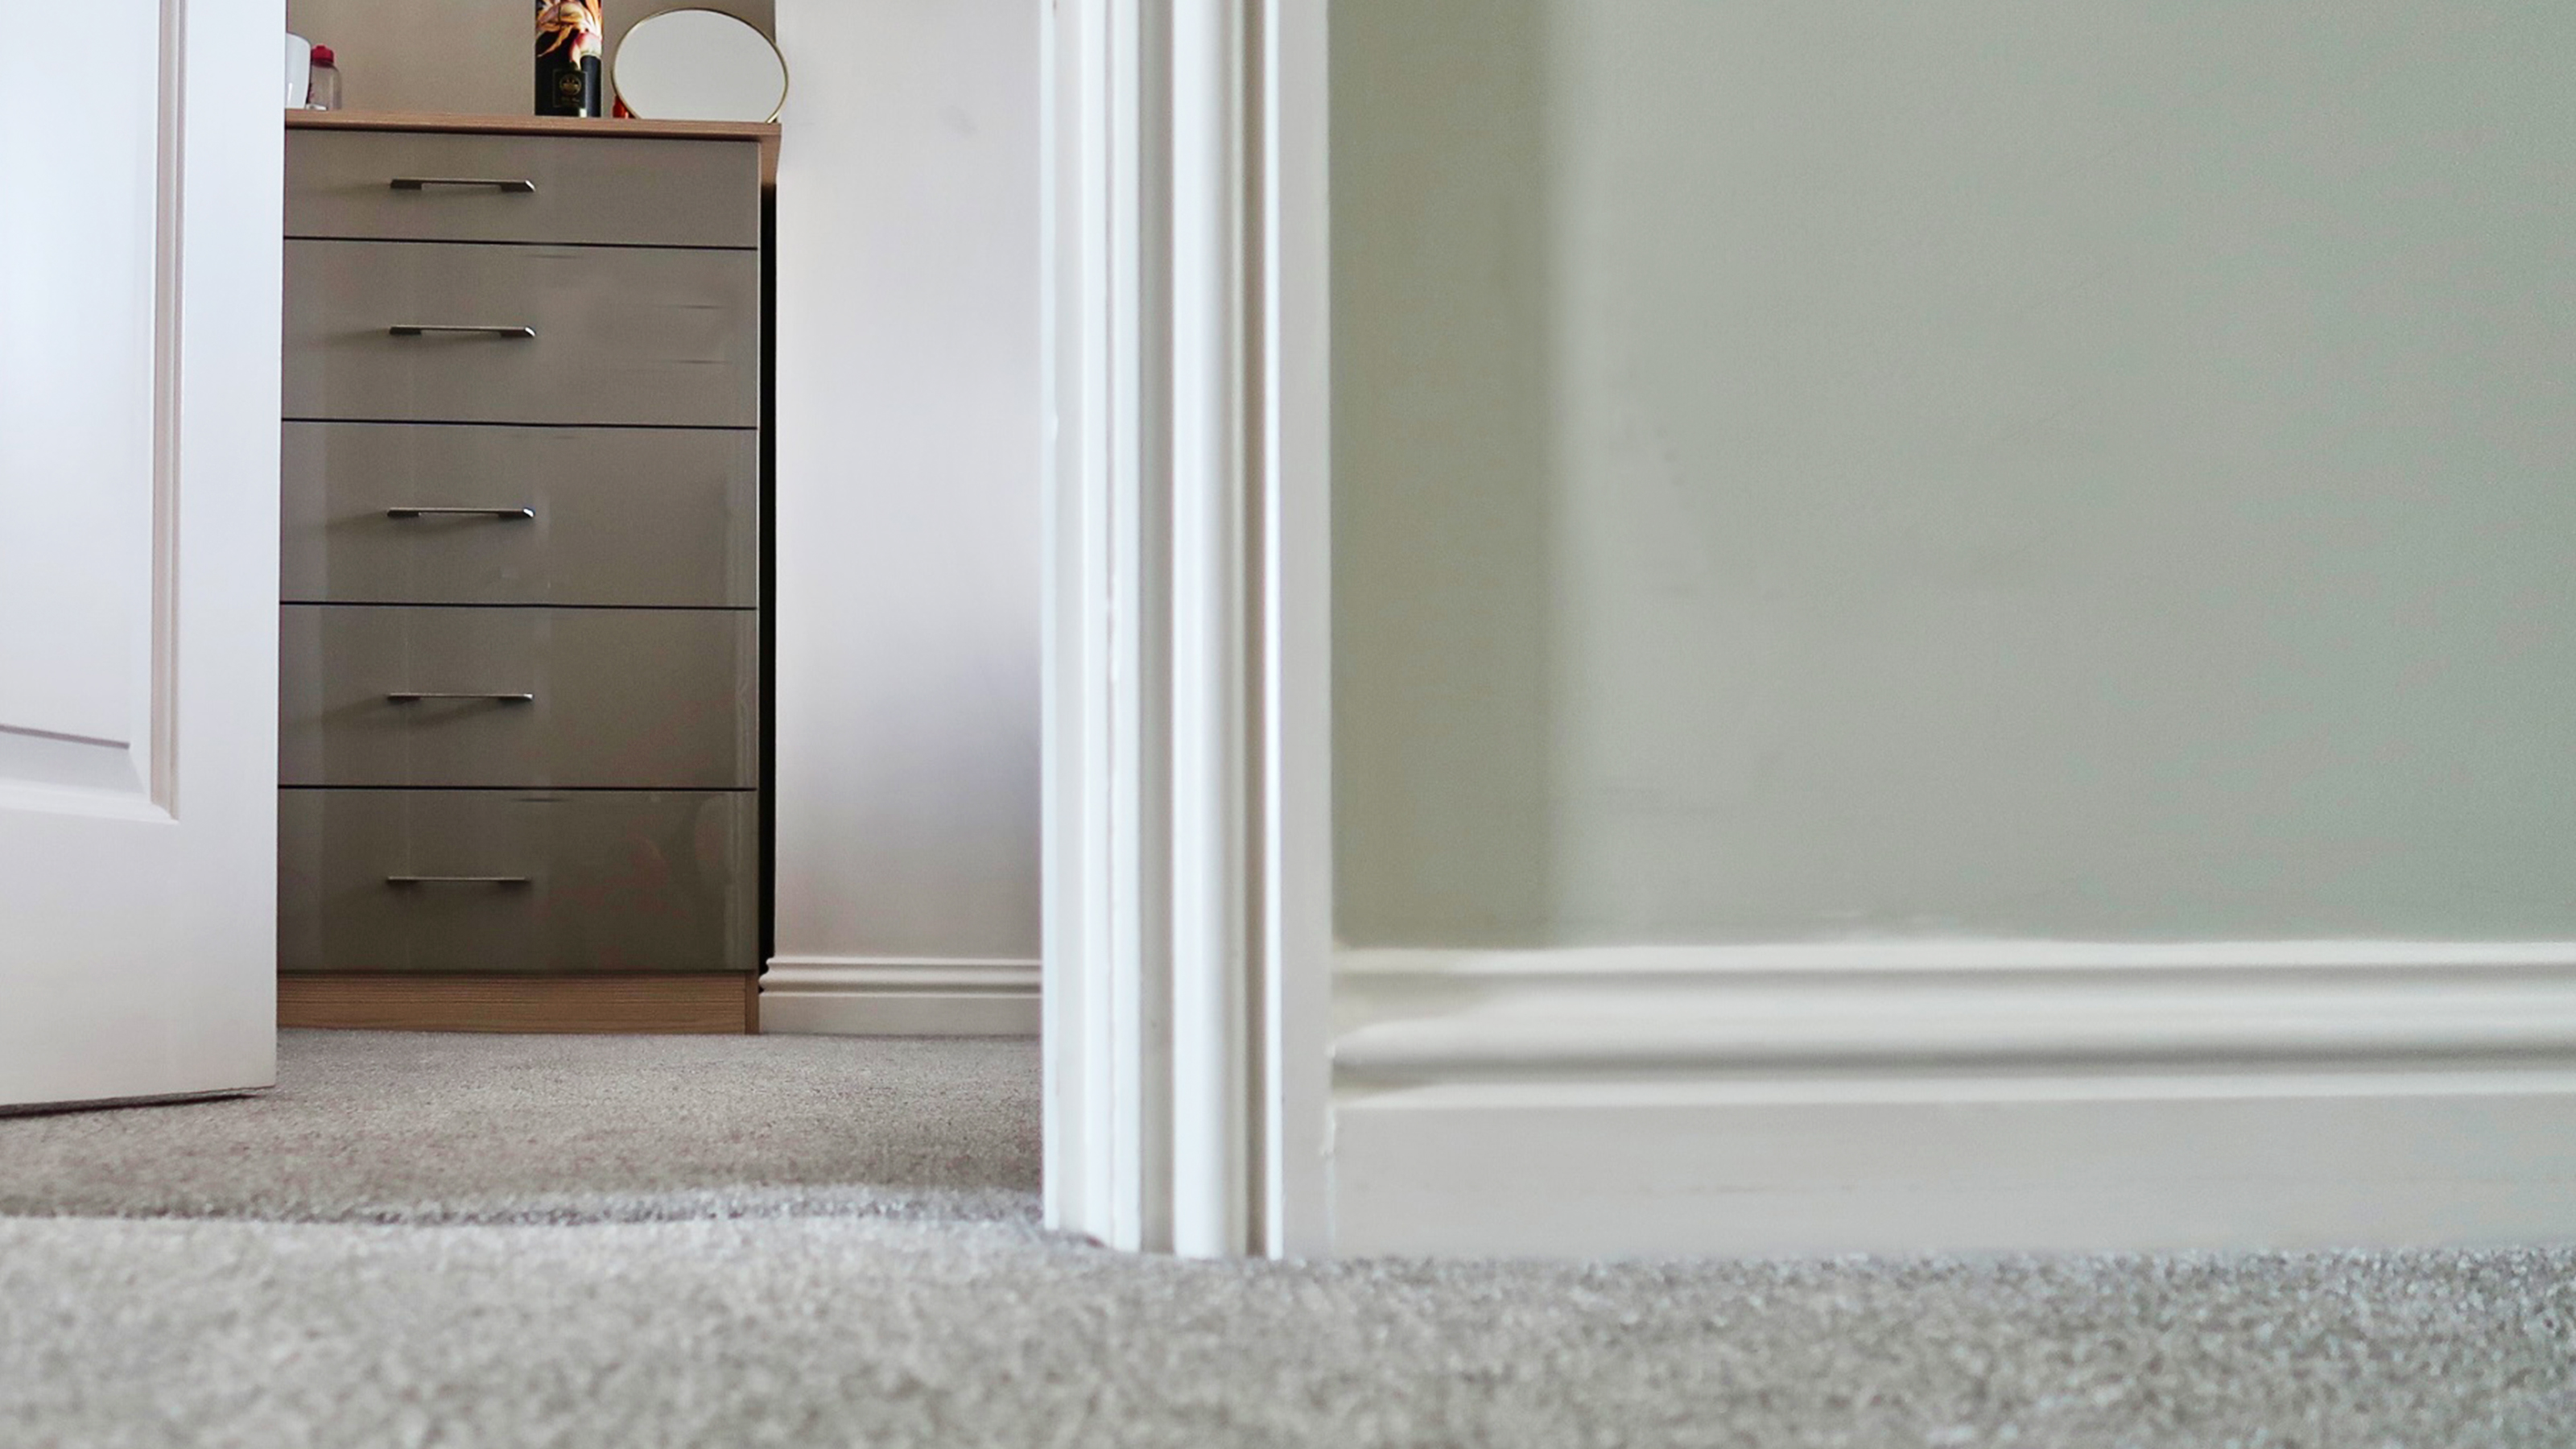 How to install baseboards: a simple 10-step DIY
Installing baseboards is an achievable DIY with the right know-how to ensure you get a professional finish, whether you're updating a living room or refining a home addition.
By Hebe Hatton Published
-
 18 home DIY project ideas for instant aesthetic appeal
Transform your surroundings with these home DIY projects that will make all the difference to your space, big or small
By Camille Dubuis-Welch Last updated
-
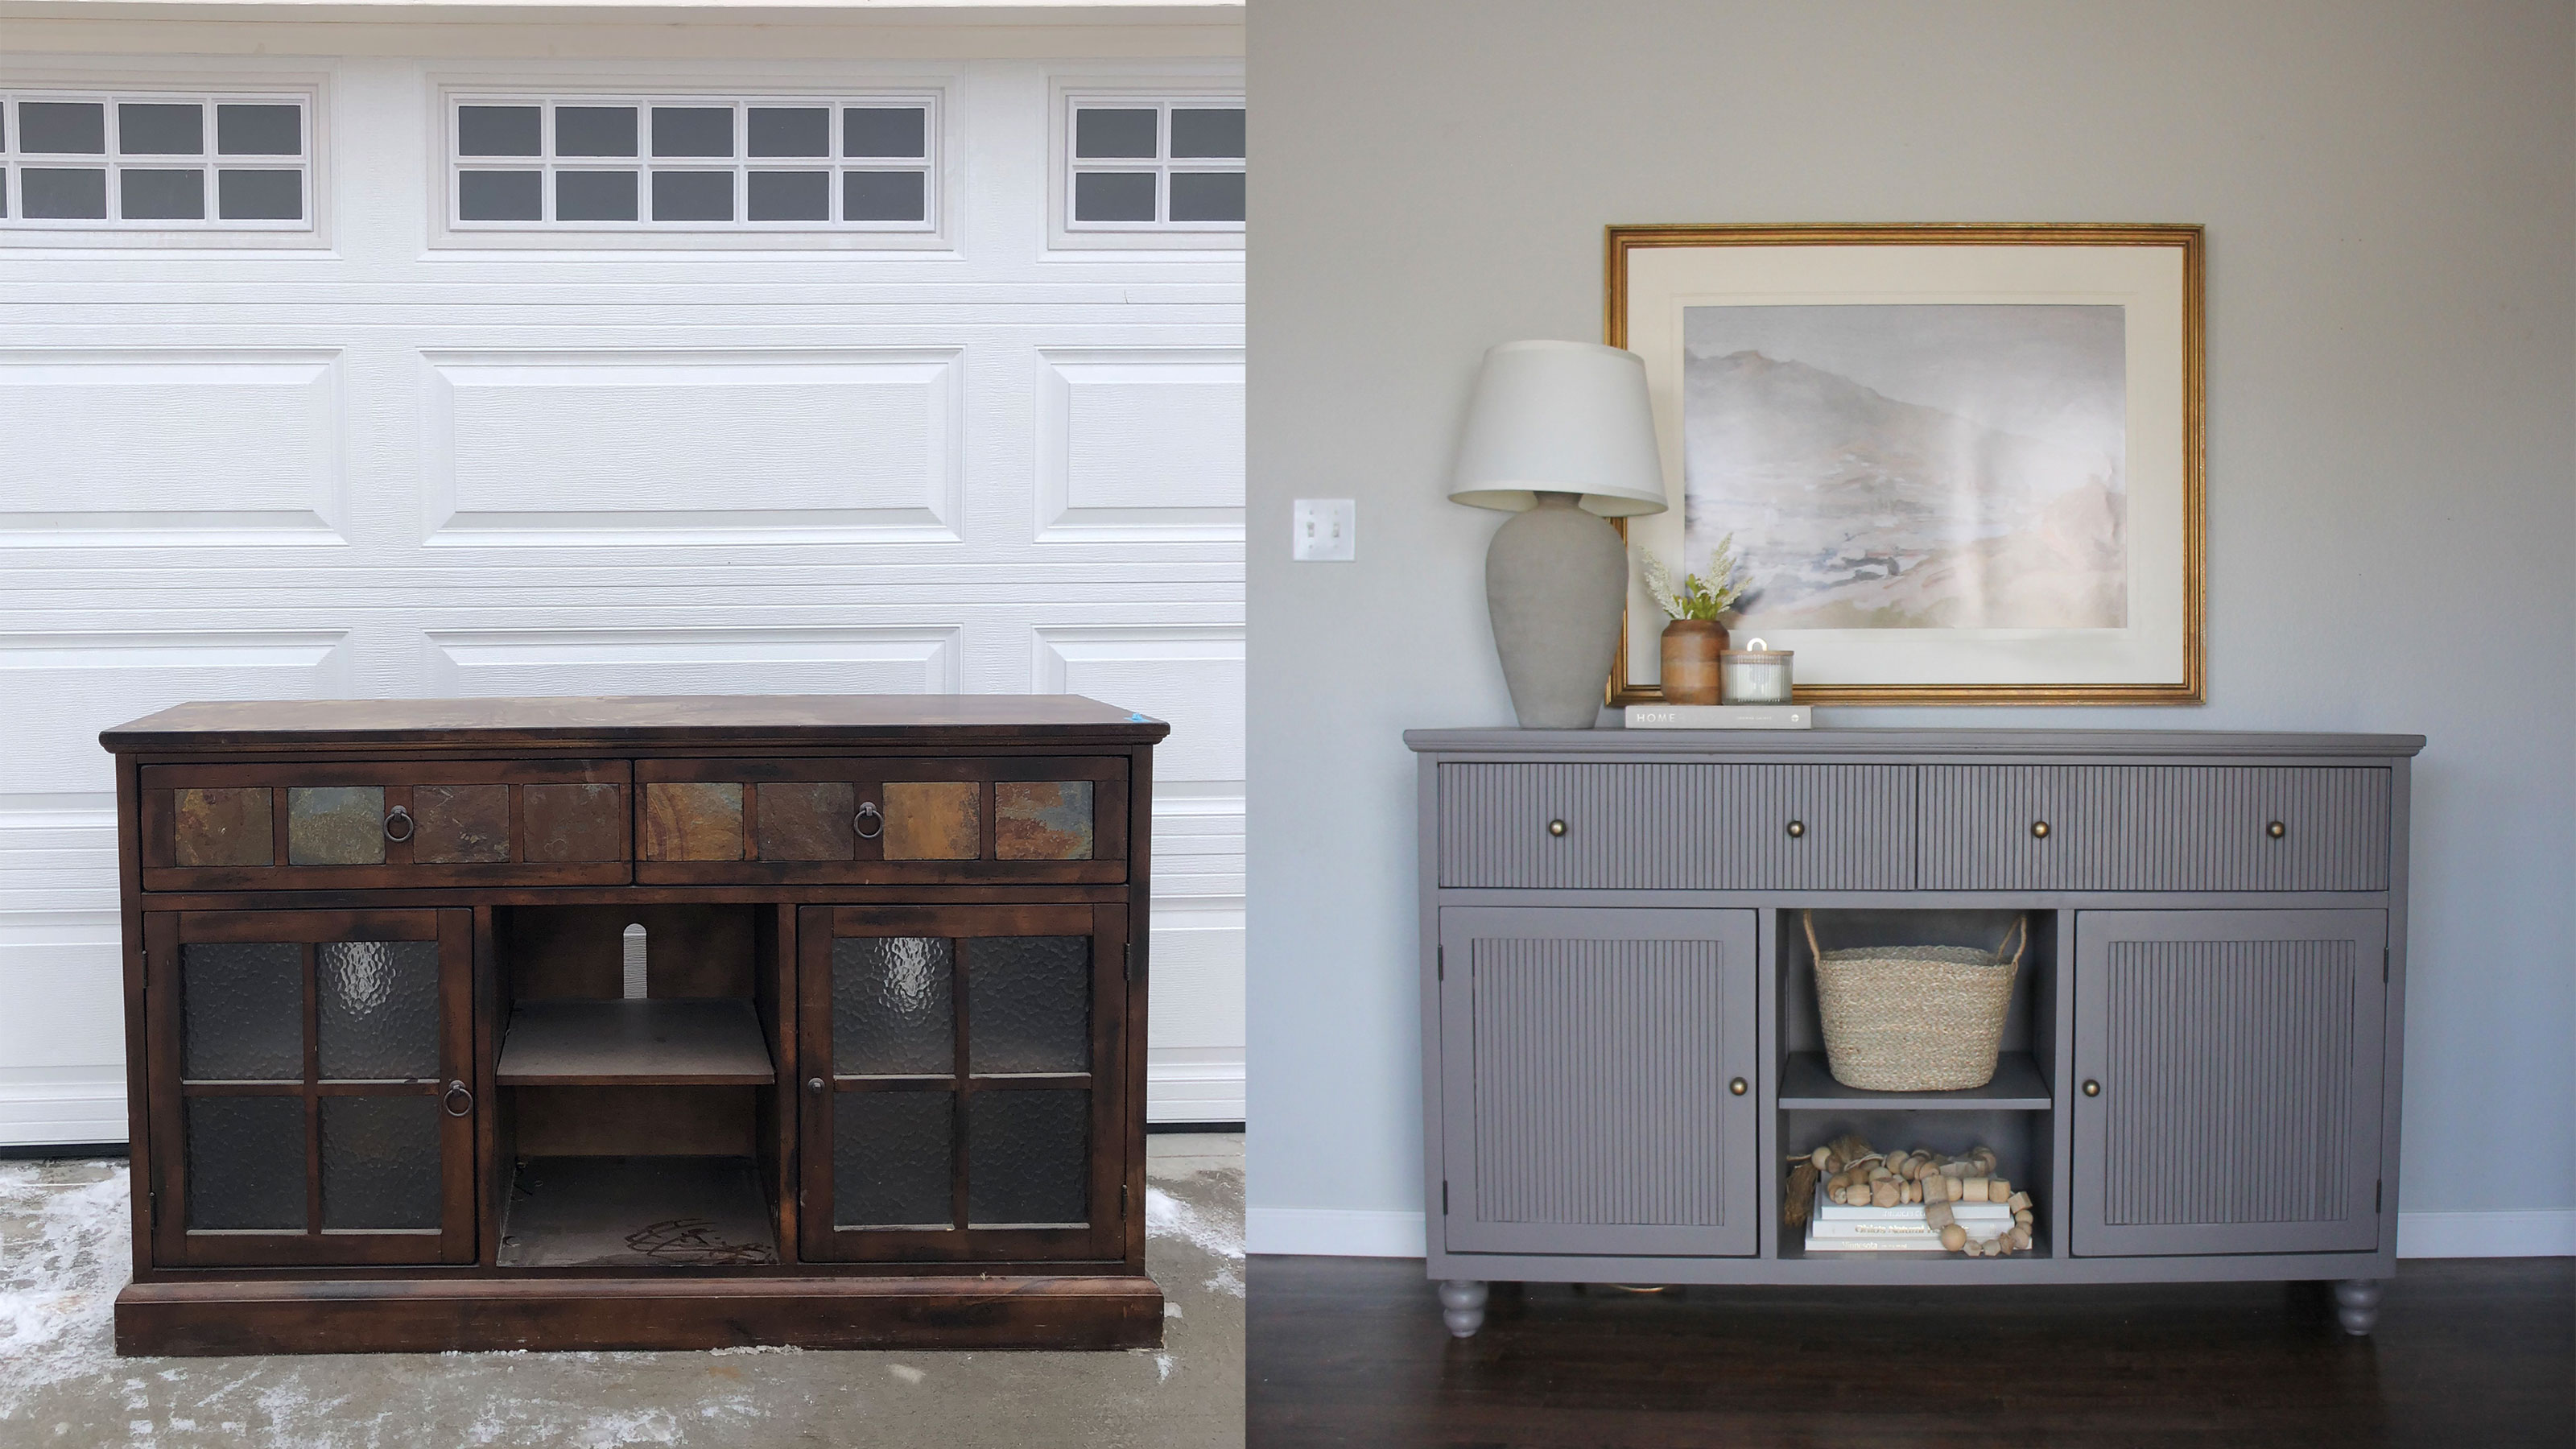 How to pole wrap a cabinet for a modern furniture transformation
DIYer Leslie Jarrett shows us how to pole wrap a cabinet and paint it for a modern glow up on a thrifted TV console
By Camille Dubuis-Welch Last updated