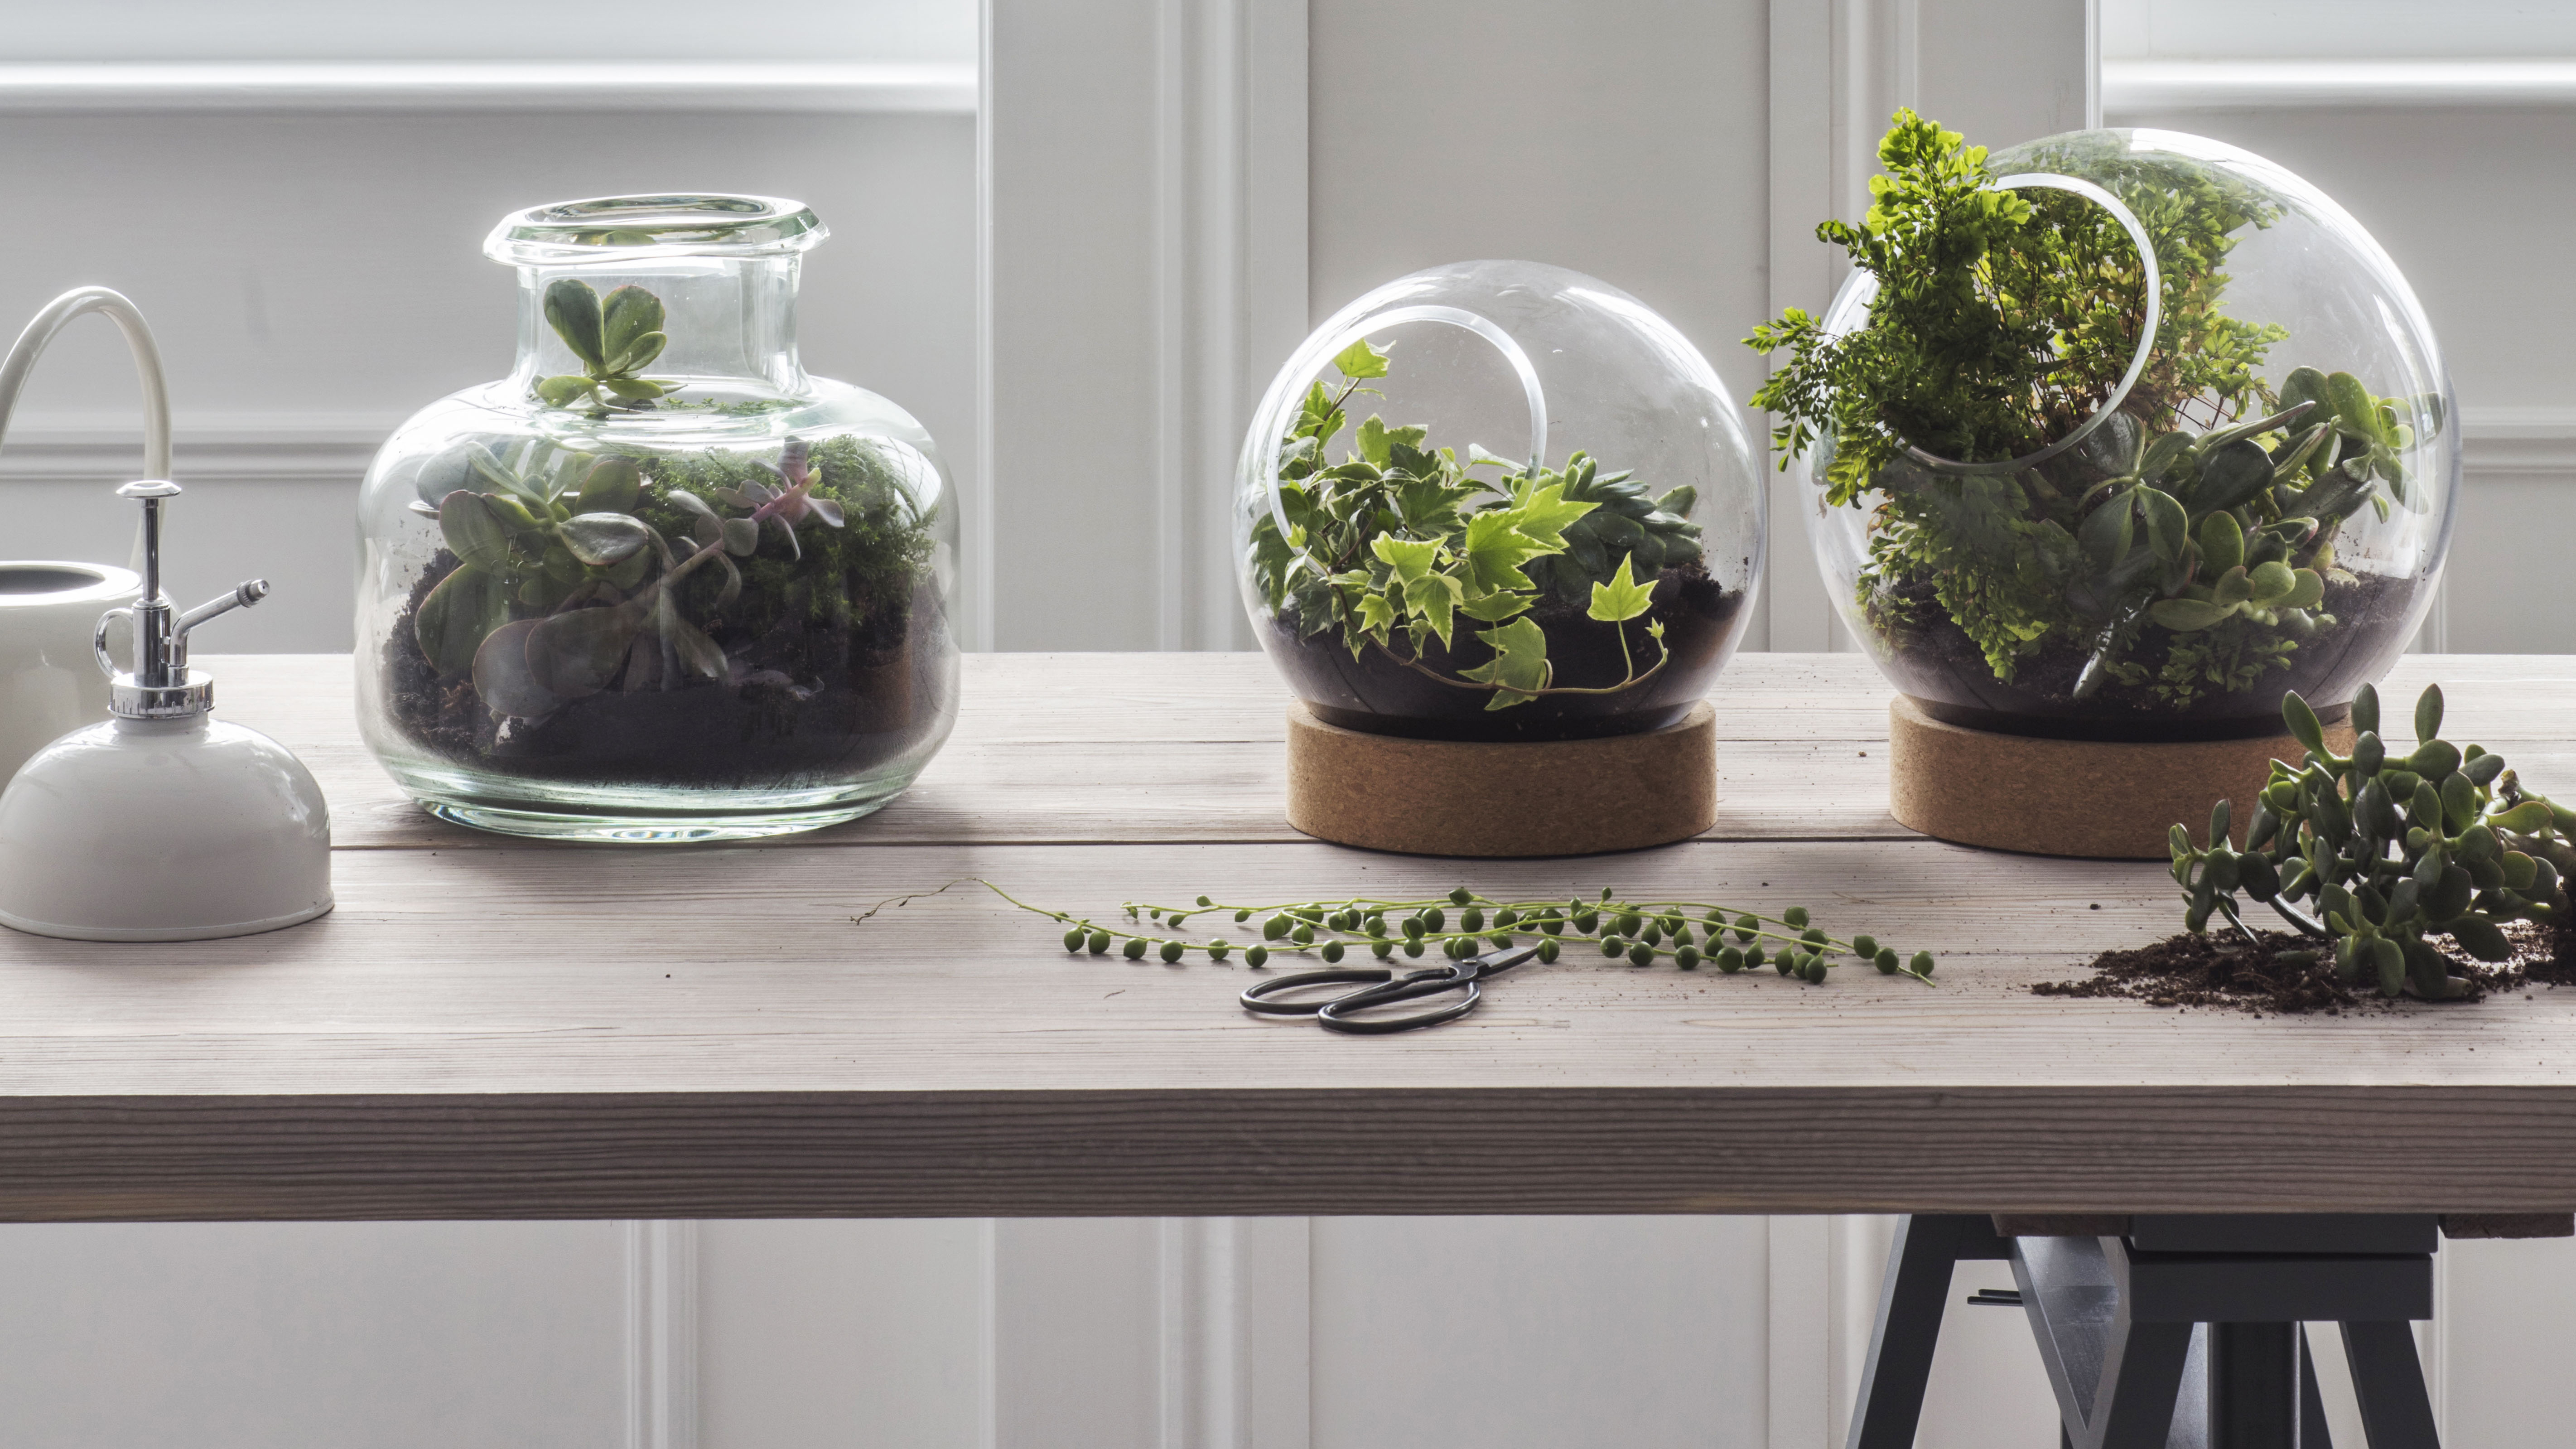

Homemade terrariums are a lovely means of creating a small cultivated and self-sustaining garden, inside. Whether you want to fill yours with succulents, flowering house plants, ferns, or all three, to create a textured and tropical environment – knowing how to make a terrarium yourself is a simple indoor gardening method that's budget-friendly too. Tailor yours to suit your home's style using our DIY below and watch your terrarium, big or small, work its magic.
- Find the best indoor plants for your terrarium project.
How do terrariums work?
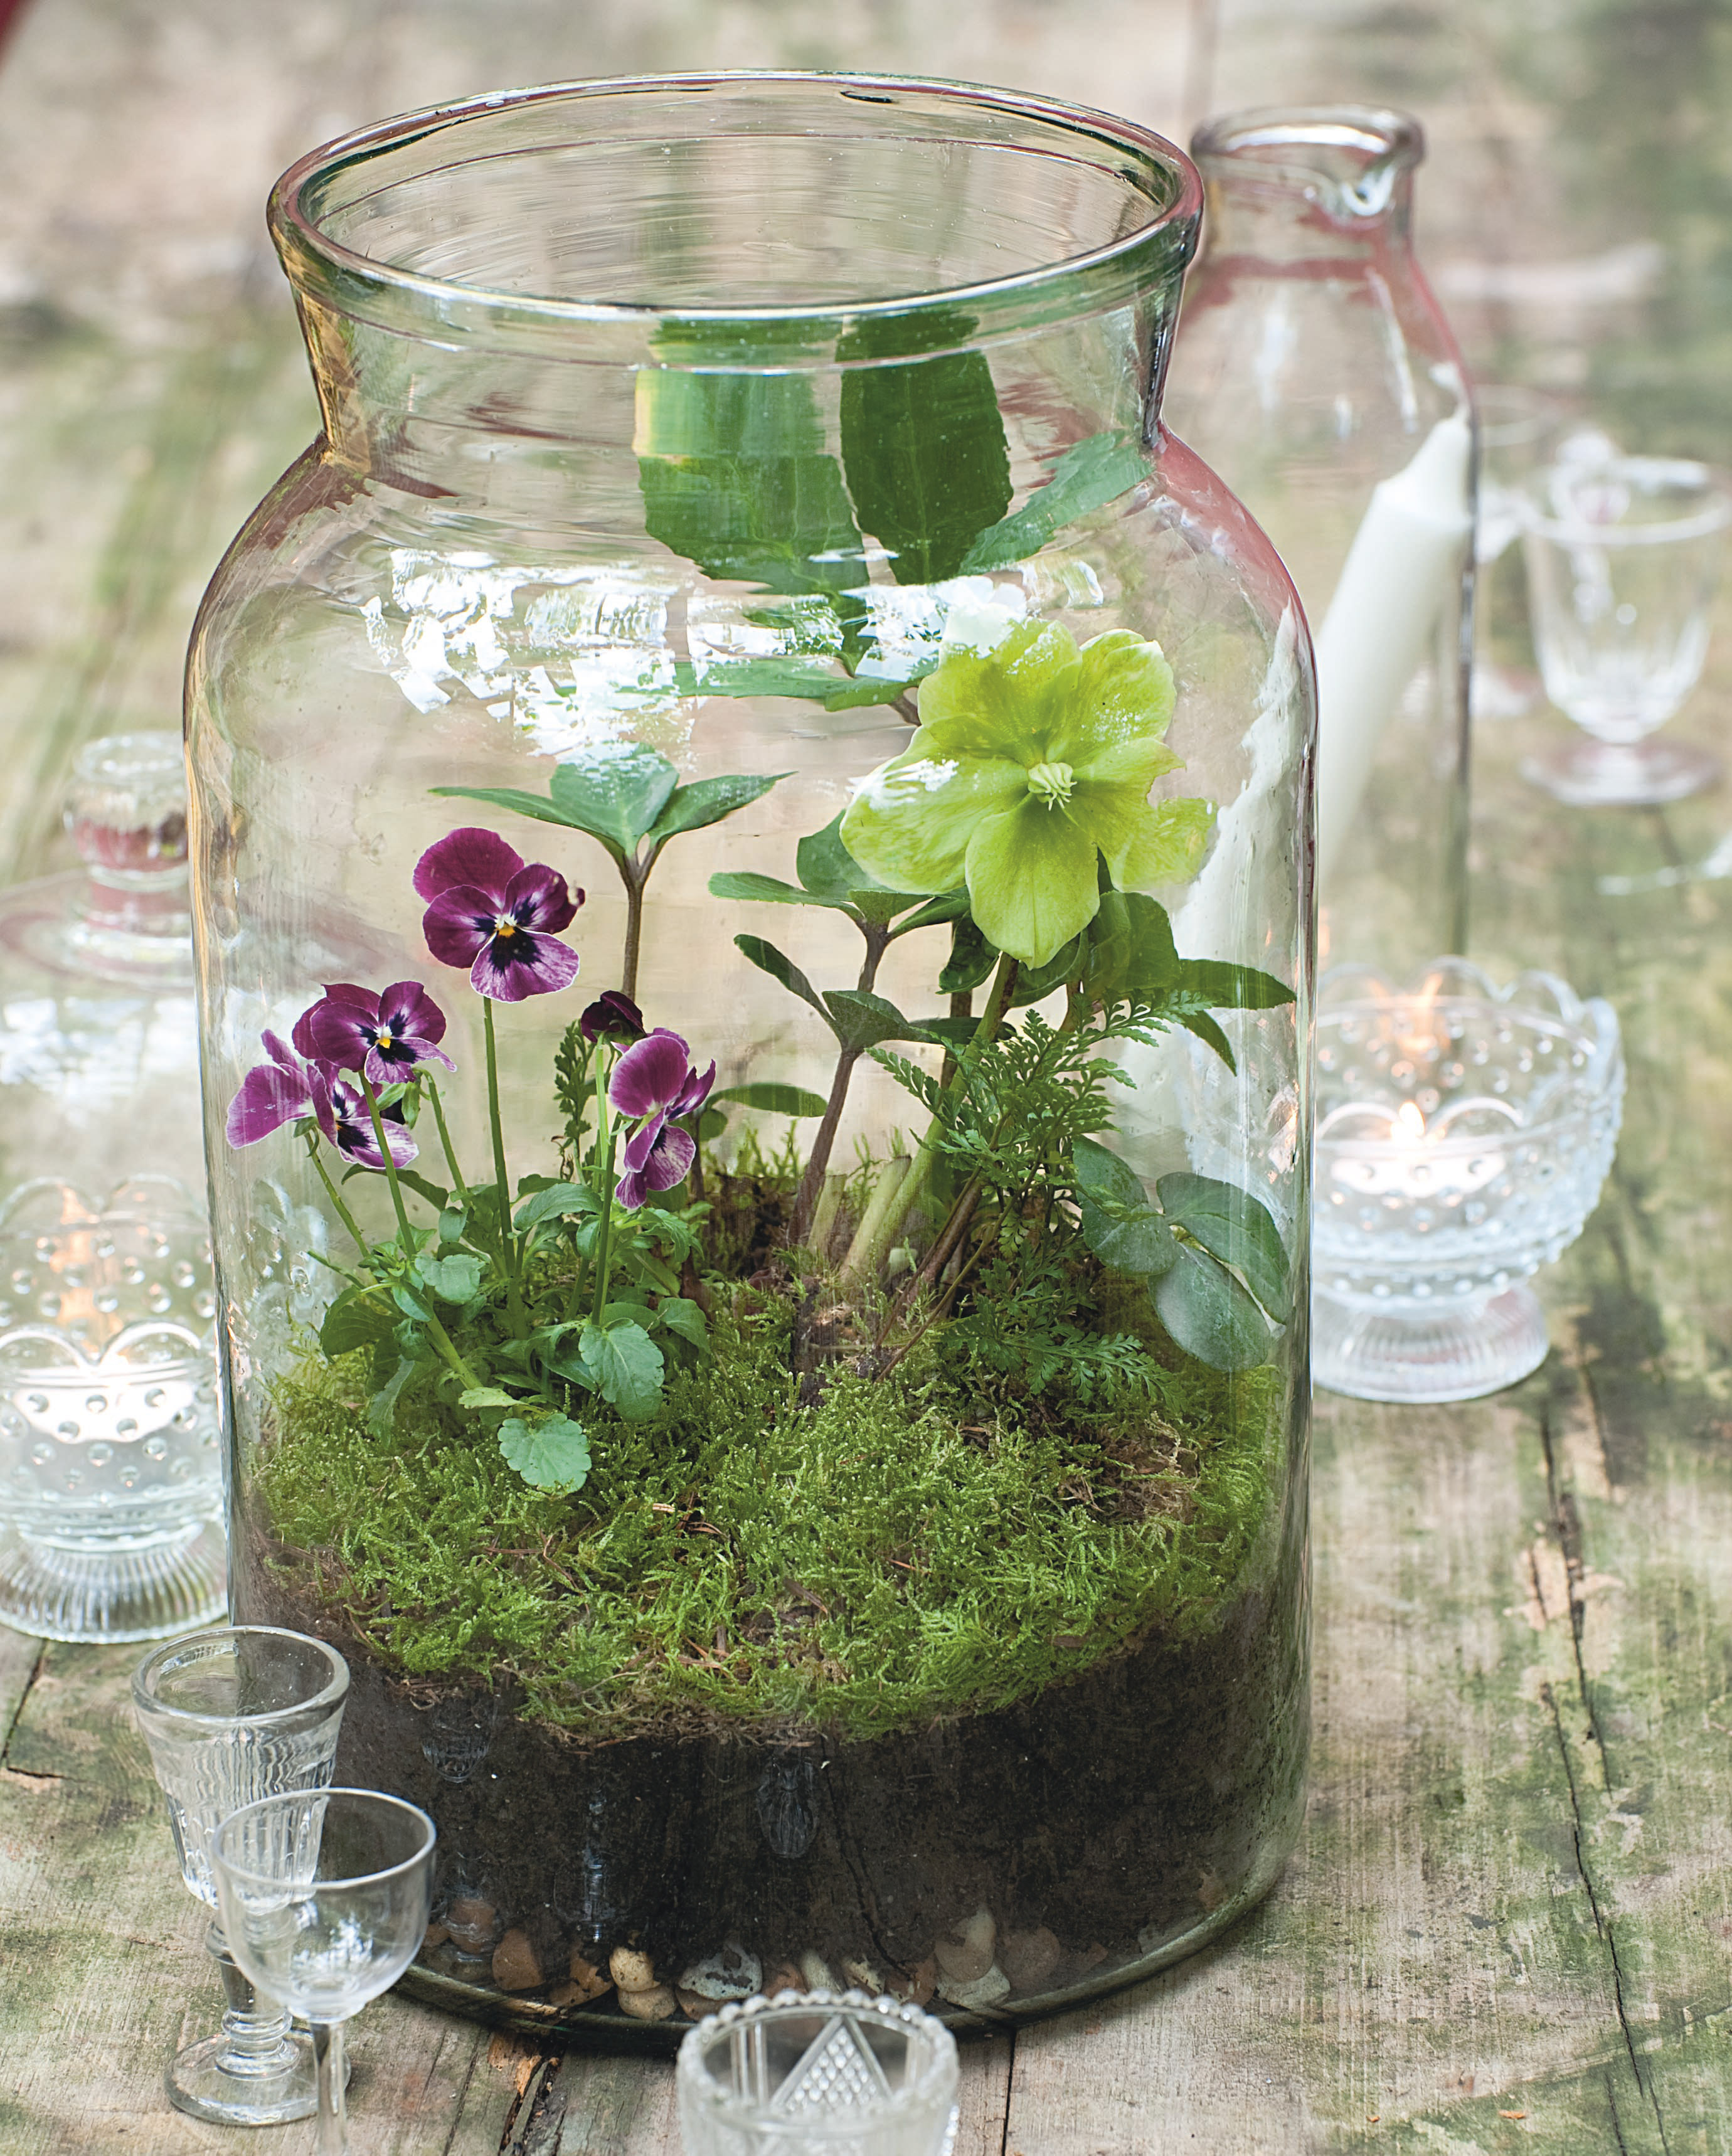
You'll build your terrarium in layers of gravel, soil, charcoal if using, and moss too, plus plants of course. It's a damp environment, and the soil together with the moss in your jar or other terrarium vessel with release water vapor. This collects onto the walls of your terrarium and gets recycled by trickling back down to the soil. This makes terrariums self-nourishing, so long as you keep yours sealed. Choose this method and you have one of the prettiest and easiest plants to keep as part of your collection.
Homemade terrarium essentials
FIND MORE GARDEN PROJECTS
This project is from The Winter Garden by Emma Hardy, published by CICO Books, and available at Amazon.
- A large glass jar
- Gravel
- Ground charcoal (or terrarium soil)
- Potting compost
- Scoop
- Helleborus niger (choose an alpine variety with a small root ball)
- Viola x wittrockiana (pansy)
- Humata tyermanii (bunny fern)
- Moss
- Soft paintbrush
1. Choose your terrarium vessel
We're using a large clear glass jar with a lid, so that it can be sealed for this terrarium DIY. It's important to choose the right sized vessel for the plants you have. We spoke to Essential Living for some more tips on creating a homemade terrarium too.
'Firstly, choose your glass container and make sure you choose one which is made of clear glass, as coloured glass tends to hinder plant growth.
2. Layer the bottom of the jar
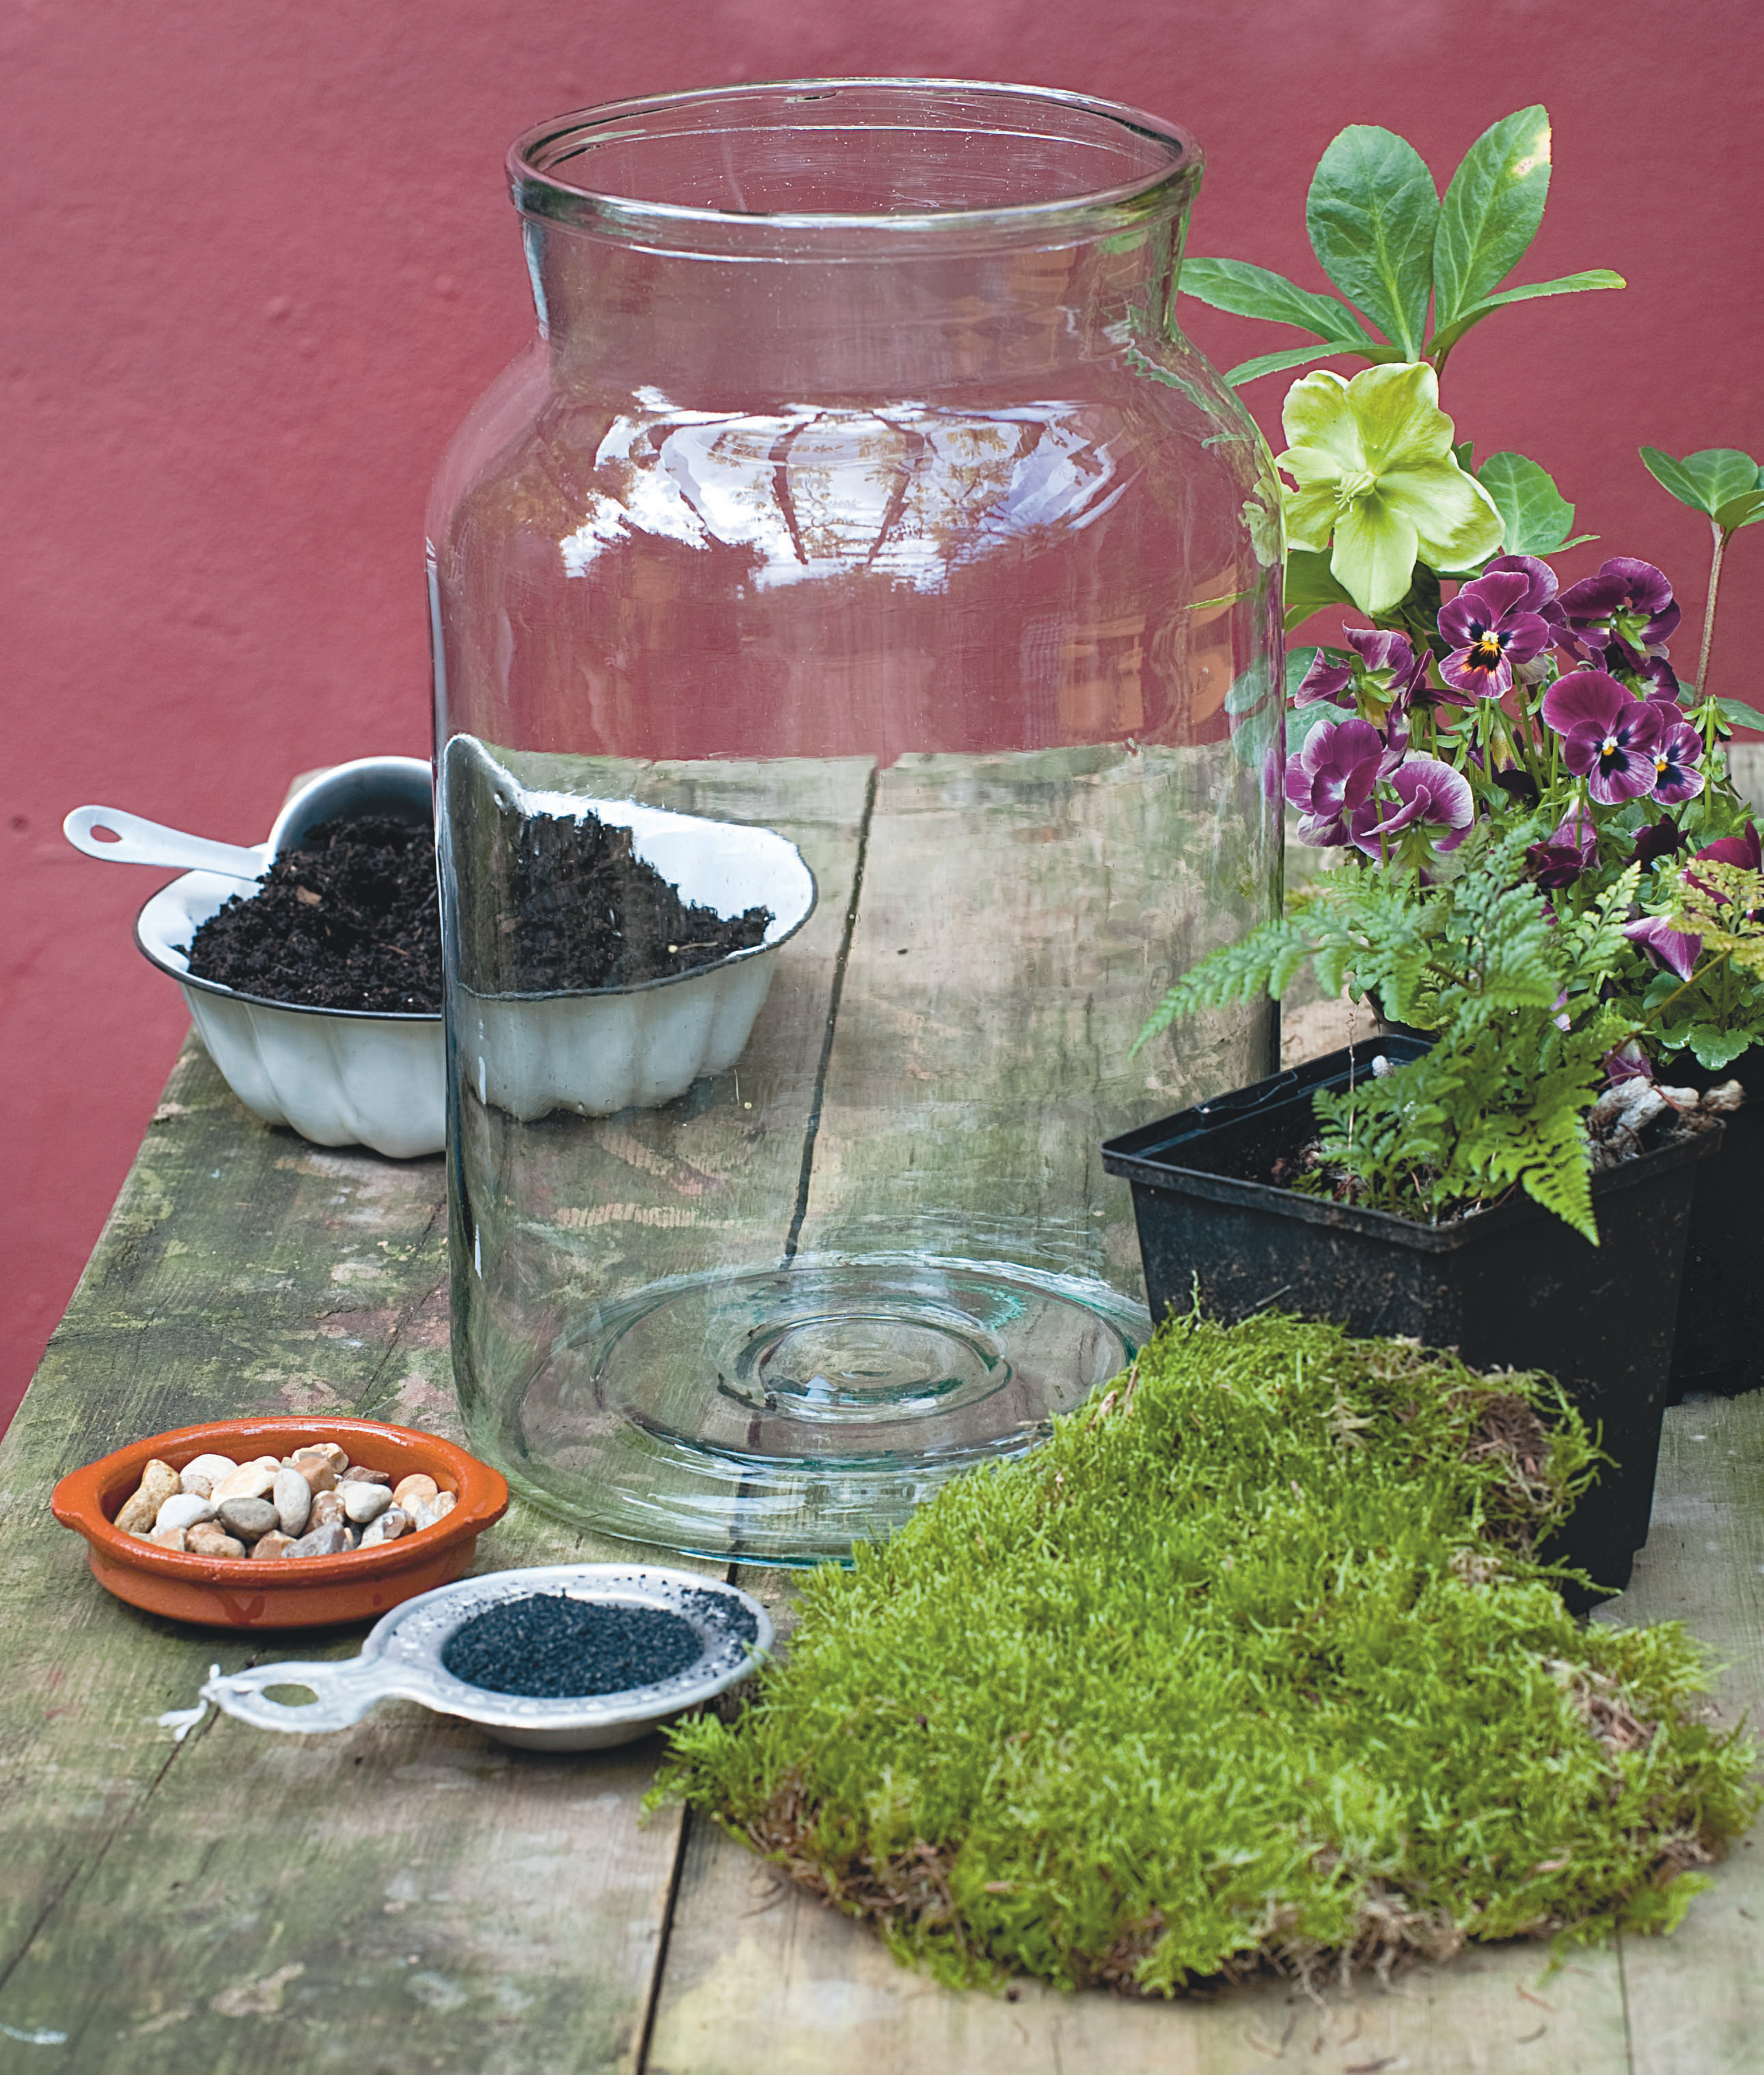
Clean and dry the jar thoroughly before you start. Carefully place a layer of gravel in the bottom of the jar (adding it in handfuls rather than pouring it in, so that it does not shatter the glass). The gravel should be about 2cm thick and evenly spread over the bottom of the jar.
You can be more adventurous with your choice of layering here too, choose bigger rocks or marbles. 'Then choose your polished rocks or marbles, and place a handful in the bottom of the container and try to vary the layer’s thickness by the size of the container- this layer helps to shape the terrain while aiding drainage and aeration. Also, make sure you leave enough headroom at the top of the terrarium.'
3. Add the charcoal powder (if using)
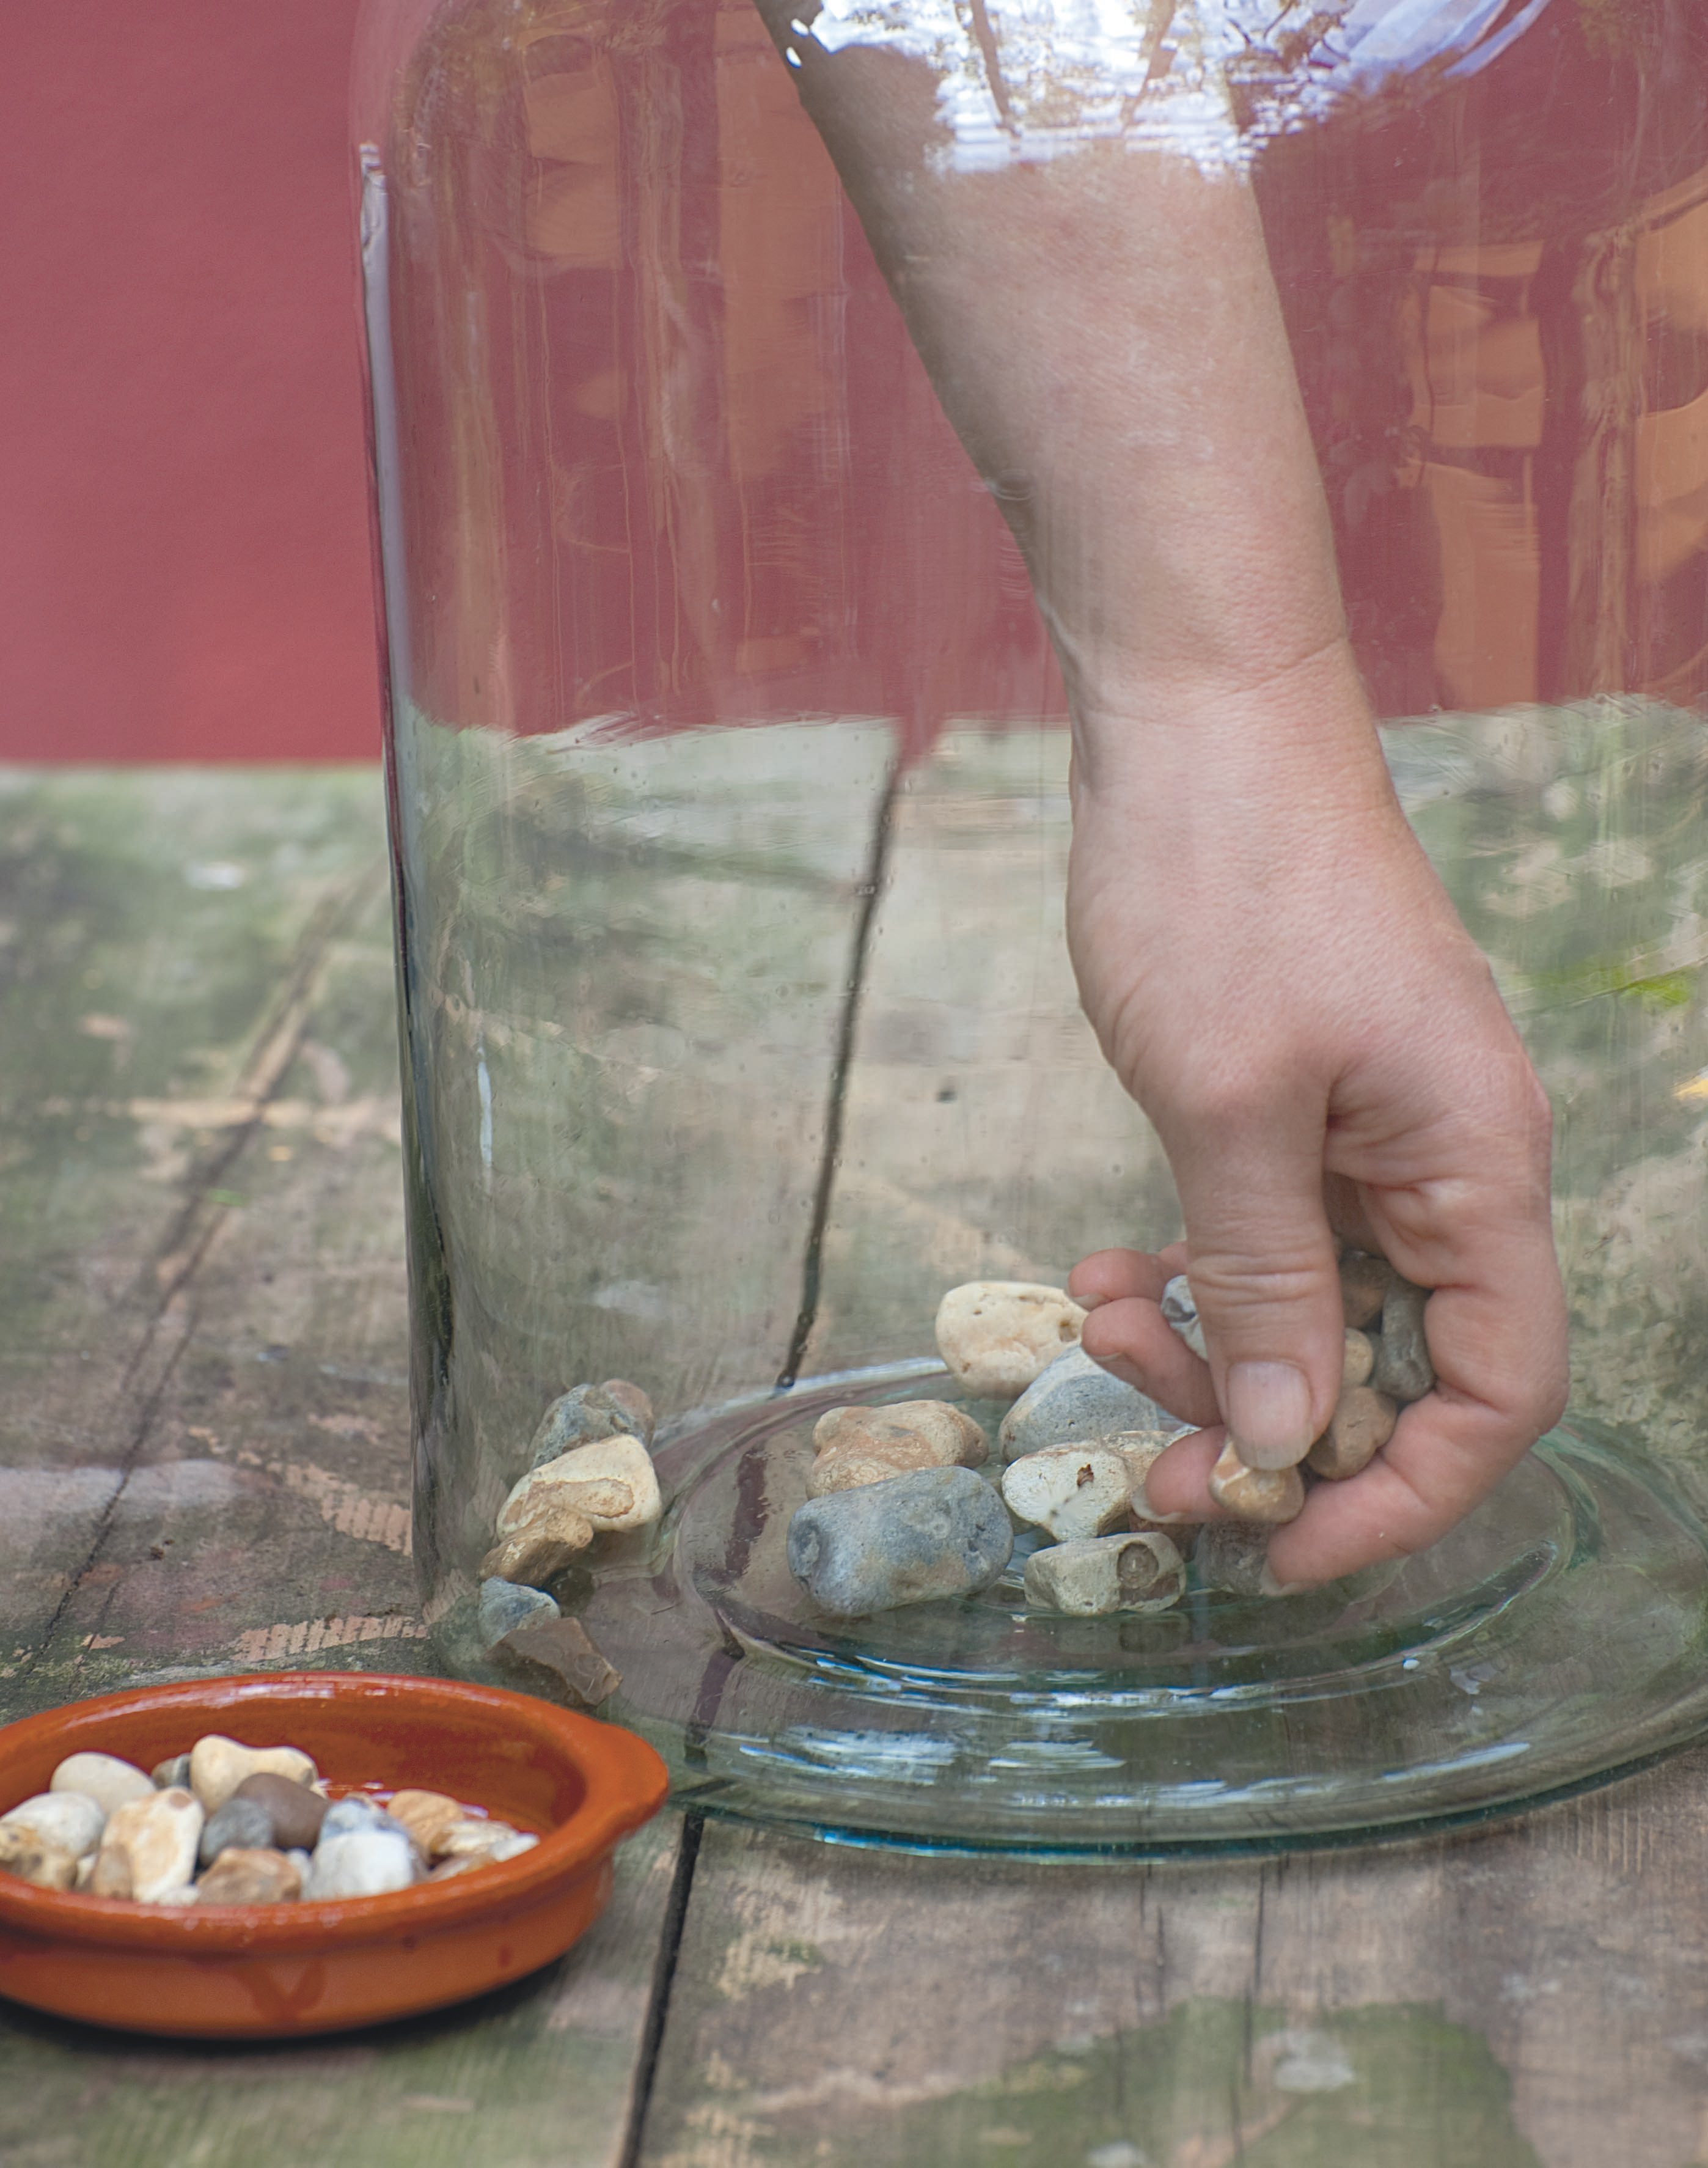
Sprinkle charcoal powder over the gravel, completely covering it. This will help to absorb odors from the potting compost, ensuring that the terrarium does not smell.
4. Add moss if you want
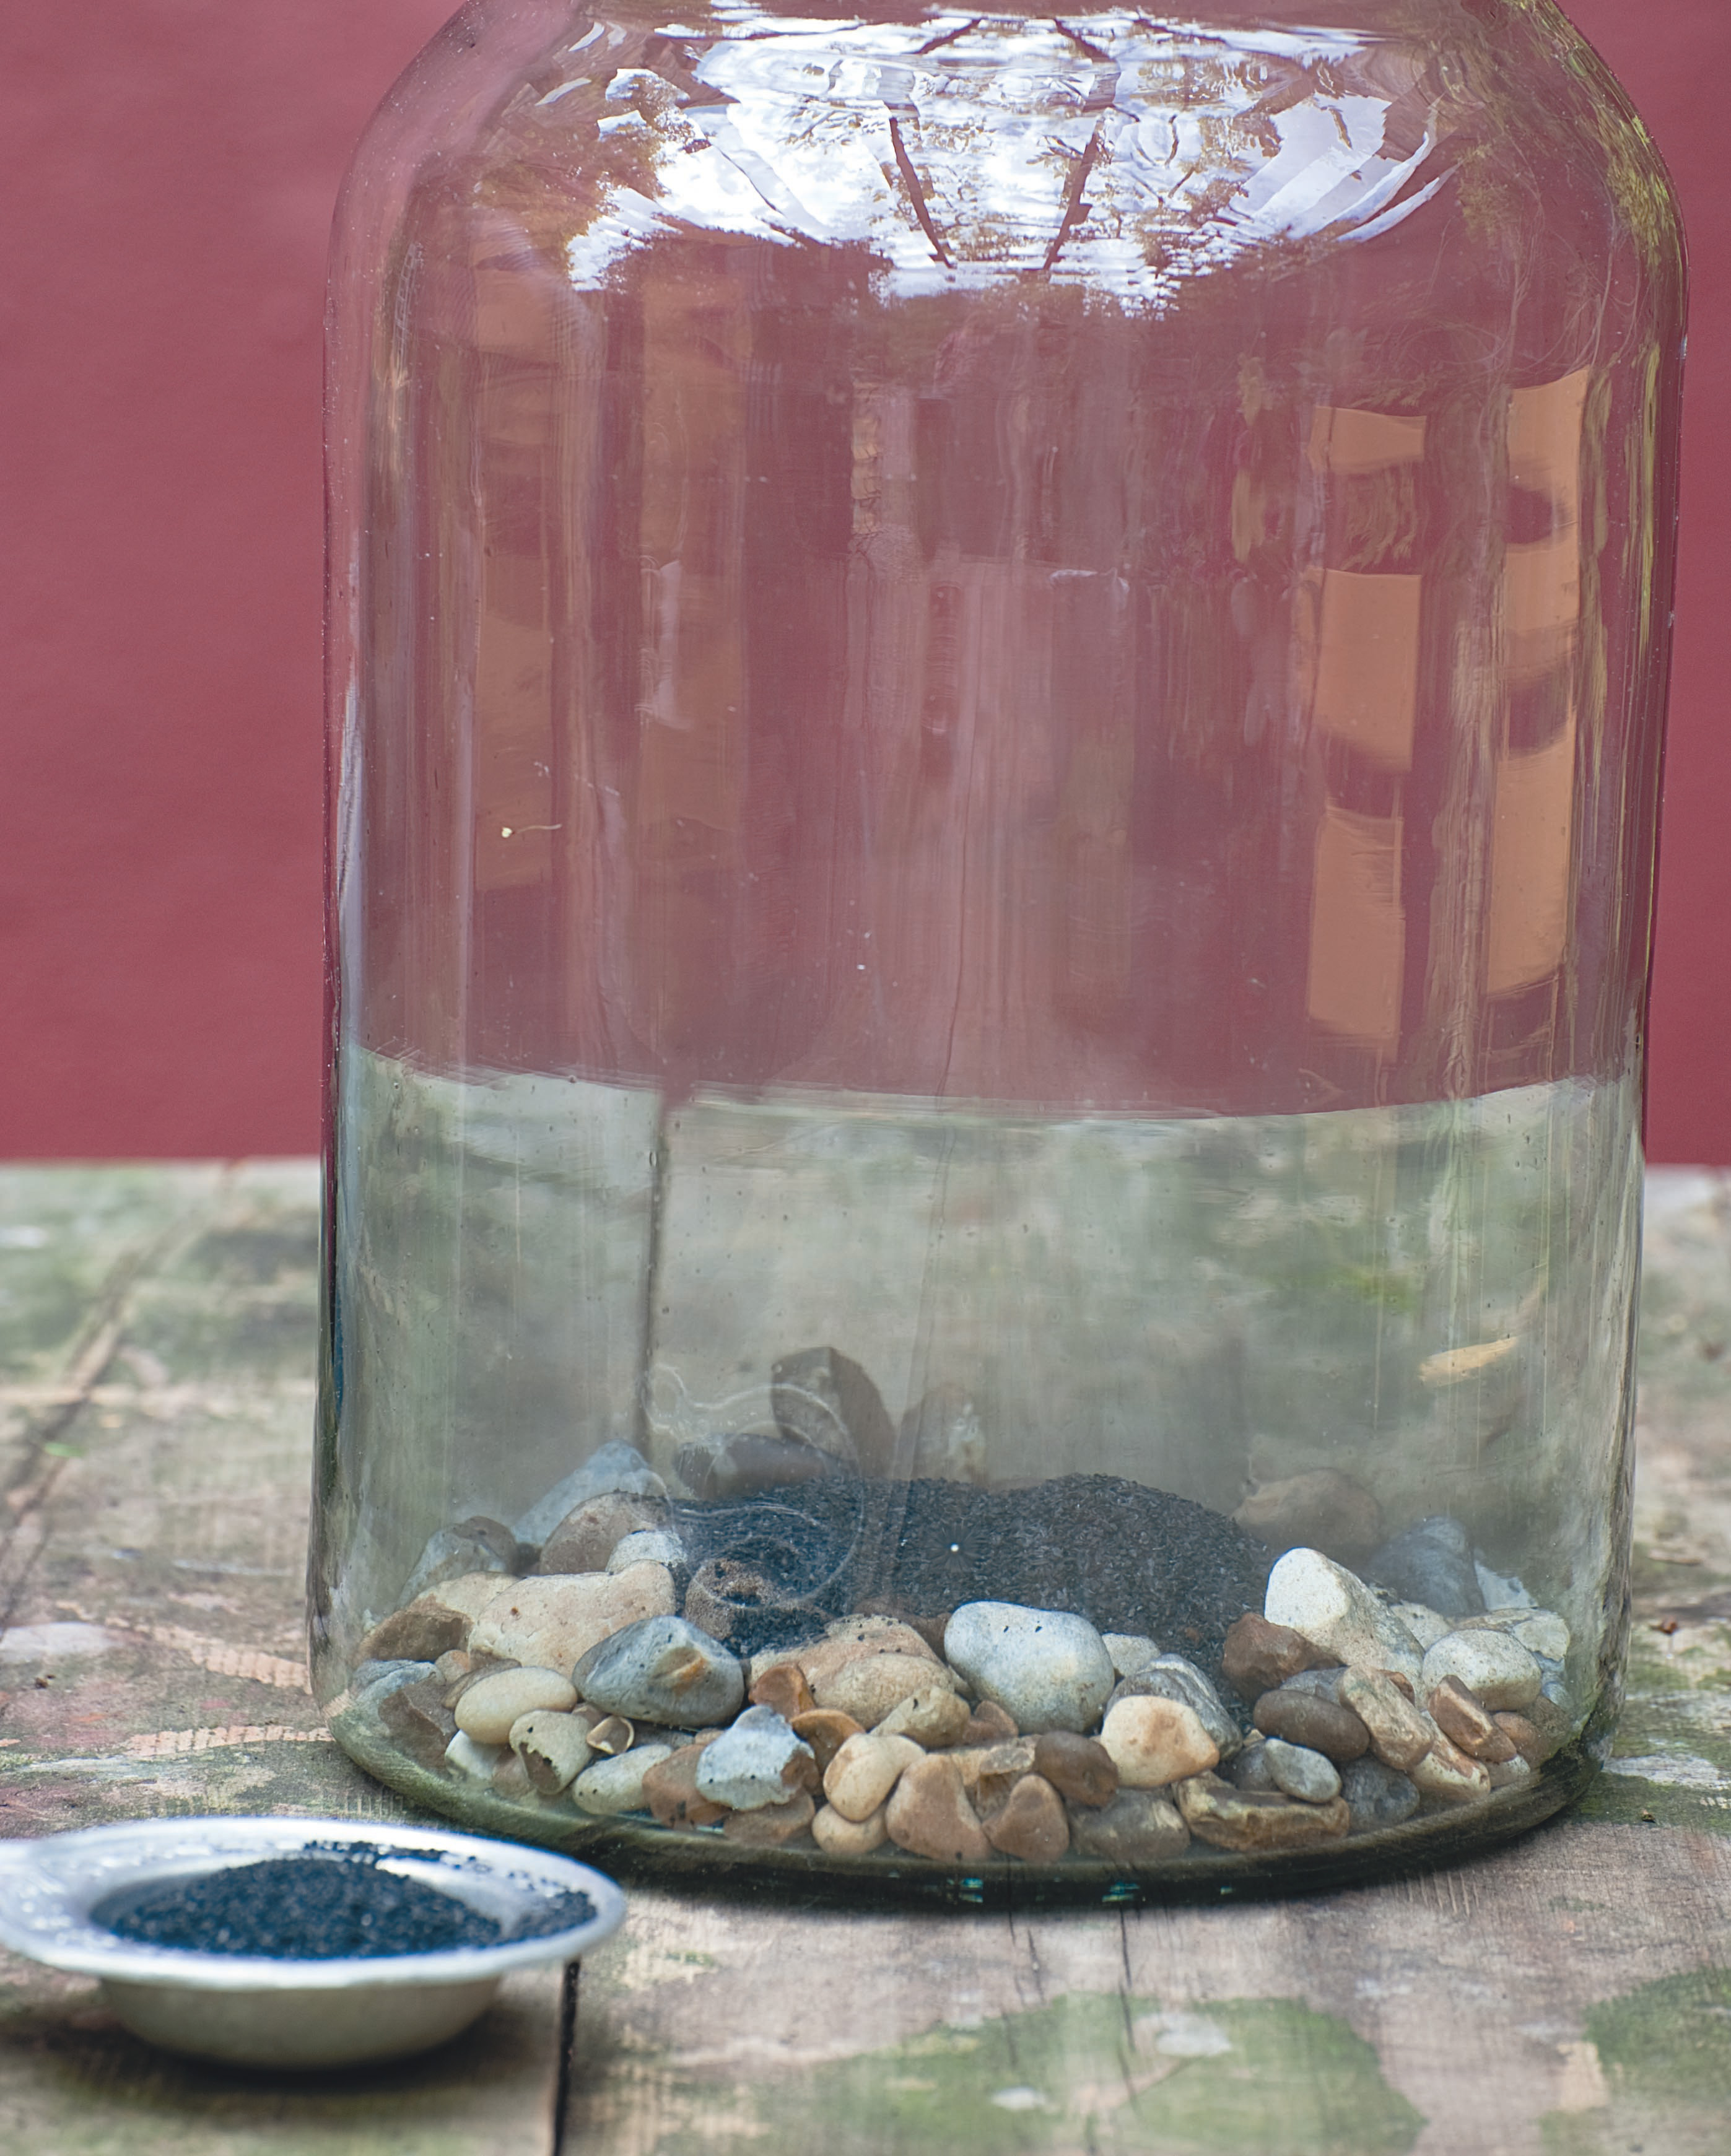
It's not essential to add it at this stage but adds a nice touch and helps increase humidity levels also. 'To place your next layer, soak dried sphagnum or sheet moss in water for a few seconds and squeeze out any excess liquid. Place the slightly damp moss on top of the rocks, patting it down so that it fills the entire surface area.'
'Then add a layer of soil by scooping it into a funnel and filling the container with several inches (the layer doesn’t have to be completely flat).'
5. Add the potting compost
Check that the potting compost is damp before using – water it if necessary, letting it drain slightly before using it. Add the potting compost to the jar, making a layer about 5cm thick. Add it using a small scoop or your hand rather than pouring it in, so that it does not make too much mess inside the jar.
'The greenery you’ll be planting will determine the type of soil you use. Peat moss mixture is recommended for moss and other plants, non-moisture-control potting mix is ideal.'
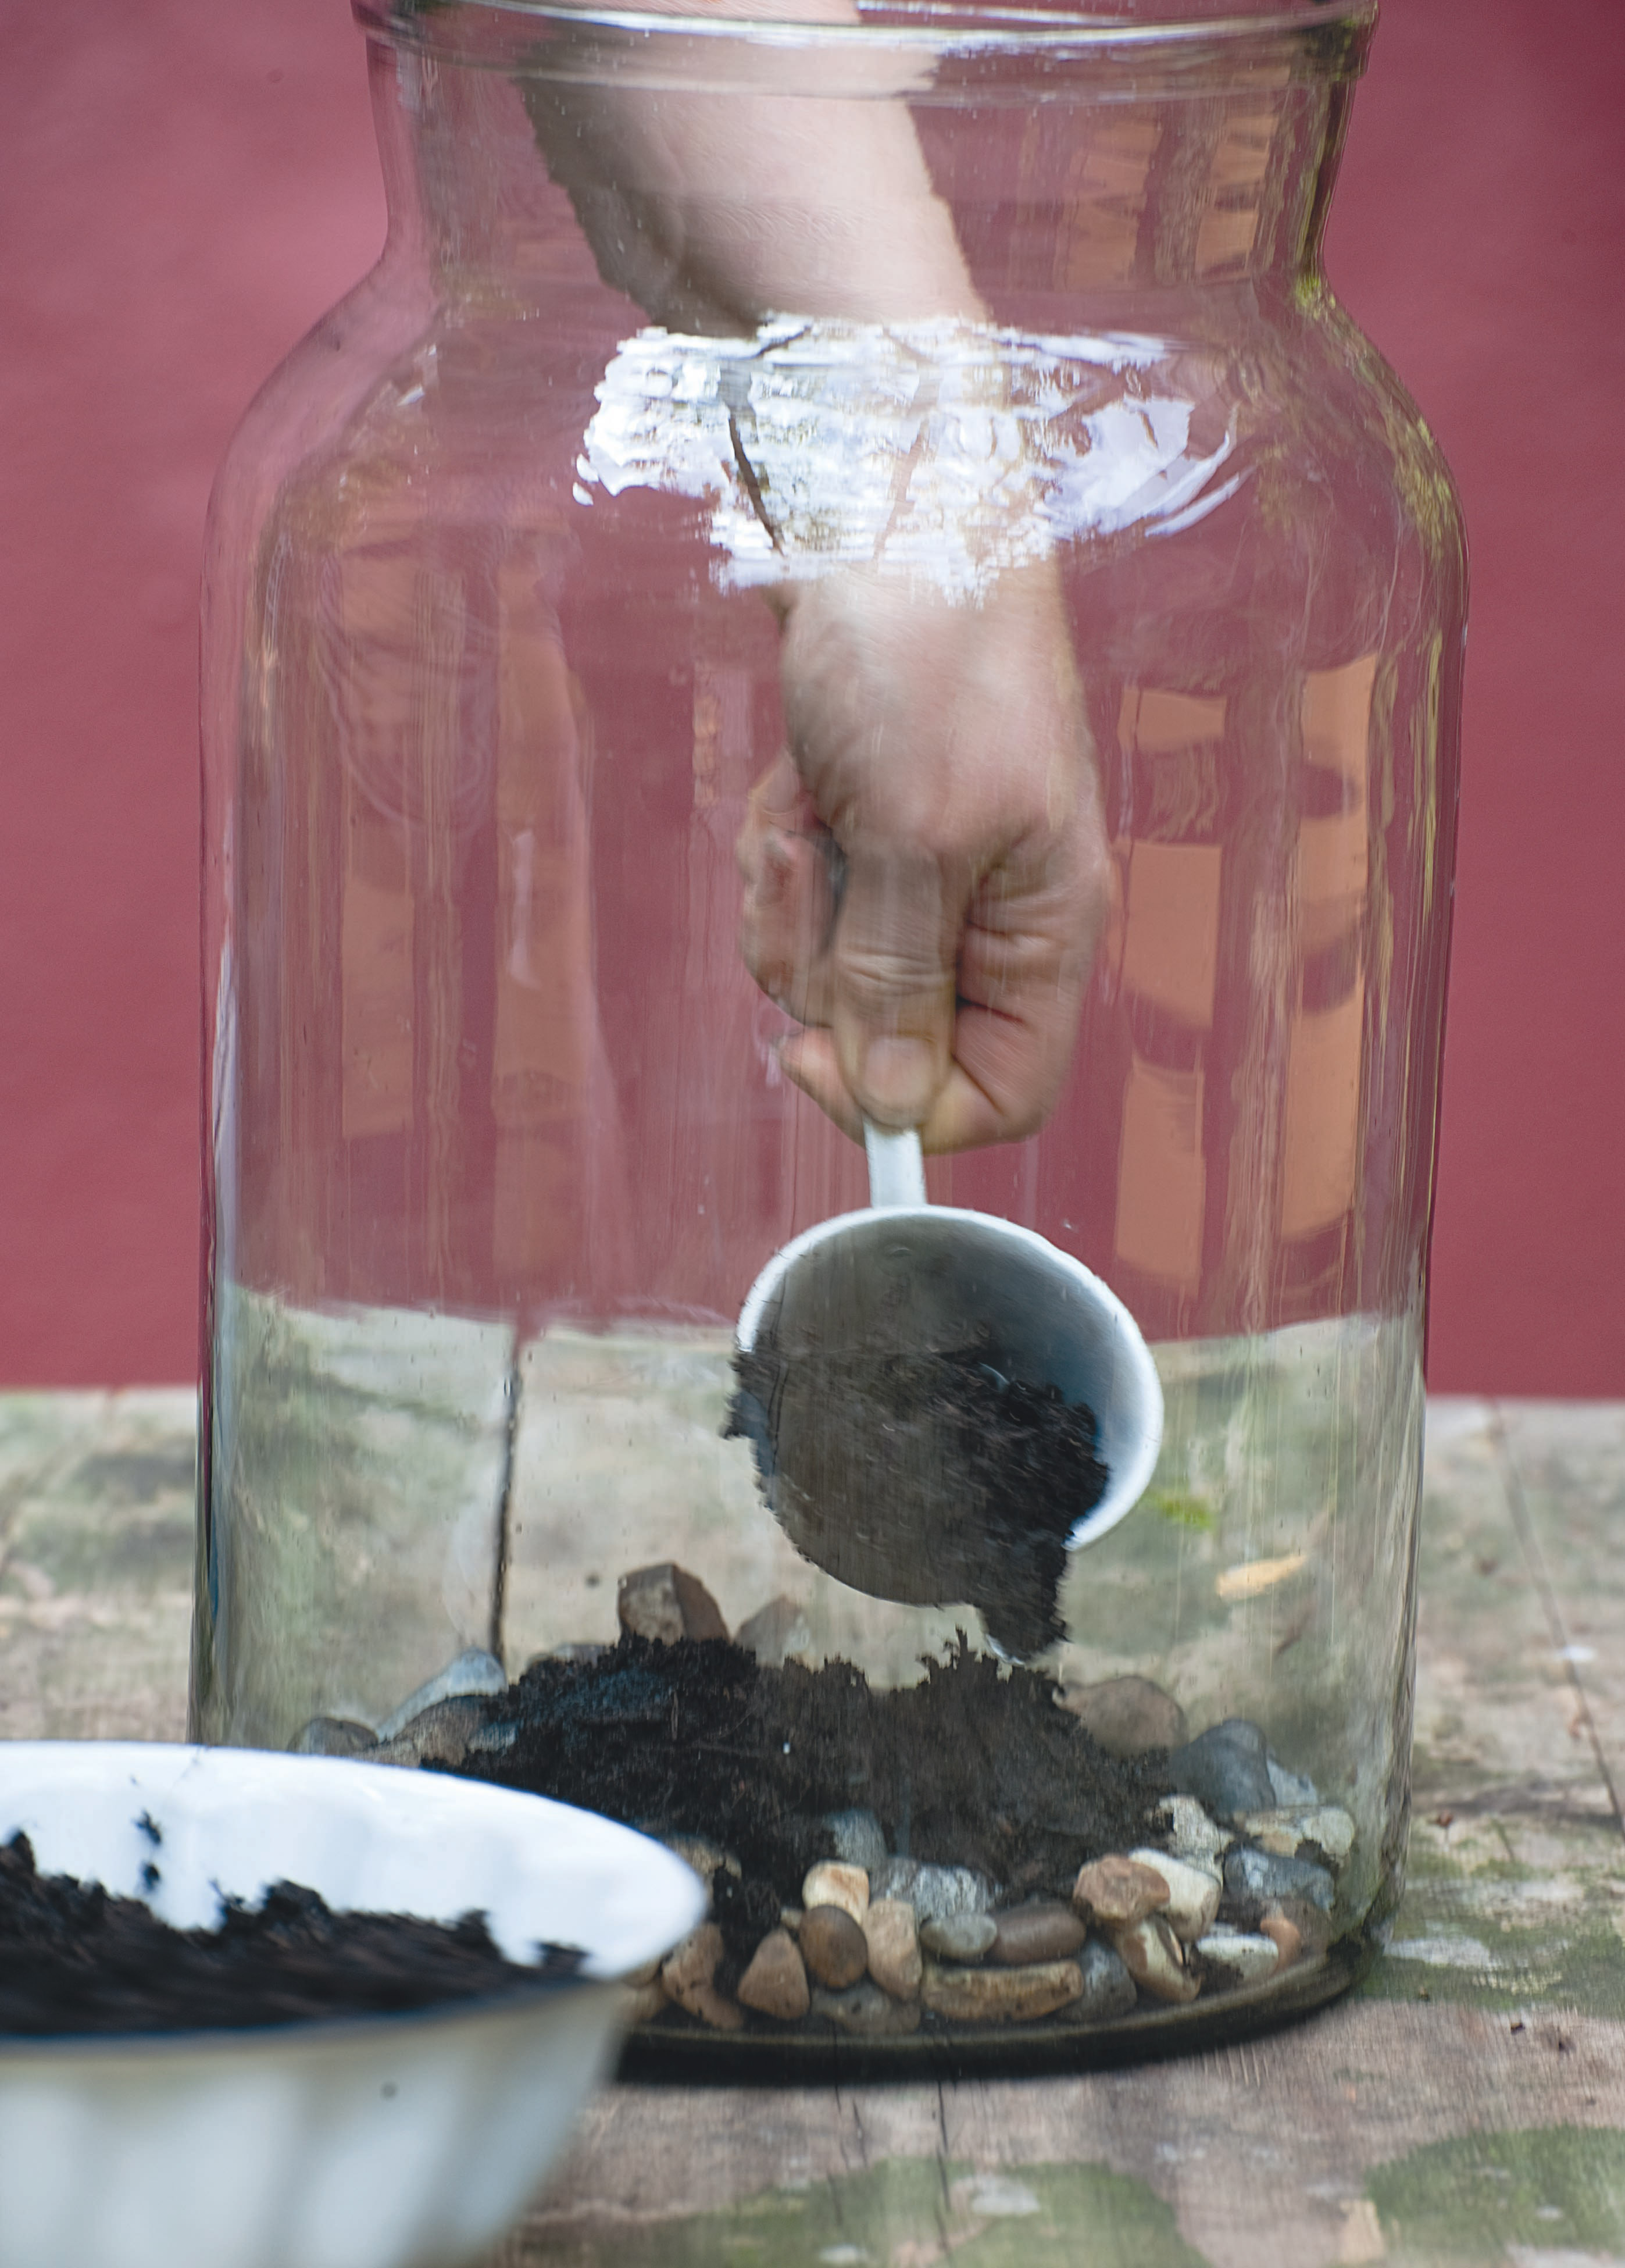
6. Start planting out the terrarium
'Using whichever greenery you have chosen, give it a quick blast of pesticide to kill off any bugs, then use scissors to trim it into shape and place it into the container, pressing down firmly to get rid of any air pockets.'
For the plants in our DIY, take the hellebore (or alternative) out of its pot and carefully remove any excess soil from around the roots. Make a shallow dip in the potting compost inside the jar and place the hellebore in it, spreading the roots out a little and anchoring it in place with a little more potting compost if necessary, so that it sits firmly upright.
If you're using succulents, ensure their roots are covered and space them out fairly evenly.
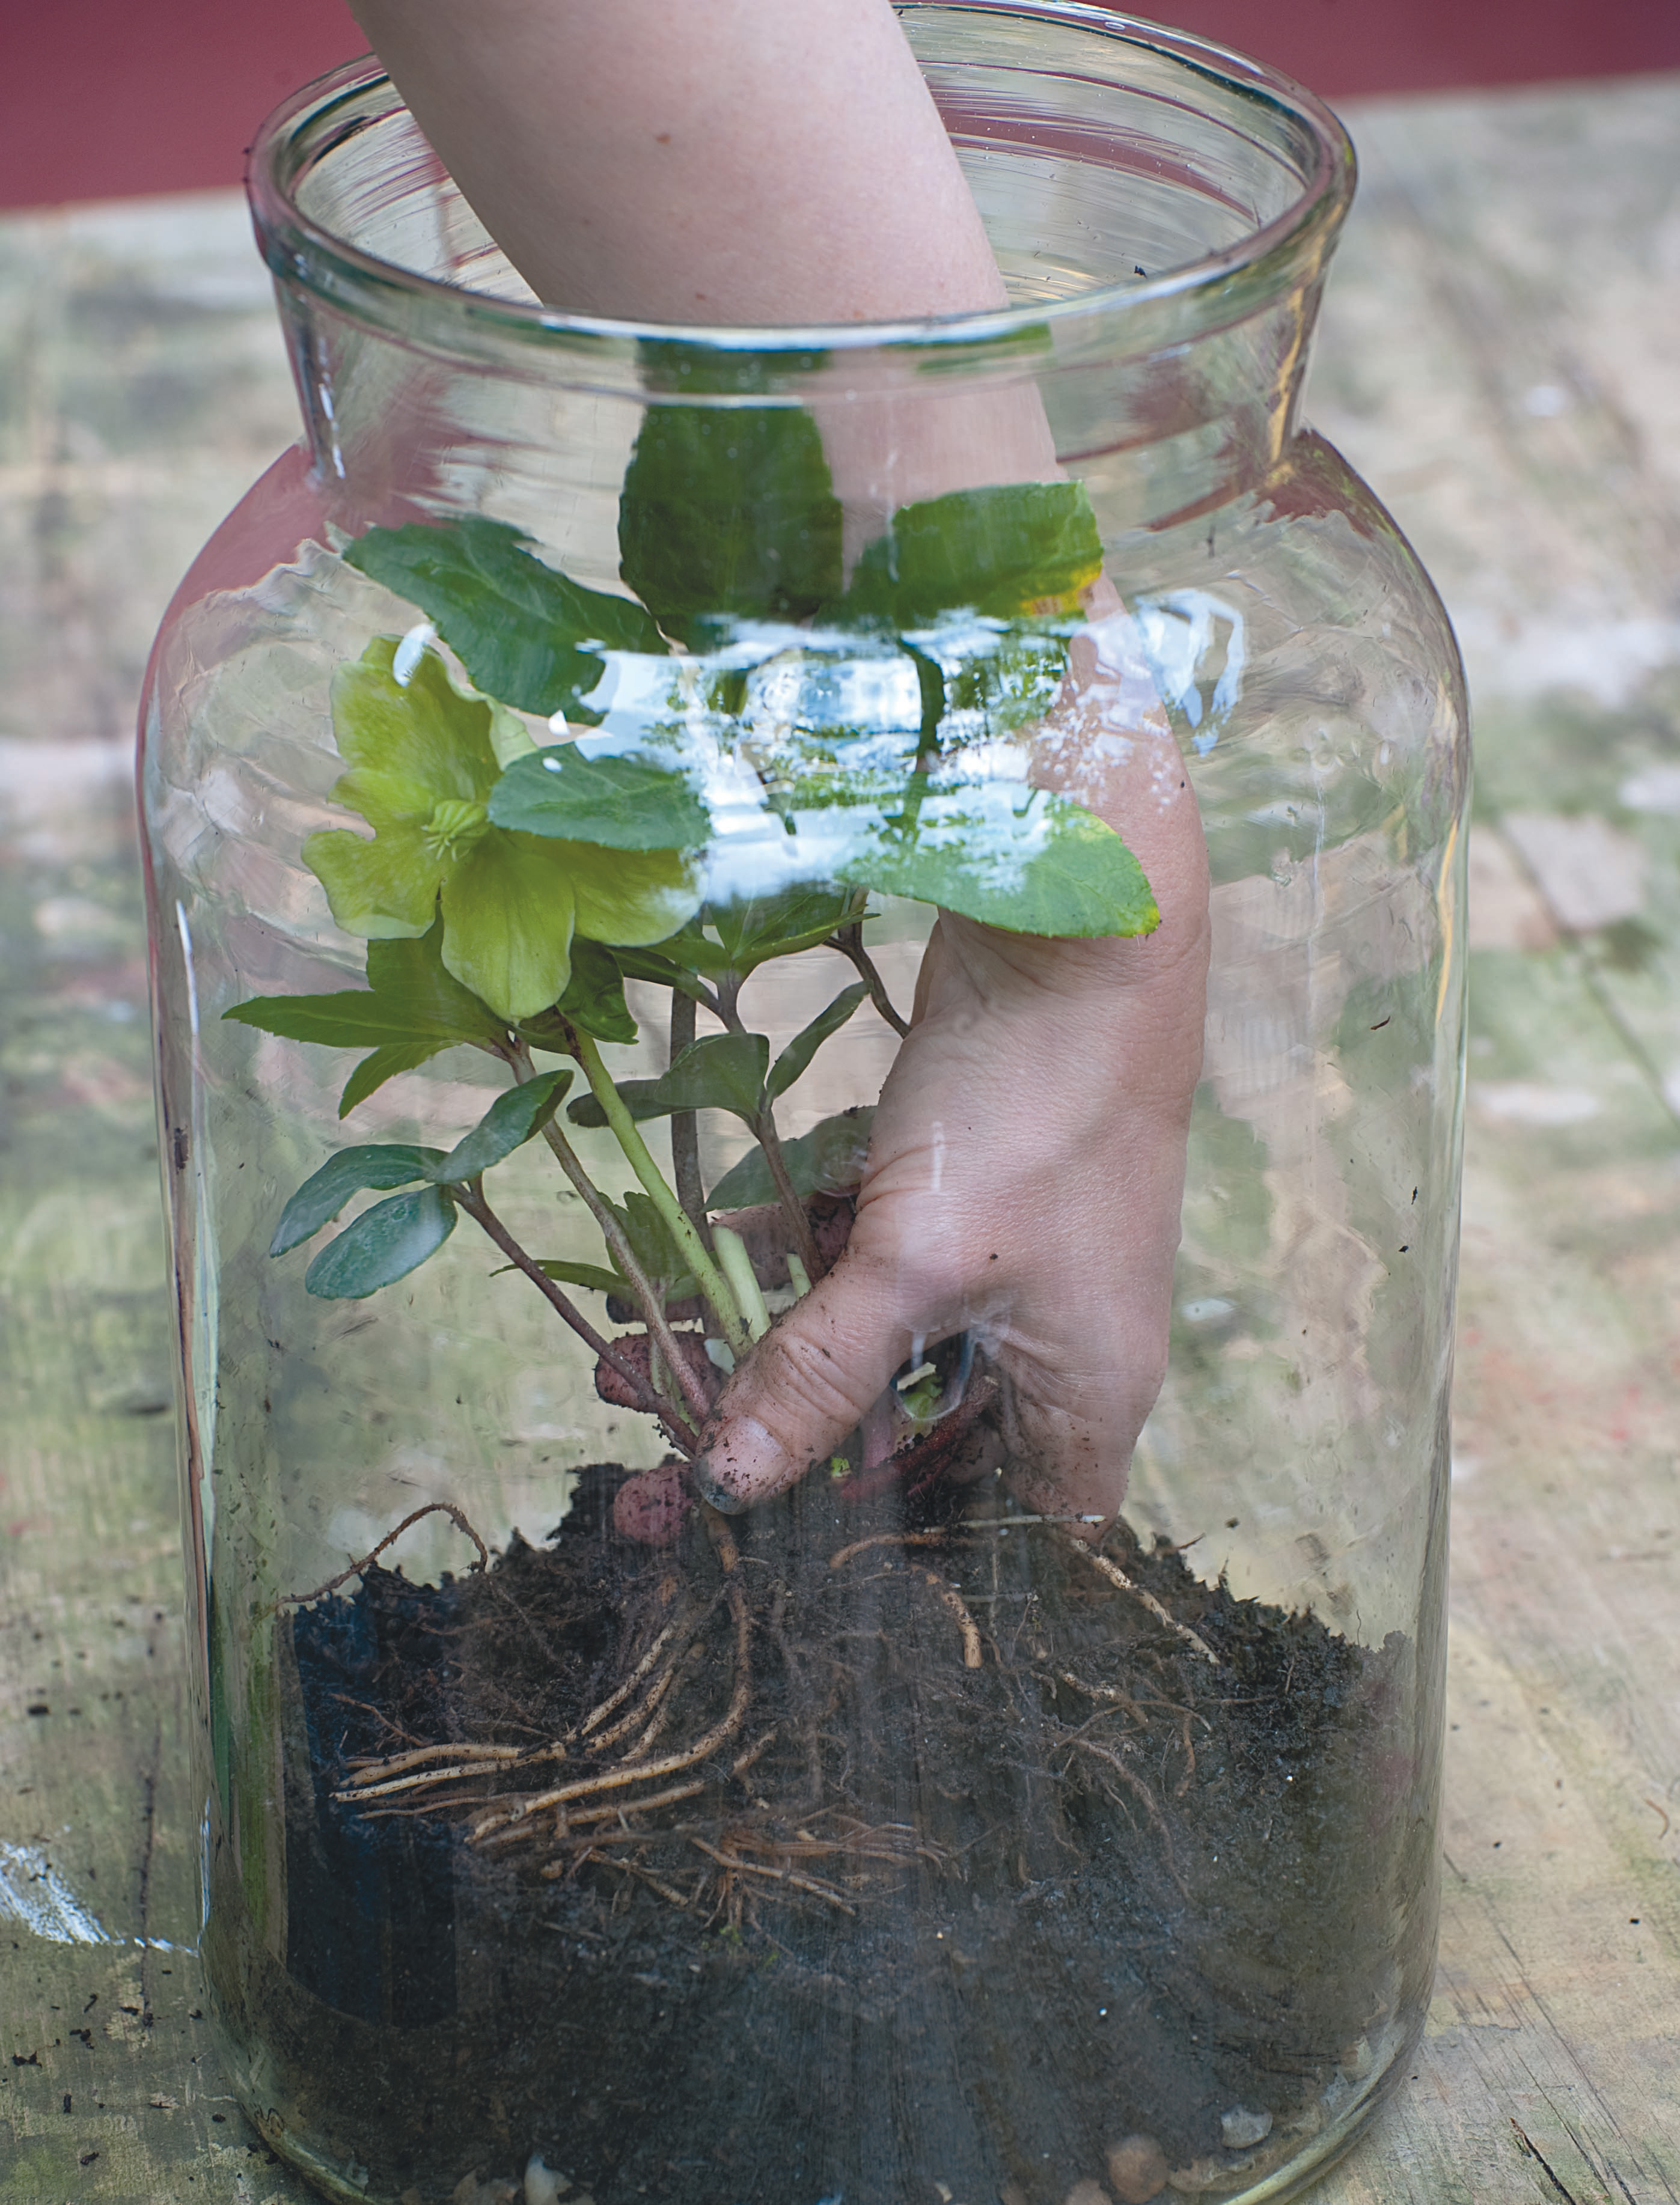
Take the pansy from its pot and plant in the jar in the same way, placing it toward the back of the jar, next to the hellebore.
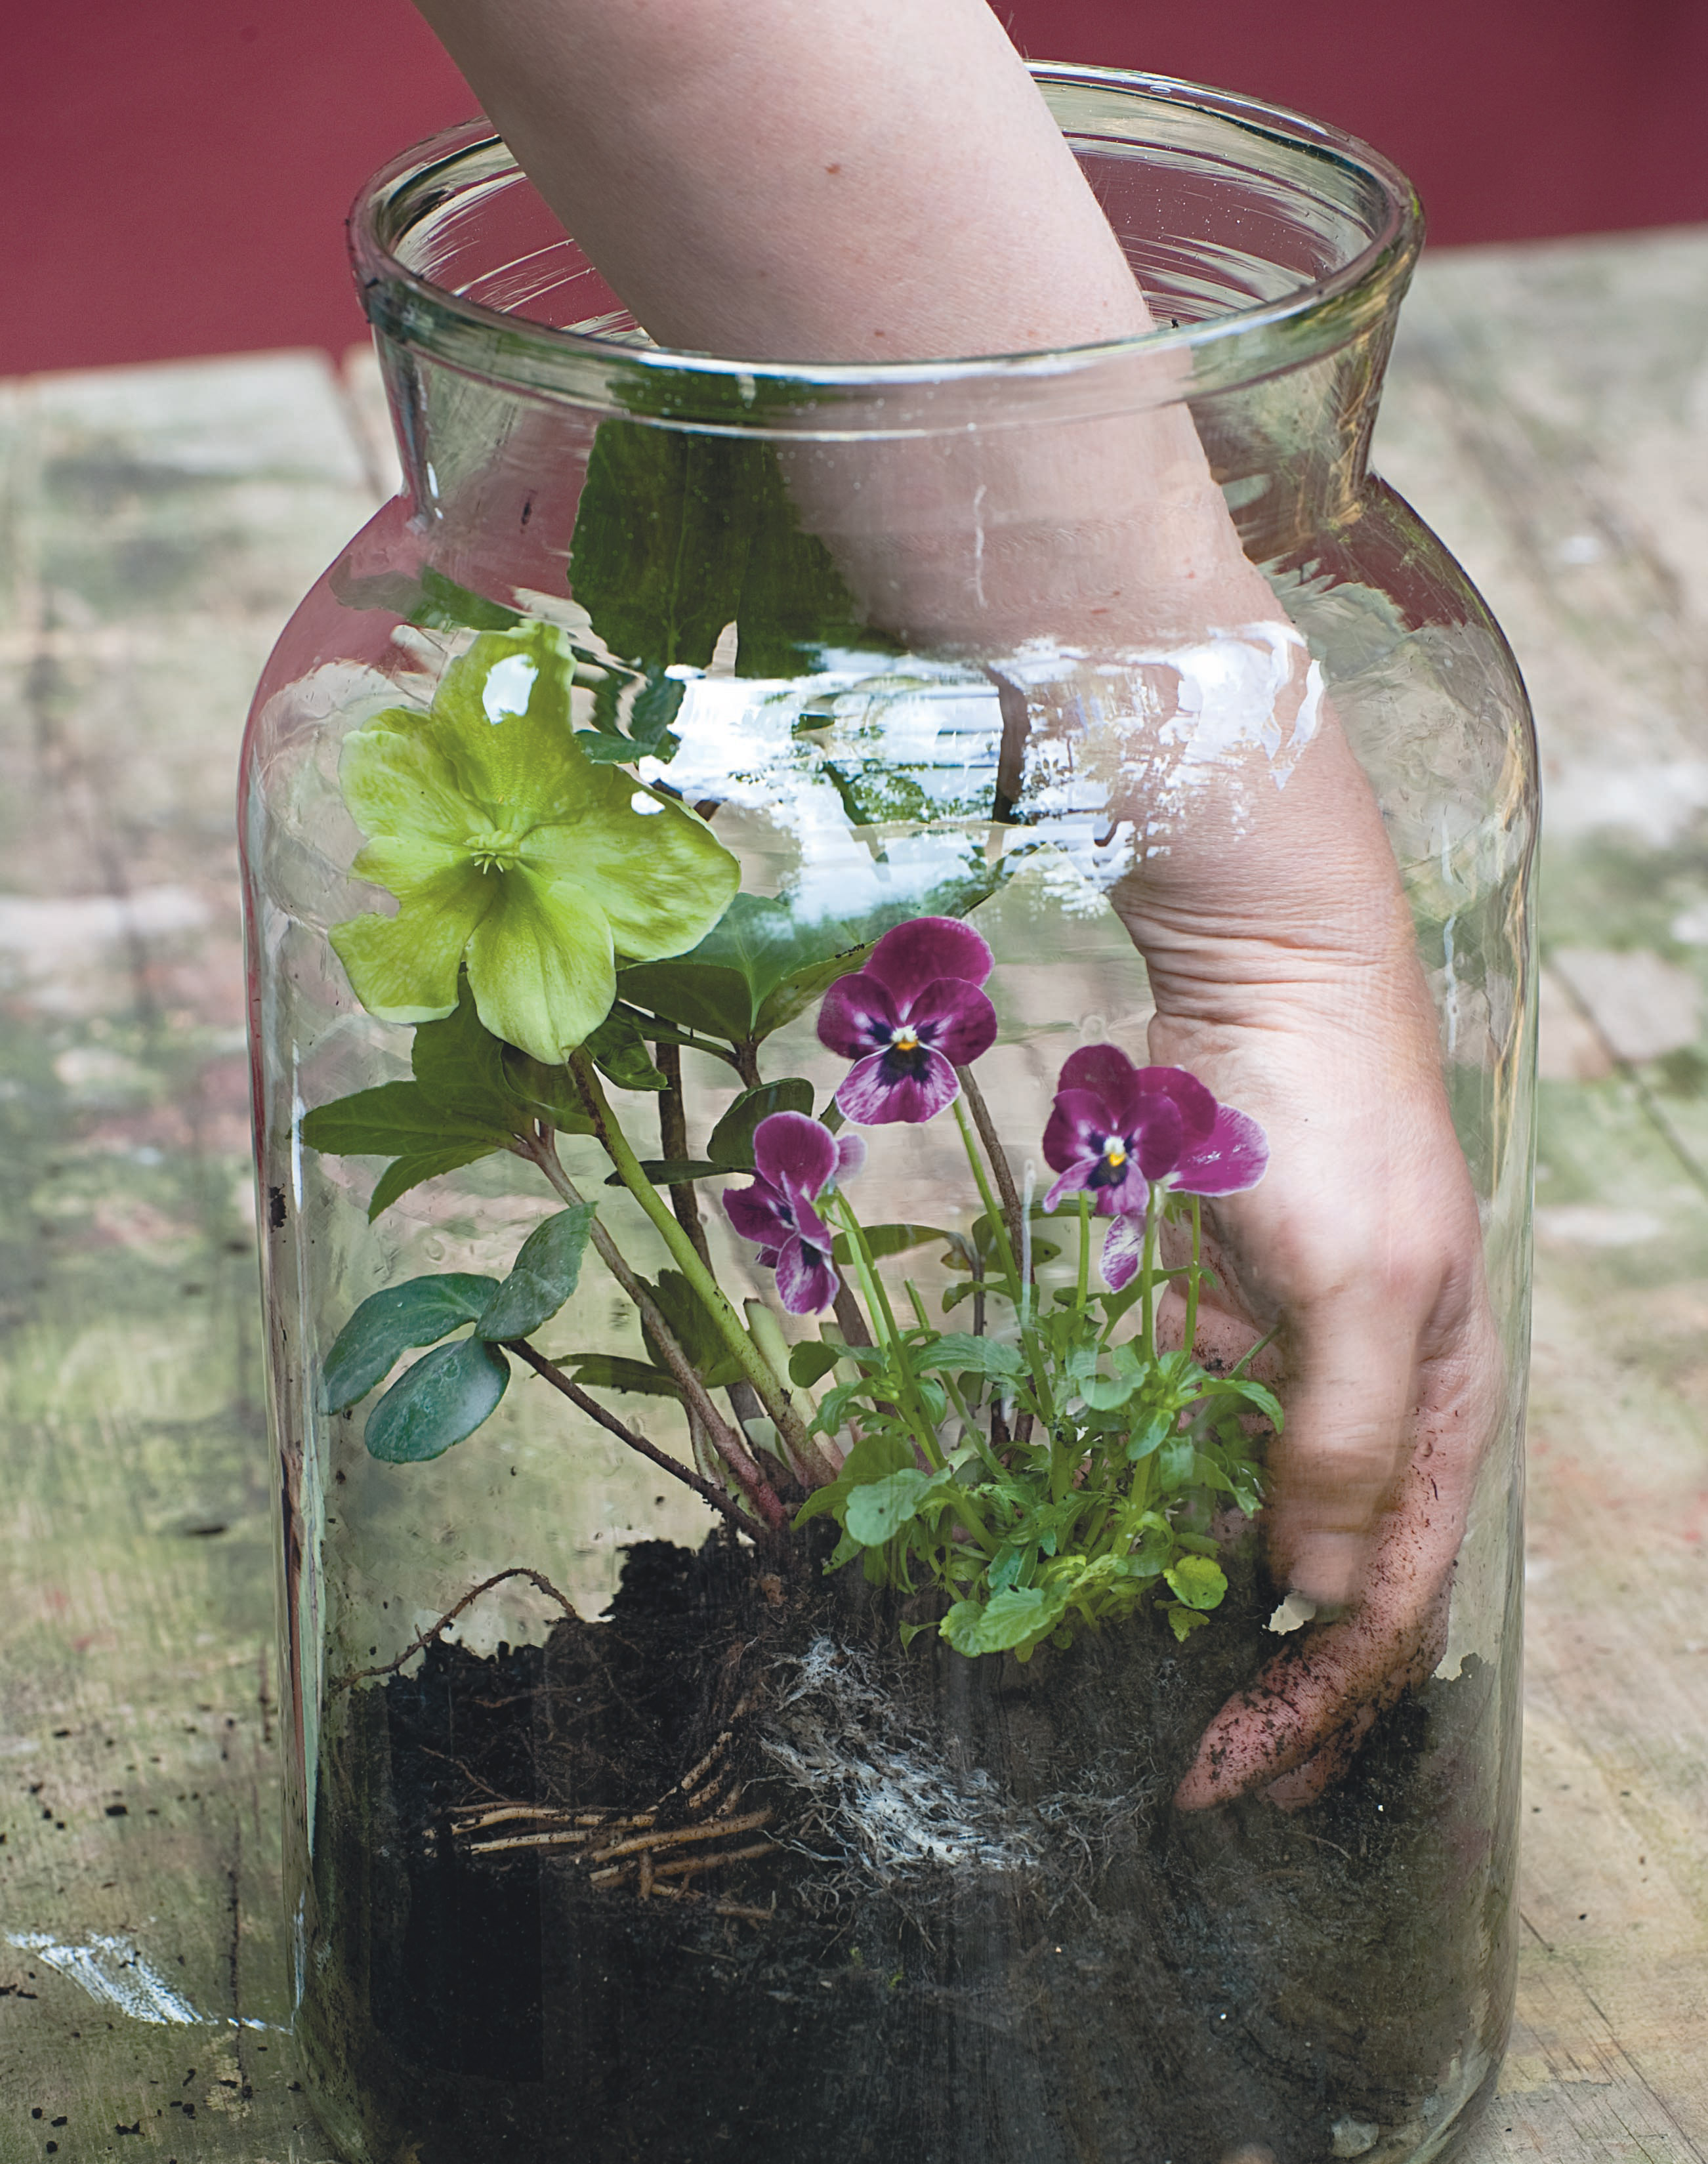
Add the fern, again removing excess soil from the roots, and plant toward the front of the jar, adding more potting compost if necessary. Firm around all three plants so that they sit firmly in the compost.
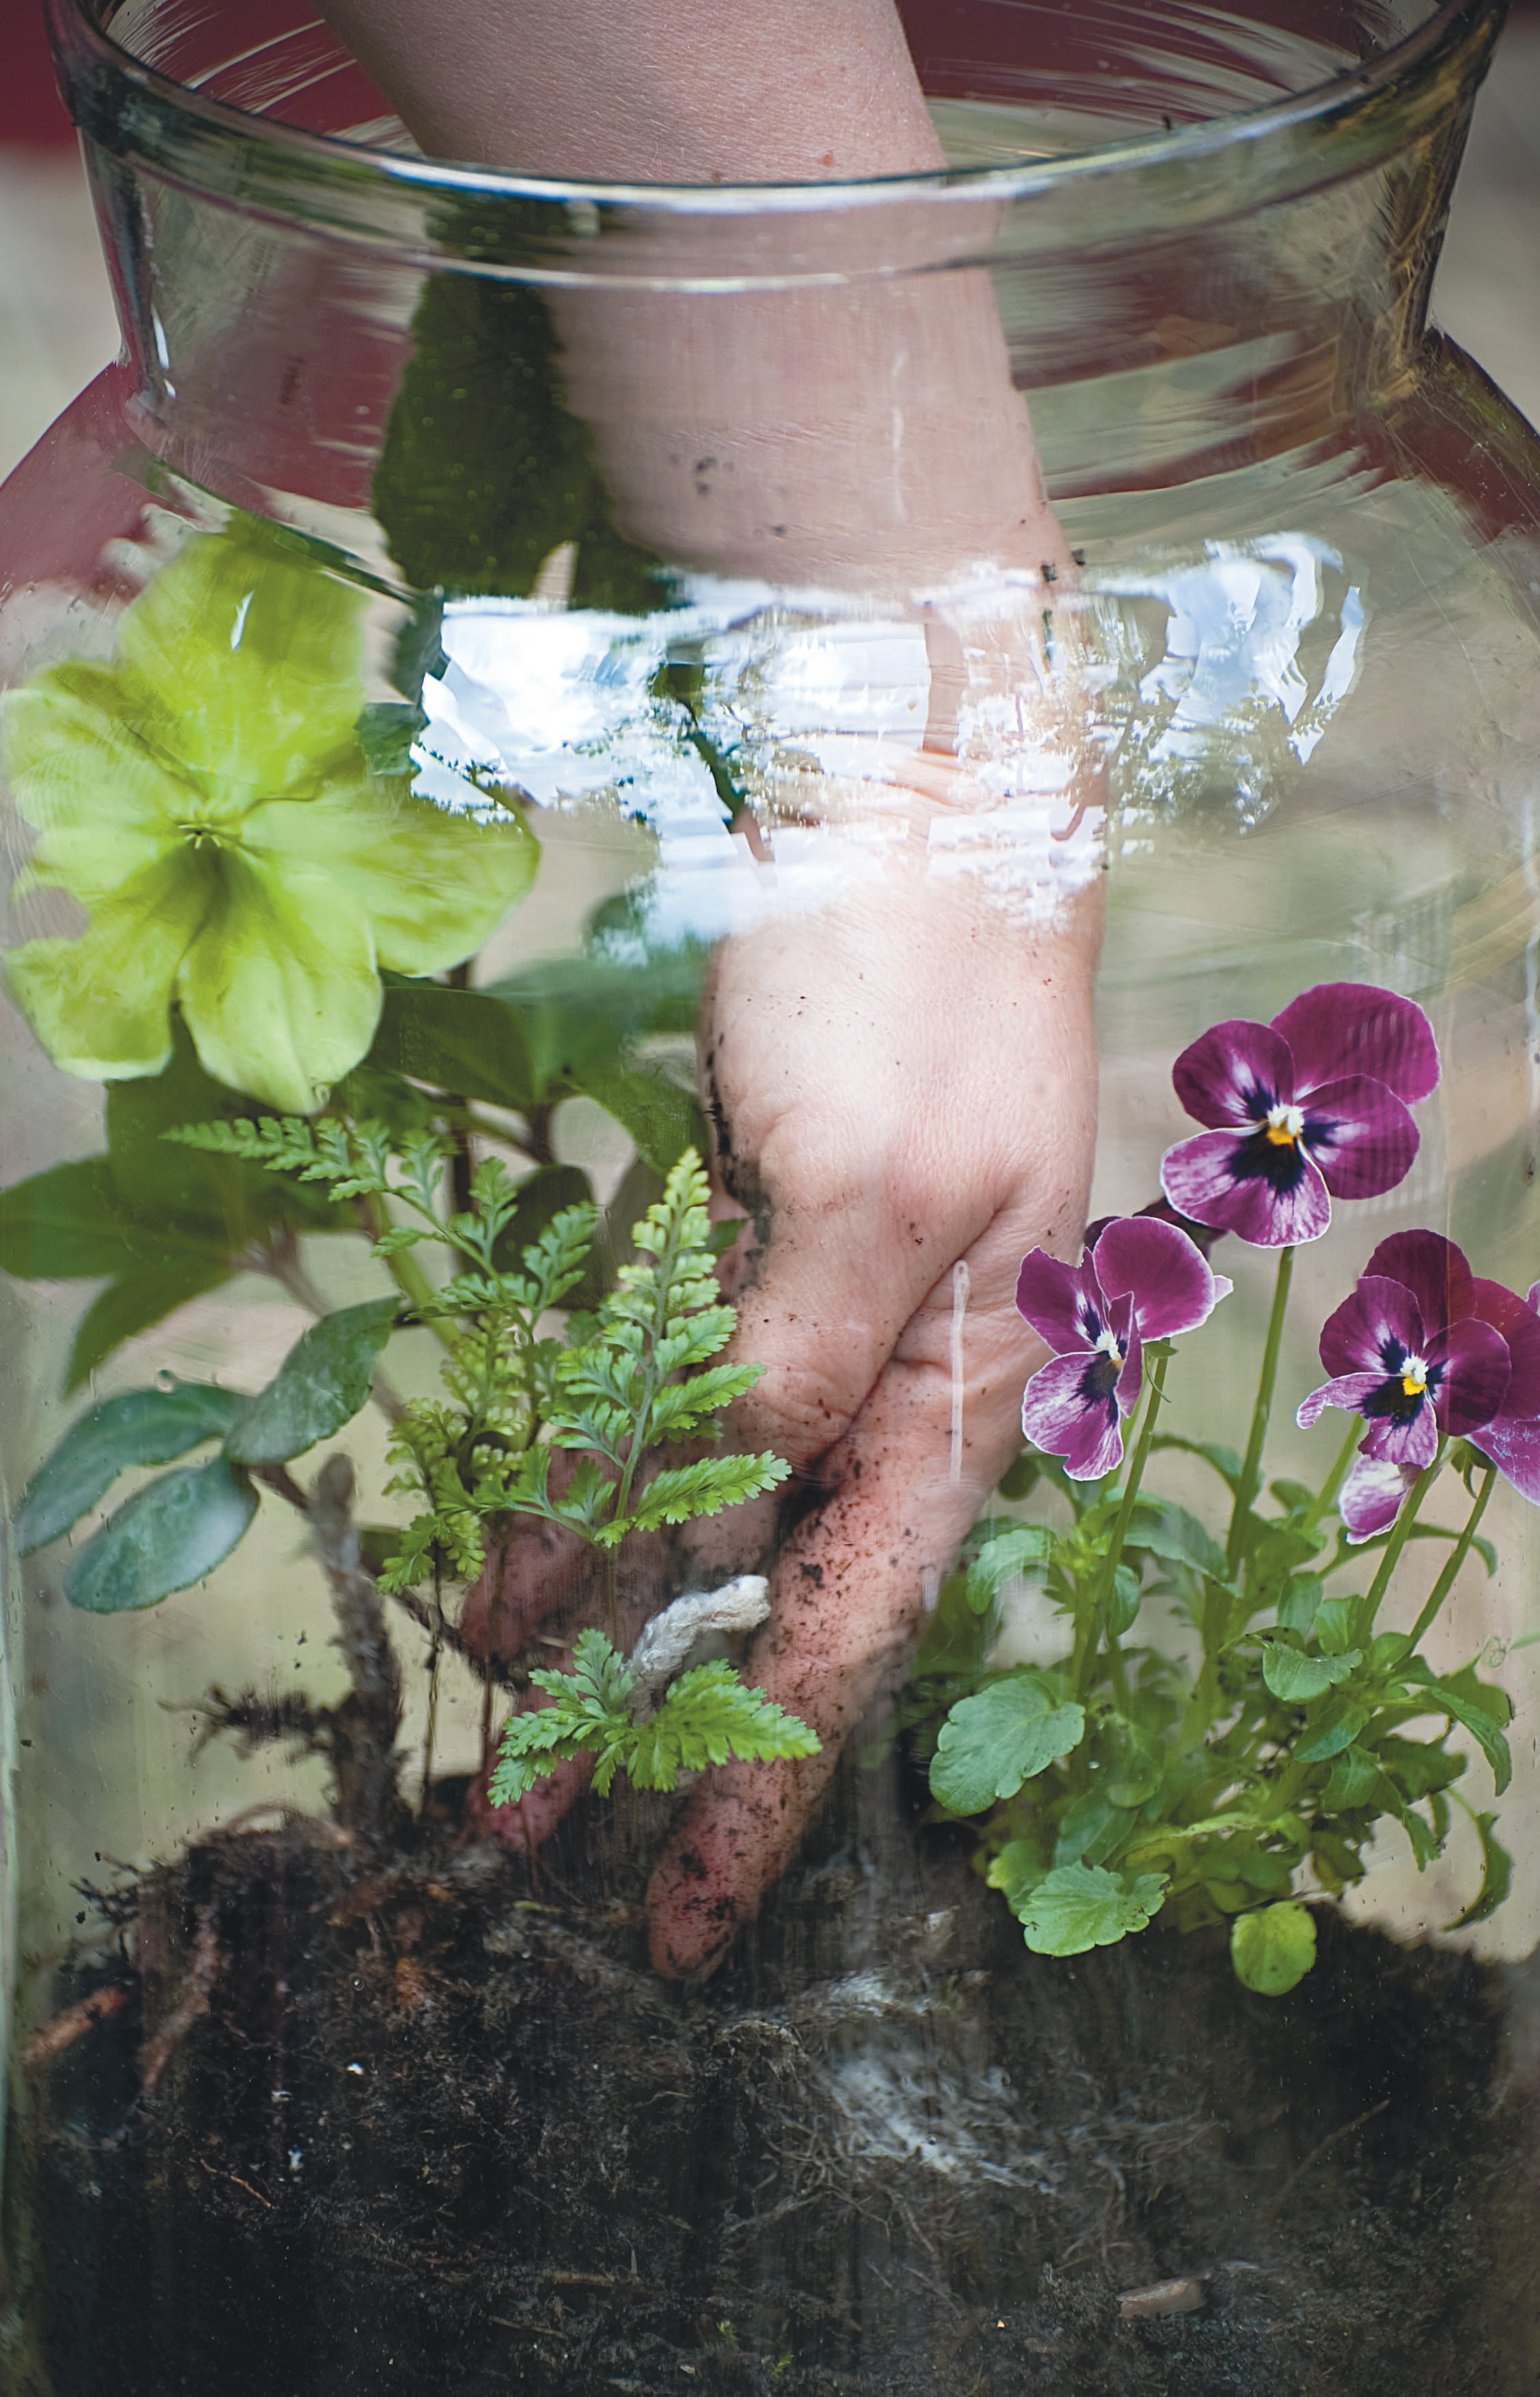
7. Add more moss
If you added some earlier on, you might want to omit this stage but like we said it's customizable on your part and we like a little moss to finish with.
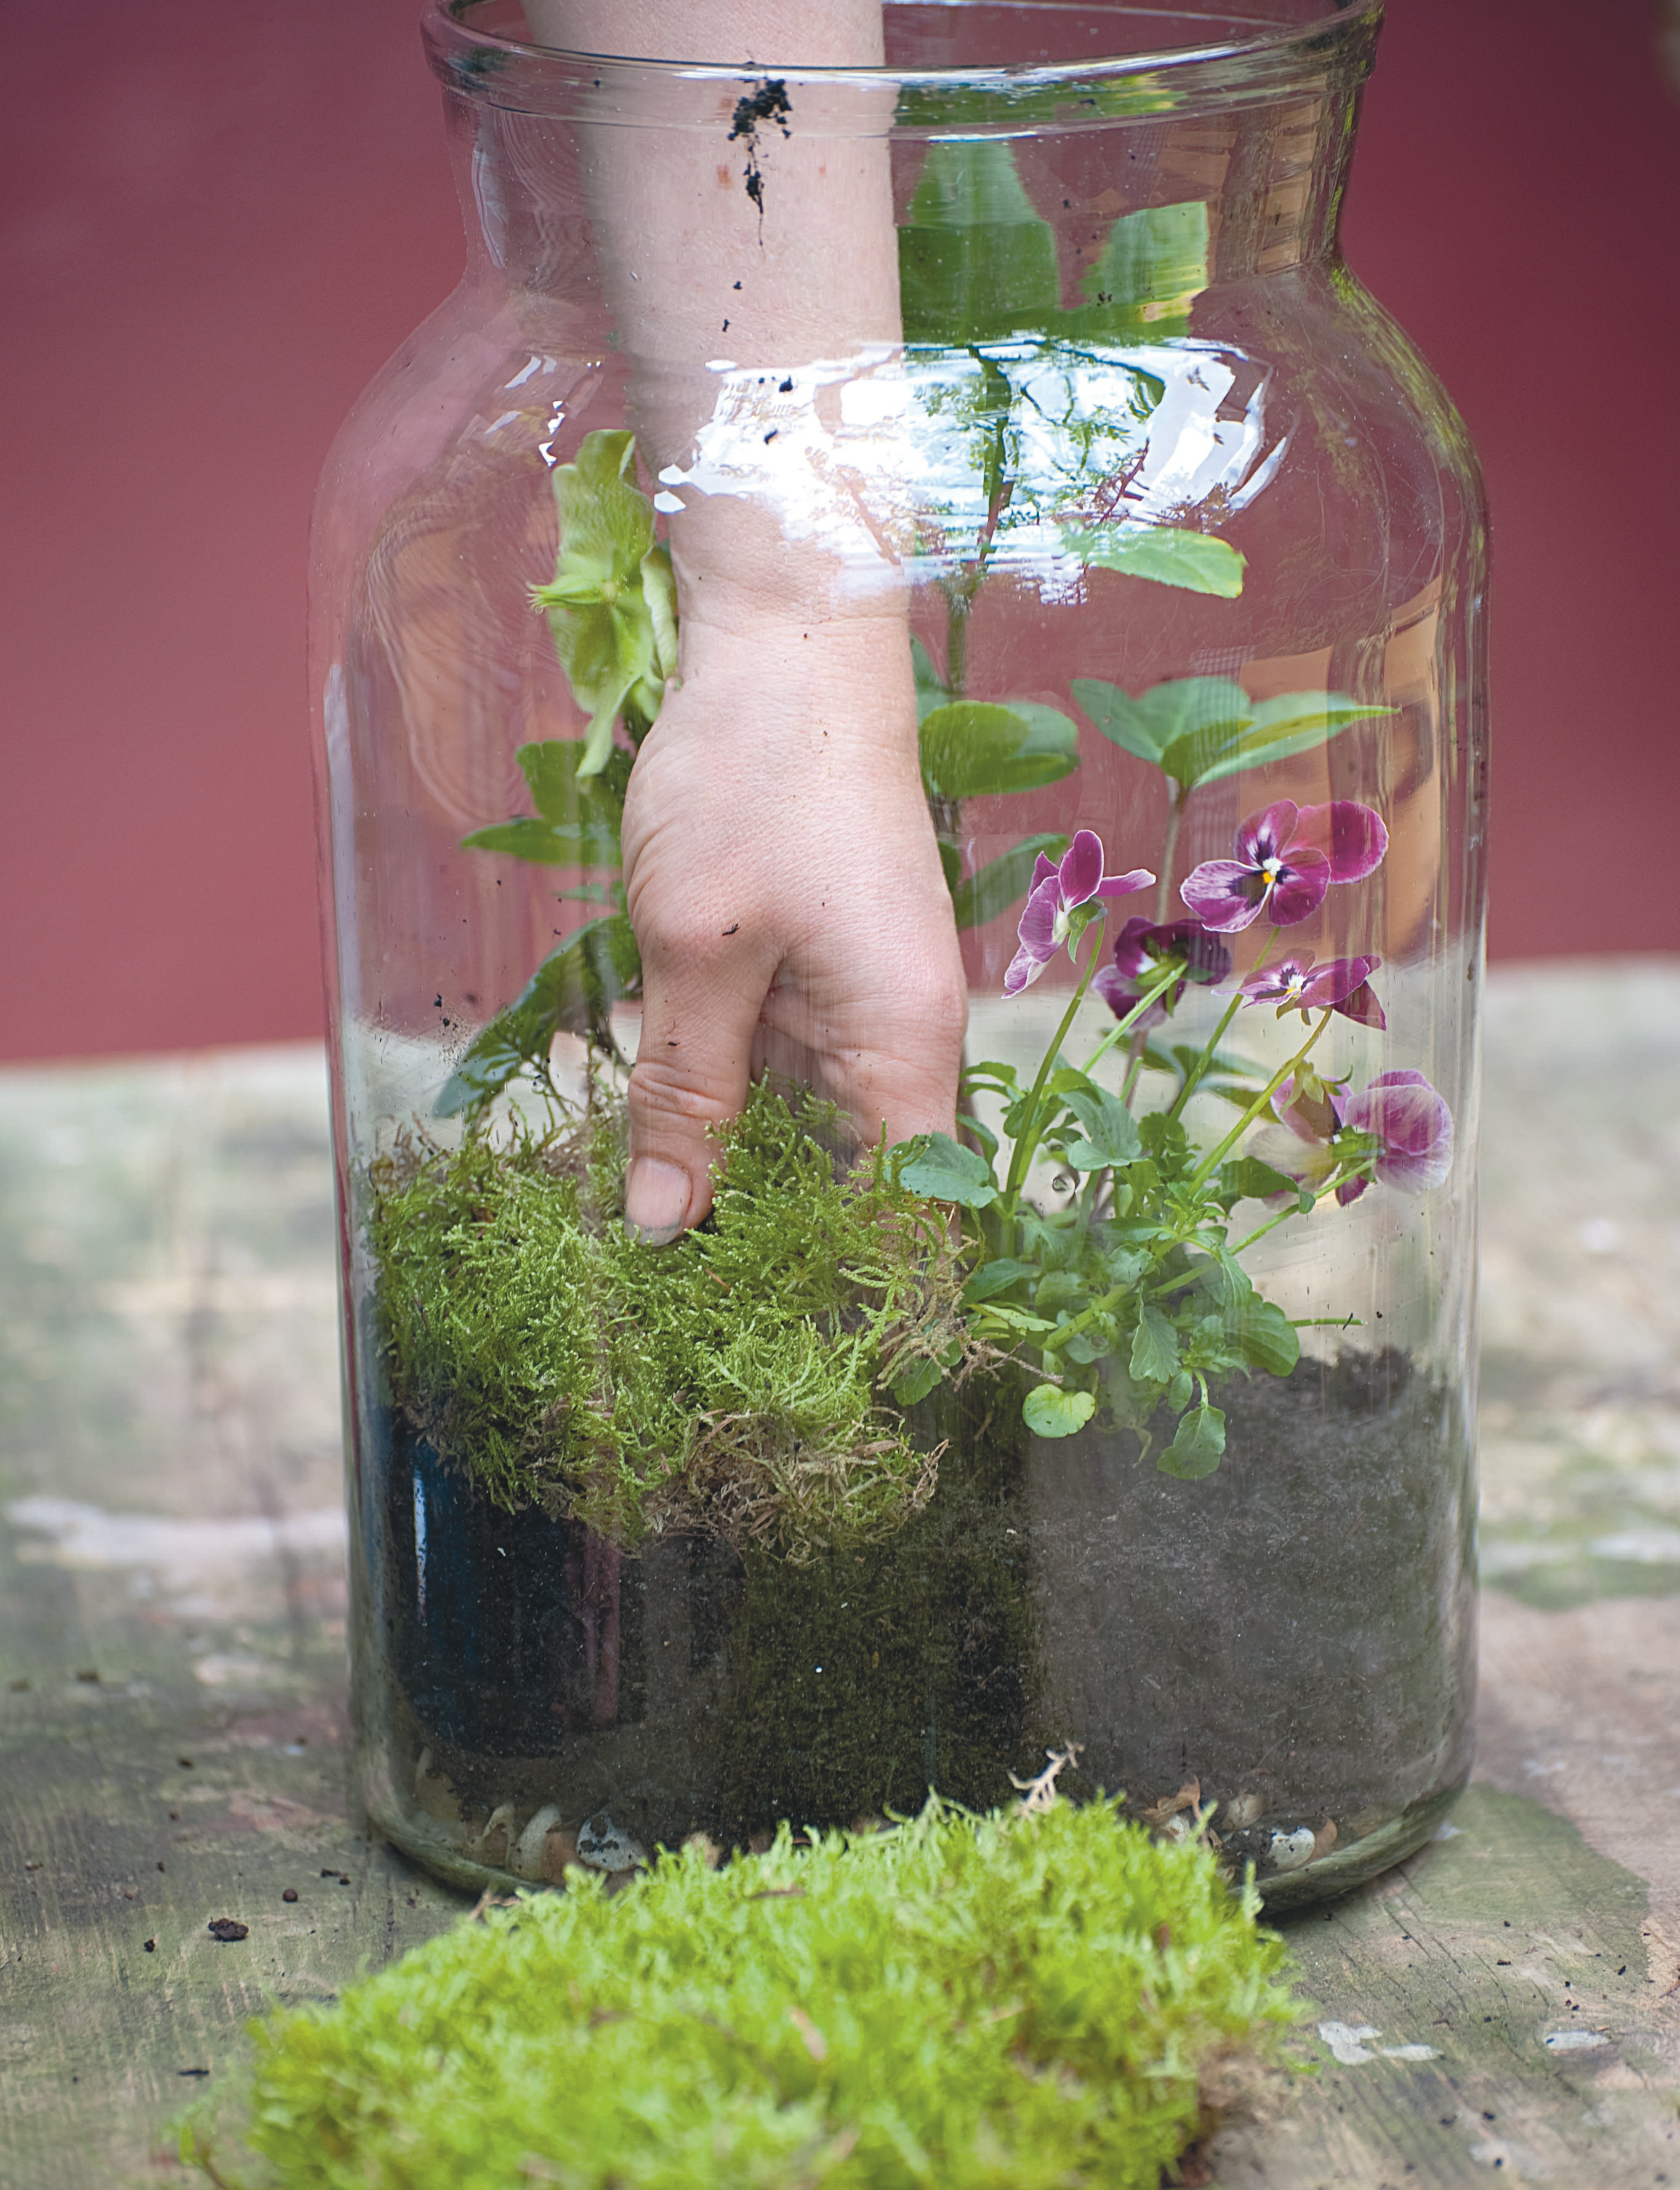
Tear the sheet of moss into pieces and place them on the surface of the potting compost, around the plants. Make sure that all the potting compost is covered, adding smaller pieces of moss if necessary.
8. Clean up
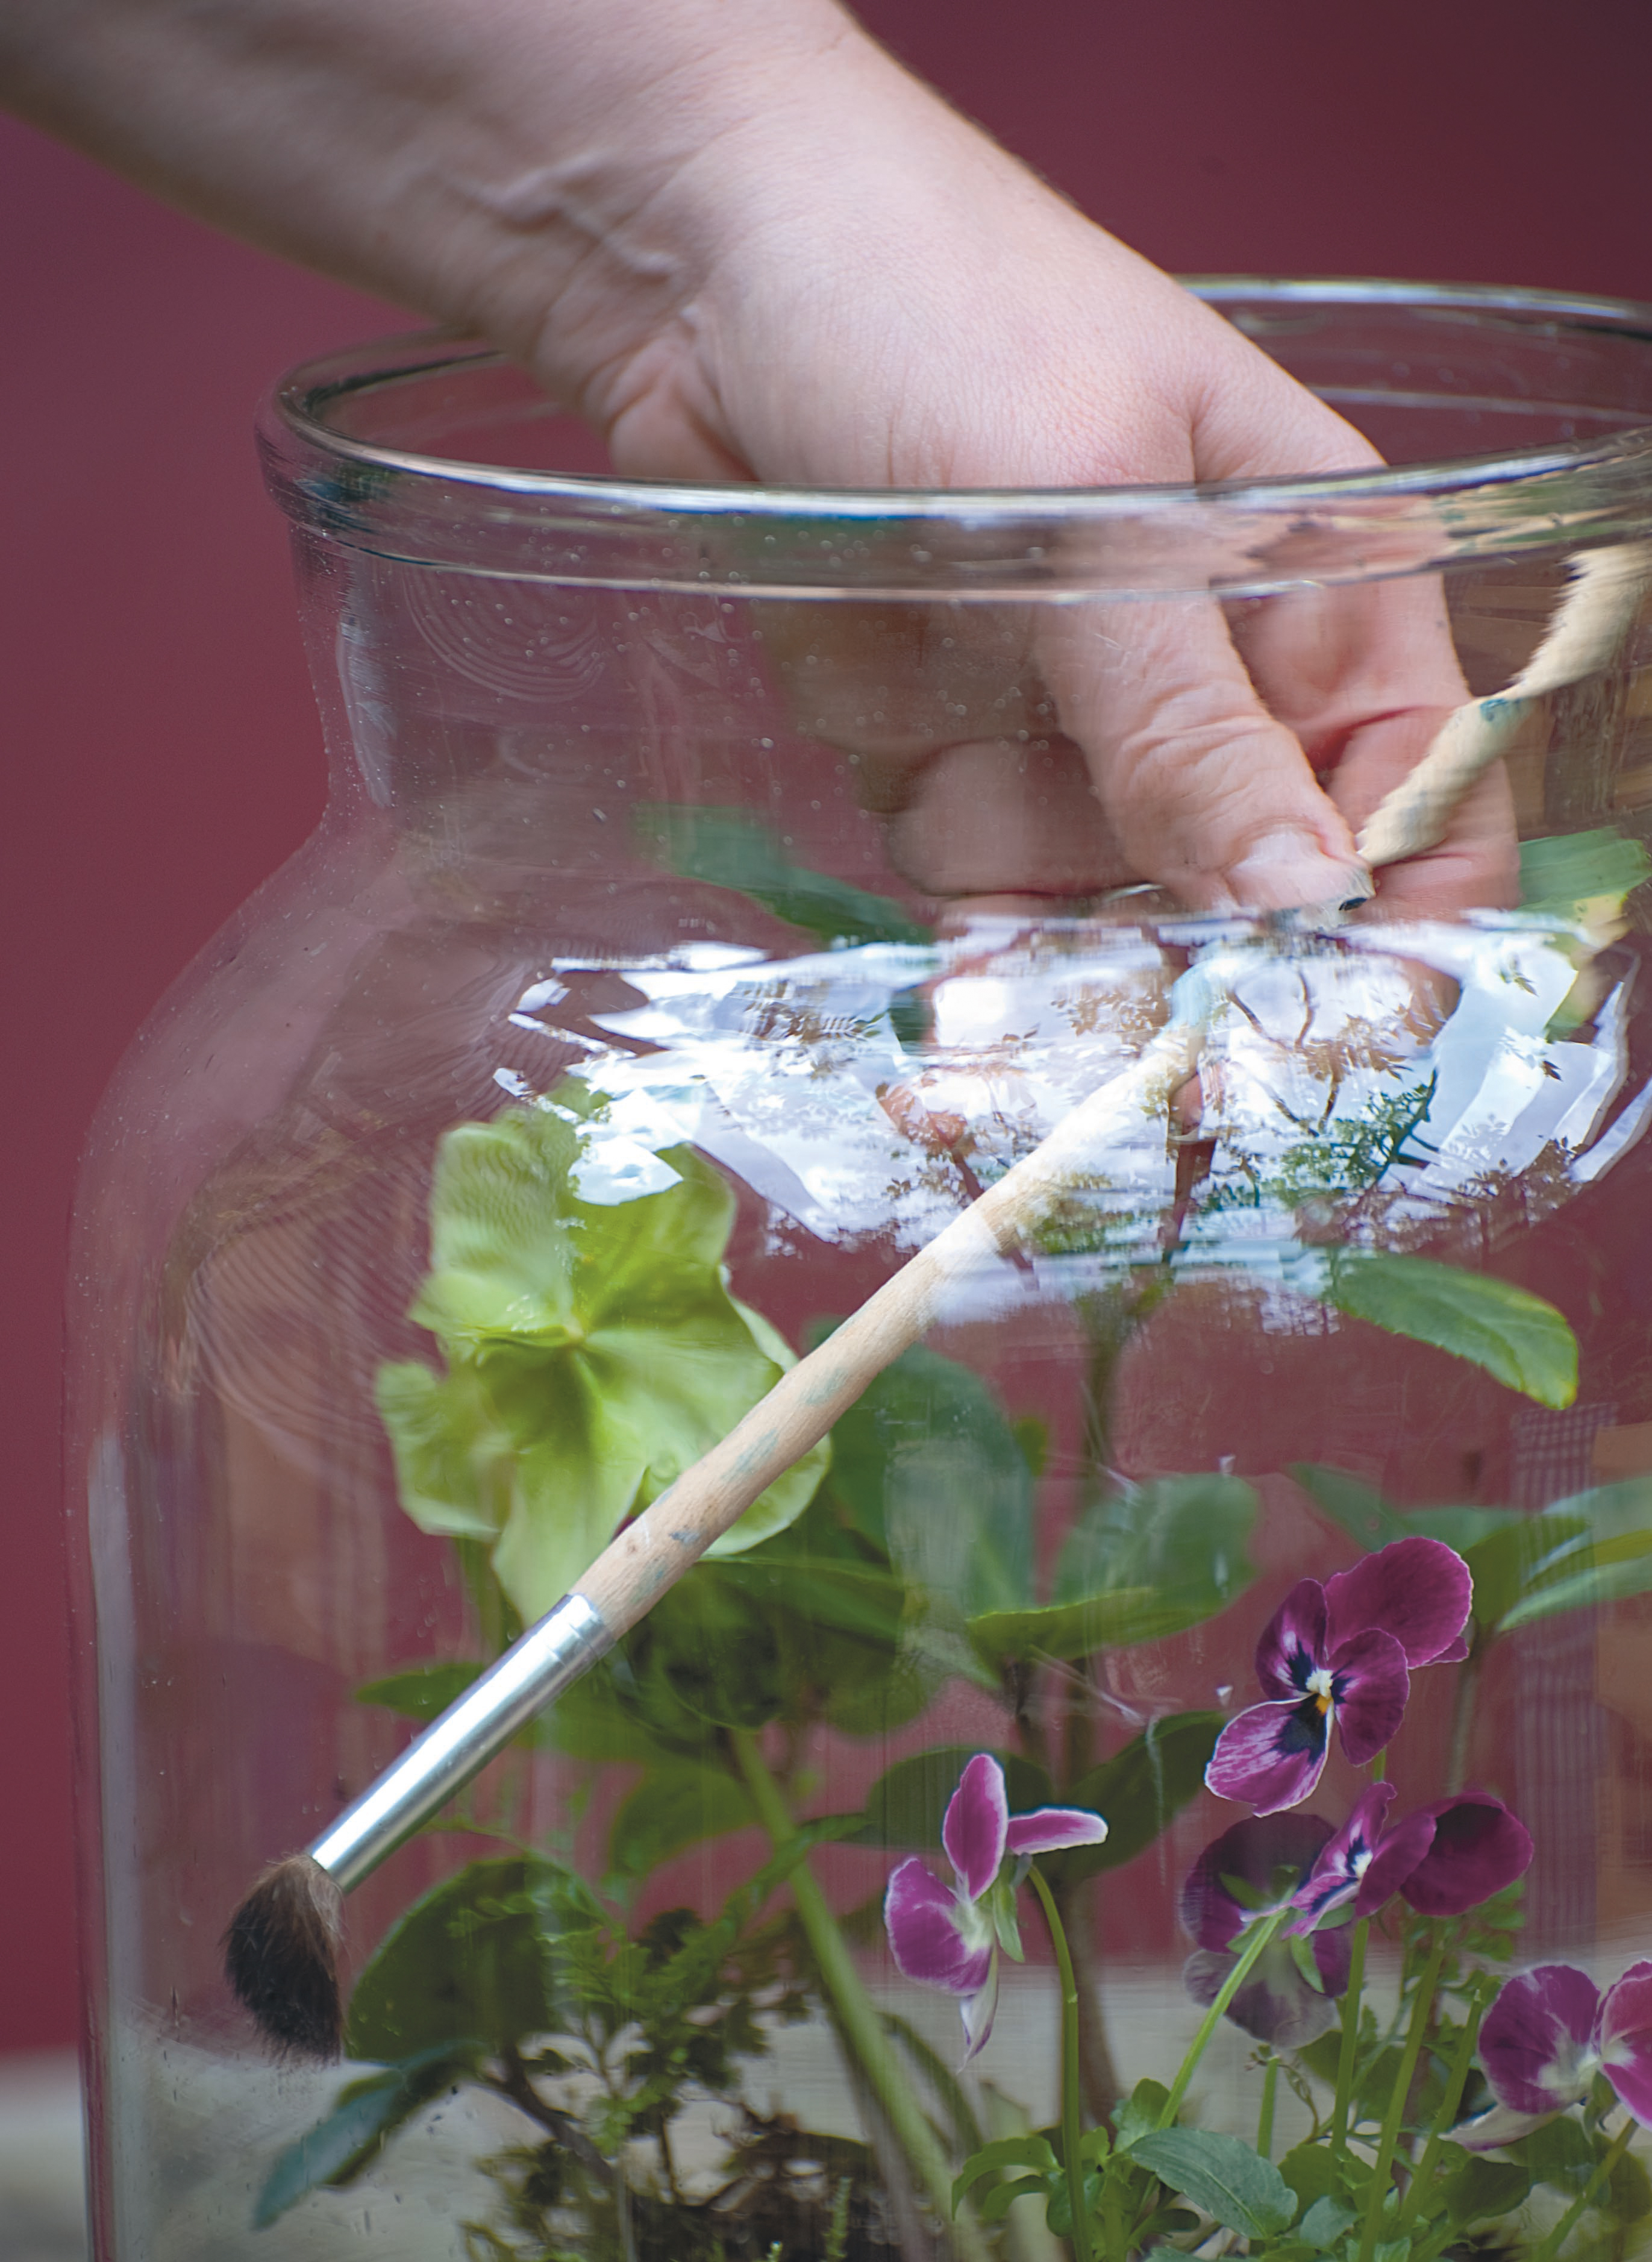
Using the soft paintbrush, clean up the inside of the jar and brush any bits of potting compost from the leaves and flowers to tidy them up.
9. Give it a starting water
'Finish by giving the plants some water to help prevent transplant shock, bearing in mind that the container doesn’t have any drainage holes.'
10. Add any final touches
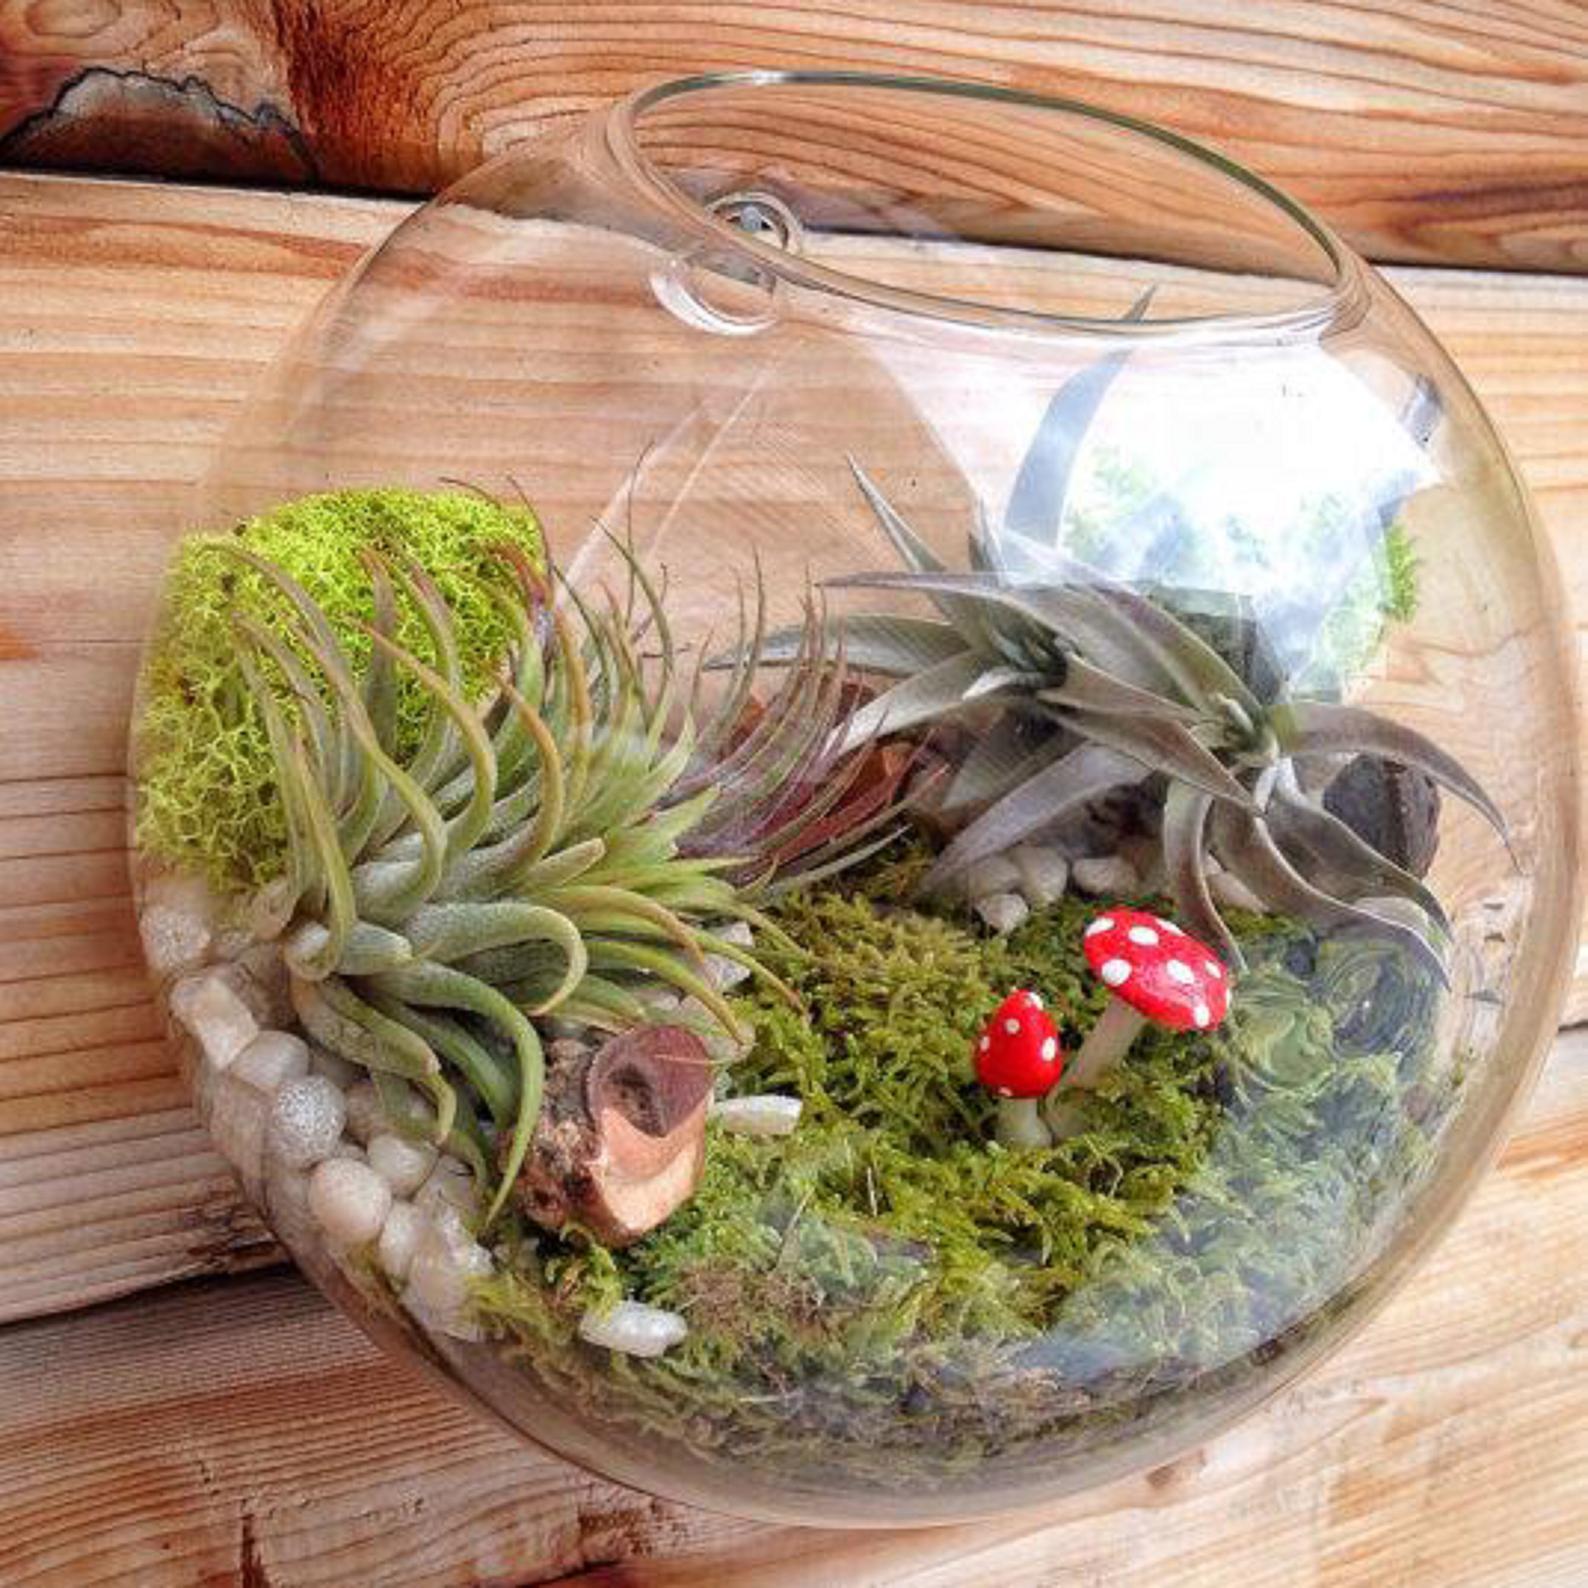
A homemade terrarium is the perfect opportunity to get a little creative so in the final stages, feel free to add any small trinkets and more accessories for a pop of personality.
How to care for your terrarium
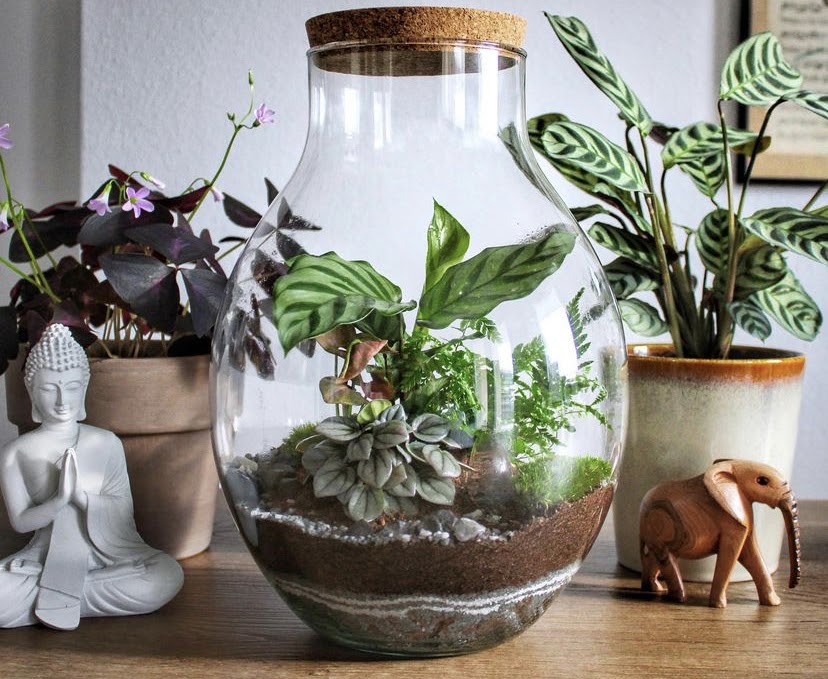
Make sure that the potting compost remains moist but not too wet (stick your finger into the compost to check), watering sparely when necessary. Keep the terrarium indoors in a light spot and deadhead the pansy regularly. With the right conditions, the plants should keep flowering for several weeks or even months, but the foliage will look lovely too.
Find the best plants for your terrarium
Gardening Express
Plenty of plants in stock with everything from veg to bamboo to your perennial border plants. They are ensuring safe operation for their staff, delivery drivers and customers.
Harrod Horticultural
You will find everything you need at Harrod Horticultural from greenhouse plants, seeds, tools and they sell lovely garden furniture too.
Self-watering plants are the best.
Join our newsletter
Get small space home decor ideas, celeb inspiration, DIY tips and more, straight to your inbox!
Hebe joined the Real Homes team in early 2018 as Staff Writer before moving to the Livingetc team in 2021 where she took on a role as Digital Editor. She loves boho and 70's style and is a big fan of Instagram as a source of interiors inspiration. When she isn't writing about interiors, she is renovating her own spaces – be it wallpapering a hallway, painting kitchen cupboards or converting a van.
-
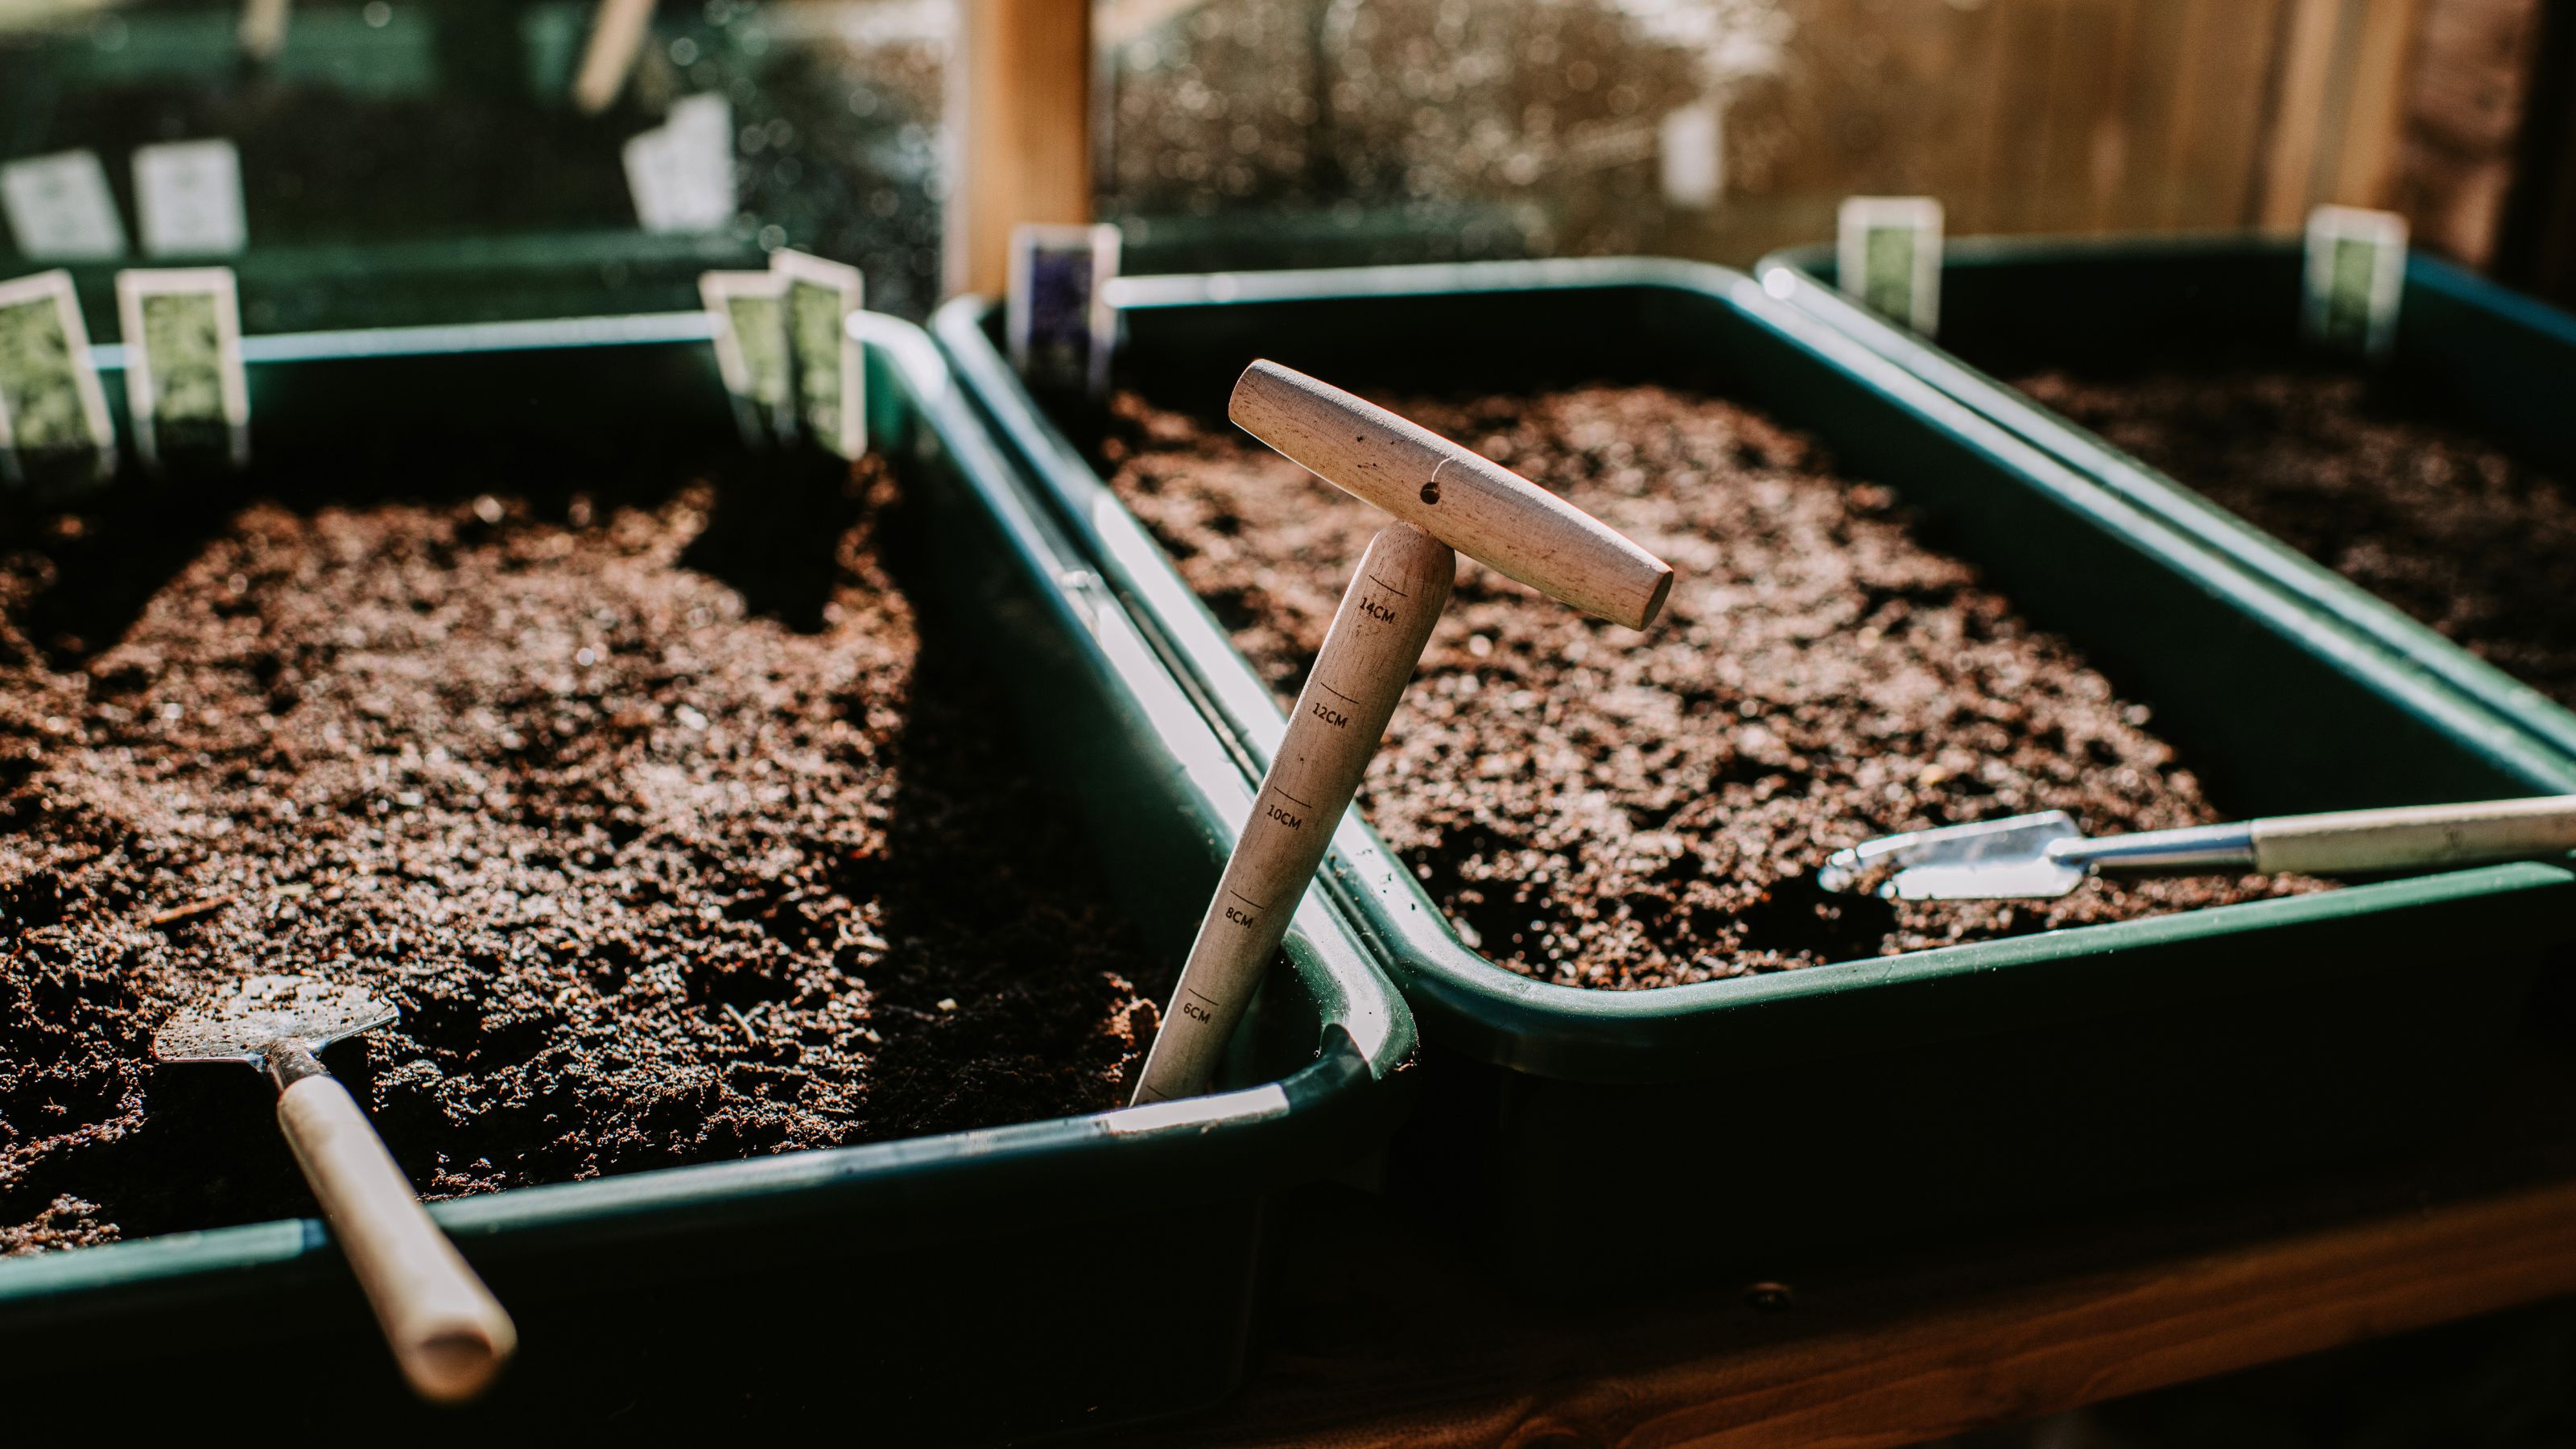 How to make compost — 8 easy steps gardening pros always use
Learn how to make compost at home in seven easy steps, whether you have a bin or want to create a compost heap. We've asked pros for their top tips
By Eve Smallman Published
-
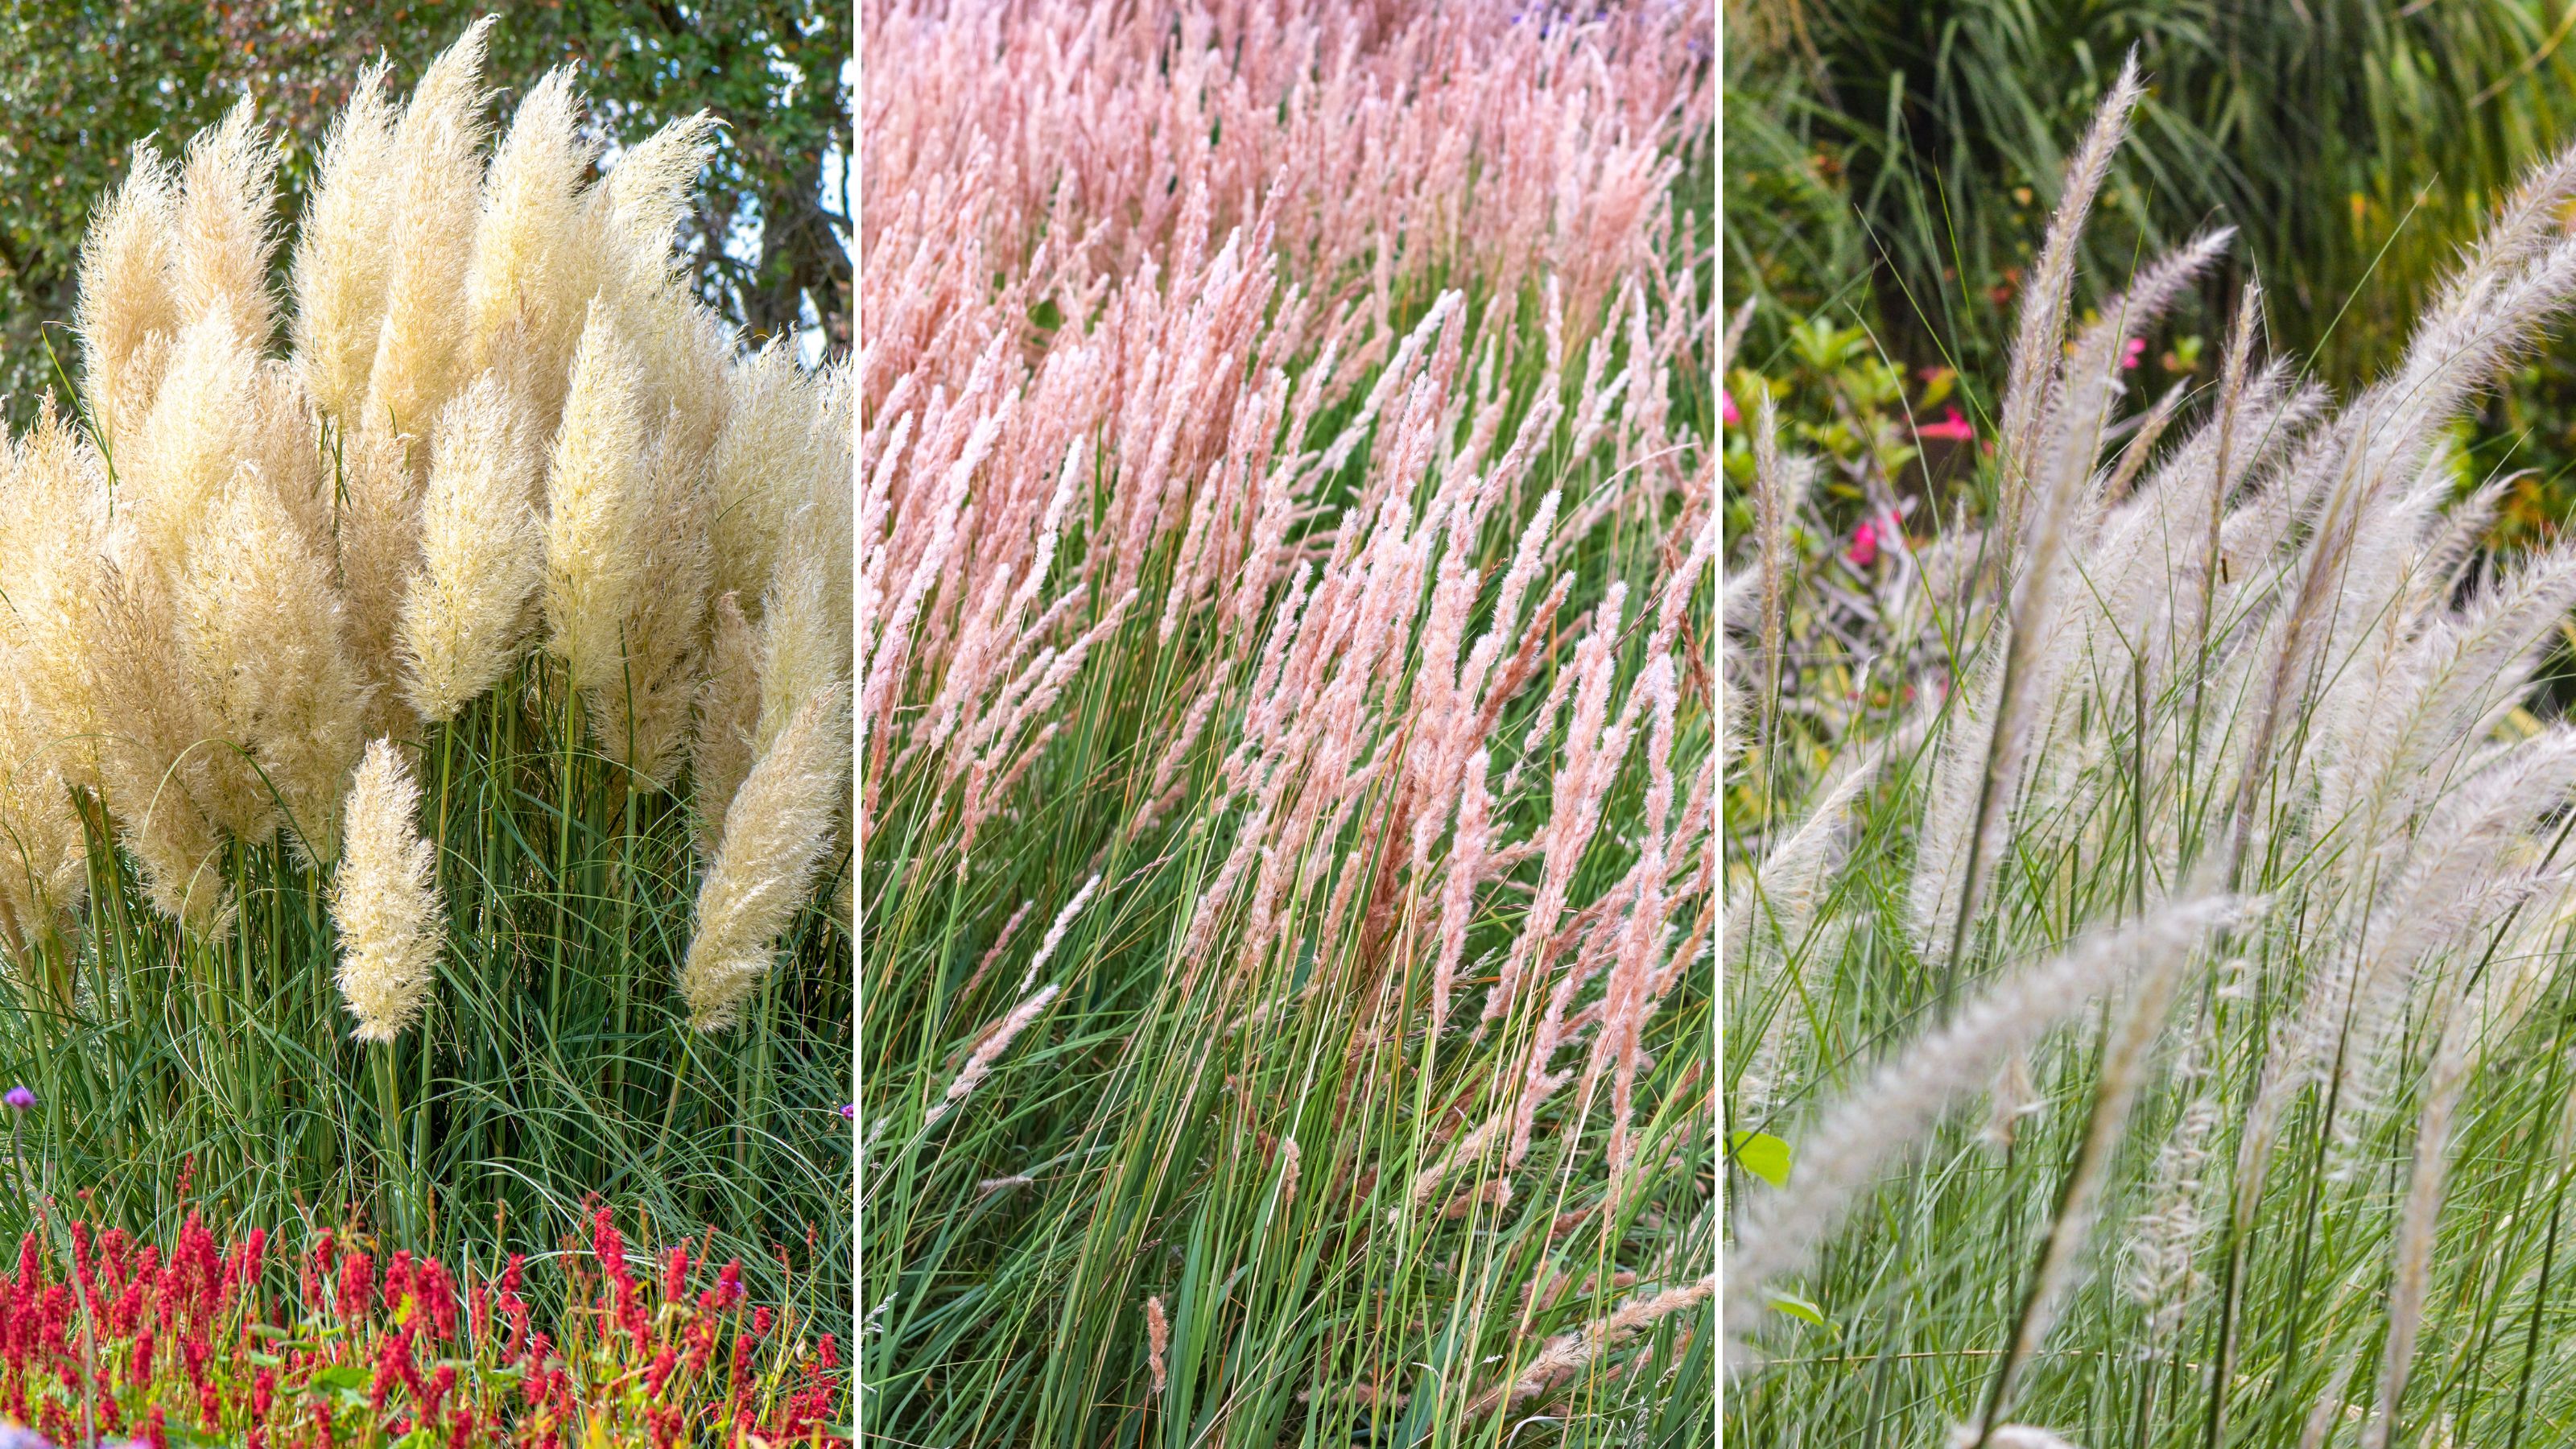 Planting ornamental grasses — the best types experts love and how to grow them
We've got you covered on planting ornamental grasses, speaking to experts about what ones to grow, how to grow them, and factors to consider
By Eve Smallman Last updated
-
 "Grotty" terrace is transformed with French flair and Ibiza vibes in the garden
Esther Pillans' tired-looking Victorian terraced house was given a makeover with a touch of Parisian chic
By Ellen Finch Published
-
 How to make a DIY hummingbird feeder using a glass jelly jar
This charming DIY hummingbird feeder is perfect for backyards and apartment balconies alike! Complete with homemade nectar, you can have this project done in under an hour.
By Dori Turner Published
-
 Painting garden furniture: follow our step-by-step guide
Painting garden furniture is an easy, affordable way to brighten up your outside space. Here's how to do it
By Laura Crombie Published
-
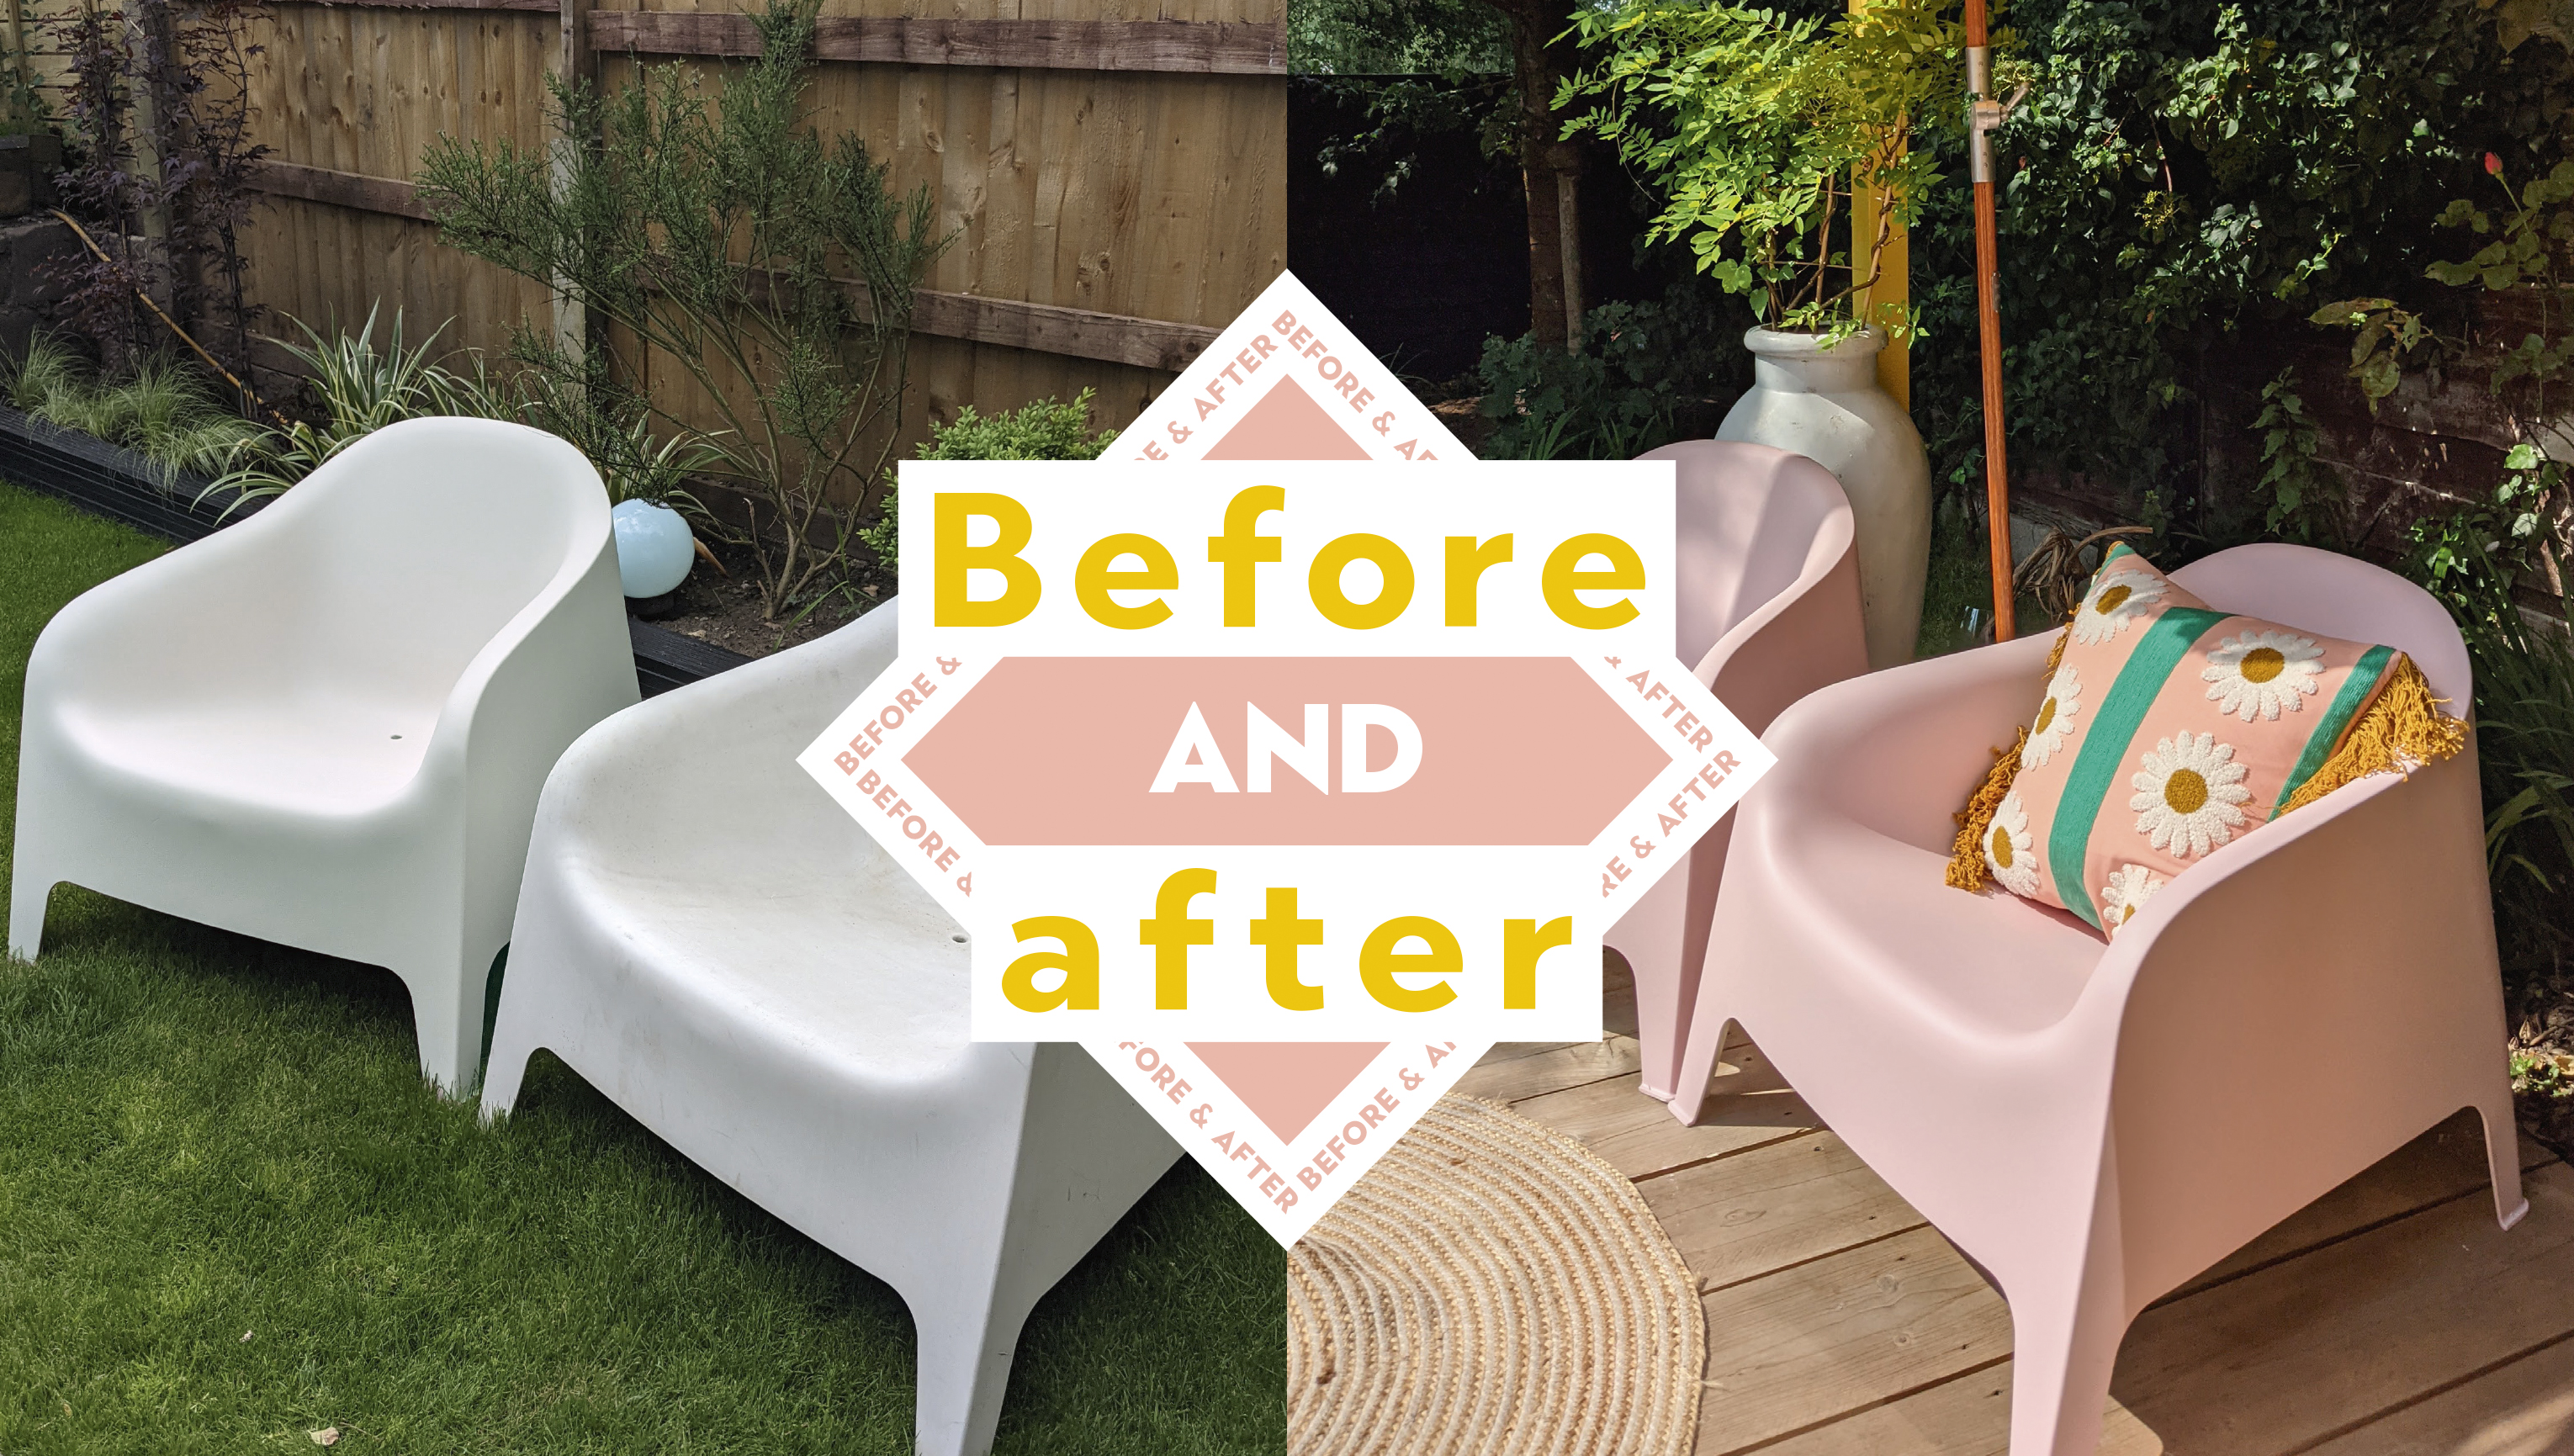 How to paint Ikea outdoor SKARPÖ chairs: from white to Champagne pink
UK DIY blogger Jo Lemos shares how to paint the iconic IKEA SKARPÖ chairs for a budget yet bougie yard upgrade
By Jo Lemos Published
-
 22 DIY alternative planter ideas: easy designs to dress up your porch or patio
We guarantee you won't see these DIY alternative planter ideas in your local home improvement store
By Hebe Hatton Published
-
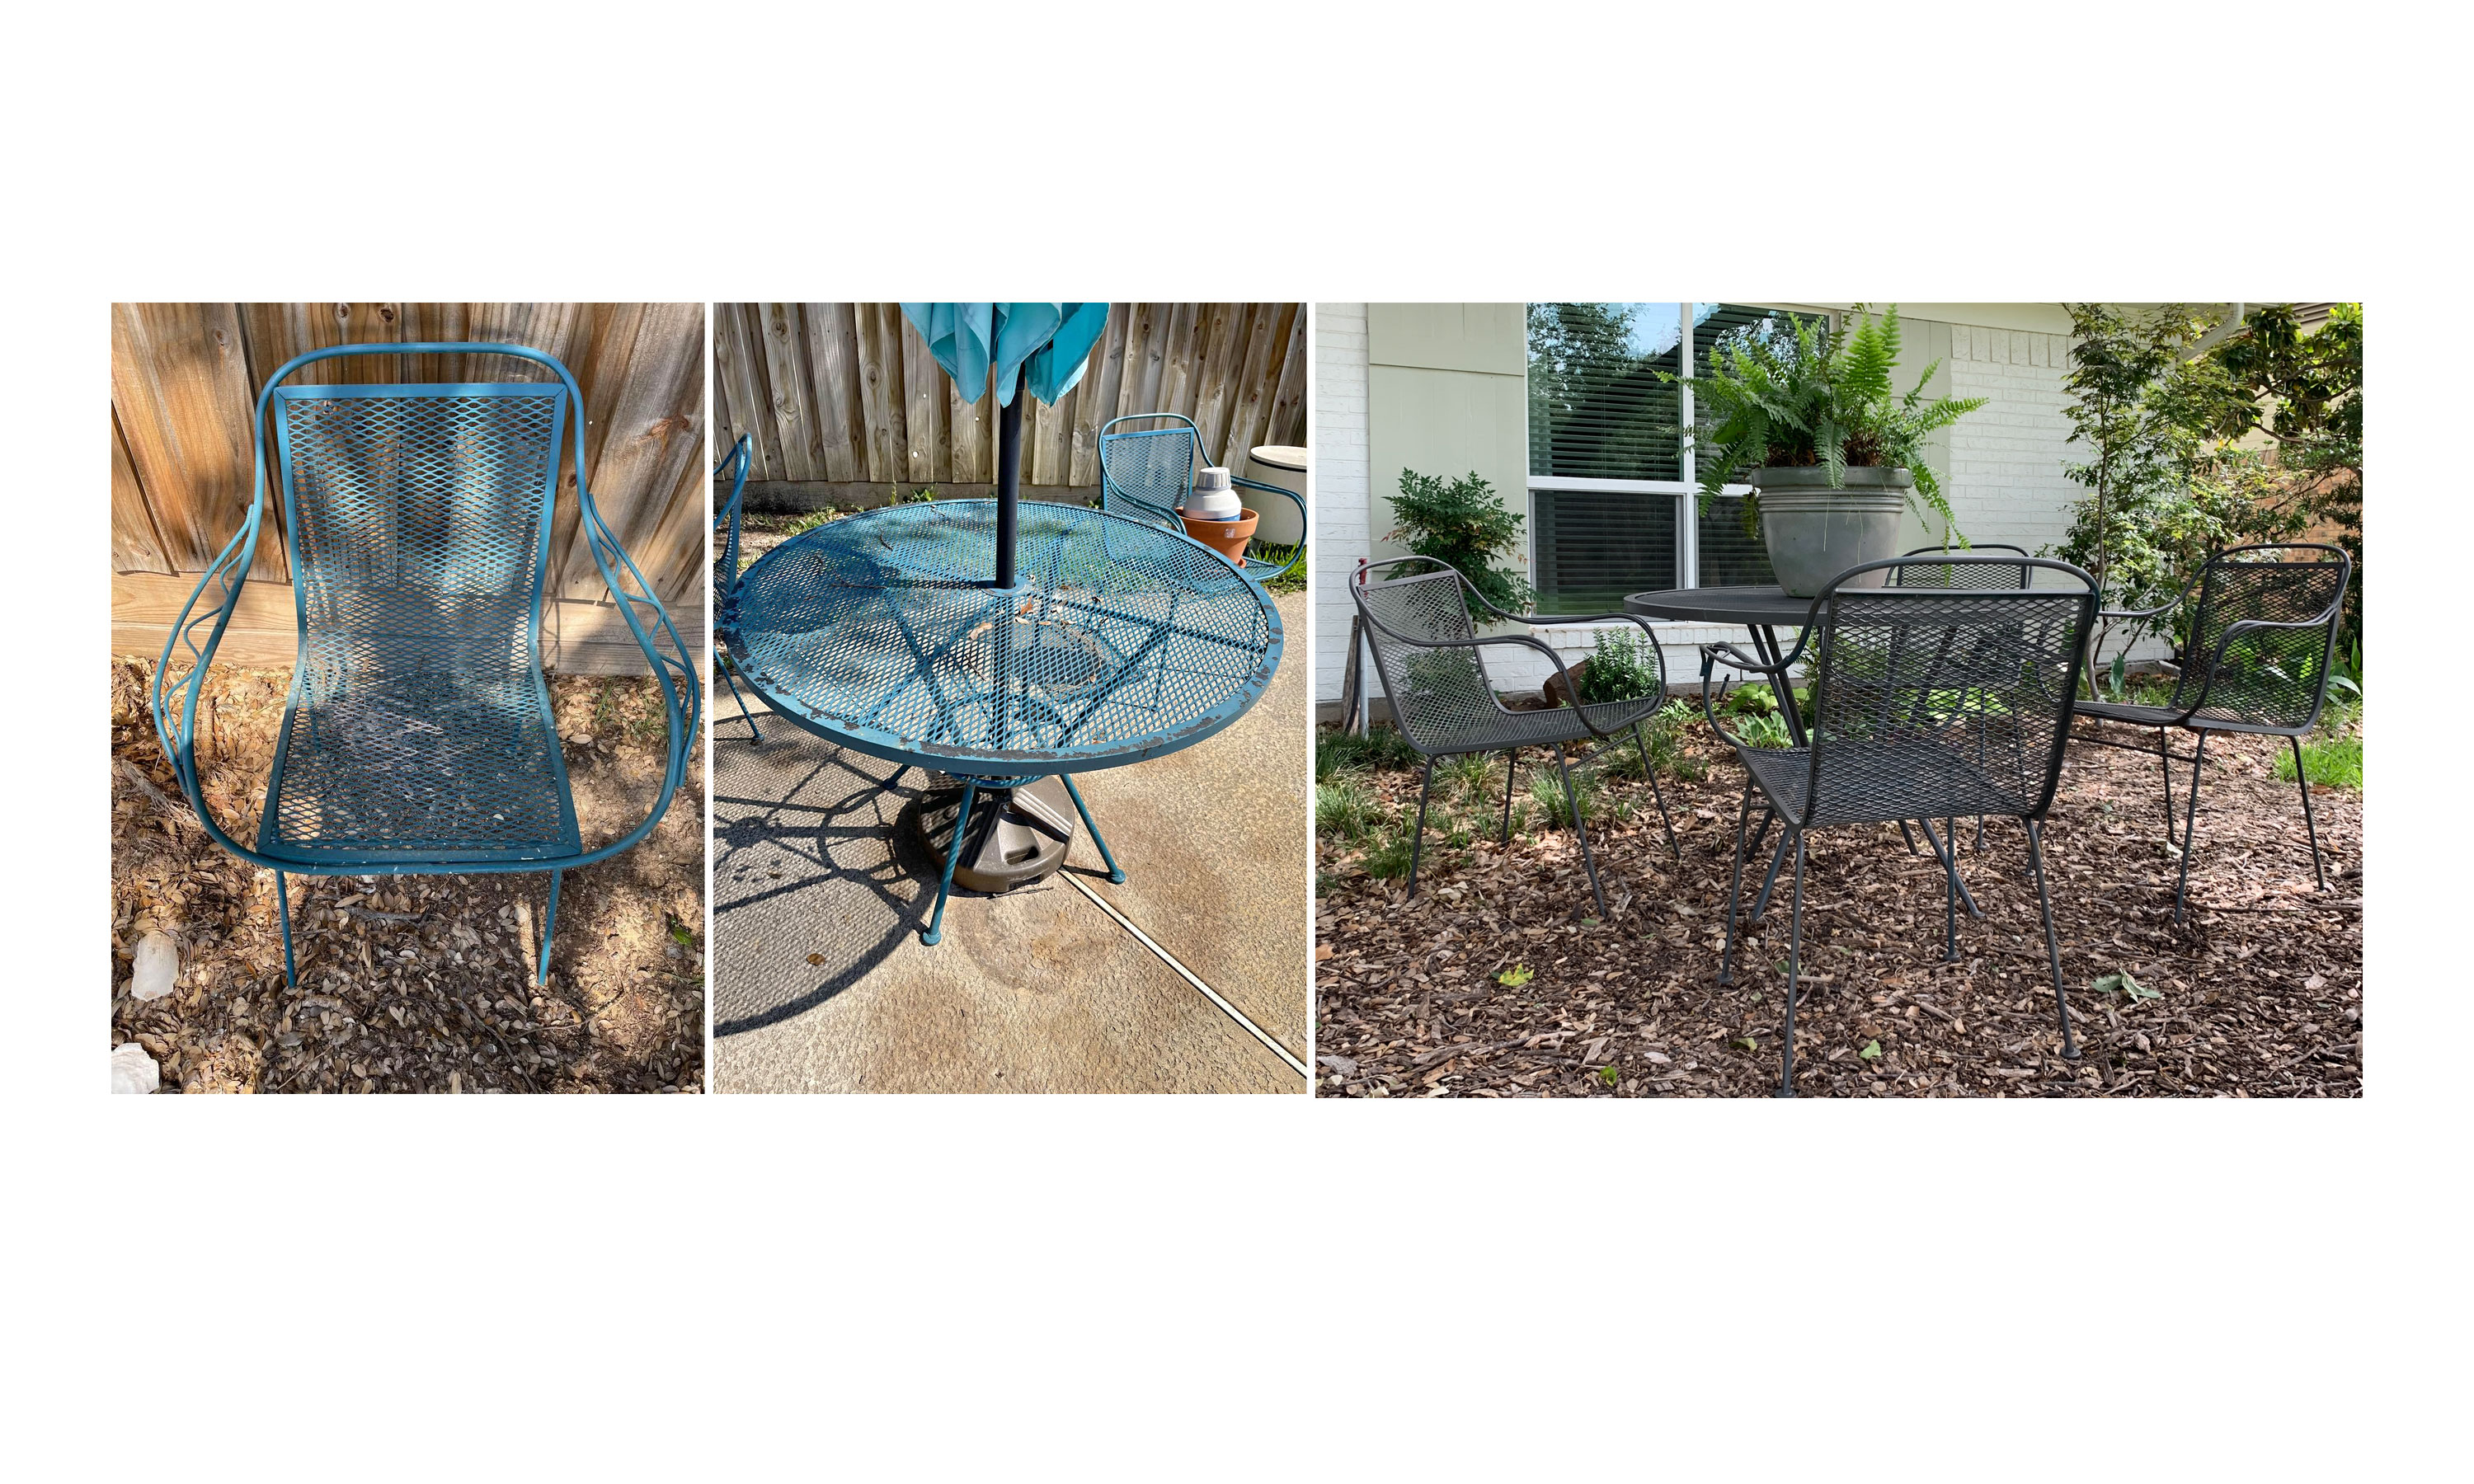 How to revive an old patio furniture set with spray paint, on a shoestring budget
DIYer Jessica Nickerson used spray paint to bring a used metal patio furniture set, from Facebook Marketplace, back to life. Giving her front yard a speedy facelift, for next to nothing
By Camille Dubuis-Welch Published

