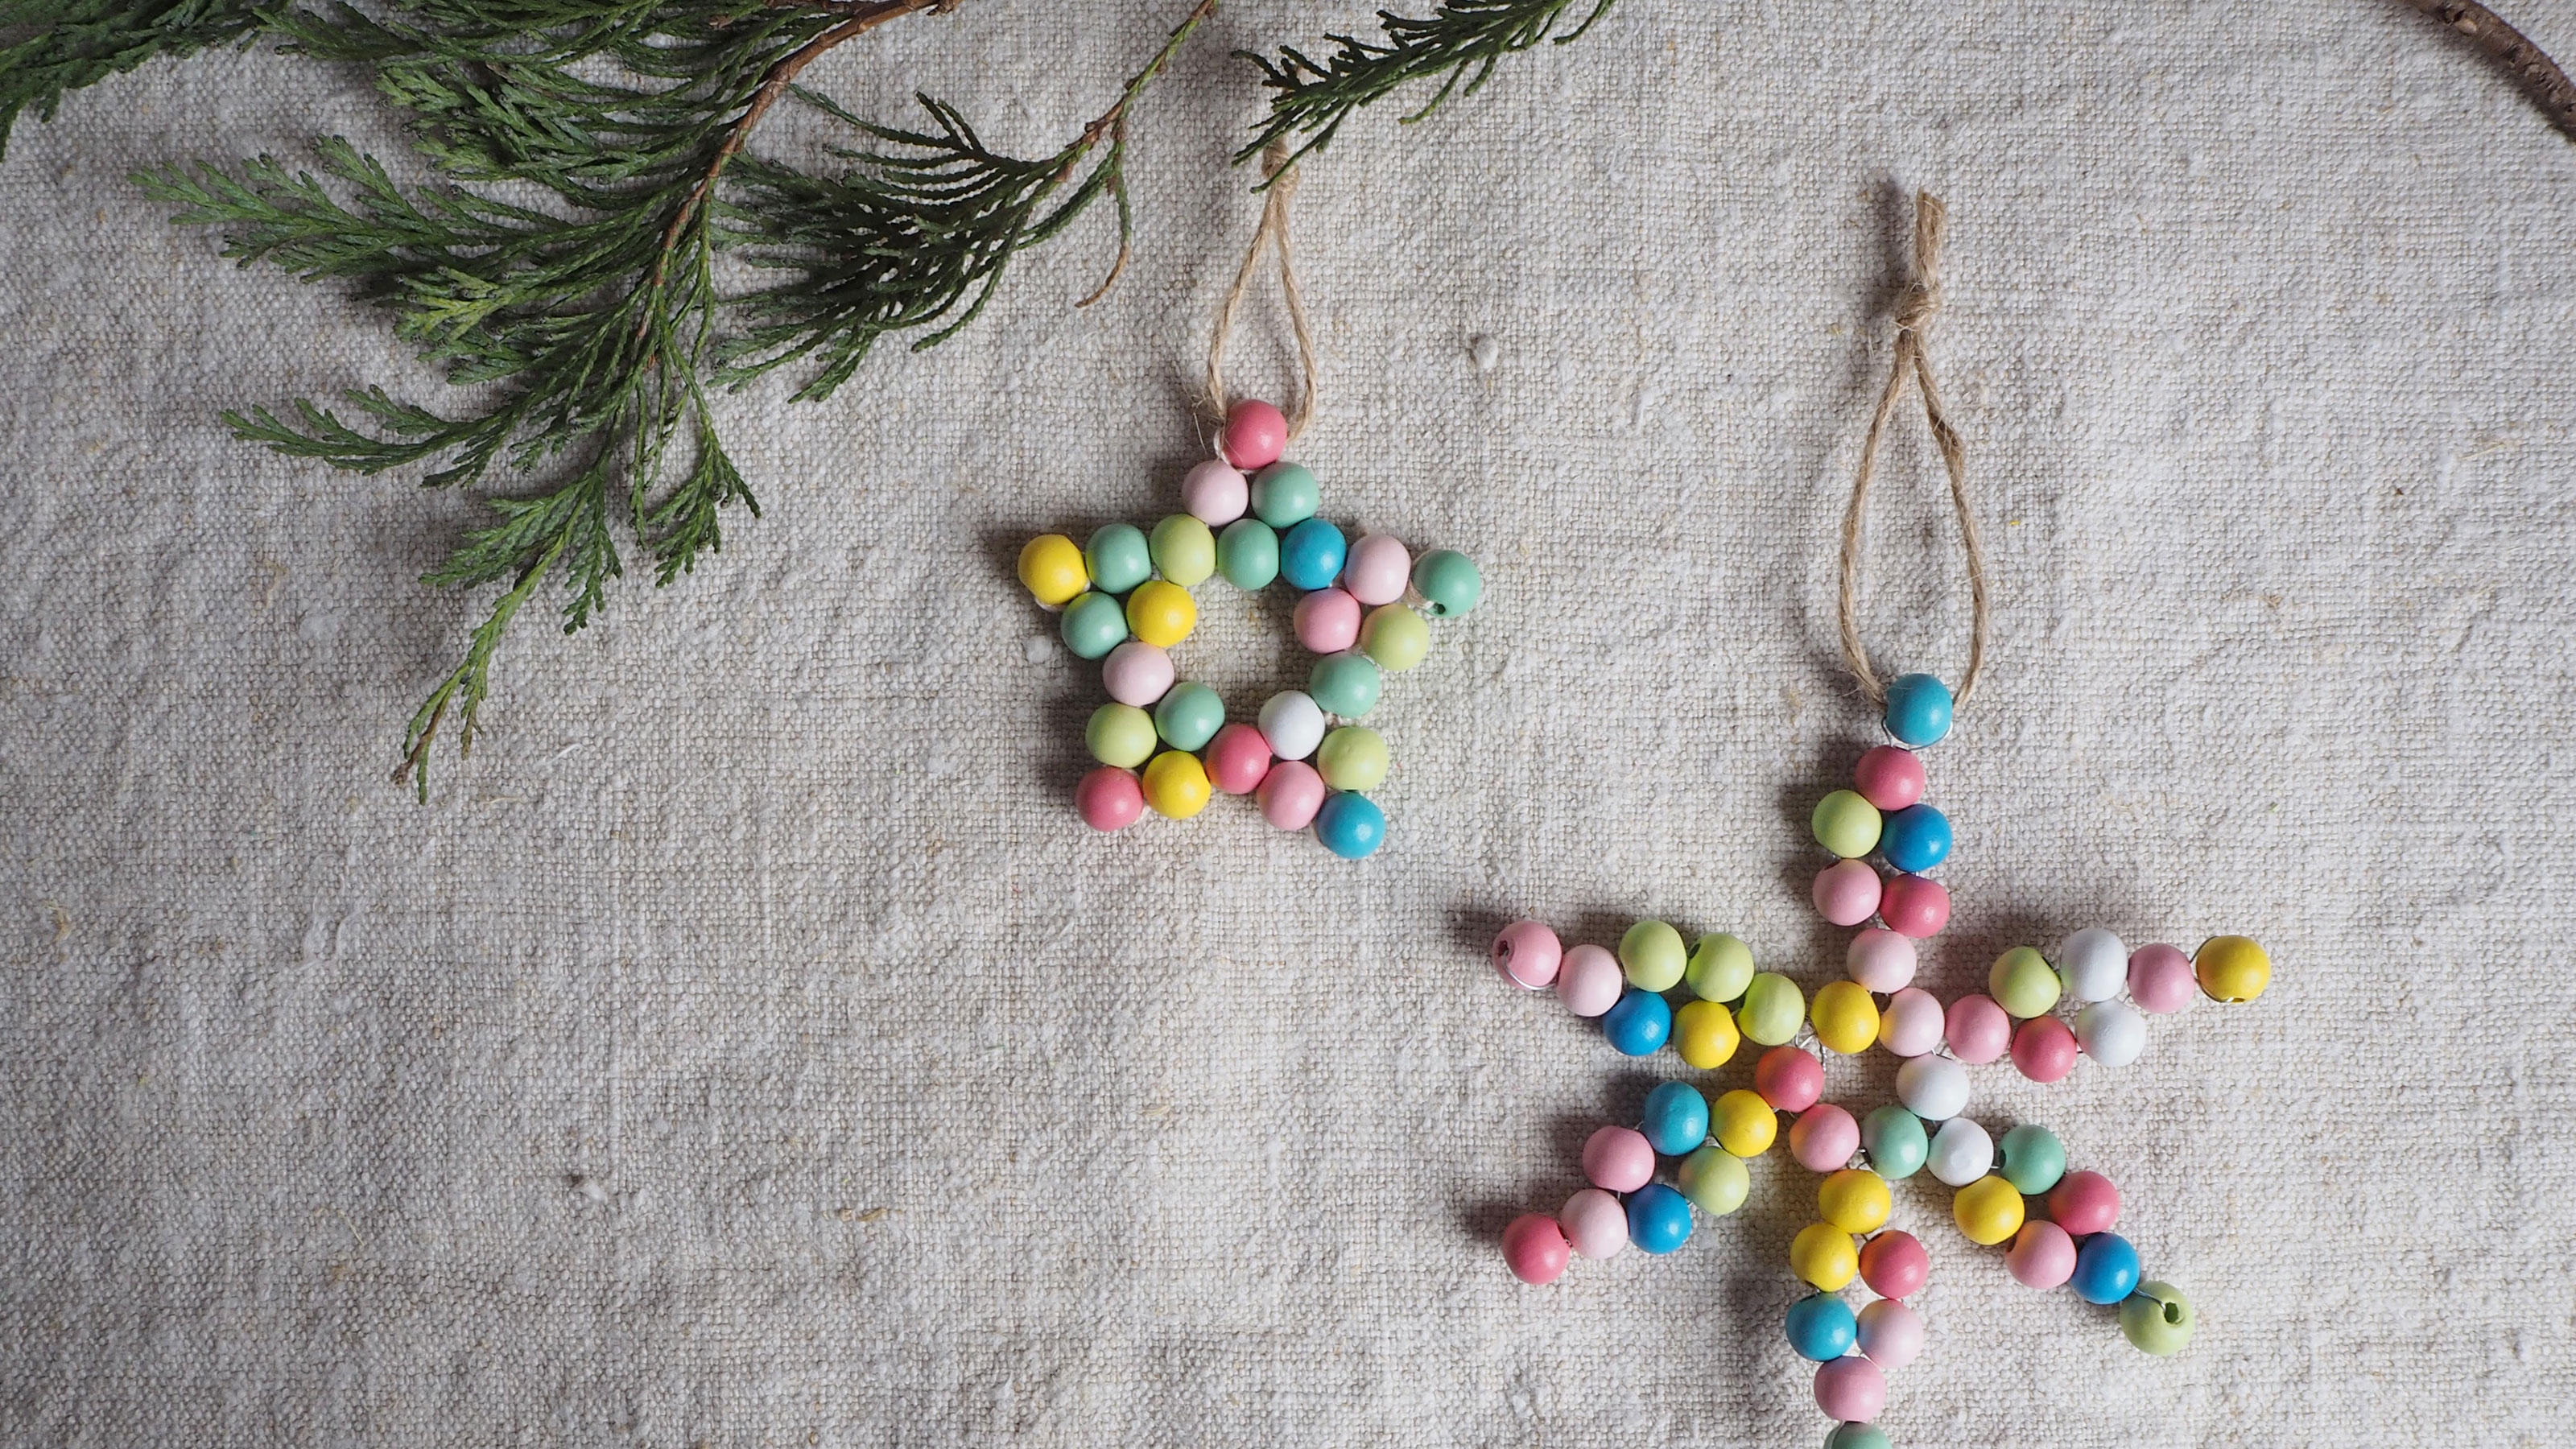

With not long to go until Saint Nick pays us all a visit, it's time to update your tree decor for the holiday season. There are of course so many routes you could take but if there's a good time of year to craft, it's over the festive period; and making your own Christmas beaded stars is a super simple activity we are all here for.
If you love Scandinavian decor these homemade decs elevate the look with more color. But of course, you could keep your beads unpainted if you wanted an even more authentic finish.
Whether you've bought all your Christmas decs but need to add a bit more personality to your tree, or if you simply want a festive craft to try with friends and family, there are two Christmas beaded stars to make: one created using embroidery floss and the other wire, you're sure to love both!
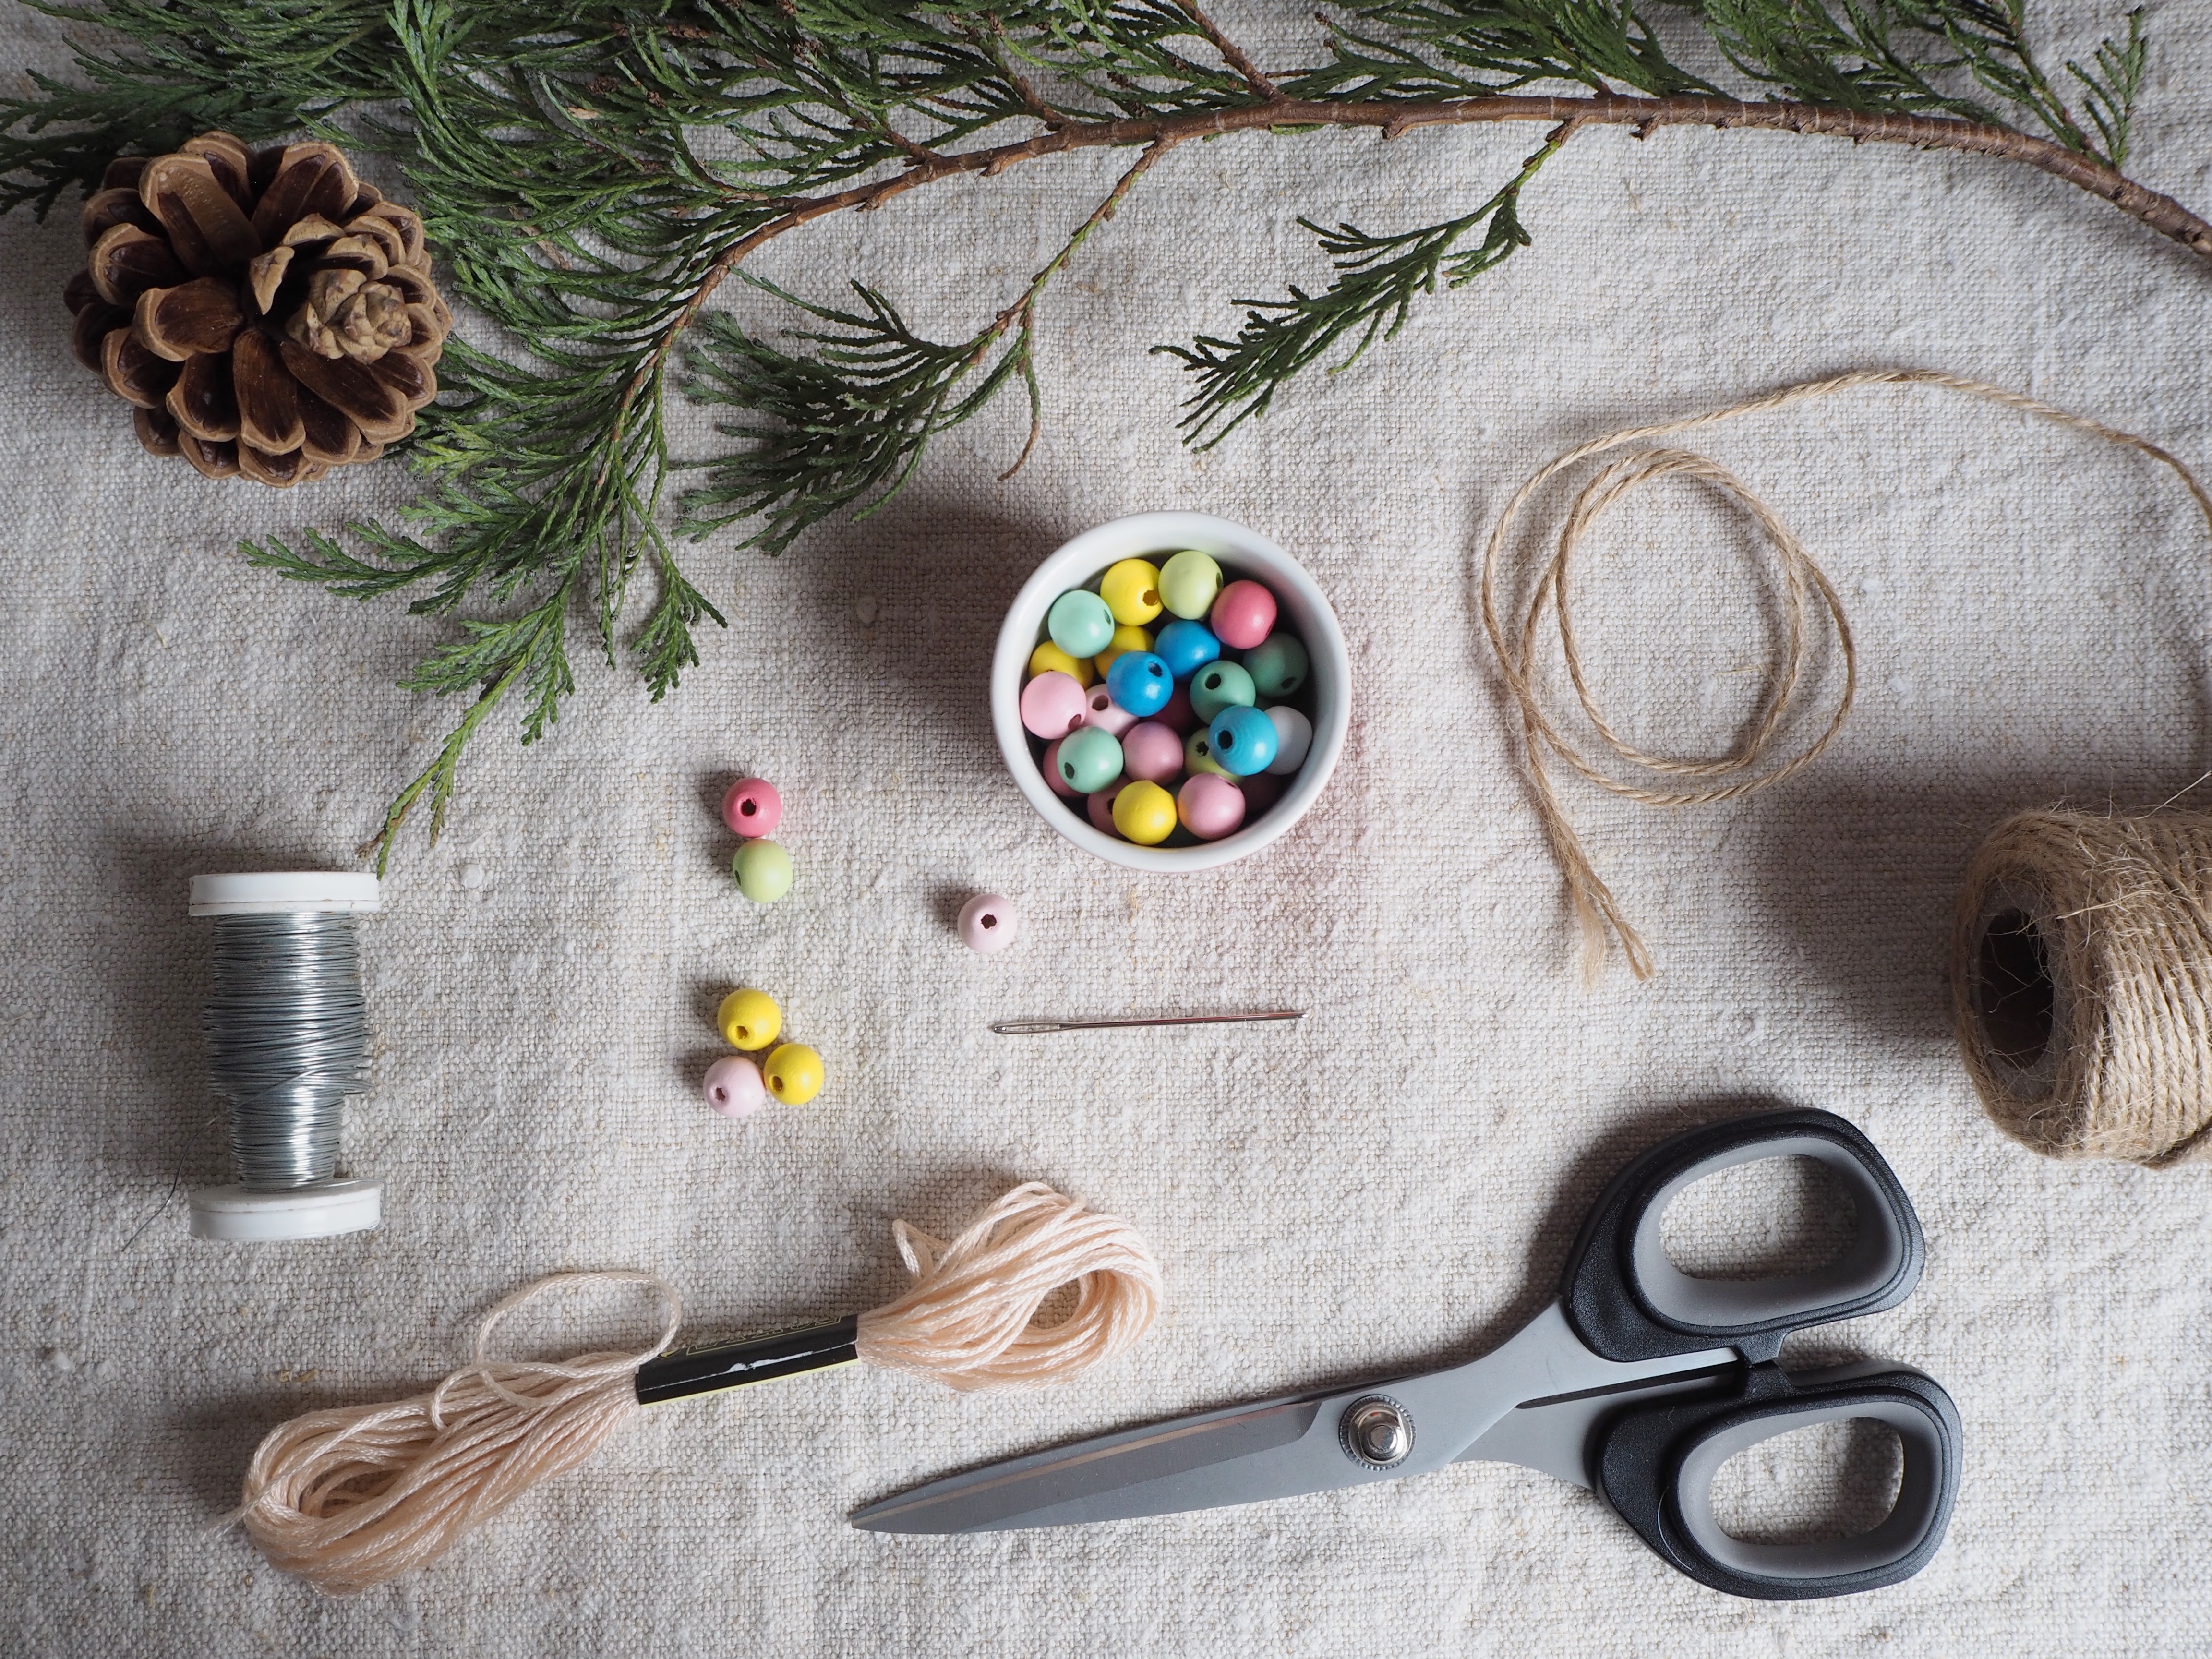
You will need:
1. A selection of colorful wooden beads
2. Reel of embroidery floss and a needle
3. A paddle wire
4. Twine
5. Scissors
Mini star beaded decoration
1. Add 10 beads to your embroidery floss
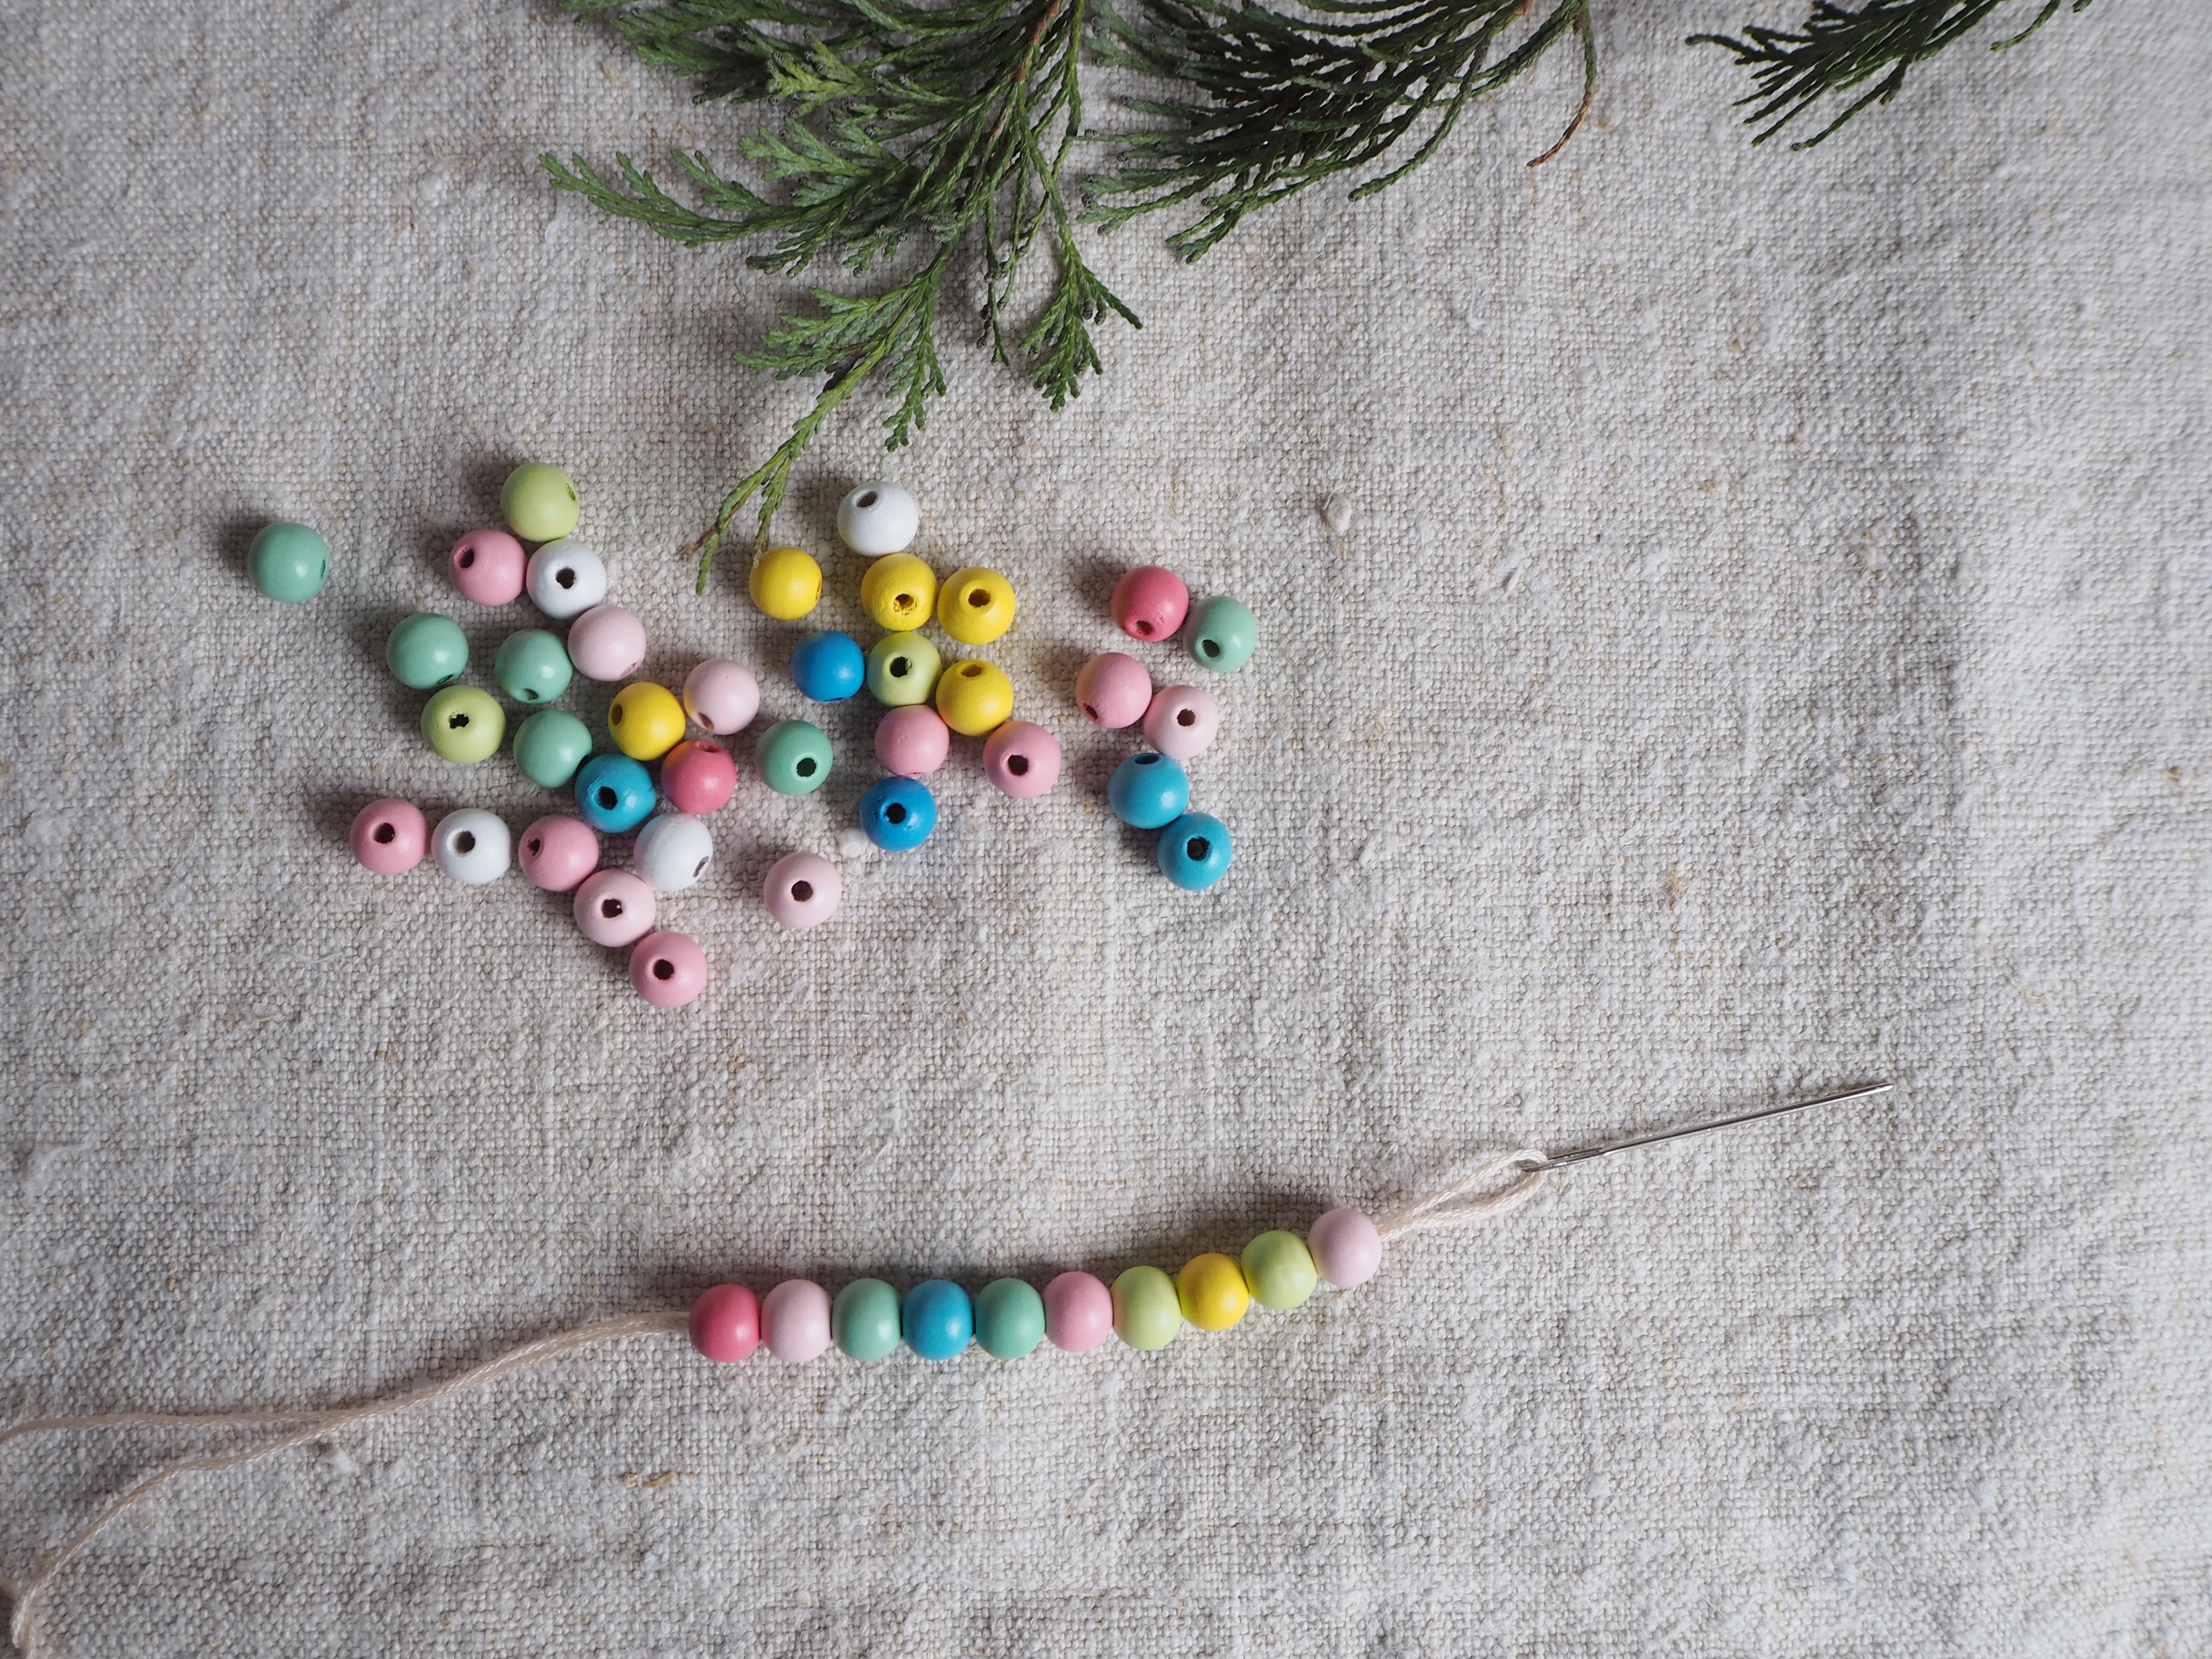
Thread up your embroidery floss and add 10 beads on to it, leaving a gap of around three inches at the end.
2. Turn it into a circle and tie
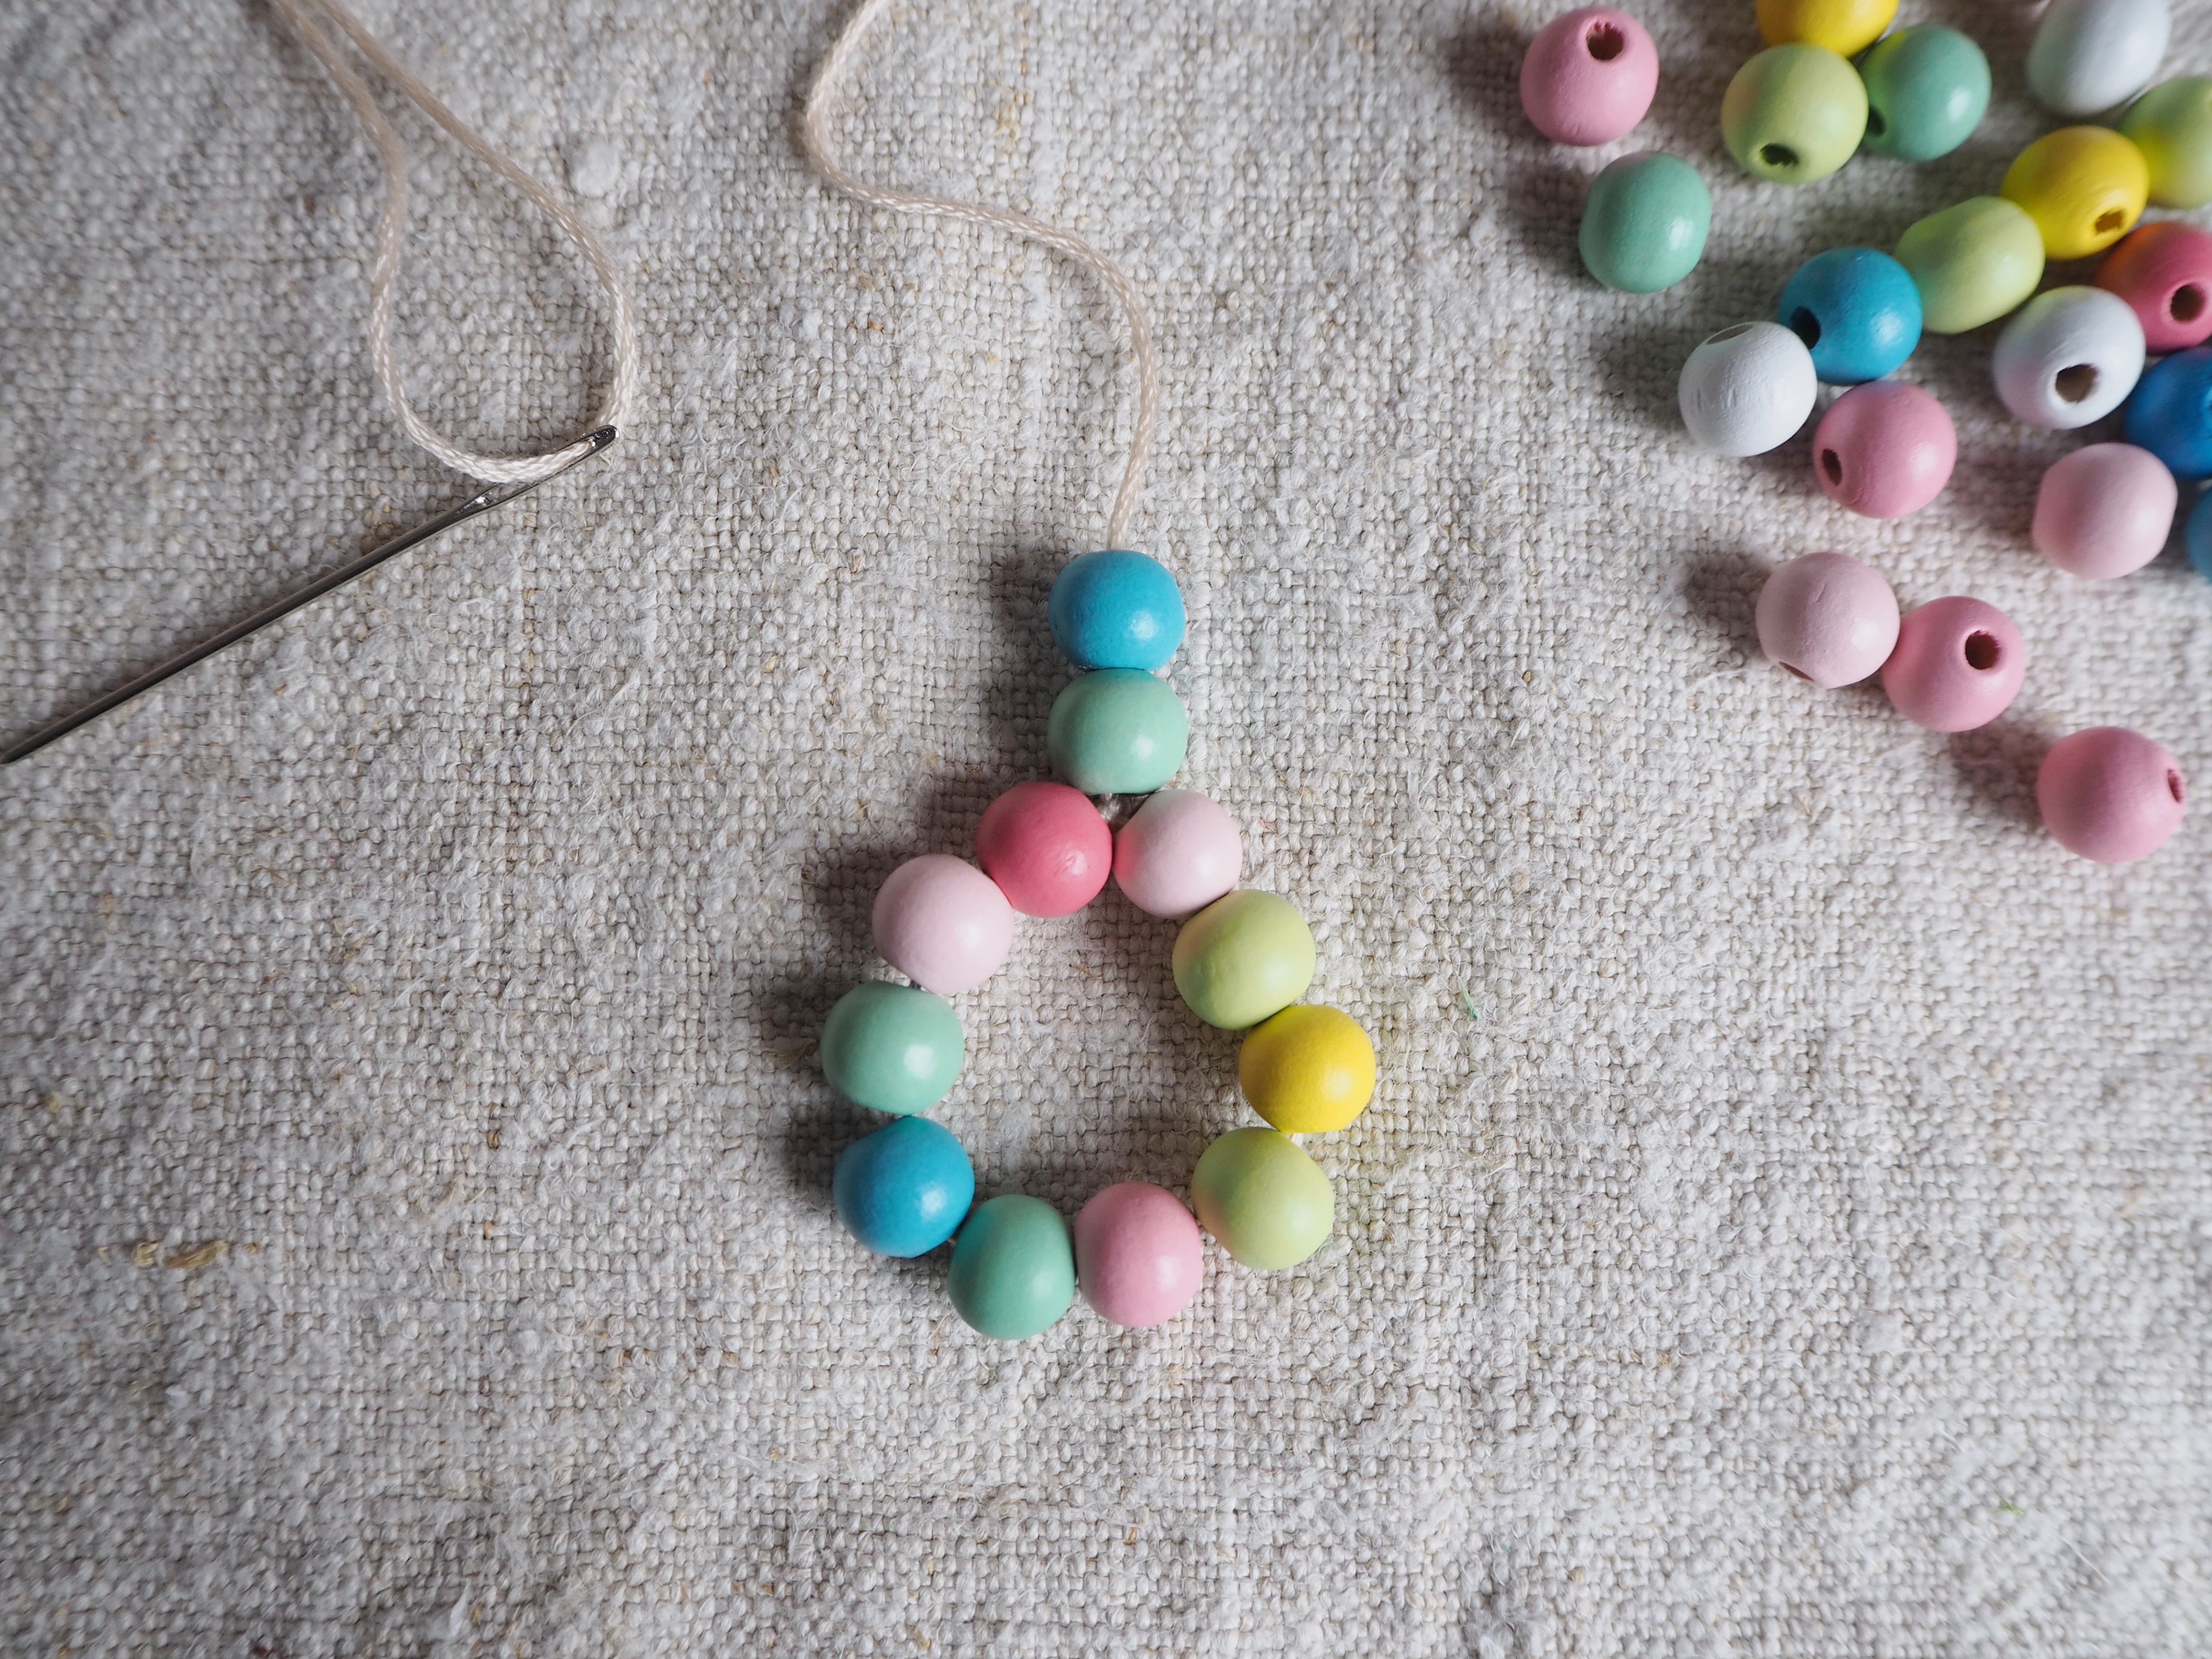
Once you've got your 10 beads threaded, tie the loose end to the other end in a double knot, whilst keep the rest of the floss attached. Then, add two beads as shown.
3. Thread through the beads
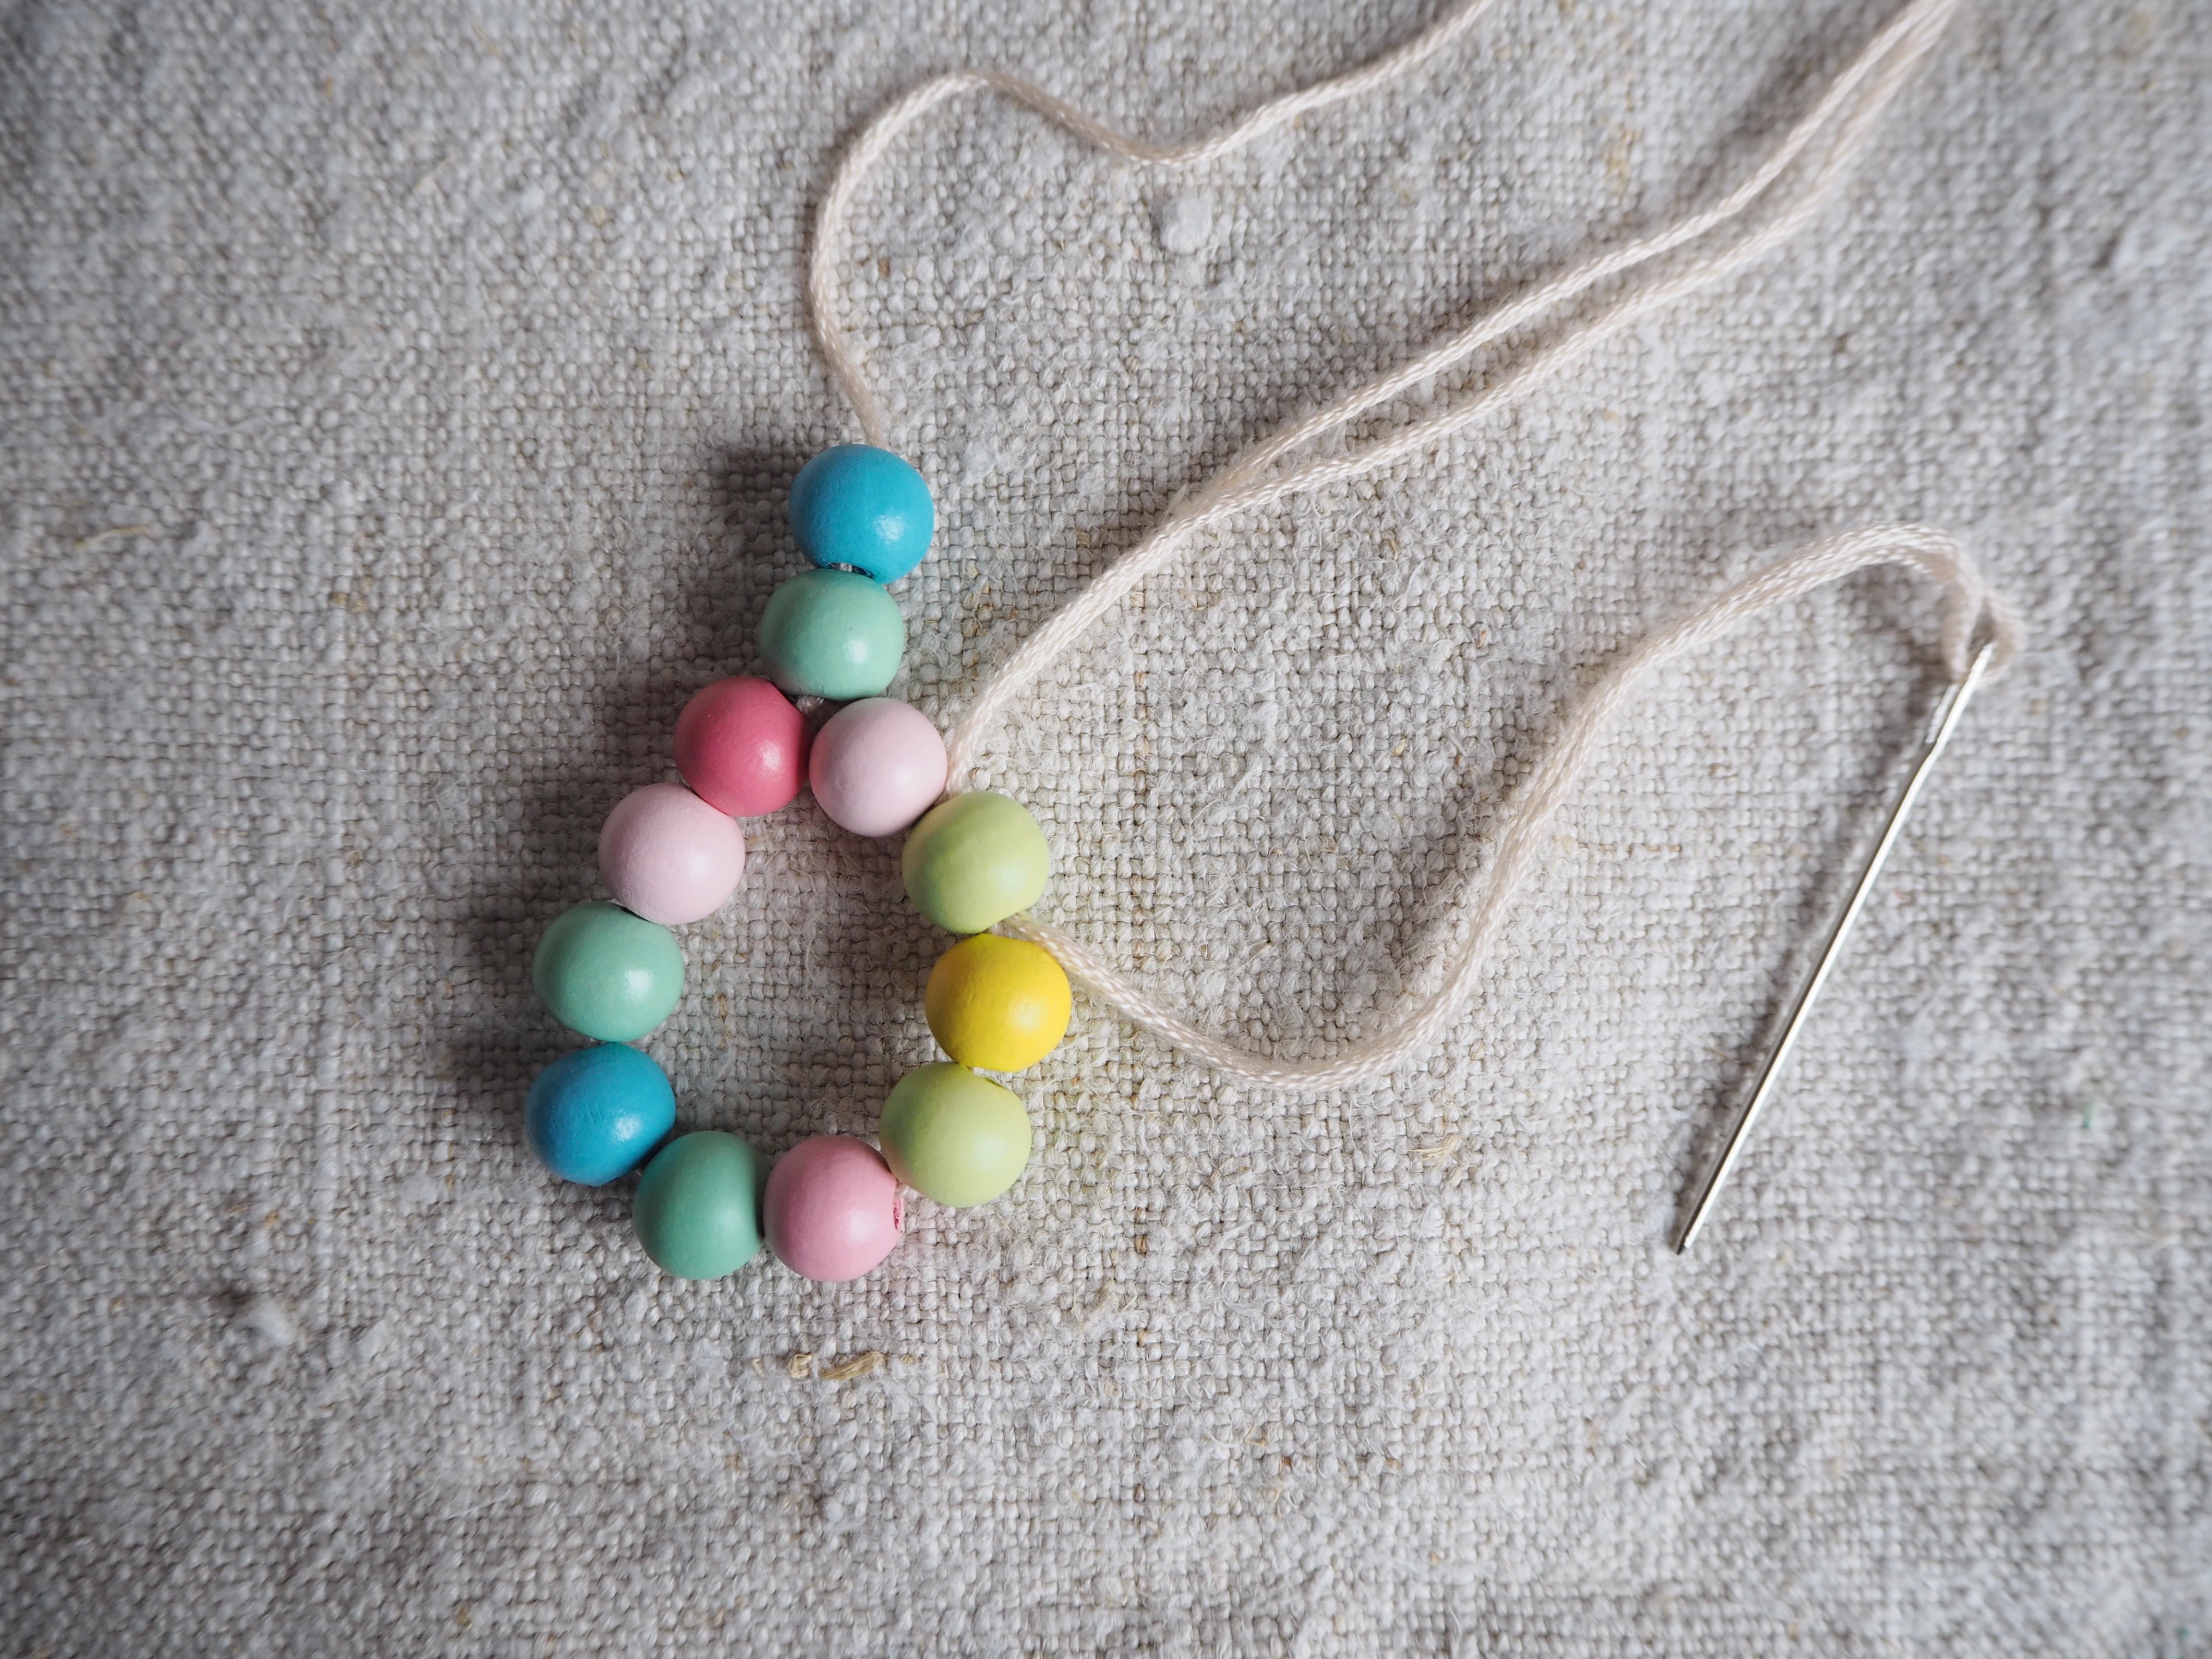
This is where it gets fiddly, but bear with it as the result is good! When you have your two beads on, then put your needle through the second bead on the right, as shown.
4. Continue round the circle
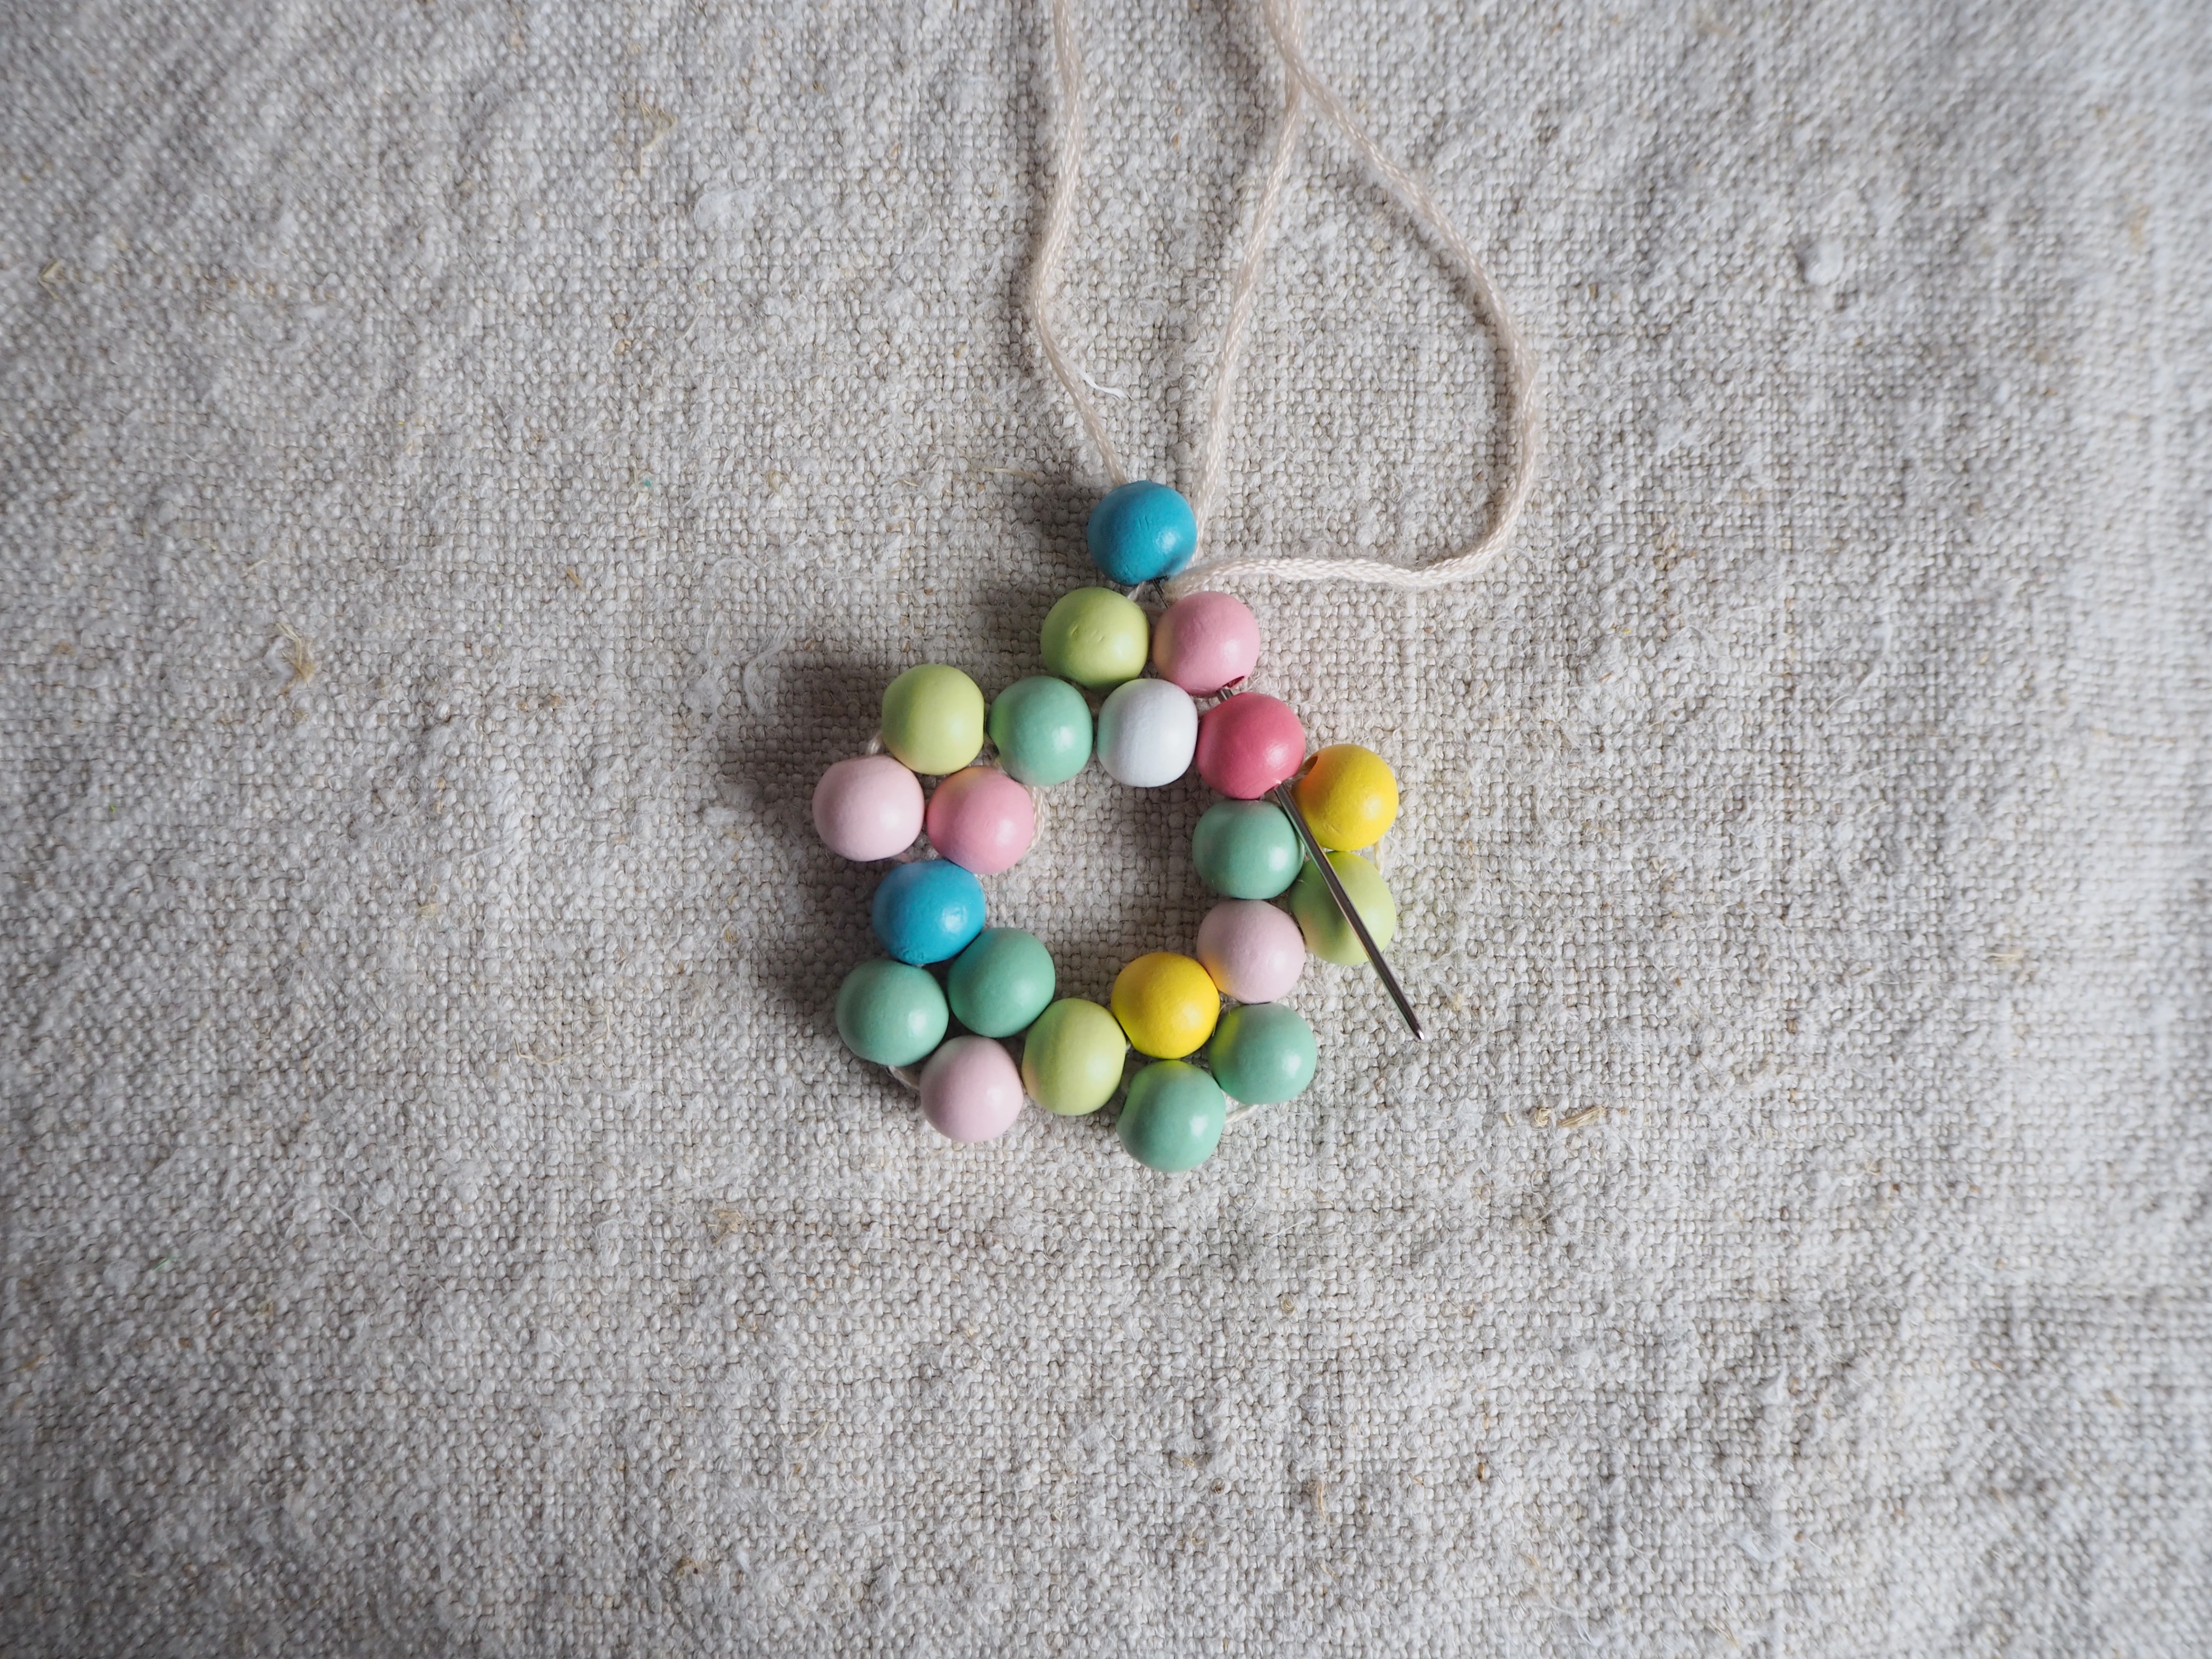
When you get back to the top, add a single bead to the first group. Then, thread your floss through the next two beads on the right. When you've done that, thread it through the third one too, in this case, the yellow bead. Then you add a single bead to that and continue the process.
5. Finish the circle

Complete the process until it looks like the one above. Tie it off and thread through your twine using the floss needle, this is how you'll hang it from your branches.
Large pointed star decoration
1. Cut your wire to approximately 50 inches
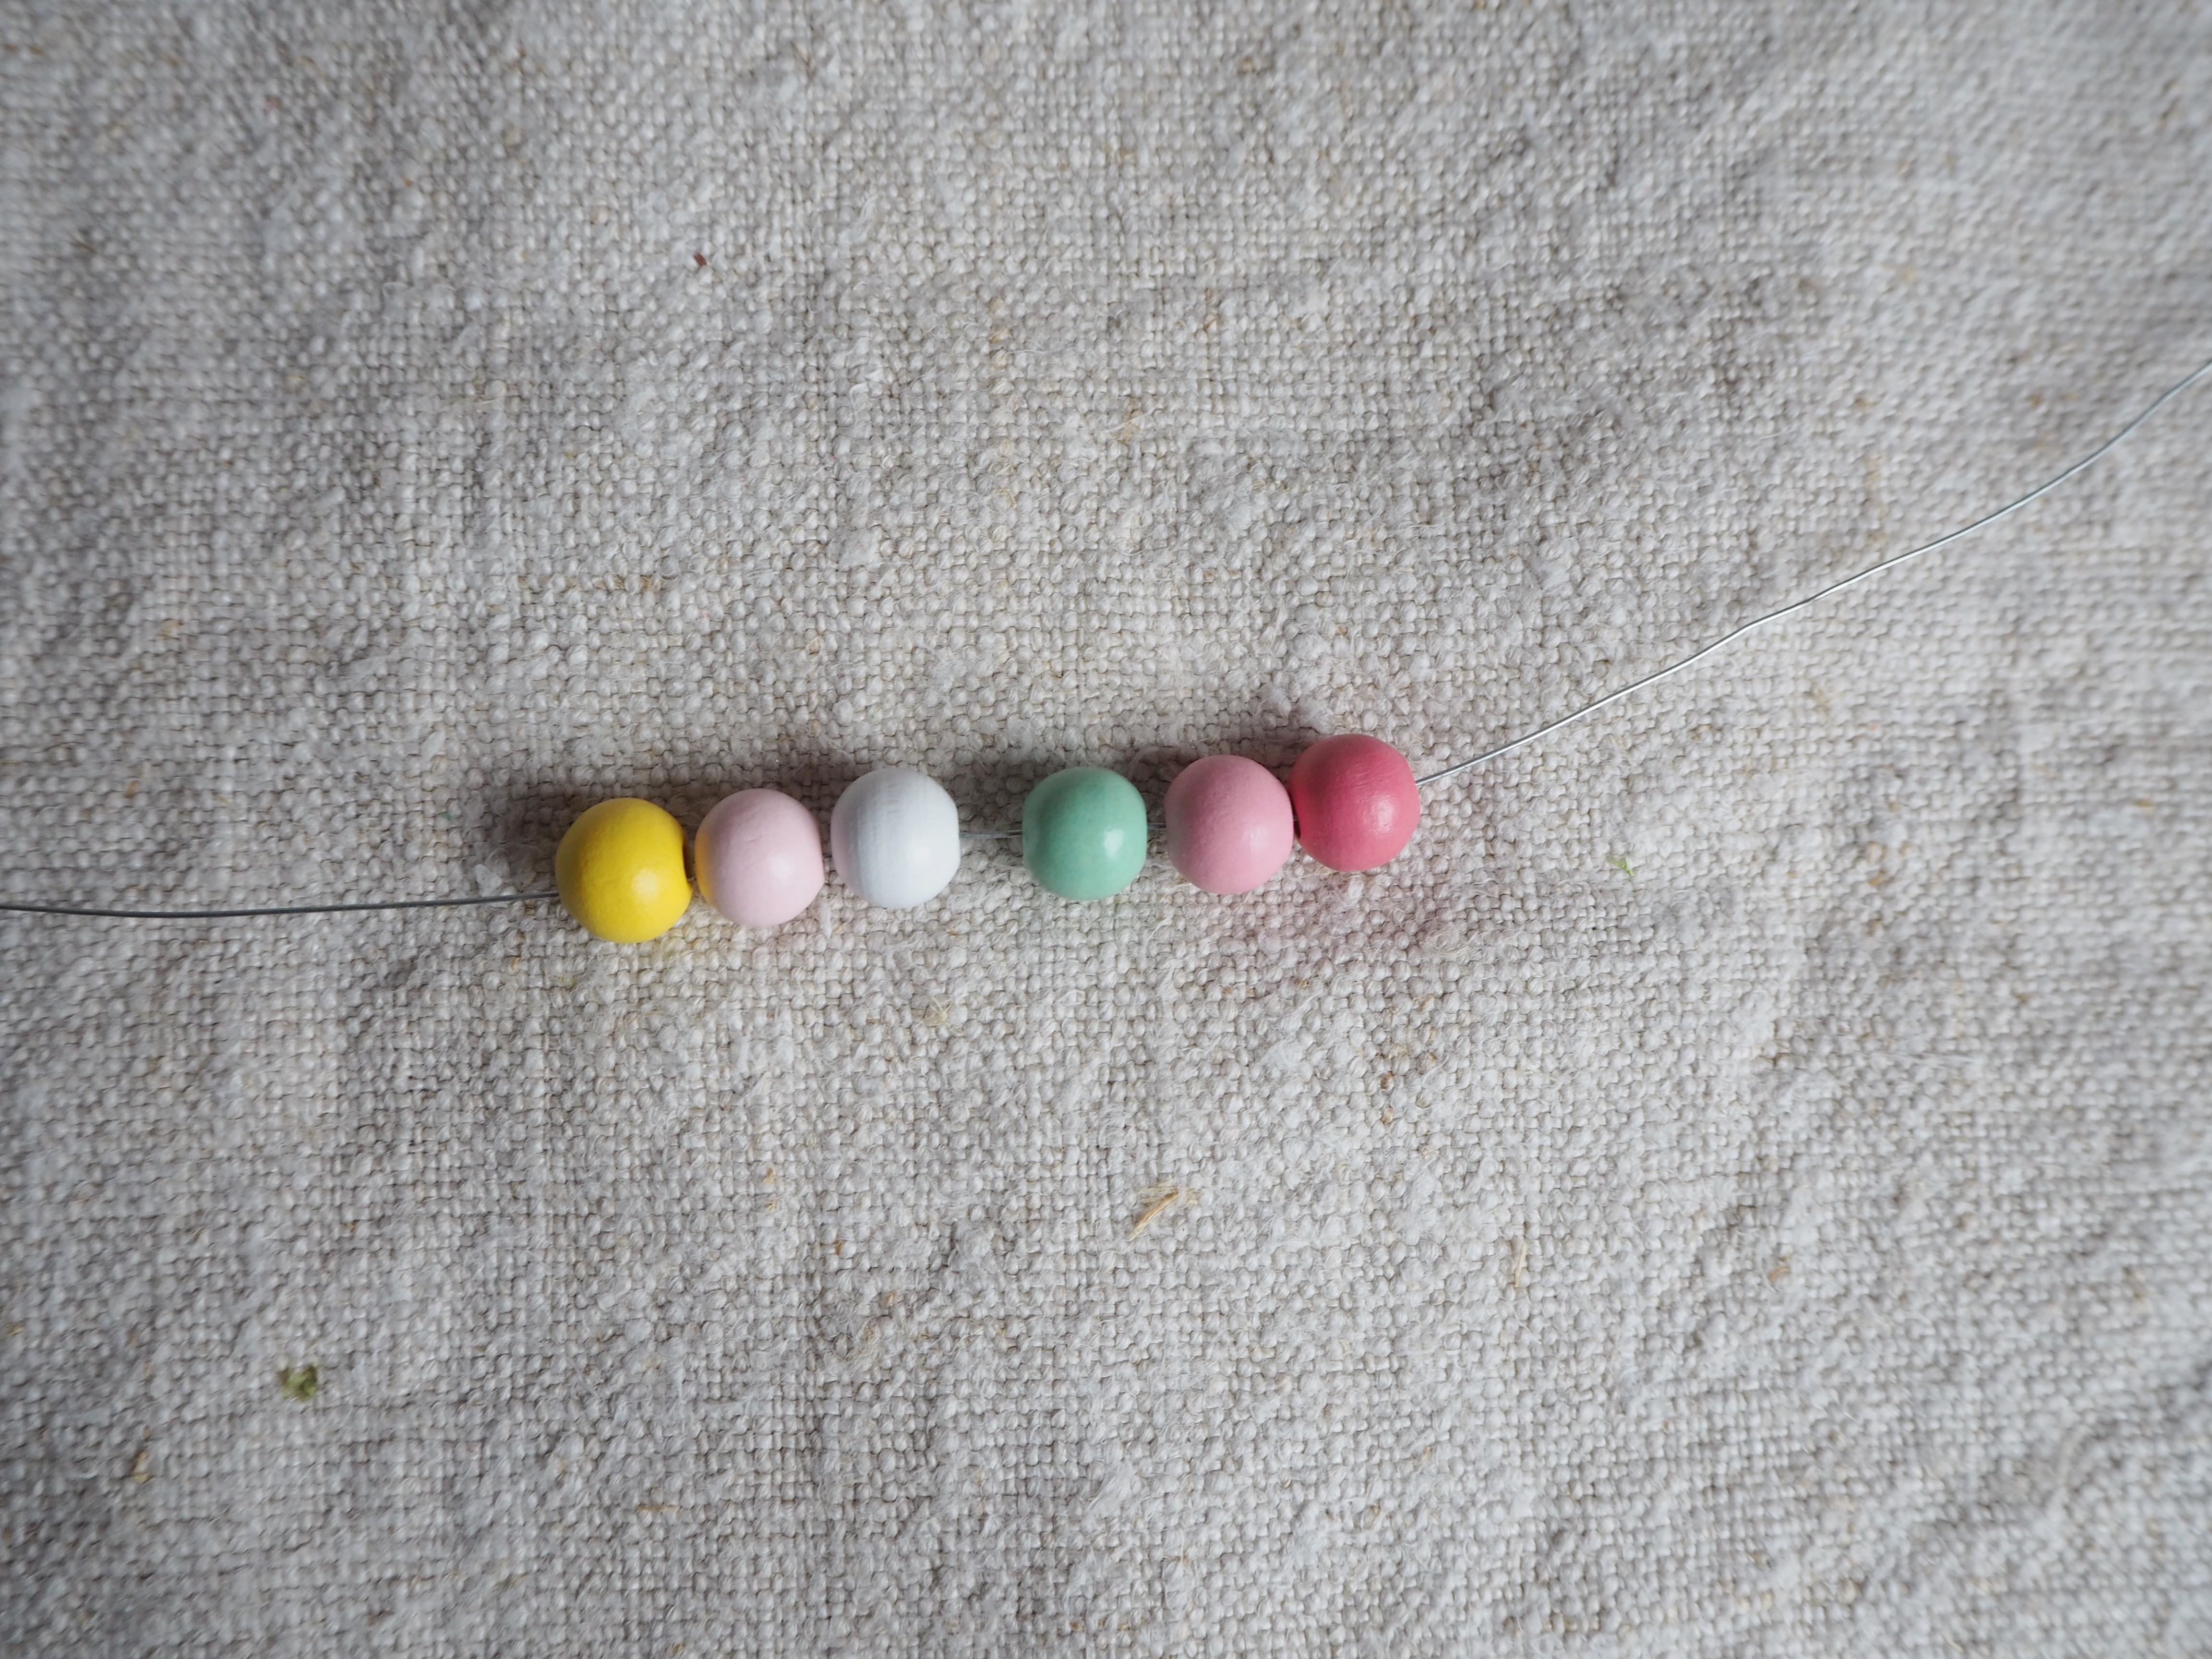
Once you've cut your wire, add six beads to it. Pull the beads through so you have one short end of wire, about four inches. Then, take the longer end and thread that back through the first bead to make a circle.
2. Add five beads to create the first point
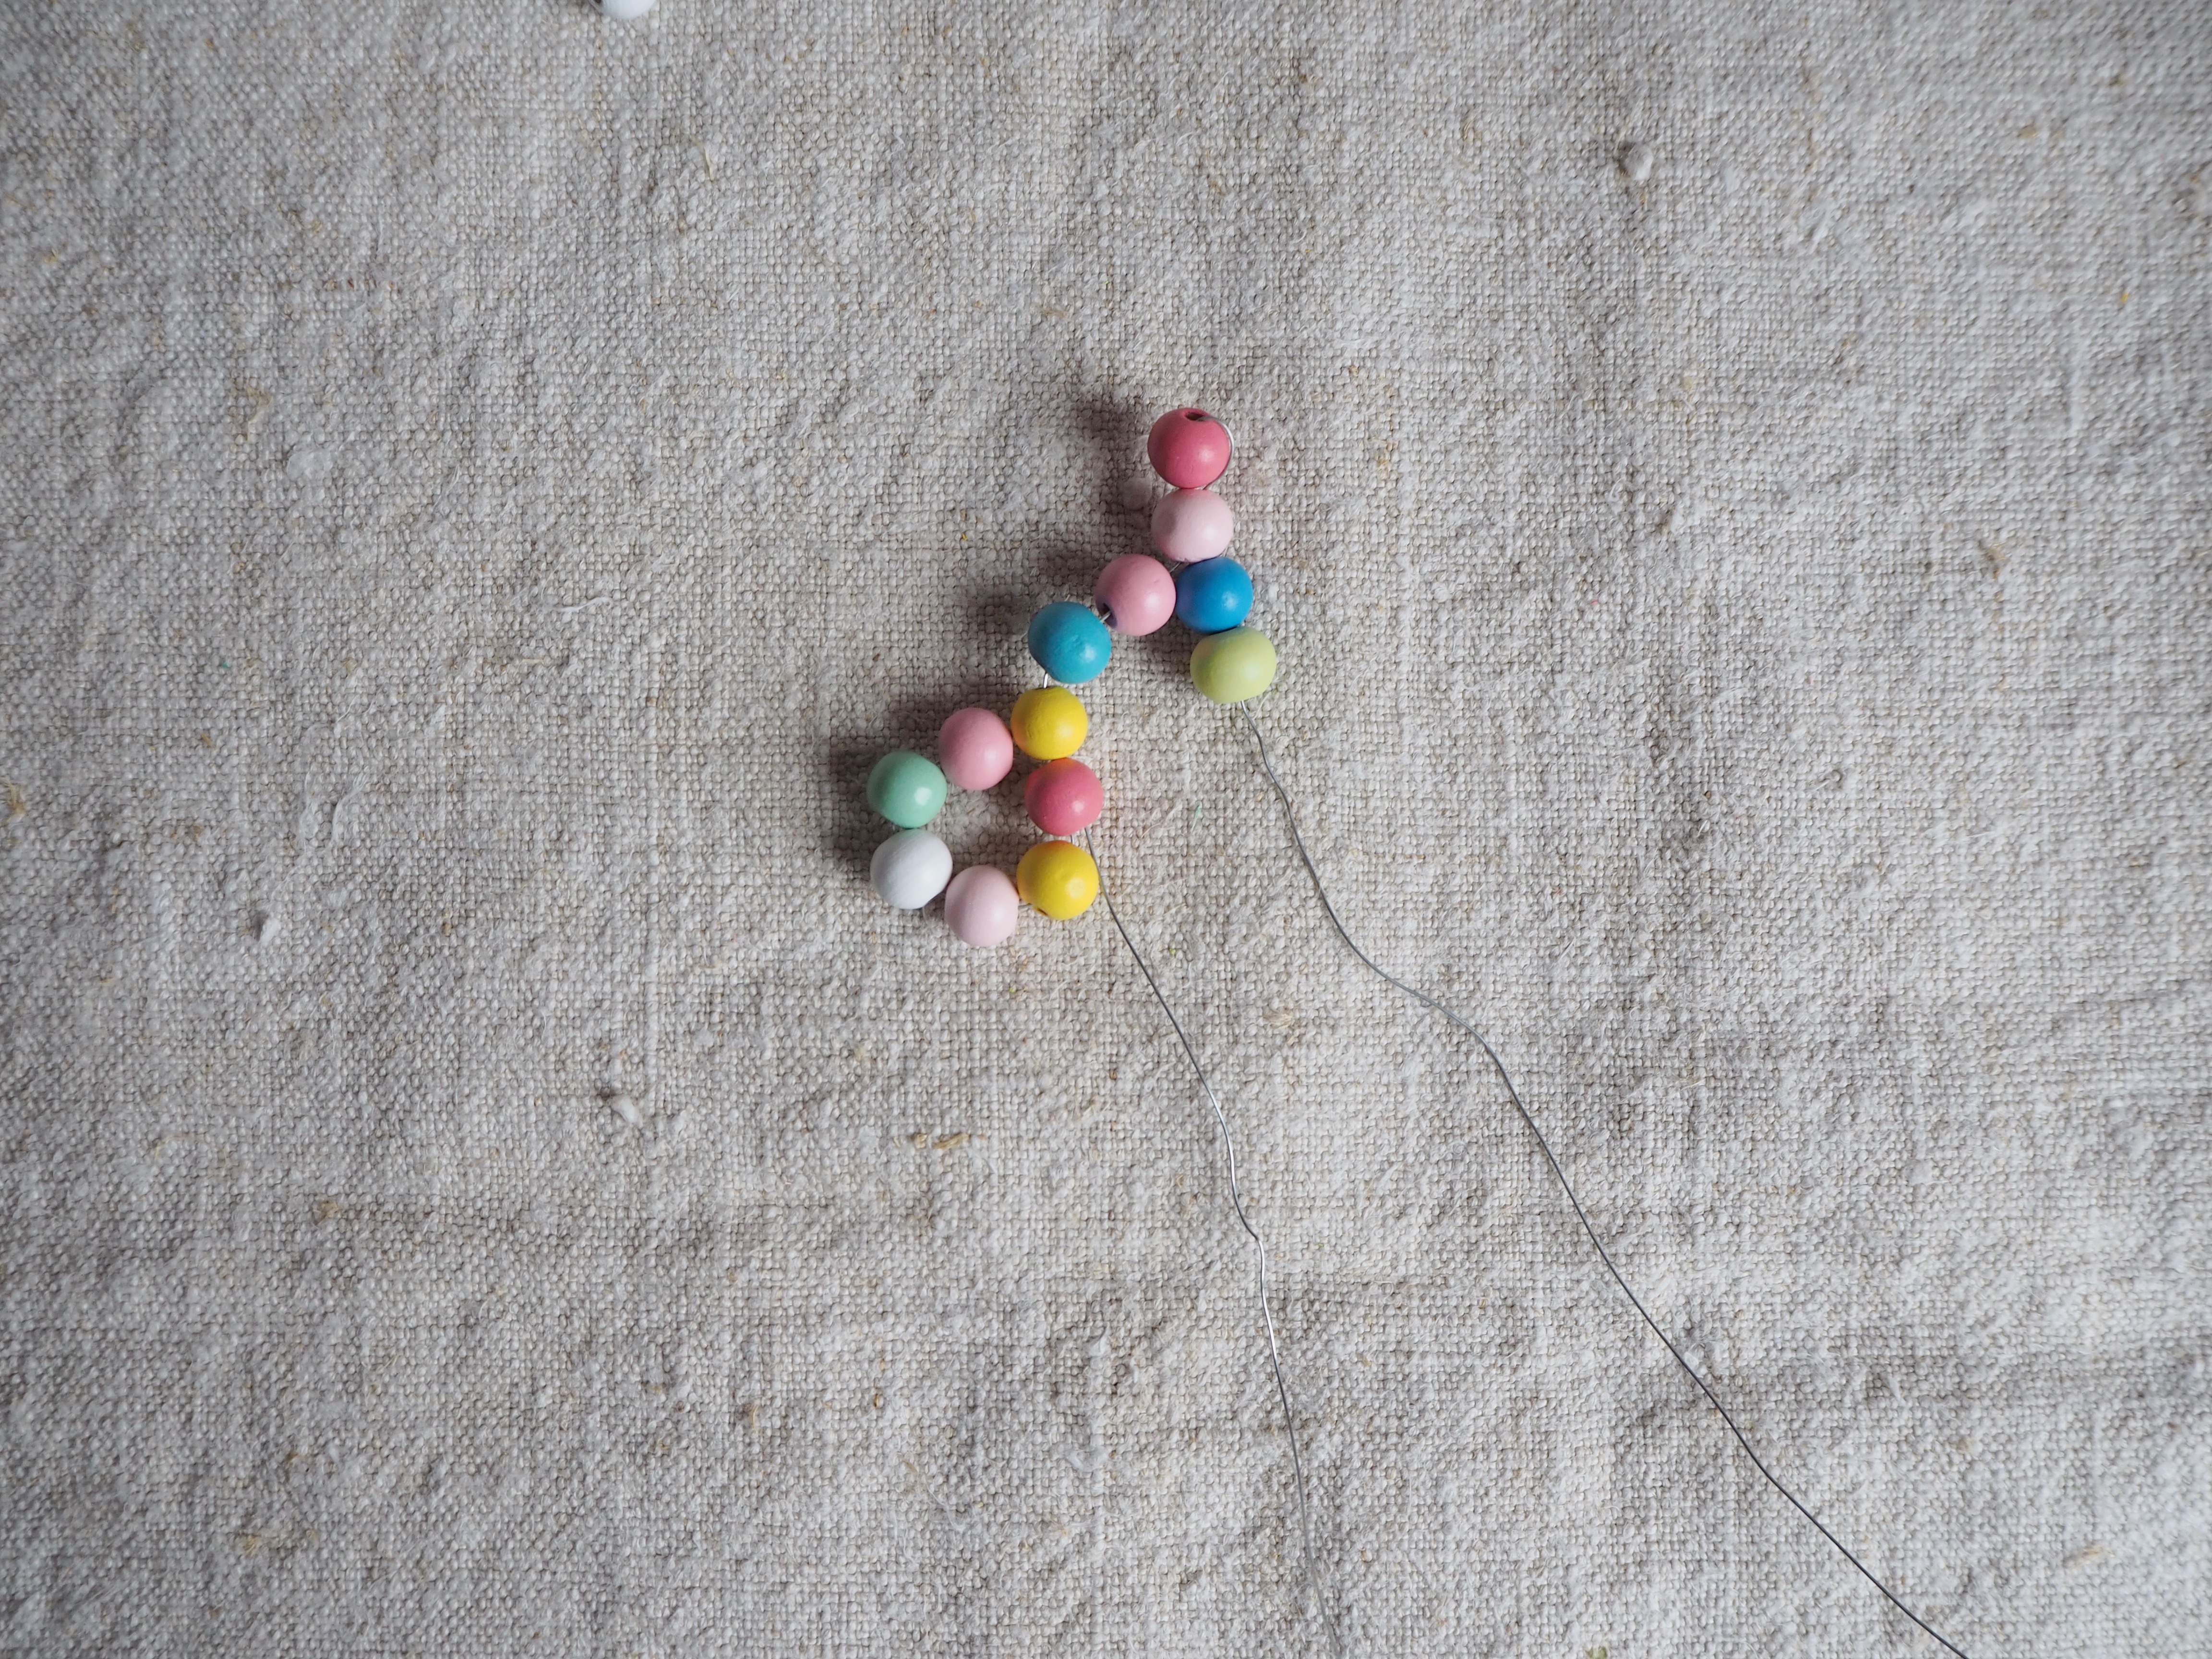
Thread five beads through the long end of the wire so they sit on top of your circle. Then, thread the wire back through the second bead from the top (pale pink bead above), and then add a further two.
3. Complete this section by threading it back through
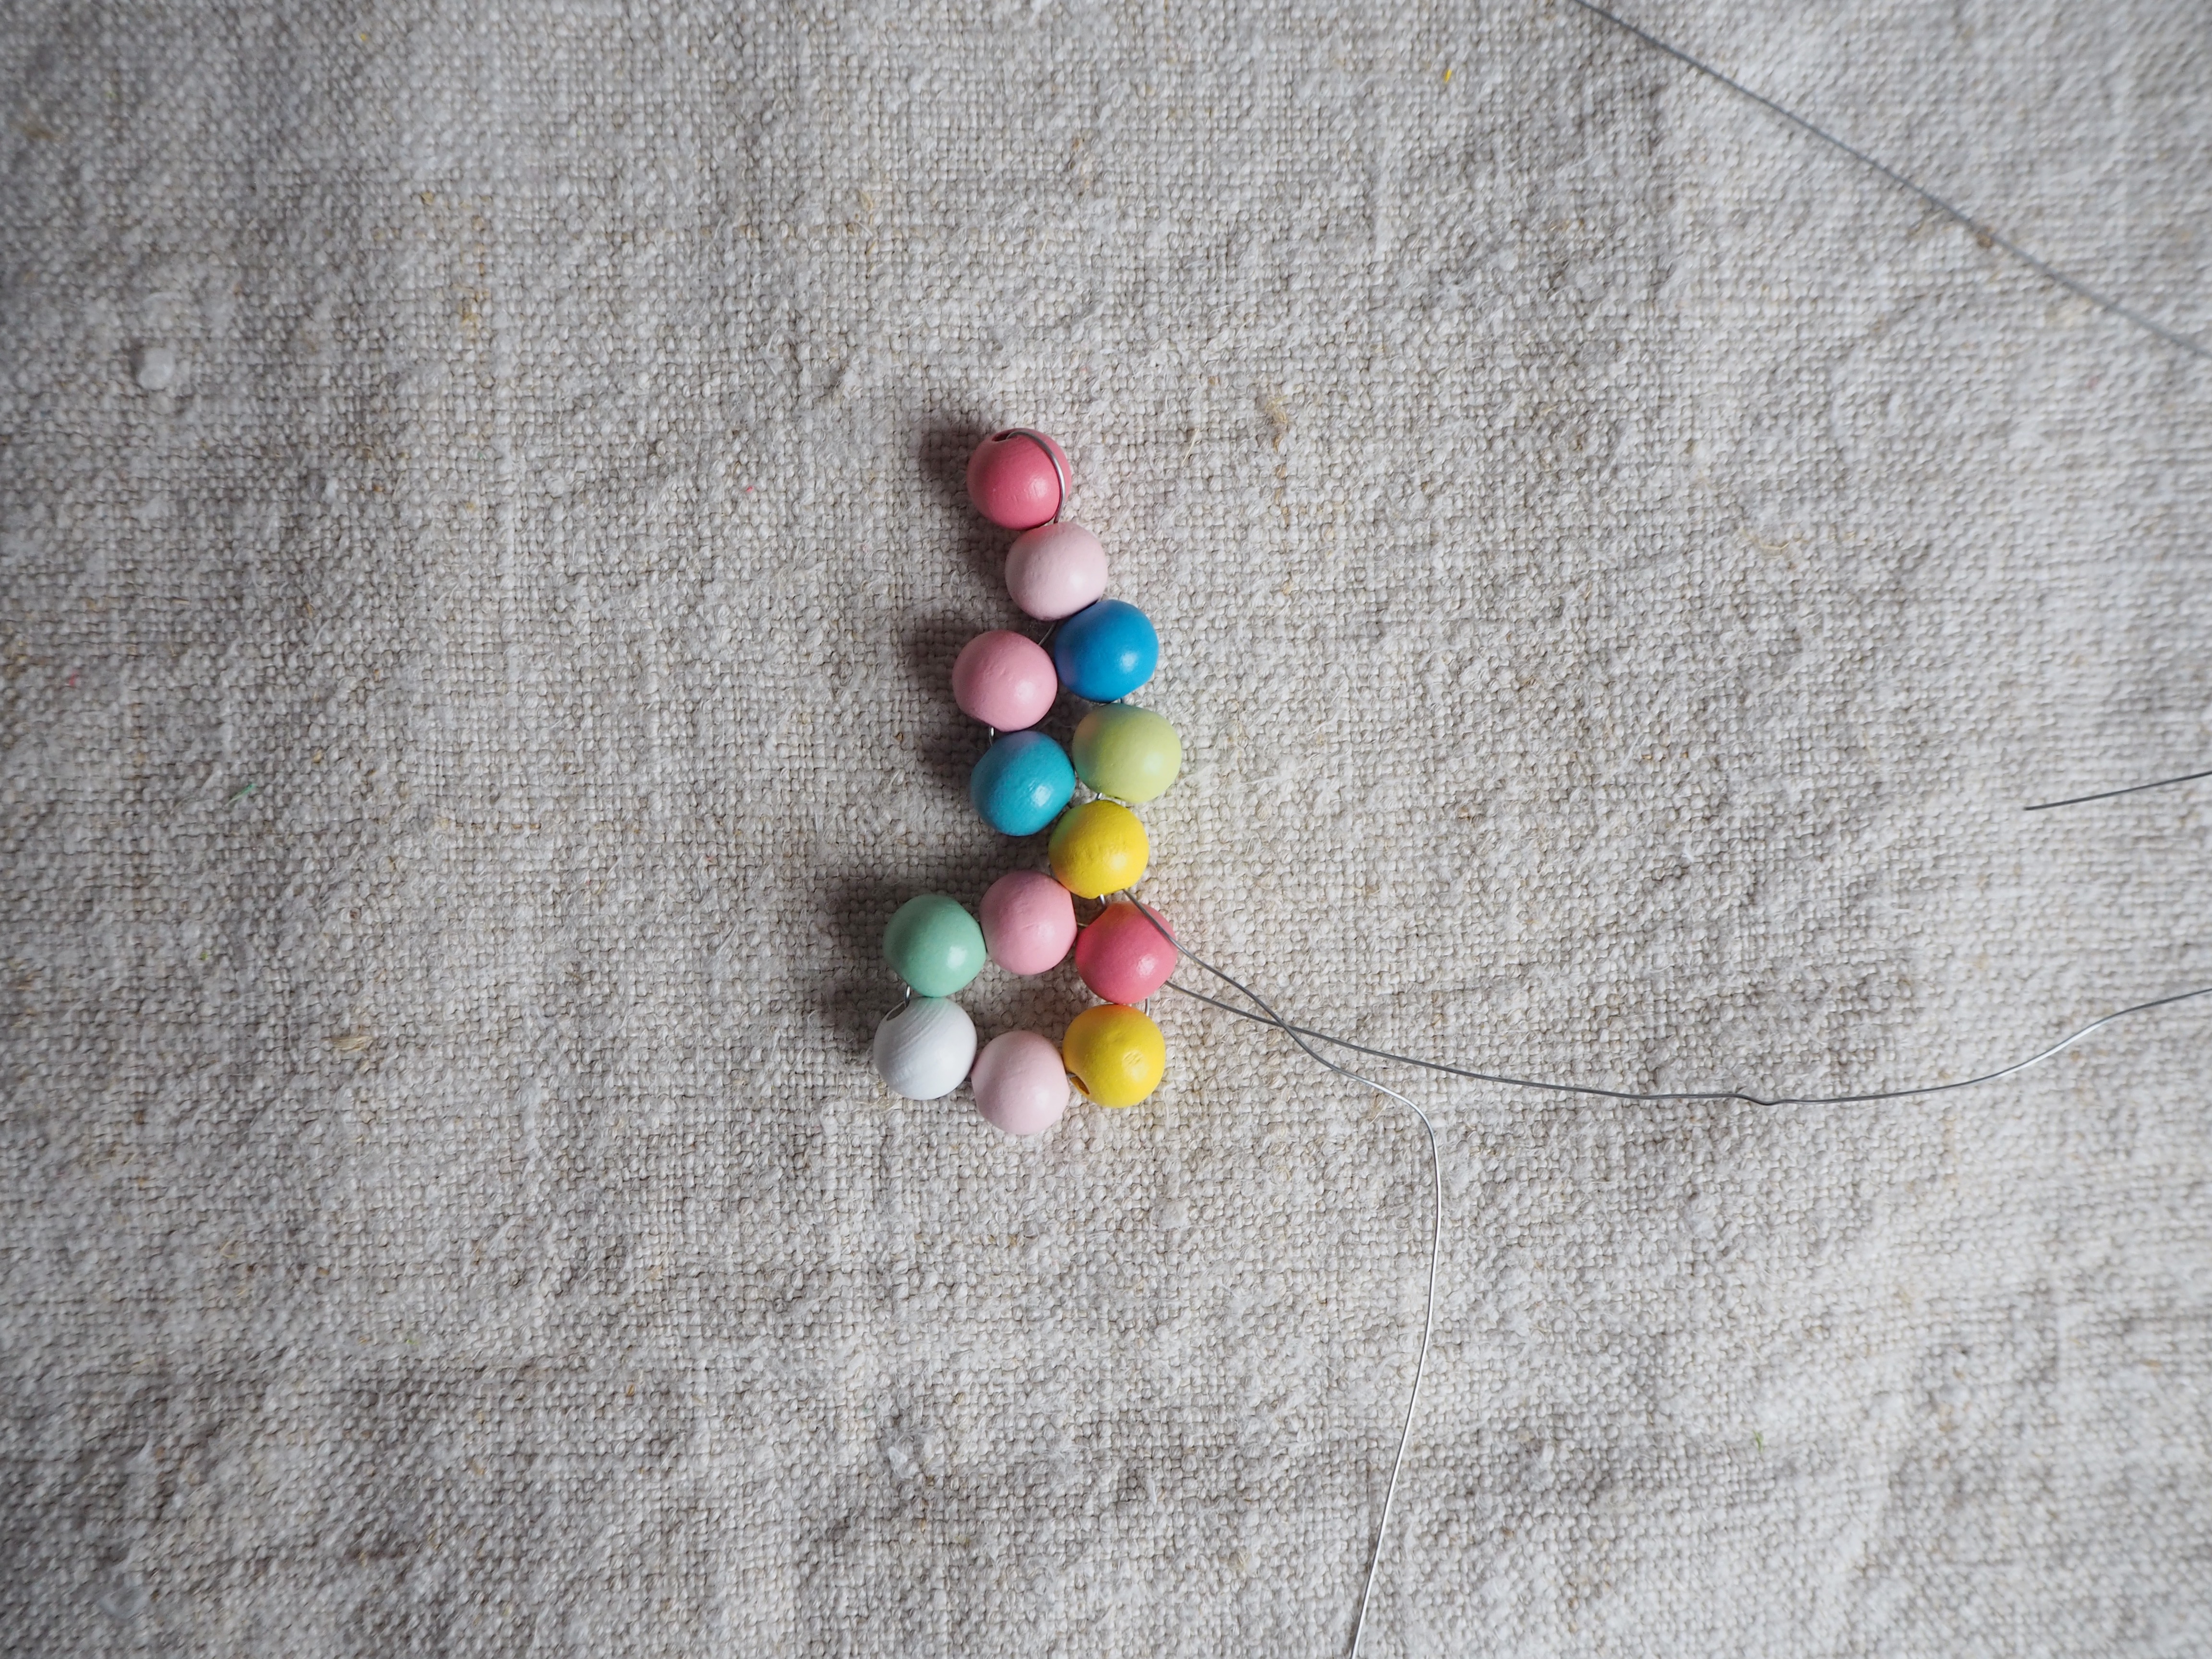
Thread the wire through the first of your five, in this case the yellow bead, then, take it through the dark pink bead as well. Once you've done this, add a new five beads to start the next point. Continue this method until you have a five pointed star.
4. Once complete cut the wire
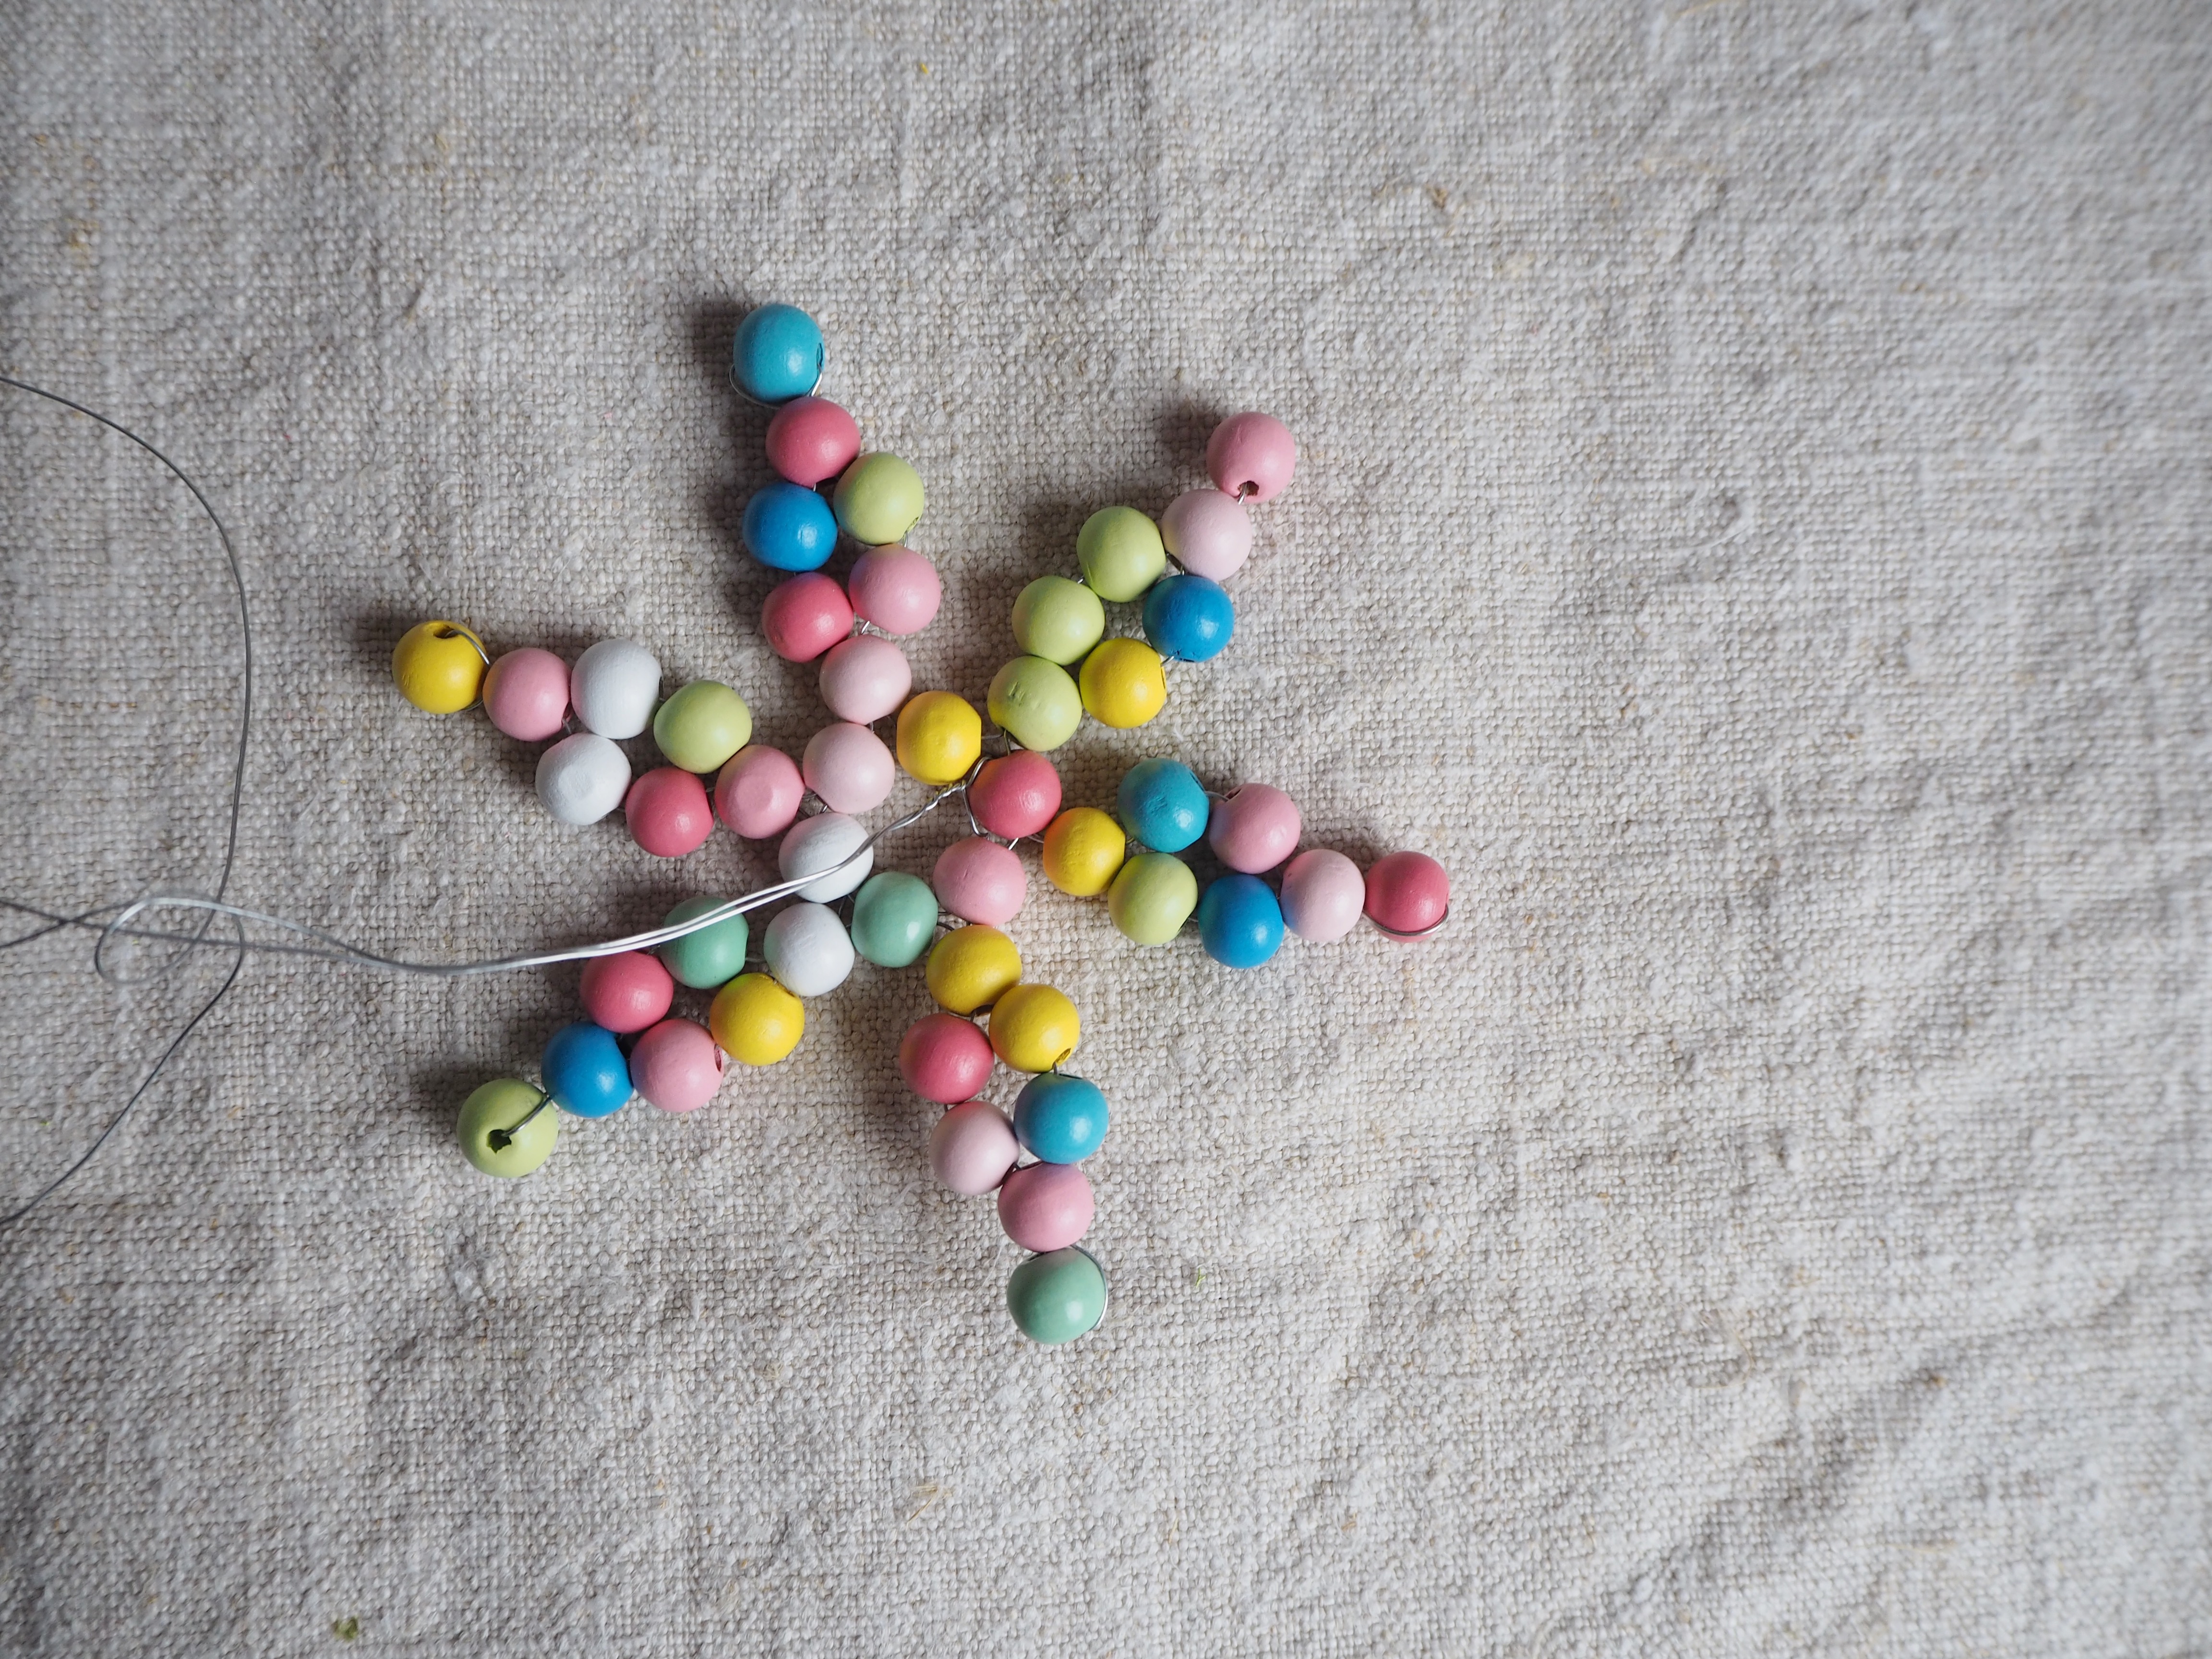
Turn the star around and twist the two wire ends together, cut it short and tuck the end into one of the beads. Then, add your twine loop so you can hang it up.
How do you make beaded snowflake ornaments?
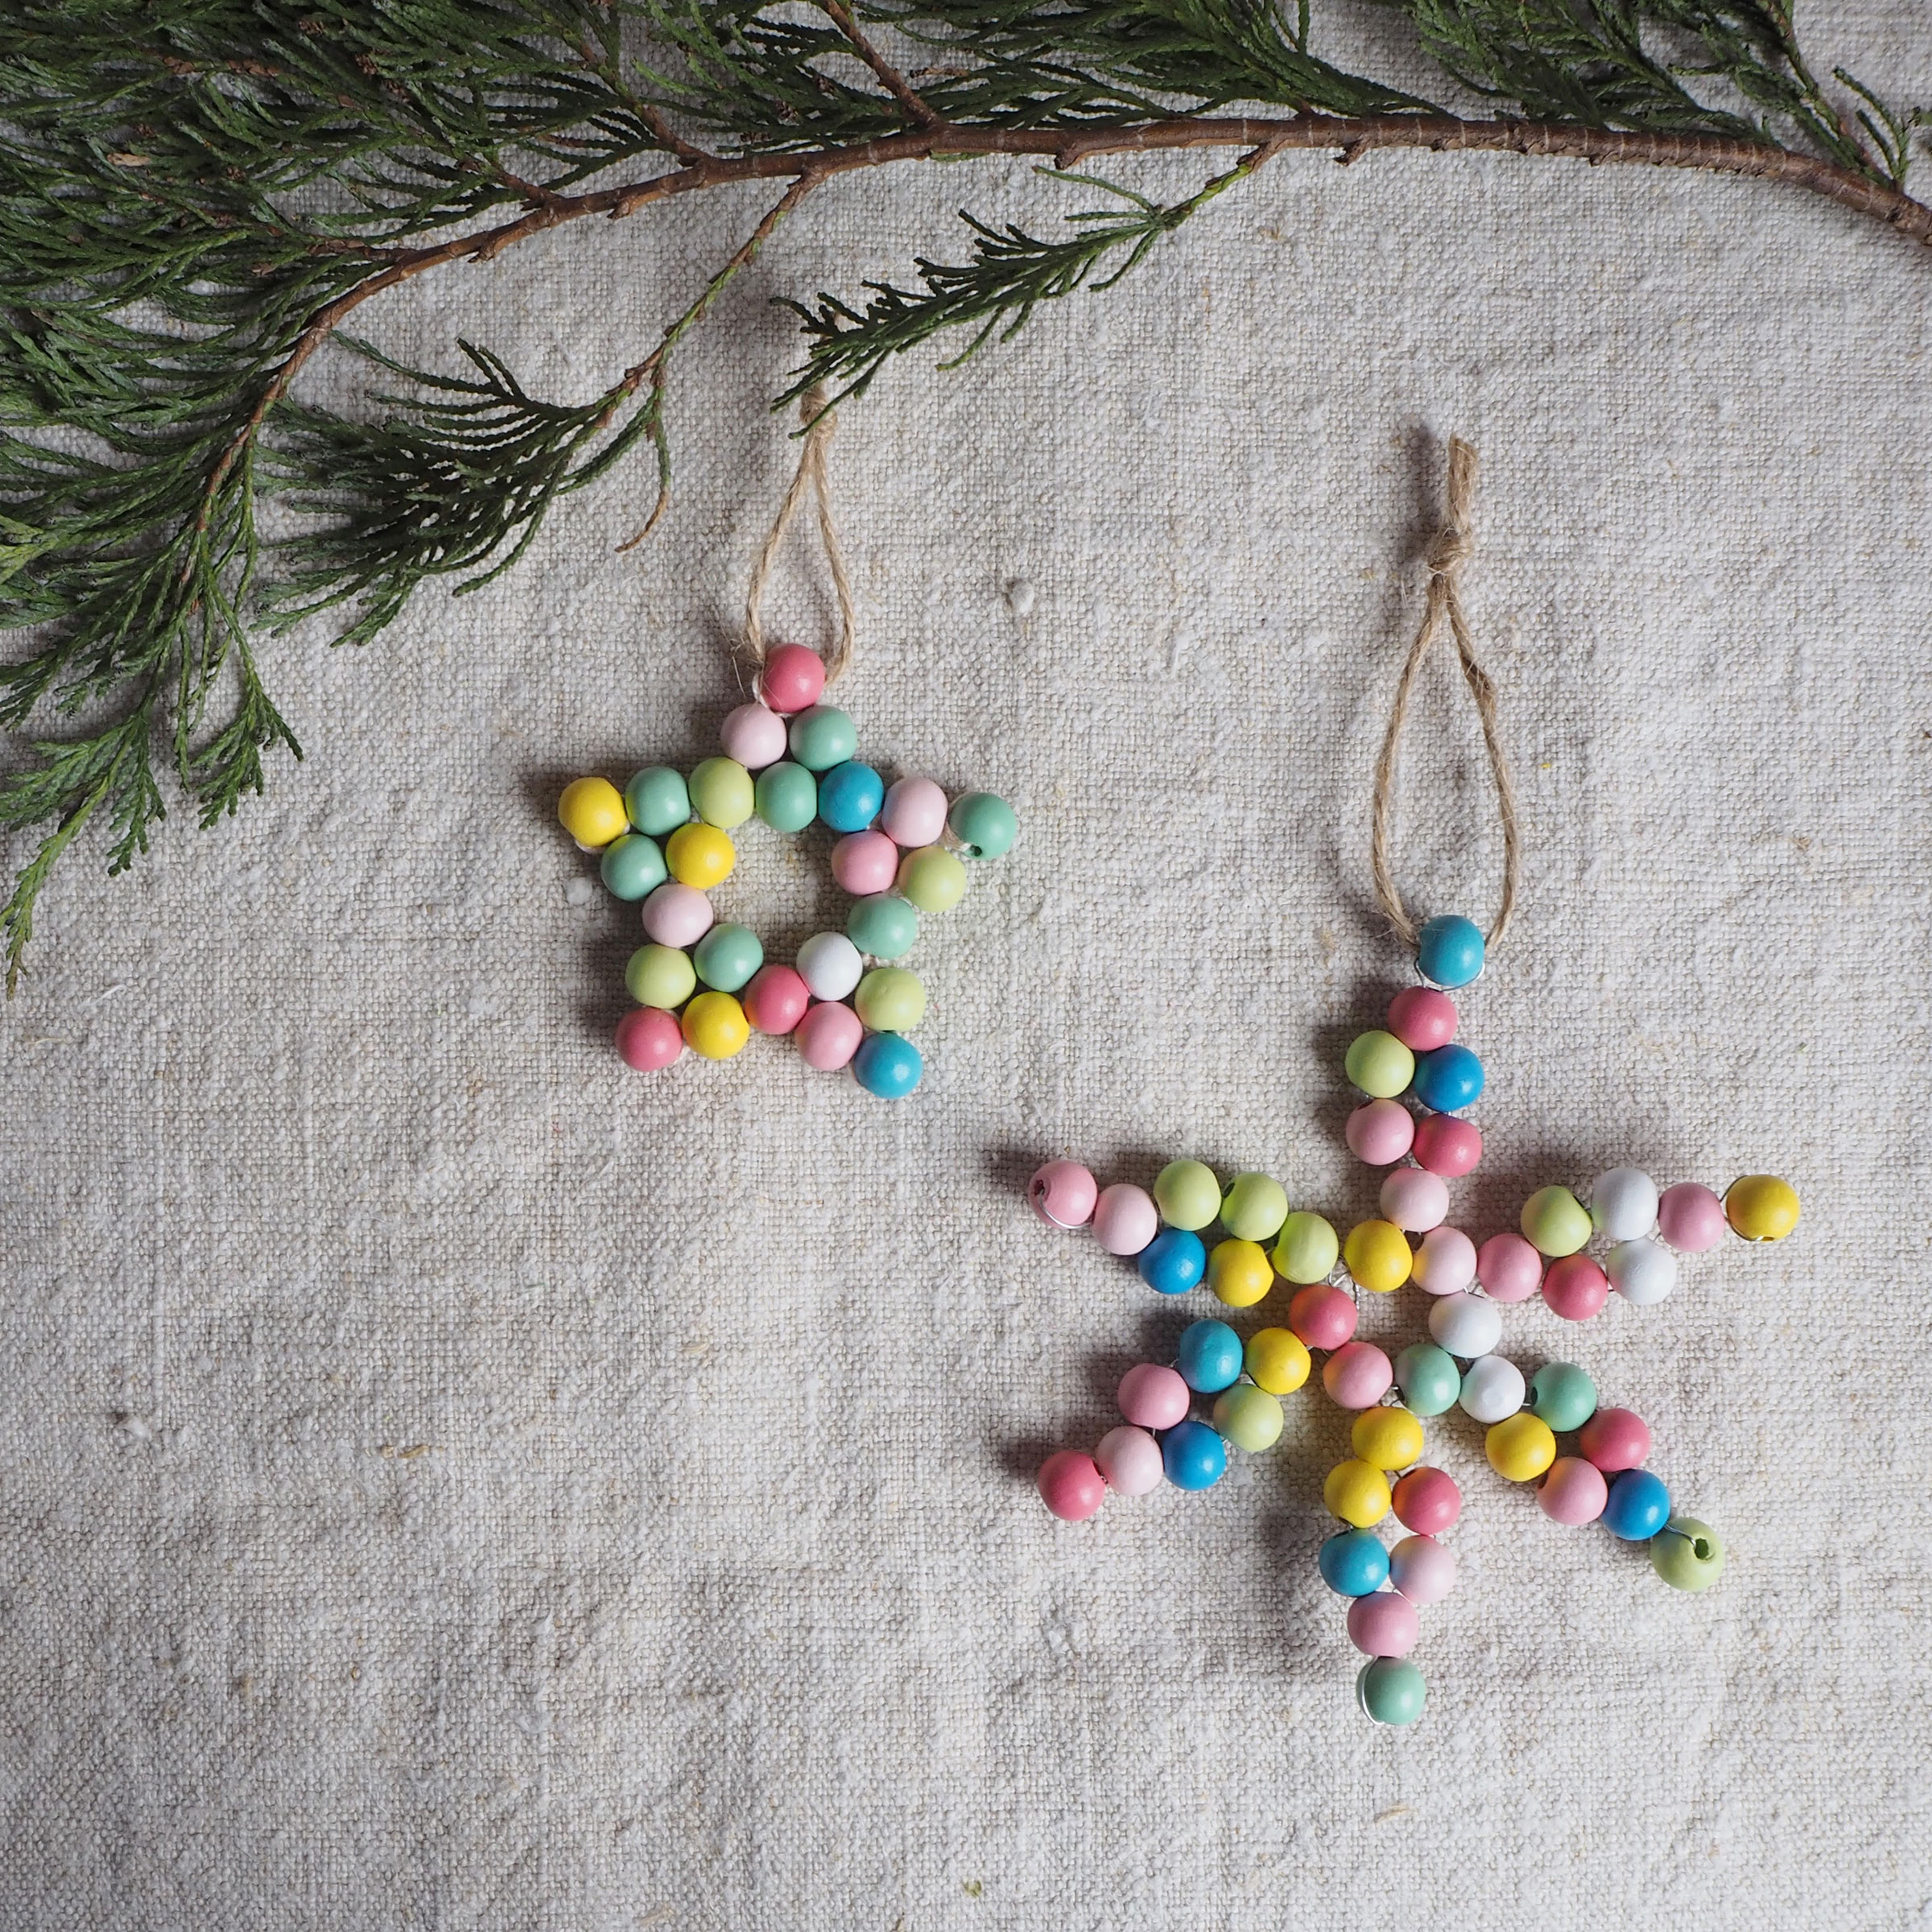
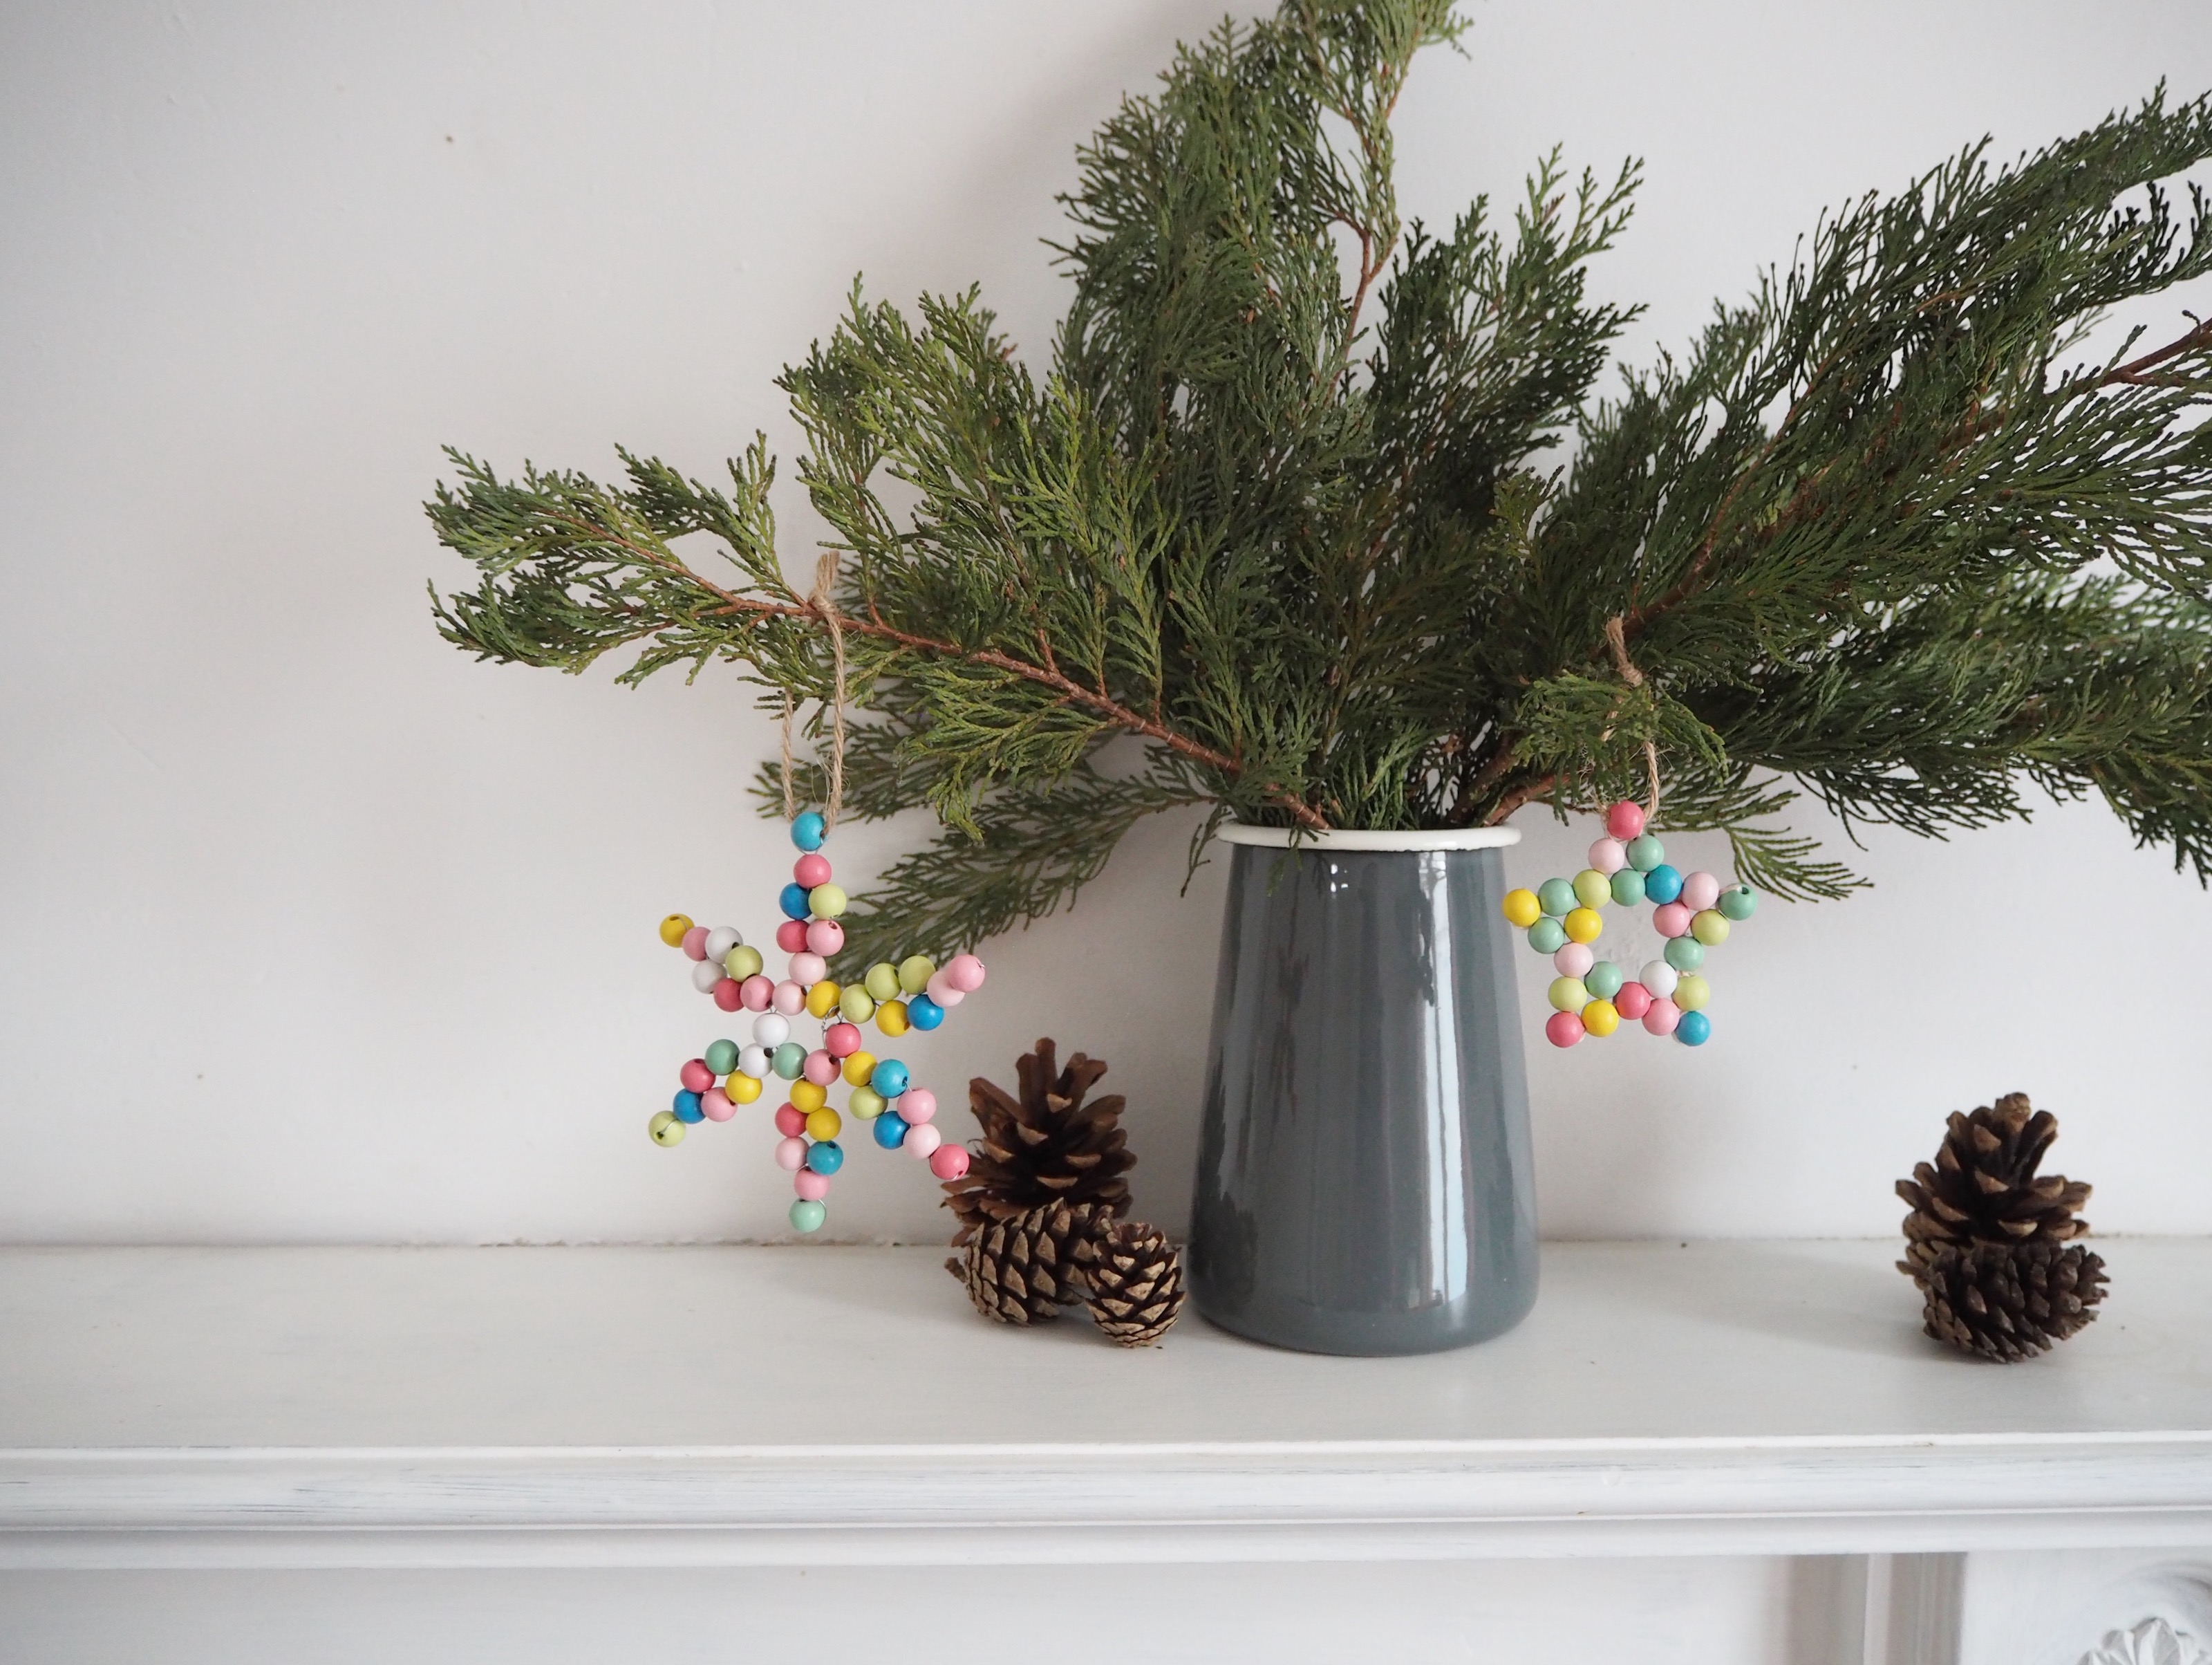
The best option is to use the second star step by step above. The shape could be either a star or a snowflake and you can create different style ornaments by using various beads. For example, for Scandi style as we've shown, wooden beads are perfect, to create a snowflake consider glass-effect plastic beads to create a more transparent result.
Join our newsletter
Get small space home decor ideas, celeb inspiration, DIY tips and more, straight to your inbox!
Sophie has been an interior stylist and journalist for over 22 years and has worked for many of the main interior magazines during that time both in-house and as a freelancer. On the side, as well as being the News Editor of indie magazine, 91, Sophie trained to be a florist in 2019 and launched The Prettiest Posy where she curates beautiful flowers for the modern bride.
-
 How to host Christmas in a small space —7 tips from design pros
We asked designers how to host Christmas in a small space, and they've mapped it all out with these 7 fabulous tips
By Danielle Valente
-
 This TikTok Christmas tree hack is perfect for small space dwellers
We spoke to crafter Emma Villaneda about her TikTok Christmas tree hack and how to do it
By Danielle Valente
-
 Yikes! A sleep psychologist reveals the Christmas lights to avoid if you want some shut-eye
A sleep psychologist reveals the best and worst Christmas lights for sleep and how to adjust accordingly
By Danielle Valente
-
 6 cottagecore Christmas decorating ideas that will give you the warm and fuzzies
Our edit of Cottagecore Christmas decorating ideas will show you how to cozy up your space for the holidays
By Danielle Valente
-
 4 white Christmas decor ideas and how to style them to perfection this holiday season
Our edit of white Christmas decor ideas — and tips from interior designers — will make you ditch the red and green
By Danielle Valente
-
 How to decorate for Christmas according to your star sign — let the cosmos help find your holiday style
We spoke to the experts about how to decorate for Christmas according to your star sign
By Danielle Valente
-
 5 renter-friendly Christmas decorating ideas that are perfect but not permanent — here's how to style them
Renter-friendly Christmas decorating ideas that you'll love and your landlord will appreciate
By Danielle Valente
-
 How to decorate a small bedroom for Christmas — five clever ways to add a festive feel to your sleep space
Our edit reveals how to decorate a small bedroom for Christmas so that your space is festive and cozy
By Danielle Valente