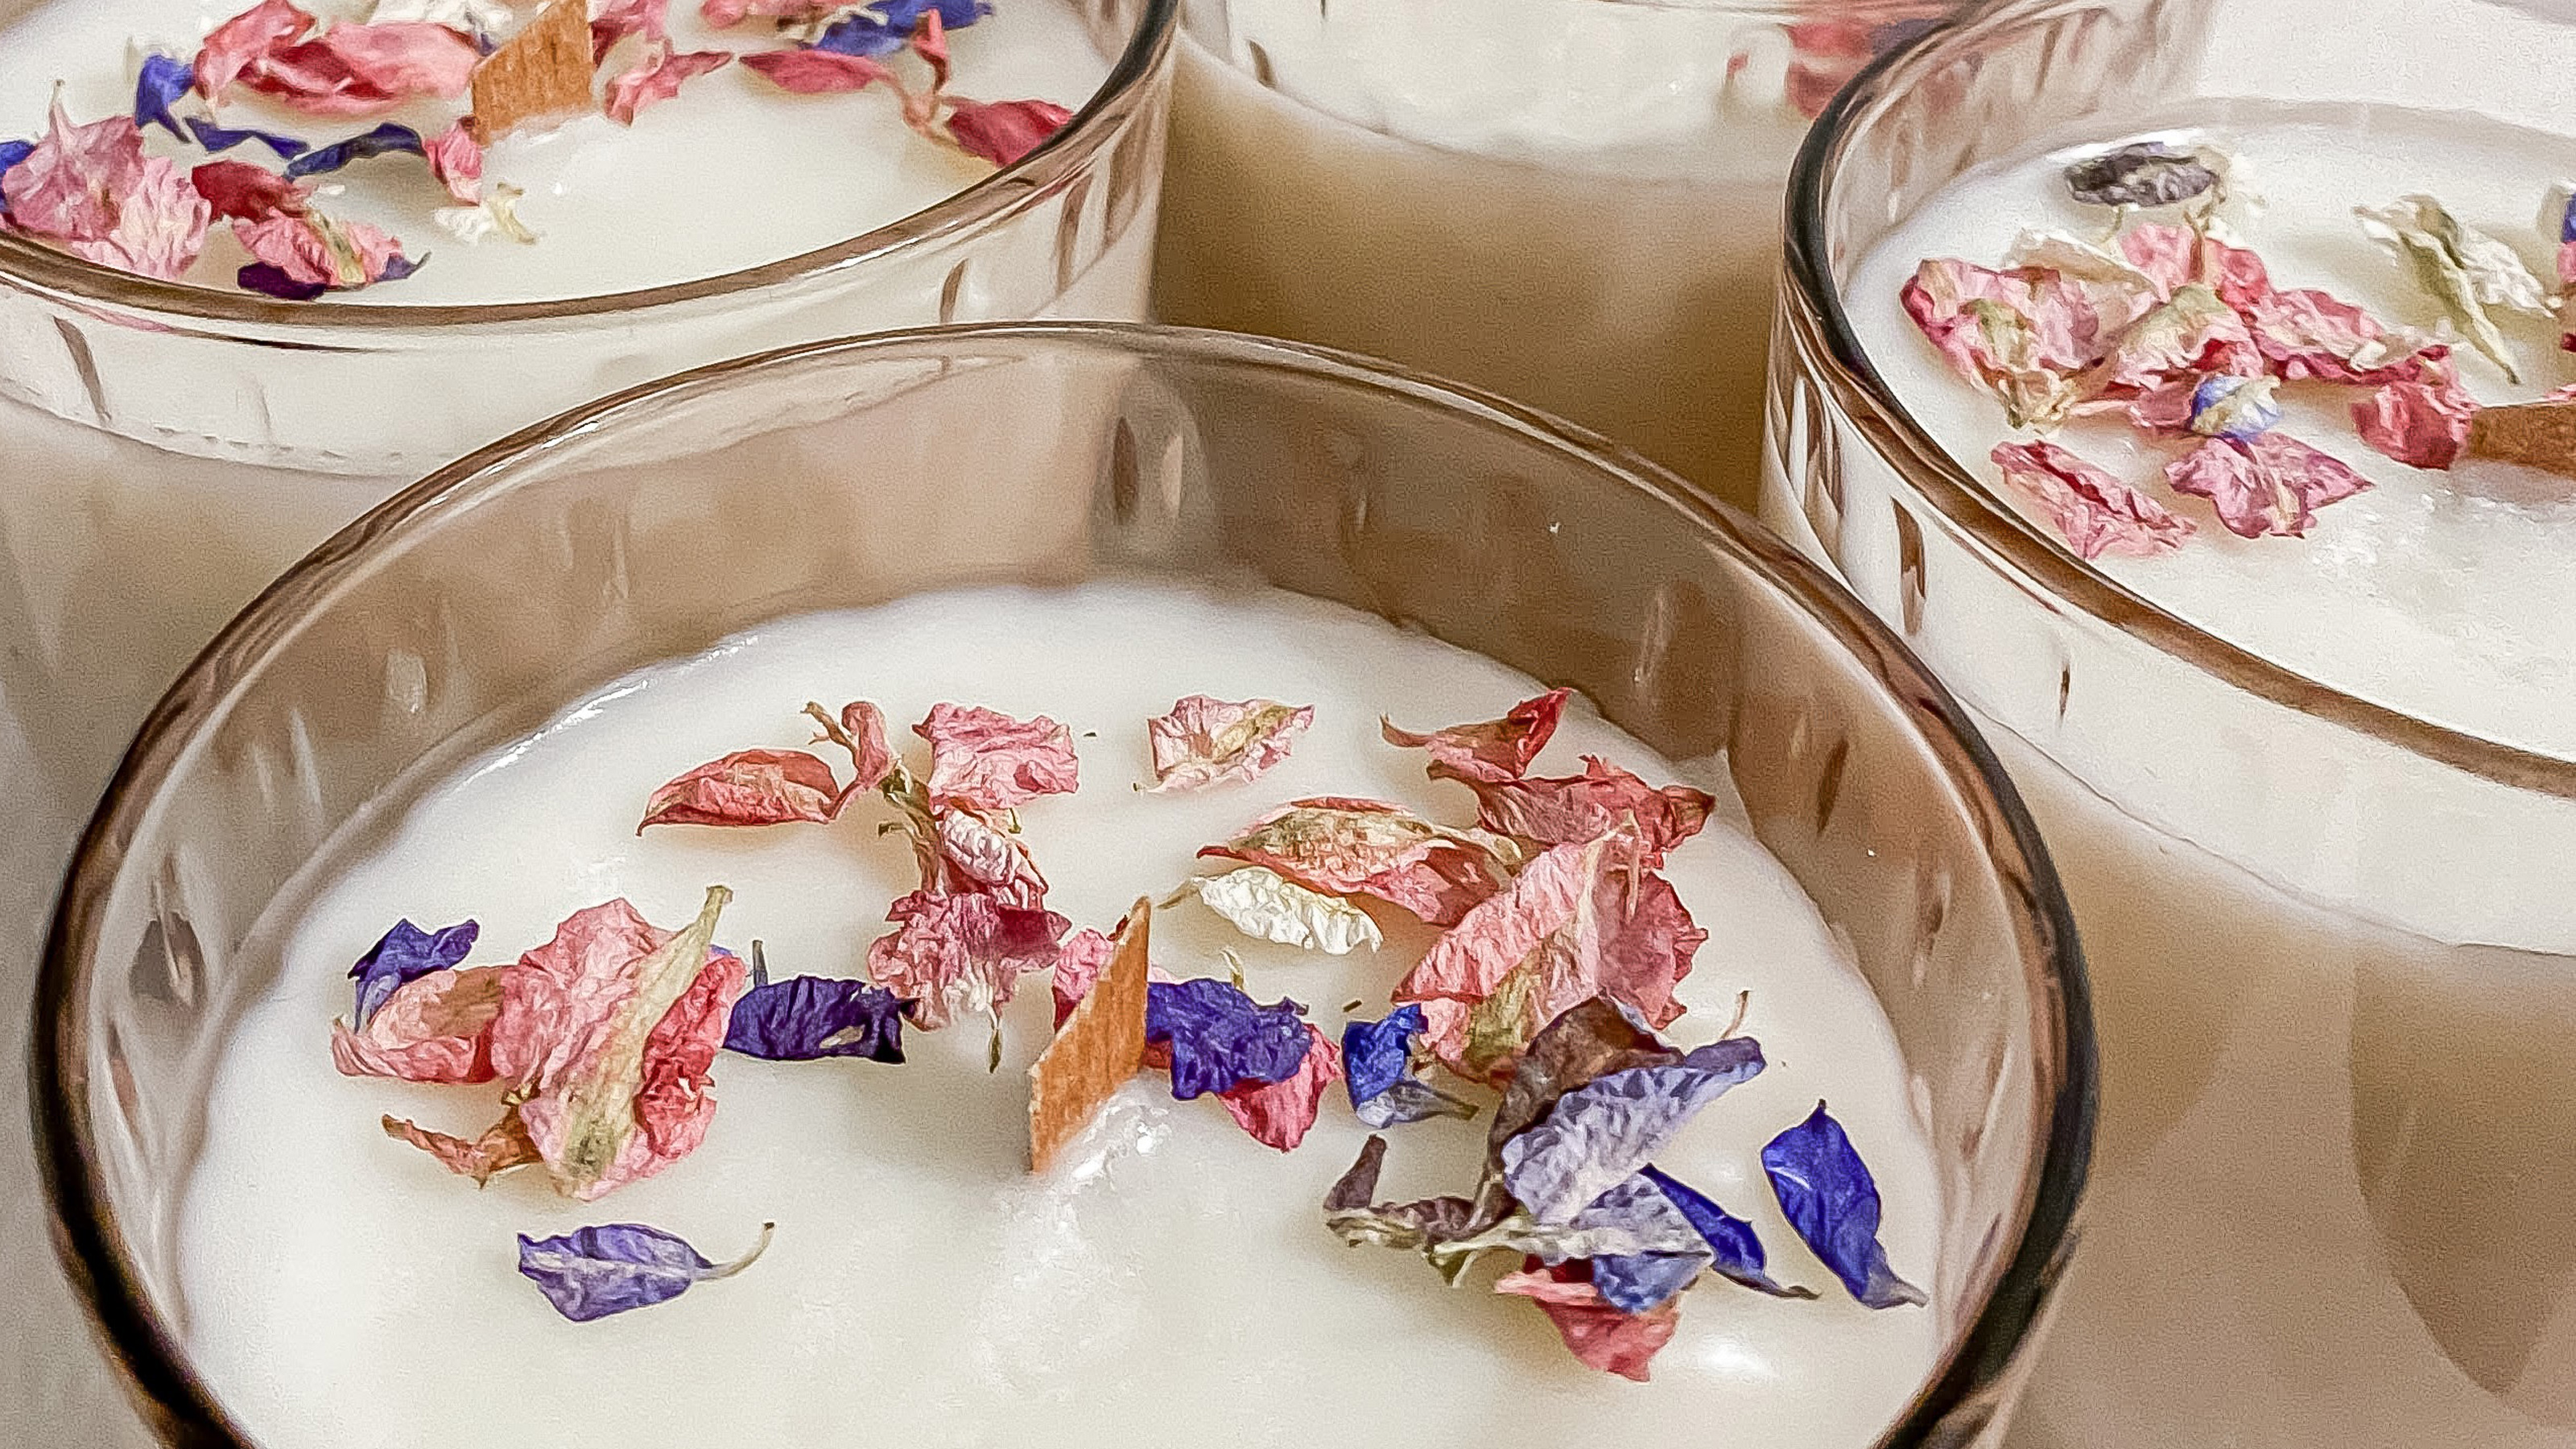
If you know how to make homemade candles, you'll always have a gift ready when you're stuck. Whether you've been to busy to pick up one of the best scented candles for a friend, or perhaps you enjoy making your own gifts? Maybe budget isn't allowing right now. Either way, a handmade candle is a lovely gift idea.
As an adult, giving and receiving gifts gets harder and harder each year, with purse strings tightening and simply not knowing what someone may want or like, I always try and go down the route of giving thoughtful, handmade gifts instead. These DIY scented candles went down an absolute treat with friends and family.
The best home fragrance always packs a punch, and these candles are eco-friendly, fully recyclable, and a great personal gift to give. What’s more, they’re a fab last-minute DIY too as they take just an hour to make and a week to cure. Here’s everything you need to know about making them yourself.
Shopping list
1. 1kg bag of soy wax from Amazon or eBay
2. Cute glass cups that are microwave and dishwasher safe (so you know they can get hot without cracking) like these beauties from Wayfair
3. Crackle wicks and clips: buy in a kit on Amazon
4. Fragrance oils: such as these from Candle Shack
5. Double boiler from Amazon or a Pyrex jug
6. A whisk
7. A liquid thermometer: you can pick one up cheaply at Amazon
8. A metal spoon
9. Optional: dried petals: buy in bulk at Amazon
How to make homemade candles
First off, let’s talk wax. Paraffin wax is manmade and is quite a sooty burn. Ever burnt a candle and its left black residue on nearby objects, walls, ceilings, and around the candle jar? That’s paraffin. It’s made from petroleum.
Yep, the same stuff you put in your car’s fuel tank. Paraffin burns hotter and faster, meaning they don’t last as long, its fumes are actually toxic to humans and animals, with carcinogen compounds (cancer-causing agents) being thrown out into the air around you.
They’re bad for the environment as they’re not renewable, do not biodegrade, and increase CO2 emissions. Paraffin candles tend to be bright and colorful and take just 24-48 hours to cure.
However, these DIY scented candles are eco-friendly and totally worth the effort (probably less effort than figuring out how to make wax melts). Just follow these simple steps:
1. Prep your chosen glasses
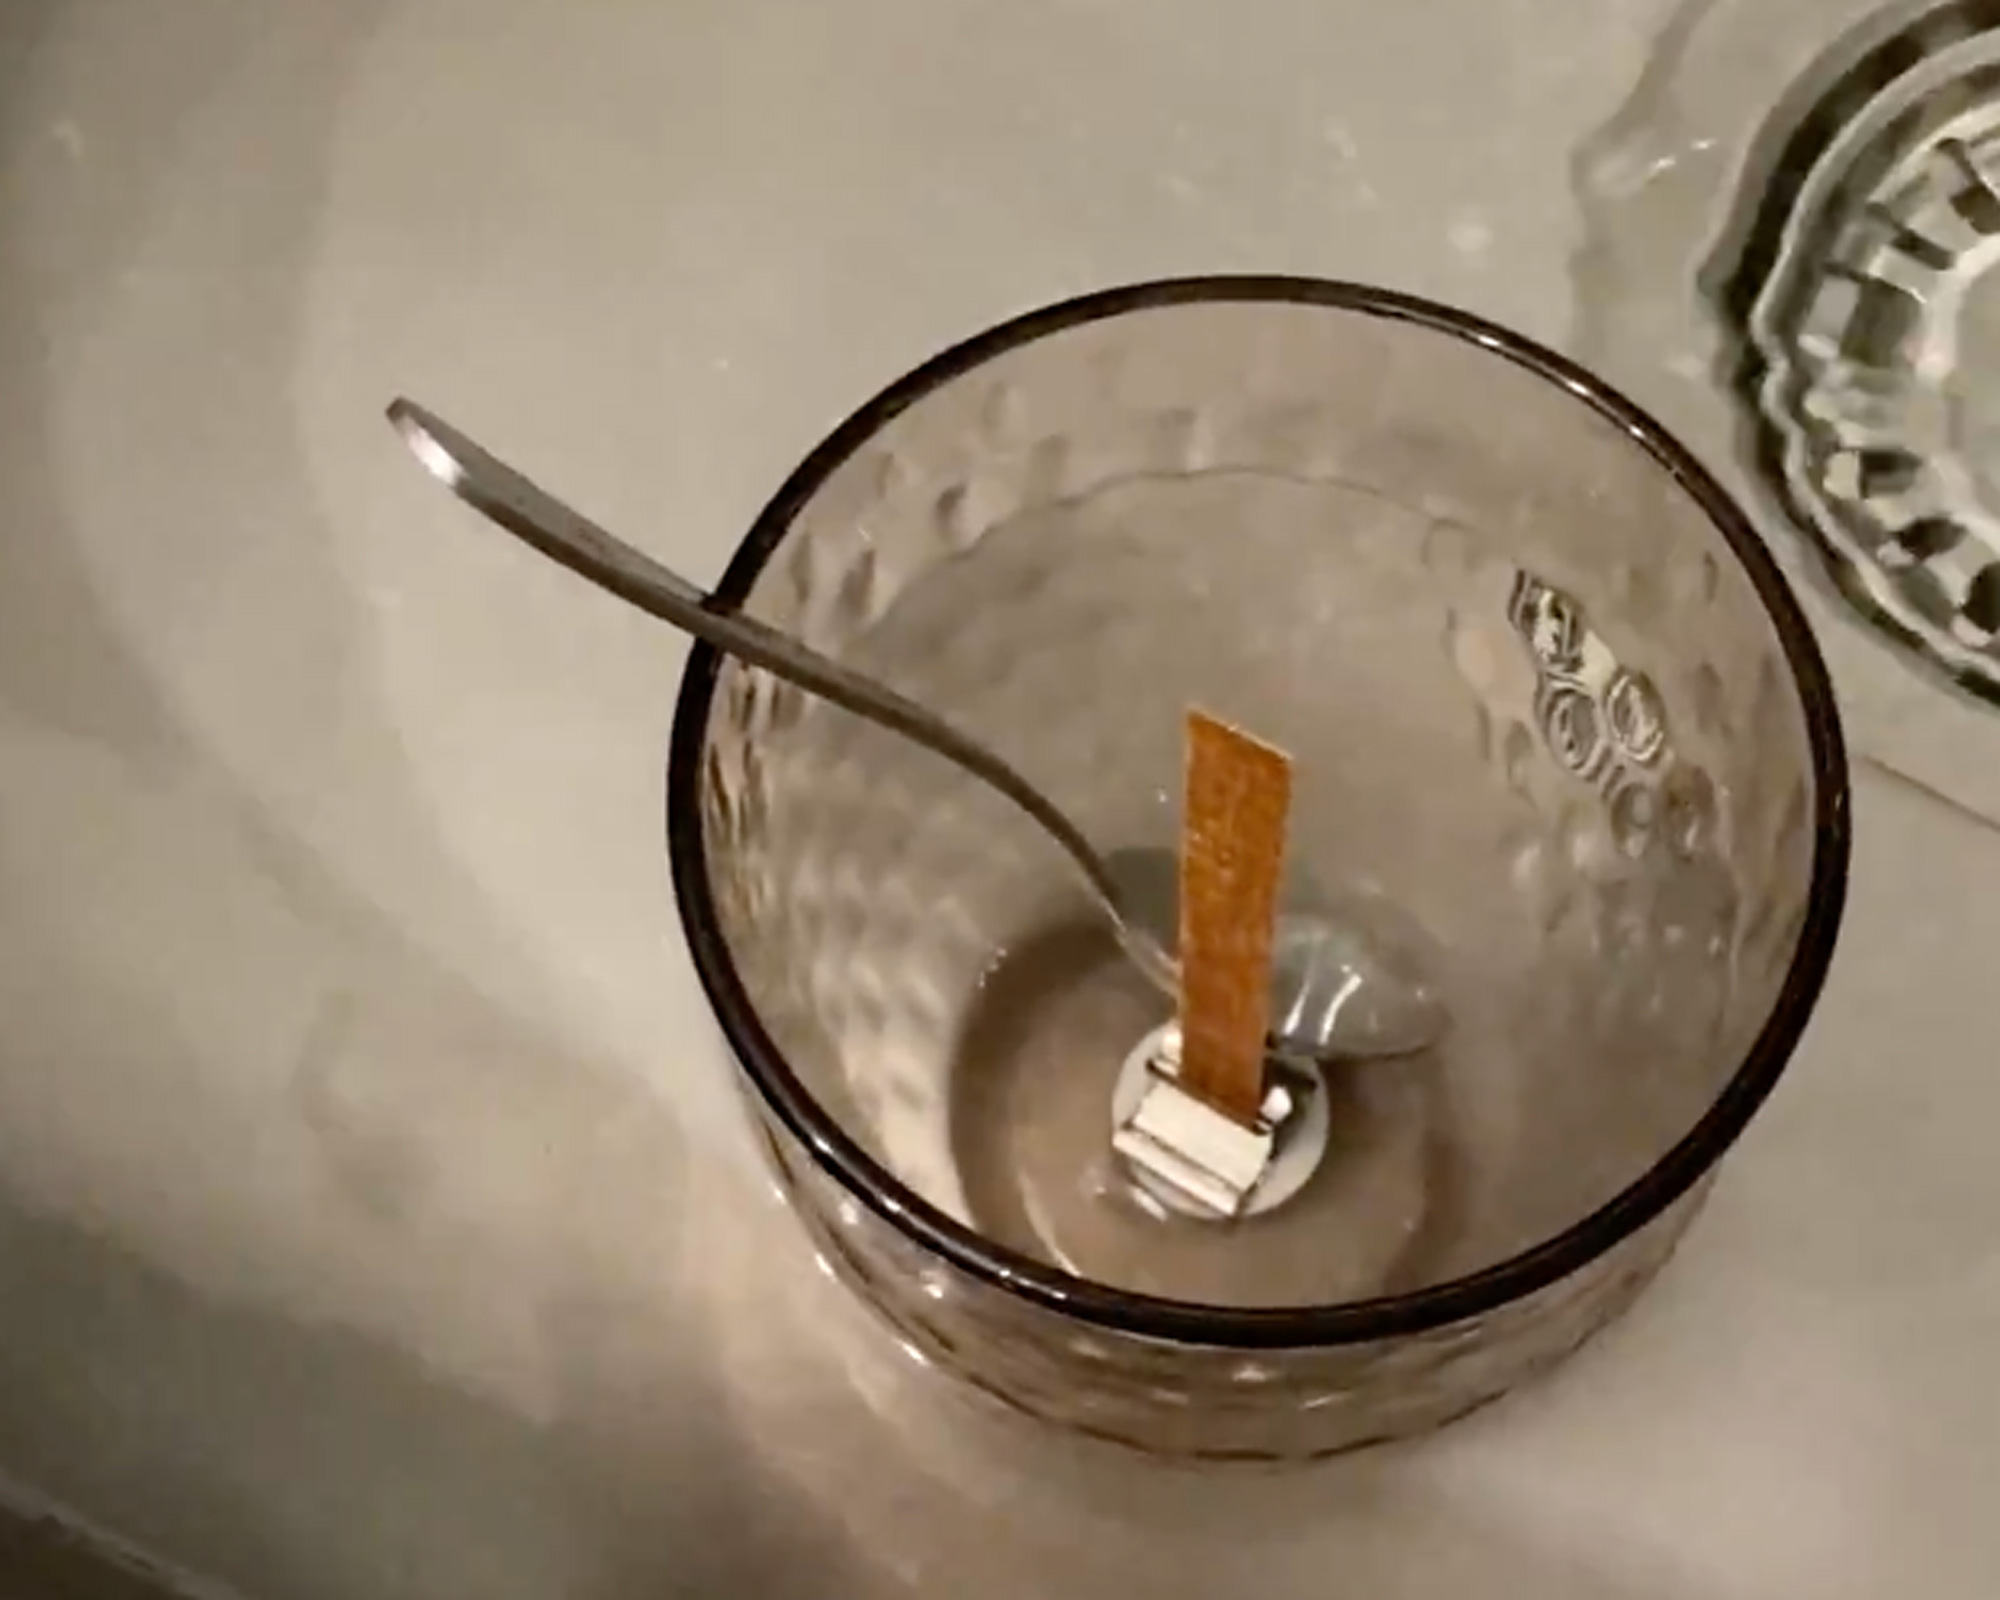
Fill your kitchen sink with water from the hot tap and place your glasses in to warm up.
This stops the hot wax from being such a shock to the cold glass and prevents it from cracking. You can also place a metal spoon in the glass while you pour as this helps dispel the heat.
2. Measure out soy wax
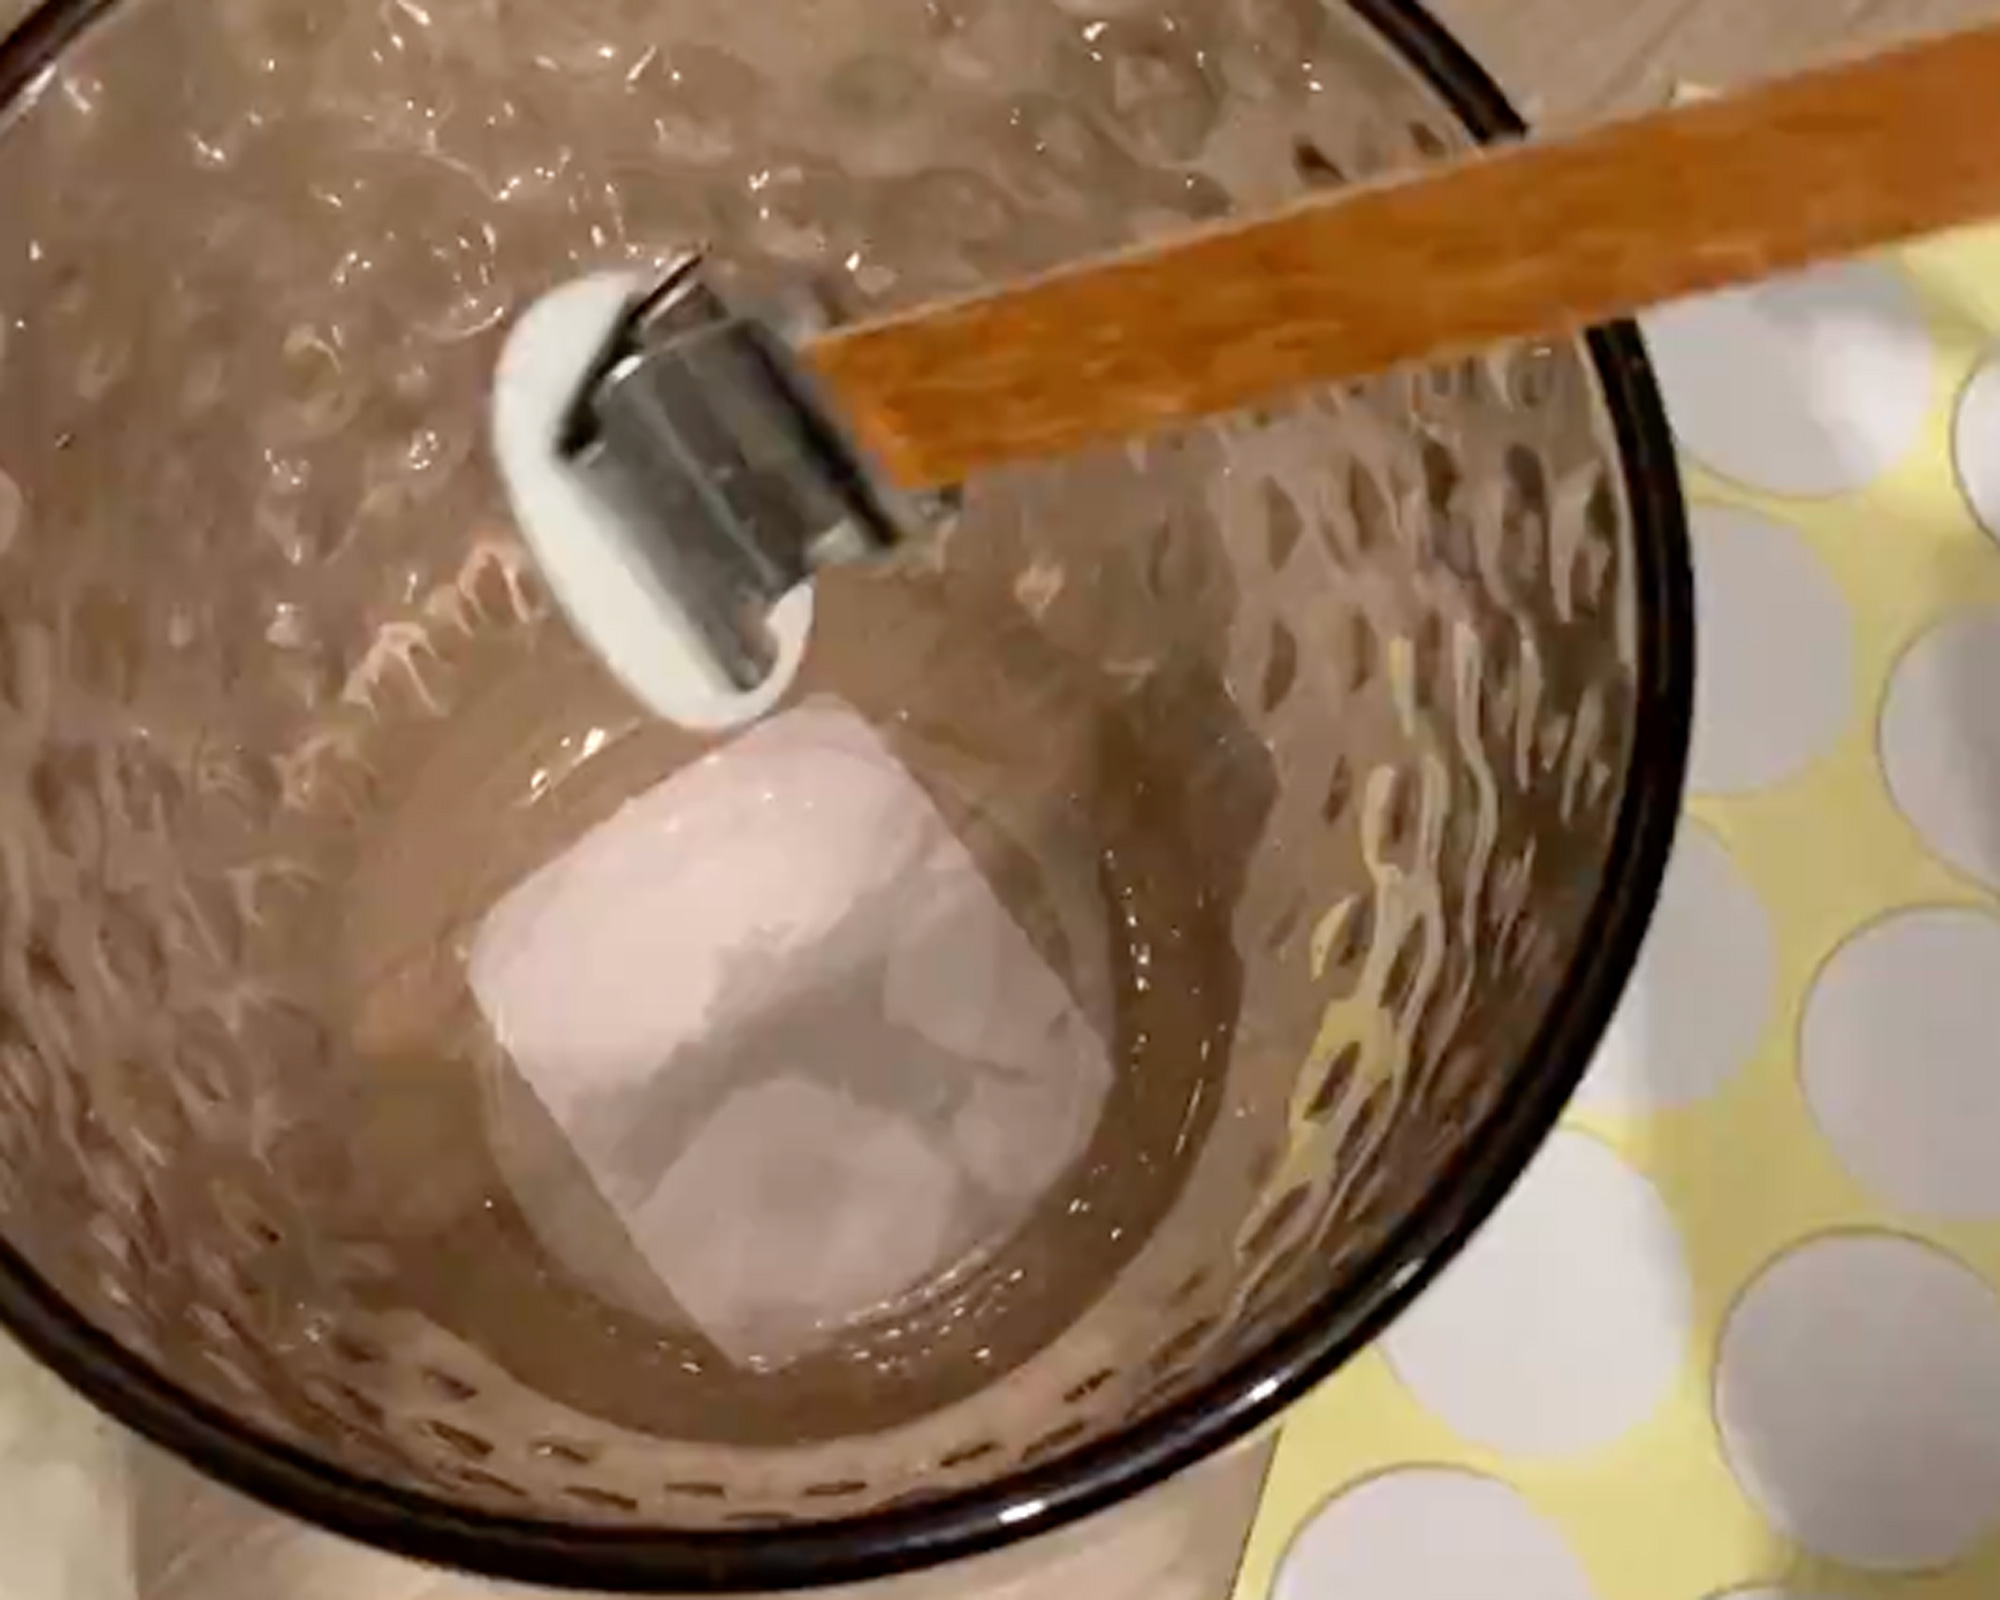
Place your crackle wicks in a clip (grab in a kit on Amazon) and on the stickers and stick to the base of each glass.
Use one of your glasses as a measuring cup and scoop out two full cups worth of soy wax you can buy in bulk on Amazon into a double burner or pyrex jug per candle you plan on making.
For fragrance oil, you want a maximum of 10% of the overall weight of the candle to be fragrance. For a more subtle scent throw, I’d recommend just 6%.
So, if you’re making 6 candles that will weigh 100g, you’ll need 94g of wax per candle and 6g will be fragrance. Don’t add it just yet though, but make sure you know how much your wax weighs before melting it.
3. Melt the wax
The ratios are different for essential oils so be sure to do your research on how much is needed and what temperature to add it. A useful guide can be found at Supplies for Candles.
Pop the jug of wax in the microwave or put a double boiler (pick one up at Amazon) on the stove with water in the bottom pan to heat up and melt the wax, stirring with a whisk to break up the wax.
4. Combine the soy wax and fragrance
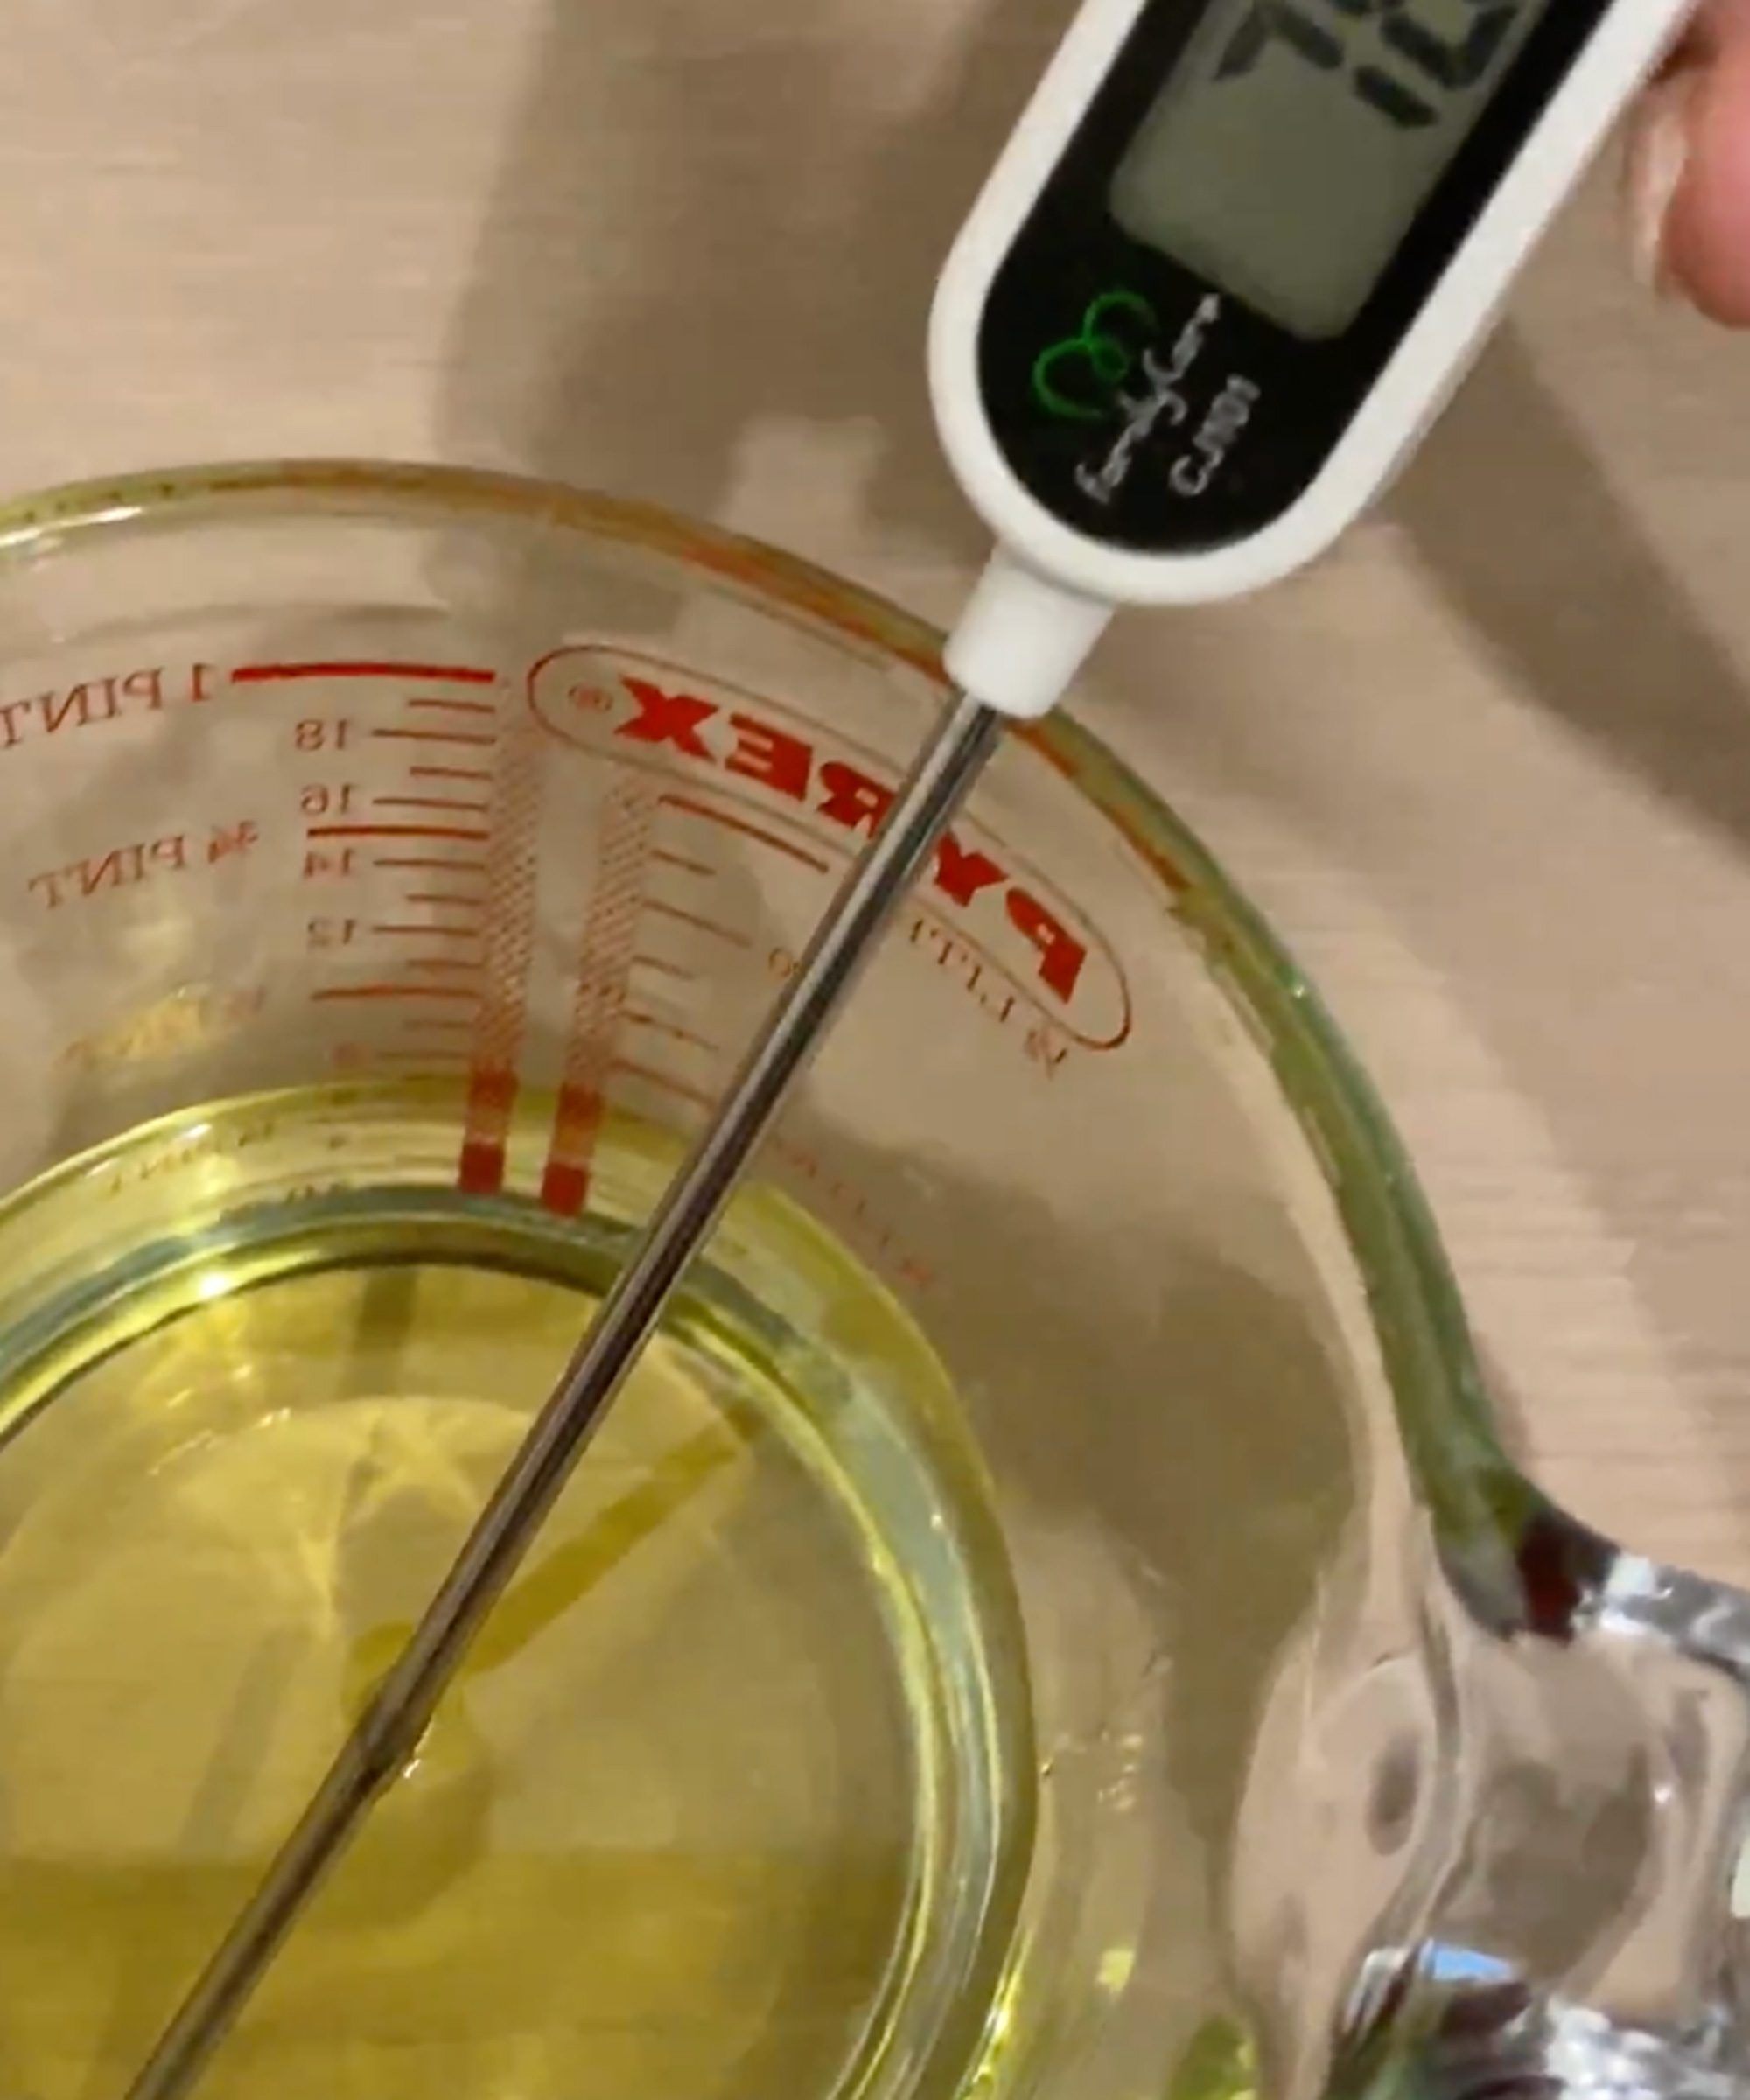
Keep heating until the wax is fully melted and has reached 80 degrees Celsius. If you’re doing two different fragrances, decant evenly into pre-heated jugs and add your fragrance oil (I went for a very berry scent and one that smelled like a dupe of LUSH’s Snow Fairy – divine, but if that's not for you, take a look at these oils from Candle Shack) when the oil is still above 75 degrees.
Keep stirring for 3-5 minutes as it cools so that the oils and the wax combine. If you don’t stir, they could separate and leave an oily coating on the top of the candle.
5. Pour wax into glasses
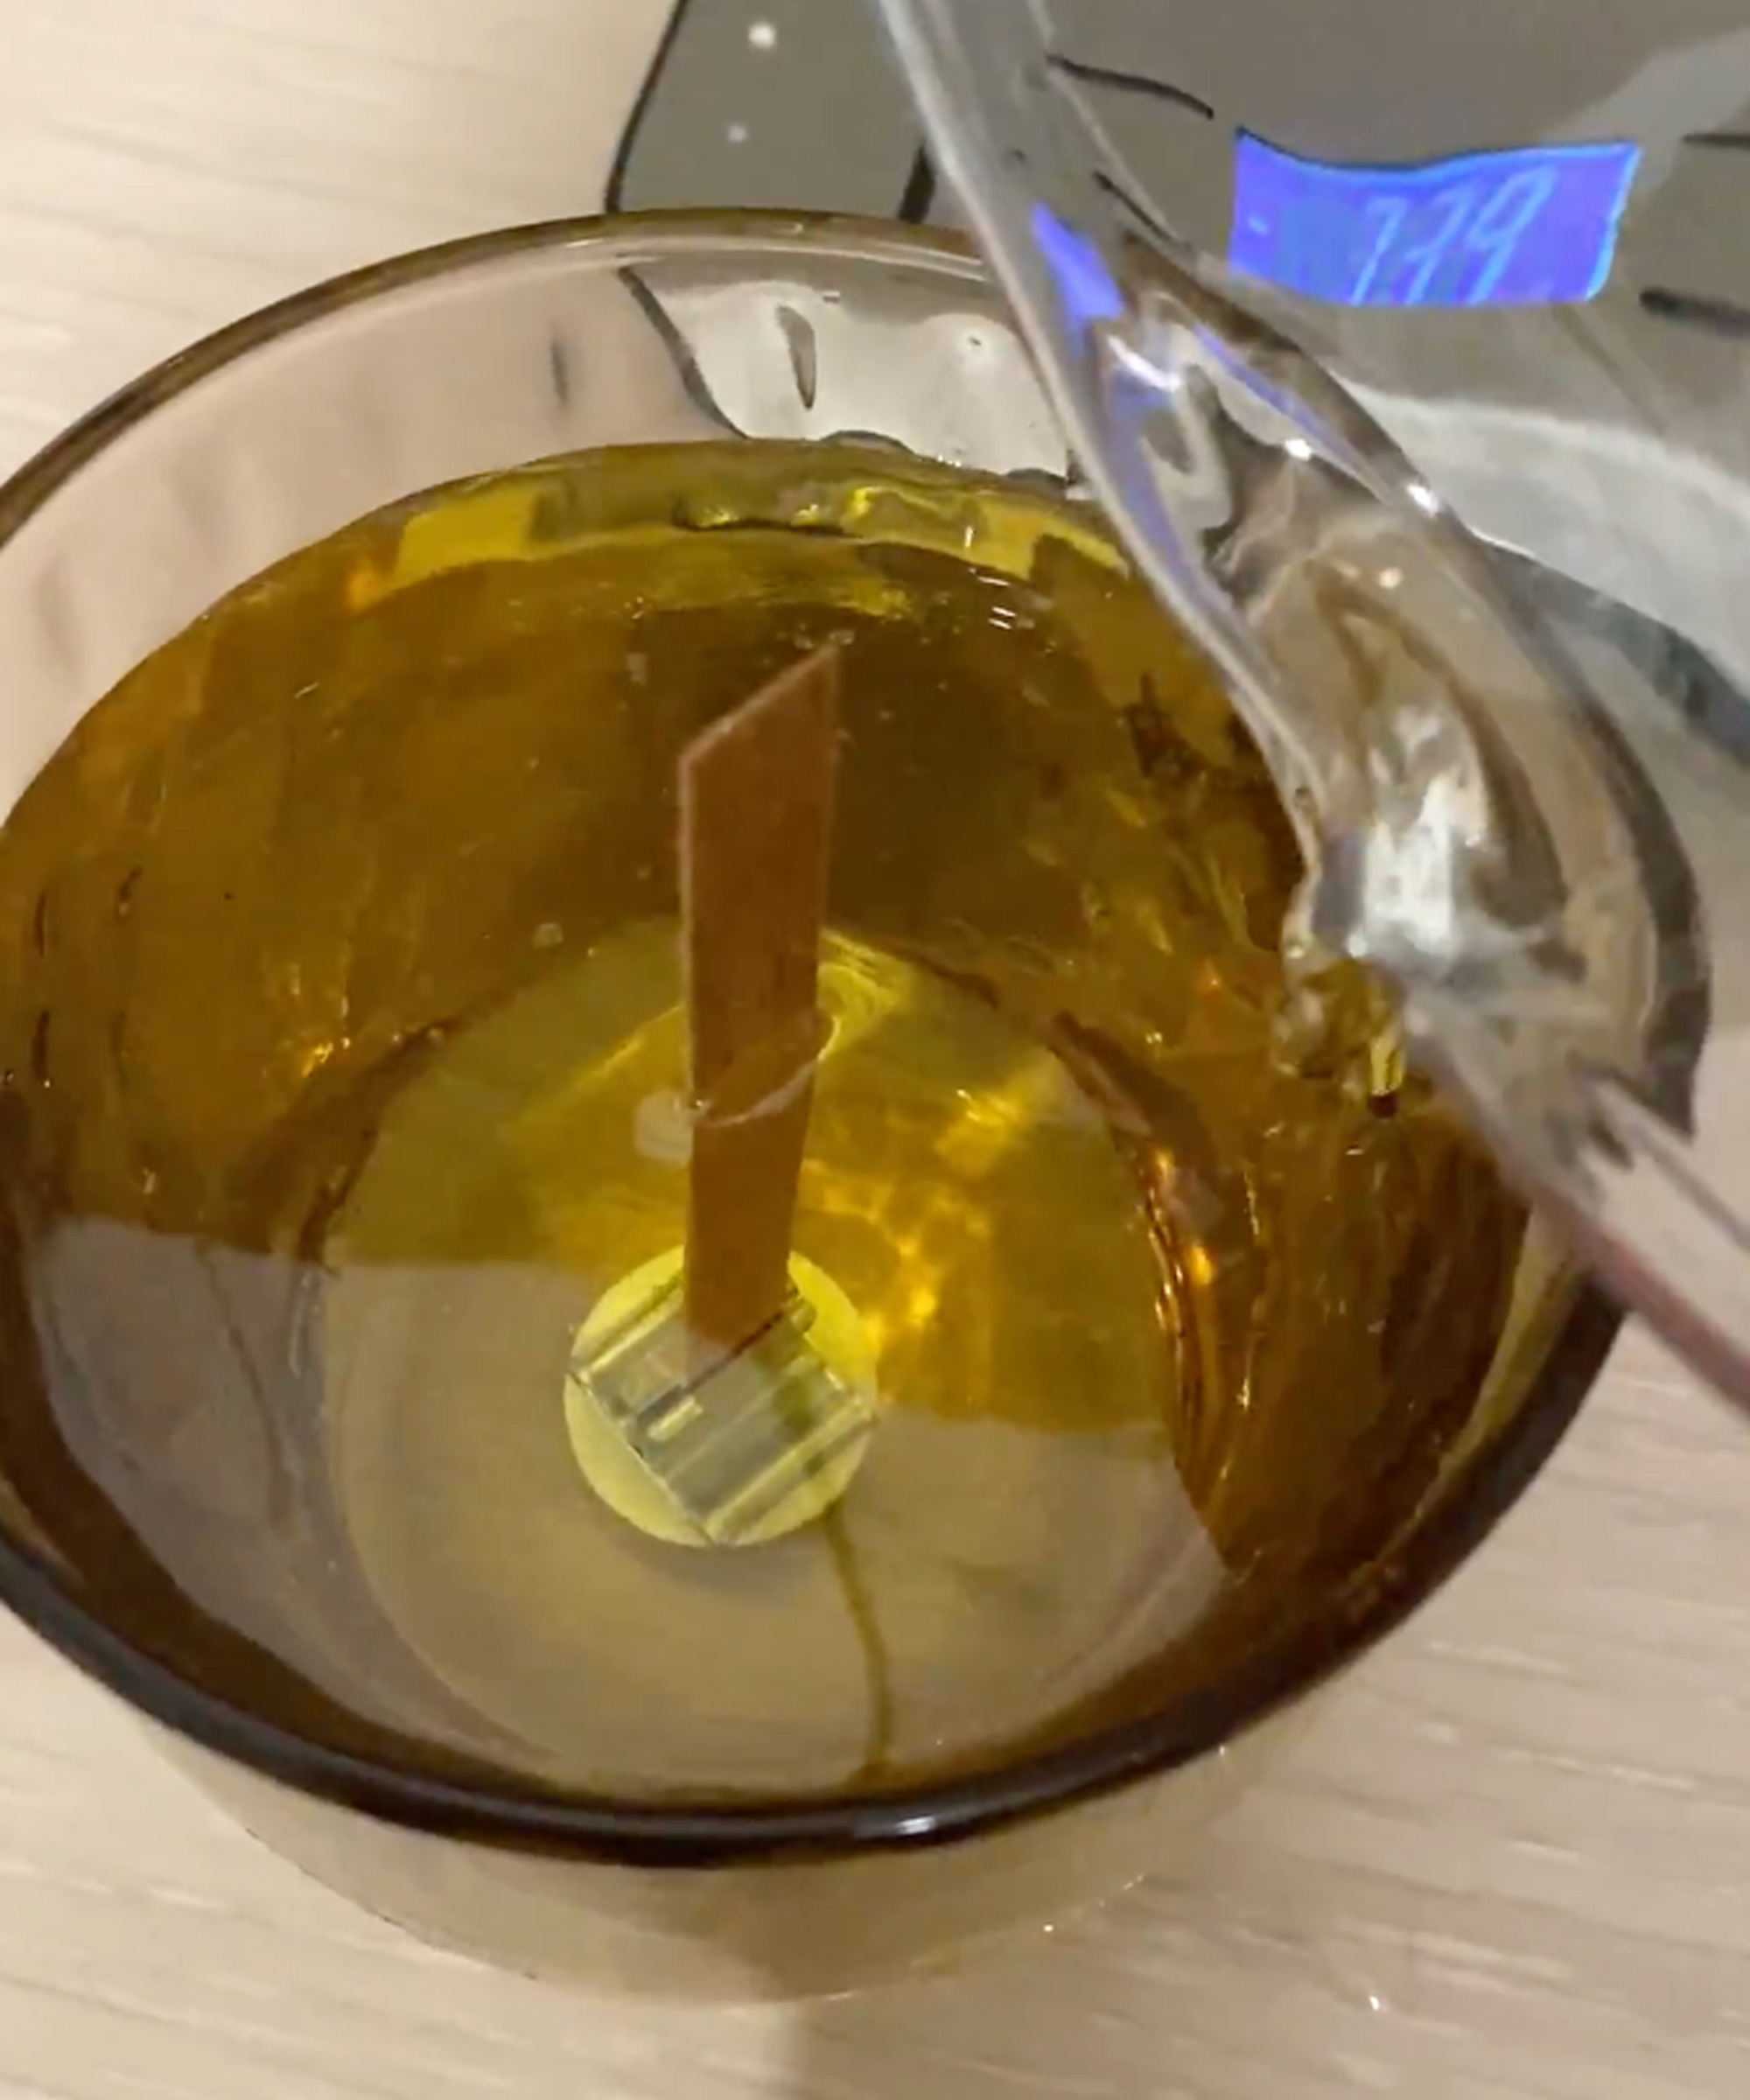
Wait until the wax has cooled to 50 degrees Celsius and remove your glasses from the sink. Ensure the insides are dry and begin pouring. Again, leave the metal spoon in there to dispel the heat.
6. Set the candles aside to cure
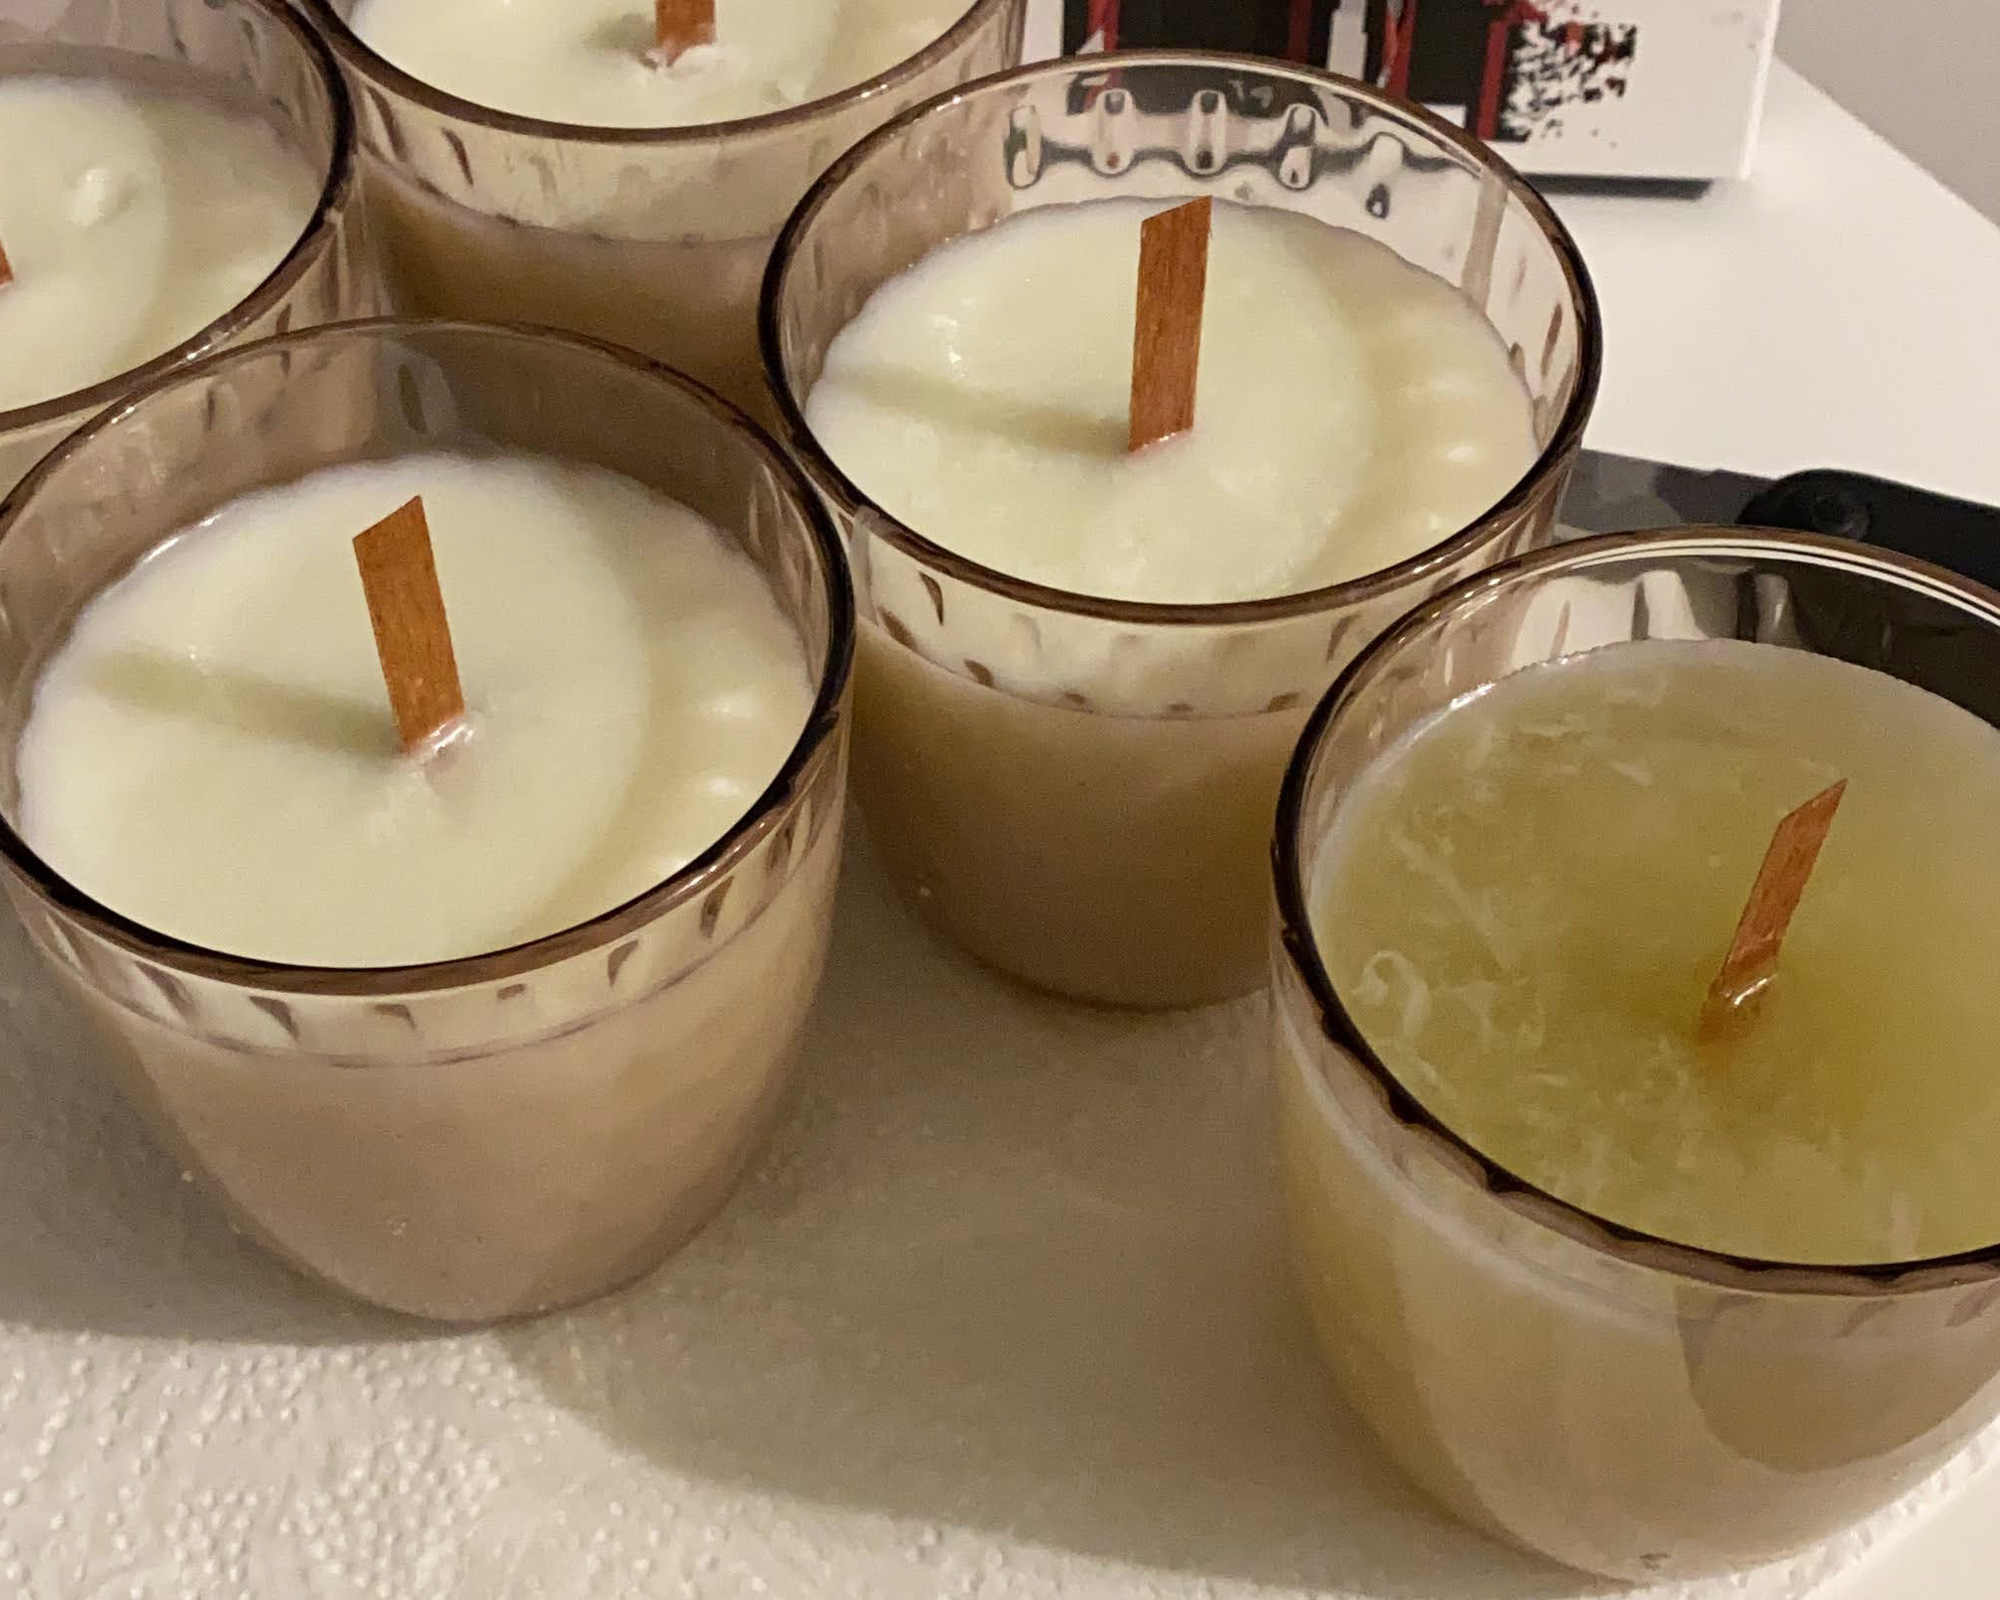
Once you’ve filled all your candle jars, you’ll need to set them aside for 7 days to cure and the fragrance and the wax to merge and settle.
You can add decorations like dried petals (look on Amazon for reasonable prices), but make sure to remove them before lighting the candle as they are flammable and can get blown out of the jar and onto a flammable surface – we don’t want that.
6. Make your candles gift-worthy
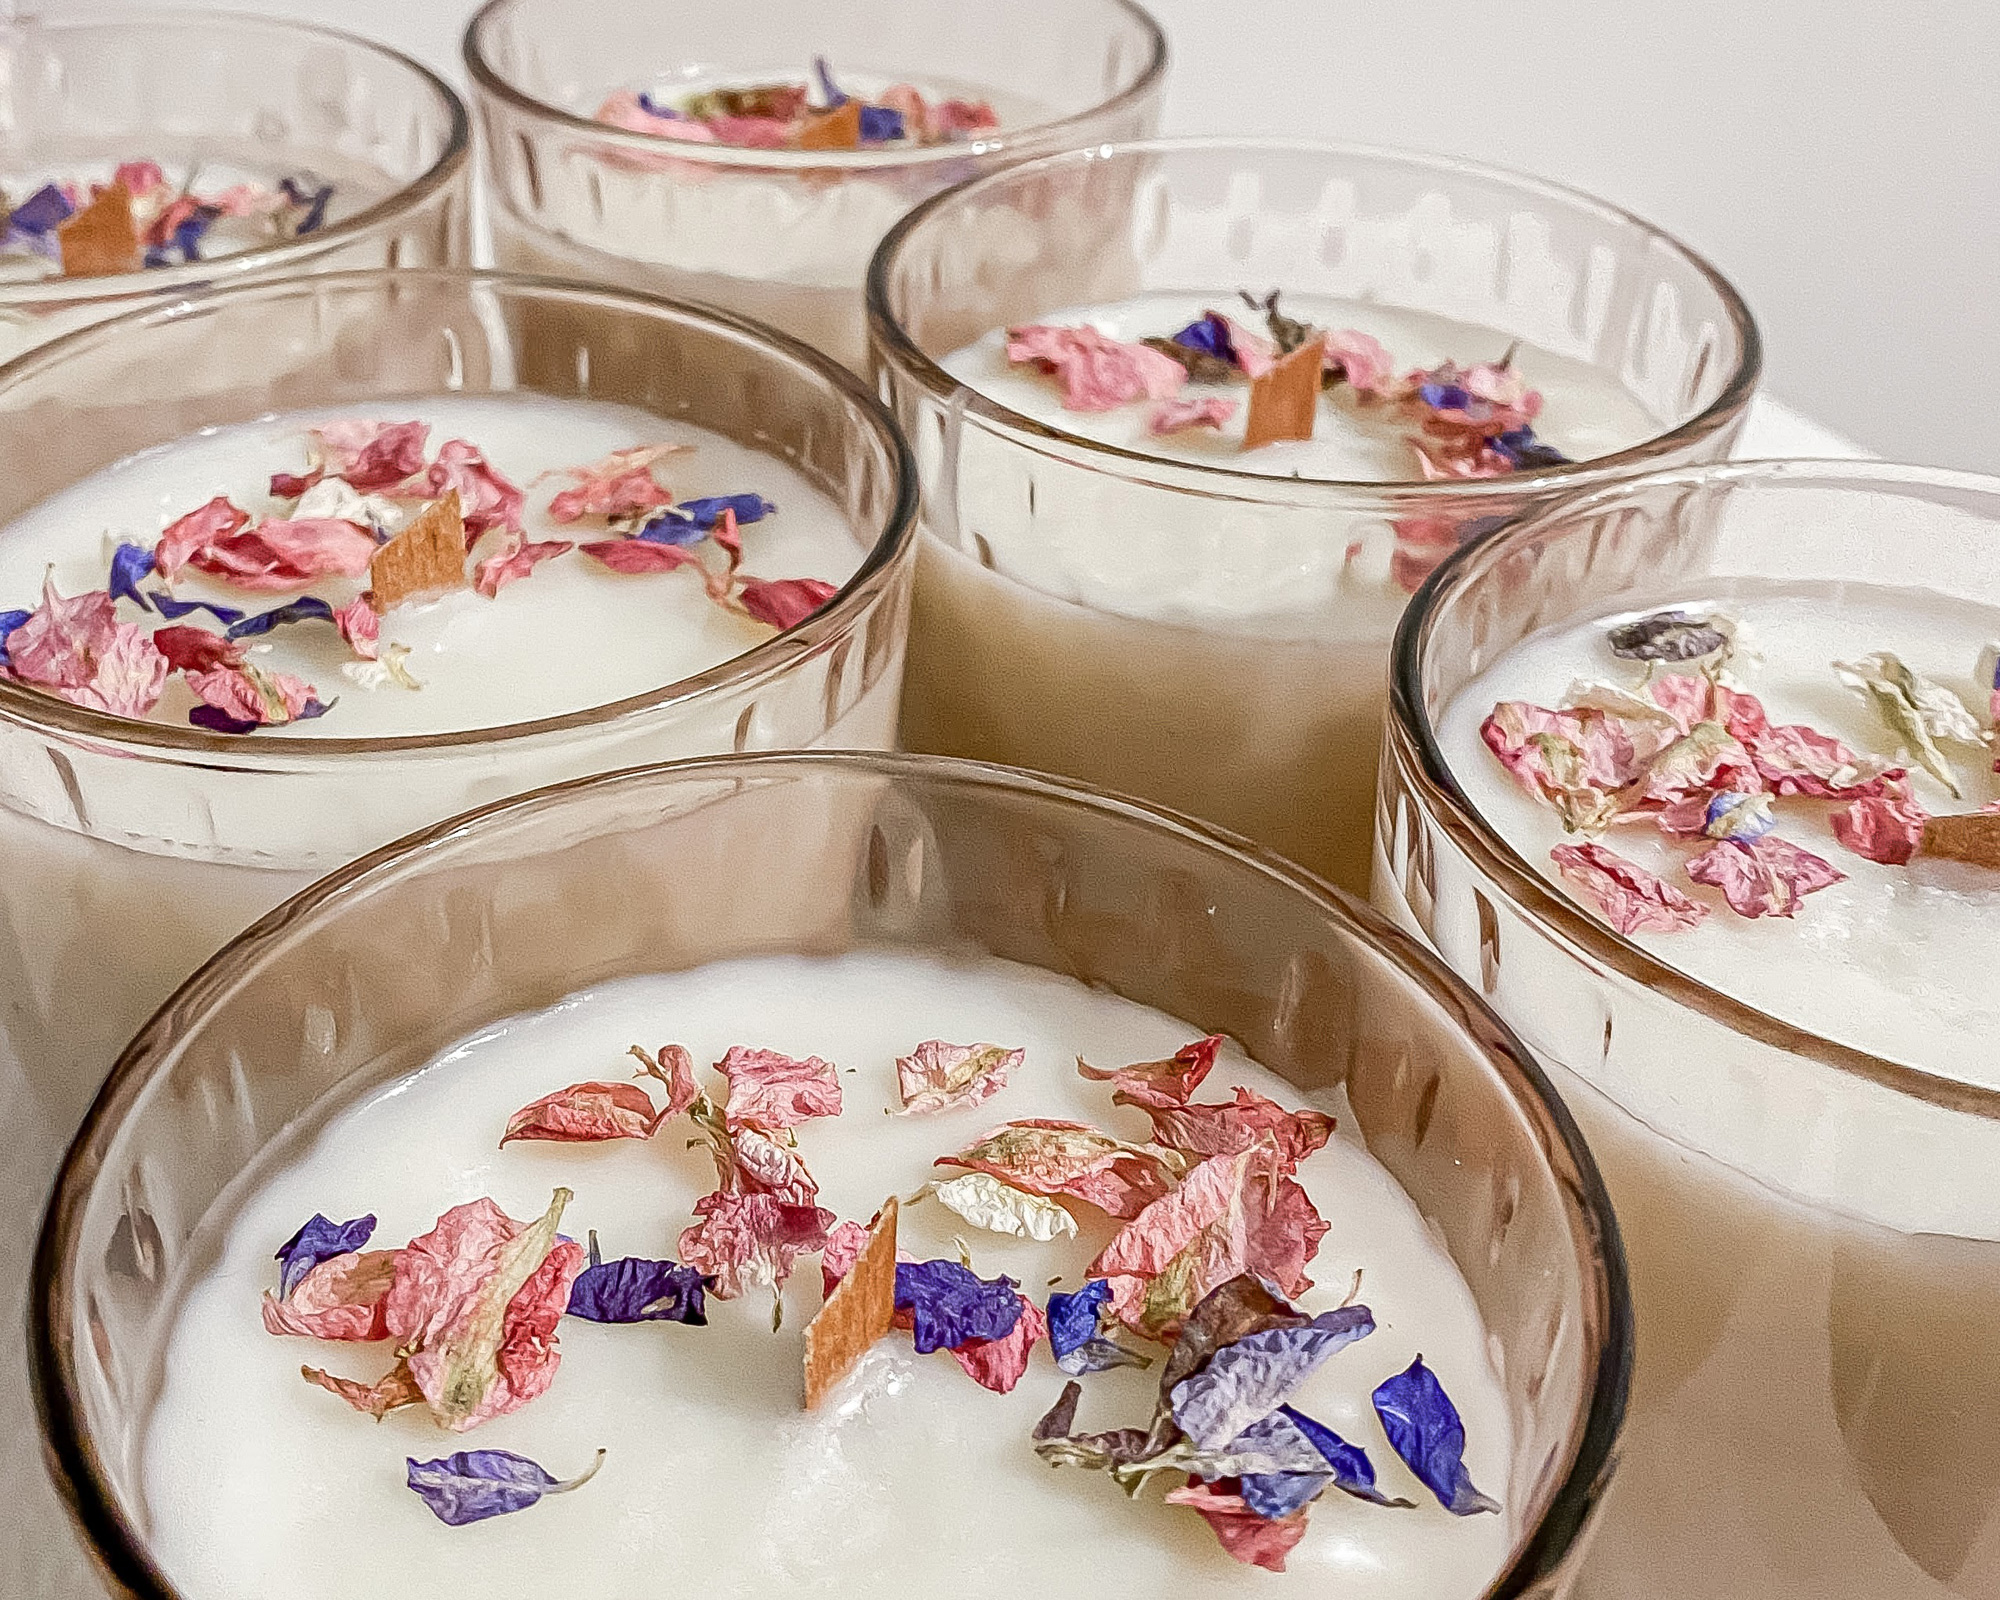
Once you’re ready to gift the candles or even keep them for yourself, trim the wick a couple of millimeters from the wax and ensure that each time it is lit, the candle is left to burn right up to the edge of the glass to prevent tunneling.
Trim the wick before lighting each time and you’ll have a fabulous, long-lasting, beautifully fragrant gift for all your friends and family, and are even worthy enough as great DIY Christmas gifts.
Check out Jasmine Gurney's quick how-to video on Instagram and follow her for more beginner-friendly, budget DIYs.
Join our newsletter
Get small space home decor ideas, celeb inspiration, DIY tips and more, straight to your inbox!
Jasmine Gurney is a DIY pro, inspiring women with power tools via her home improvement blog Oh Abode and on Realhomes.com.
-
 How install a washing machine step–by–step
Here’s how to install a washing machine like a pro, in under an hour.
By Kate Sandhu Published
-
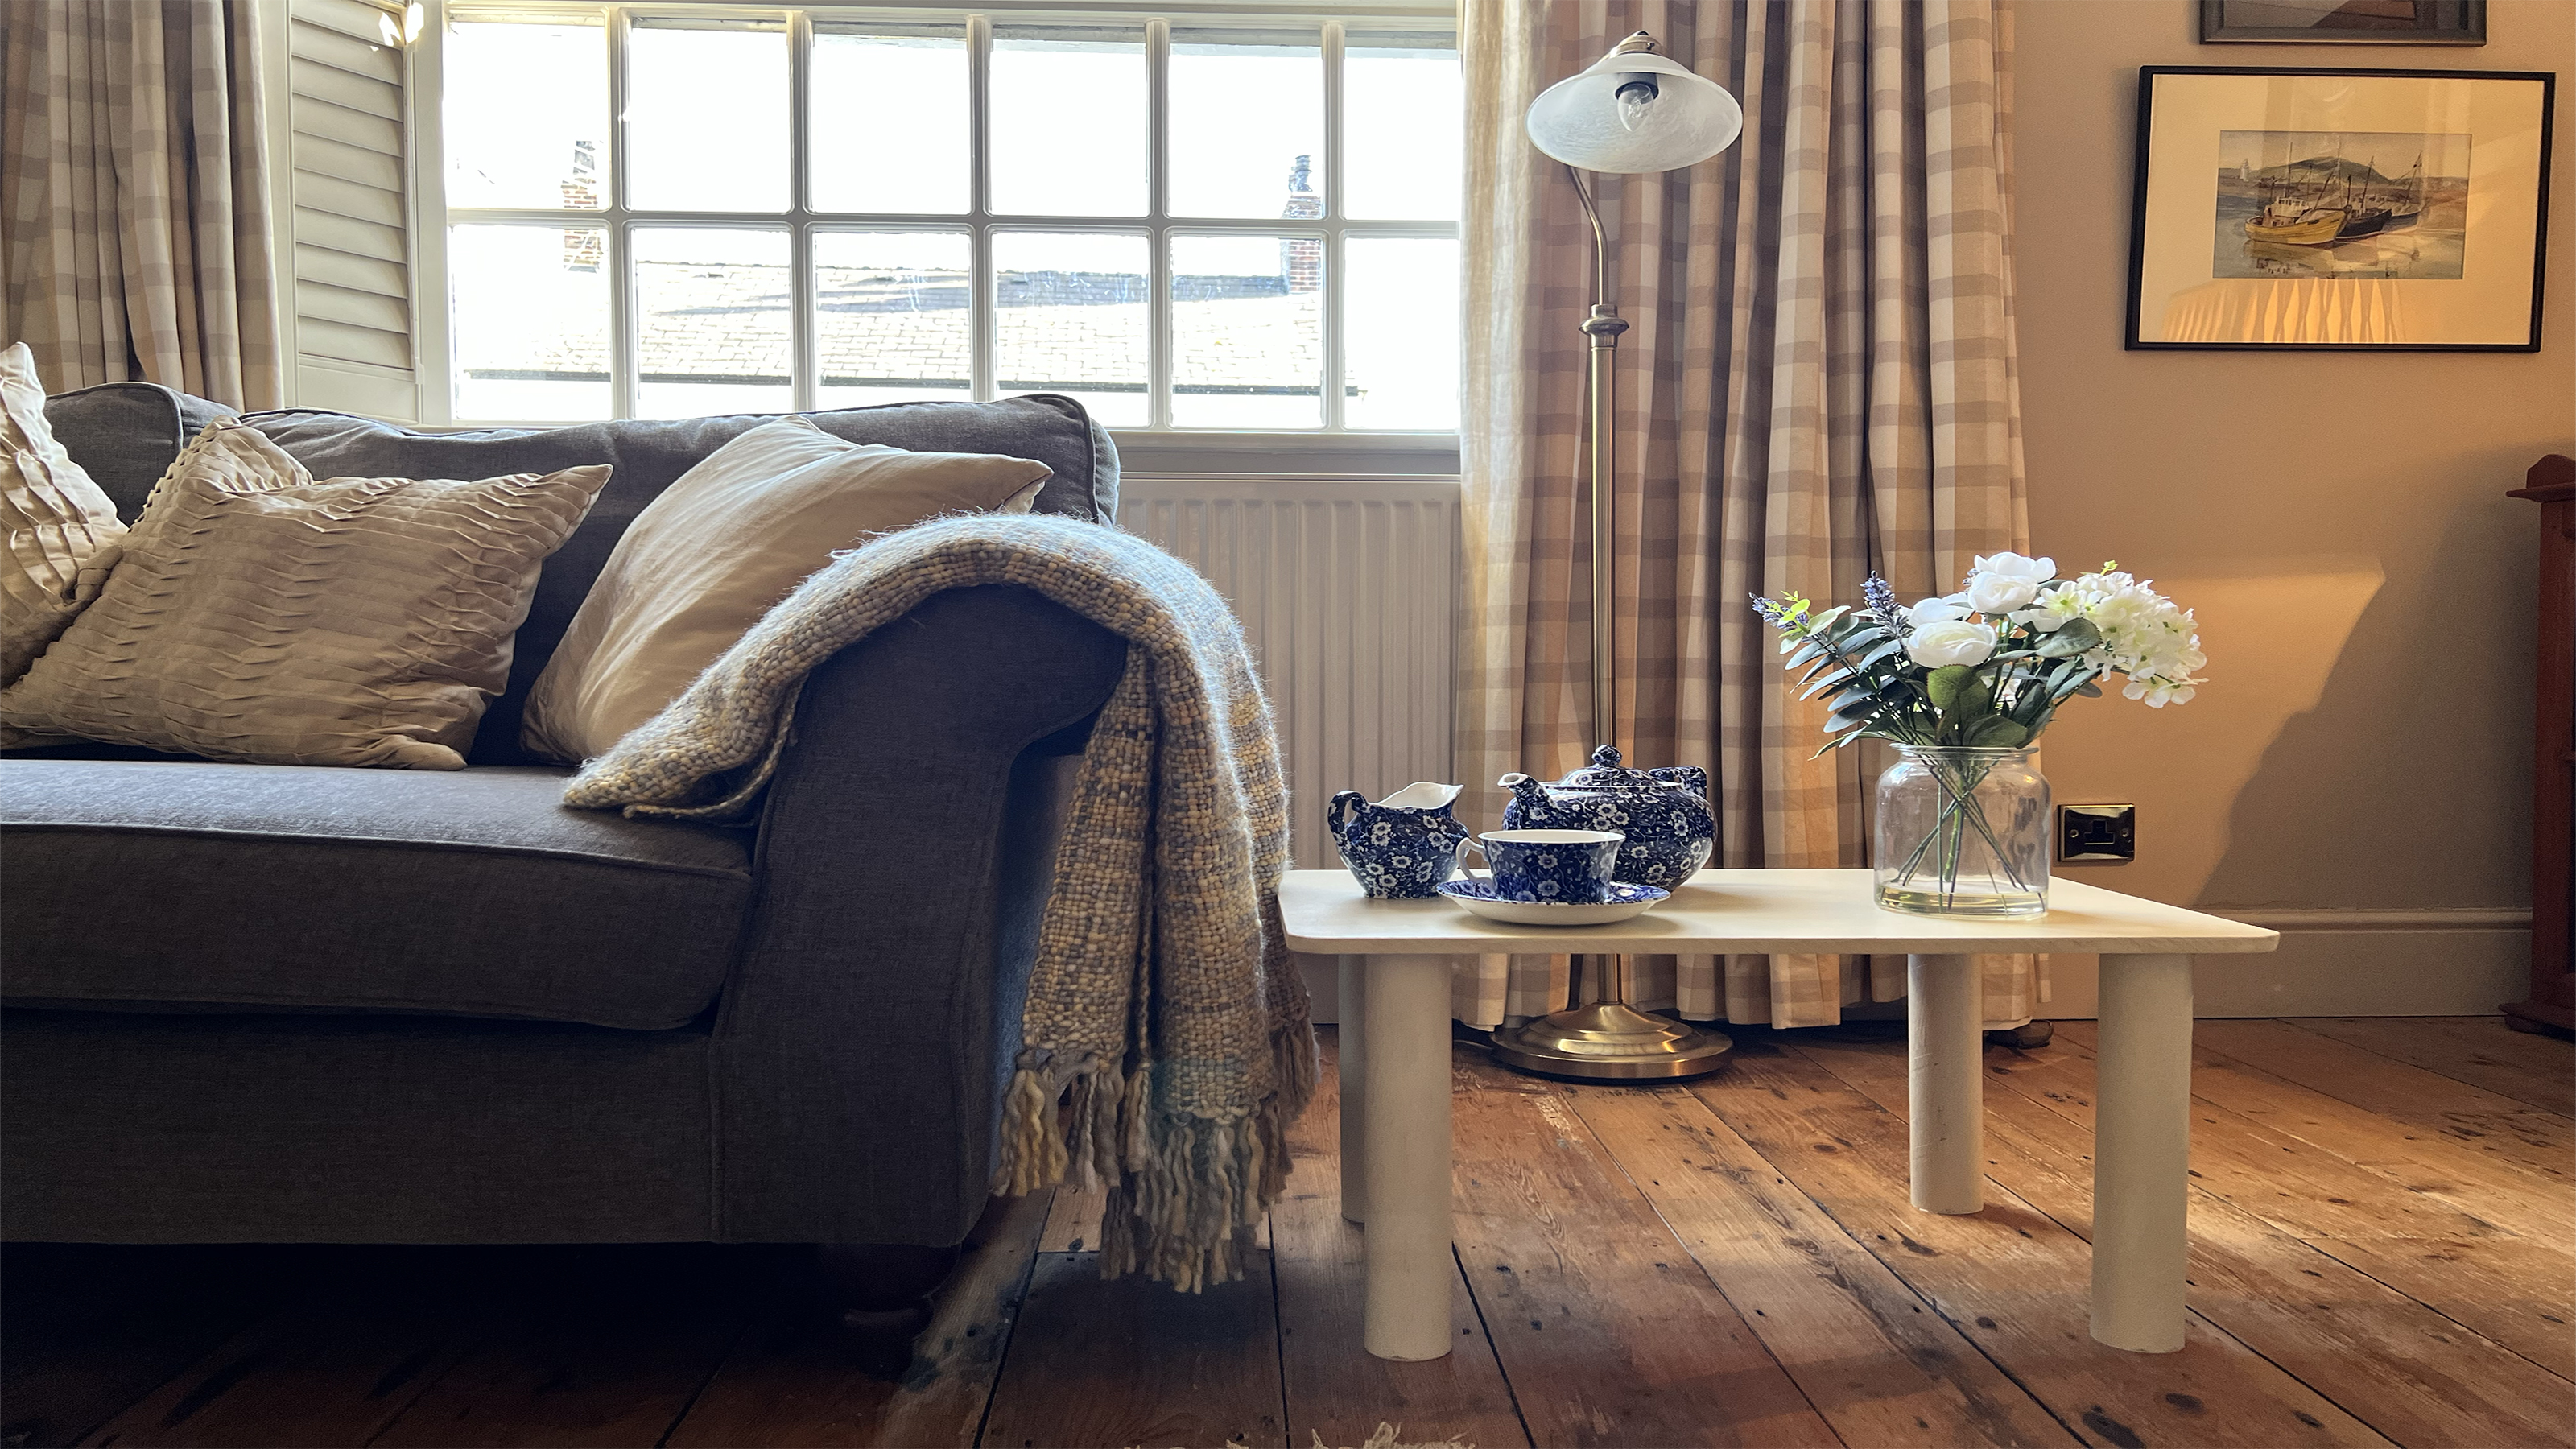 How to make a coffee table by shopping your home
With this handy guide you'll have a chic and useful coffee table in an hour using left over bits from around your home!
By Kate Sandhu Published
-
 How to get rid of carpet beetles: 13 natural ways to get rid of bugs and larvae
Find out how to get rid of carpet beetles naturally, and without calling out pest control
By Anna K. Cottrell Published
-
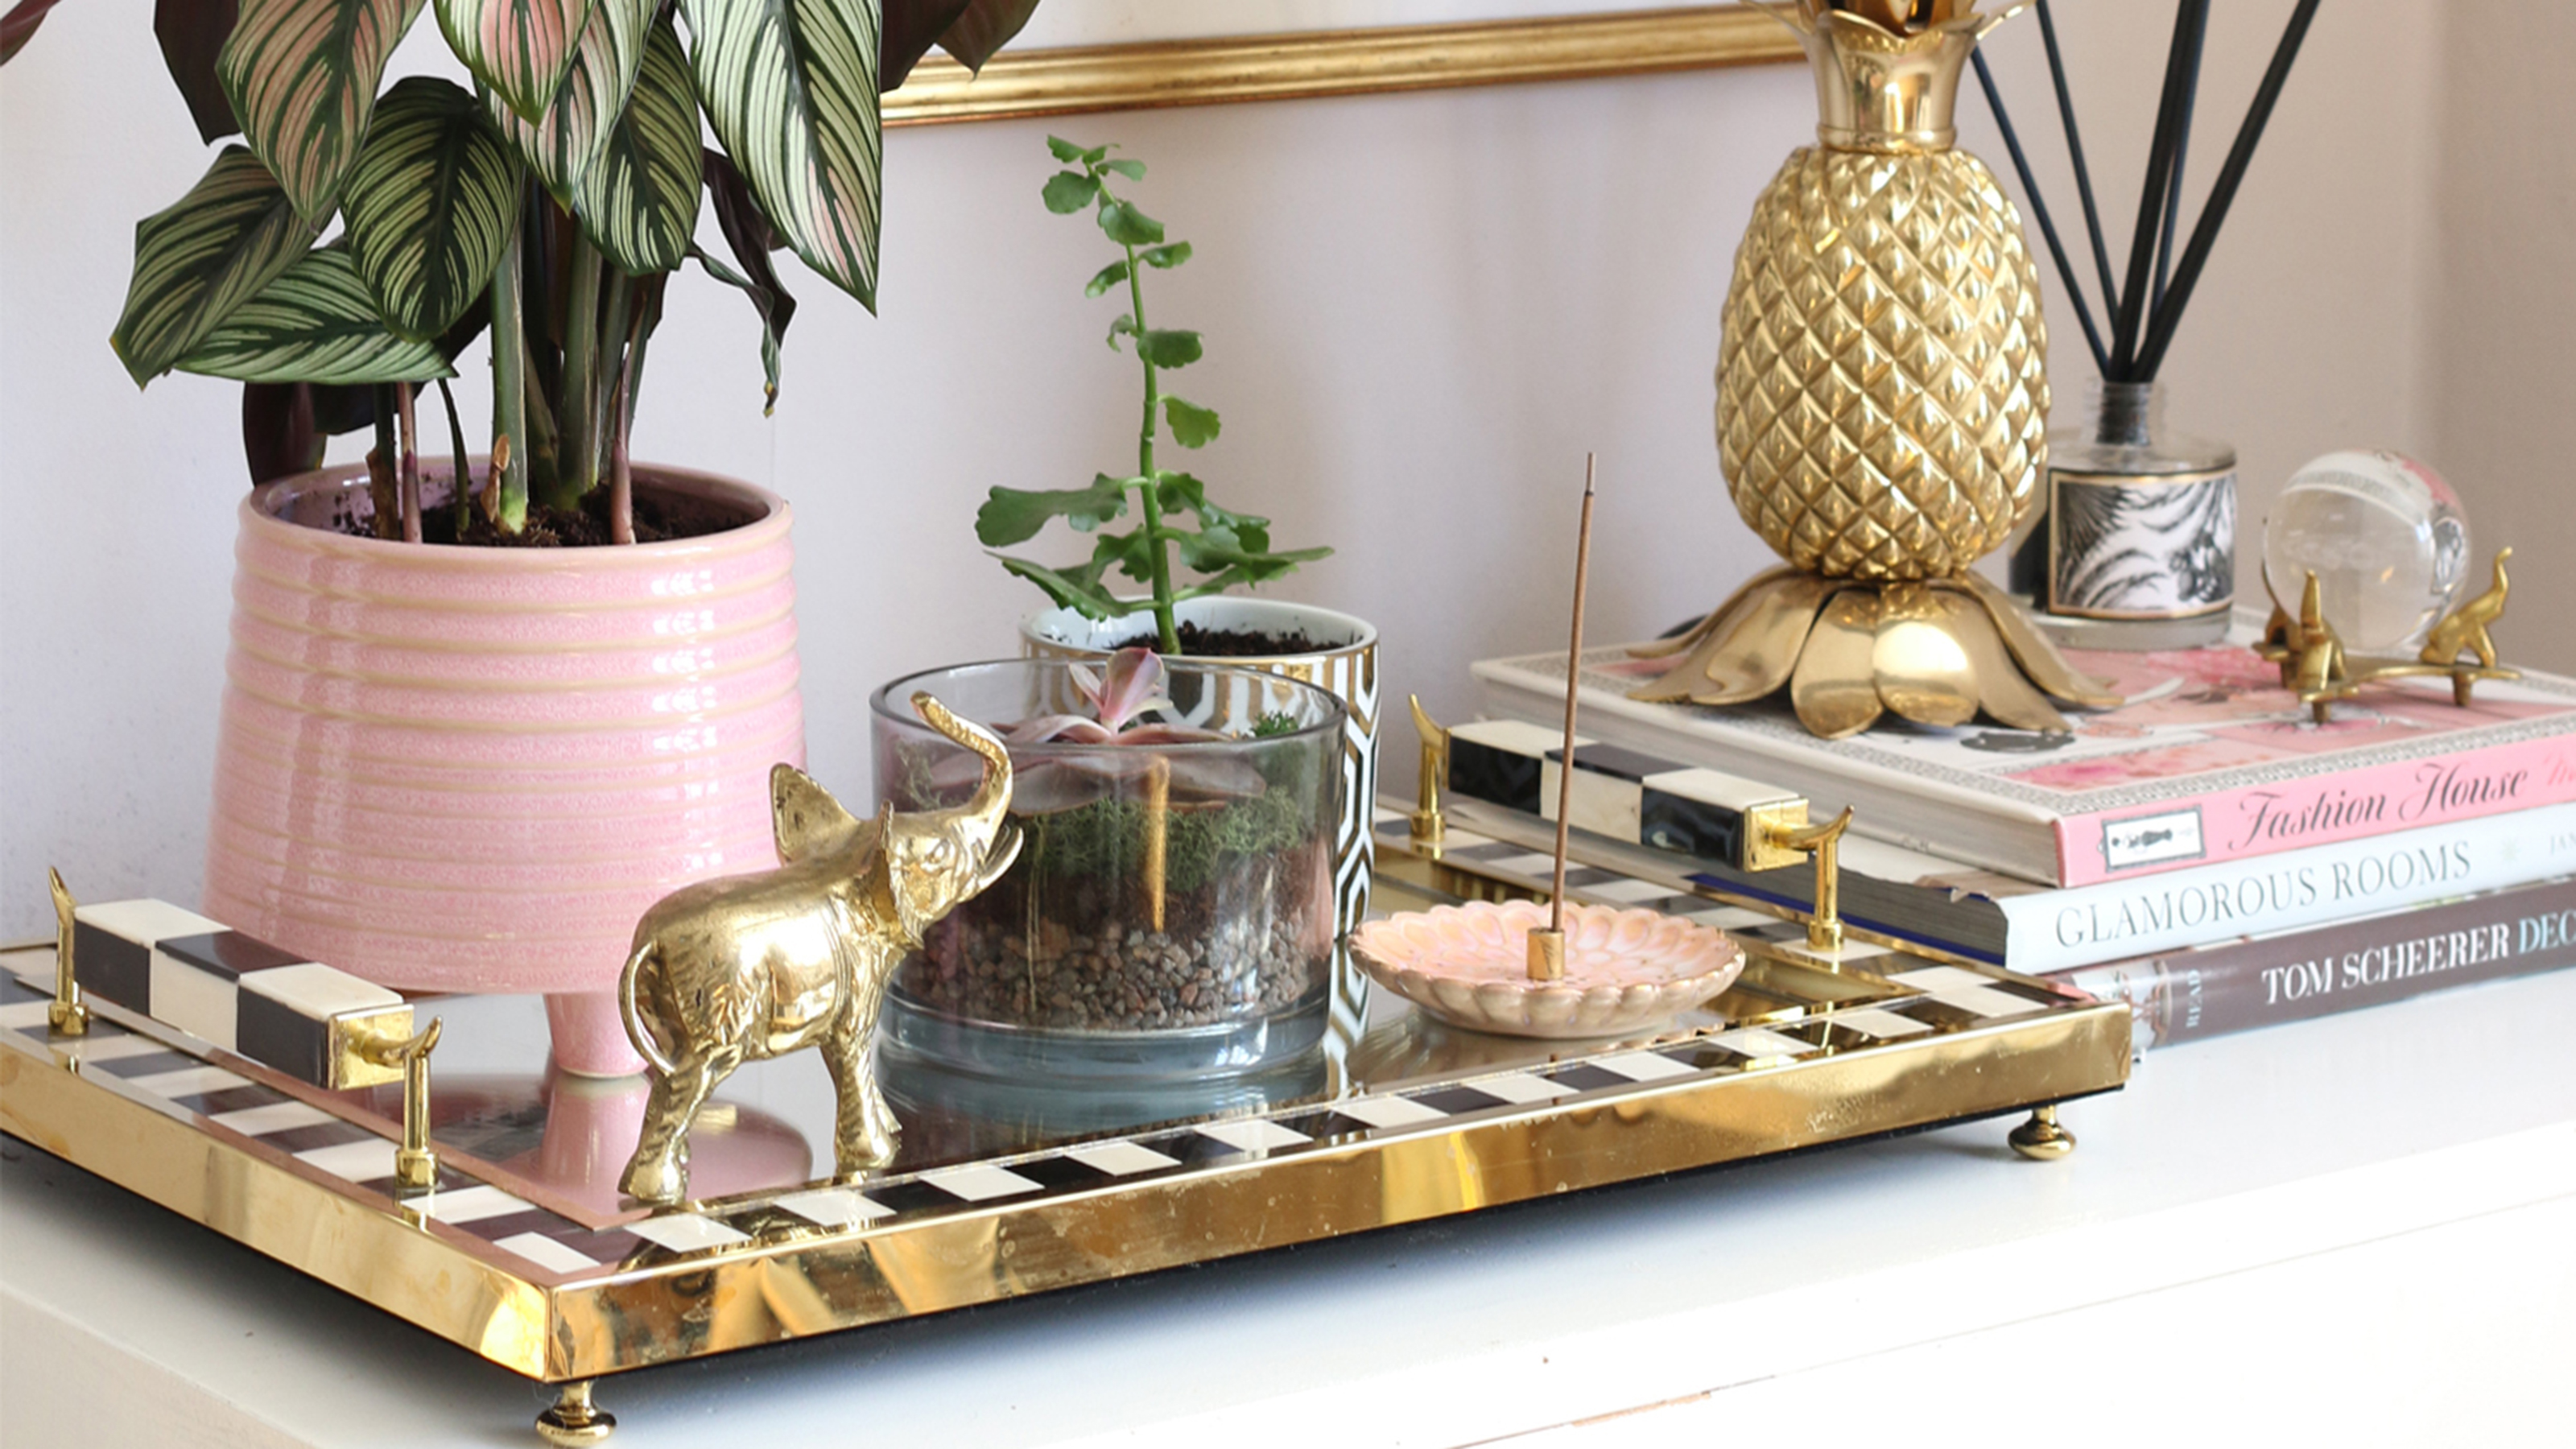 How to reuse a candle jar: 10 ways to upcycle your wax containers
Love candles but not the glass waste? Learn how to reuse a candle jar with these creative DIY home accessories
By Christina Chrysostomou Last updated
-
 7 expert-approved essential oil recipes aromatherapists use in their homes
Discover essential oil recipes that experts approve of to assist with hair growth, concentration, sleep hygiene and much more
By Christina Chrysostomou Published
-
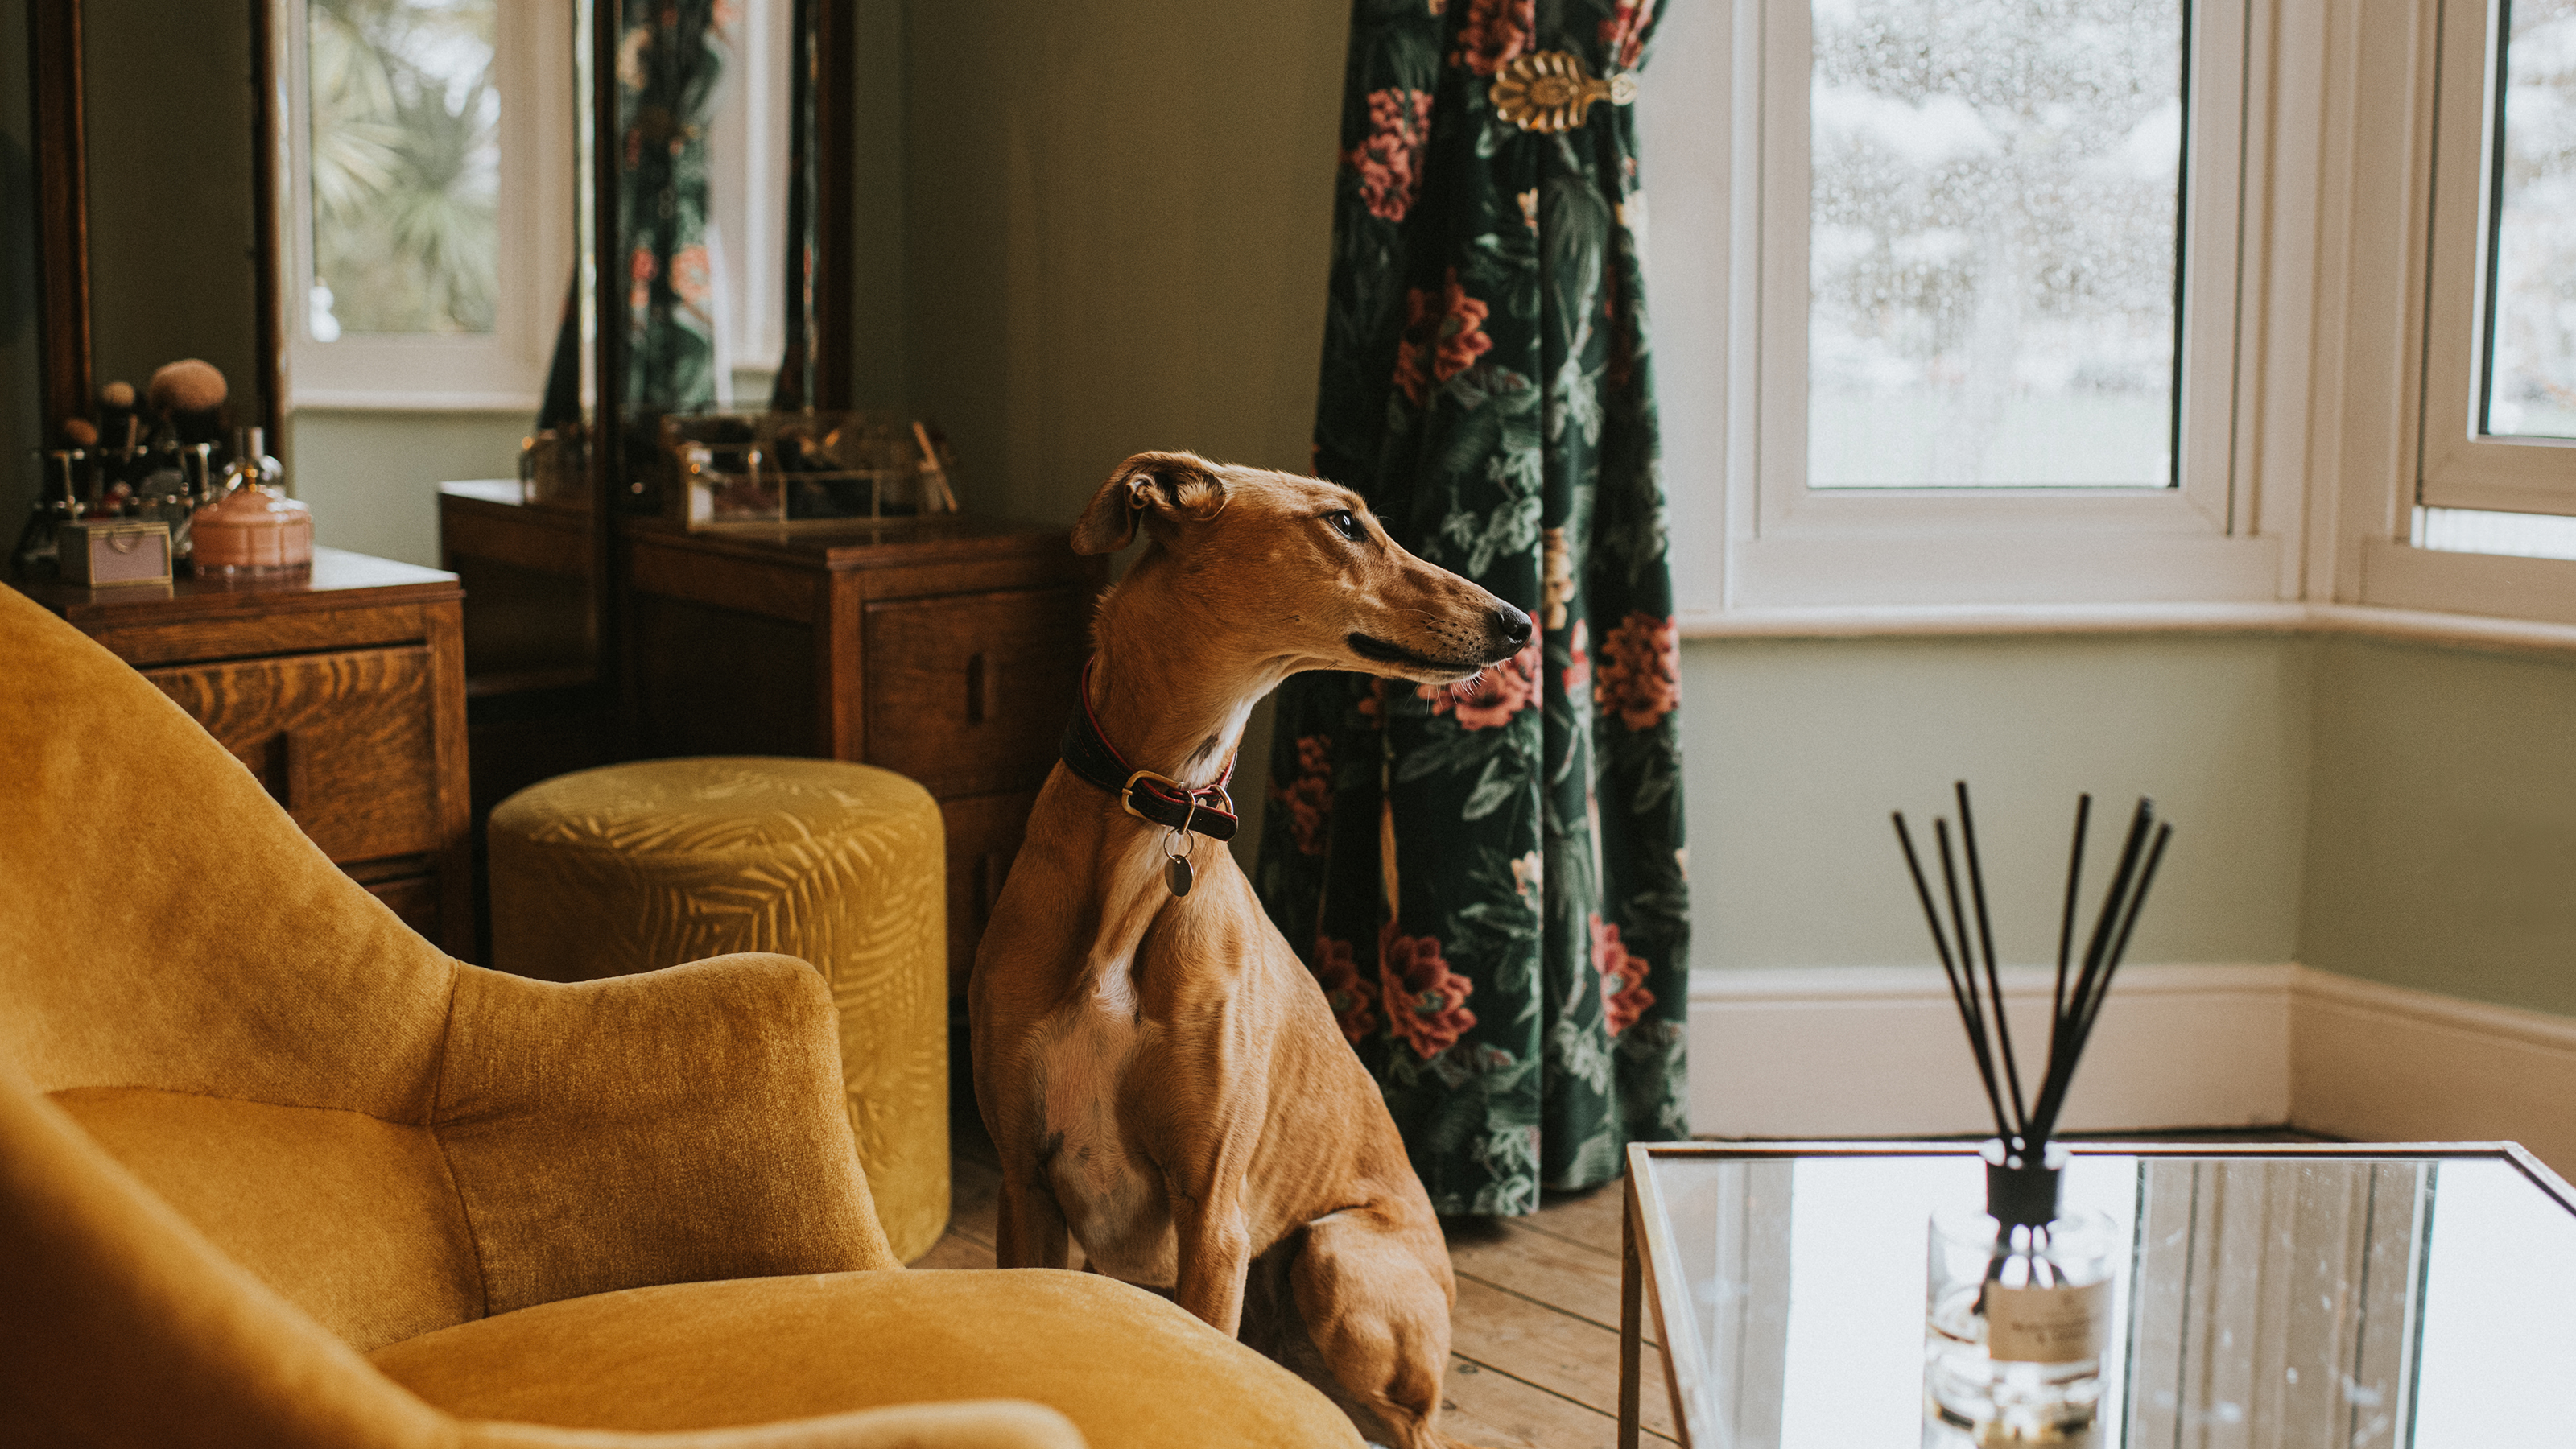 How to make a reed diffuser: 4 steps to frugally fragrance your home
Save money on designer diffusers and learn how to make a reed diffuser with this super-easy DIY reed diffuser tutorial
By Holly Phillips Last updated
-
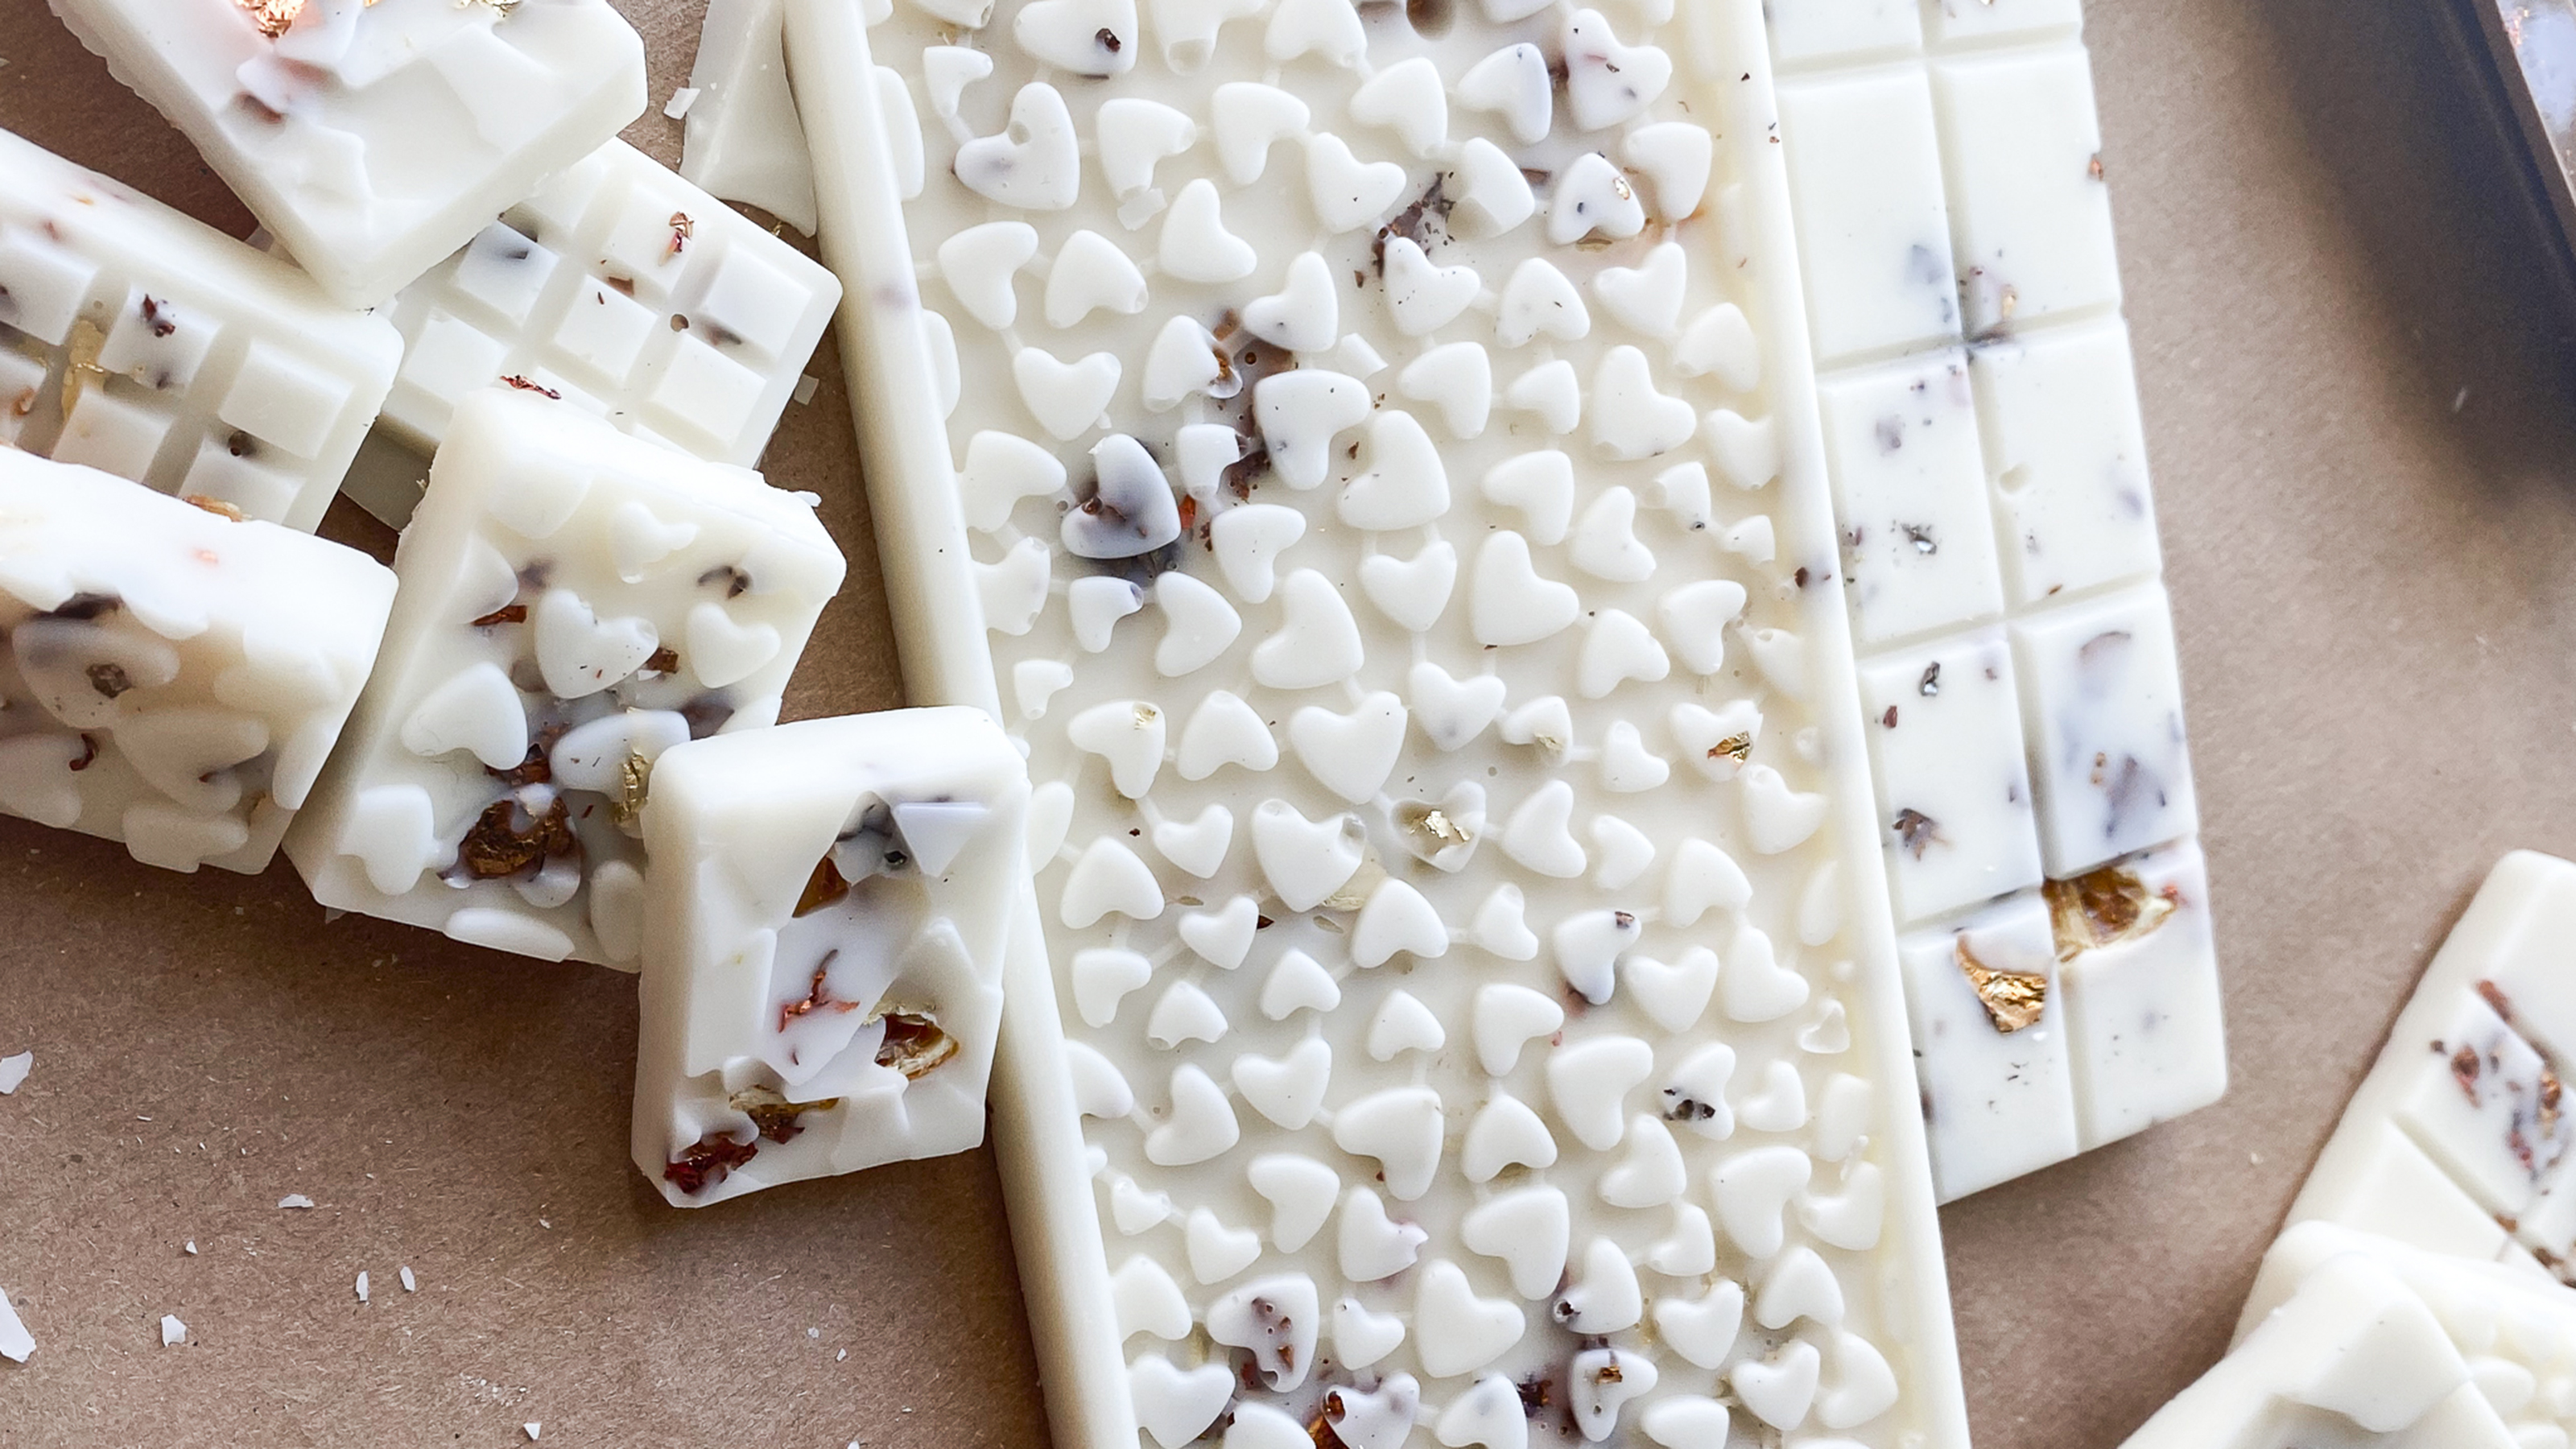 How to make wax melts: melt and mold these mini DIY scented candles
Always wanted to know how to make wax melts? Together with a candle expert, we show you how to DIY fragranced wax tarts
By Christina Chrysostomou Published
-
 How to make twisted candles – TikTok's must-have candle style
Twisted candles are flaming 'hot' right now. Get in the know and glow with our simple DIY guide.
By Sophie Warren-Smith Published