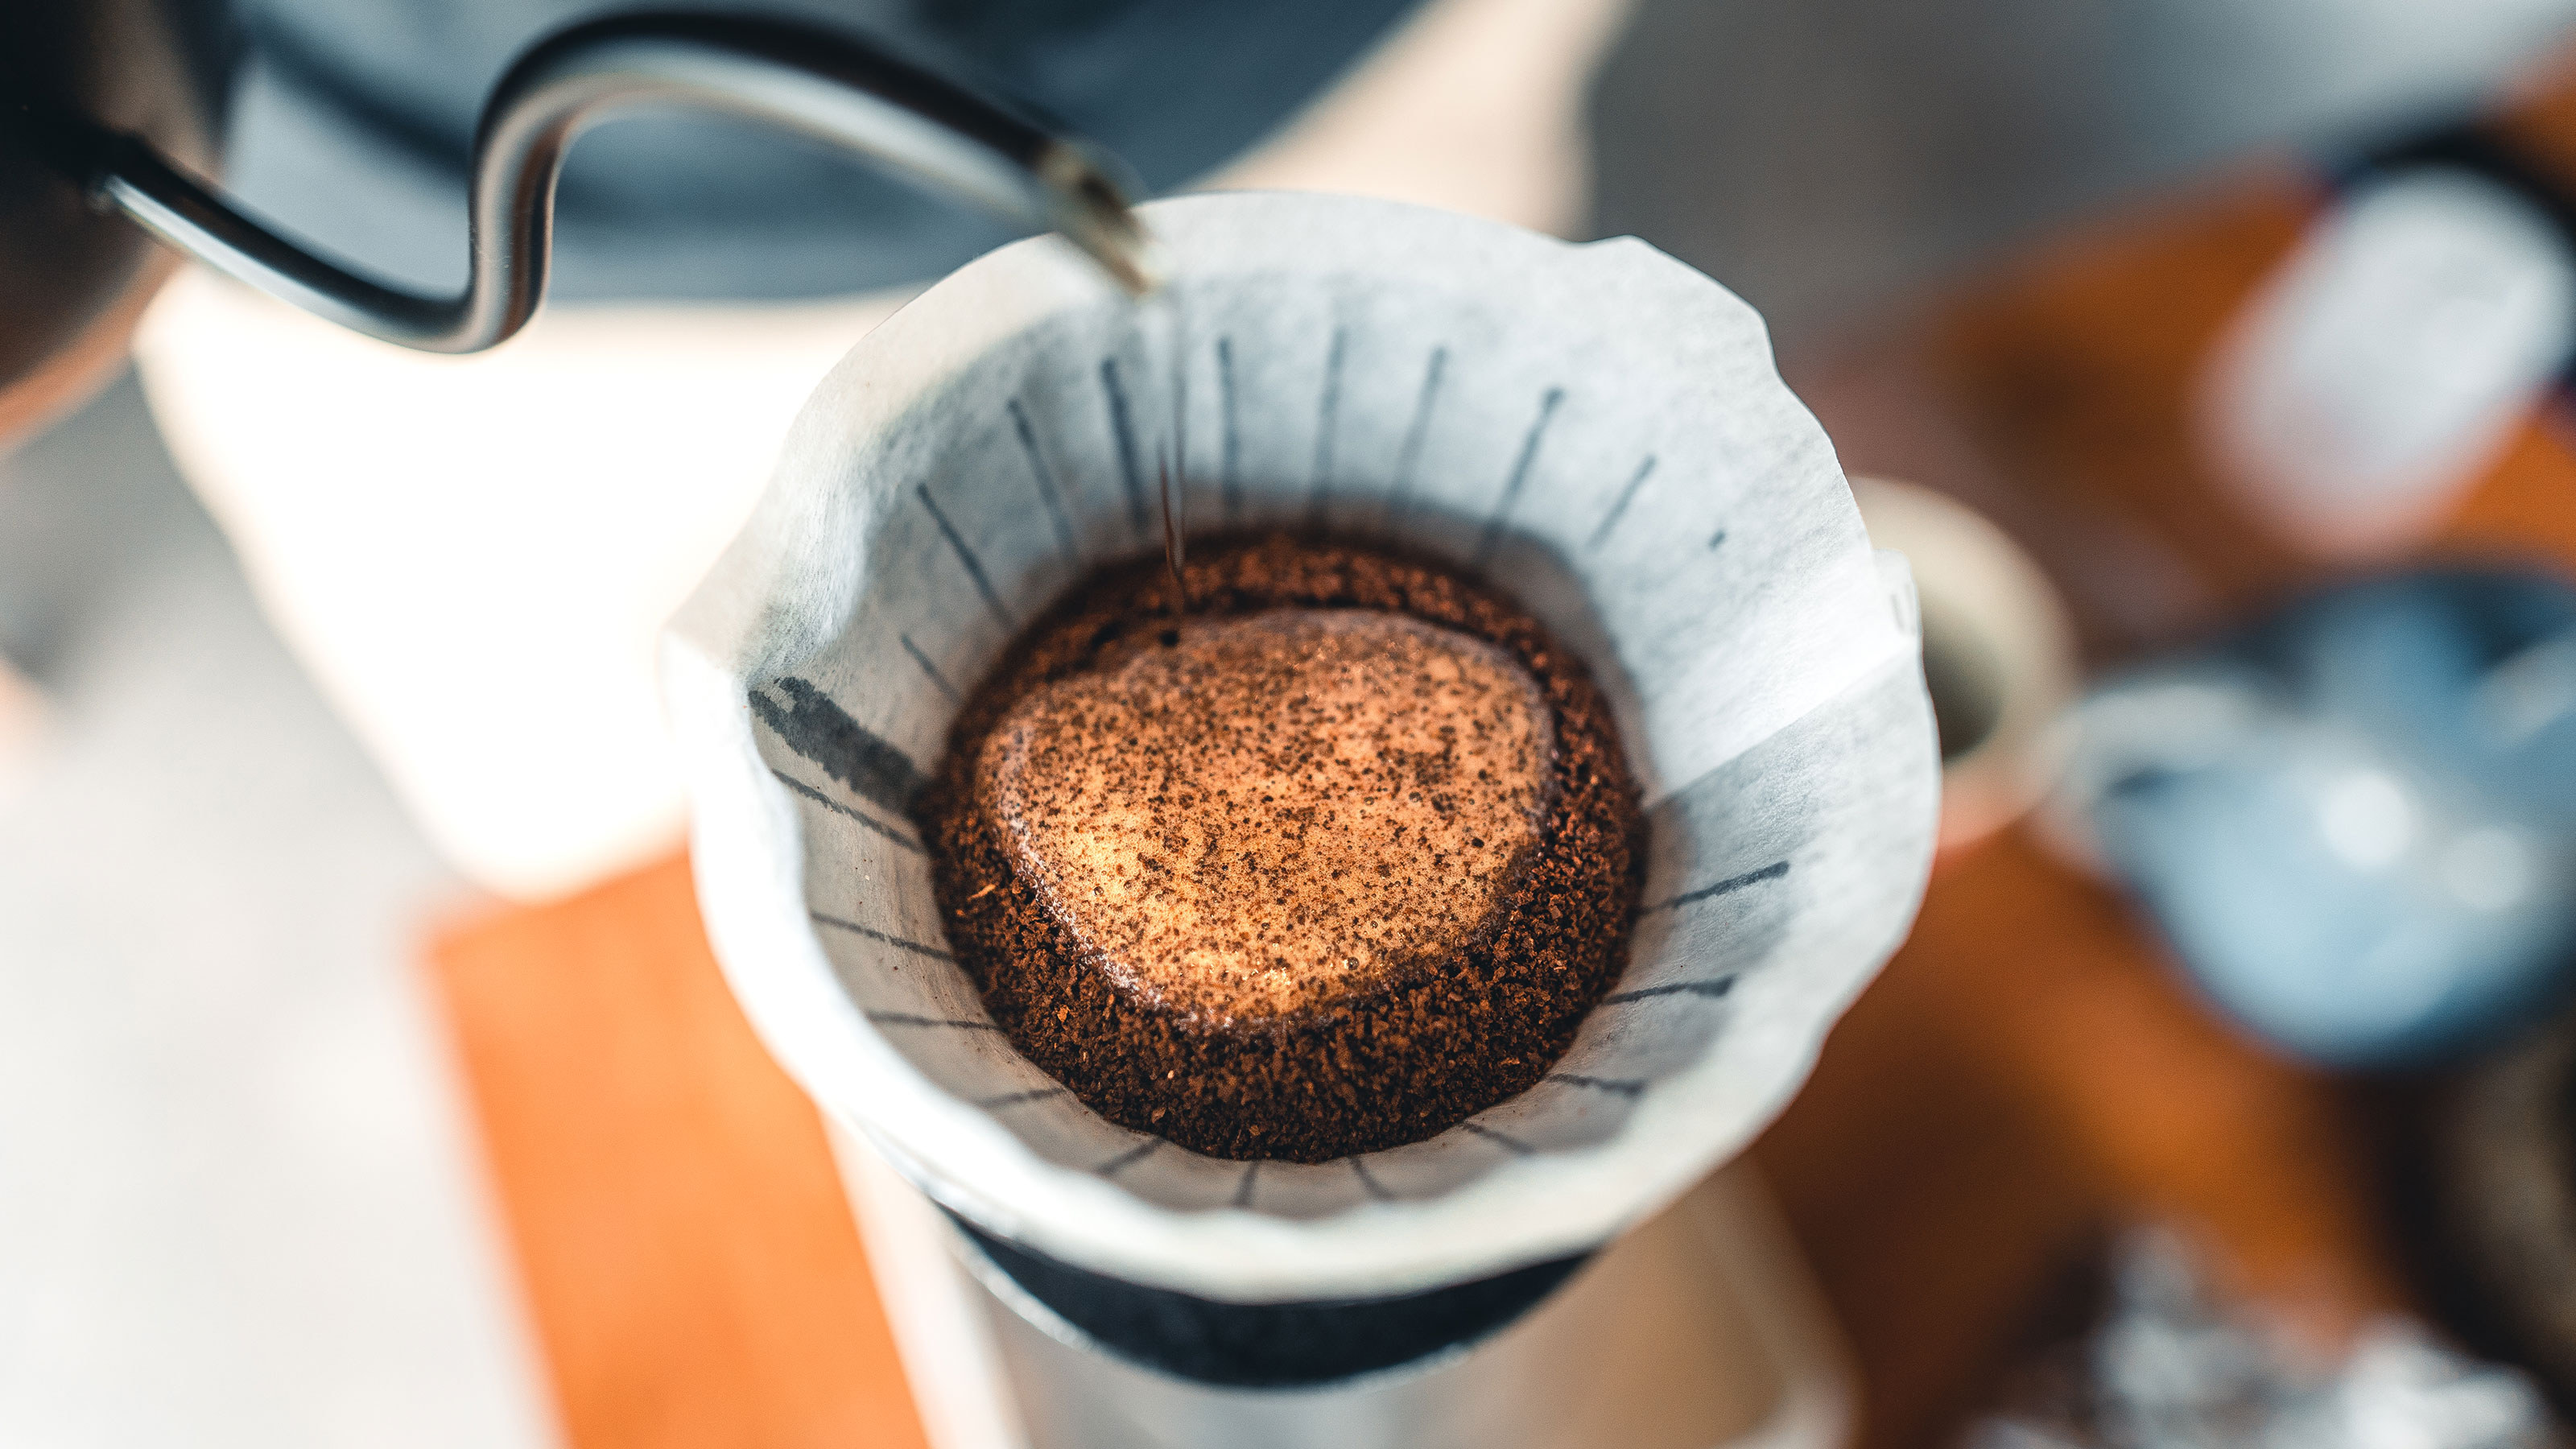

As a coffee drinker through and through, it really is that thing that gets me out of bed in the morning. And I know that I am not alone in that feeling. Since I started making pour-over coffee, honestly it's a really dreamy way to start the day.
I say that, and I am fortunate enough to have one of the best coffee machines on my countertop, but still, I like experimenting with other caffeine-orientated gadgets, and although pour-over coffee is a quick brew method, it requires a little more thought and consideration, helping you to slow down.
It depends on how you want to go about making yours but a pour-over is also known as drip coffee. You can of course buy a manual filter coffee maker but I chose a Bodum design from Amazon because I love the look and it has rave reviews. I would also recommend it as a great gift for coffee lovers out there...
You will need
1. A pour over coffee maker of choice: We've used a Bodum design from Amazon here but a V60 or Chemex are fine.
2. A coffee grinder is ideal
3. A gooseneck pour over kettle: I use the Gooseneck pour over kettle by Coffee Gator but you can heat water in a regular tea kettle
4. Coffee beans of choice
What coffee should you use for Pour over?
I used a medium roast 100% Arabica single-origin Colombian coffee and I used a medium setting on my grinder. The coffee you use depends on the flavor you prefer.
Leah, coffee connoisseur and writer for CheekyBrewCo says: 'Pour over coffee, also known as drip coffee, uses a fast extraction method that can accentuate the delicate flavors in good quality coffee perfectly. I therefore recommend using light or medium roast, single-origin coffee for the best results, as it will leave you with a beautifully smooth and slightly sweet cup of coffee that might not even need milk at all.
When it comes to choosing the coffee beans, look for Arabica beans that are grown in volcanic regions such as Columbia or Guatemala. Don’t forget to make sure that you are buying ethically sourced coffee.'
Tom Saxon, co-founder of Batch Coffee uses a V60 for his pour-over. He says, 'Pour over lends itself to lighter more complex coffees. This is because the paper filter reduces the oils in the final cup significantly and highlights the more subtle notes. So light to medium roast coffees are more suited. That said you will be able to also brew a great cup of dark roasted coffee as a pour over however it may lack the body that you would associate with this roast profile.'
Saxon adds, 'Regular coffee is quite a generic term. But essentially, you can use regular coffee to pour over. As long as the grind size is right and the coffee is fresh you will be able to extract a clean cup of pour over coffee.'
How to make pour-over coffee
What is so nice about making pour over coffee is that it becomes way more customisable than your generic – albeit very handy – pod coffee machine or even French press.
As mentioned you need a medium/coarse grind on your beans and getting the coffee to water ratio right is also key to success, Saxon recommends: 'The ratio that I use is 18g coffee to 306g water - 1:17 coffee:water. I would recommend tweaking this as you become a little more experienced at brewing a pour-over and altering for different roast profiles, flavors or processing types.
For a pour over that yields 12oz of coffee you should be using in the region of 20 grams of freshly ground coffee. Don't forget that the coffee grounds will actually absorb some of your brew water so you will have to use more than 12 oz of water to brew with.' On that note...
1. Weigh and grind your coffee beans
I used about 25g of coffee to 350ml water for my brew. It really depends on how strong you like your coffee. Smith adds: 'To get started you’ll need a brewing device or a dripper to hold the coffee and grounds. You’ll also need a filter and coffee beans.'
Use your coffee grinder to grind your beans and prepare your pour-over device. Note, some use coffee paper filters also but it depends on your device. I didn't need one.
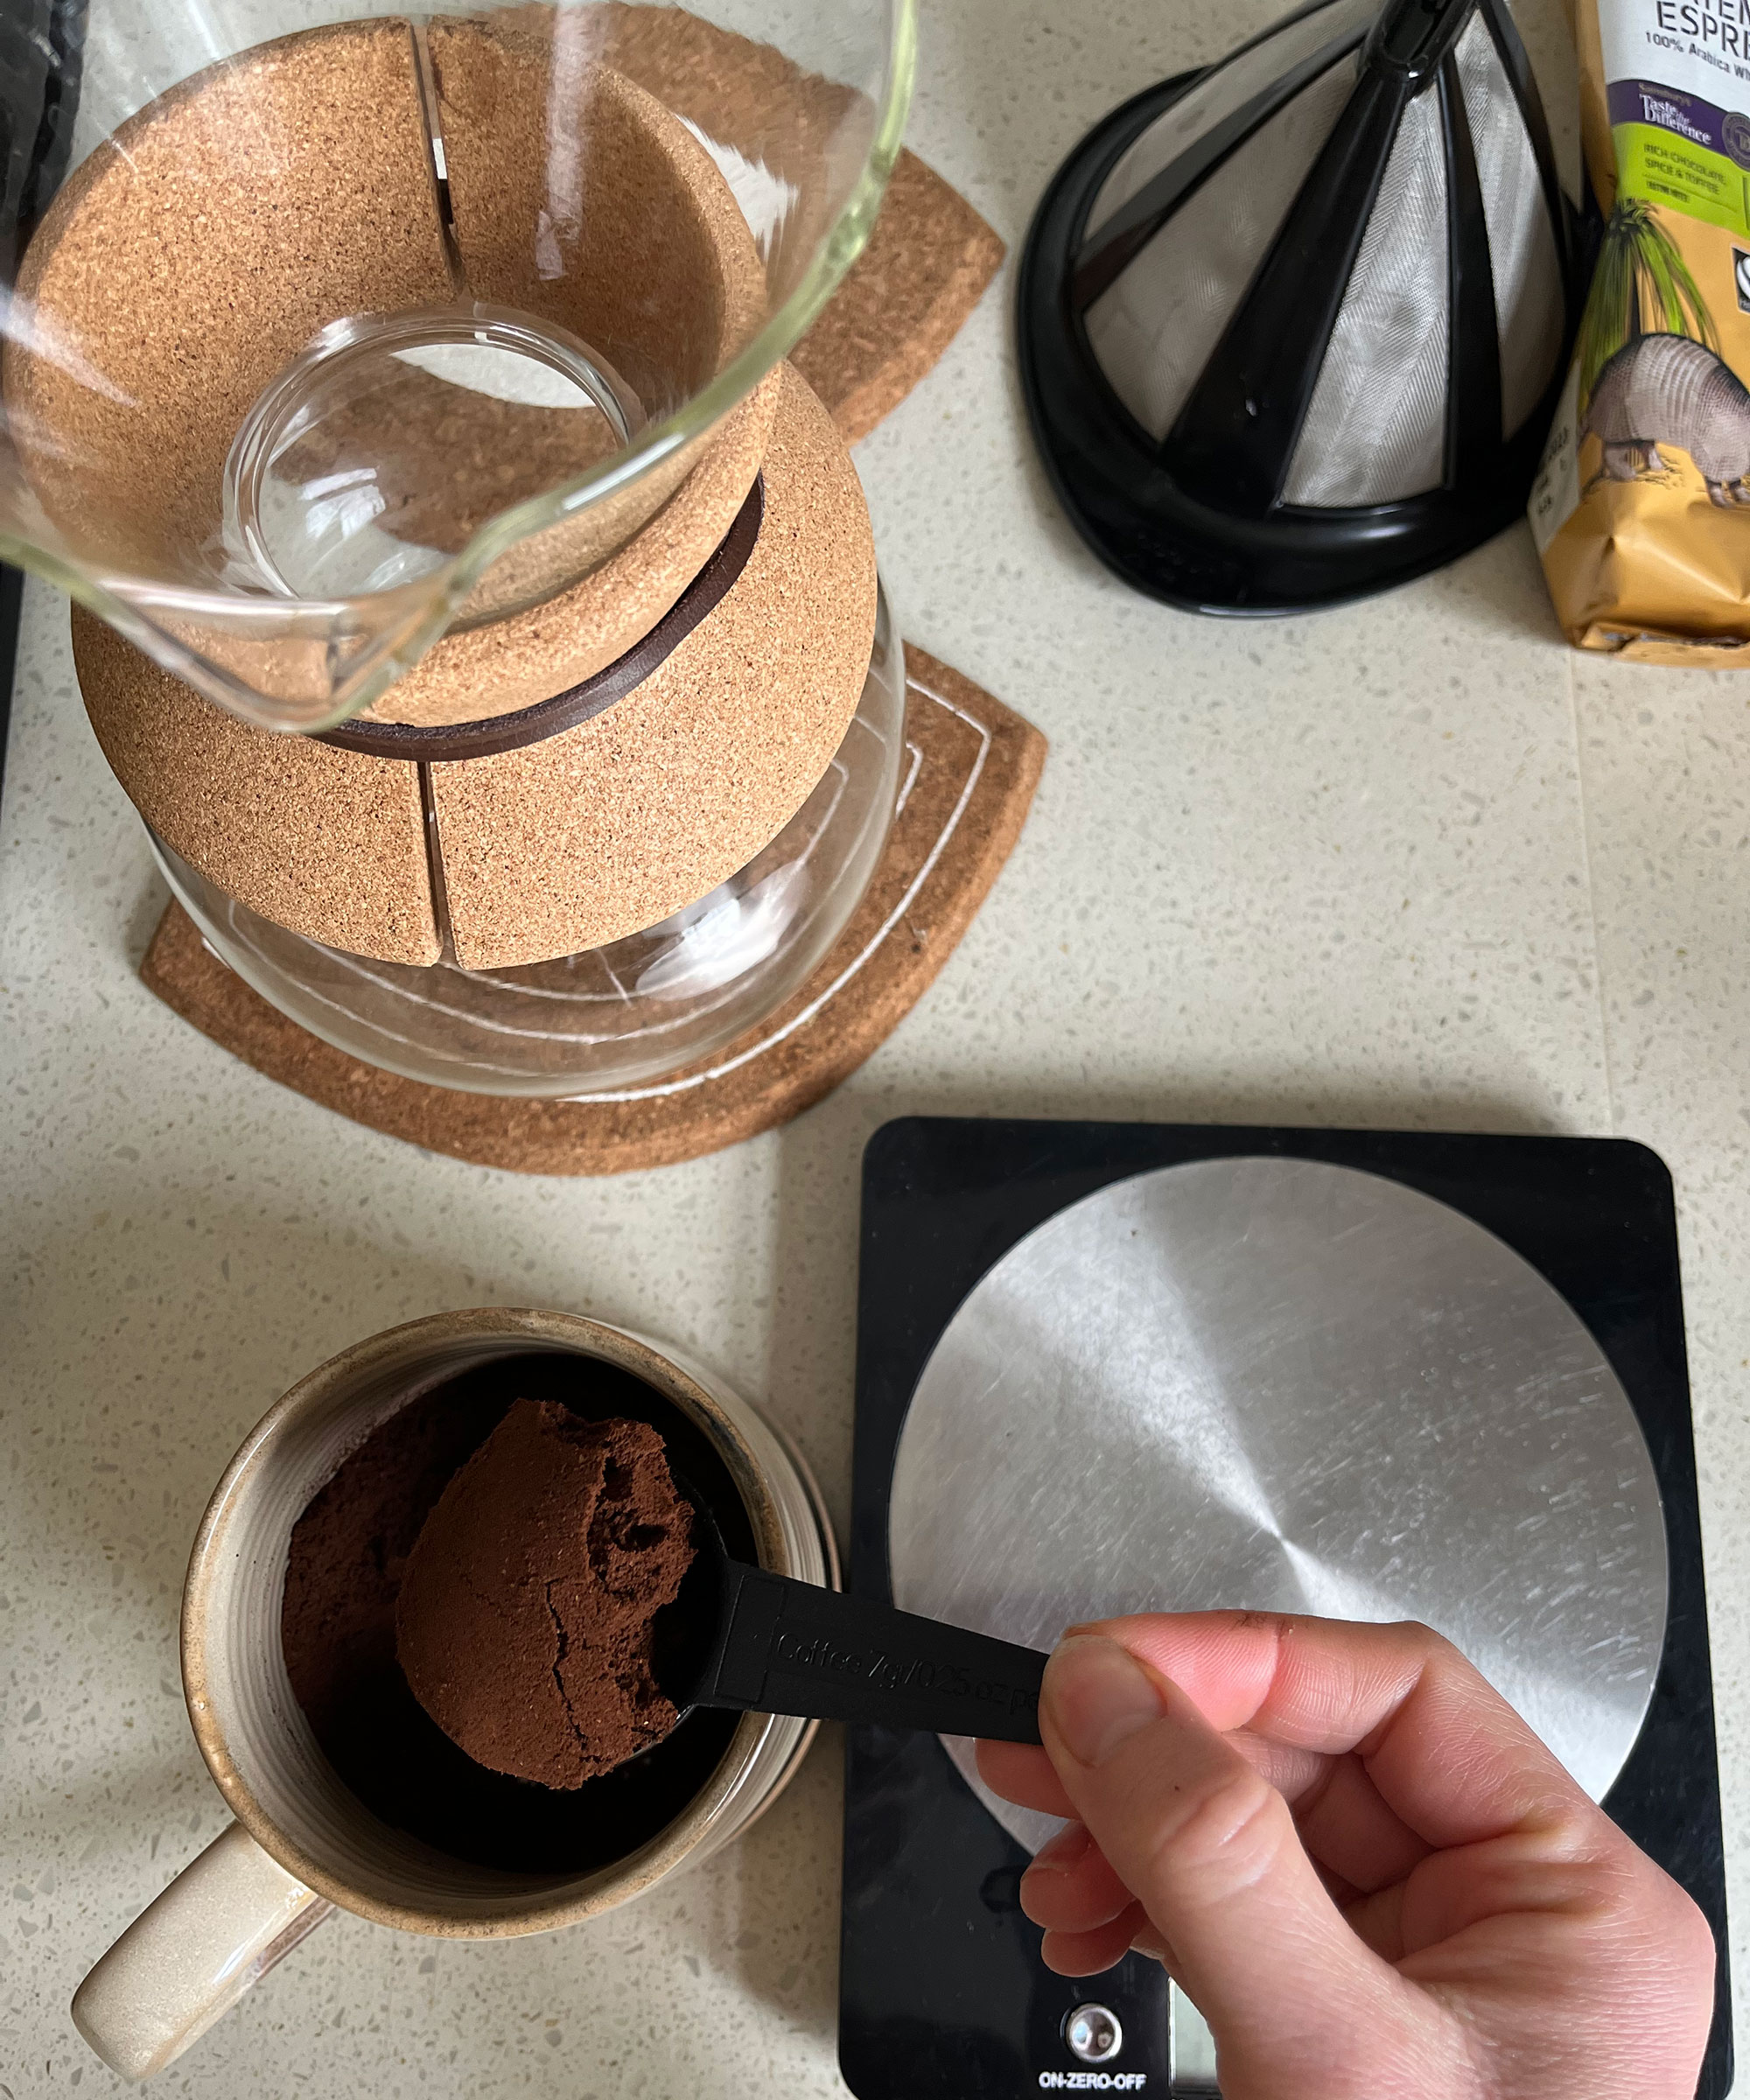
Saxon adds 'First thing to do when brewing pour over is to grind your coffee. Every coffee grinder is different so I can't really give you a numerical value for the grind setting however it should have the same sort of coarseness as ground rock salt and as you rub the coffee grounds between your fingers most of it should drop off (as opposed to finer grounds that stick to your fingers). If you are already acquainted with different brew method grind sizes then it should be between an Aeropress and a French Press grind.'
2. Heat your water to the right temperature
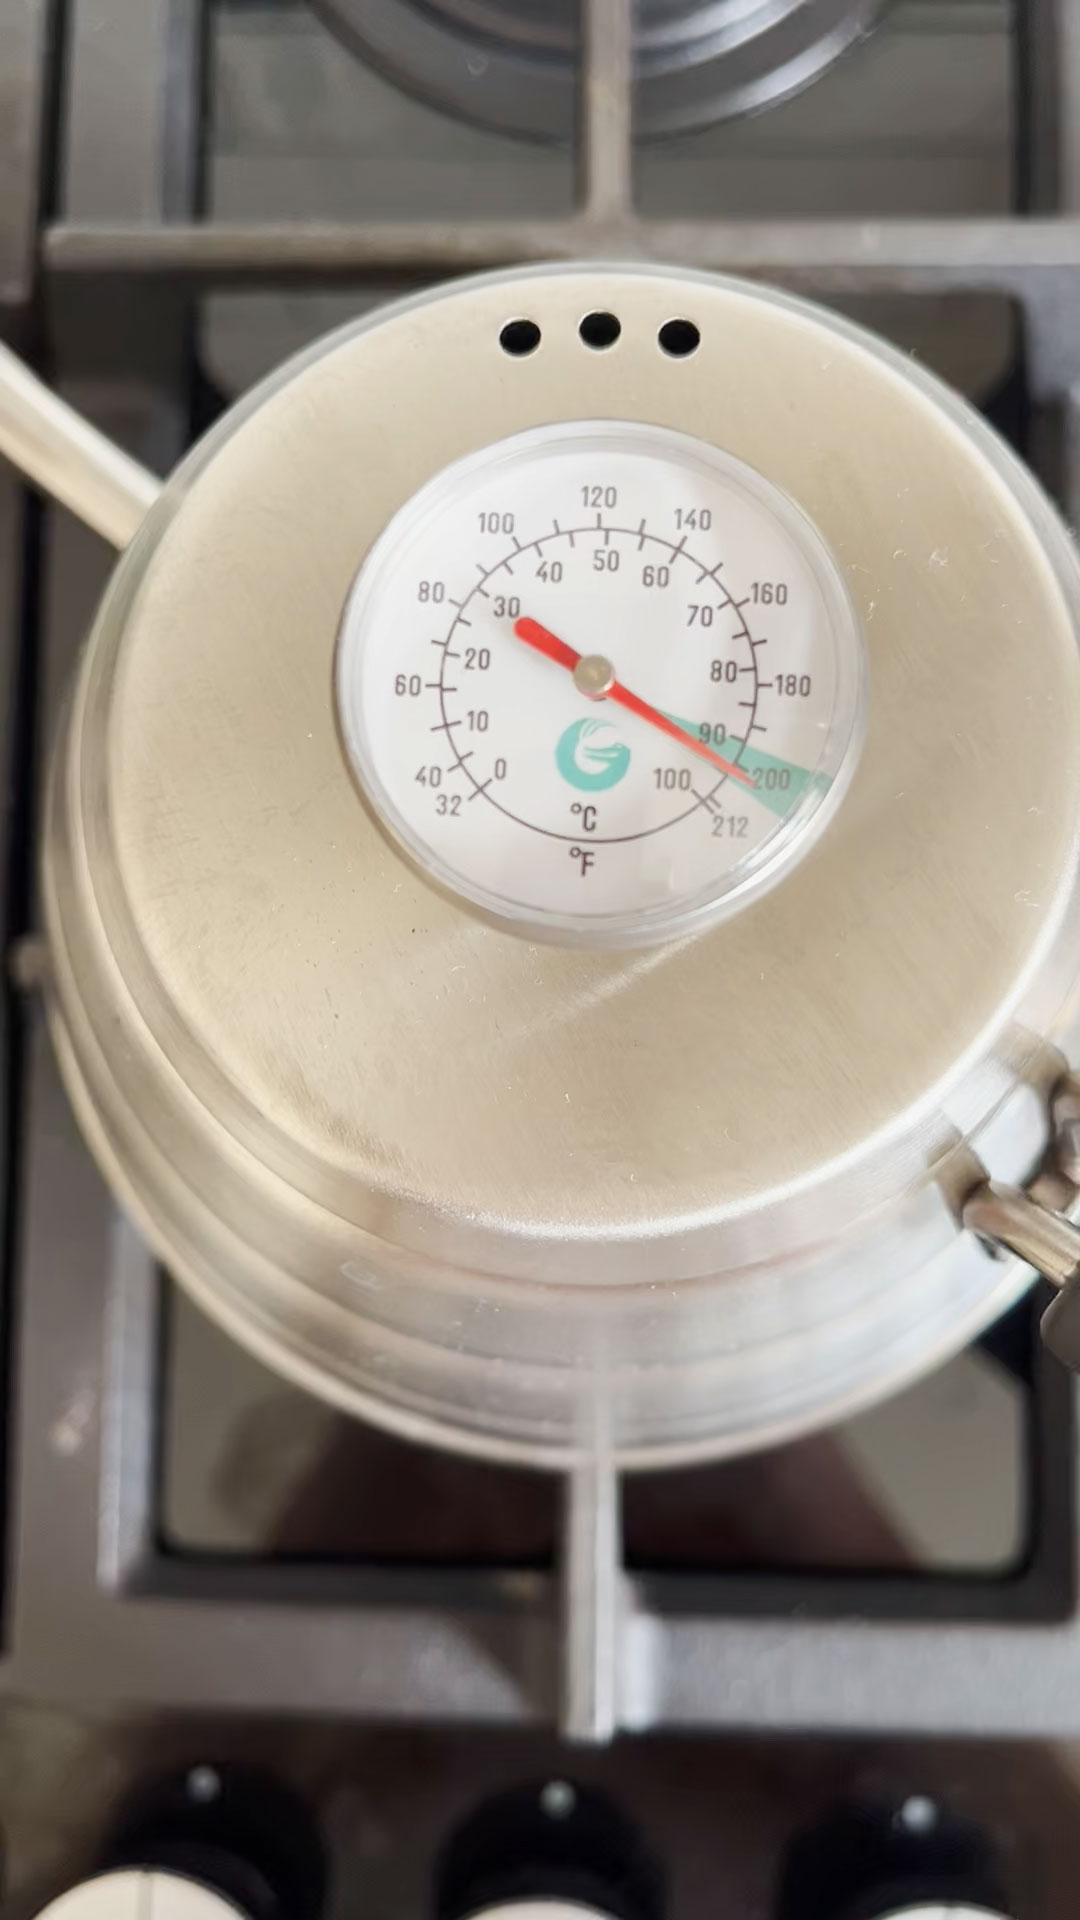
Fill your kettle also. I let mine heat to about 195° Fahrenheit, but it's down to personal preference. By using a slightly lower temperature of water, it slows down the brewing process and helps release all the natural oils from your coffee beans, enhancing the overall flavor profile. You want to aim for somewhere between 195 and 205 farenheight. That's between 90 and 96 celsius.
Smith adds 'As this method needs fast extraction, a water temperature of between 93°C - 96°C / 200°F - 205°F should give you the best result.'
A lower temperature generally gives a softer, lighter brew if you will, and the higher temperature draws a little more acid from the beans for a fuller palette.
I love my Gooseneck pour over kettle by Coffee Gator, it's a really nice object, the temperature gage works really well and I haven't had any issues with its design or any bad smells which you can find with other products.
Saxon adds, 'Water is a variable that is often overlooked when brewing coffee yet it makes up around 98% of the cup. make sure you use filtered water and the brew temp that you are aiming for is around 201 degrees F (94 degrees C) plus/minus 5 (or 3).'
Top brewing tip: If you don't have a Gooseneck pour over kettle yet and are boiling water from an electric kettle, wait for 30 seconds after it's boiled before brewing.
3. Let the grounds bloom
It depends on how much coffee you're making, but a couple of pours is a good way to go. Pour the water over the grounds in a circular motion to start with, using a little height, this is where you'll see how handy the gooseneck sprout is, to evenly soak your grounds.
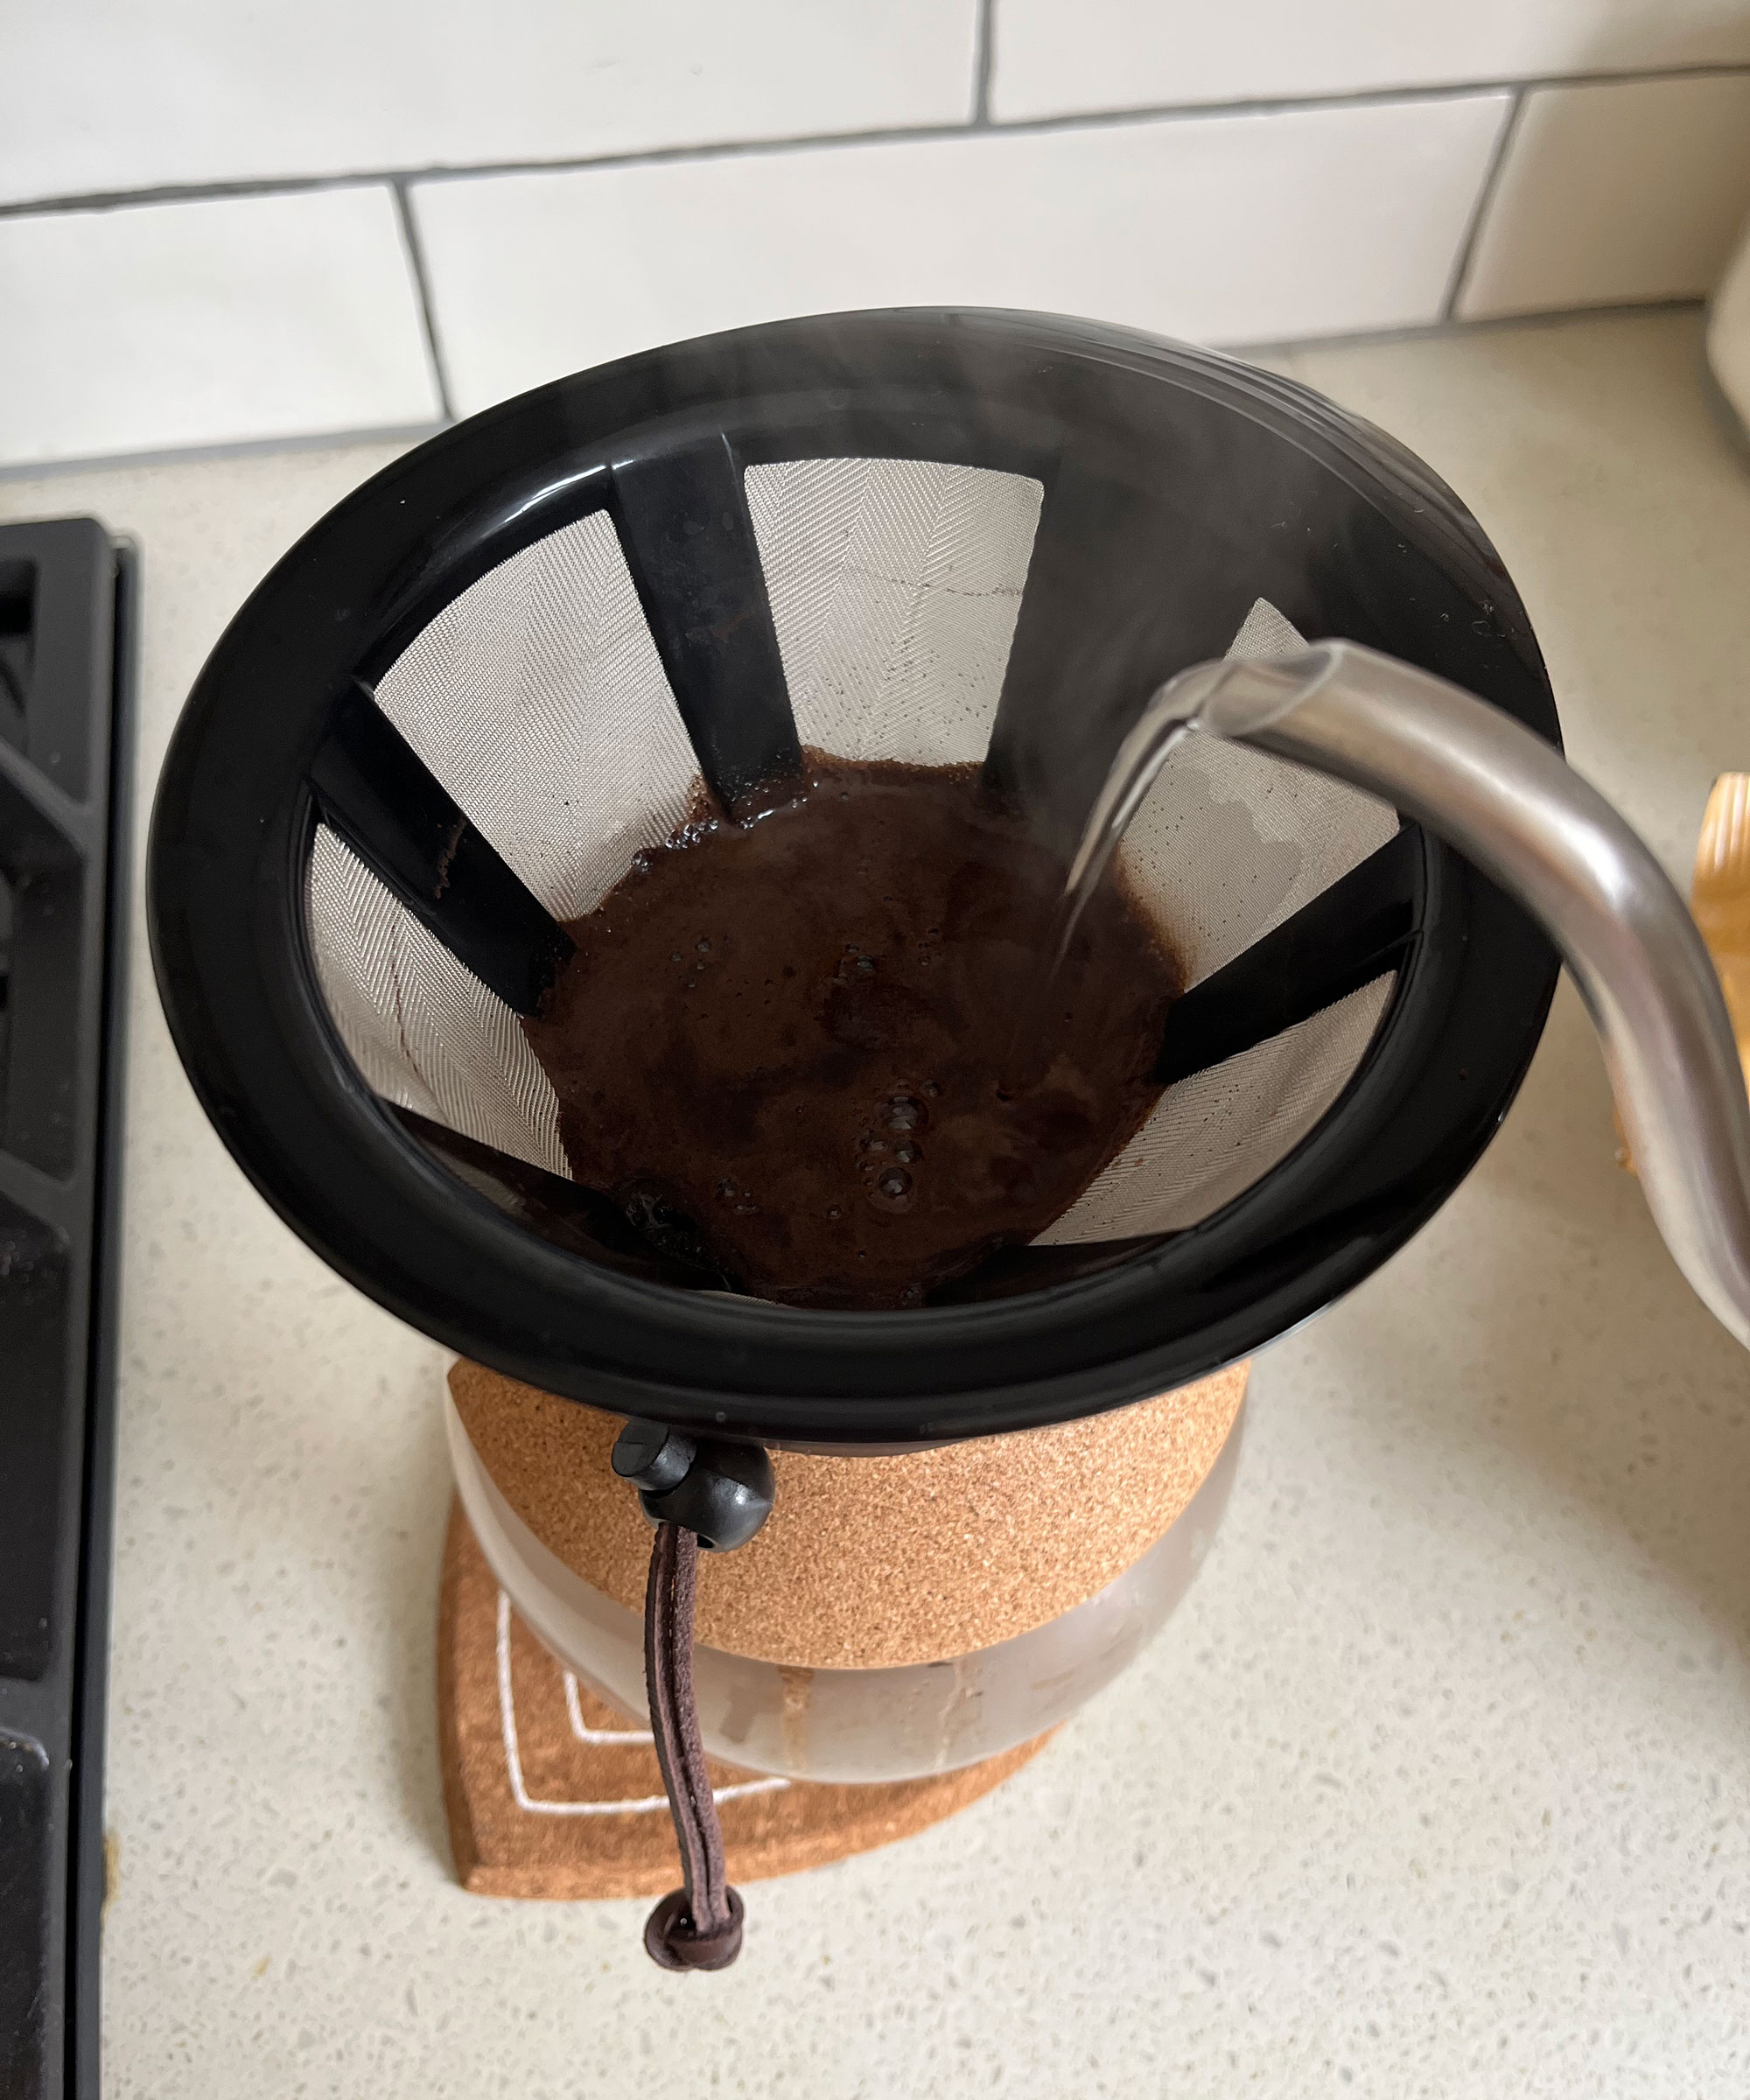
Cover all the coffee grounds until they bloom, aka, bubble. You'll want to let them bloom for about 30 seconds before pouring over the rest of the hot water.
Saxon's top tip: 'To evenly bloom the coffee I use a chopstick to create a well in the middle of the coffee grounds before I pour over around twice as much water than coffee in weight. This allows all of the coffee to absorb sufficient water and consistently bloom.'
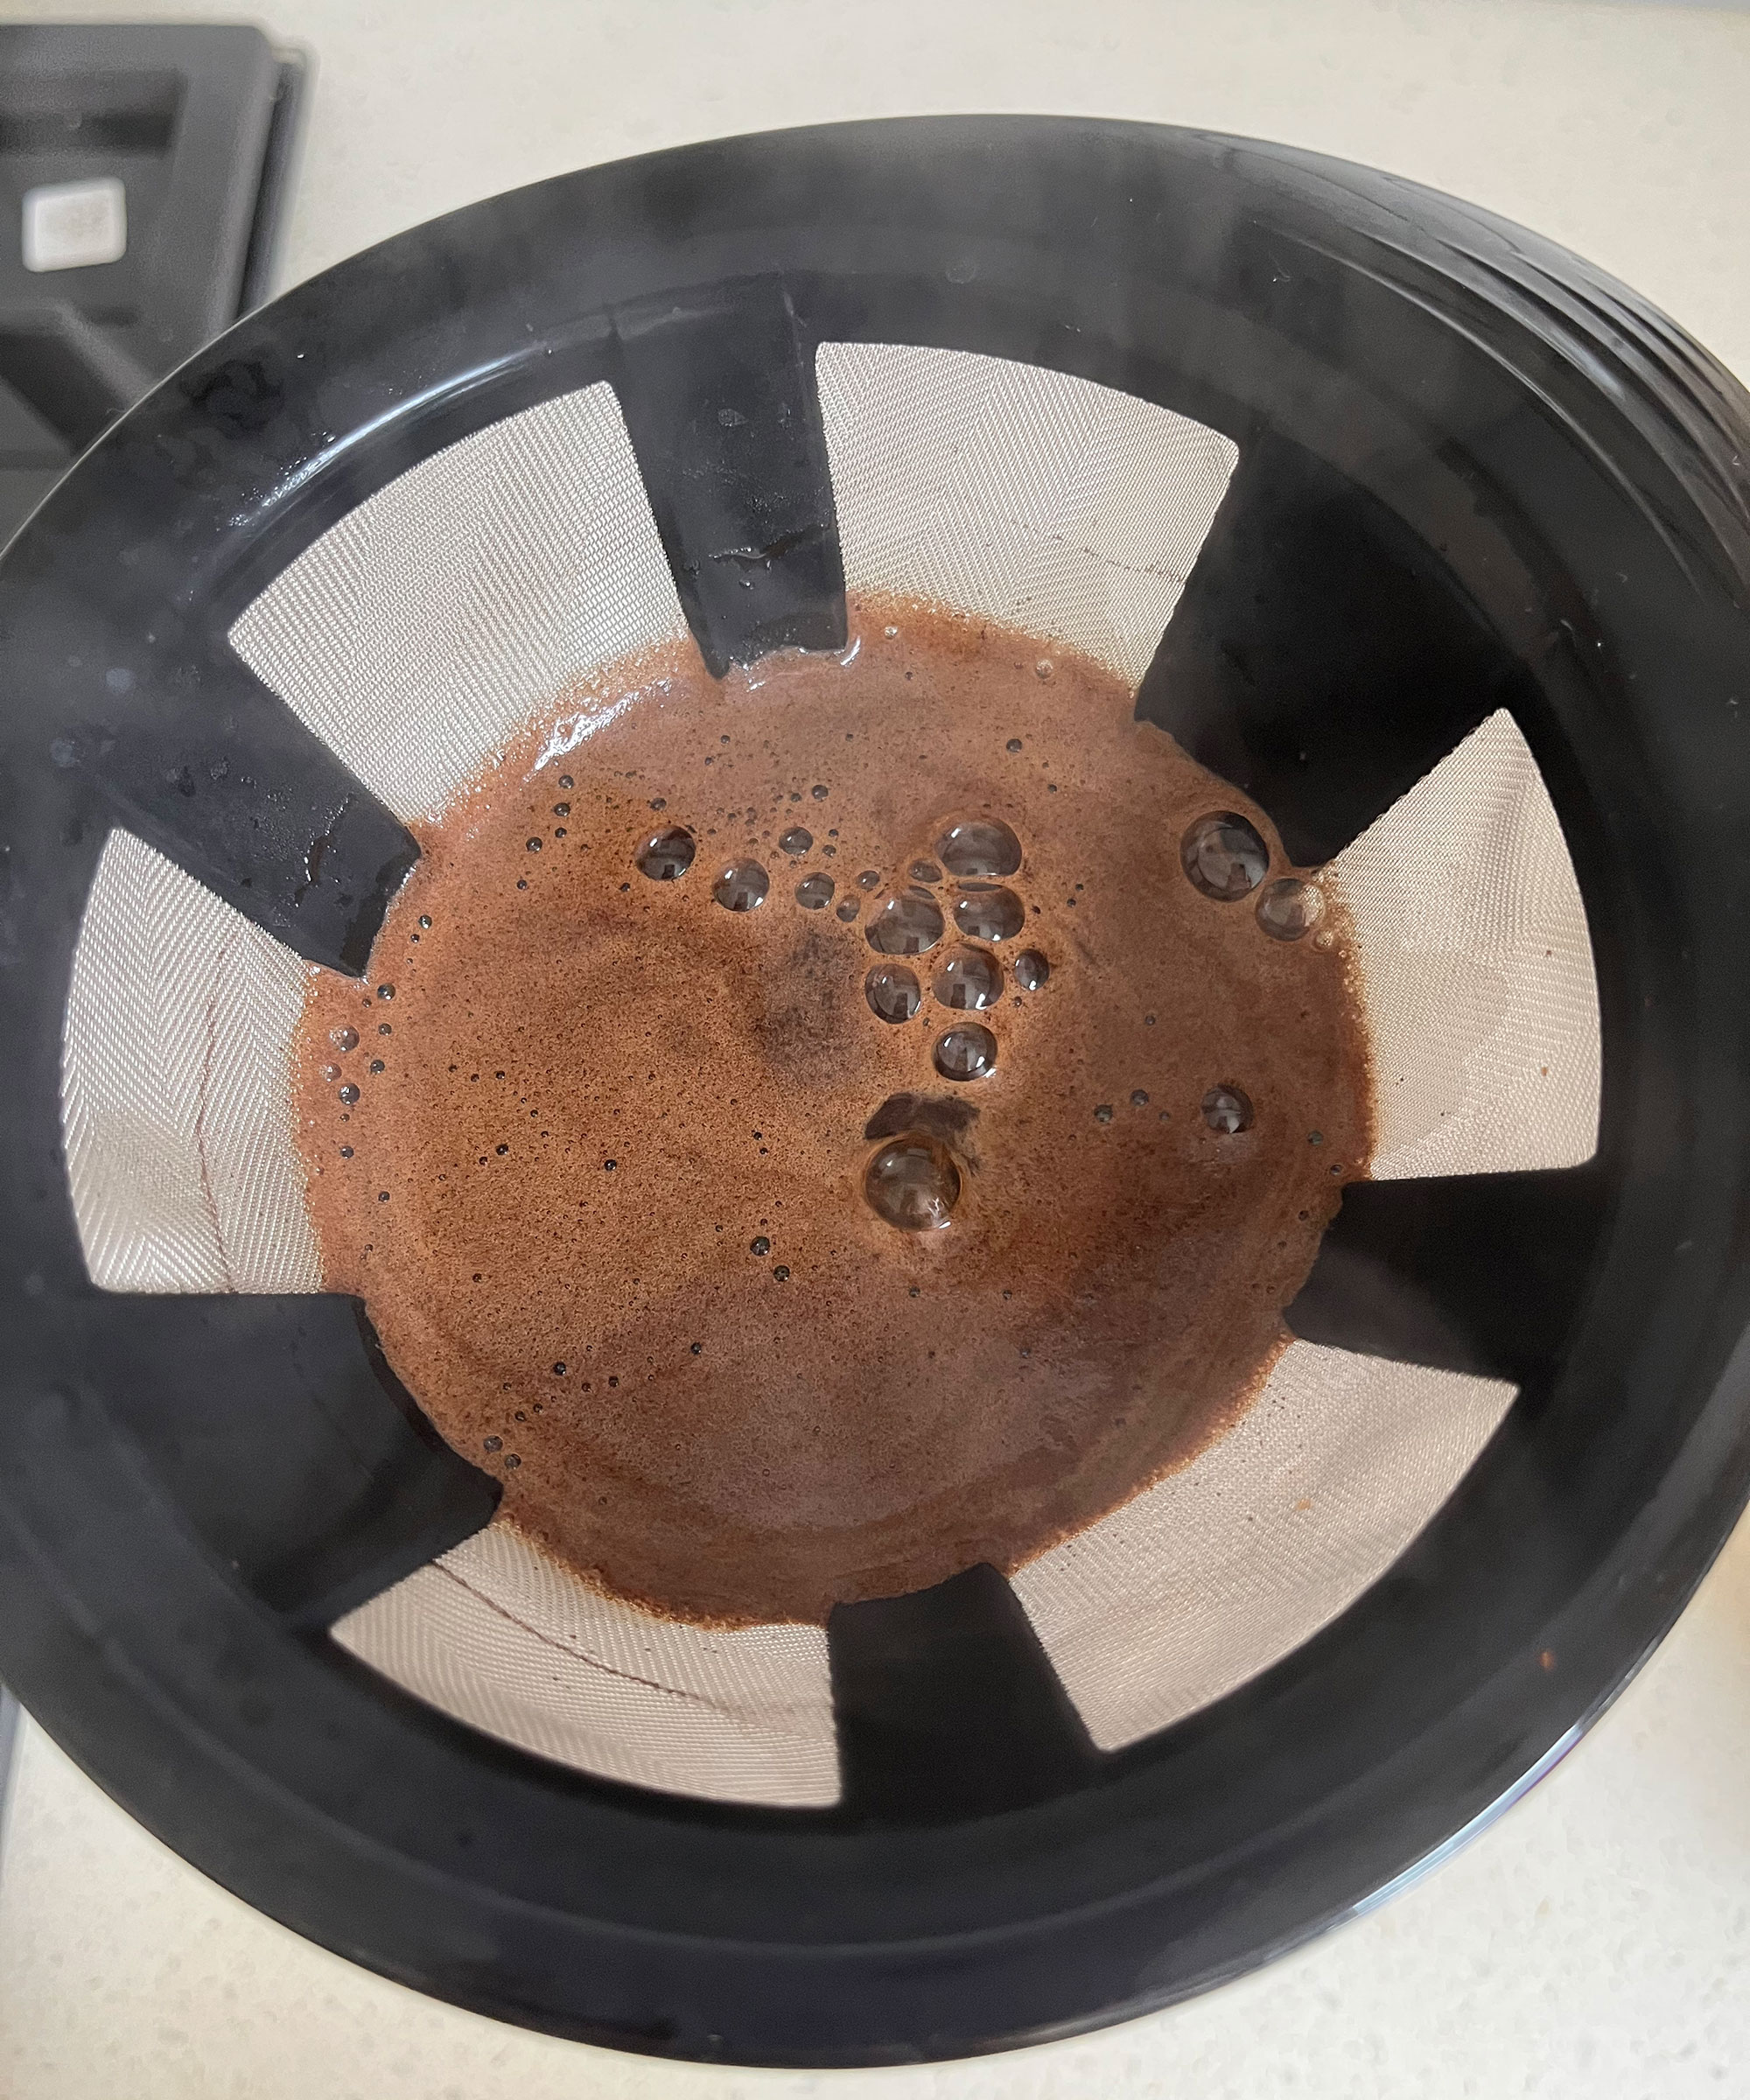
4. Pour over once
Next, you can go in with your first pour. You'll see the brewed coffee start to drip down, once all the water has filtered through you can do a second pour to ensure you cover the right water to coffee ratio.
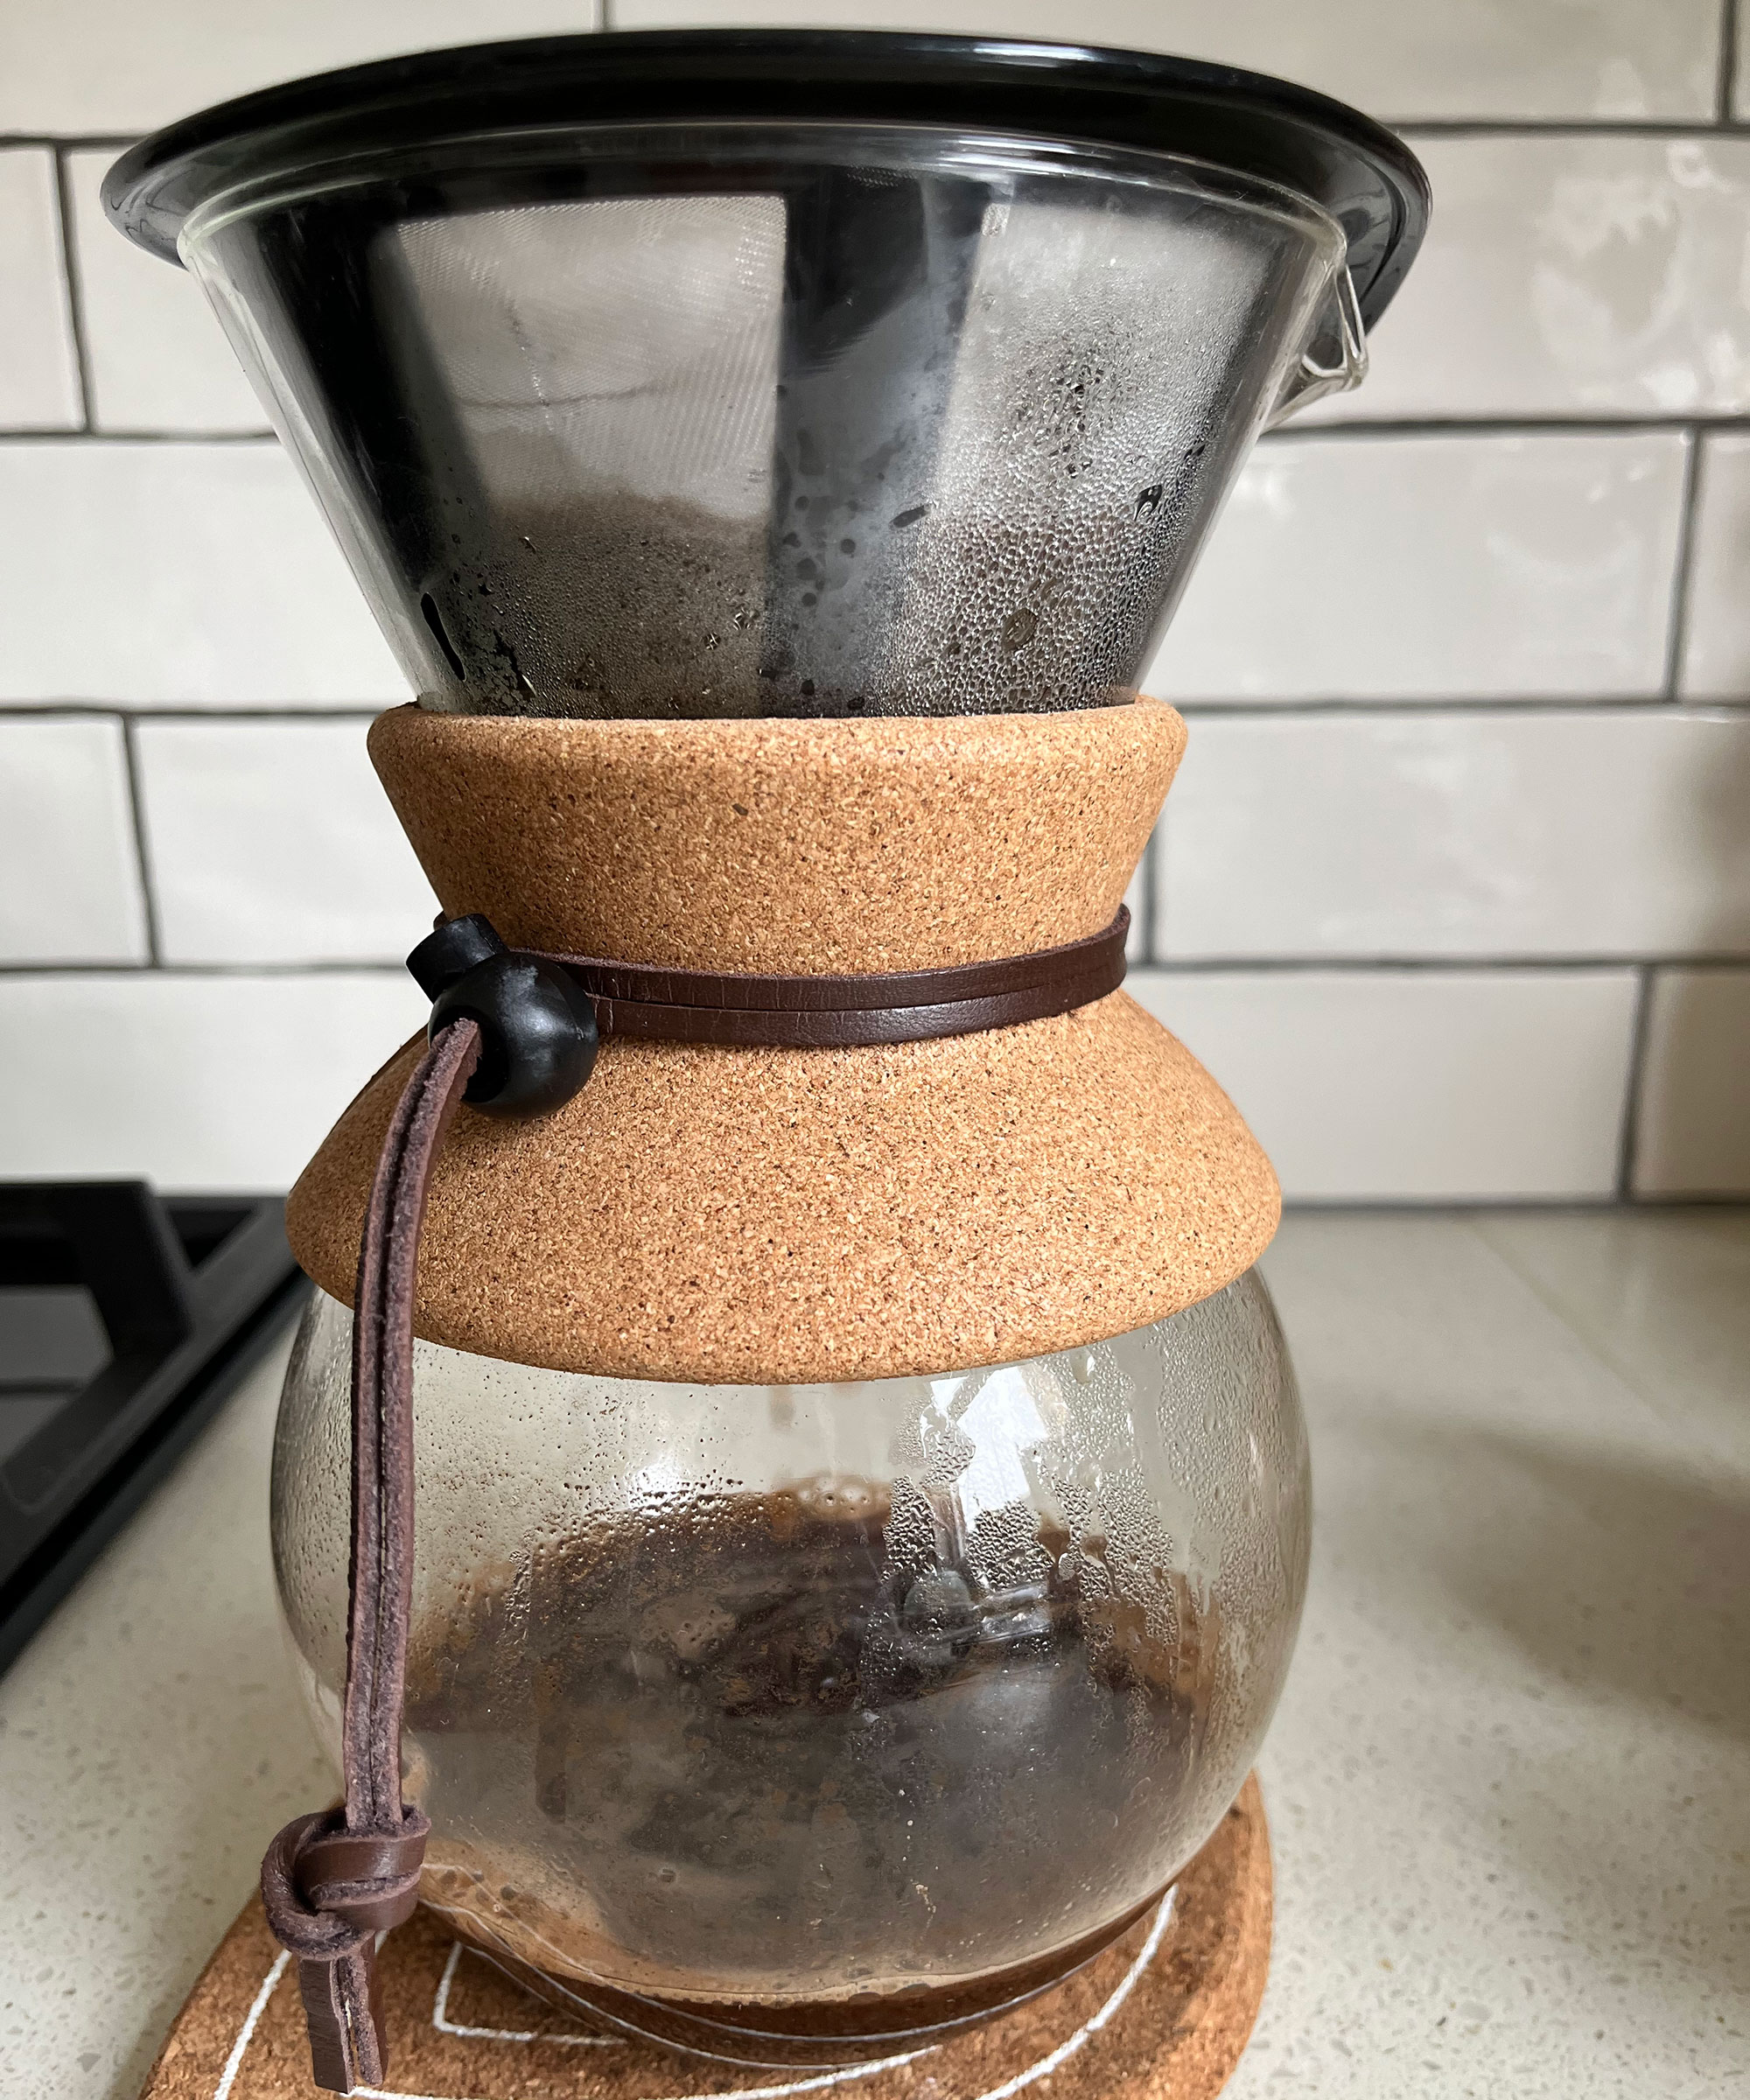
5. Finish the brew and enjoy
Once the last pour has finished dripping through, carefully remove the coffee filter and set it to the side then pour your coffee into your favorite mug. I always warm mine first.
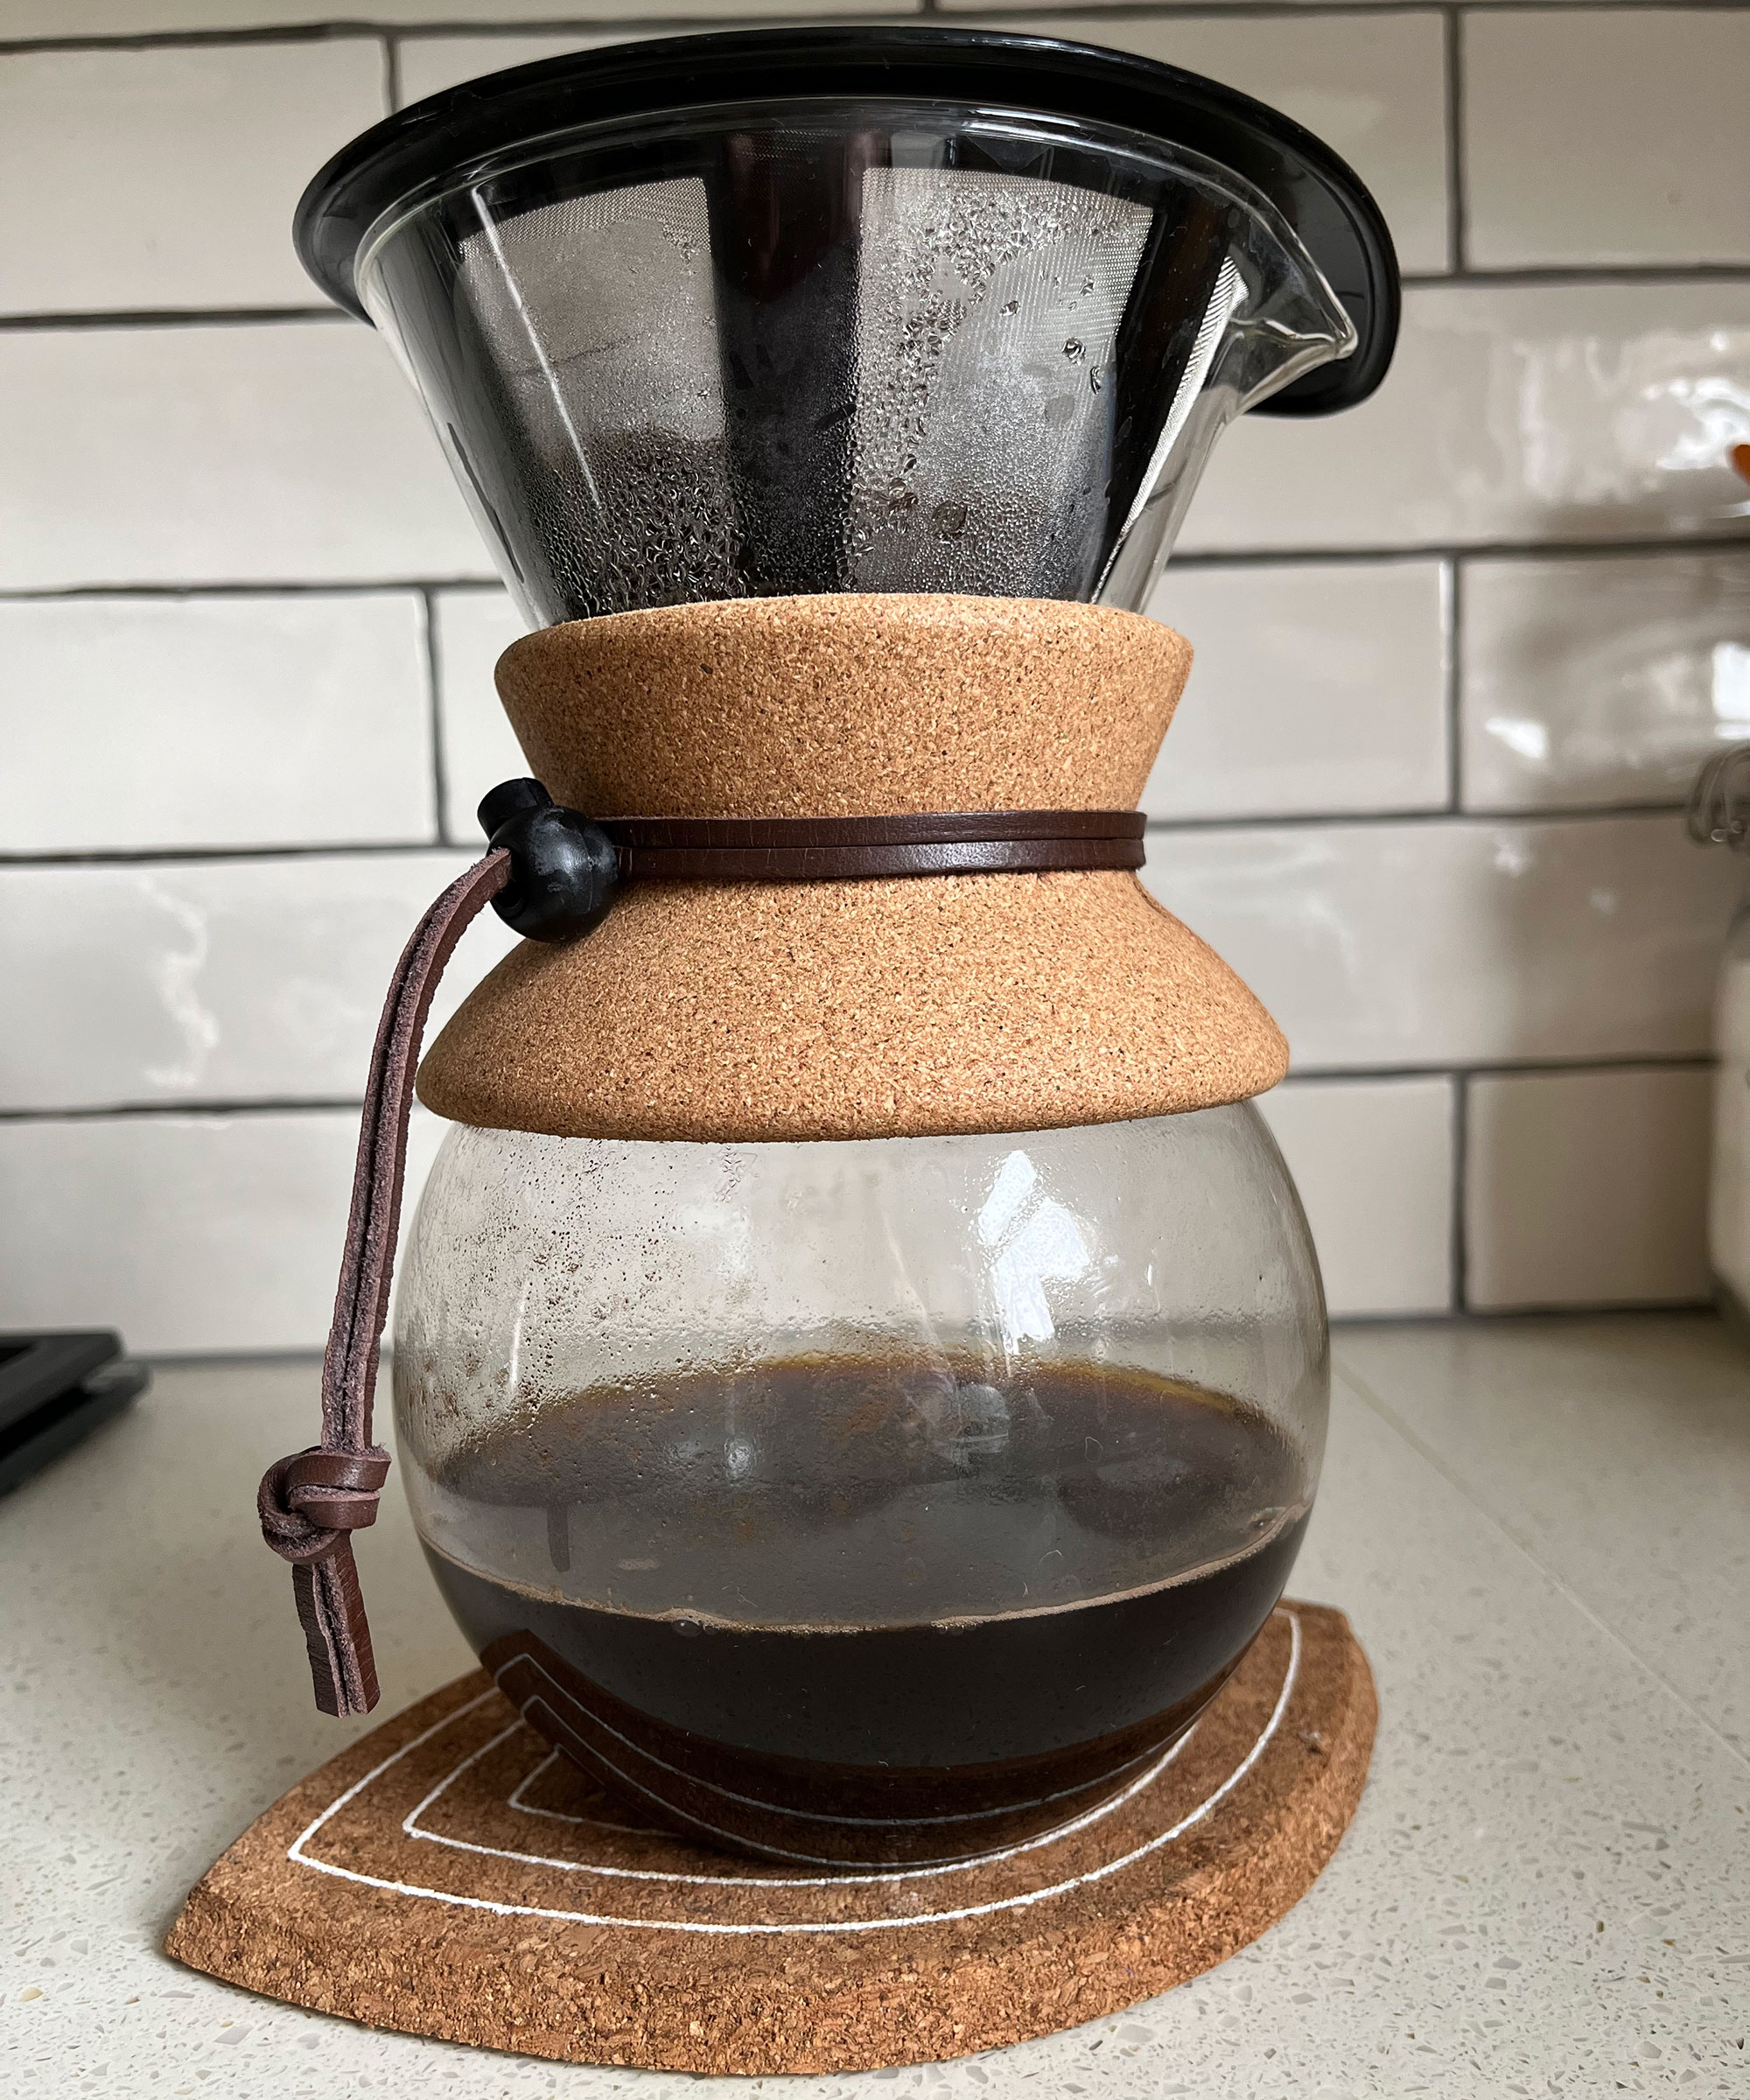
How you take your coffee is up to you but even if you like it with milk, if it's your first time making pour-over coffee, try at least a few sips sans additions to enjoy the taste and see how it compares to your usual cup of Joe. You'll be impressed.

Join our newsletter
Get small space home decor ideas, celeb inspiration, DIY tips and more, straight to your inbox!

I'm Cam, the former deputy editor of Real Homes who worked on the site from 2020 to 2023. As a renter myself, sharing a home with two friends (and my cat) in London, I know all too well the challenges that this can pose when it comes to creating your perfect setup. As someone who has always loved everything interior design-related, I cannot rest until a home feels right and I am really passionate about helping others get there too, no matter what their living situation, style, or budget may be. It’s not always the easiest to figure out, but the journey is fun and the results are so worth it.
After interior design, travel, art, and photography are my next big passions. When I’m not writing or editing homes content, I’m usually tapping into other creative outlets, exploring galleries in London or further afield, taking photos, scribbling, or drawing!
-
 Experts reveal all the matcha tools you need for creating the perfect drink at home
Experts and pro baristas reveal the matcha tools you need for crafting a delicious drink at home. See our favorite whisks, glasses, and more
By Emily Lambe
-
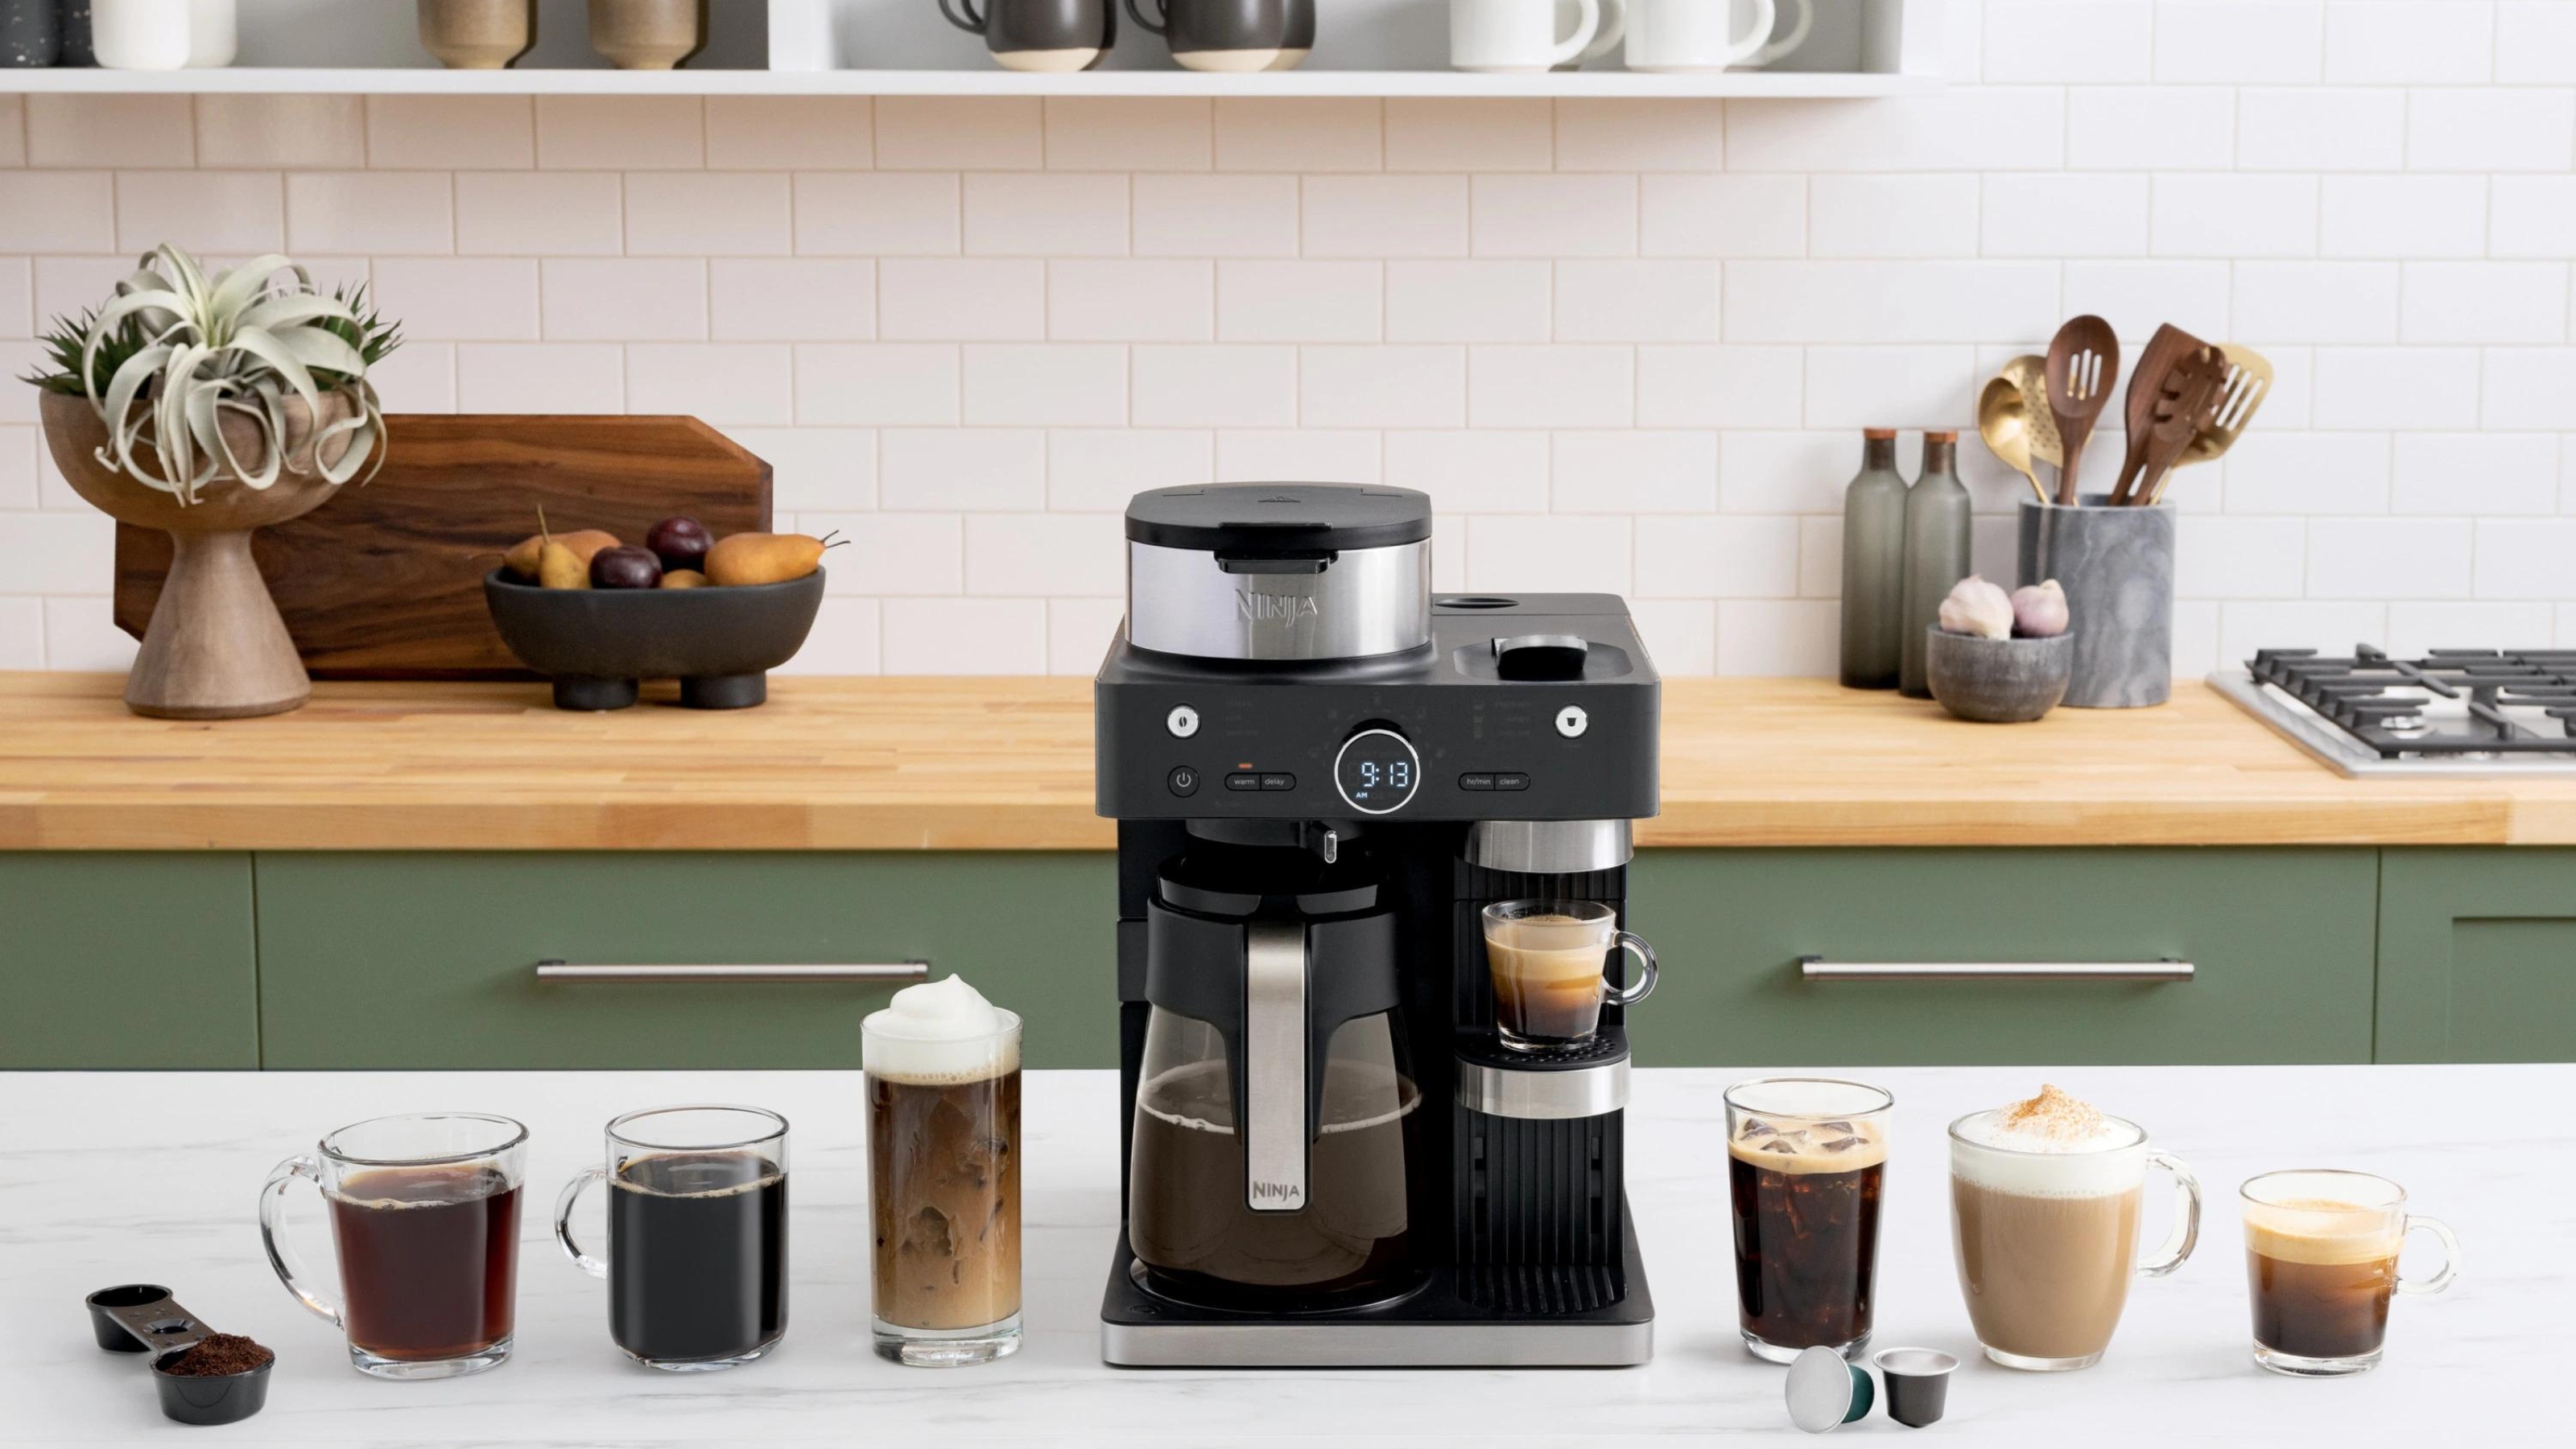
 Ninja Espresso & Coffee Barista System review — bringing together the ease of pods and the ability to brew drip coffee
With the Ninja Espresso & Coffee Barista System, you can brew a full pot of hot, black coffee or make a frothy espresso with a pod, the choice is yours.
By Heather Bien
-
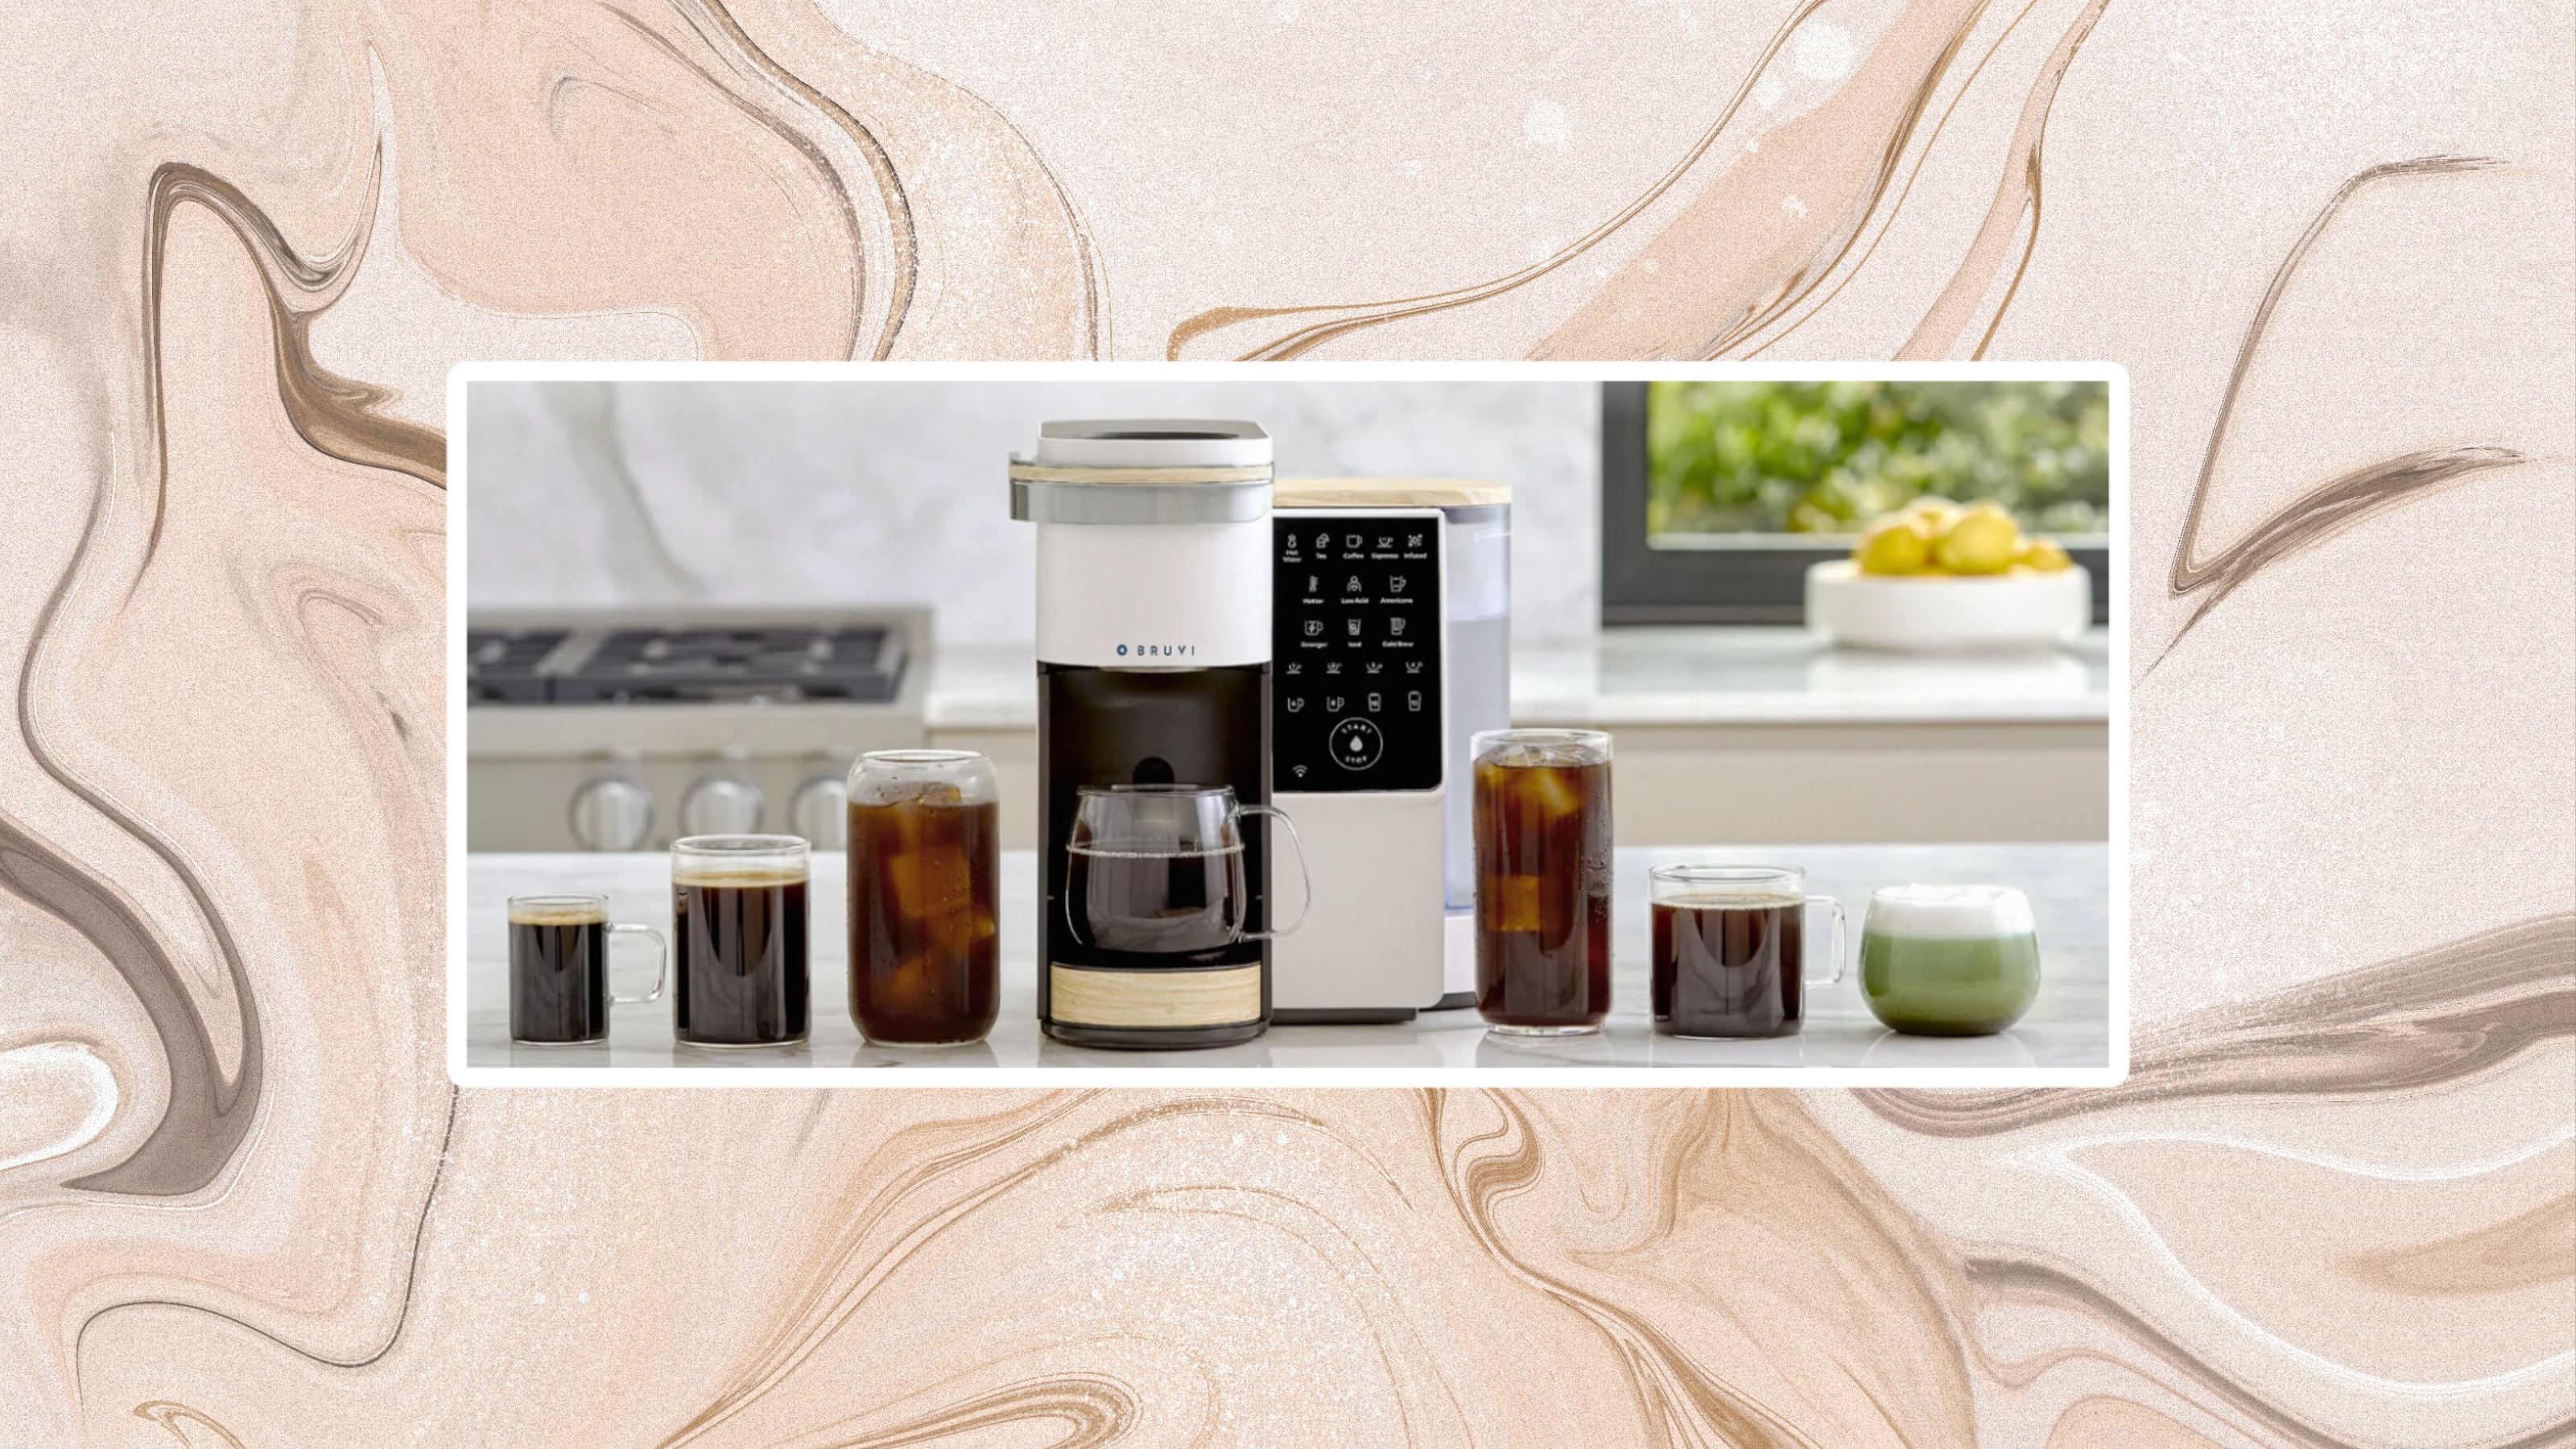 I review coffee makers for a living and this Bruvi one is by far the most high-tech pod model out there
Like lots of options and a sleek look? This Bruvi coffee maker is for you. Here's why we love this chic and feature-packed machine.
By Heather Bien
-
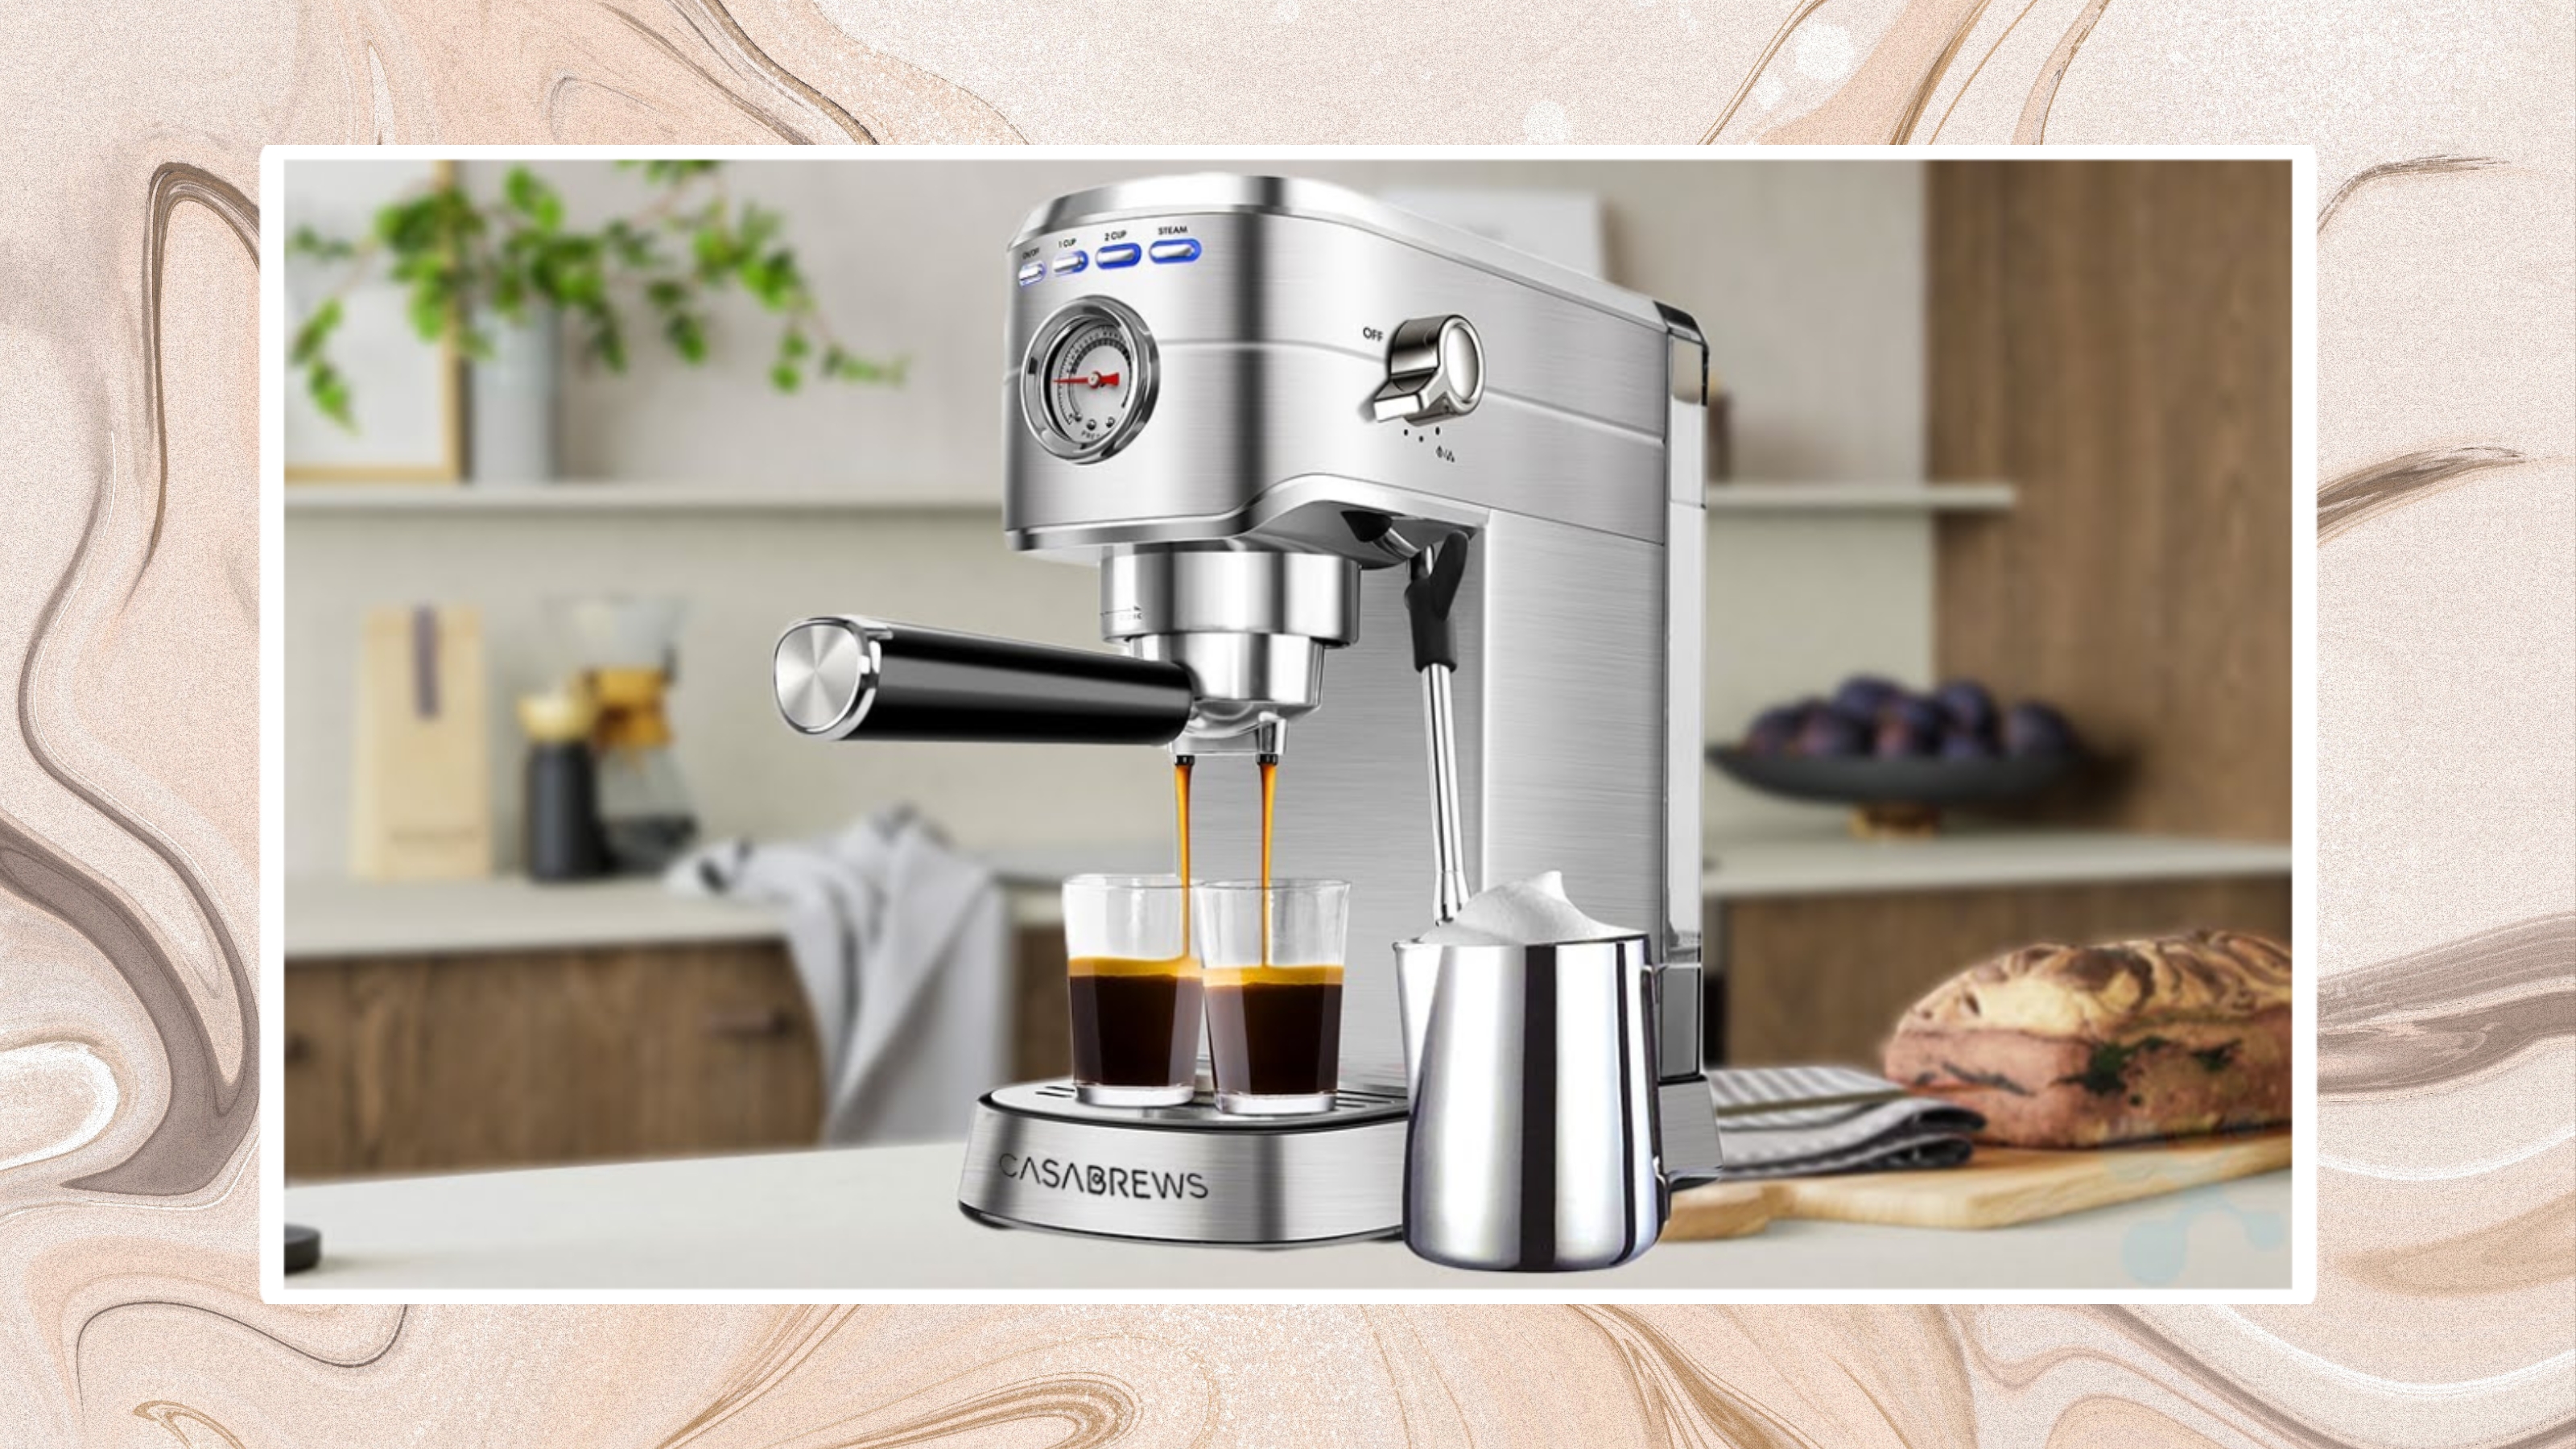
 This Casabrews espresso maker is the ideal buy for smaller kitchens and espresso lovers
If you're stuck in a small kitchen, check out our Casabrews espresso machine review. It makes a great strong coffee for starting the day.
By Paige Cerulli
-
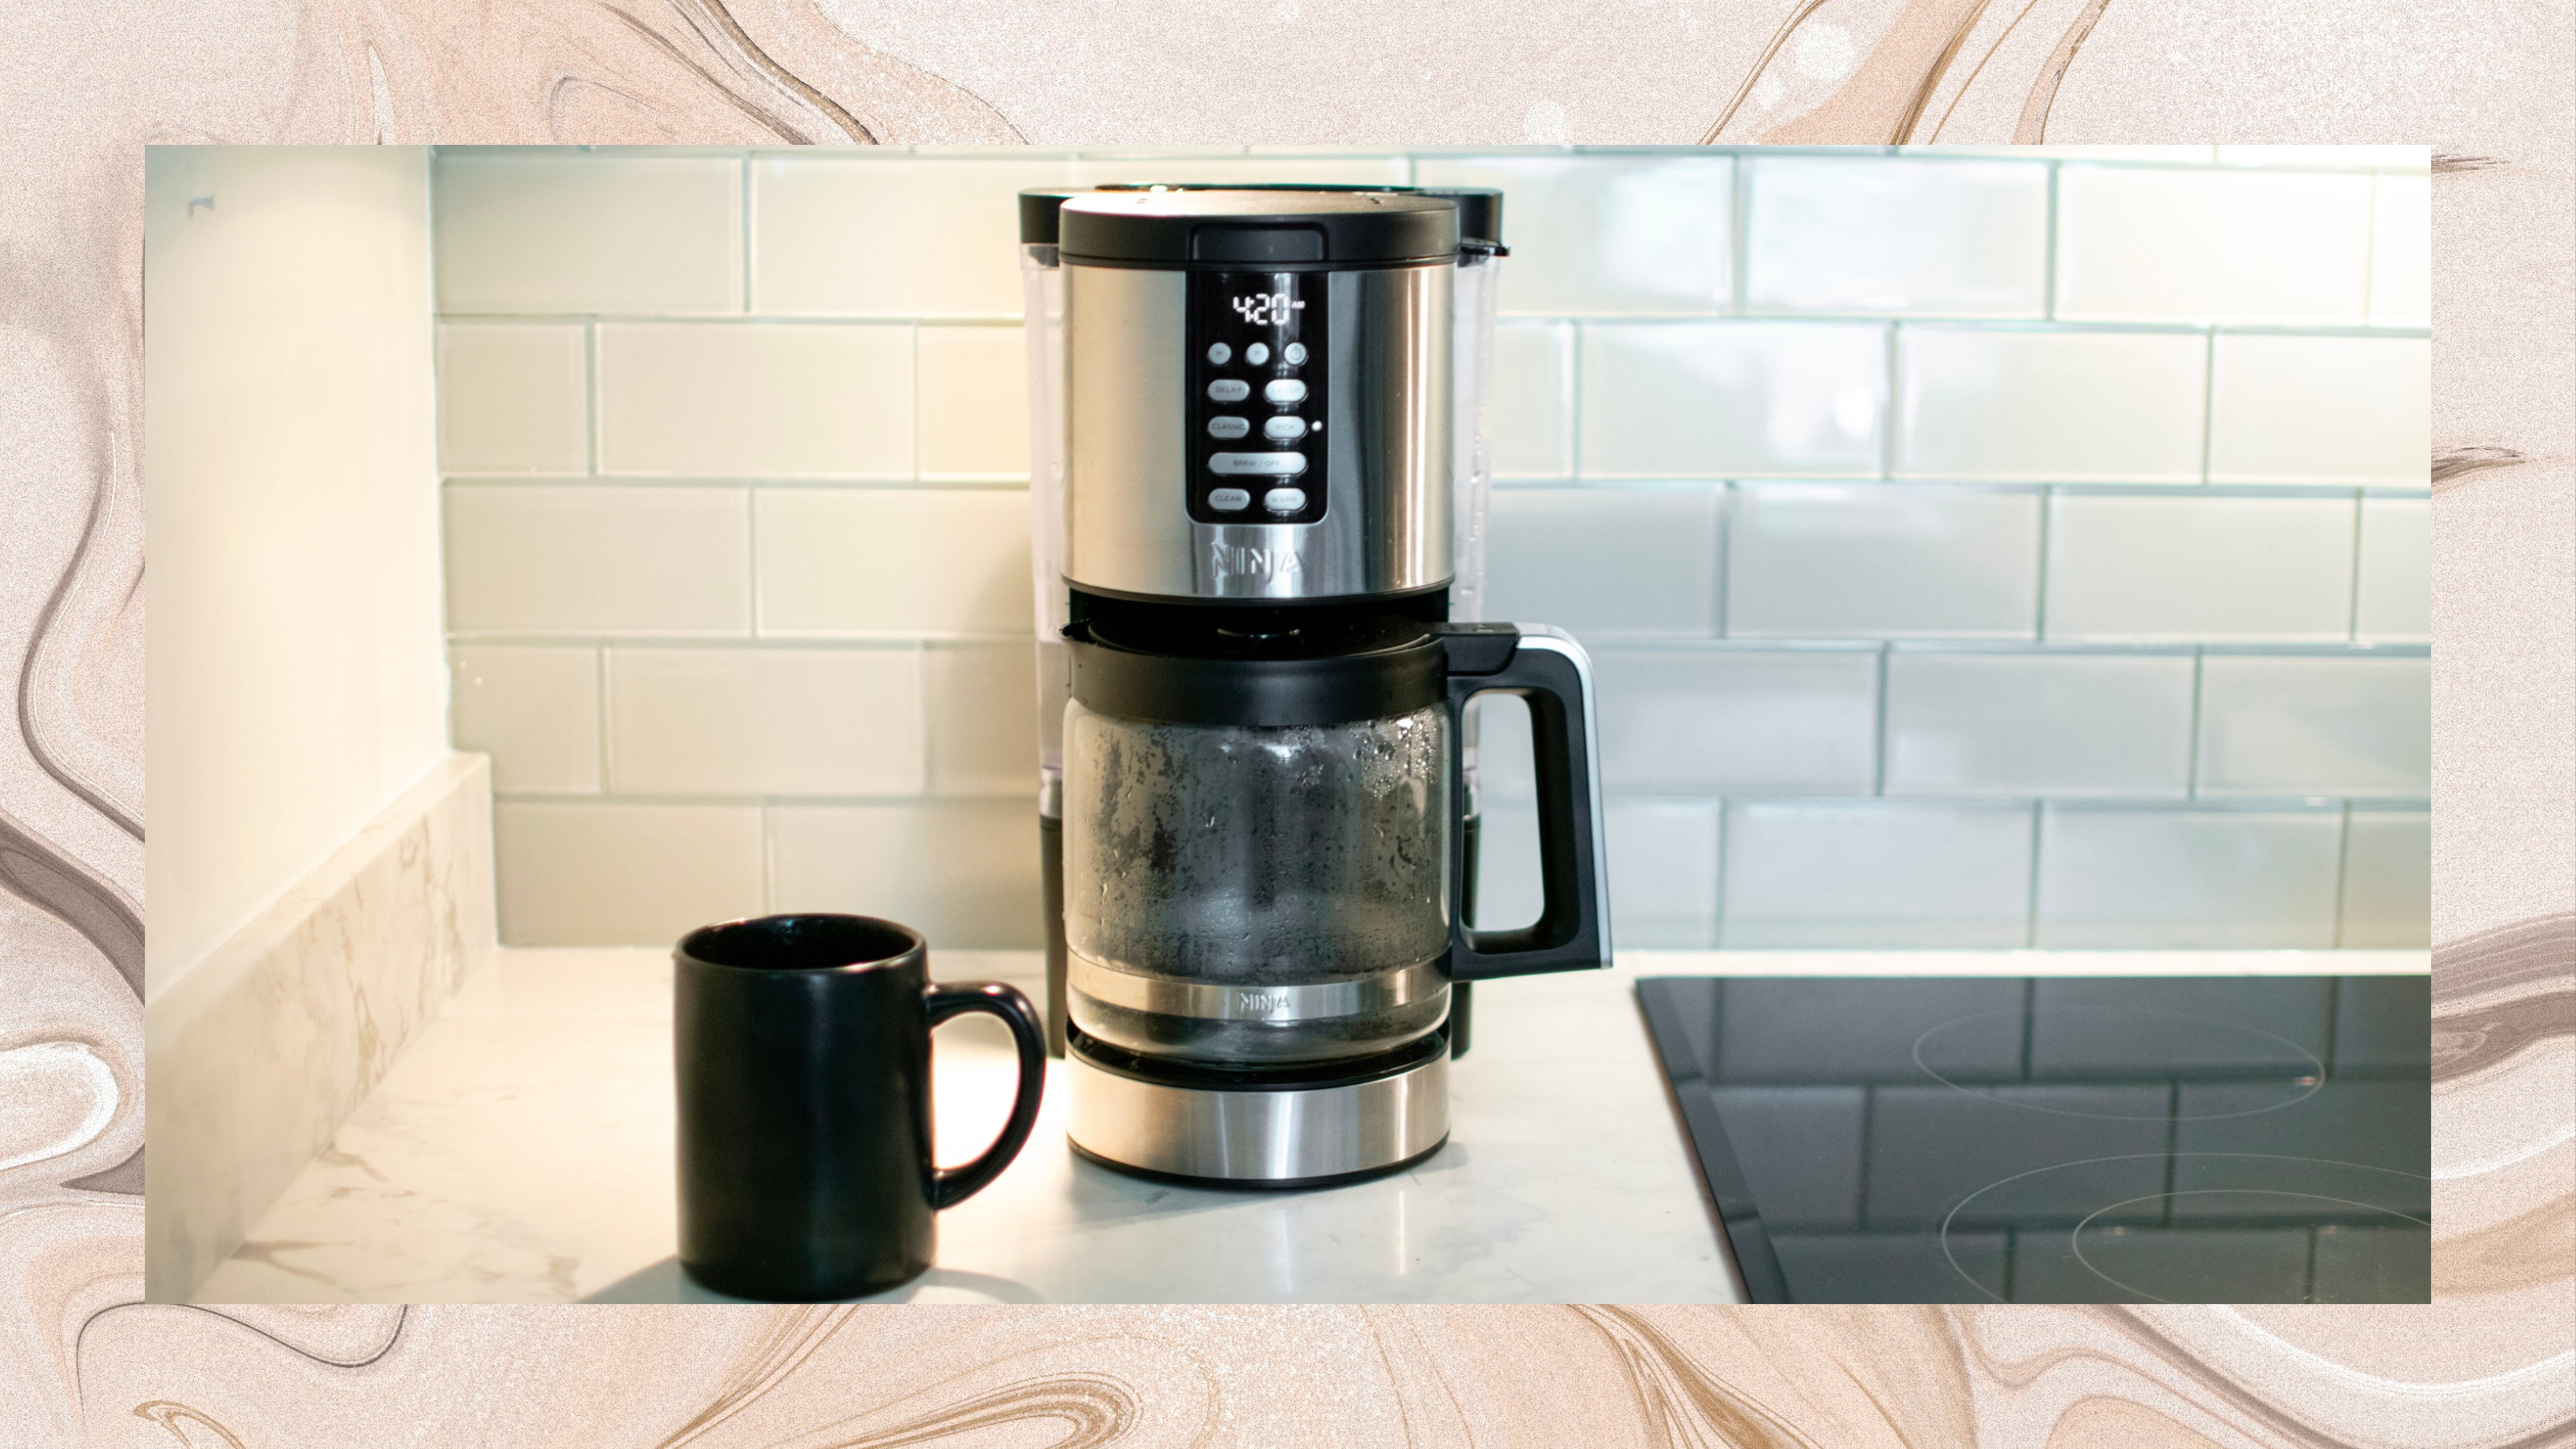
 This Ninja coffee maker brews incredible-tasting hot coffee — and it keeps it warm for up to four hours
Our in-depth opinion on the Ninja Programmable XL 14-Cup Coffee Maker Pro
By Heather Bien
-
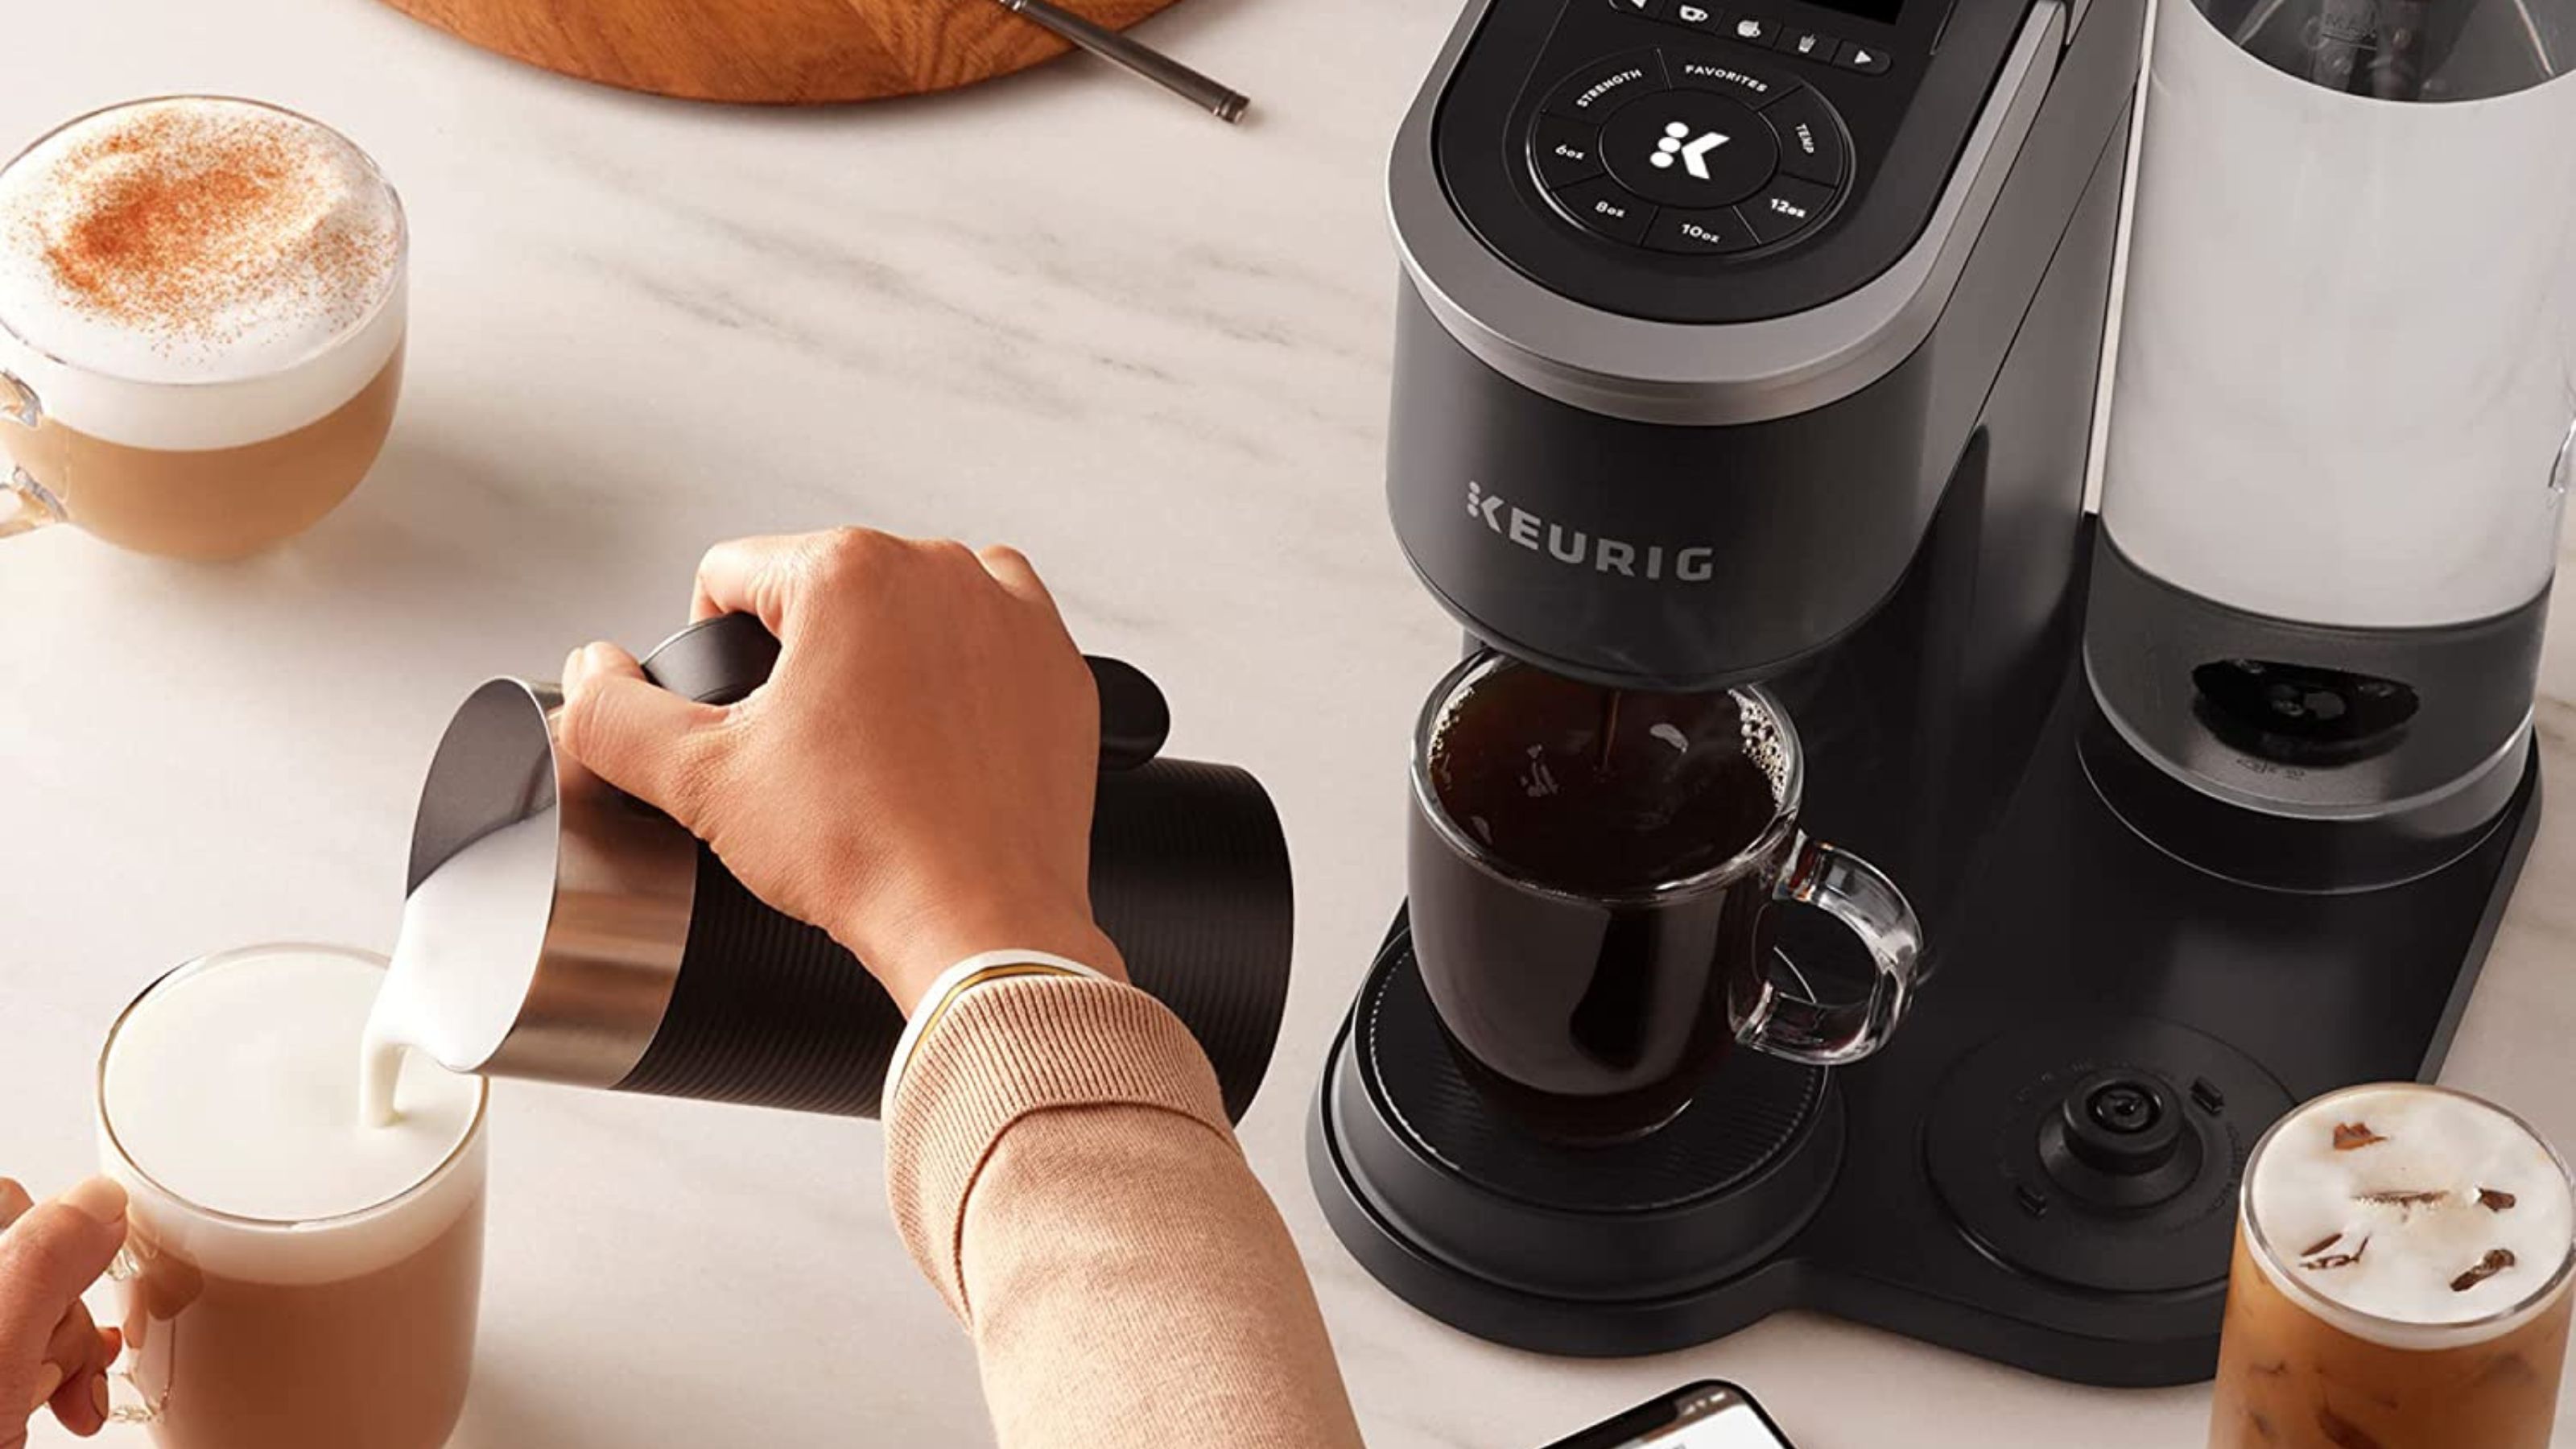
 Now less than $100, the Keurig K-Café Smart is the ultimate buy for smaller kitchens (and eco-warriors)
The upgraded Keurig K-Café Smart takes pod coffee to the next level with its built-in milk frother and Wi-Fi connectivity
By Jaclyn Turner
-
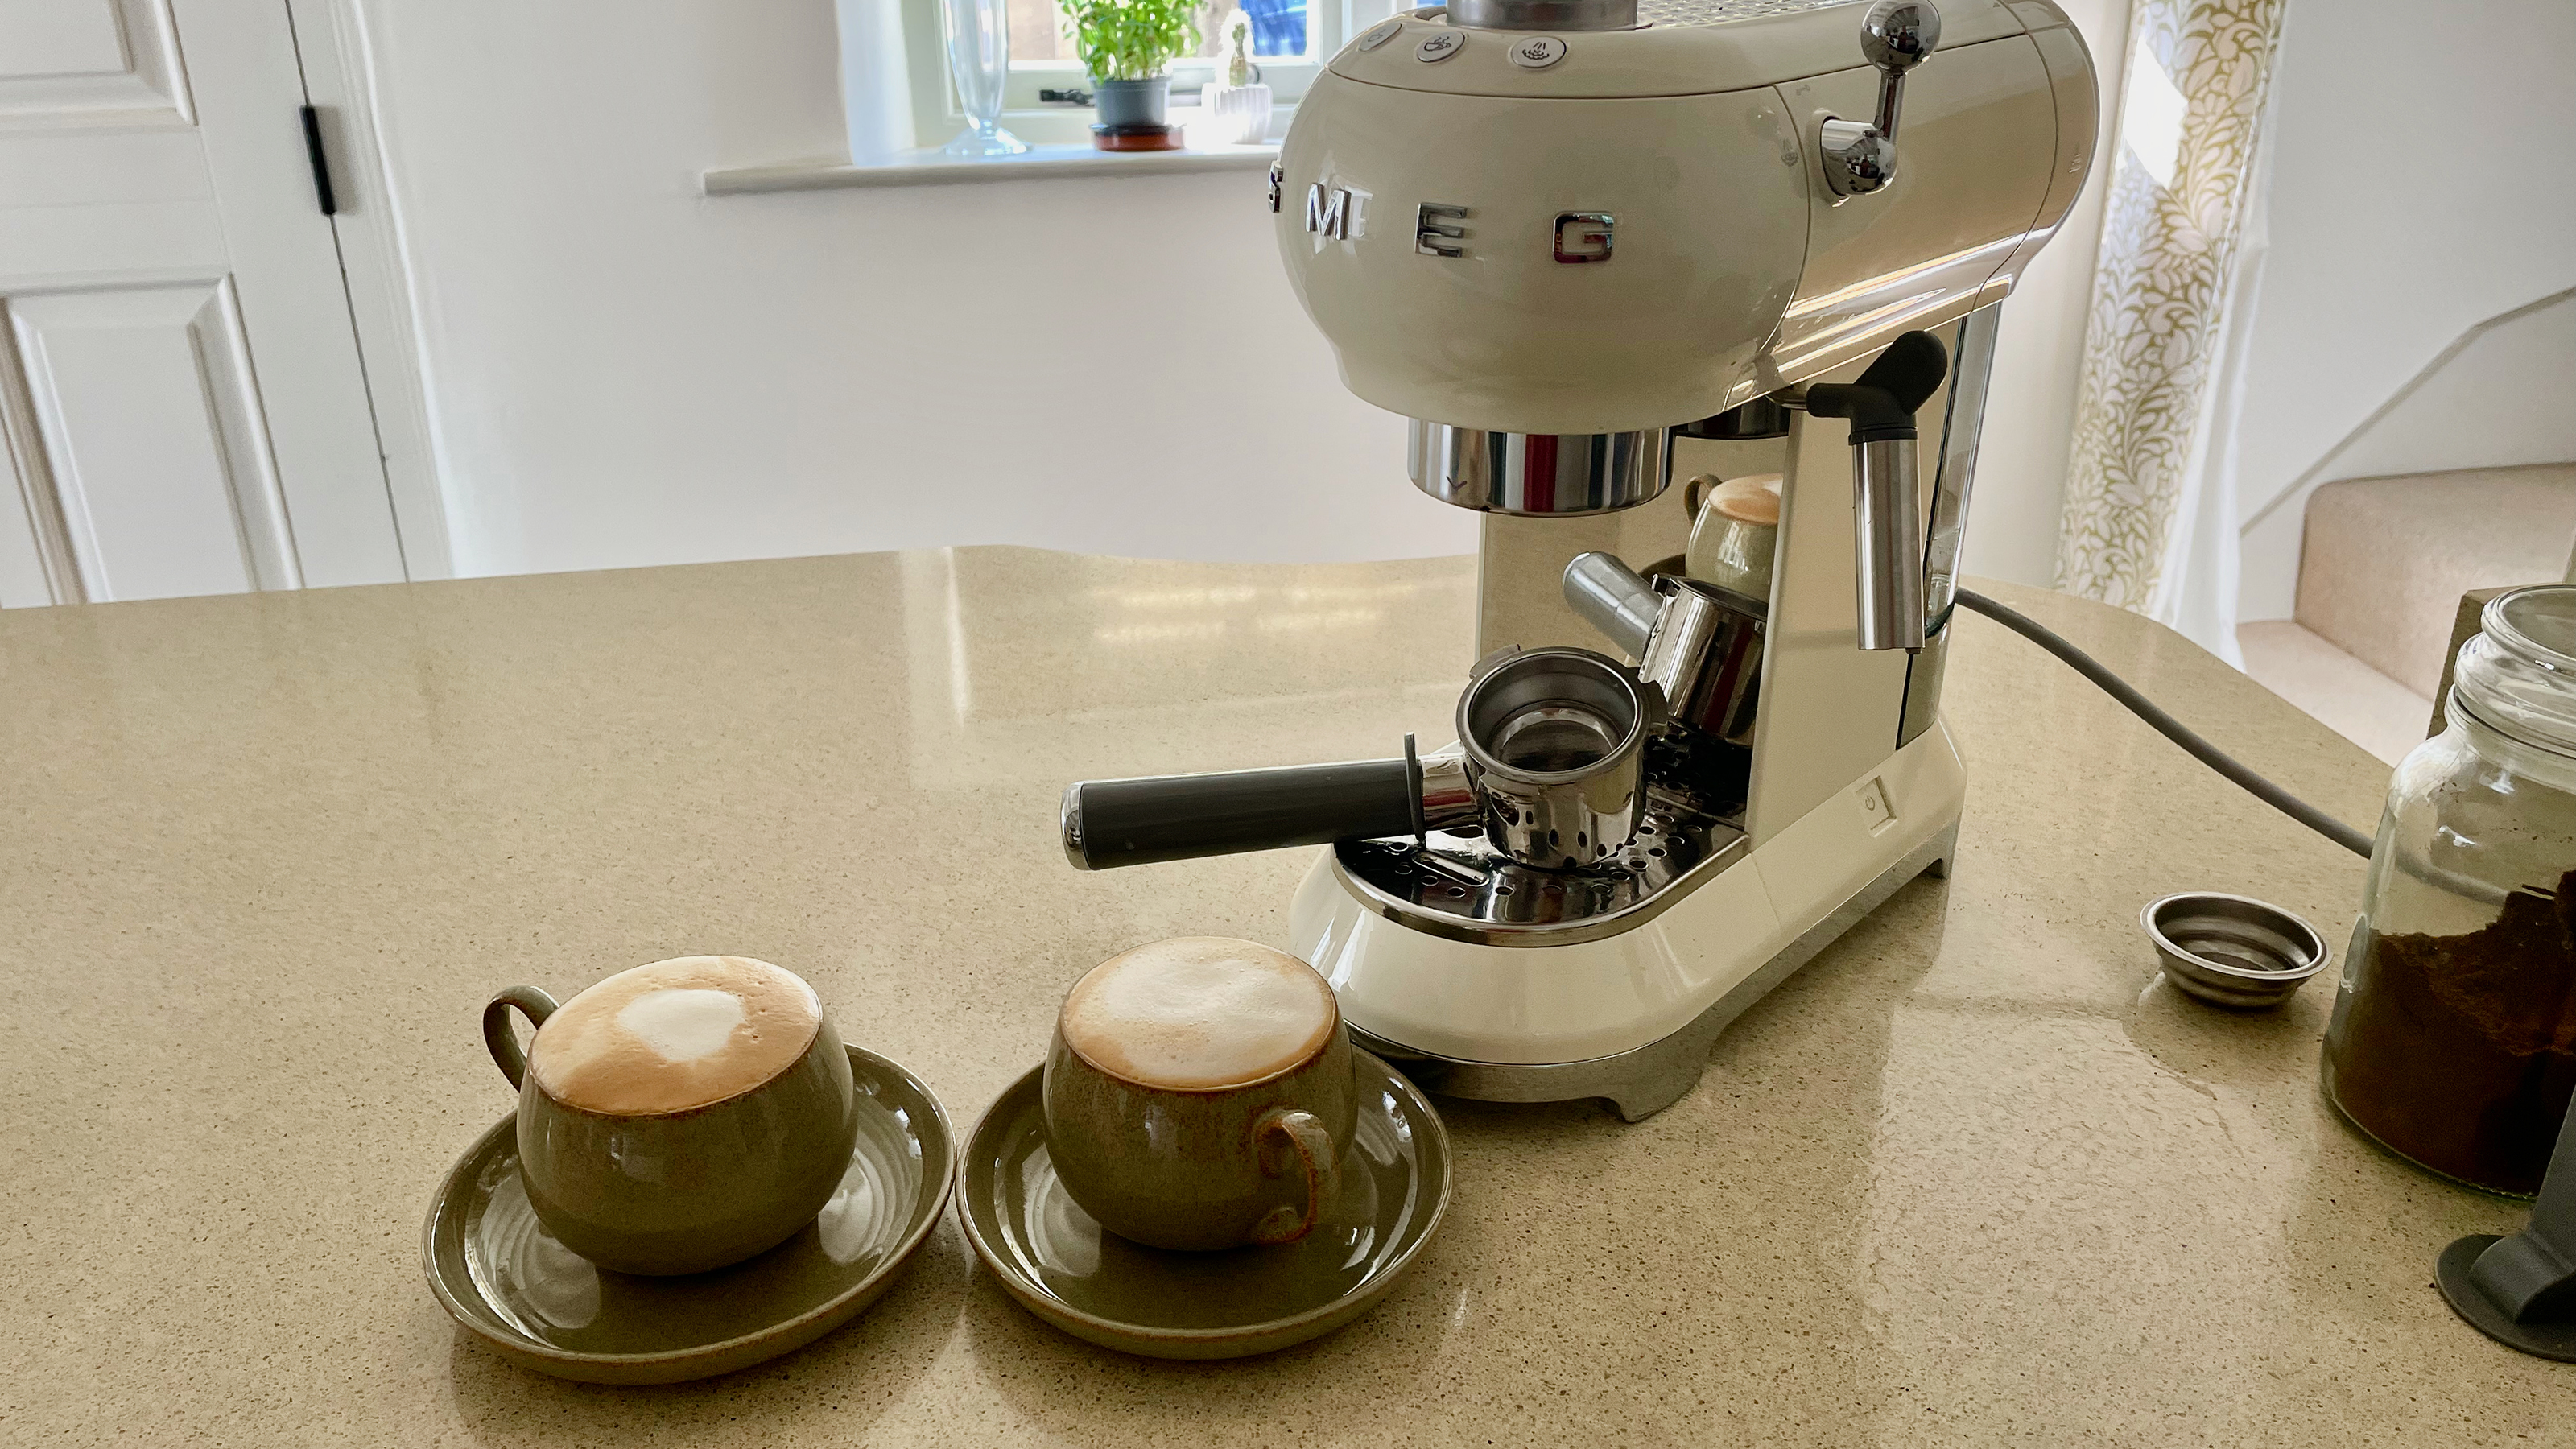 Smeg's espresso machine gives you a shot of luxury for less
Coffee newbies with a higher budget and eye for design may find the Smeg ECF01 to be a worthy investment
By Helen McCue
-
 20 gifts for coffee lovers that are perfect for all occasions
Looking for gifts for coffee lovers? Treat yourself or the caffeine addicts in your life with one of these 'brew-tiful' buys
By Jaclyn Turner