How to carve out and organize a cleaning closet
Four steps to tricking out your very own cleaning closet – your passport to true adulthood awaits.
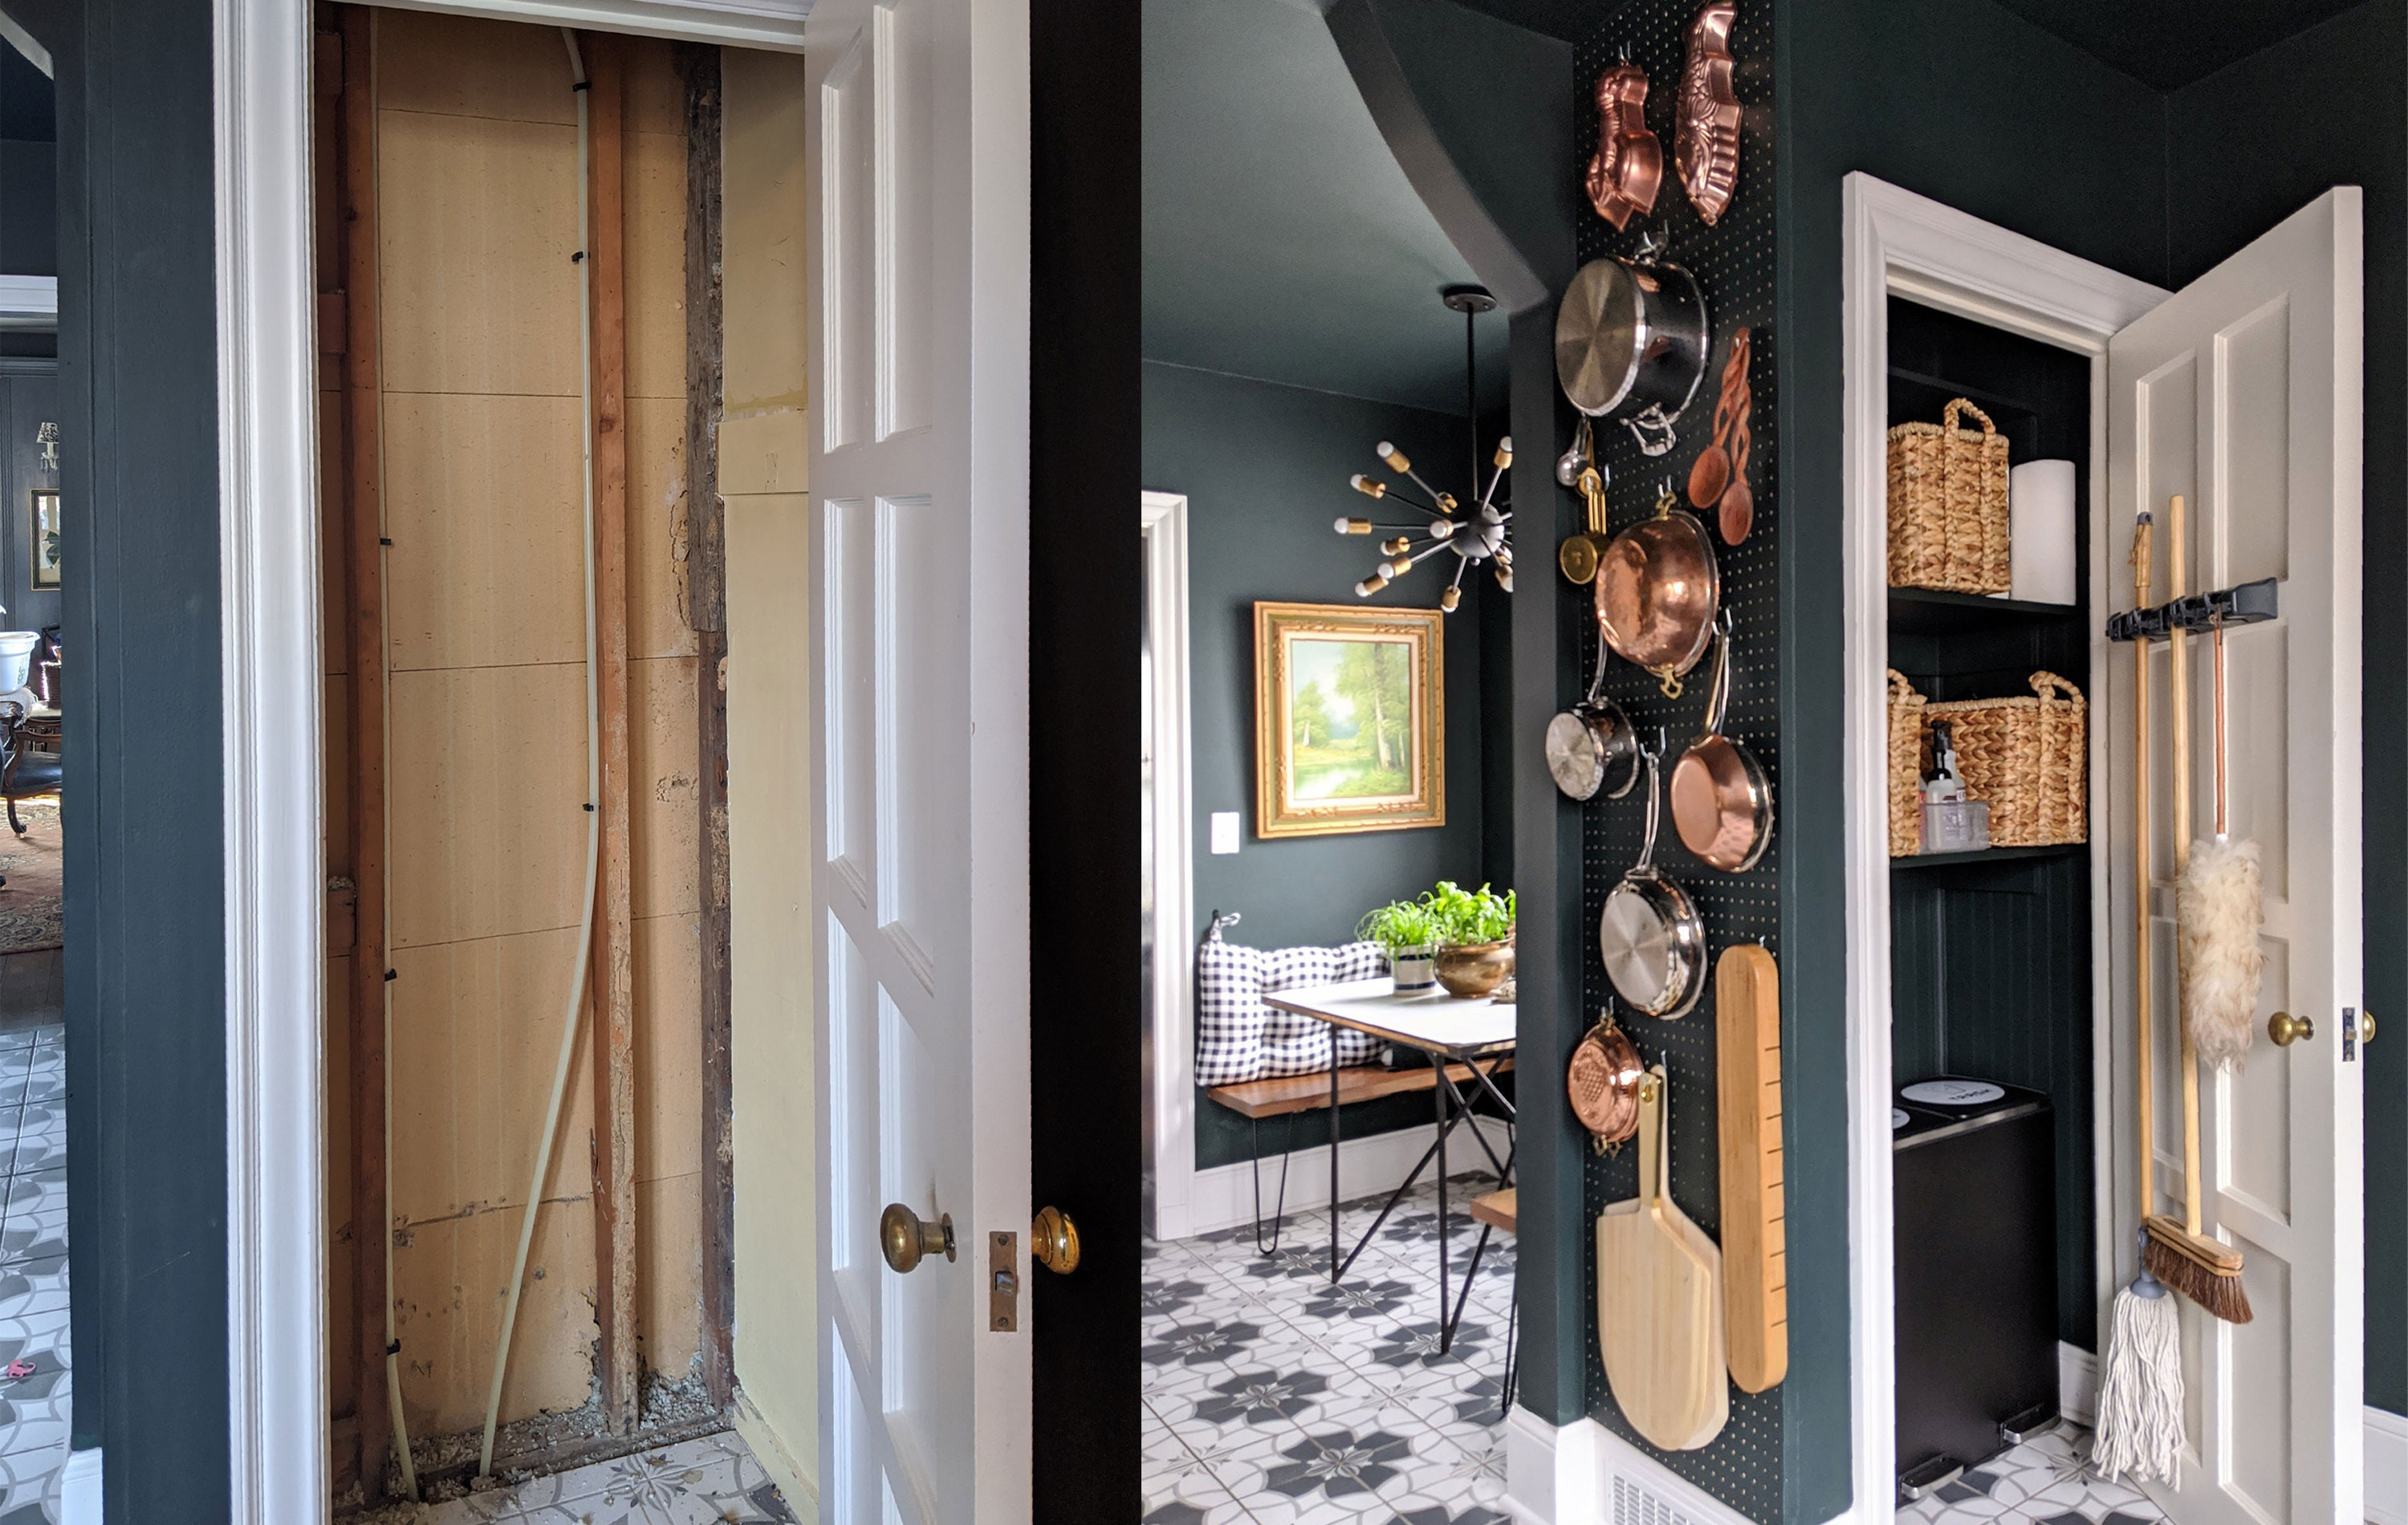
The project that made me feel the most adult EVER was taming what we used to call our trash closet. The fact it housed our trash cans, hence the very pedestrian name, meant we knew that creating an organized cleaning closet was on the cards... Because ours was non-existent and whatever it was, also looked like total trash. Piles of stuff jammed on the sole shelf, mismatched trash cans and the entire closet was still painted 1960s yellow with random drywall patches.
It was clear, there was zero home organization going on.
Then a bit of home repair tragedy struck, with a silver lining. An upstairs bathroom sprung a leak and the closet was gutted during the repair of the ancient plumbing lines. We took that soggy opportunity to add in function and even, dare I say it, some beauty.
How we carved out the cleaning closet
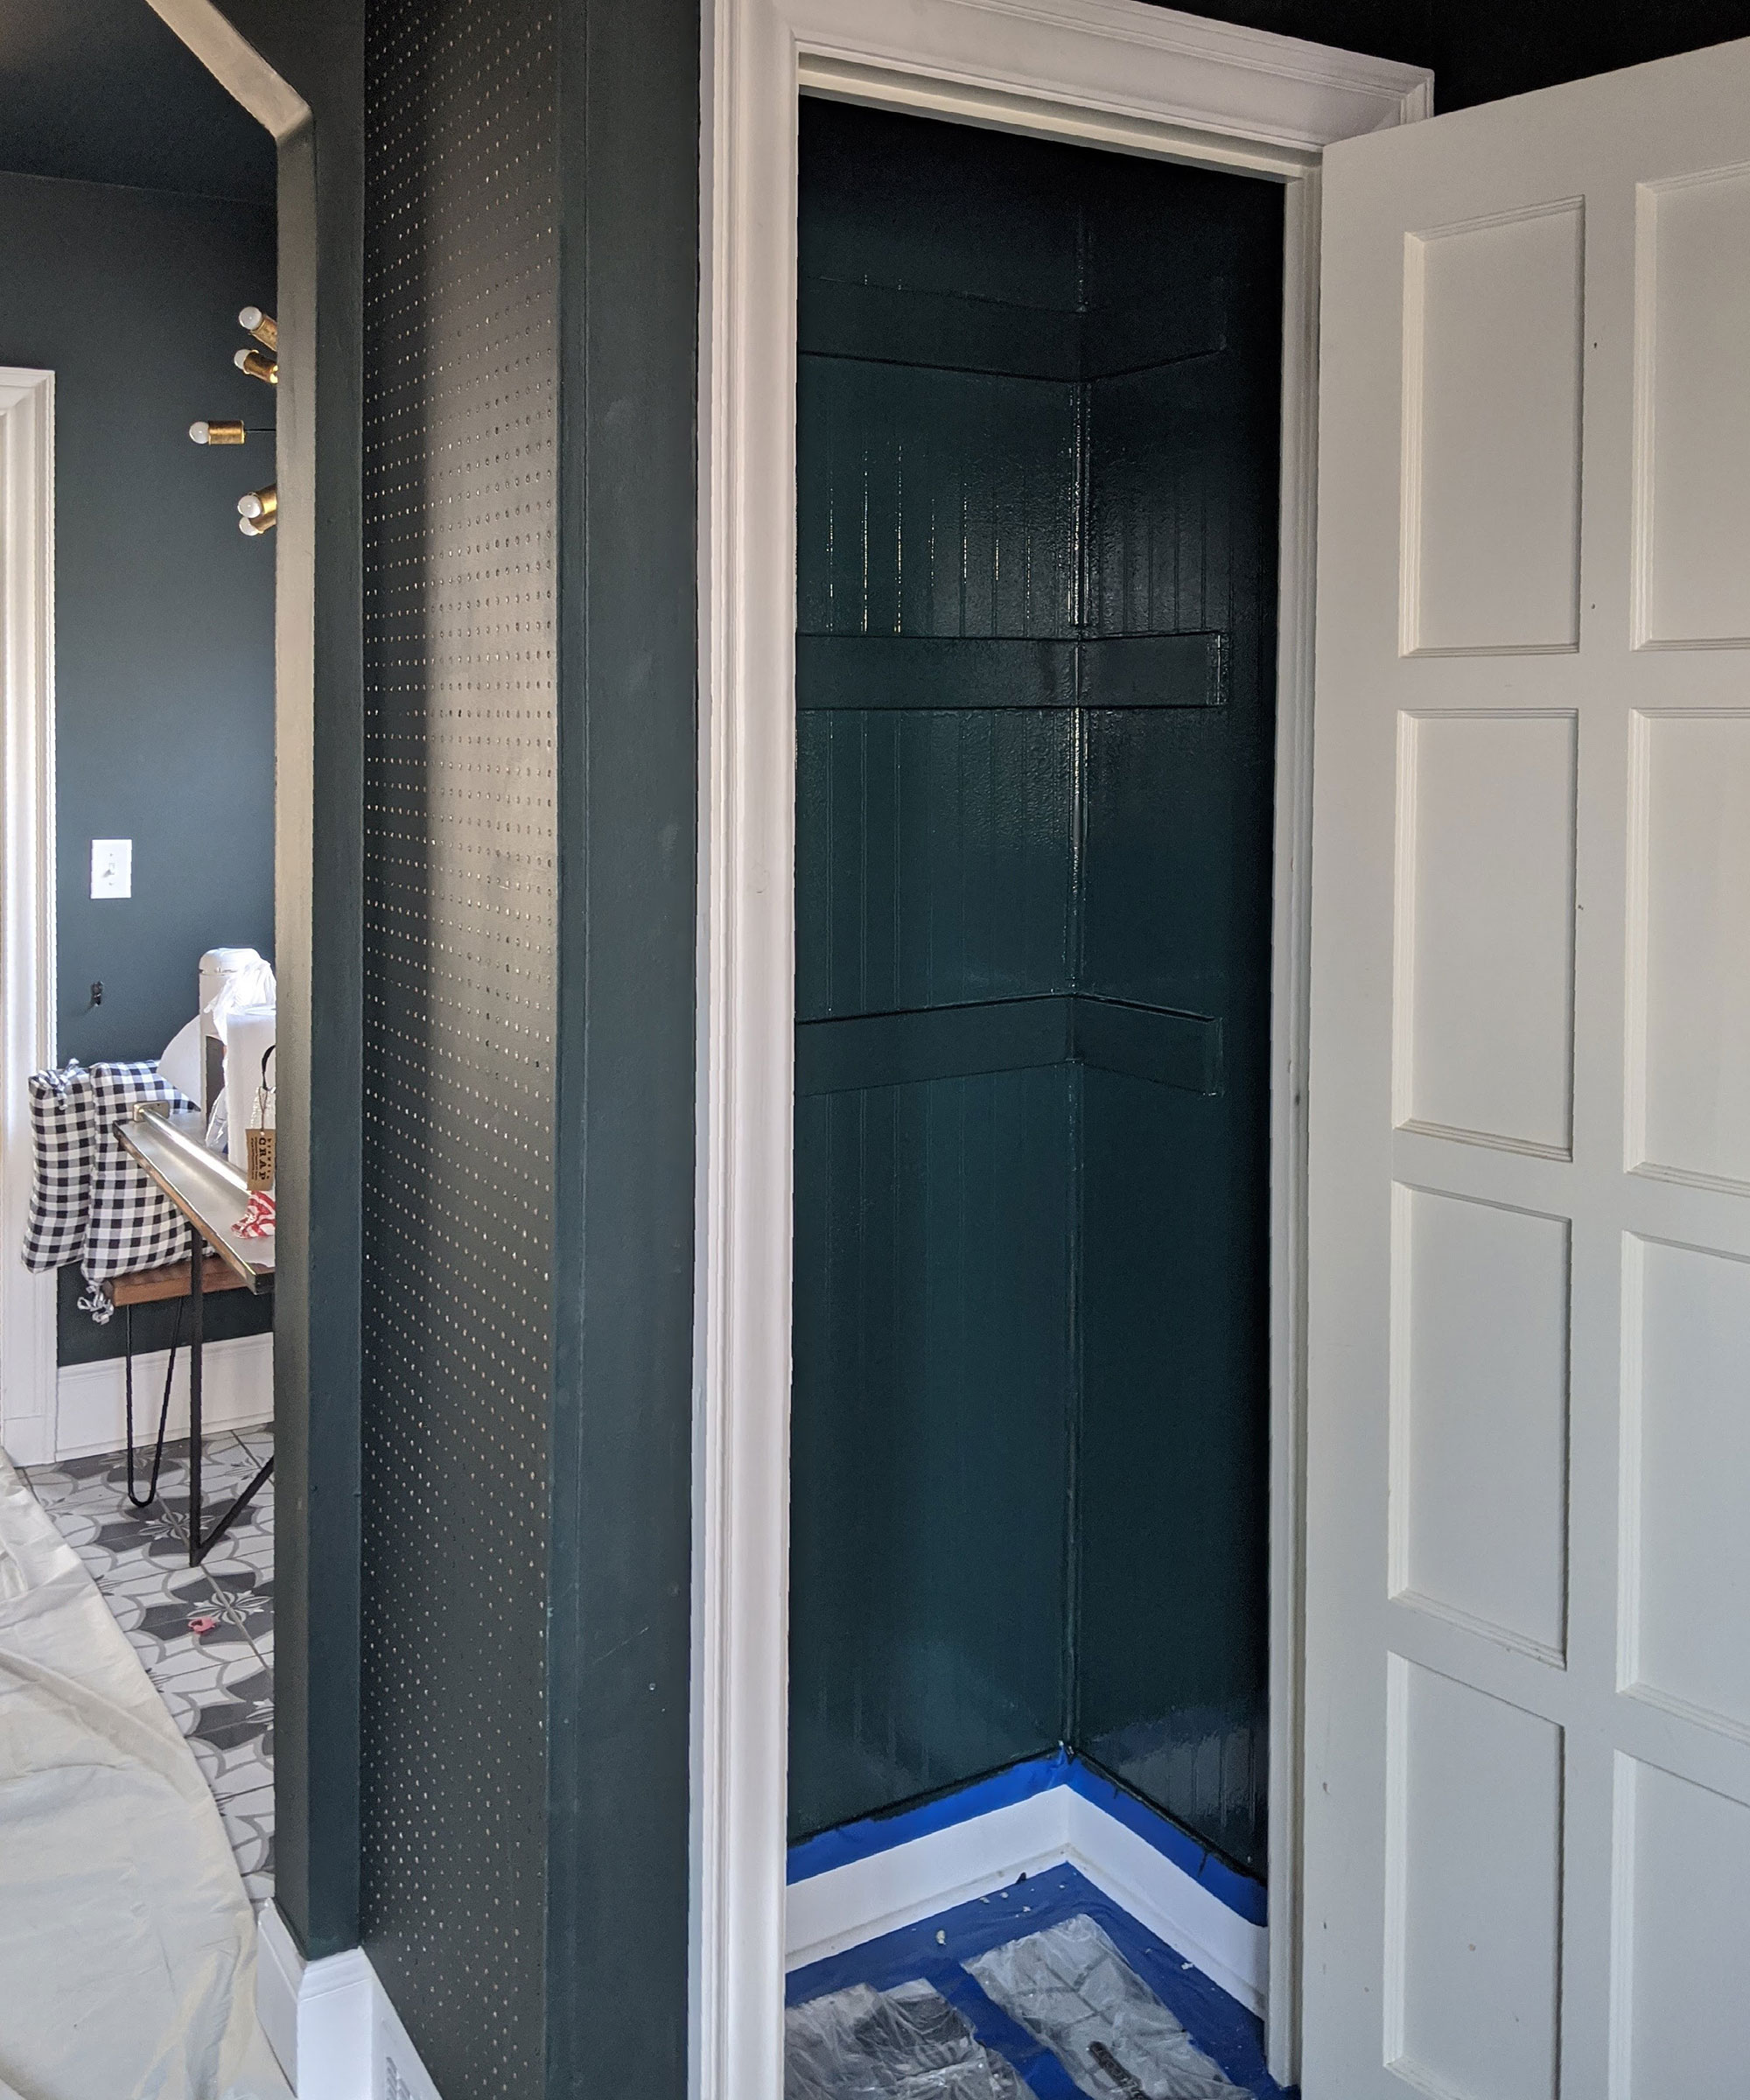
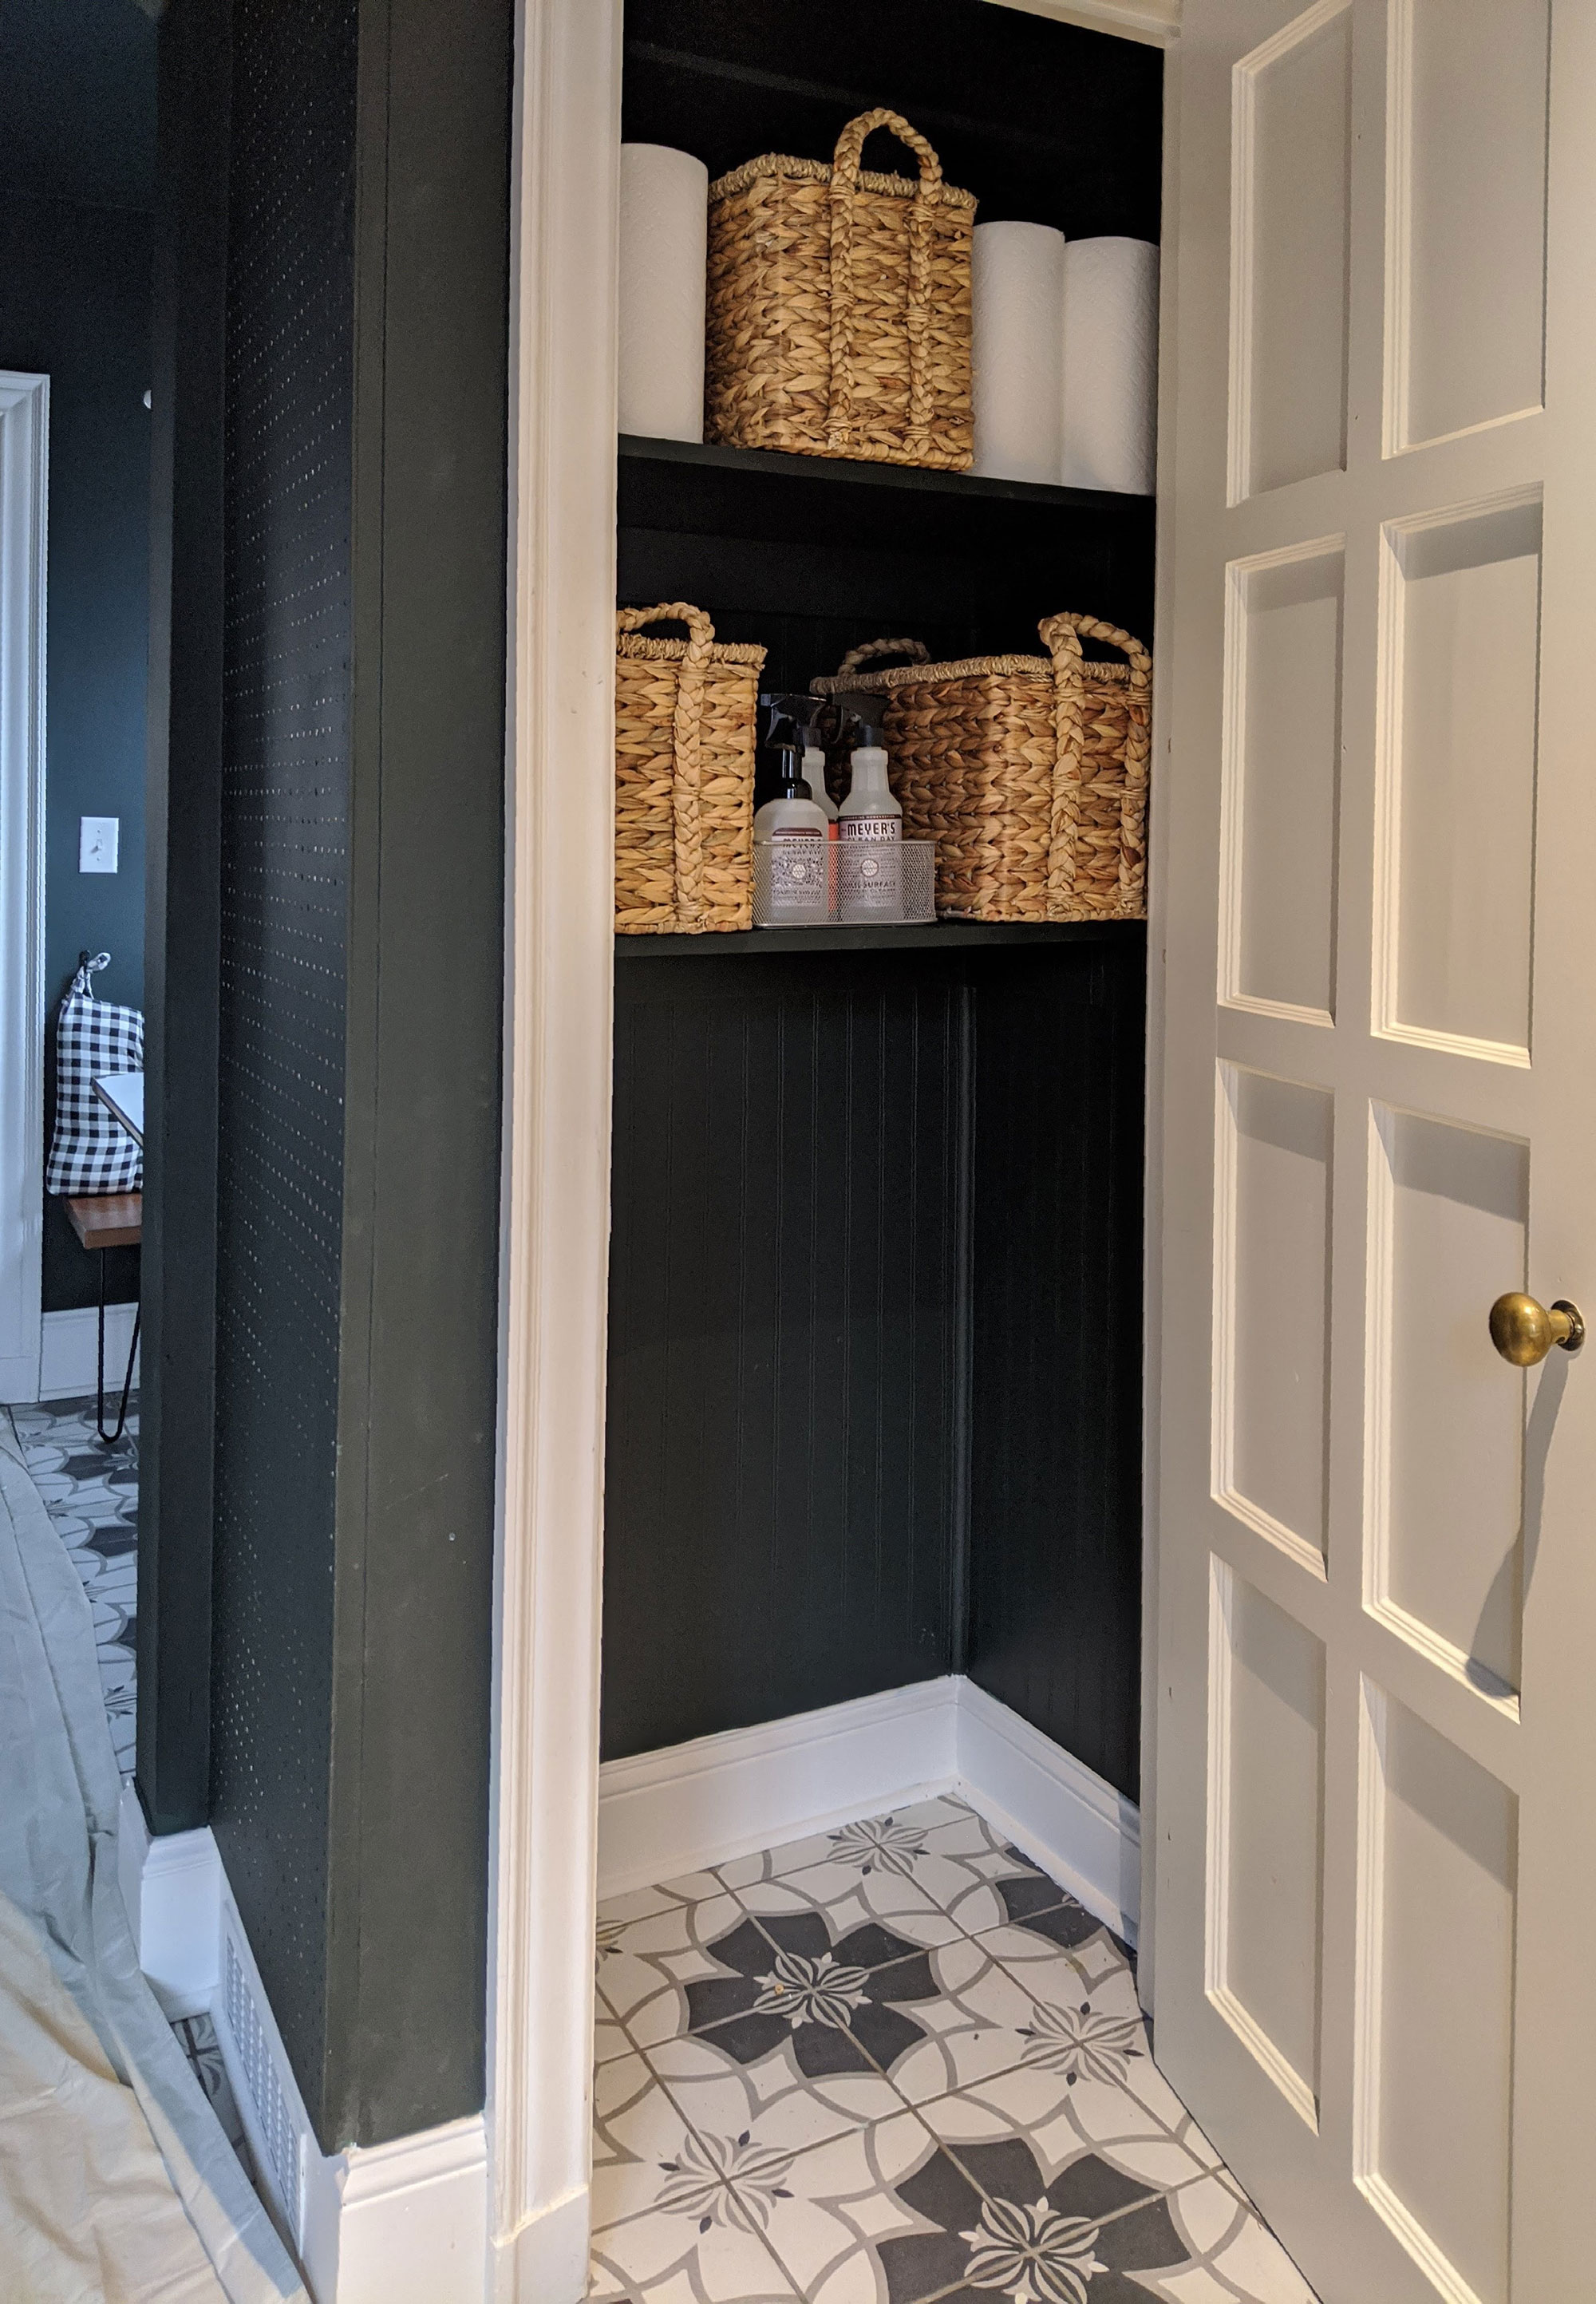
We had to rip out where the space was damp – goodbye yellow walls you were great at the time – and prep the closet ready for painting. We clad the walls in sturdy beadboard and swathed the walls in Benjamin Moore Black Forest Green to match the kitchen.
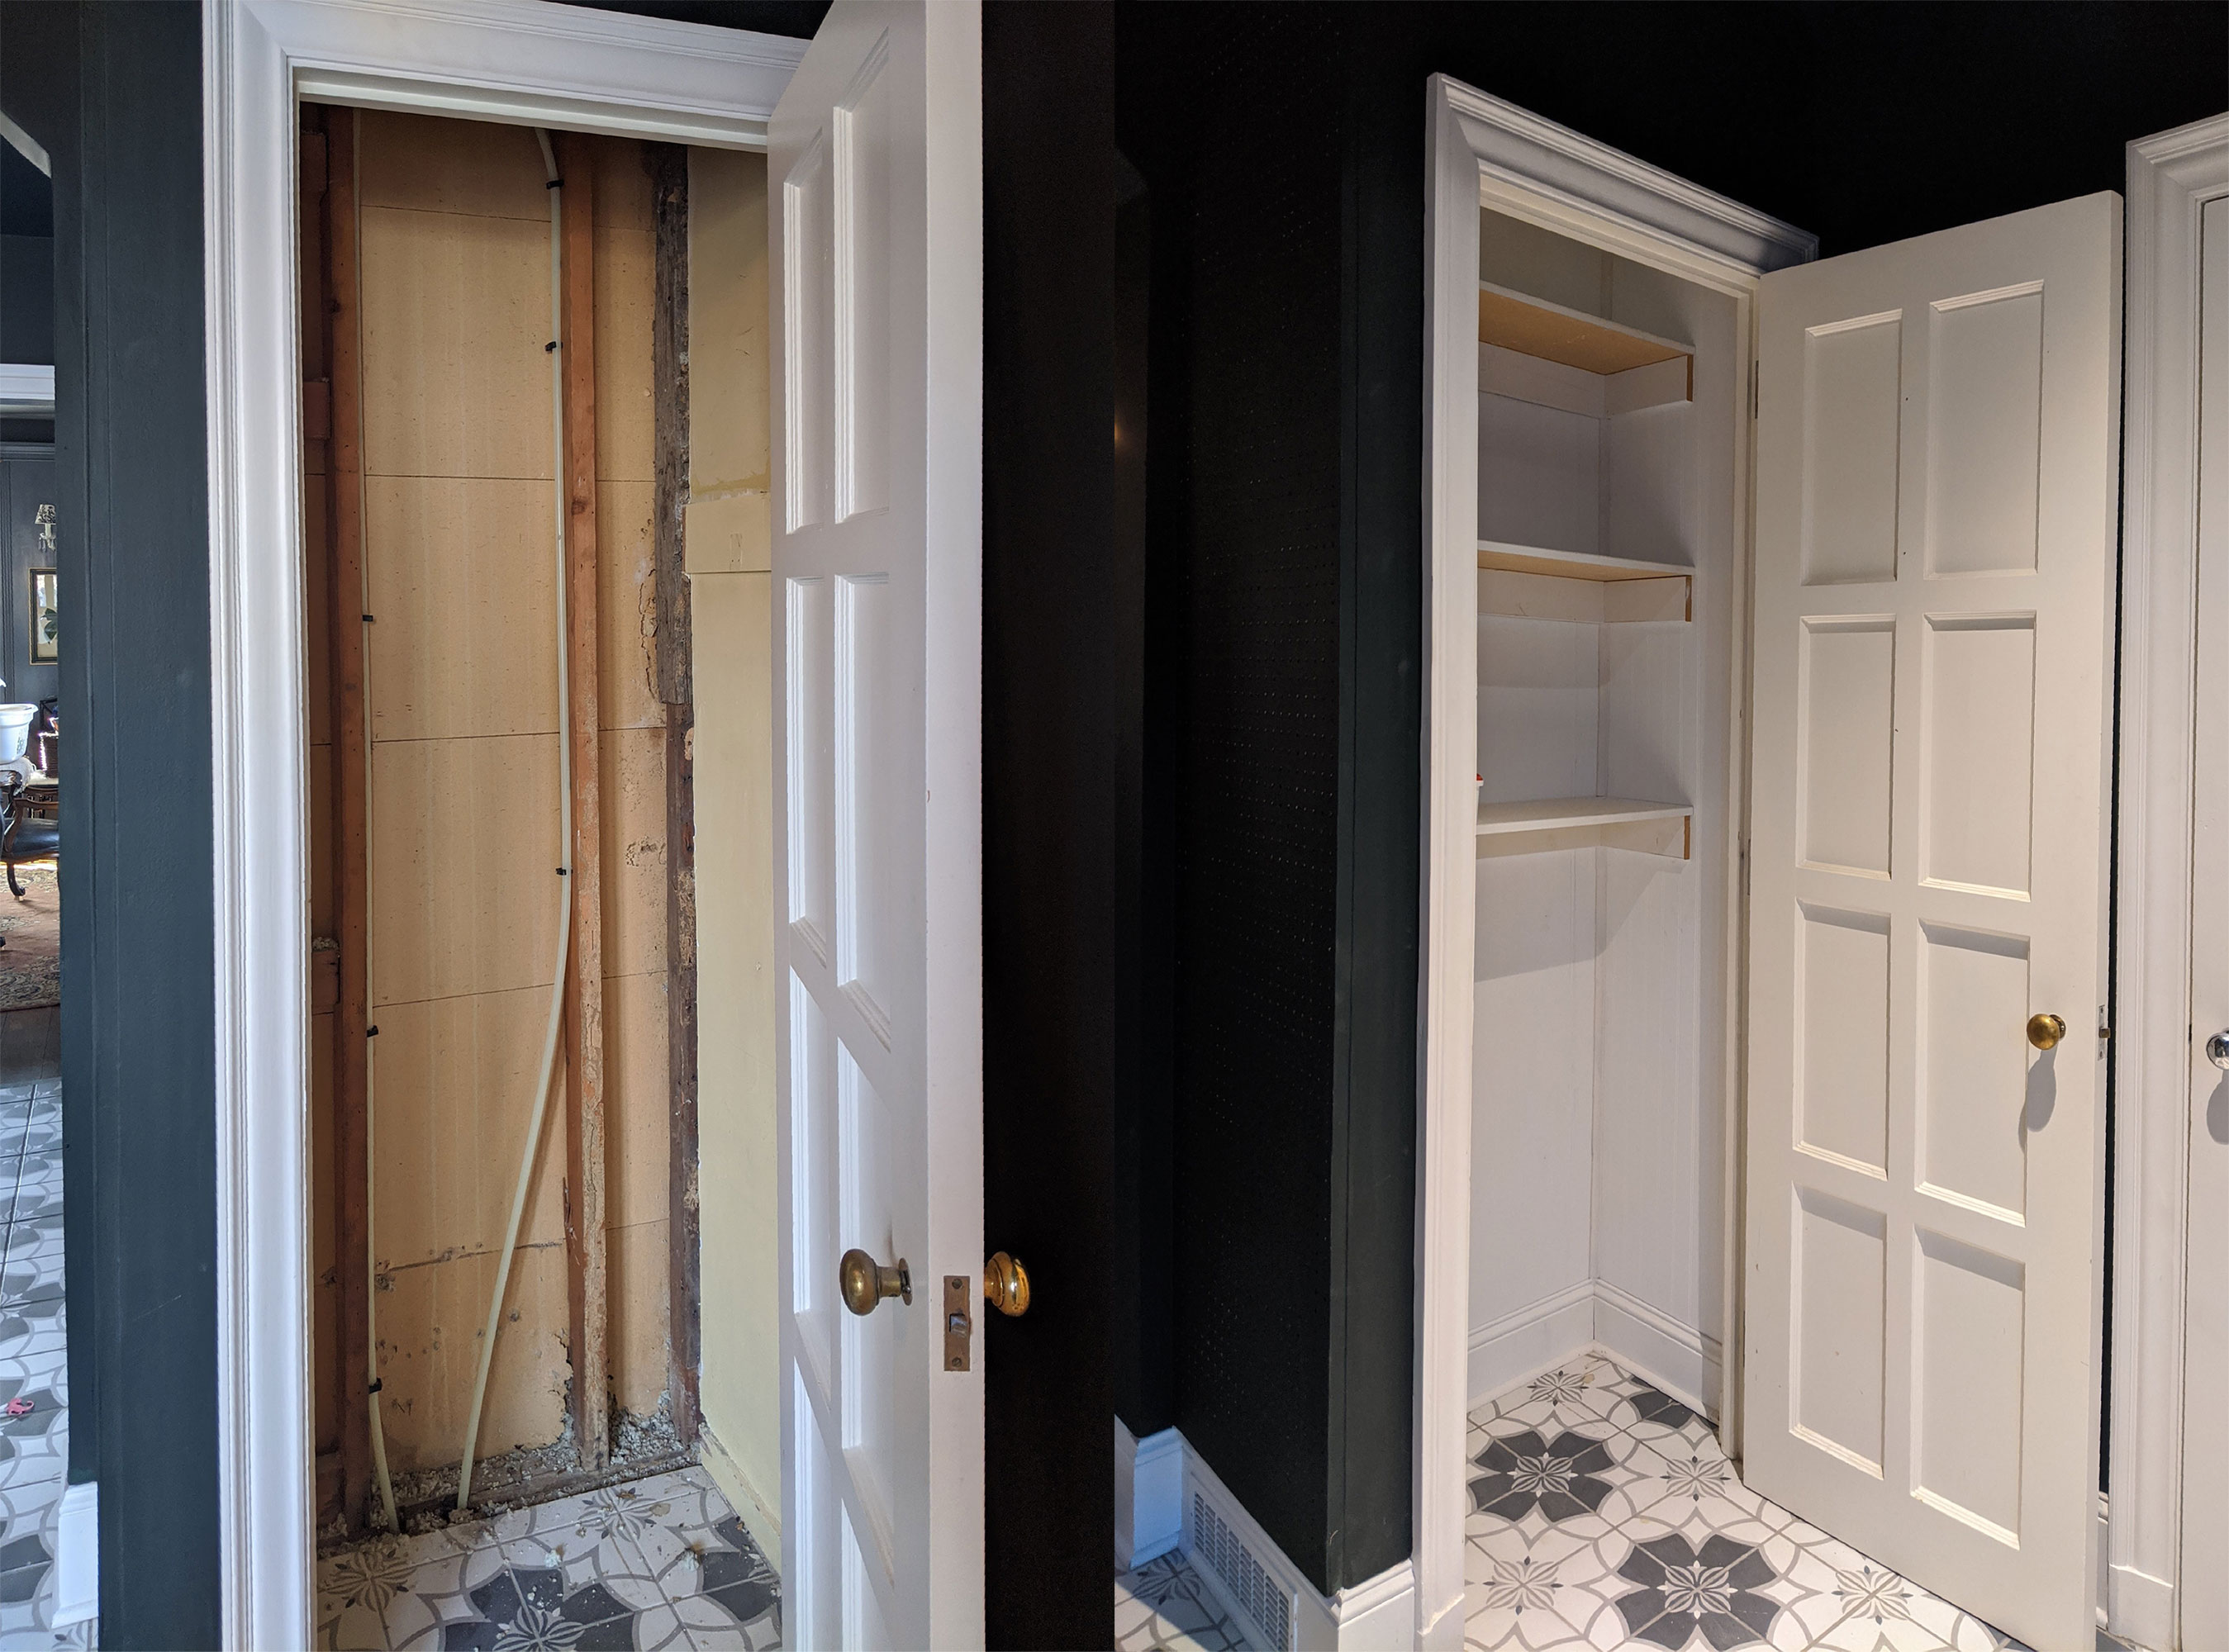
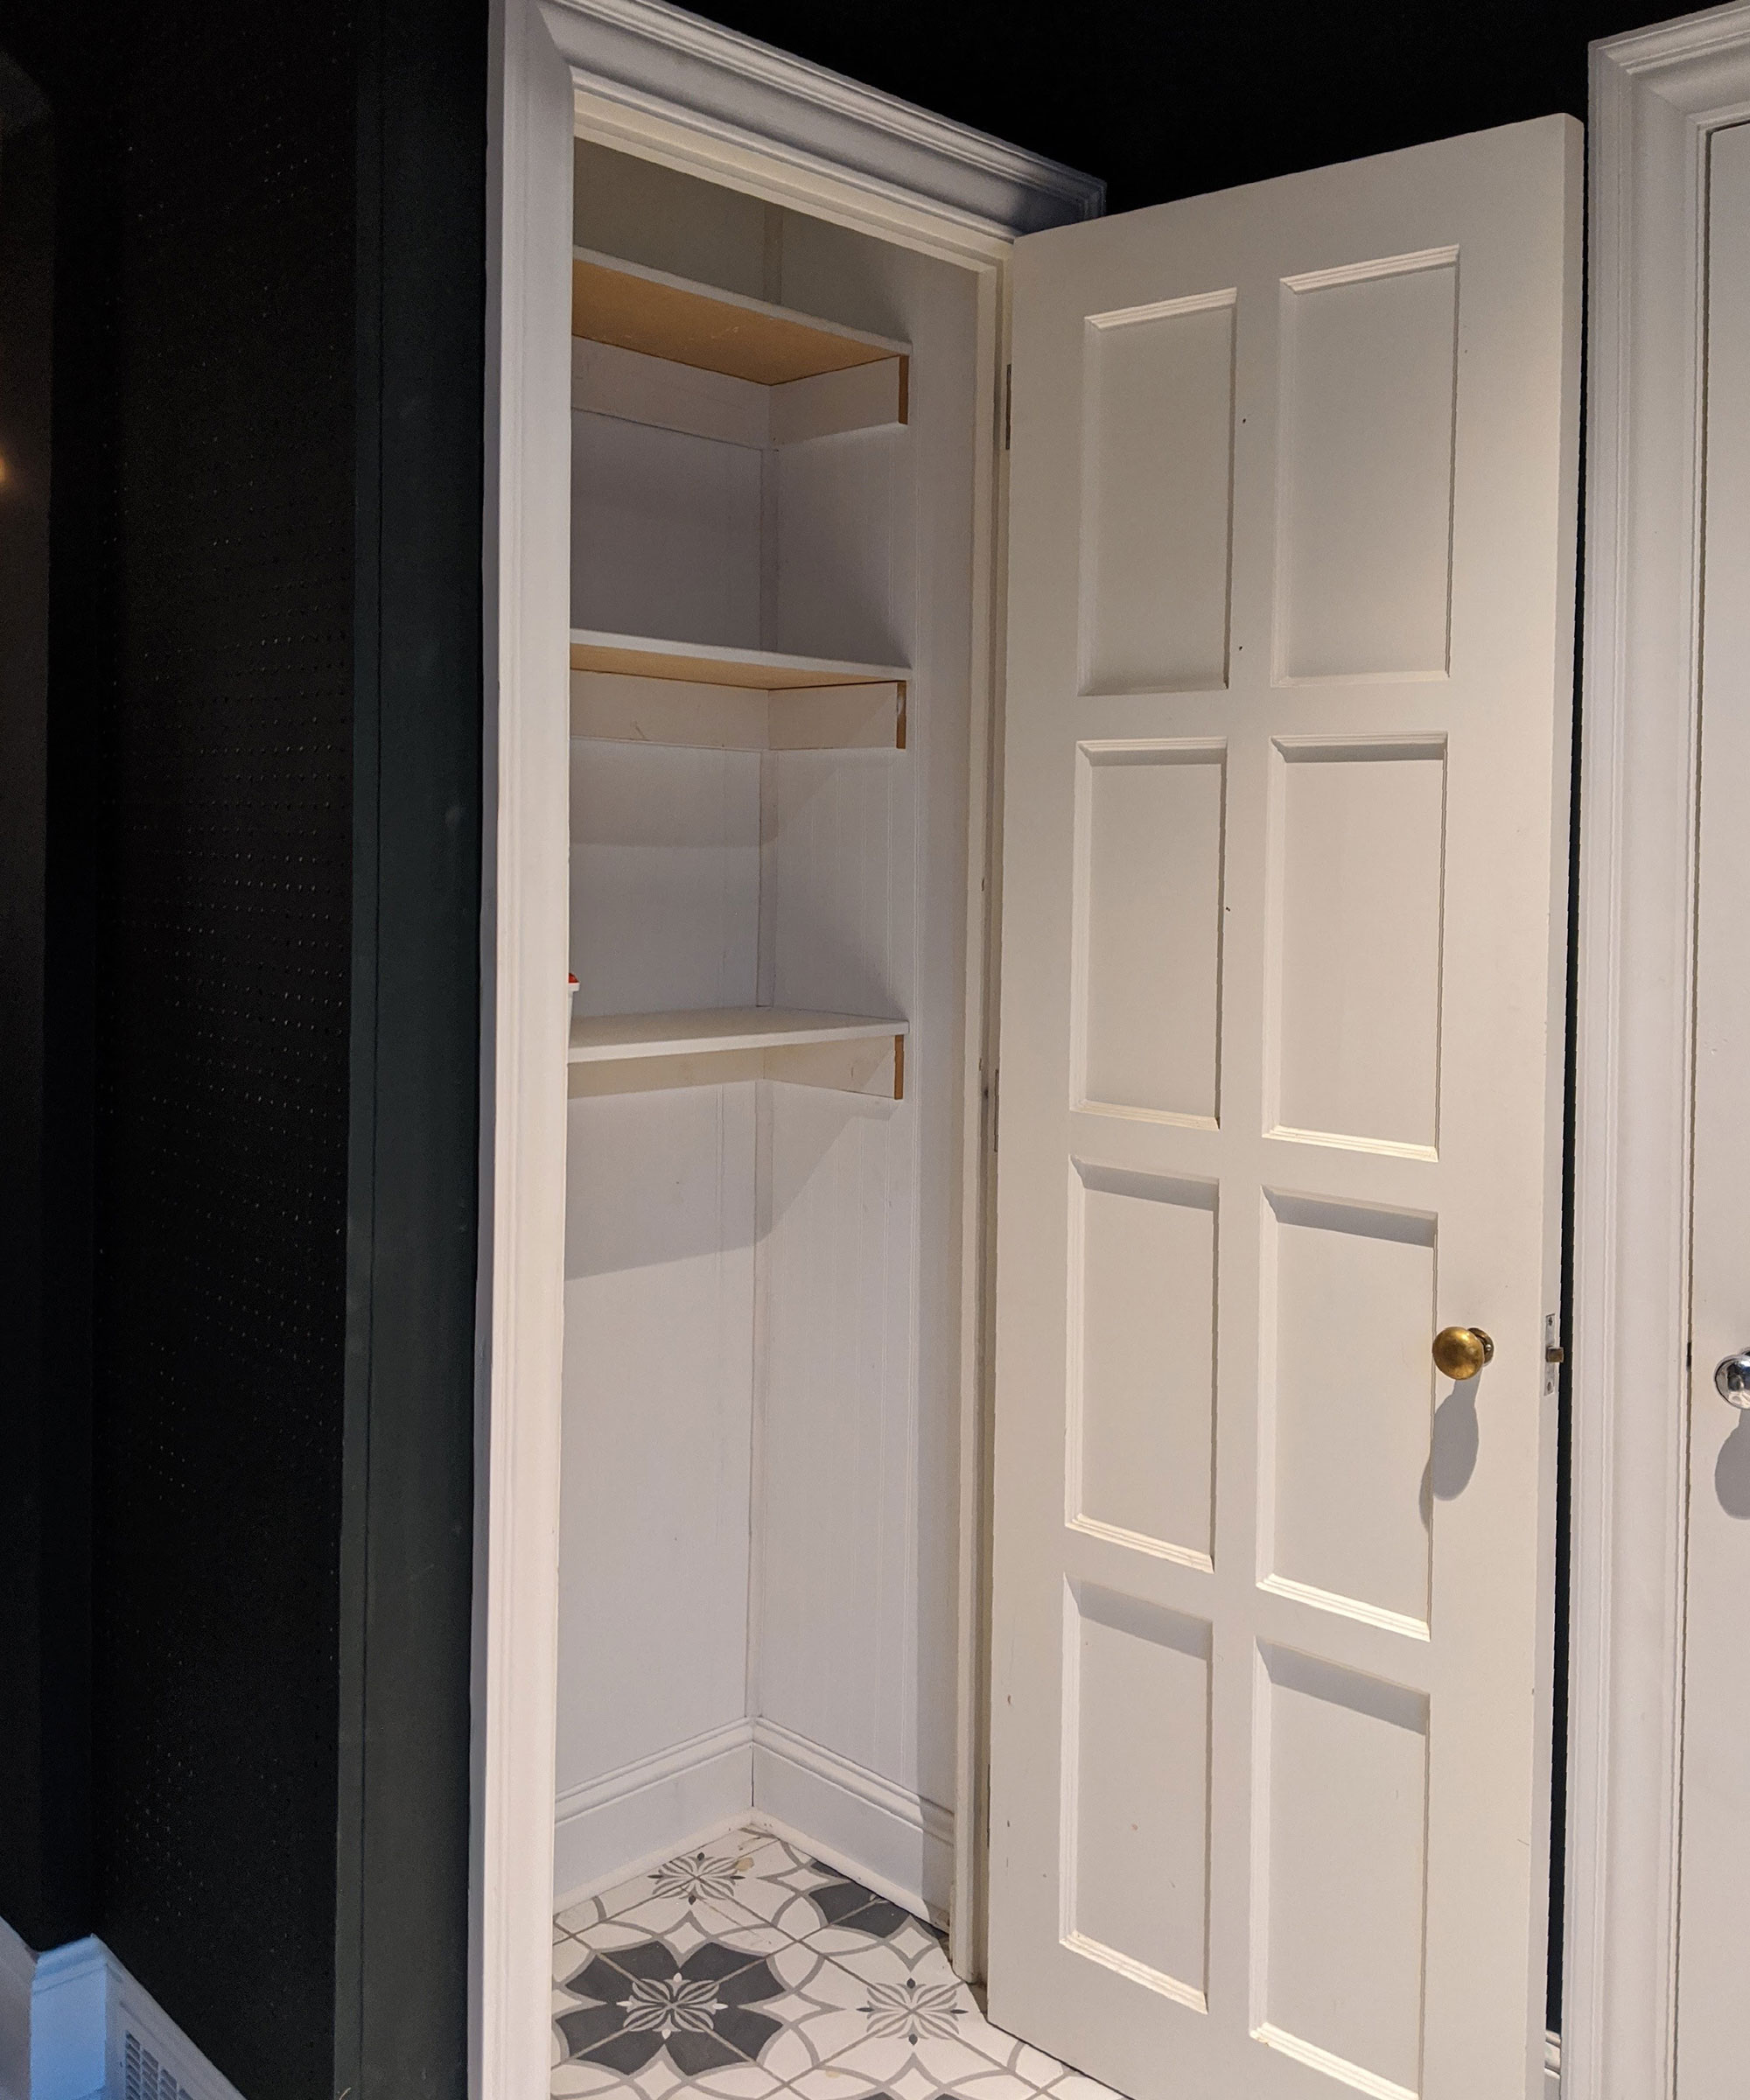
We added shelves for function of course, keeping quite a wide depth between them and leaving significant depth underneath them so that we could still keep just one beloved trash can below – more on this later.
Matching the paint color to the rest of the space is a simple way to create a more coherent scheme plus, it gives the closet a pretty elegant finish.
And so birthed out of this plumbing leak, our new and improved closet was brought into the world. Additionally, we gave it a fancier moniker, “the cleaning closet,” and never looked back.
Get small space home decor ideas, celeb inspiration, DIY tips and more, straight to your inbox!
It's both a broom closet and a place to keep all manner of cleaning items, think microfiber cloths and the like.
The finished cleaning closet
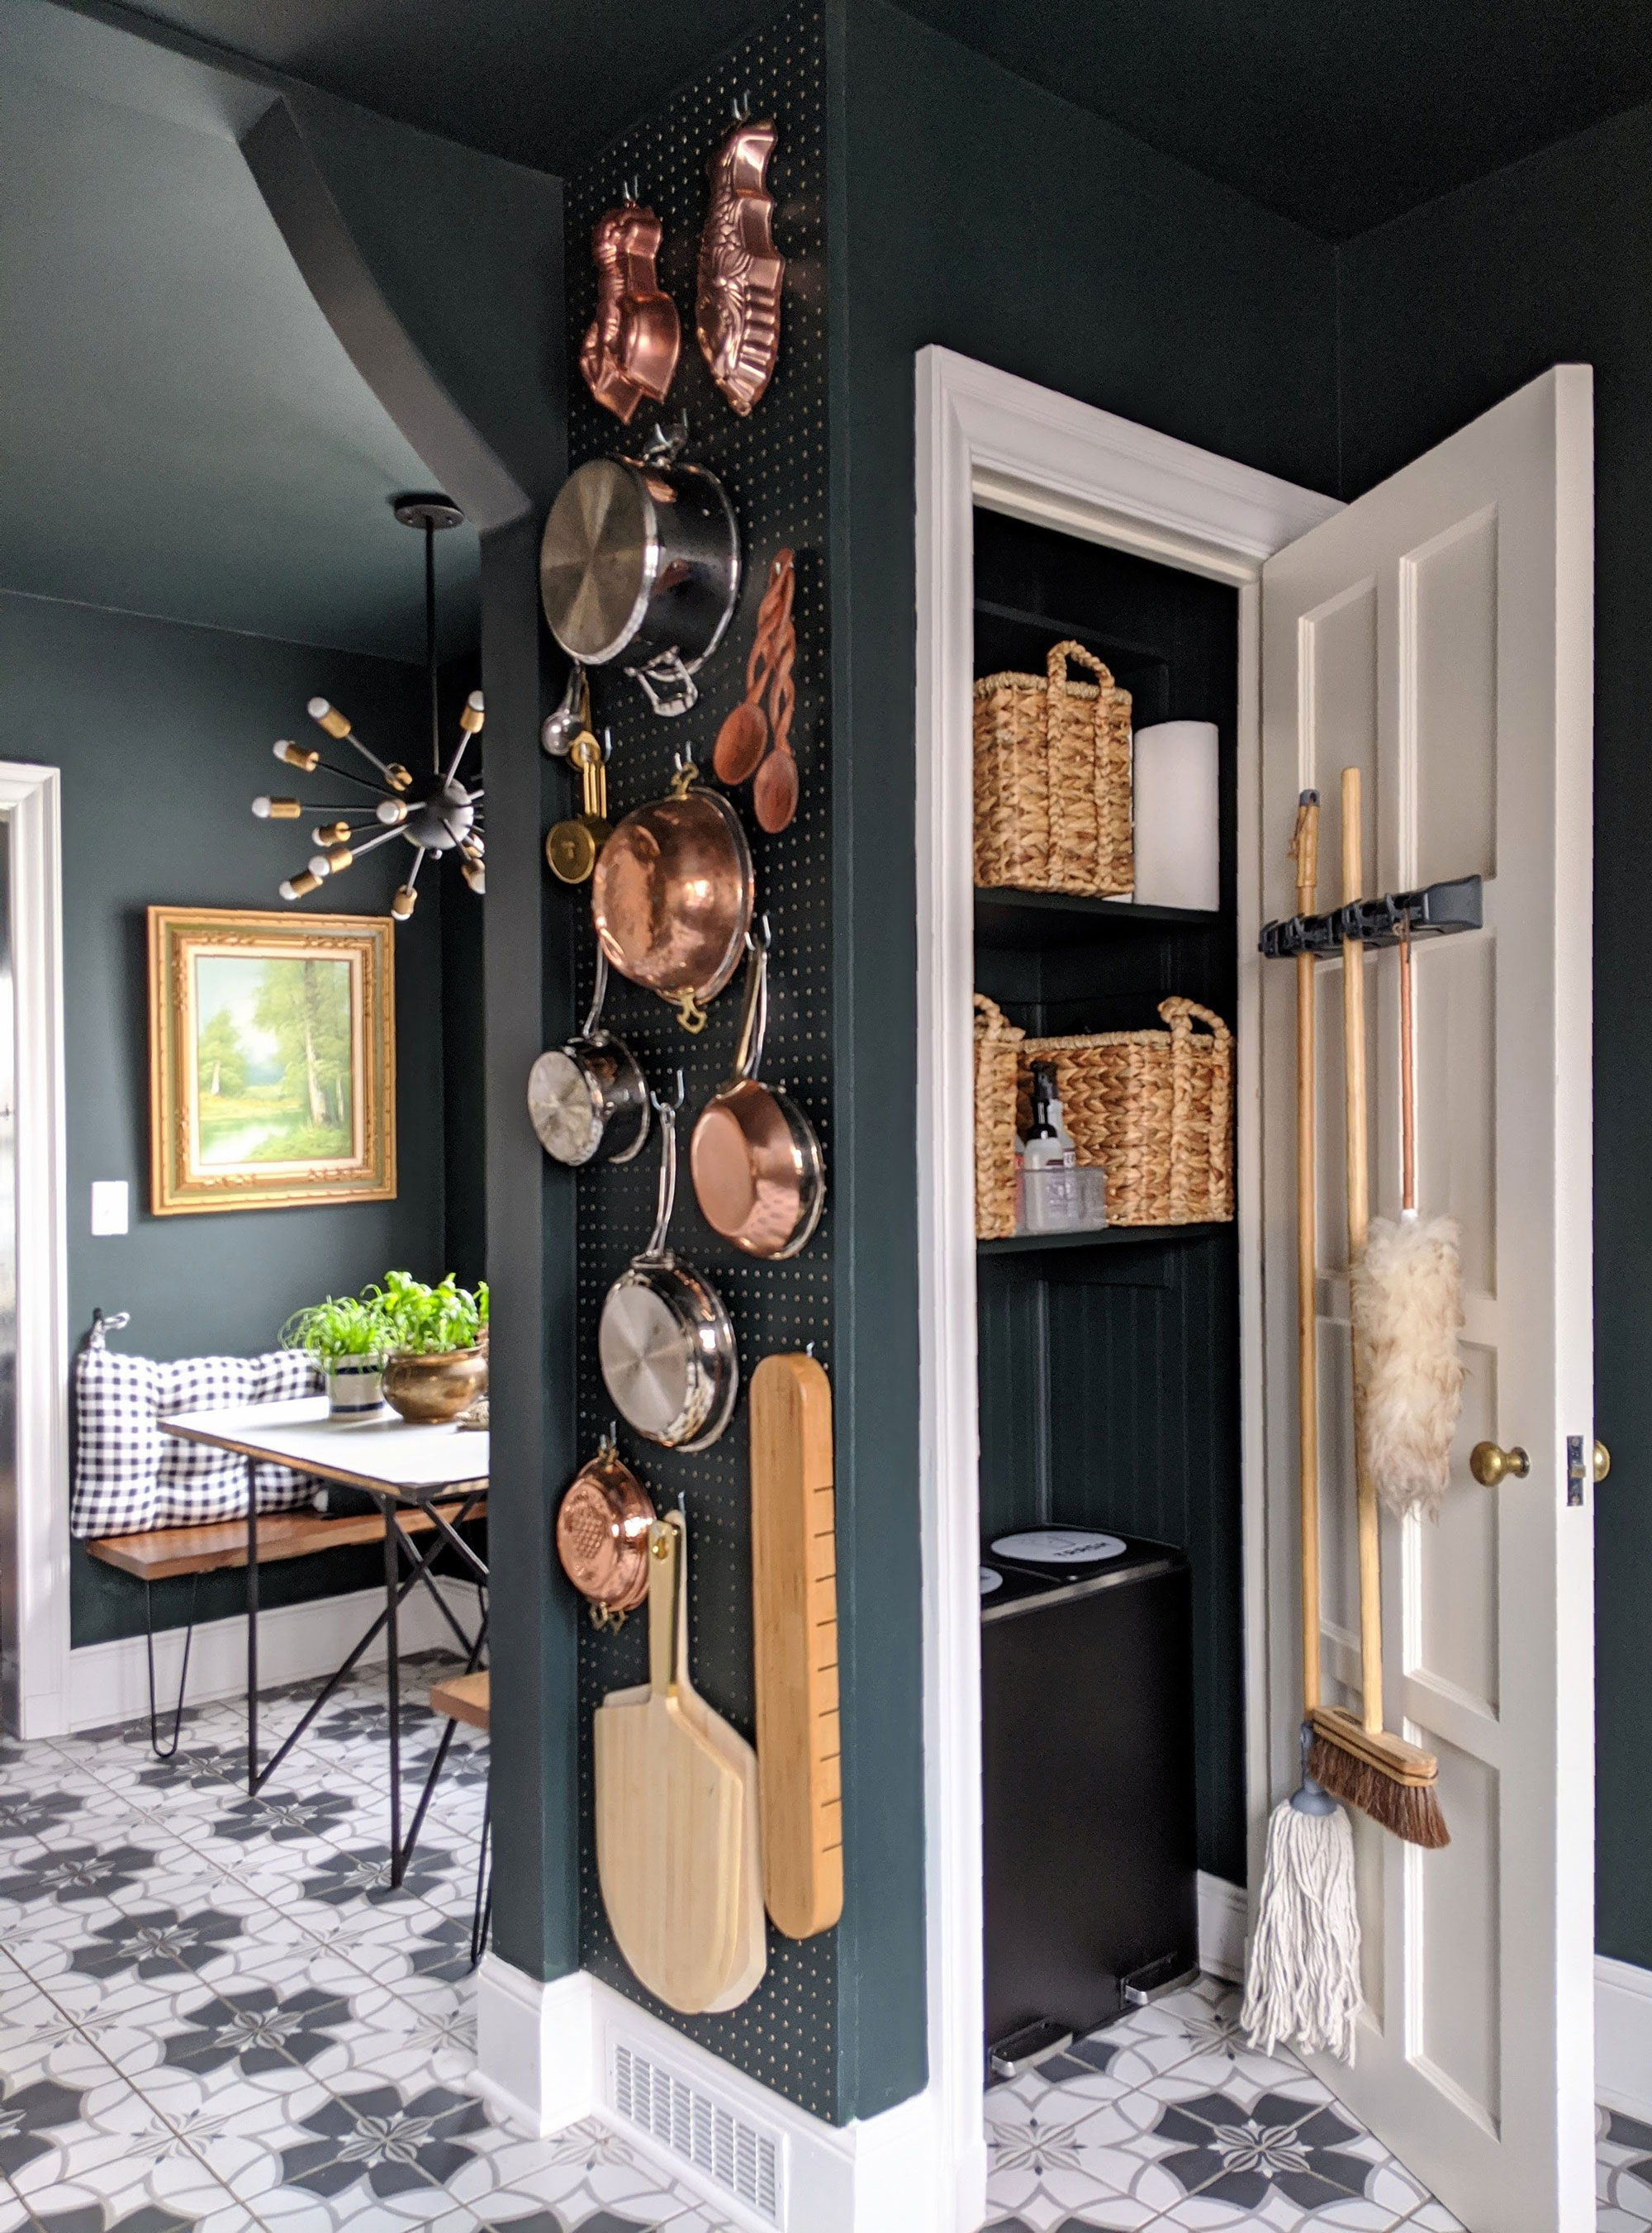
Plus, it didn't cost us much time or money to transform this little dull nook into something that now not only streamlines our organizing and cleaning routine, but that also fits in perfectly with our home's interior design scheme. It was totally worth it.
Top tips for creating a zen, cleaning station
Yes it was gorgeous now but with daily cleaning and up-keeping a home usually comes clutter so I knew I had to figure out the perfect organizational system to keep our brooms, mops and cleaning products in place looking fancy and ready for use. Whether you're organizing a kitchen or your pantry, it's worth getting the right storage and system in place to tackle it successfully.
Here's how to do it:
1. Go up to stash brooms
Use all your vertical spaces. The back of the door can expand your storage capacity dramatically. Hang an organizer and stash all your brooms, mops and basically anything with a looped handle. This $12 Mop and Broom Holder Wall Mount organizer from Amazon changed our entire cleaning game.
Mount shelves all the way up the back wall of the closet. Even if you are vertically challenged, go all the way to the ceiling with your shelves. Those upper shelves are perfect for stashing your Costco overflow or industrial sized cleaners you picked up on clearance. (A collapsible step stool can slide beside the bins for quick access.) In our closet, three shelves replaced one.
2. Go all matchy matchy
This combo trash/recycling bin from Amazon was a bit of a splurge for me. We previously had cheapy, non-matching rubbish and recycling containers made from plastic. I now enjoy how peaceful this twin setup looks and appreciate the hands free mechanics.
I also bought all matching baskets for the shelves. Unless you are dedicated to one cleaning line, a jumble of supplies is never cute. Baskets hide the clutter while still allowing for grouped organization.
Pro tip: make sure you cross check the shelving dimensions with the baskets to ensure proper fit.
3. Label it
One of my favorite things we added is the label decals on our waste bins. Yes, they aren't the cutest, but they did stop my six year old from asking “which one does this go in?” for the millionth time. Which has successfully kept all the food waste out of the recycling. A total mom win in my book! You can also add labels to your baskets handles for further demarcation.
4. Maintain it
Ok. So we all know this is the tough part. Once a month I go through and evict other things that have crept in. Below is a list of the only things that call the cleaning closet home in our house. All other items that don’t belong must leave. Jot down what your closet will house. Hold strong on your list; it’s the only way to keep your cleaning storage from regressing into the sad state it began.
Here’s mine:
- Cleaning solutions
- Brooms, mop and duster
- Microfiber cloths and paper towels
- Trash bags
- Batteries
- Light bulbs
- Scissors
- Plastic grocery bags
What’s the best part of an organized cleaning closet? No more shuttering when party guests ask, “where’s the trash?”
Ruthie Jackson is an Iowa-based DIYer, furniture flipper, certified interior decorator, and lover of all things vintage. She's currently renovating her family's 1930s colonial home, which she documents on Instagram at @miracleonthirtyfourth.