
One of the most important ways to make a statement in a room is by updating the light fixtures. Many homes come with pretty standard fixtures, and quite often, the lack of unique characteristics can make the home feel less custom. However, a problem that many people often encounter is that replacing light fixtures,, especially chandeliers and pendants, can cost a pretty penny, so this task often gets pushed to the bottom of the list.
Well, it is time to bring that item up to the top of your to-do list, because I am here to explain how you can make your light fixture look brand new with an easy DIY project that only costs a few dollars: painting a chandelier with chalk paint

I loved the light that I originally bought for our kitchen, but as it usually happens, my style evolved, and a few years later I found myself wanting a different feel. However, I couldn’t justify purchasing a brand-new fixture. So, right then and there is when the wheels started turning, and I decided that I would go ahead and refinish the existing light.
I had spray painted light fixtures before, but I wanted to try something different, so I decided to give chalk paint a whirl. I loved the allure of not having to sand the fixture that came along with chalk paint, and I also knew that I was able to create a wood look on the light that would give it a more casual feel- exactly what I was going for.
- Check out our picks for the best paint for furniture
How to paint a chandelier with chalk paint

The light fixture 'before'
Chalk paint is incredibly easy to work with, and requires little prep. Give your chandelier a good wipe down and you're ready to get painting.
Step 1: Apply paint
I applied a coat of light brown chalk paint to the light with a small paint brush, and once it was dry, I was able to repeat for a second coat.
The product dries fairly quickly, and at that point I was left with a newly painted fixture that had a bit of a chalky finish.
Step 2: Apply finishing wax
In order to seal the paint and to also give a faux wood look, I used a finishing wax that is specifically purposed for chalk paint.
Applying is as easy as rubbing on with a lint free cloth. The wax comes in a variety of colors ranging from clear to dark, and for my purpose, I opted to use a dark wax. The dark wax was able to give me the appearance of wood grain on the tan paint. The amount of wax to be used is completely personal preference, and so I recommend starting with a small amount and working your way up. It is always possible to add more if you want to.
Step 3: Add beads (optional!)
I loved the faux wood look that I had just achieved and thought that the perfect addition would be some strands of wood beads. You can get unfinished wood beads at any craft store, and I used clear fishing wire to string the beads and attach to the fixture.
I loved the idea of the fishing wire because it left me with the ability to remove them later if my taste changed again, which, in my case, is quite likely. I am happy to say that I have had the fixture for over three years now, and I have never once wanted to change it.
I don’t know if it is the look of the light itself, or the idea that I created that look that makes me love it so much. Something tells me that it is a little of both. So was I crazy to grab a paintbrush and paint a perfectly beautiful light fixture? Some would probably support that idea, but if you ask me, your home should be exactly what you want it to be. If there is something that you don’t like, just remember that it is your. home. And also remember that you can chalk paint just about anything, so grab those paint brushes!
-
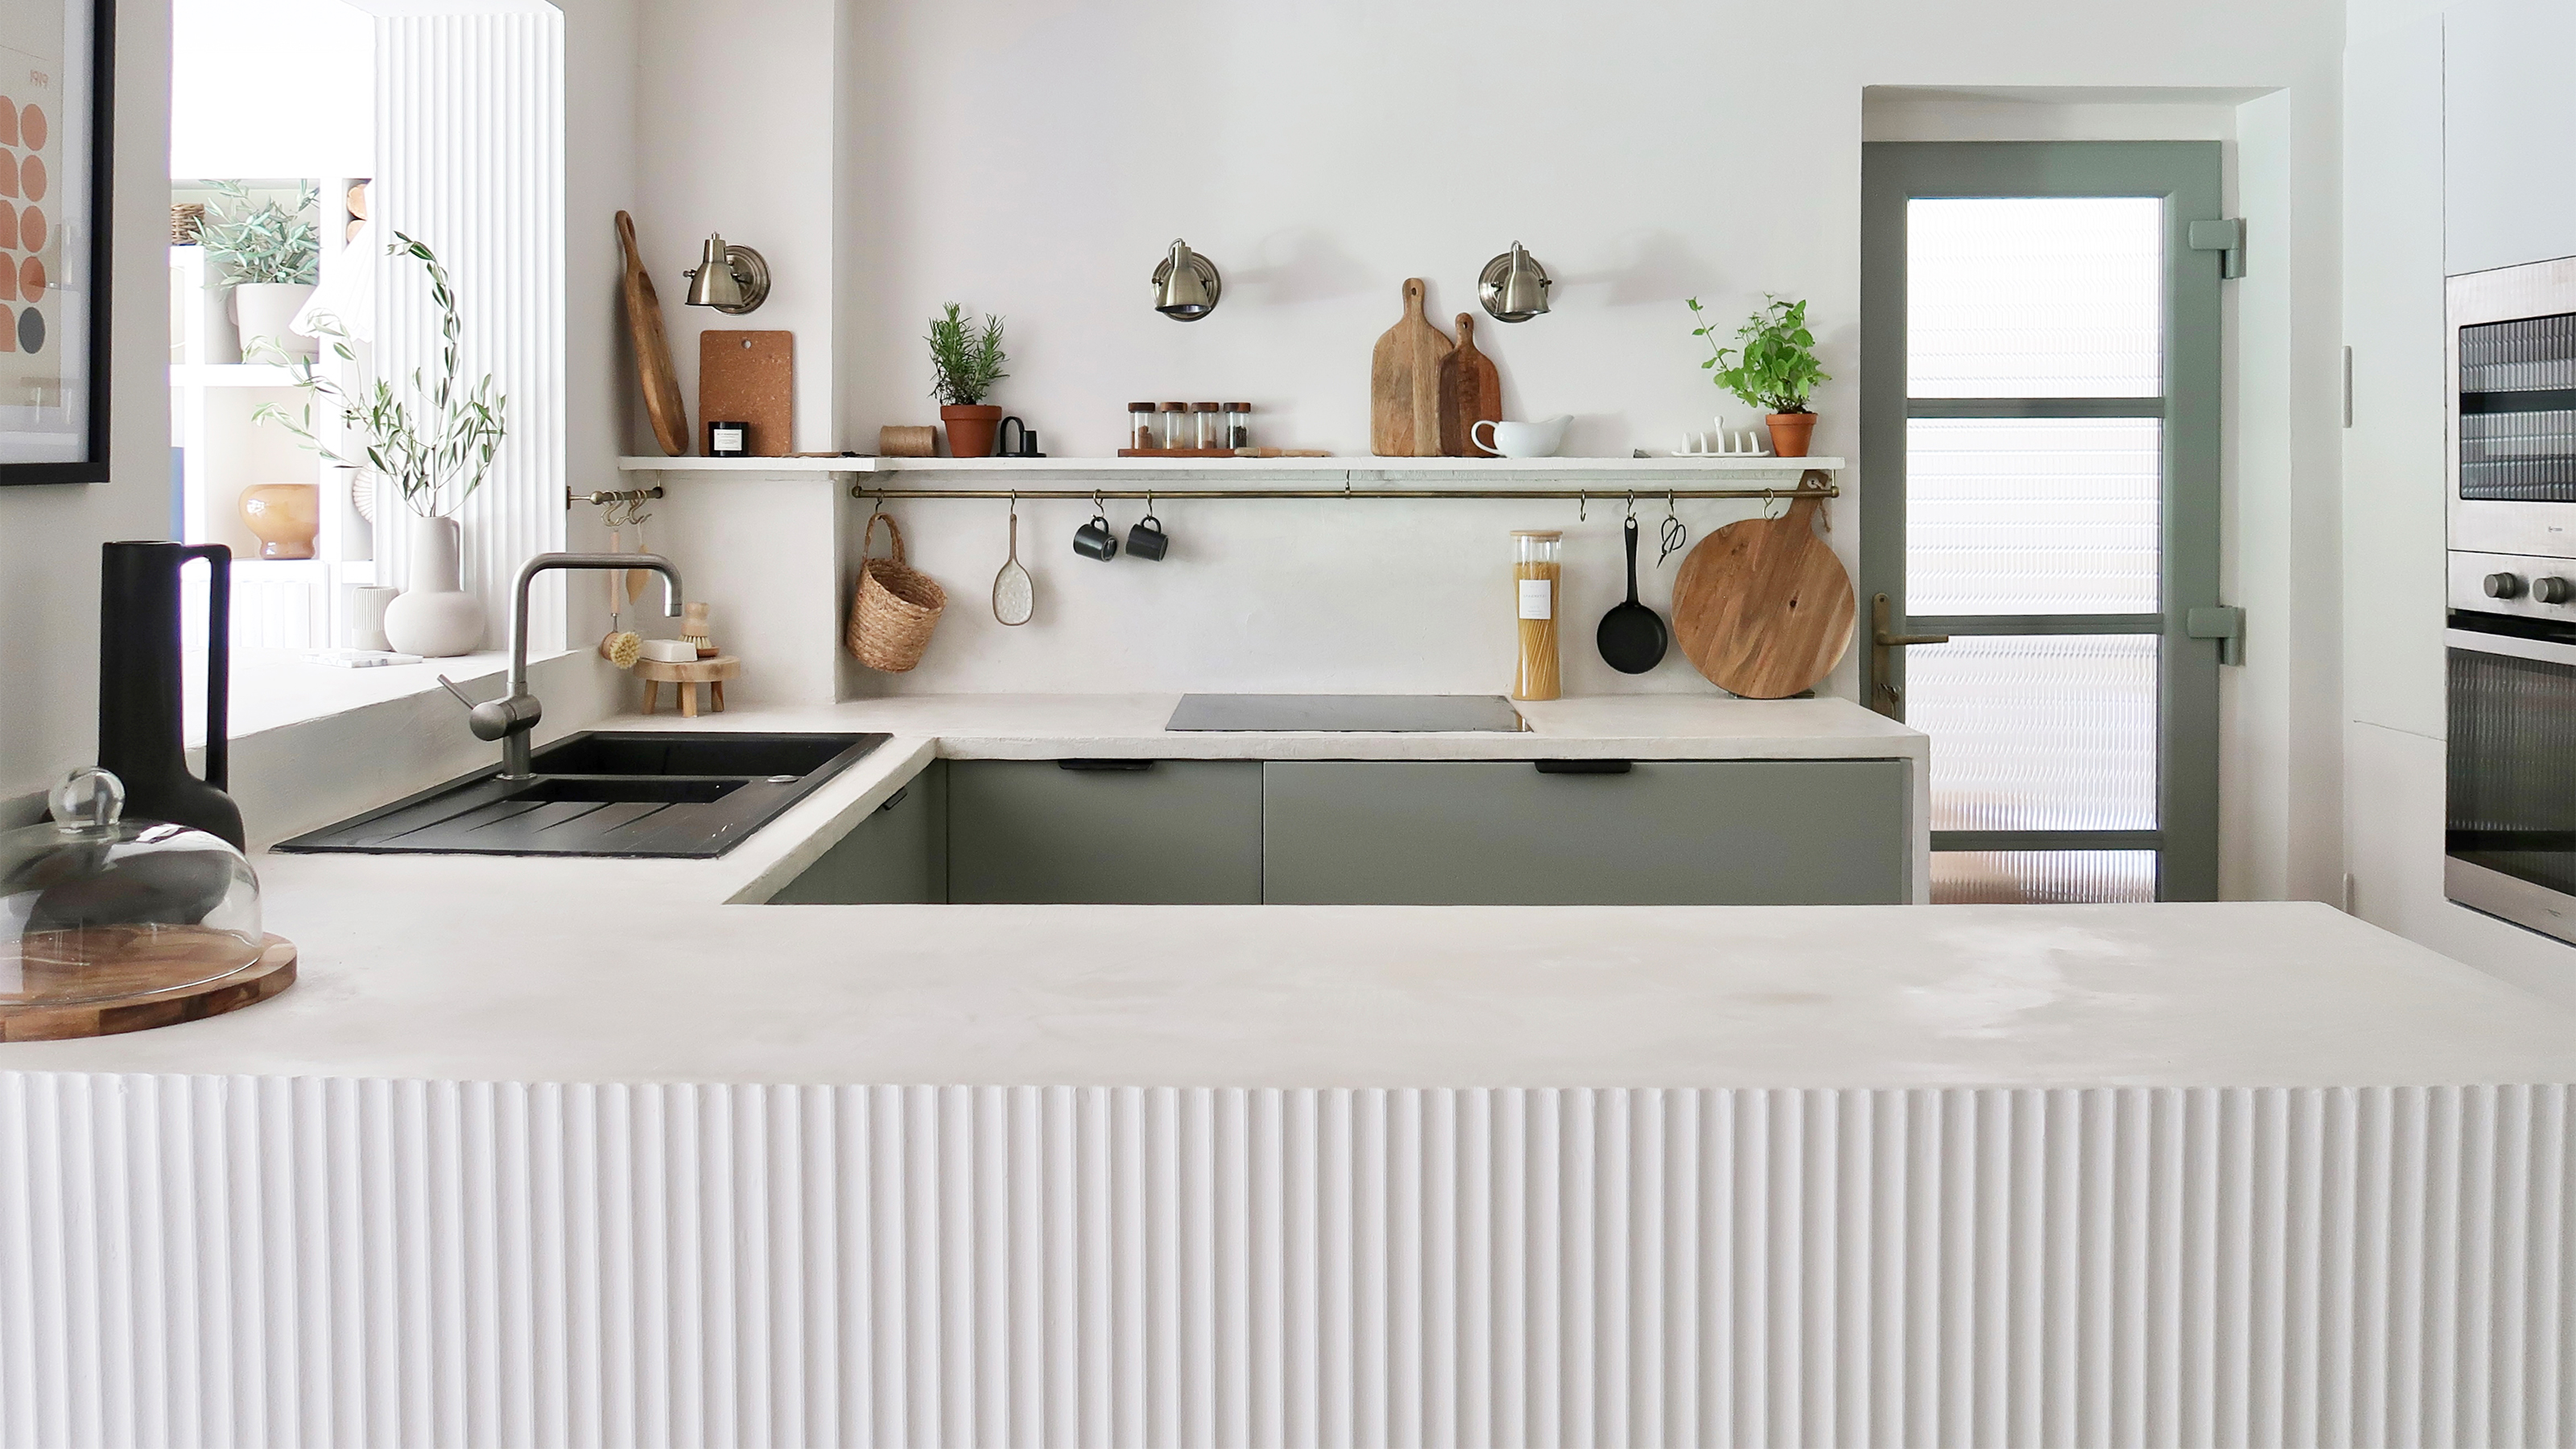 A $200 fluted panel transformed my drab kitchen in just one weekend
How to install a fluted kitchen panel: A speedy and achievable DIY tutorial even for DIY novices
-
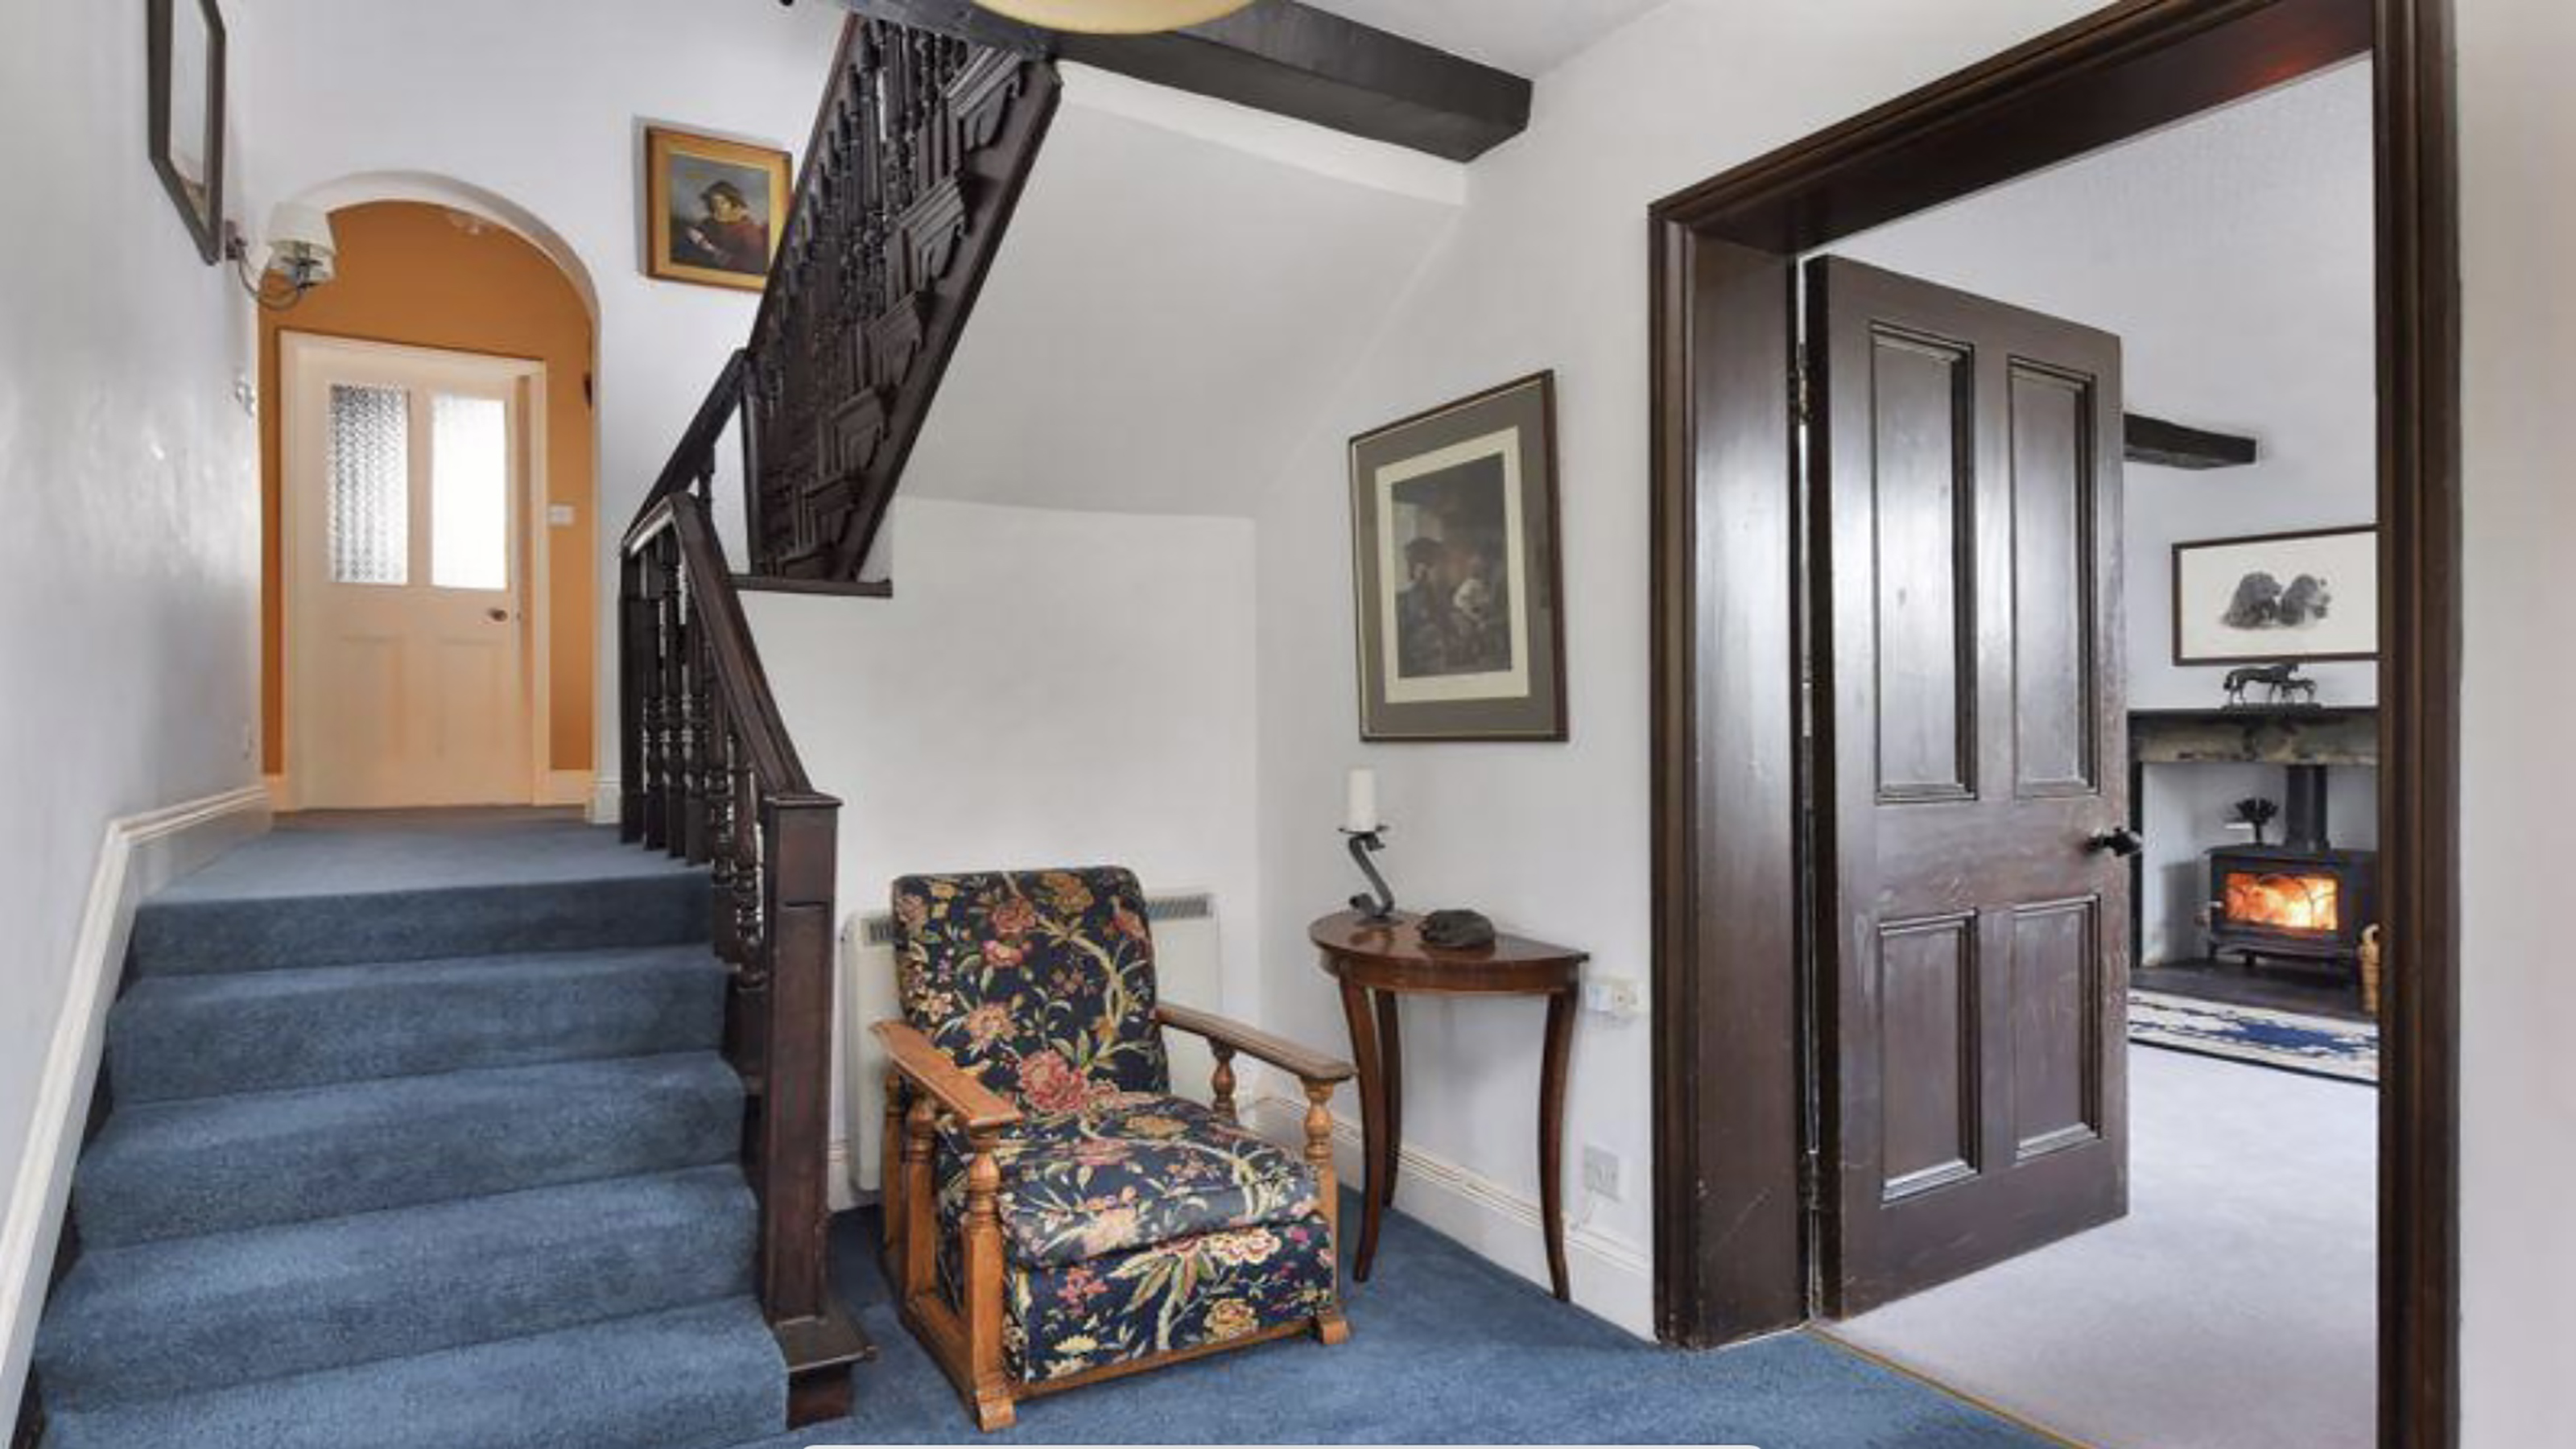 How to replace a broken staircase spindle in 30 minutes flat
A missing or broken spindle on a staircase is not only unsightly, but it can be a real hazard. This is how to fix it in a few quick steps.
-
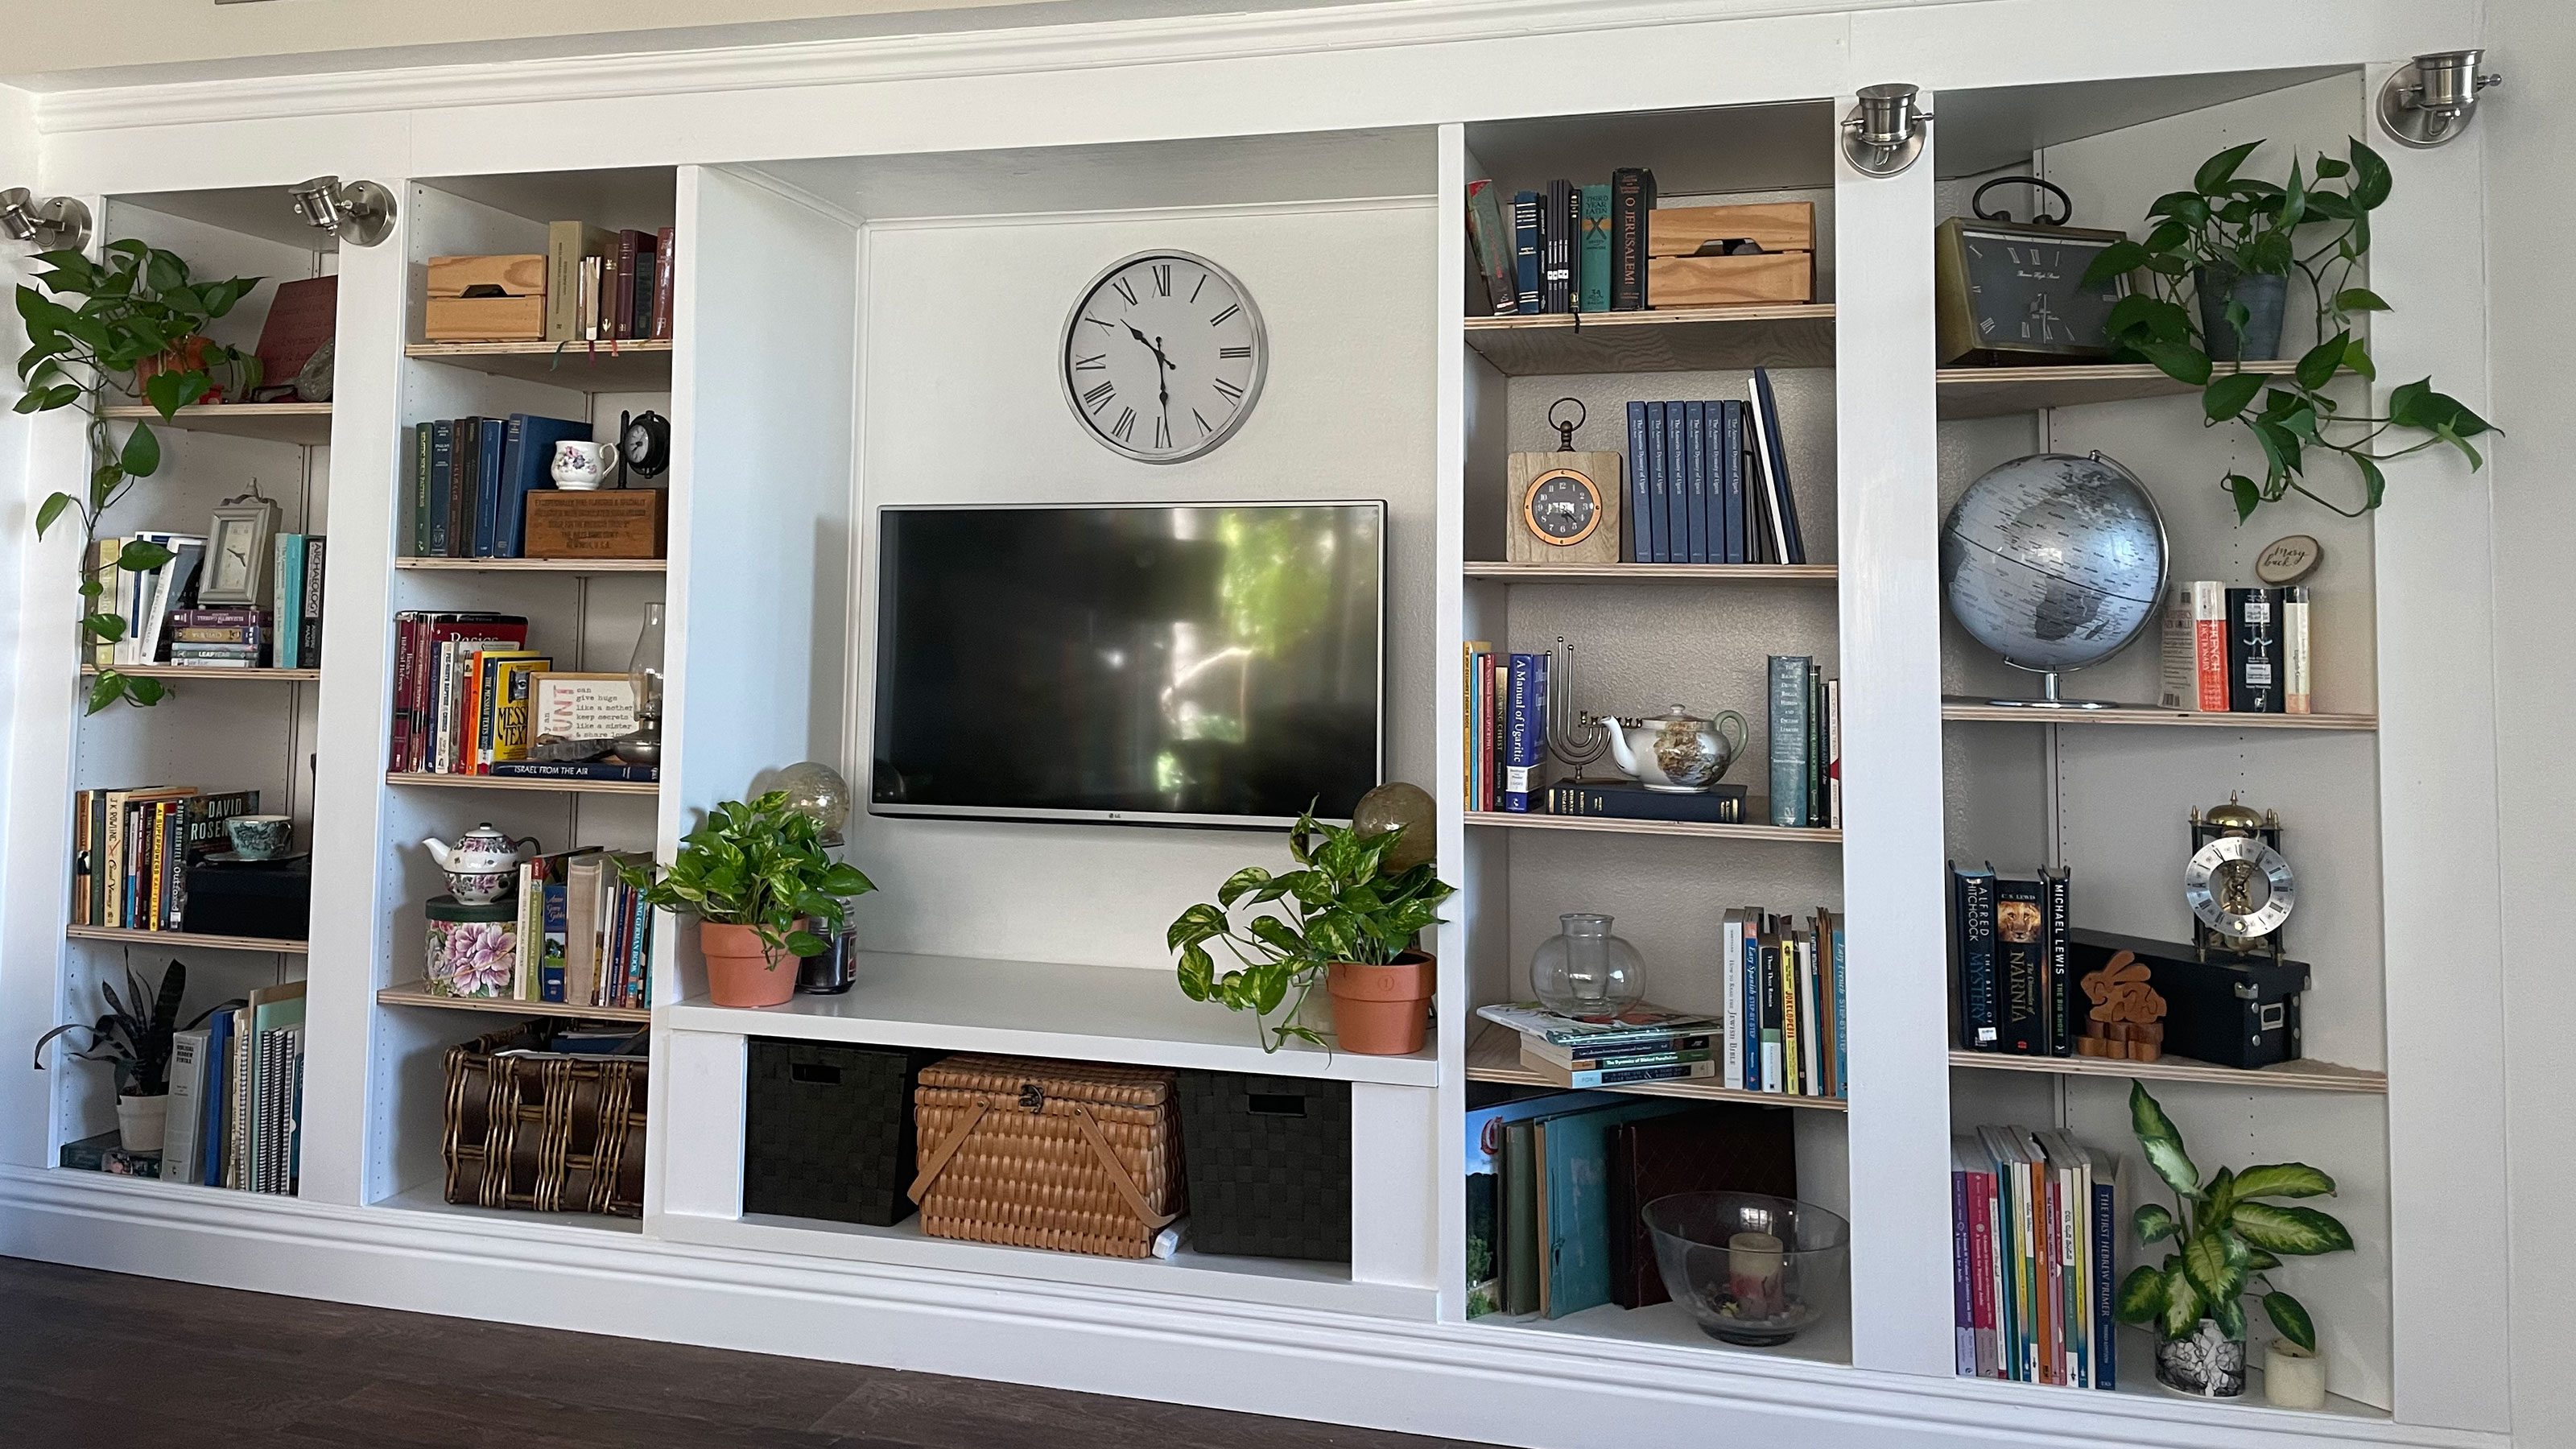 An IKEA Billy bookcase hack inspired this cute media wall DIY
This cute DIY was inspired by an IKEA Billy bookcase hack and brought a ton of symmetry to an otherwise basic media wall space.
-
 Share your small space glow up to win $150 in the Real Homes competition
Show off your creativity and DIY skills to win $150 and for the chance to be featured exclusively in Real Homes magazine
-
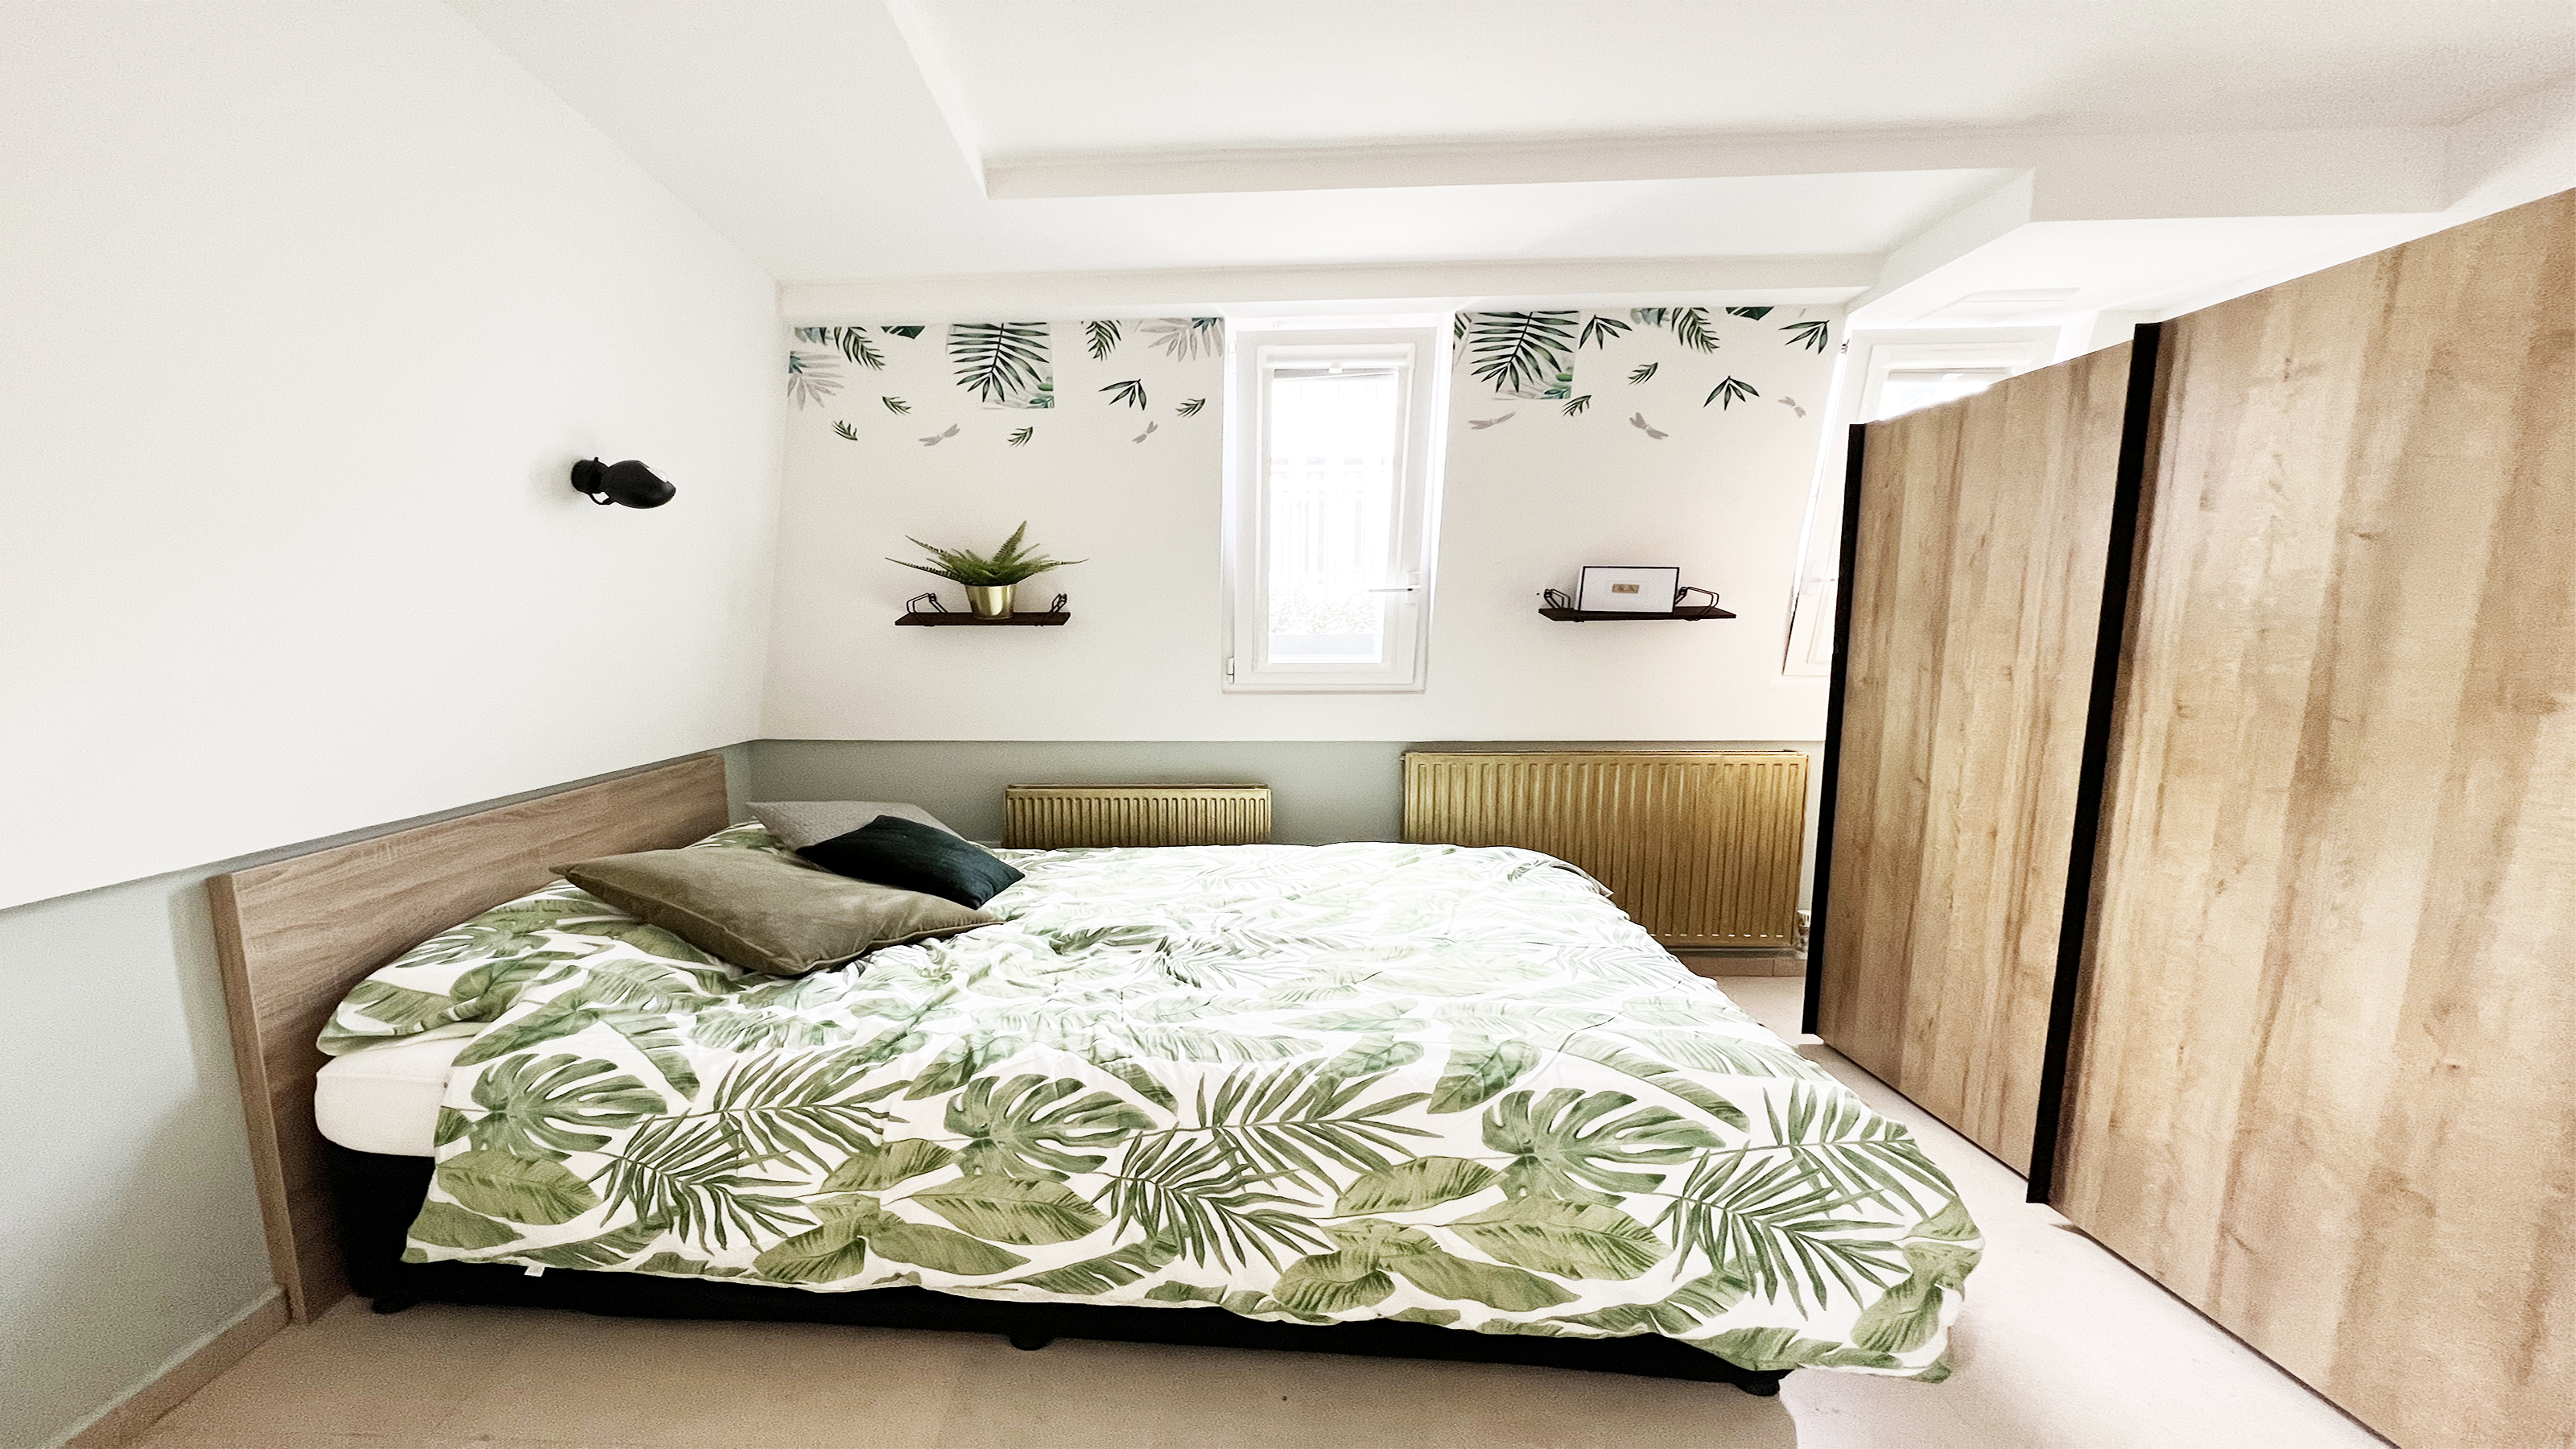
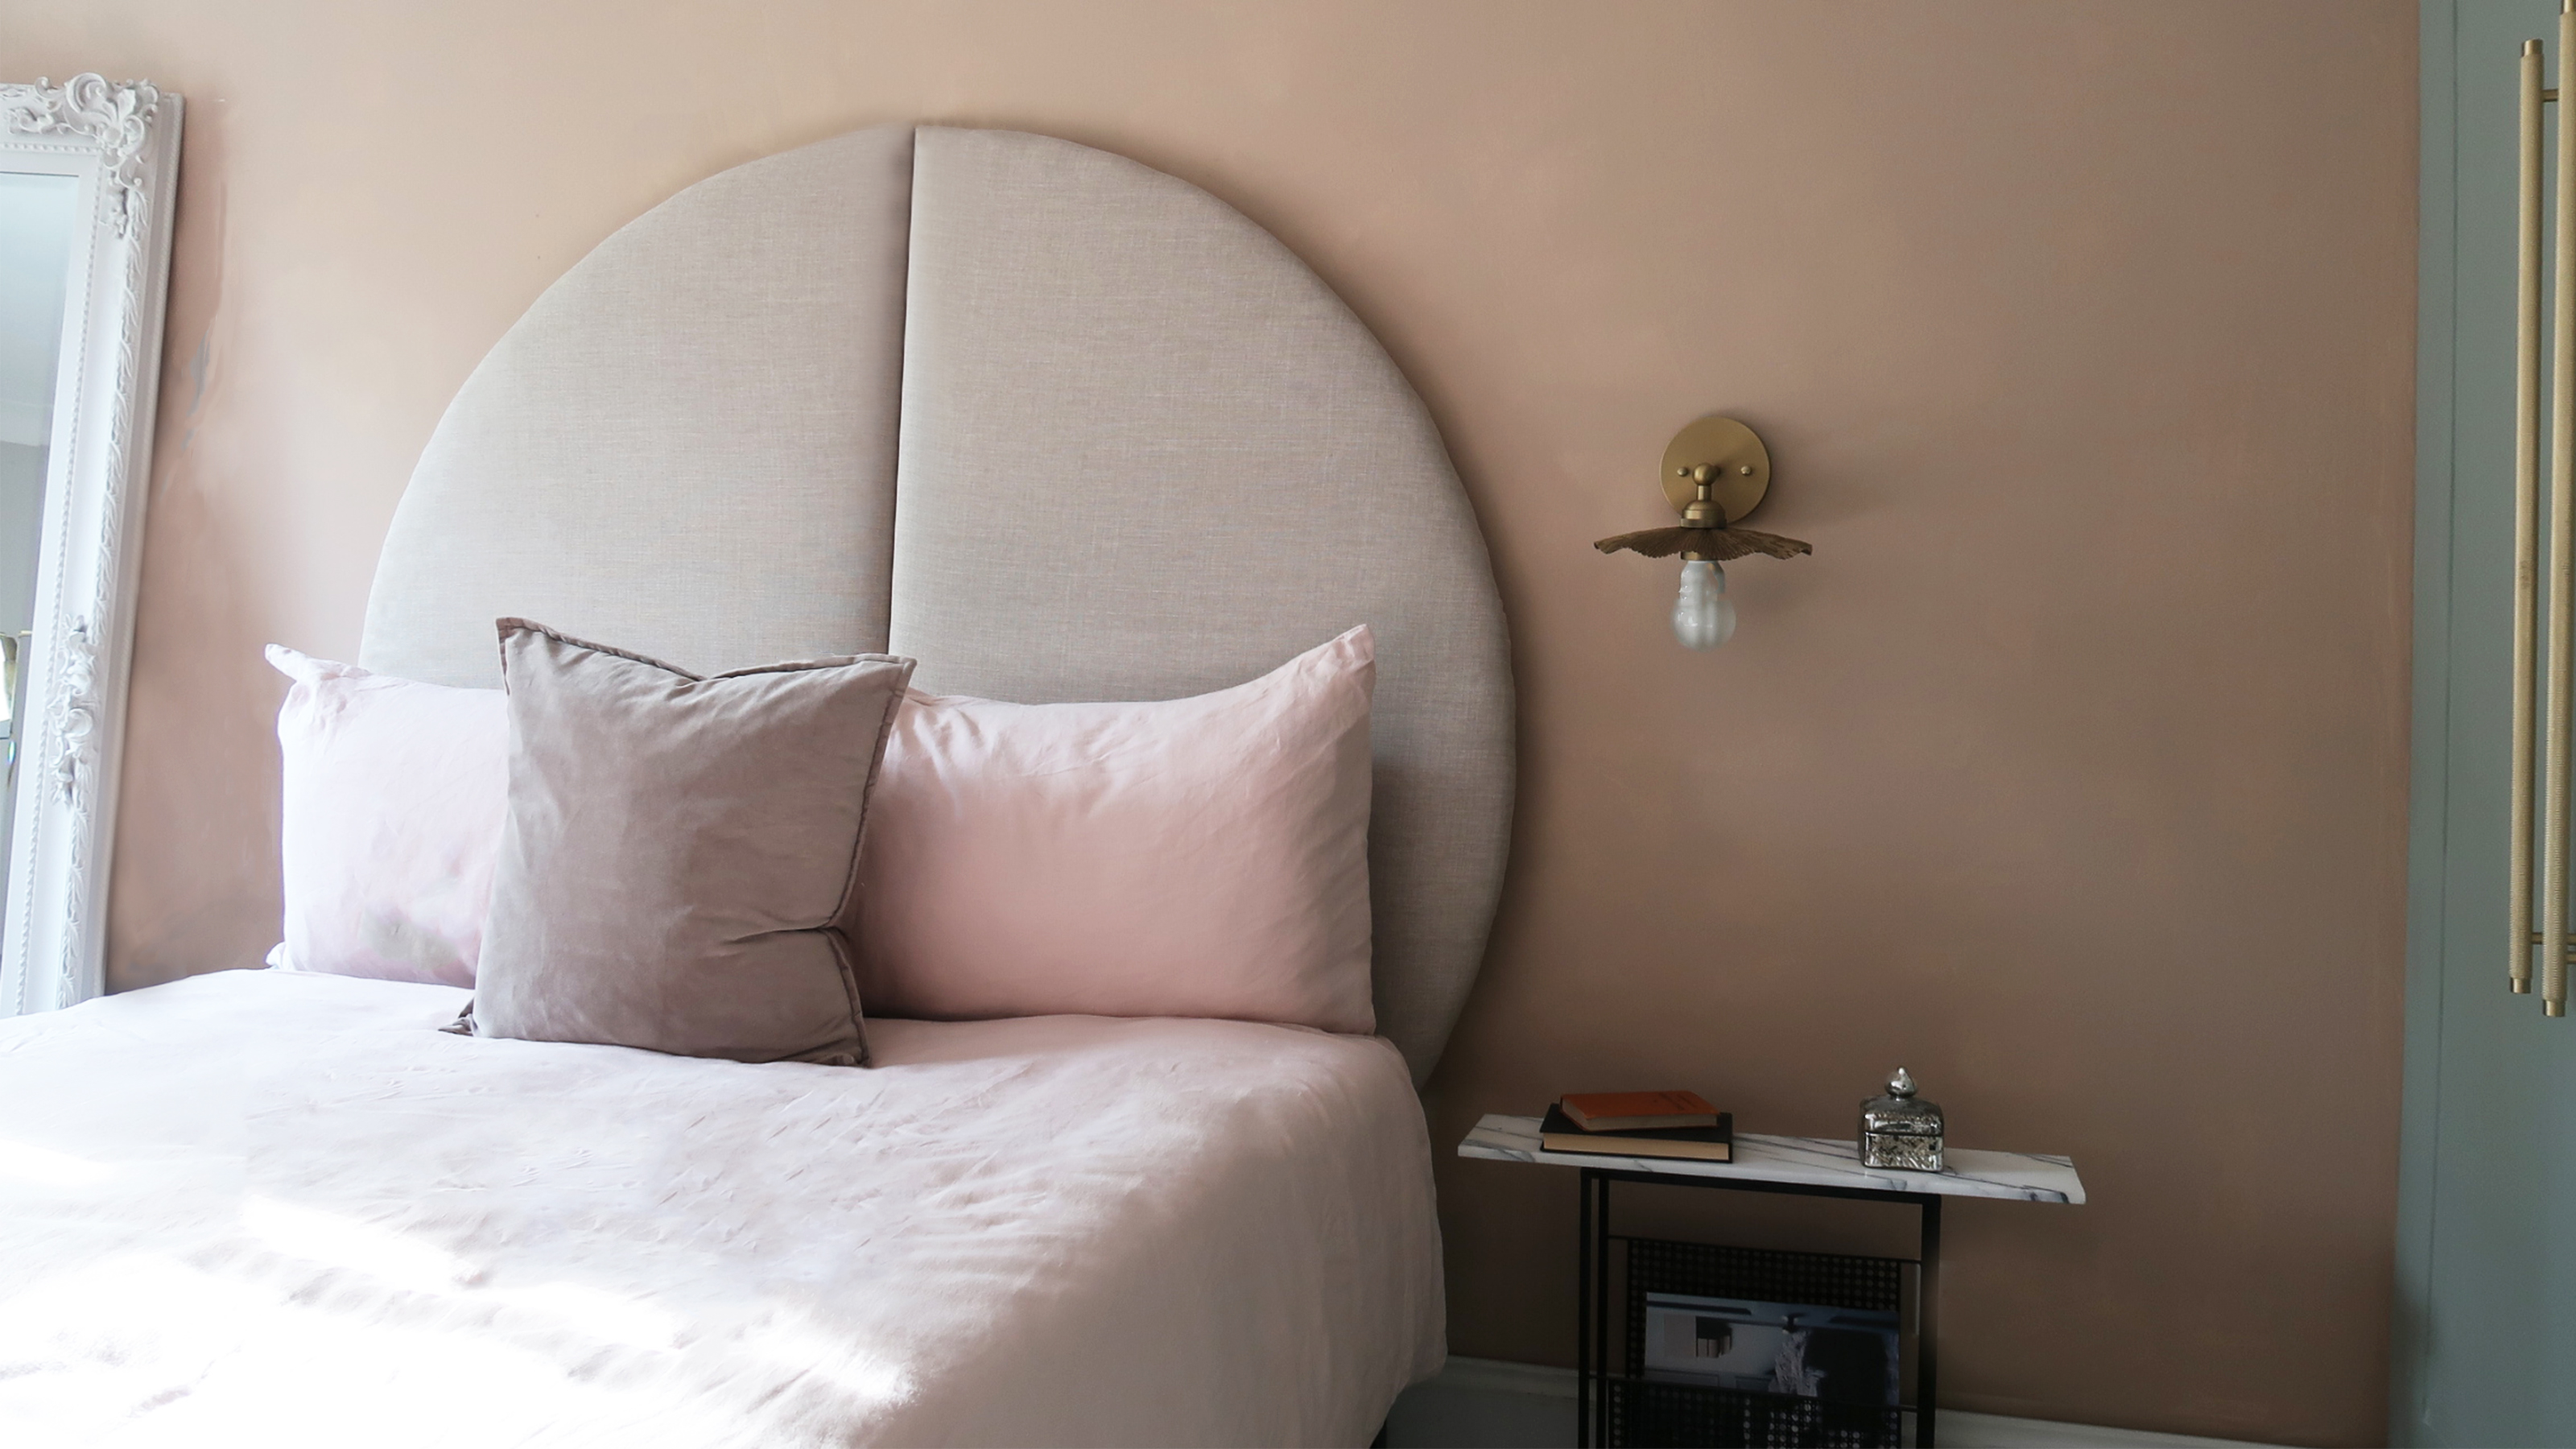 This oversized headboard looks designer, and takes 5 steps to DIY
Super simple to DIY, this oversized headboard will give your bedroom space all the designer vibes you could dream of.
-
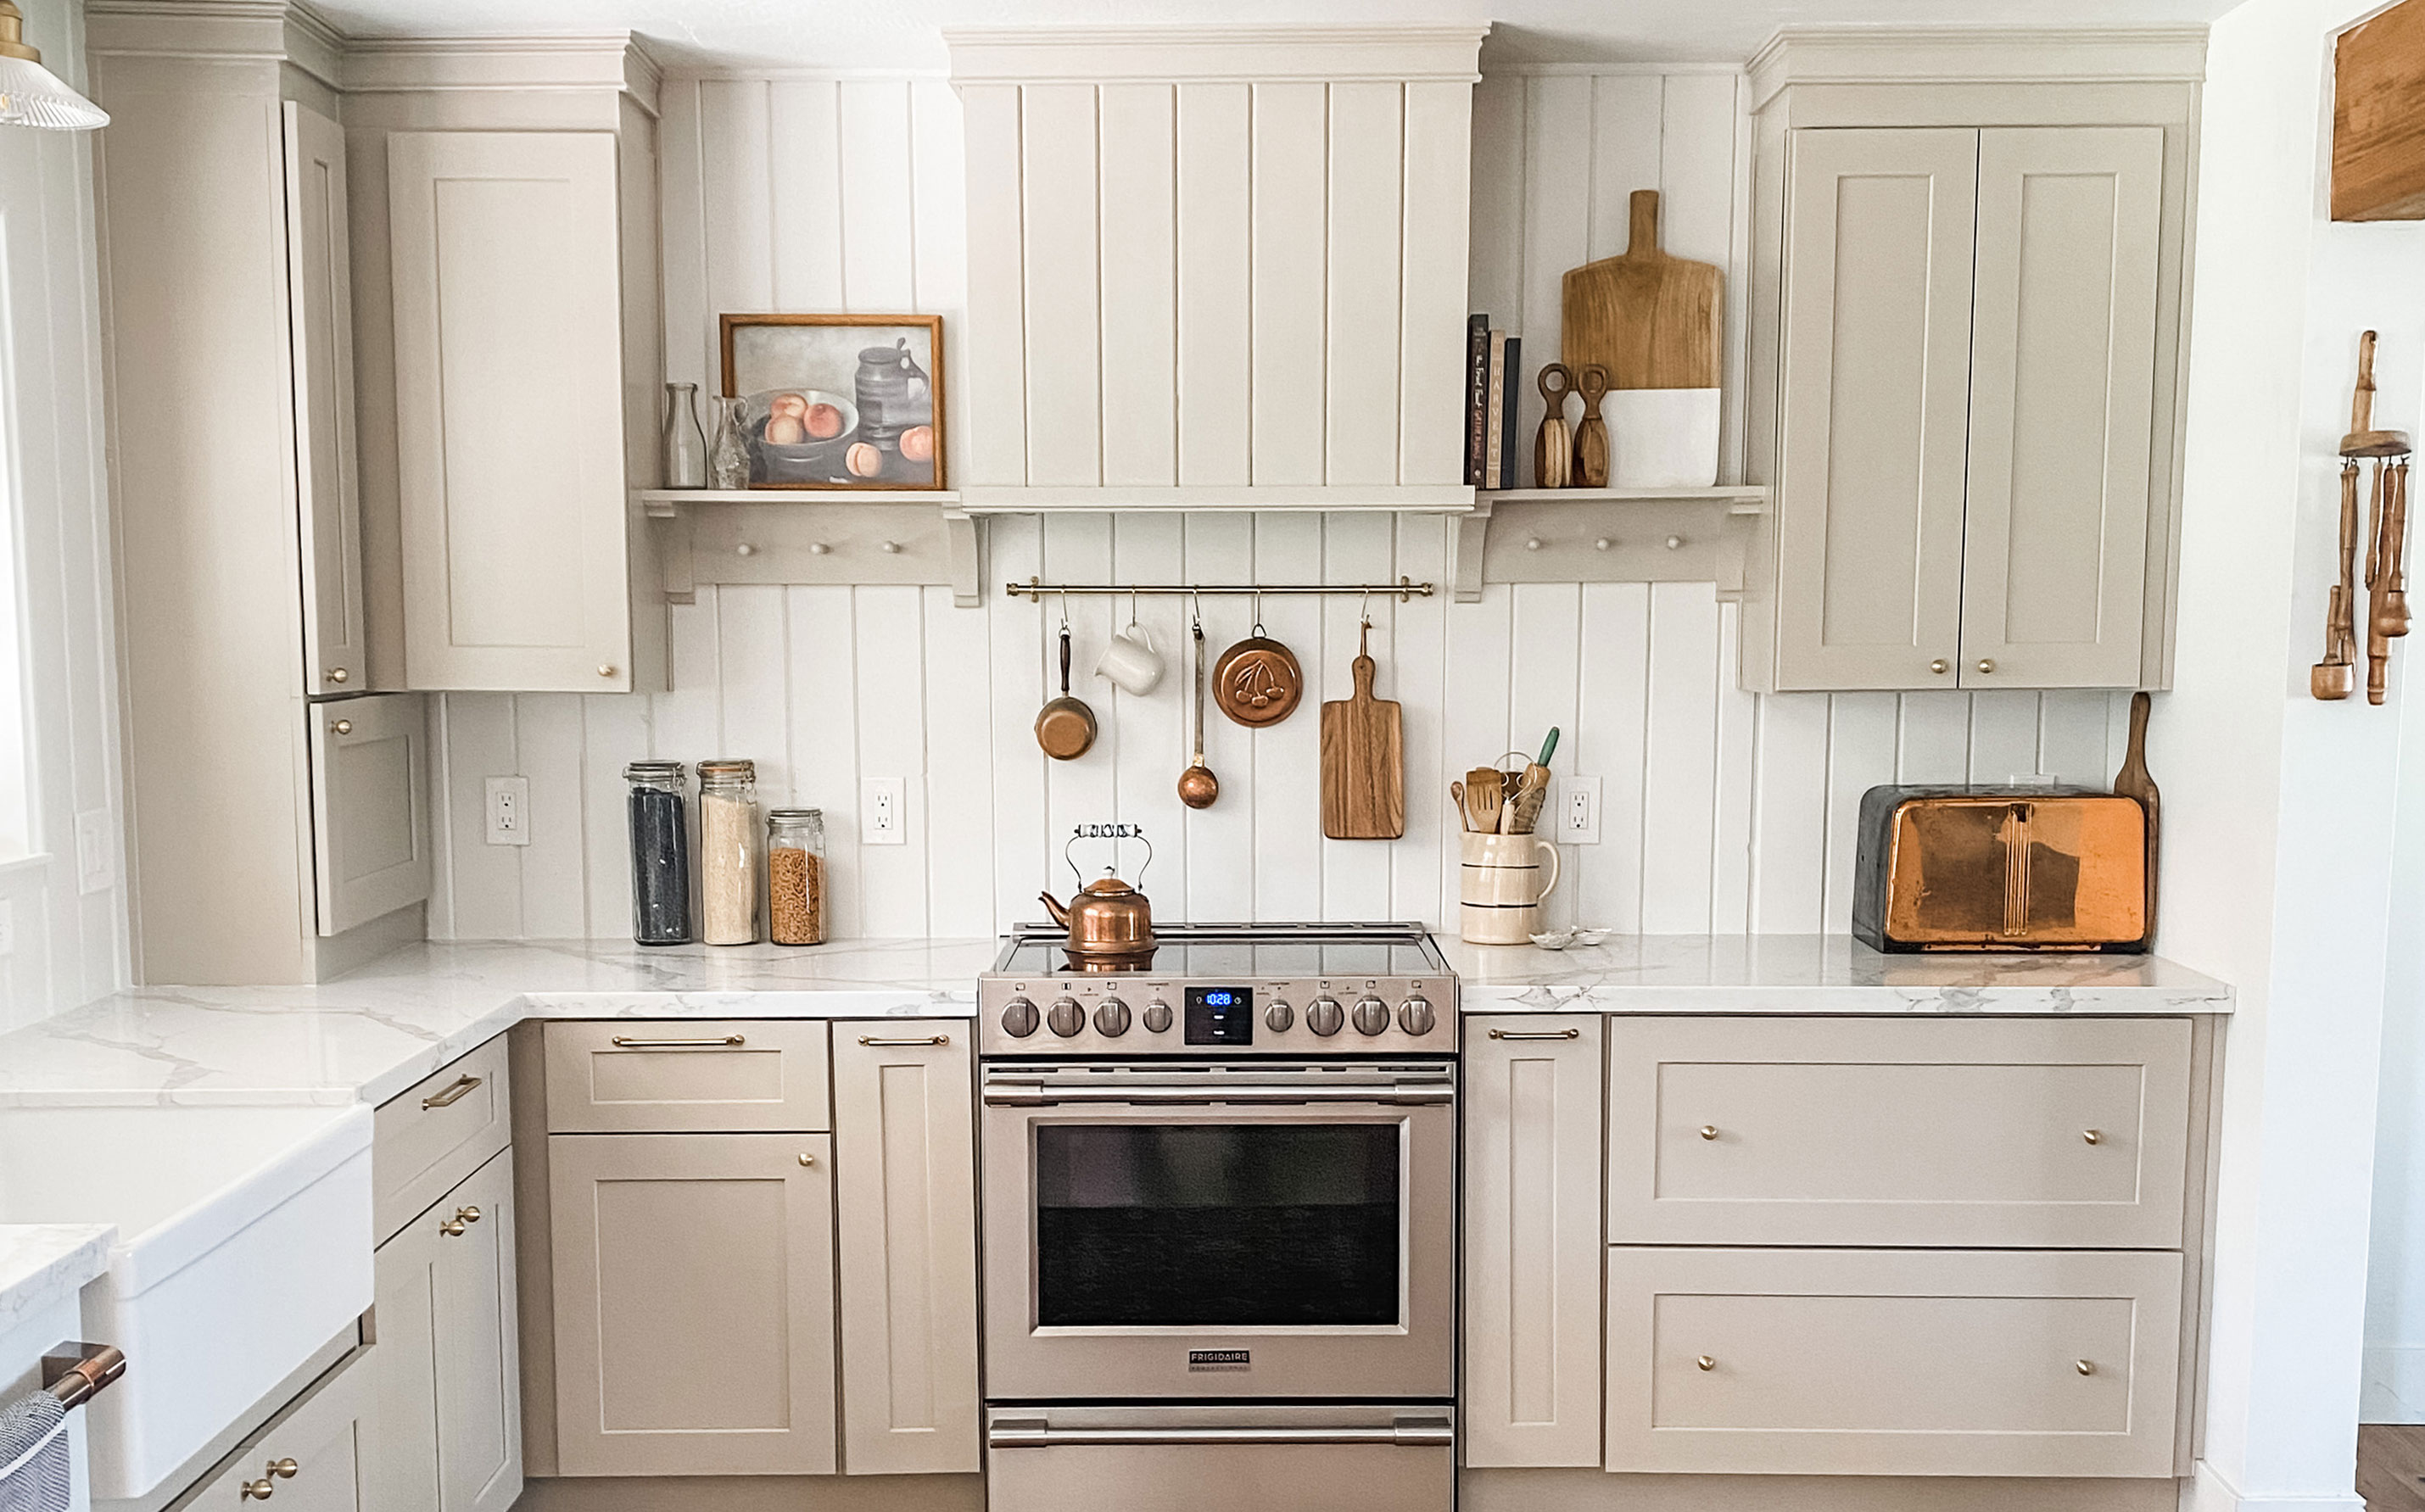 My DIY range hood and backsplash build gave my kitchen the perfect farmhouse finish
I craved charm in my kitchen space and adding a custom range hood and shelving was the best move.
-
 How to paint a radiator in 7 steps
Painting radiators properly is all about choosing the right paint and the best process. Get interior designer-worthy results with our how-to.
-
 How to install a door knob
Updating your interior and exterior doors can be as easy as changing out the hardware! The best part is that installing a door knob is very DIY friendly. Follow these simple steps and enjoy a fresh look on your doors!


