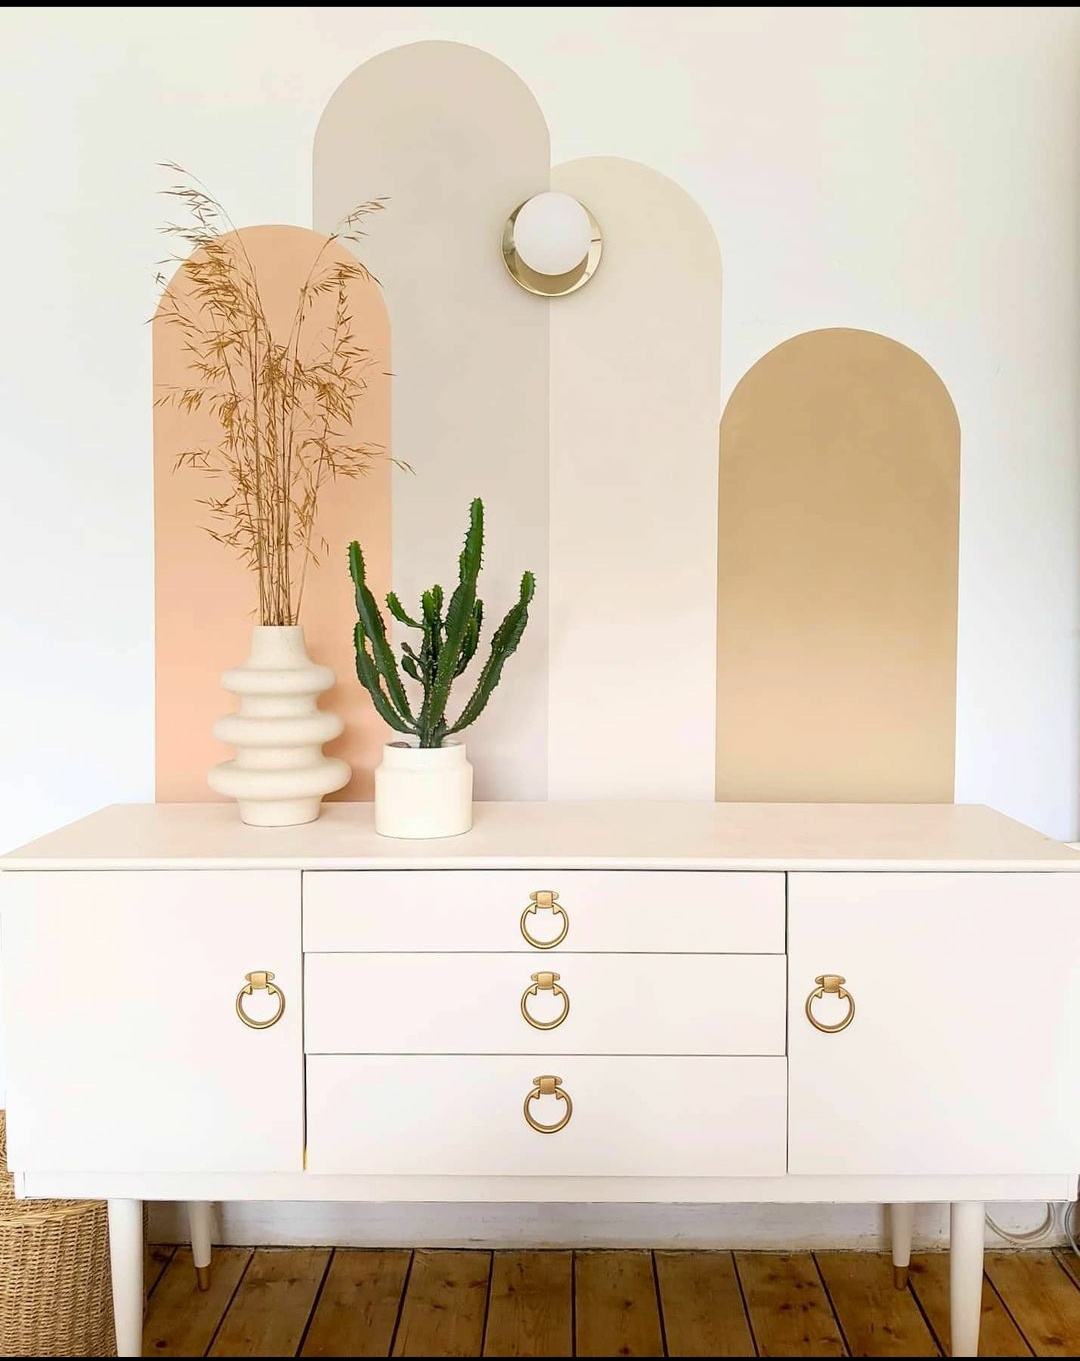
We always end up with a bunch of left-over paint sample pots from our DIY projects that we are never sure what to do with. On a day off work I wanted to do something creative so decided to paint a wall arch using the leftover samples to liven up an otherwise blank, boring white wall.
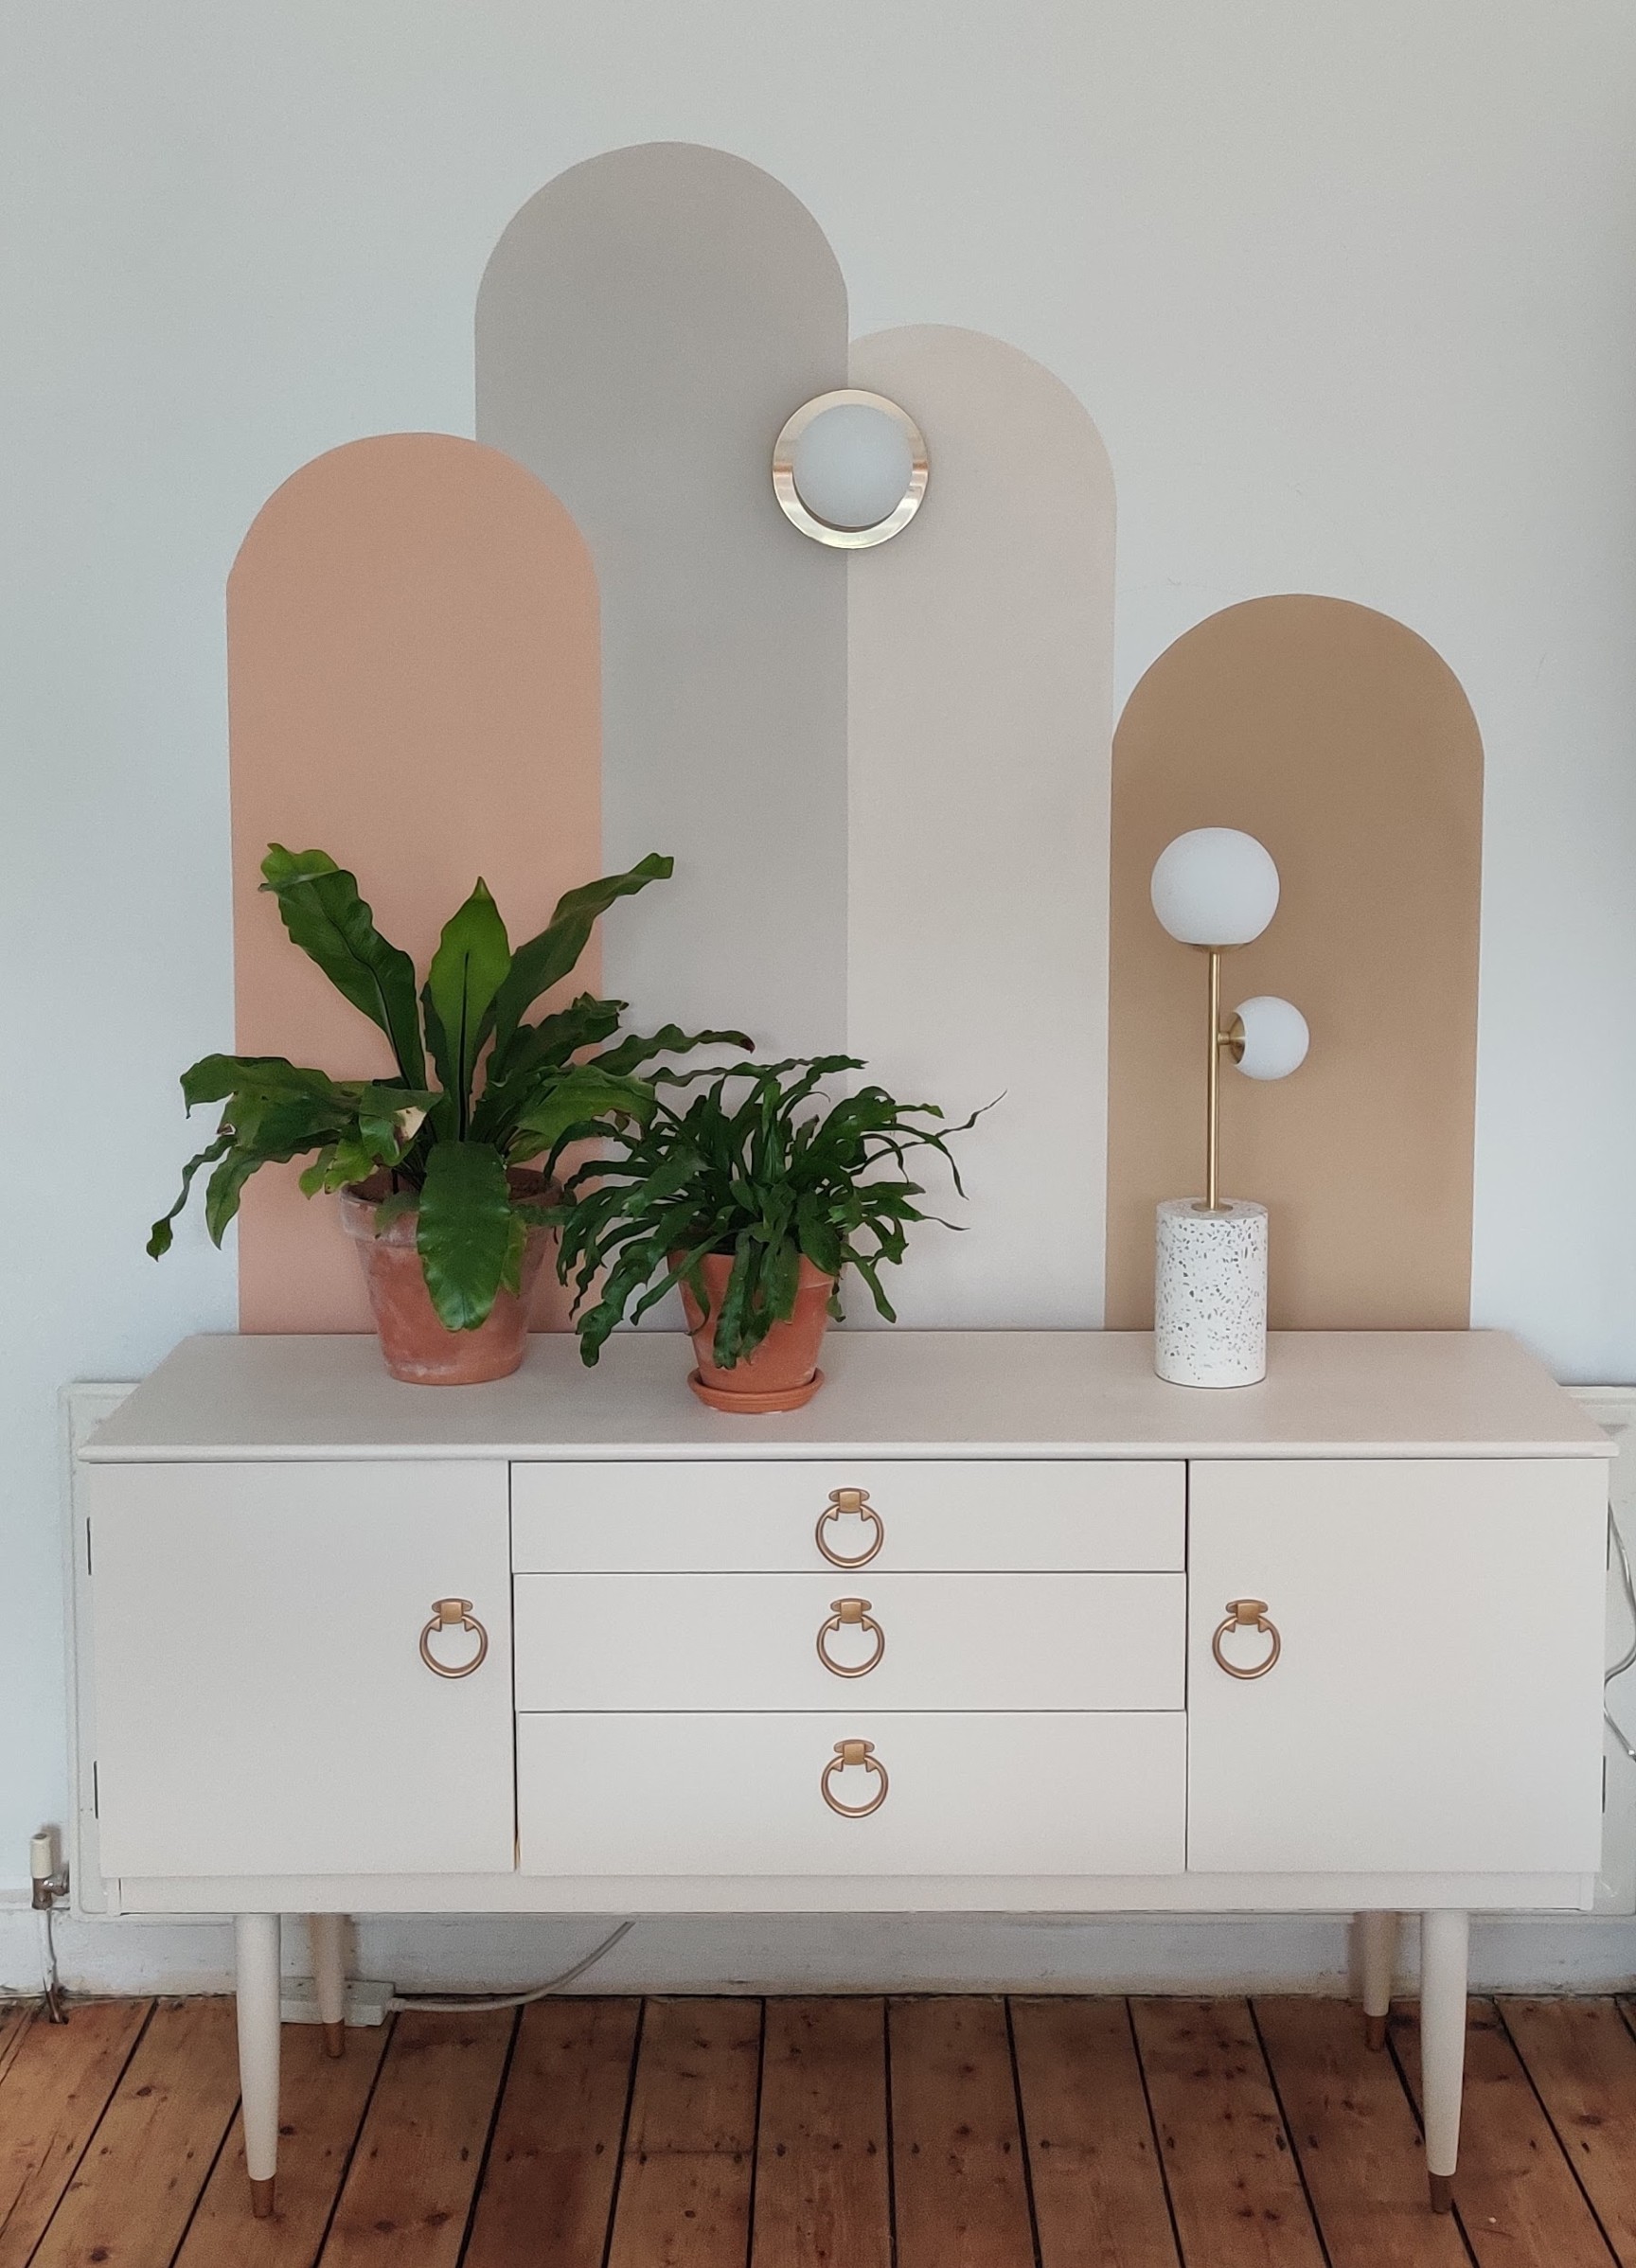
Painted wall arches have become popular over the last few years as a cheap but effective way to change a space. They can be majestic displays of your artistry skills or something simple and playful. Murals have been used as replacement for bed headboards, they've become a cheerful kids bedroom idea or, like in my case, adding a focal point to an otherwise large white wall.
If you love this easily achieved look as much as I do, here's the step-by-step on how I did it.
DIY painted wall arch: Materials
- Paint sample(s) or leftover paint
- Painter's tape or masking tape
- Paintbrush
DIY painted wall arch: Instructions
Step 1: Make a plan
I decided to draw a few arches with some complementary colours inspired by one of my favourite art pieces we have in the house. First off, I drew the shapes I wanted to create on a piece of paper to finalise the design. I decided to have four arches intersecting each other rather than having them all side by side.
Step 2: Draw the design in pencil first
Once I was happy with the design I drew the shapes lightly on the wall using a pencil. For the straight sections I used a spirit level to get straight vertical parallel lines. For the rounded top sections I used a round lamp shade to trace around.
If you don’t have anything suitable to trace around put a tack into the wall and knot a string around it. At the other end of the string tie your pencil at your desired length and use that to create the circular shape. Voila!
- Does the rest of your room need a coat of paint? Here's how to paint a room
Step 3: Tape it off and start painting
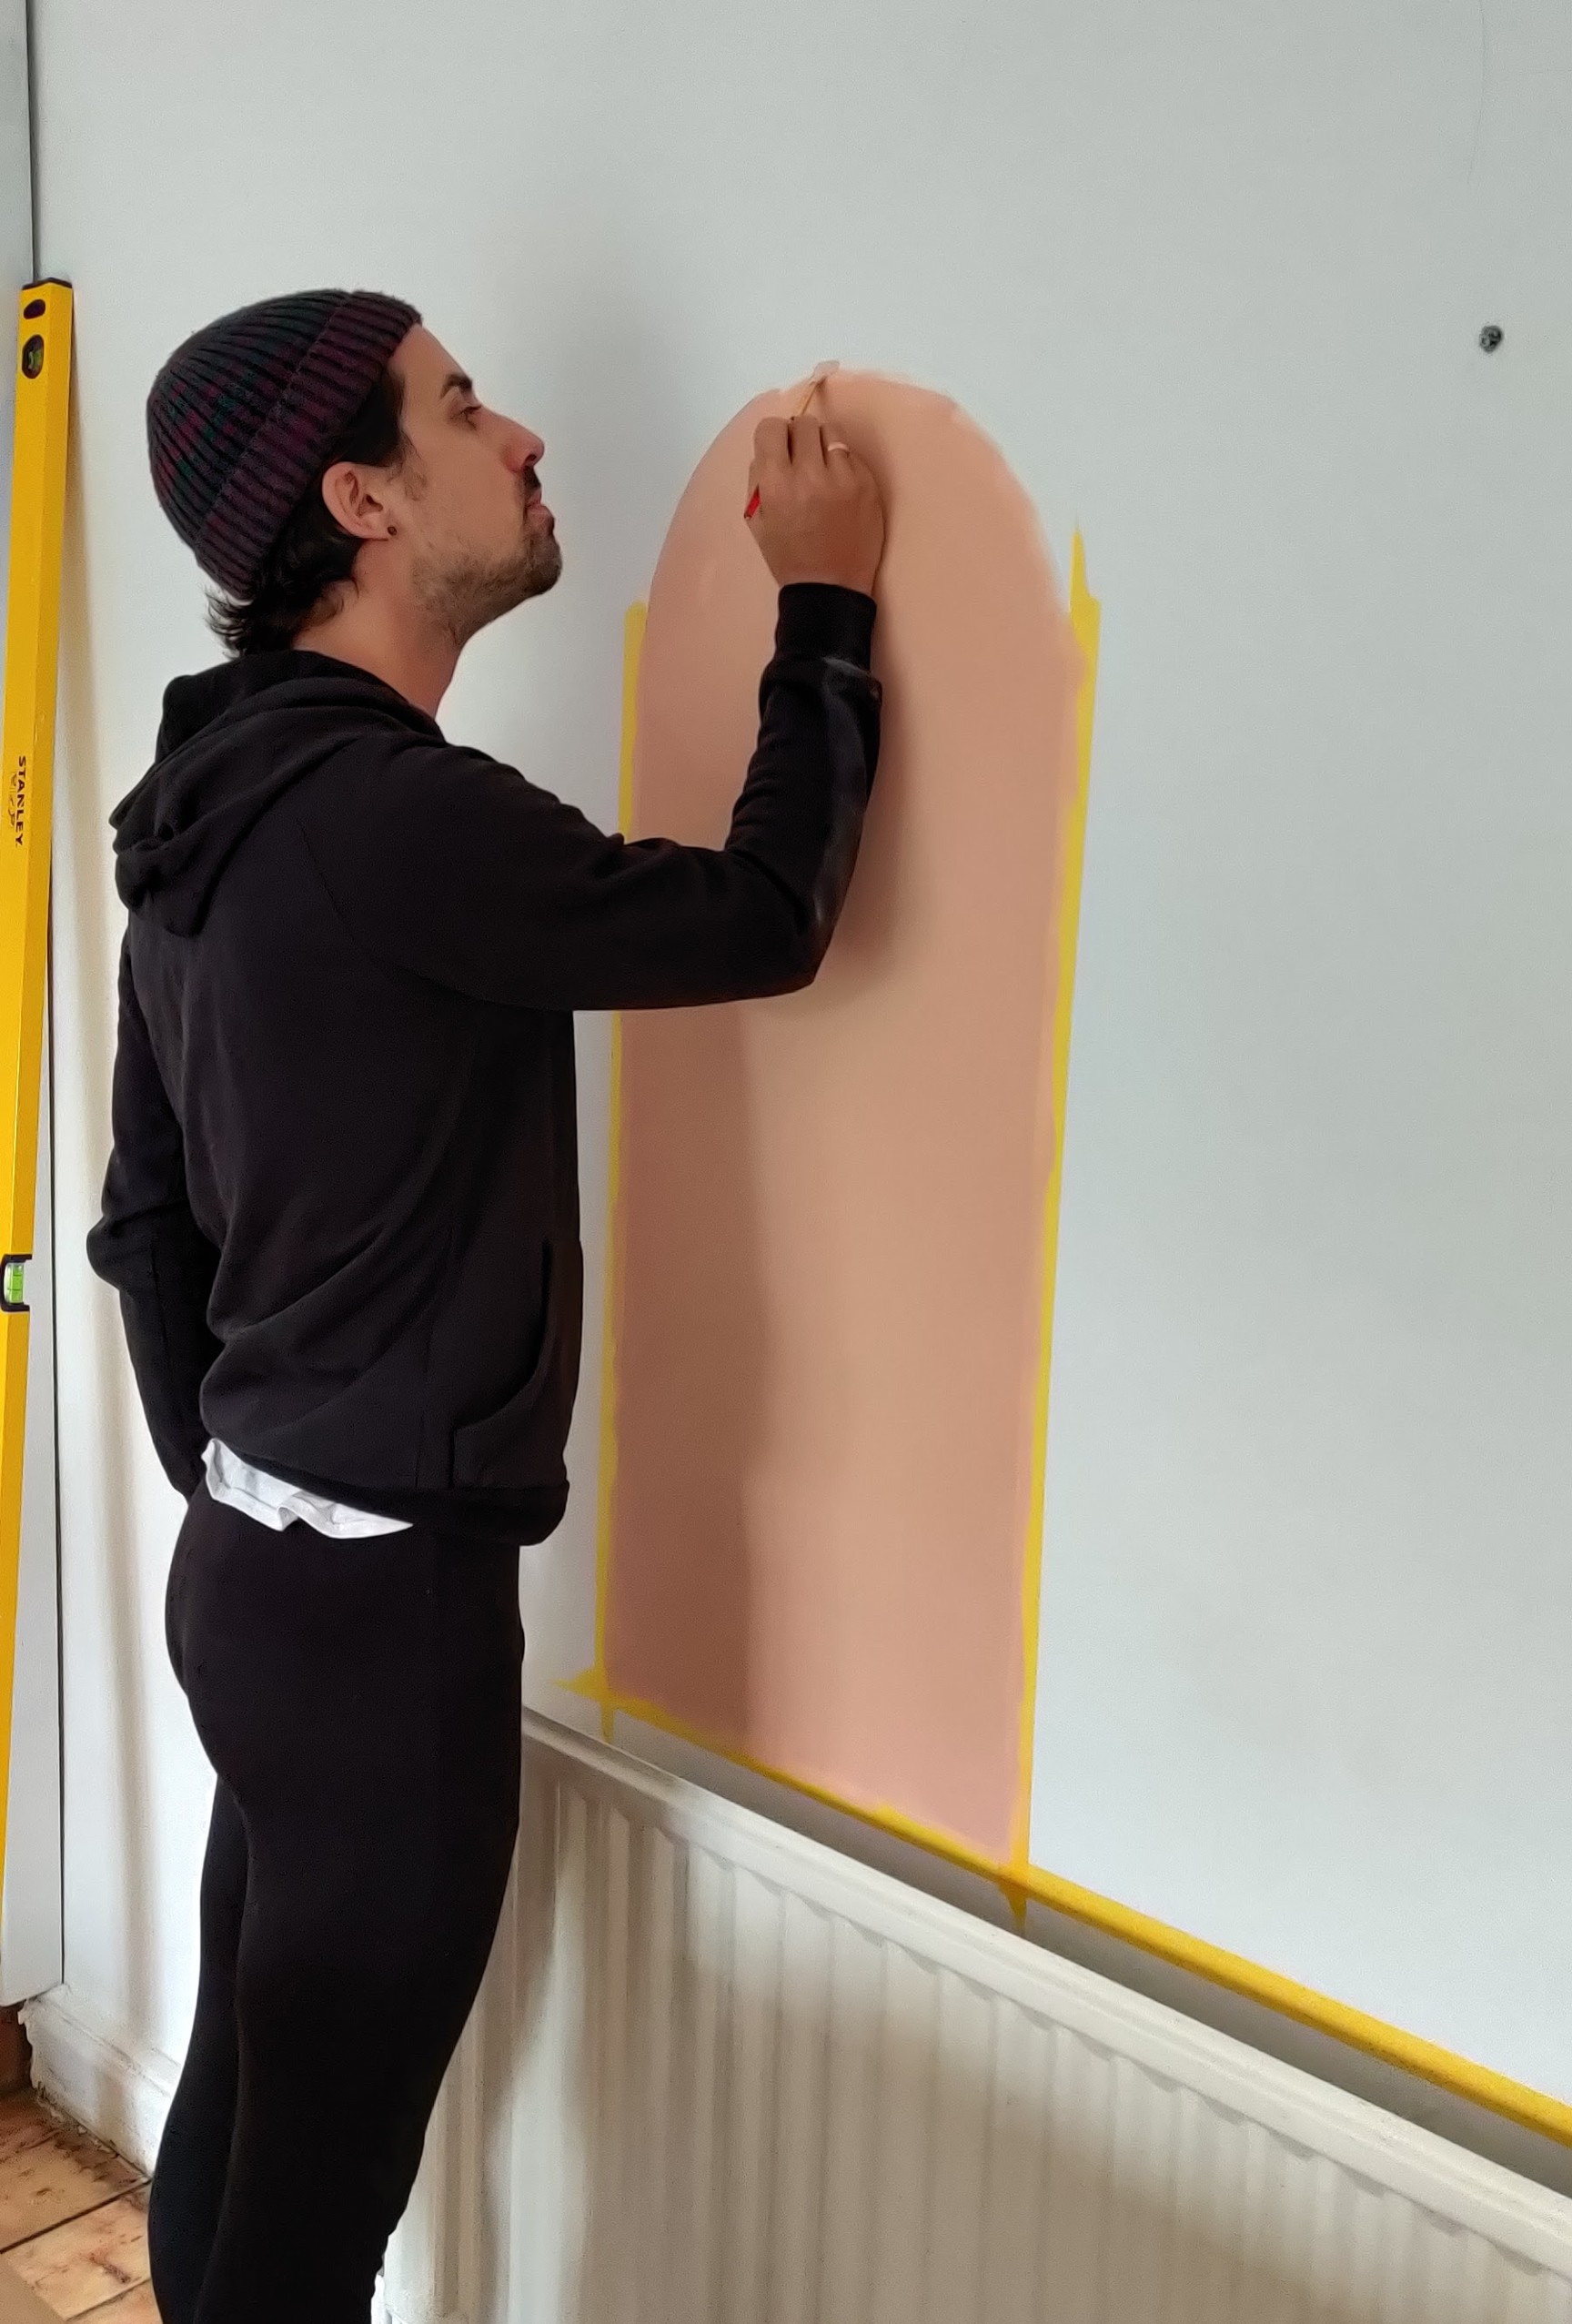
Next, add a good quality masking tape for the straight sections. As the arches are intersecting the masking tape for one arch means you cannot paint the next arch while the masking tape is in place. Each arch needs to be painted in phases so I painted arches 1 and 3 first, removed the masking tape and once dry added masking tape for arches 2 and 4.
My top tip for this project is to remove the masking tape while your final coat is still wet, this way you get a nice crisp line without any peeling. Paint the main body of the arches using a roller and get as close to the top of the arch line with the roller as you can.
Step 4: Paint the arches
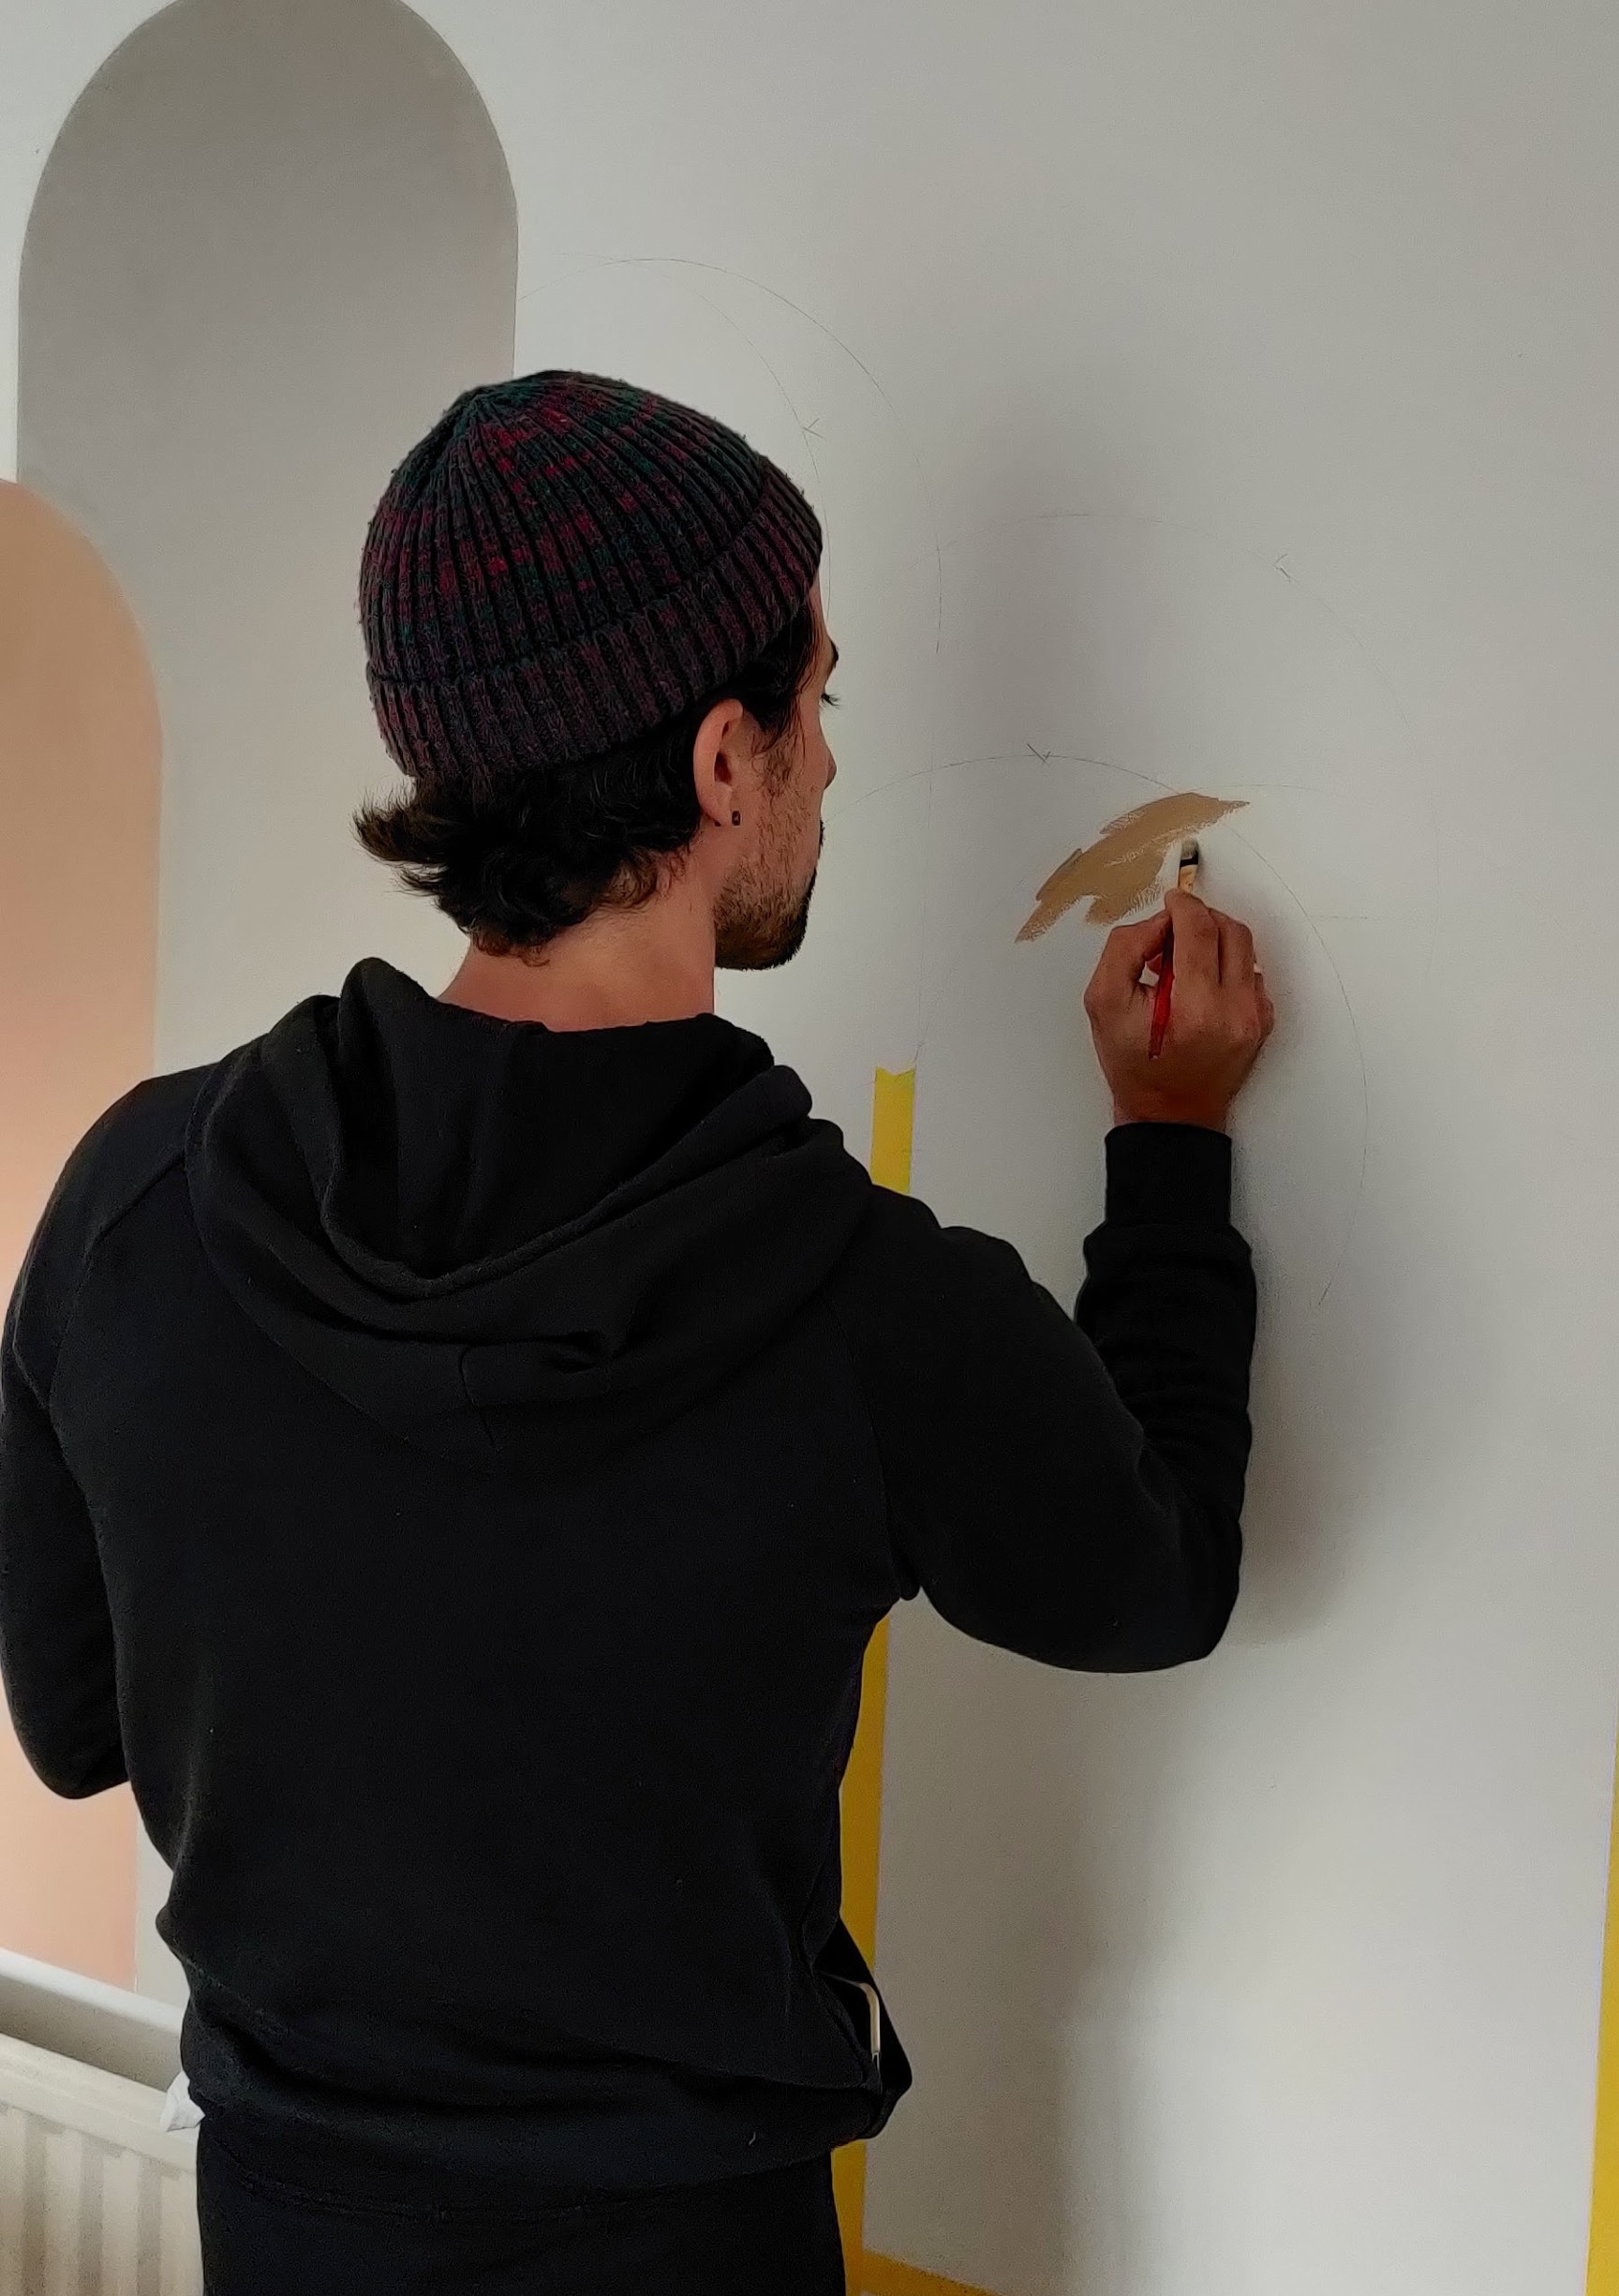
For the top of the arch I used a flat artists brush and a lot of patience! This takes a lot of precision so give yourself a lot of time. Do not put too much paint on your brush and slowly trace along the line. Make sure to step back from the wall every once in a while to get a better perspective as you work.
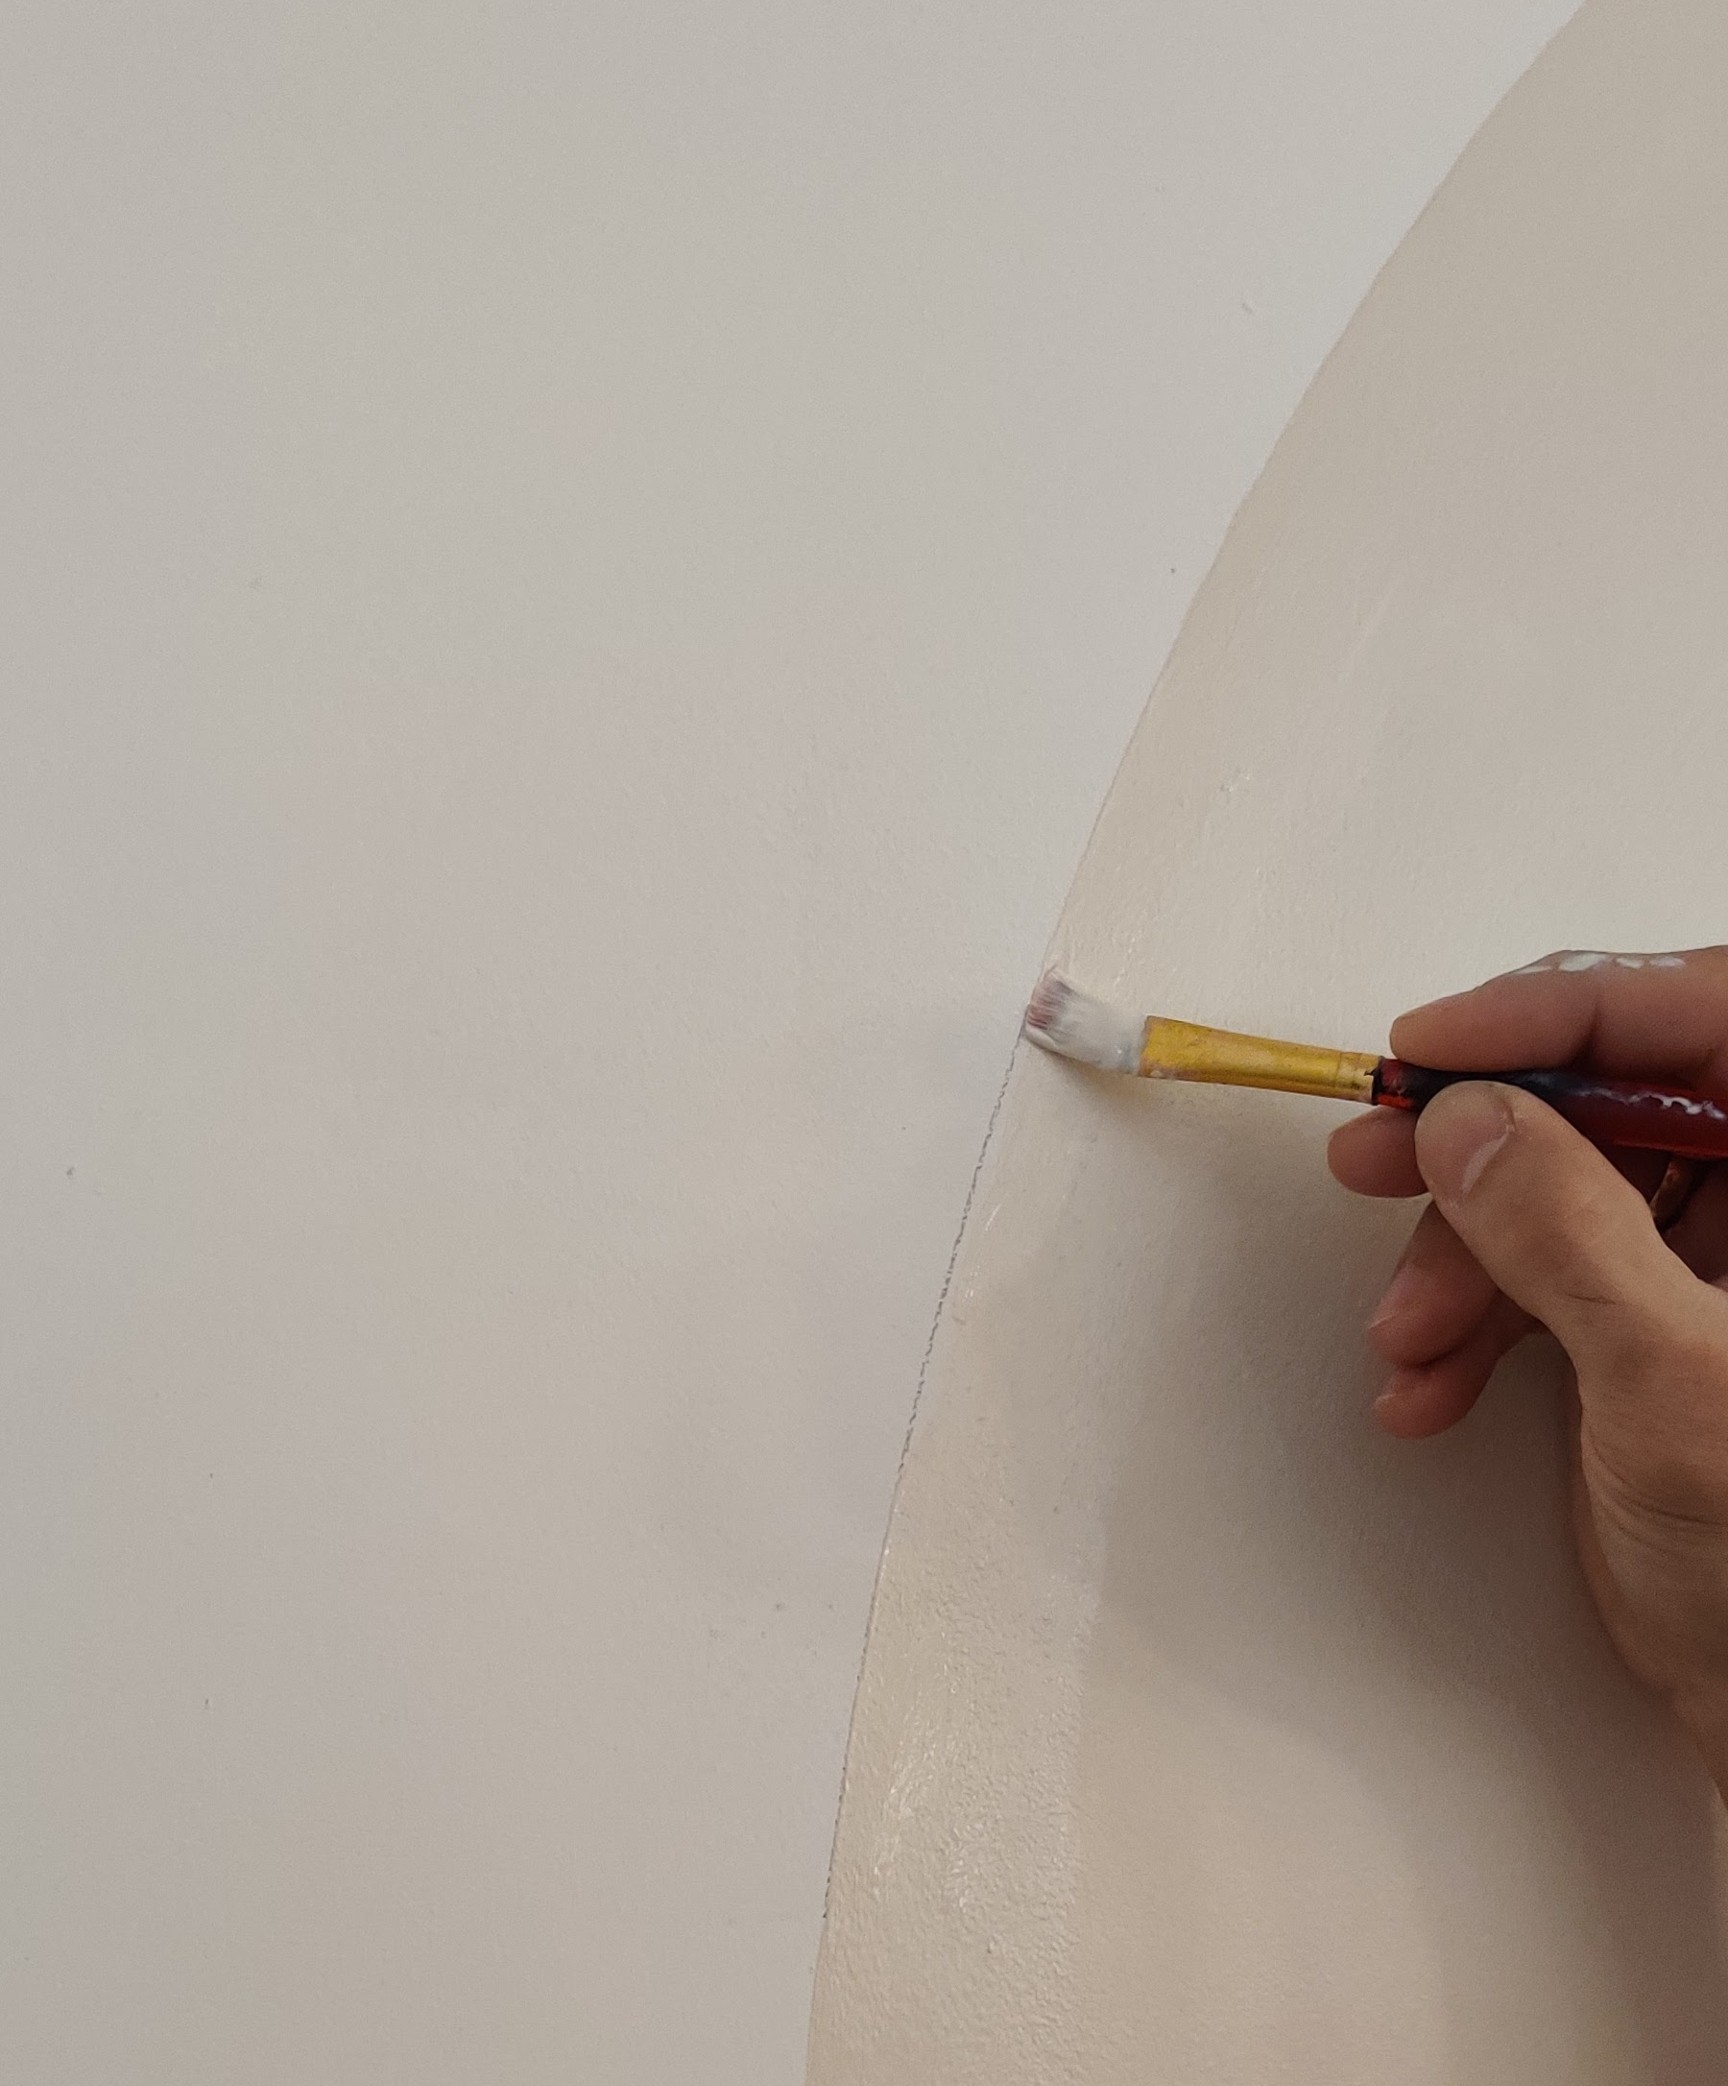
You may need to a second coat on the edges. This mural took me about a day to do mainly due to the length of time it took to paint the arches. There is masking tape for curves that you can buy which would make the process much quicker but I wanted this project to be a freebie.
How simple is that? I love the style this mural added to a formerly boring corner of our home.

To finish off we added the houseof.com Brass Opal Disk Wall Light in the centre of the mural. This light fitting isn’t actually wired in but I am a big believer in using beautiful wall lights as a decoration also.
Join our newsletter
Get small space home decor ideas, celeb inspiration, DIY tips and more, straight to your inbox!
Jo Lemos is a DIYer and decorator who chronicles his projects on the popular Instagram account @two.men.and.a.semi. His DIY obsession began in childhood, when he used to help his parents redecorate the family house. Since then, he’s been developing his DIY skills for two decades, culminating in a full renovation of his current house alongside his partner, Chris. Currently the duo is restoring a 1930s semi-detached house in Manchester that had been badly renovated throughout the years. For Jo, sustainable and budget friendly design is the best way to renovate your house, and he considers his renovation motto to be: “Why pay someone when I can do it myself?!”
-
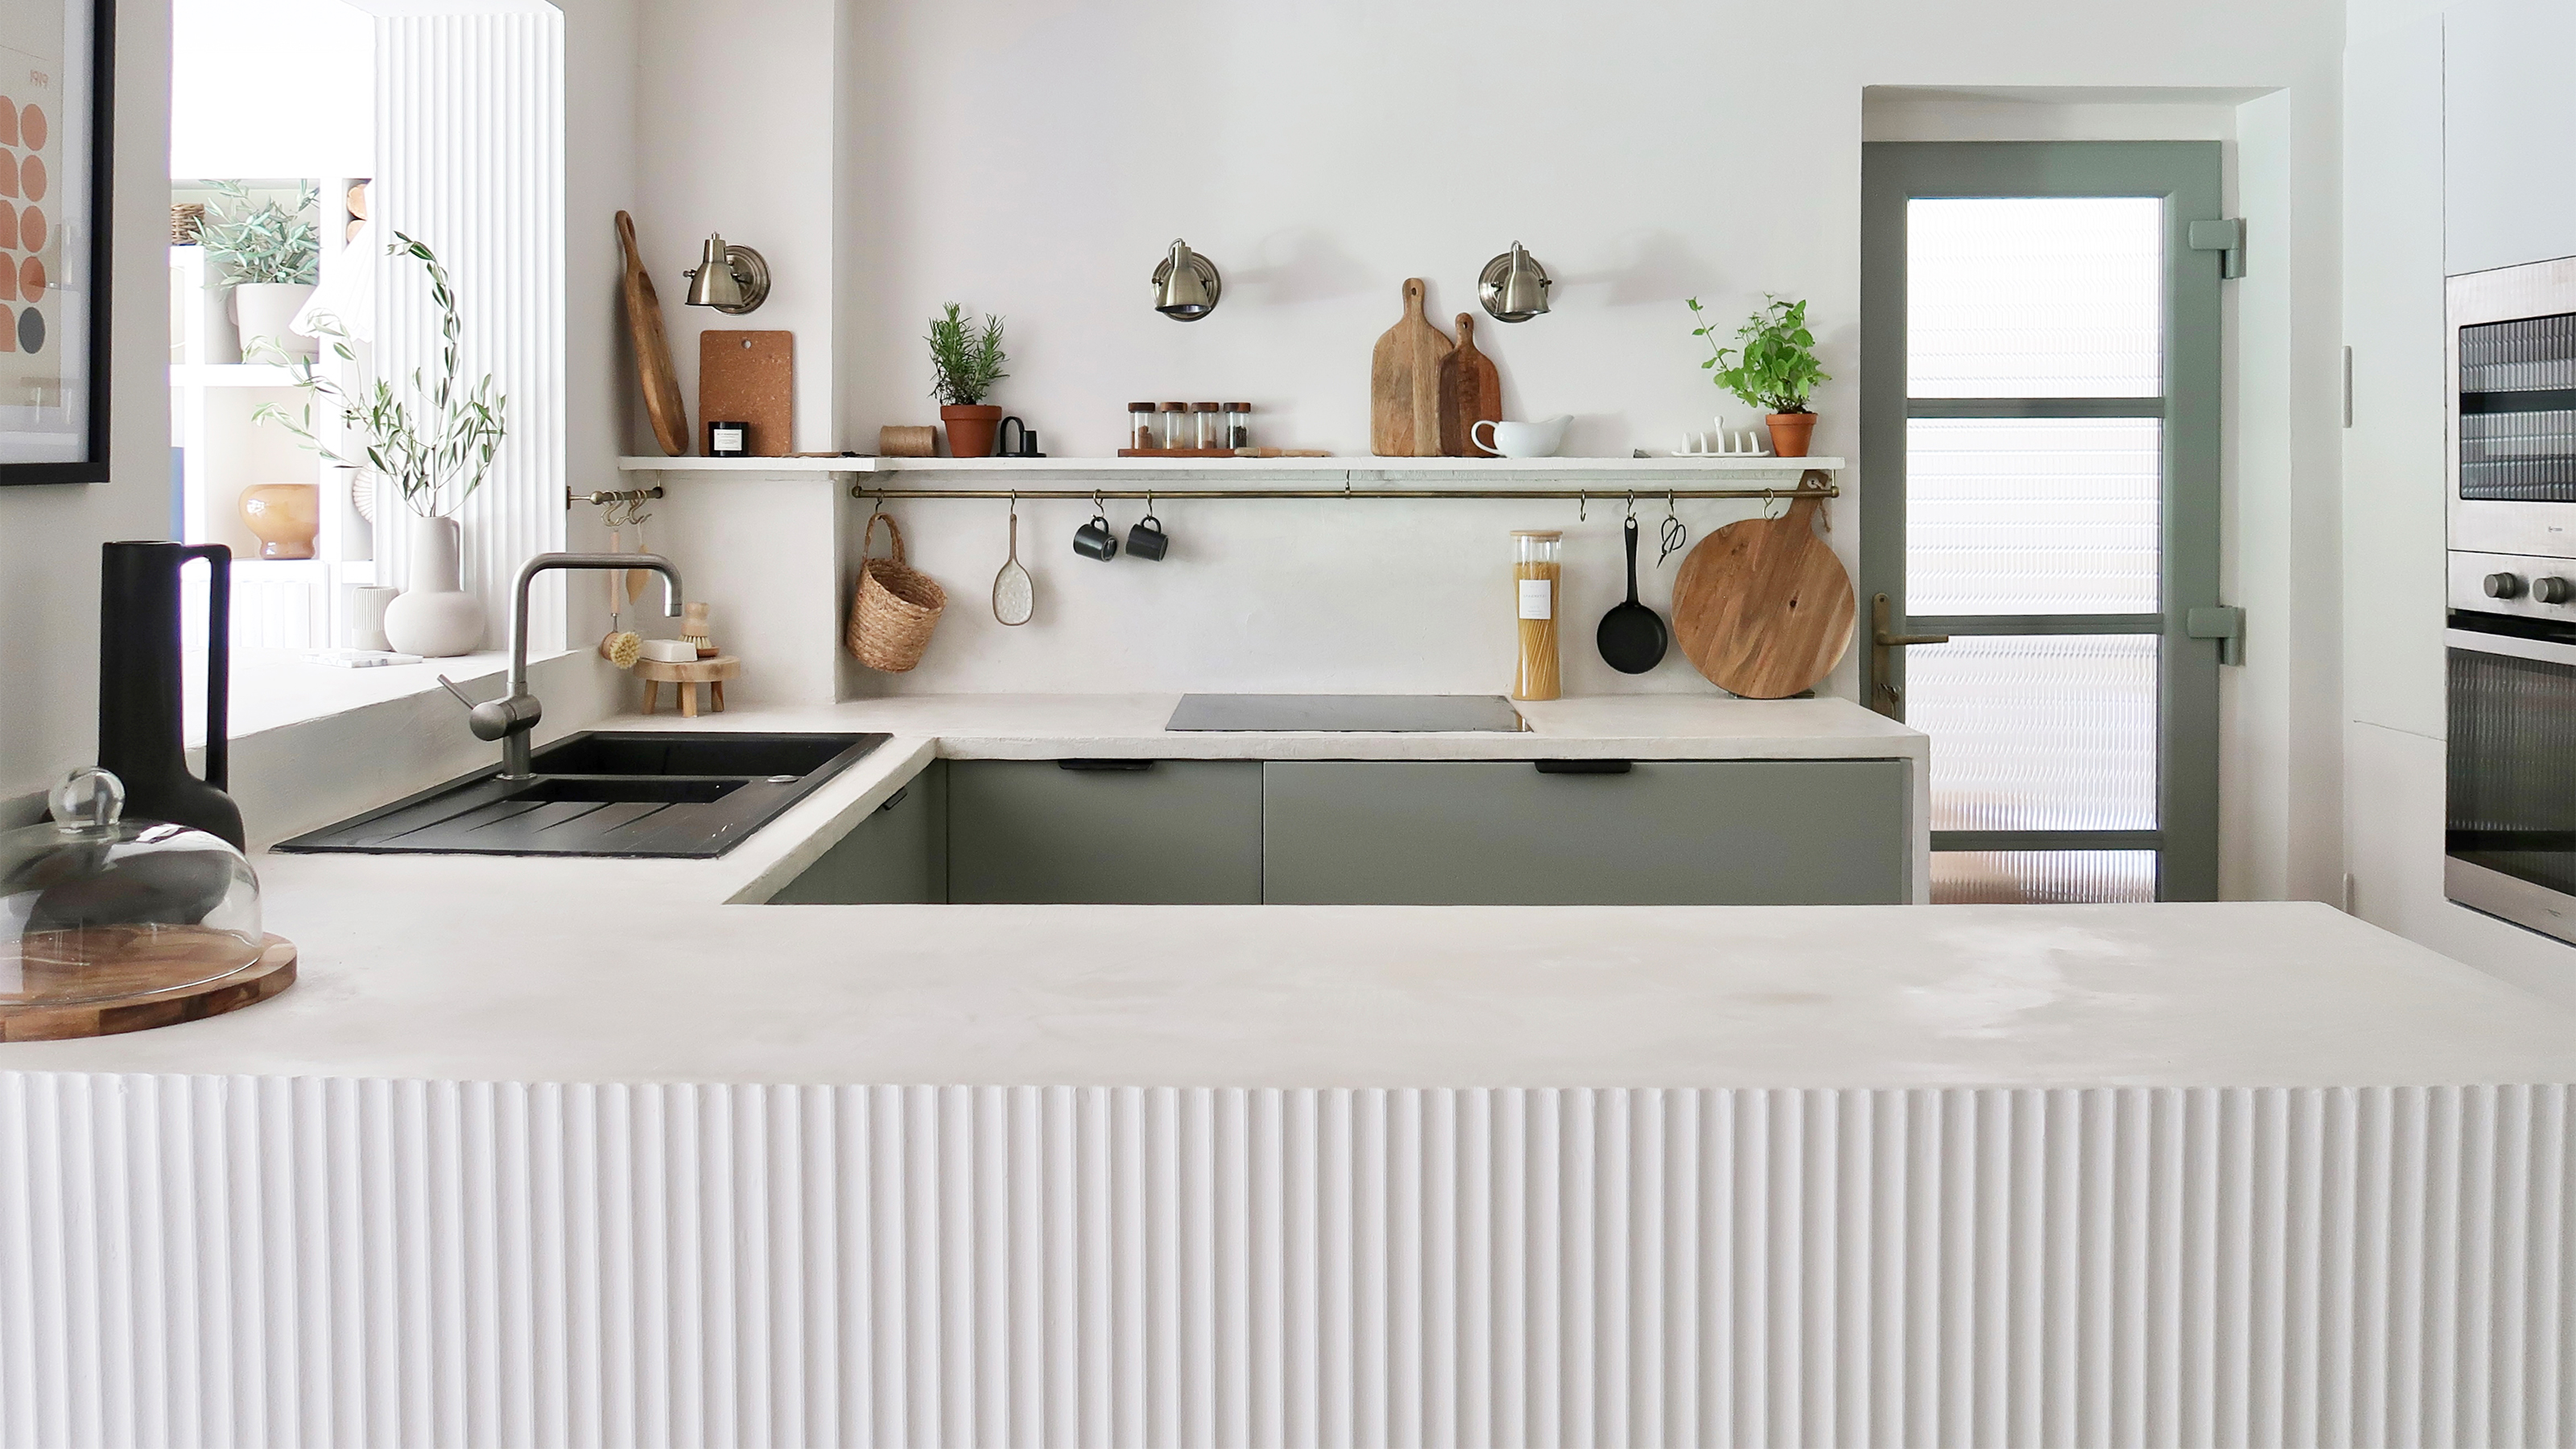 A $200 fluted panel transformed my drab kitchen in just one weekend
How to install a fluted kitchen panel: A speedy and achievable DIY tutorial even for DIY novices
By Claire Douglas
-
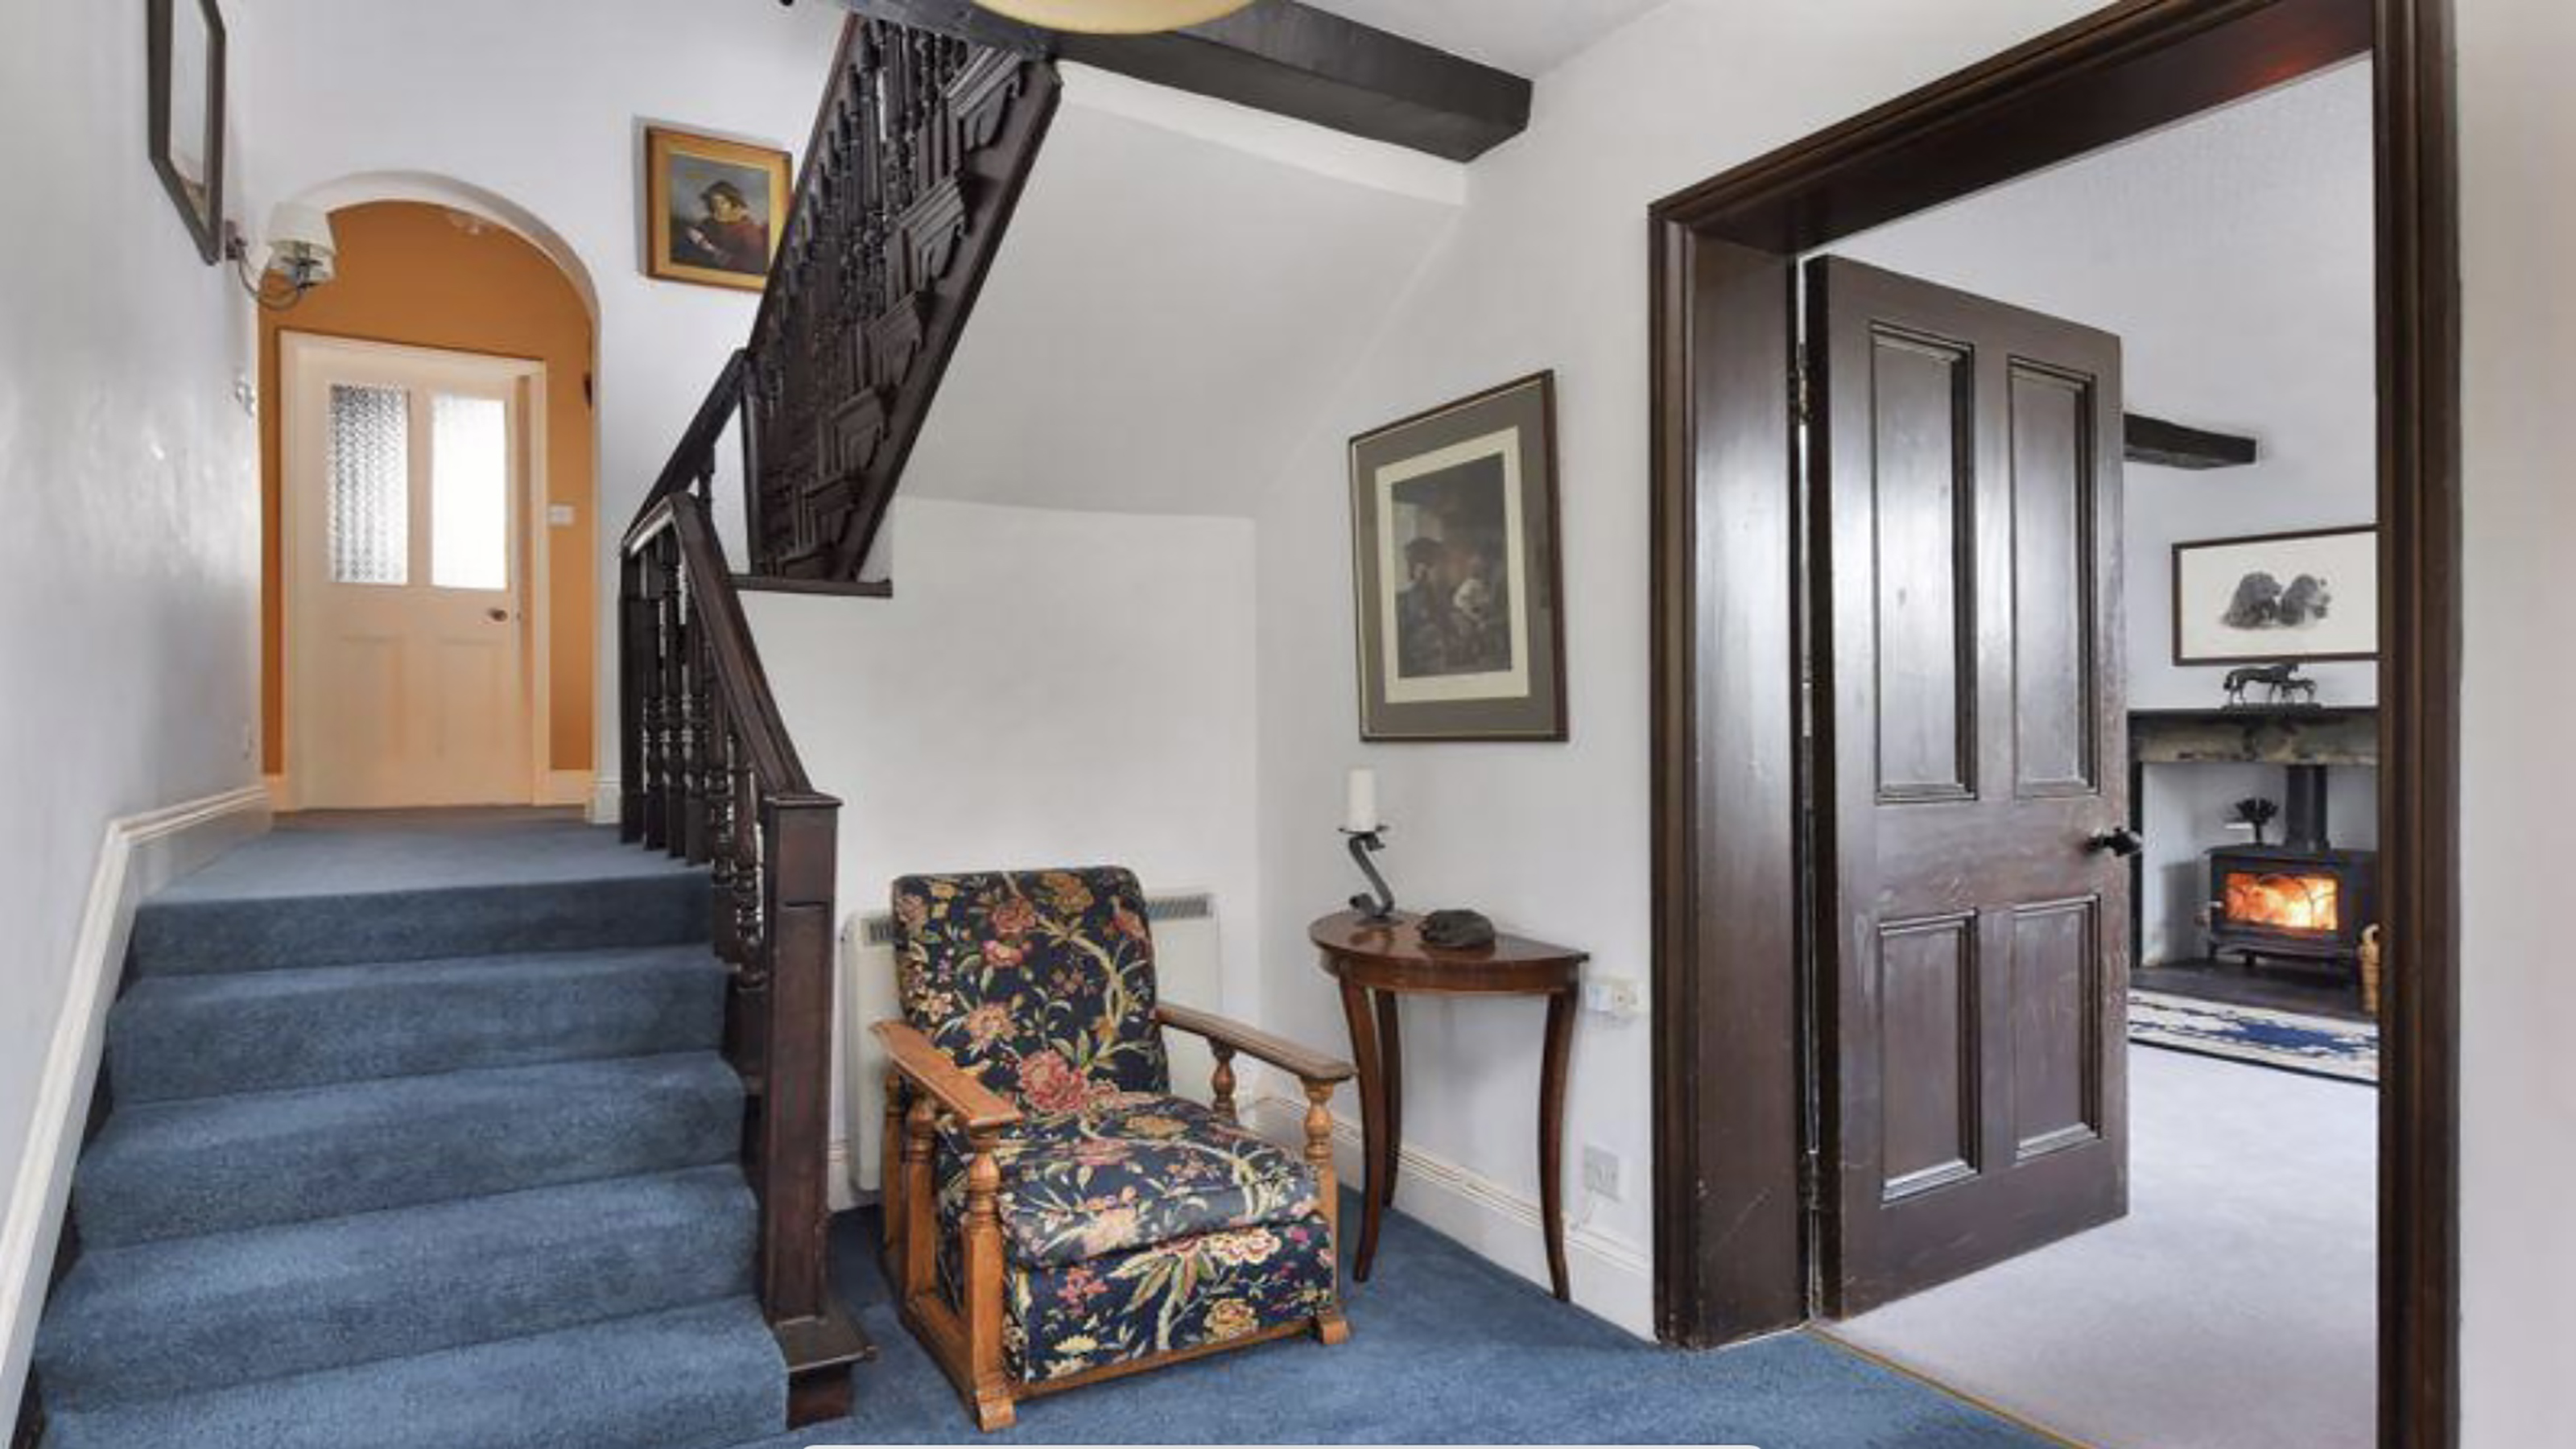 How to replace a broken staircase spindle in 30 minutes flat
A missing or broken spindle on a staircase is not only unsightly, but it can be a real hazard. This is how to fix it in a few quick steps.
By Kate Sandhu
-
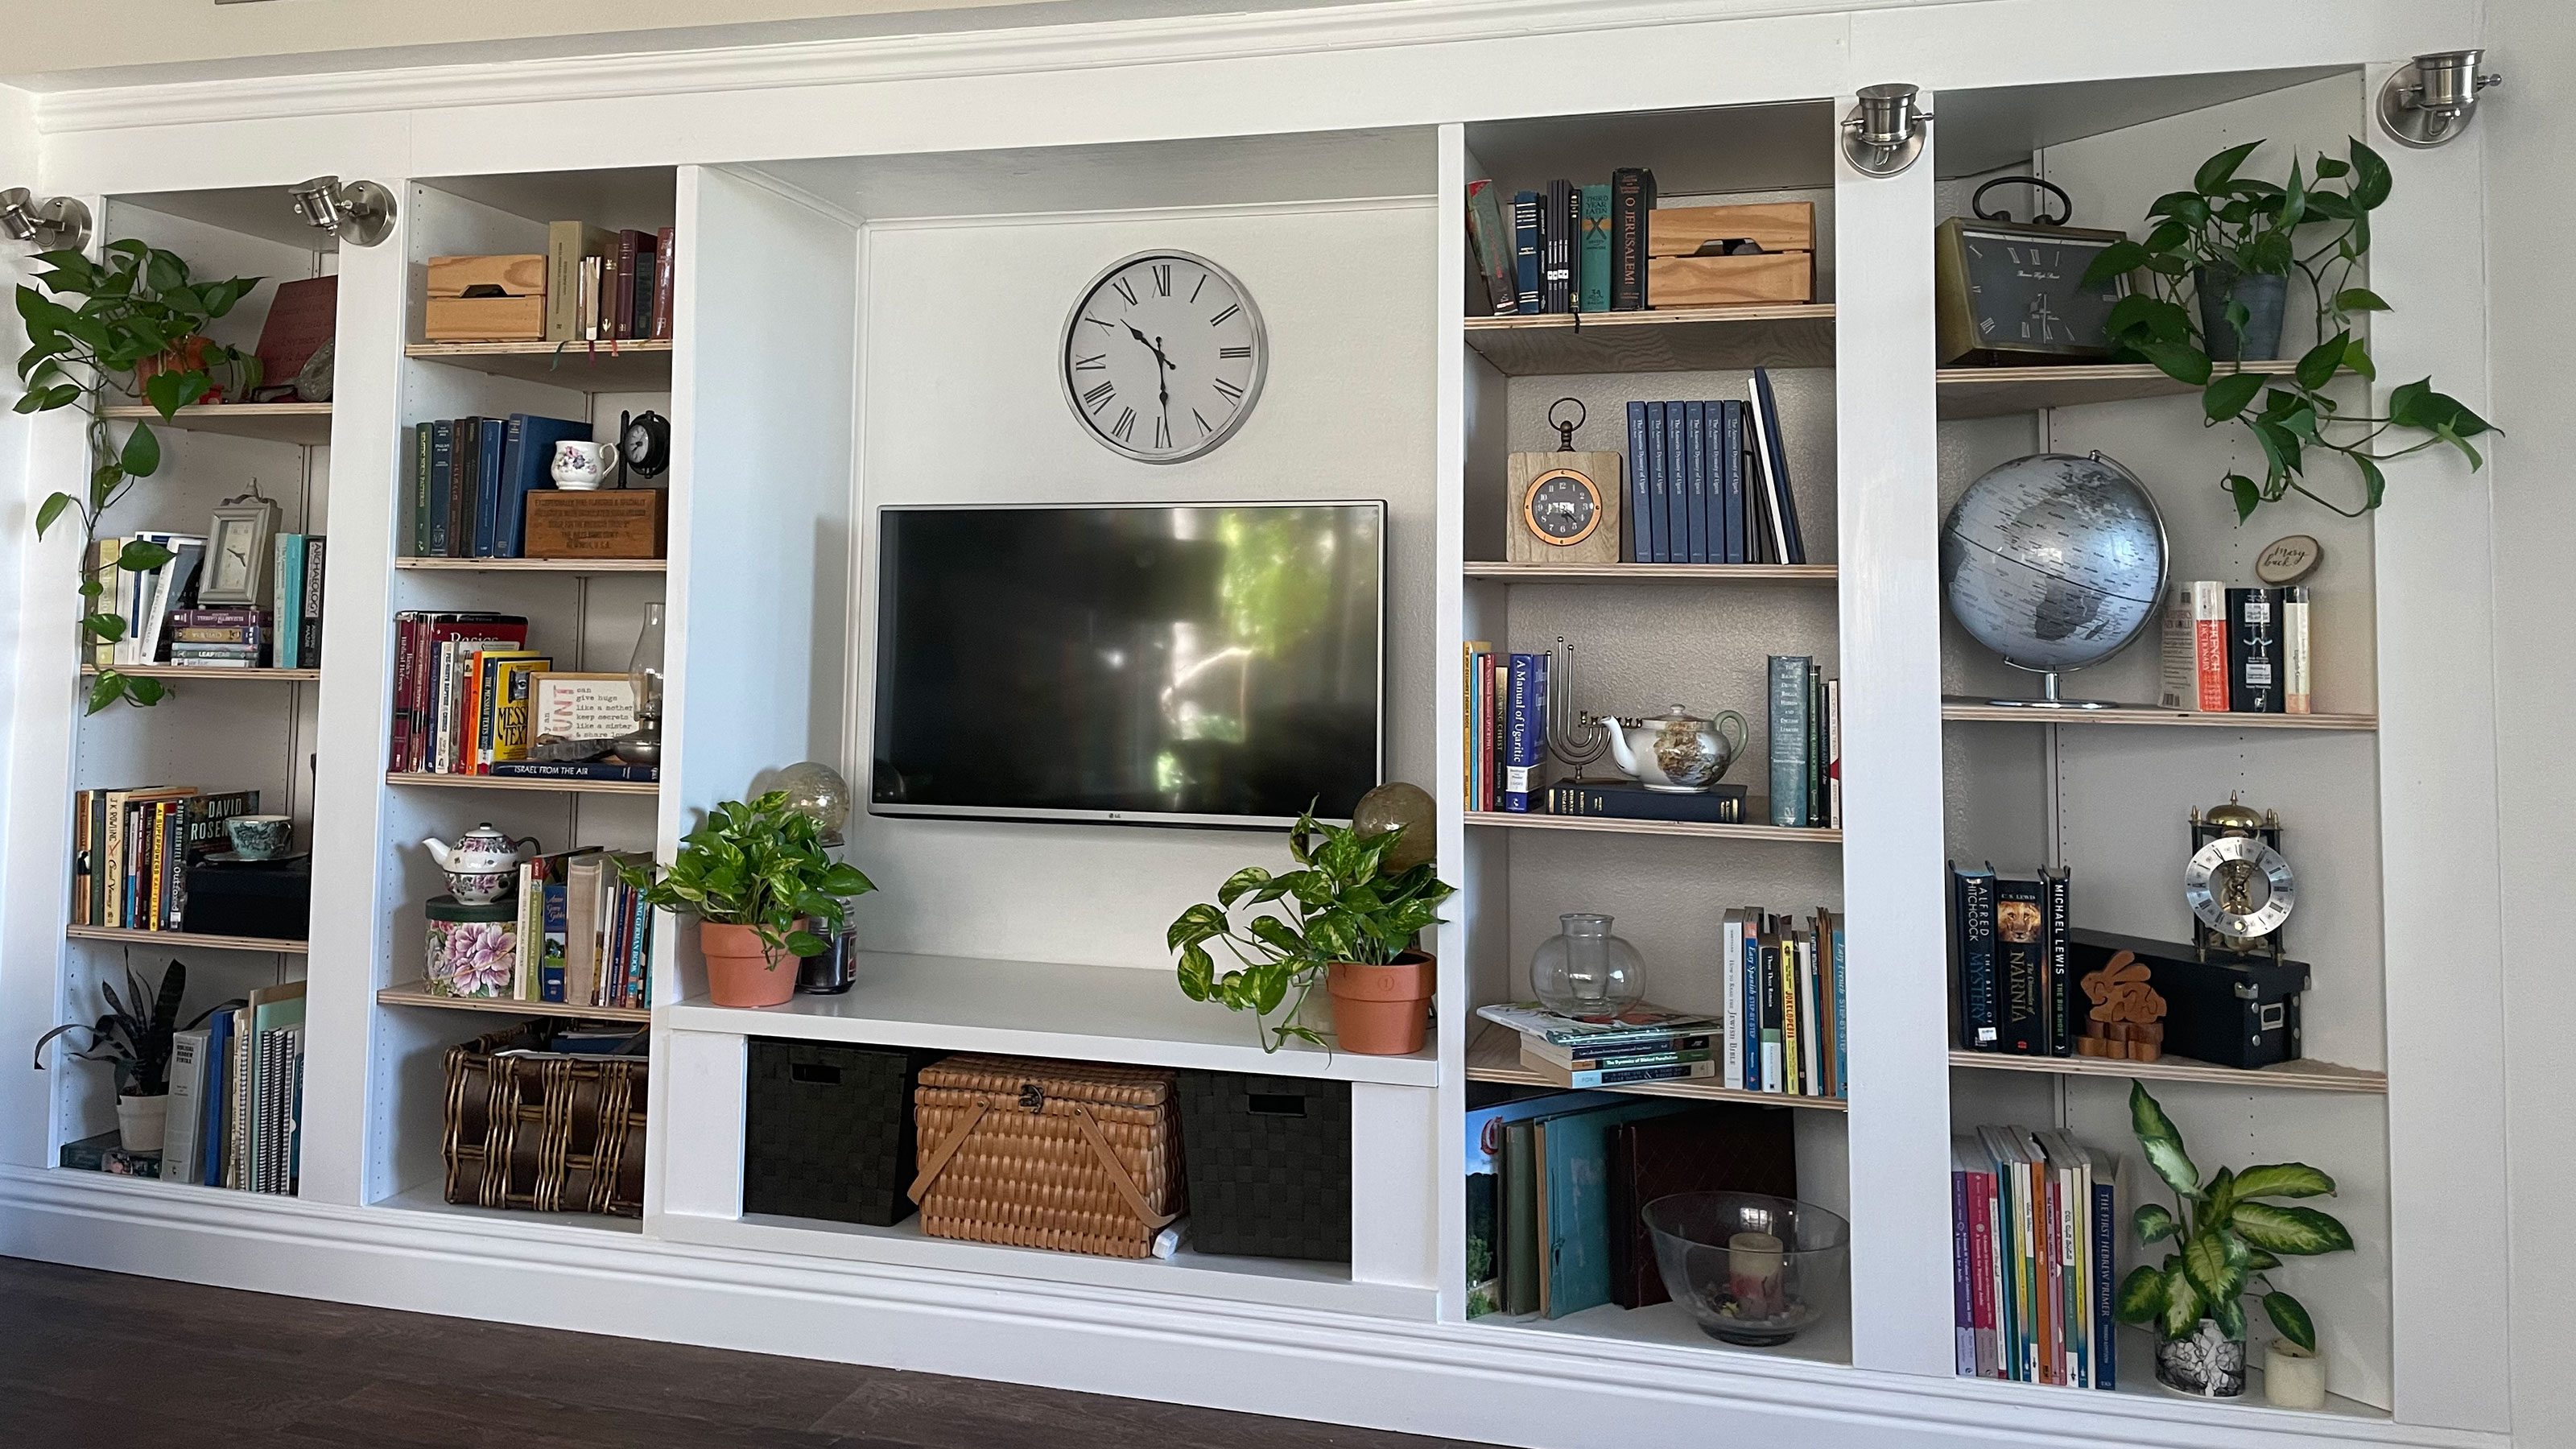 An IKEA Billy bookcase hack inspired this cute media wall DIY
This cute DIY was inspired by an IKEA Billy bookcase hack and brought a ton of symmetry to an otherwise basic media wall space.
By Camille Dubuis-Welch
-
 Share your small space glow up to win $150 in the Real Homes competition
Show off your creativity and DIY skills to win $150 and for the chance to be featured exclusively in Real Homes magazine
By Camille Dubuis-Welch
-
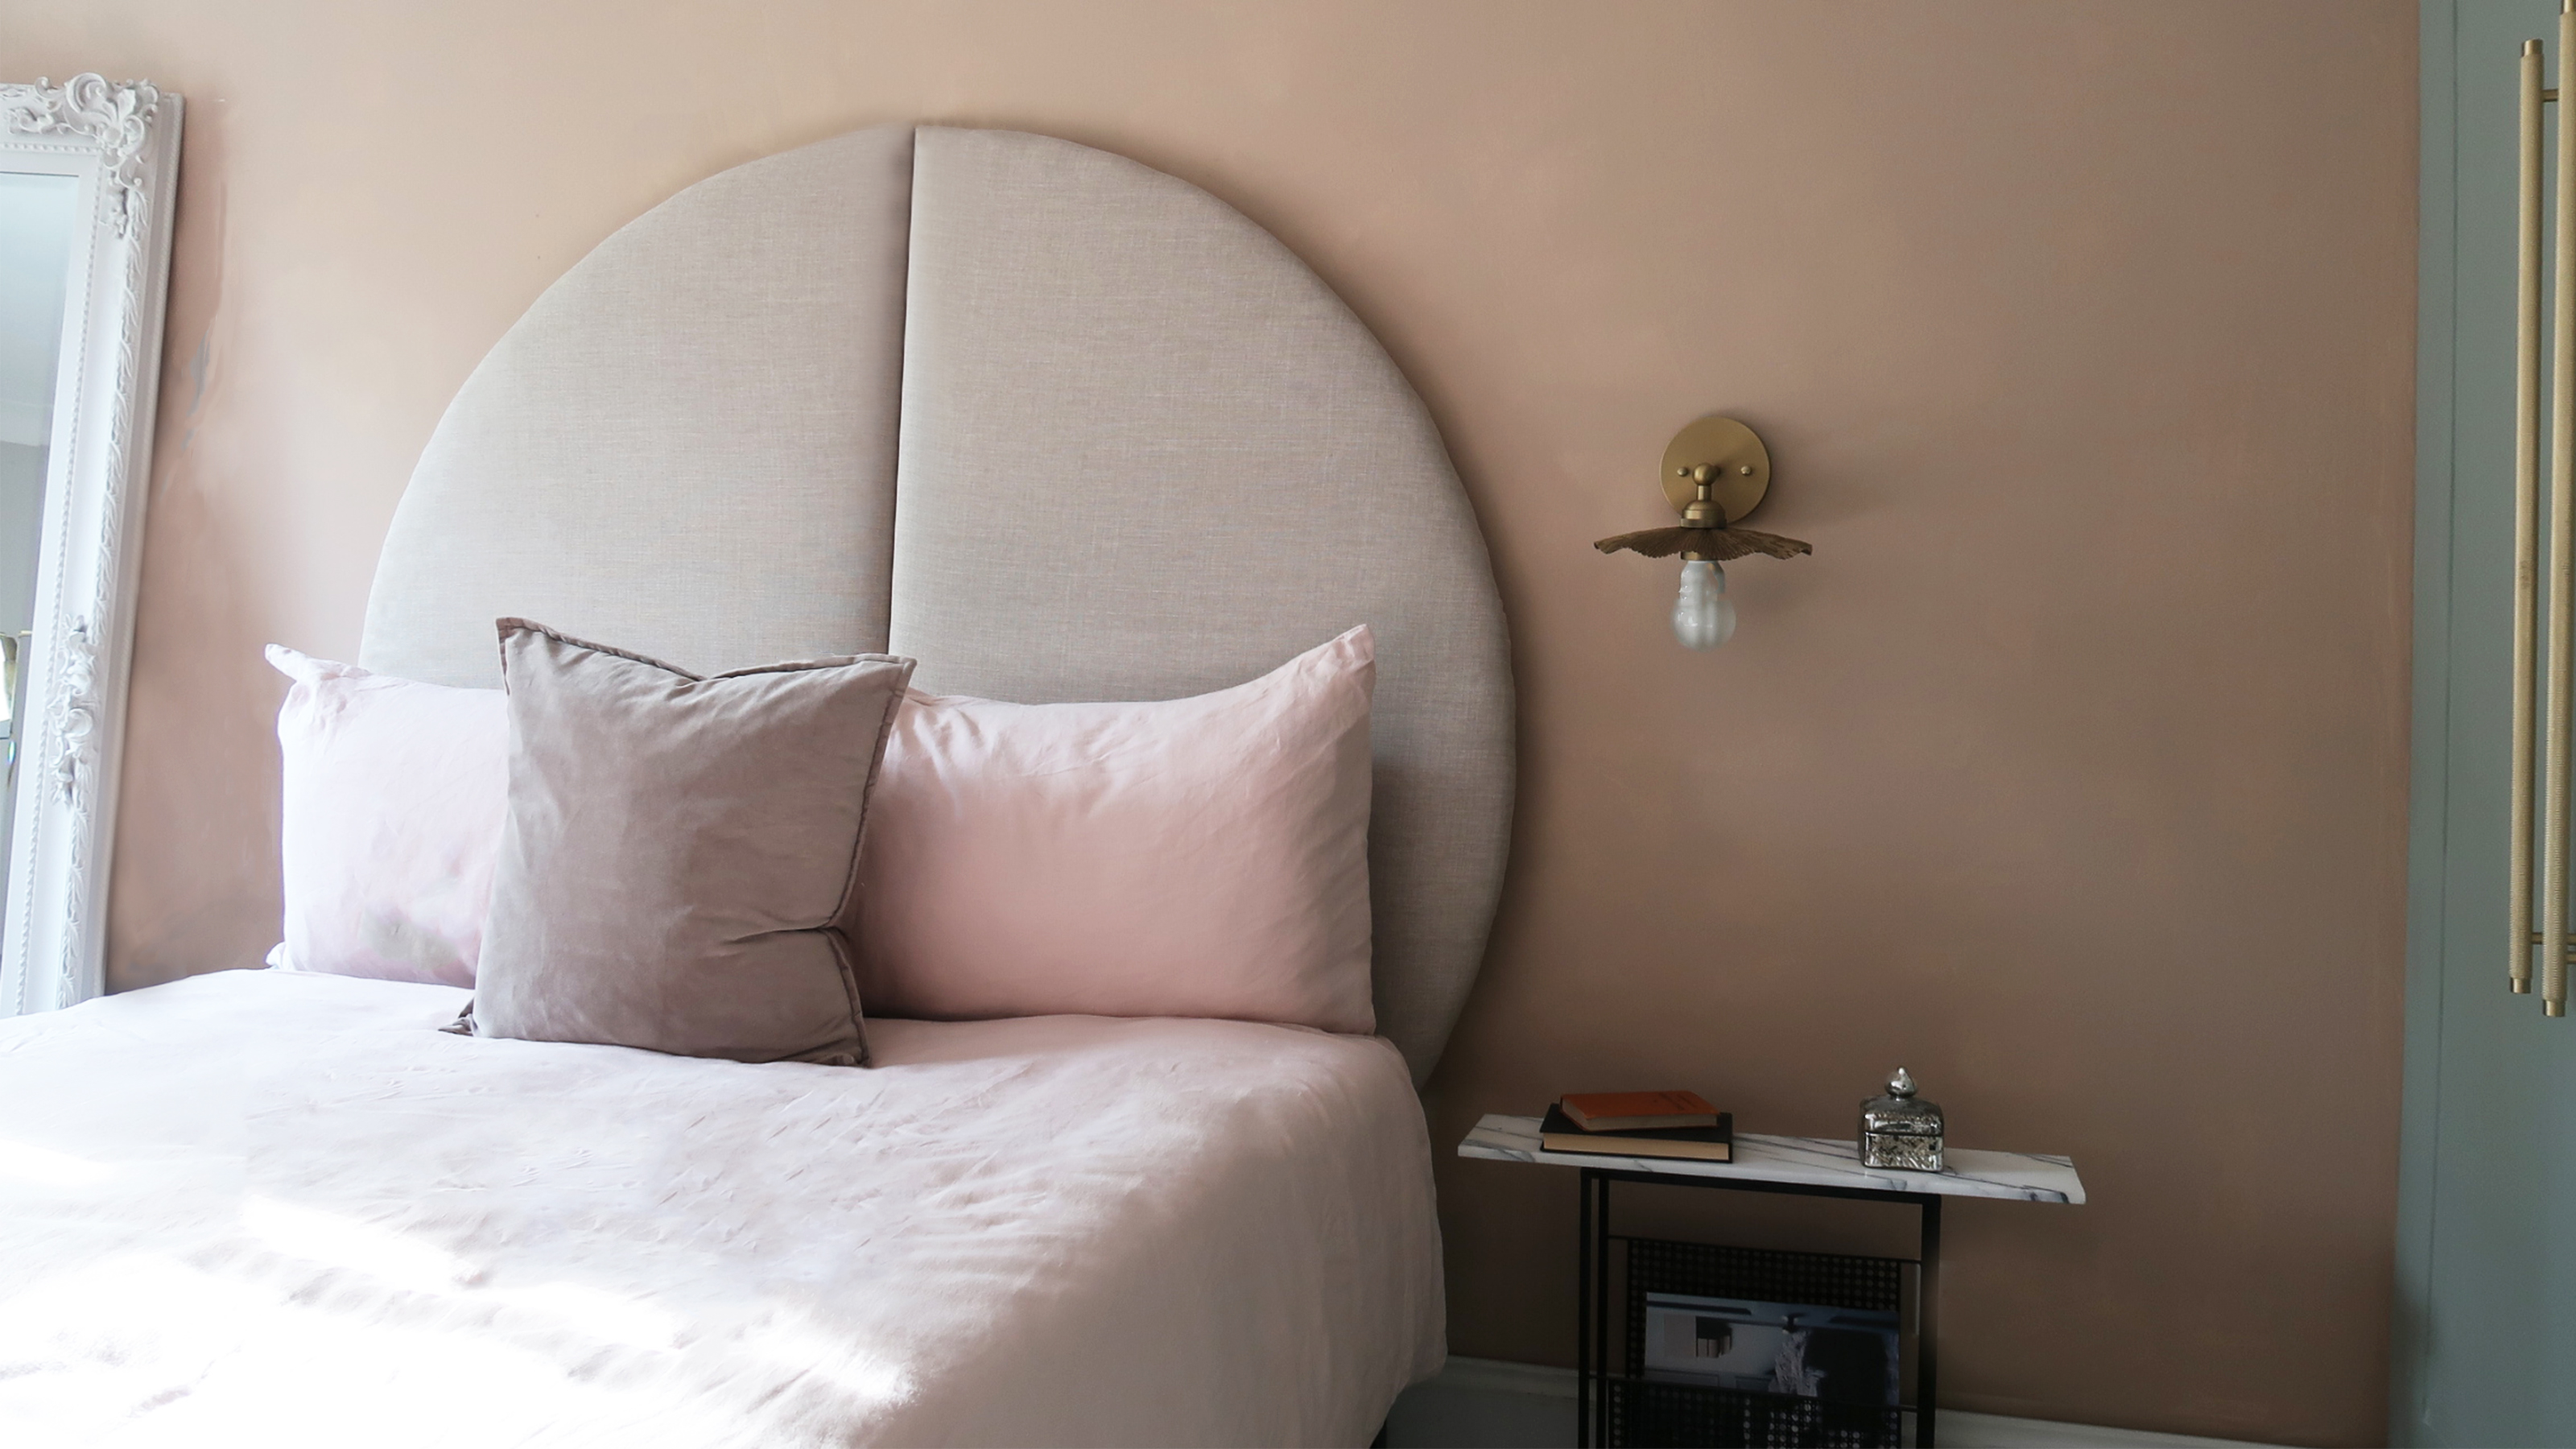 This oversized headboard looks designer, and takes 5 steps to DIY
Super simple to DIY, this oversized headboard will give your bedroom space all the designer vibes you could dream of.
By Claire Douglas
-
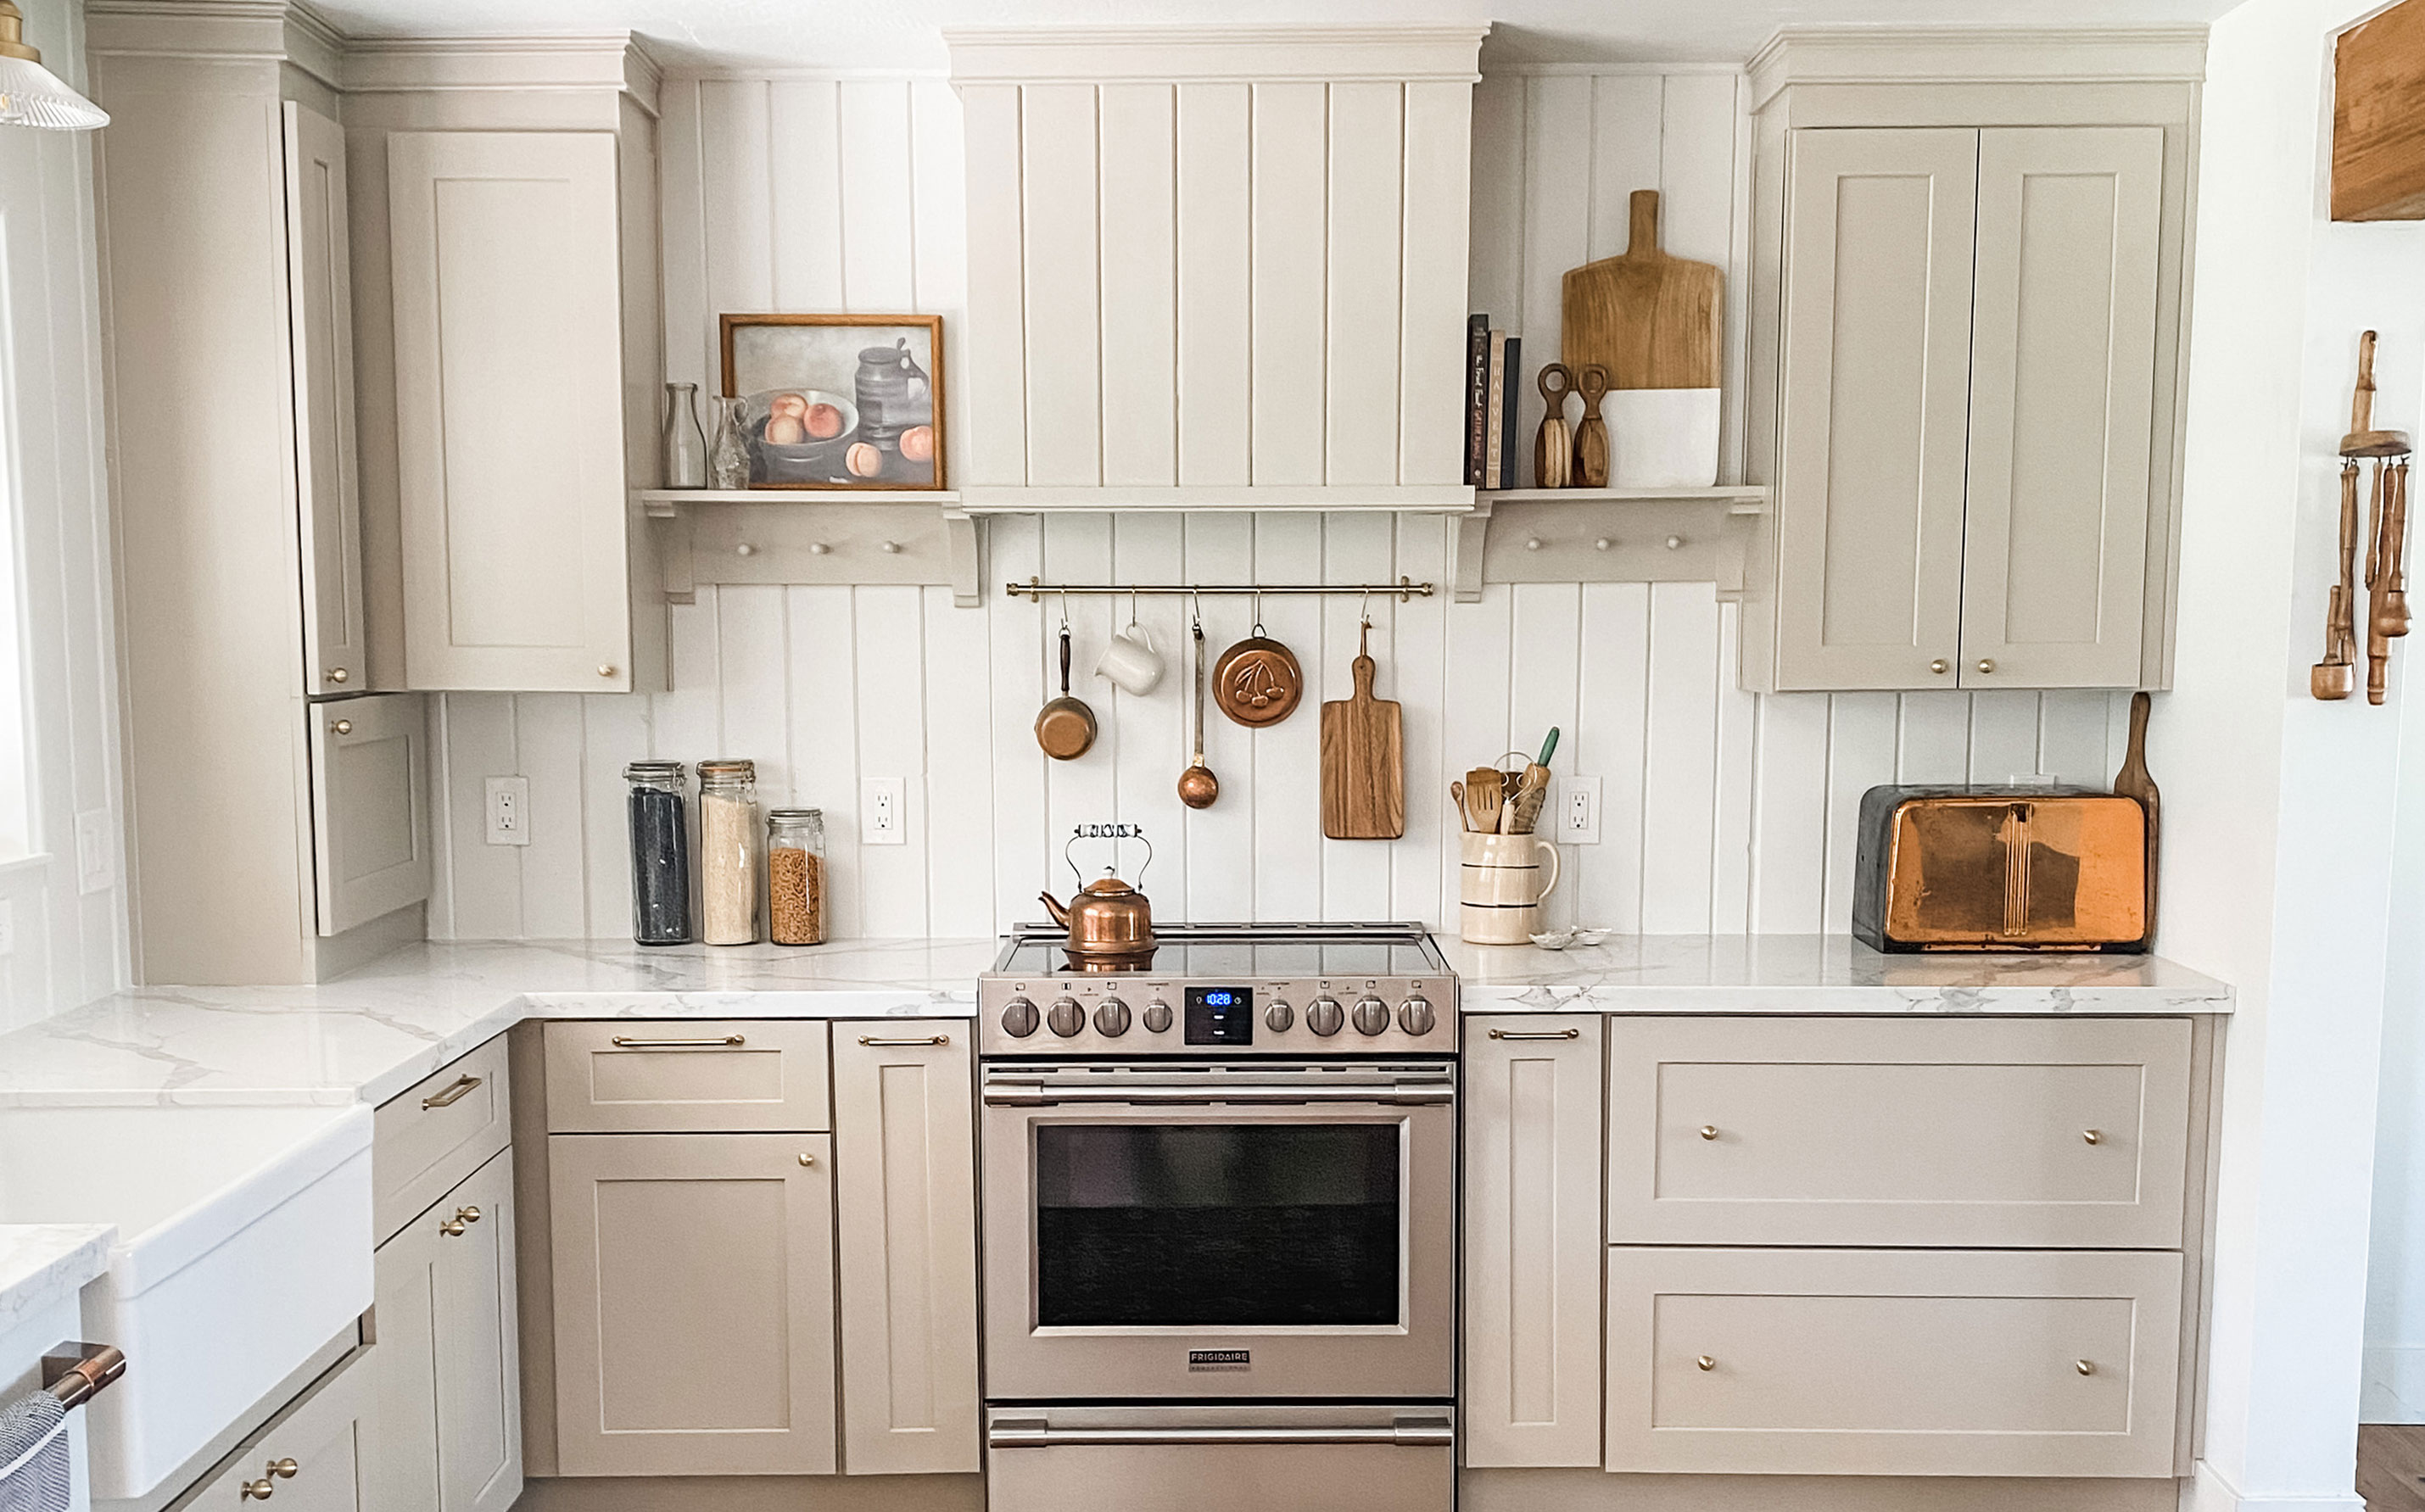 My DIY range hood and backsplash build gave my kitchen the perfect farmhouse finish
I craved charm in my kitchen space and adding a custom range hood and shelving was the best move.
By Brooke Waite
-
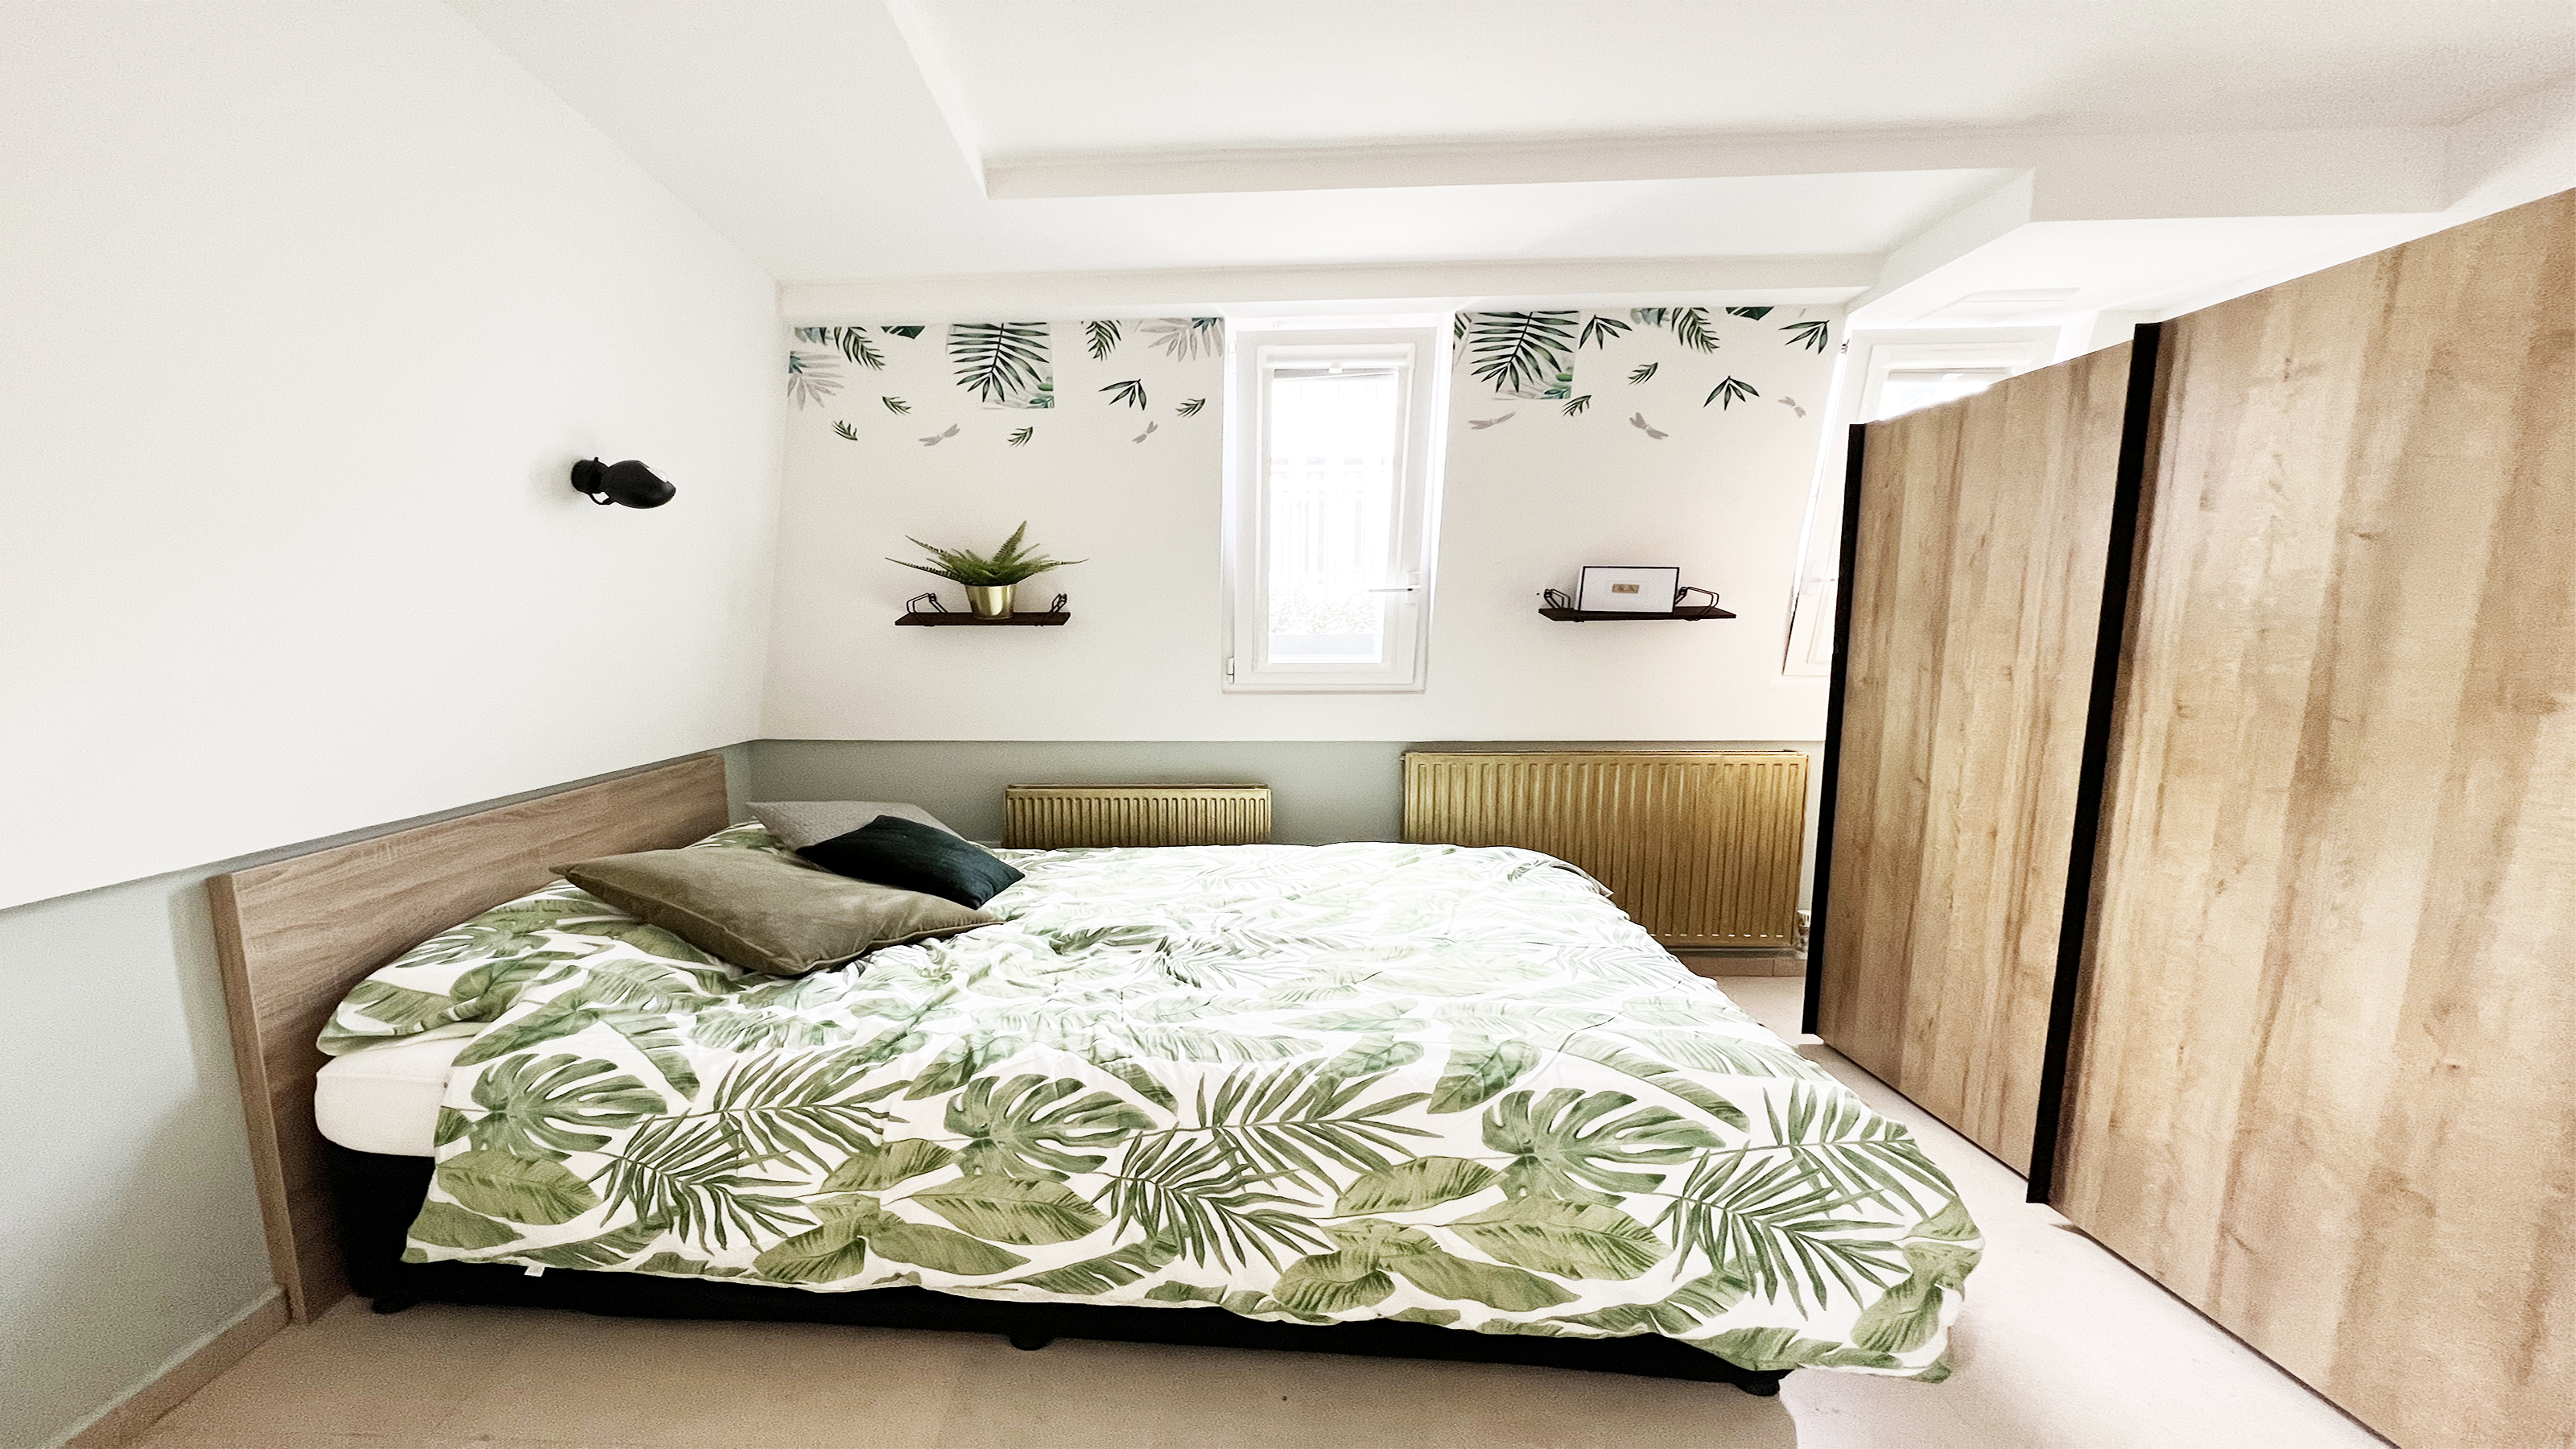 How to paint a radiator in 7 steps
Painting radiators properly is all about choosing the right paint and the best process. Get interior designer-worthy results with our how-to.
By Kate Sandhu
-
 How to install a door knob
Updating your interior and exterior doors can be as easy as changing out the hardware! The best part is that installing a door knob is very DIY friendly. Follow these simple steps and enjoy a fresh look on your doors!
By Dori Turner
