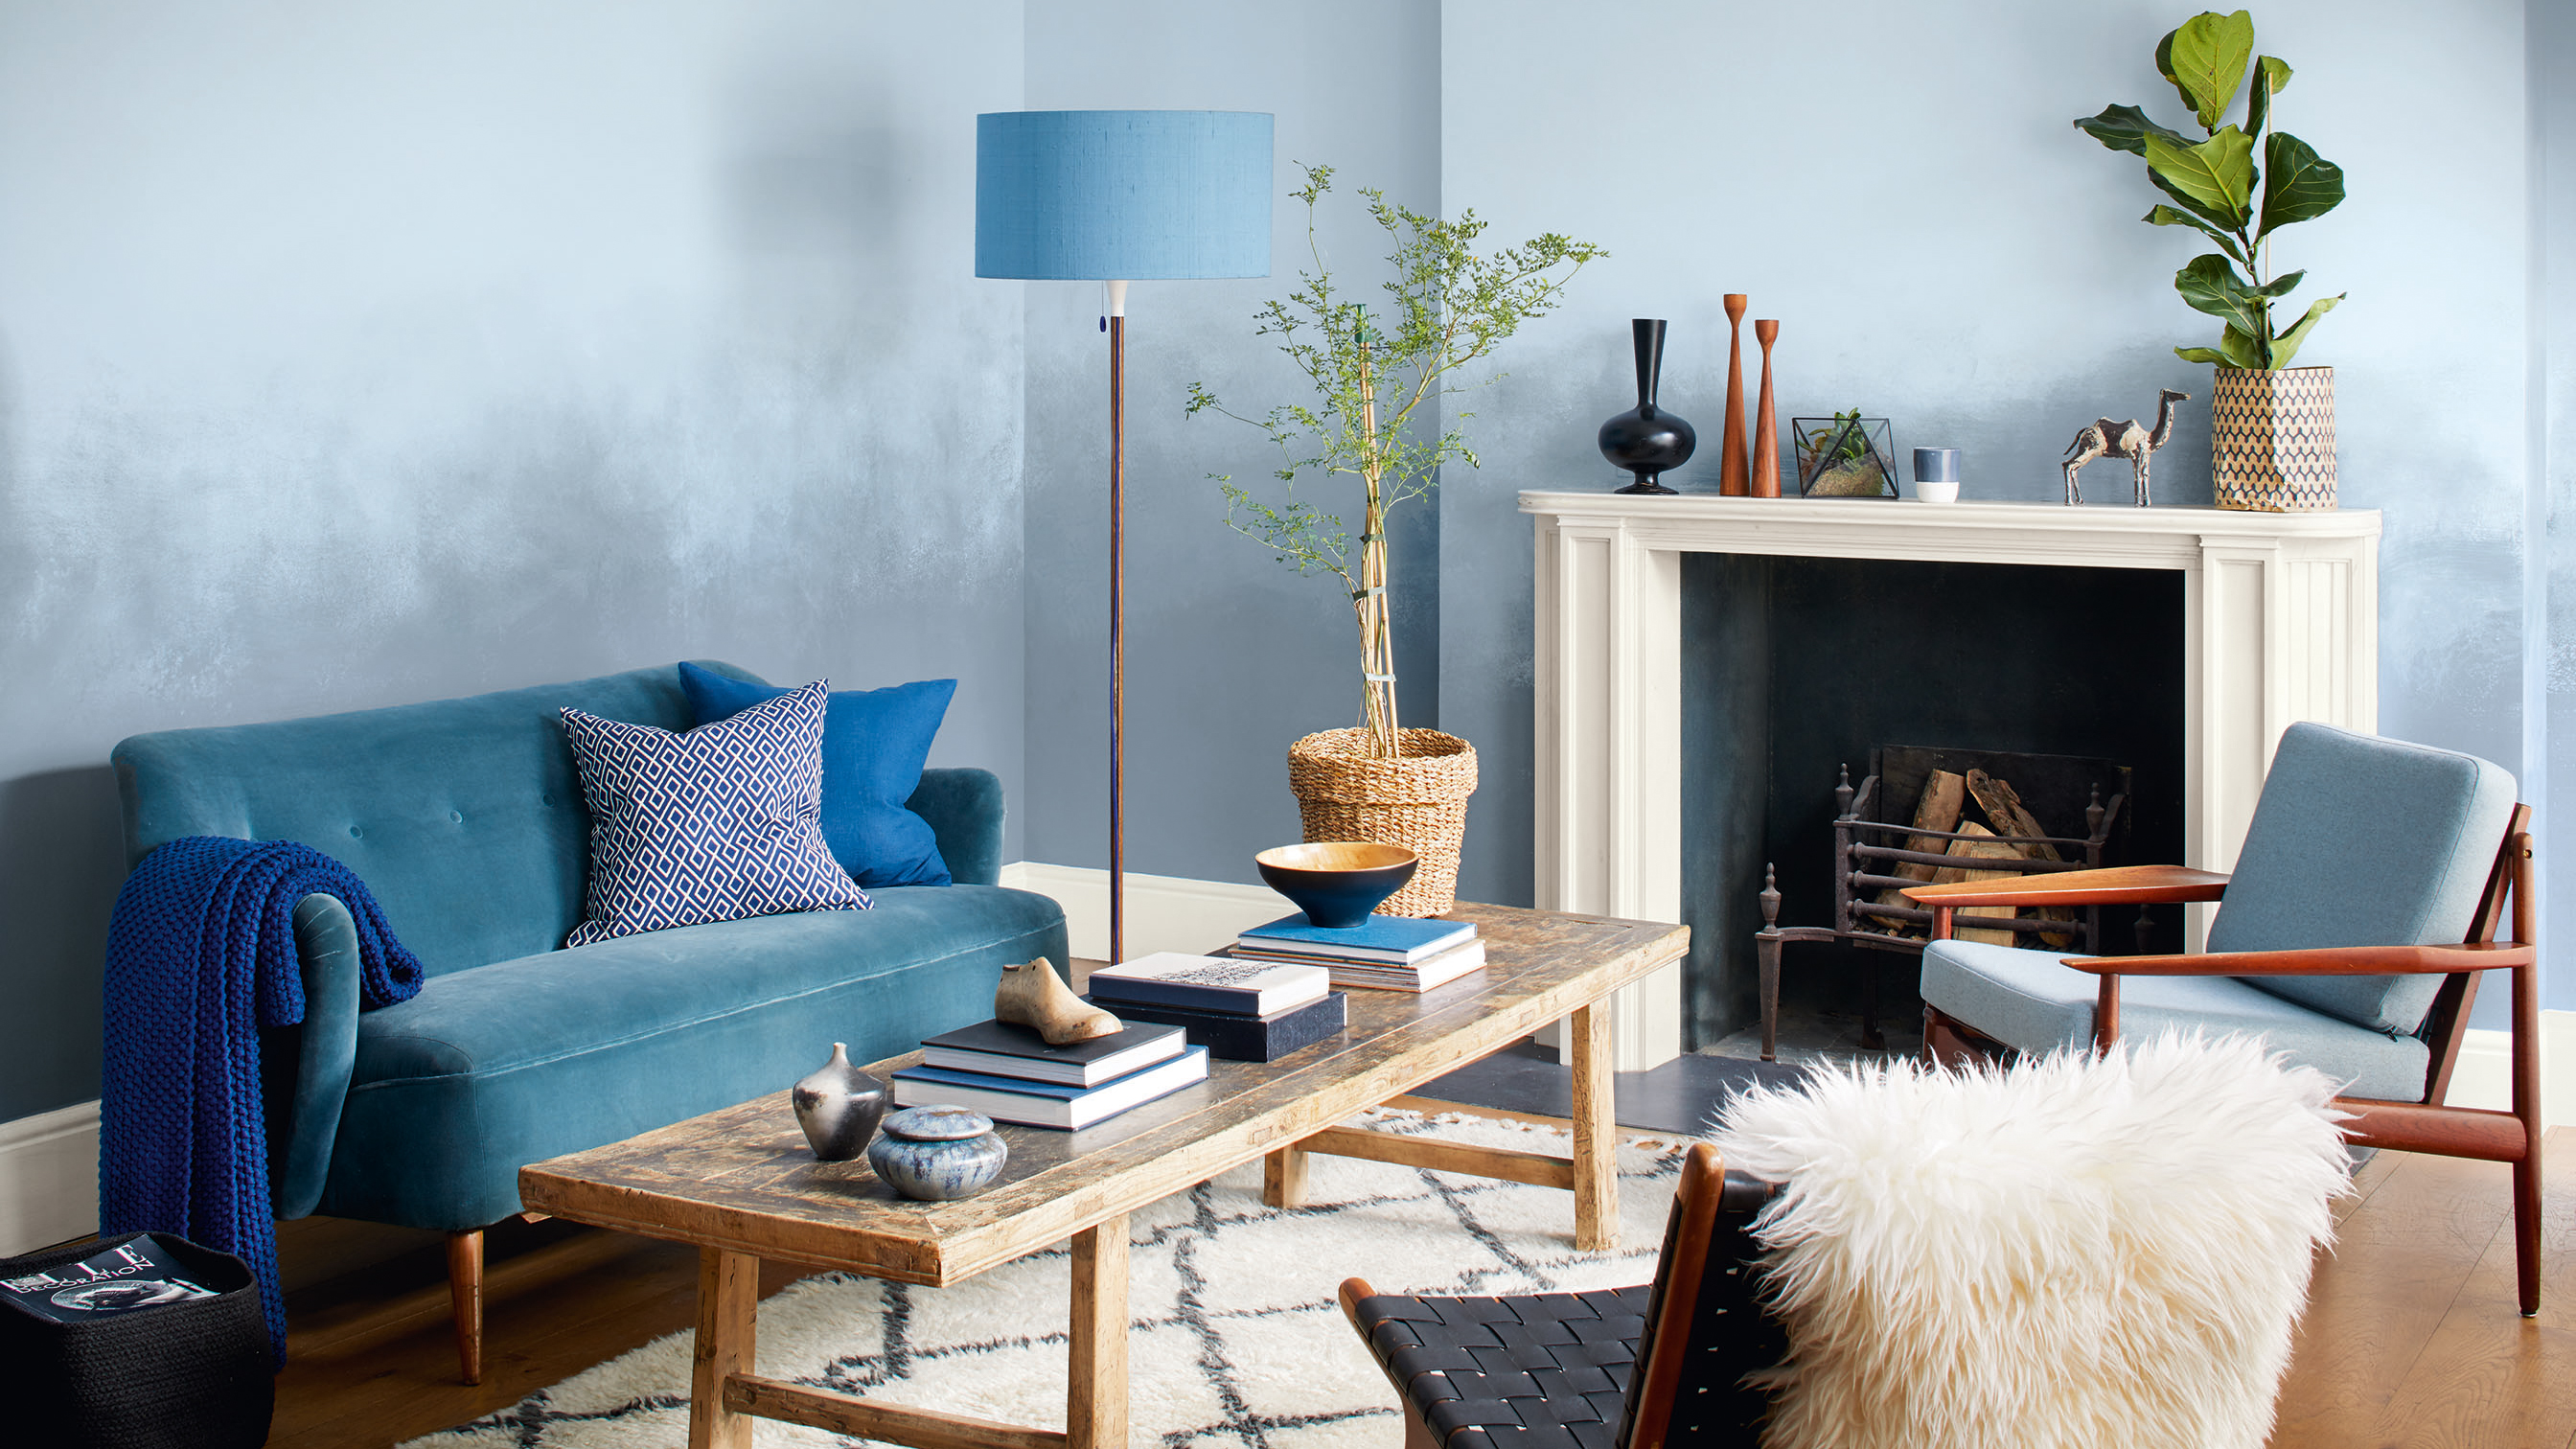

It would seem that the ombre paint effect is a look that’s not going anywhere soon (and we're totally okay with that). What started on the catwalk, and then spread to our hair, has now seeped into our homes both in fabric form and as a trendy ombre paint effect.
So, whether you're painting your house from top to bottom or are looking for inspiration to transform one room in particular, take note of our step-by-step instructions on how to paint an ombre accent wall.
Want to achieve the ombre effect without painting? Take a look at our 10 stylish ombre effects for everything from paint to wallpaper and mural inspiration, all in the ombre style.
What is an ombre wall?
First, for anyone's who's missed it, the ombre paint effect is where one tone gradually fades into another tone of the same colour.
The effect creates a big impact but it’s actually easy to paint your own ombre wall – and you don’t need much more than a few cans of paint, some paint brushes and a roller.
Browse our pick of the best paint brushes and rollers for all your DIY projects to ensure you're equipped to tackle an ombre pain effect.
What you will need:
1. Measure up
Before you start painting, use a tape measure and either a pencil or some chalk to mark the points where you want your colour to start changing. Think about what would work best in your room. If your space is small, start fading your first colour about three quarters up your wall, this will create the illusion of a higher ceiling.
2. Start painting
Start with the top section. Using a roller or a wide paint brush, paint downwards with your lightest colour across the whole width of your wall until, at last, you hit your marked meeting point. Before the paint dries, take your second colour and paint the top of the lower section, keeping the edge where they meet uneven.
Top tip: For the results, choose two colours that are similar in tone as these will be easiest to blend, or slowly add a colour to a large pot of white paint to darken it gradually (the downside to this is that you can't predict how dark your darkest shade will be).
Find out more about choosing the right paint colours for each room.
3. Get blending
Using upwards and criss-cross strokes, start to blend the the borders between the two colours before they completely dry. The more you work, the more graduated the ombre effect will become, so keep going over the border until you achieve the look you want. Carefully apply more of either of your colours if you need to improve the blended look.
Top tip: Practise the effect on a small section of wall before you do a whole room. If you pick an area behind a sofa, for example, you can paint over it and it won't be noticeable.
Read more about painting:
Join our newsletter
Get small space home decor ideas, celeb inspiration, DIY tips and more, straight to your inbox!
Hebe joined the Real Homes team in early 2018 as Staff Writer before moving to the Livingetc team in 2021 where she took on a role as Digital Editor. She loves boho and 70's style and is a big fan of Instagram as a source of interiors inspiration. When she isn't writing about interiors, she is renovating her own spaces – be it wallpapering a hallway, painting kitchen cupboards or converting a van.
-
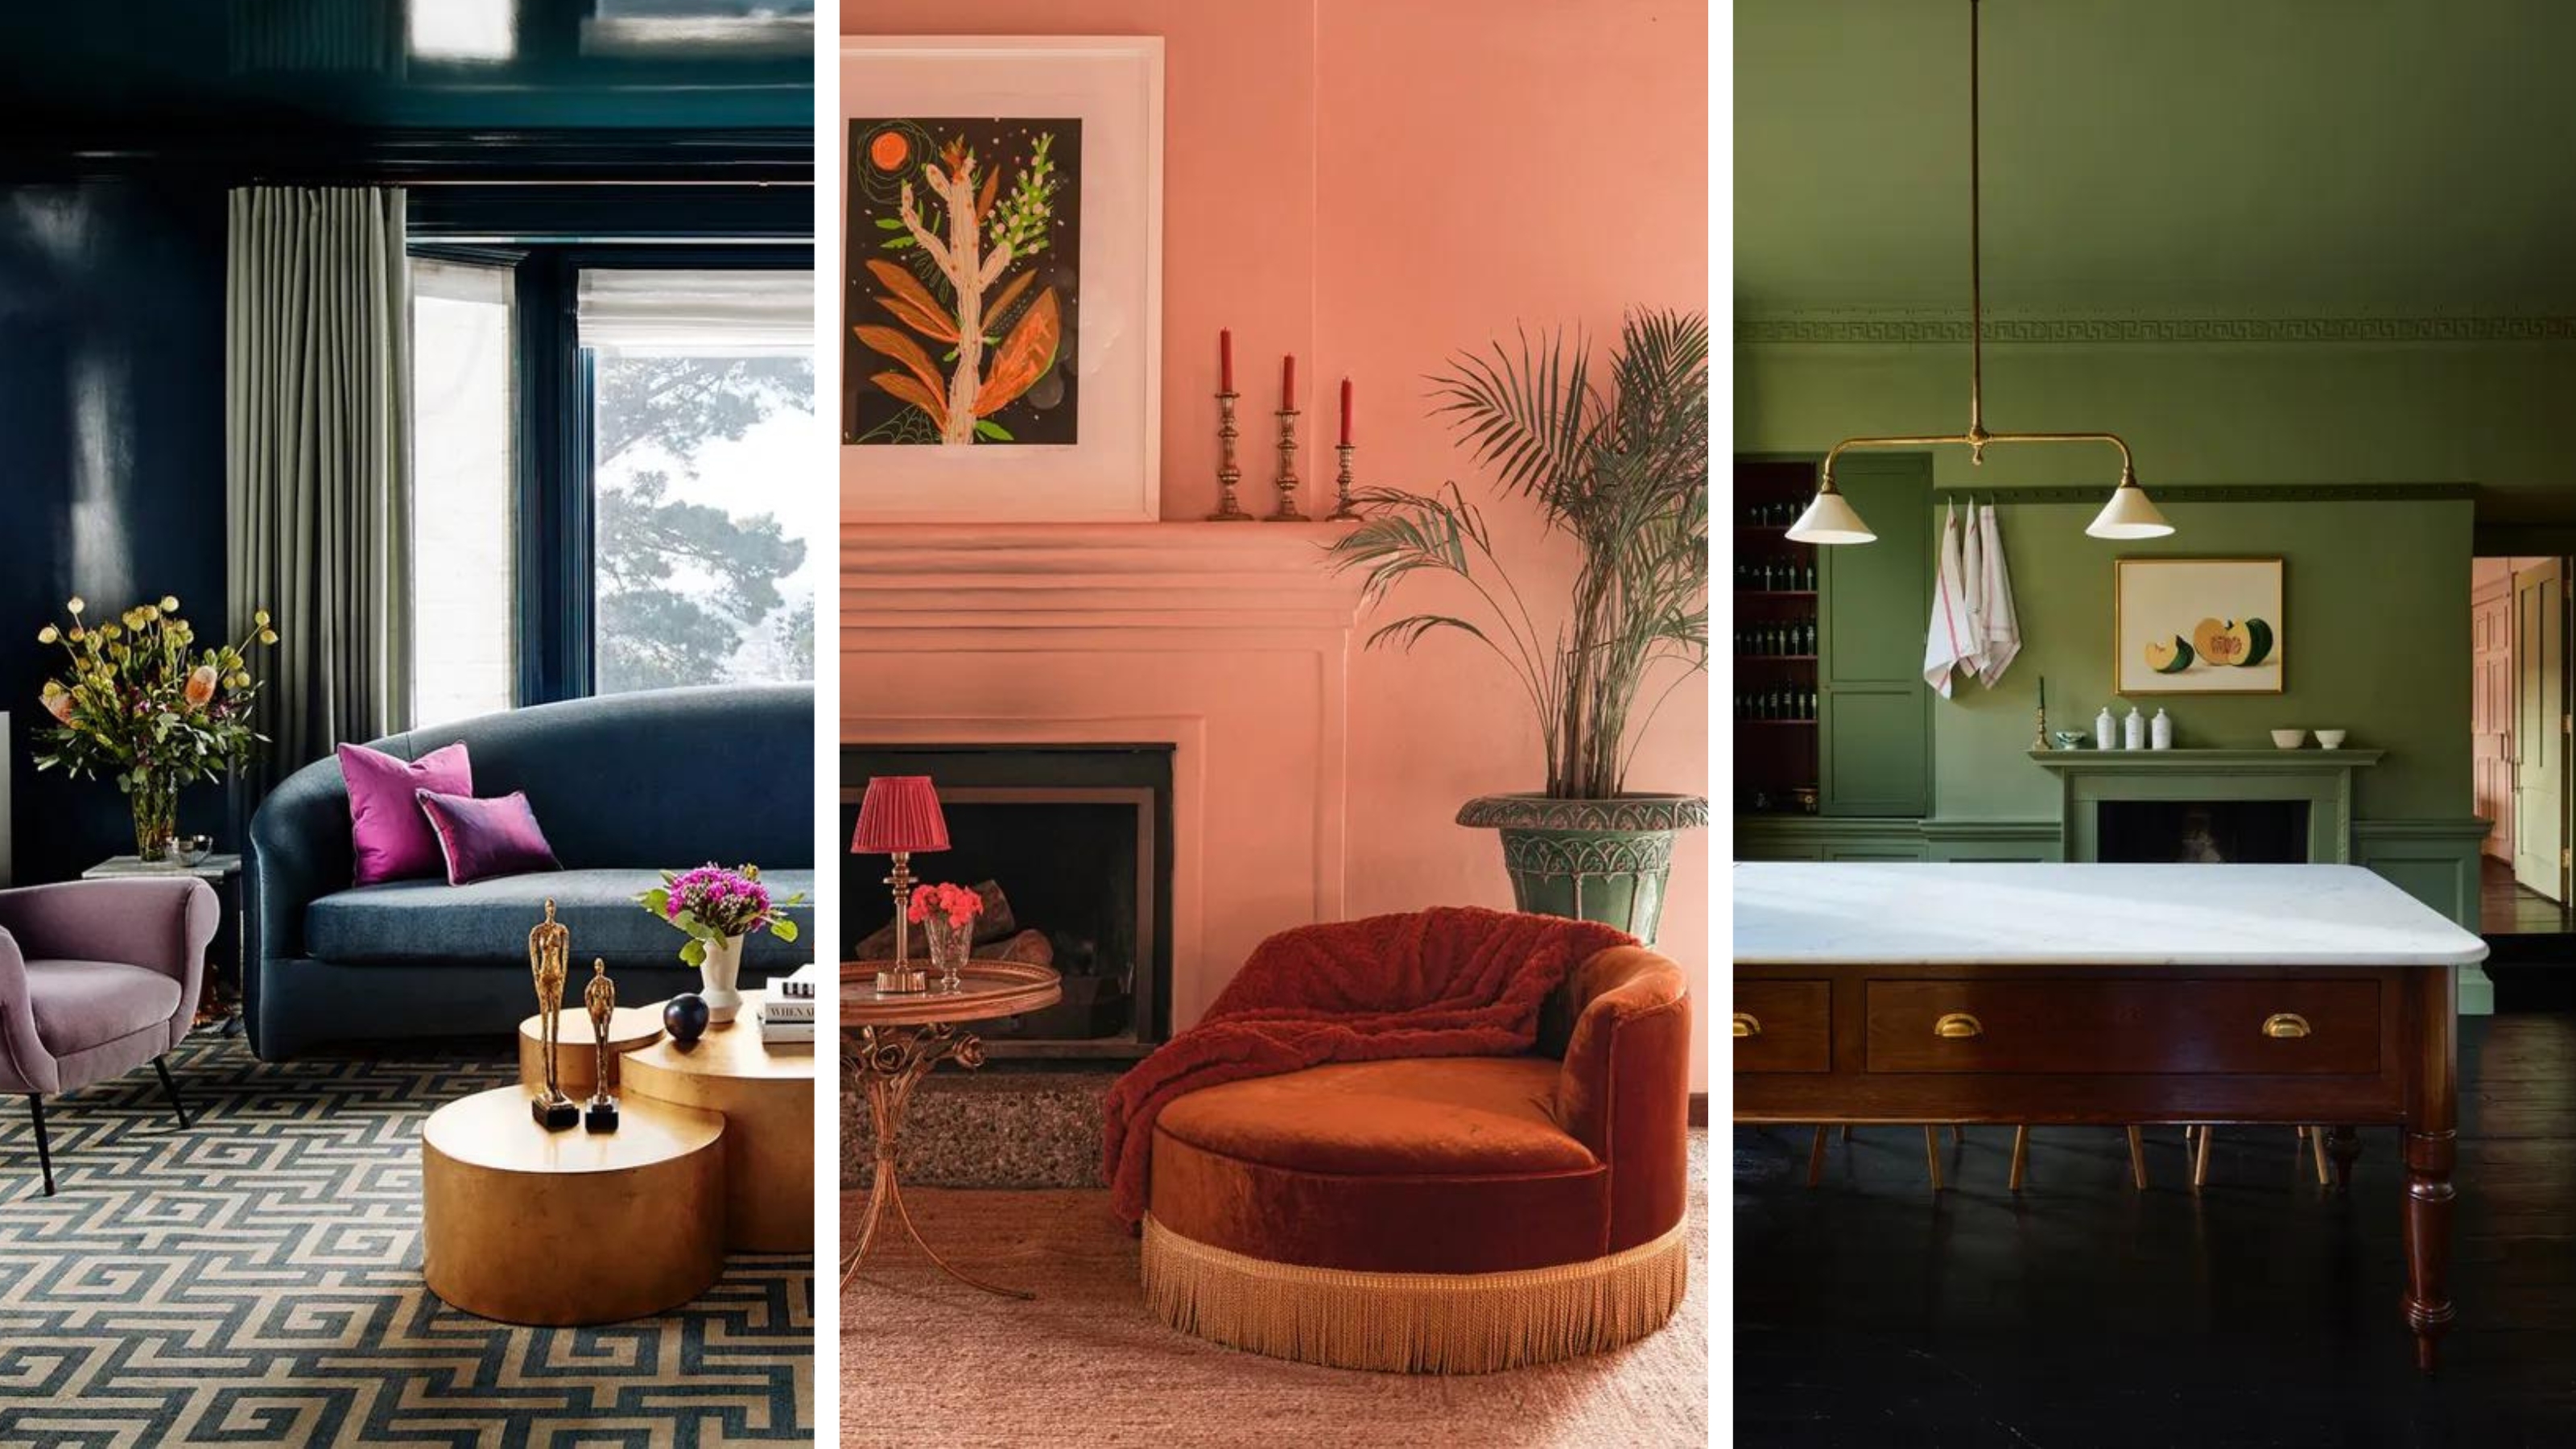 What is color drenching? Interior designers love this bold trend
If you're curious about color drenching, our interior designers explain what it is, how to do it, and what to shop to bring it into your home
By Sophie Warren-Smith
-
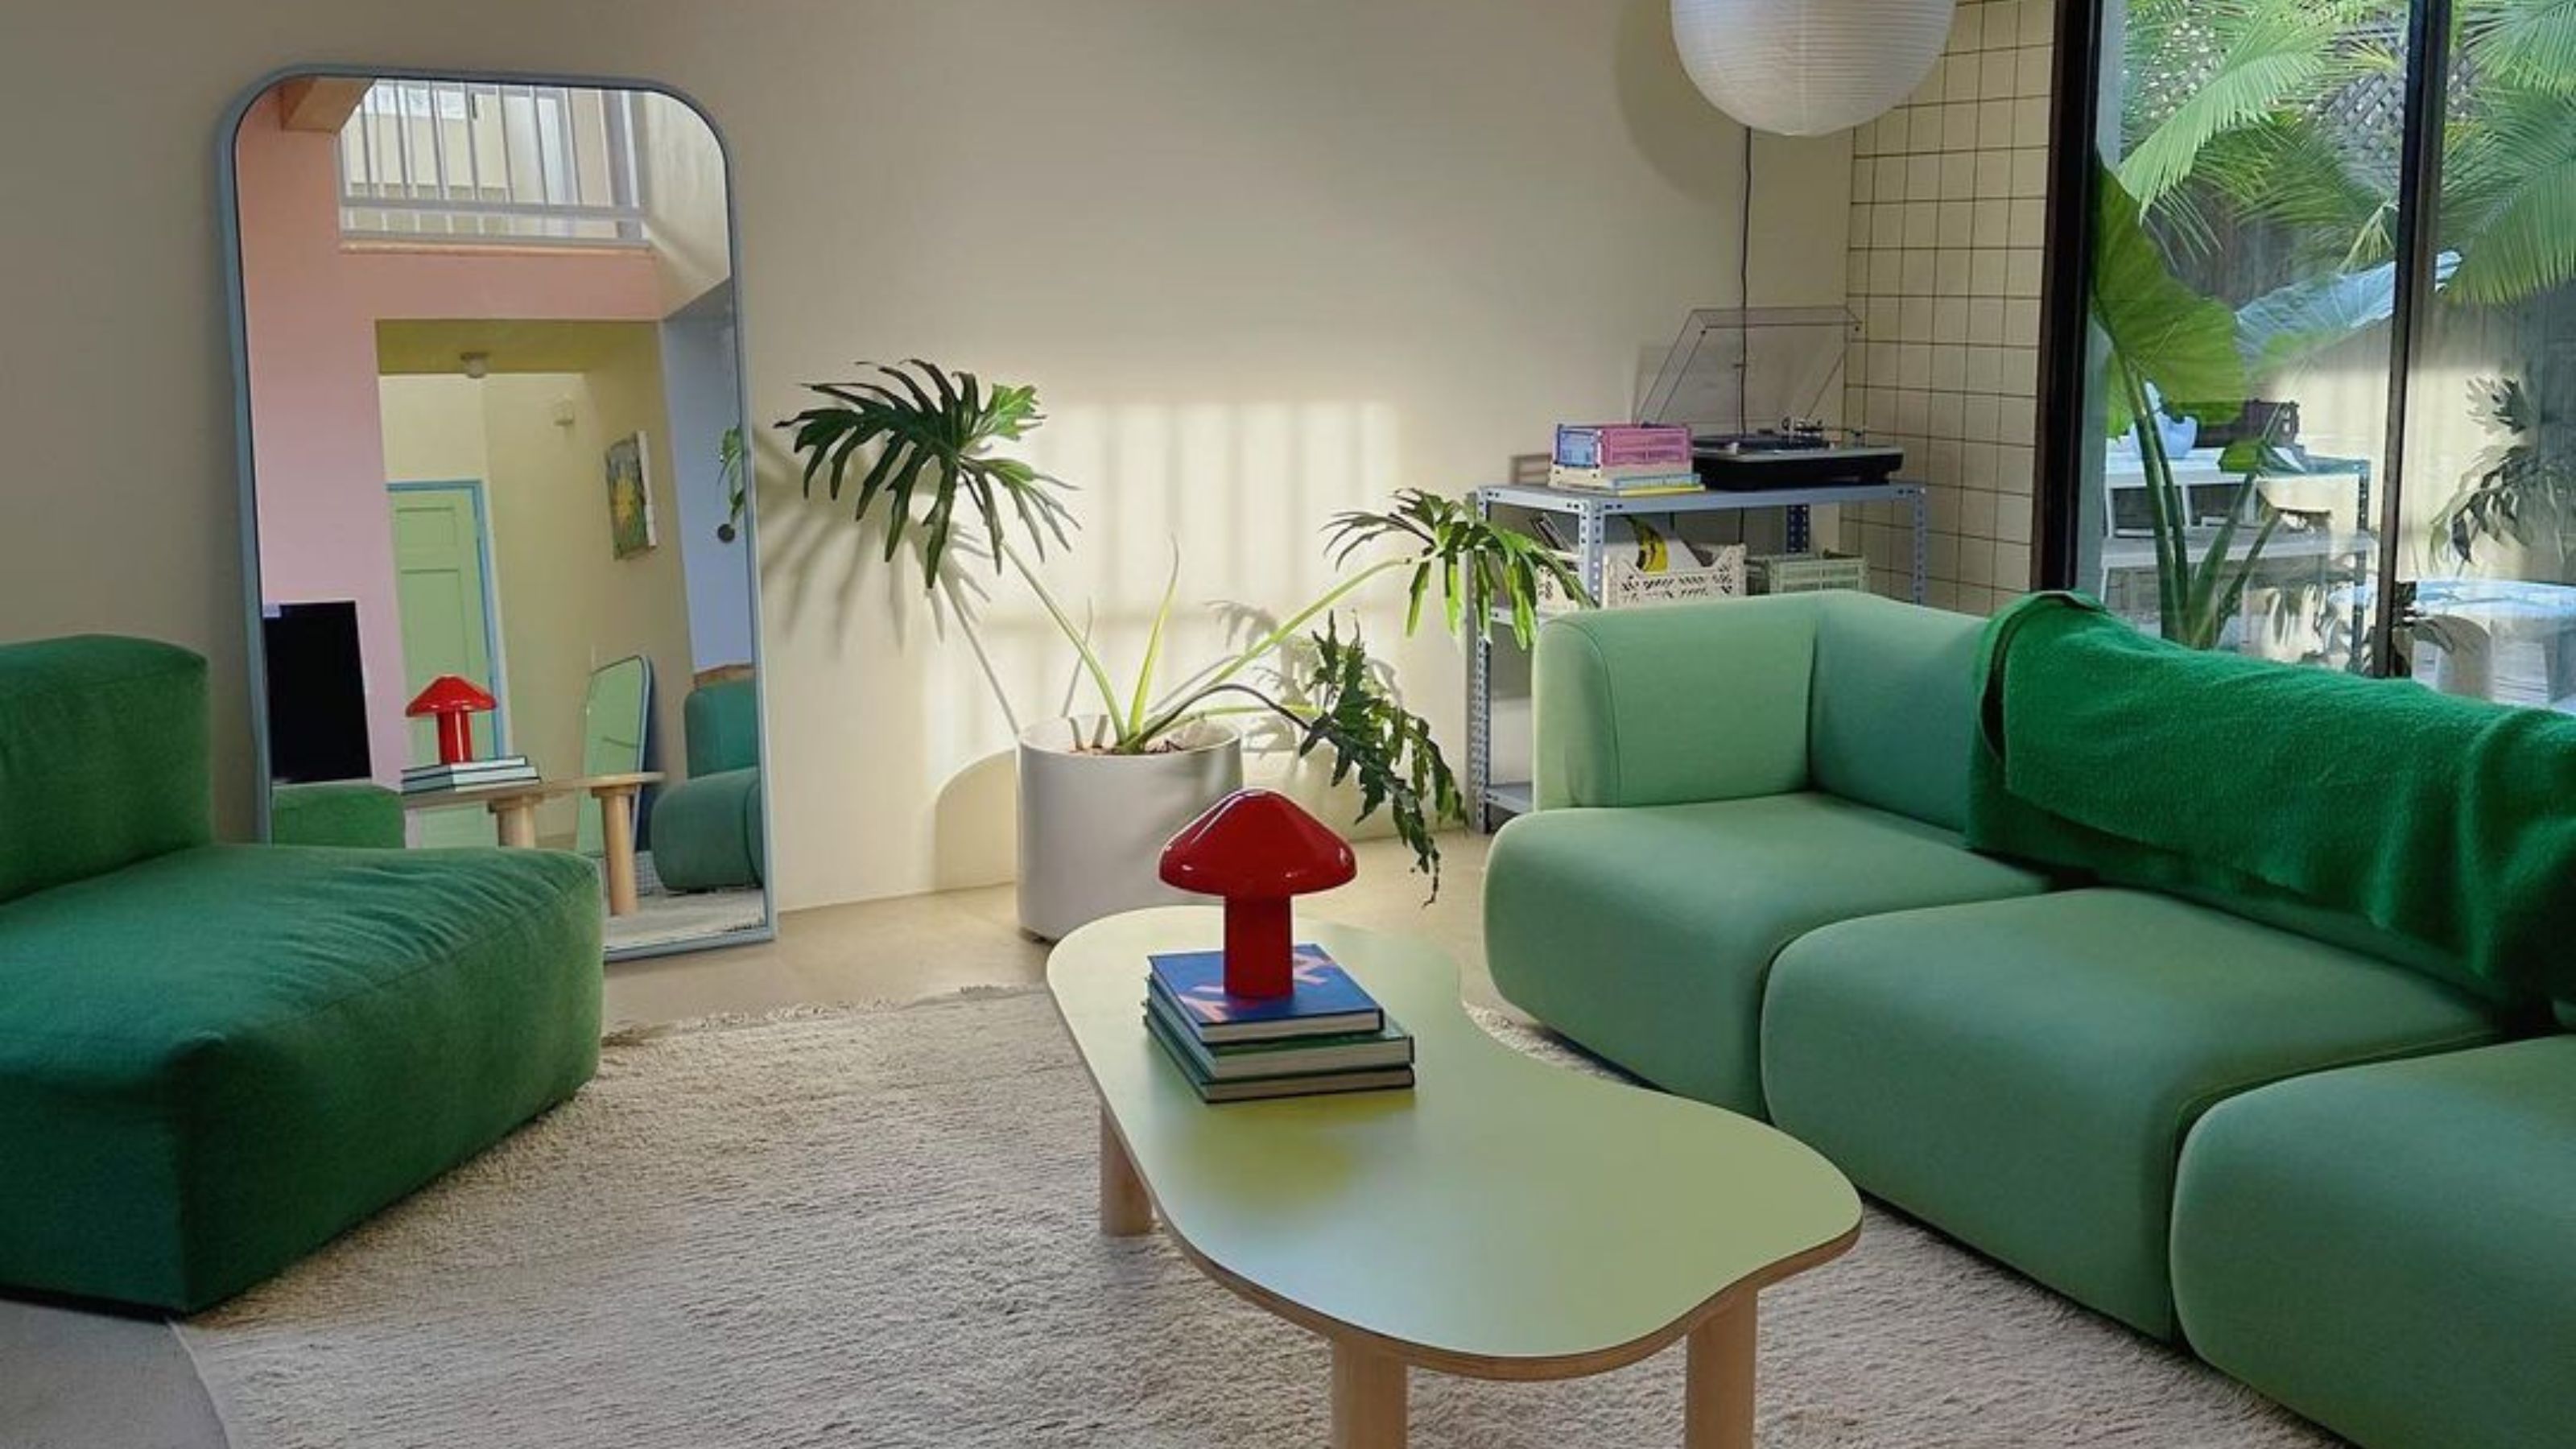 5 Gen Z and millennial influencers to follow for all things homes and interiors
Need some on-trend home and interior inspo? These are the five millennial and Gen Z influencer accounts I can't stop scrolling for small homes and rentals
By Louise Oliphant
-
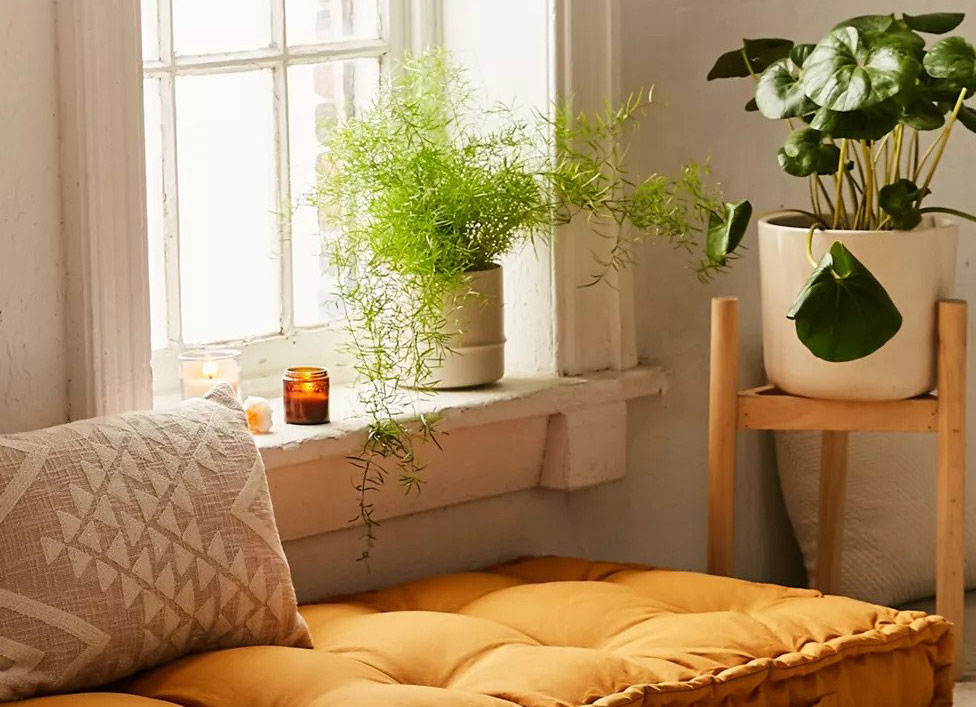 5 colors you should skip using in a small apartment, according to a designer
An interior designer tells us which five colors to avoid painting a tiny apartment and how to incorporate those out-of-bounds hues instead and avoid small apartment color mistakes
By Kara Thompson
-
 8 calming paint colors to create a blissful home sanctuary
Relax, revive and renew with a soothing palette of mindful paint shades.
By Sophie Warren-Smith
-
 How one trash can thrifter brought a vintage footstool back to life, for free
See how an innovative NYC-based trash can thrifter brought a vintage bamboo footstool back to life for free
By Camille Dubuis-Welch
-
 I transformed my IKEA Kallax unit into a stunning media cabinet
I took a weekend out to transform a basic IKEA Kallax shelving unit into the media cabinet of dreams. Here's how.
By Becks Shepherd
-
 How to arrange flowers like a pro: expert advice on creating stunning floral displays
Arrange flowers like a pro with our expert advice. The days of placing your shop-bought flowers in a vase and hoping for the best are over
By Hebe Hatton
-
 How to hide a TV on the wall: a DIY disguise with art
DIY a disguise for your TV on the wall with art and turn heads in your front room, for all the right reasons
By Claire Douglas