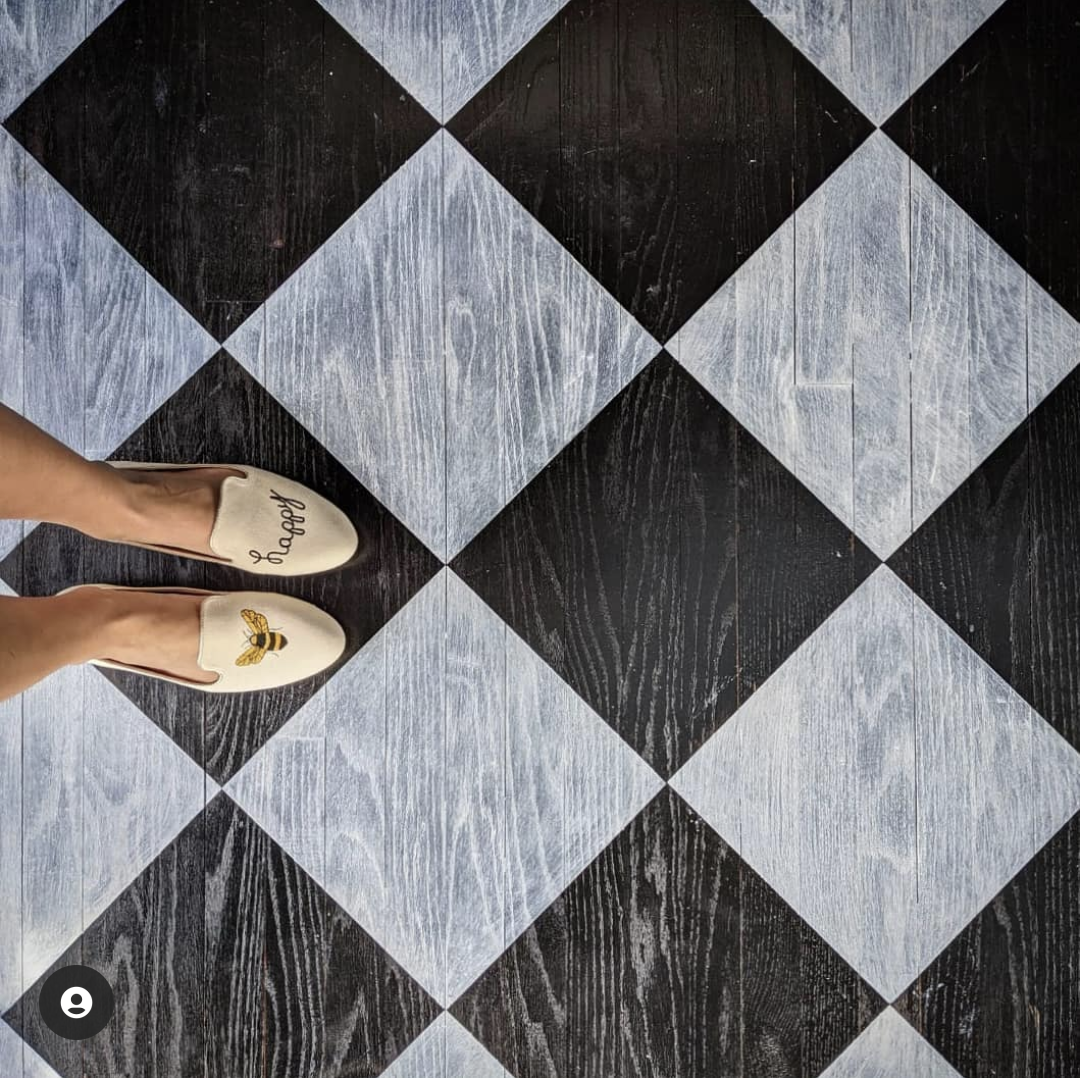
There is no floor more classic than black and white checkerboard. My crush on the style is longstanding, and it’s fun to now see them popping up in the trendiest of homes. Traditional sunrooms are my favorite location for the time-honored look.
The wood floors in our own sunroom were in rough shape from decades old water stains and my young family's fresh additions. A few years back, my potty training toddler had an accident in the sunroom; He determined the best course of action was to grind a purple crayon into the liquid, leaving a giant purple stain near the entrance. My floors were in need of a heavy dose of camouflage.
Contrasting marble tile was my first thought for the sunroom floors. But, I decided I could achieve a similarly, veined look by exposing the grain using gel stain-- at a more budget friendly price point. The whole floor cost under $200 and was pretty painless as far as DIY projects go.
Here's how I created my black-and-white checkerboard floors using simple floor stain.
- Keep reading: How to paint floorboards
DIY checkerboard floor materials:
- Deglosser
- General Finishes Black Gel Stain
- General Finishes White Gel Stain
- One 12" x 12" tile, peel-and-stick tile for pattern template
- Old 5” paint brush
- Old 2” paint brush
- Finishing wax in “Dark”
How to paint black and white checkerboard floors:
1. Prep. Vacuum and wash the floors thoroughly.
2. Sand & degloss. Lightly sand or use deglosser for better adhesion. I’m always going to be a team deglosser, if possible. Sanding is such a mess and such hard work! My floors were under carpet and did not have a poly coating, which meant less prep was necessary. Gel stain is already lower prep than paint and you can often skip the primer.
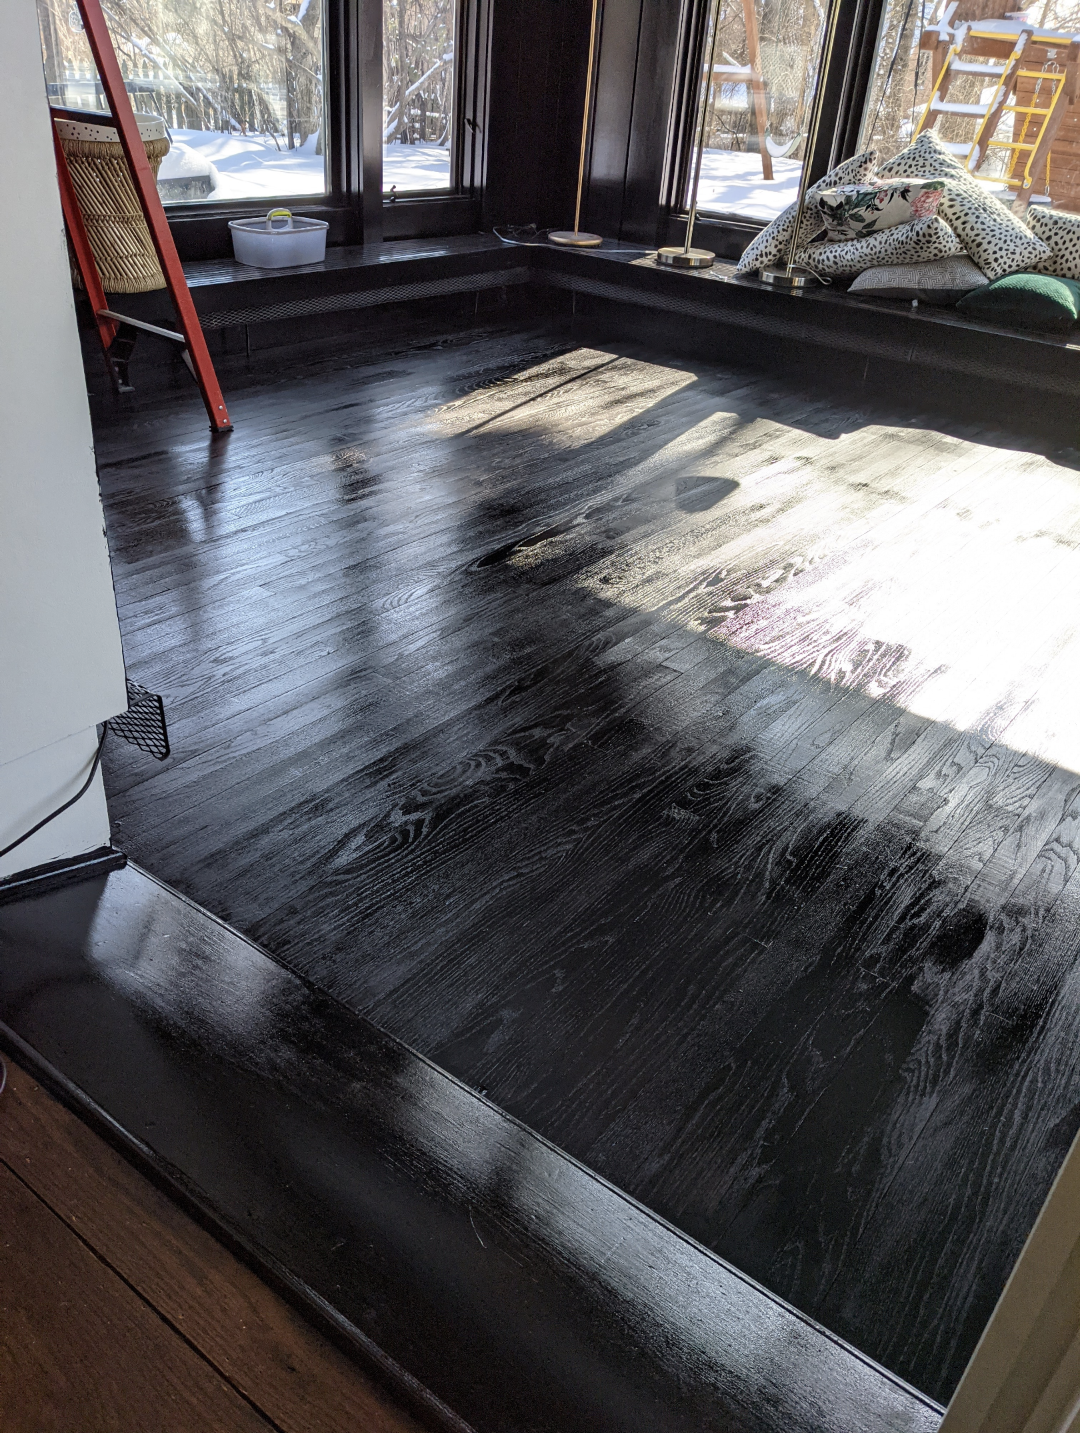
3. Add black gel stain. I brushed on three layers of black gel stain with a 5” brush. I preferred using a brush versus a roller because I could work the stain into the grooves. Usually you start with the light color first, but the big, purple, potty-paint stain bled through, when I tested the white gel stain. I let the floor cure one day between coats.
- Clean up tip: Gel stain is oil based. Rather than going through the hassle of cleaning up with mineral spirits, I used old paint brushes I was willing to toss. Between coats, I wrapped the brushes in plastic bags and stored it in the refrigerator.
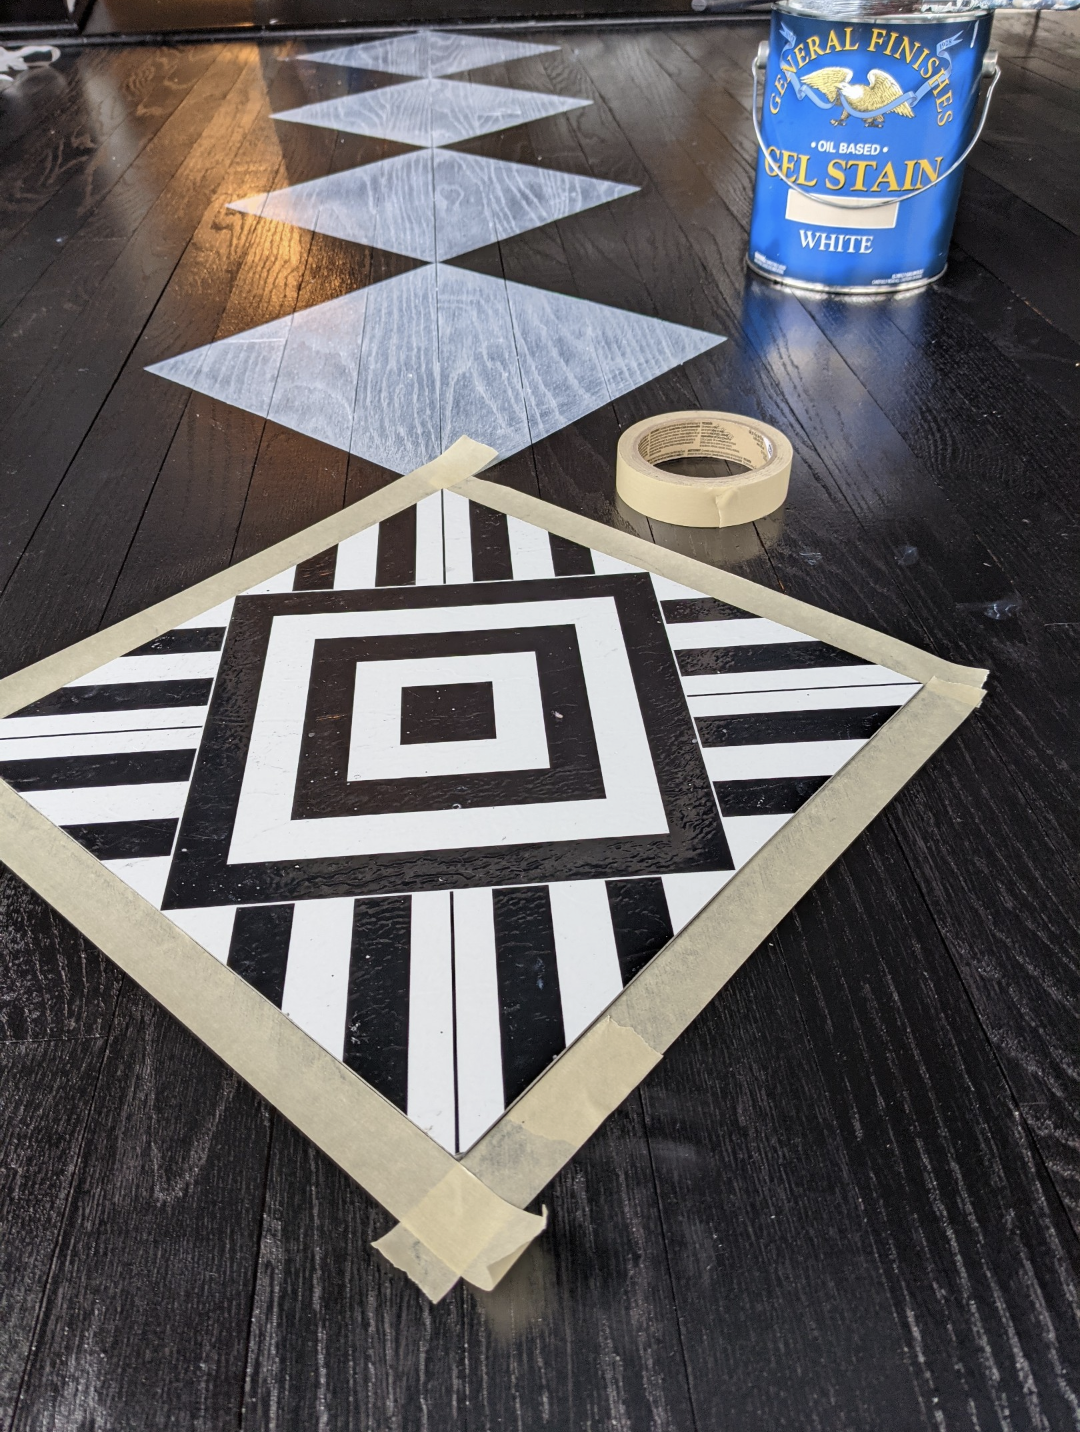
4. Choose a starting point: I thought it would be visually appealing to have full checks centered on the large opening to our living room. I used a peel and stick tile as a template, and painters tape to mark off the floor, one square at a time. I lined up the first row of squares using the line between two floor boards running the opposite direction, instead of snapping a chalk line.
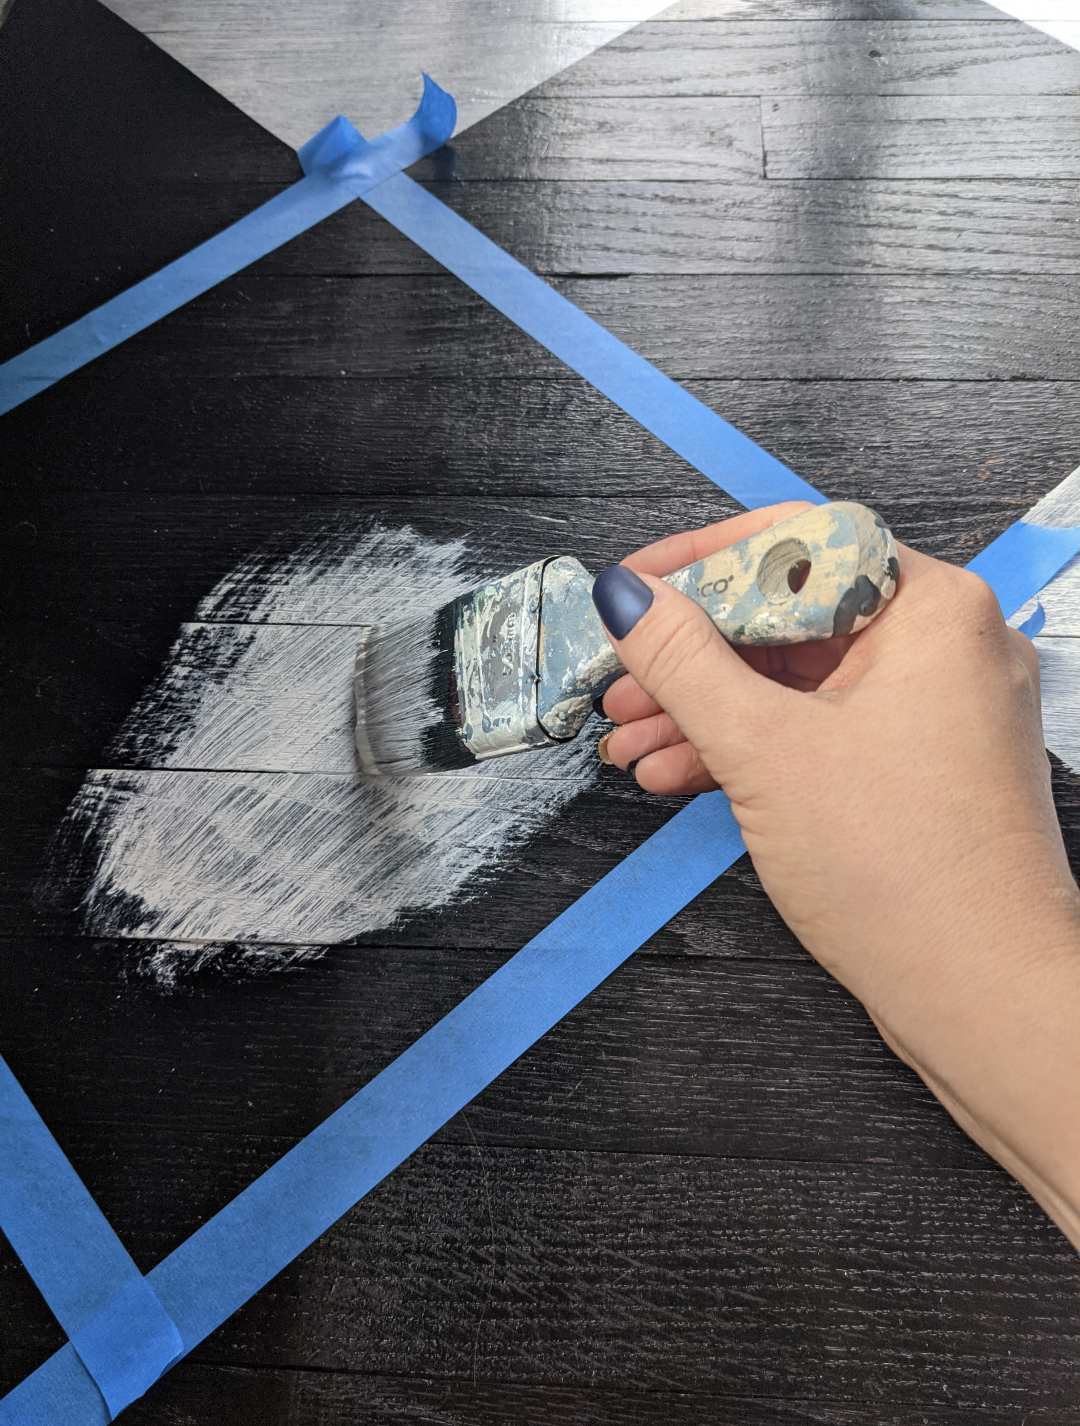
5. Using a template, fill in the white squares. I considered a few methods for creating the pattern, but I wanted something I could do during spare 15 minutes throughout the day, over a couple days. And, something that didn’t require a bunch of math or measuring. My kids were going to school online and my husband, working from home; There was always a lot of action swirling.
I used a 12"x12" peel-and-stick tile from a previous project (backing not removed). I’ve seen others use cardboard or foam core as a template, too. The tile was a nice and firm, stencil like material that stayed in place. I taped one square at a time, brushed on white gel stain and removed tape. I started with masking tape, I had on hand, and switched to generic painter tape. I found with brushing on the gel stain, there was very little bleed through, versus using paint. I only applied one coat of white gel stain so the wood grain contrast would show through.
This was a very instant gratification project. I could see the floor take shape, one square at a time.
- Keep reading: Kitchen flooring ideas--Stylish tiles, wood, laminate and more for your kitchen
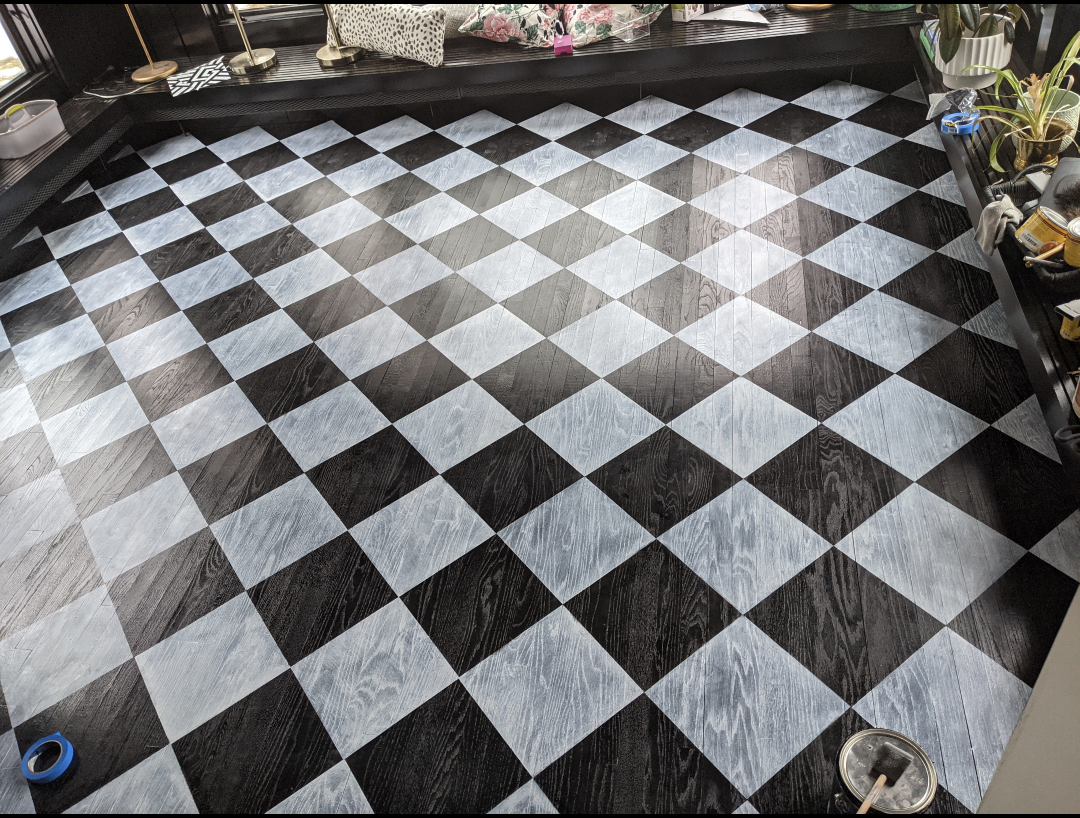
6. Seal the floor. After the gel stain cured, I sealed the floor by wiping on finishing wax in “dark” with a microfiber cloth, which takes just a few minutes to complete.
Using the gel stain along with the peel and stick tile, as a template, really simplified this project. It would make a great naptime project over a couple weeks, and I think even a novice would have great success with a little patience.
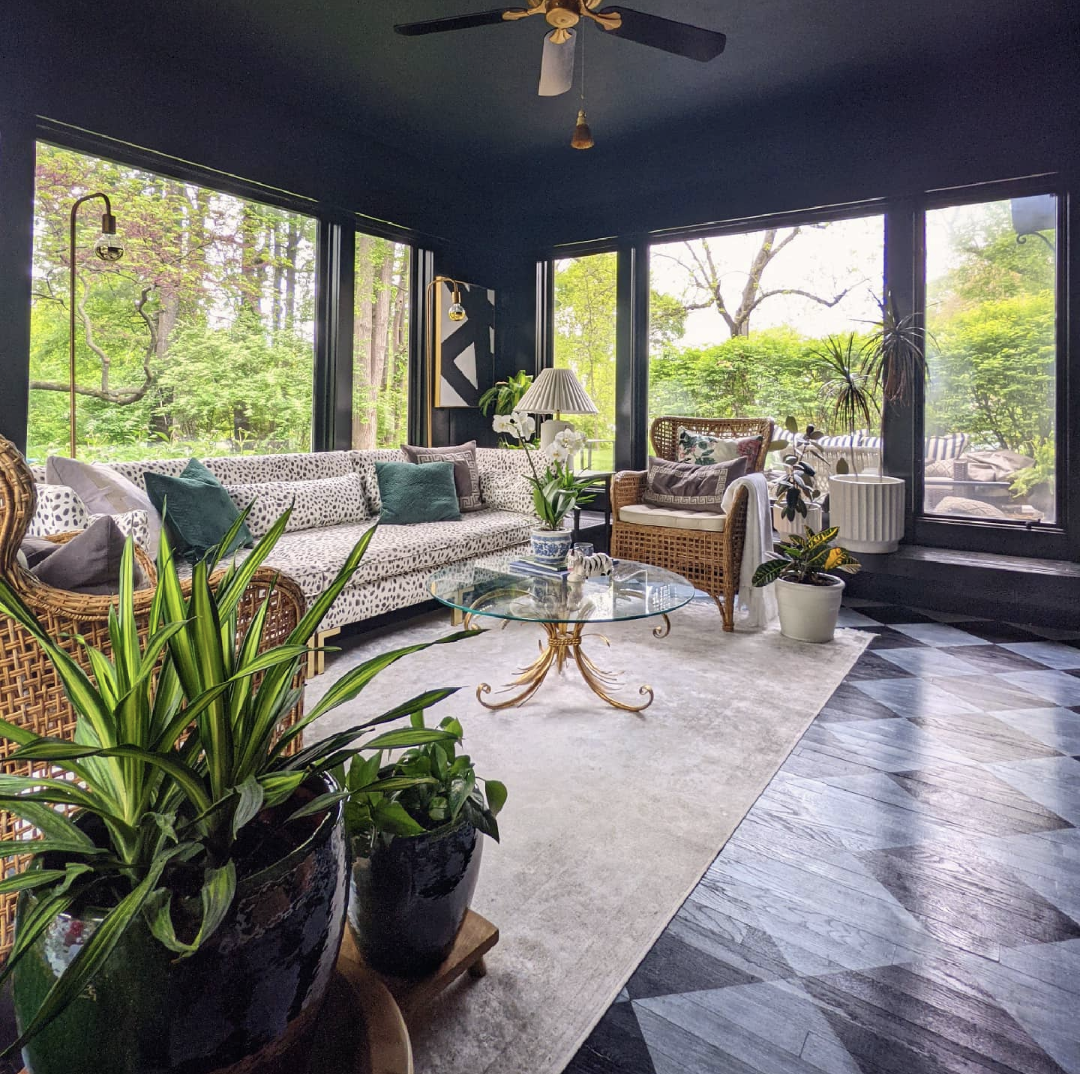
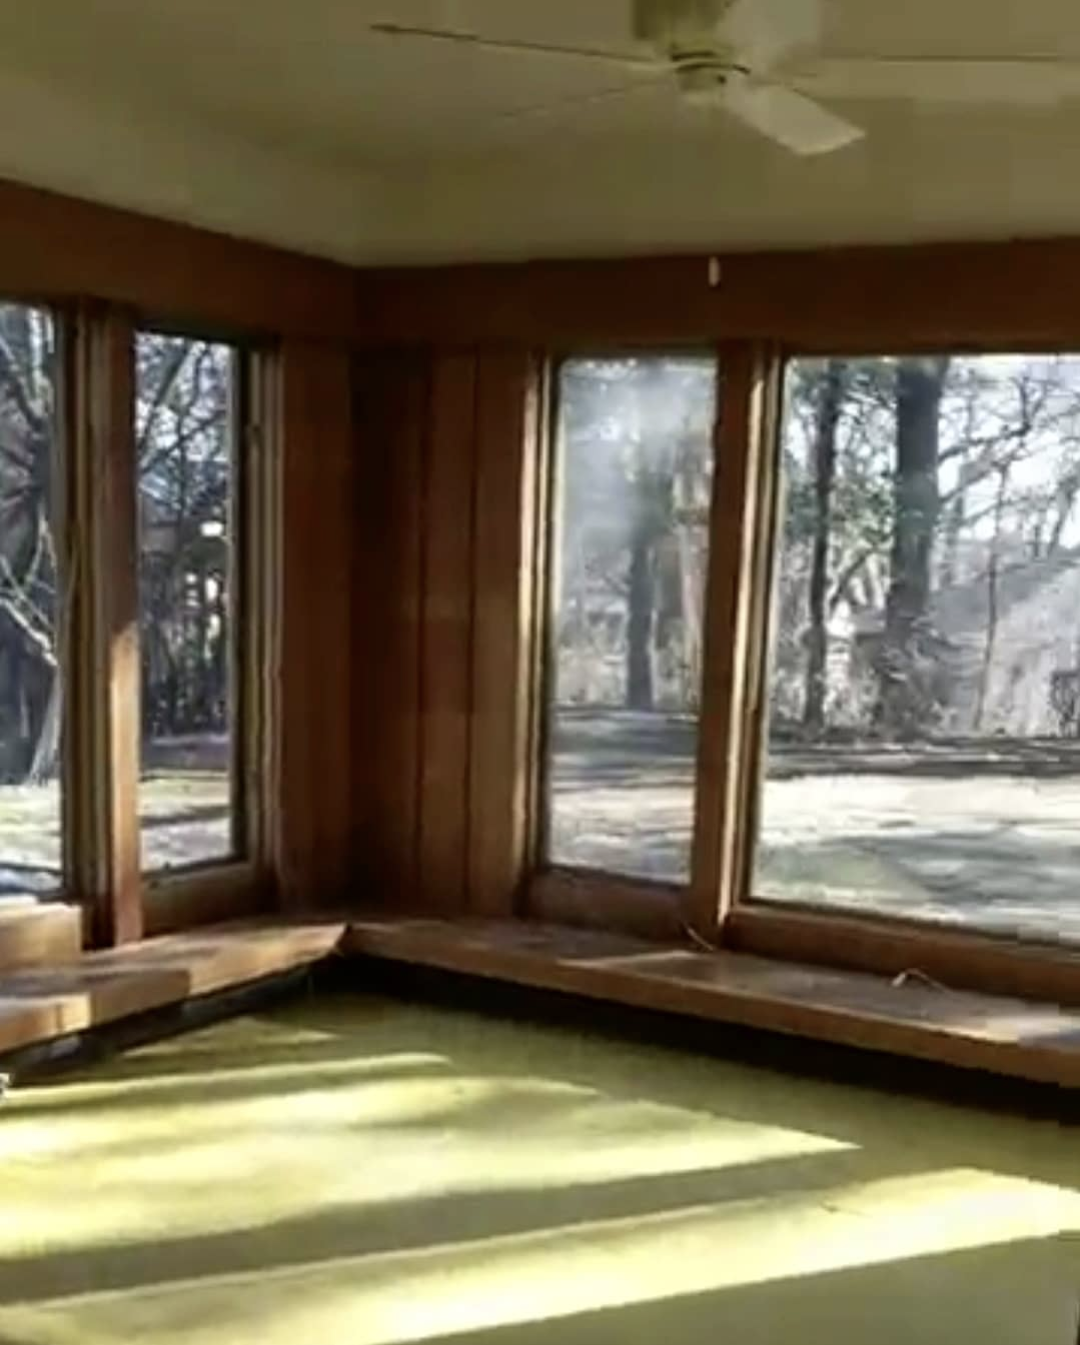
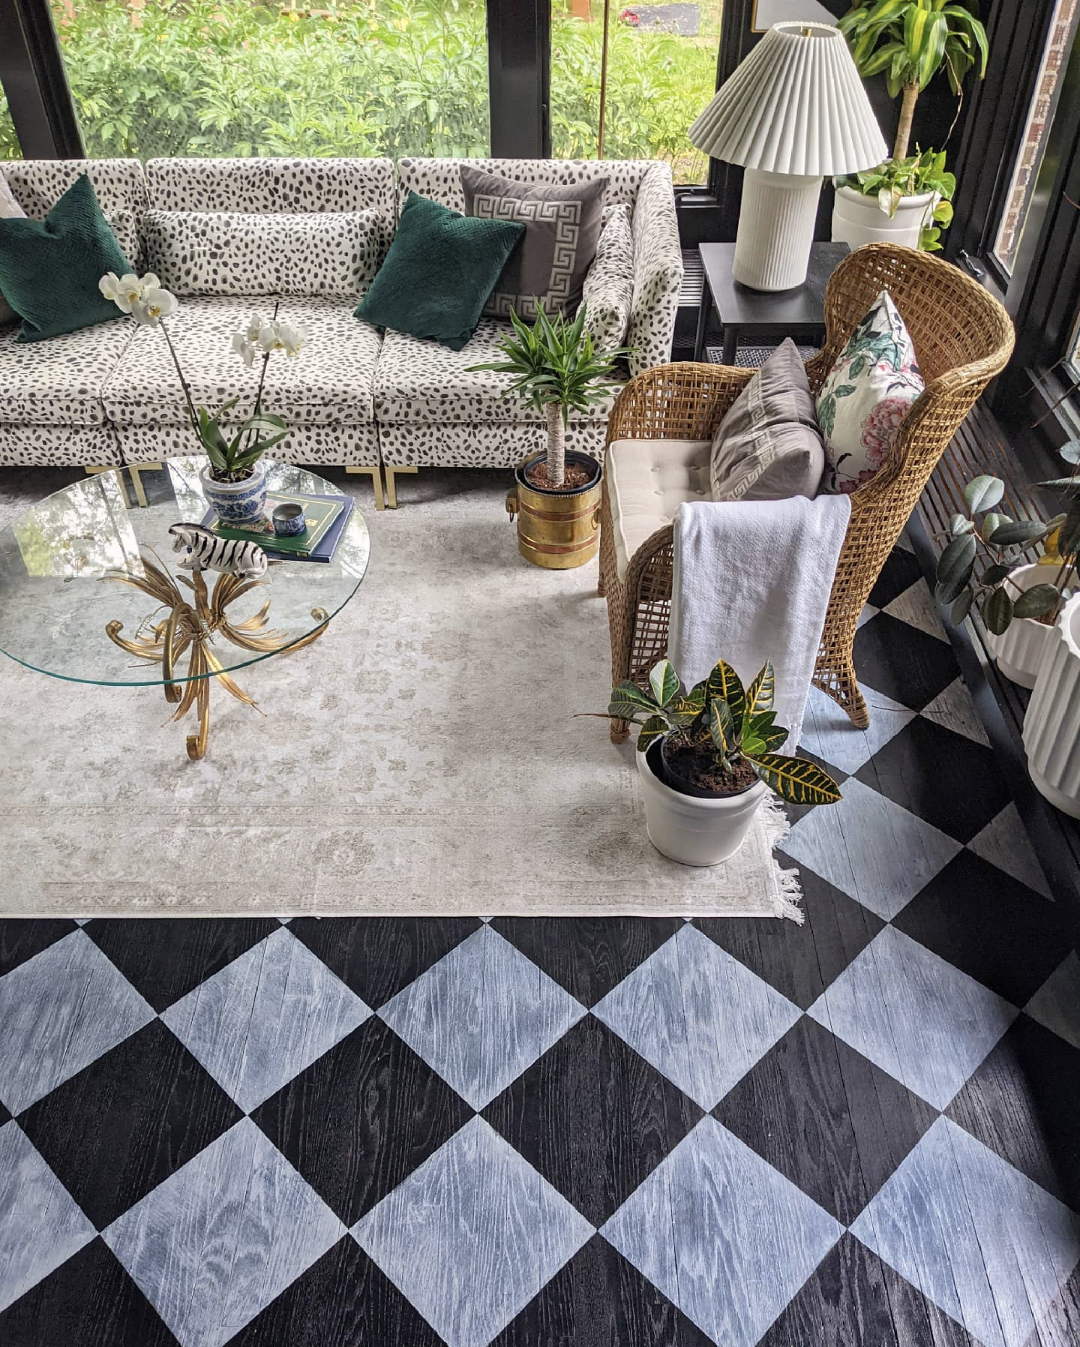
Above is the finished product, plus a before shot so you can see how far this room has come!
Join our newsletter
Get small space home decor ideas, celeb inspiration, DIY tips and more, straight to your inbox!
Ruthie Jackson is an Iowa-based DIYer, furniture flipper, certified interior decorator, and lover of all things vintage. She's currently renovating her family's 1930s colonial home, which she documents on Instagram at @miracleonthirtyfourth.
-
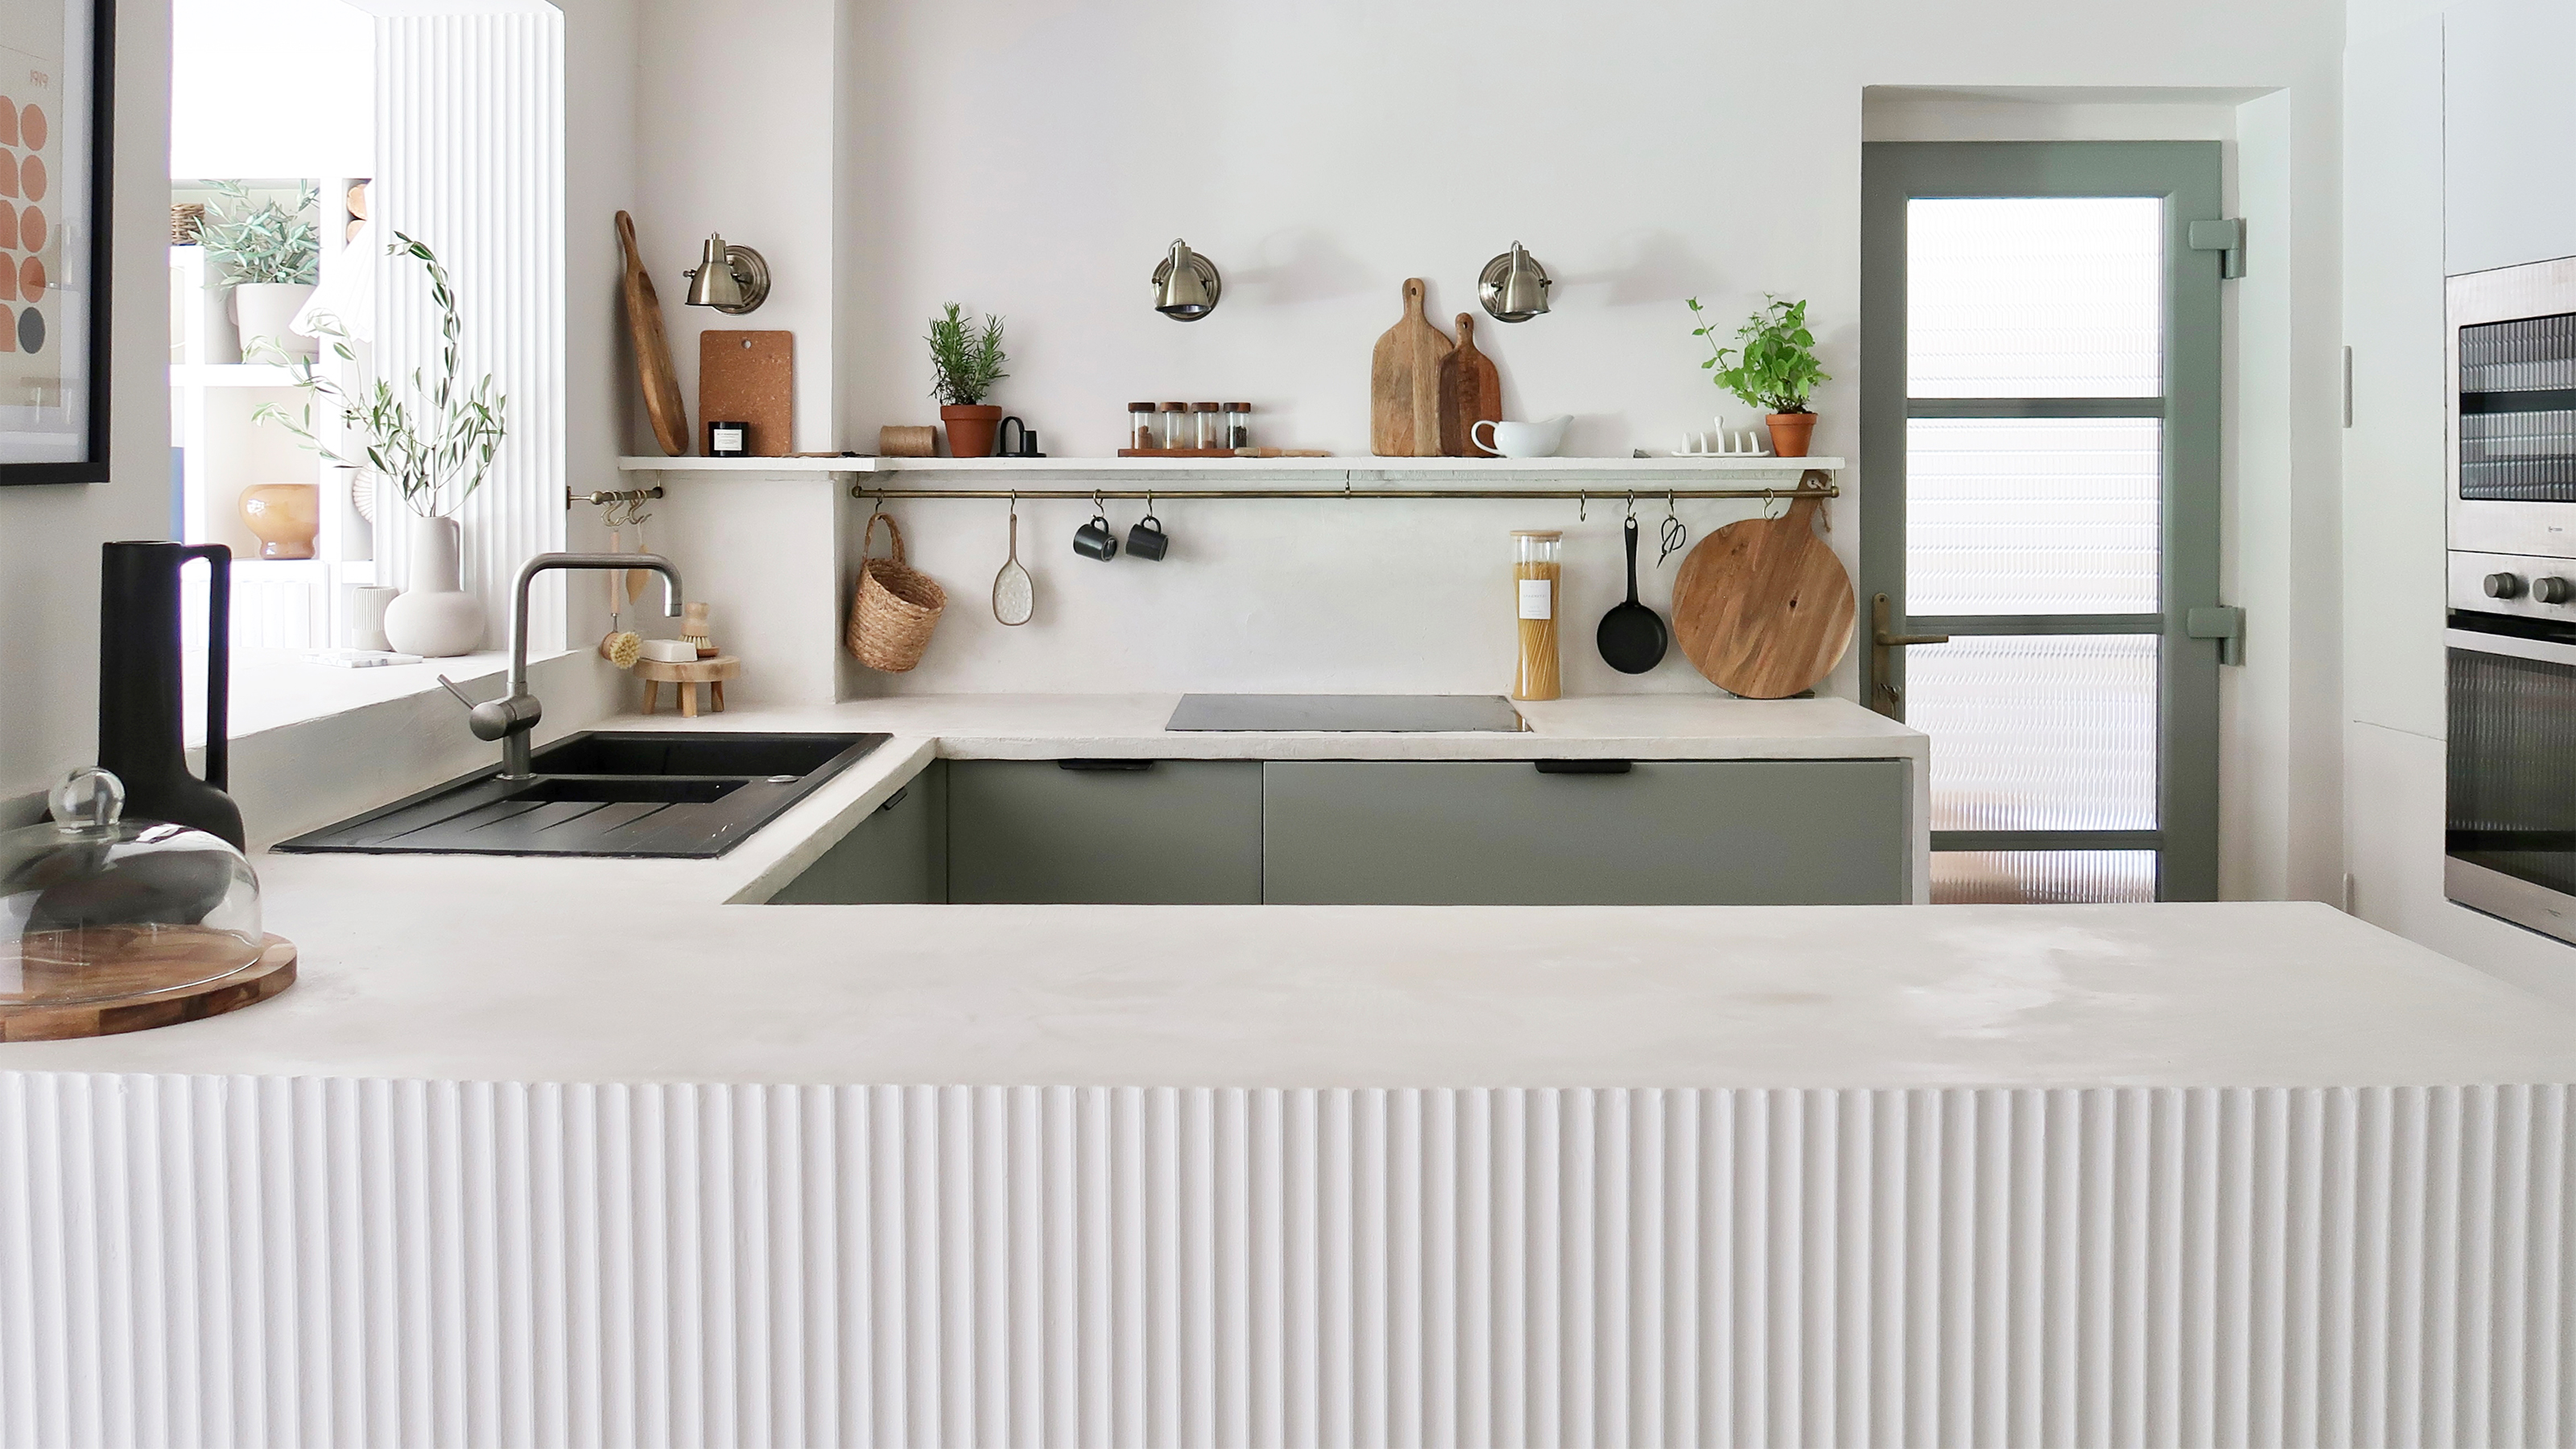 A $200 fluted panel transformed my drab kitchen in just one weekend
How to install a fluted kitchen panel: A speedy and achievable DIY tutorial even for DIY novices
By Claire Douglas Published
-
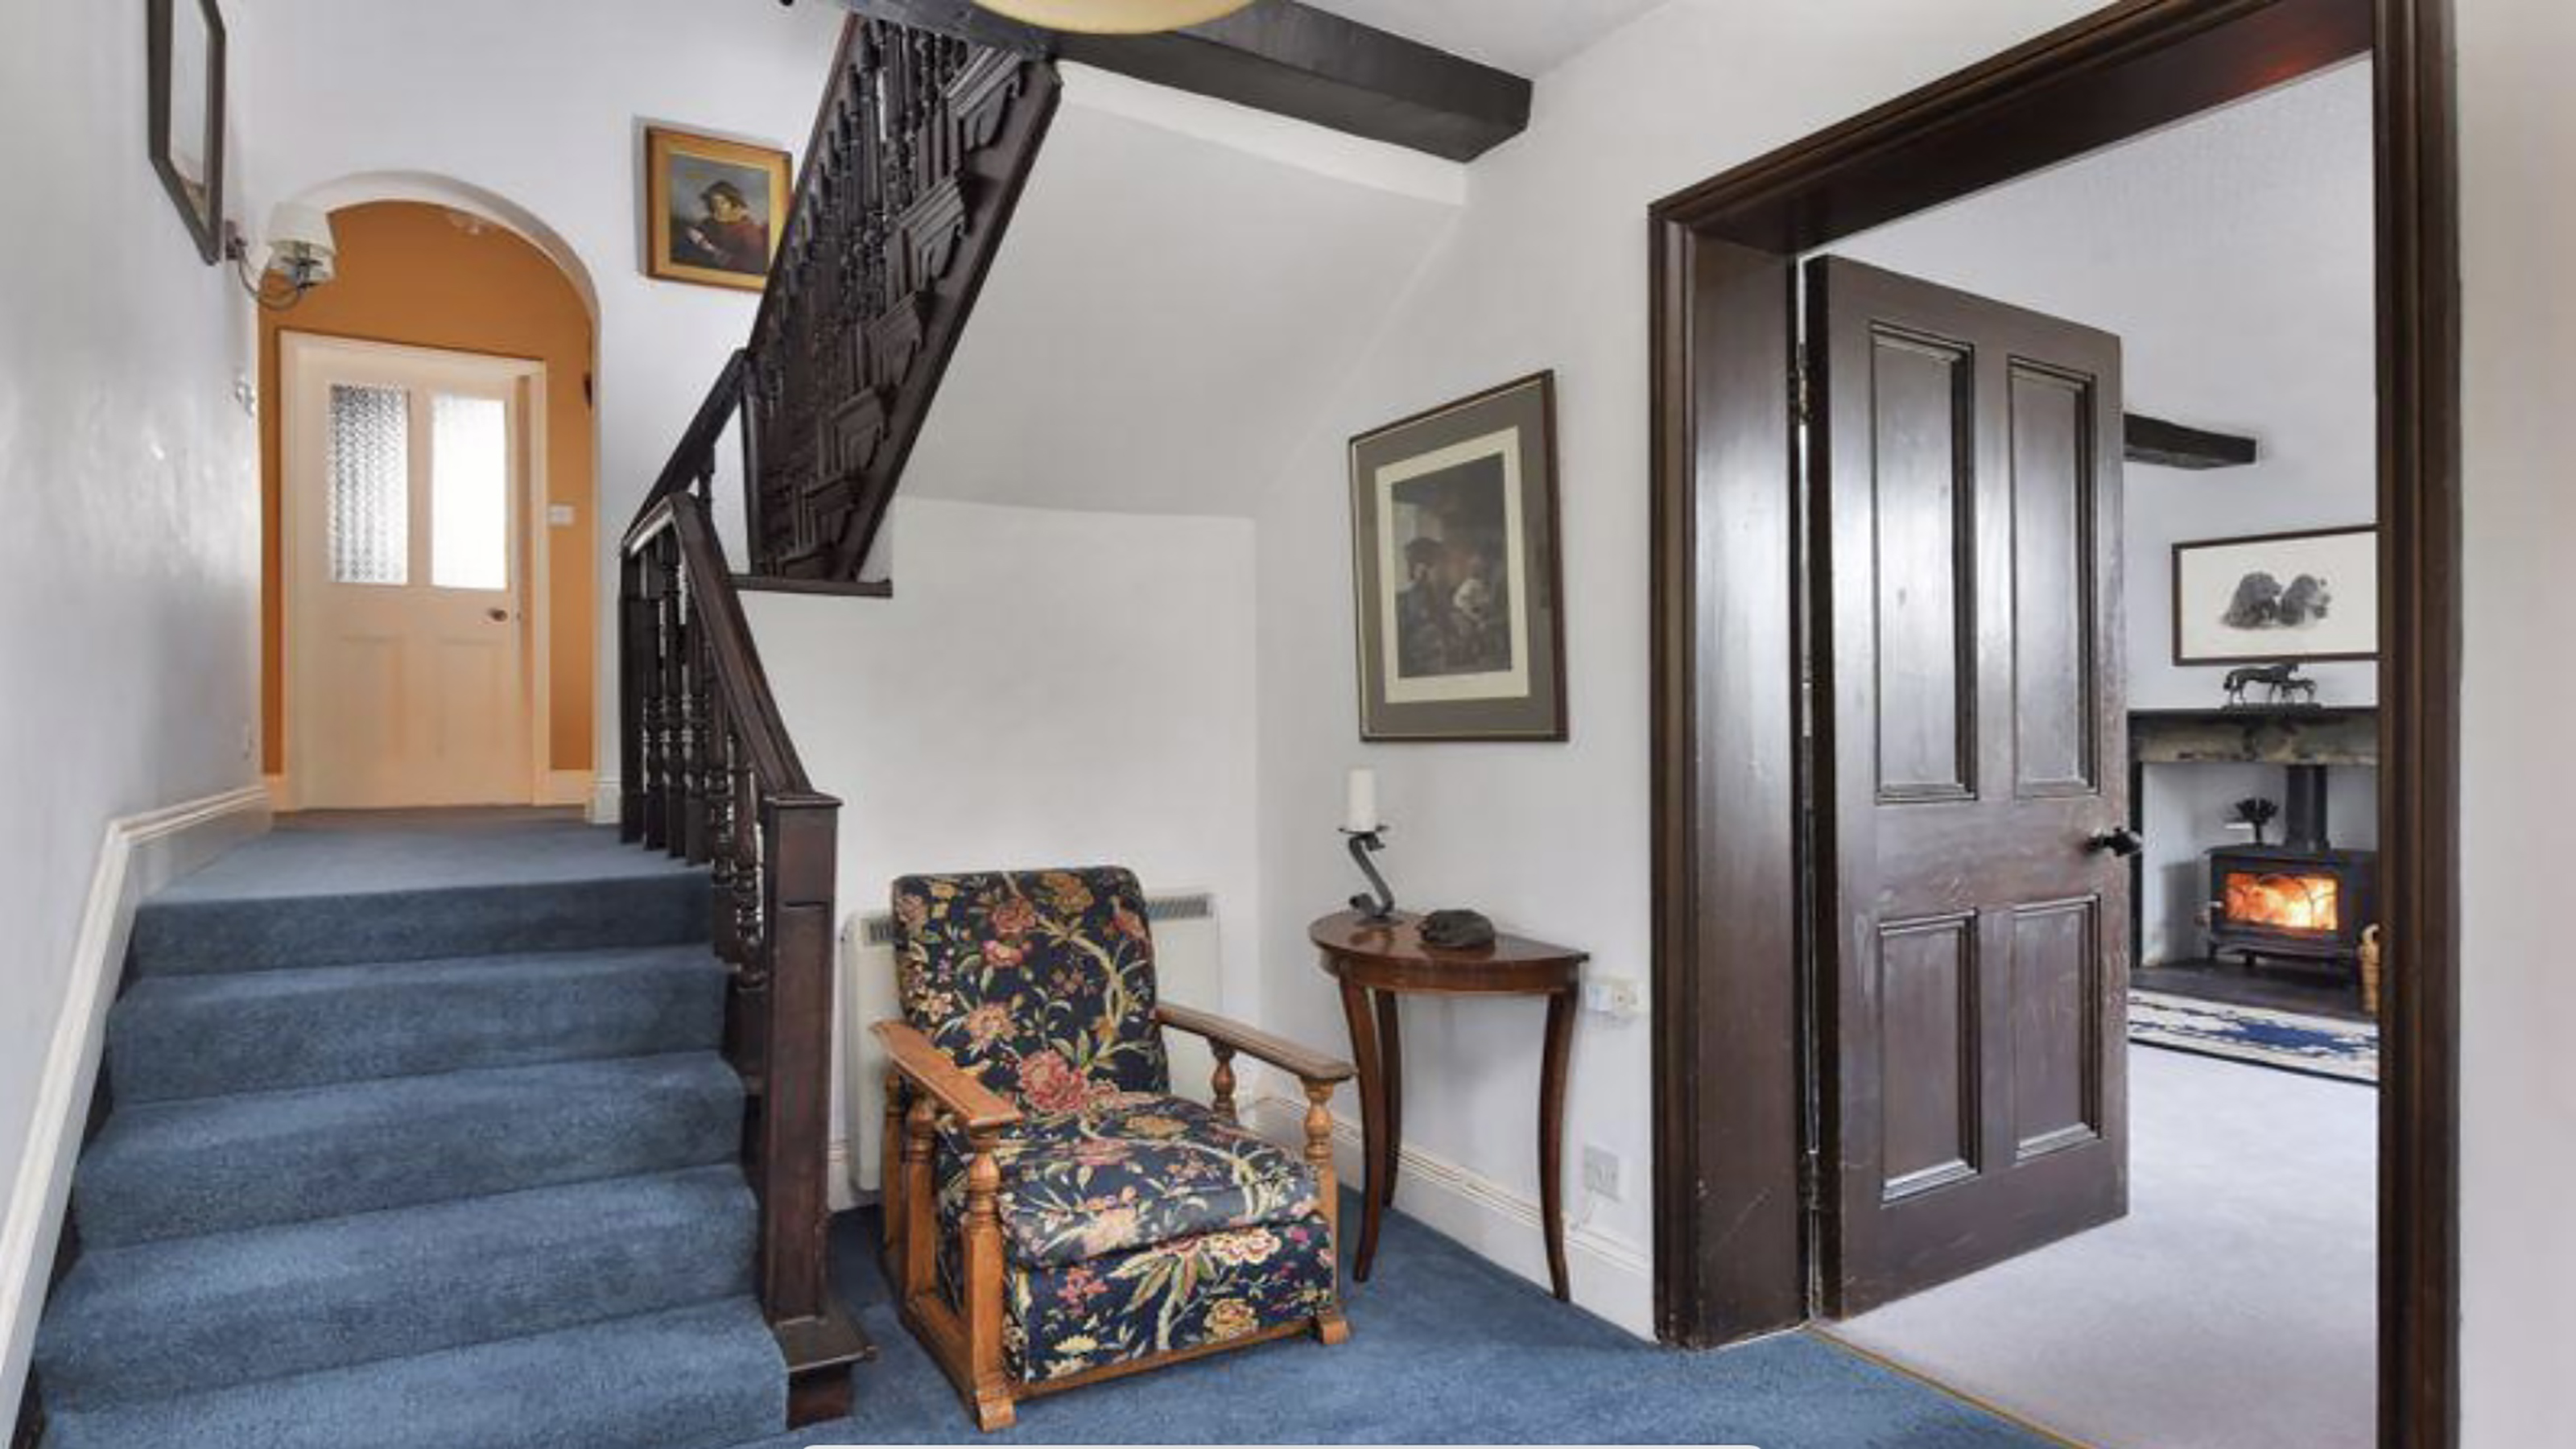 How to replace a broken staircase spindle in 30 minutes flat
A missing or broken spindle on a staircase is not only unsightly, but it can be a real hazard. This is how to fix it in a few quick steps.
By Kate Sandhu Published
-
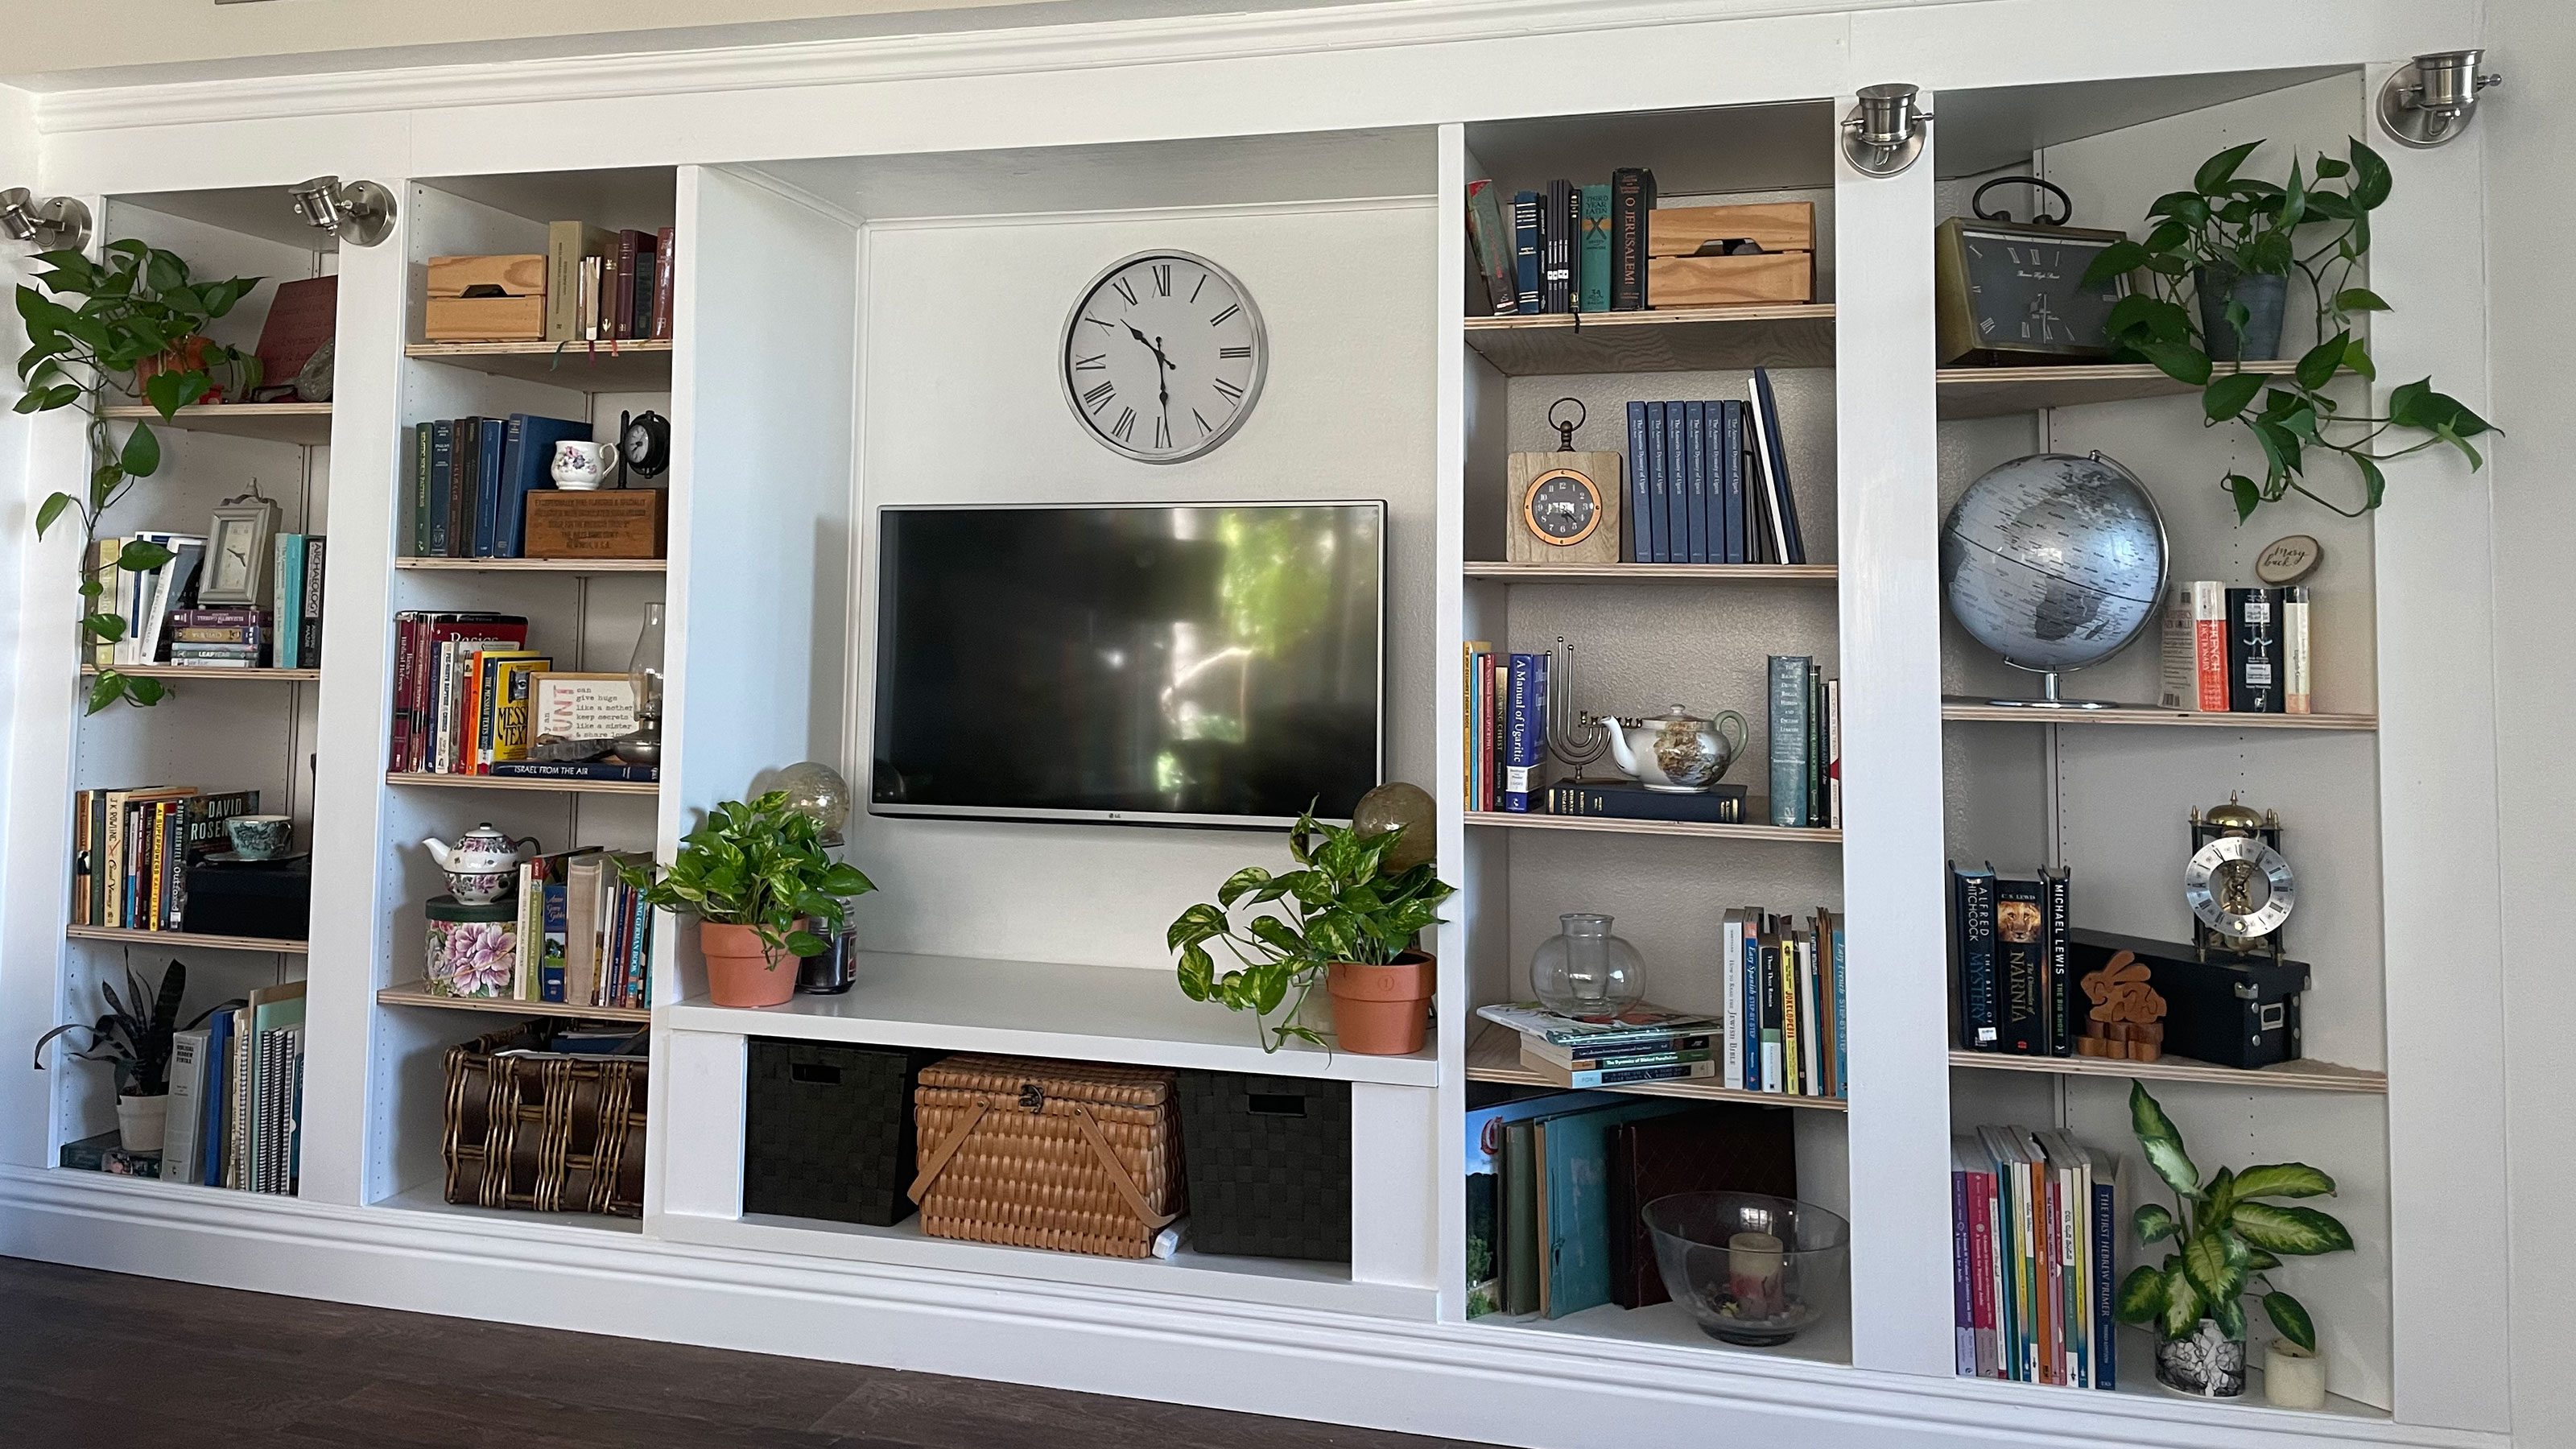 An IKEA Billy bookcase hack inspired this cute media wall DIY
This cute DIY was inspired by an IKEA Billy bookcase hack and brought a ton of symmetry to an otherwise basic media wall space.
By Camille Dubuis-Welch Published
-
 Share your small space glow up to win $150 in the Real Homes competition
Show off your creativity and DIY skills to win $150 and for the chance to be featured exclusively in Real Homes magazine
By Camille Dubuis-Welch Last updated
-
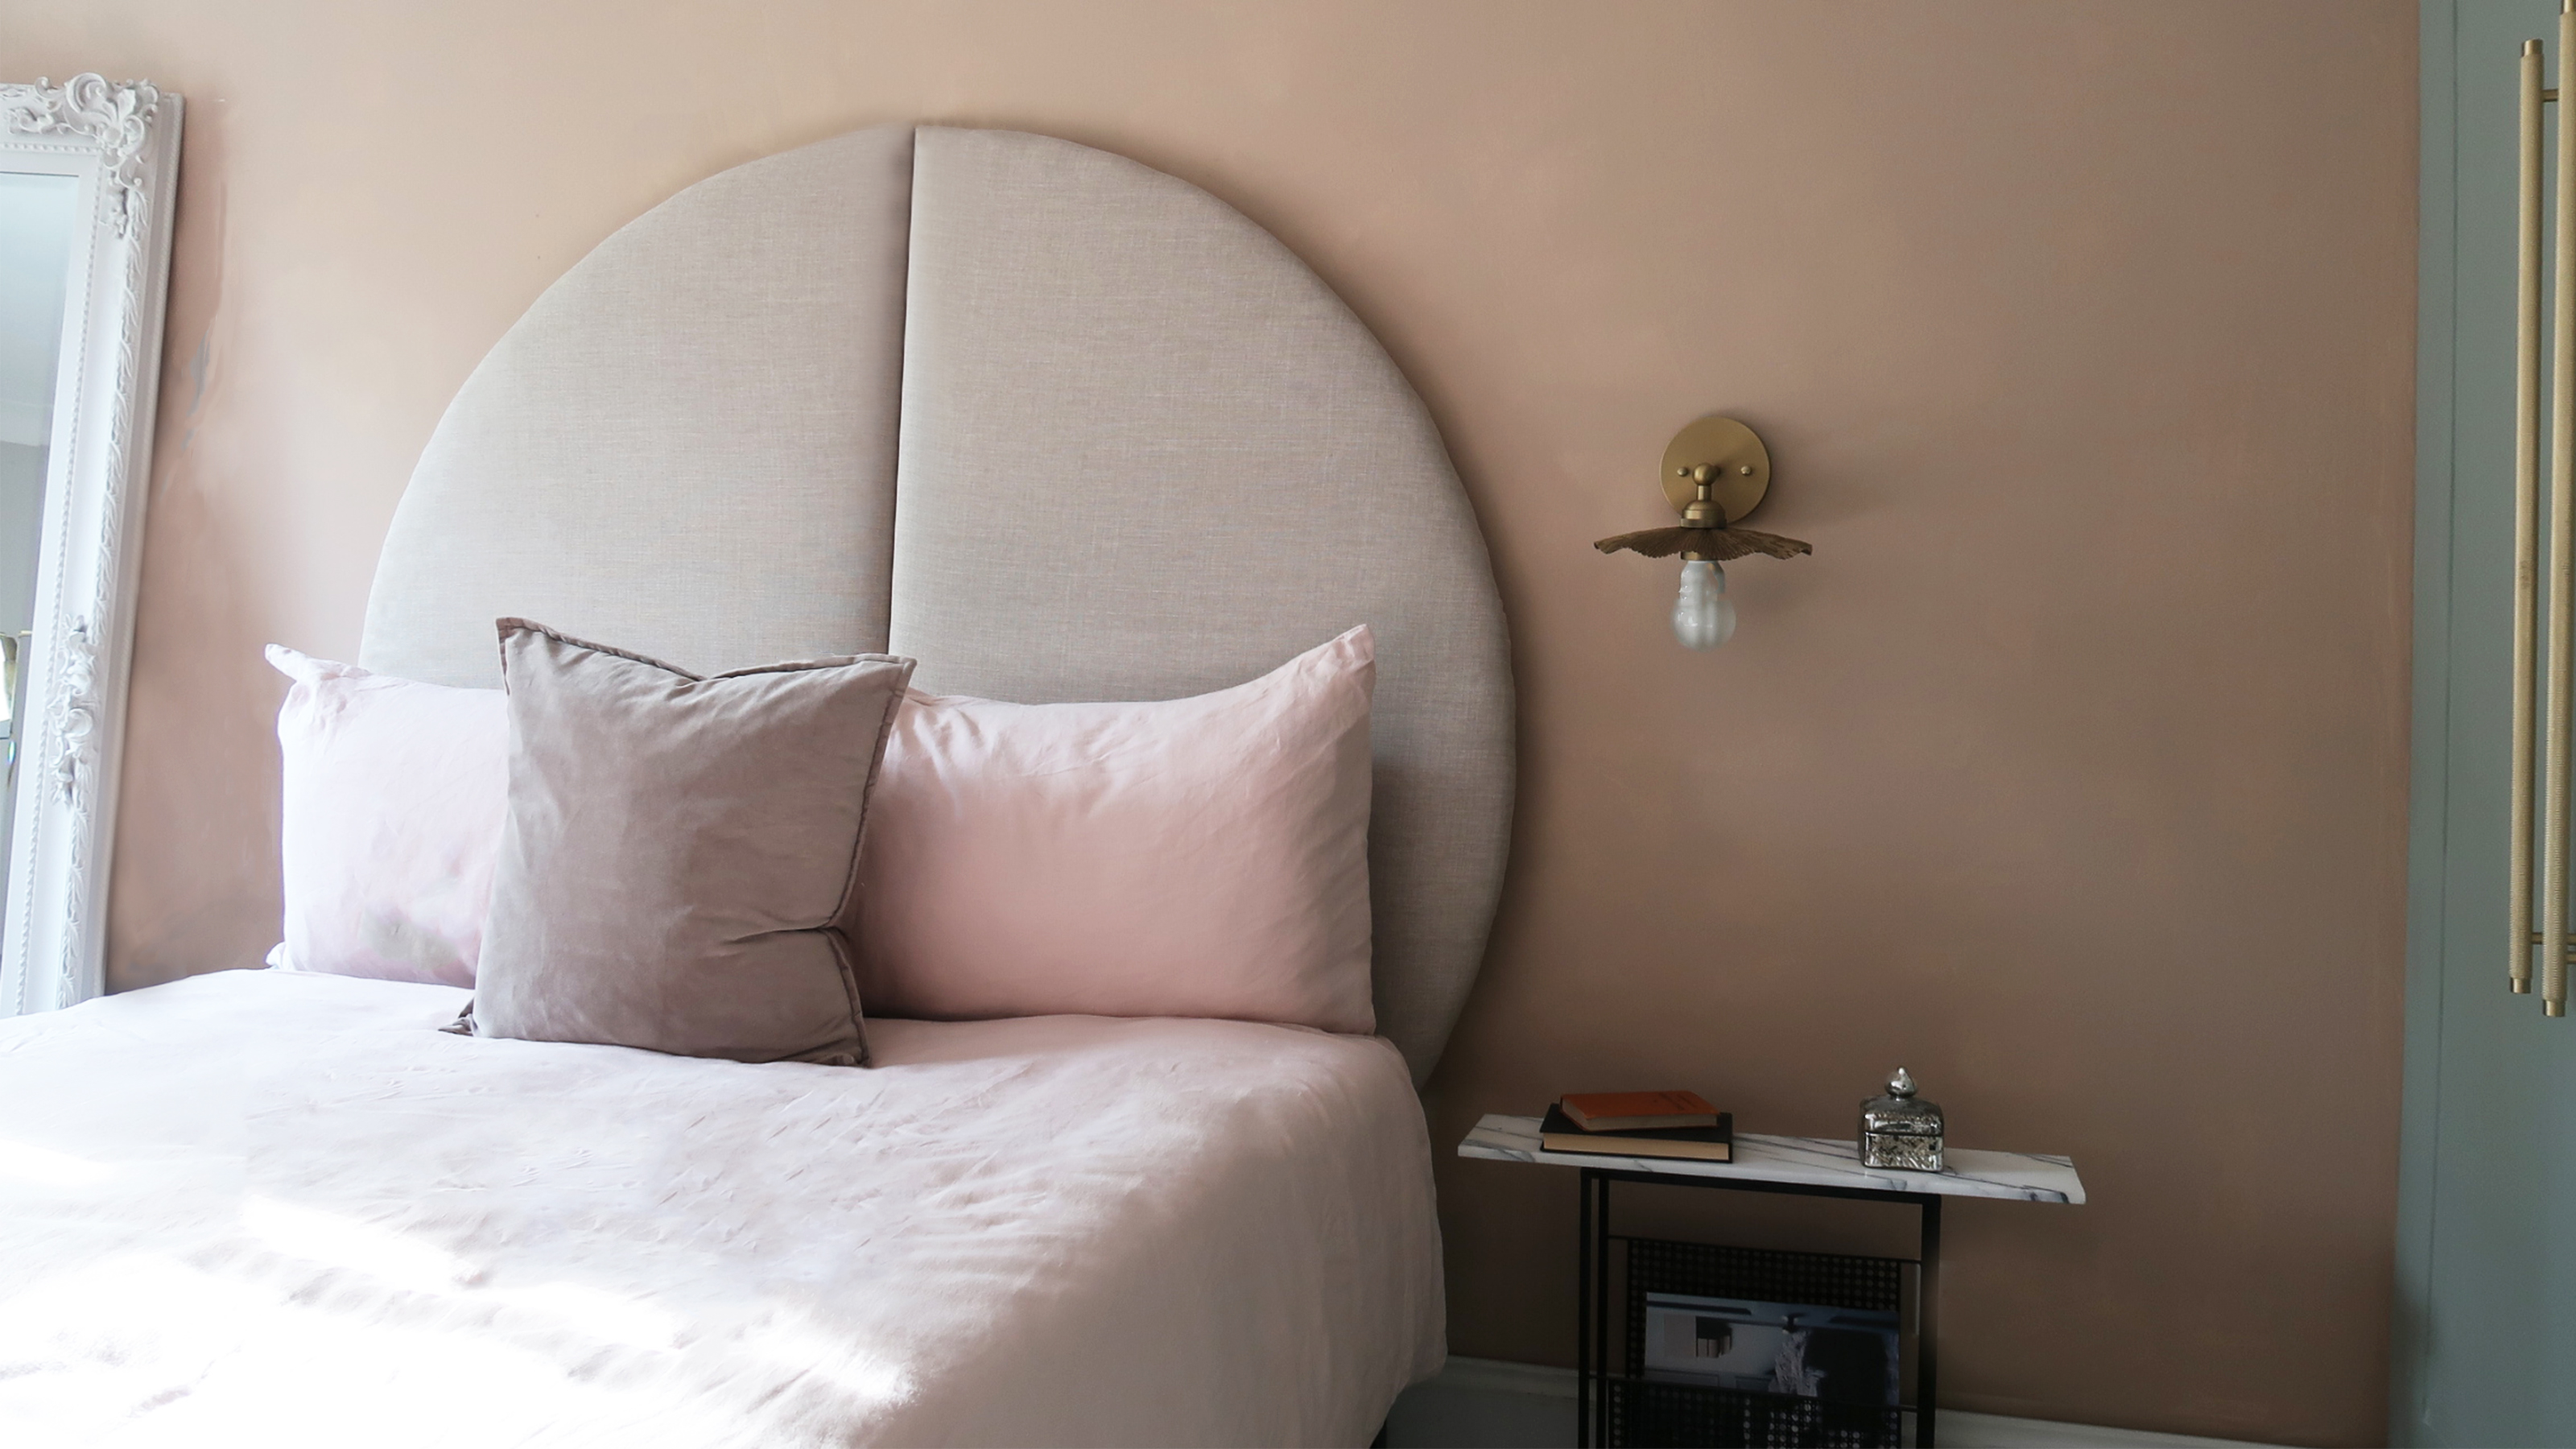 This oversized headboard looks designer, and takes 5 steps to DIY
Super simple to DIY, this oversized headboard will give your bedroom space all the designer vibes you could dream of.
By Claire Douglas Published
-
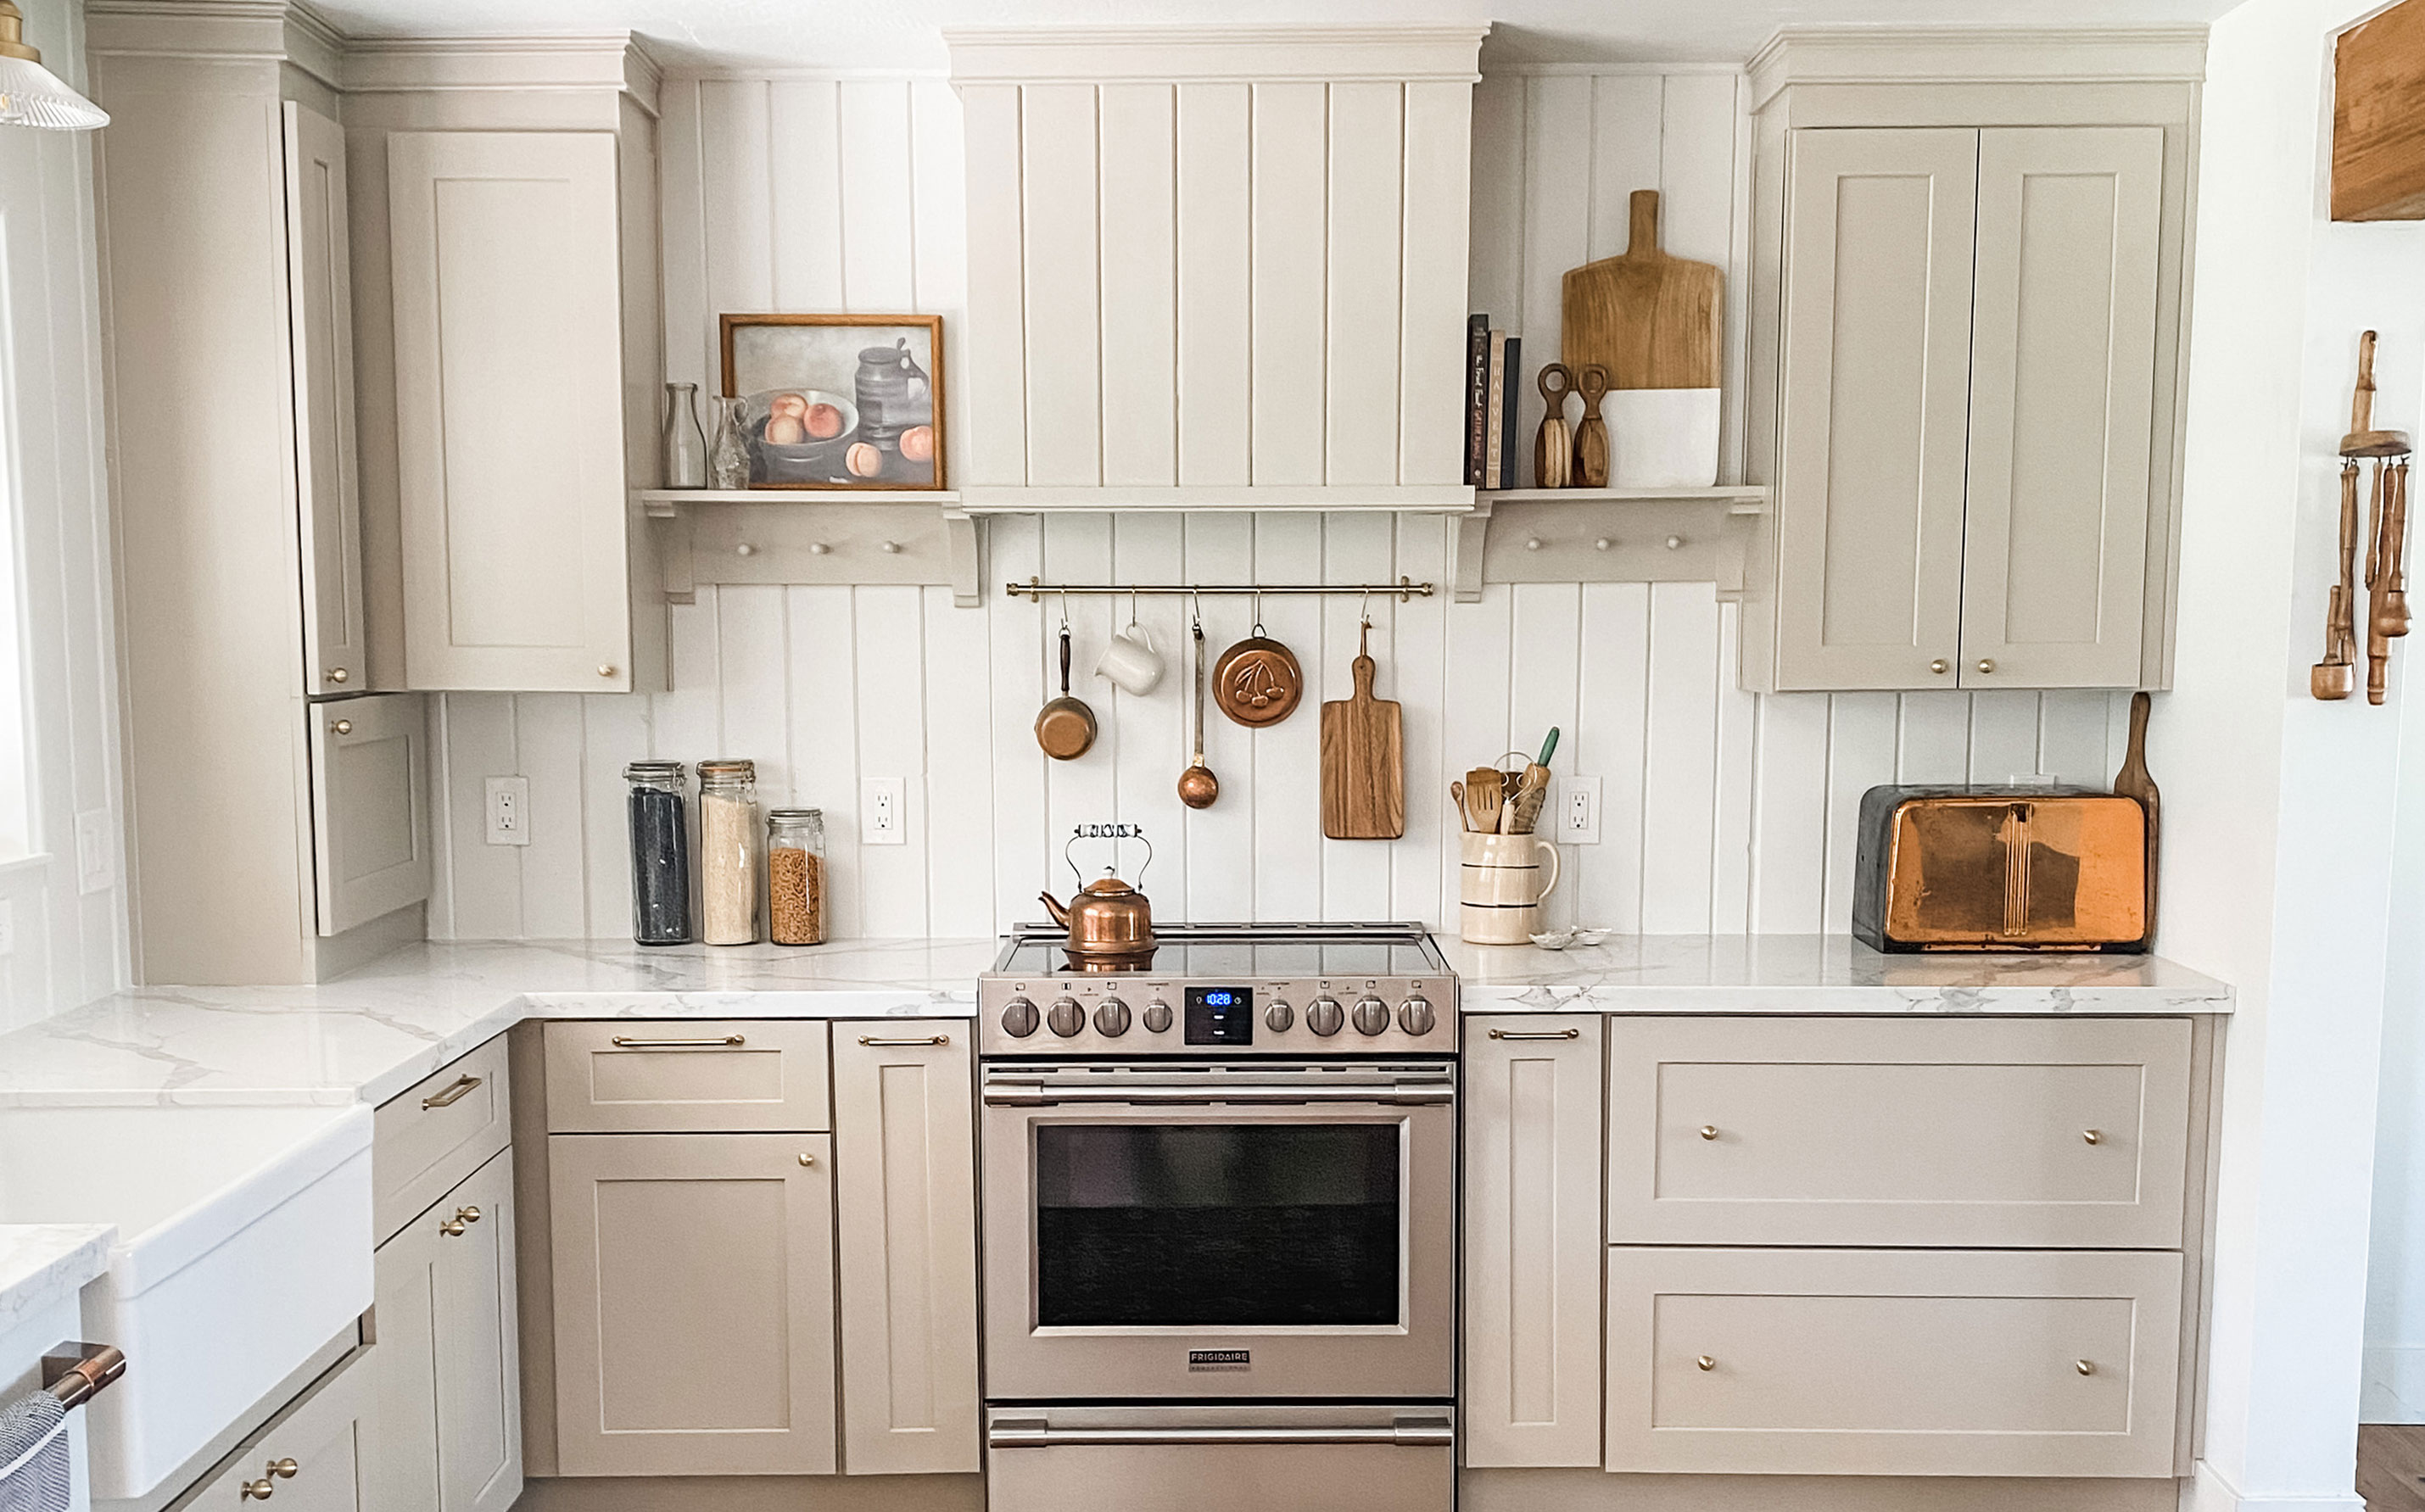 My DIY range hood and backsplash build gave my kitchen the perfect farmhouse finish
I craved charm in my kitchen space and adding a custom range hood and shelving was the best move.
By Brooke Waite Published
-
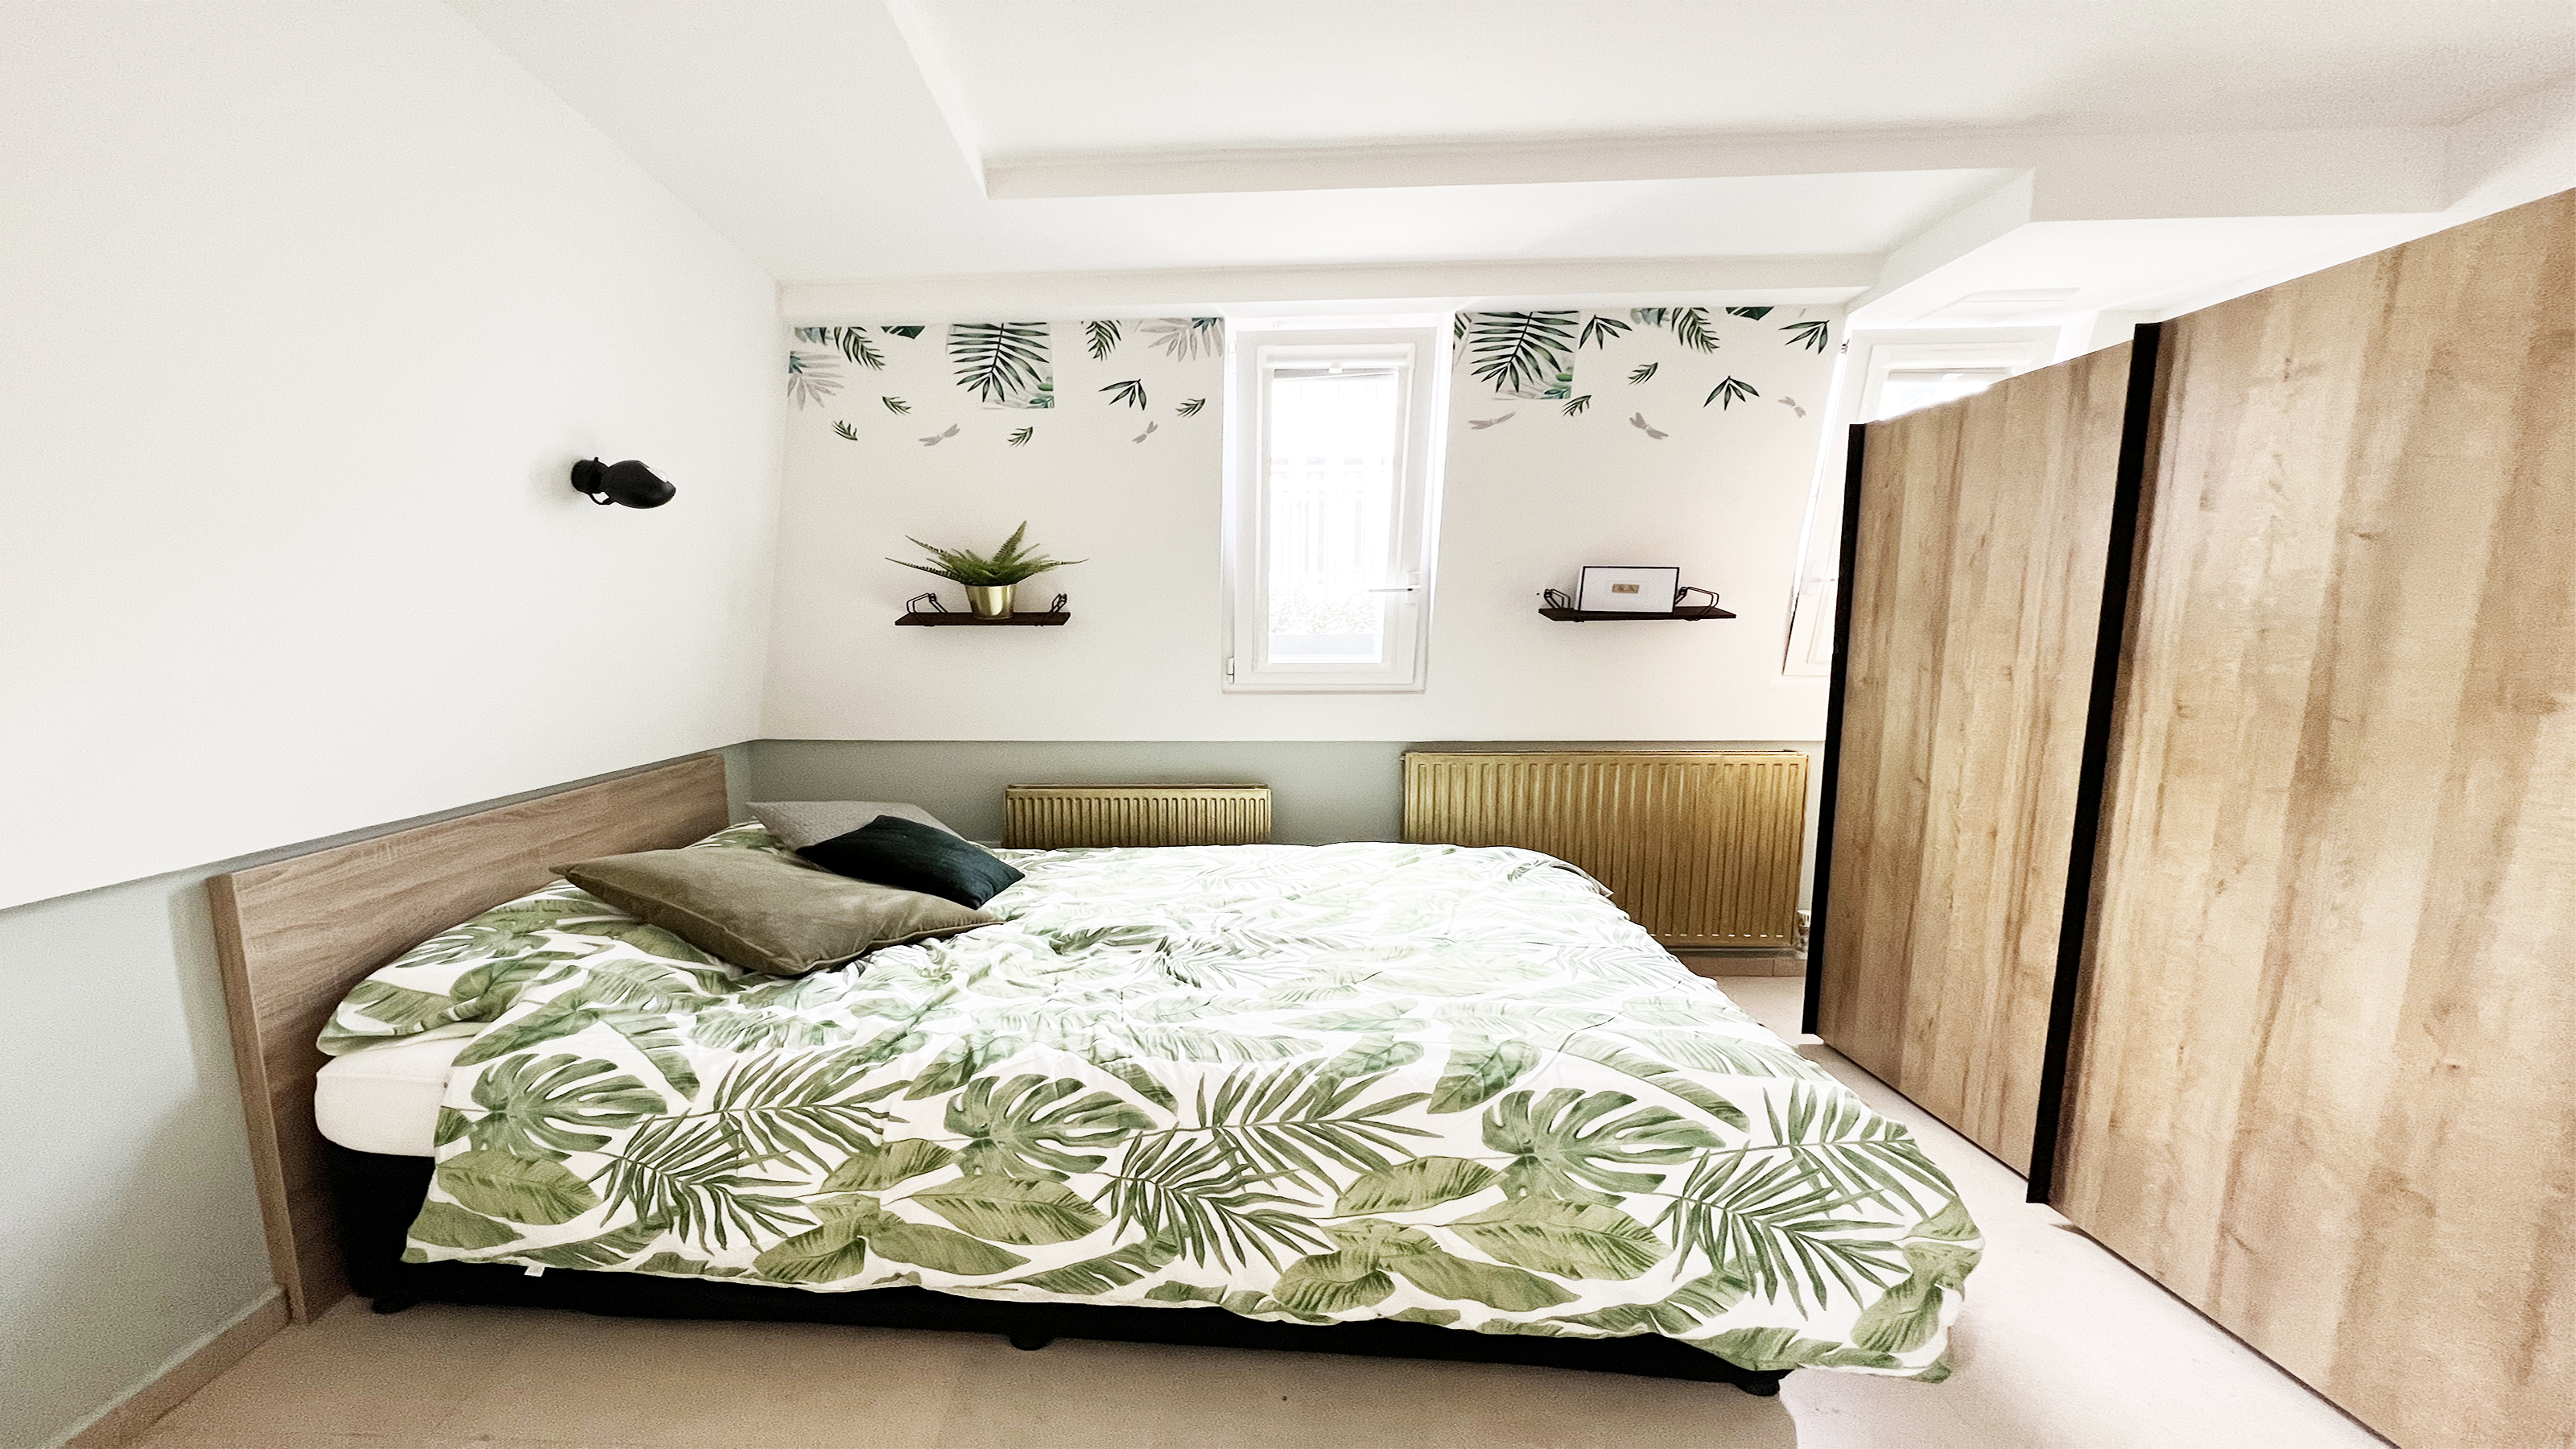 How to paint a radiator in 7 steps
Painting radiators properly is all about choosing the right paint and the best process. Get interior designer-worthy results with our how-to.
By Kate Sandhu Published
-
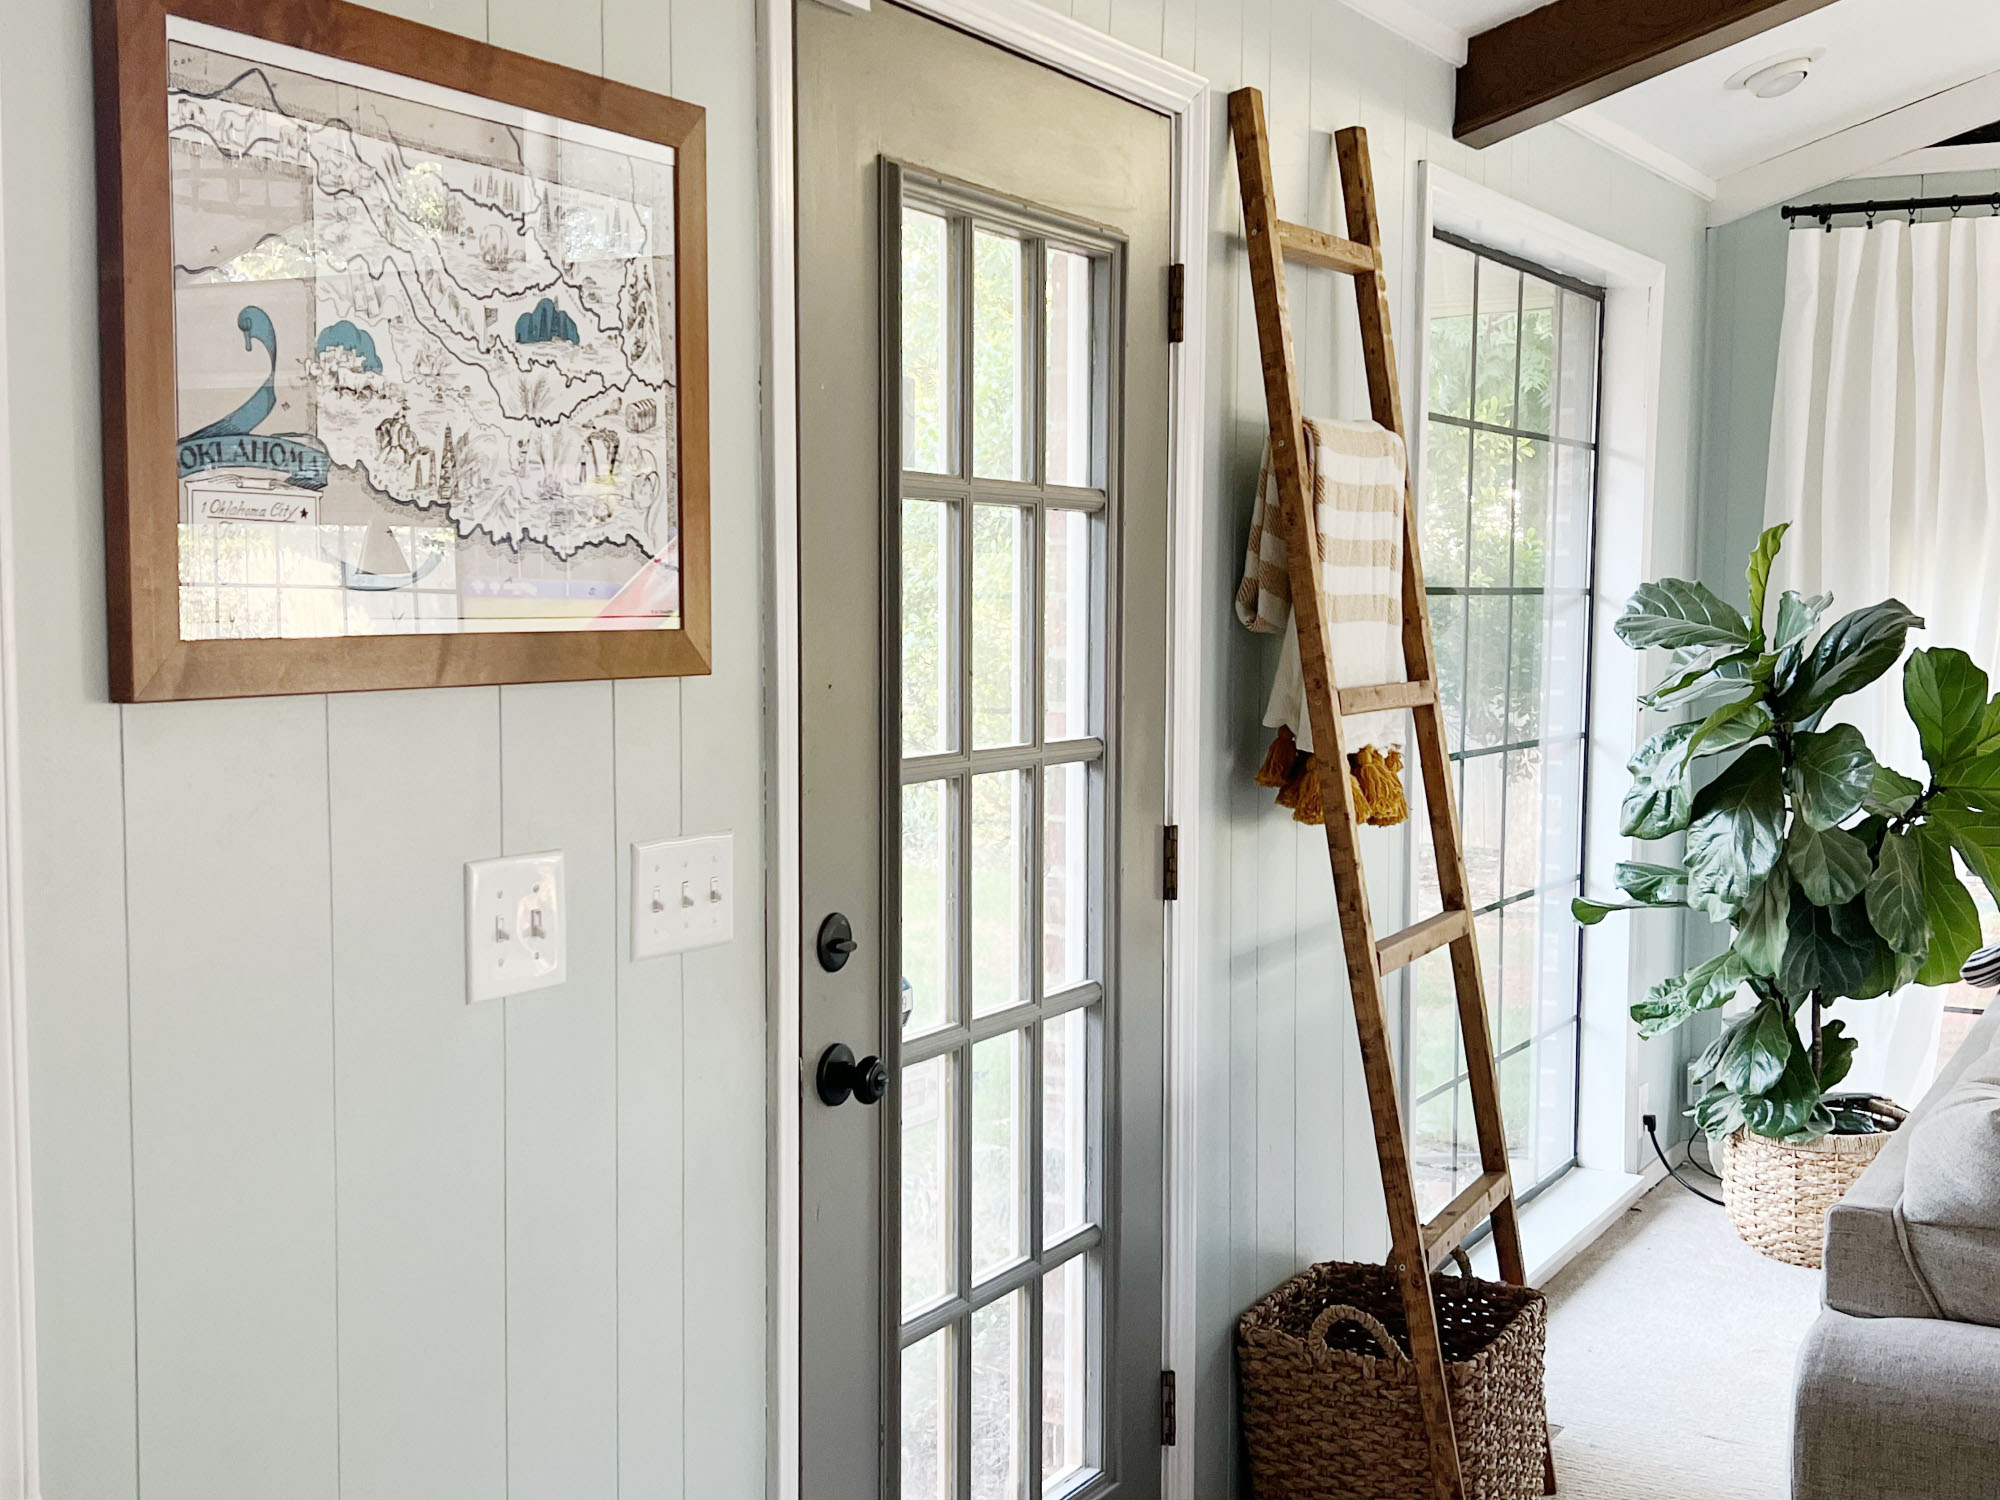 How to install a door knob
Updating your interior and exterior doors can be as easy as changing out the hardware! The best part is that installing a door knob is very DIY friendly. Follow these simple steps and enjoy a fresh look on your doors!
By Dori Turner Published