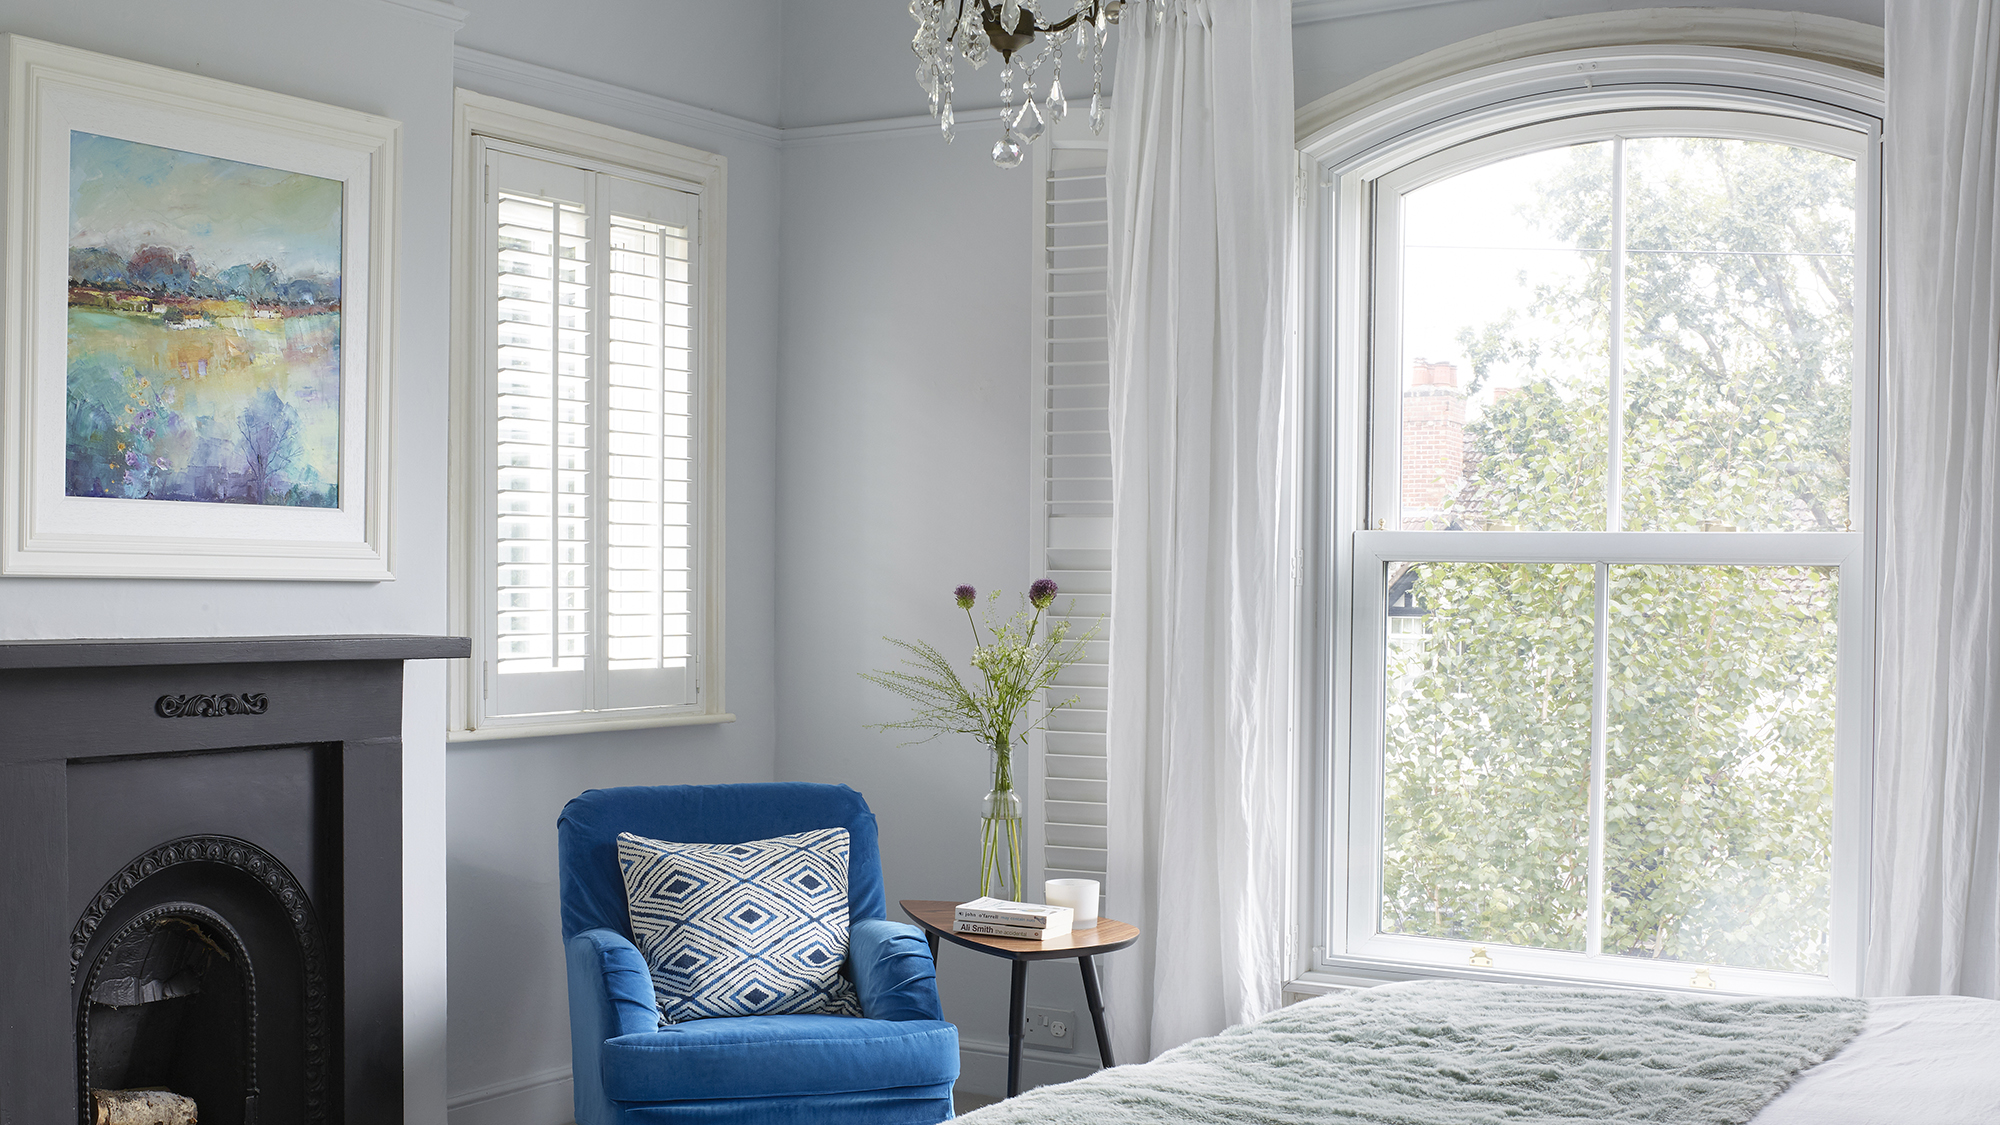
Painting windows takes a little patience and a steady hand, but it's super rewarding when you see the finished result and sure to help bring all lovely window dressing ideas to life. Whether you're painting timber window frames or more modern uPVC, this DIY can transform the look of your home, inside and out, and it's much cheaper than investing in new windows altogether...
Judy Smith, Crown Paints Colour Consultant notes how. ‘Painting window frames and surrounds is an easy and inexpensive way to update your home and introduce some much needed colour.’
Sure, it’s not a job for the faint hearted but, our tried and tested technique will show you how to paint windows to get the very best finish, with ease. The key is good preparation of course, plus, using quality materials and tools.
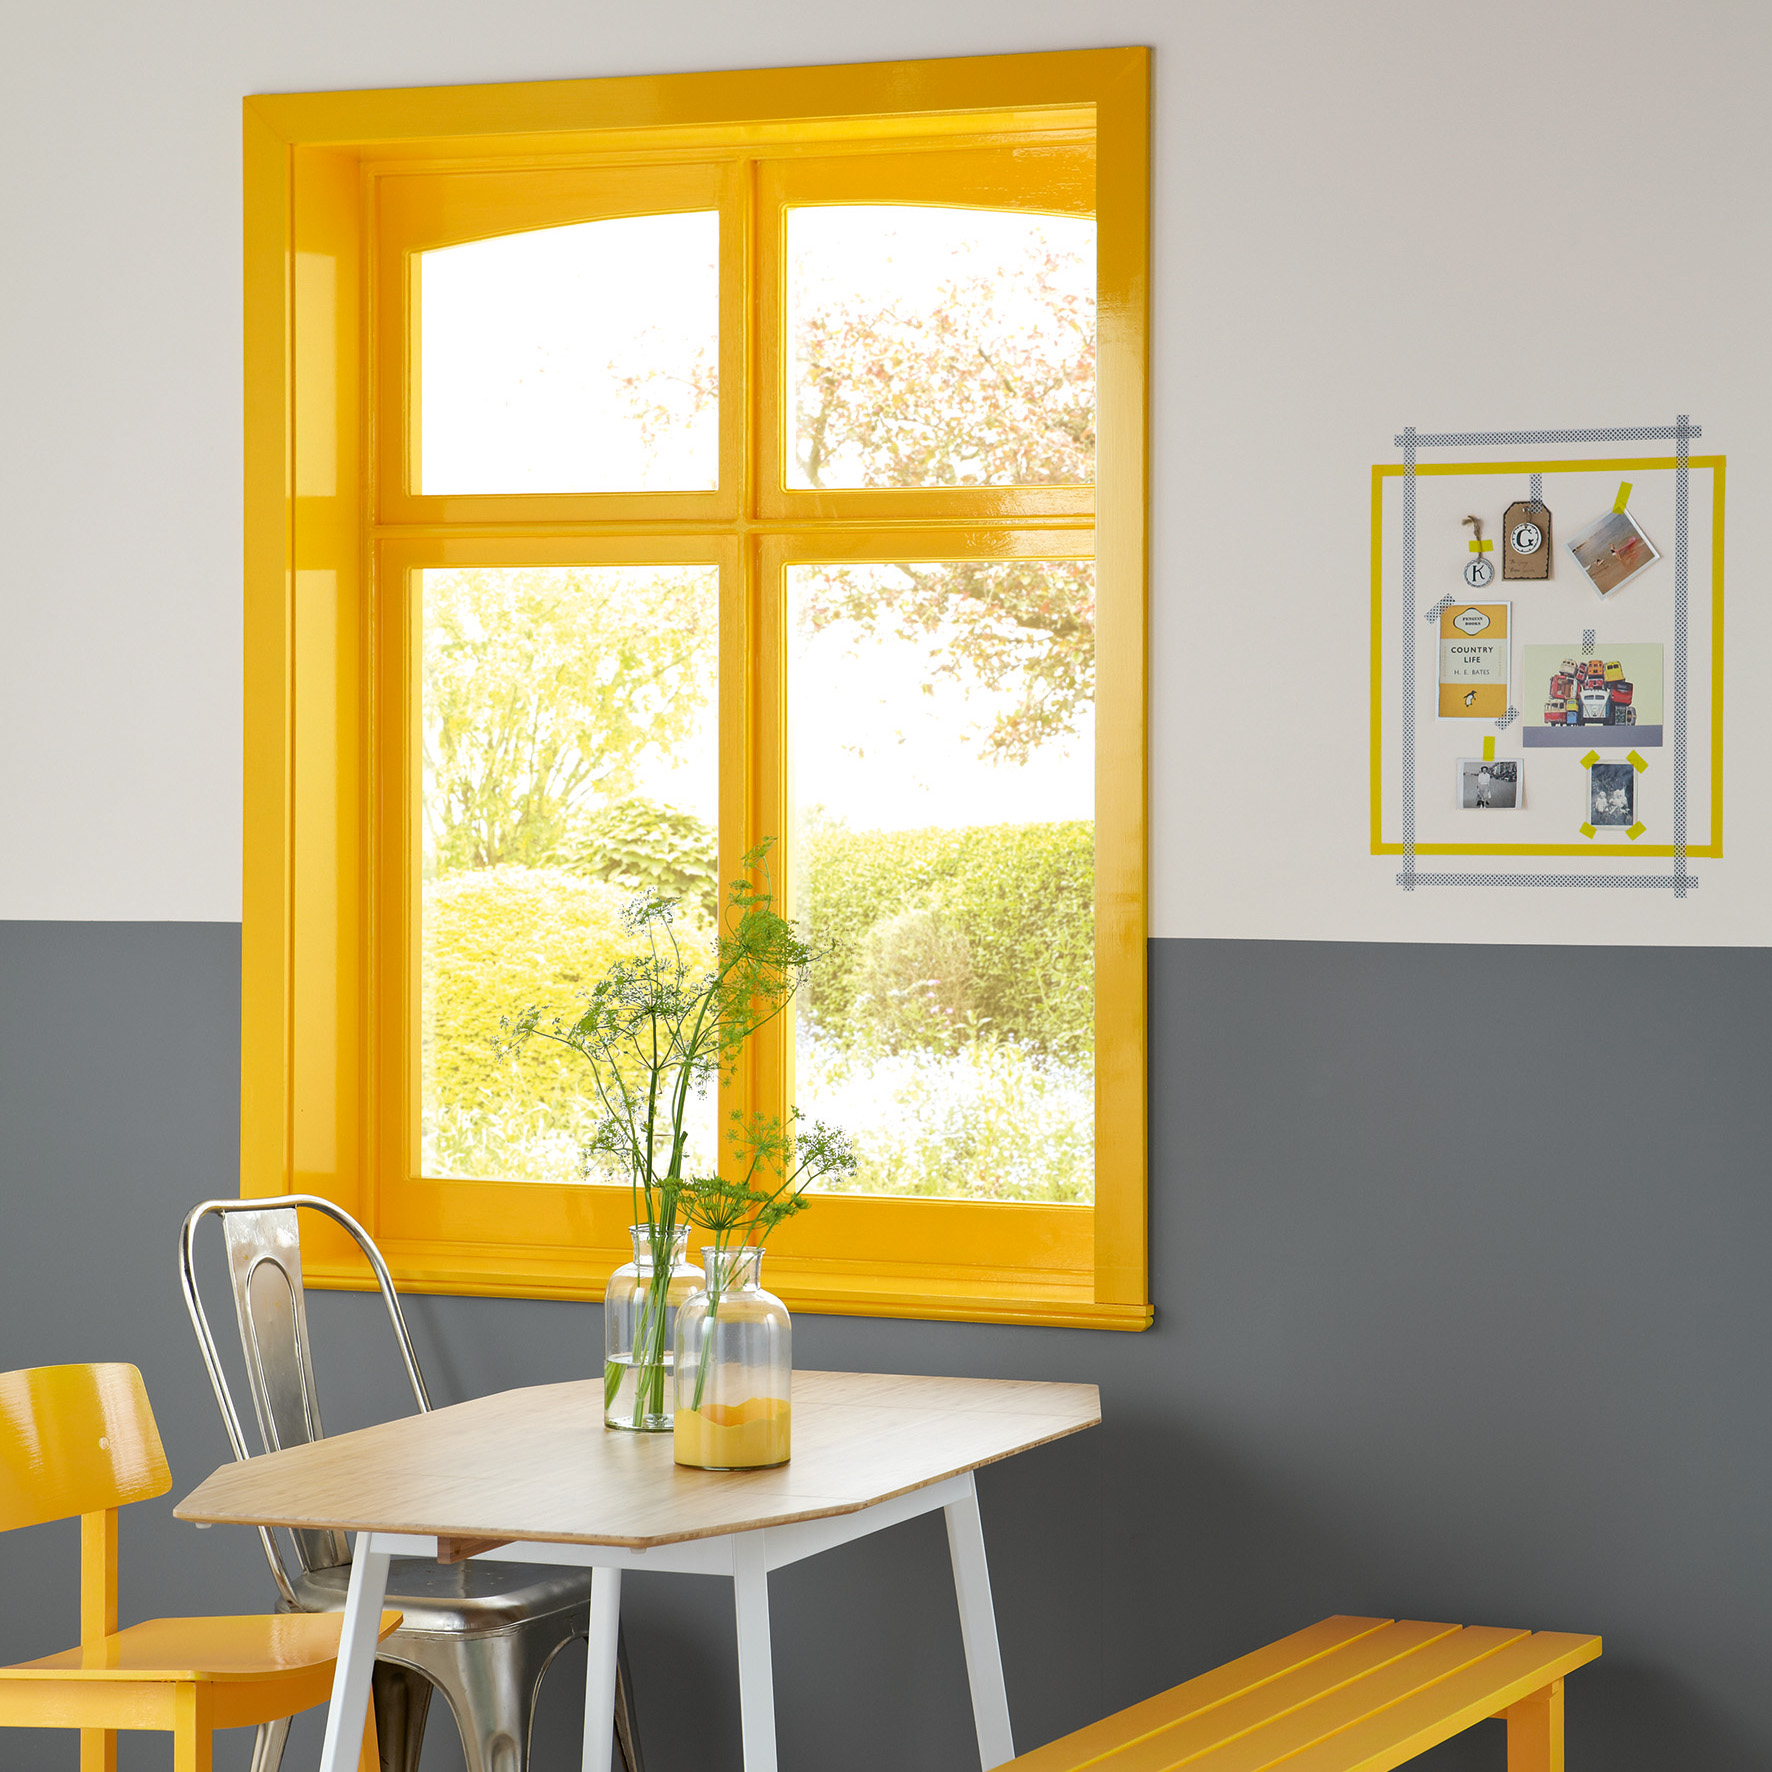
‘The wonderful thing about this feature of the house is that it brings in the natural light, so you can go as light or as dark as you wish. I personally love the effect a bright shade of mustard yellow creates, as it reflects any natural light you have coming through and almost glows in the sunshine. For the same reason, if you’d like to achieve a bold window look, a gloss paint will be more effective than a matt finish, as it reflects light more.’ Says Smith.
What kind of paint do you use on windows?
If you’re painting timber window frames, you’ll want to look for the best paints for wood and if you’re painting uPVC windows, spray paints are the best method (more on this below). It’s not only about what will give you a nice finish and the best color, but it’s also about what will help protect your window frames and prolong their lifespan. ‘When choosing products for your window painting project, make sure you choose paint that is suitable for the kind of surface you’re working with. For wooden window frames, opt for a multi-surface product that’s suitable for wood, to ensure the paint sticks to the surface and allows it to breathe. Paint suitable for wood has also been specifically formulated to protect the surface and avoid peeling and cracking if exposed to the sun.‘
How to paint windows
Follow experienced renovator Sian Astley's how-to video below to achieve a professional finish with timber window frames and use our step-by-step further down to try it for yourself – whether your windows frames are wooden or uPVC.
You will need:
- A few small paint brushes
- Paint (water-based paints are ideal for timber and have a quicker drying time than solvent-based formulations)
- Toothbrush
- Sandpaper
- Small plastic pot, such as a used, but clean yogurt or soup pot
- Scraper
- Masking tape
- Cloth and water
- Screwdriver/drill
- Find out more about how to maintain timber windows on our dedicated page.
1. Choose your color
The look you go for is of course totally up to you. Smith says, ‘The window surround and frame do not need to match other skirting and woodwork in the room. One stand-alone window feature will create a real focal point and can, in some cases, add a bold contrast. It is important to paint window recesses and frames using the same colour, to create maximum impact and really make the shade you’ve chosen pop.
2. Clean the window frames
Before you begin painting windows, wipe the frames down with a clean, damp cloth to make sure there’s no dirt or debris on the wood or plastic. You may like to use a sugar soap for a deeper clean, which will also help the primer and paint adhere better. Lay a dust sheet under the window if needed.
- See how to clean windows like a pro.
3. Sand away any rough edges
This is a really important step when painting windows so don't go skipping it! Use a small piece of medium-grade sandpaper to sand away any rough edges or grooves in the timber or uPVC window frame, which could show up through the paint and create an imperfect result. Work on small sections at a time and use your finger to feel where the rough parts of the frame material are.
4. Brush off any dust
Once you’ve smoothed the surface, use a clean, dry paint brush to brush away the dust, making sure to remove it all so none goes into the paint. You can even use a toothbrush to get into corners or narrow areas.
5. Remove handles
You don’t want to get paint on your window fittings, so it’s best to remove them at this stage. Simply use a drill or screwdriver to remove the screws and gentle pull the handle out. Keep the handle and screws in a safe place until you’re ready to reattach them.
6. Mask off the area
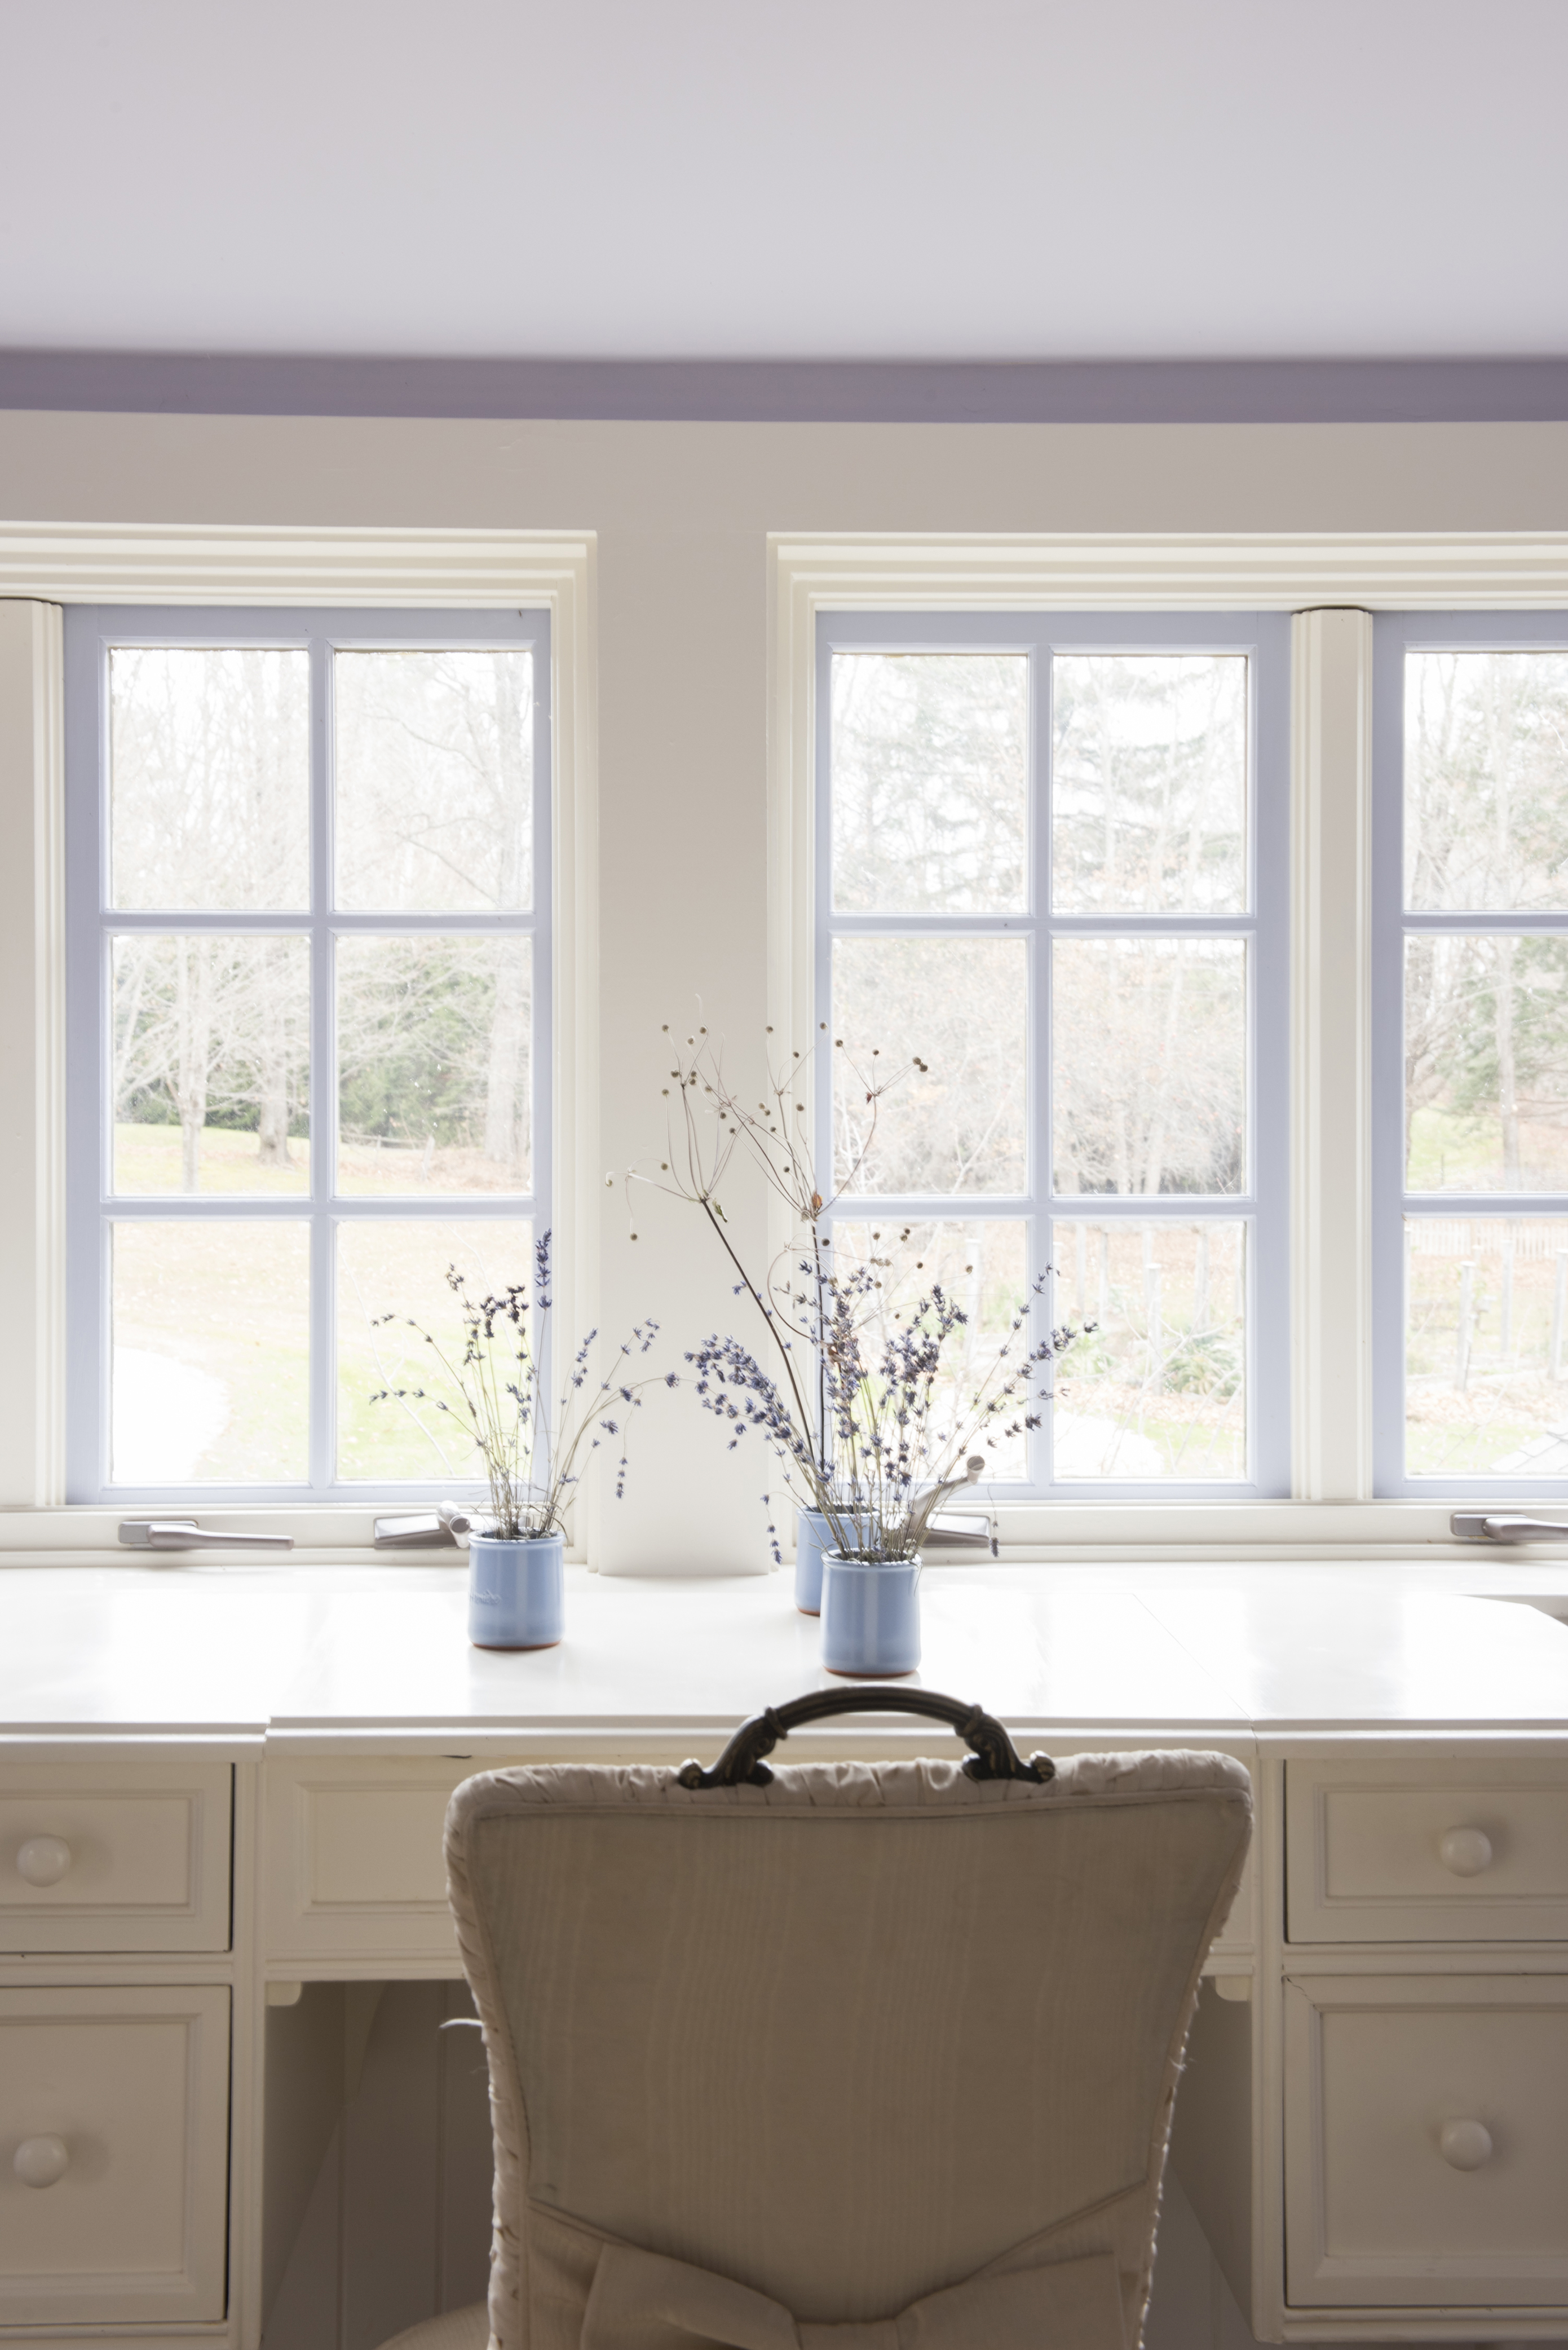
For perfect straight lines and to make sure you don’t get paint on the window itself, use masking tape to mask off each window pane, ensuring you stick the tape as close to the frame as possible.
7. Apply a primer
This is a step that is worth the extra time and effort, as an undercoat will ensure the finish lasts. Ask your local DIY store if they can apply some dye to your undercoat if you’ve chosen a specific color as the top coat. For example, if you’re painting your timber window frames in dark grey, you could use an undercoat, which has had some grey added to it. For white finishes, stick to a simple white undercoat.
8. Paint the first coat
Now you’re ready to paint the window frames in your choice of color. Start in one place and carefully work away from this and around the entire frame. Avoid starting in one place and jumping to another, which could result in ‘dry lines’ and create an uneven finish. Use a small brush and a little amount of paint and paint thin layers, rather than a thick coverage. Leave the first coat to dry completely.
Bear in mind that timber windows are made up of pieces of wood that run in different directions. Unlike flat matt emulsions, gloss and satin paints tend to more readily show up drips and brush marks so work from top to bottom and take care around the corners of the window frame.
Paint in the direction of the wood grain, using light strokes and take care not to overload the brush with paint, spreading each coat thinly. Use a small half-inch brush (or a cutting-in brush) for awkward areas and then switch to a slightly wider (around 2”) brush for other areas.
9. Carefully finish the top coat
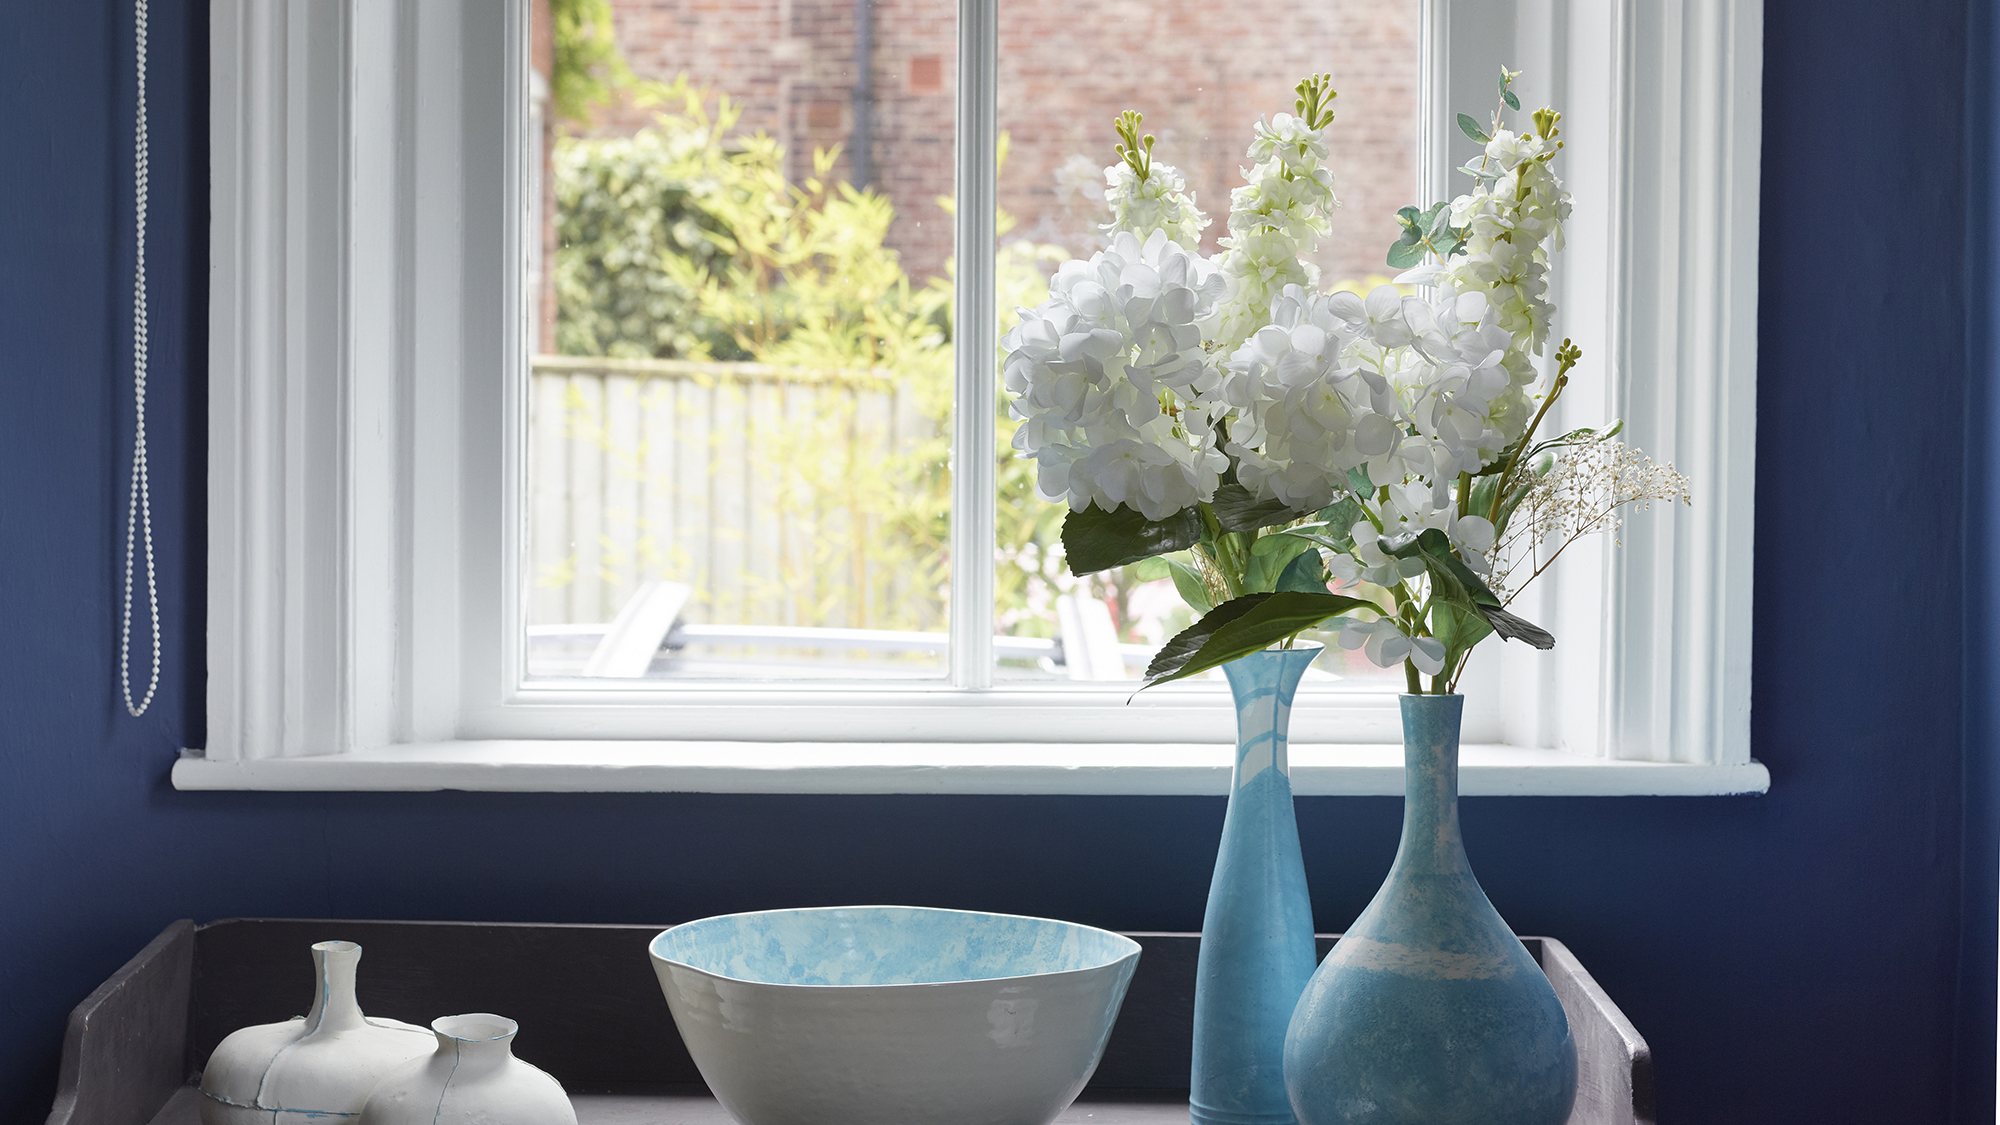
Apply the final coat of paint, ensuring that this is also a thin layer. Make sure that the whole window frame is equally covered. Leave to dry.
10. Reattach fittings
Once dry, carefully remove the masking tape. Then, use a screwdriver or drill to put the handles back into place and admire the results of your perfectly painted window frame(s).
Should you paint uPVC windows?
If you’re thinking of painting your uPVC windows, the first thing you have to know is that it’s best not to paint yours if they are newly installed. You’ll need to wait at least 12 months after installation so that the final layer of plastic (usually added during the final manufacturing process) wears off, allowing the paint to take to it. It’s worth noting also that some professionals think painting uPVC windows will reduce their lifespan since sanding them down, may cause the paint to chip and crack overtime. Eventually, their efficiency may be reduced which could actually affect some home insurance policies. To reduce any damaging effects on your frames, make sure you choose paint that is resistant to UV as mentioned and check your insurance too!
Otherwise, this can be a brilliant way to update modern windows made of this hard wearing material, which is an affordable alternative to wood. If you’re good to go, you want to use a paint that will adhere to plastic surfaces and that has added UV filters to stop any bleaching, wear and tear.
The best method to achieve a professional finish is to follow the method above as with timber window frames, but to use a spray paint instead to apply the color.
- See more on painting outside of a house.
Give it a try!
Join our newsletter
Get small space home decor ideas, celeb inspiration, DIY tips and more, straight to your inbox!
-
 This colourful home makeover has space for kitchen discos
While the front of Leila and Joe's home features dark and moody chill-out spaces, the rest is light and bright and made for socialising
By Karen Wilson
-
 An IKEA Billy bookcase hack inspired this cute media wall DIY
This cute DIY was inspired by an IKEA Billy bookcase hack and brought a ton of symmetry to an otherwise basic media wall space.
By Camille Dubuis-Welch
-
 This oversized headboard looks designer, and takes 5 steps to DIY
Super simple to DIY, this oversized headboard will give your bedroom space all the designer vibes you could dream of.
By Claire Douglas
-
 How to paint a door and refresh your home instantly
Painting doors is easy with our expert advice. This is how to get professional results on front and internal doors.
By Claire Douglas
-
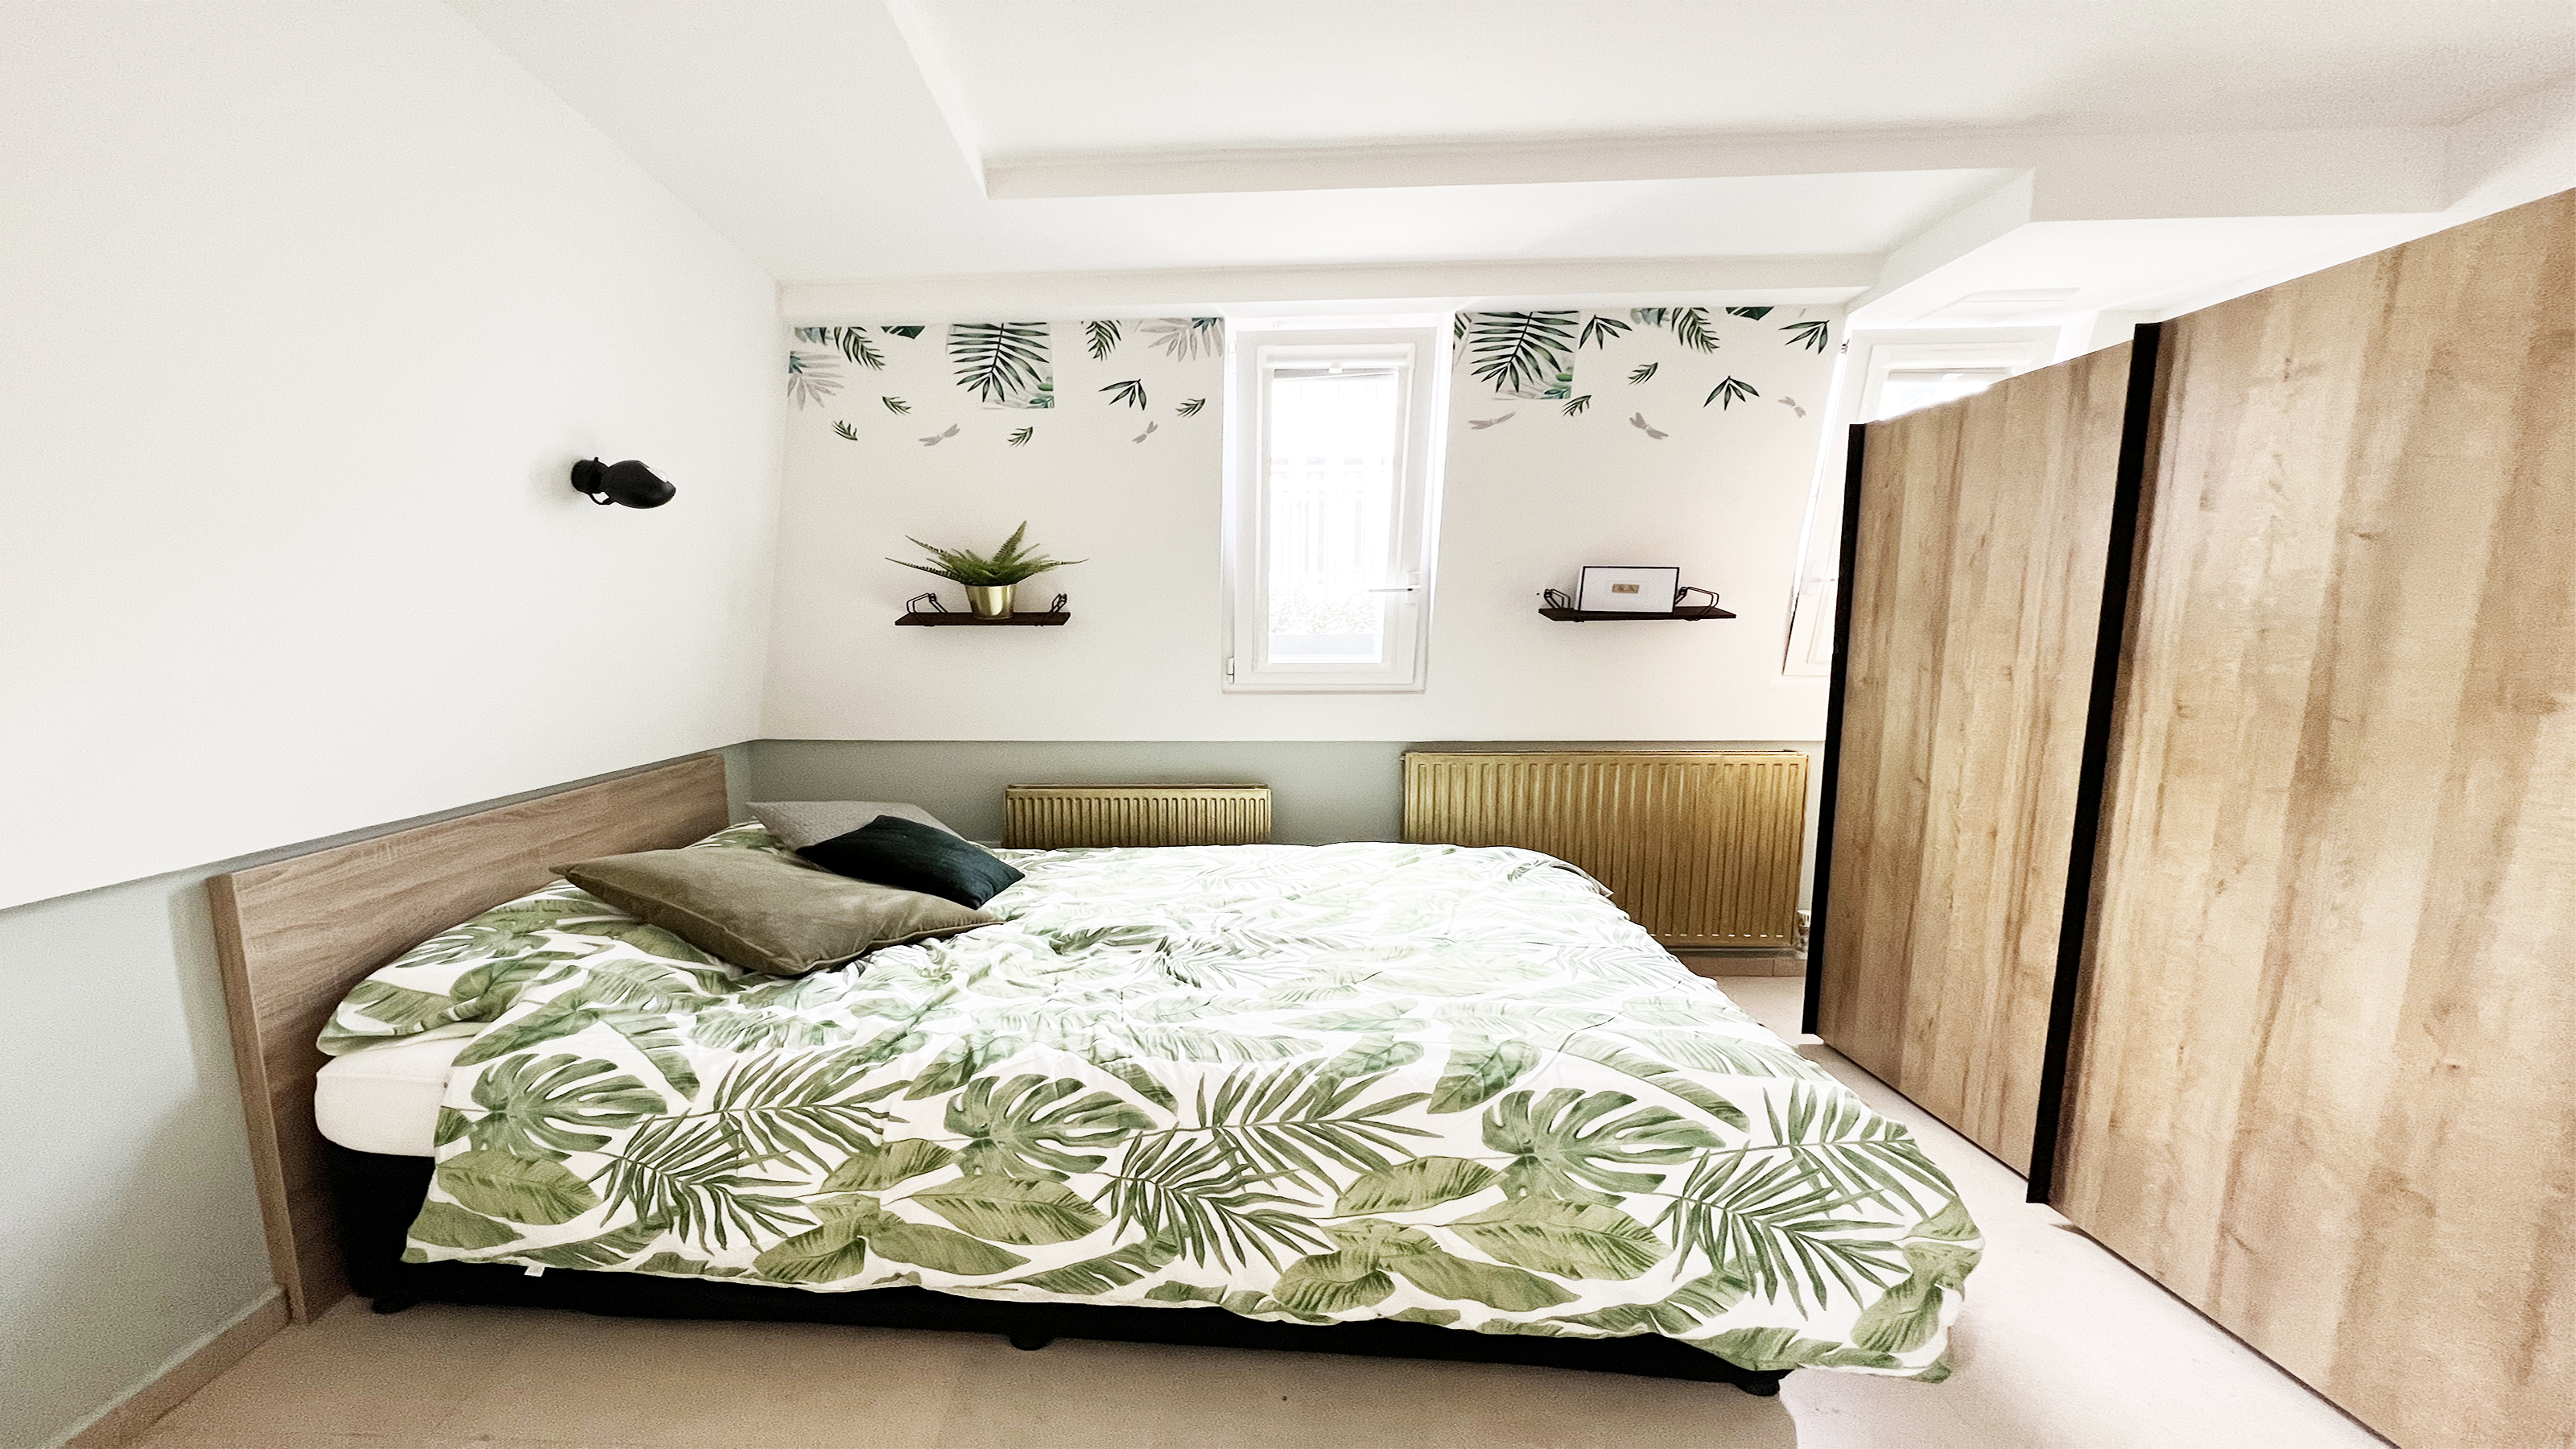 How to paint a radiator in 7 steps
Painting radiators properly is all about choosing the right paint and the best process. Get interior designer-worthy results with our how-to.
By Kate Sandhu
-
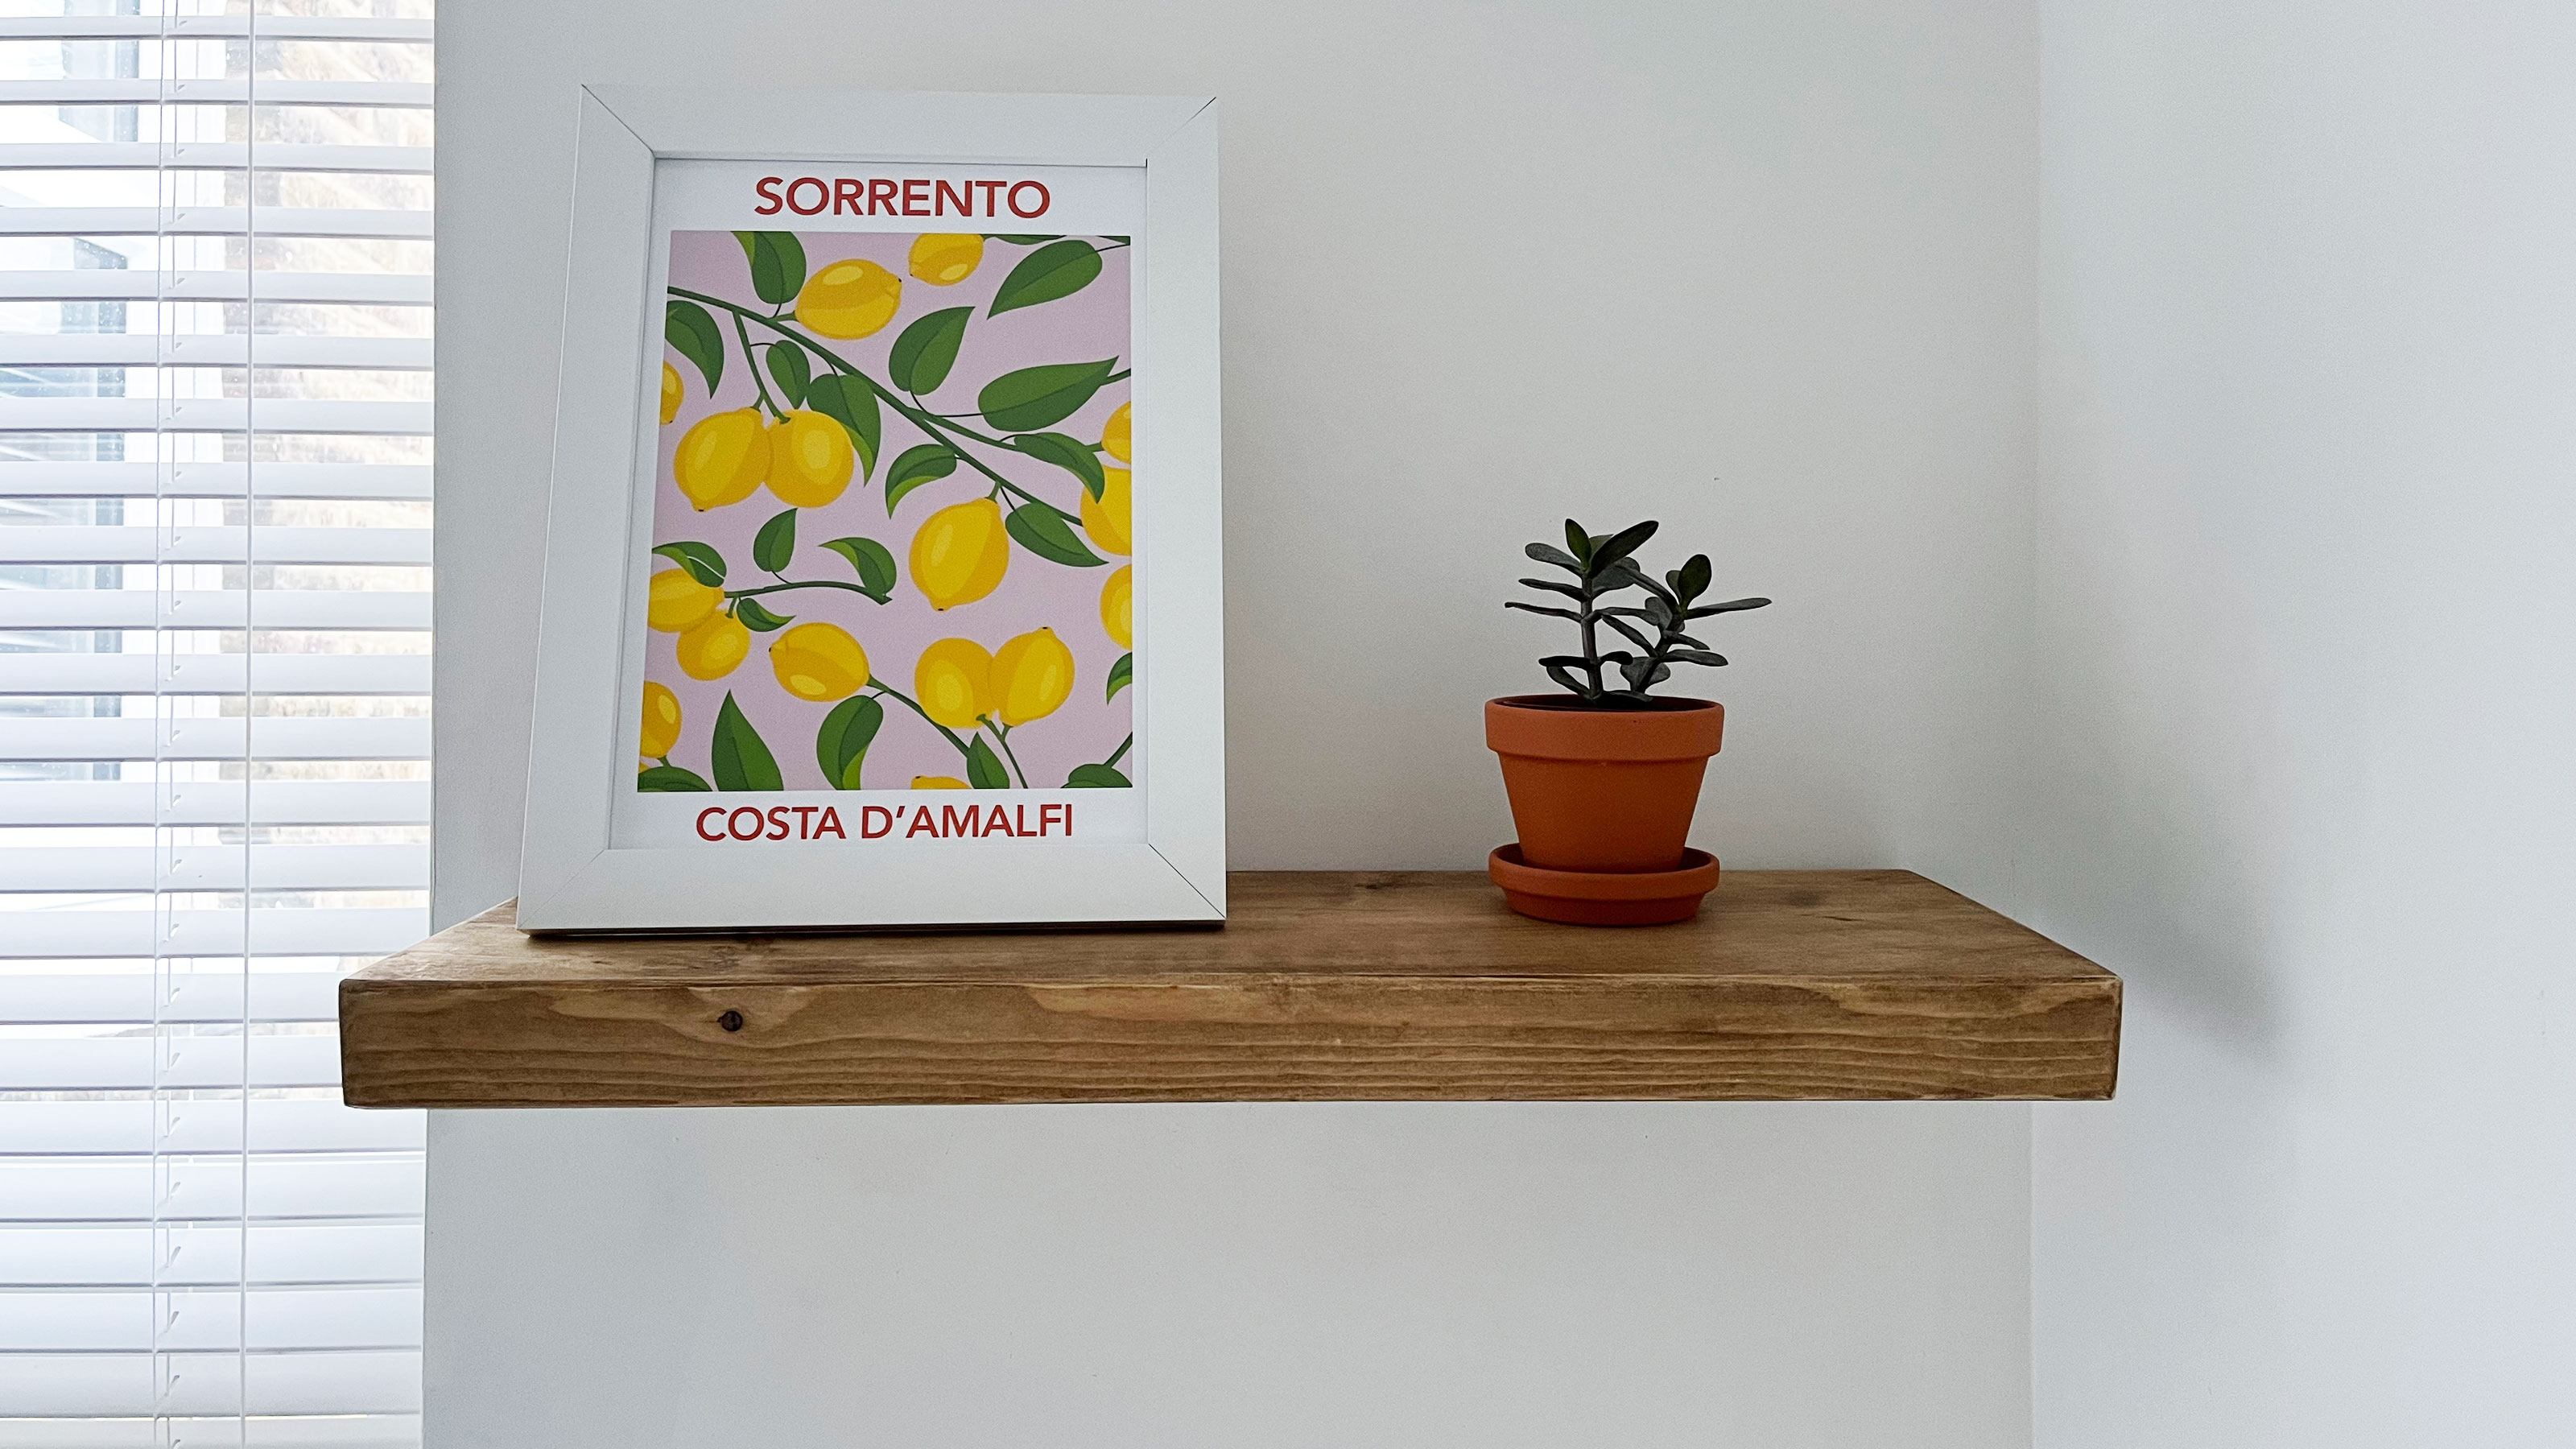 How to install and style a floating shelf
Installing a floating shelf can add instant design interest to your home. Dress yours with artwork, houseplants, and books for the perfect finish.
By Camille Dubuis-Welch
-
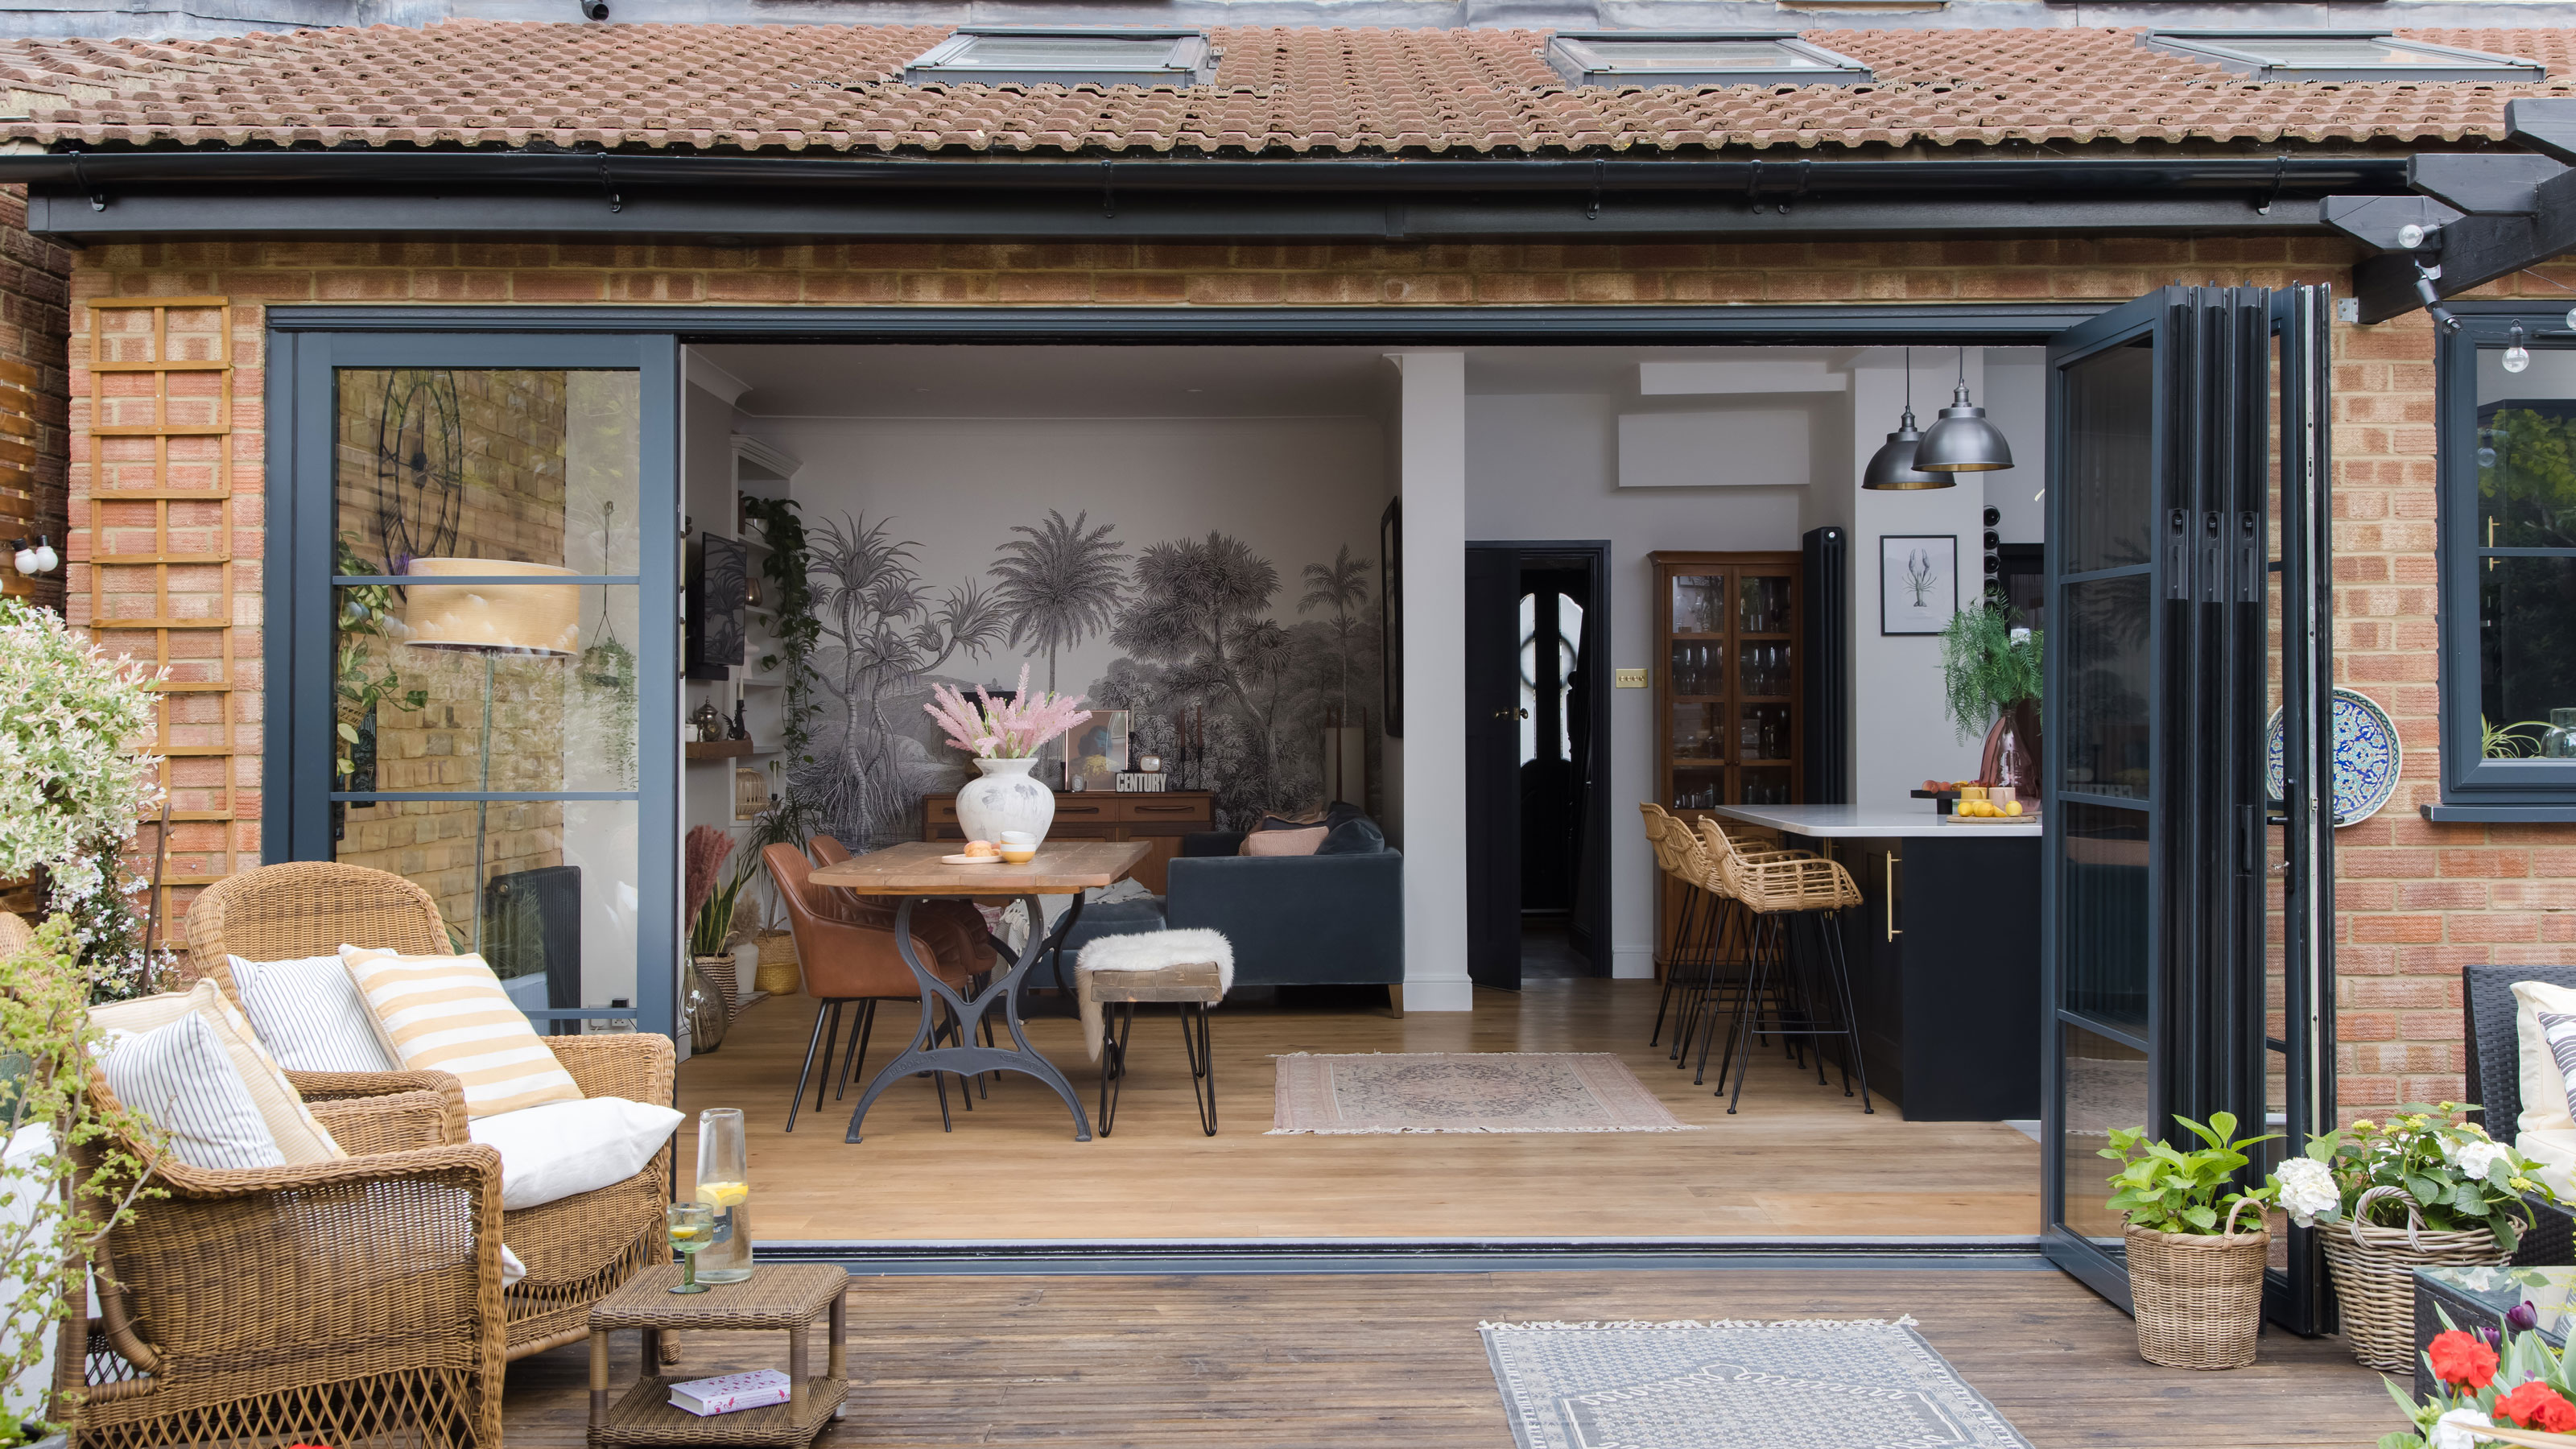 DIY transforms 1930s house into dream home
With several renovations behind them, Mary and Paul had creative expertise to draw on when it came to transforming their 1930s house
By Alison Jones
-
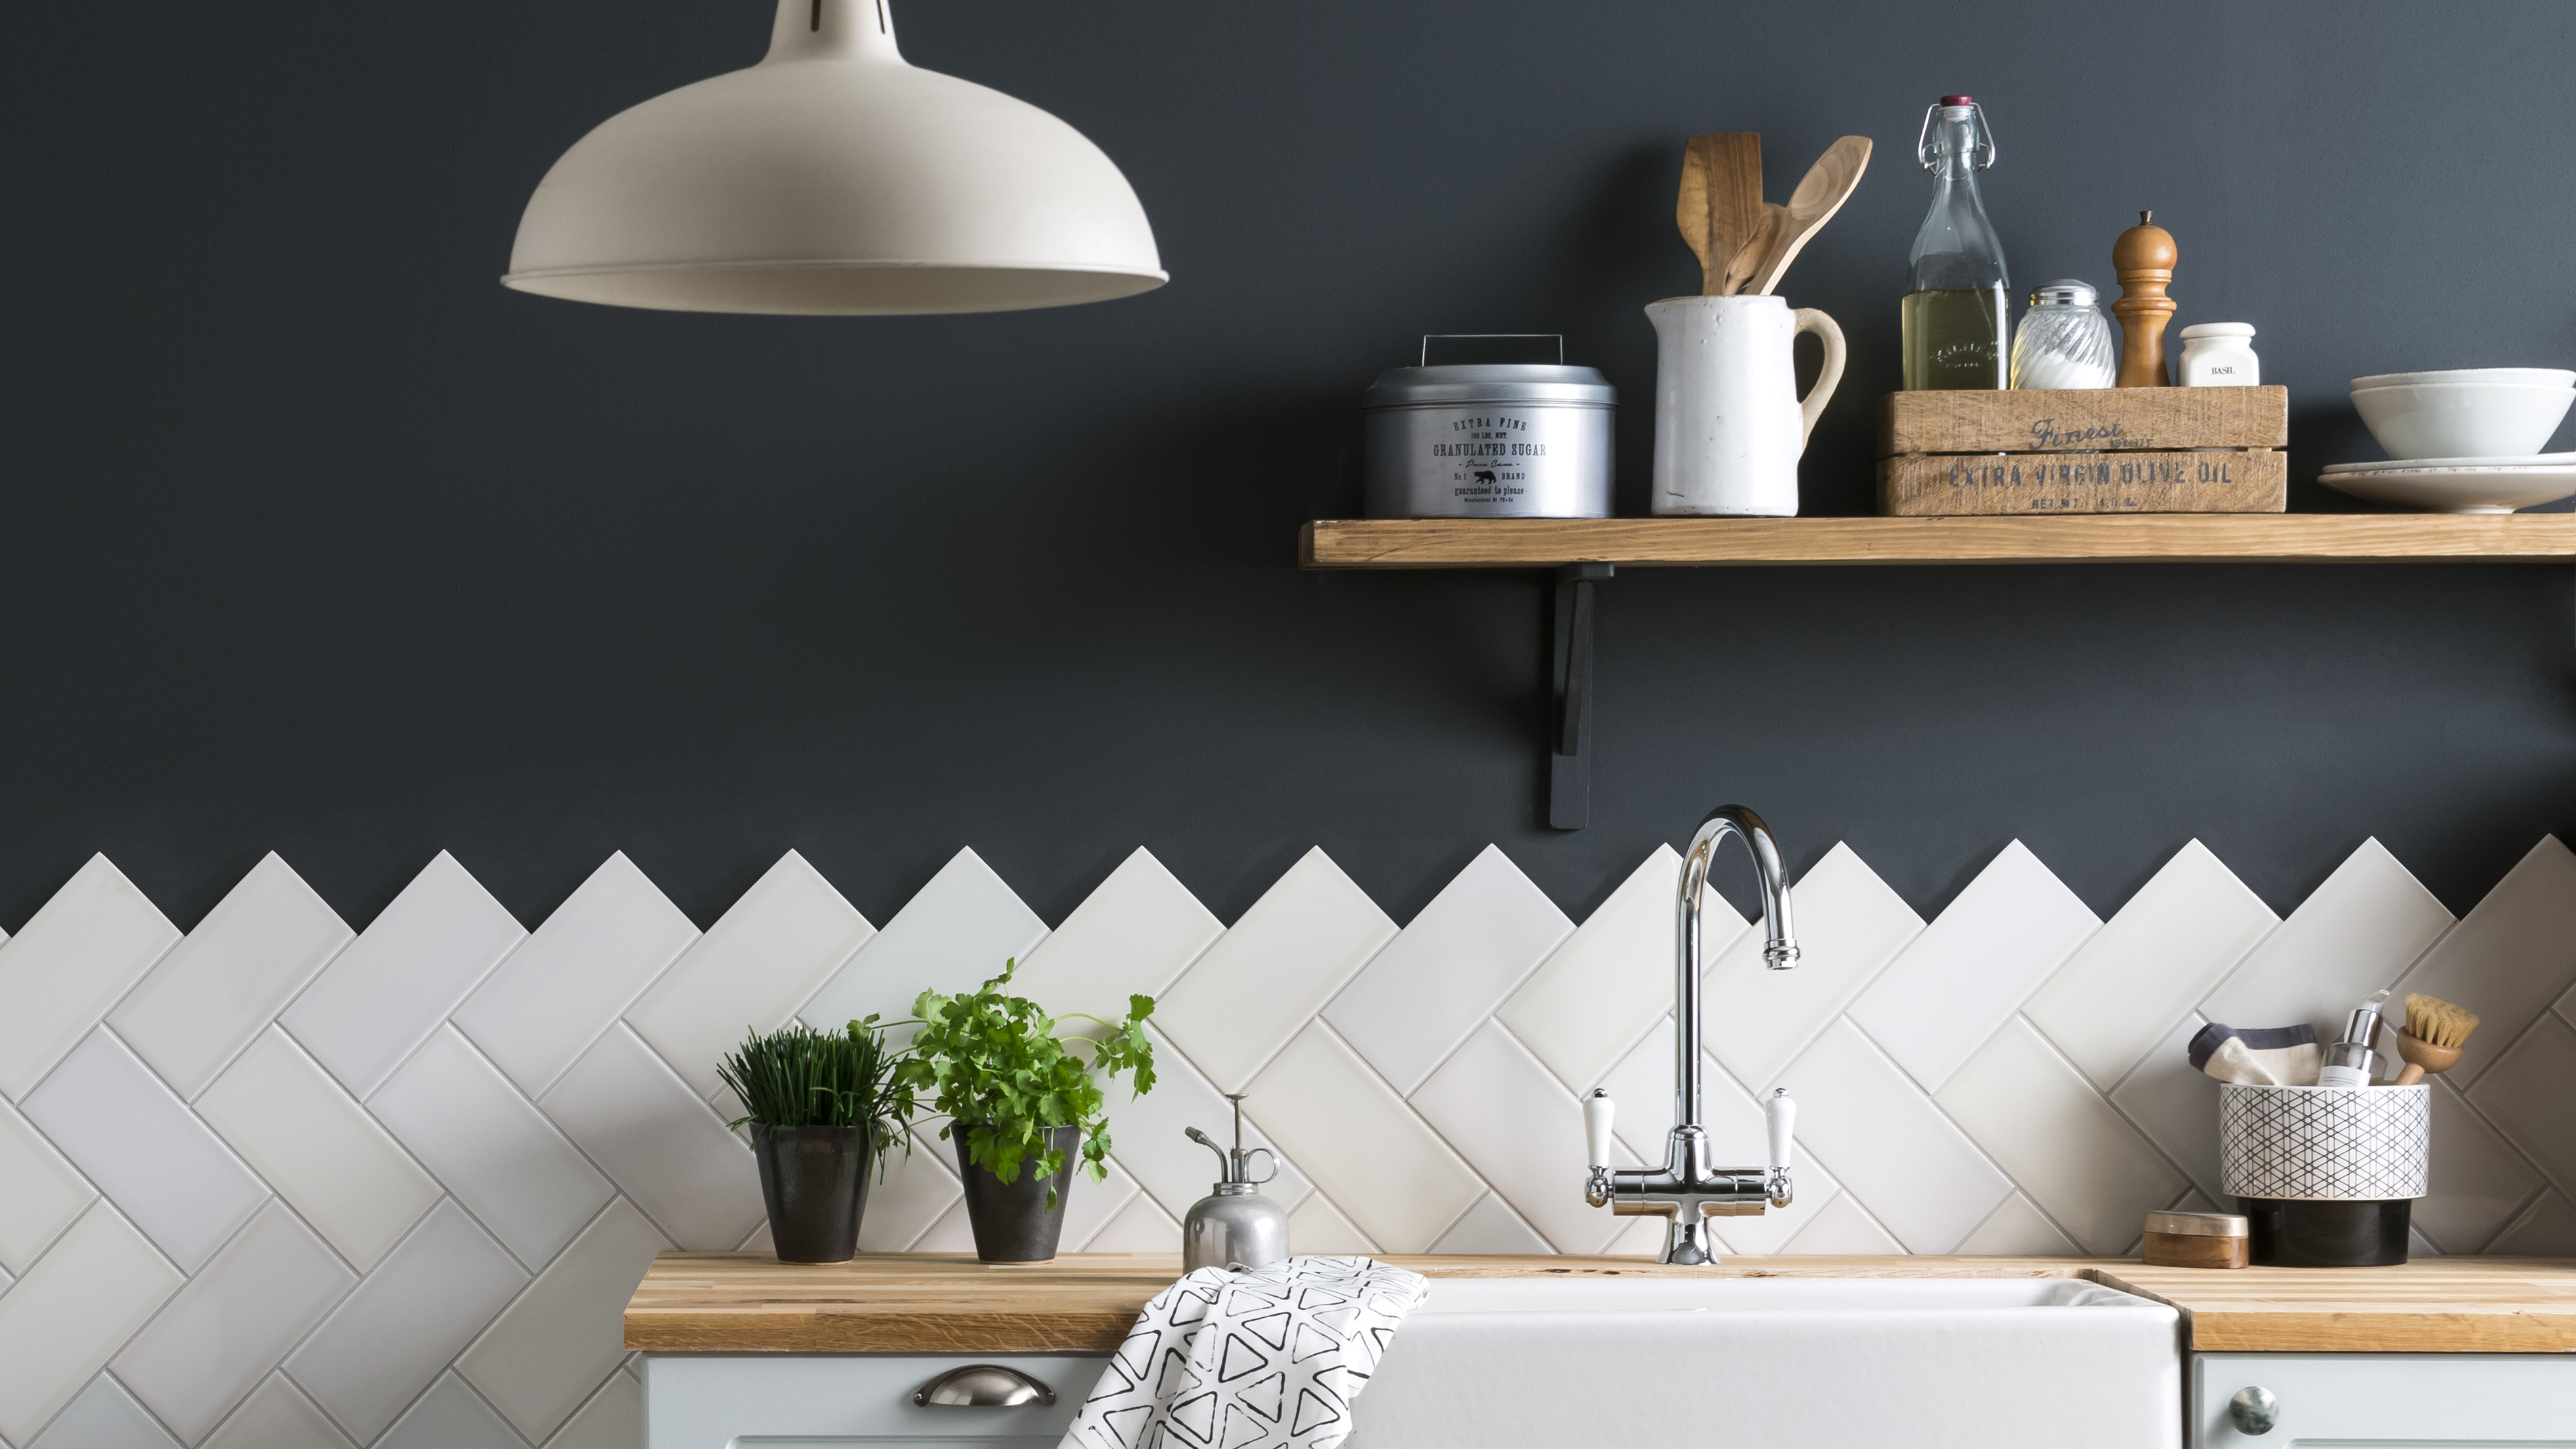 How to tile a backsplash: a DIY guide for beginners
Knowing how to tile a backsplash will make a big difference to the look and function of your kitchen. DIY to save on the cost of calling in a professional.
By Emily Shaw